How to Interface Oled and Arduino (Part -1)
by Akshay Jha in Circuits > Arduino
7728 Views, 75 Favorites, 0 Comments
How to Interface Oled and Arduino (Part -1)
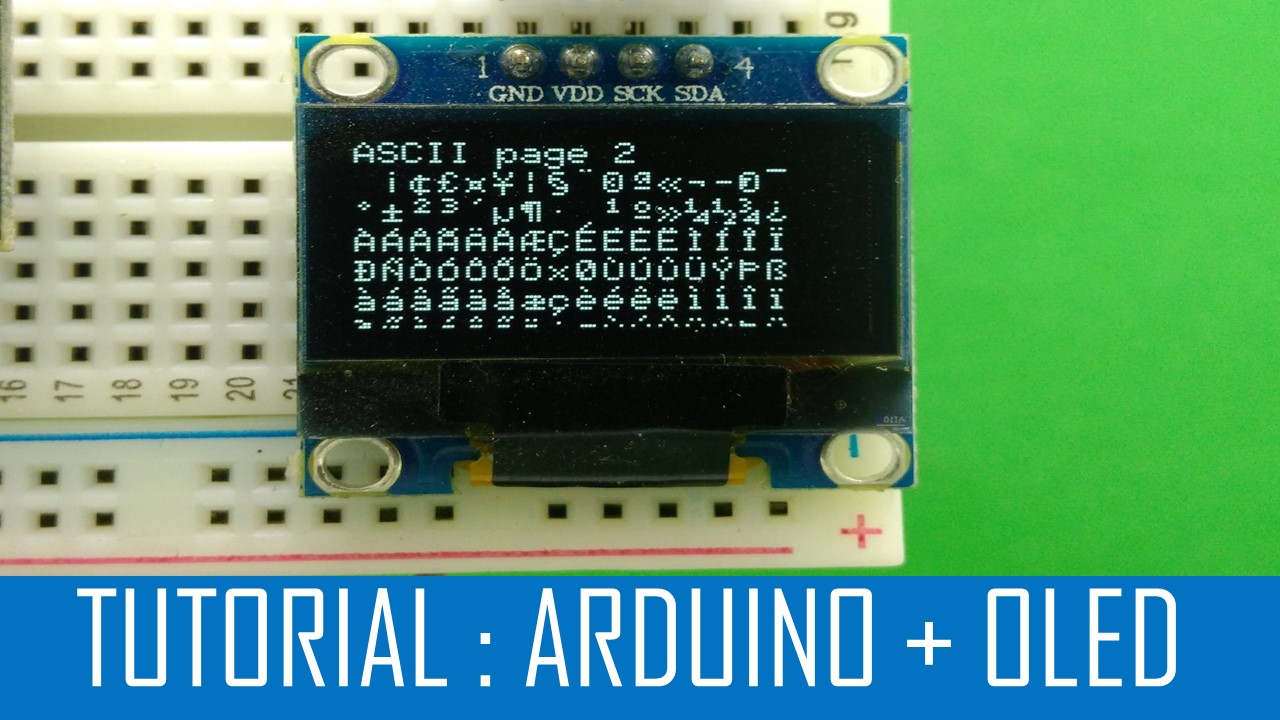
0.96')
Hello Guys in this instructable I am going to show you how to interface oled and Arduino.
My ultimate aim of writing this instructable is to make you understand that how to create custom graphics on any screen like OLED or any other Arduino compatible display. So in my future instructable`s I am gonna show you how to write your own Arduino code for displaying custom graphics on OLED or might be any other display.
Don`t Forget to Watch the Video if you like watching more than reading.
Watch Video
And do Subscribe to my YouTube Channel and Don`t forget to comment, like & share.
You`ll Need
-
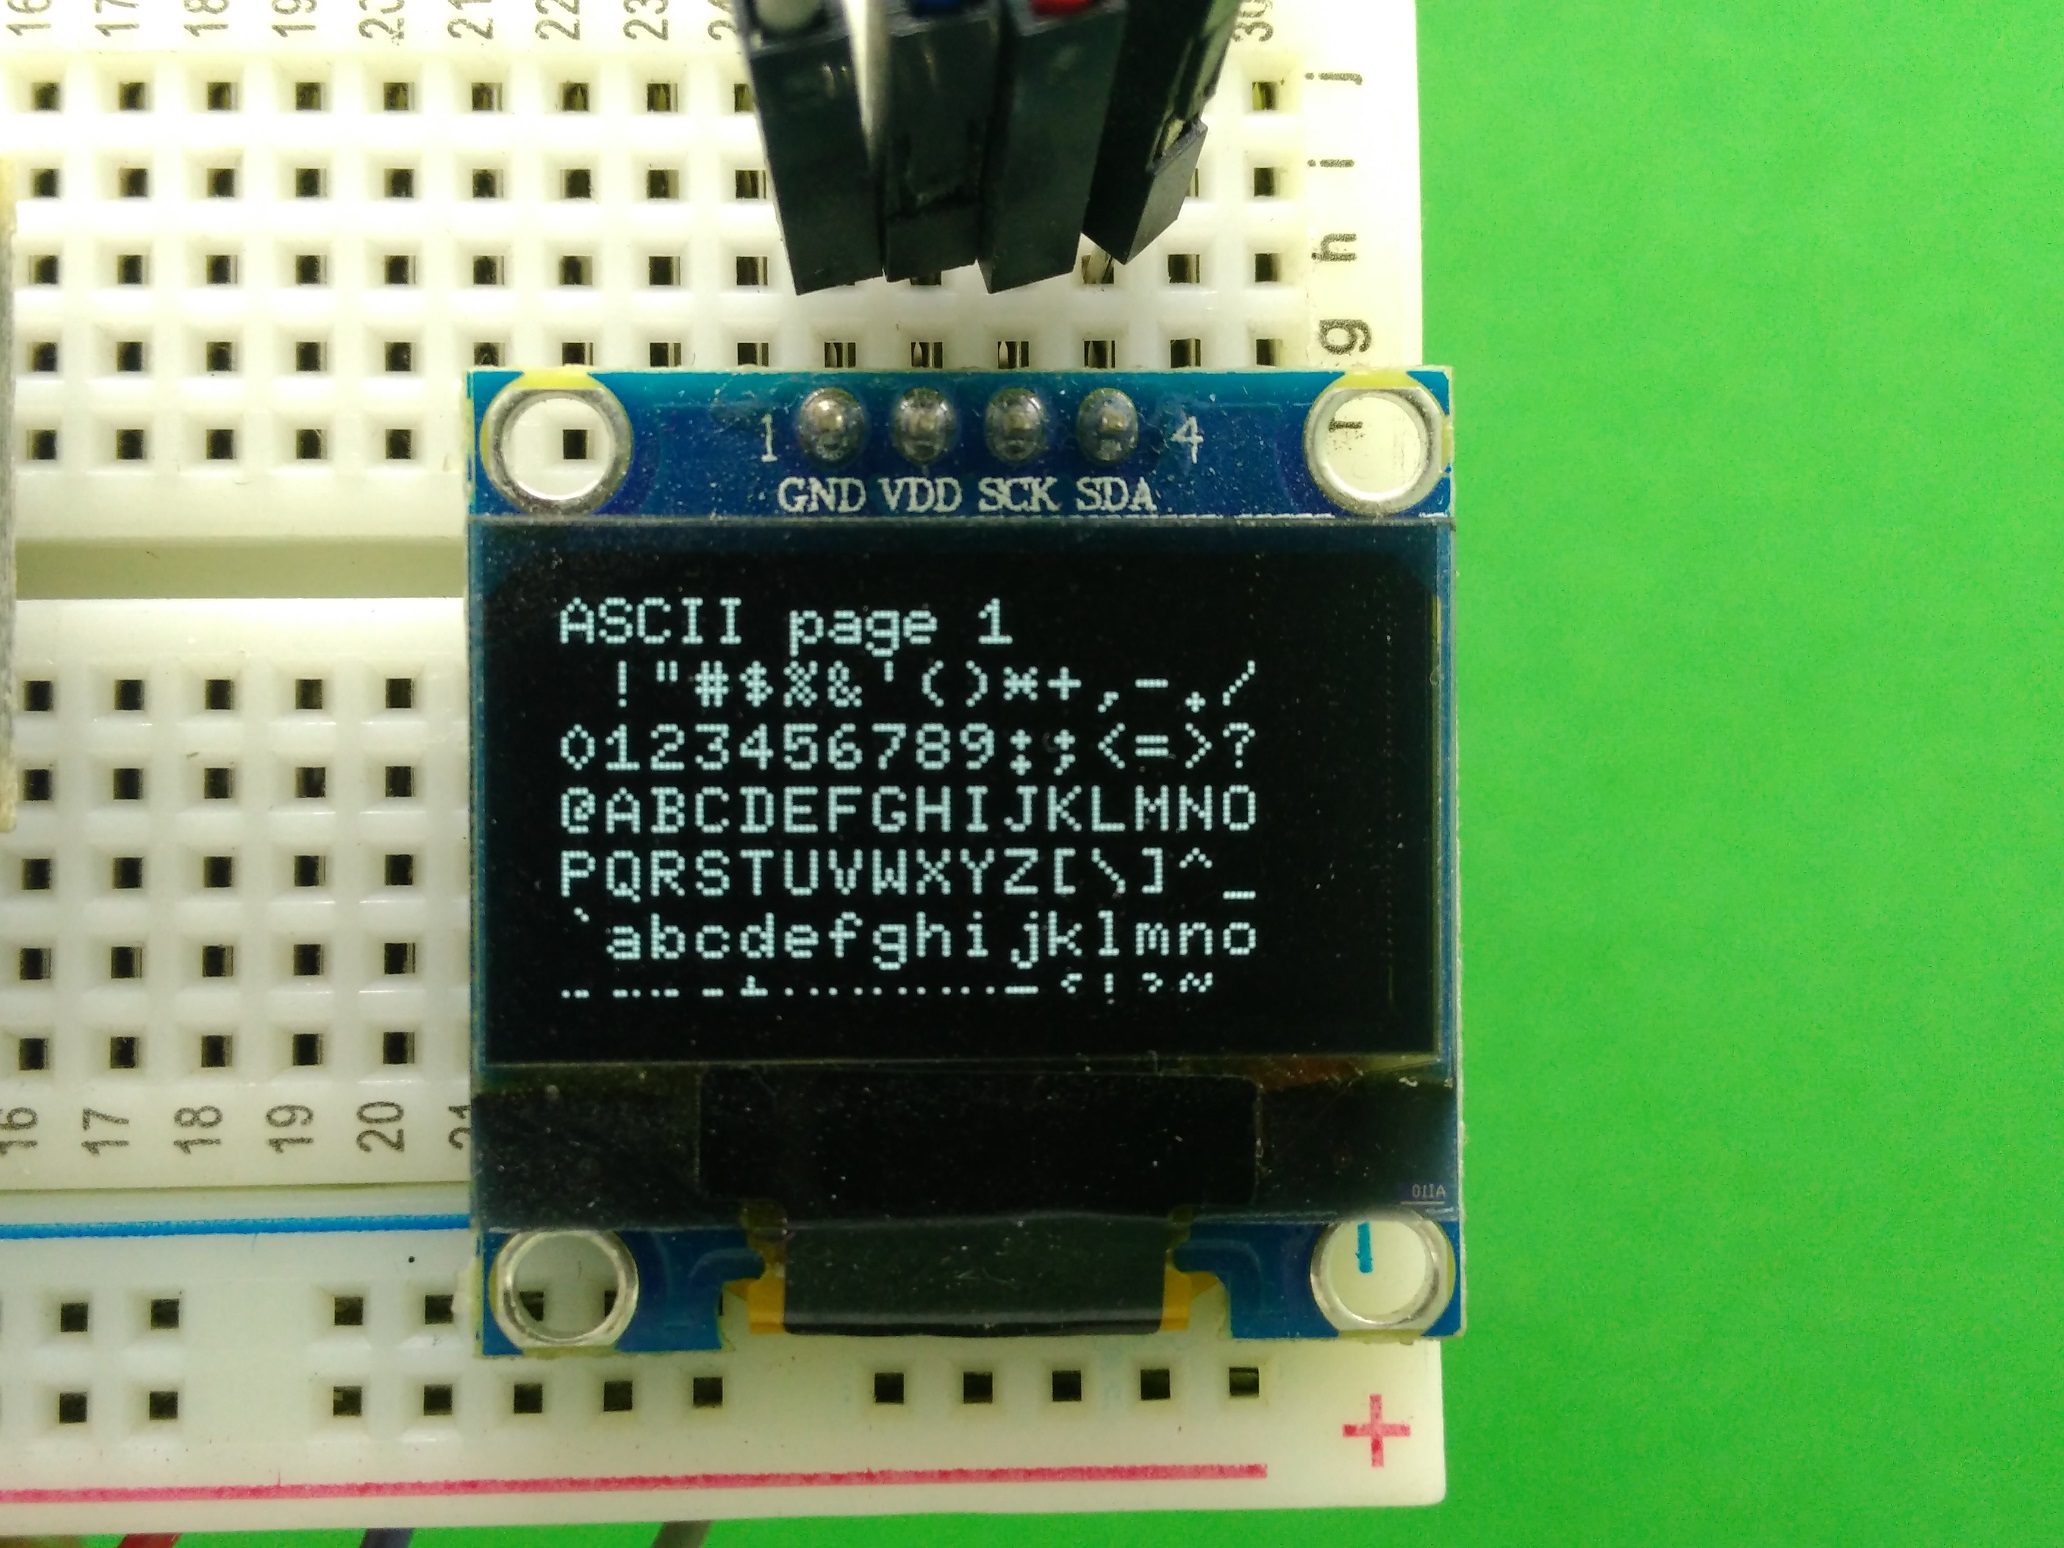
0.96" 128X64 I2C OLED Display
-
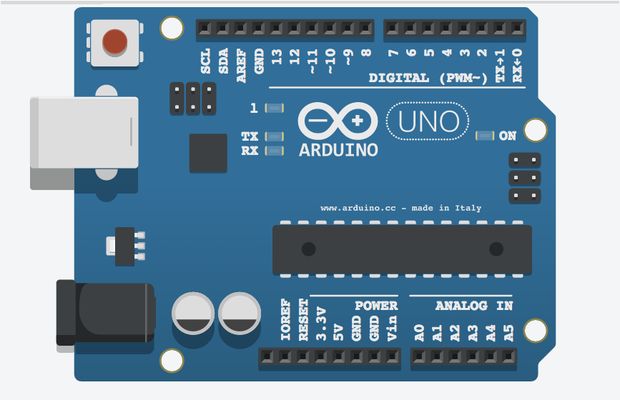
Arduino (Any )
-
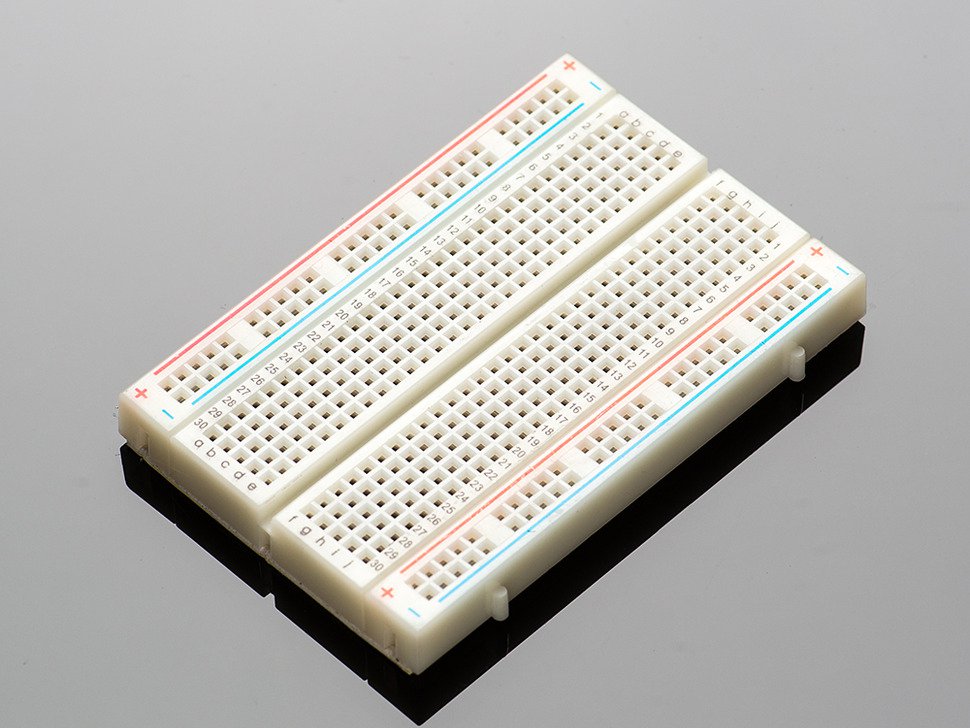
Breadboard
-
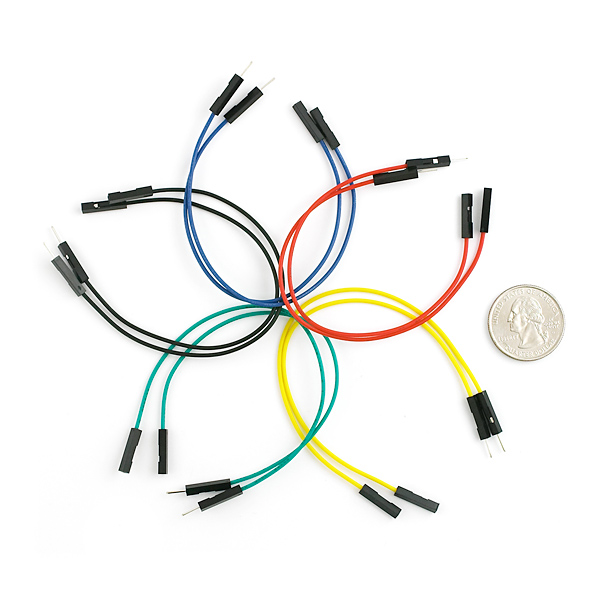
Jumpers Male to Male
Connections
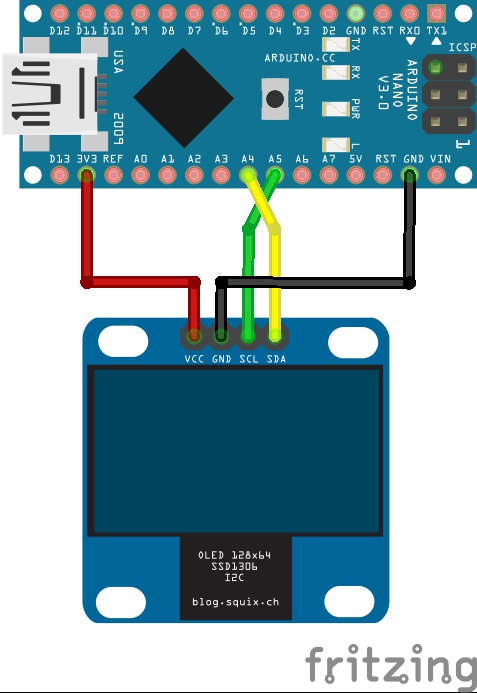
Connect your Arduino & Oled display as shown in Image. Connection are very Simple
ARDUINO-------------->>OLED
3.3V---------------------->>VCC
GND--------------------->>GND
A4------------------------>>SDA
A5------------------------>>SCL or SCK
Download & Install Library
After Connections download the library given below & after downloading you can just install the library if you do not know how to install it jus click on this link HERE.
Downloads
Run the Code!!
After successfully installing the library Open you Arduino IDE software and go to
Files->Example->u8glib->click on Graphic test
After this click, you'll get new window opened and you need to uncomment this line from the code as shown below
//U8GLIB_SSD1306_128X64 u8g(U8G_I2C_OPT_NO_ACK); // Display which does not send AC
To This
U8GLIB_SSD1306_128X64 u8g(U8G_I2C_OPT_NO_ACK); // Display which does not send AC
You just need to remove two slashes that`s all now just set your Arduino board and port and Upload the code and watch the graphics on OLED display .
Thanks for Reading !!
