How to Interface DHT 11 Temperature and Humidity Sensor With Arduino
by MissionCritical in Circuits > Arduino
9503 Views, 7 Favorites, 0 Comments
How to Interface DHT 11 Temperature and Humidity Sensor With Arduino
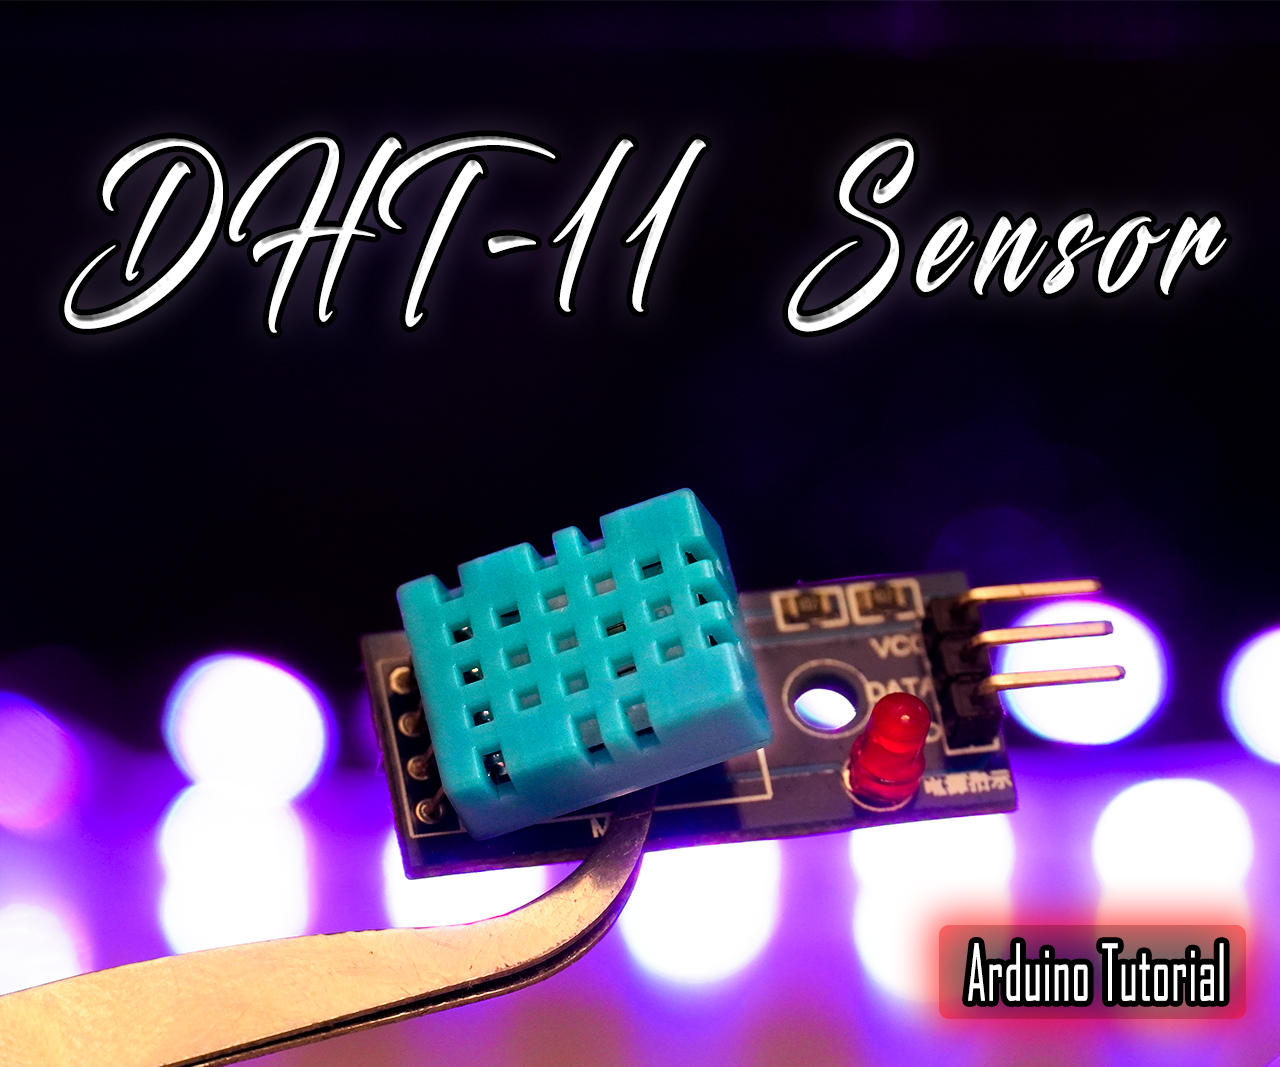
Hello there! fellow Electronic enthusiast and hobbyists, in this creative Arduino Tutorial, we are gonna learn about DHT11 Temperature and Humidity Sensor Module and we will use it with our Arduino Board, which might be used for some future project, so let’s get started!
Watch the Video
Gather the Material
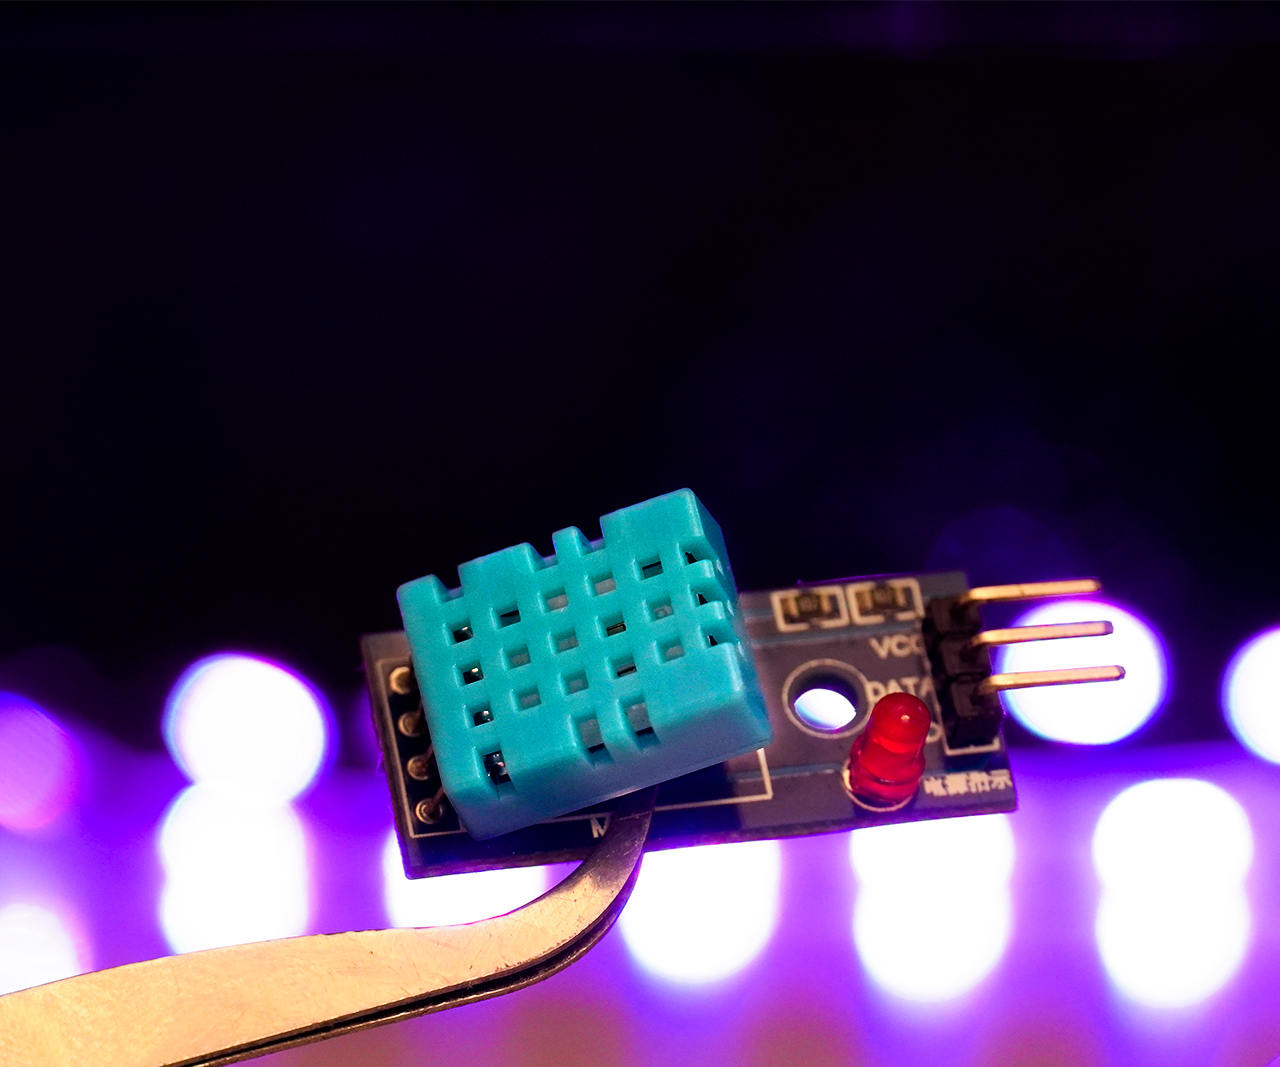
1. DHT11 sensor module
https://www.gearbest.com/sensors/pp_009733718935.h...
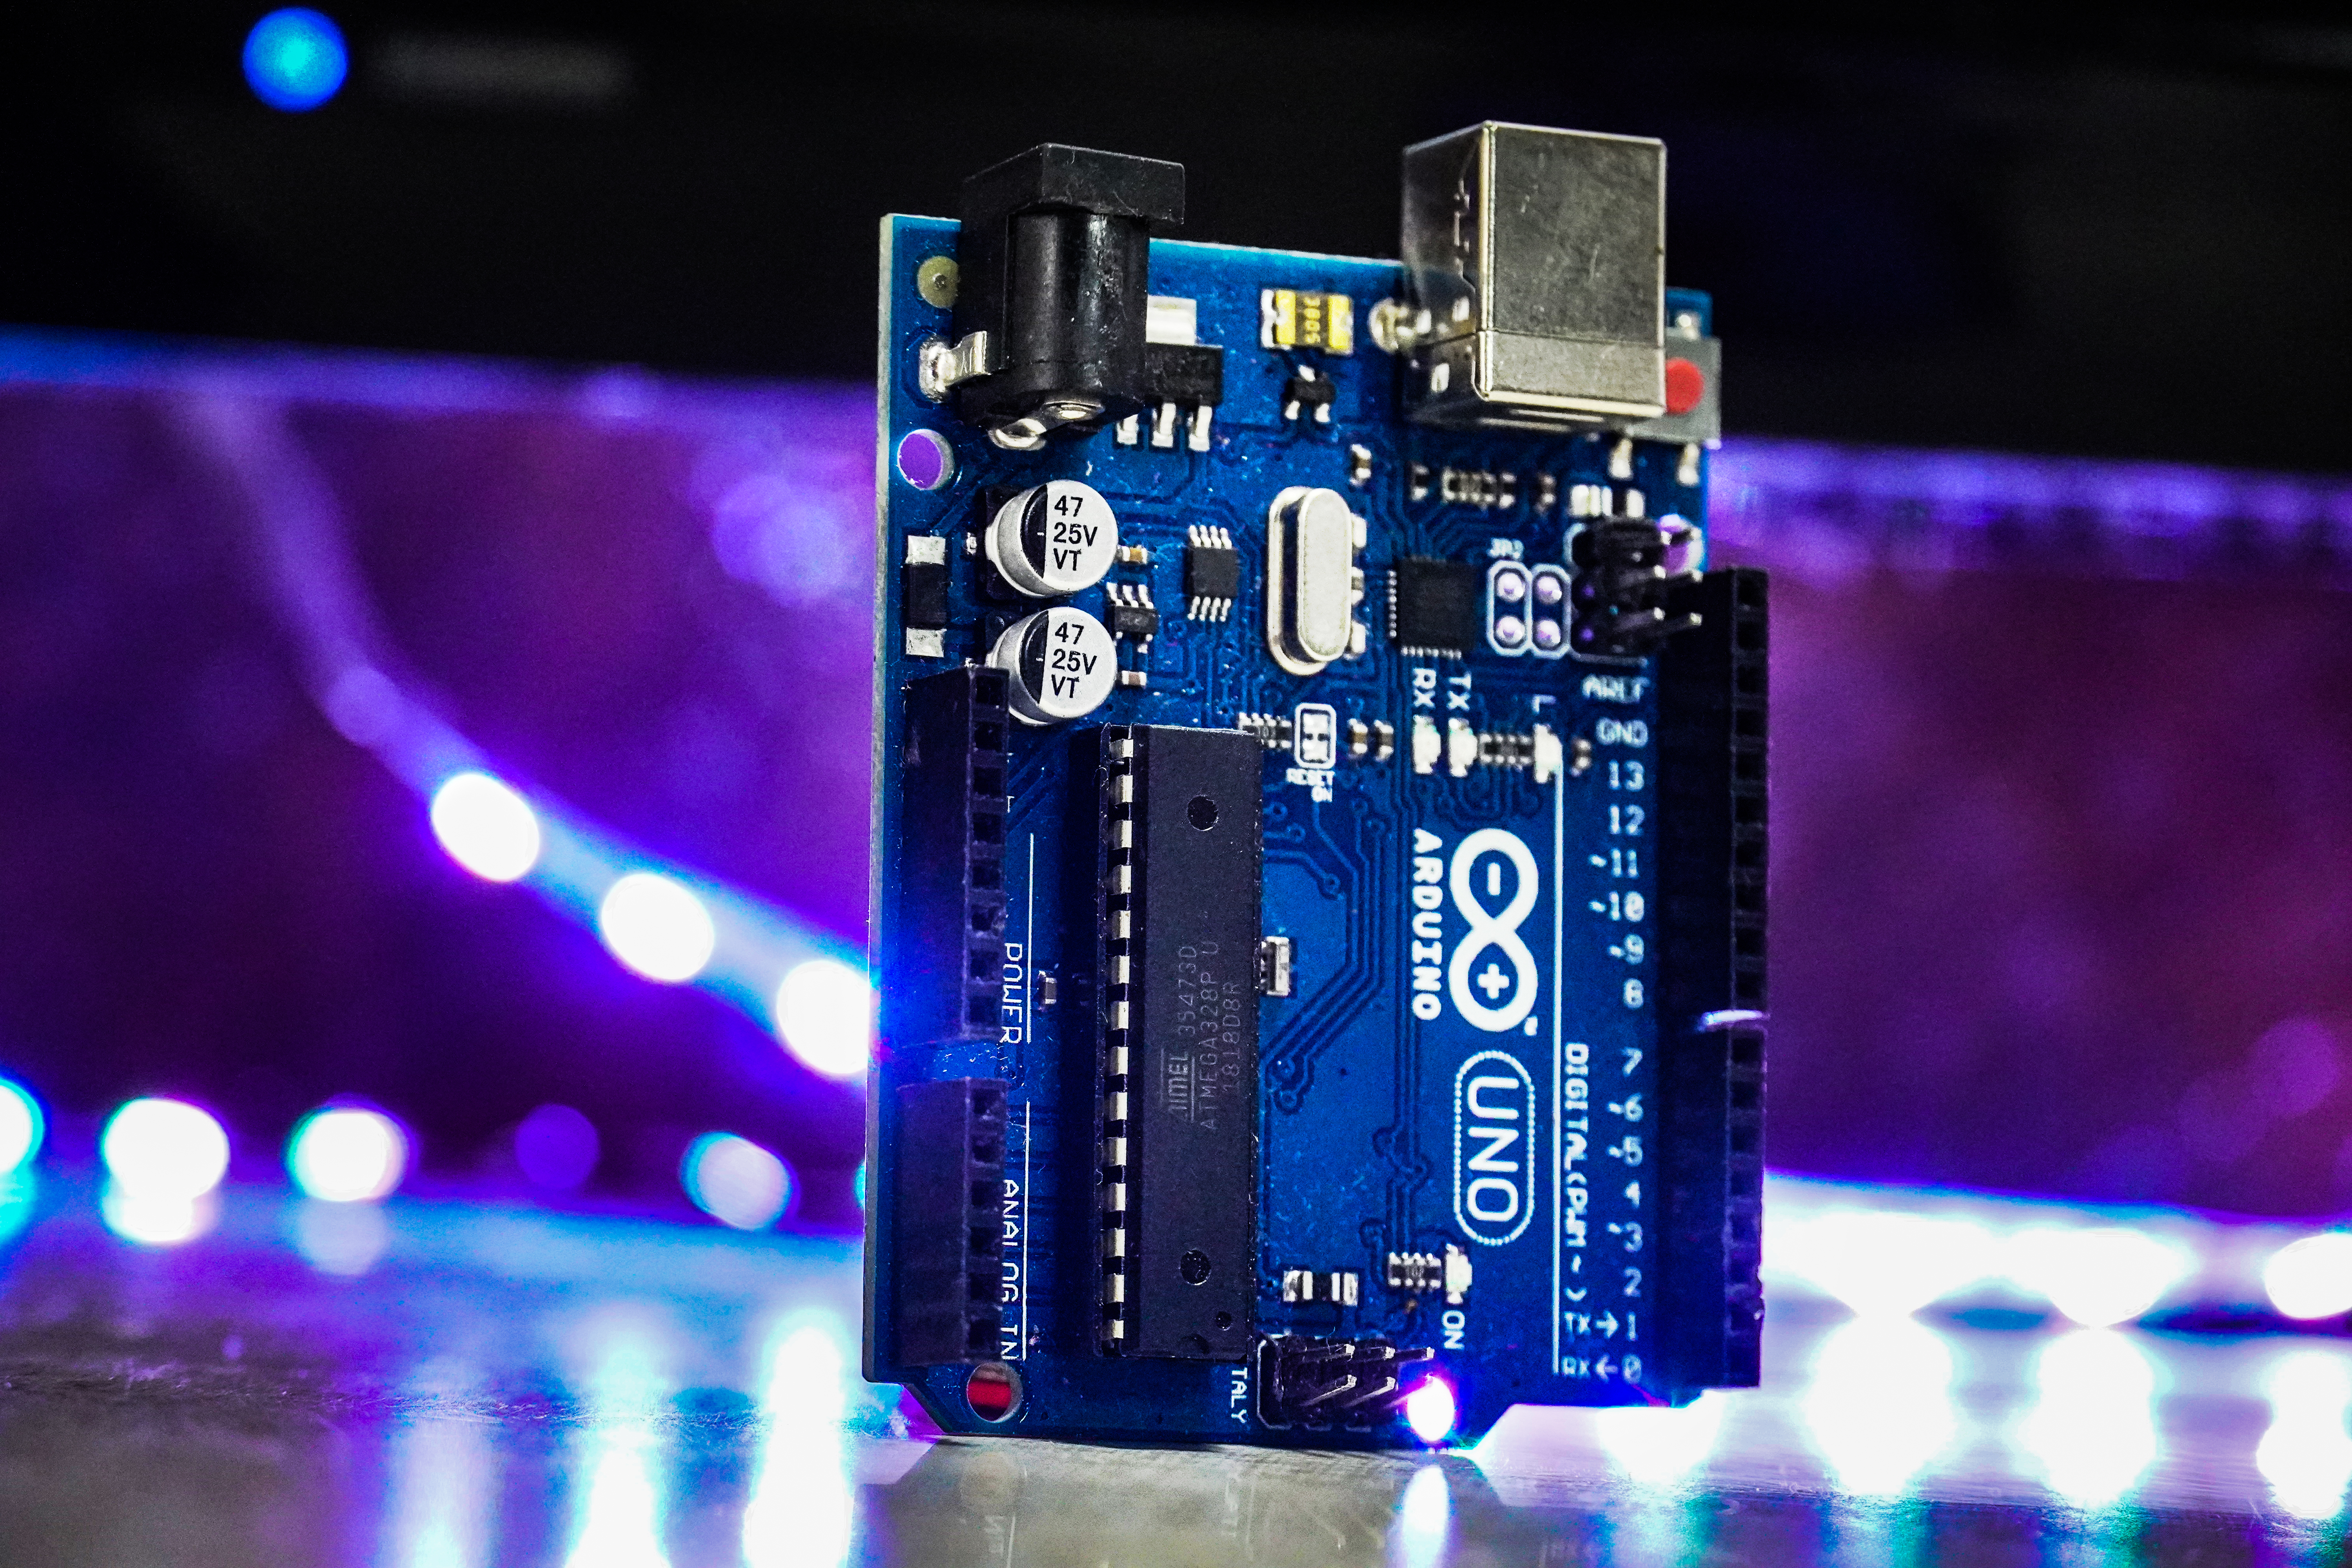
2. Arduino UNO
https://www.gearbest.com/other-accessories/pp_0096...
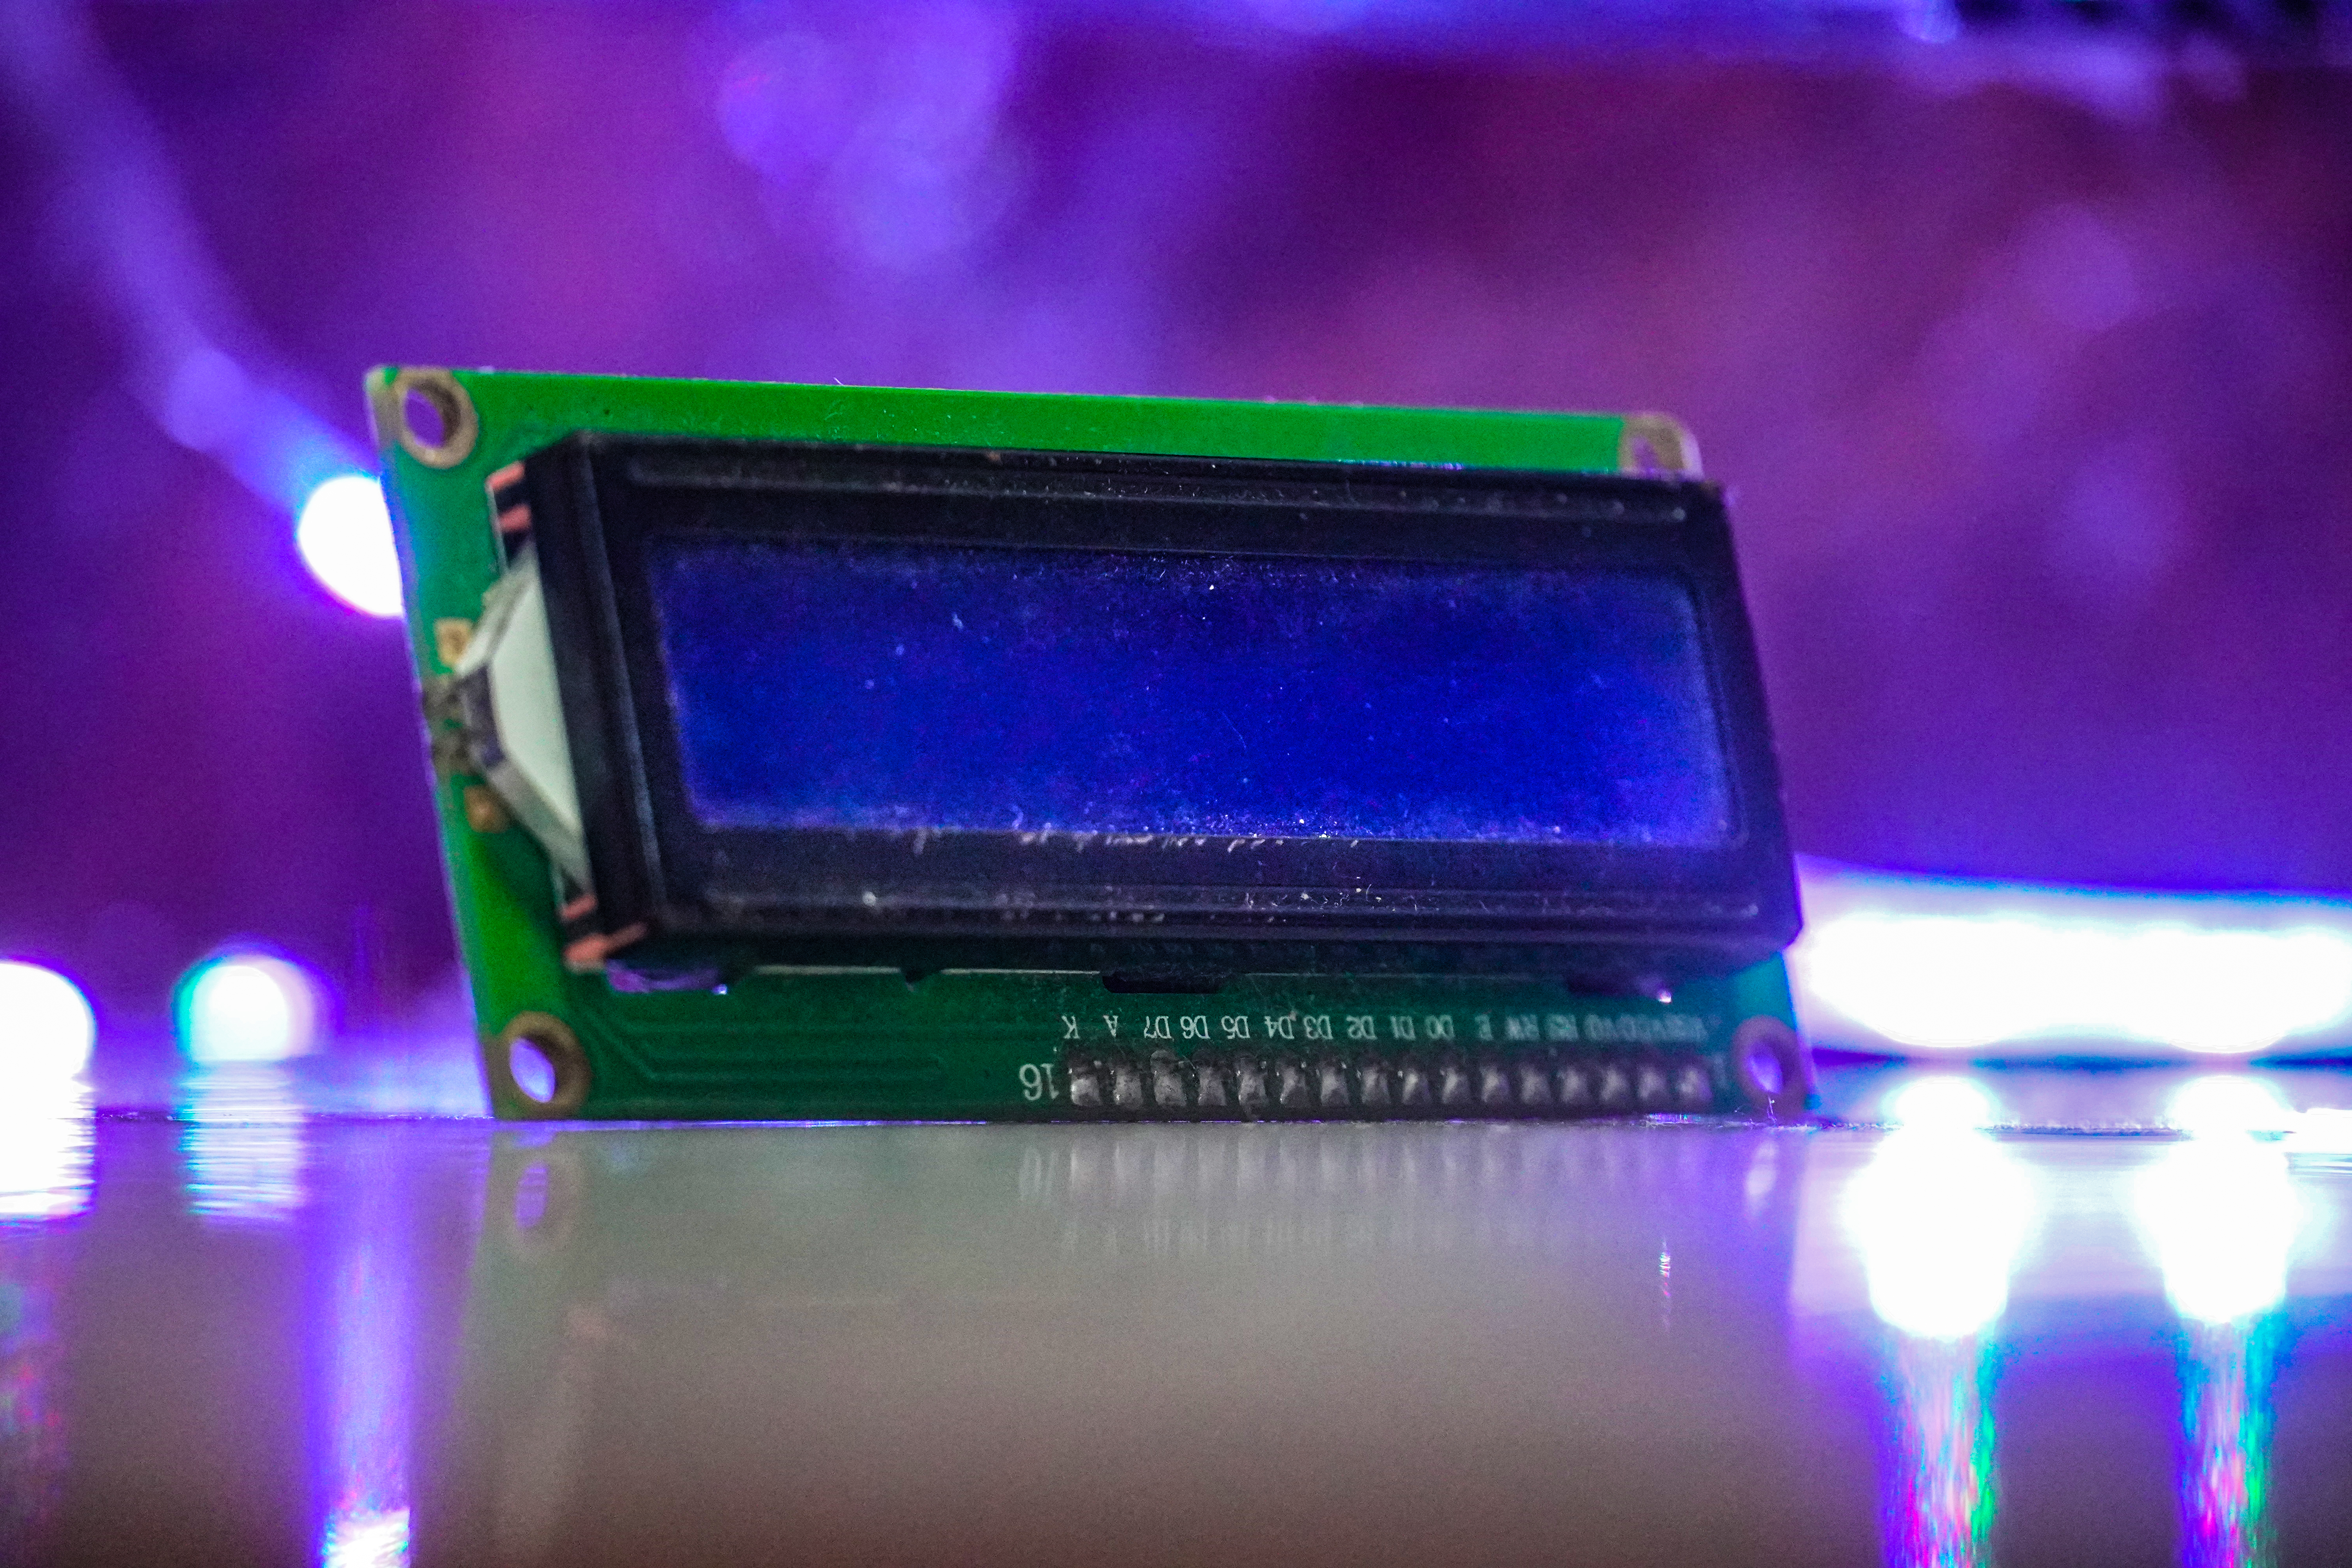
3. I2C LCD display (OPTIONAL)
What Is DHT11 Sesnor?

DHT11 module is a Temperature and humidity sensing module, which uses Digital Signal Acquisition, which converts the Temperature and Humidity to a digital Reading, which can be easily read by a Microcontroller. Operating range of DHT11 is 0 to 50 degree Celsius which is quite sufficient for Home or Hobby purposes. And as we can guess by its cost and nature of use, this sensor module is not exactly accurate, but it works just fine for few simple Arduino projects. it works on Negative Temperature Coefficient, so it will basically change its resistance depending on the temperature.
for more details
Wiring
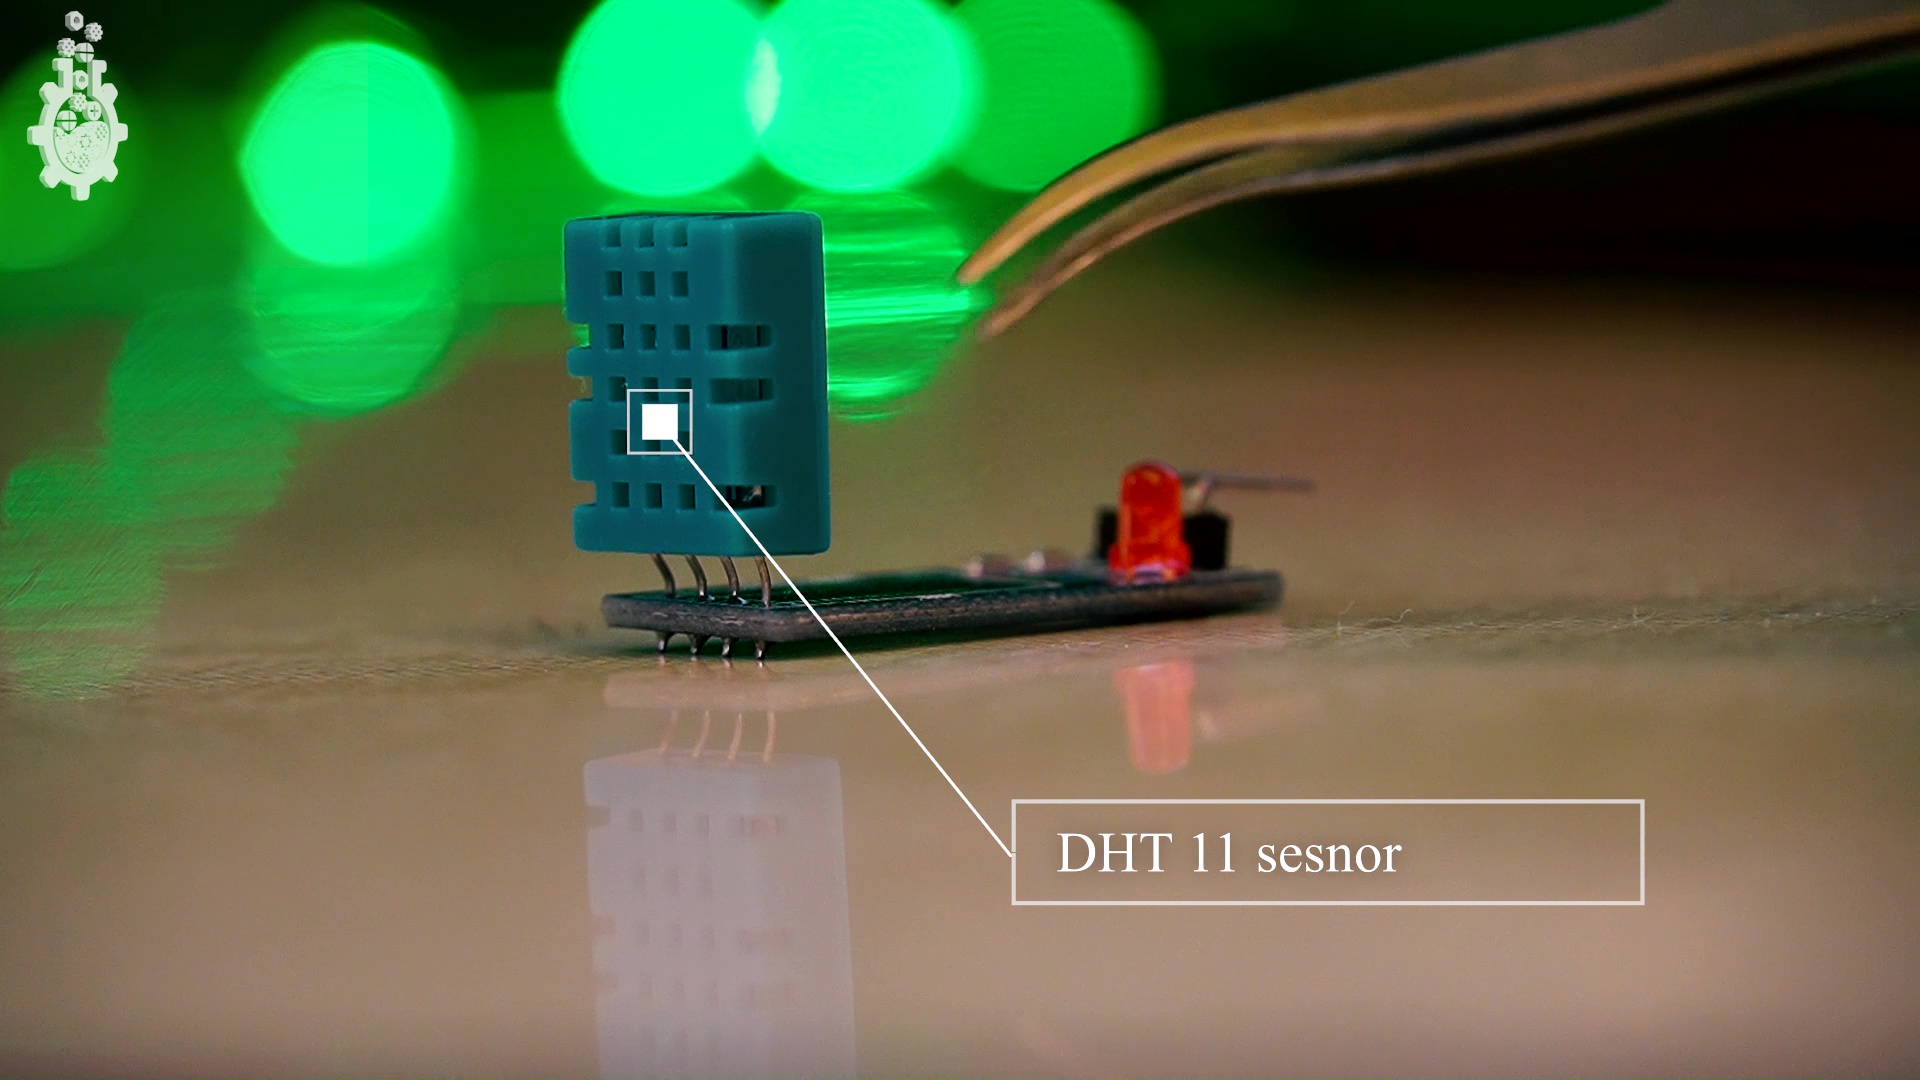
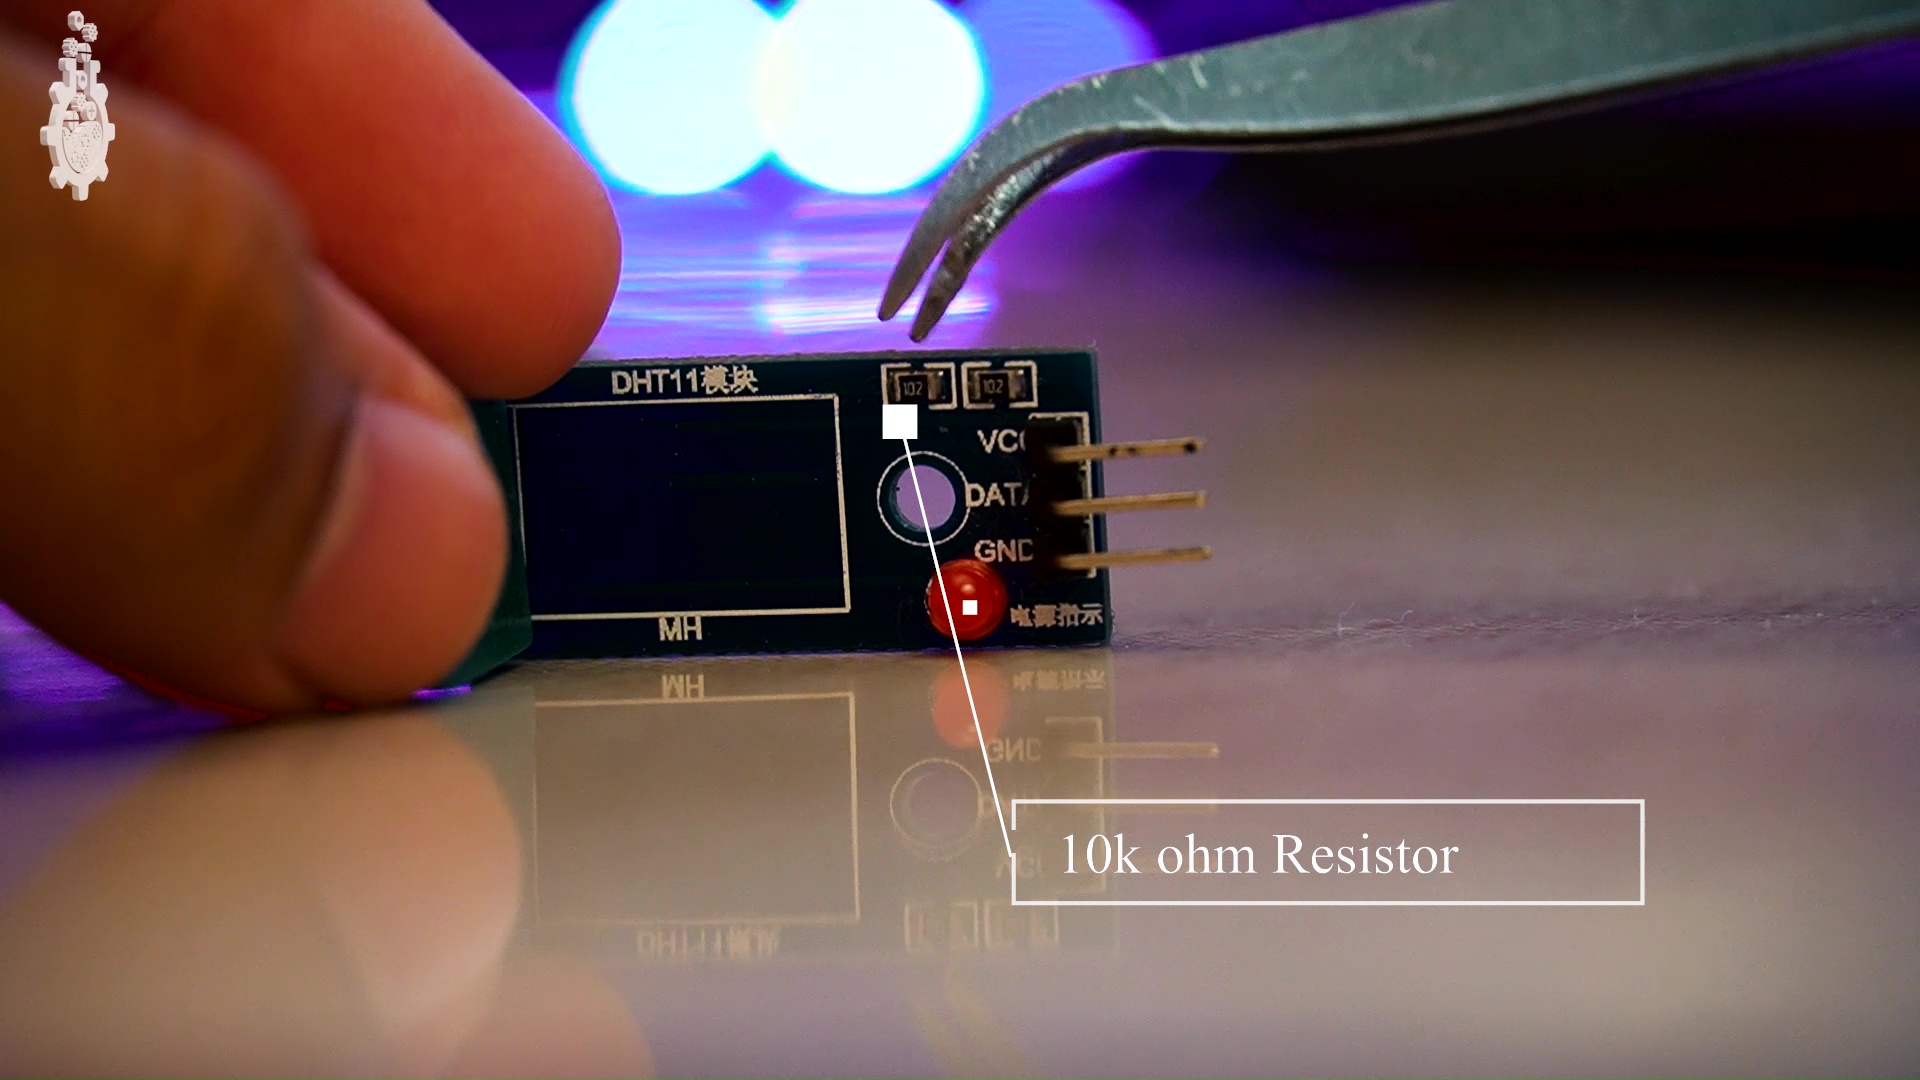
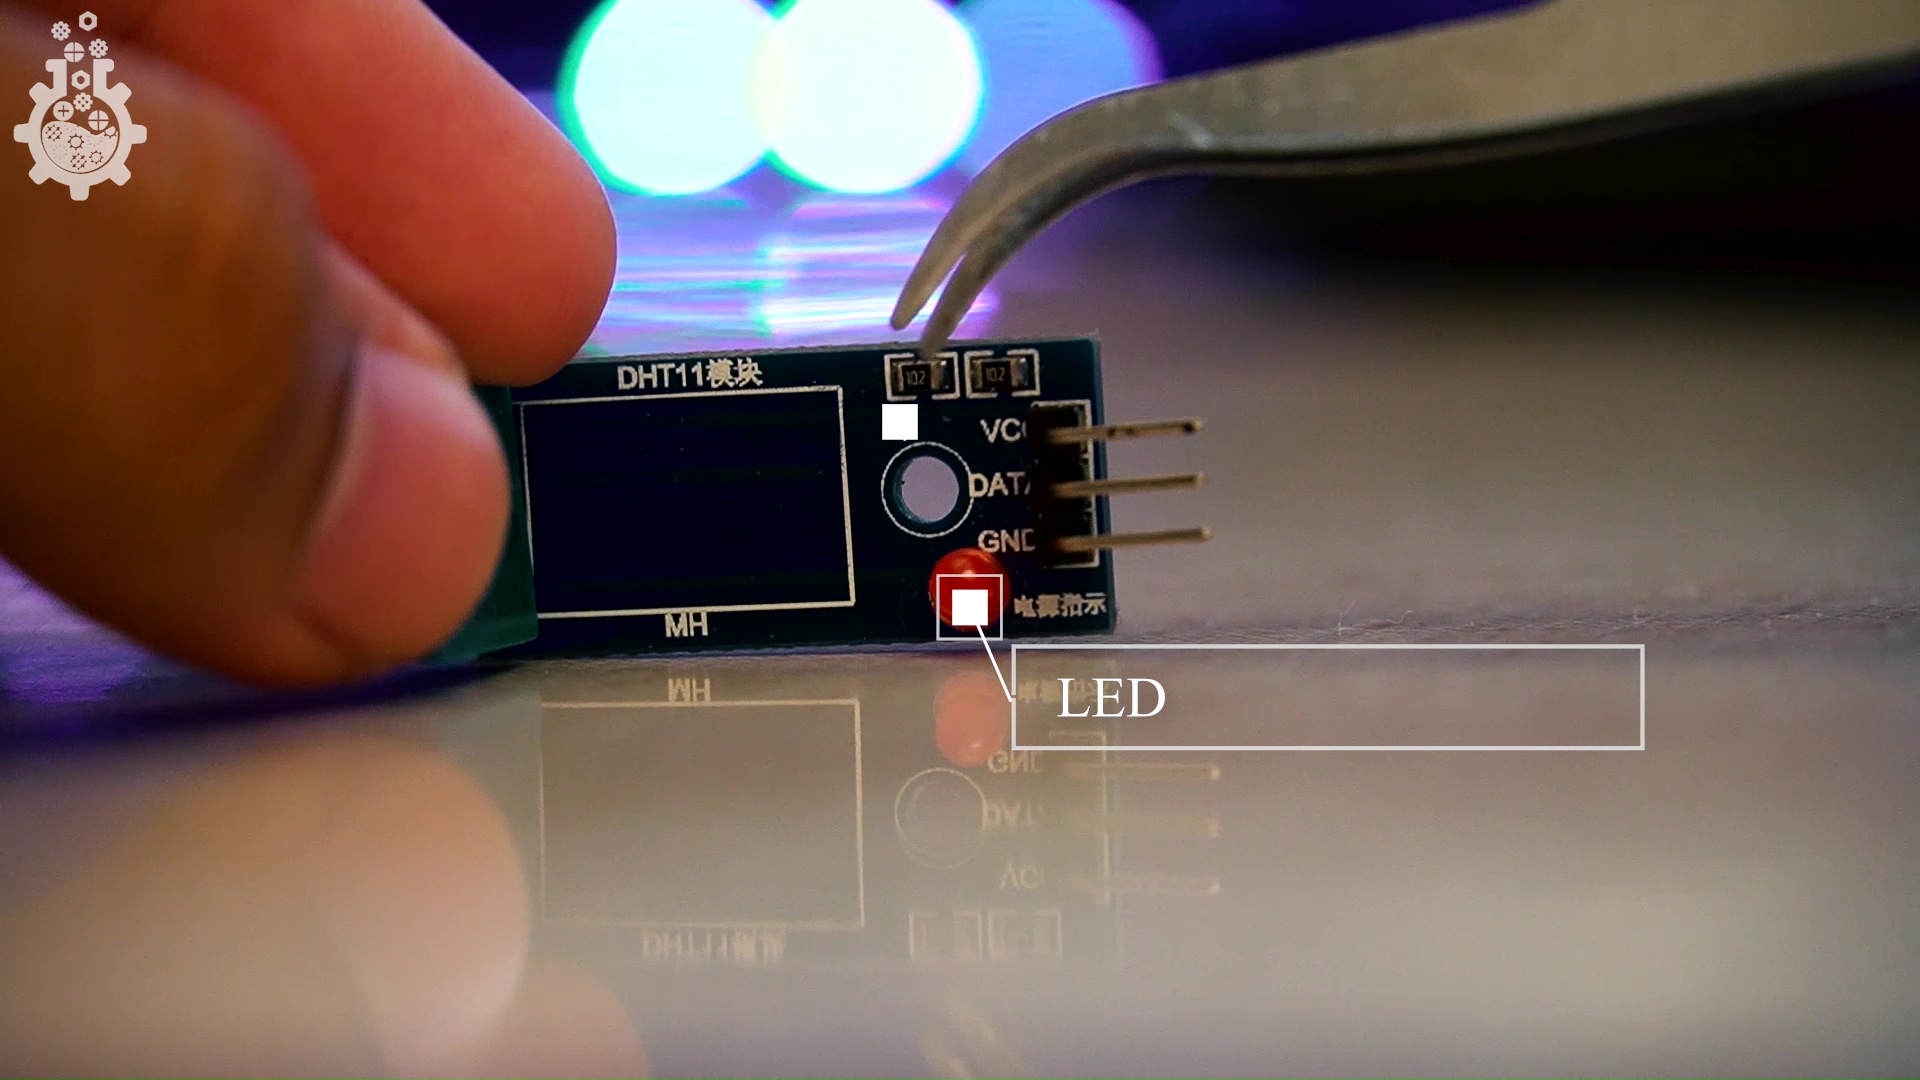
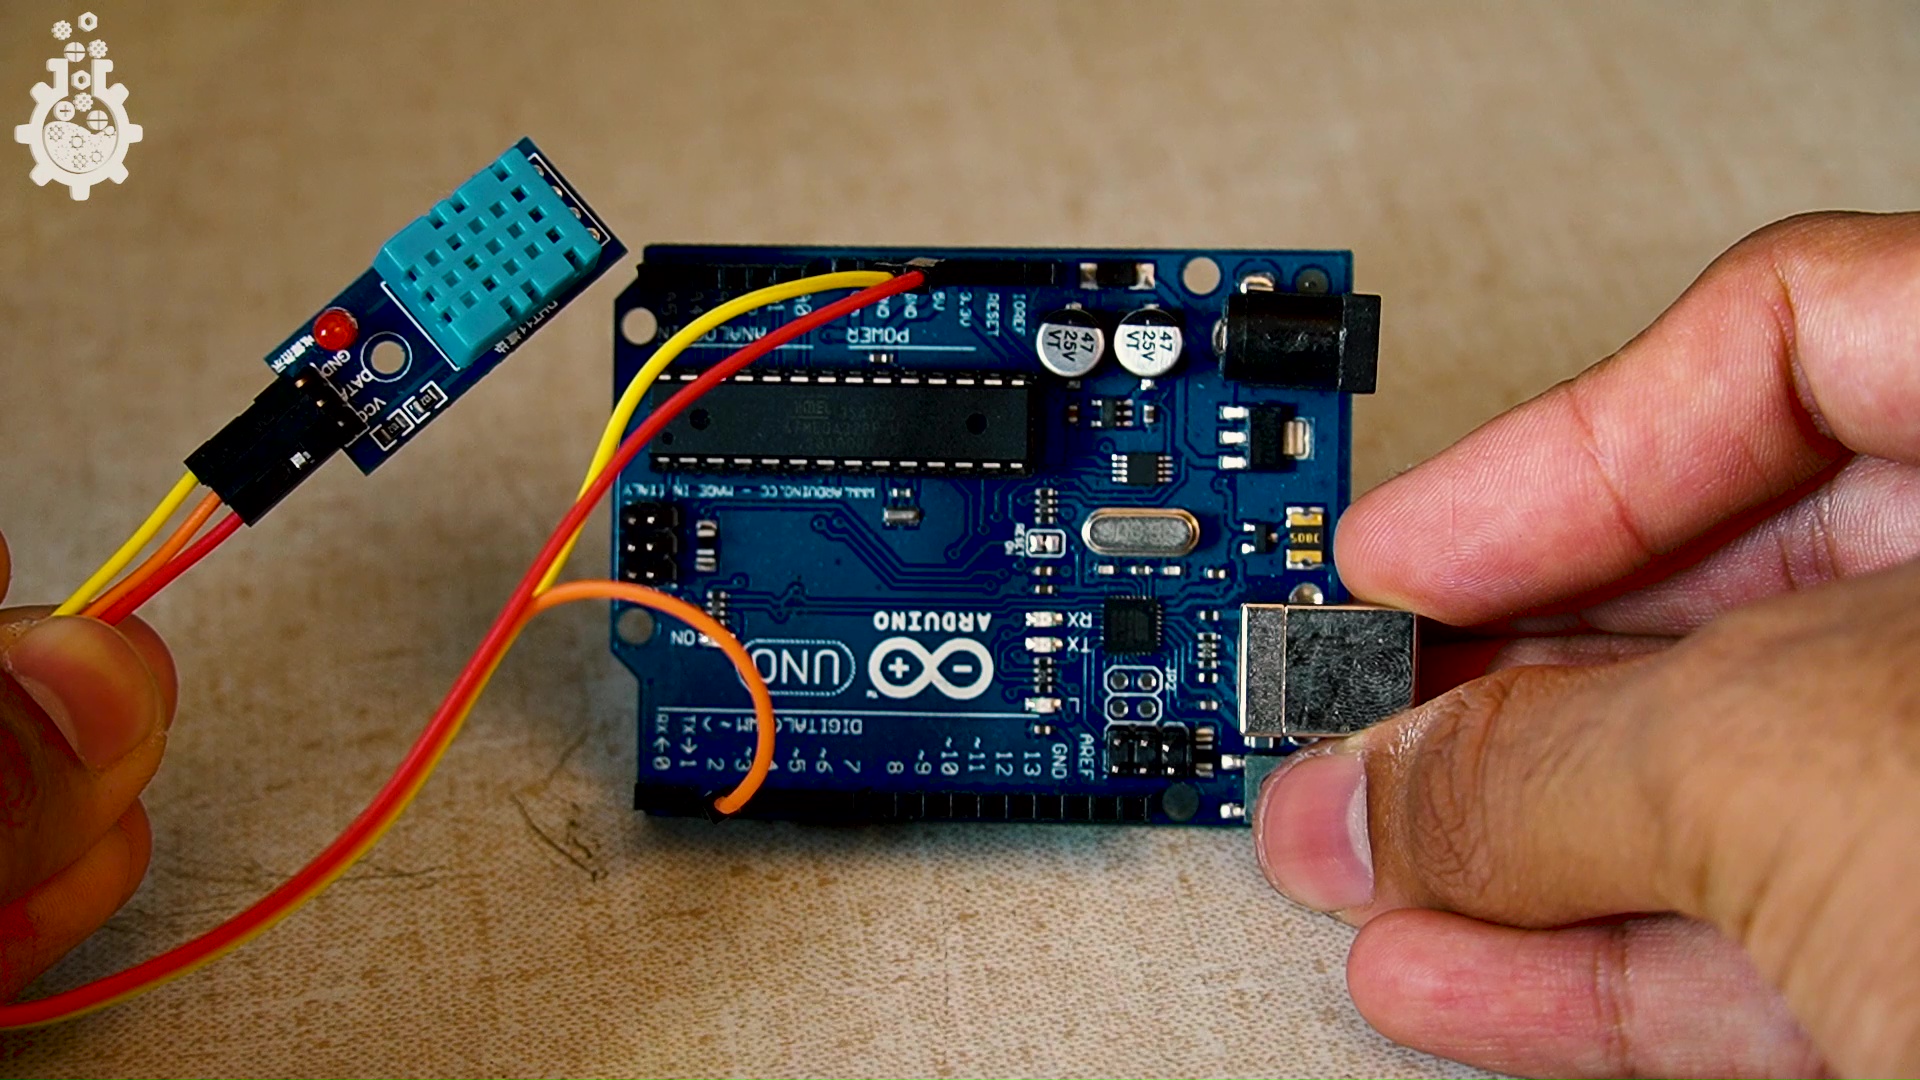
The module that we have here has DHT11sensor, few complimentary 10kohm resistors and an LED light on board, so you use the sensor standalone and also use the exact same module that we are using here in tutorial.
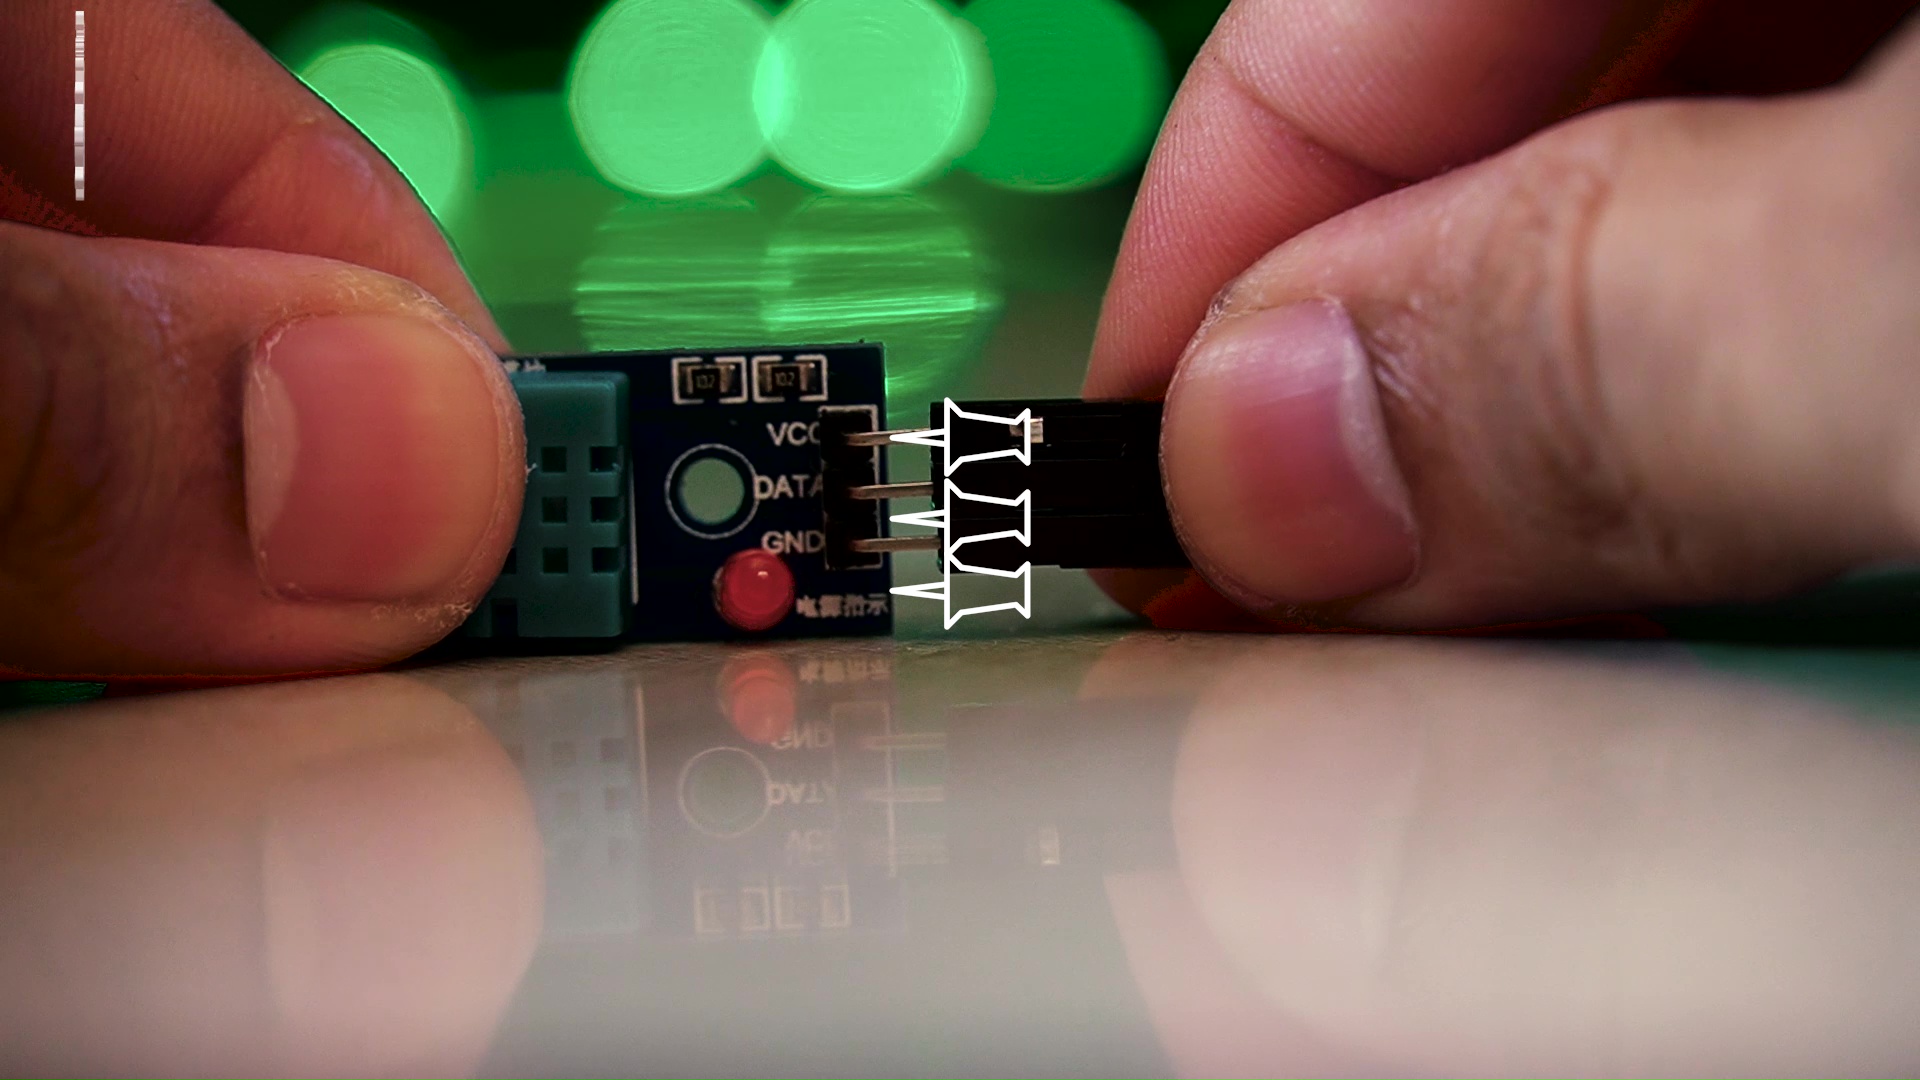
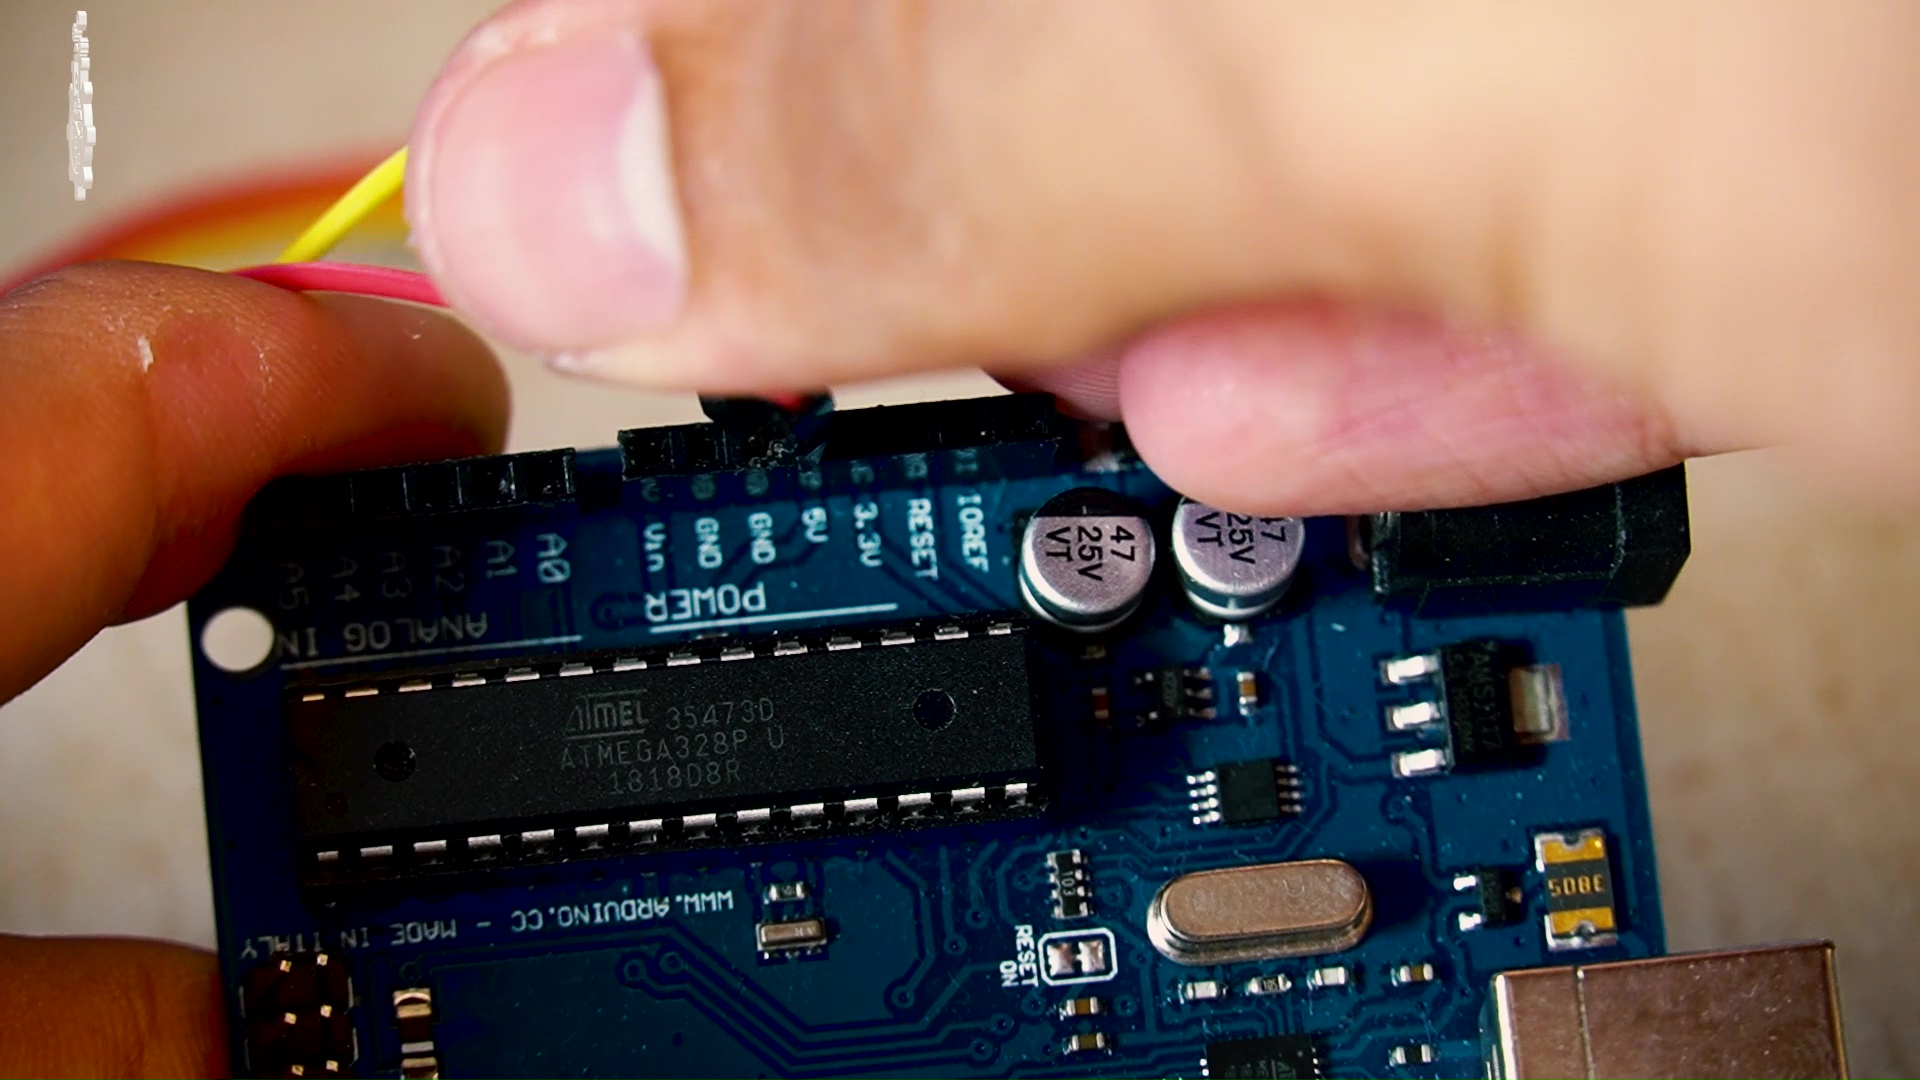
This module has 3 pins that are Vcc, Data and Ground pins, which are straight forward connections for Arduino.
Connections:
Vcc - 5V
Ground - GND
Data - D2
Coding
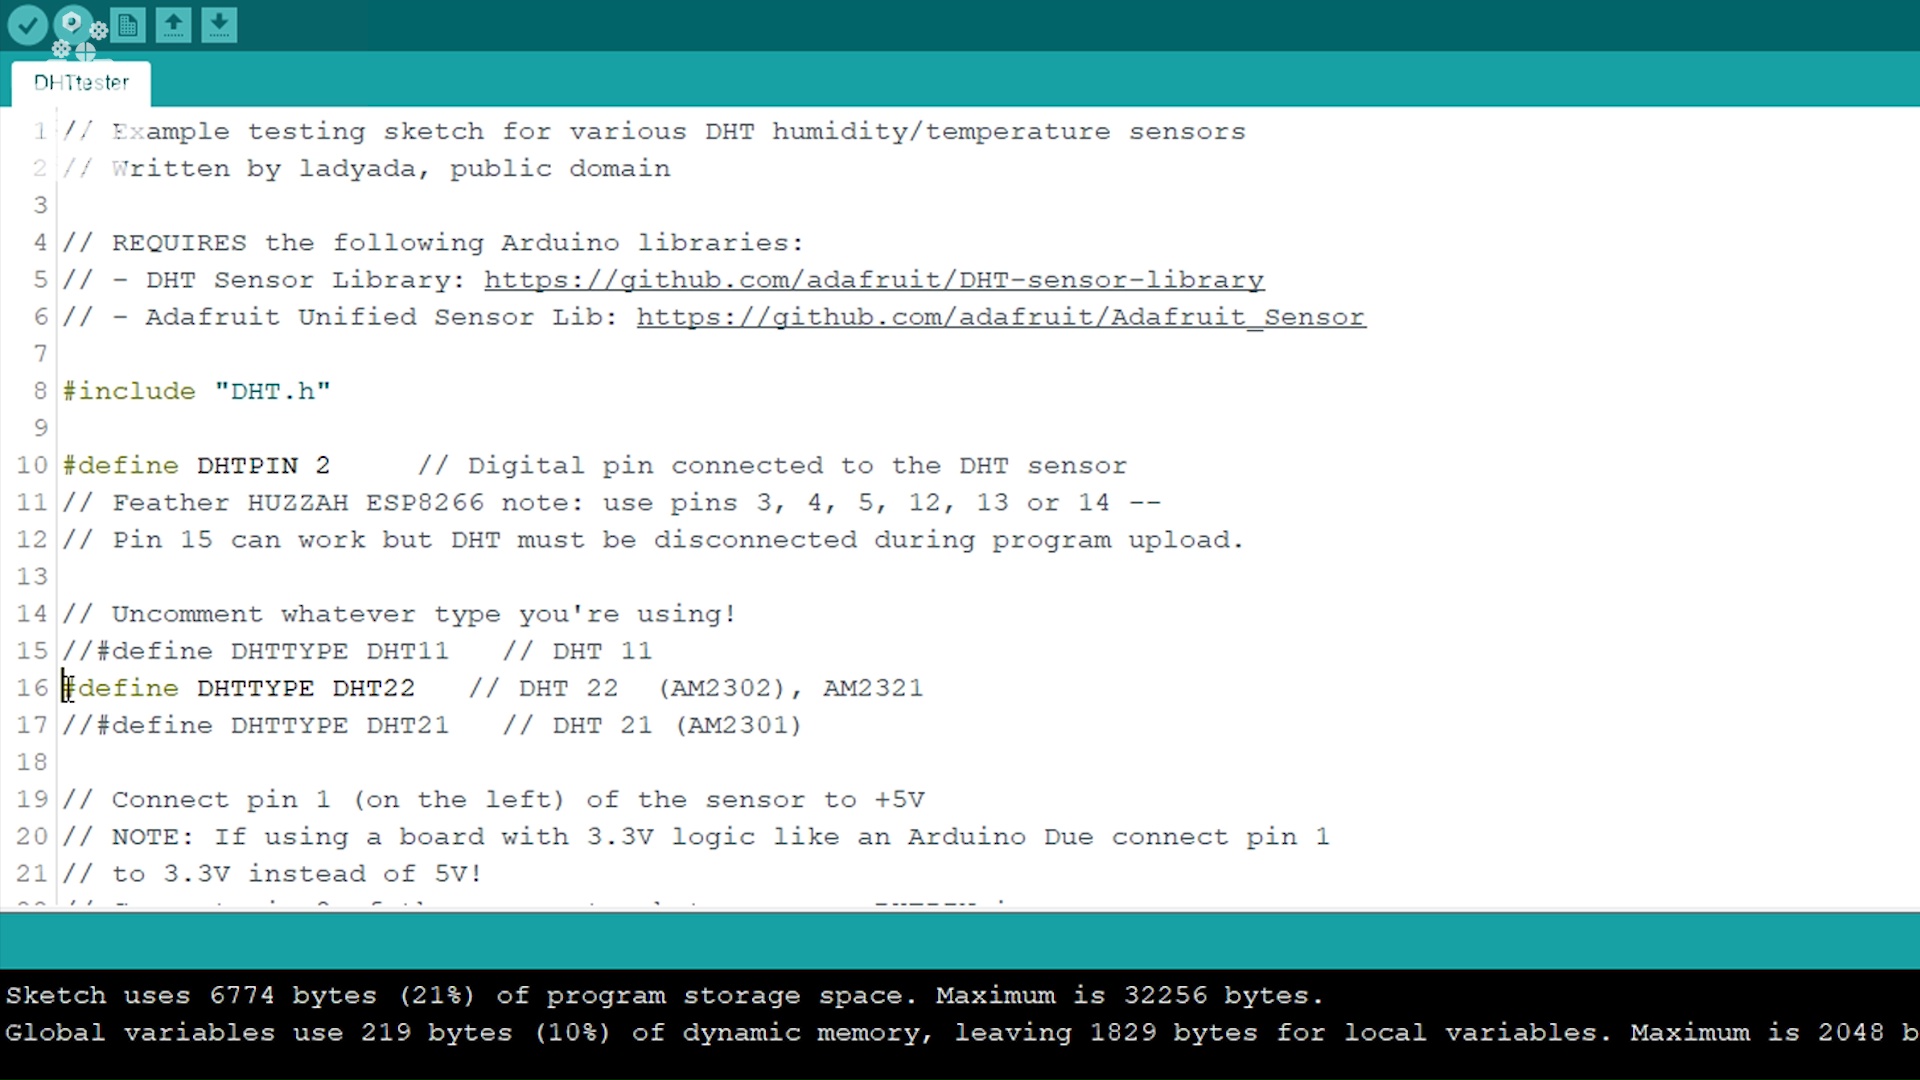
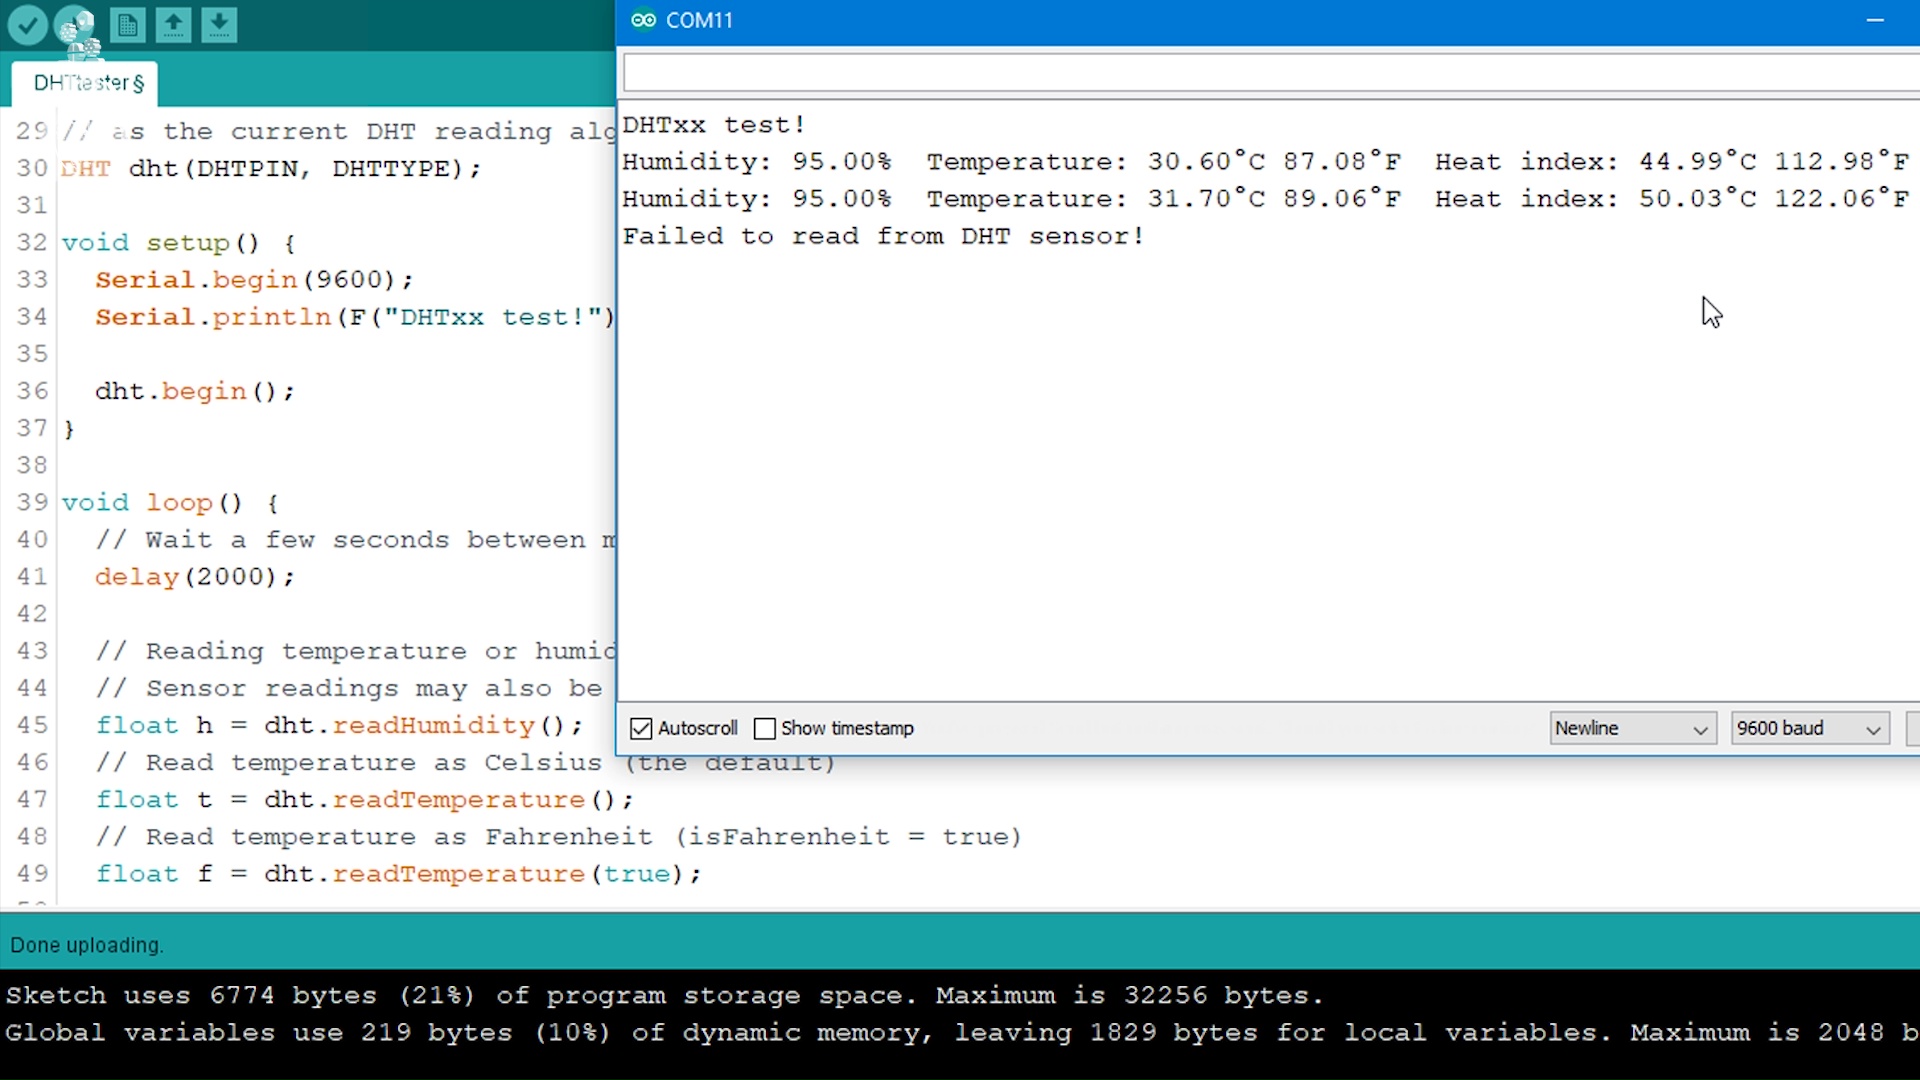
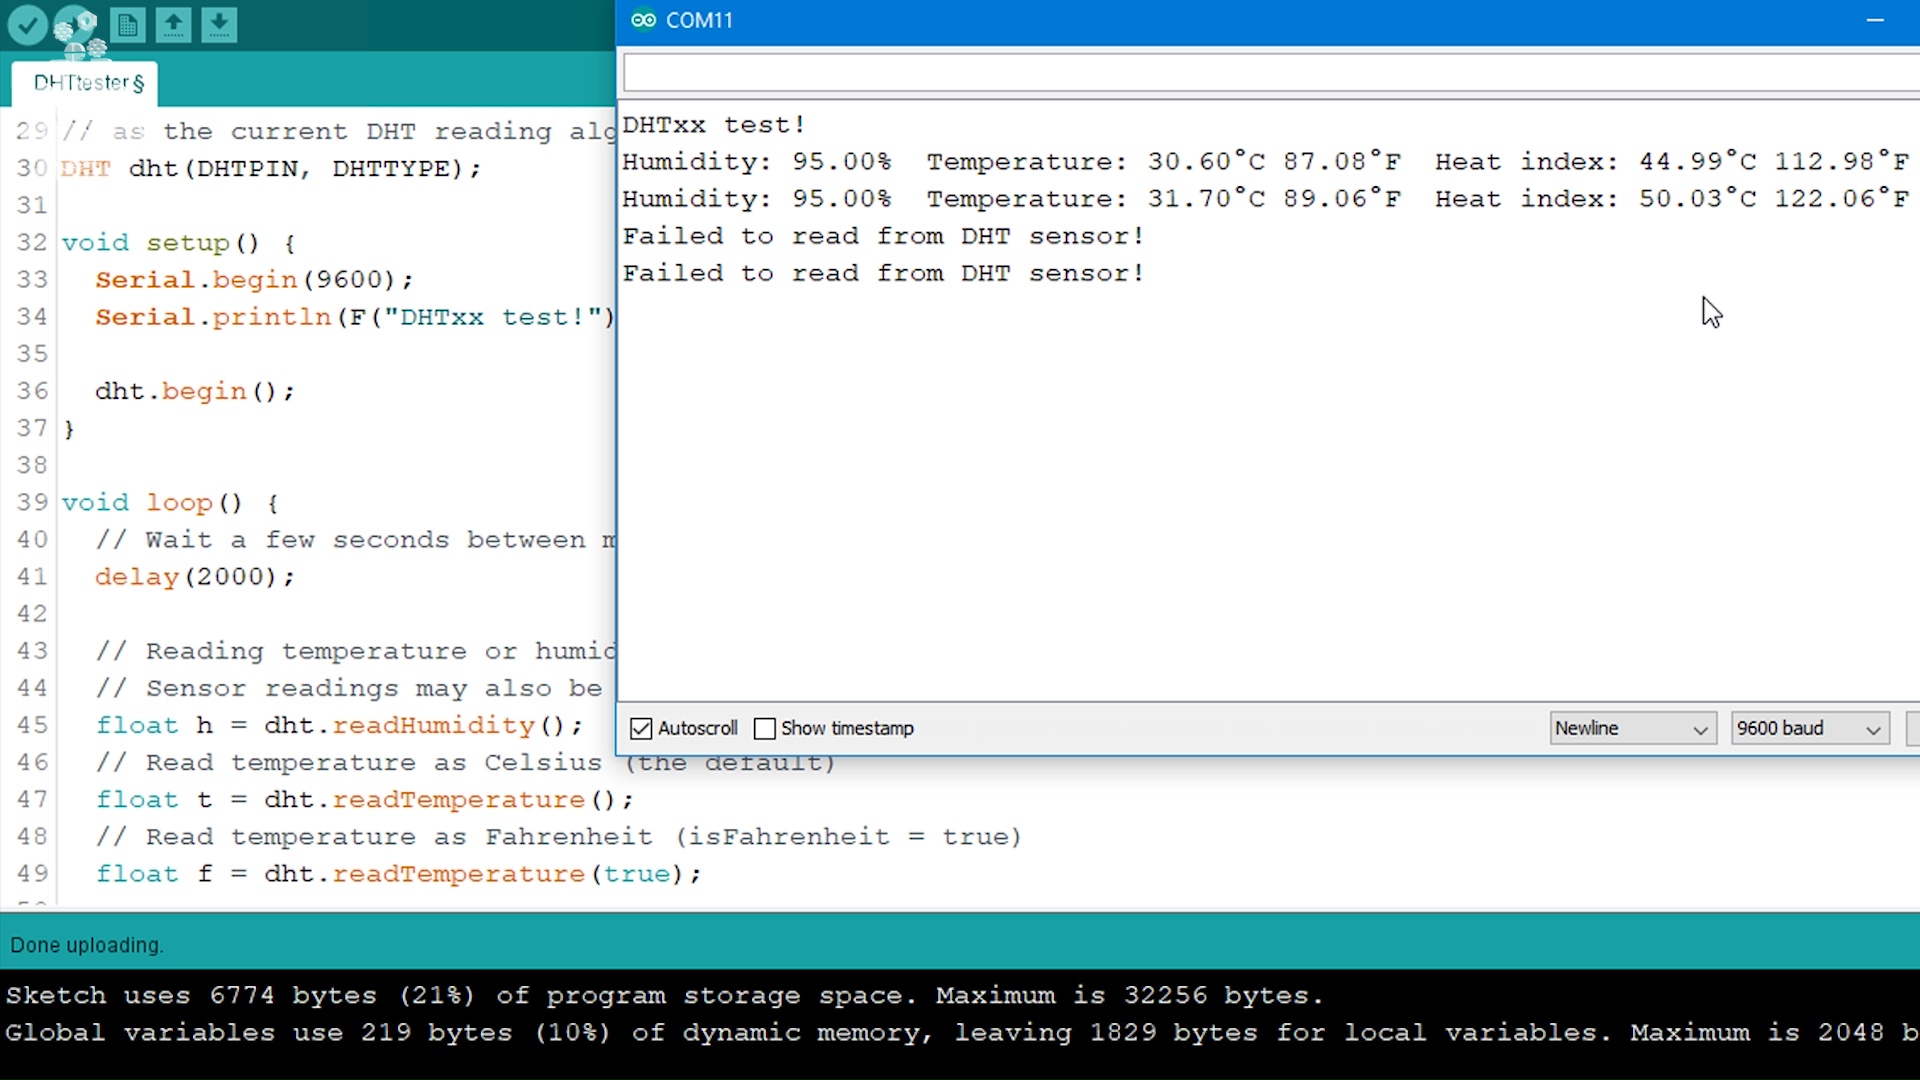
For code, we will use the DHT library
steps:
- Download the DHT sensor library.
- Install the DHT Library.
- open Examples or download the .ino file attcahed in this step.
- comment the Line which says #define DHTTYPE DHT22.
- uncomment the Line which says #define DHTTYPE DHT11.
- upload the code
- open your Serial Monitor.
Optional Steps (if you get an Message like “failed to read sensor data”)
- check wiring connections,
- check selected DHT sensor type.
(optional) LCD Example
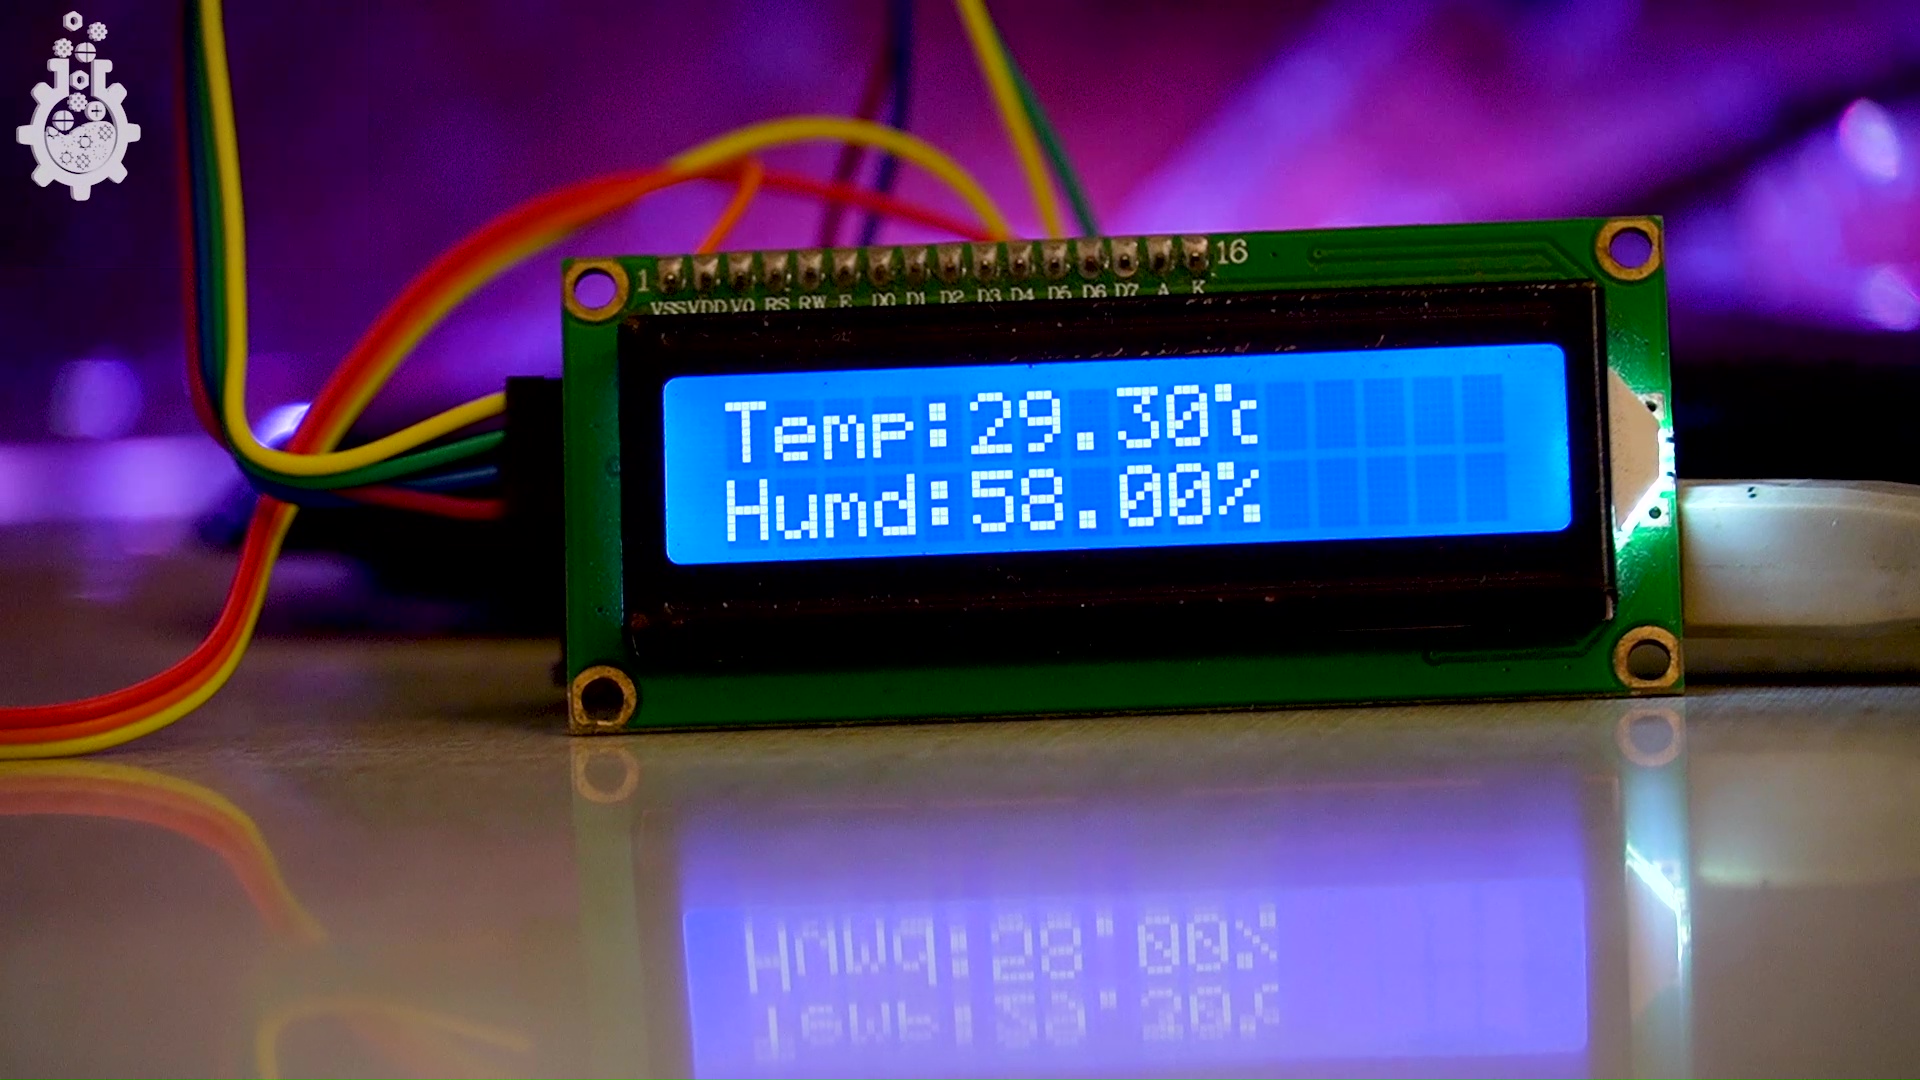
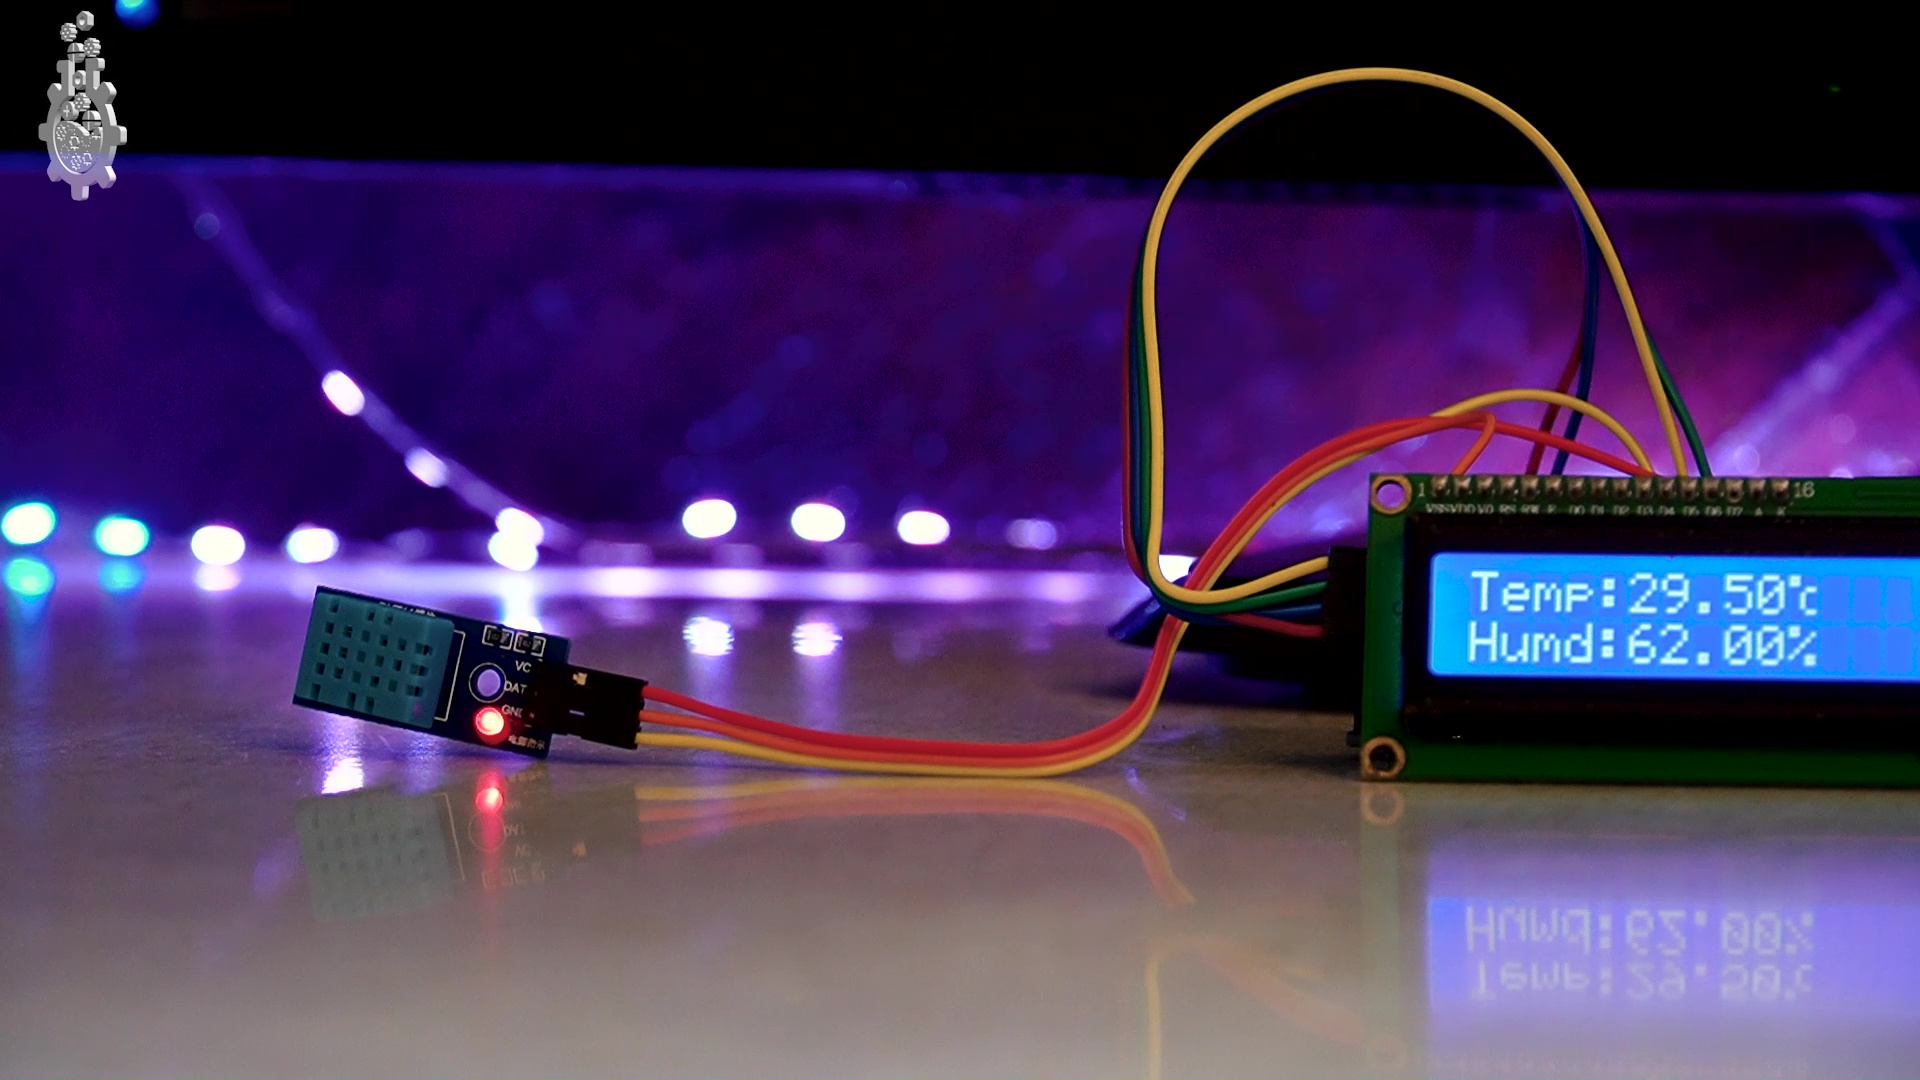
let’s try to get the temperature and humidity readings on the LCD screen, if you don’t know how to use LCD with Arduino, make sure you check out my Previous video on How to interface LCD with Arduino and How to create a custom Character.
Starting the code by adding the libraries, defining the DHT data pin, DHT module type, lcd setup, and then we will define a custom character for Degree Celsius symbol, next in void setup, we will do the basic LCD configurations and in the Main loop, we will define two variables for temperature and Humidity which will store the value from dht sensor, the Syntax here is dht.readHumidity and dht.readTemperature where dht is the name that we assigned to this sensor in initialization steps. And next we simply print those values on LCD.
Follow Mission Critifcal on Social Media!

-connect with Mission Critical
Twitter - https://twitter.com/AkshayMomaya1
Instagram - https://www.instagram.com/officialmissioncritical/
Facebook - https://www.facebook.com/officialmissioncritical/