How to Install and Activate Plug-in for Adobe Audition
by Adesolasamuel in Living > Music
2600 Views, 1 Favorites, 0 Comments
How to Install and Activate Plug-in for Adobe Audition
.png)
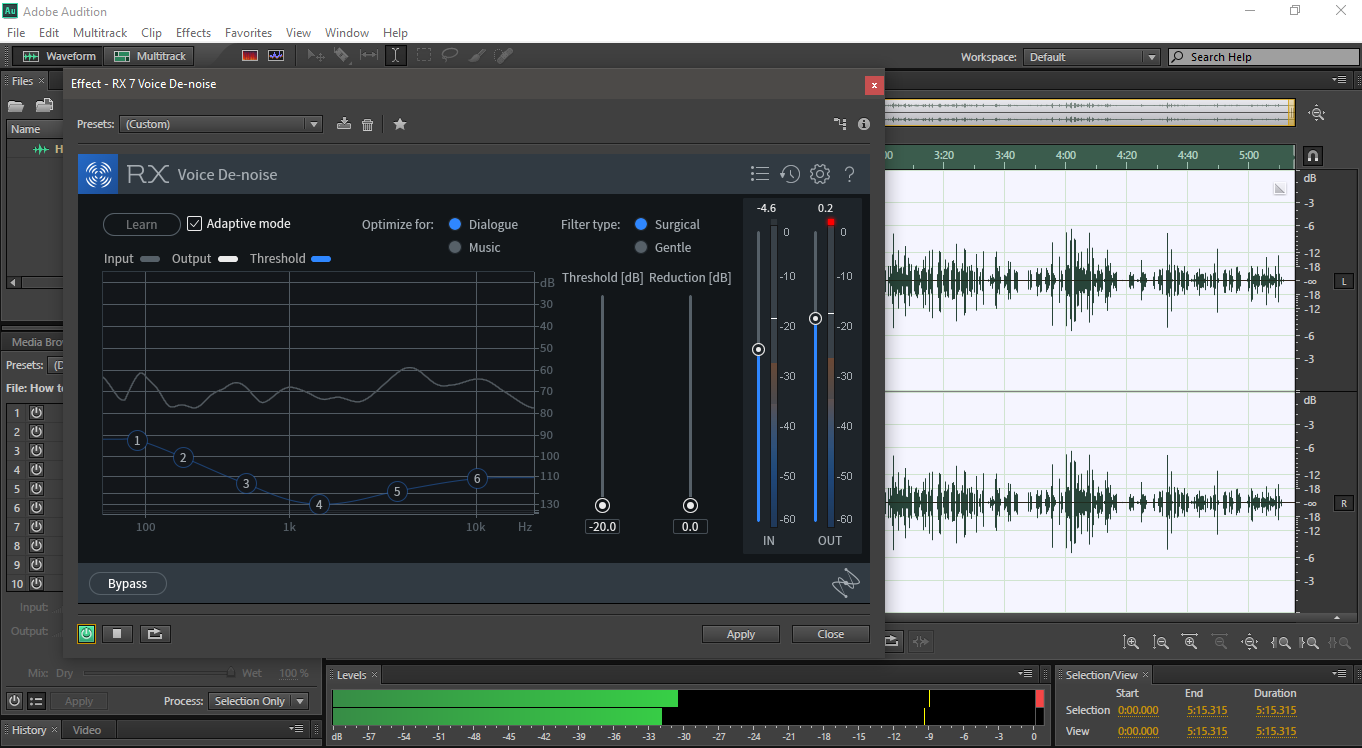
Adobe Audition is a software from Adobe for editing and working with audio. Adobe Audition come with some preinstalled plug-ins for making our audio sound good but it’s sometimes necessary to install some third party plug-in to help our audio sounds better. This Tutorial shows how to install these plug-ins without any error. You can check up the Video for demonstrations and full understanding.
Step 1
Download any Plug-in you want to use on your Adobe Audition. You should note that there are free and paid plug-ins. This tutorial use Adobe Audition CS 6. You should also make sure that you are installing 32 bits because there is only one version of Adobe Audition CS 6 and that is 32 bits.
Step 2

When Installing the file on your system, you should choose VST, VST 2 or VST 3. You should reference the picture below.
Step 3
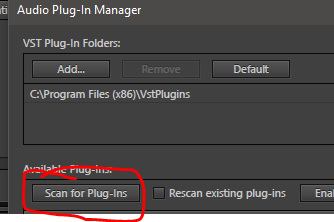

After installing, go to your Adobe Audition software and navigate to effects then plug-in manager and click scan for plug-ins and your installed plug in will be display under the plug-in manager. Sometimes you might need to choose the path your plug-in saves to but this is not always necessary as most of your plug-ins will save in the save path after installing them.
I made the Video for the whole step in a simplified way. You can check it out and don’t forget to subscribe to get update when I upload new tutorials.
Thank You.