How to Install a RING Doorbell
by devincmc1 in Circuits > Gadgets
1583 Views, 2 Favorites, 0 Comments
How to Install a RING Doorbell
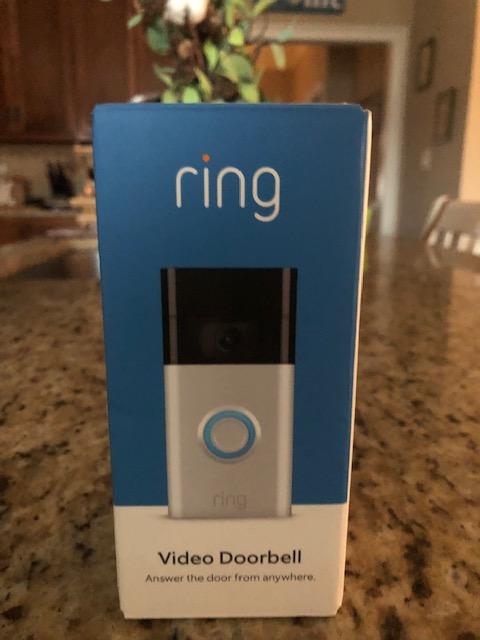
INTRO: Have you ever wanted to convert your house to a SMART house? Well now you can be one step closer towards achieving this by installing a RING doorbell/camera. Follow these simple instructions to convert your SMART house and always know who is at your door even when you are not home.
Materials:
- Electric Drill Drill bit
-¼ inch size drill bit
-Black Marker
-Hardware included in box
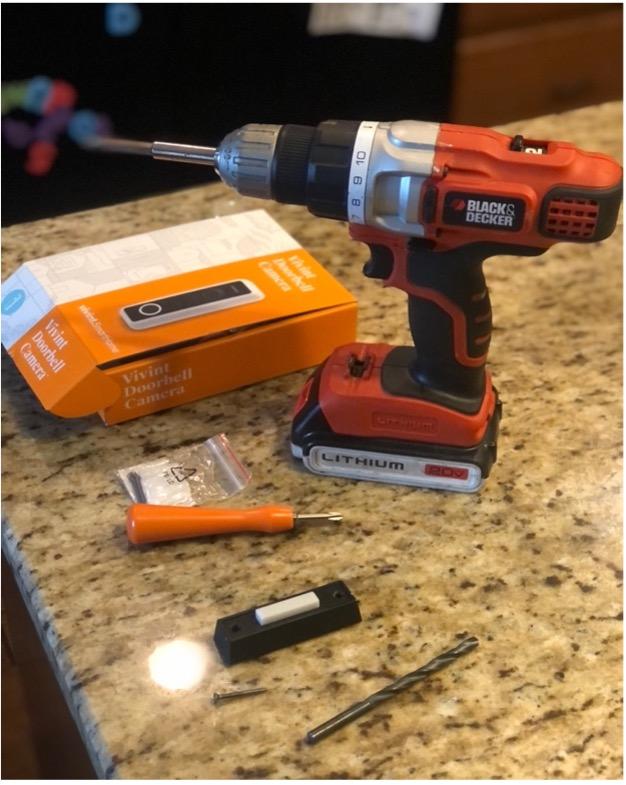
After purchasing RING doorbell open box. Set all materials on a flat surface in front of you.
Note: If you don’t have a power supply you are using you will have to charge your RING doorbell. The usb charger should be in the box. Charge it till it is lit completely blue. If this is the case skip Steps 2 and 4.
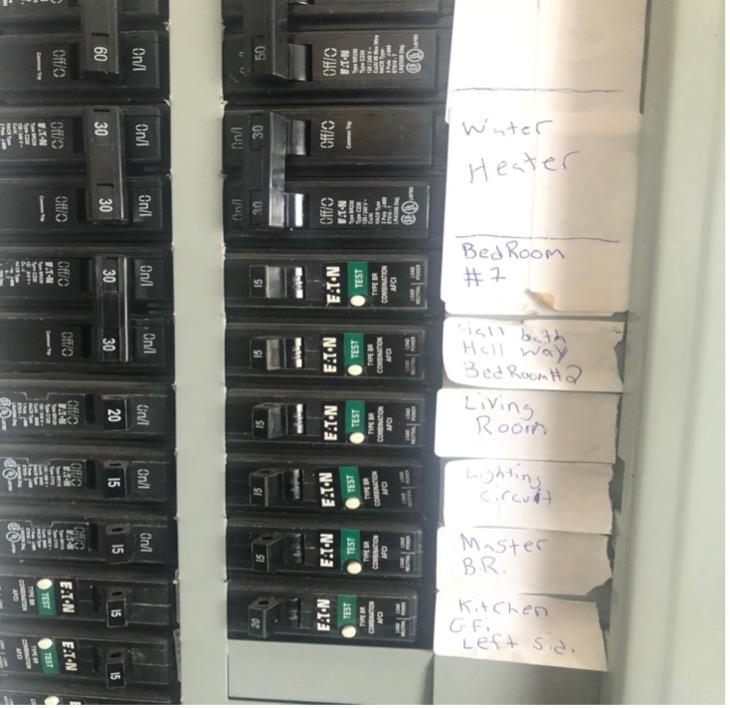
Warning: Shock Hazard Turn off circuit breaker that connects doorbell.
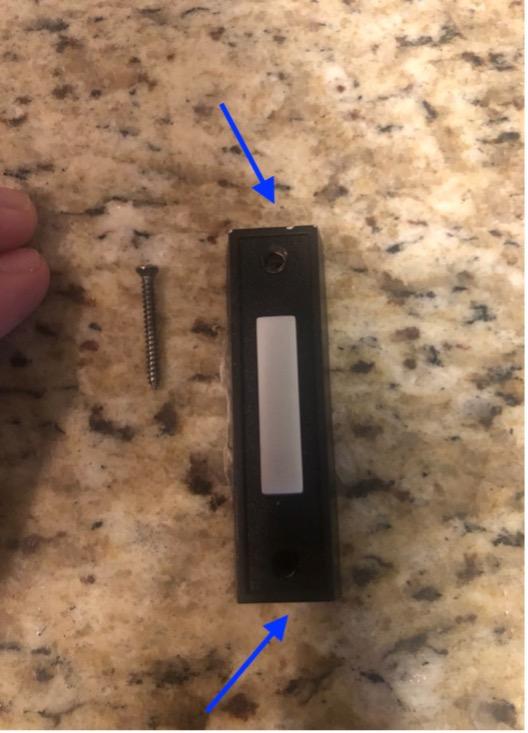
Using electric drill remove two screws that hold current doorbell attached to house.
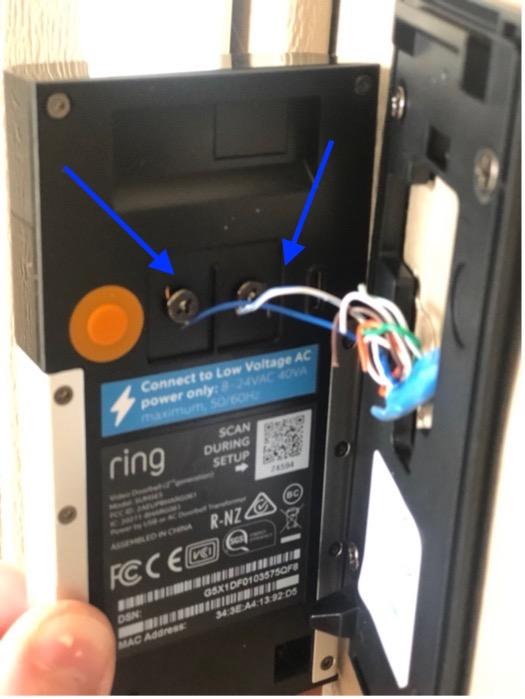
Disconnect hard wires that power the doorbell. There should be two wires, white and blue.
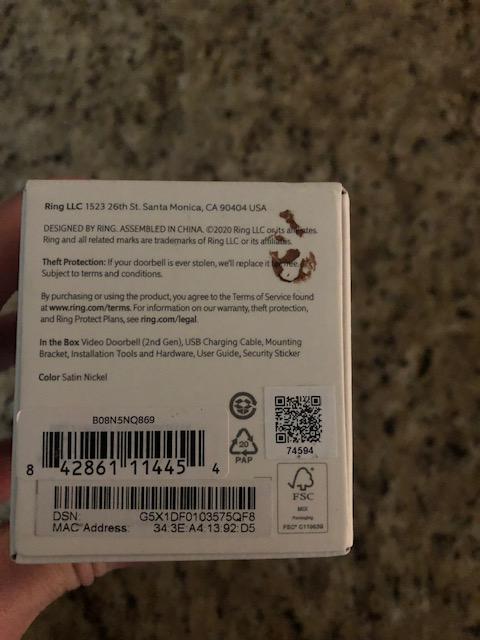
Download the free RING application using the QR code on the box. Use the camera on your smart phone to snap a photo of the QR code. After downloading the application, create an account on the RING app.
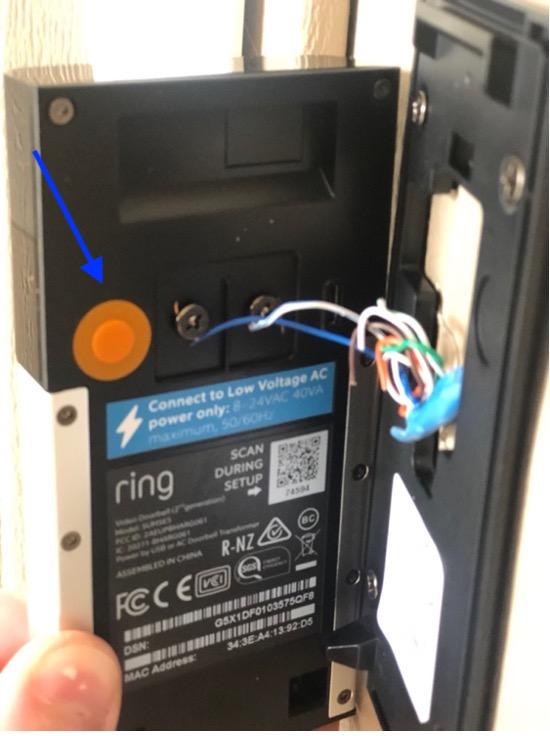
After this process there is an orange button that you need to press on the back of the RING doorbell. This will ensure your device is found through your smart device. You only need to press it one time. The device will also make sure you have the most up to date software. Keep your smart device near the RING device. This process will take about 15 minutes. When the update is complete it will say updates are current.
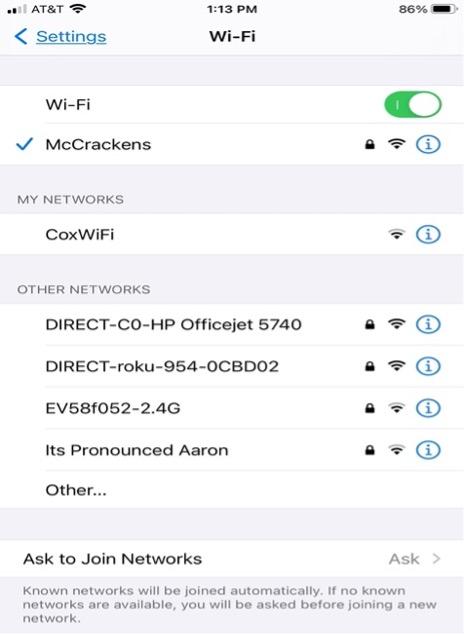
Connect to WIFI and insert password. When it shows it is connected you are set and ready to install your RING smart device.
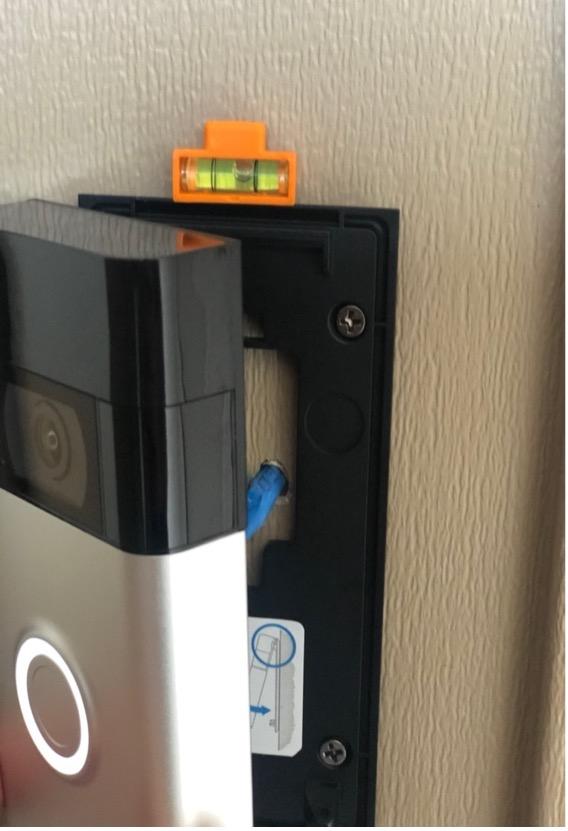
You are now ready to begin installation of your RING doorbell. Grab the face plate and the little orange level. The orange level will help ensure it is centered. Find where you would like your faceplate, once it is level and centered, mark your holes with the black marker.
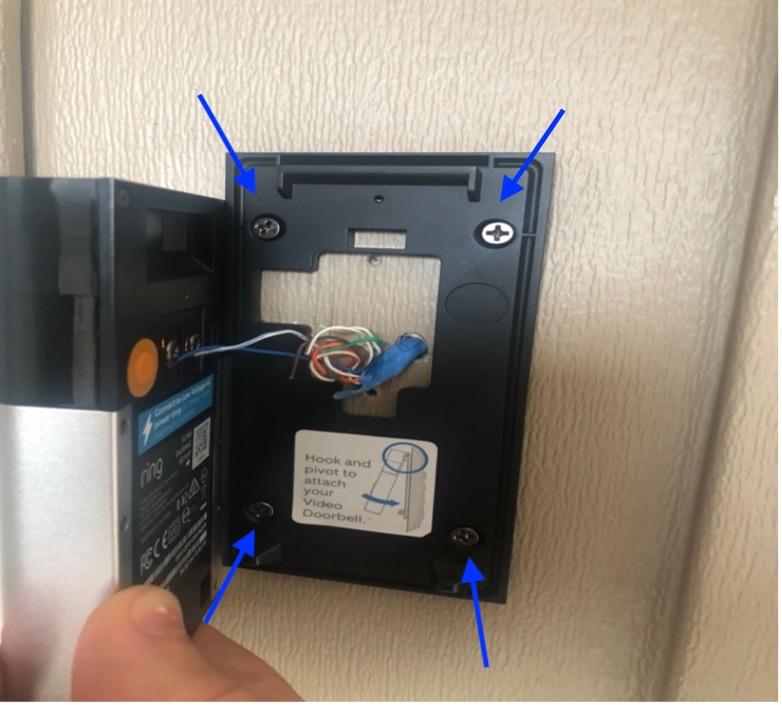
Once you have marked your holes, you are ready to drill.
NOTE: You may have to use anchors that are included in hardware and pre-drill holes if you have a brick or stone exterior.
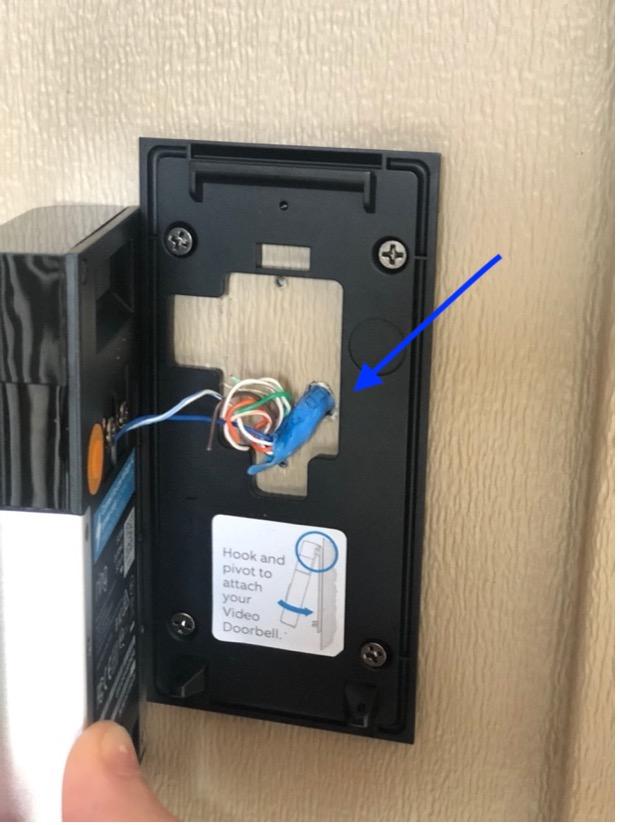
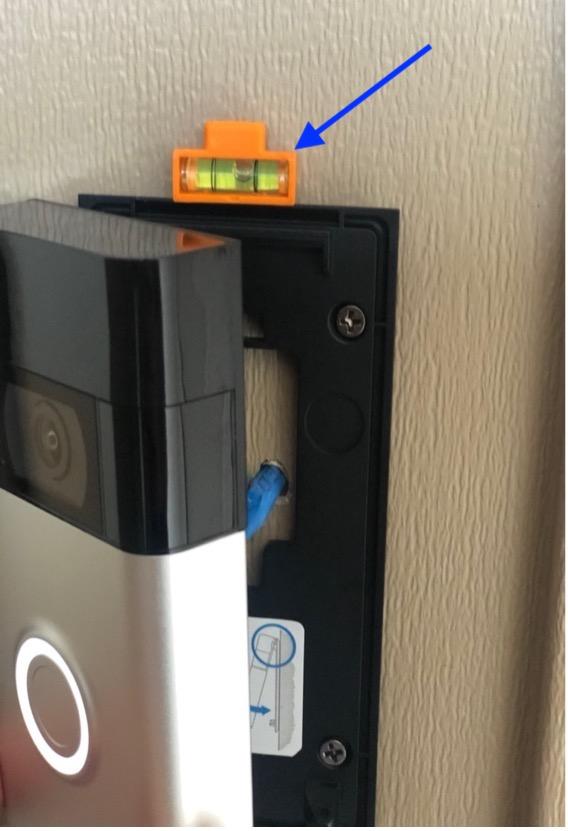
Line your faceplate with the holes and install screws with aligned holes while making sure to keep the faceplate level. Ensure your wires are run through the hole before installing the faceplate.
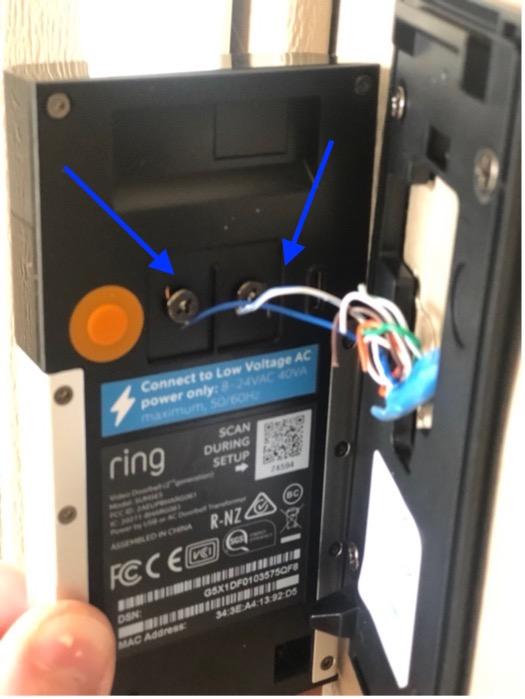
Connect the 2 wires to the 2 screws on the back of RING device. It does not matter which wire goes to the screws, just make sure both are attached. Make sure there is exposed wire that wraps around screws and has a good connection.
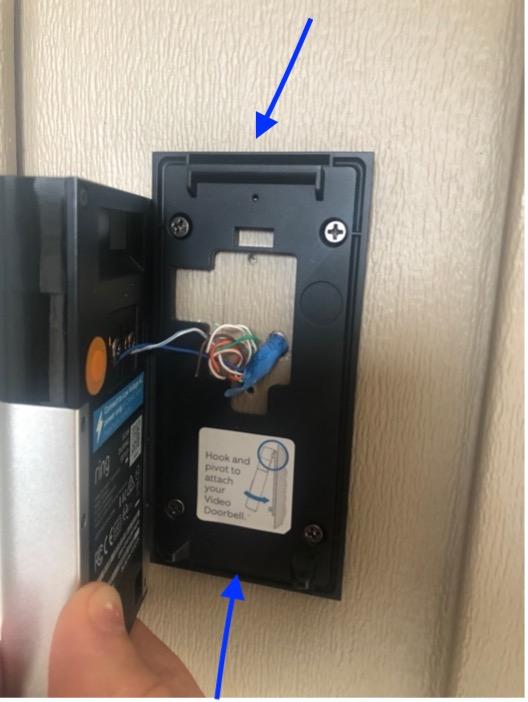
Once the faceplate is installed and wires connected you can now attach your RING device. The device will hook at the top and snap together at the bottom. And installation is complete!
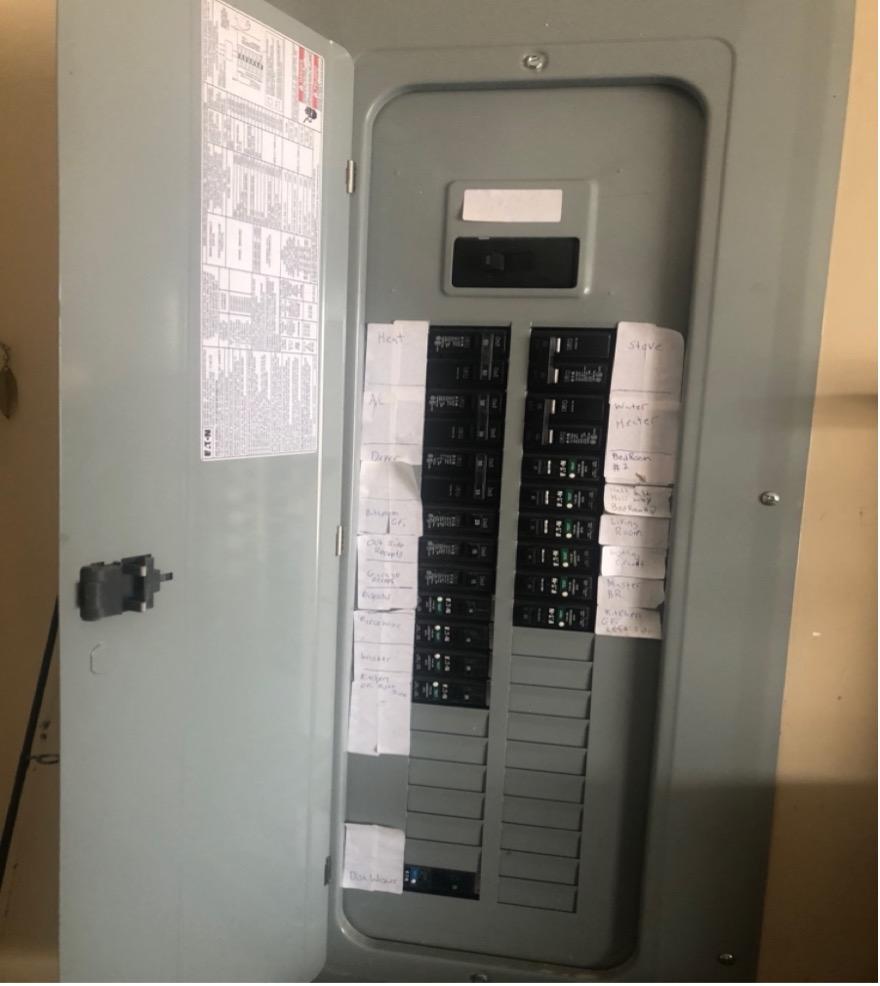
Operational check time! Reset the circuit breaker. And test RING doorbell. You should hear it ring and it should also come up on your phone.
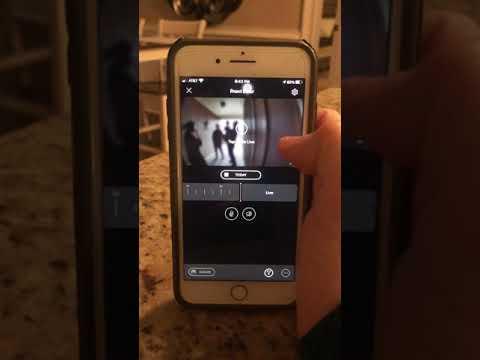
Open your application and make sure it is connected and you can see and hear from both the RING device and smart device.
For further exploration of features of RING doorbell. Read instructions or pull up the application.Congratulations! Your installation of your RING doorbell is complete!