How to Install Windows 11 Demo on VirtualBox
by ItsA80sNigtdrive in Circuits > Computers
651 Views, 2 Favorites, 0 Comments
How to Install Windows 11 Demo on VirtualBox
 on VirtualBox)
In case you don't want to follow the tutorial by pictures and description here is the video.
Today we will try to install Windows 11 on your virtual box.
Note this is not the final version of windows 11 but the version that has been released demo version
First let's start with the assumption that you already have a virtual box installed!
We will launch a virtual box and create our first machine.

Now as we see in the picture above we set up the initial preparations for installation.
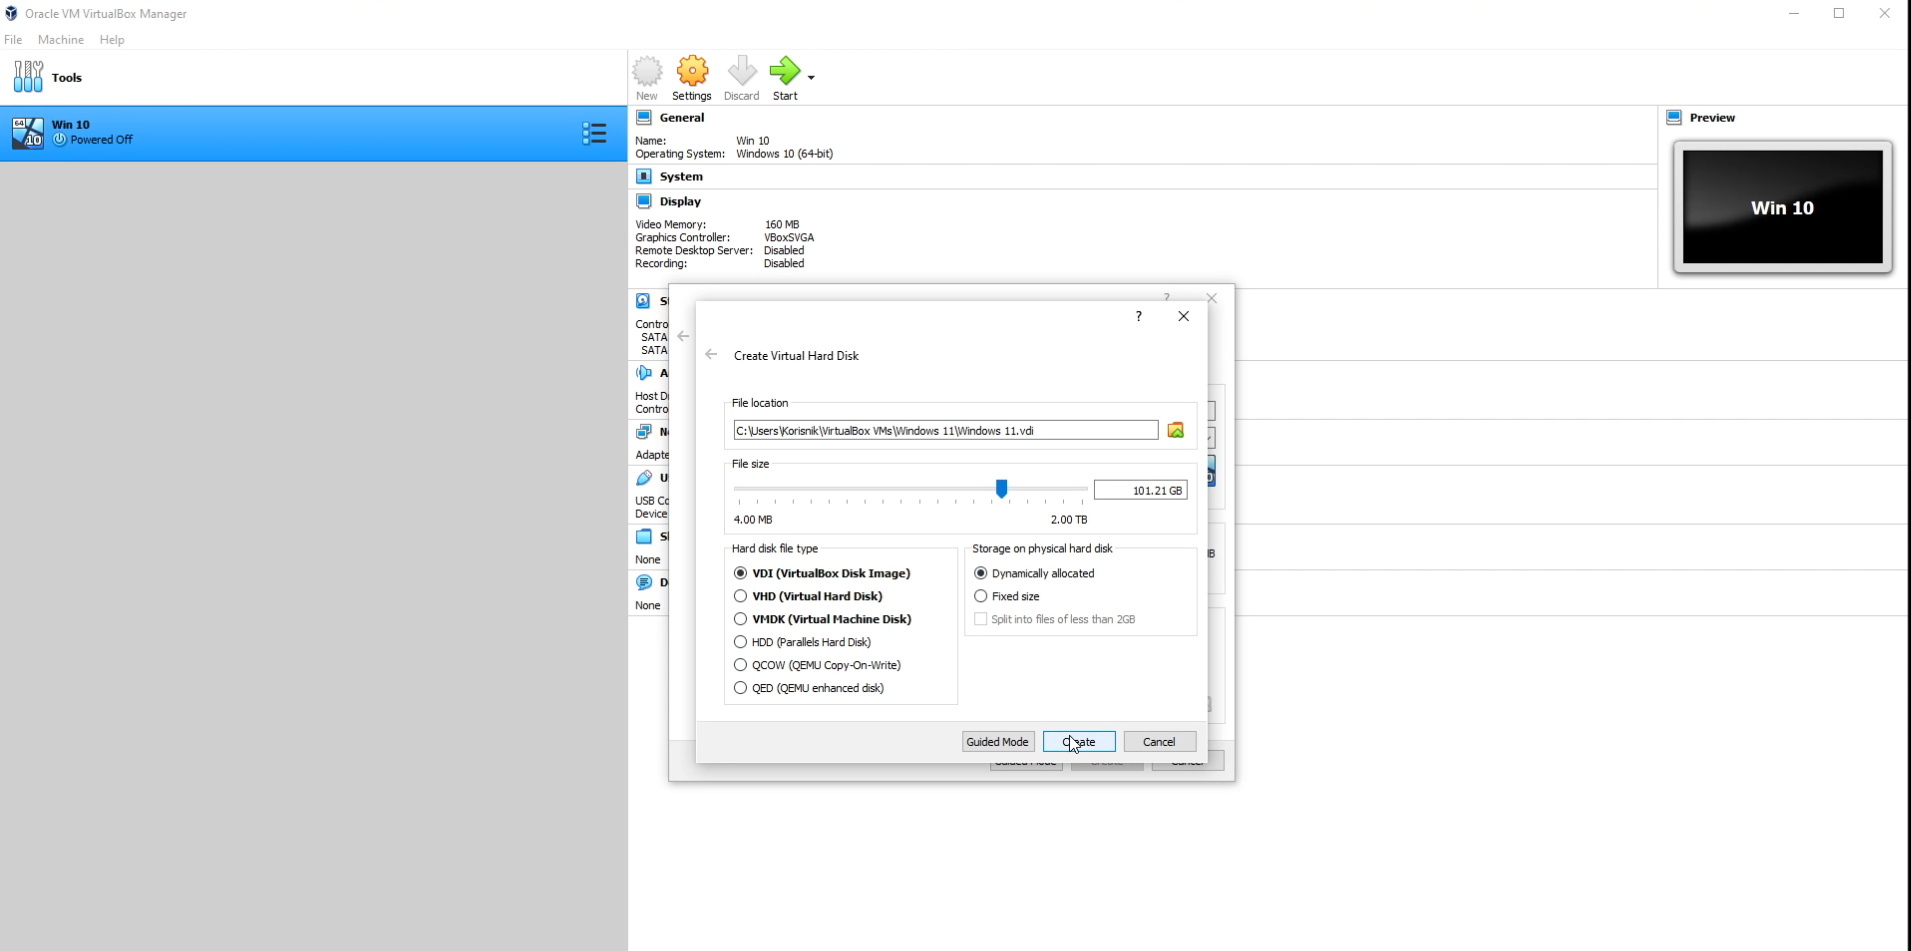
In this part we can determine how much storage we will use since this is not a permanent windows but a demo I will use a little over 100 gb. I recommend the same for you.
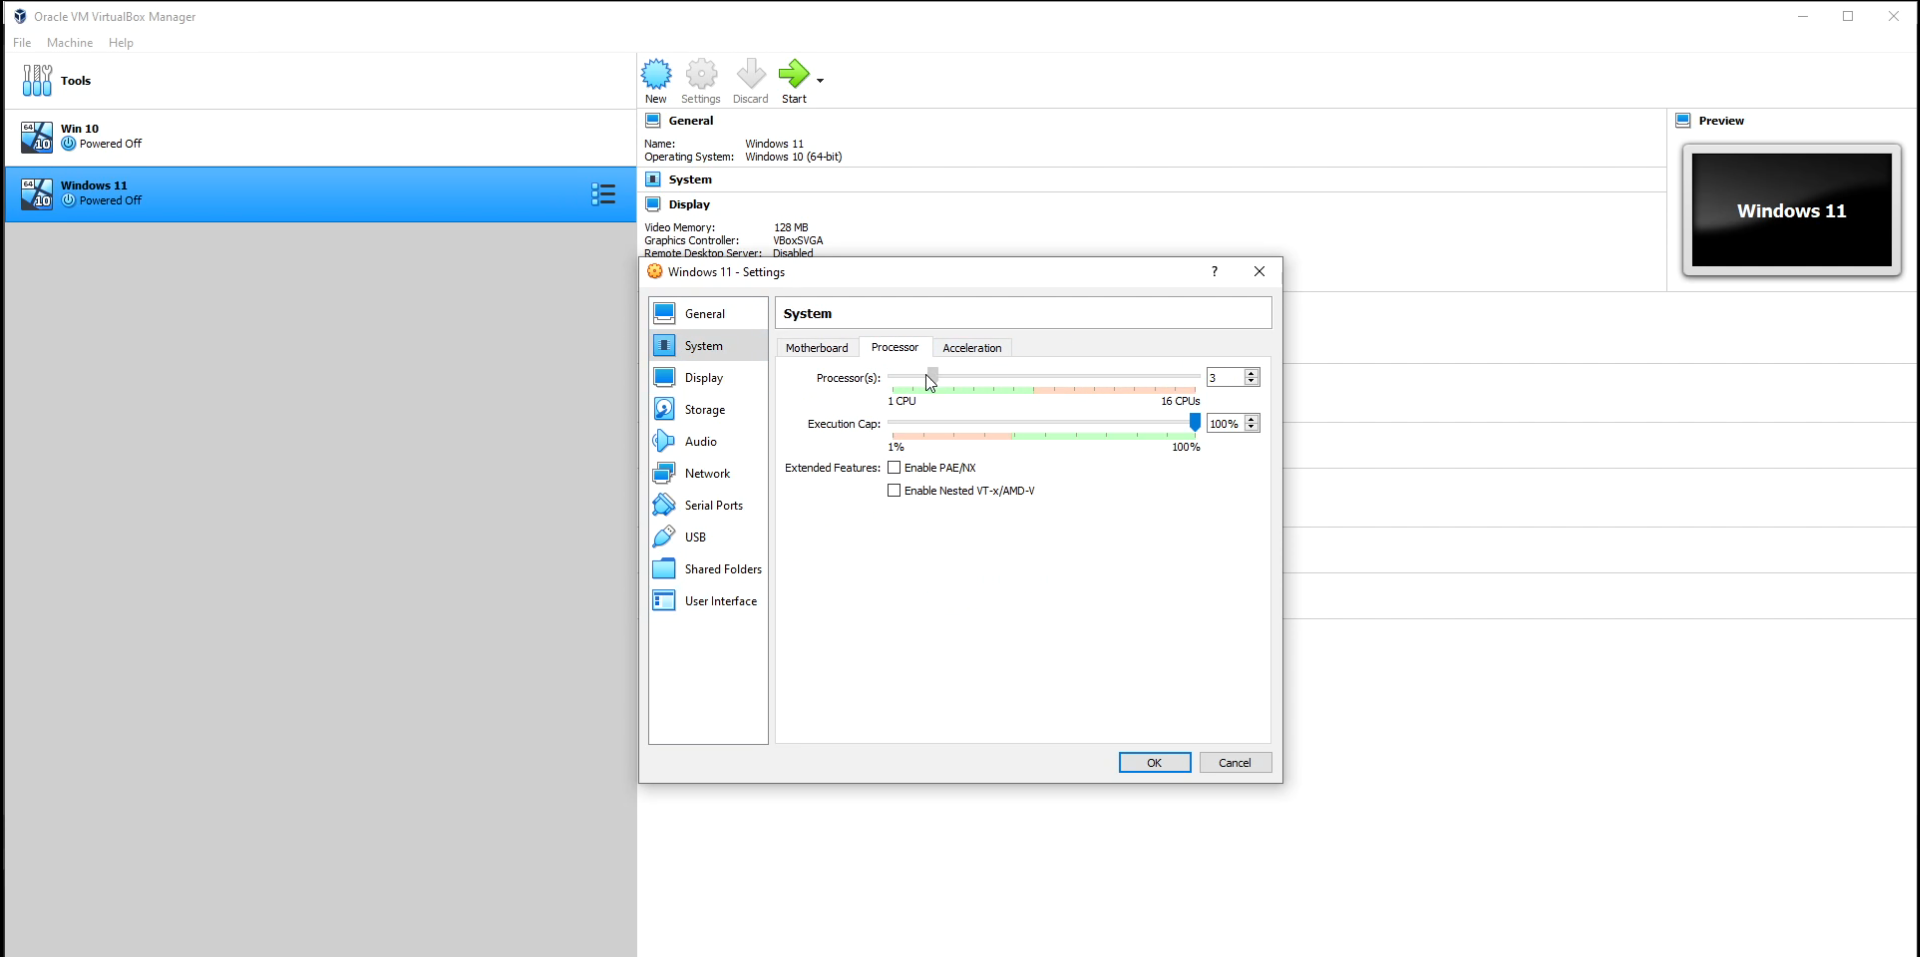
Before we start the installation we go to the settings we should leave everything mostly to the default maybe a little bit to increase the processor and file sharing between the virtual machine and the host.
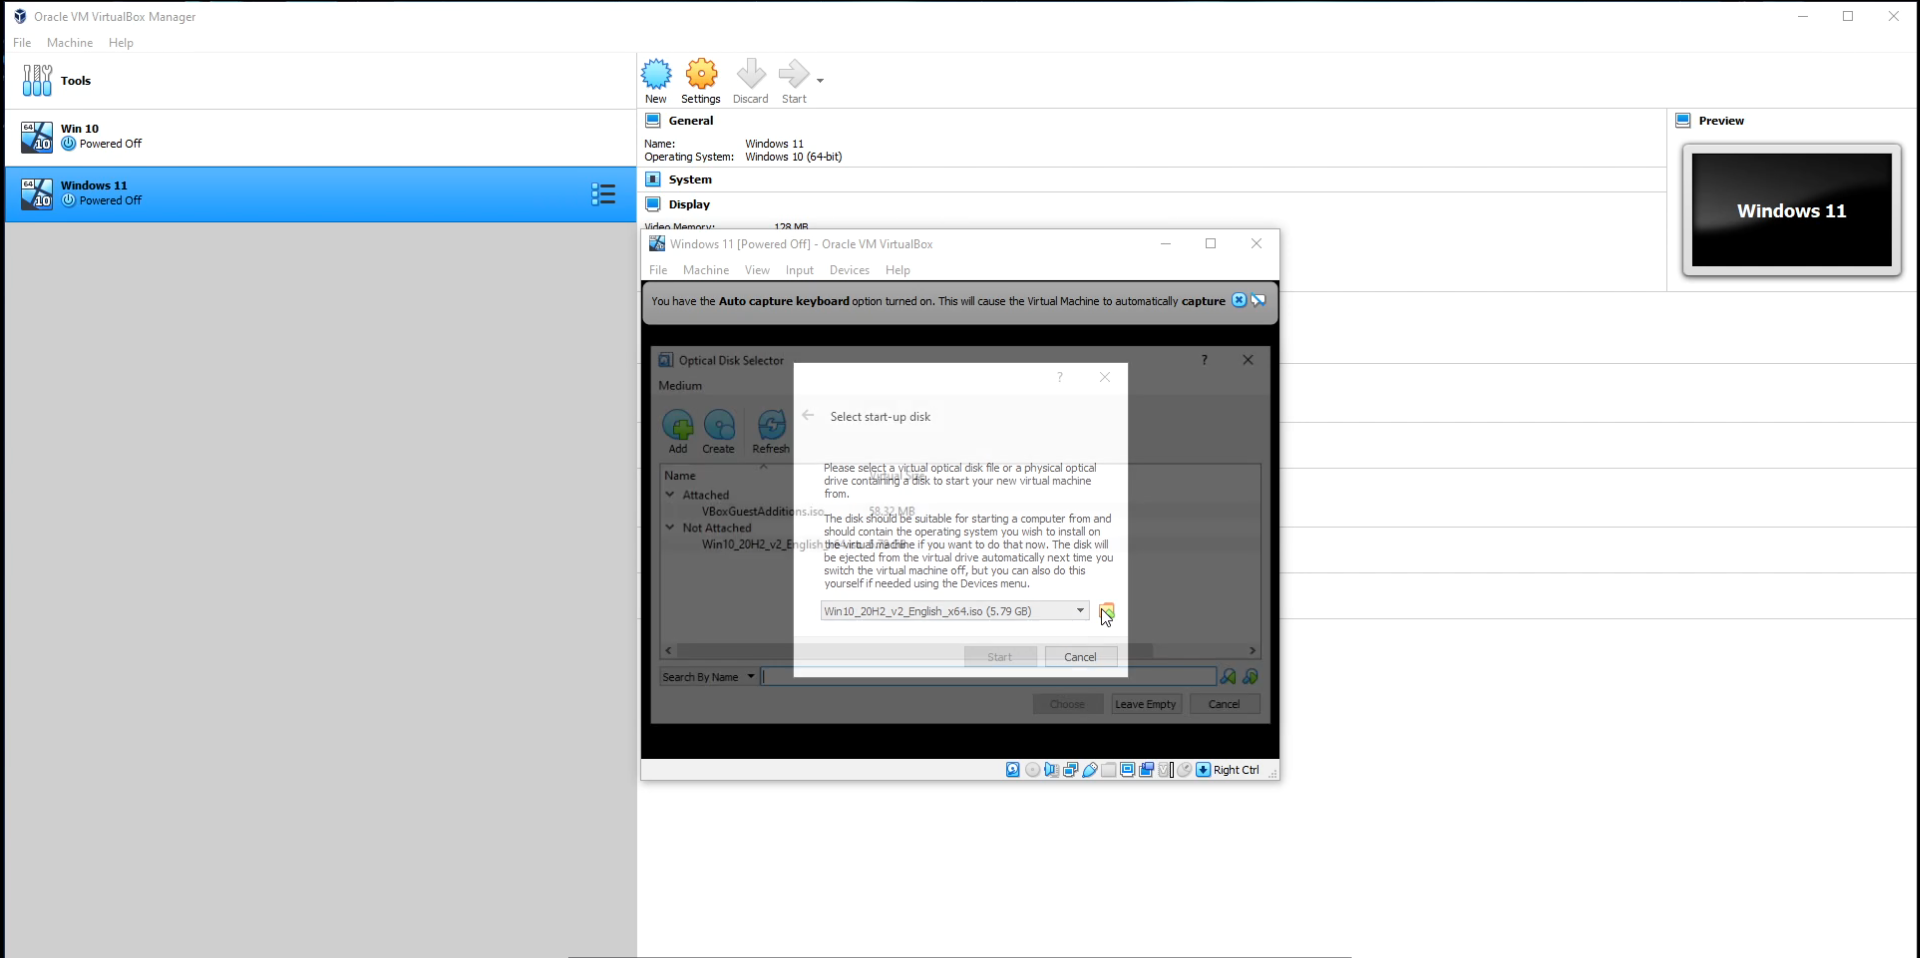
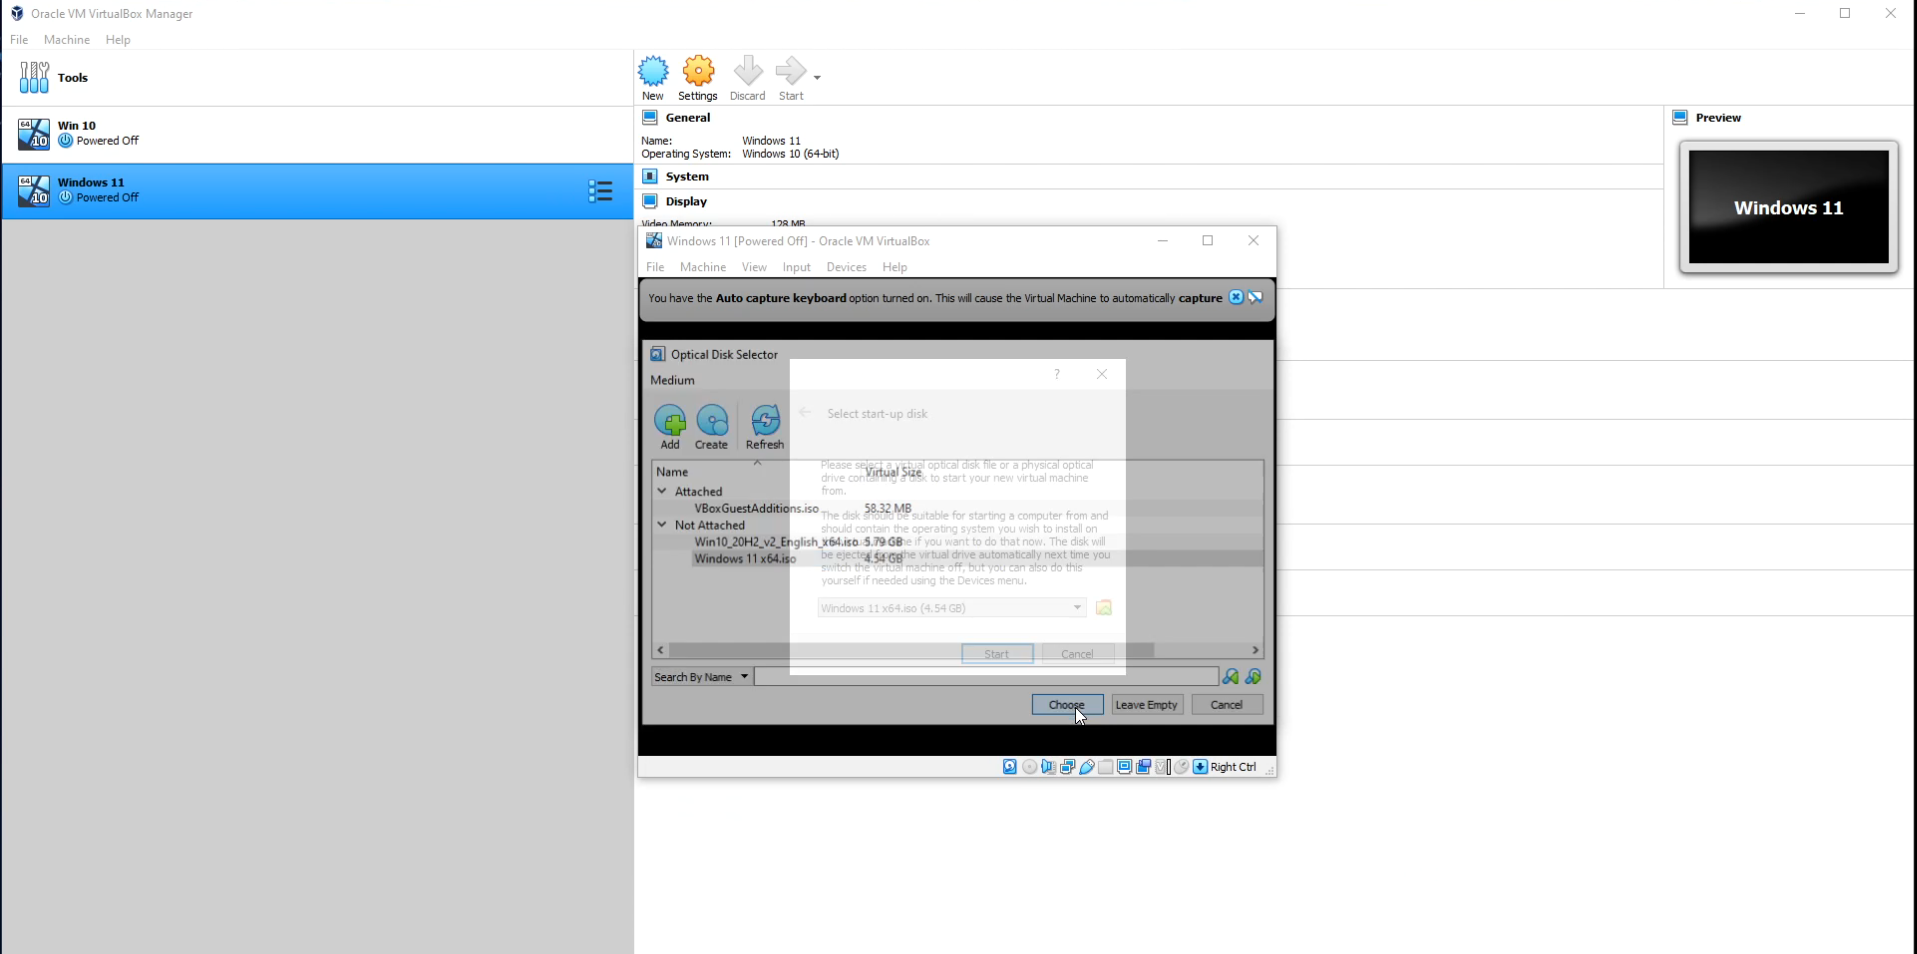
Now we are going to add our windows 11 where we saved it on disk we will select the add option and add it after that we press start and we can go to installation process.
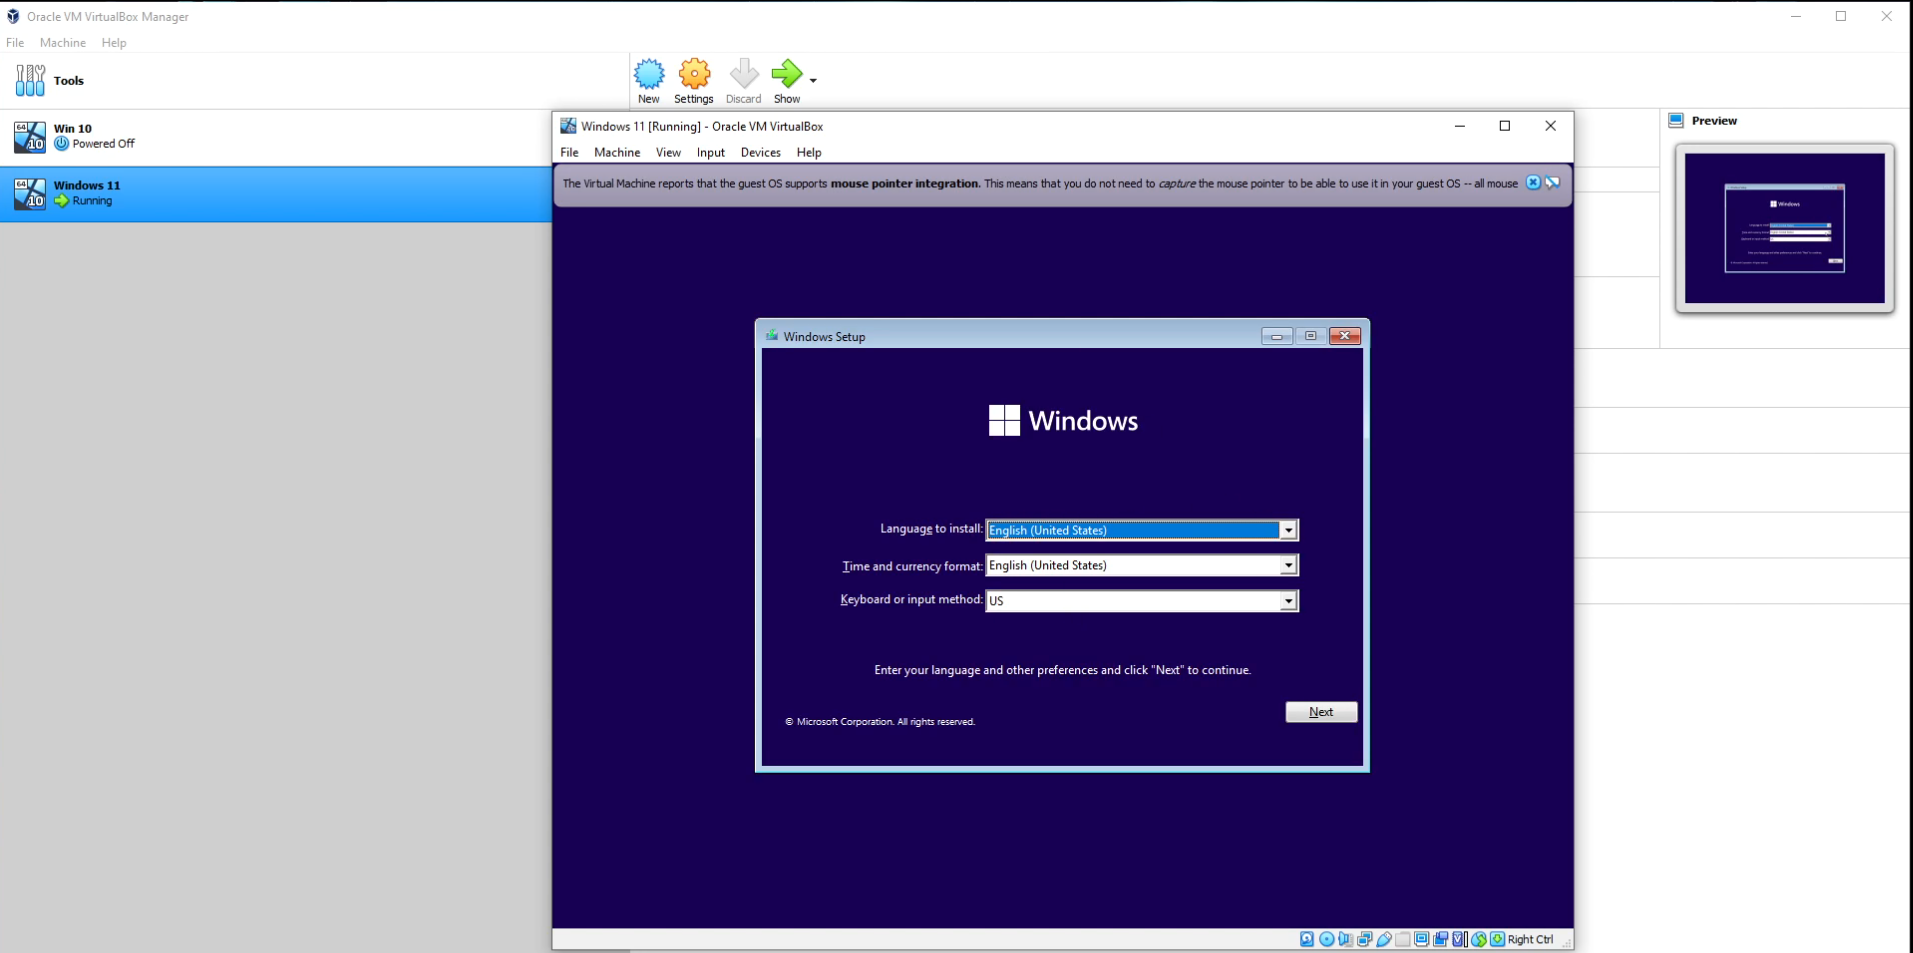
Here we need to choose things like the ones we bring the language and the keyboard.
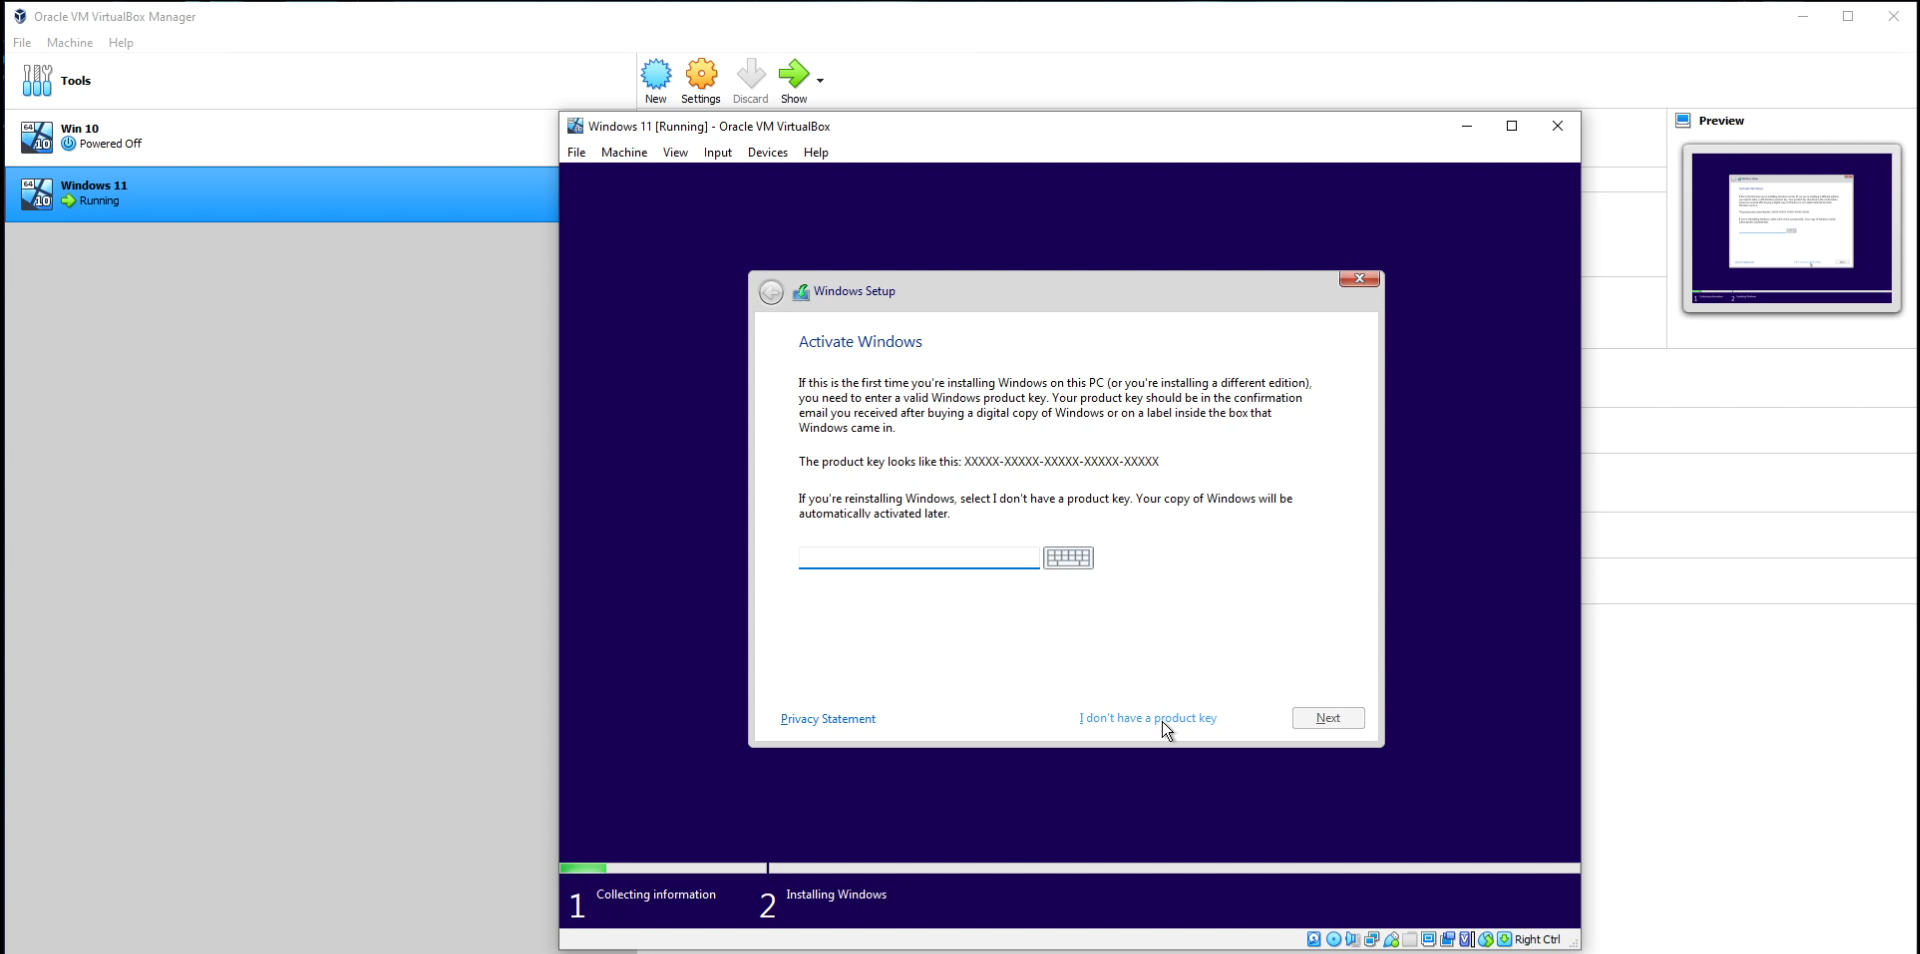
Since we use the demo version, we will not use any serial key, but let's skip that by choose, I don't have a serial key.
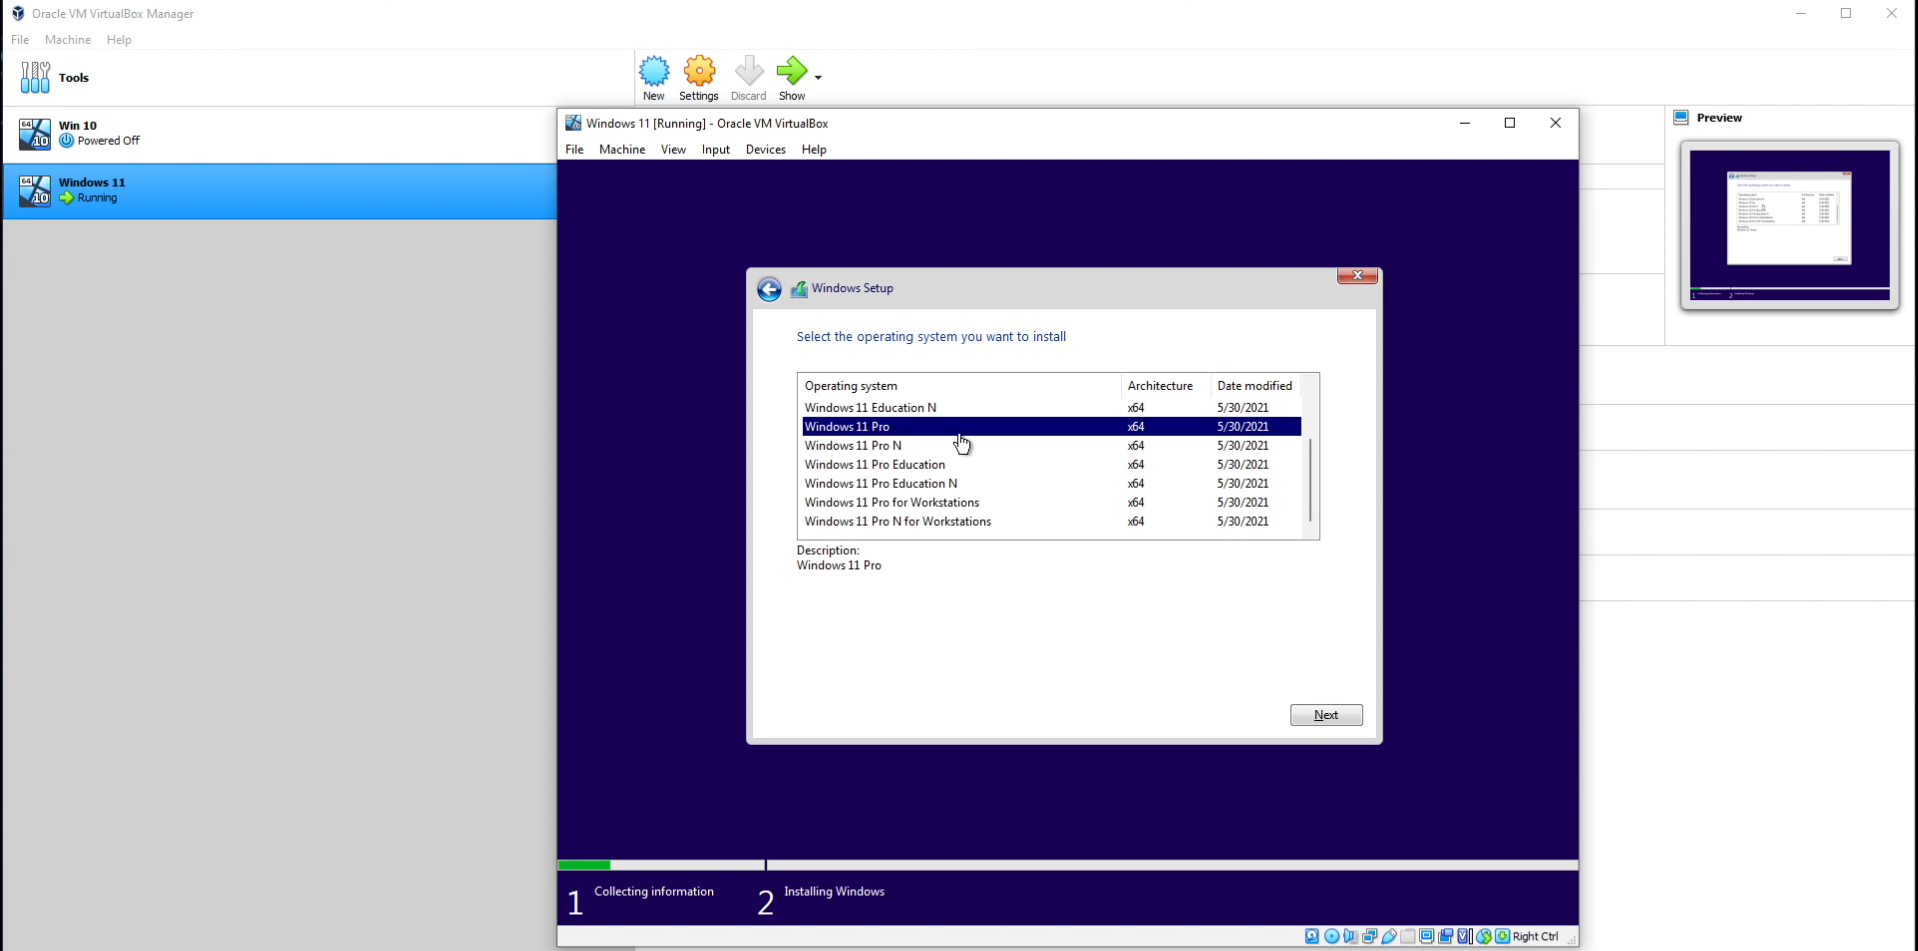
Here we choose the version of windows 11 and is recommended by Windows 11 Pro.
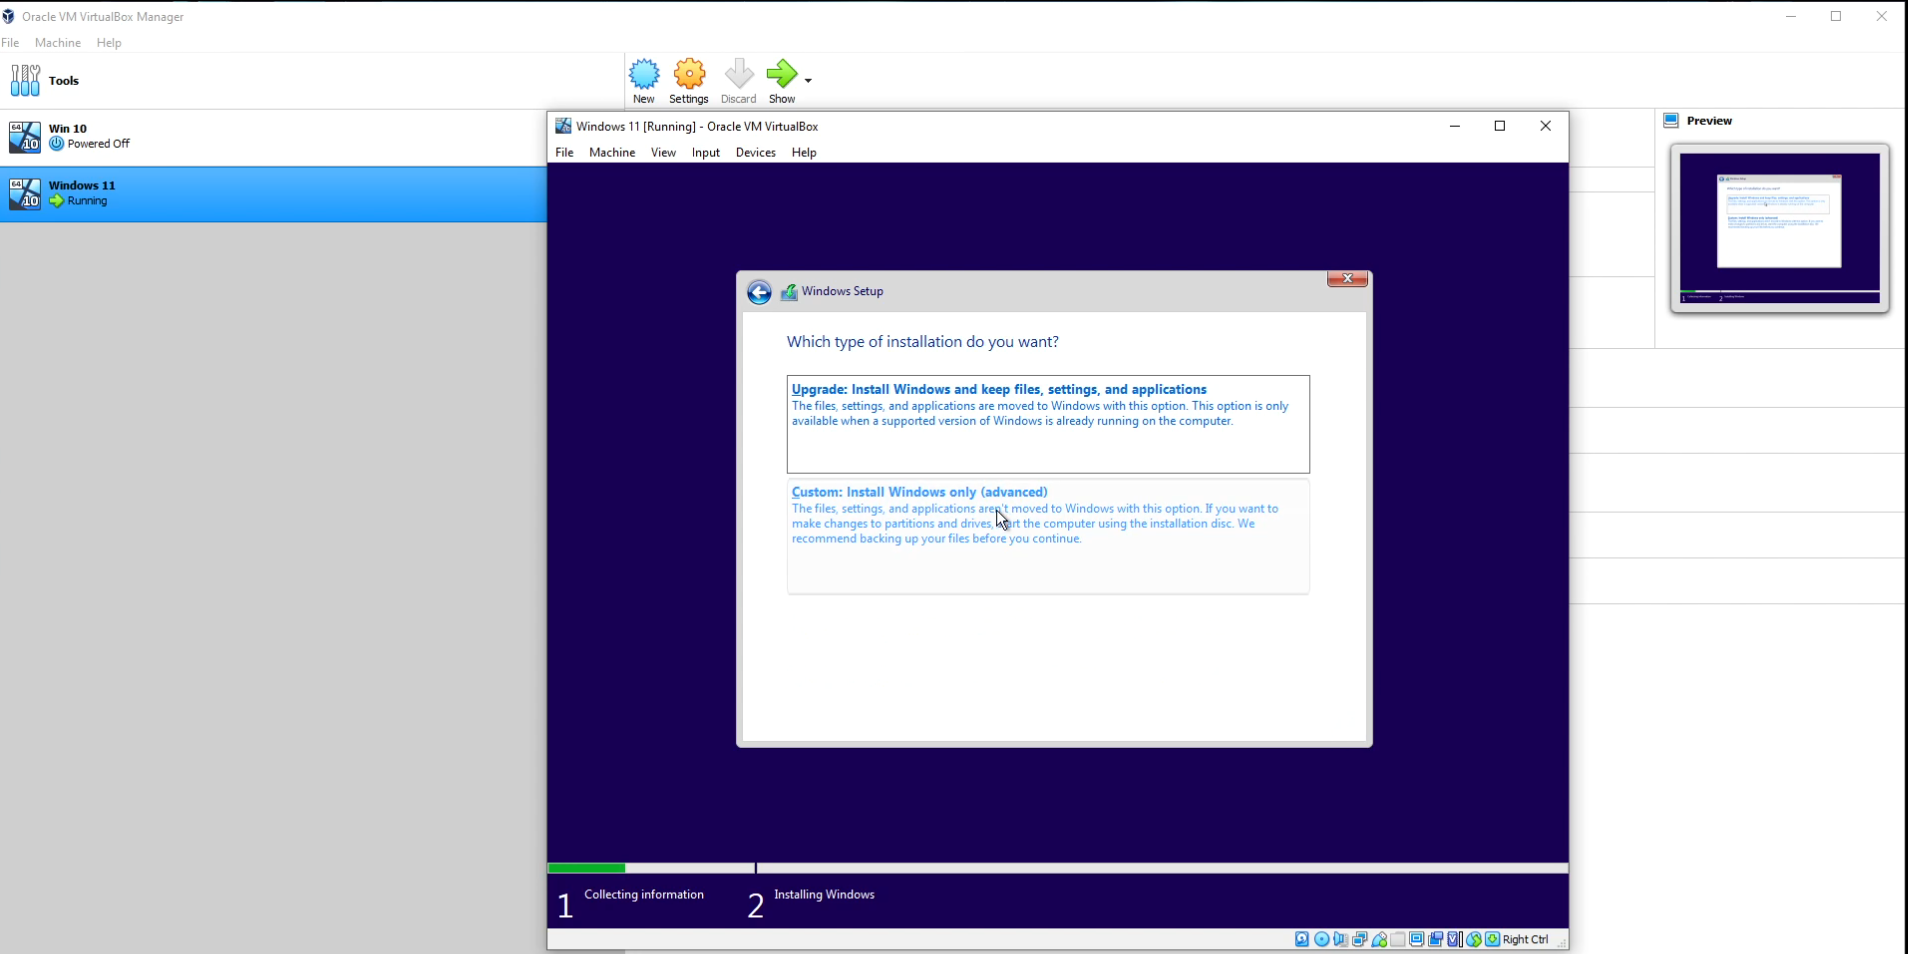
Here it is very important to choose custom install because we want to customize some things later.
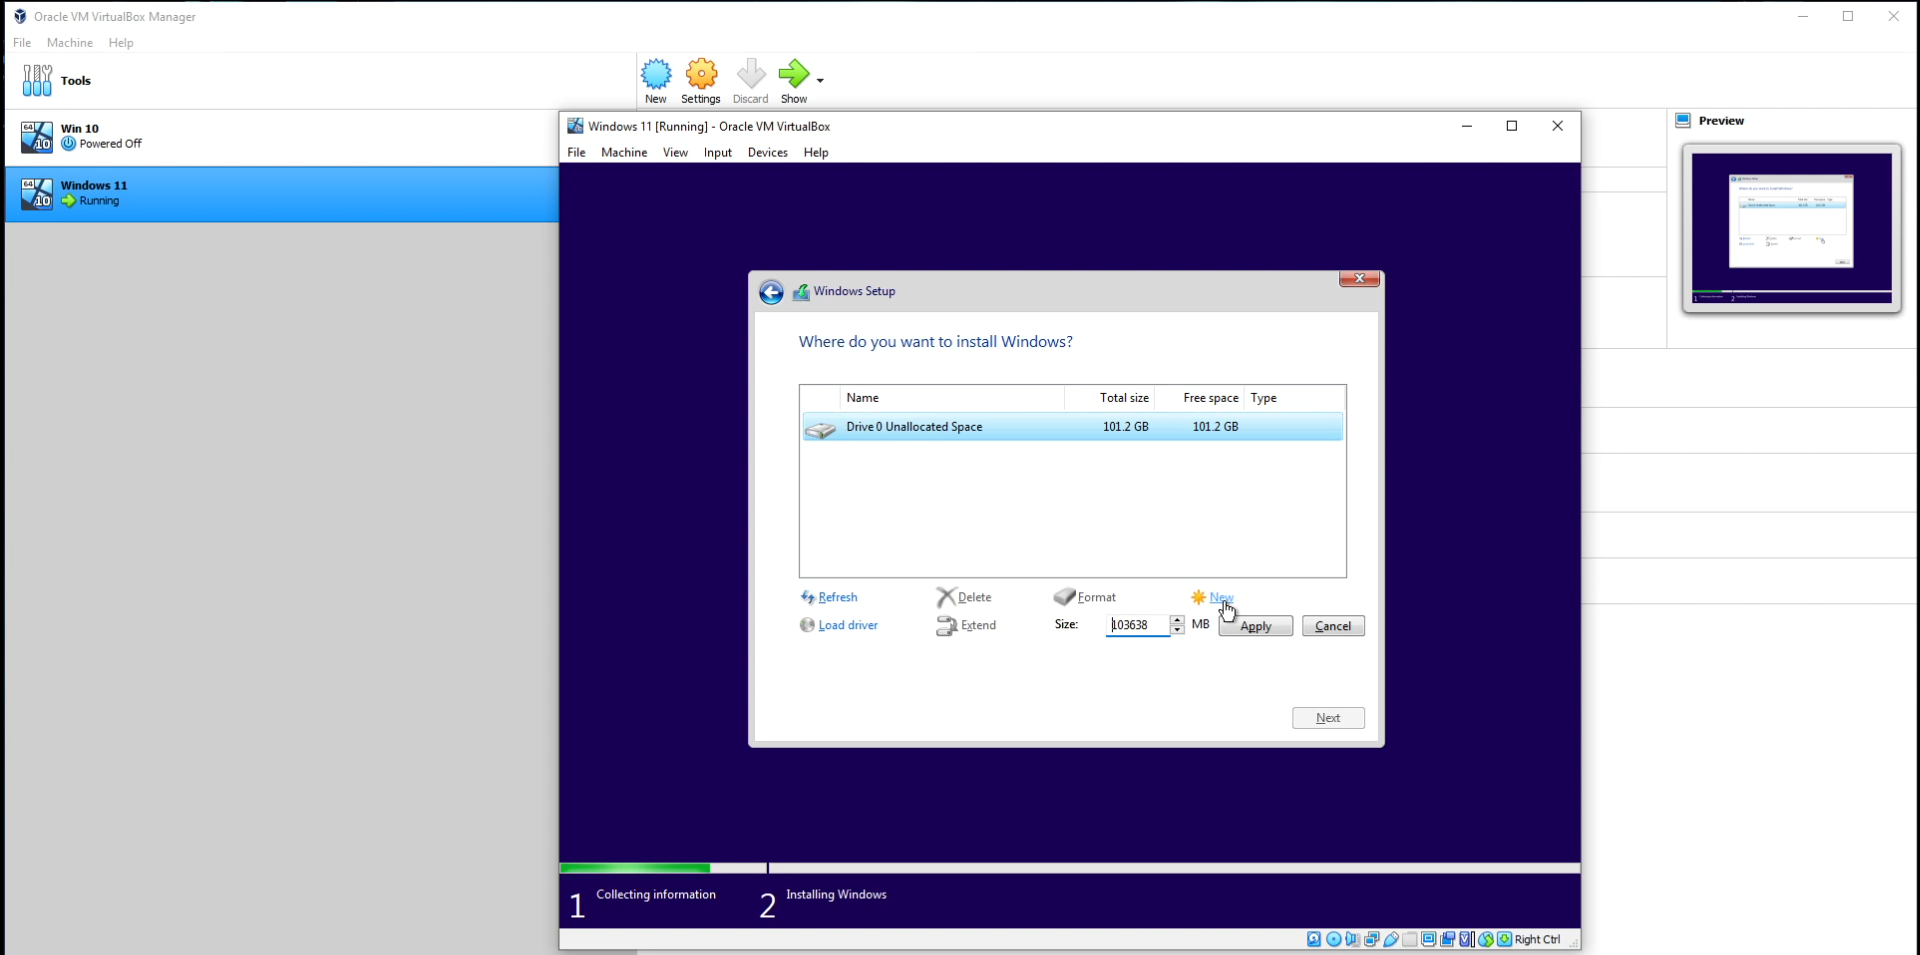
Since we do not install windows on a computer with usb but on a virtual machine, we need to create a new partition.
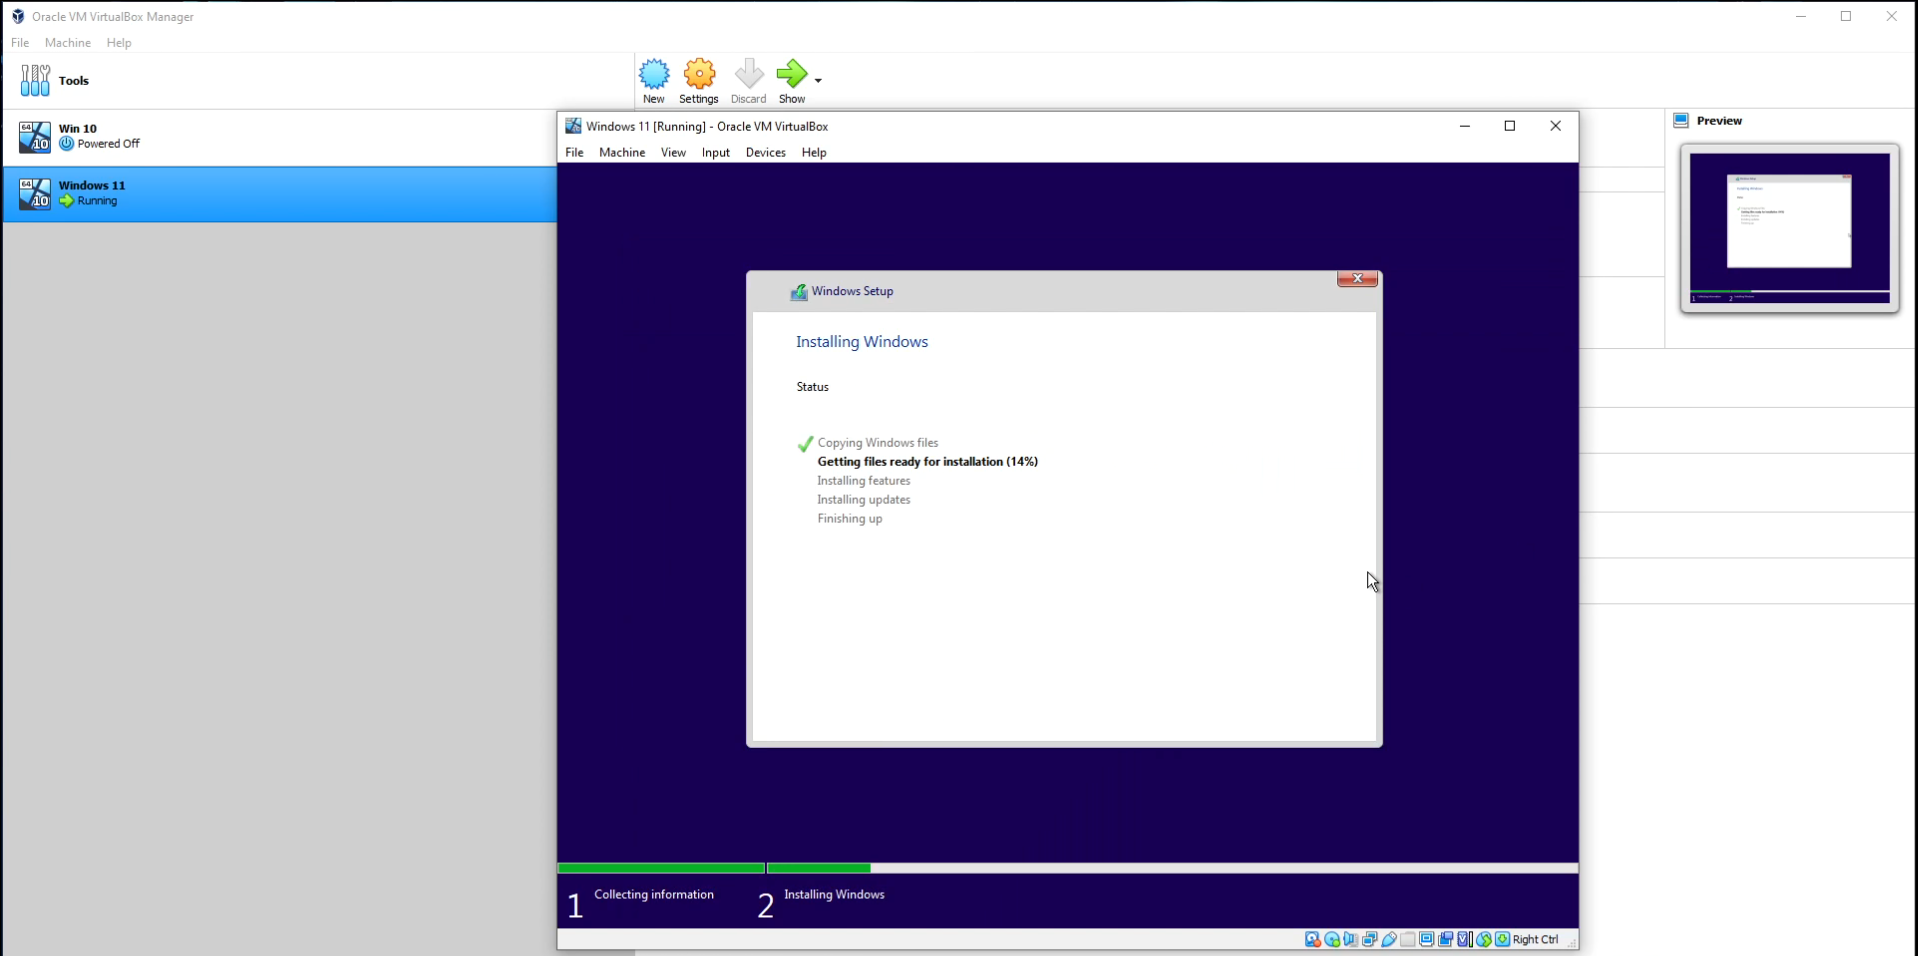
We will now wait for the installation...
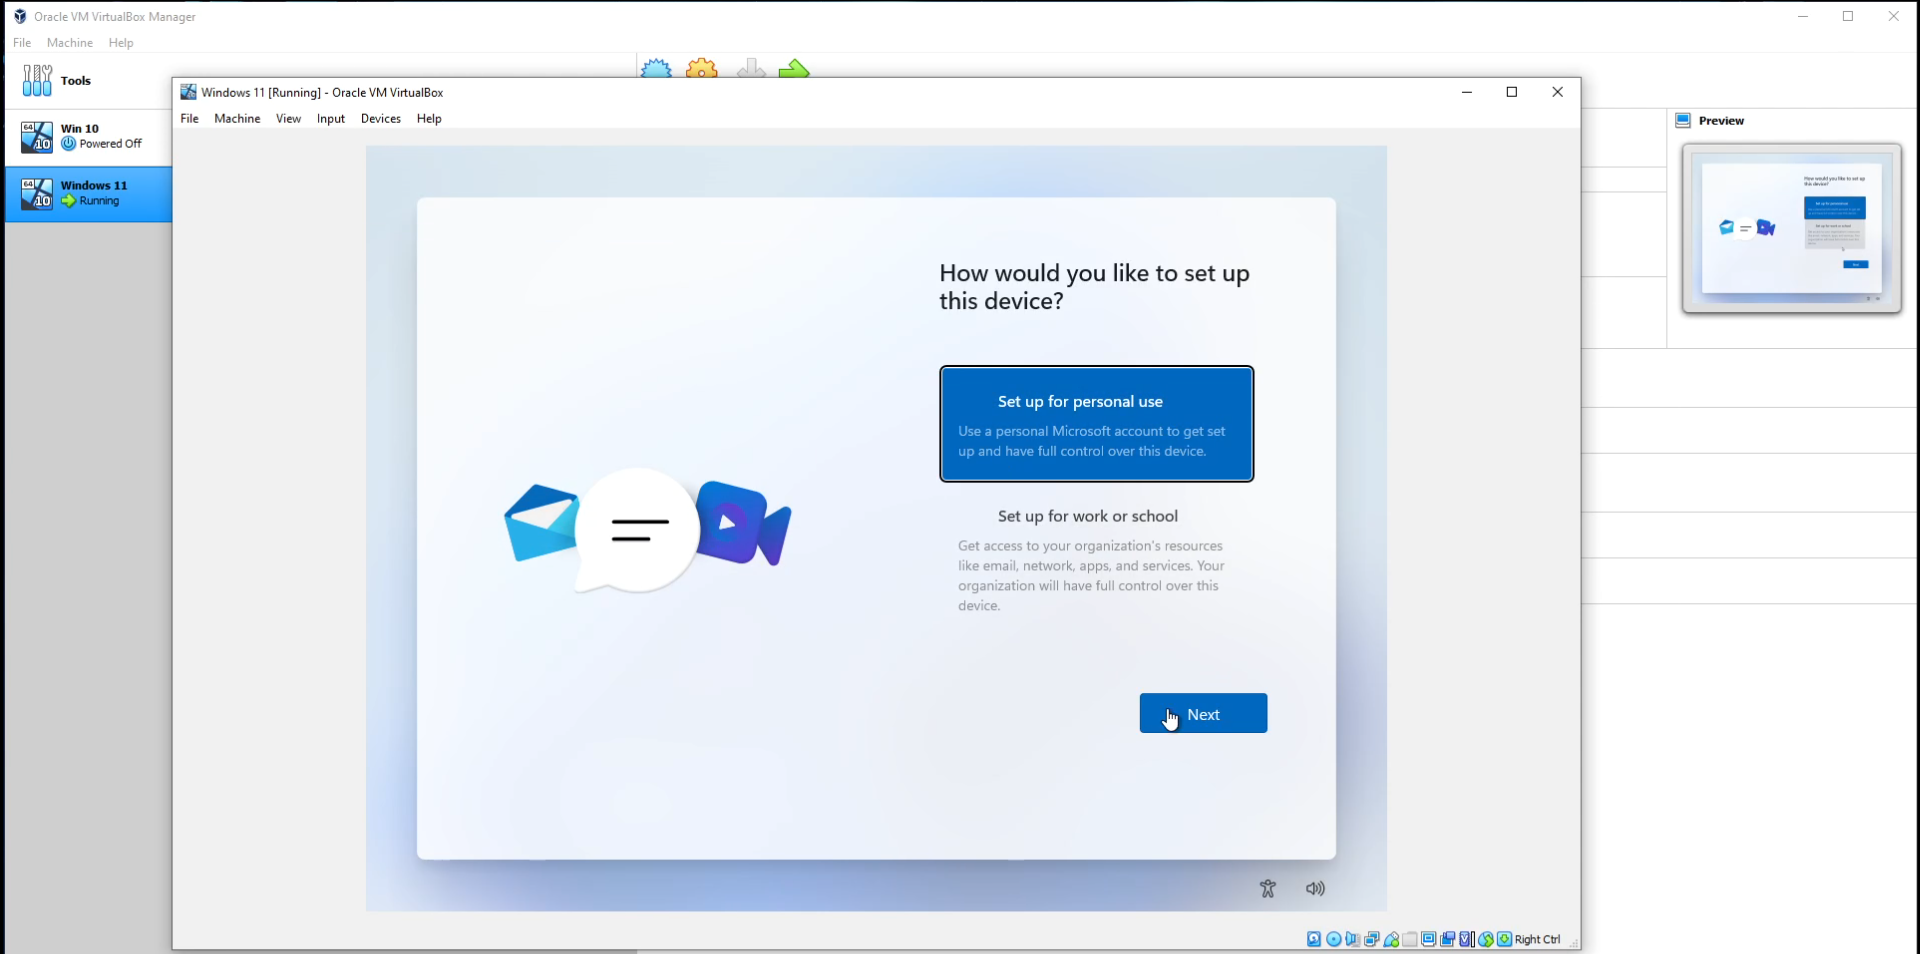
Now we will adjust some information first select set up for personal use.
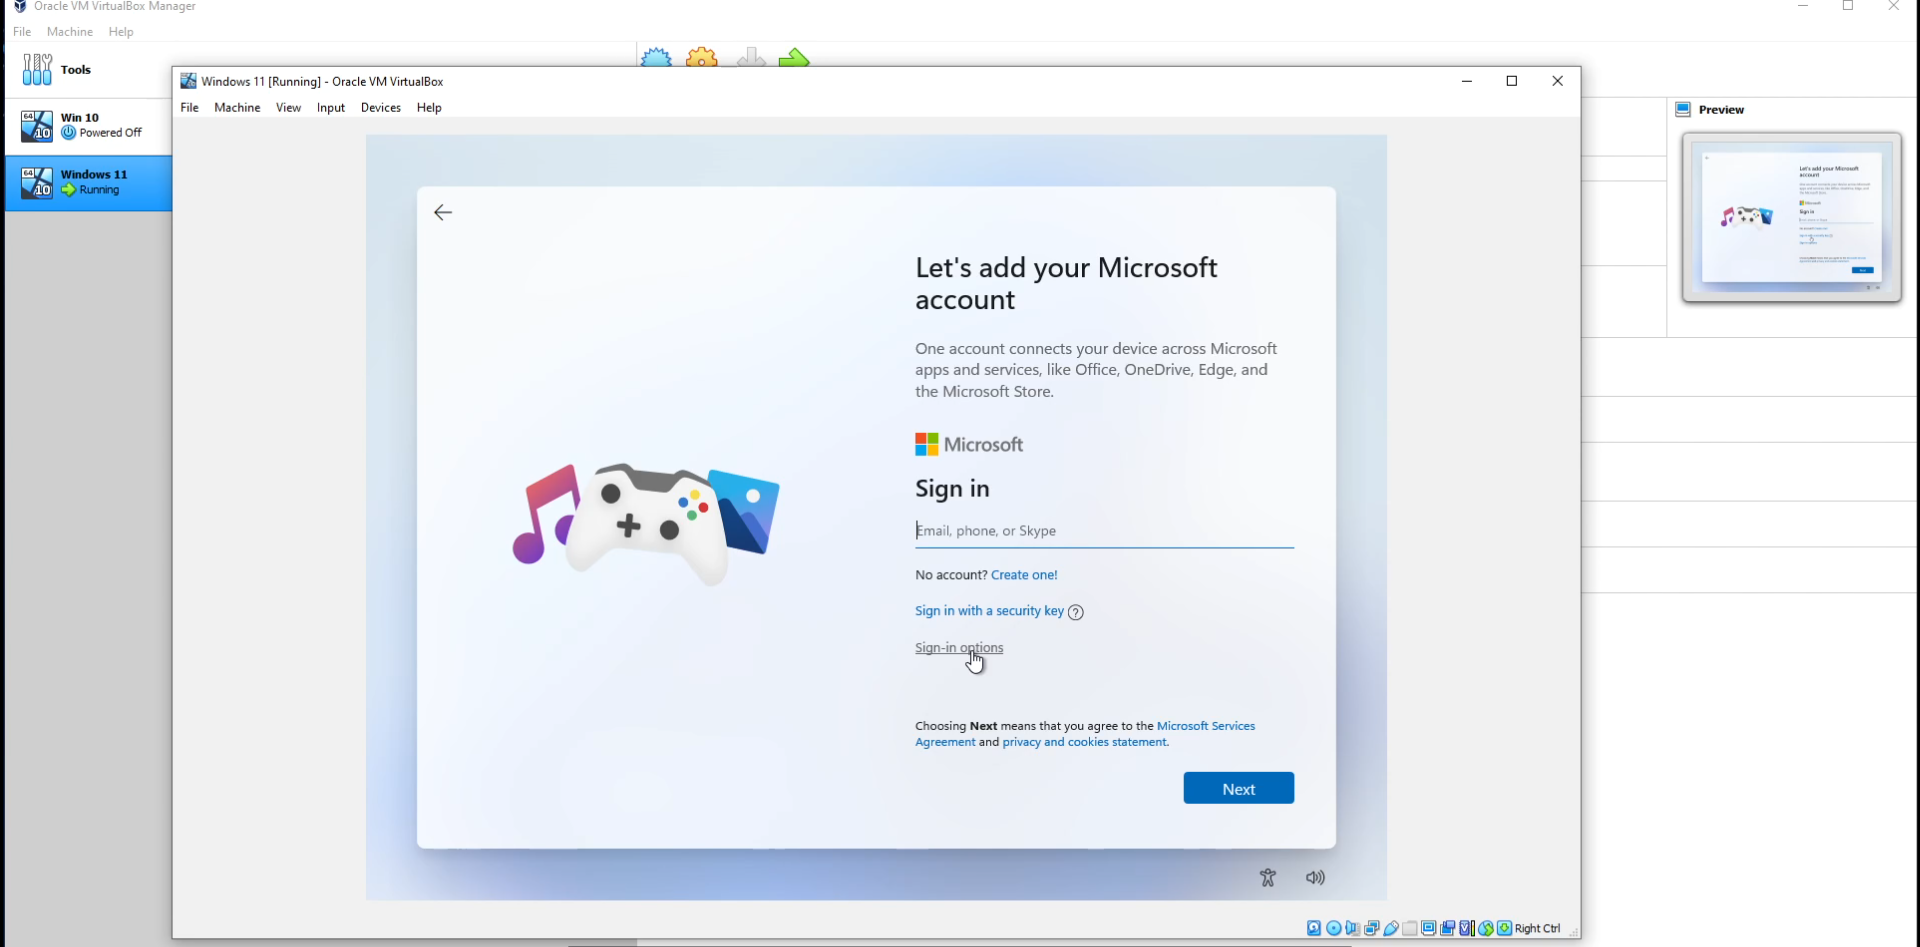
In this step you can set up to log in via your microsoft account, I won't do that now, I'll just log in via sign in option.
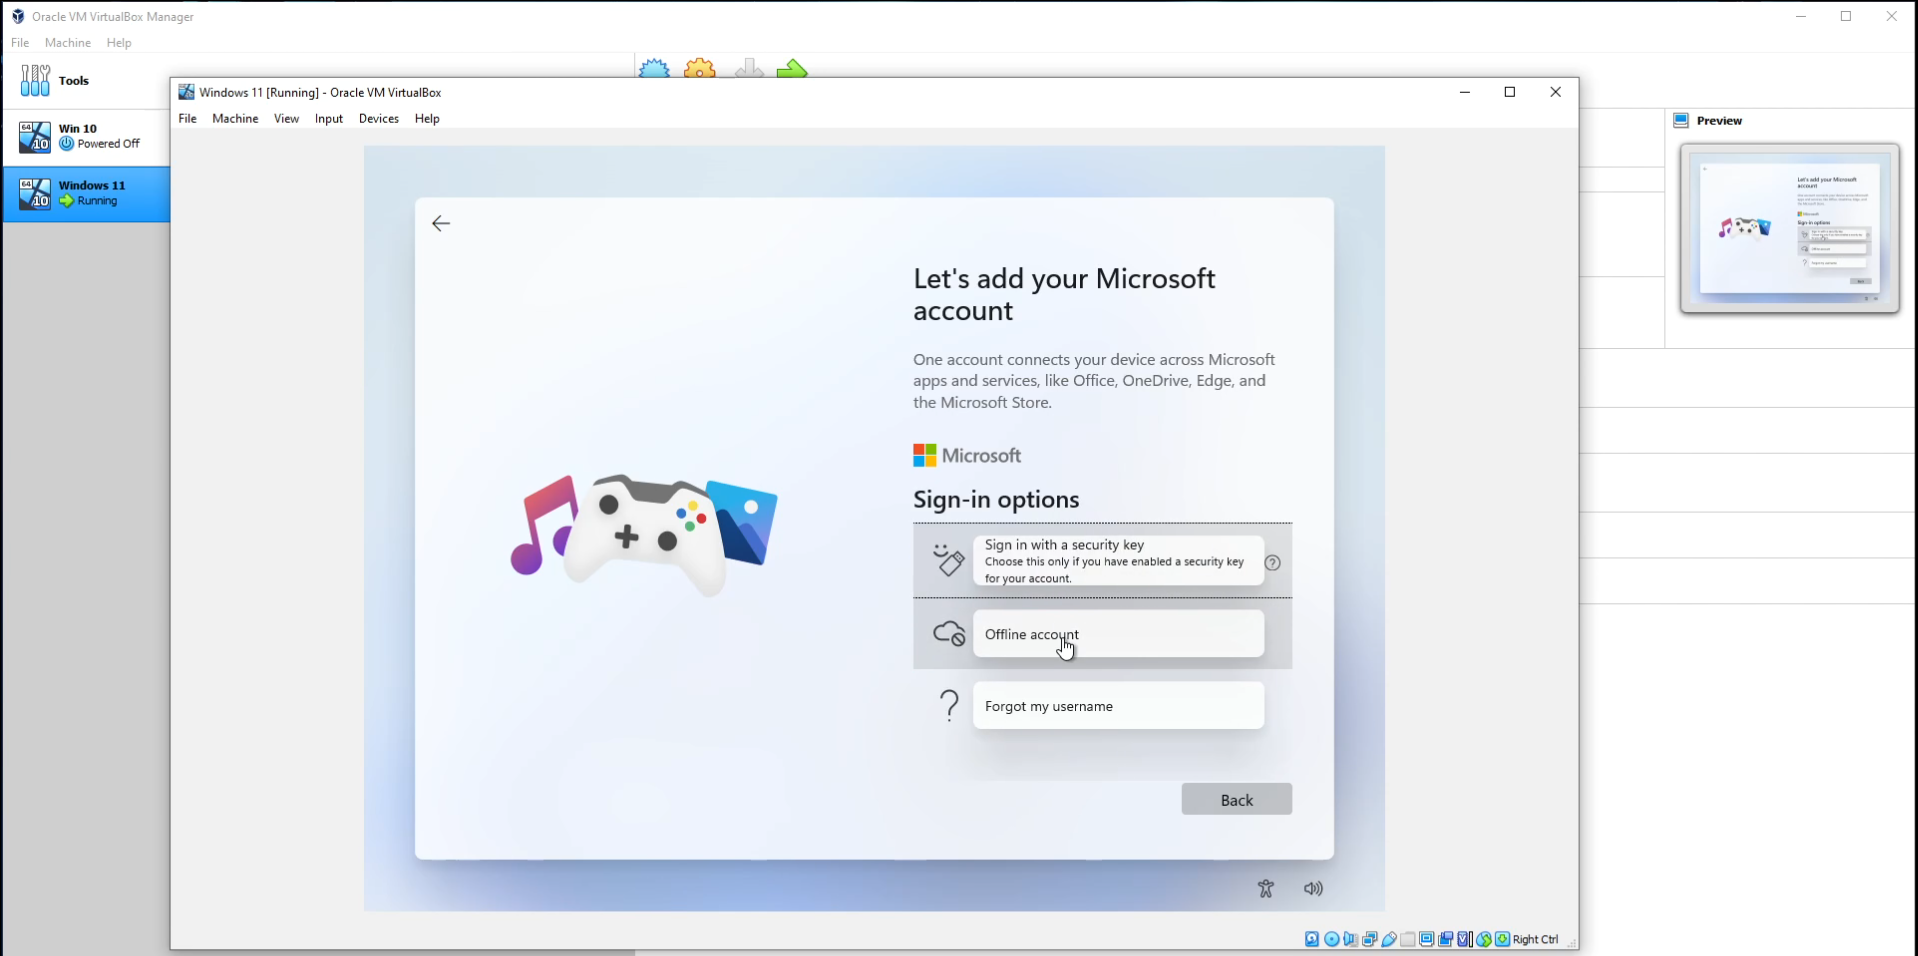
As in the previous work choosing an offline account this will allow us to make extensive use of windows 11 without logging in or creating an account!

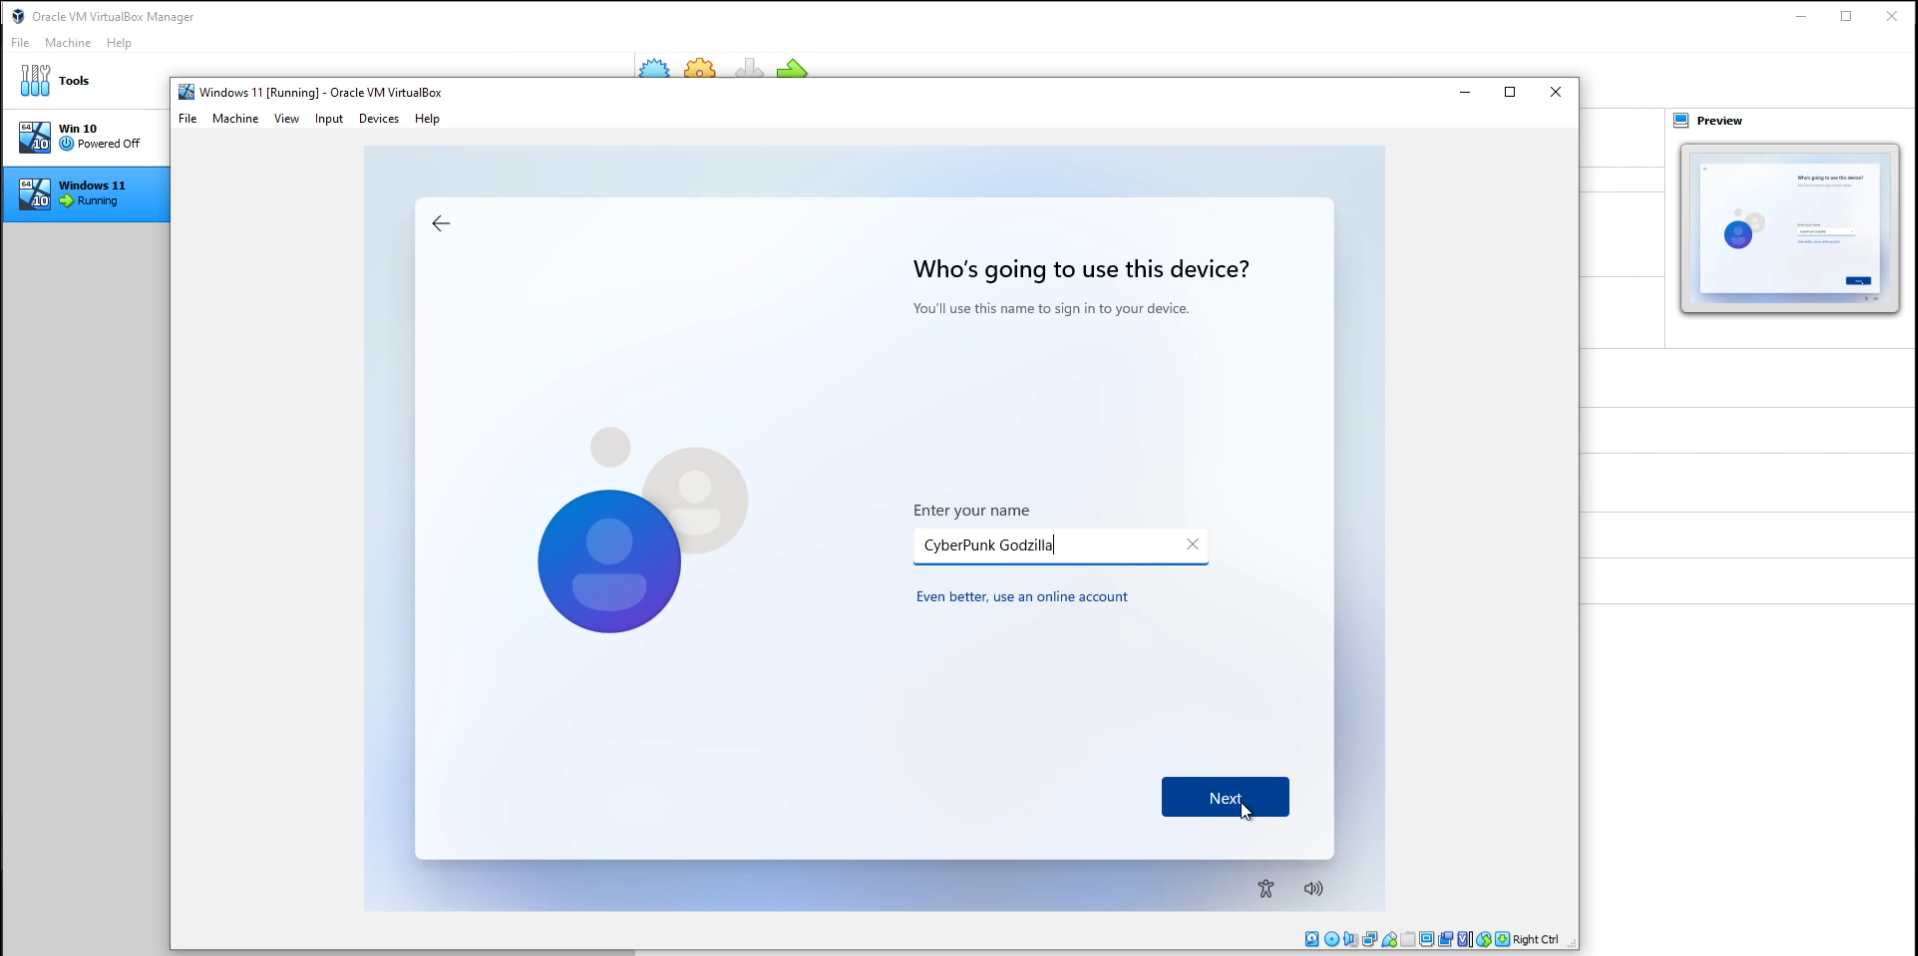
We will create a username for our windows 11.
The password we will skip on this demo version is not that important.

Some things here we can turn off or use but since it's just a demo test version I won't contribute much here.
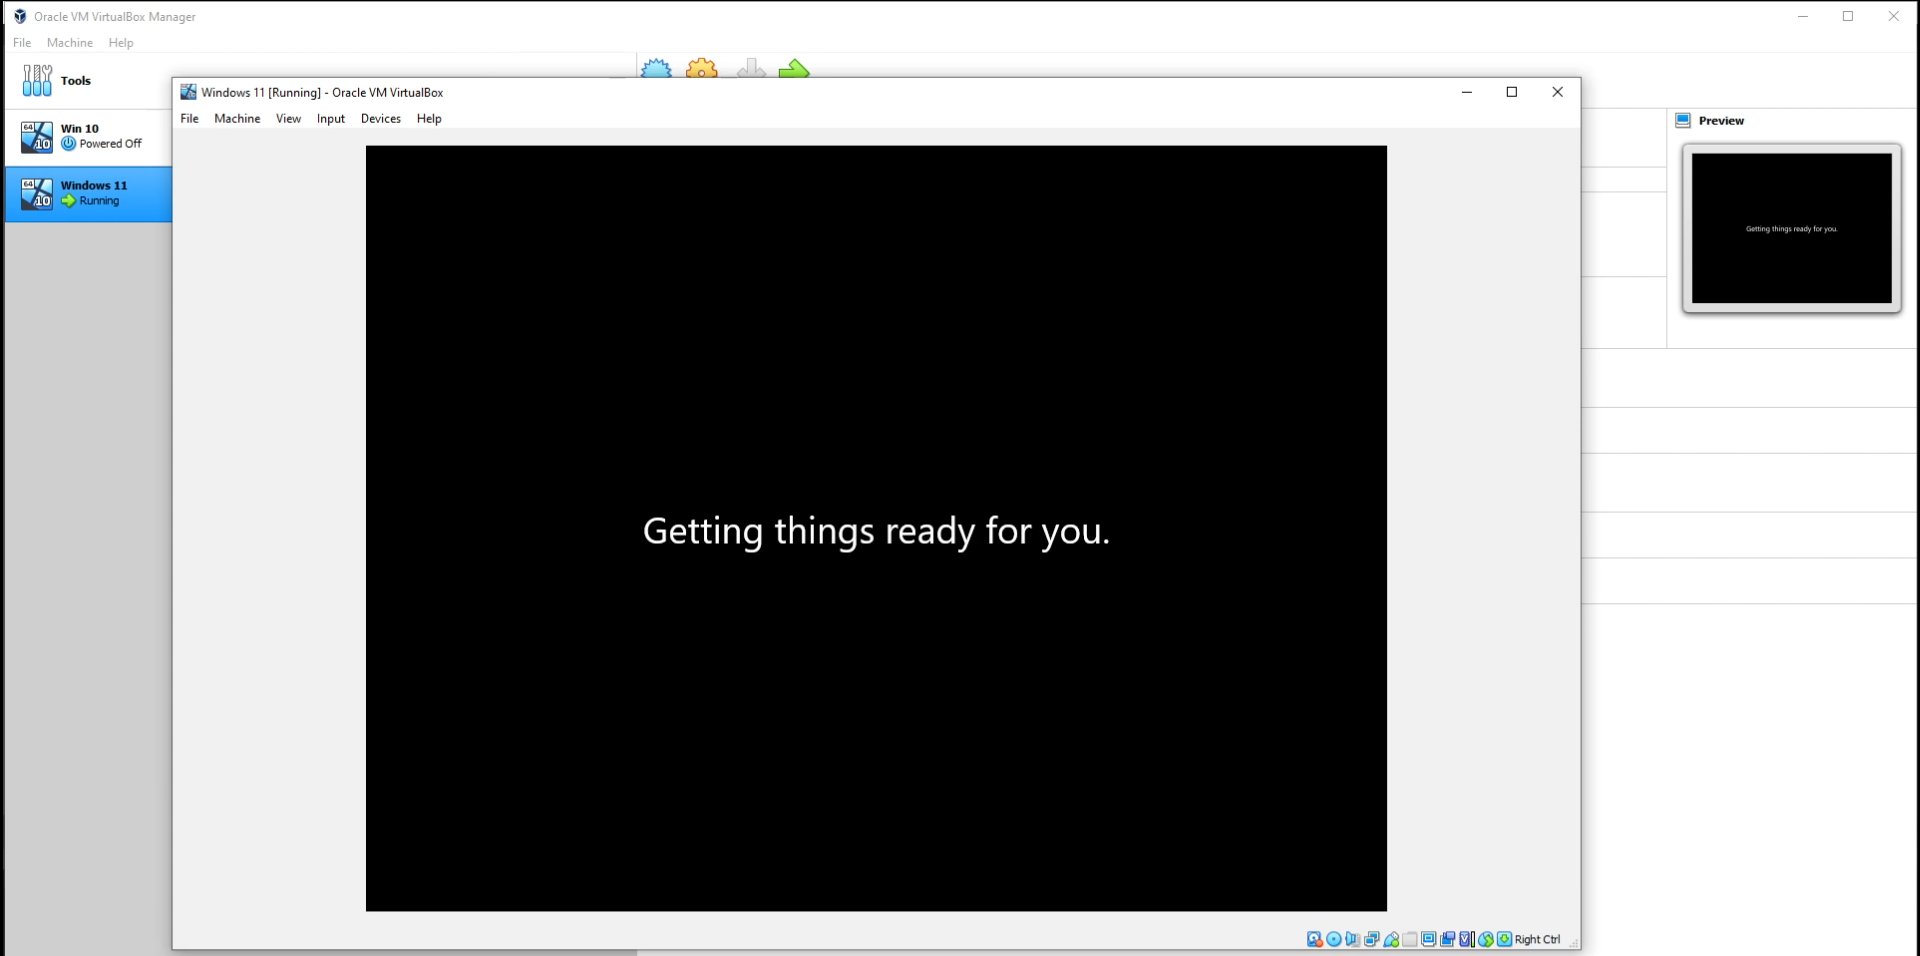
And we're almost there!
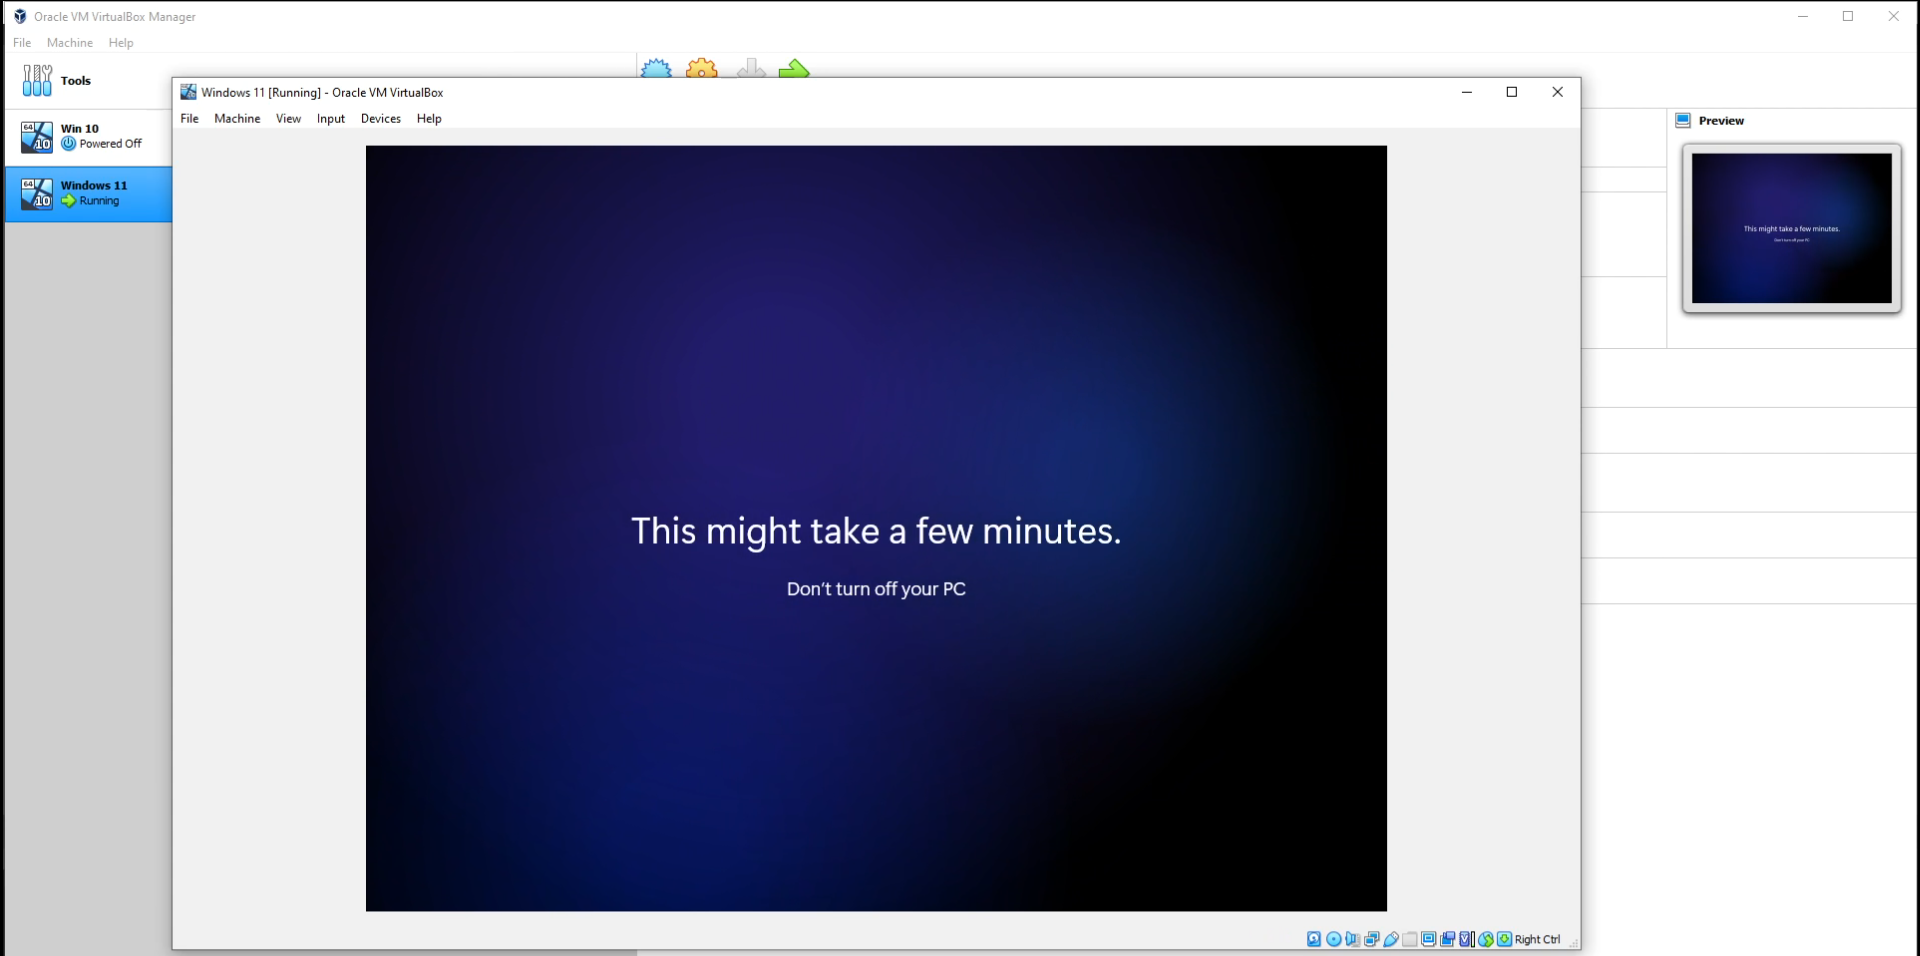
Now wait a bit for windows to introduce itself and prepare everything for you!
Congratulations!
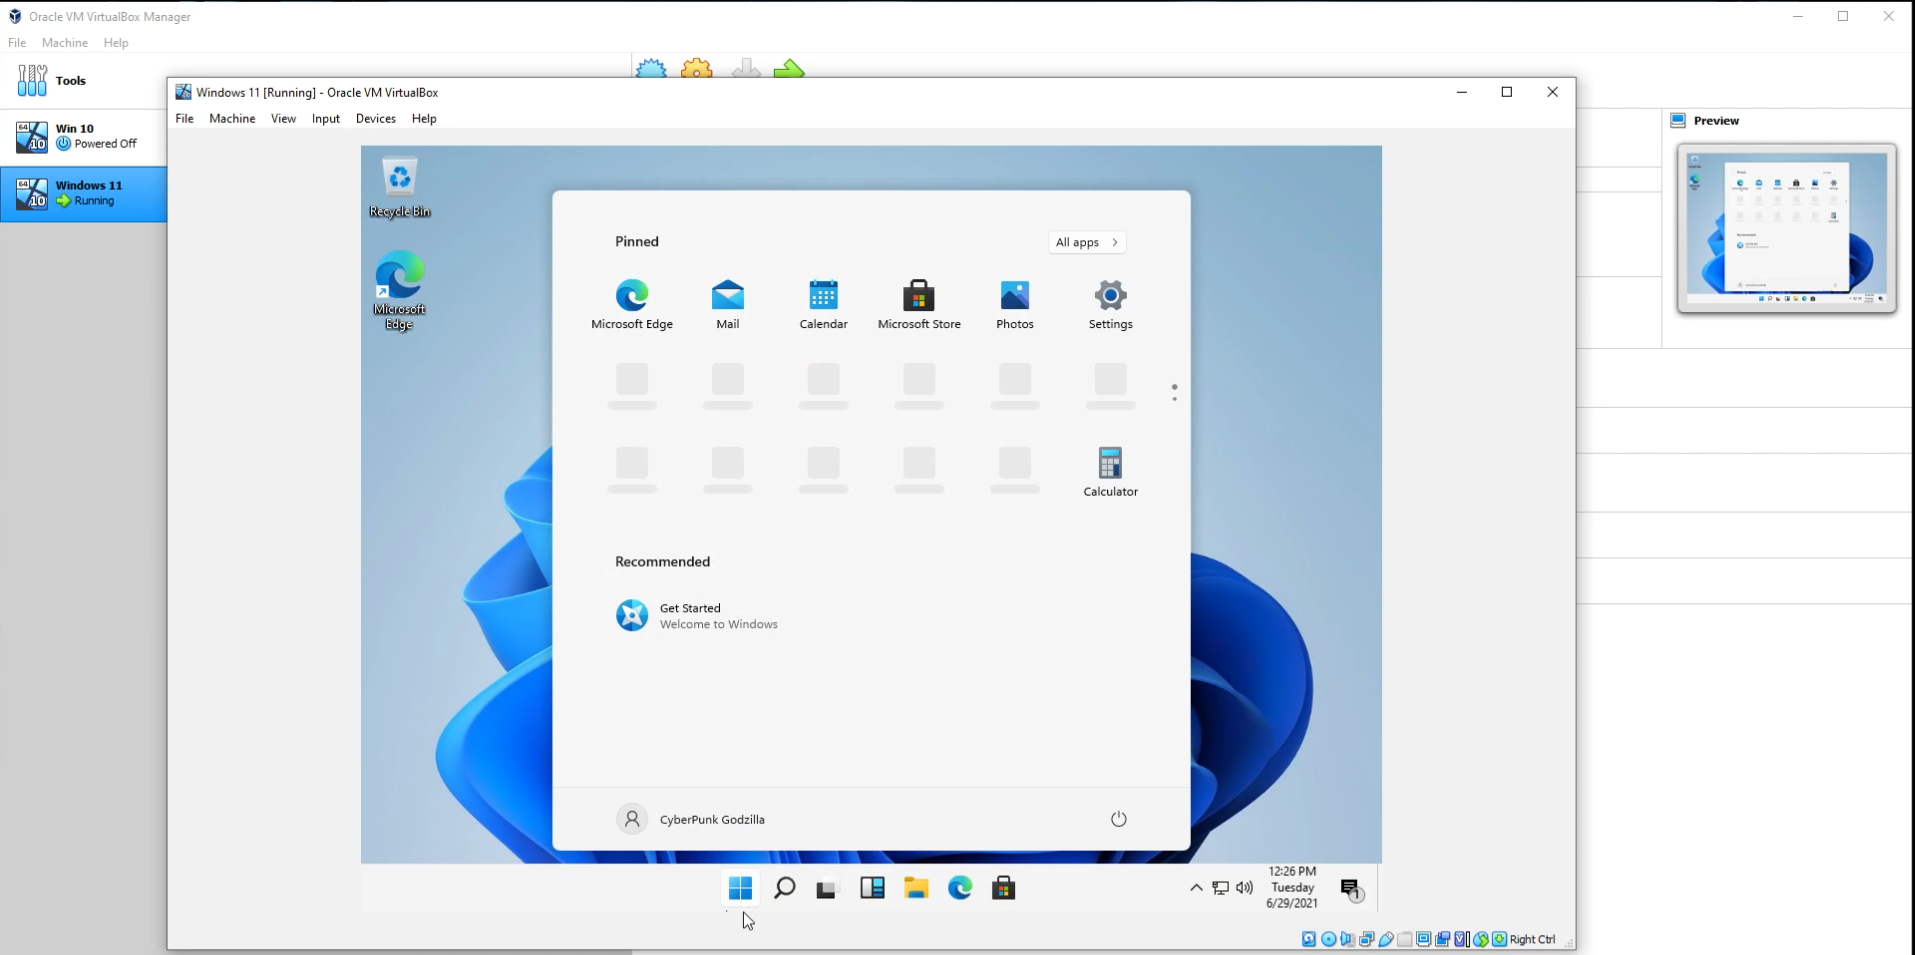
You have successfully installed the windows 11 demo version in the clip below you can see in detail the part as well as the part of setting up windows 11 Thanks for reading this quick tutorial!