How to Install Prebond Hair Extensions With Linkies
by Doctored Locks in Living > Beauty
651 Views, 6 Favorites, 0 Comments
How to Install Prebond Hair Extensions With Linkies
Ready to get the mermaid hair of your dreams? In this video Doc will show you how to install prebond hair with linkies beads!
For this tutorial you will need:
- A Comb
- Shears
- Microneedle (Make sure this needle matches the size of your linkies: in the video Doc uses 3mm linkies, 3mm prebond hair, and a 3mm microneedle)
- Closer Tool
- Opener Tool
- Linkies Beads
- Prebond Hair Extensions
- Crocodile Clips
Got your supplies? Lets do this!
Part Hair
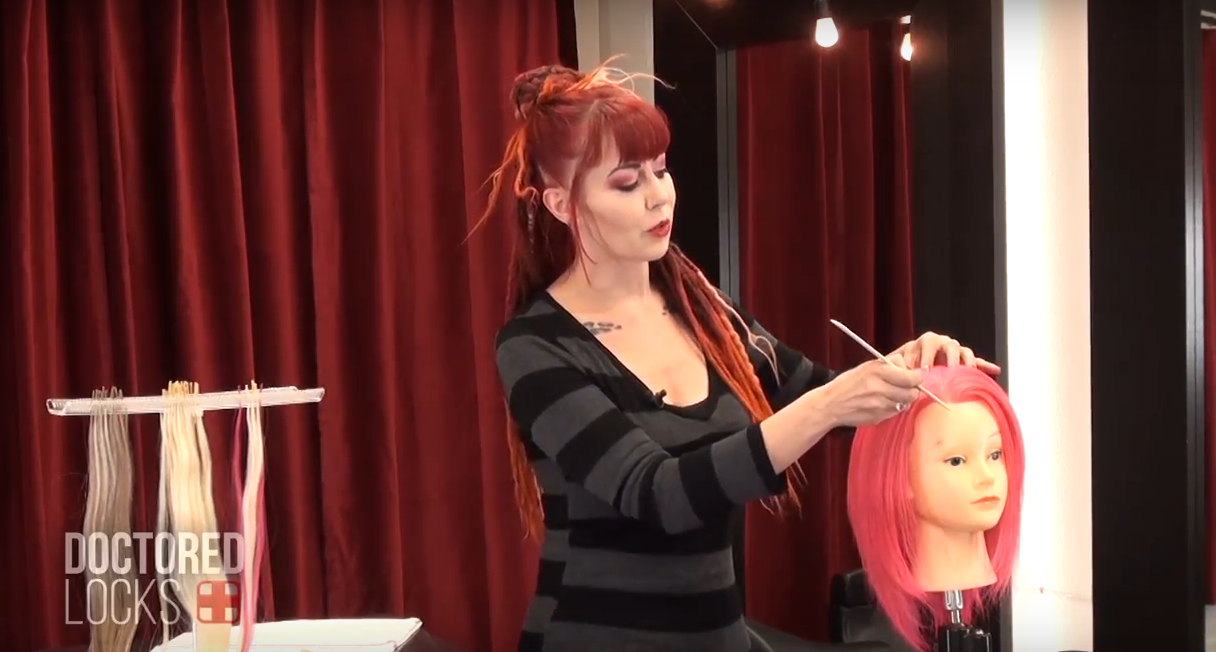
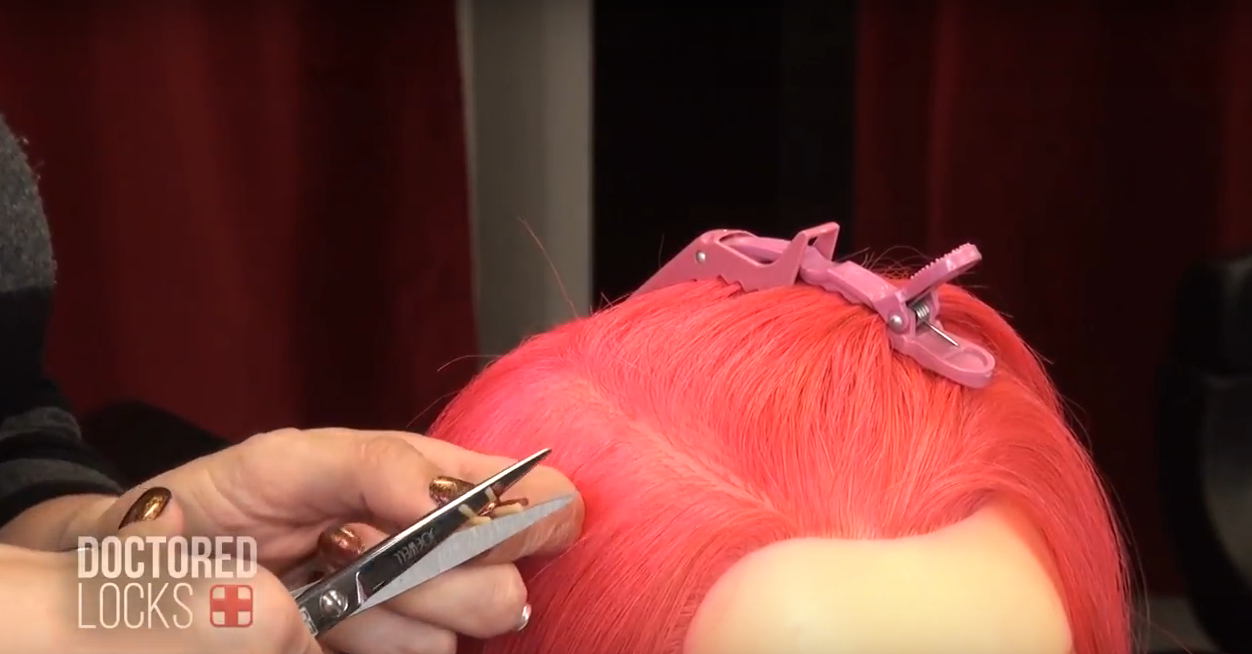
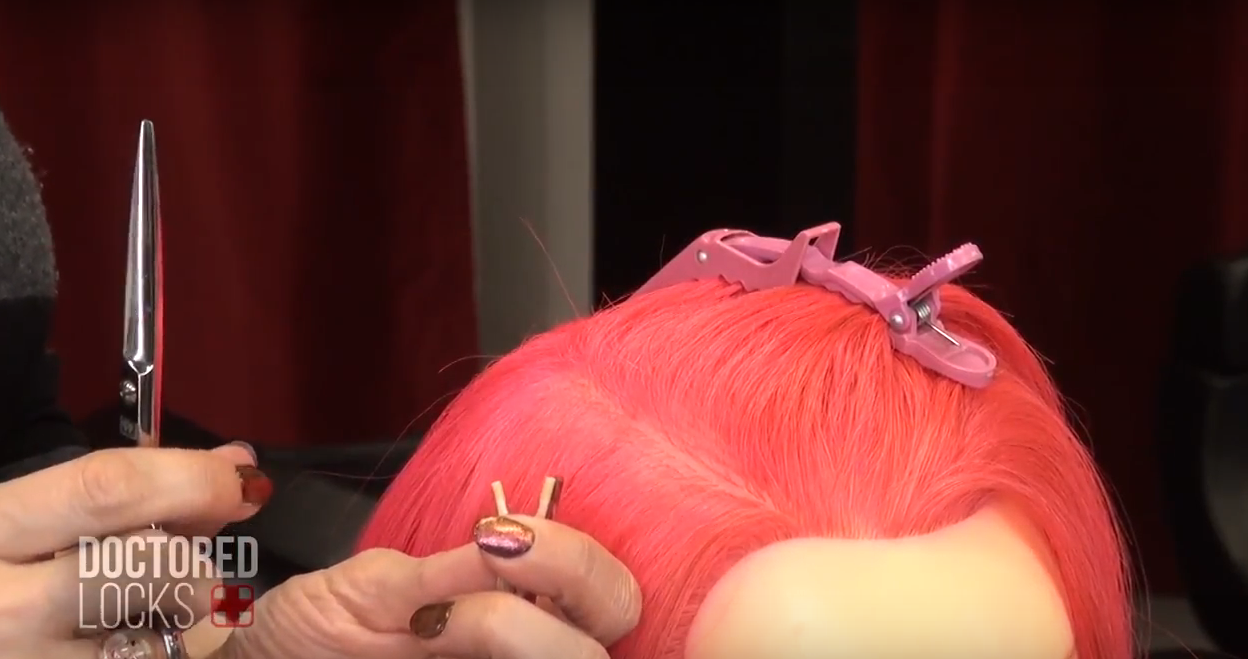
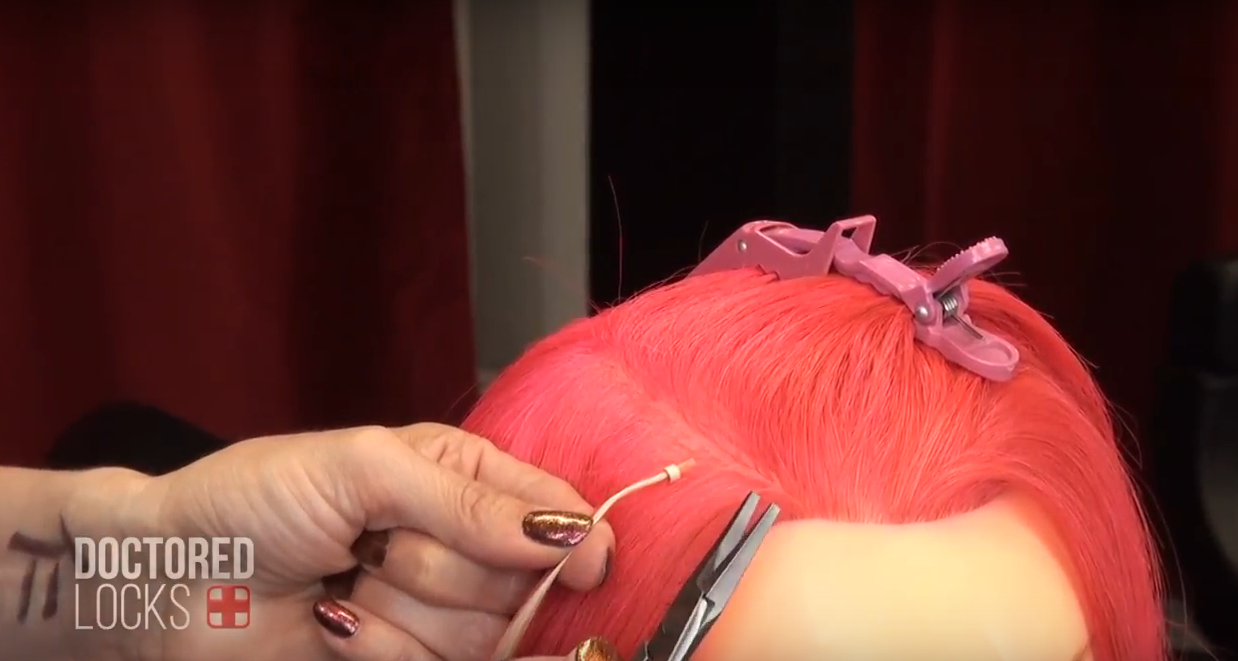
Section hair away from the part line, securing with a clip. Before your installation, you can cut down the ends of your prebonded hair, that way you won't have large sections of the extension coming out of your bead.
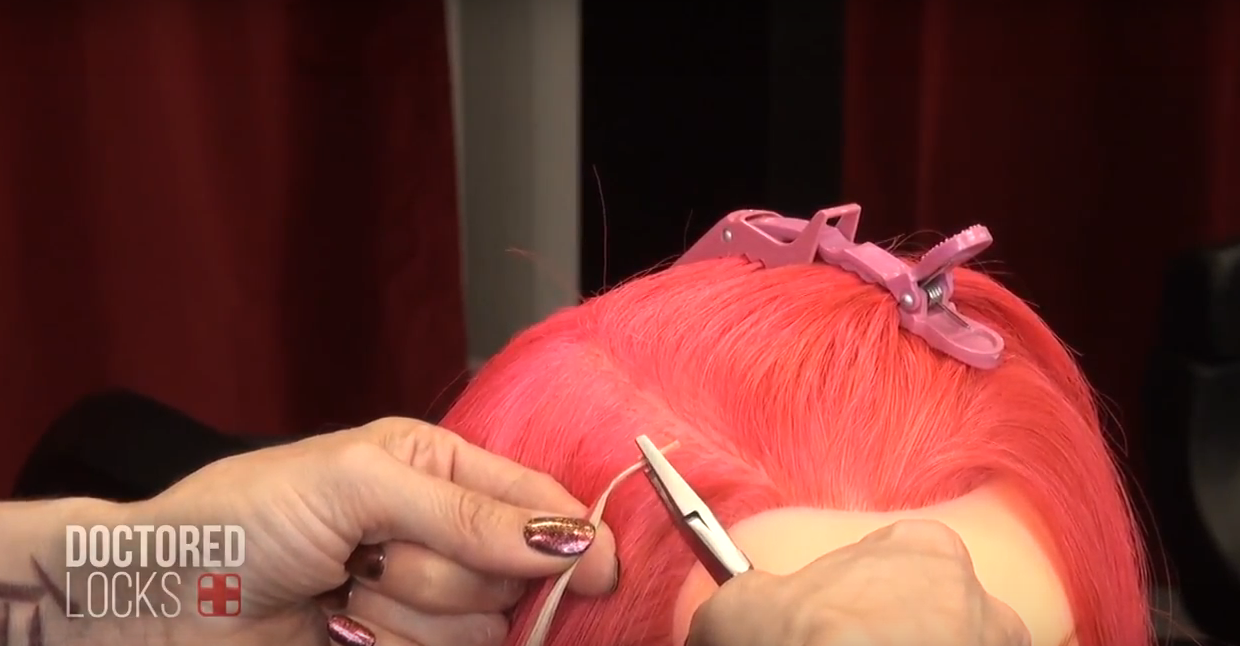
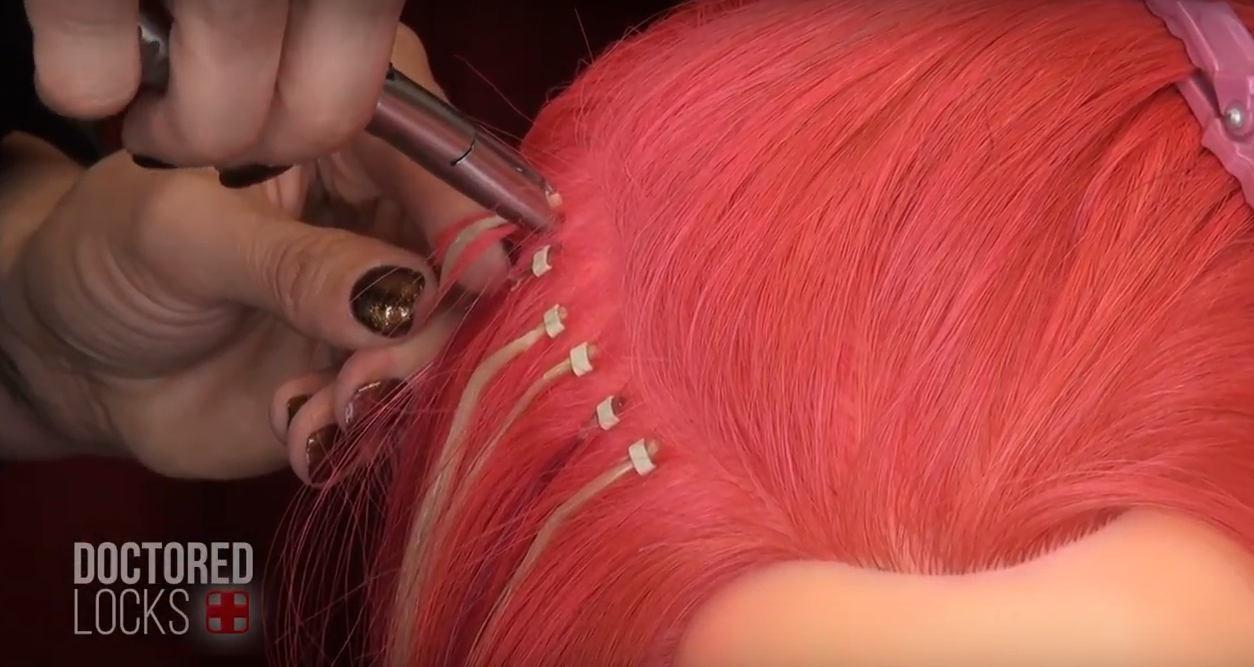
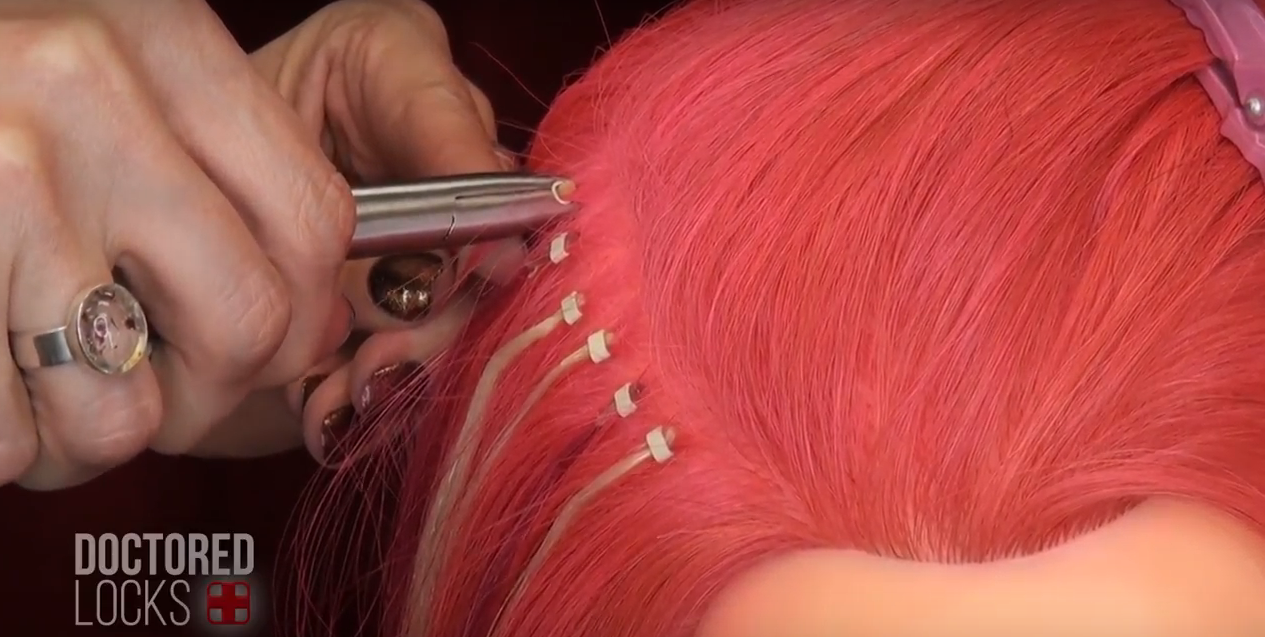
Linkies
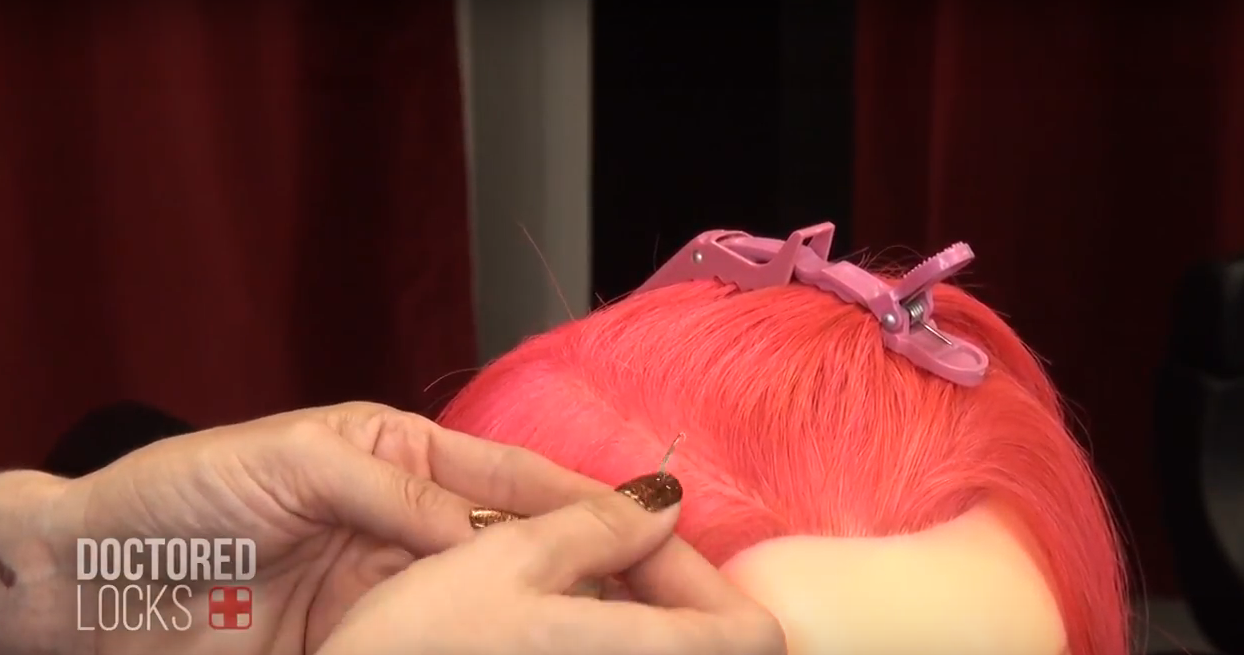
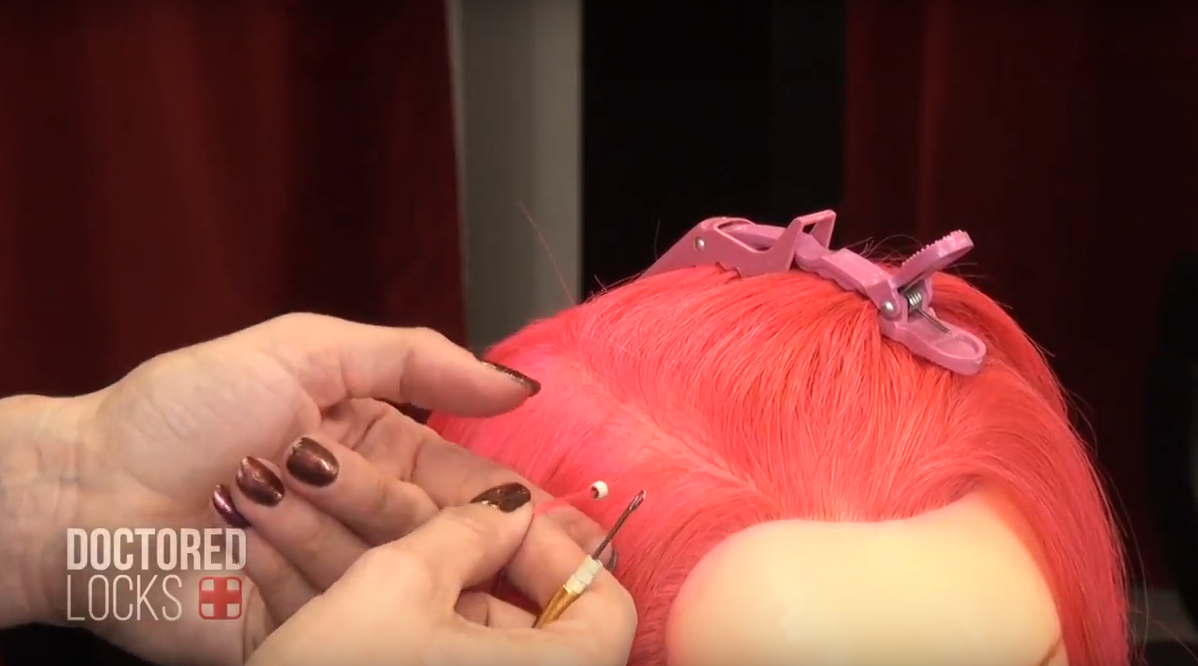
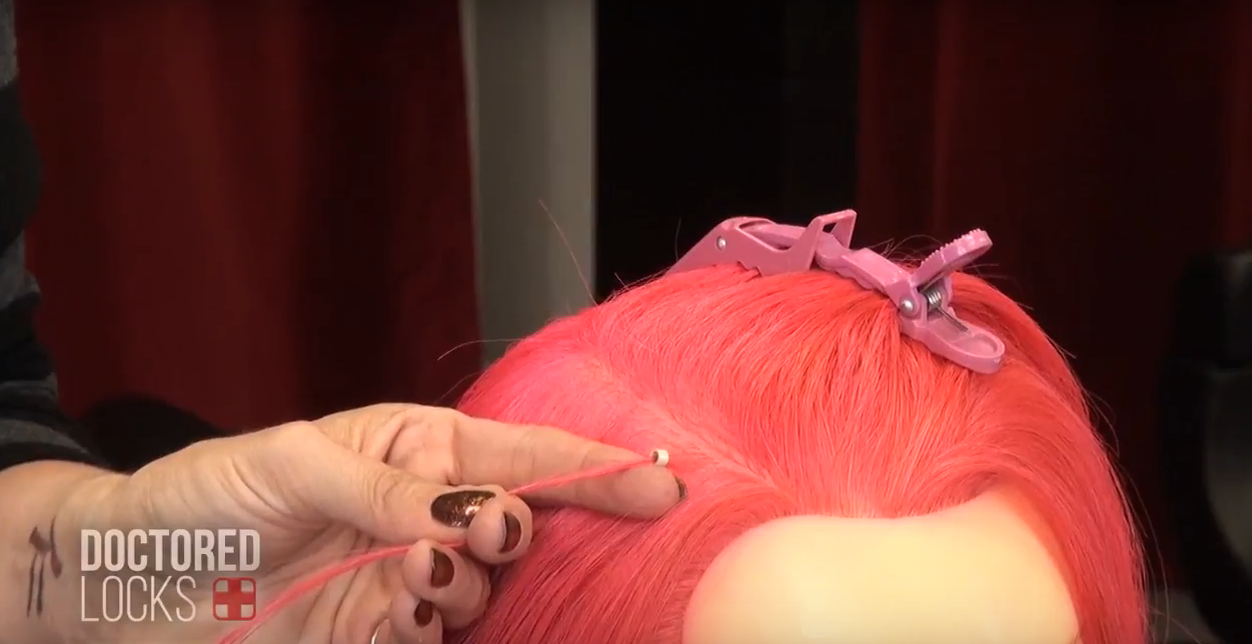
Place Linkies onto the microneedle. Pick up a section of natural hair with the microneedle and slide the Link onto it.
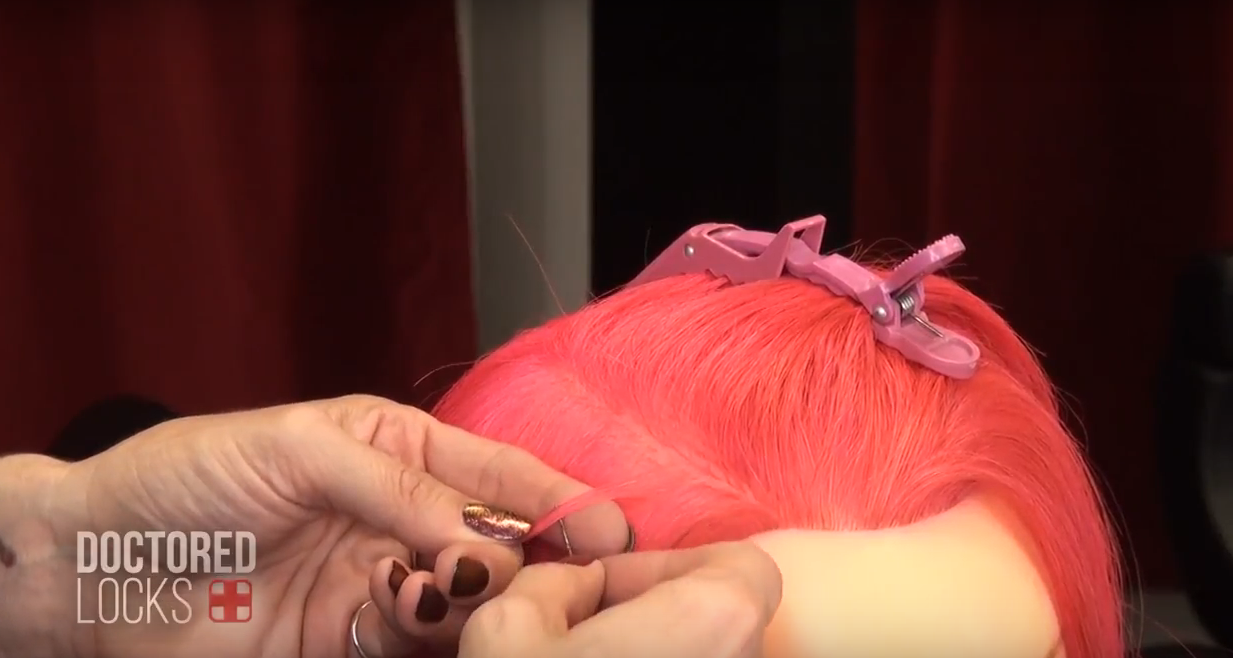
Add Prebond Hair
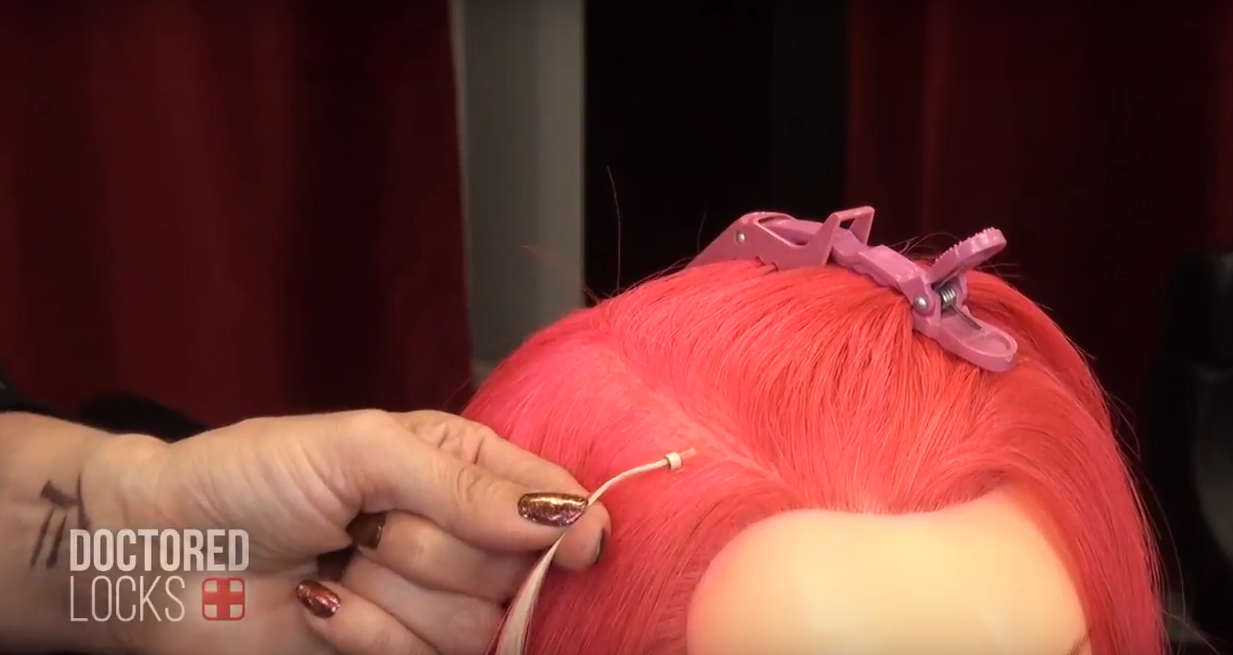
Pick a single piece of bonded extension hair and insert the tip into the Link.
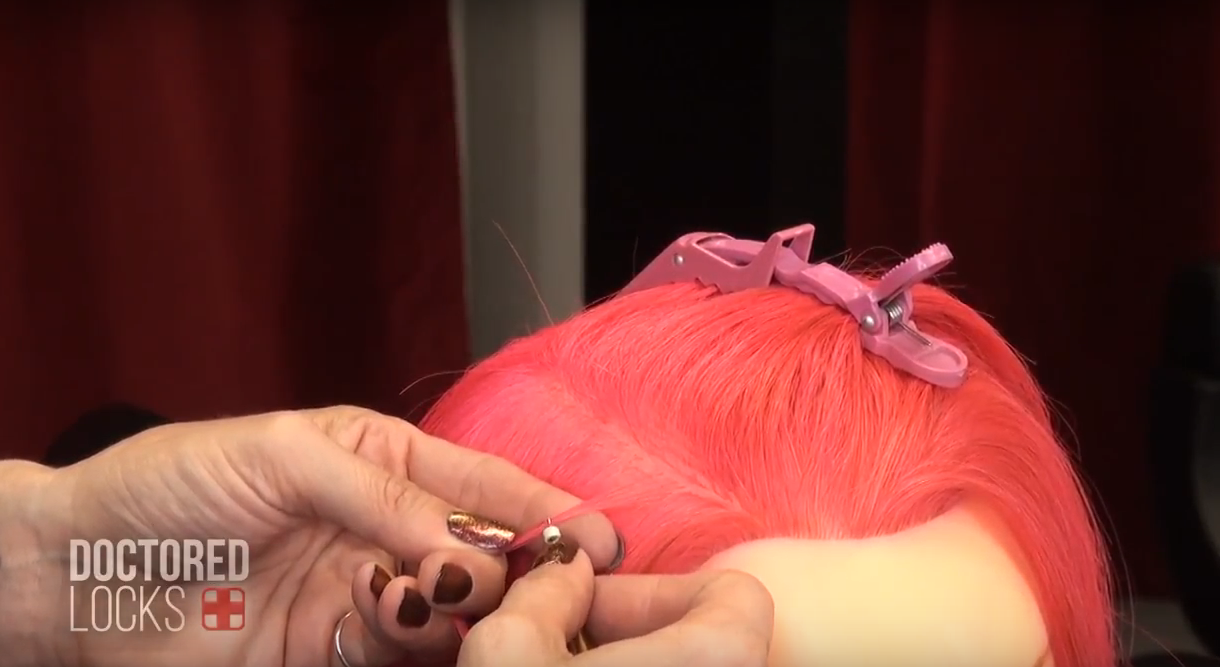
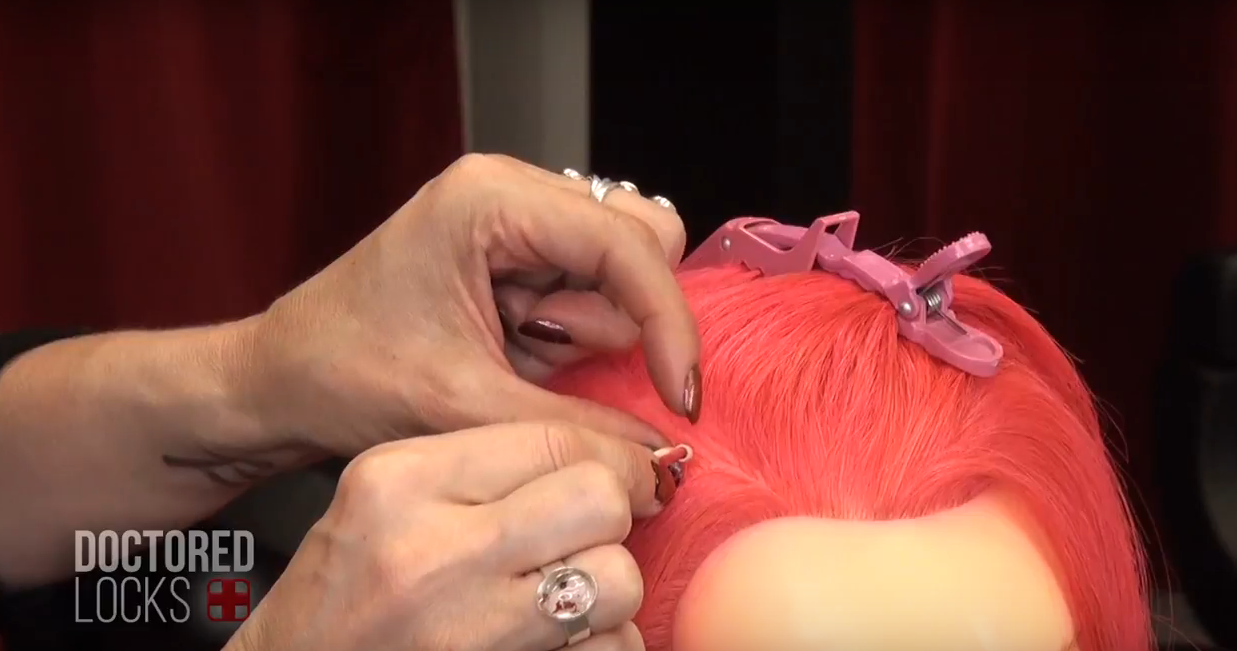
Secure
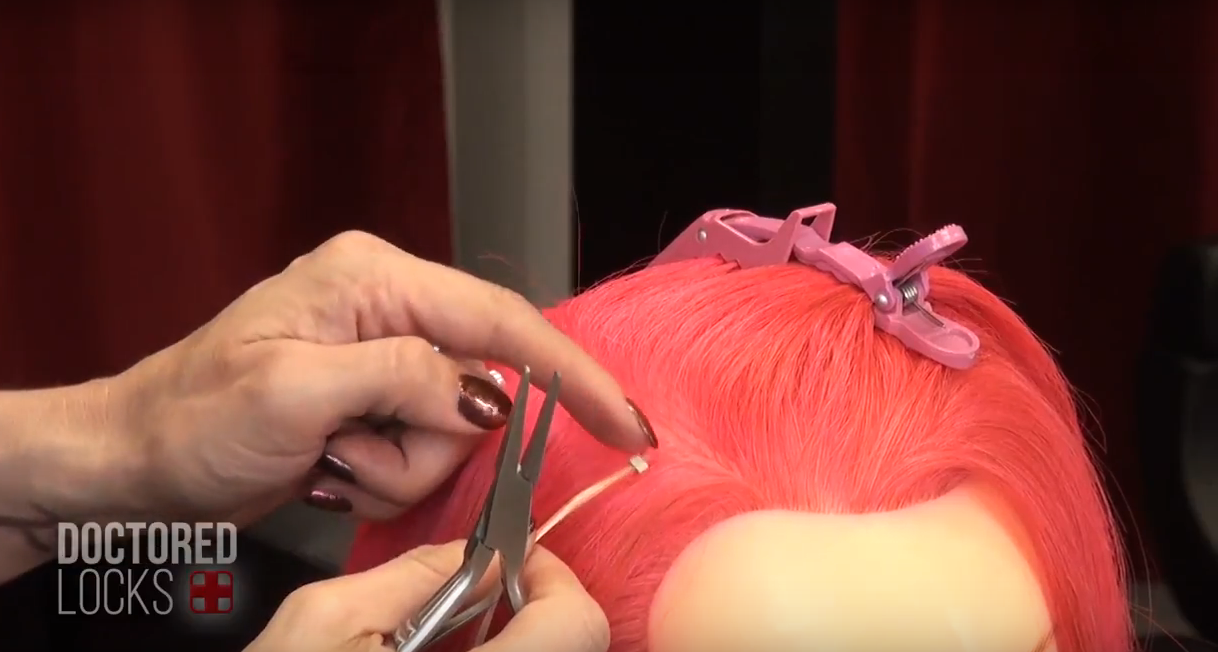
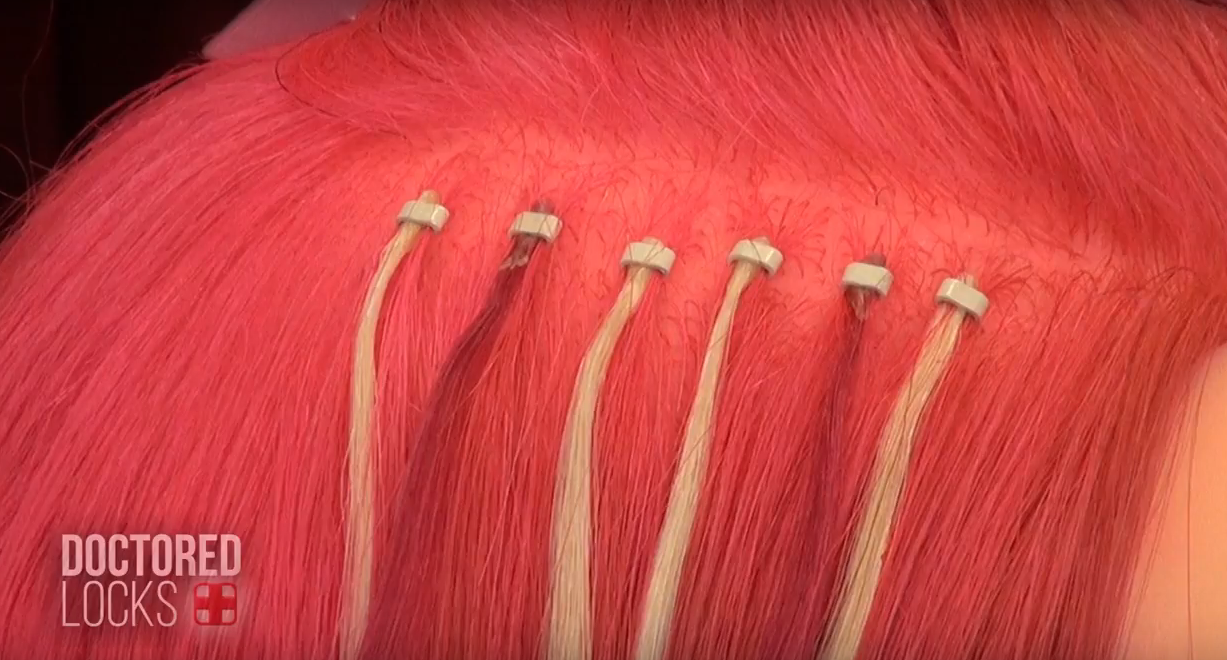
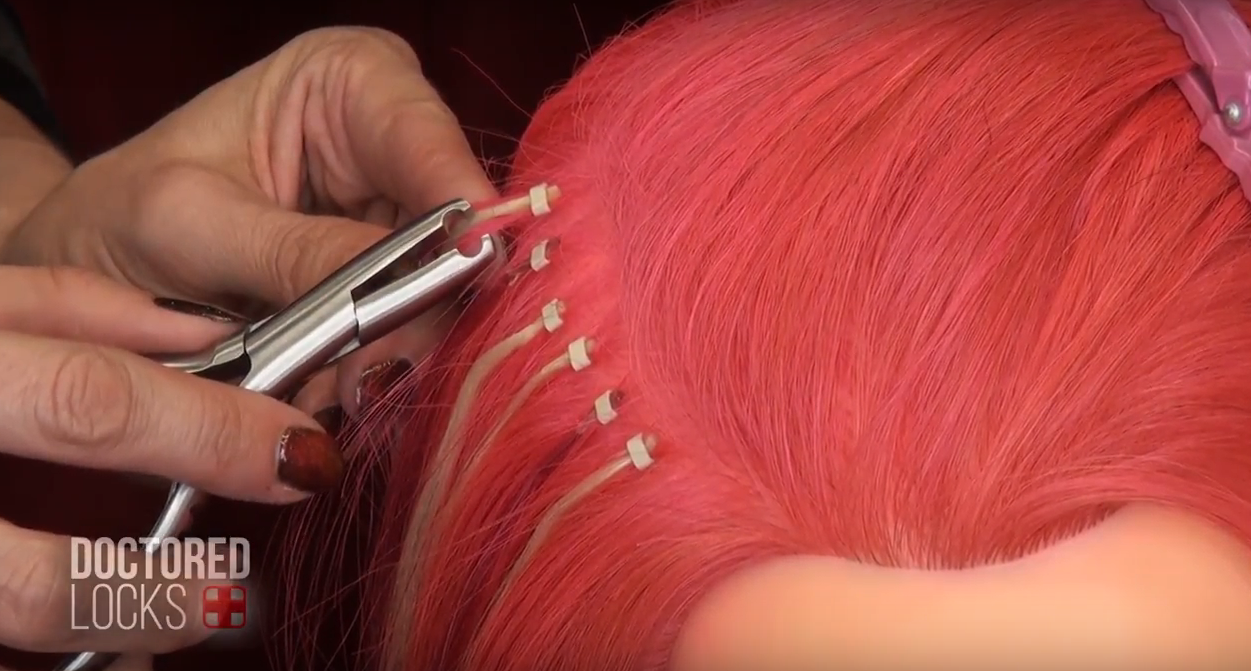
Using your closer tool, position the Link and compress it to close. Continue this process until you have completed your style.
Removal
Slide a closed Link into the opener tool.
Apply gentle pressure and the Link will pop open.
Slide Link and extension hair off of the natural strand.
Repeat until all extensions have been removed.