How to Install Lowering Springs | Chevy Cruze
by MikeF246 in Workshop > Cars
1196 Views, 1 Favorites, 0 Comments
How to Install Lowering Springs | Chevy Cruze

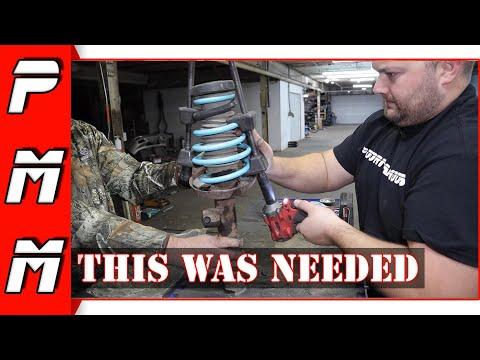
Freddy from PoorManMods shows you how to install lowering springs by installing a set of God Speed lowering springs on a 2013 Chevy cruze. This is a step by step for the chevy cruze, but the overall process can be applied to many vehicles.
Springs installed in this video: https://amzn.to/3dspHp2
Supplies
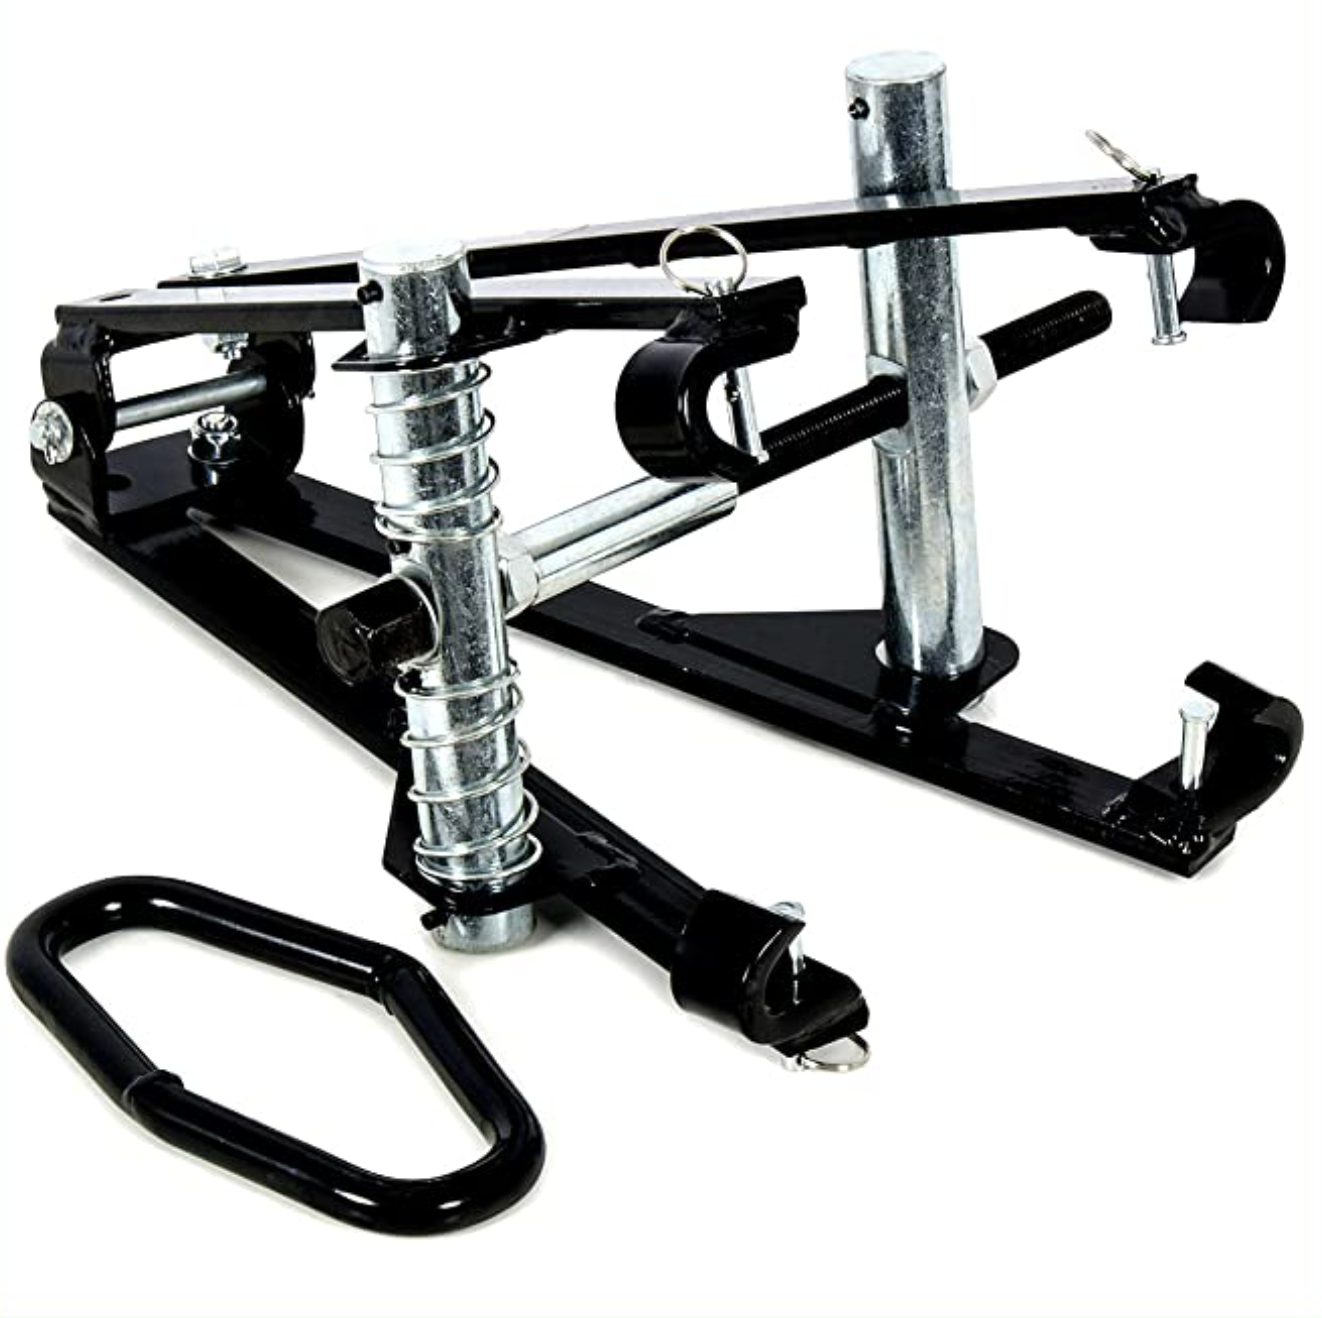
Spring Compressor https://amzn.to/32typ44
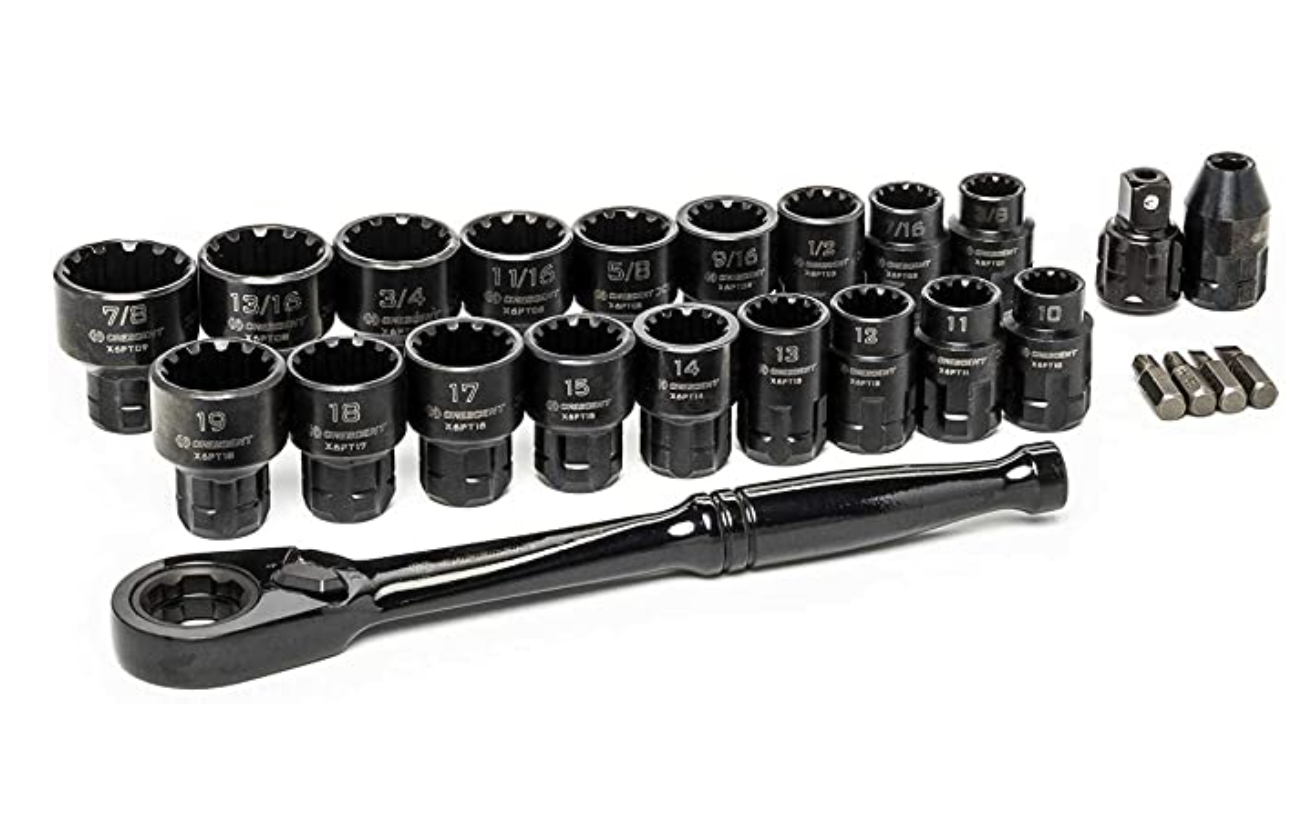
Pass through socket set https://amzn.to/3ySeIPI
Remove the Front Strut
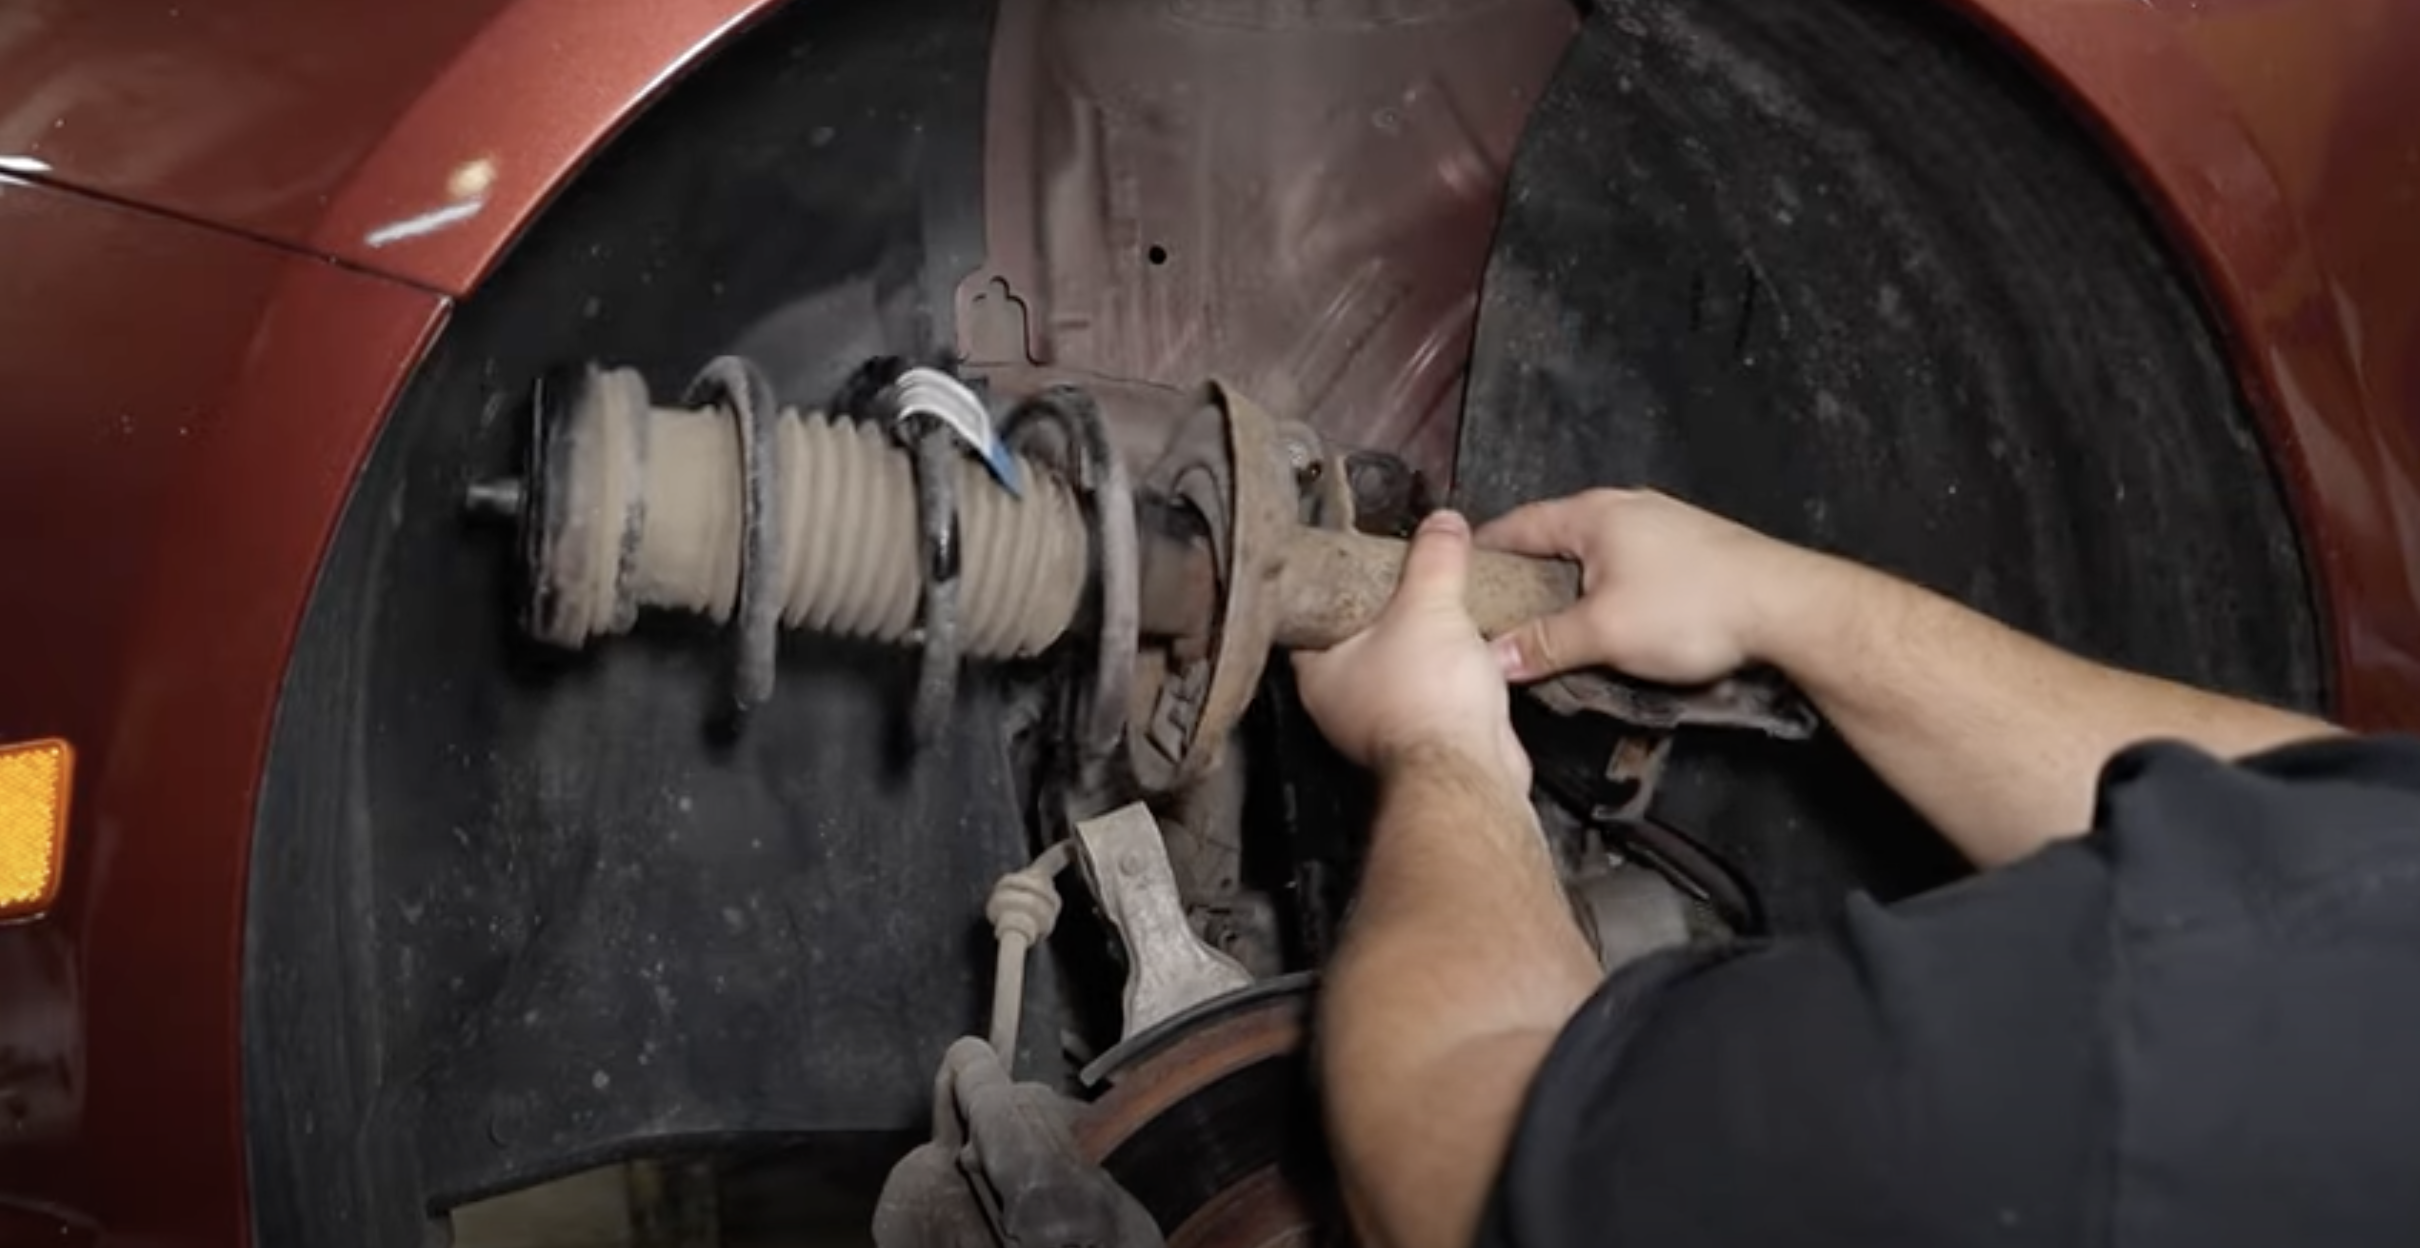
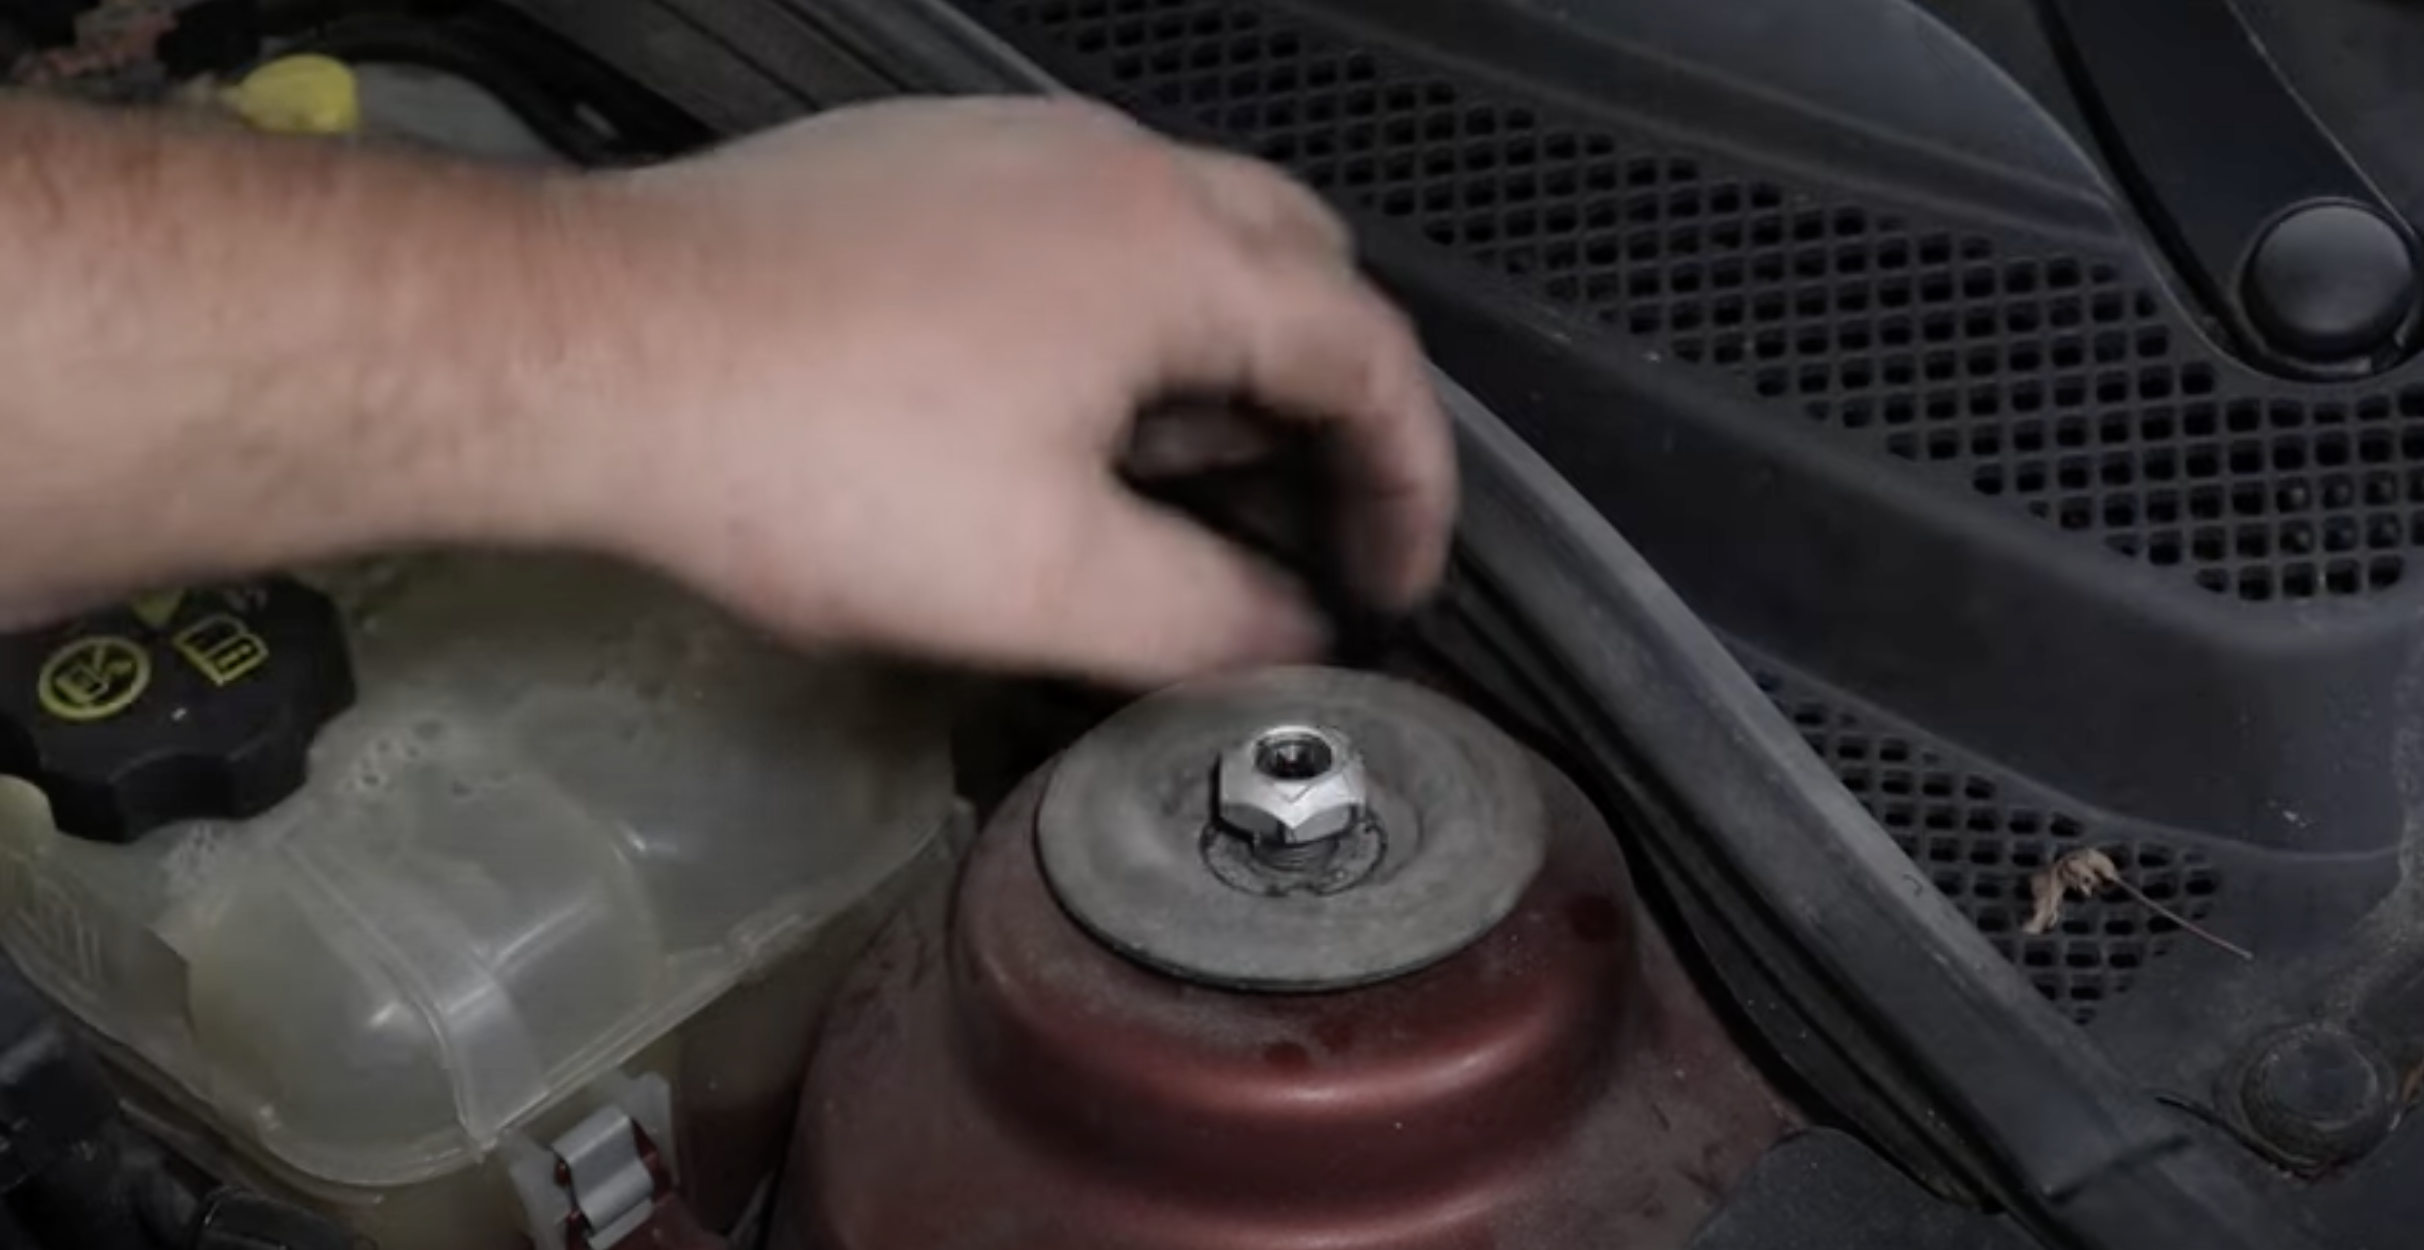
Remove the front strut:
- Remove the top nut
- Raise the car up and remove the wheel
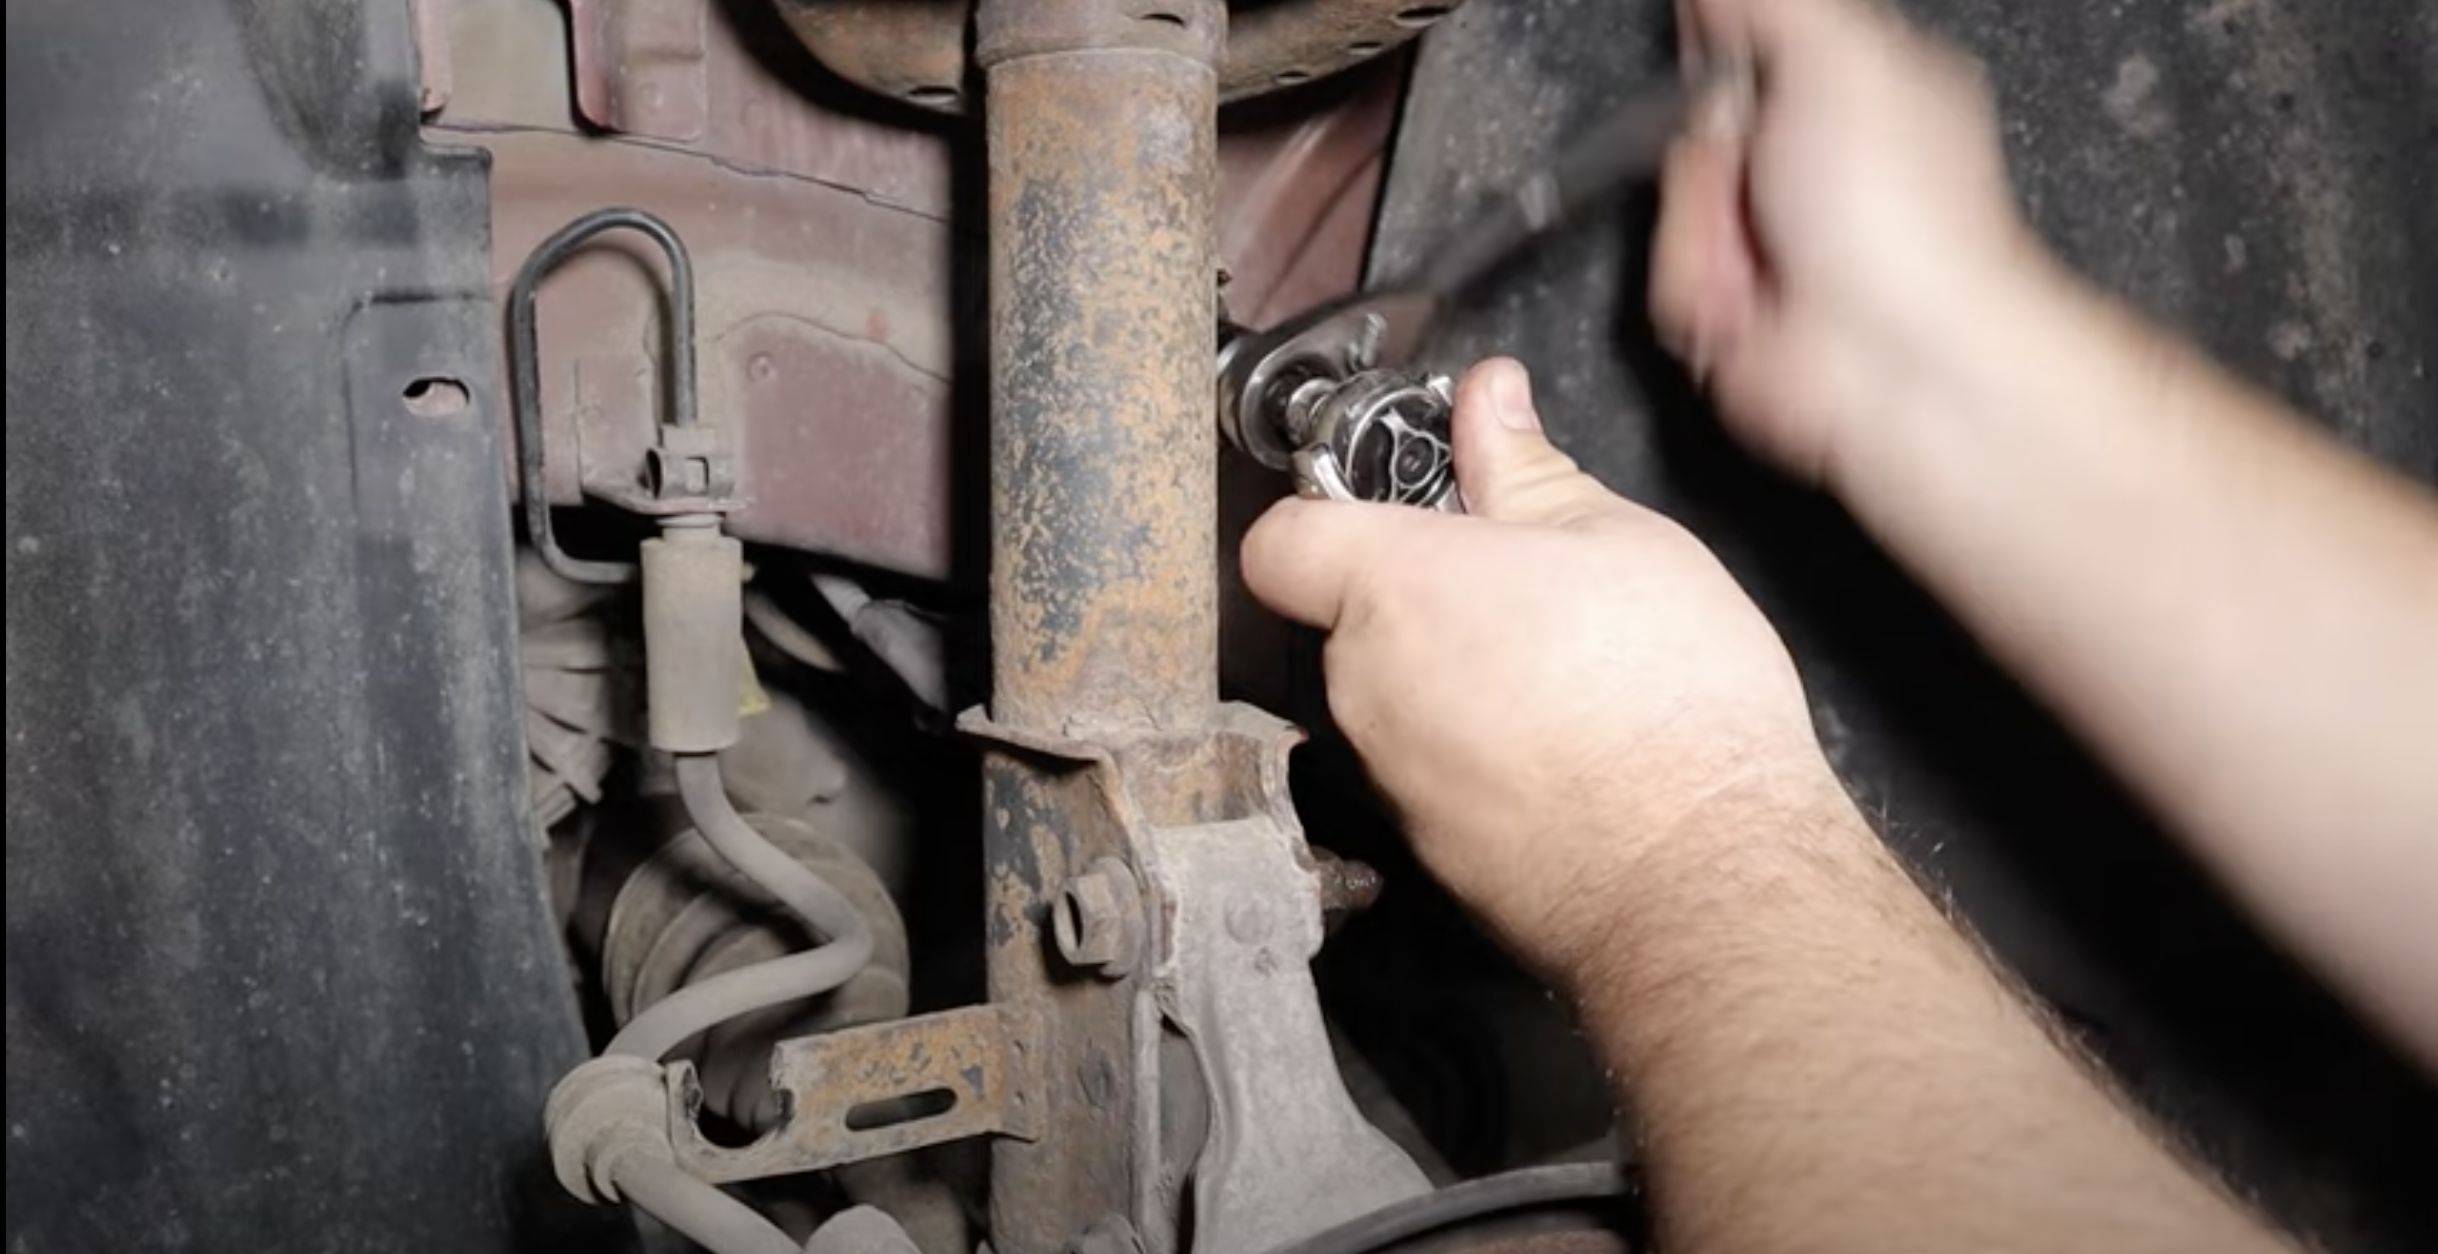
- With a pass through socket and allen wrench remove the nut from the sway bar end link
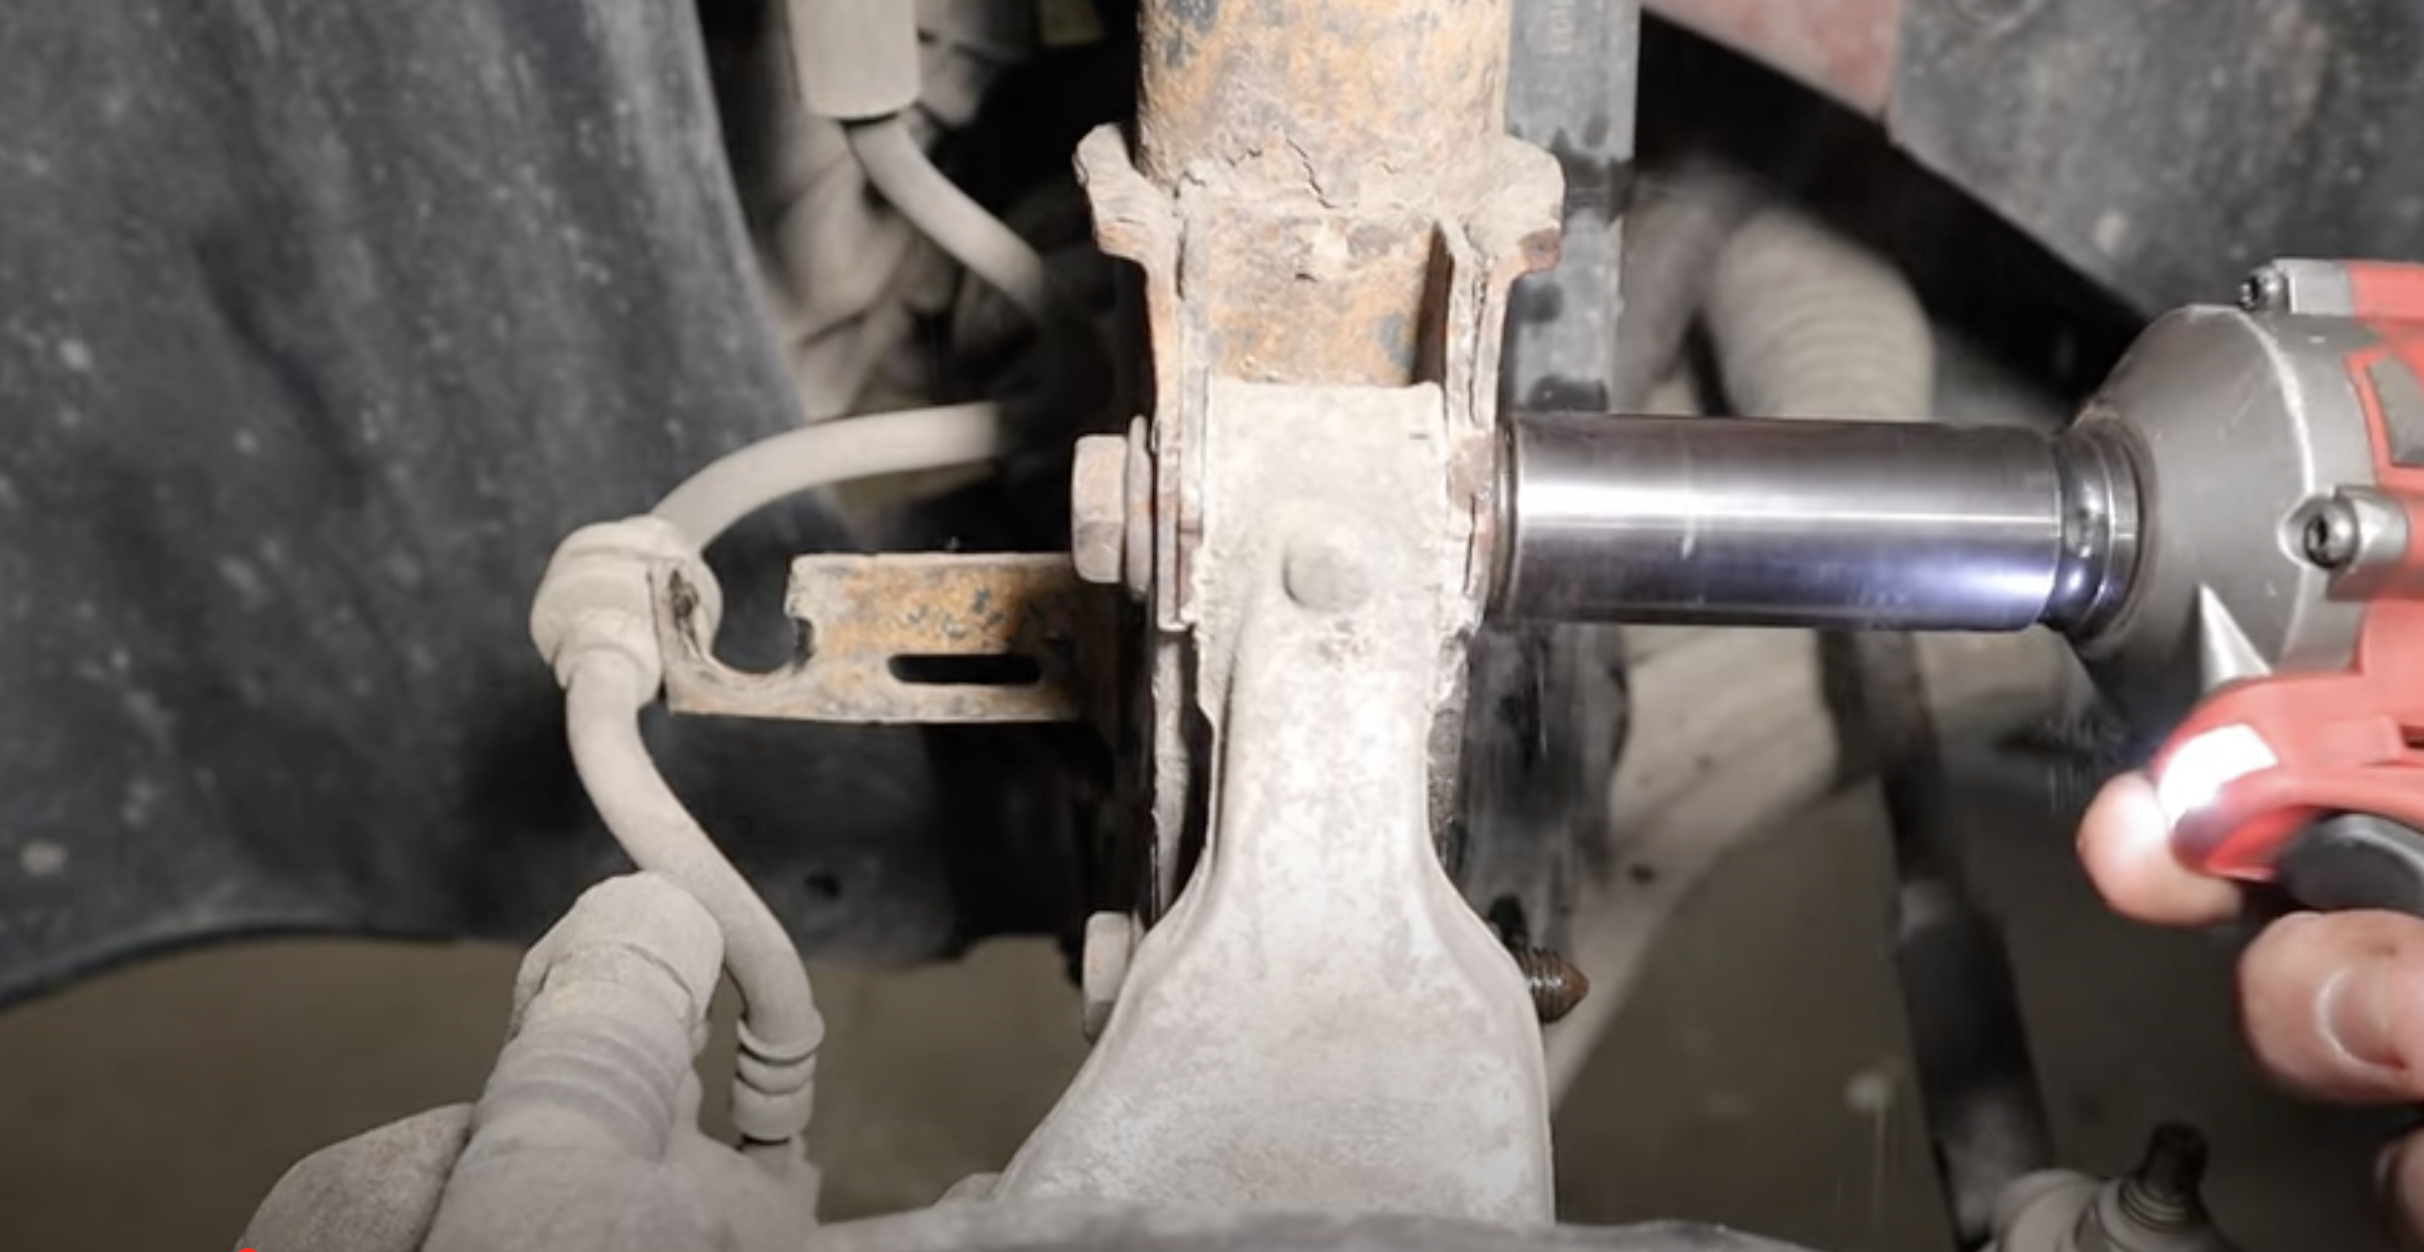
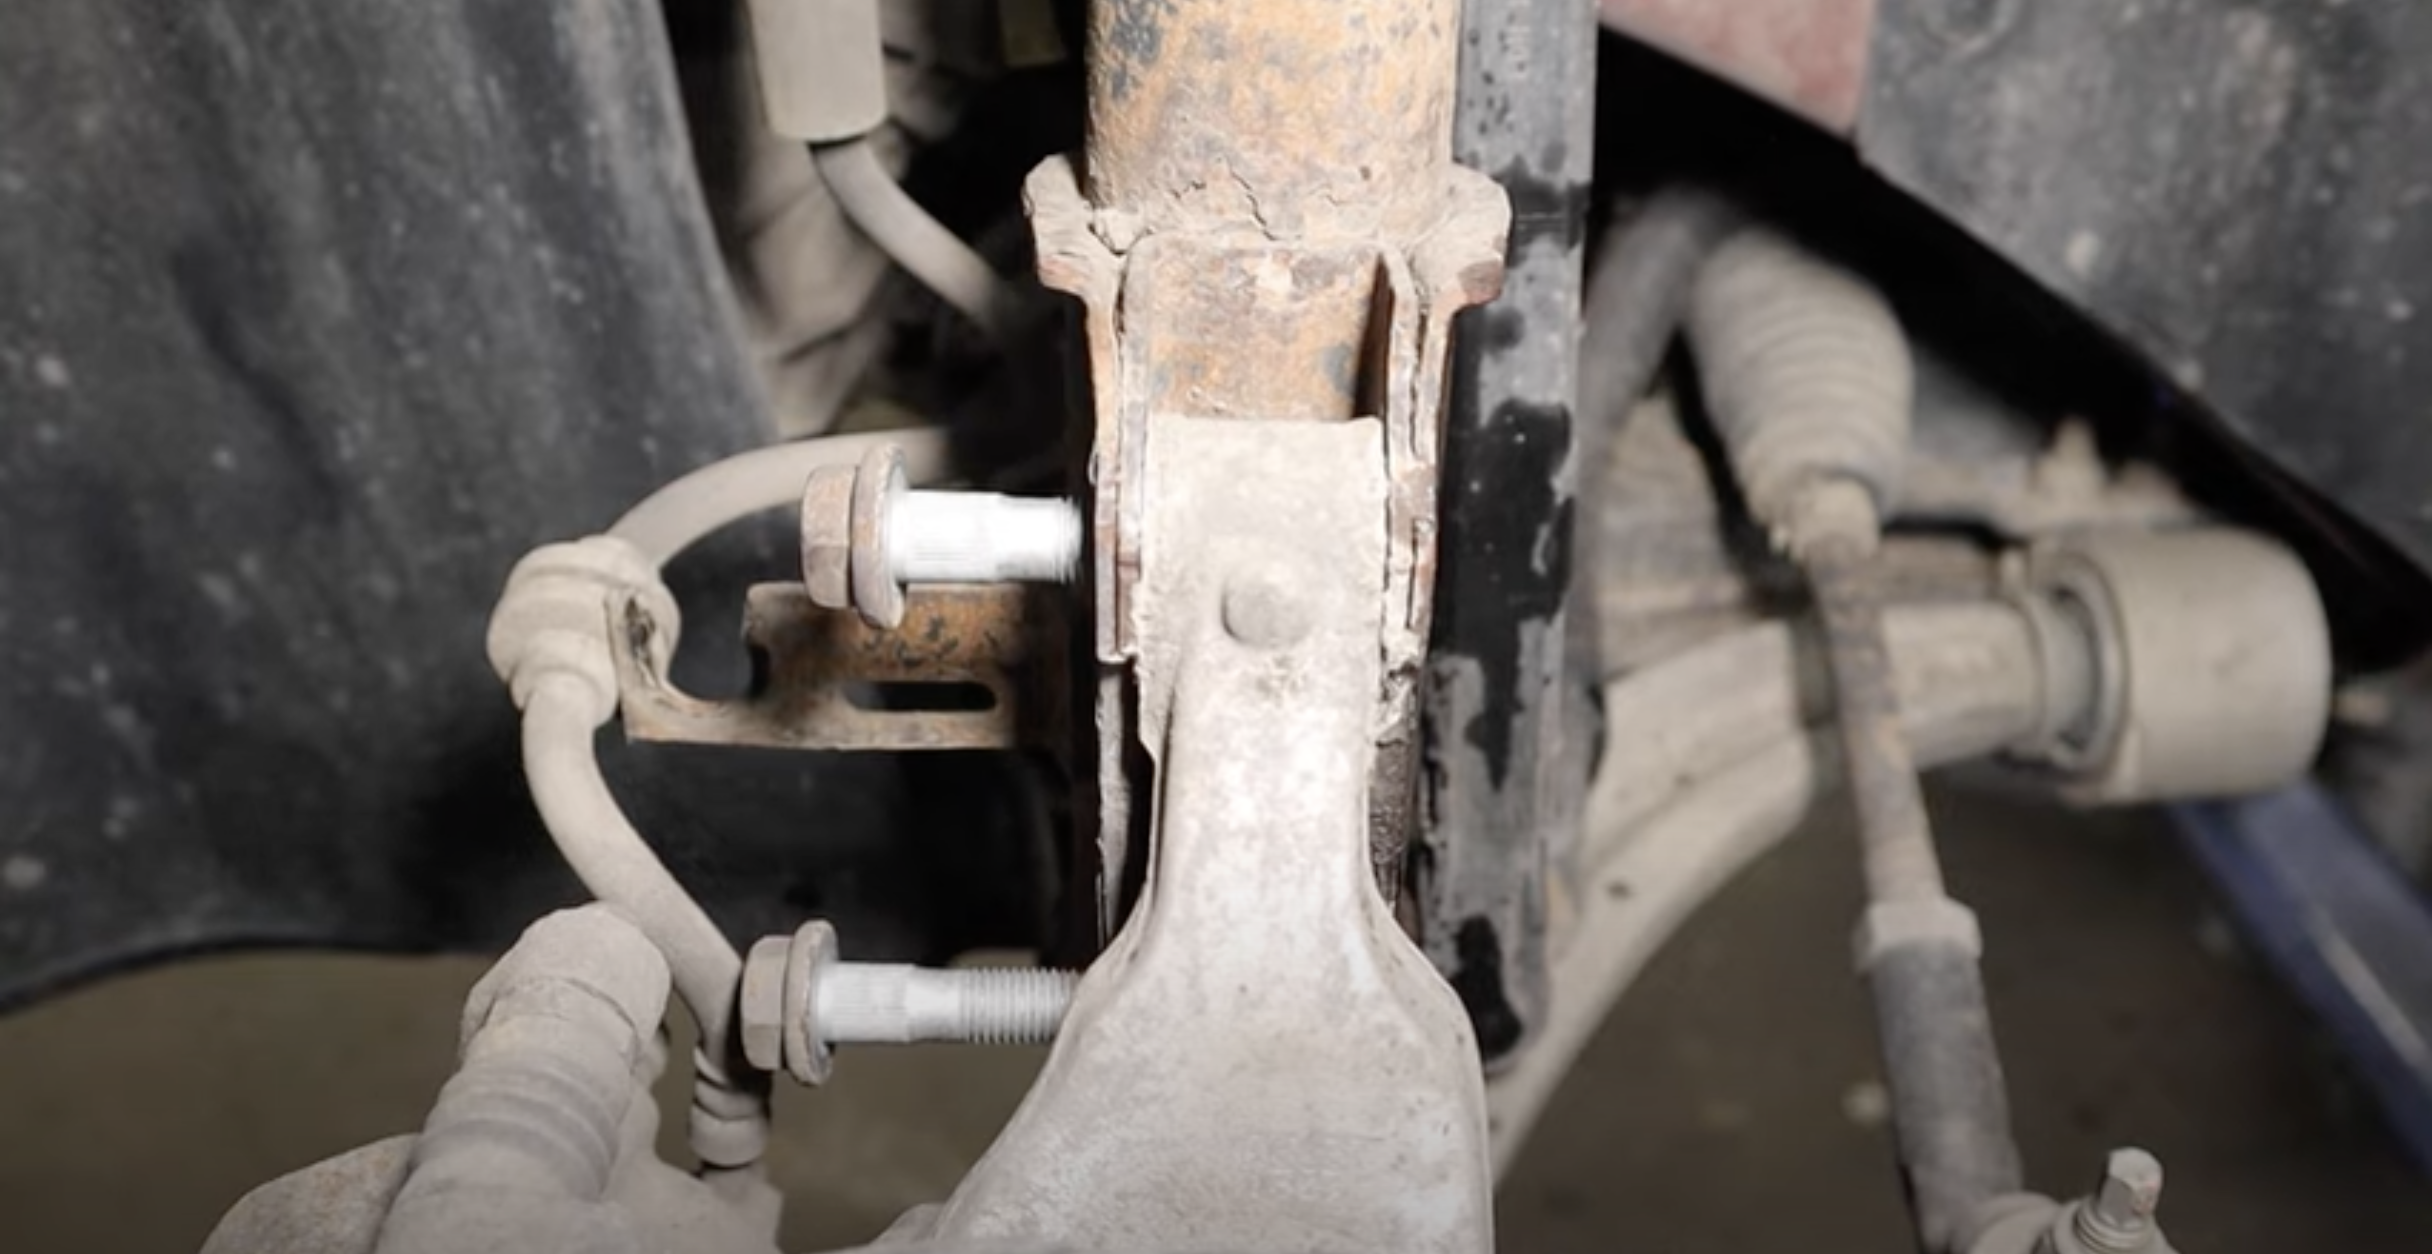
- Remove the 2 bolts securing the bottom of the strut
- Remove the Strut
Remove Front Spring
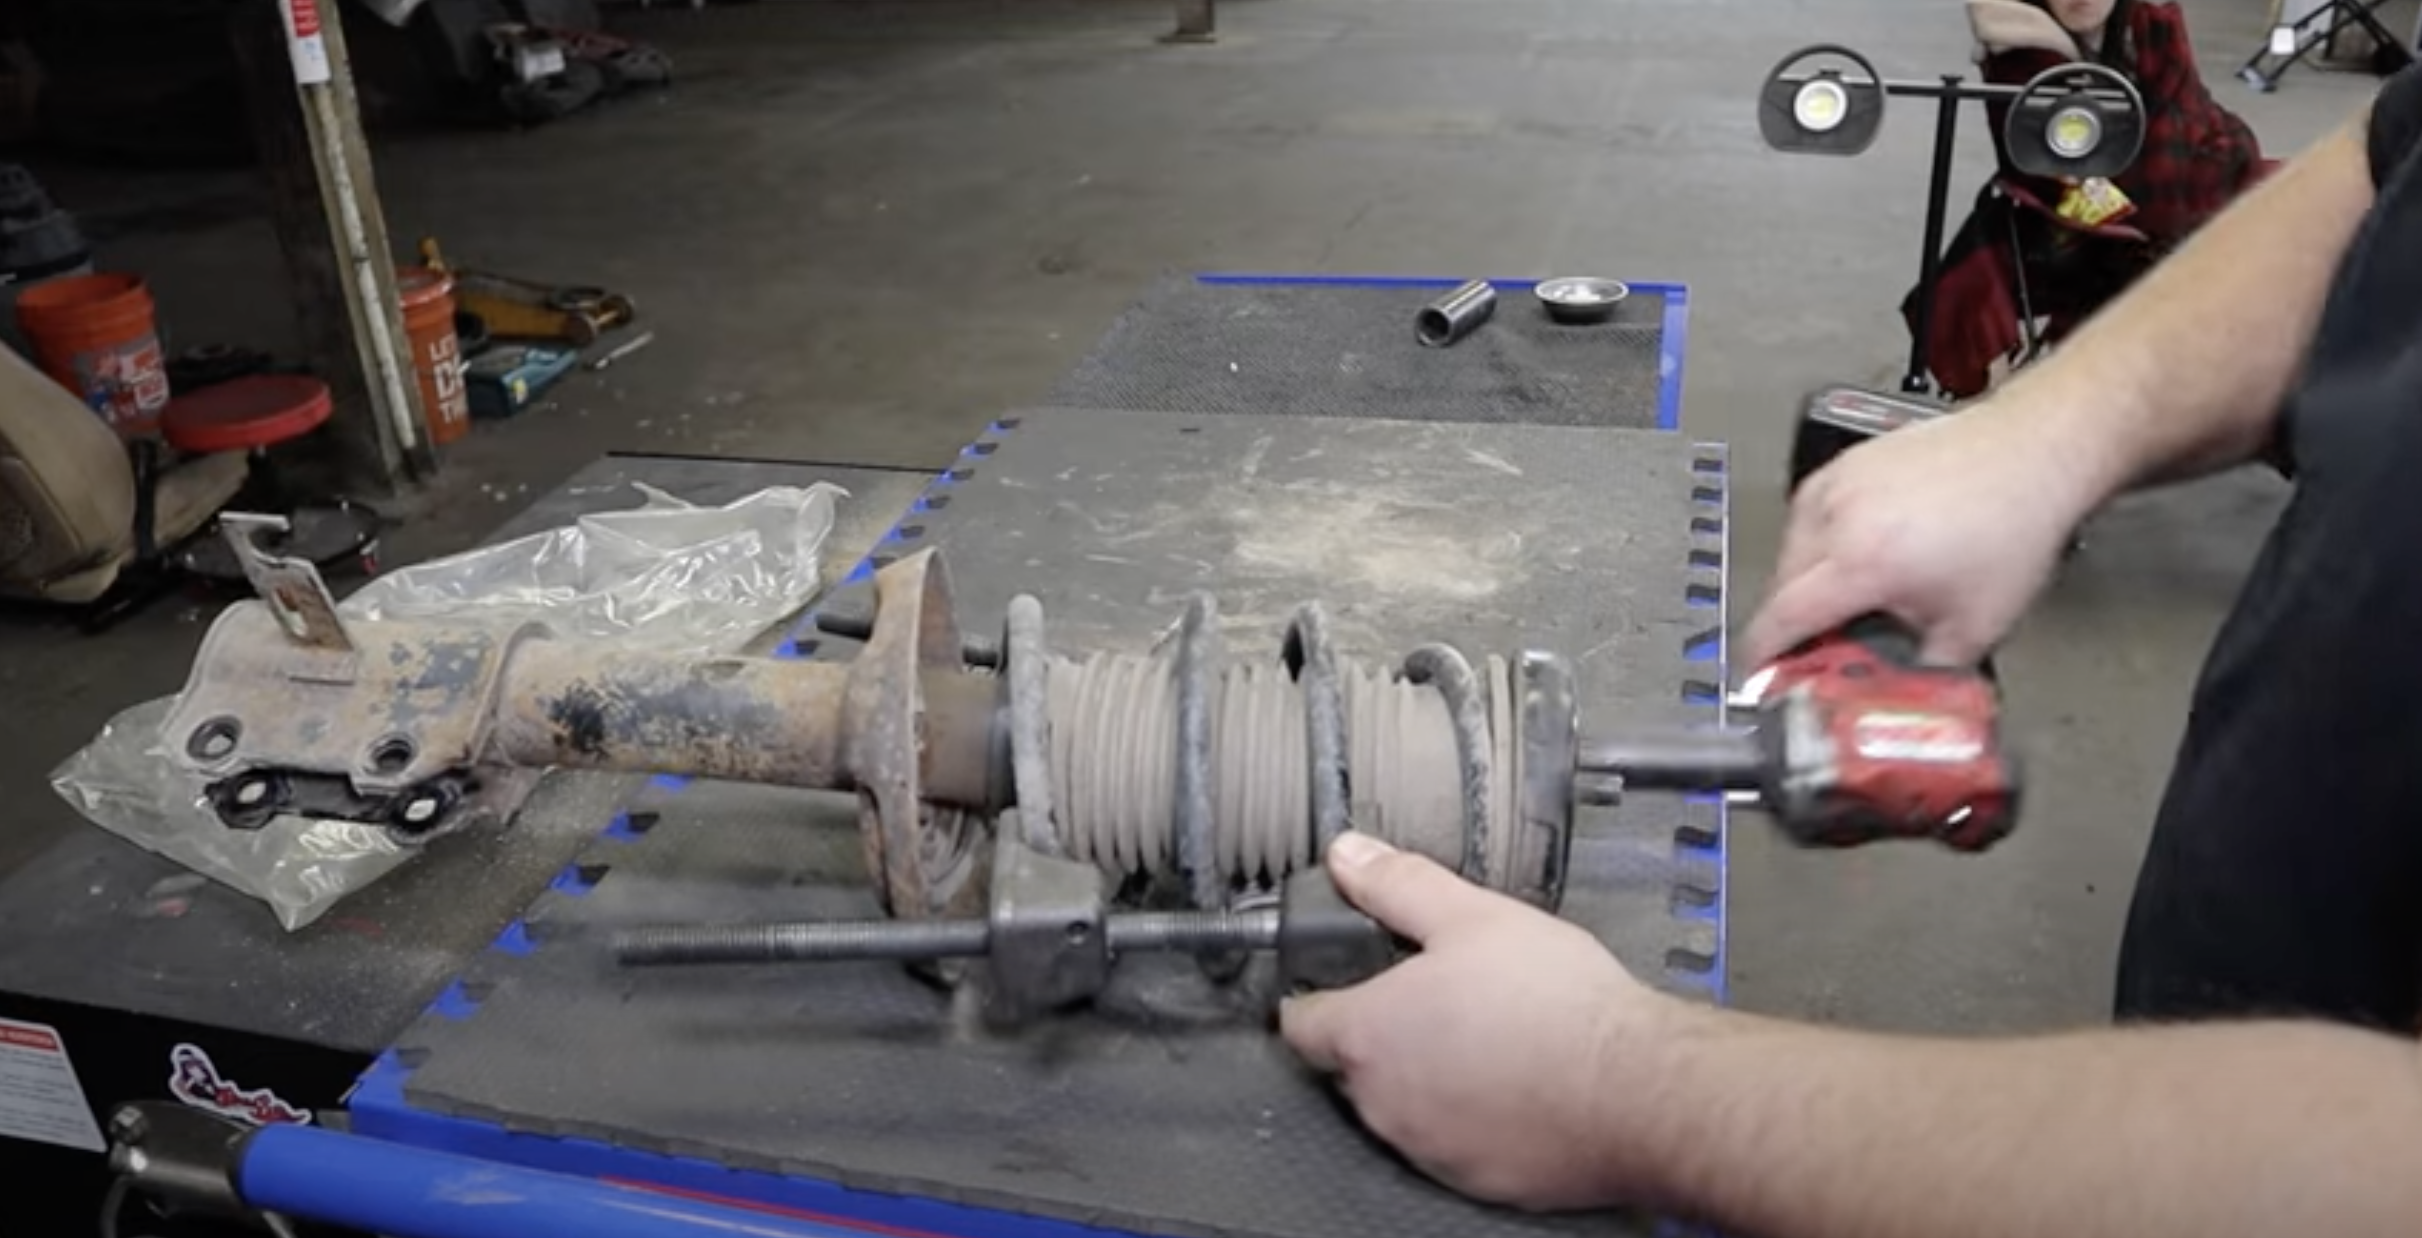
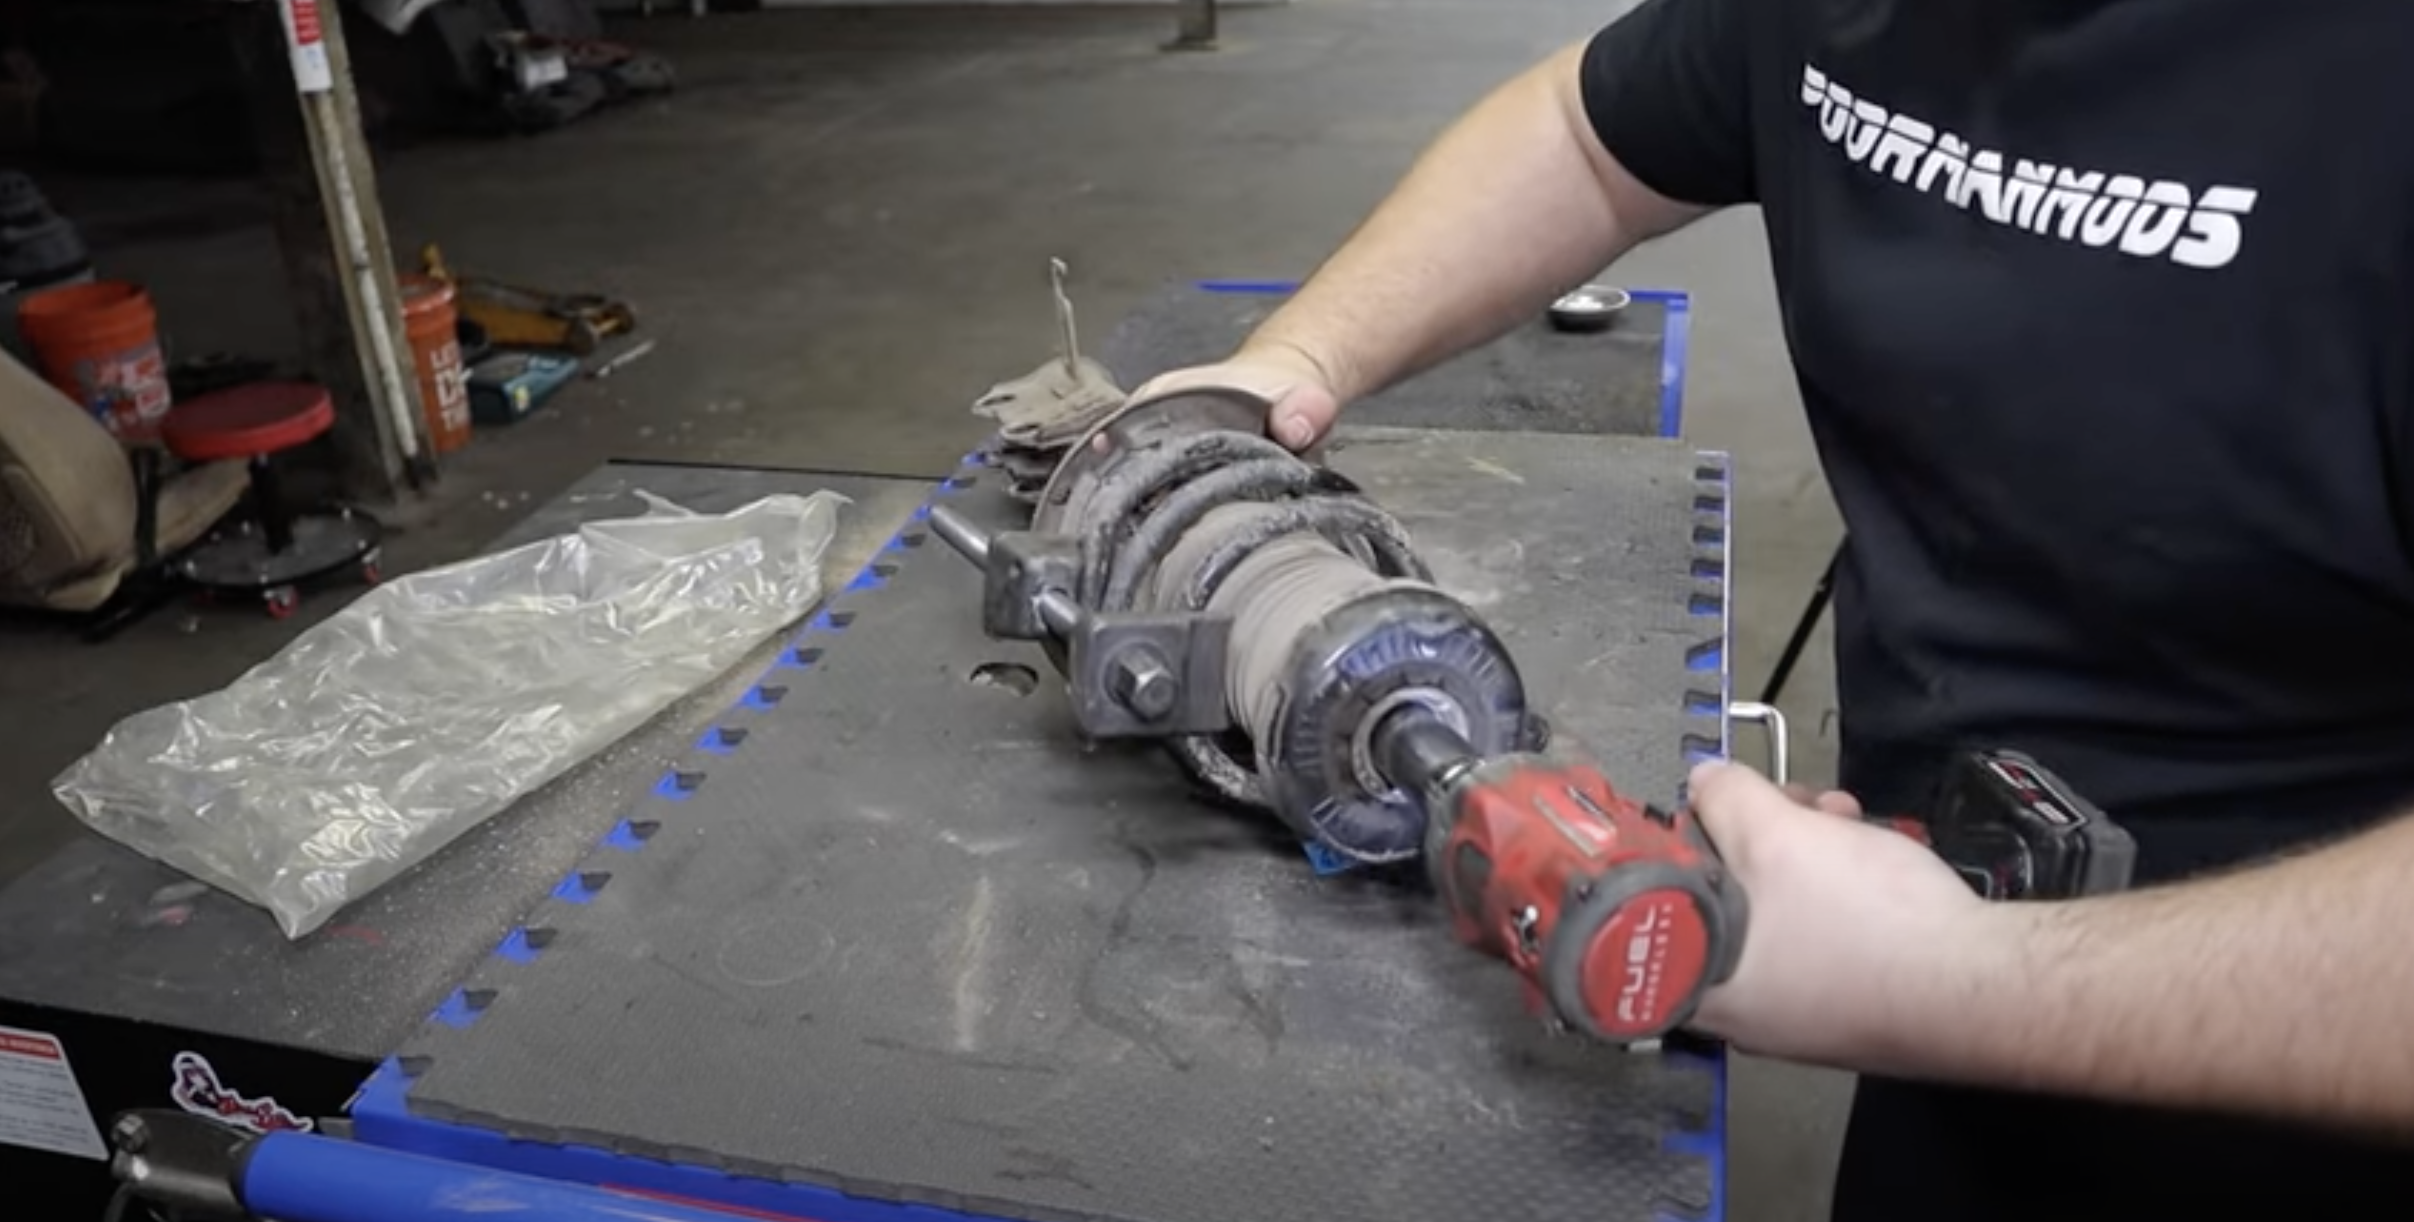
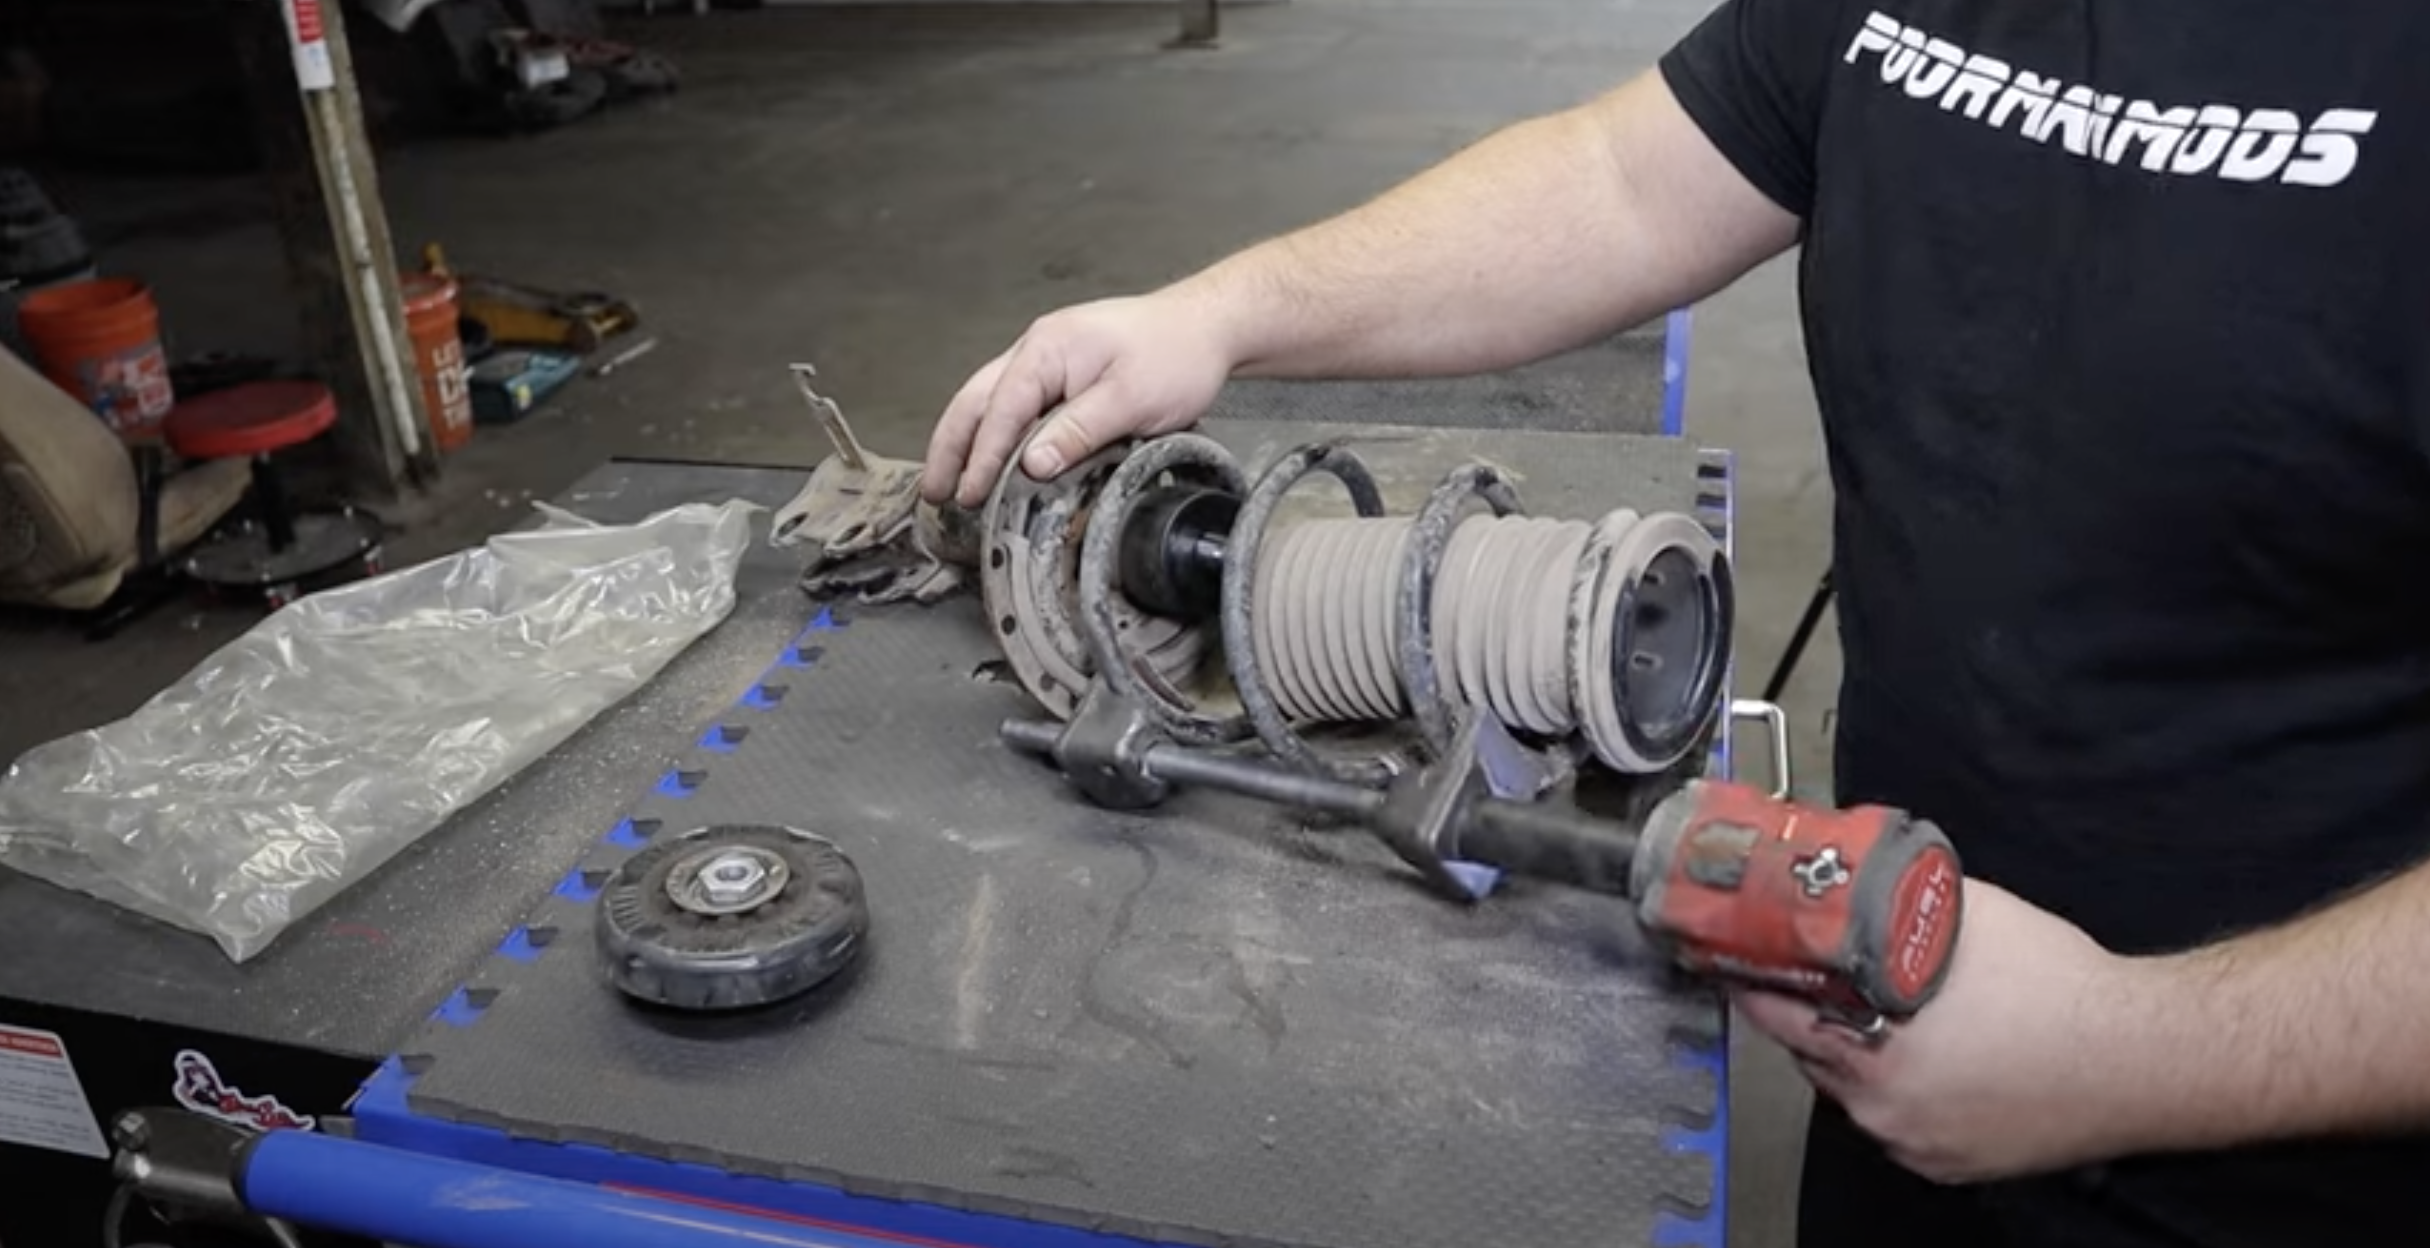
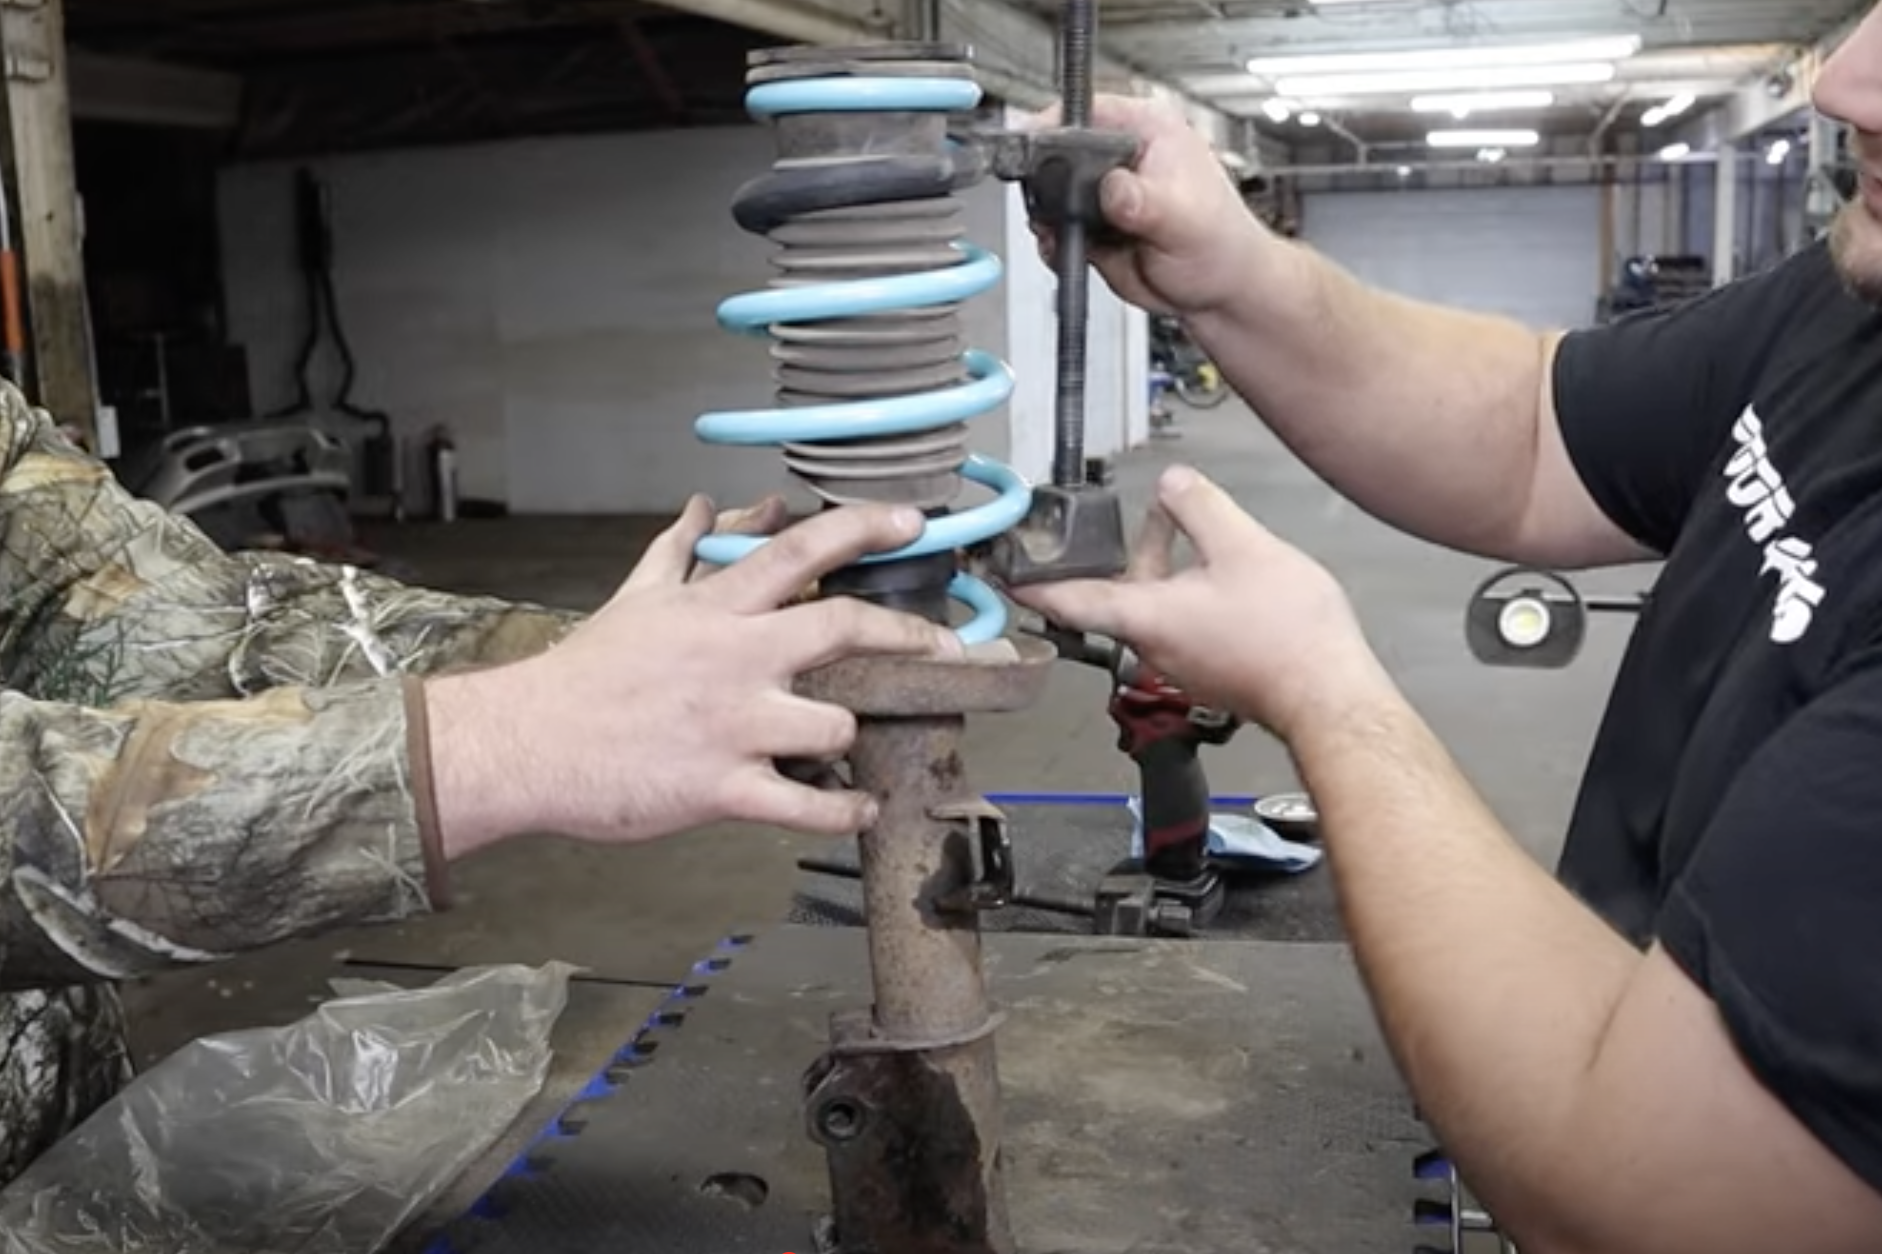
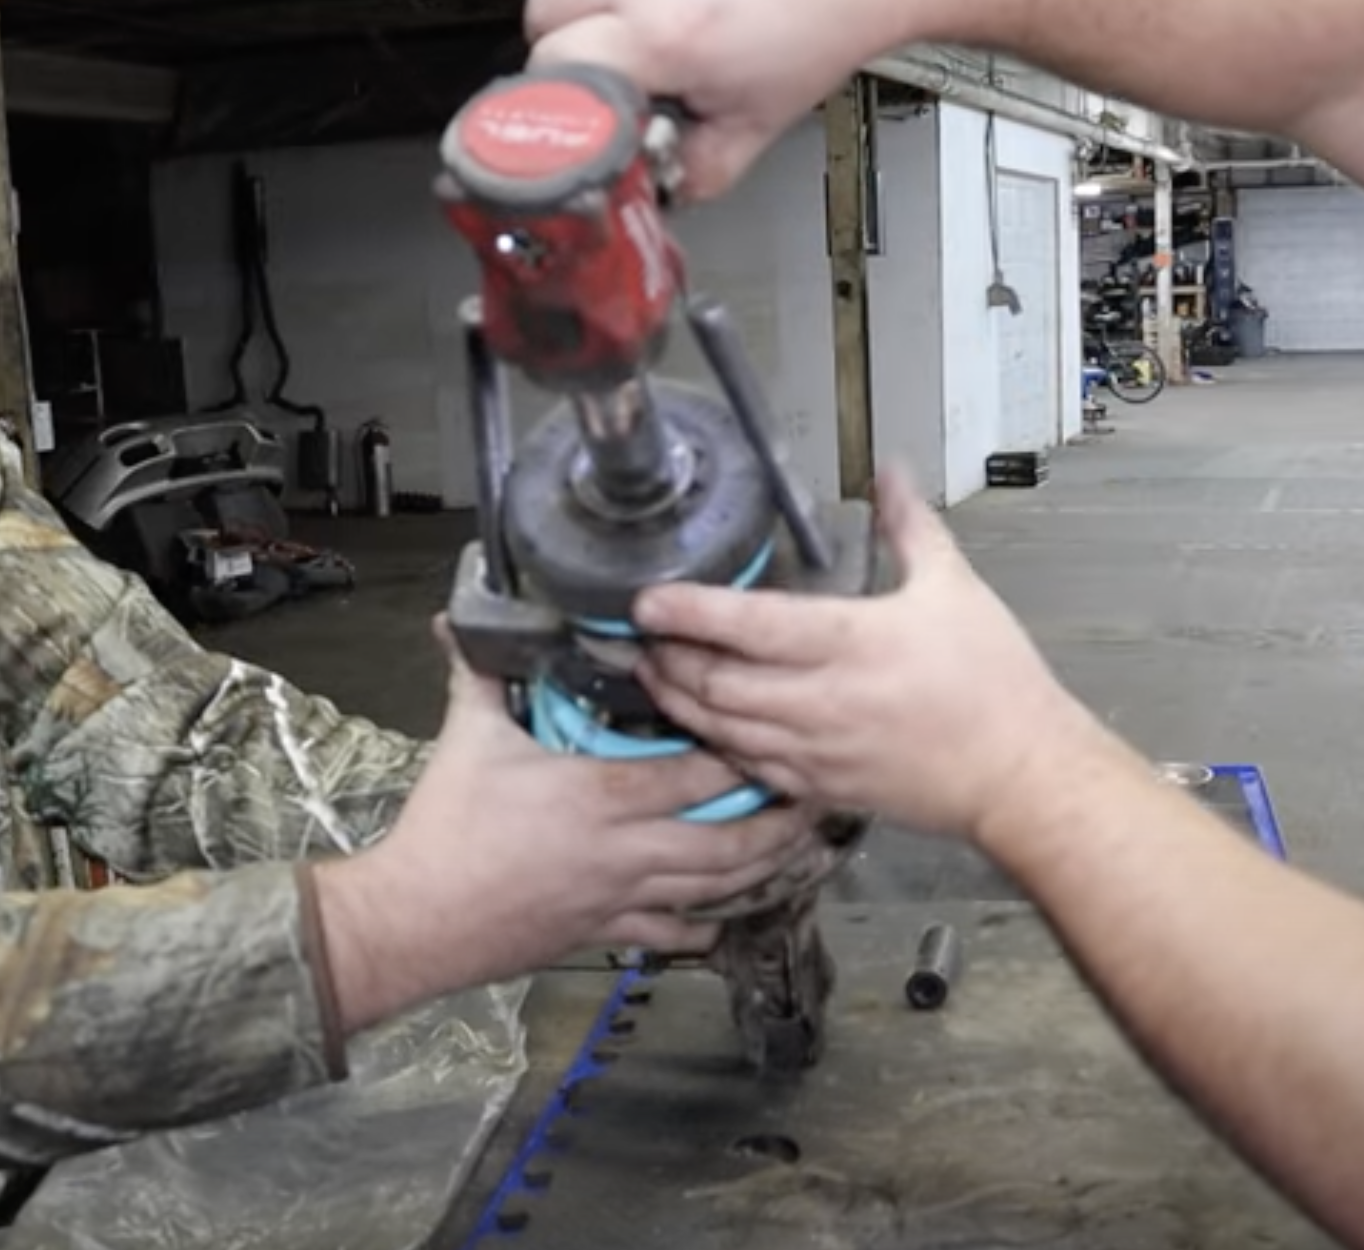
- Use a spring compressor to compress the spring
- Once compressed remove the top strut nut
- Remove the spring from the strut
- Place the new/lowering spring onto the strut
- Compress the spring and install the top nut
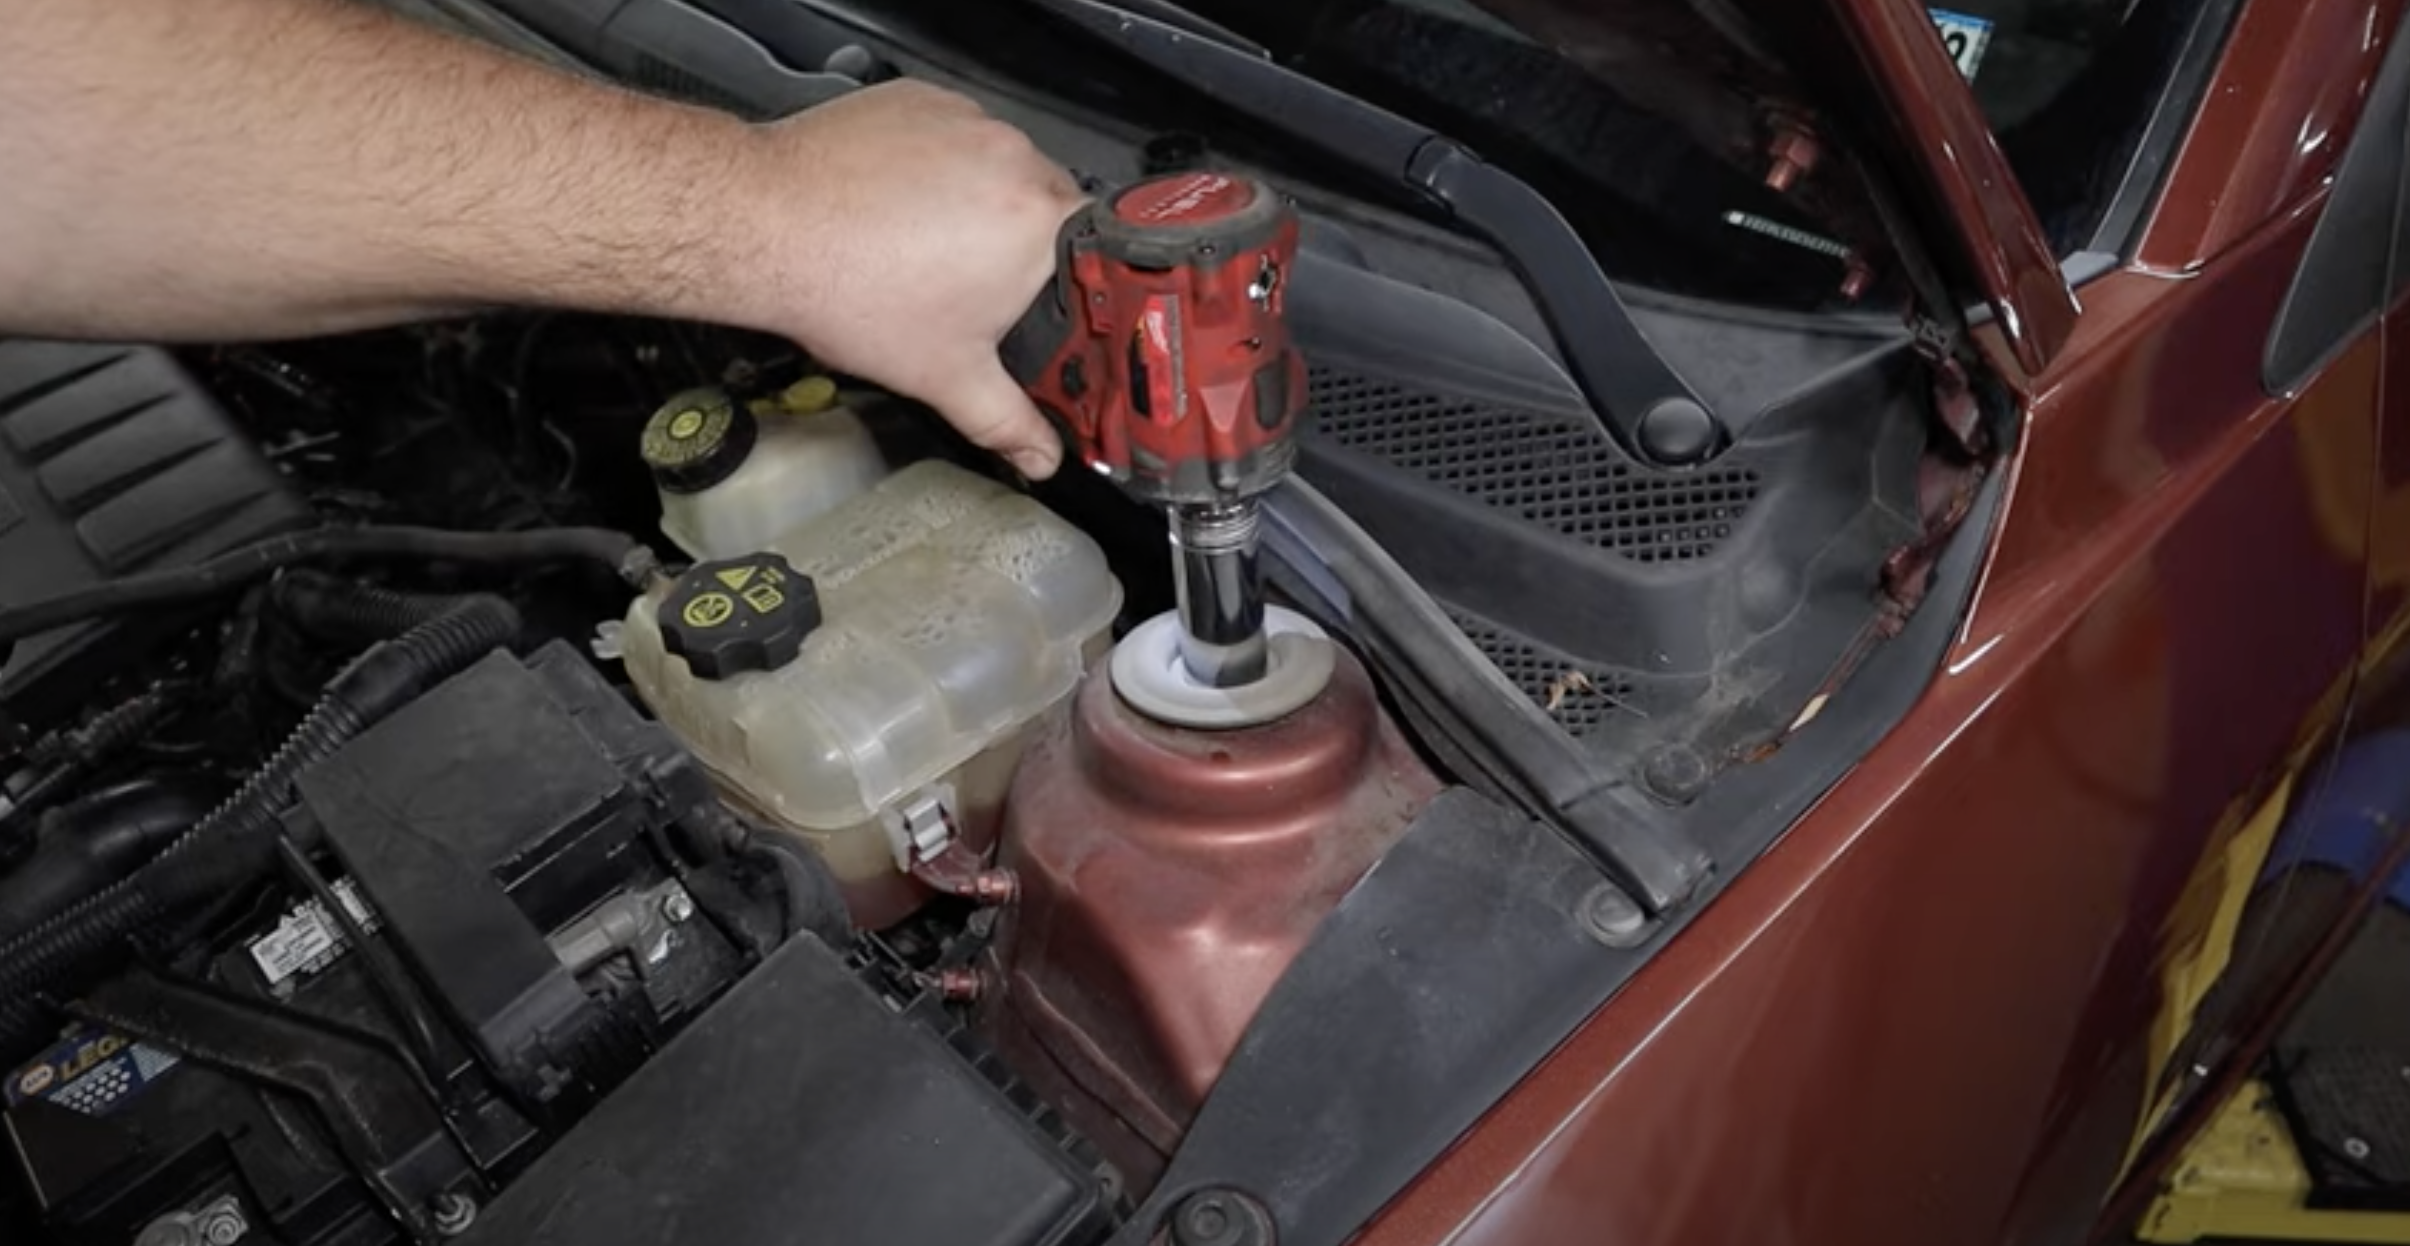
Reinstall Front Strut
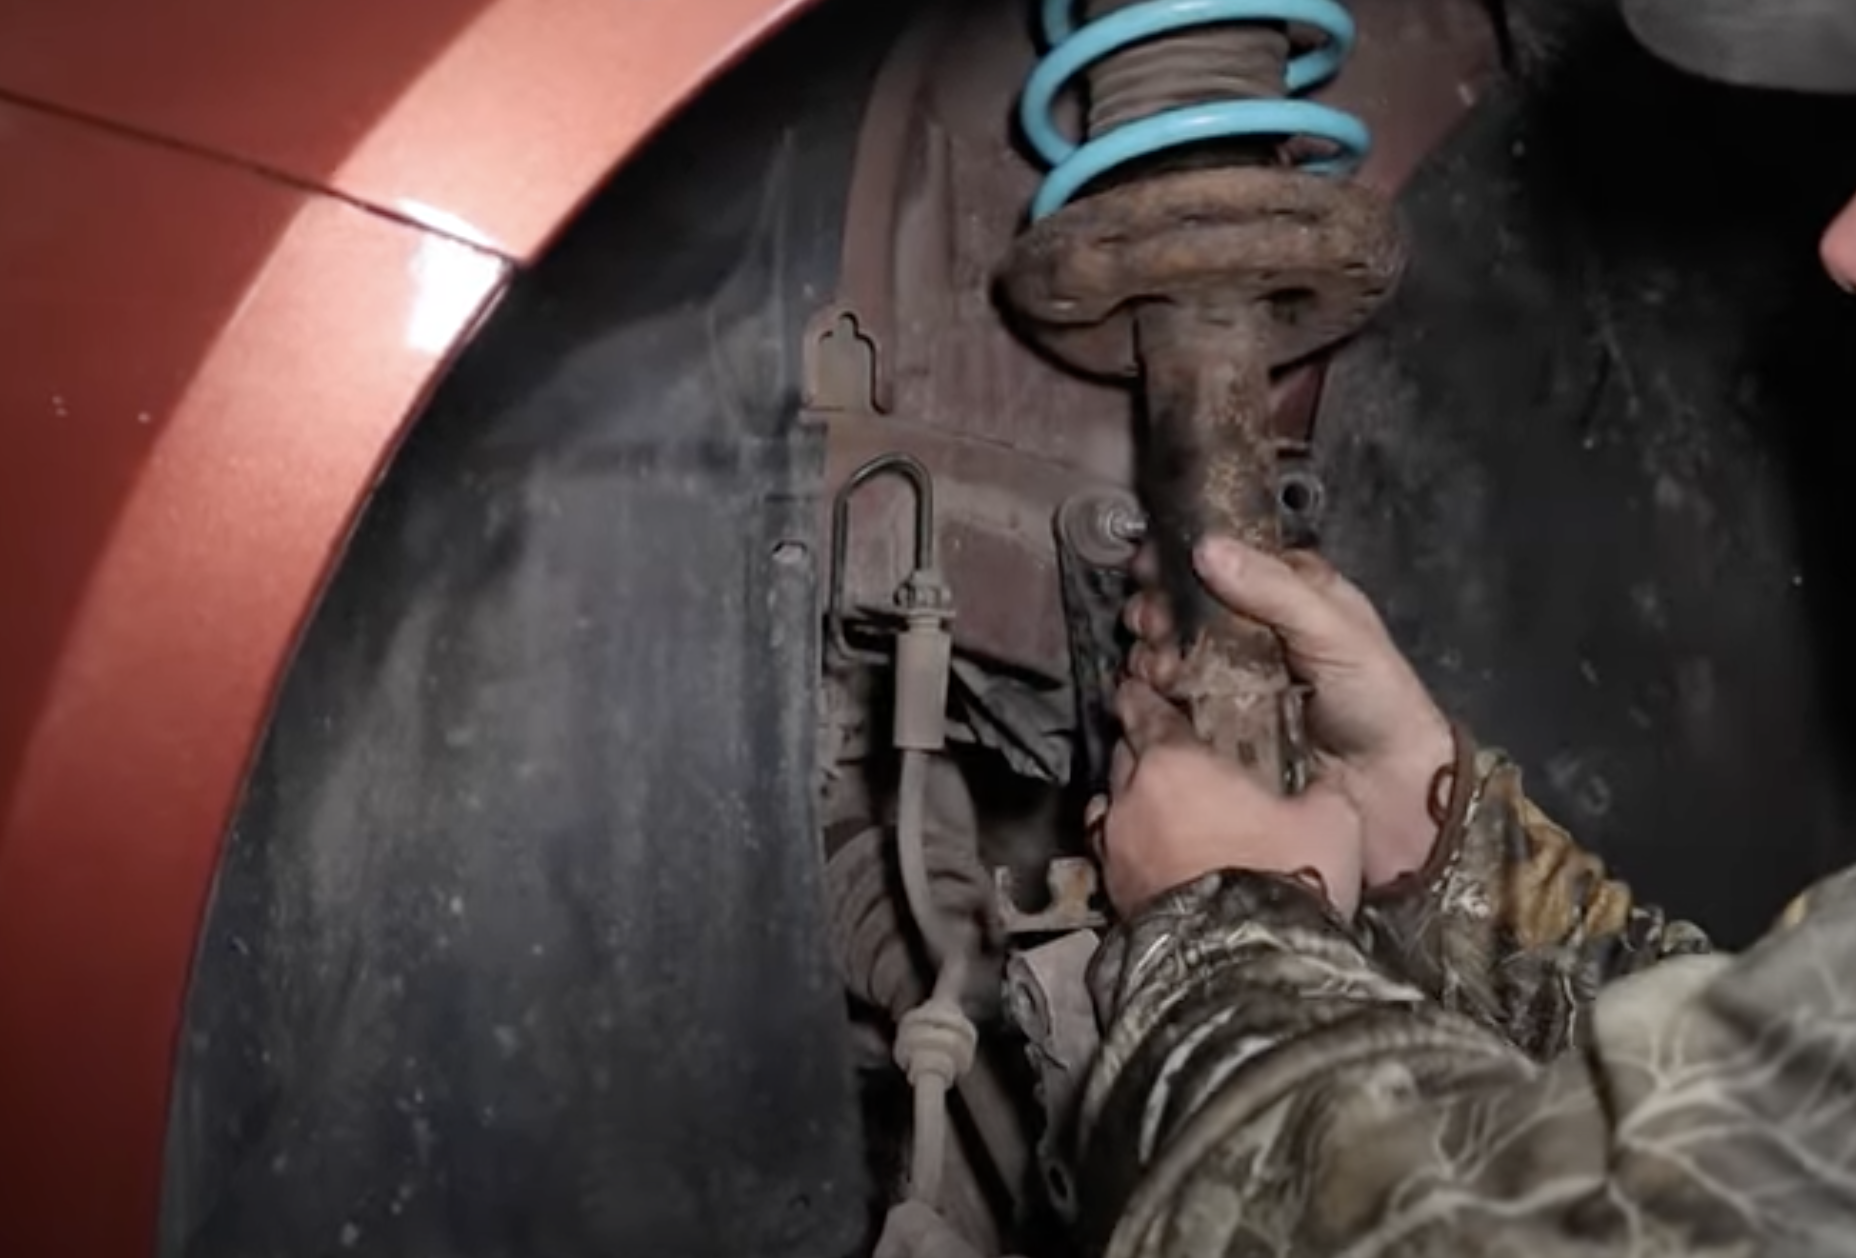

- Reinstall strut into car
- Reinstall the hardware you previous removed
- lower car onto the ground, allowing strut to protrude through the mount in the engine bay
- install top washer and nut
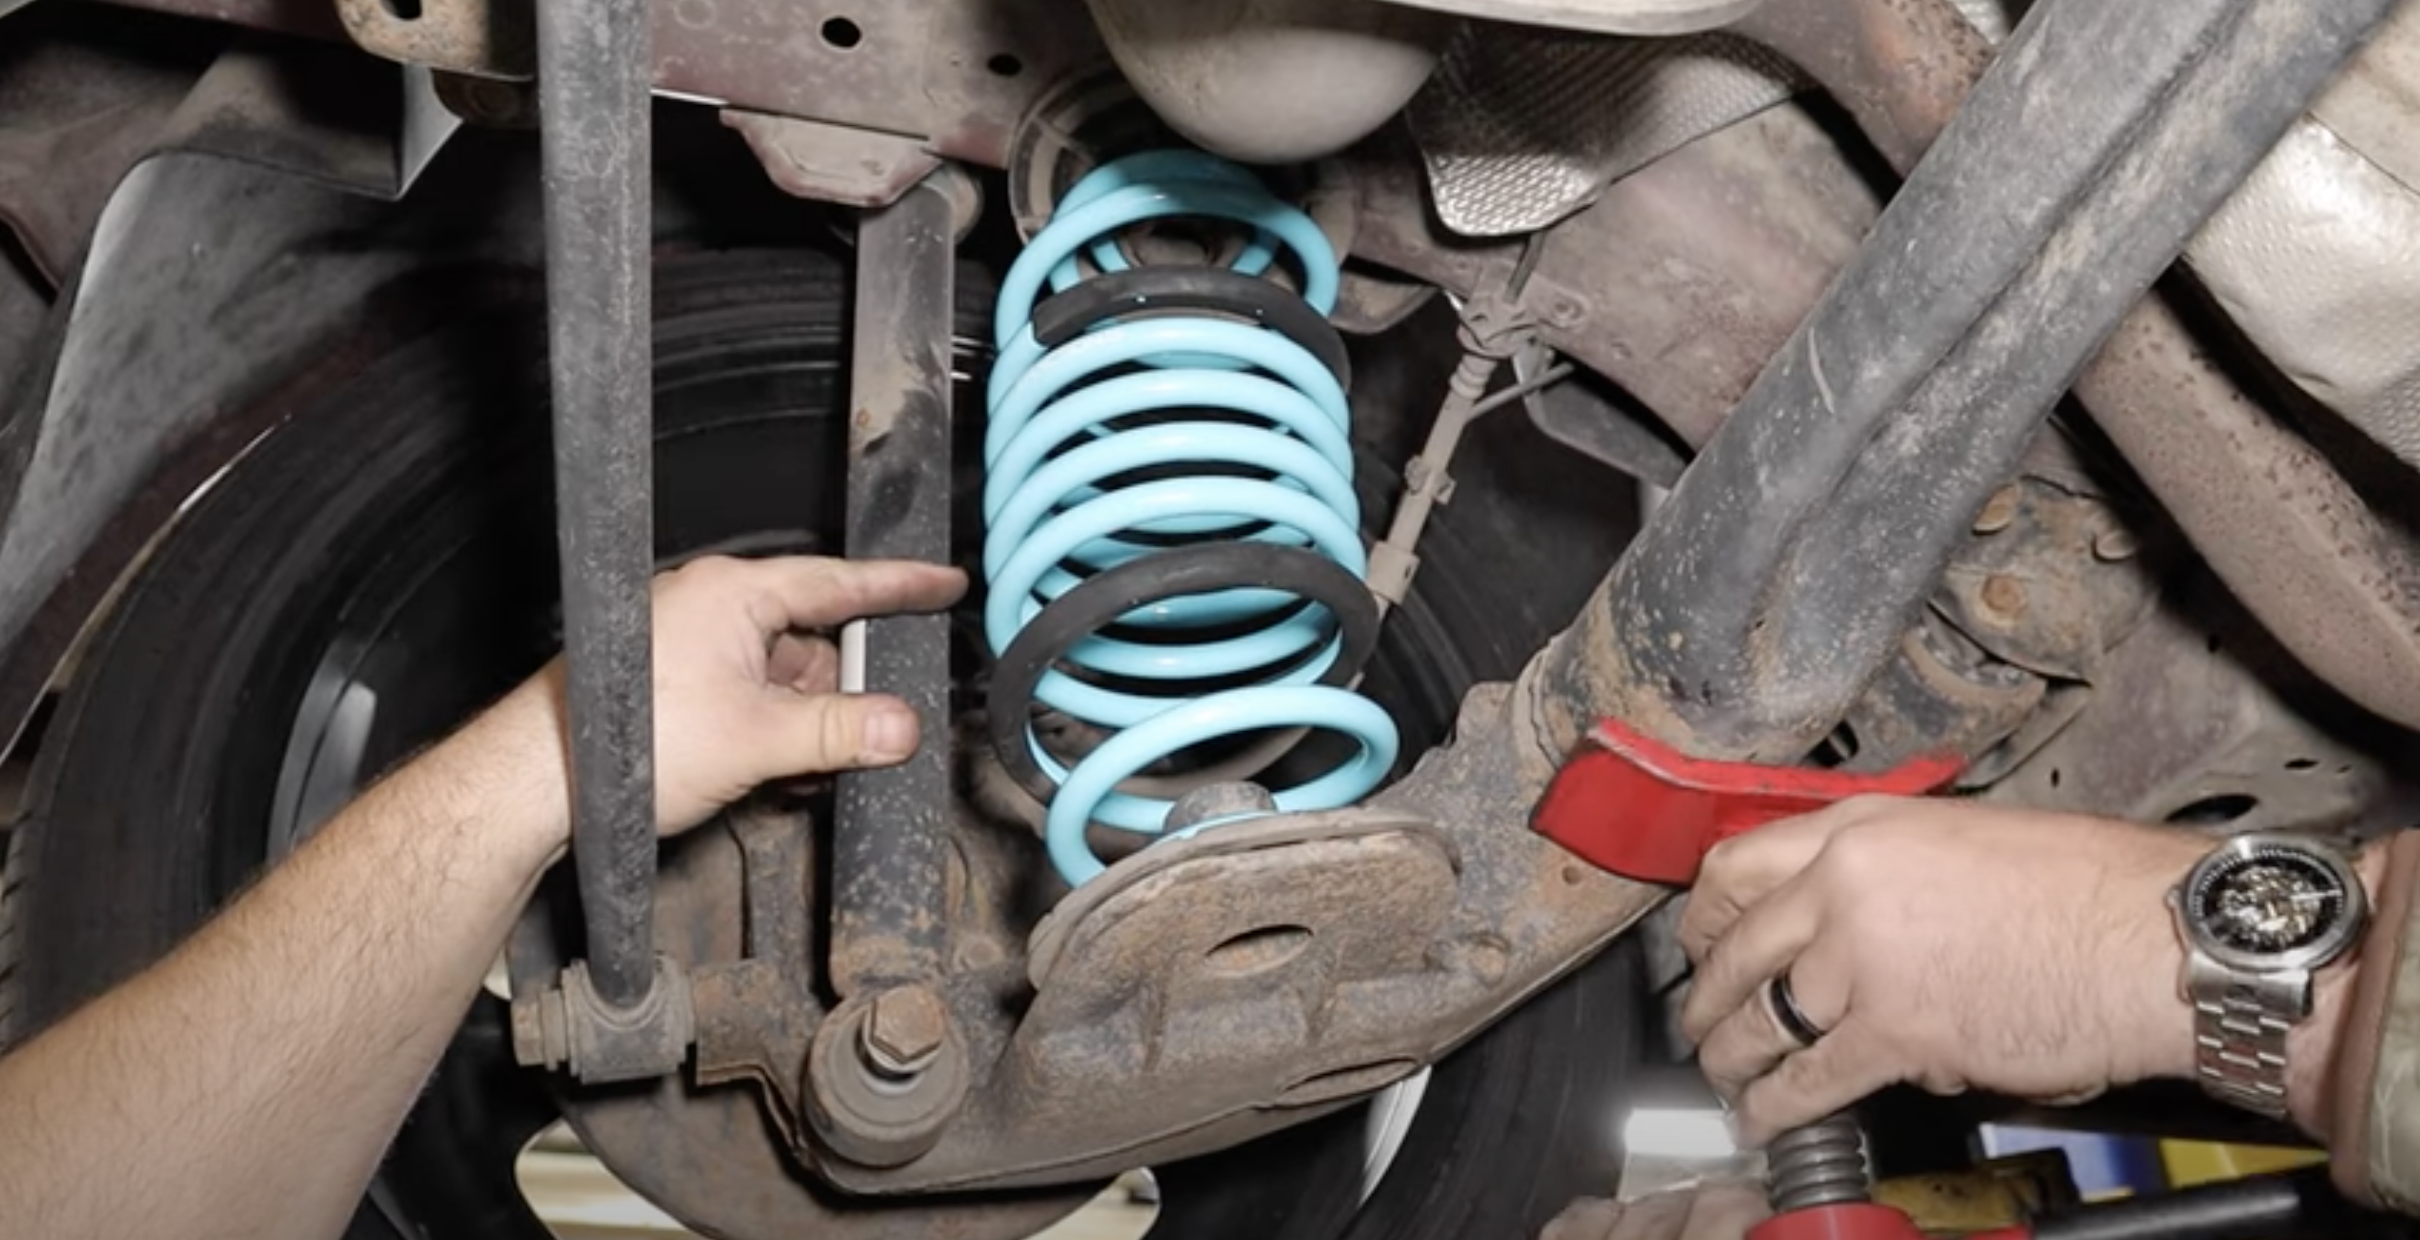
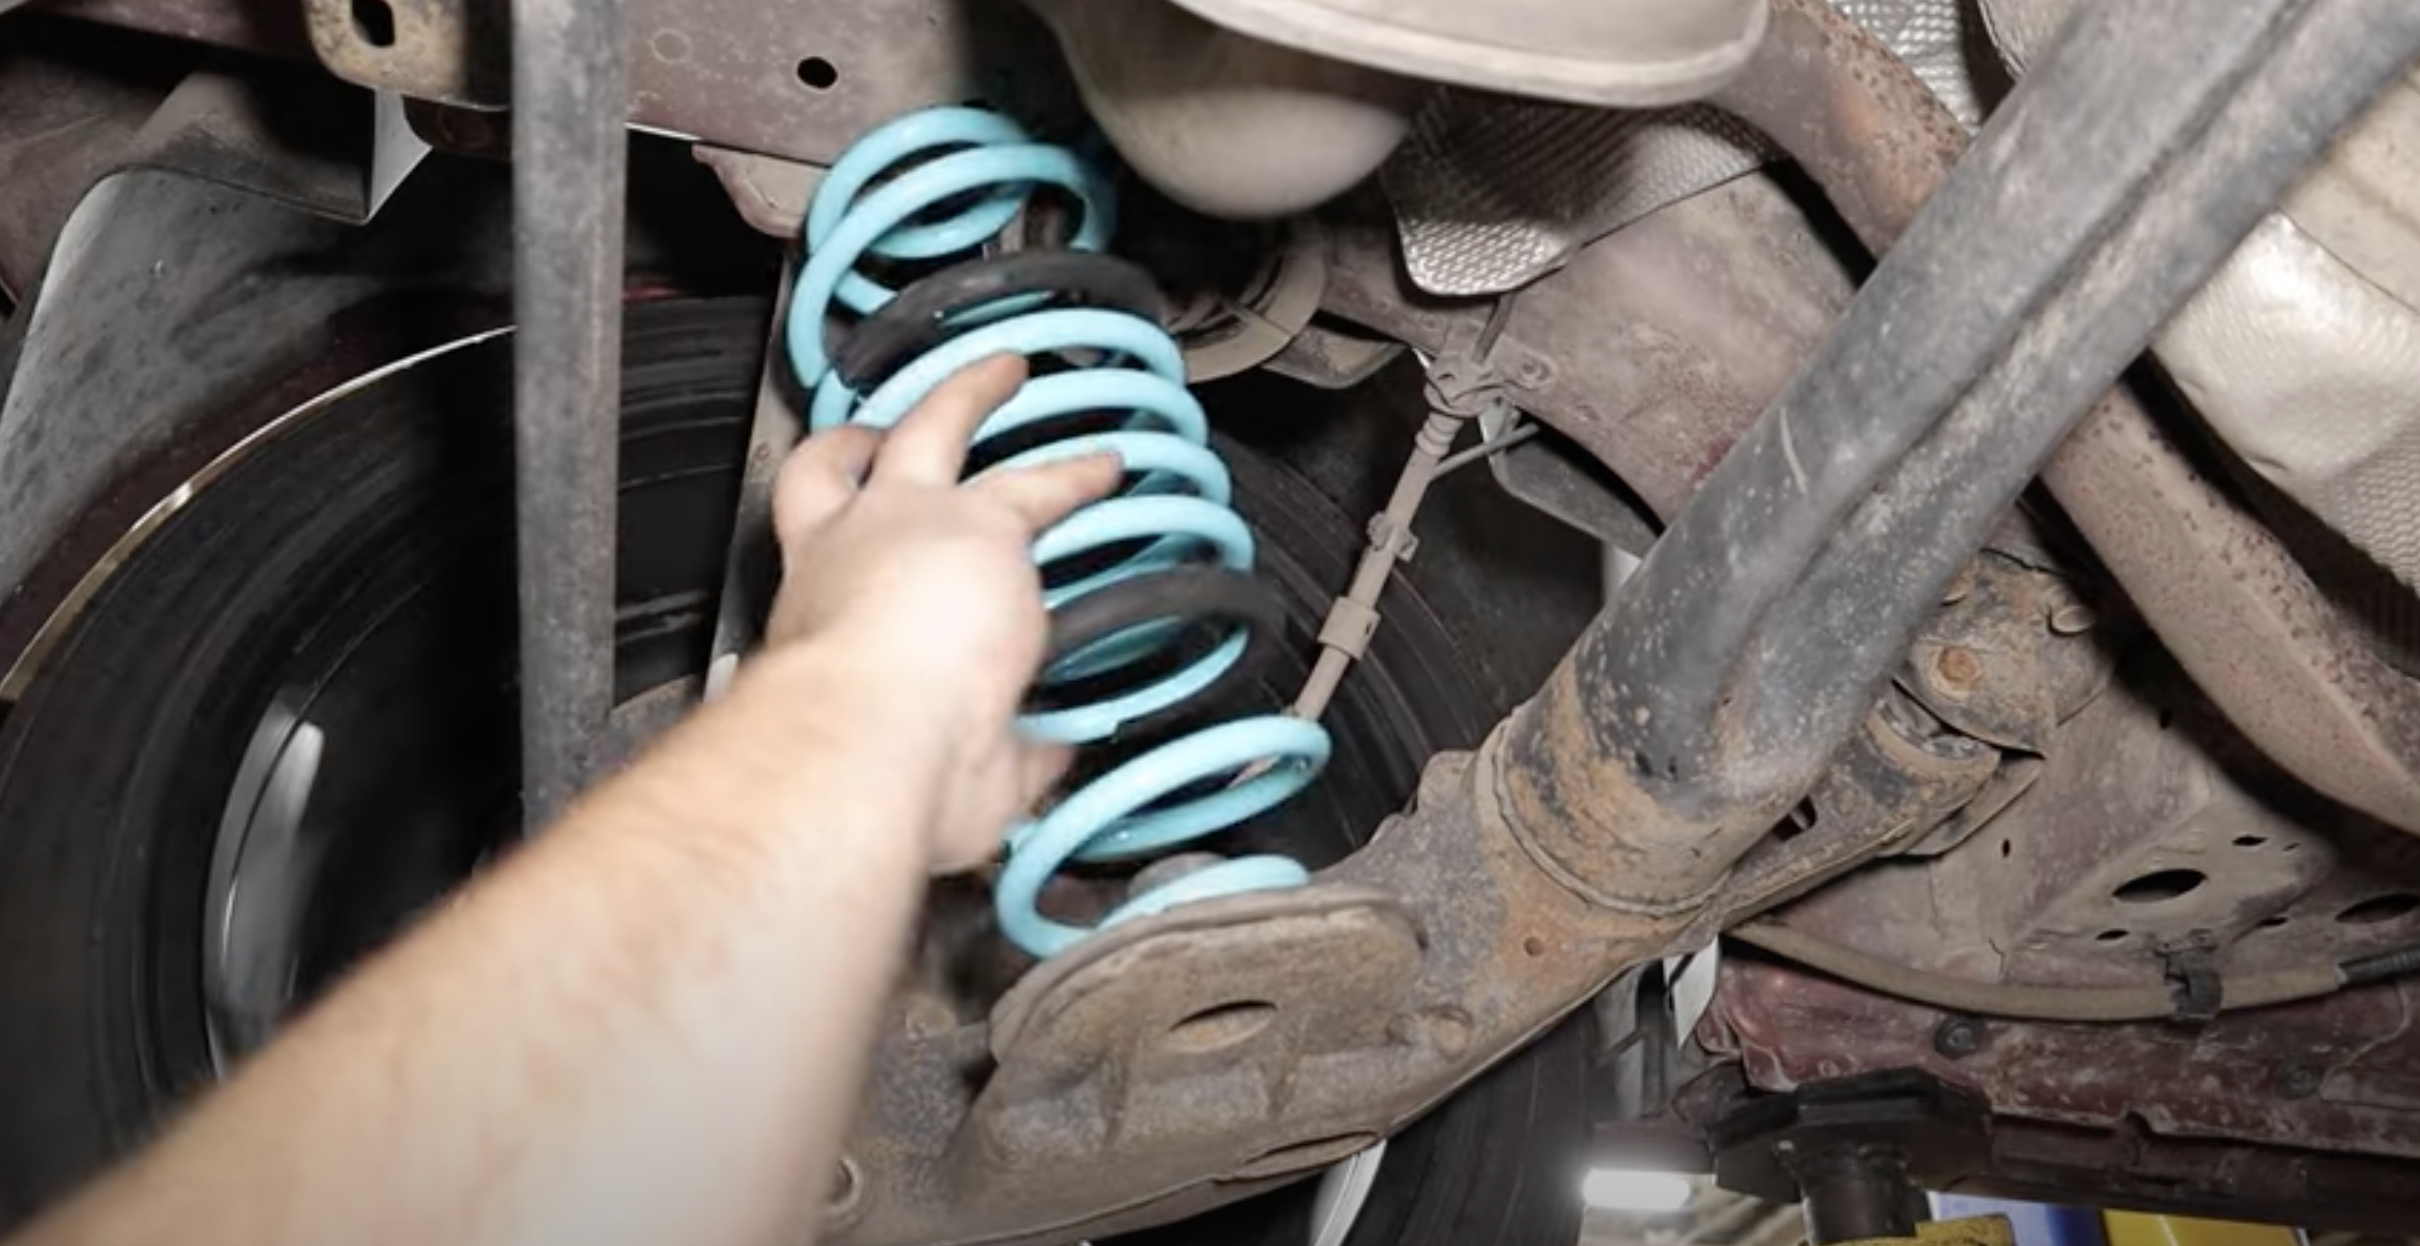
Remove Rear Spring
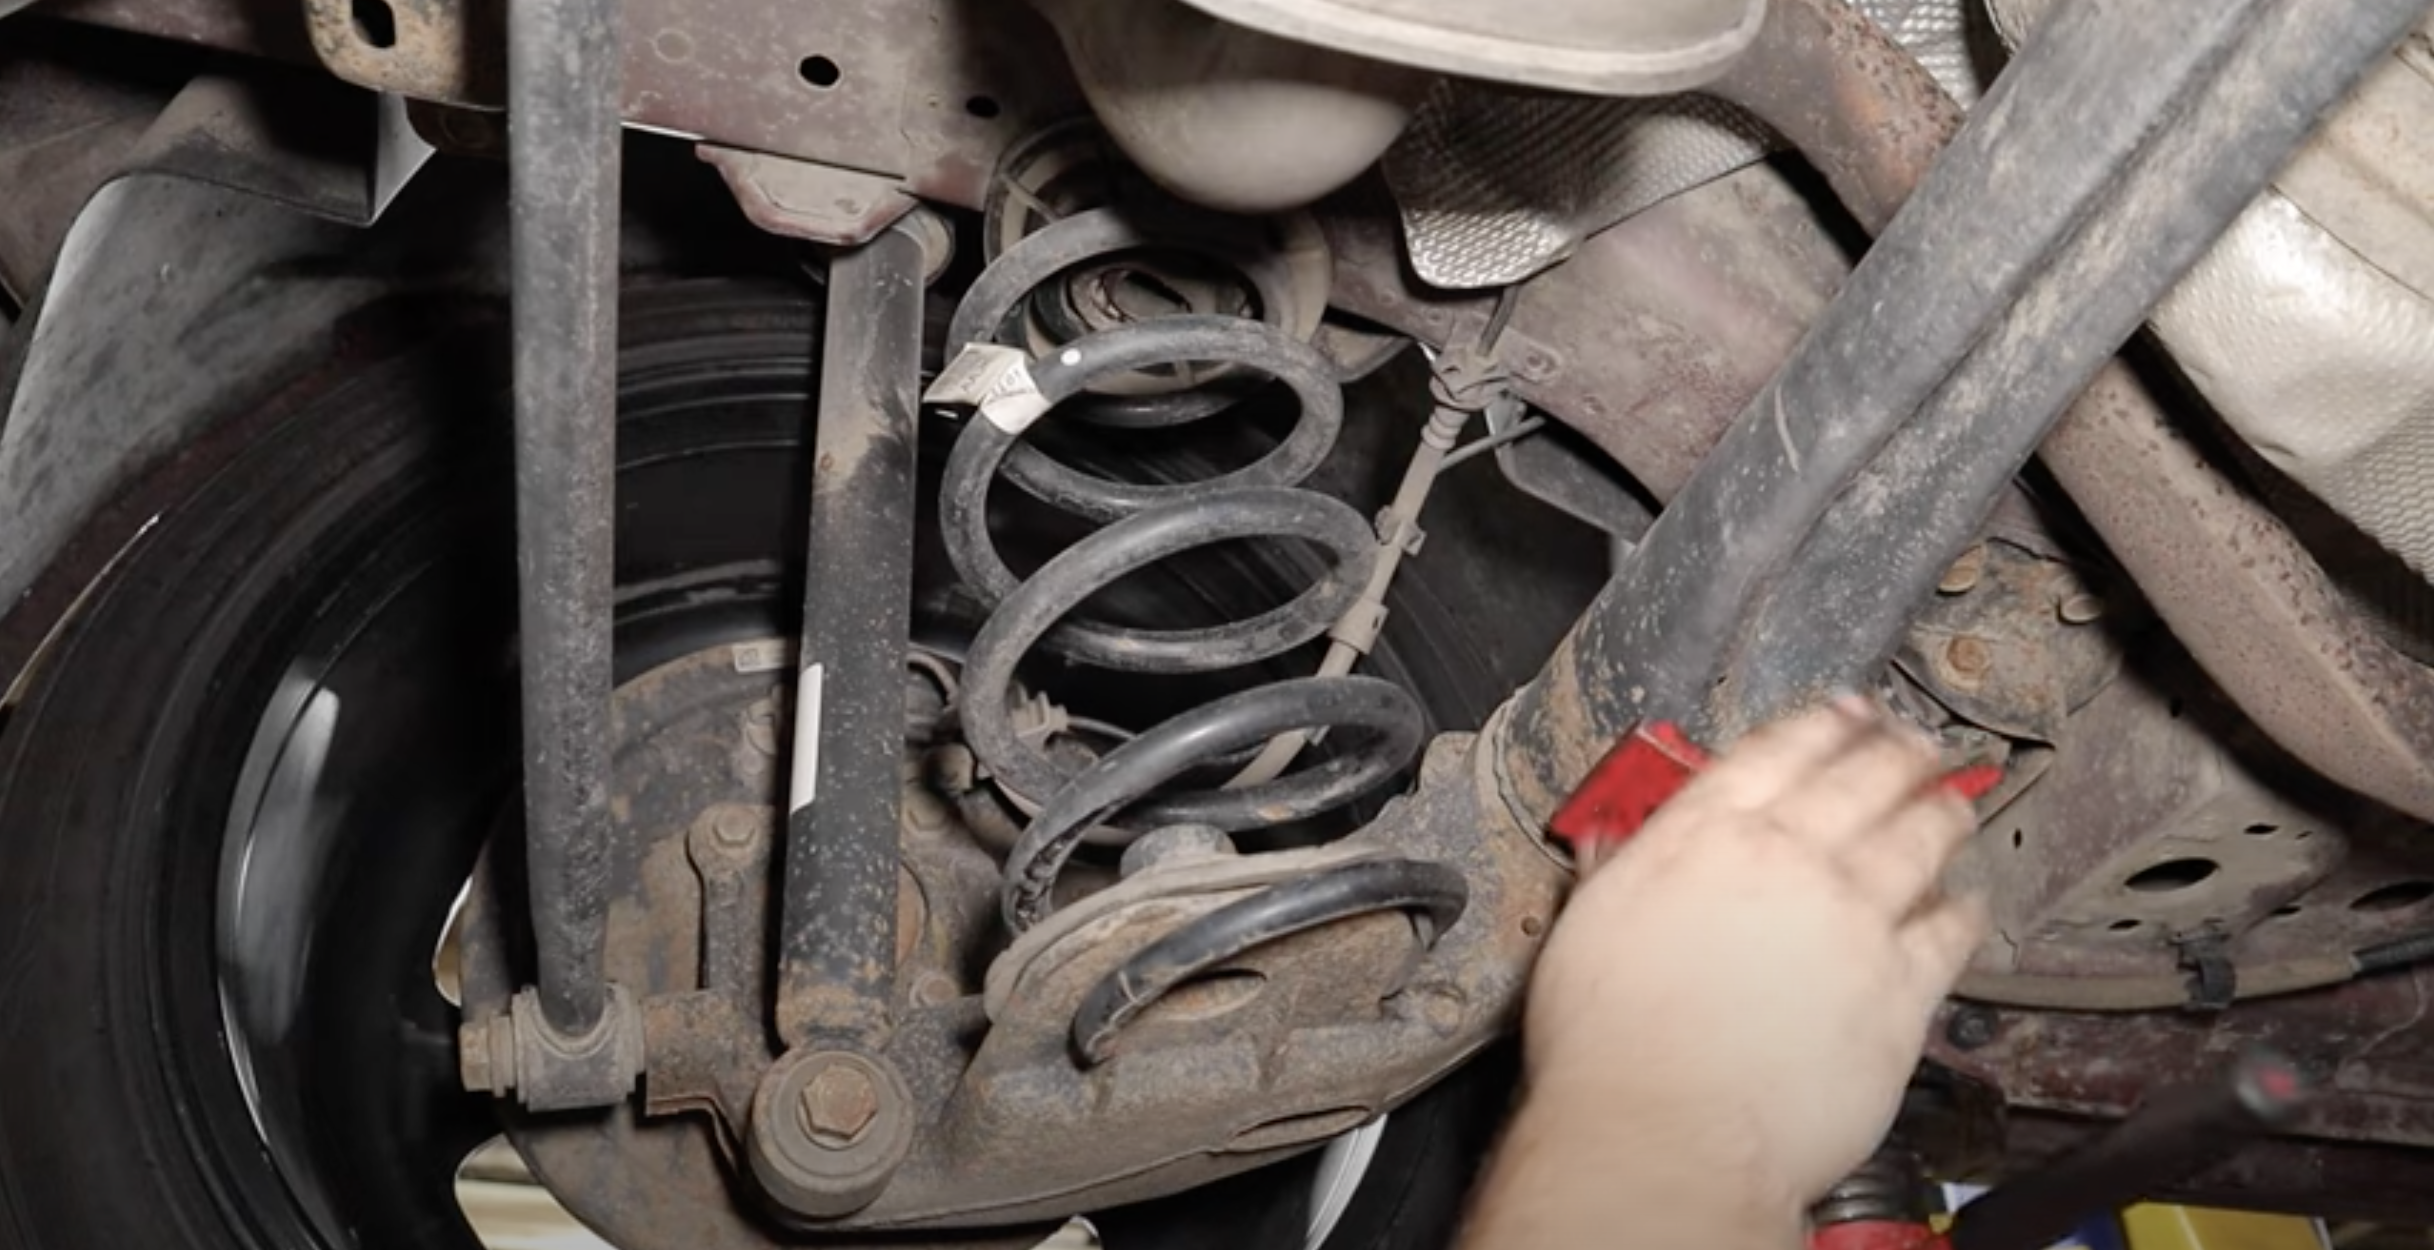
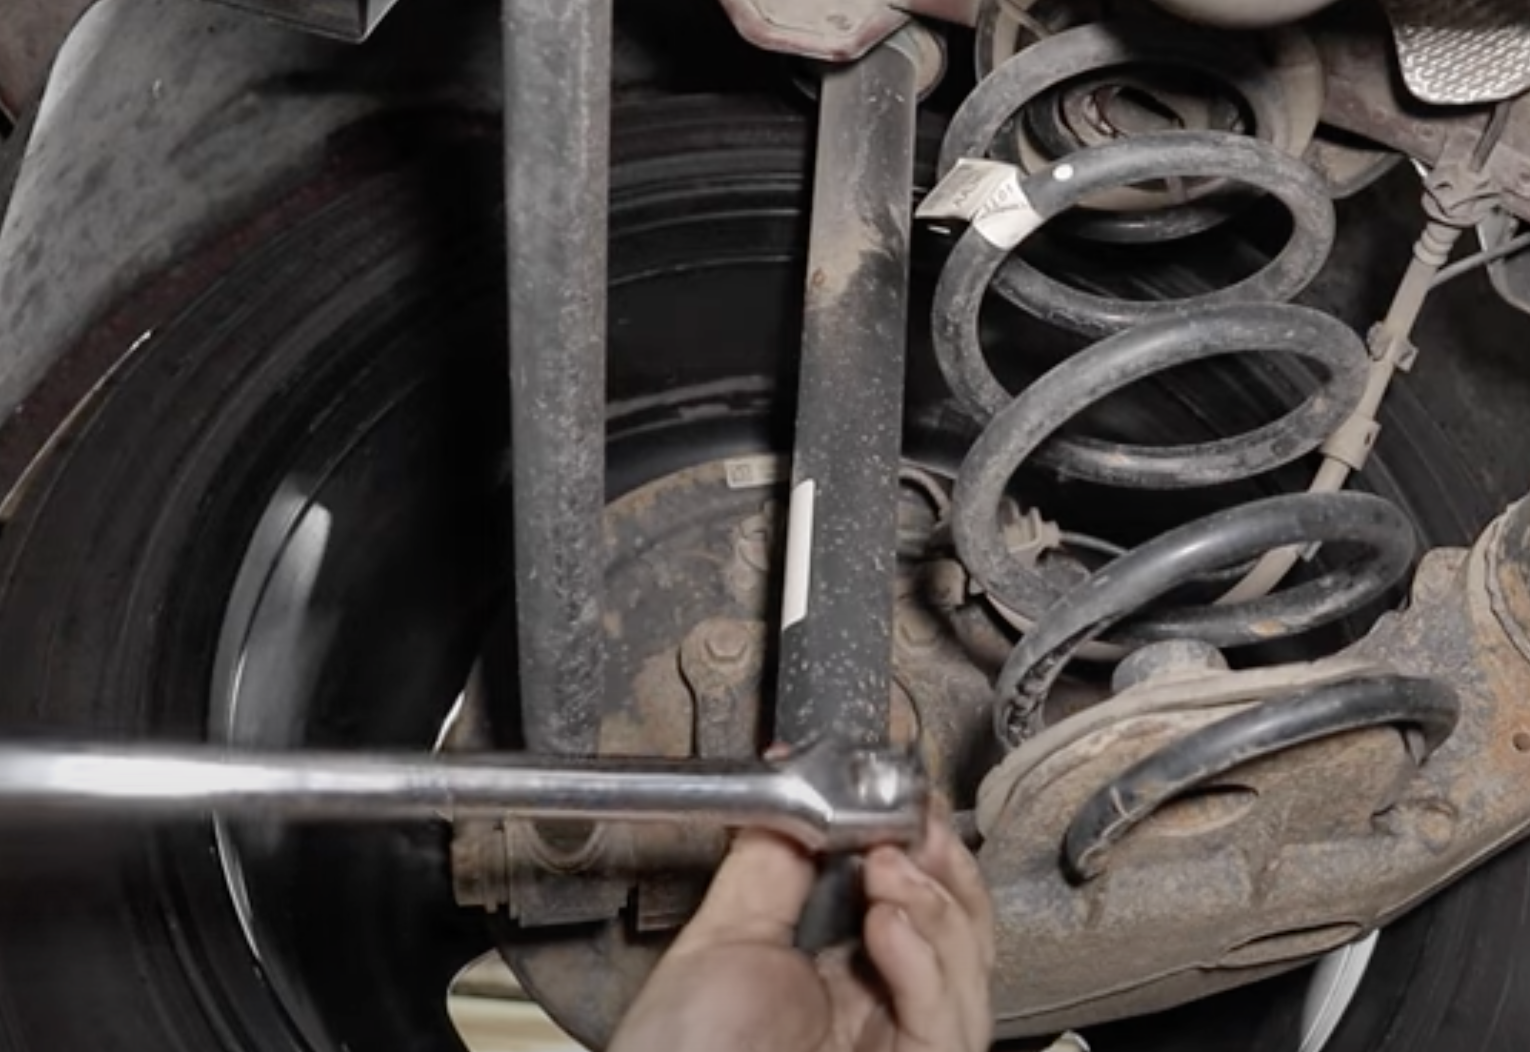
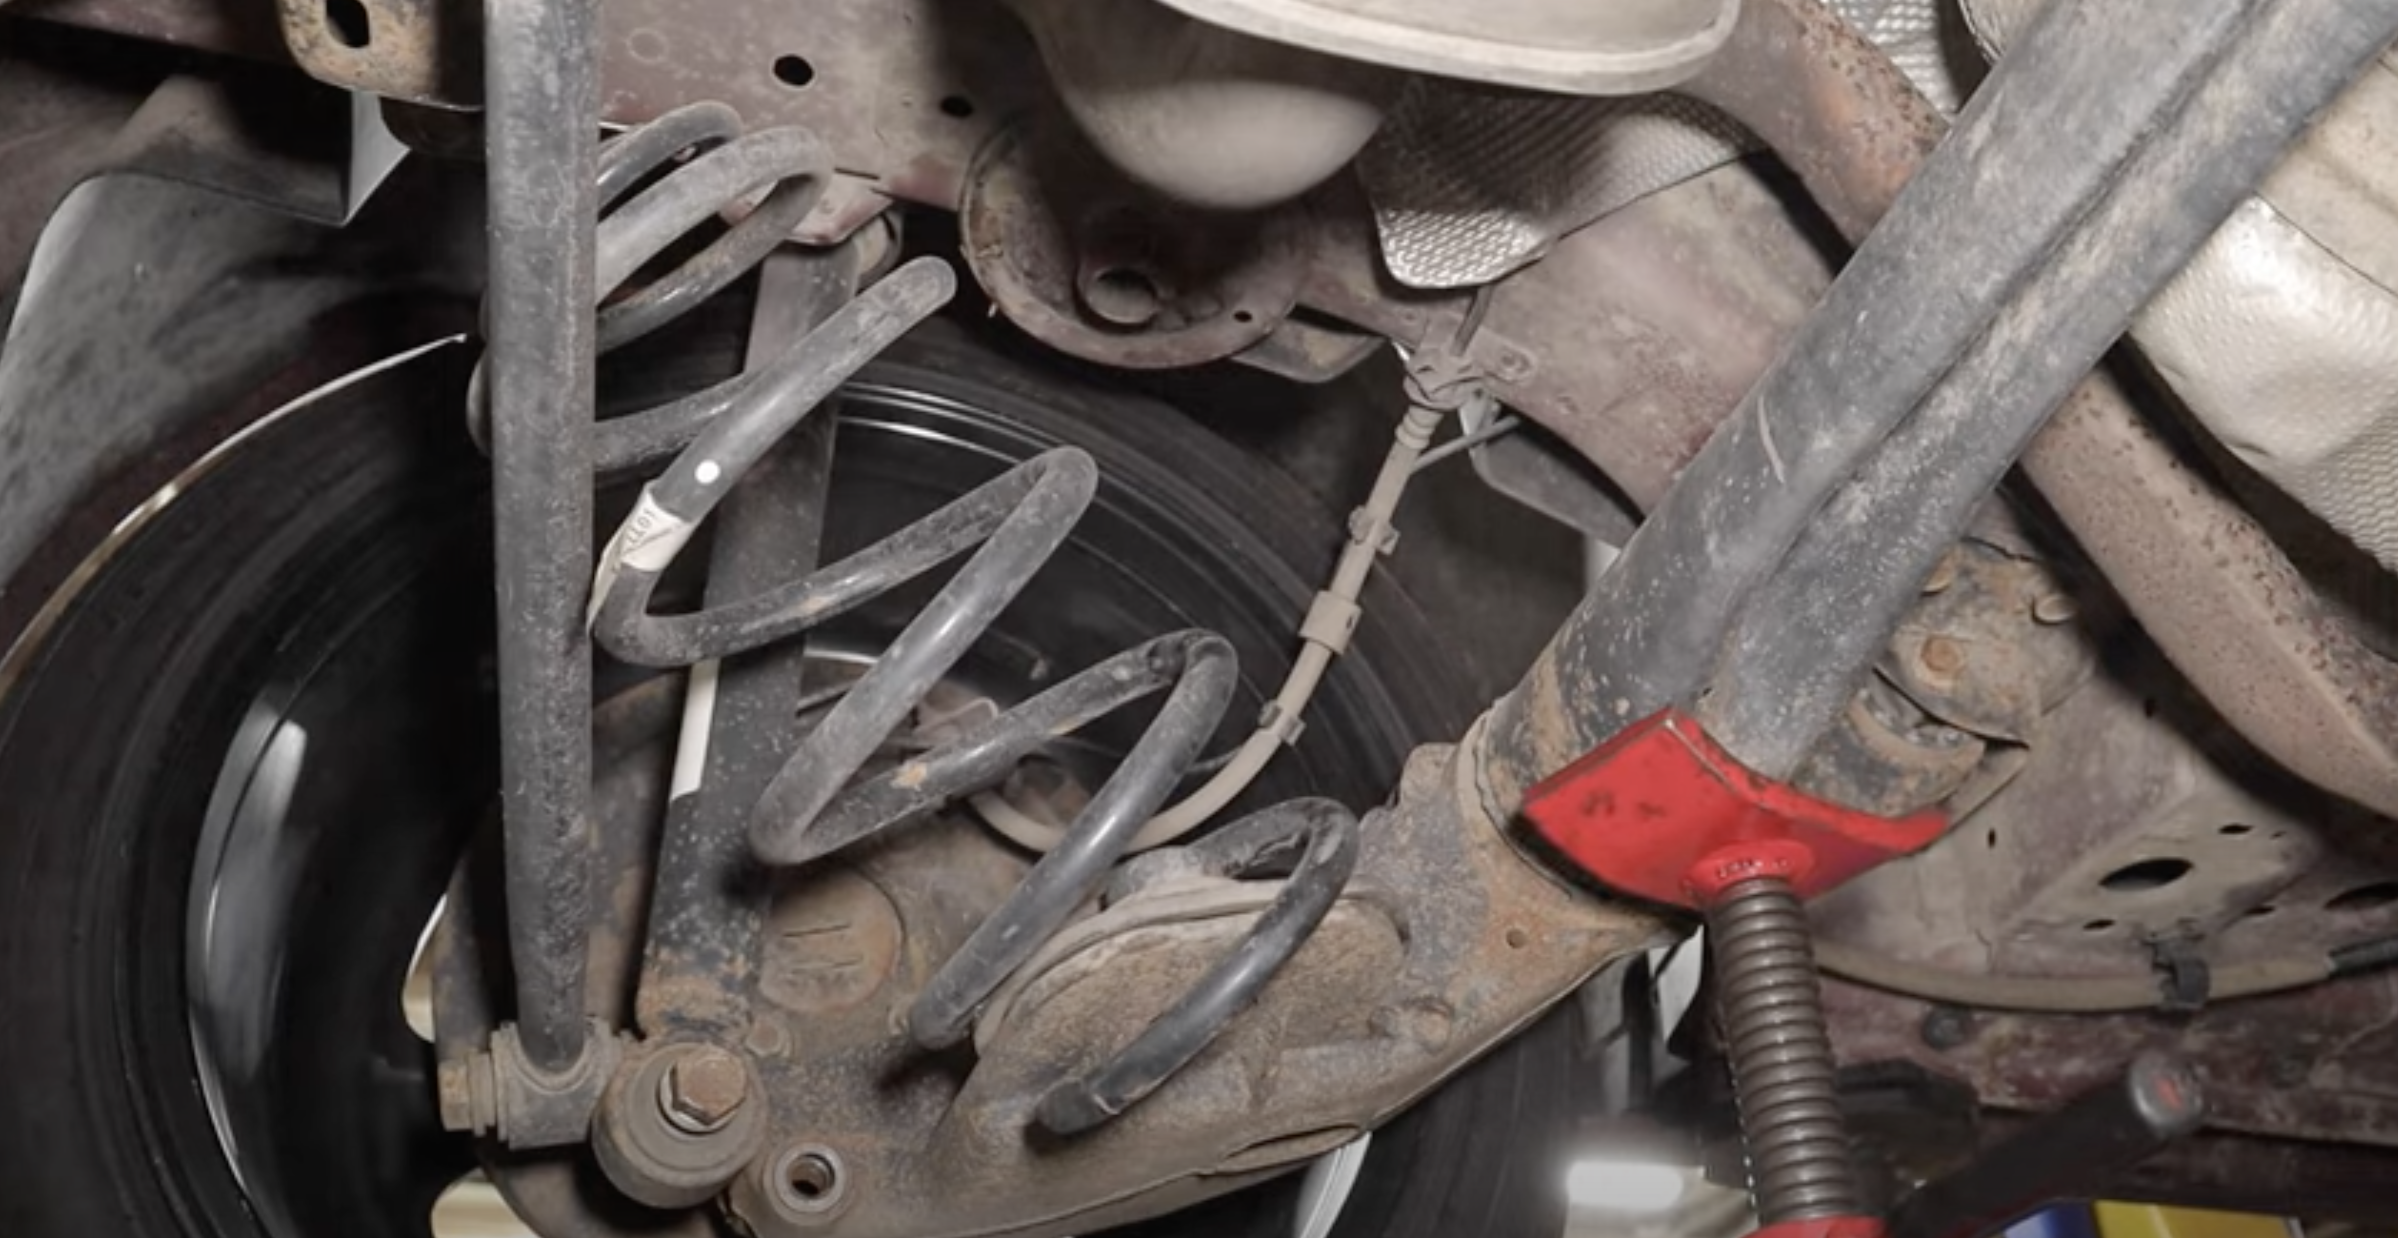
- Place a jack/support under the control arm or rear beam
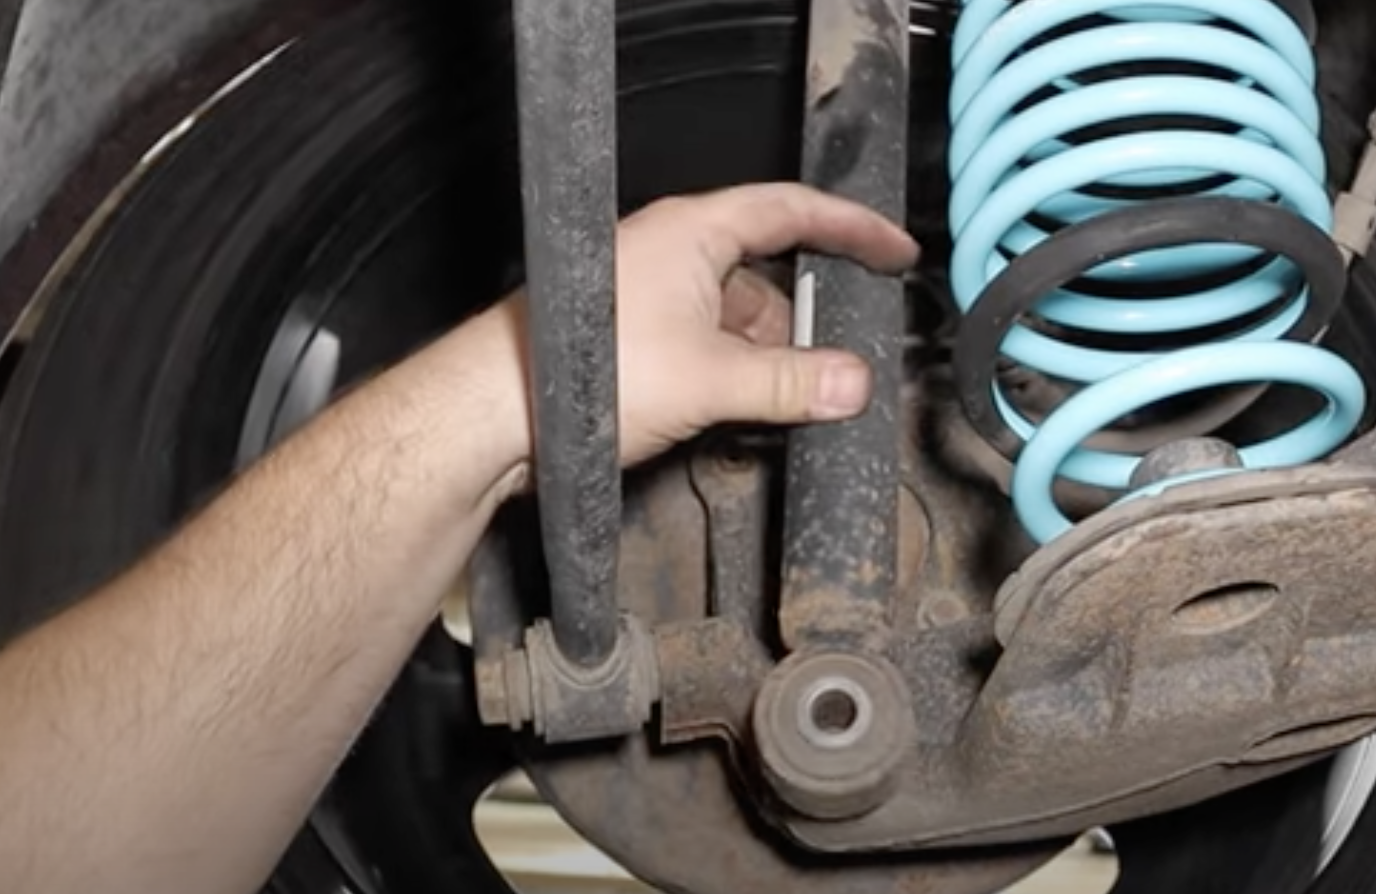
- Remove the lower shock bolt to allow control arm to drop
- remove the spring
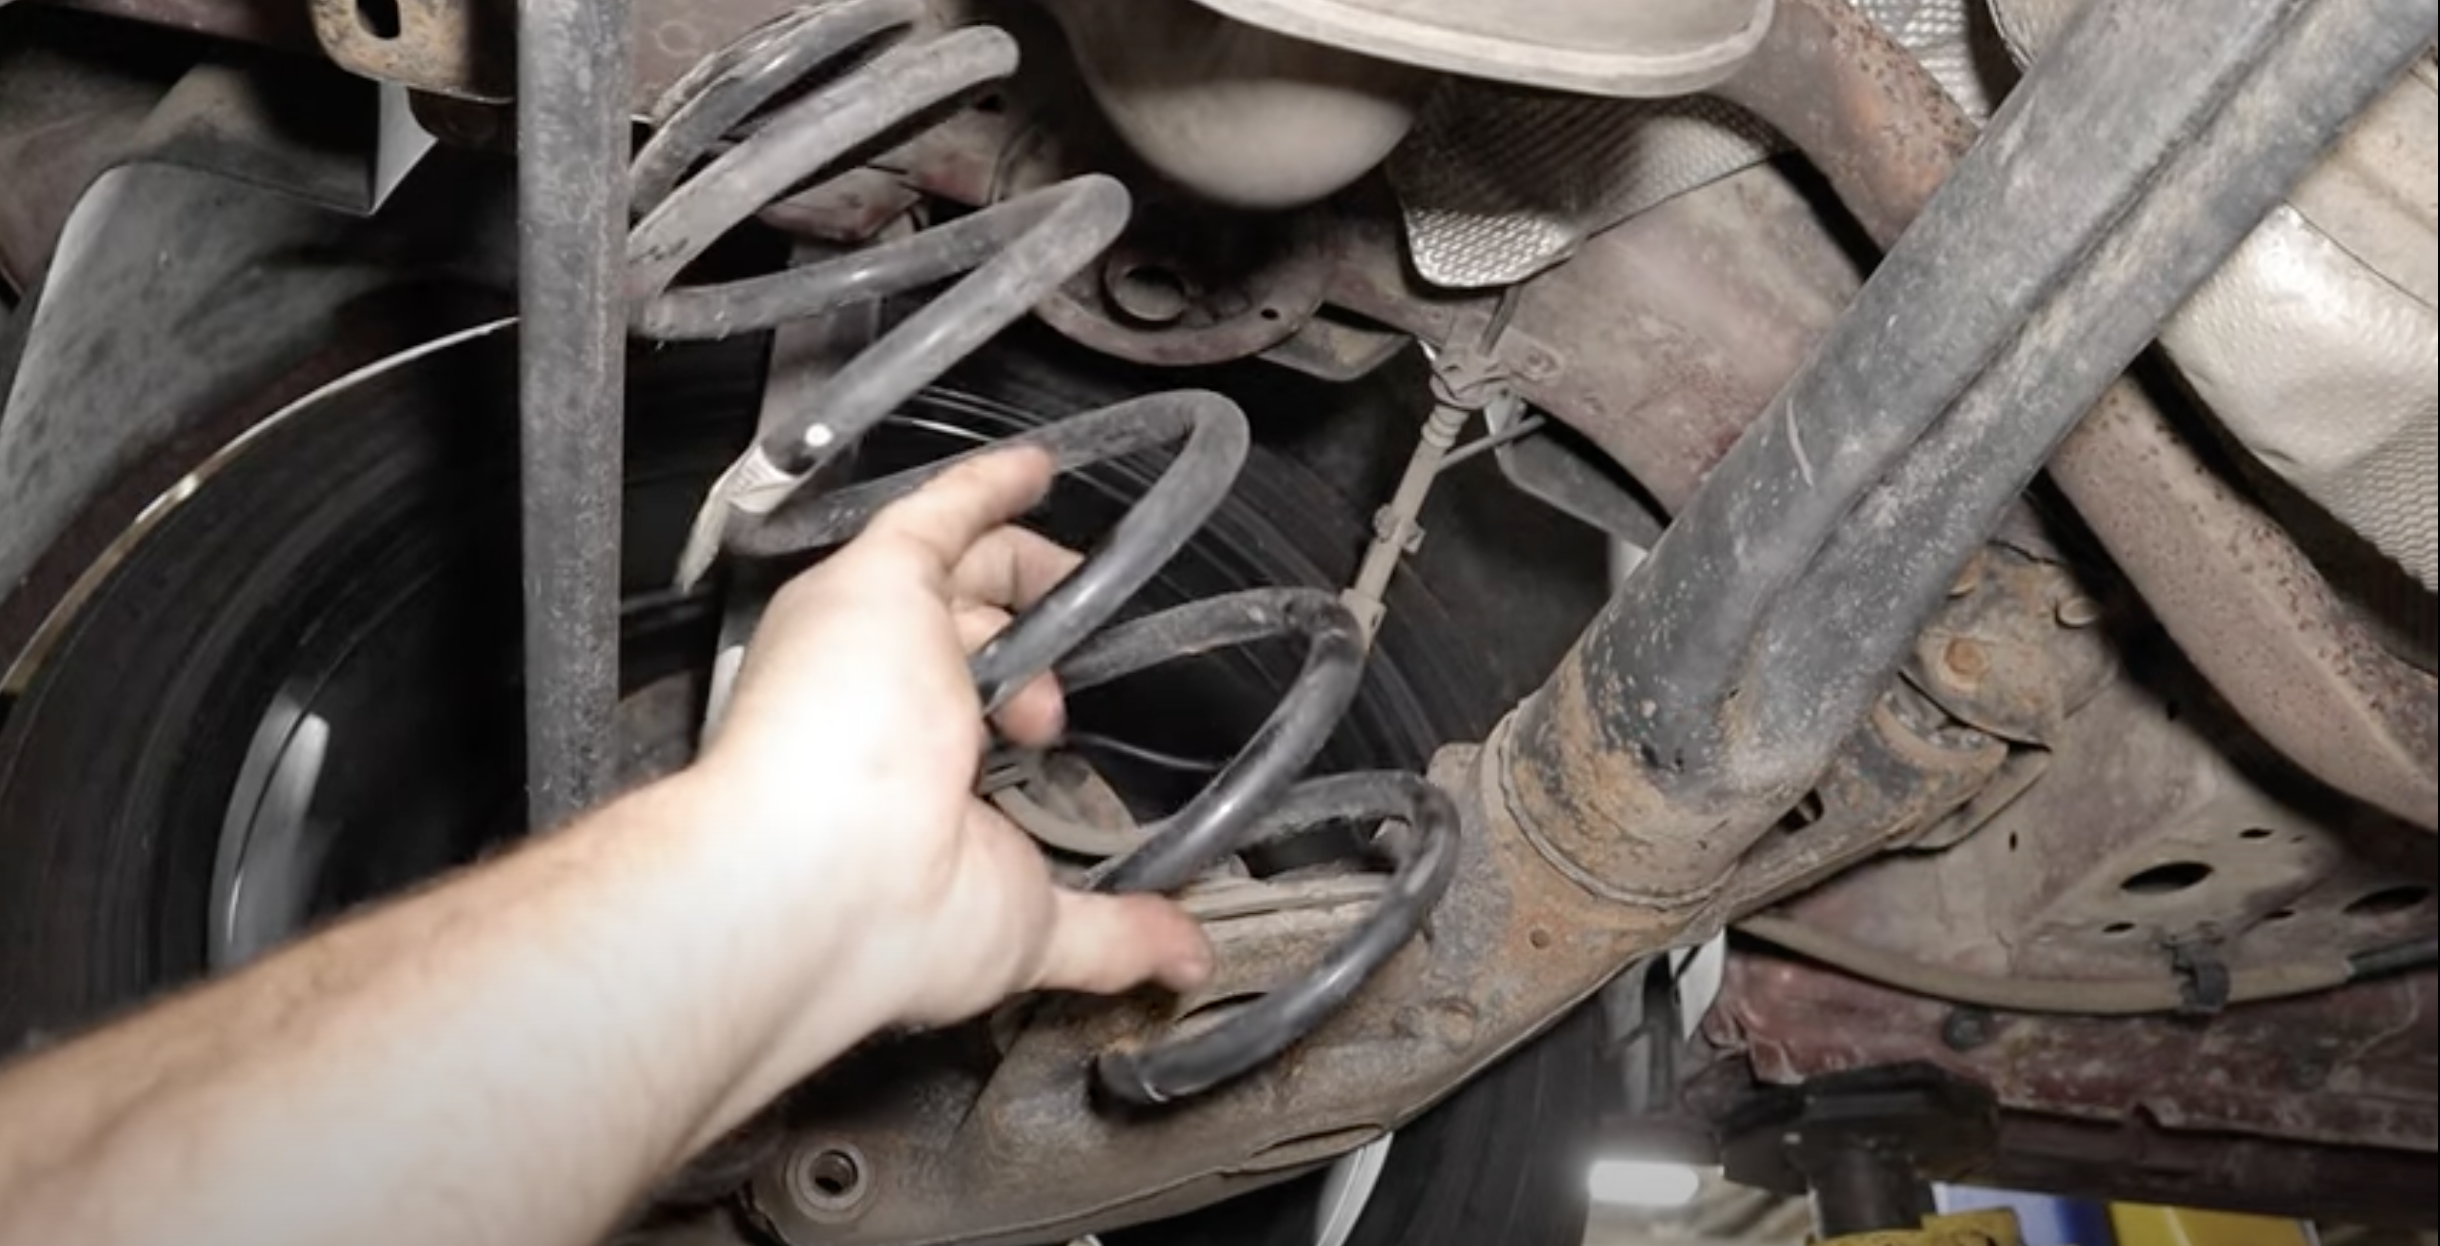
Install Spring
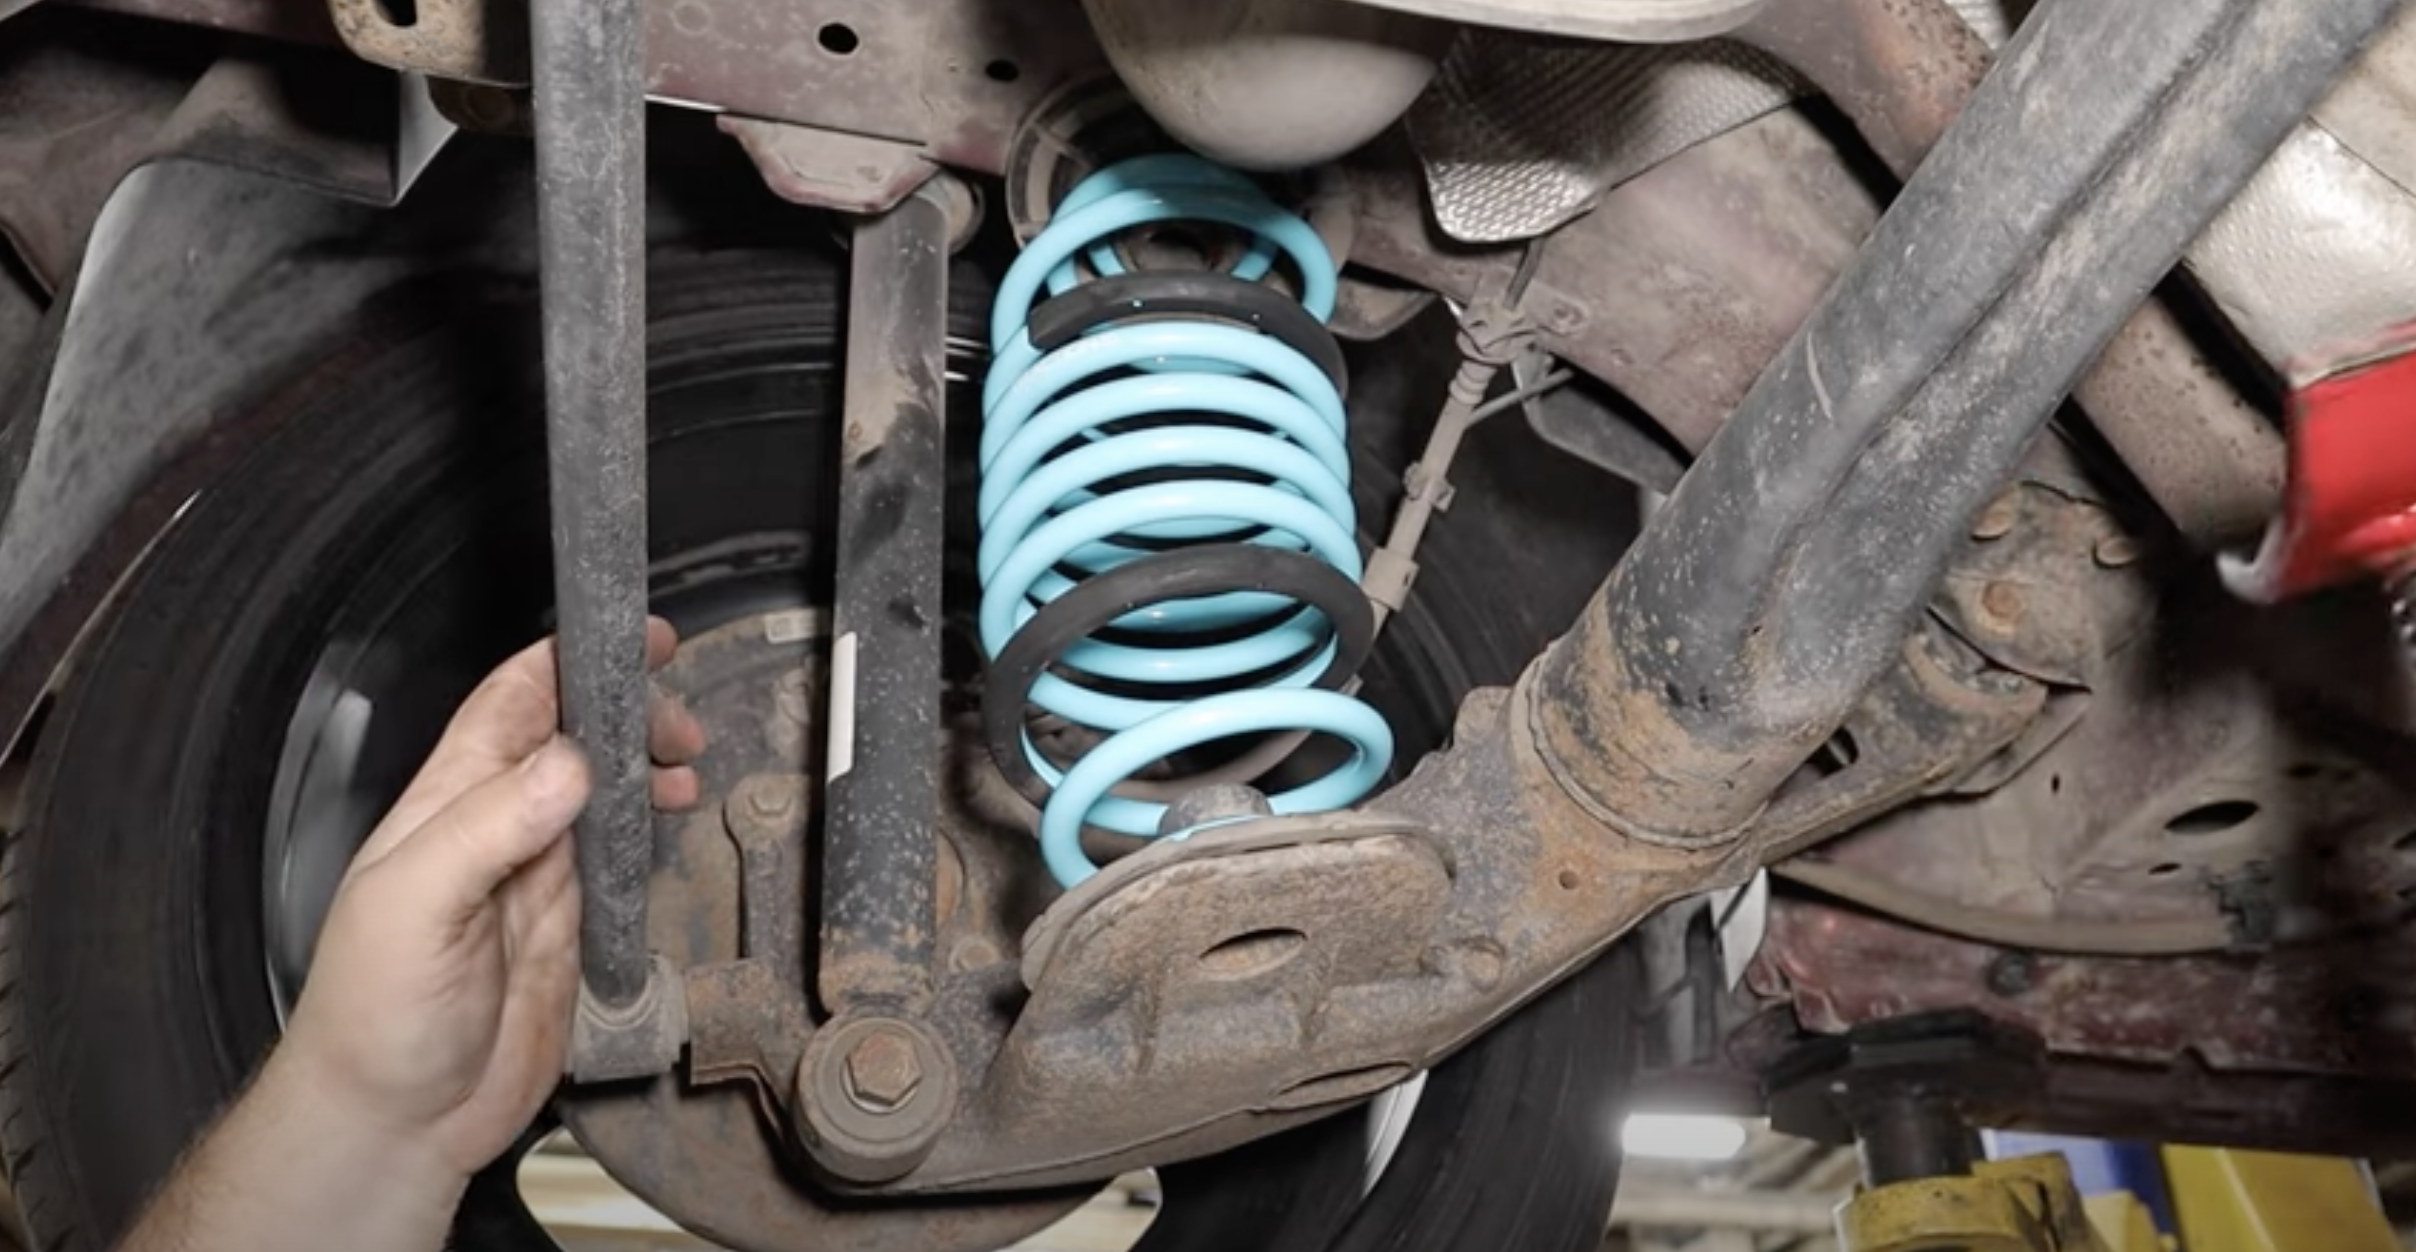
- Install new/lowering spring
- Align shock and reinstall bolt
- Remove jack/support
- You're done!