How to Install Laser Head for IDraw Pen Plotter
by uunatek in Workshop > Laser Cutting
836 Views, 2 Favorites, 0 Comments
How to Install Laser Head for IDraw Pen Plotter
After you assembled the iDraw Pen plotter, you can unlock more fun by installed the laser head, which can laser on wood, paper, leather and more. This laser head is only 500wm, check more detail about the laser head here
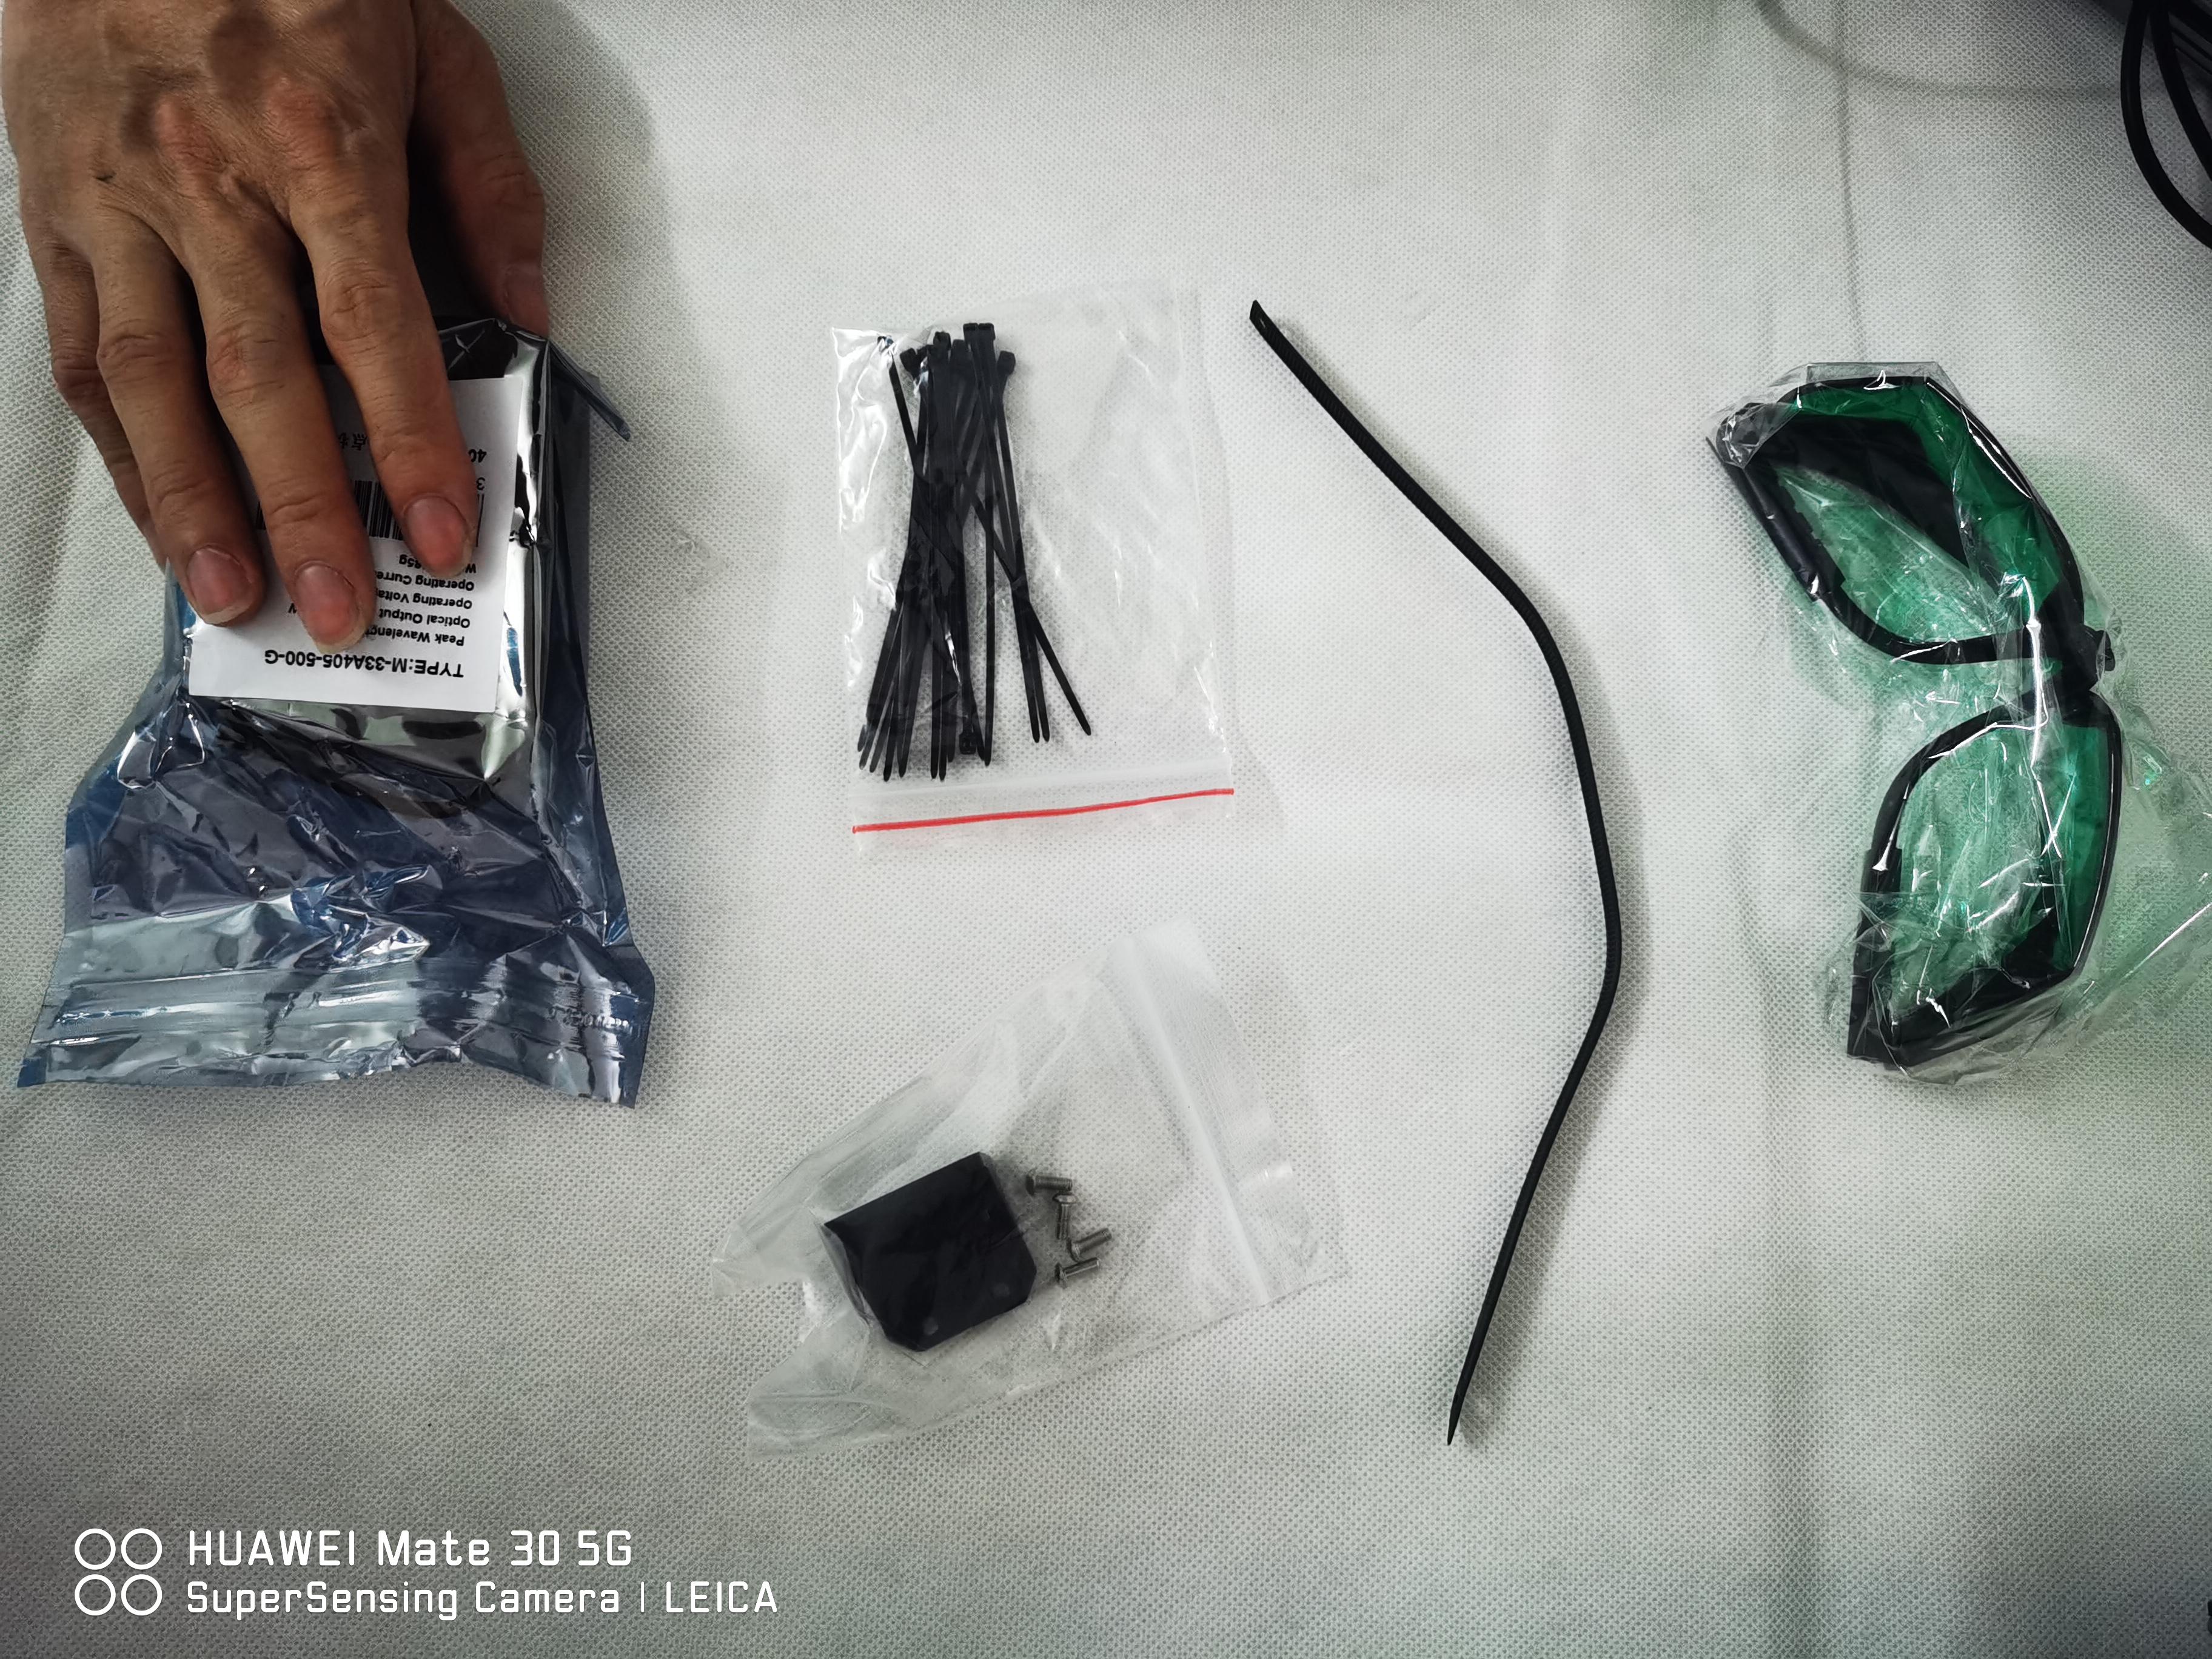
Make Sure You Got All Laser Head Parts
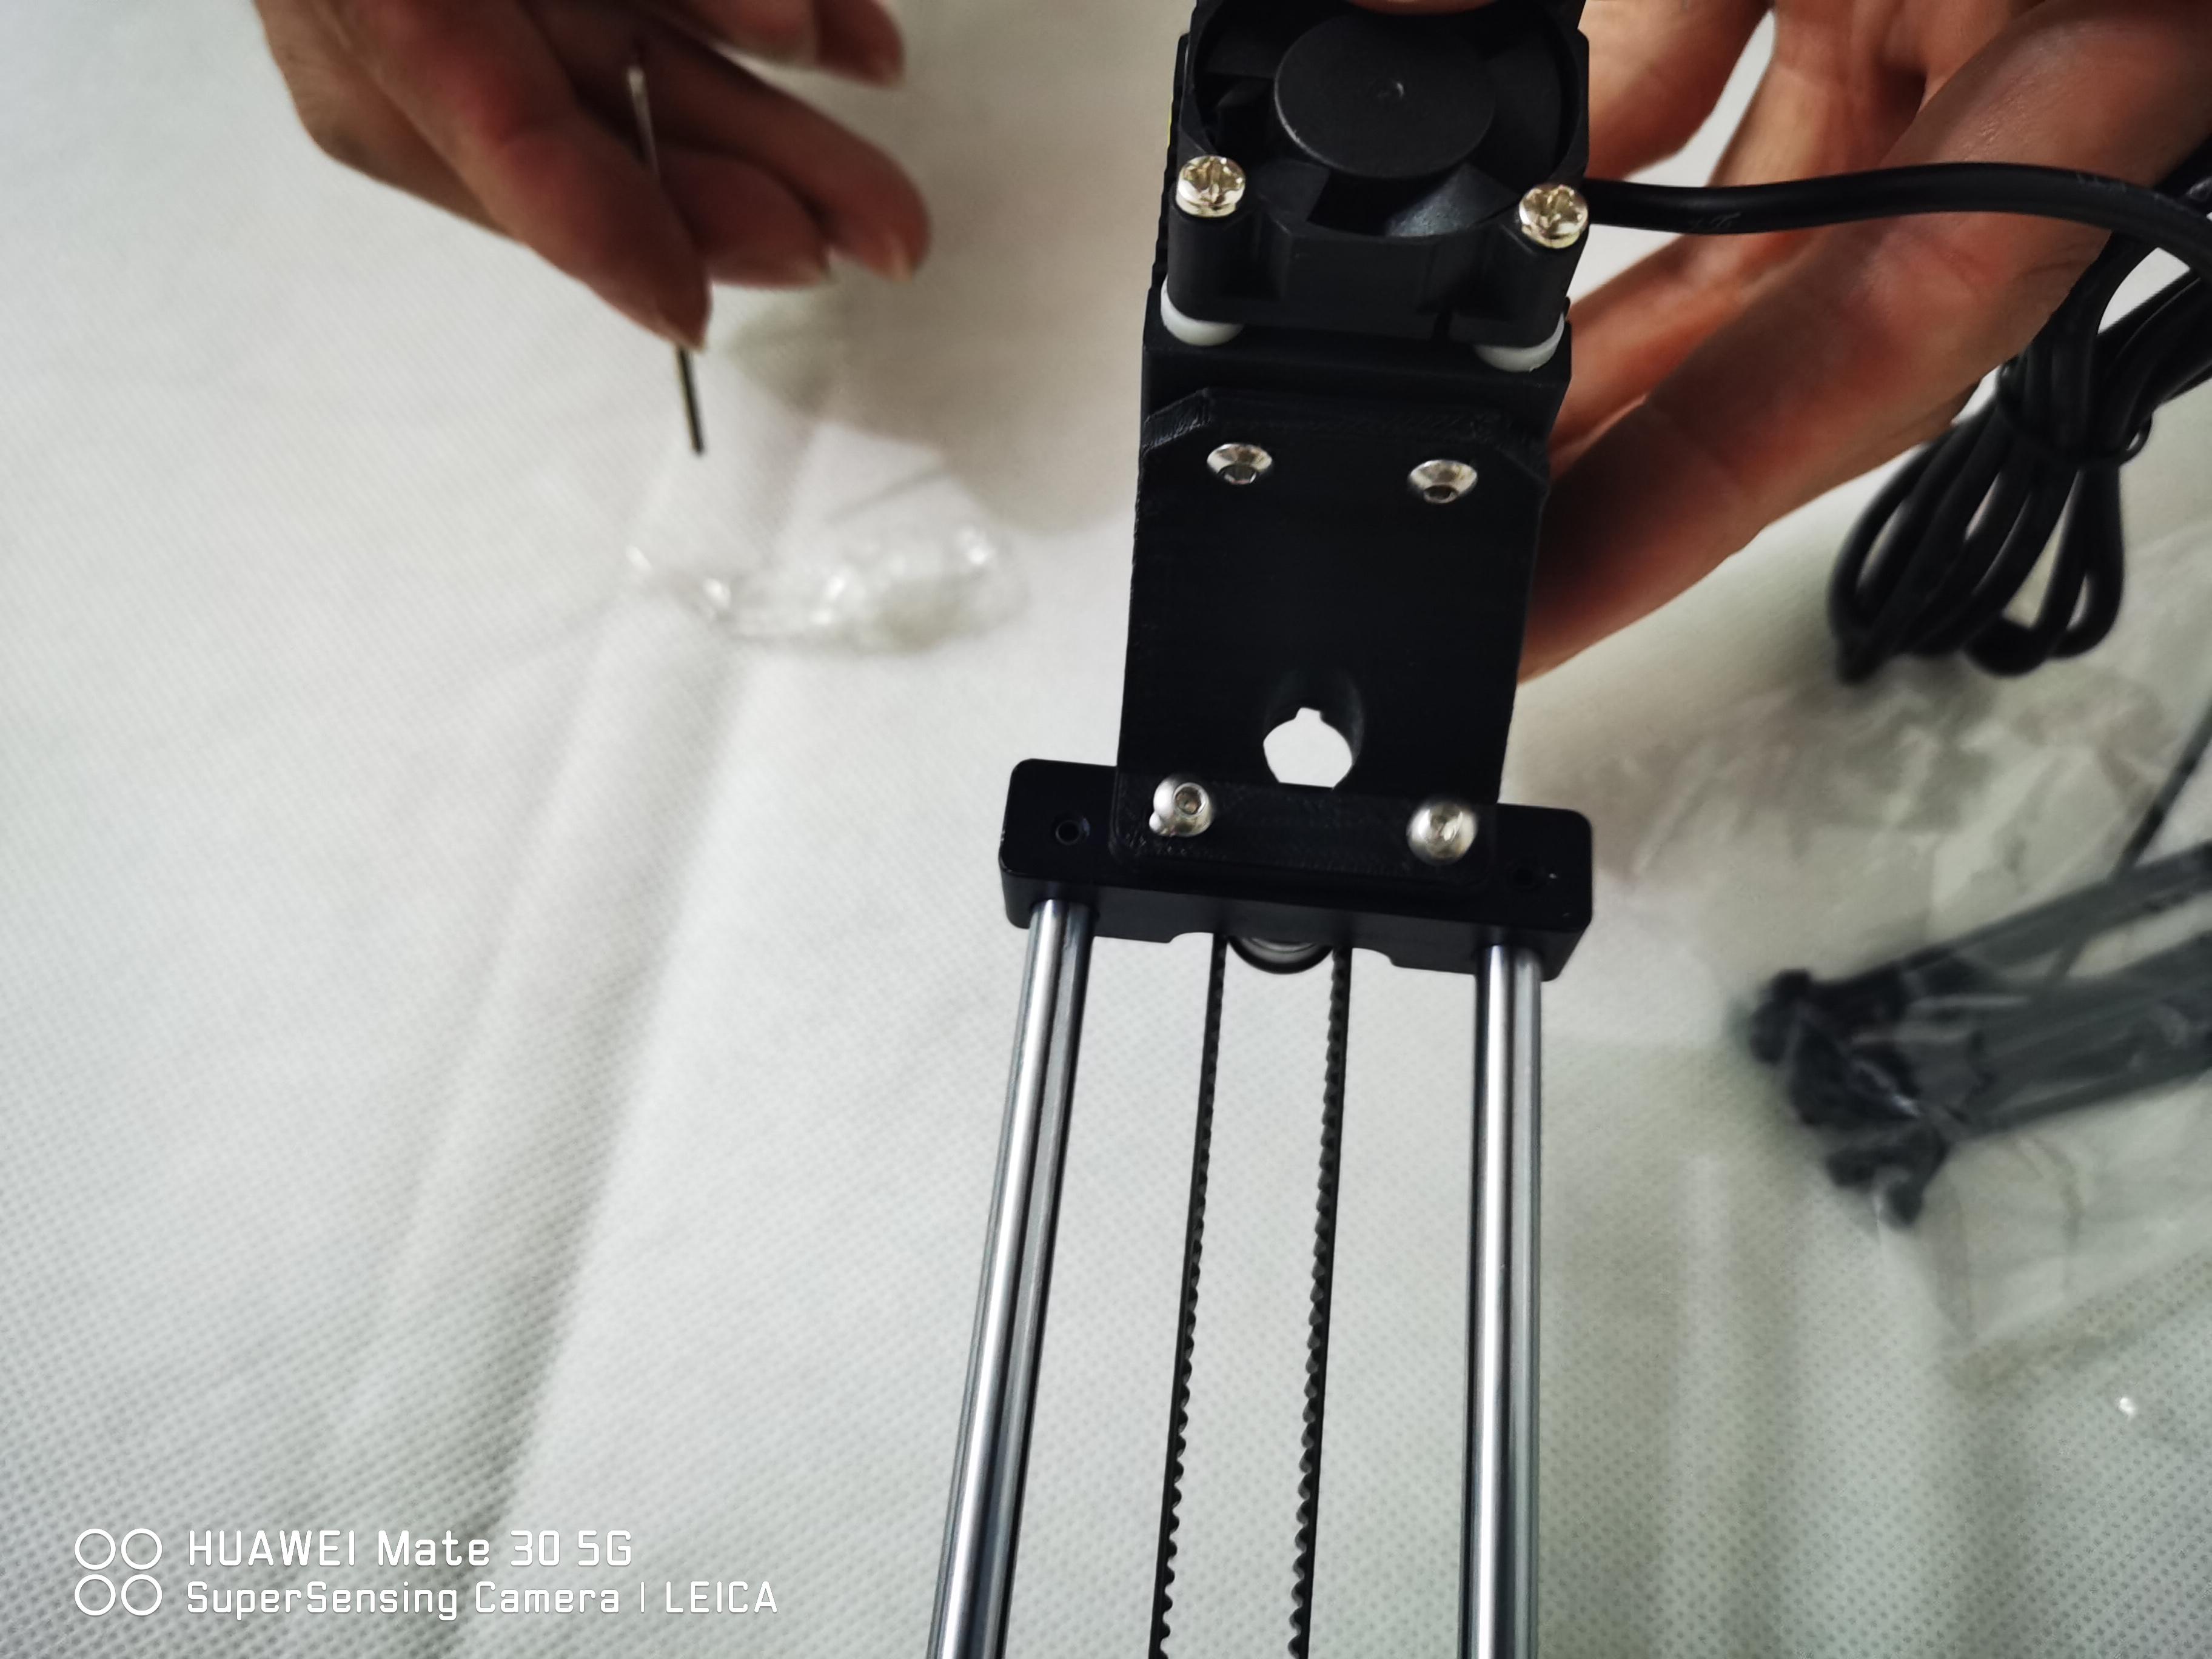
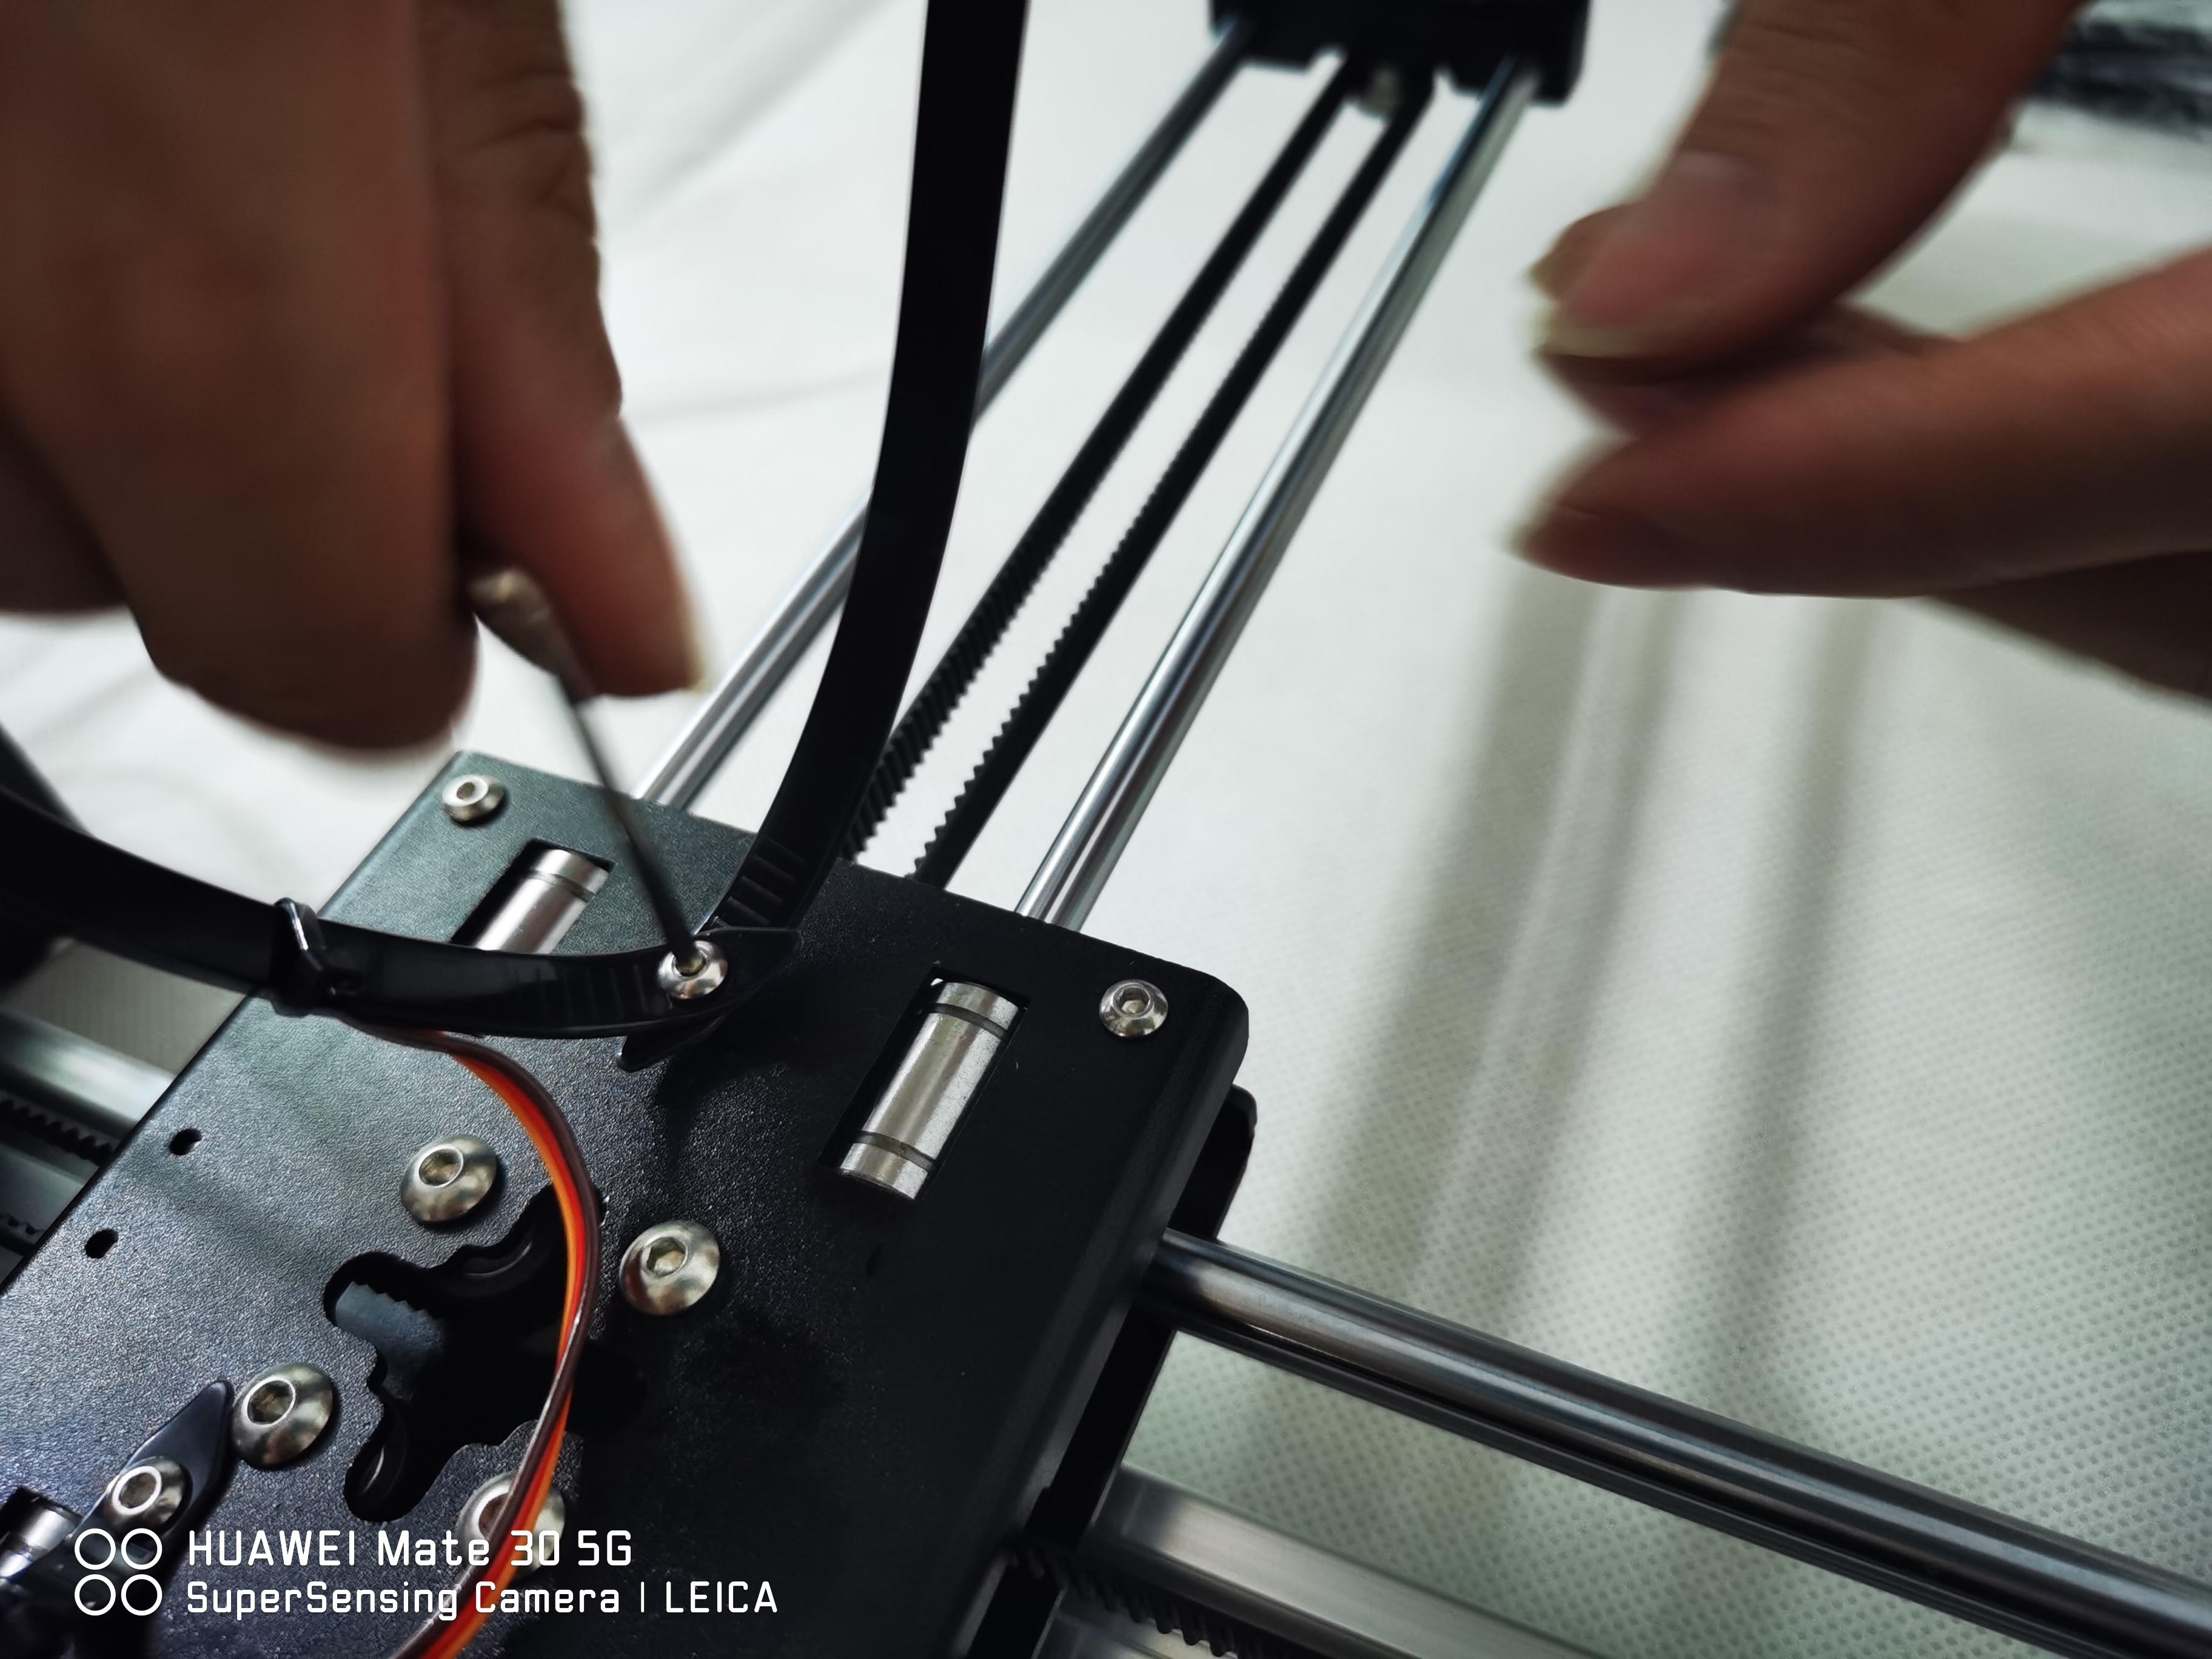
Untighten the End Block on the Small Axis by Using the Provided Allen Key.
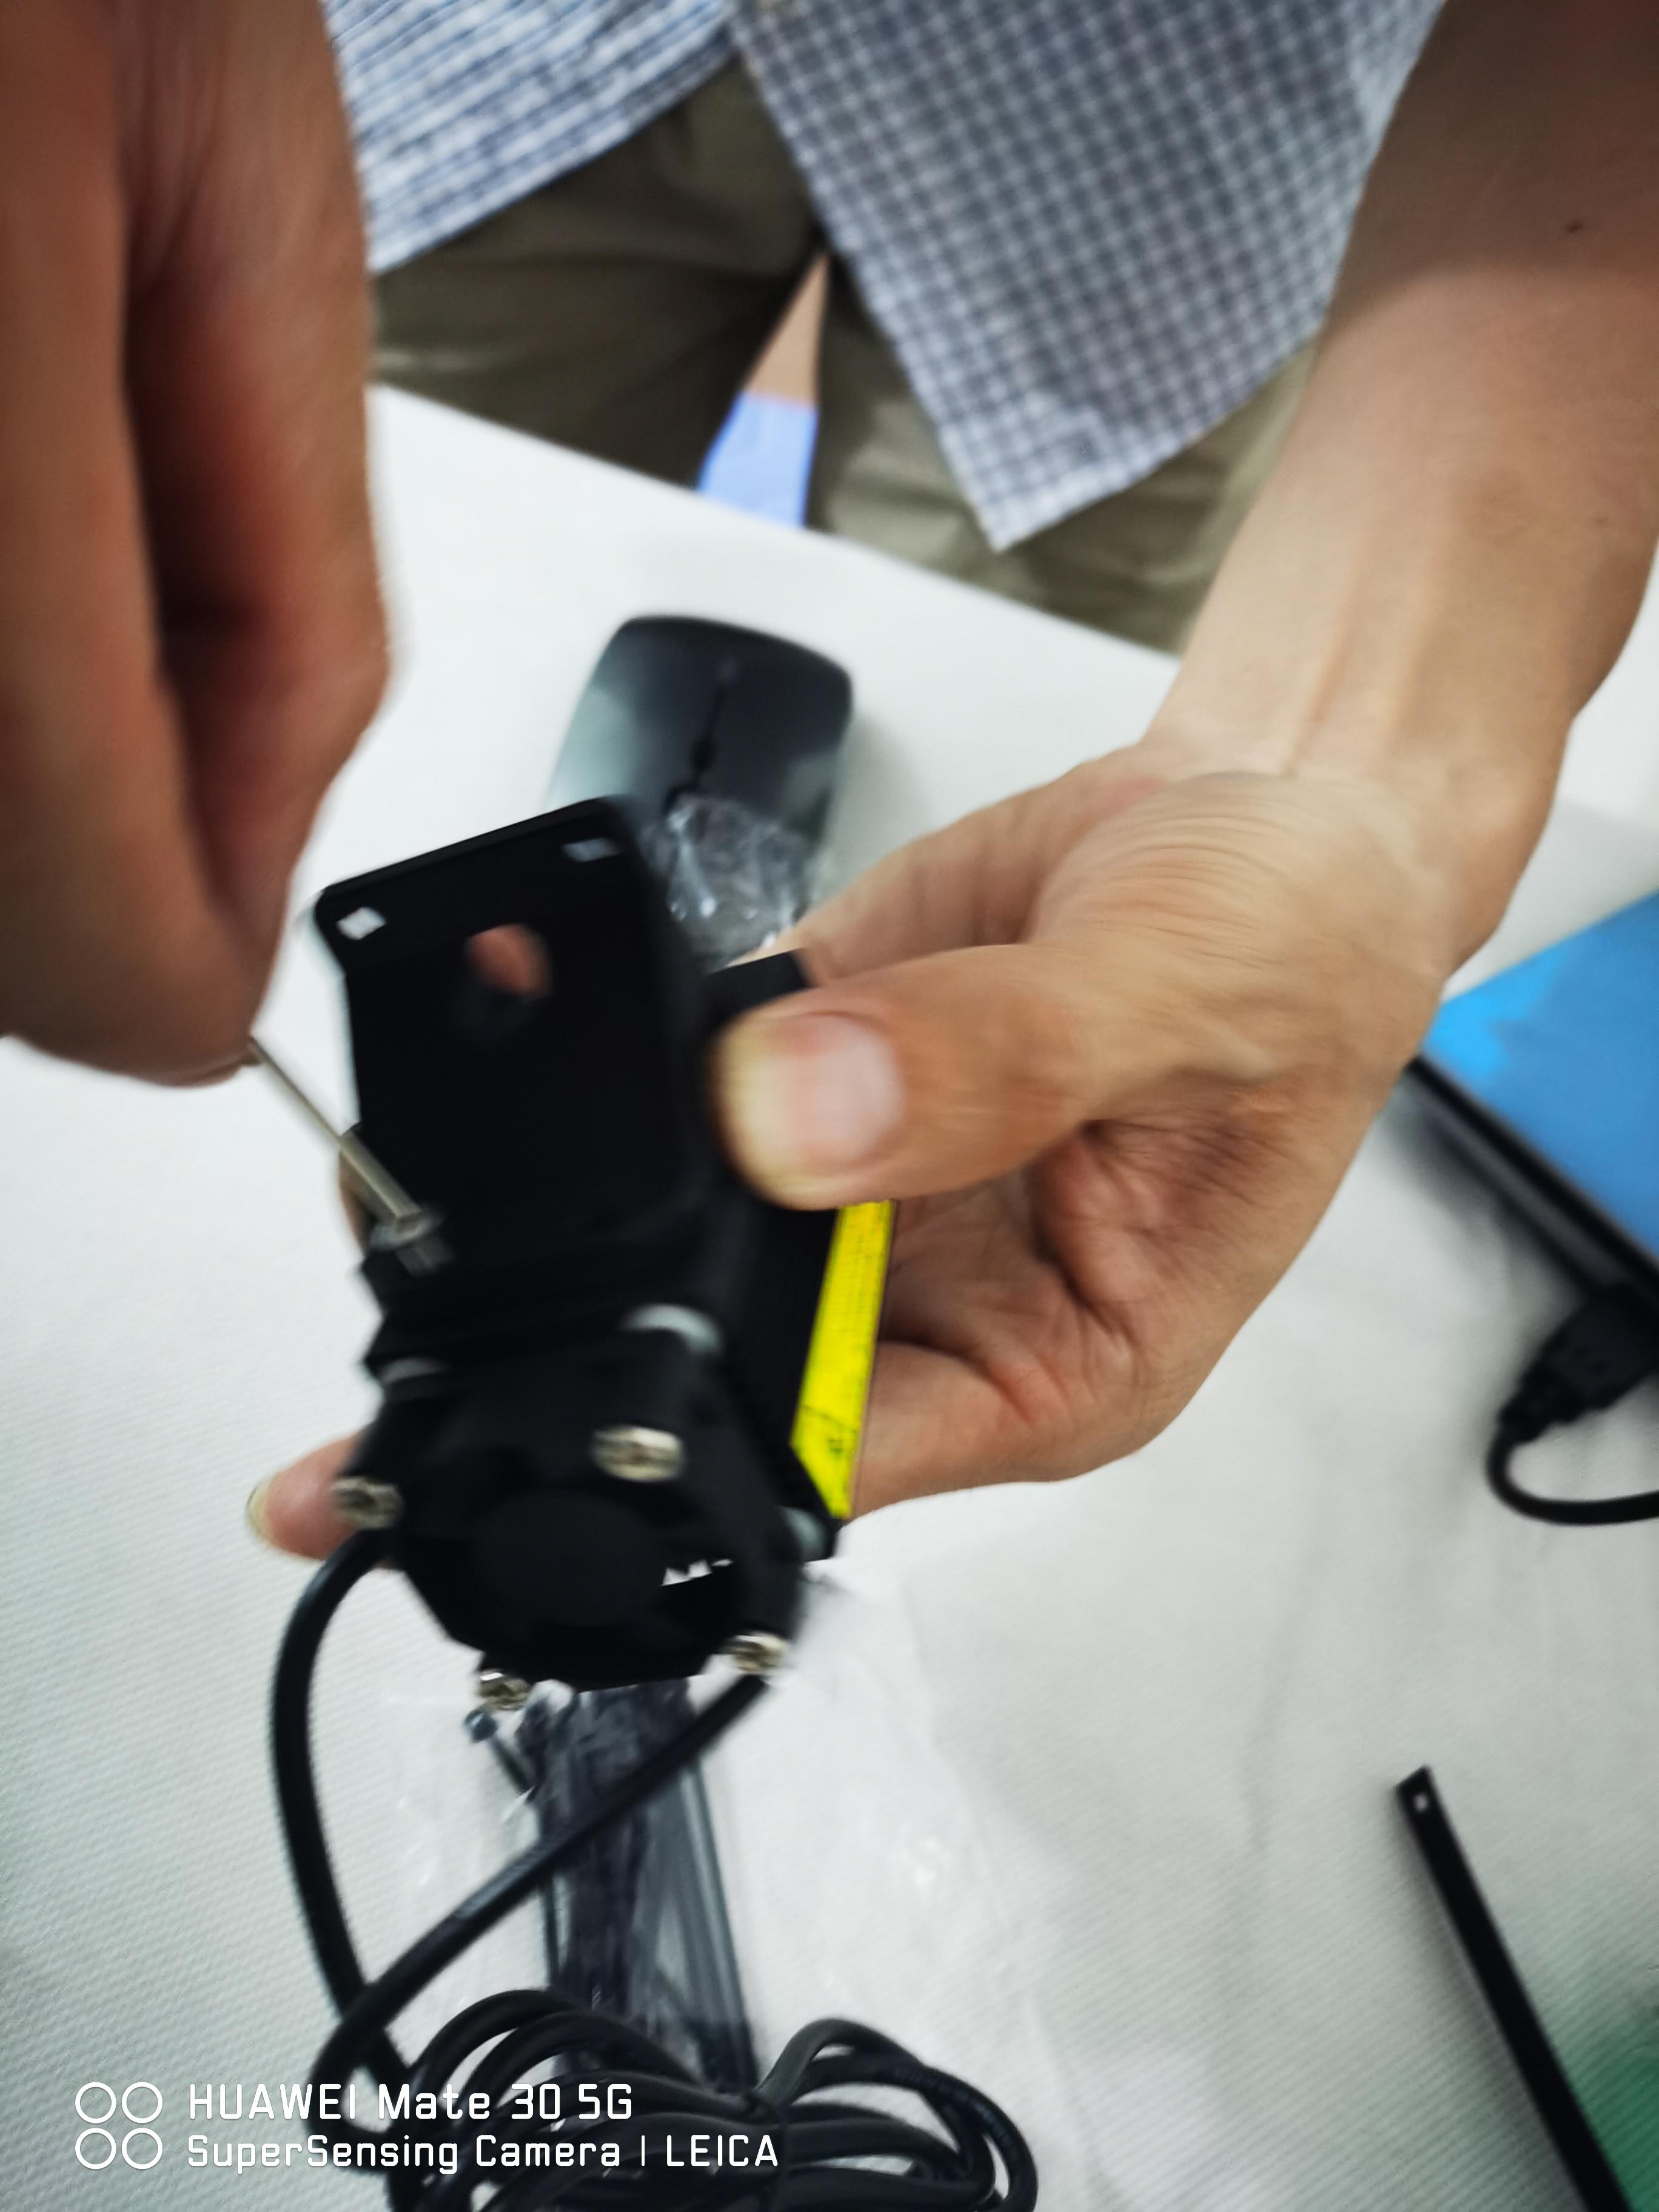
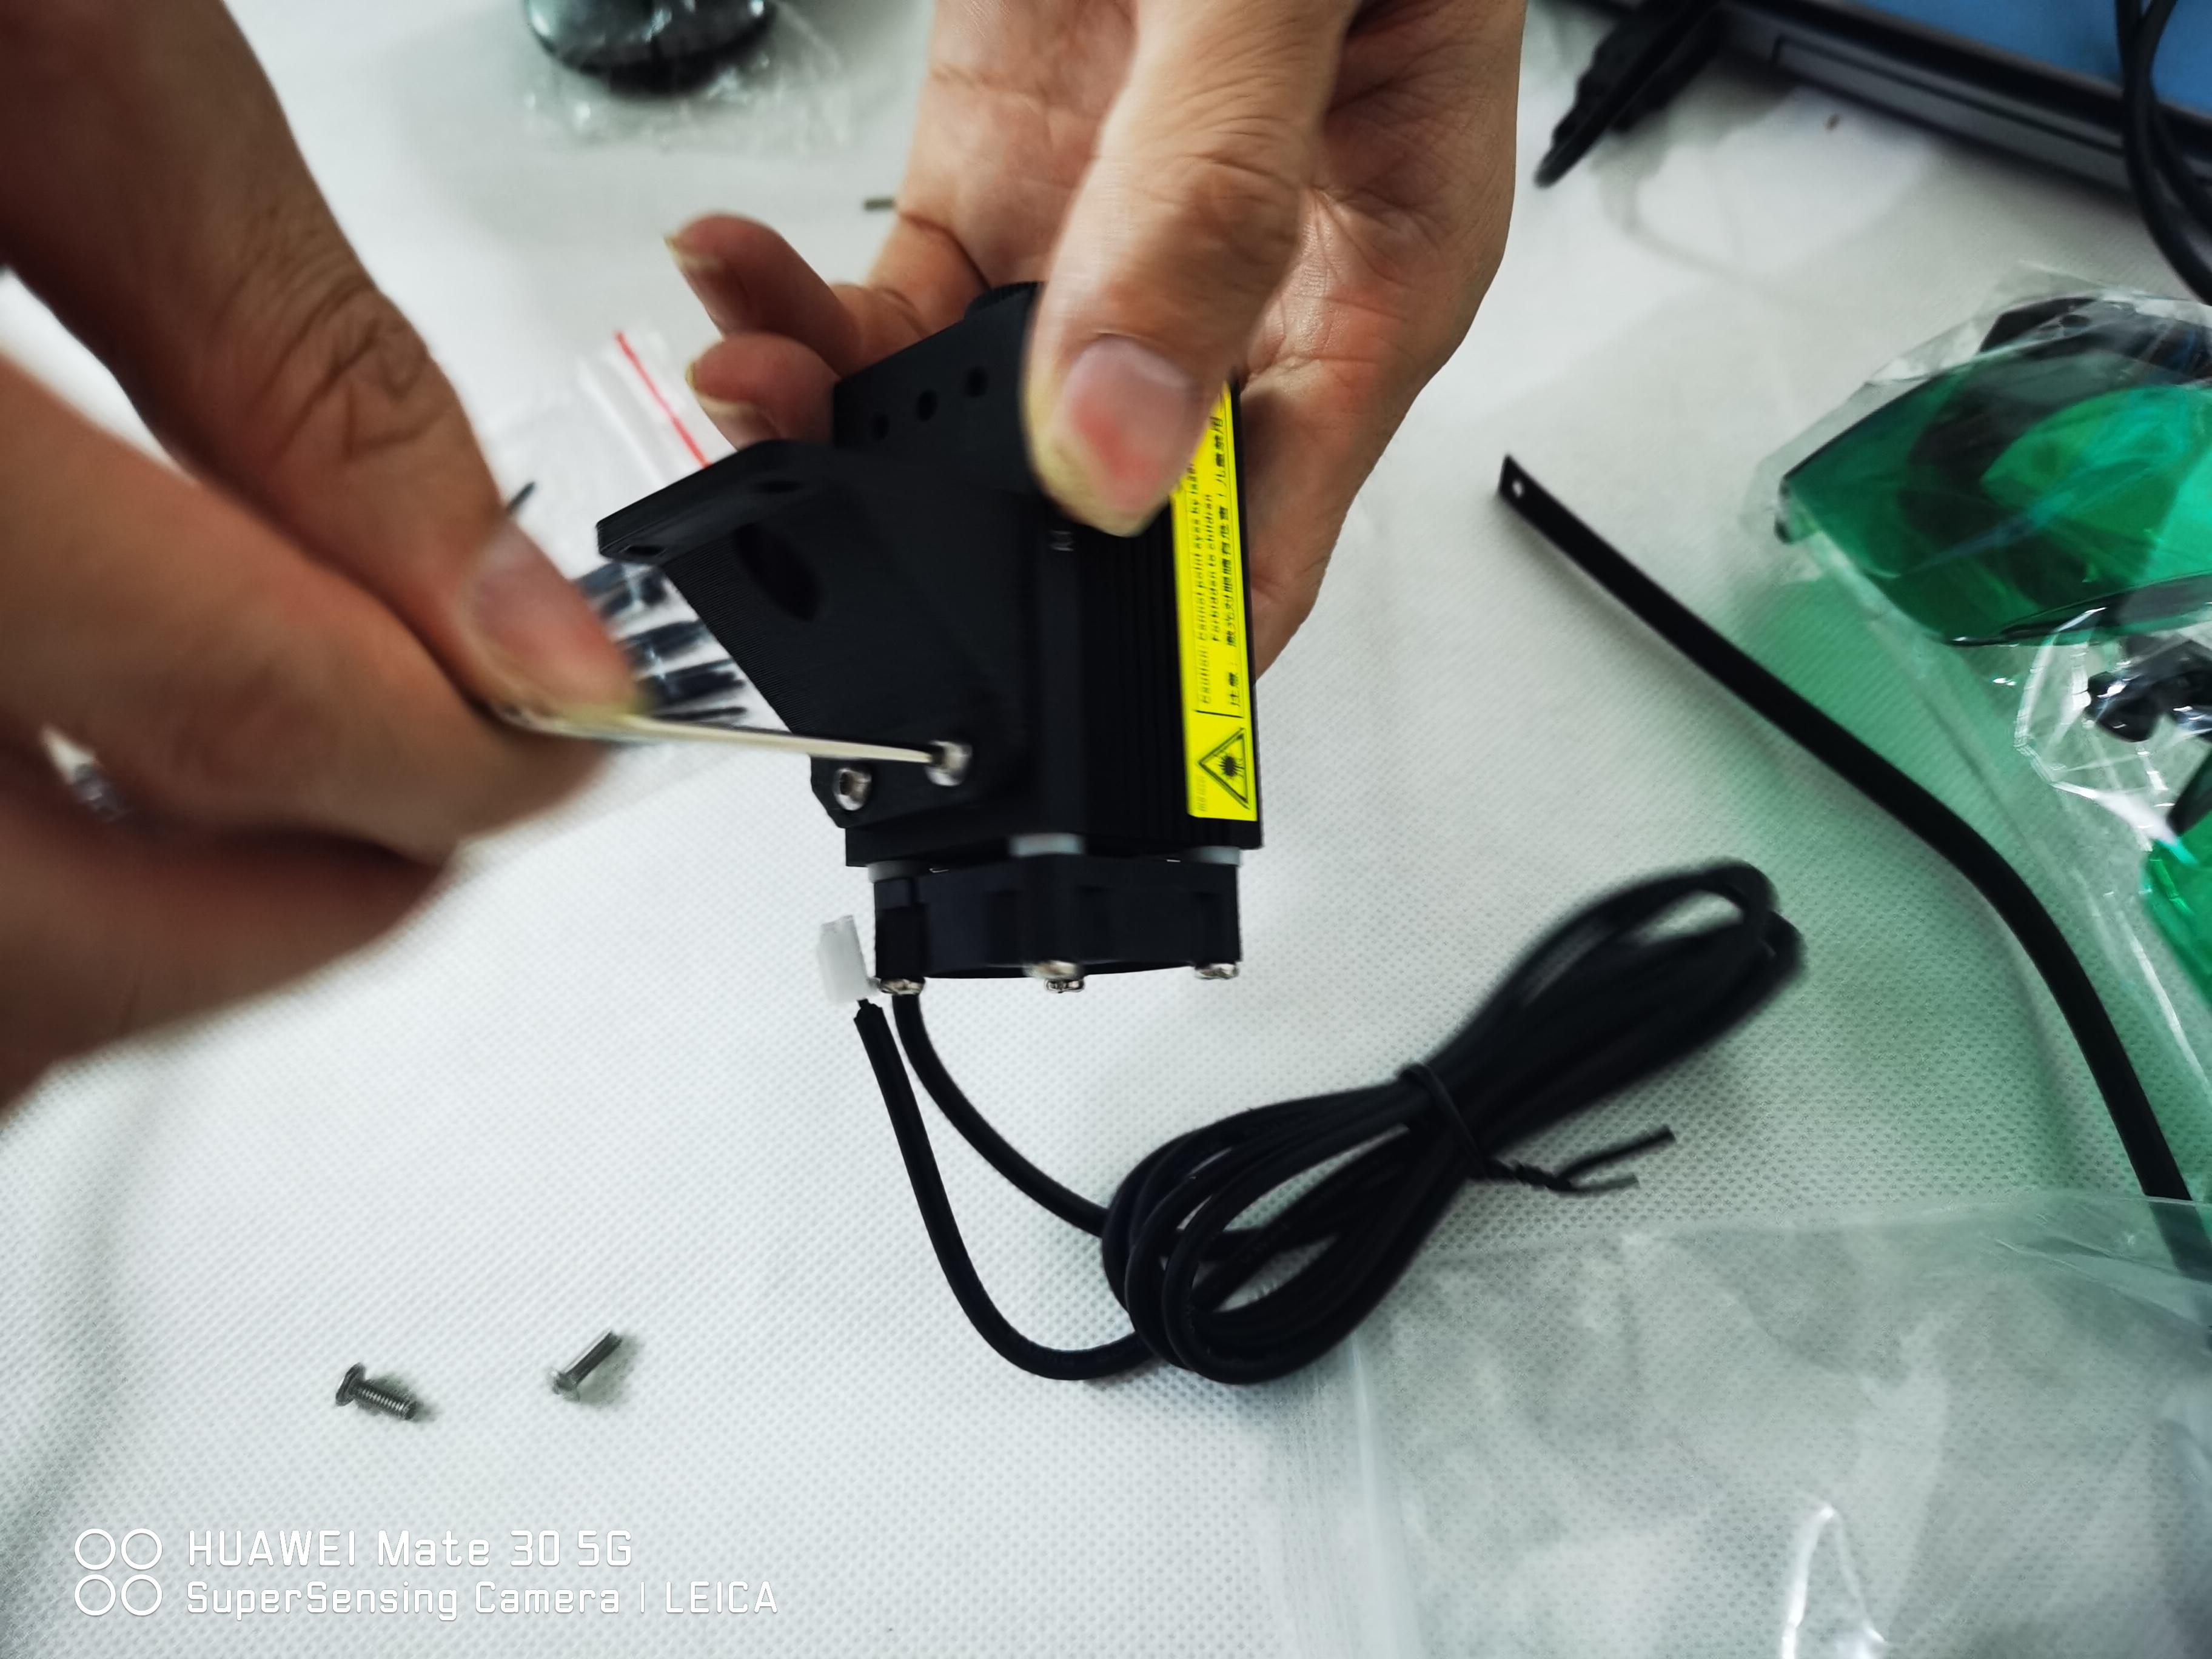
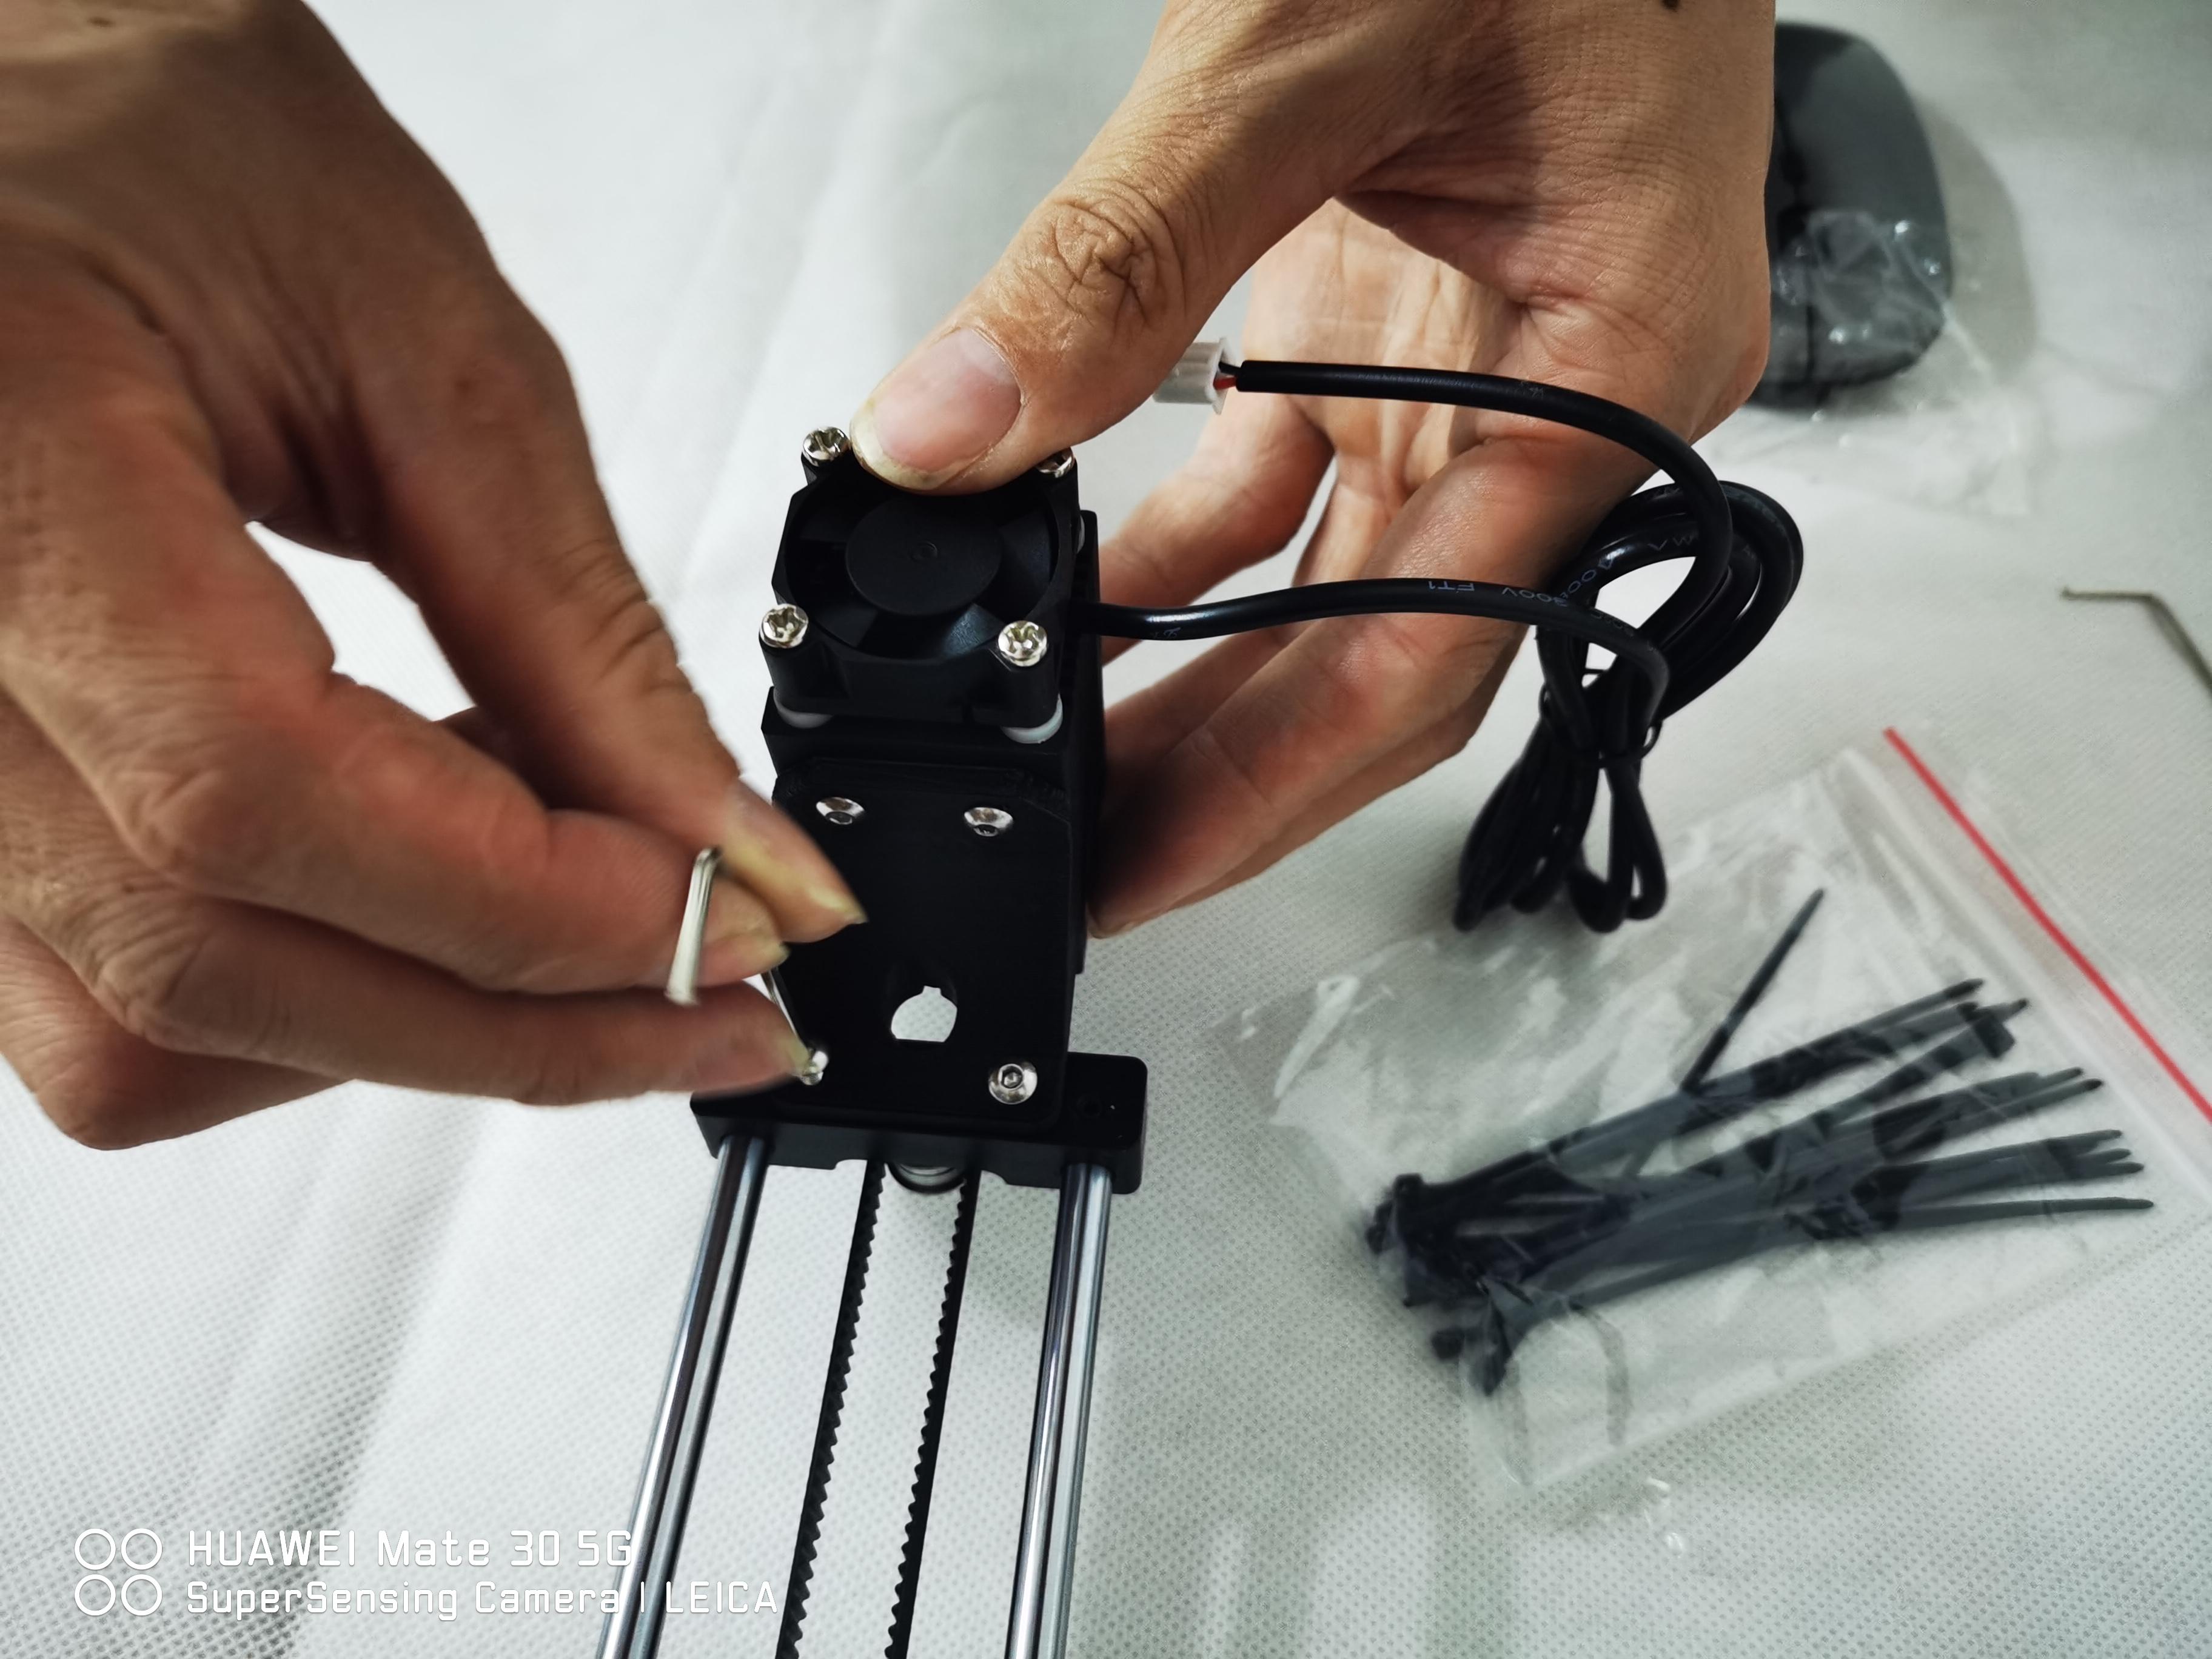
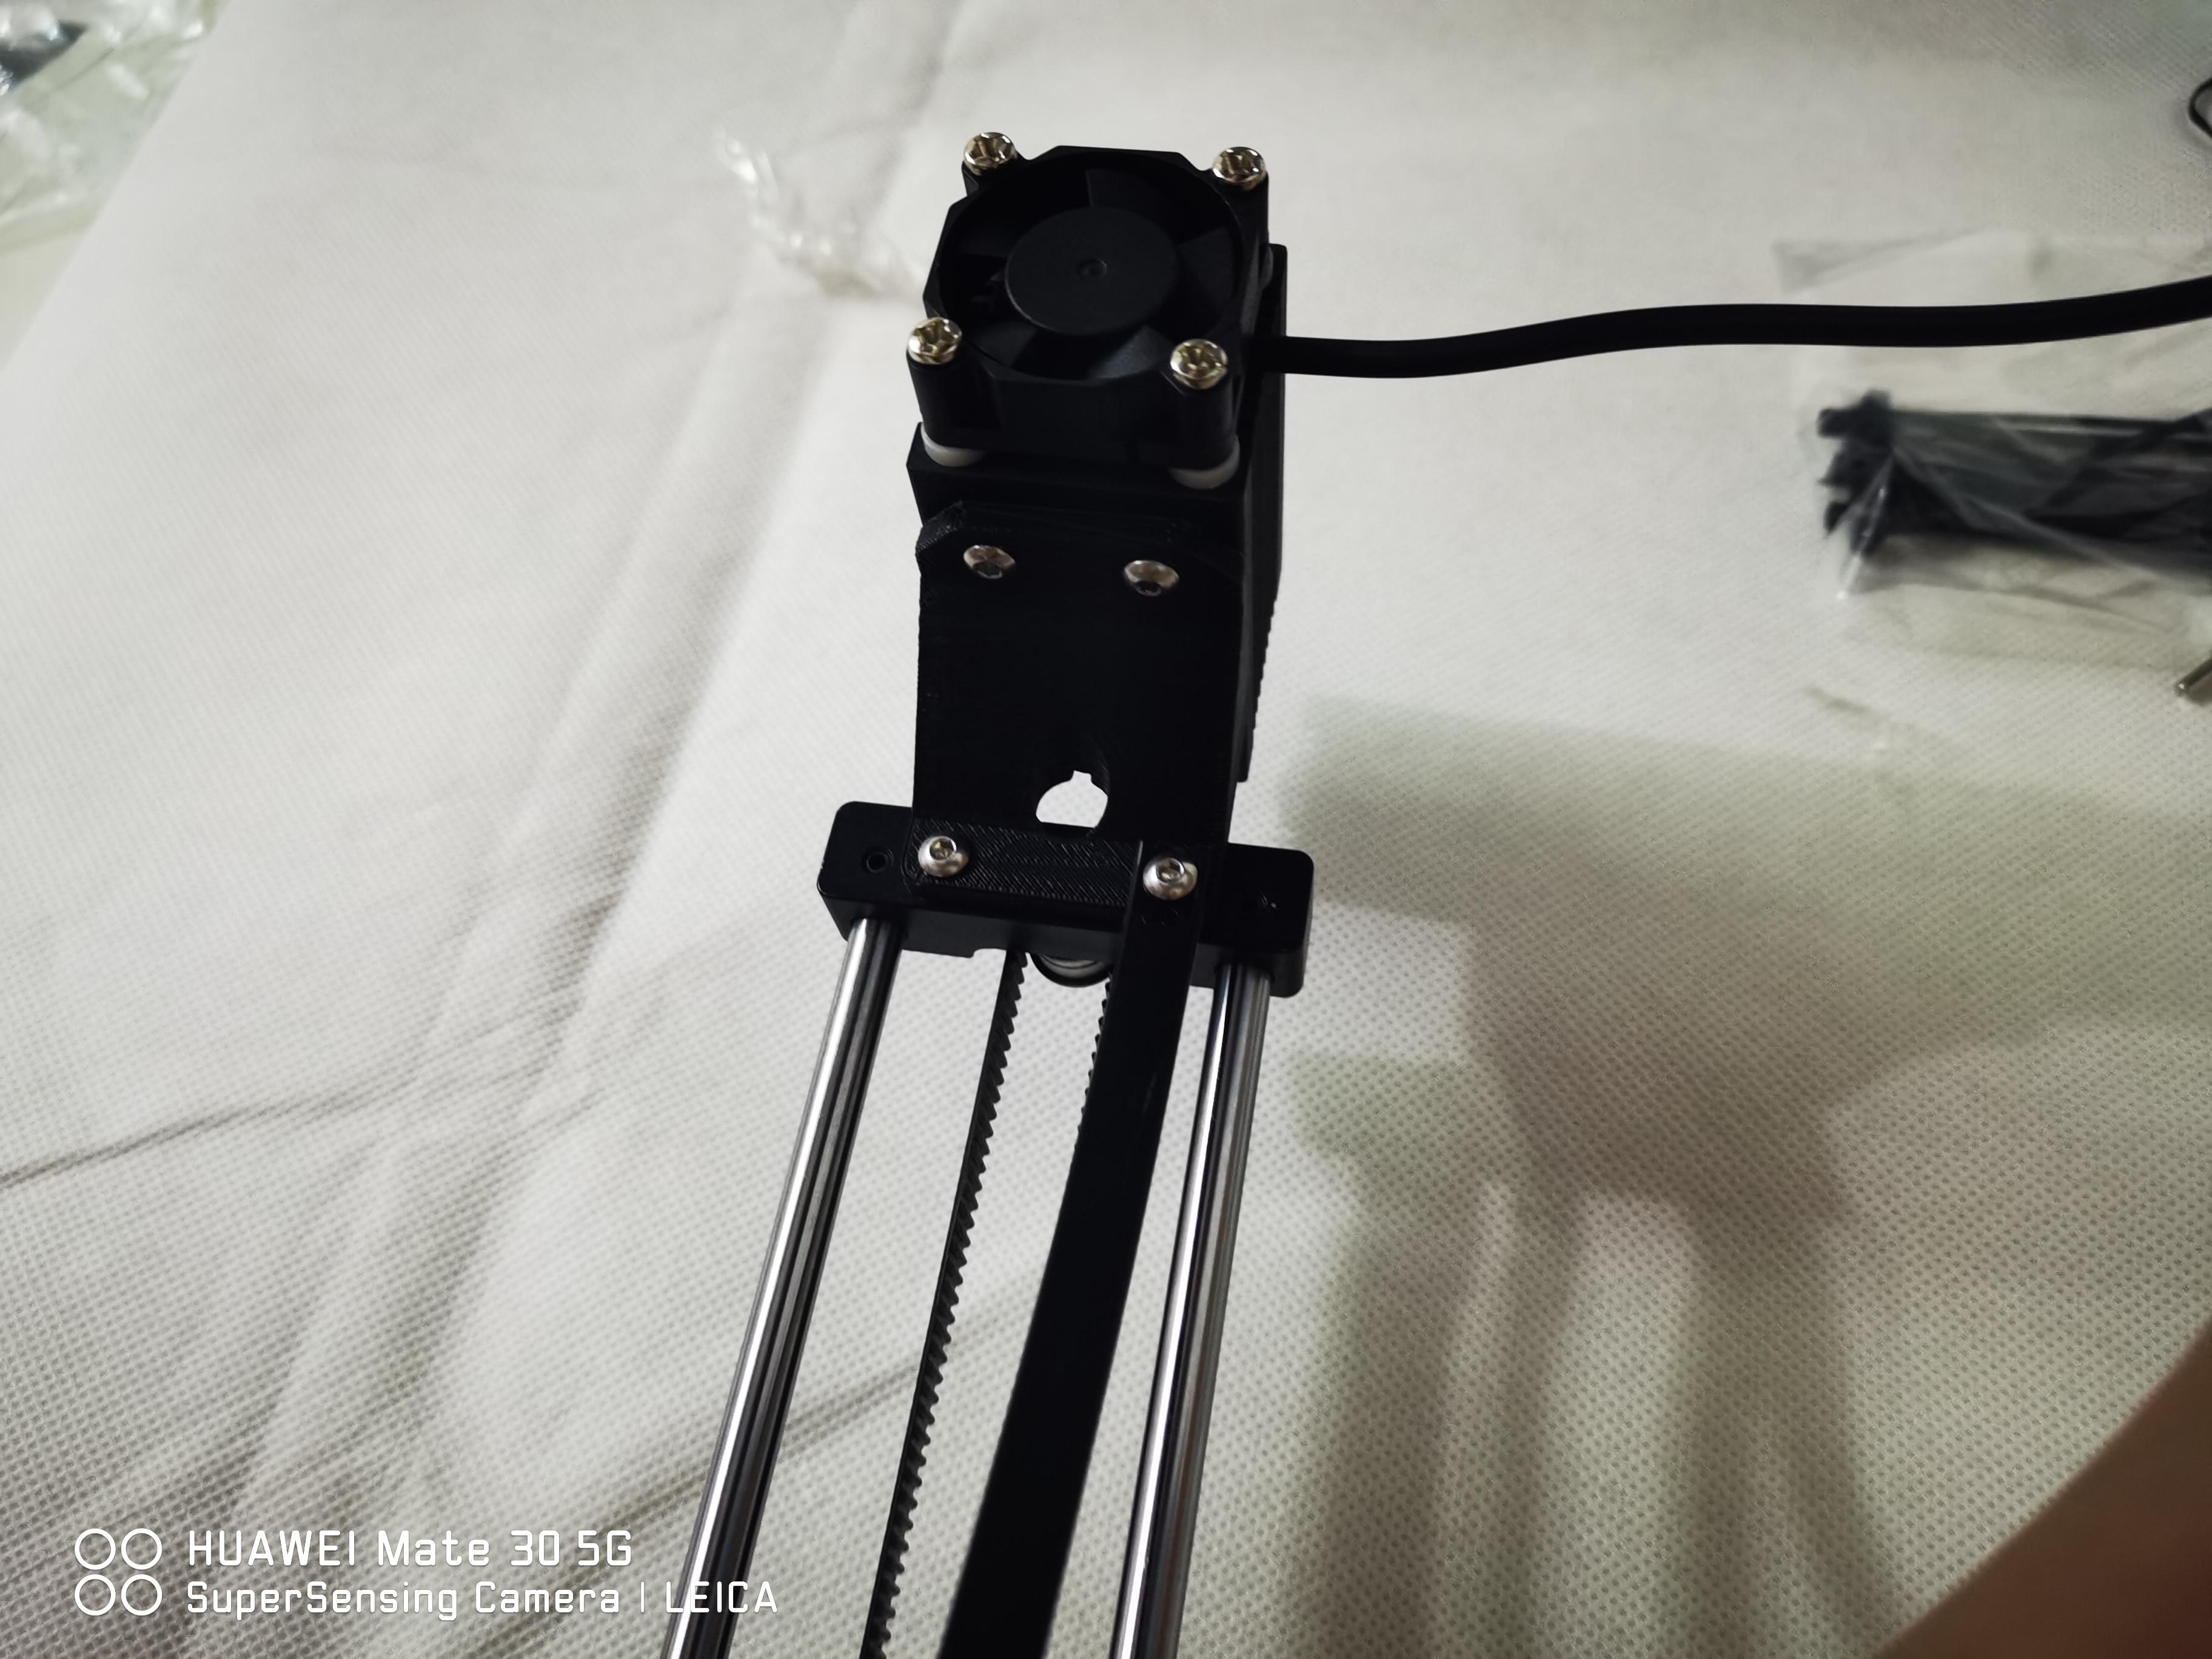
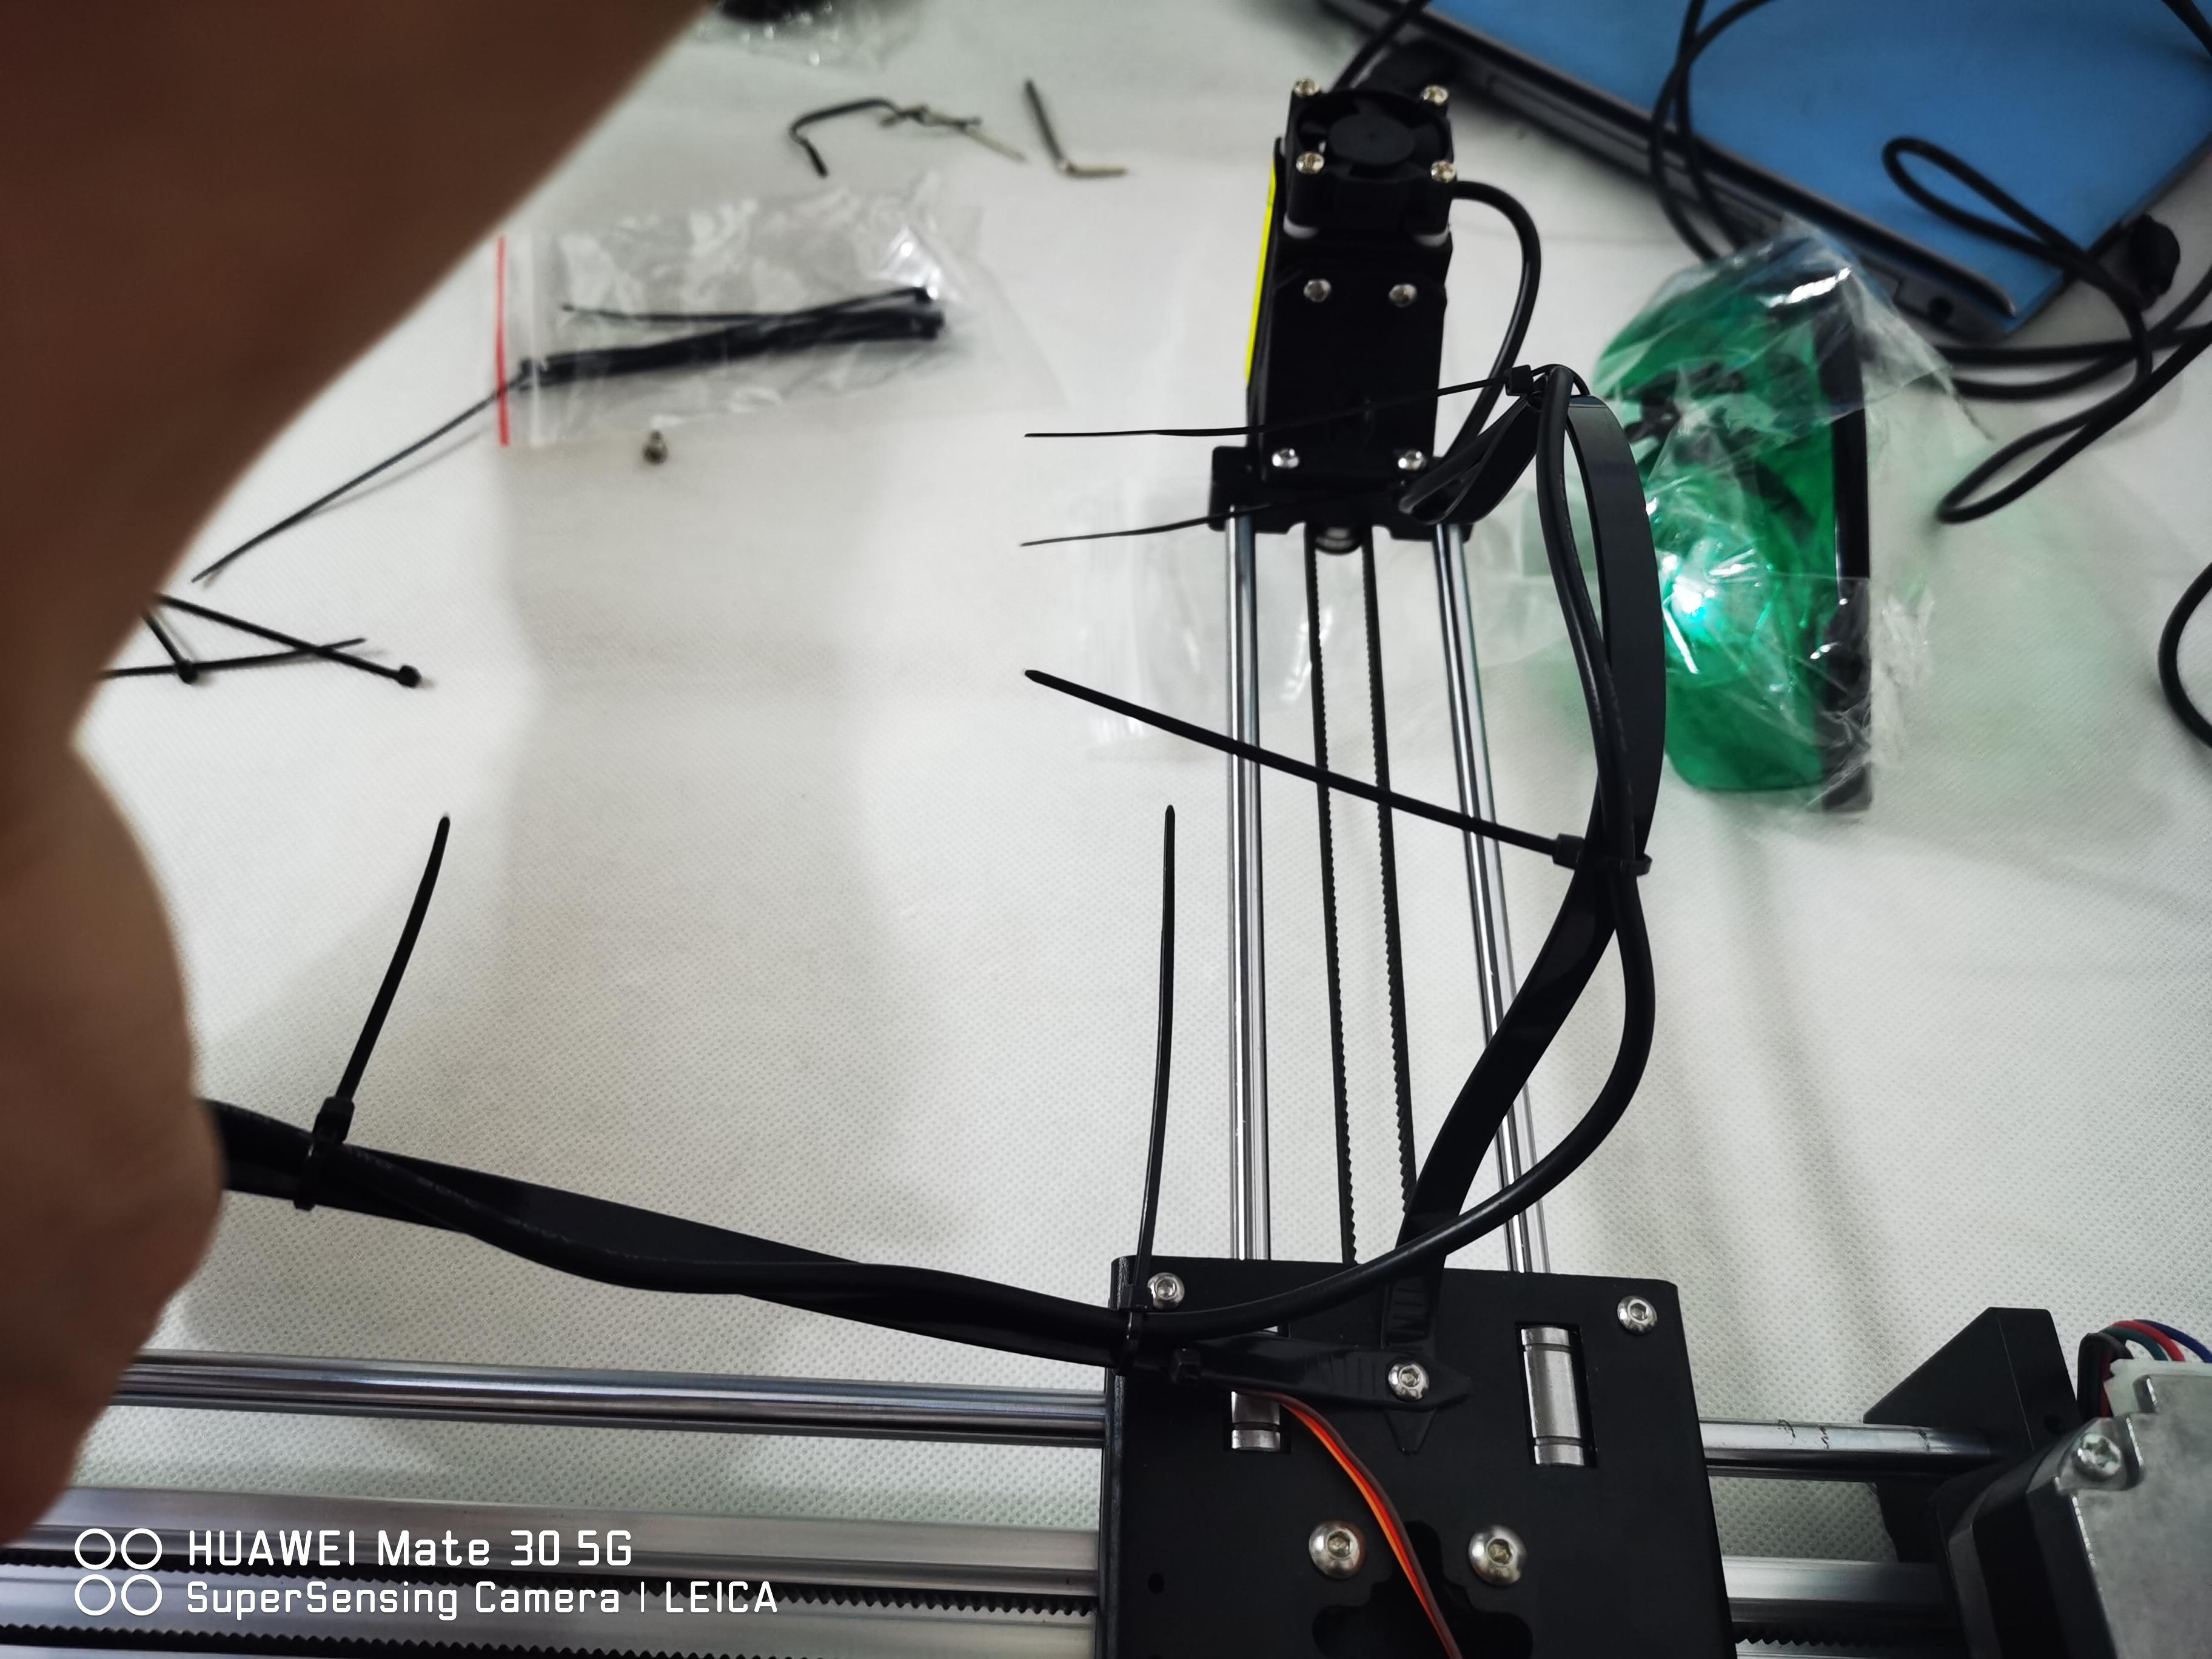
Install the Laser Head in the Other End of the Rods
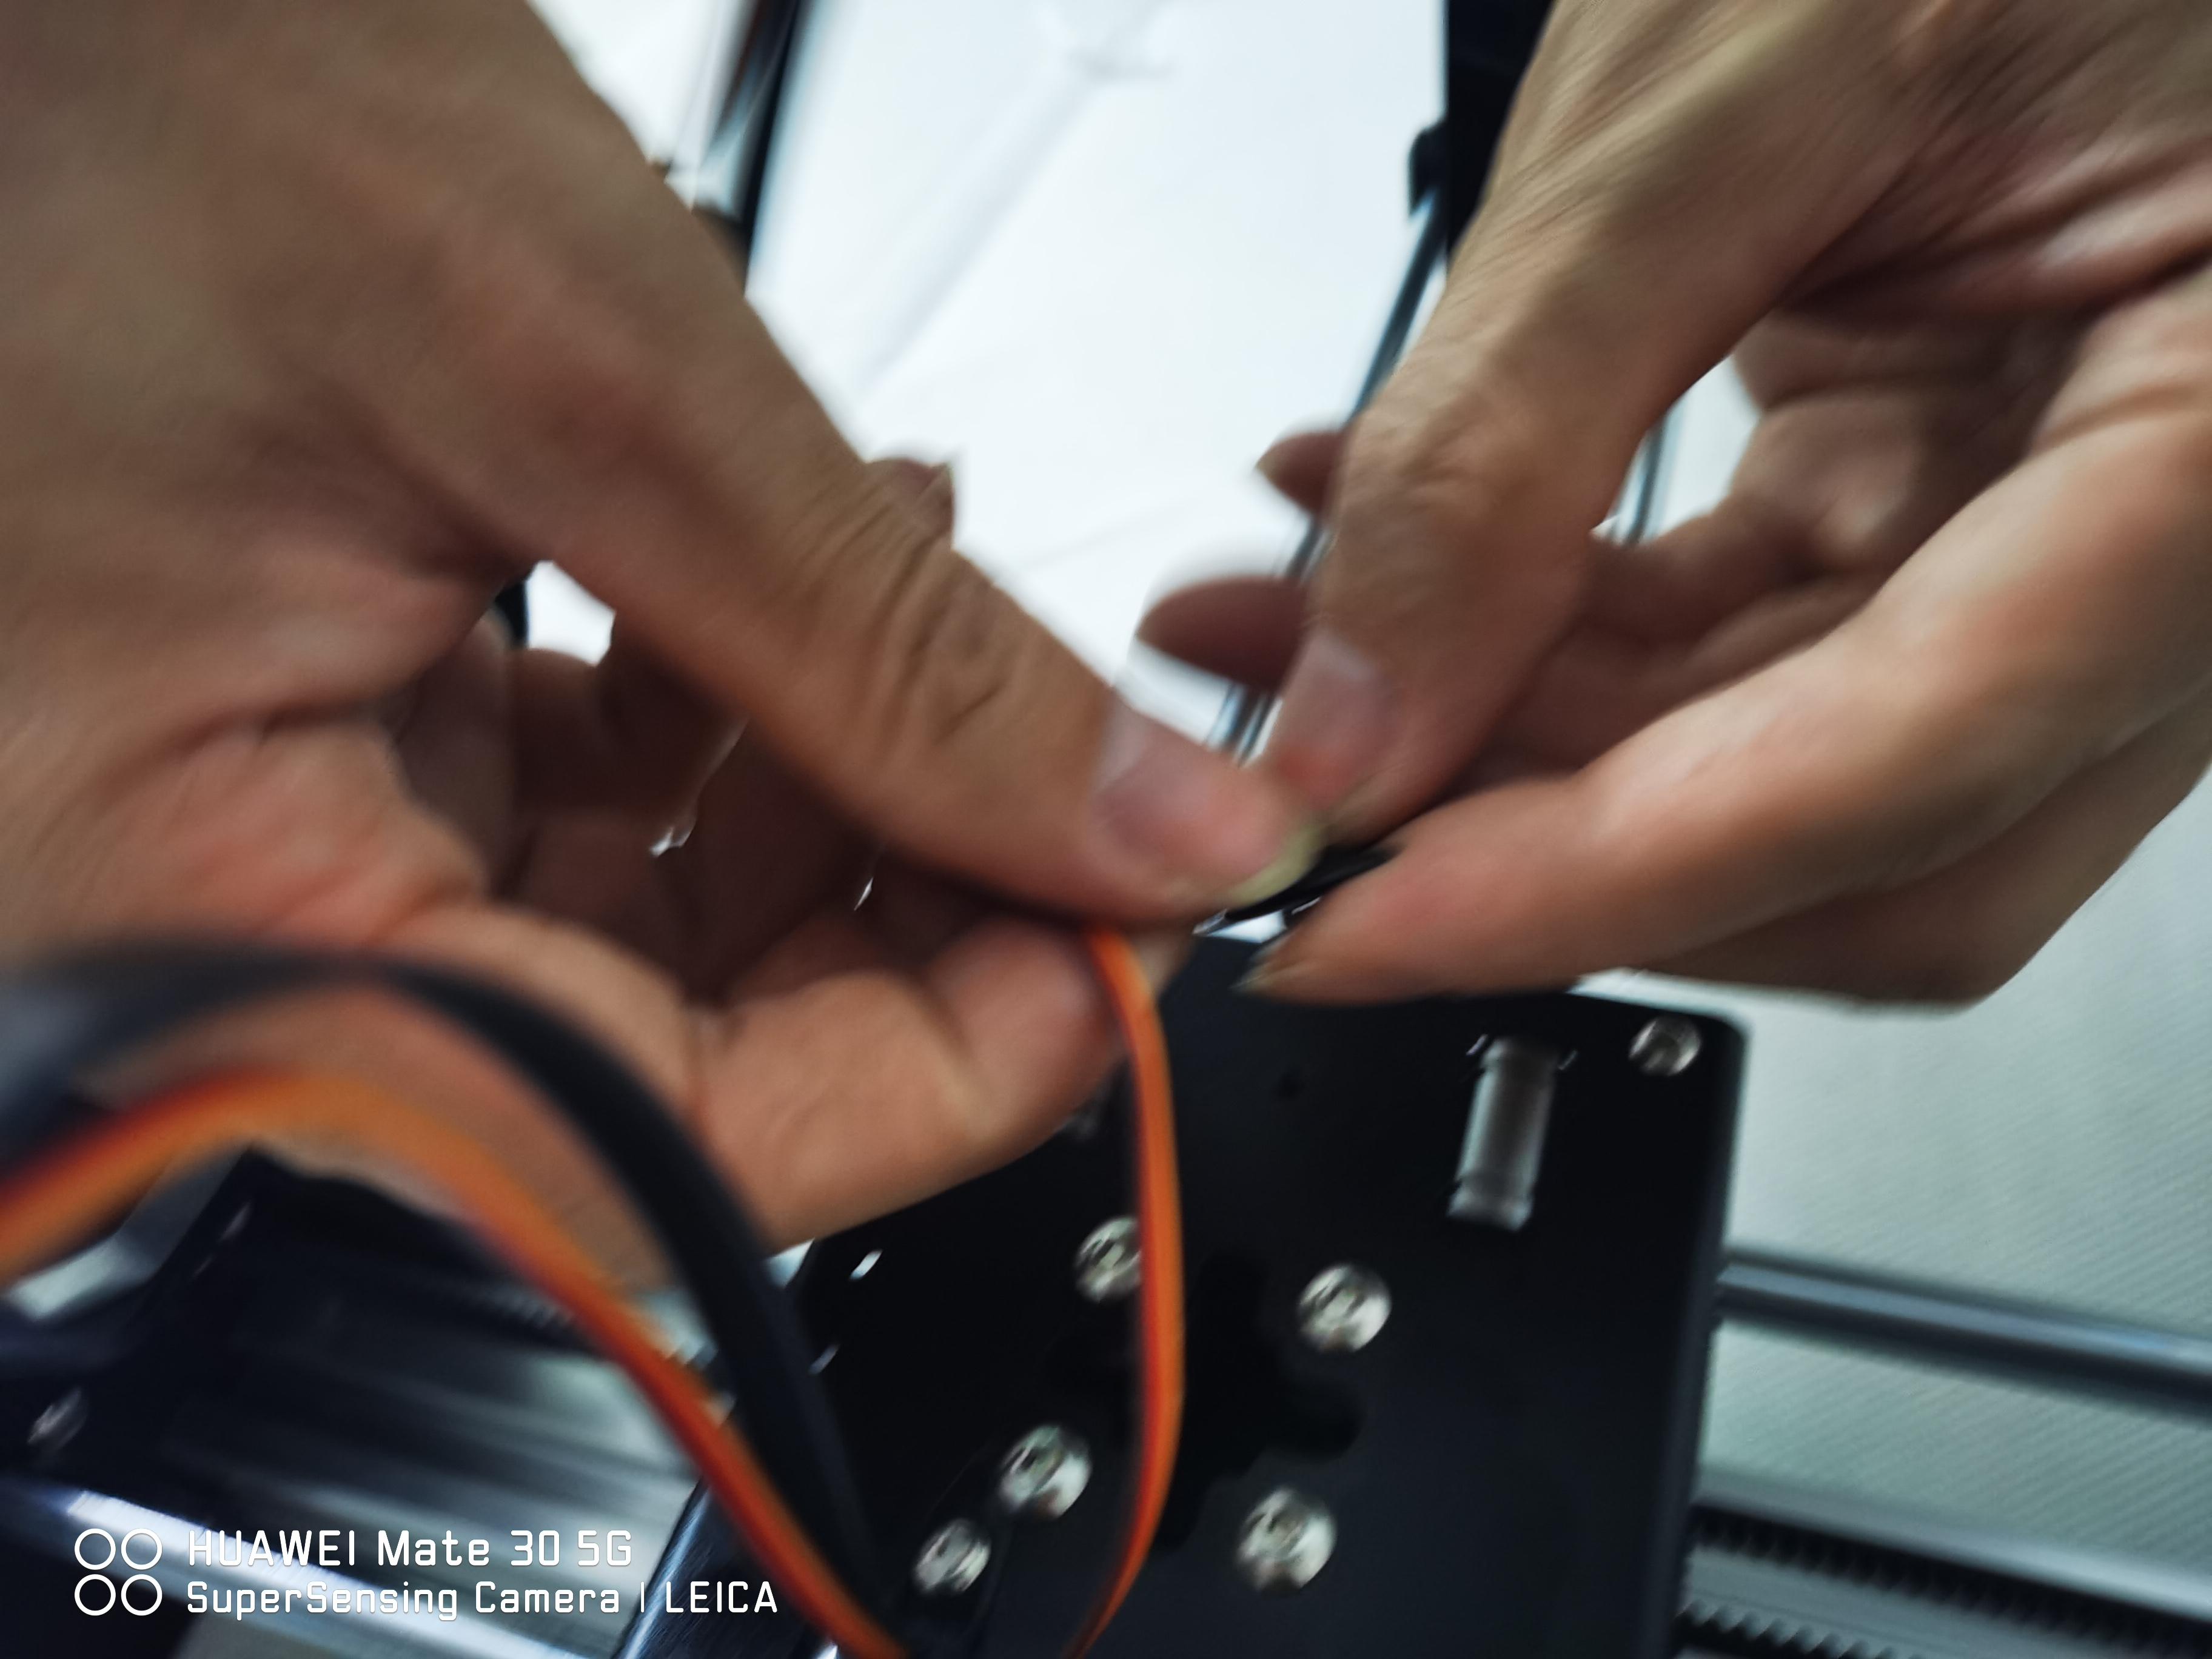
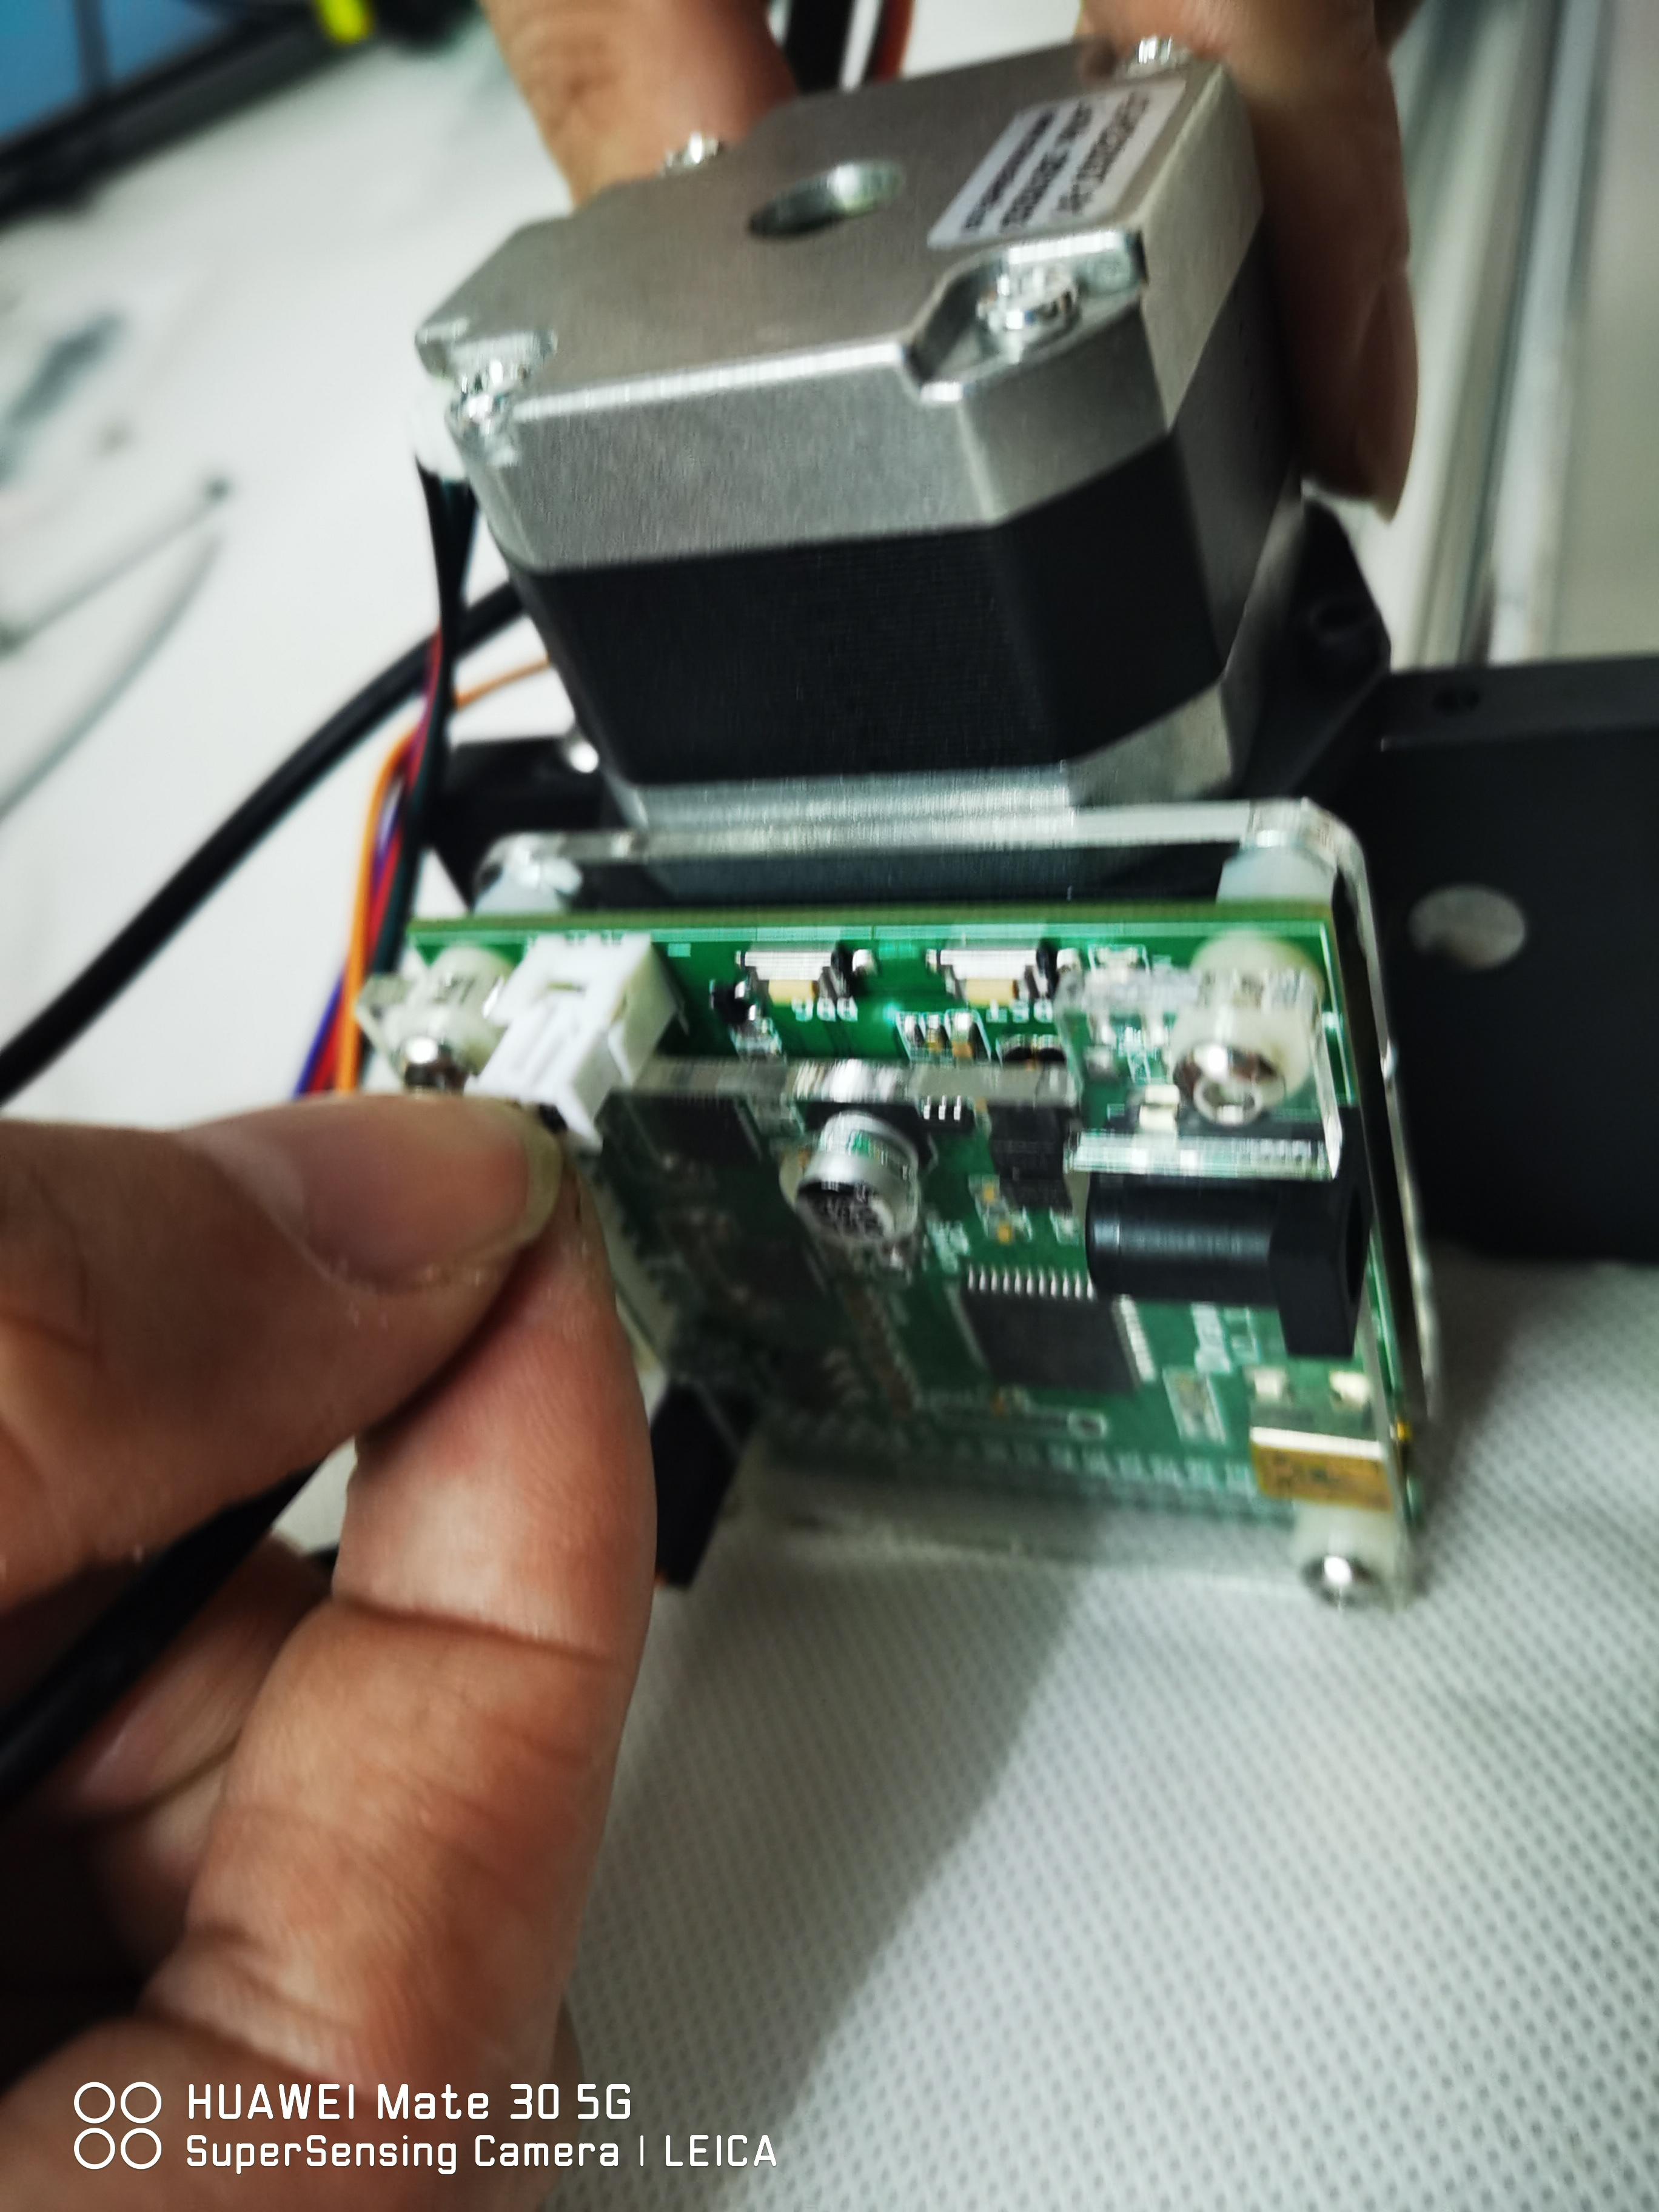
Connect the Laser Head to the Motherboard
Set Up the Laser Power On
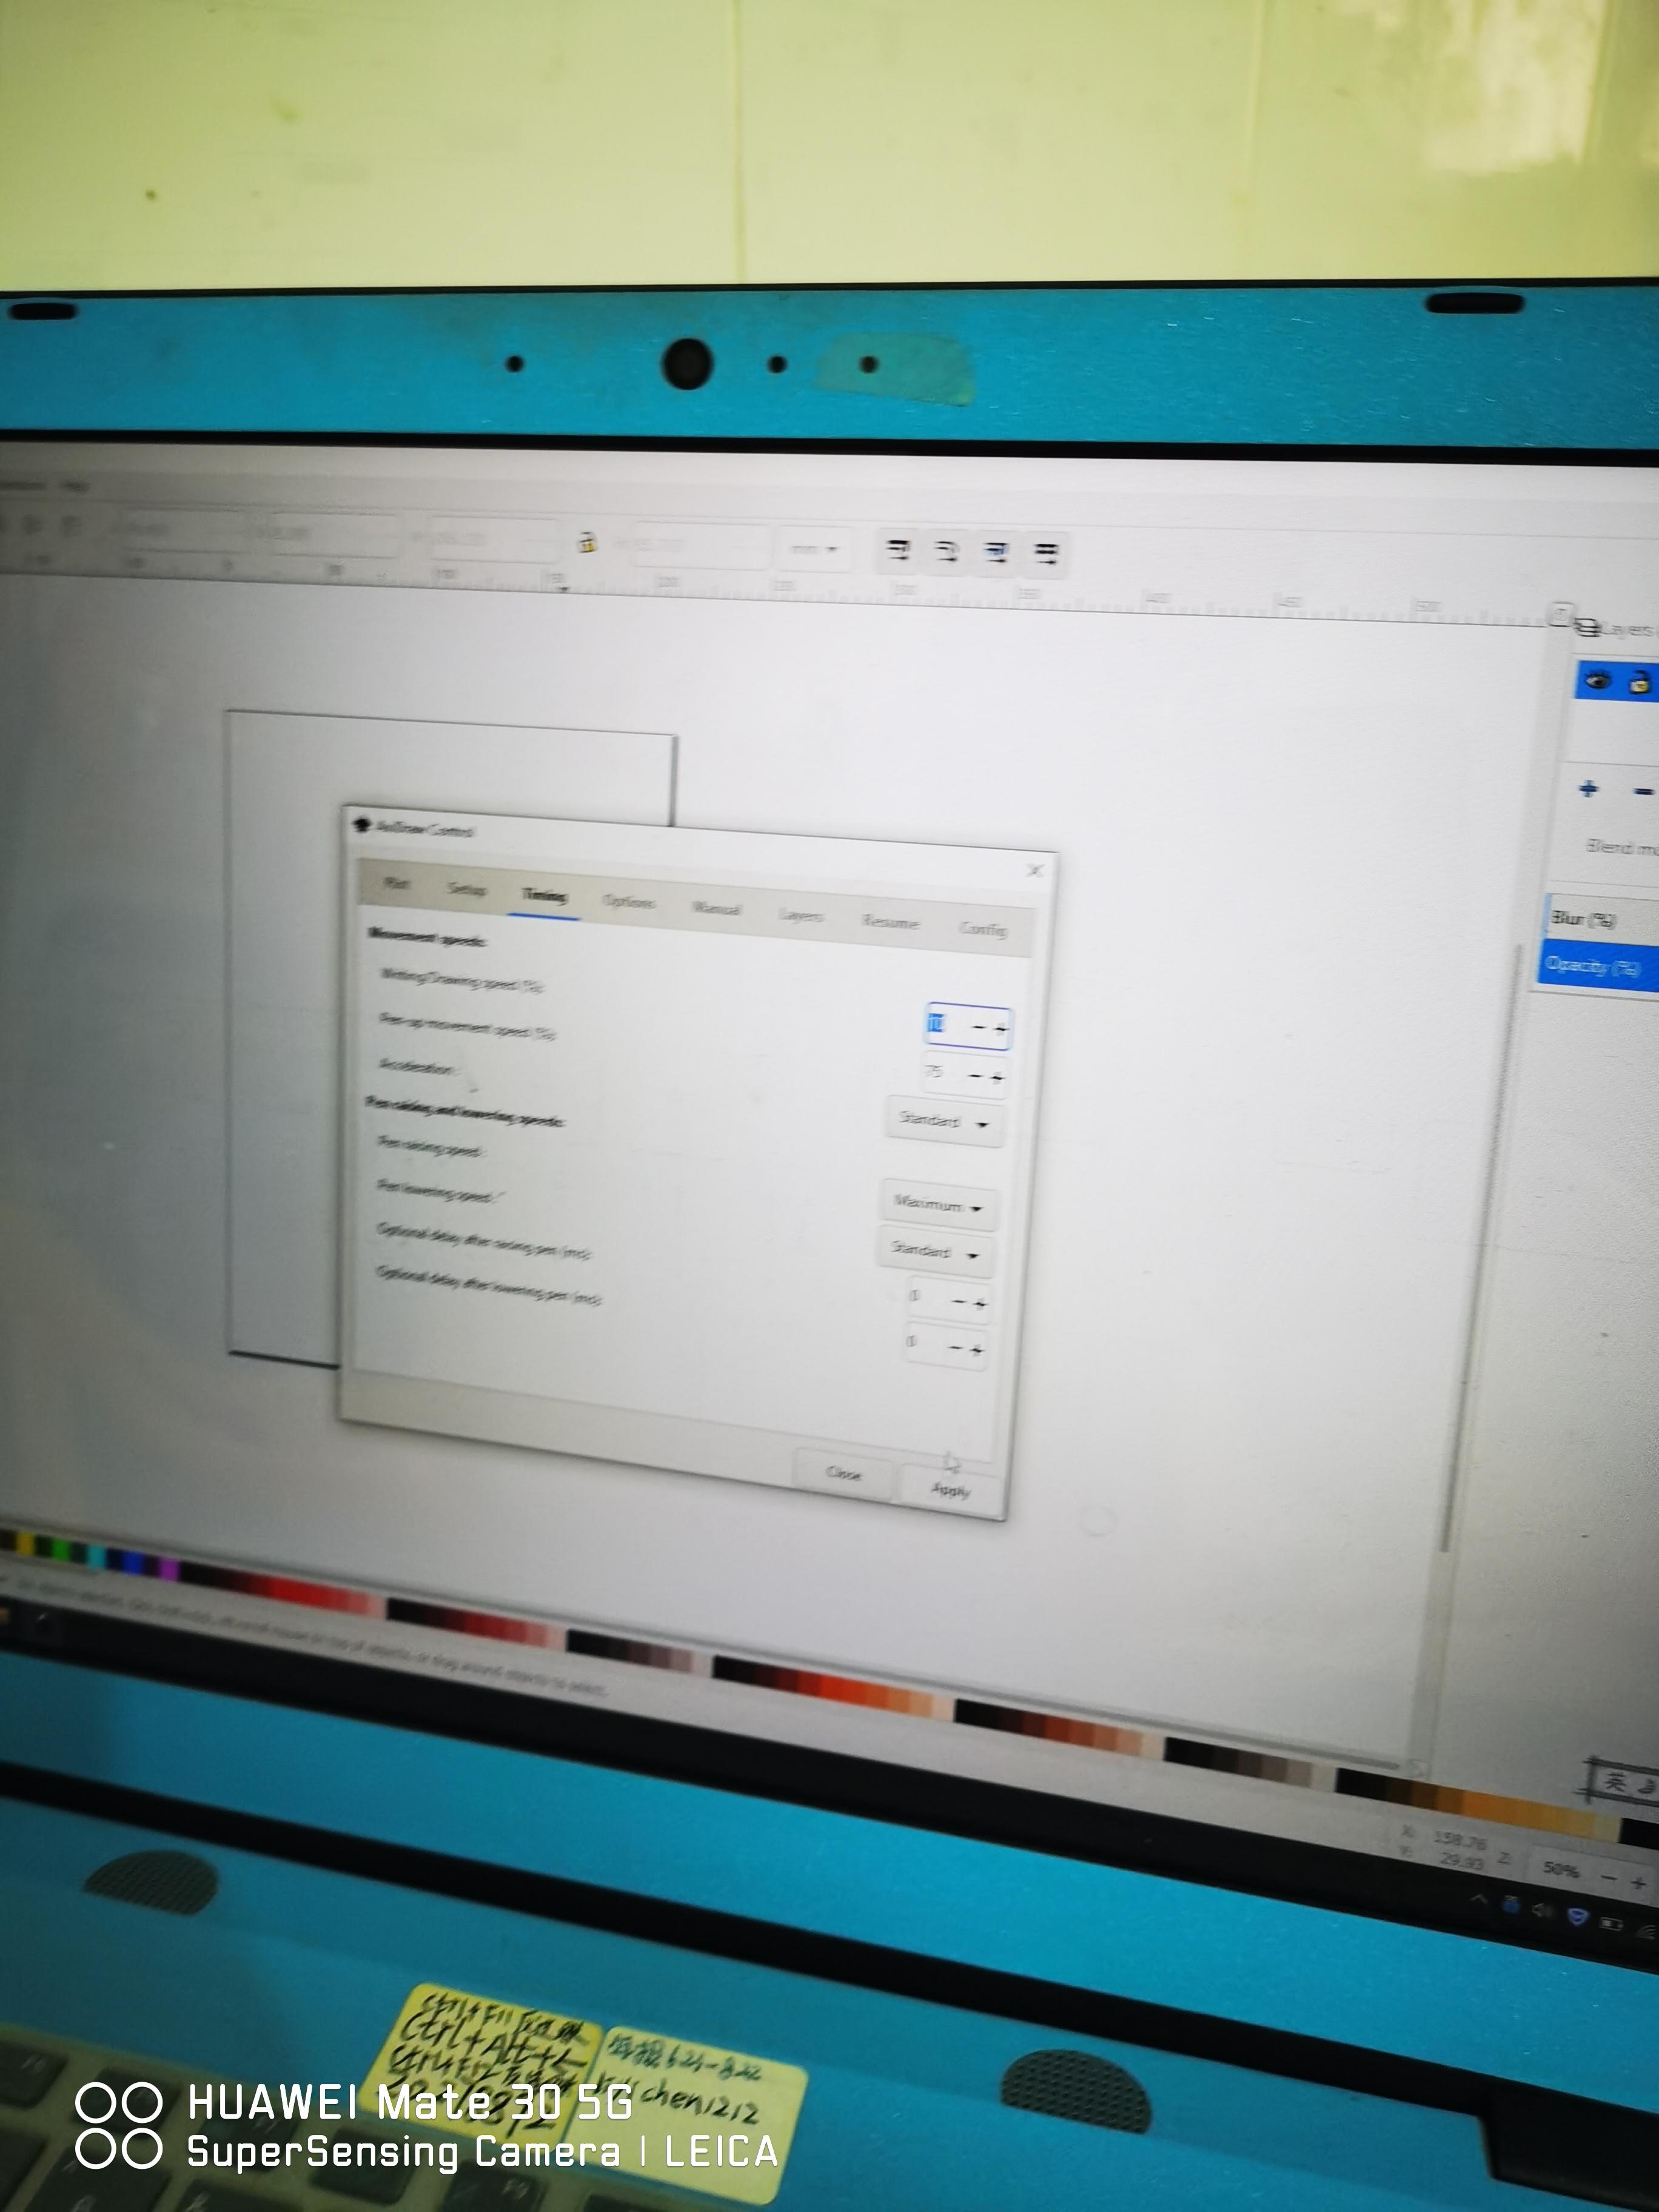
Open the software, which is downloaded online here, open Extensions->AxiDraw Control-> Setup->Laser Power on
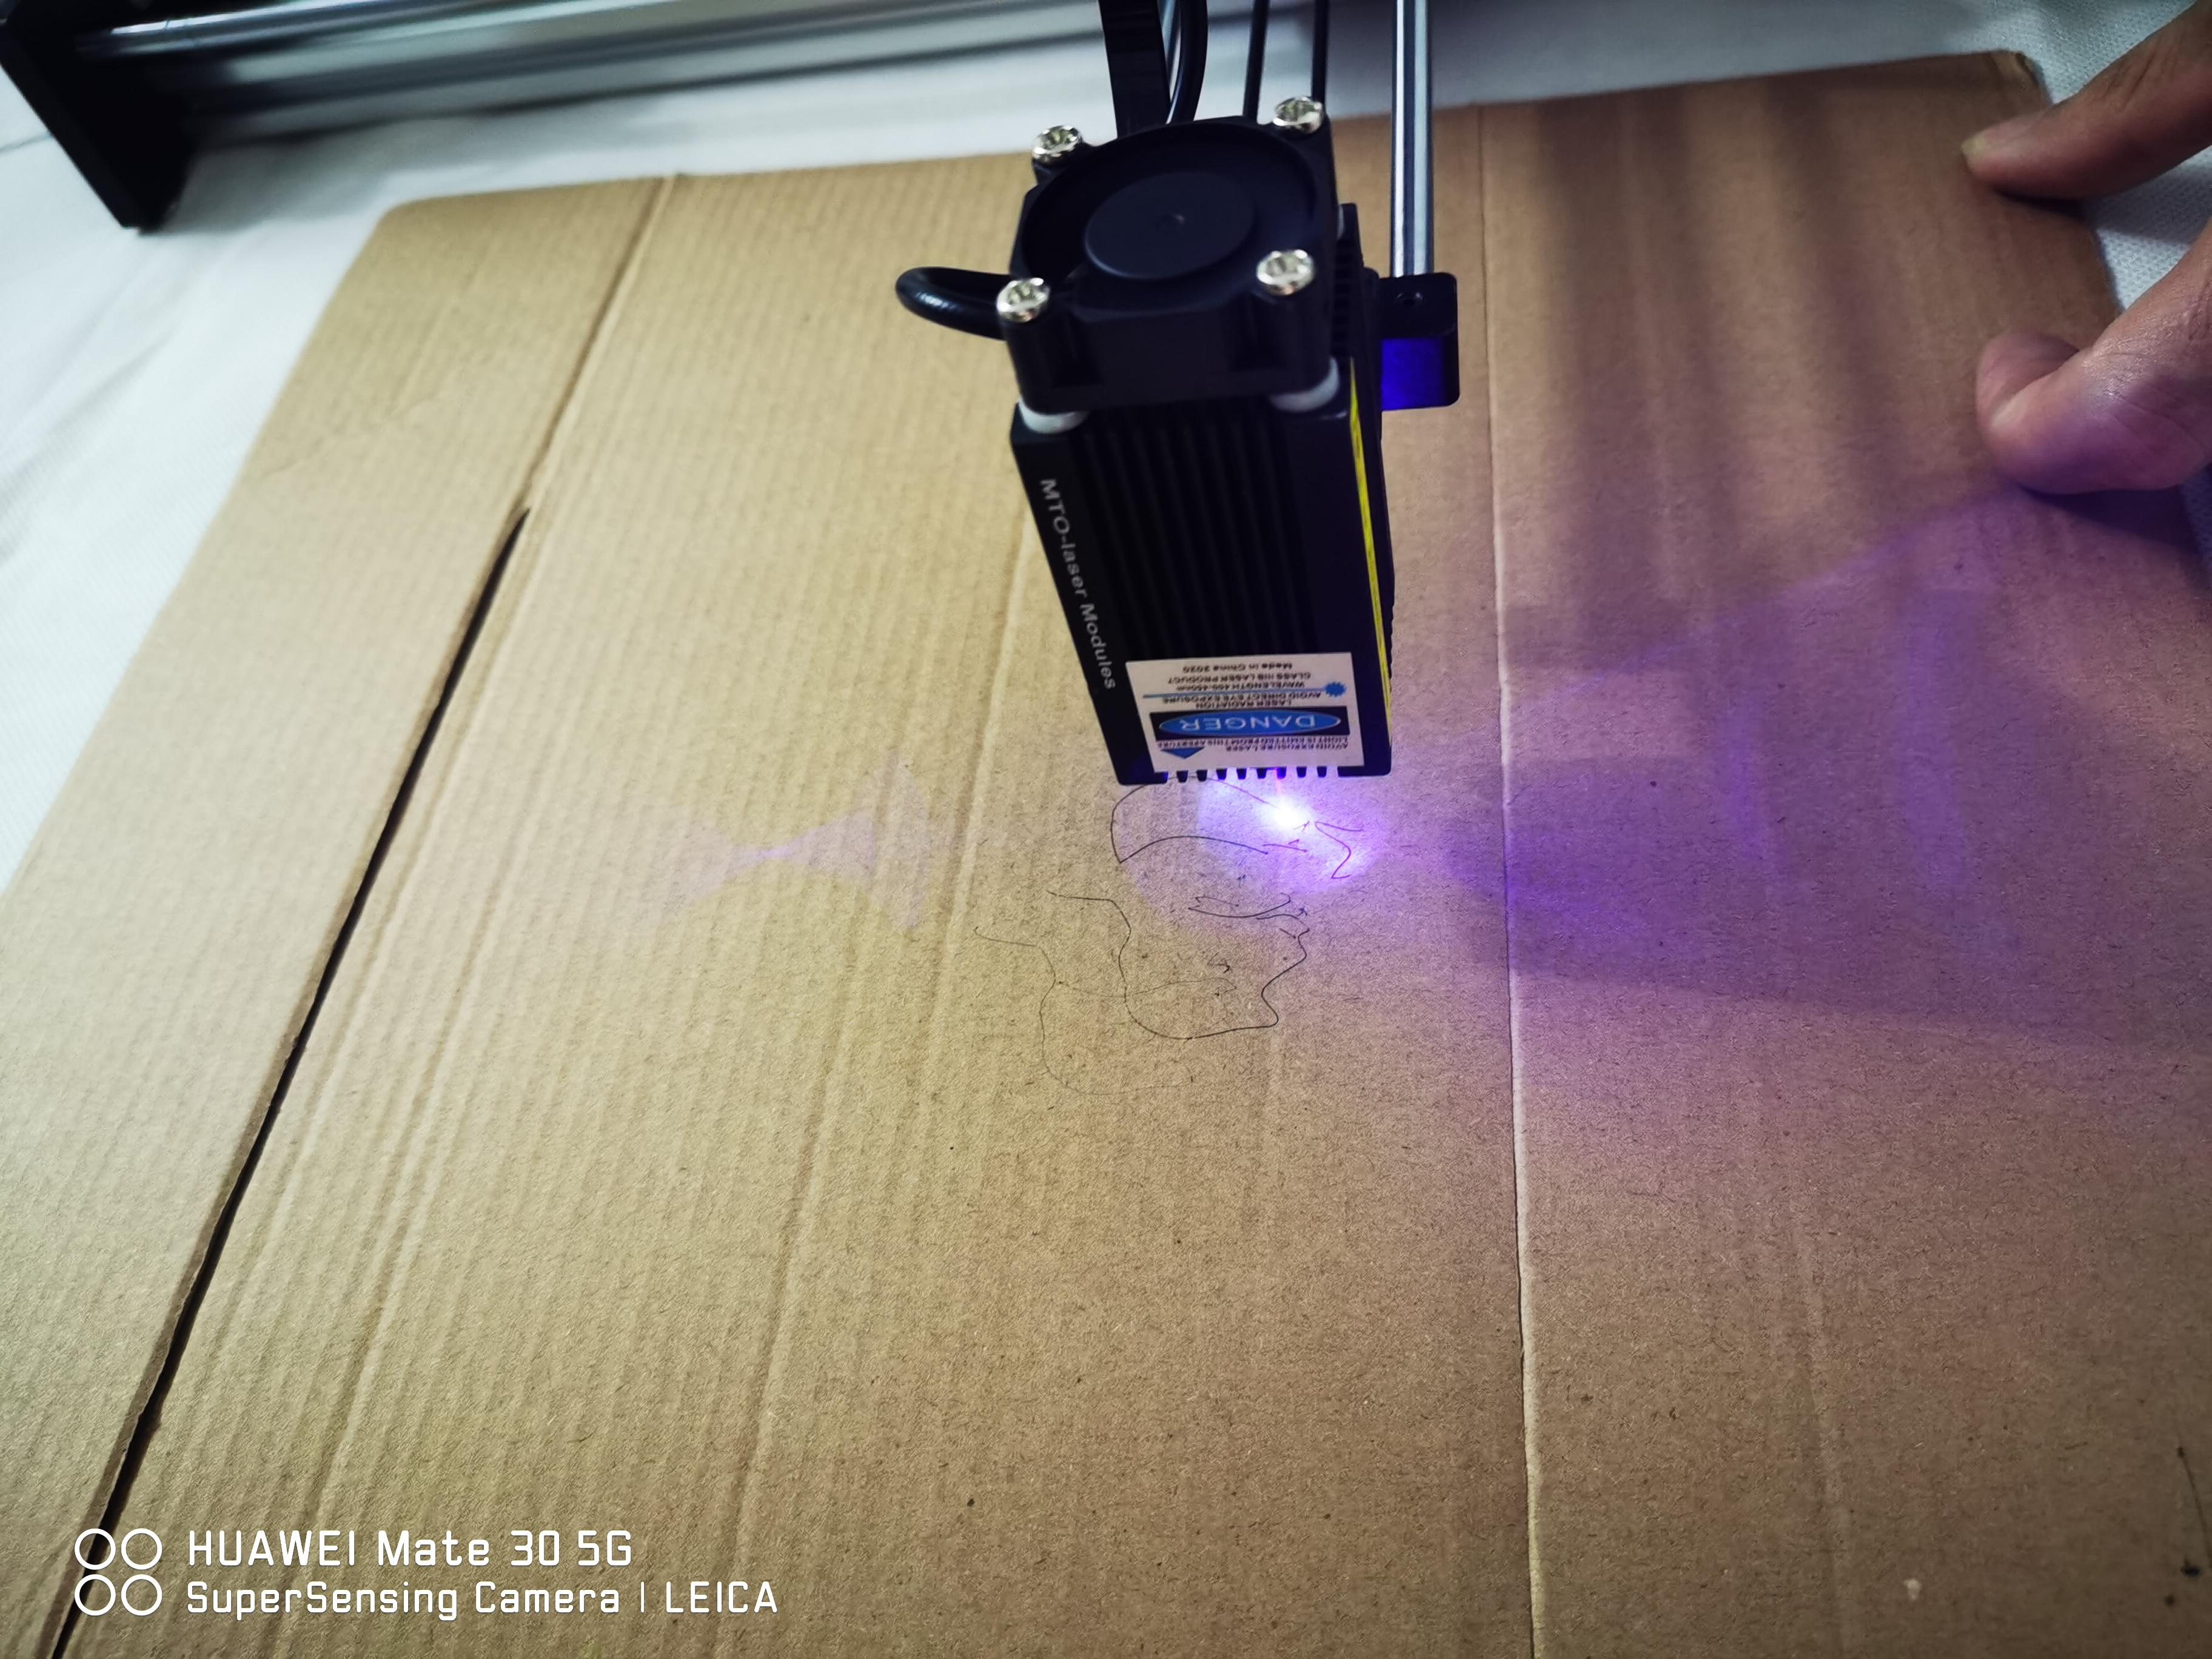
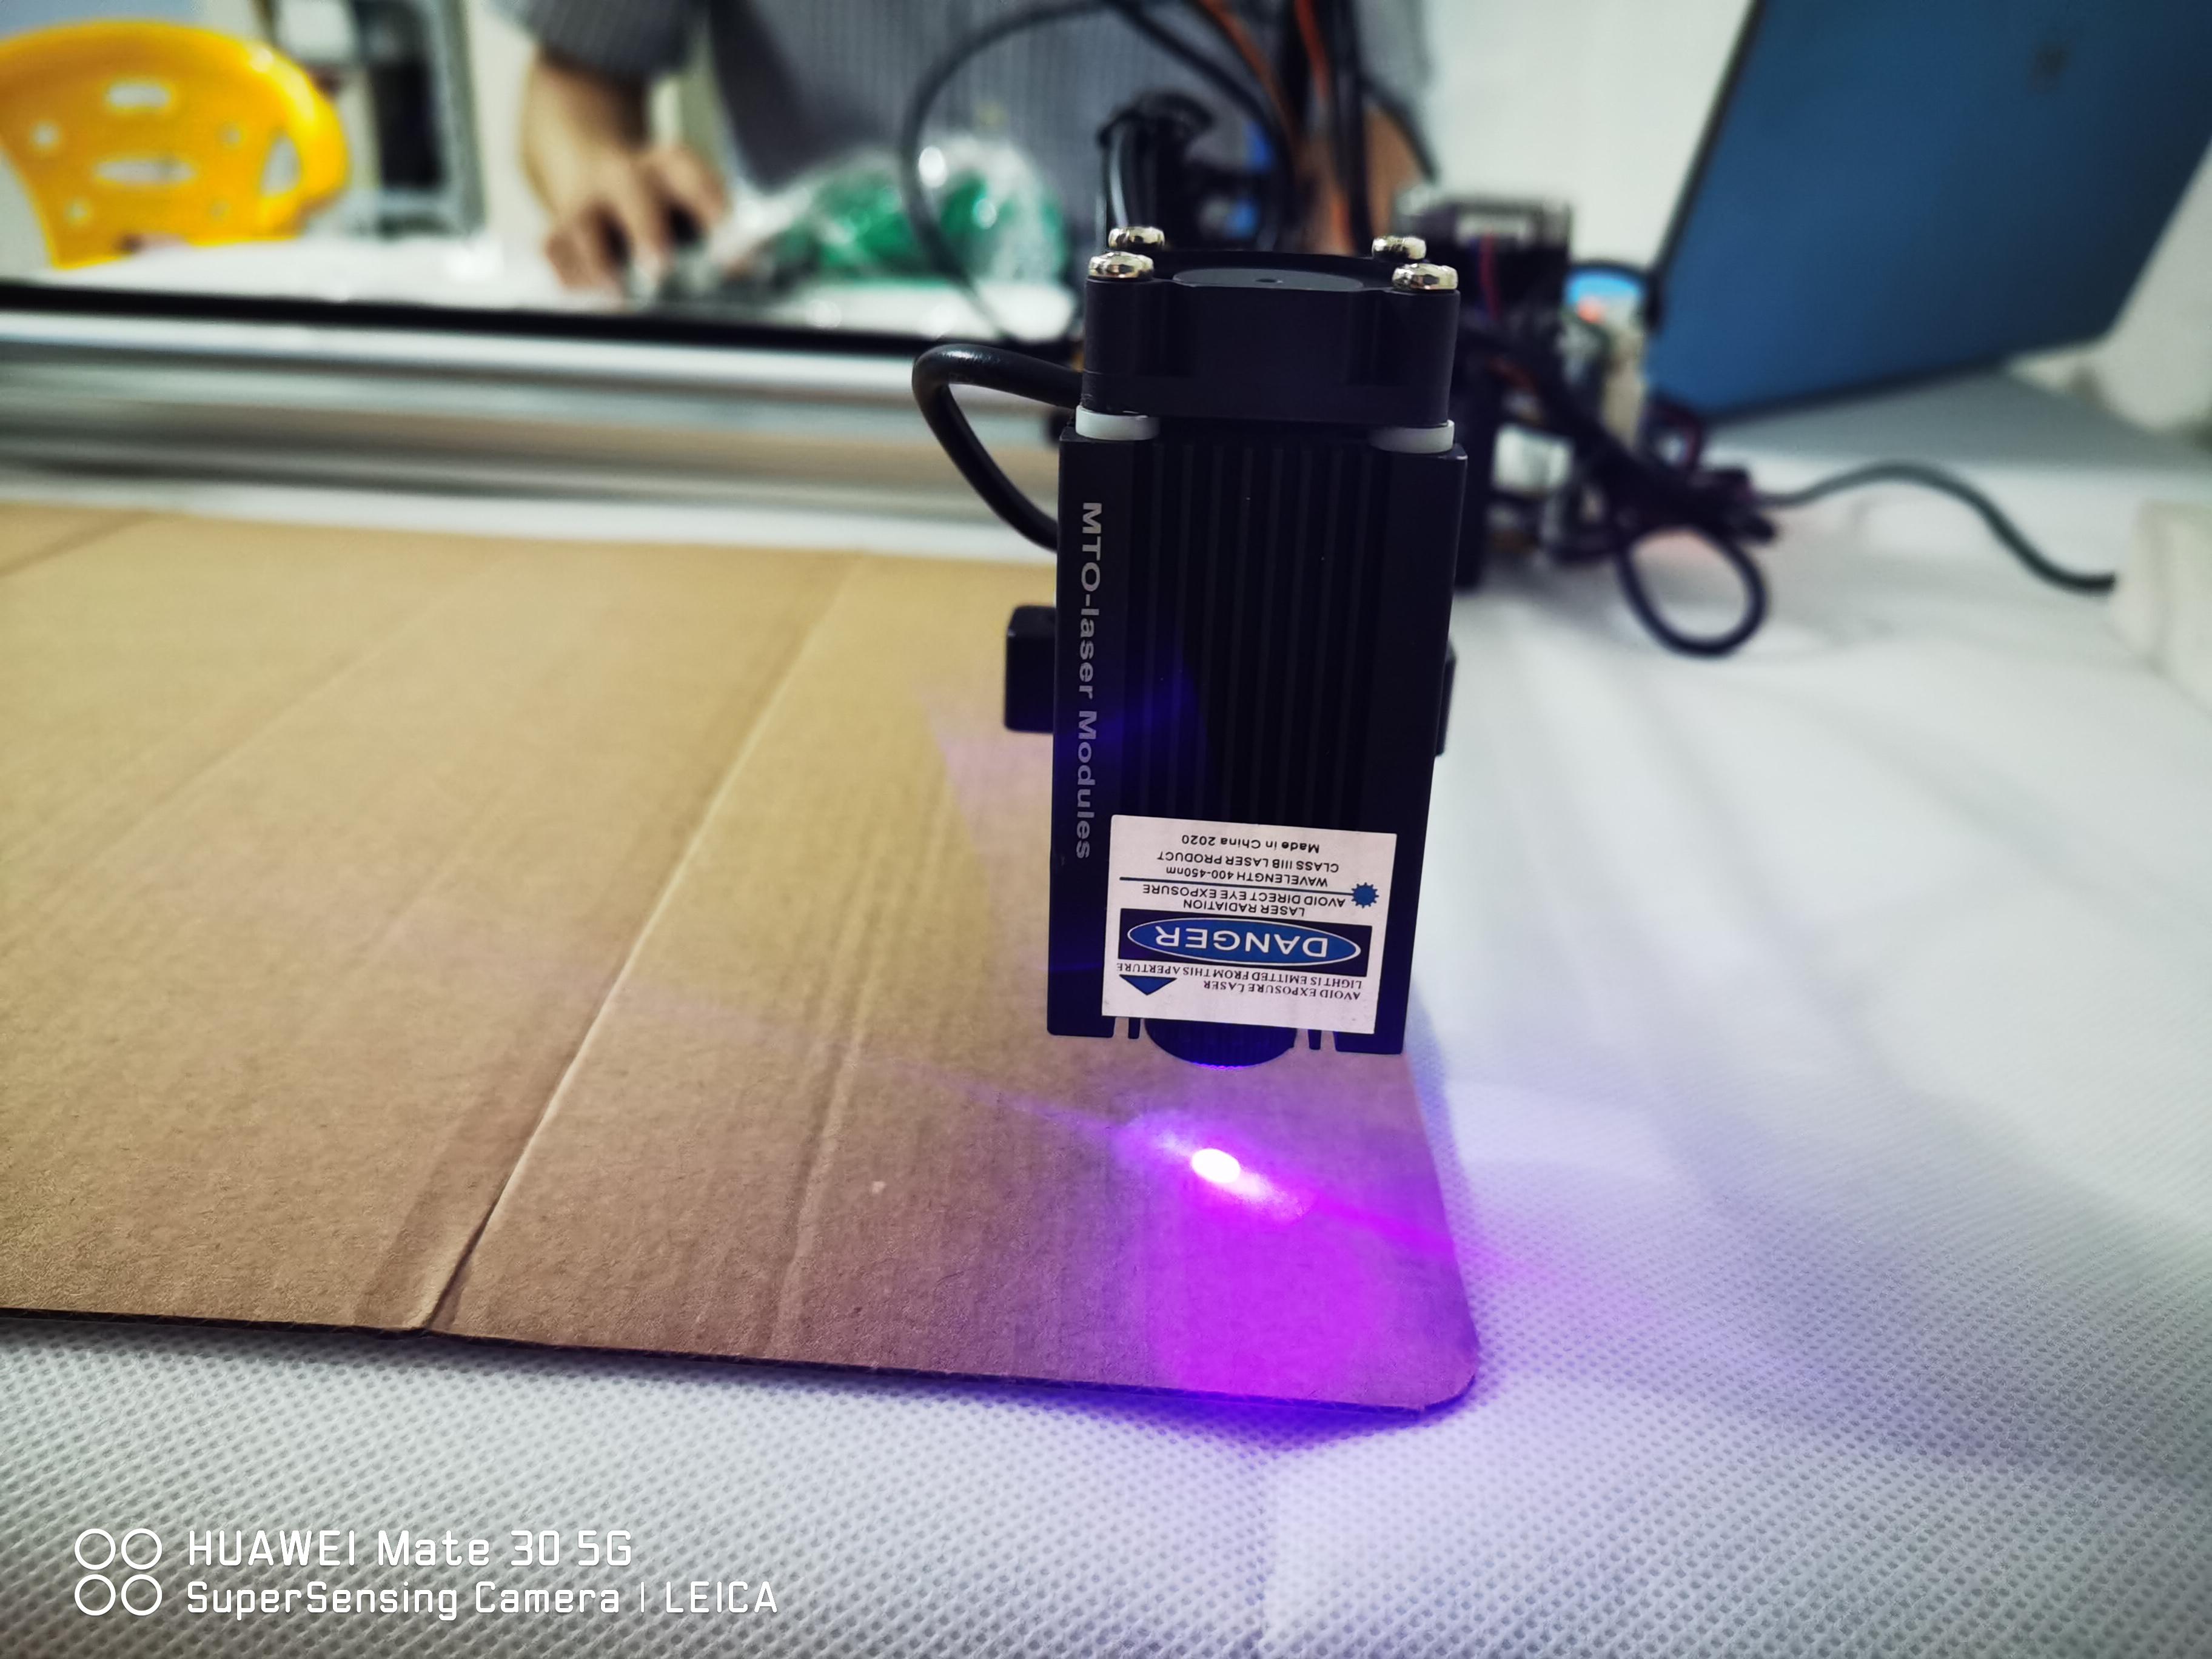
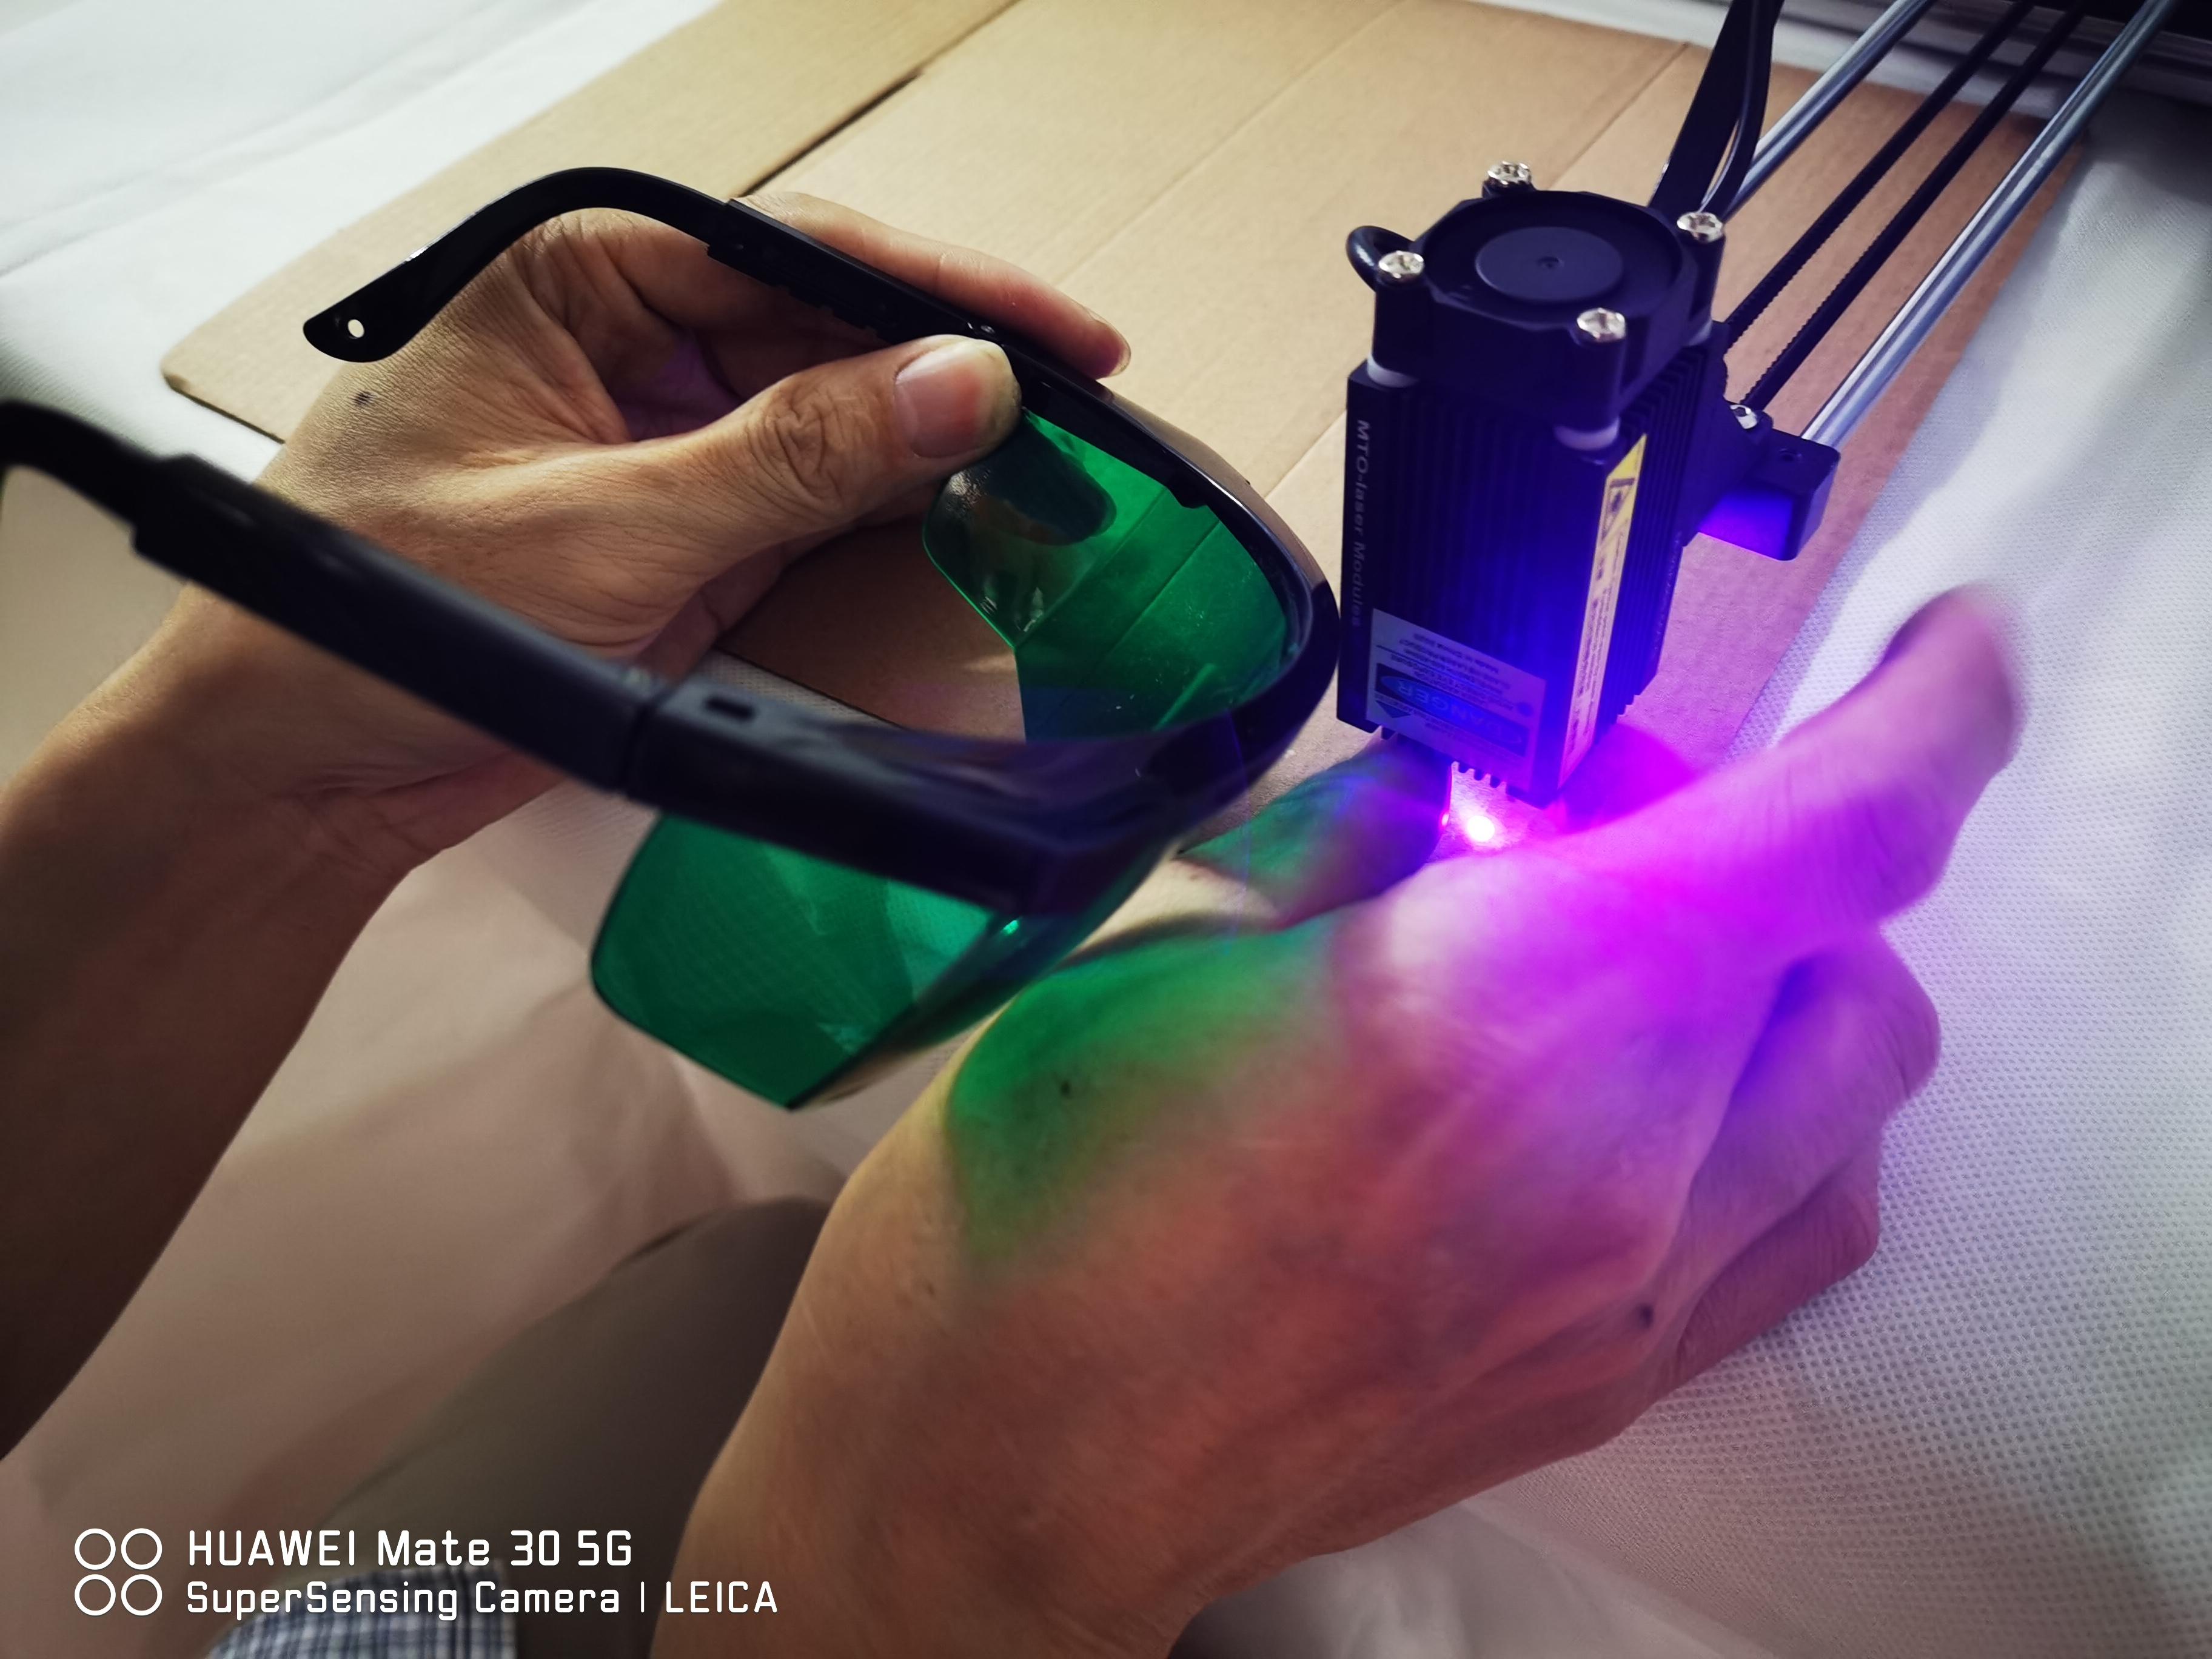
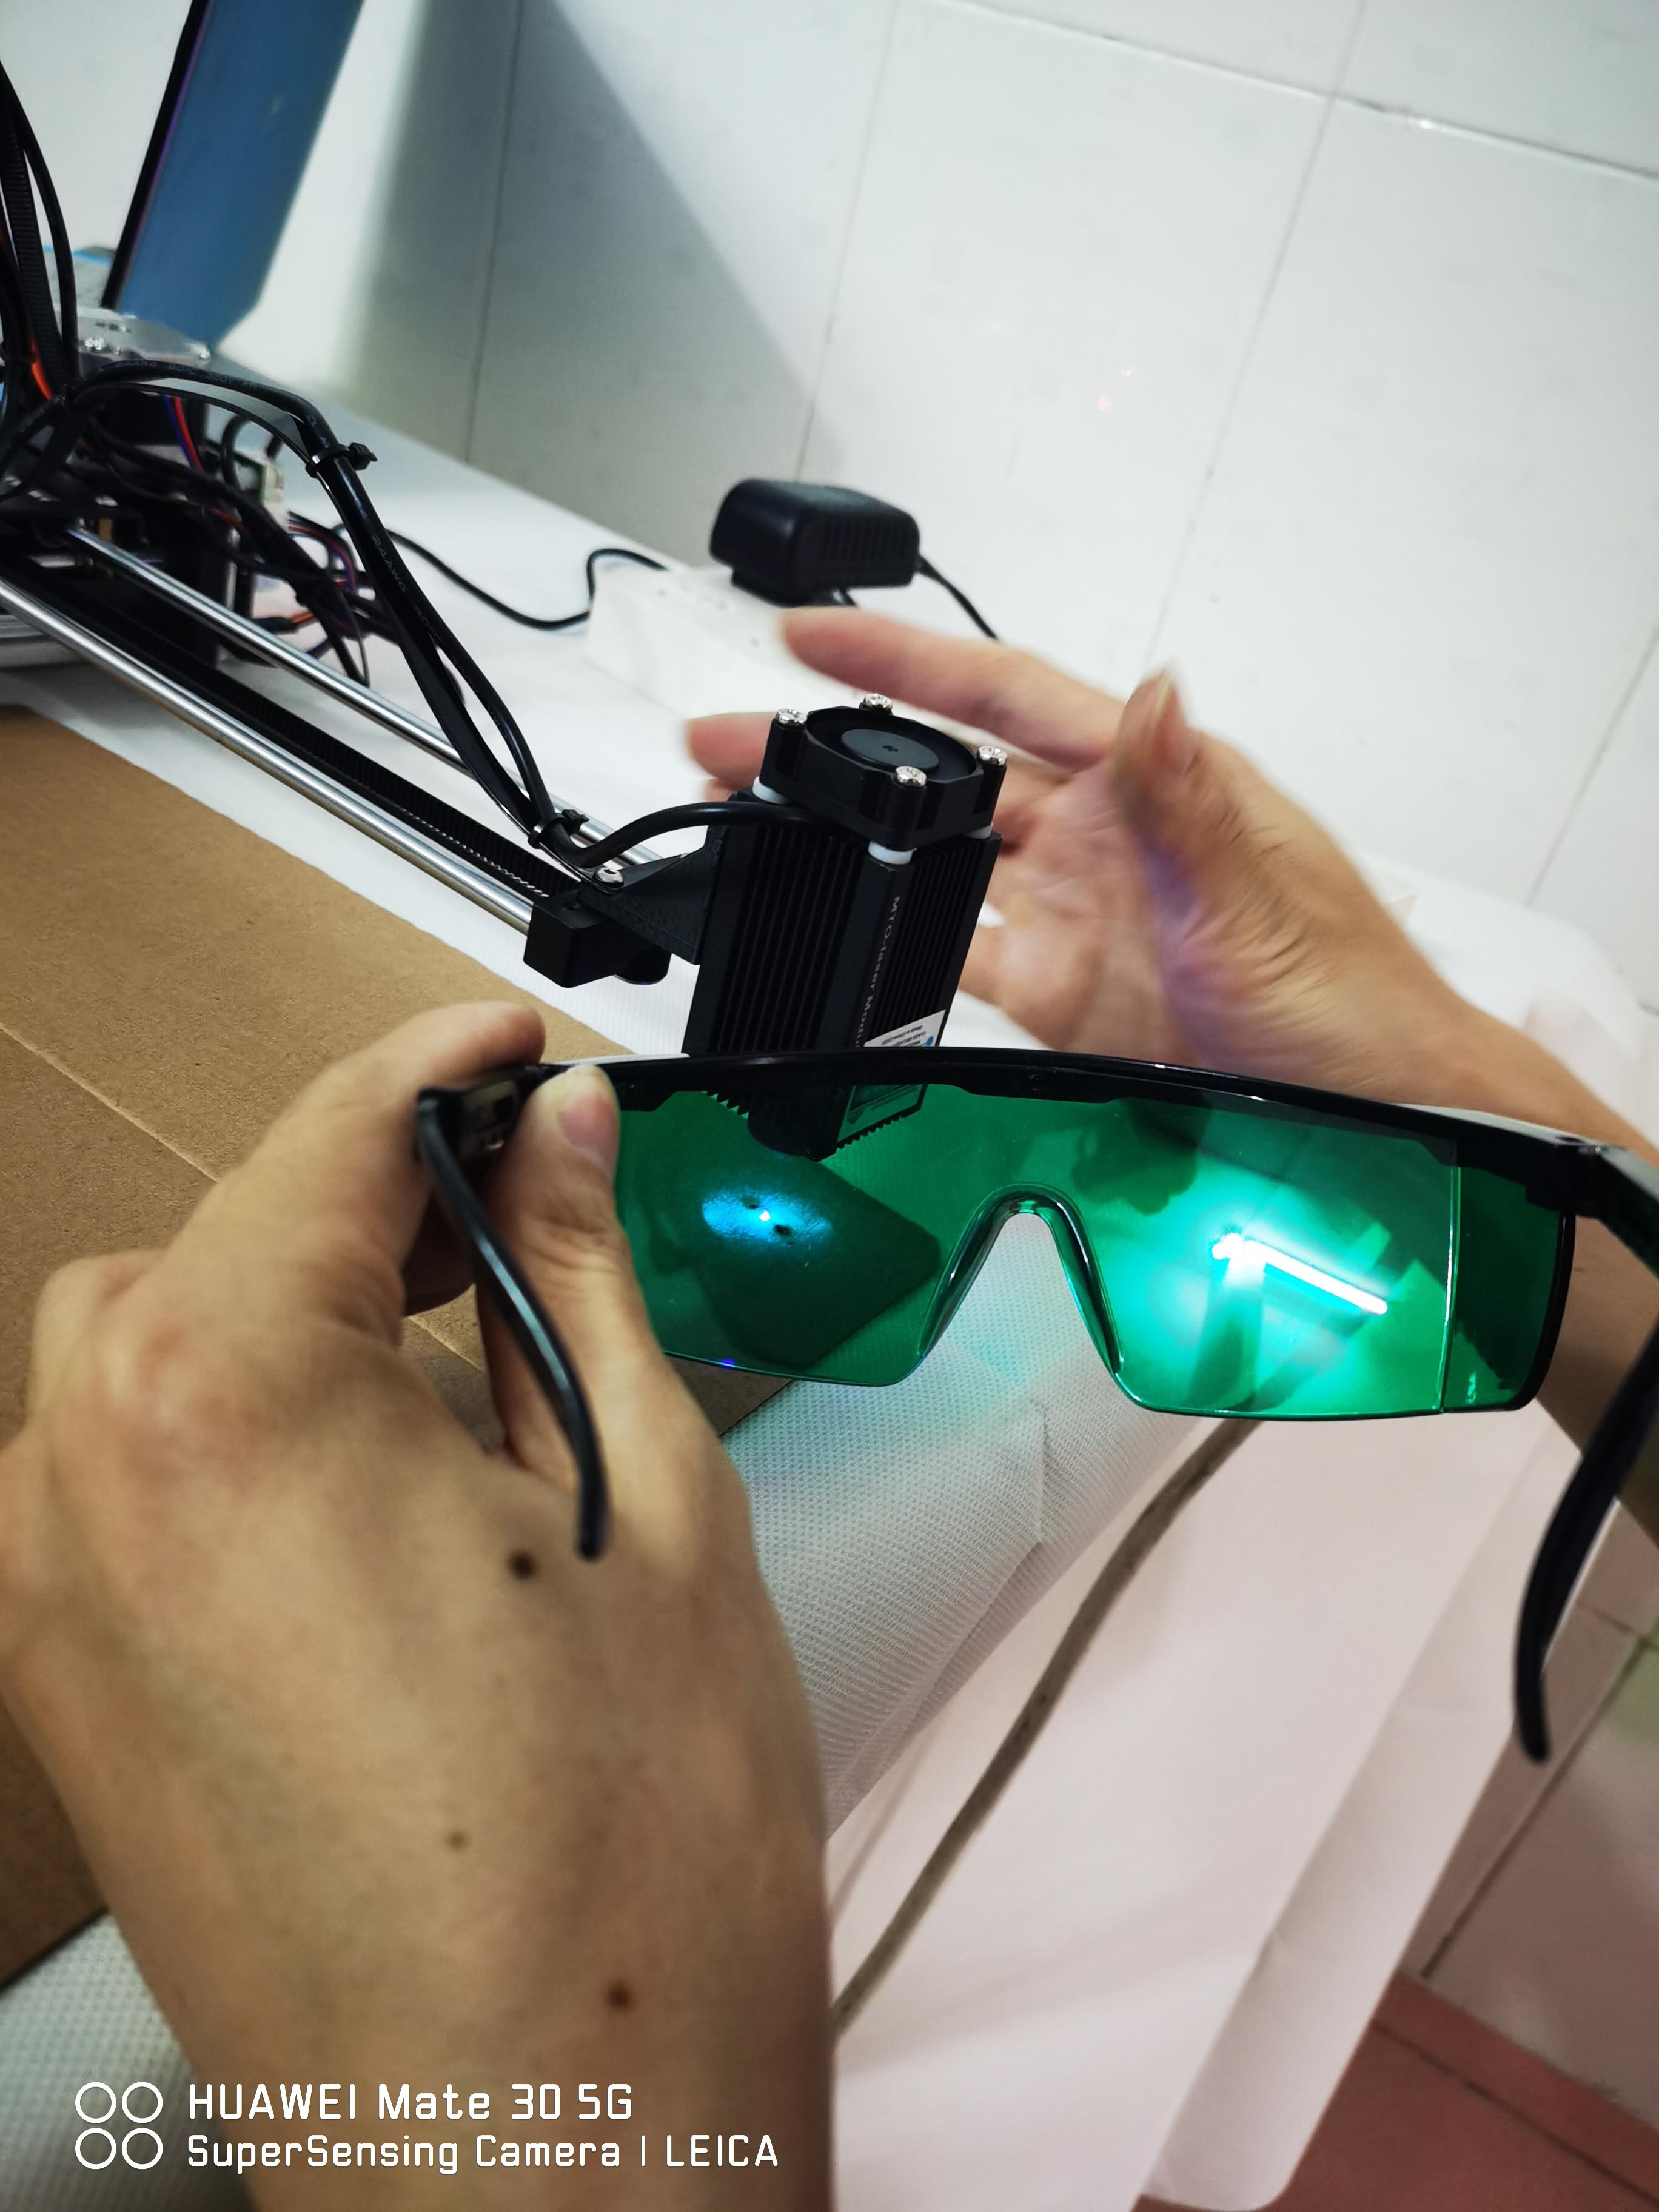
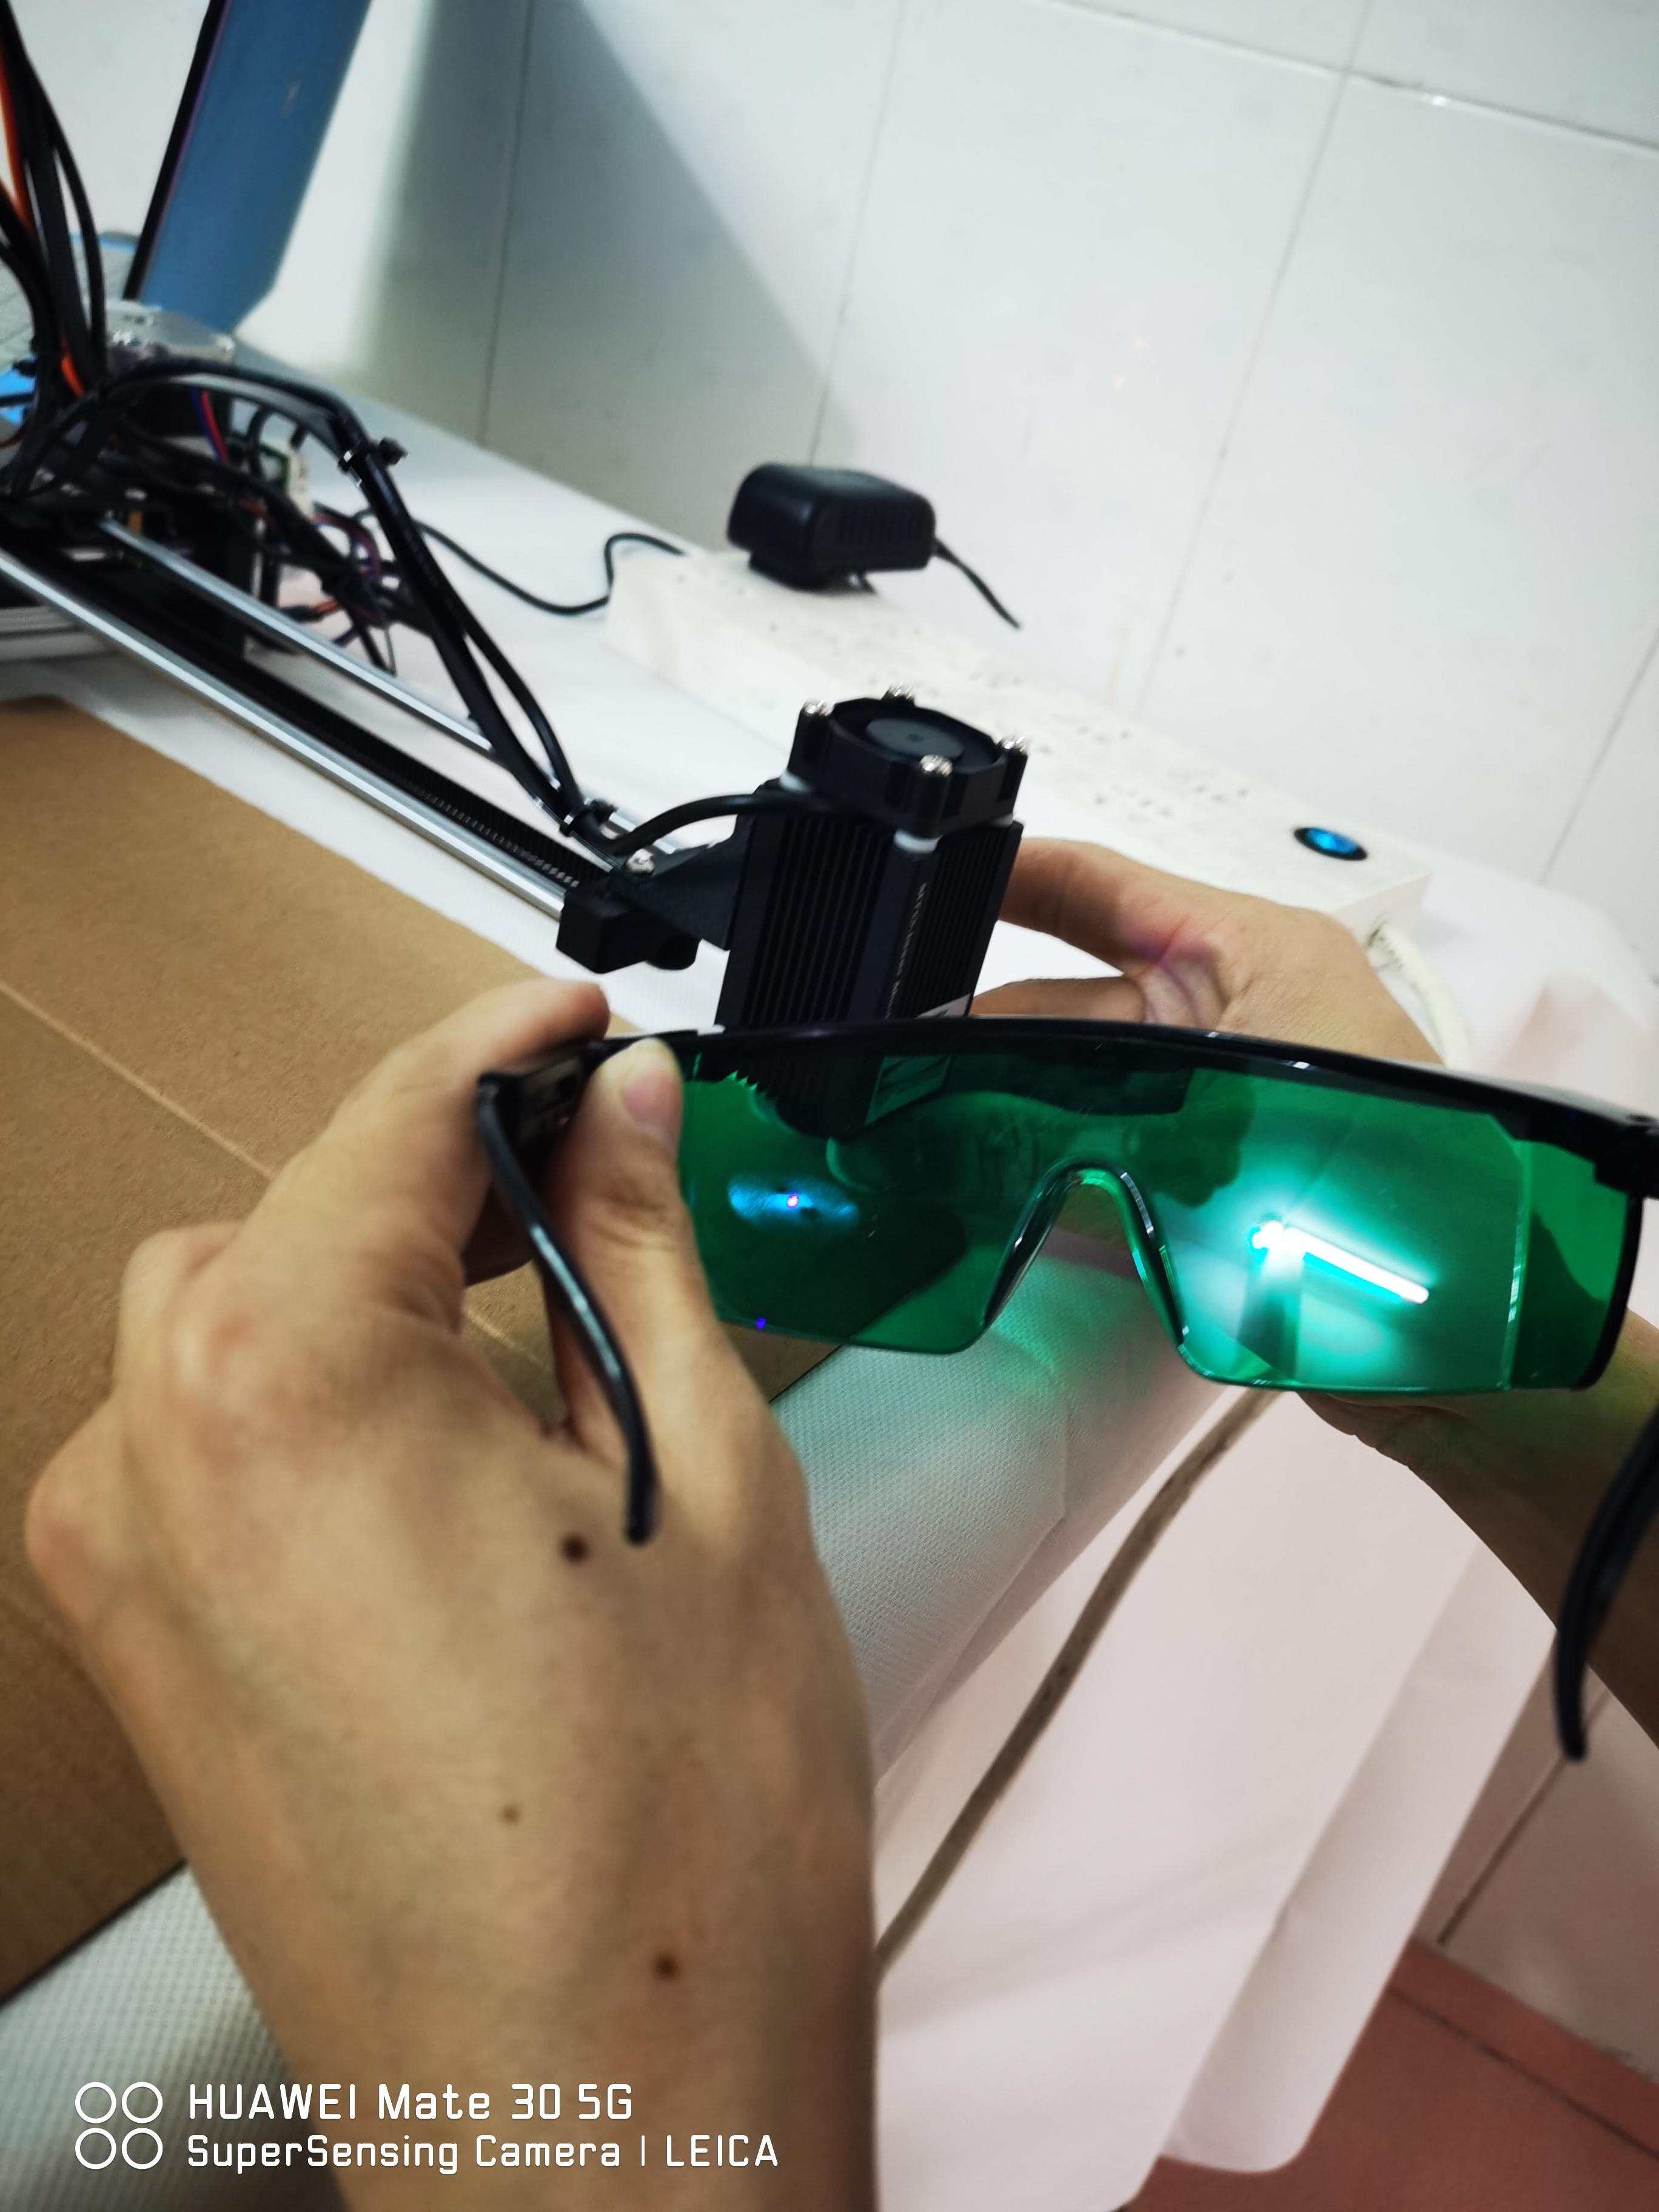
Adjust the Laser With the Protective Glasses, Make Sure It's Focused on the Surface
Set Up the Writing/drawing Speed Into 5

Cause it takes time to laser on wood, paper or leather, you need to set up the writing/drawing speed from default 25 into 5.
Done! You Can Start to Laser Now!