How to Install Arduino IDE on Windows 10
by TechSensor in Circuits > Arduino
16248 Views, 1 Favorites, 0 Comments
How to Install Arduino IDE on Windows 10
The first step to starting your electronics adventure with the Arduino board is to have the necessary software installed.
This tutorial will show you how to install the Arduino IDE on Windows 10.
Go to the Arduino.cc Website

Go to the website www.arduino.cc in order to download the software.
Hover over the 'Software' tab and click on 'Downloads'.
Click on the Download Link
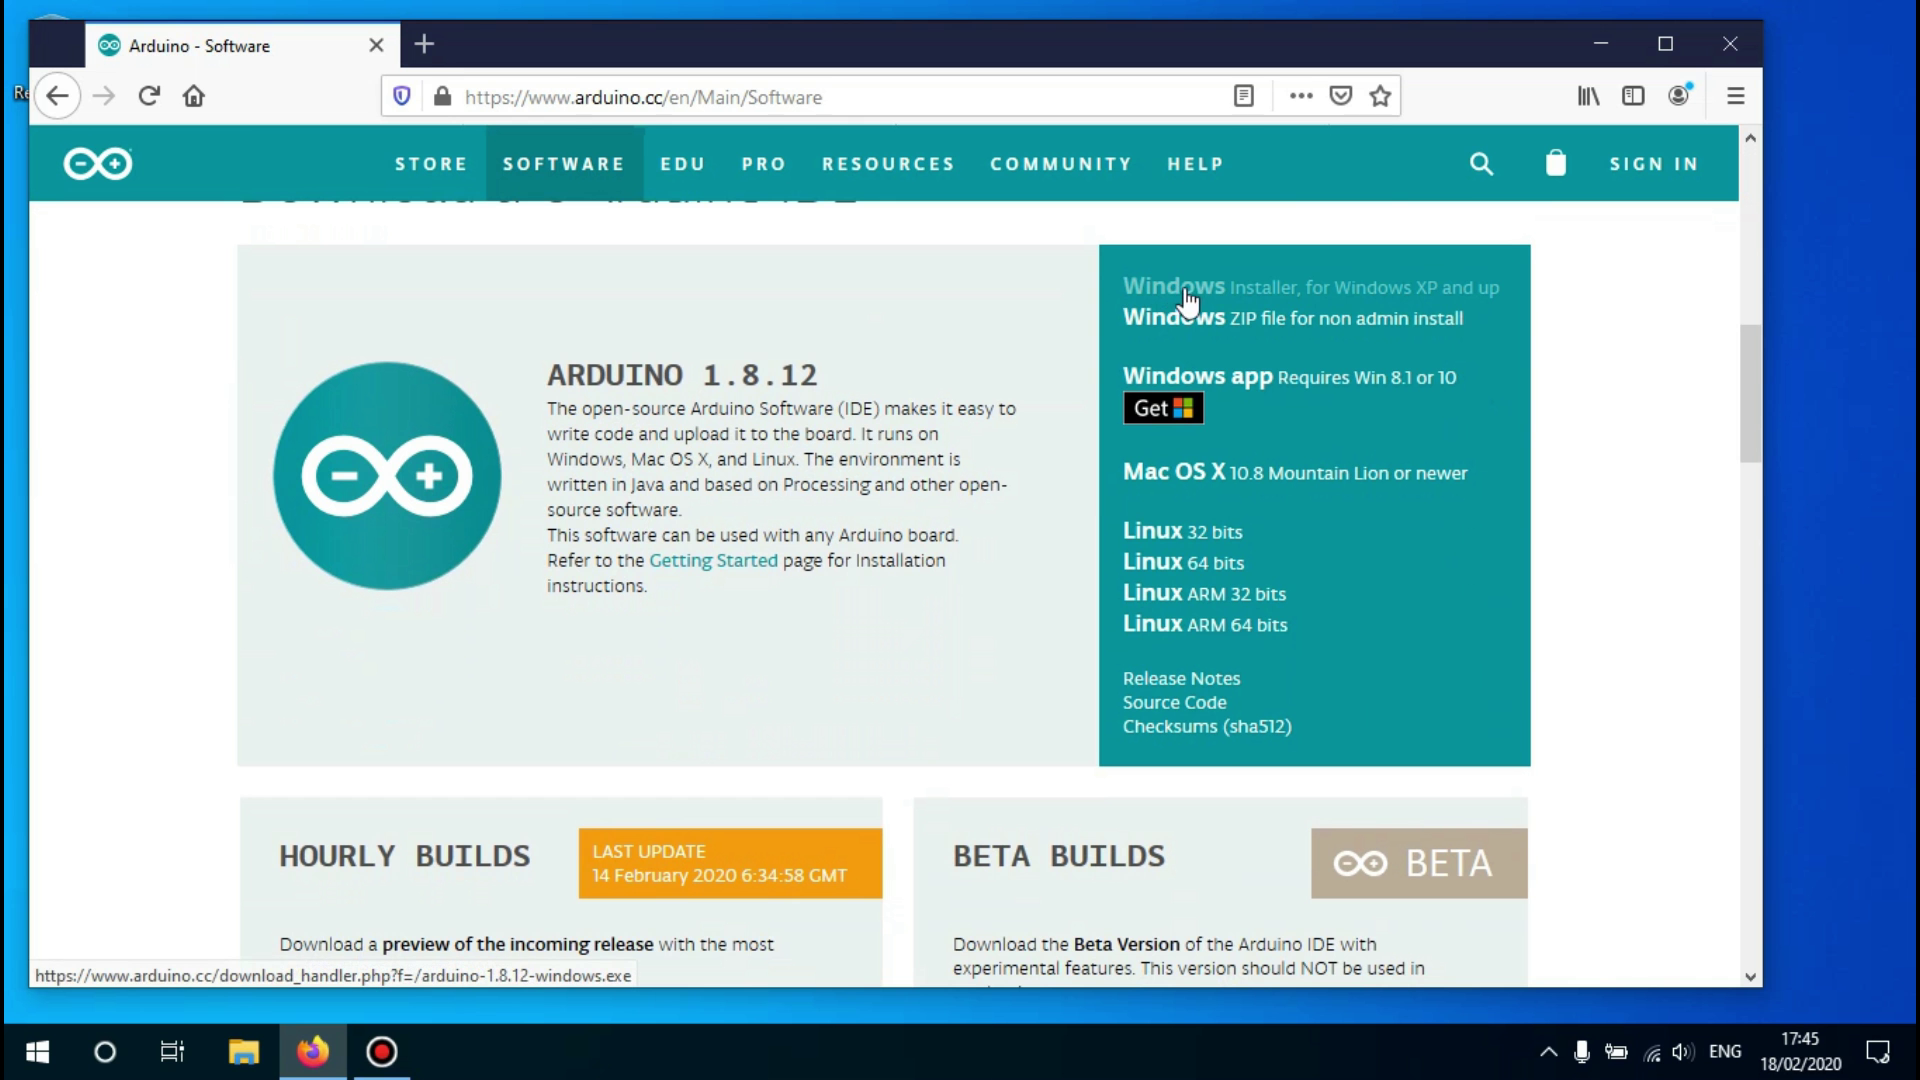
Scroll down until you see the link that says 'Windows installer' and click on it.
Begin the Download

After clicking on the download link you'll be redirected to the donation page, here you can donate or skip it if you like by clicking on the 'Just download' link.
Begin the Installation Process
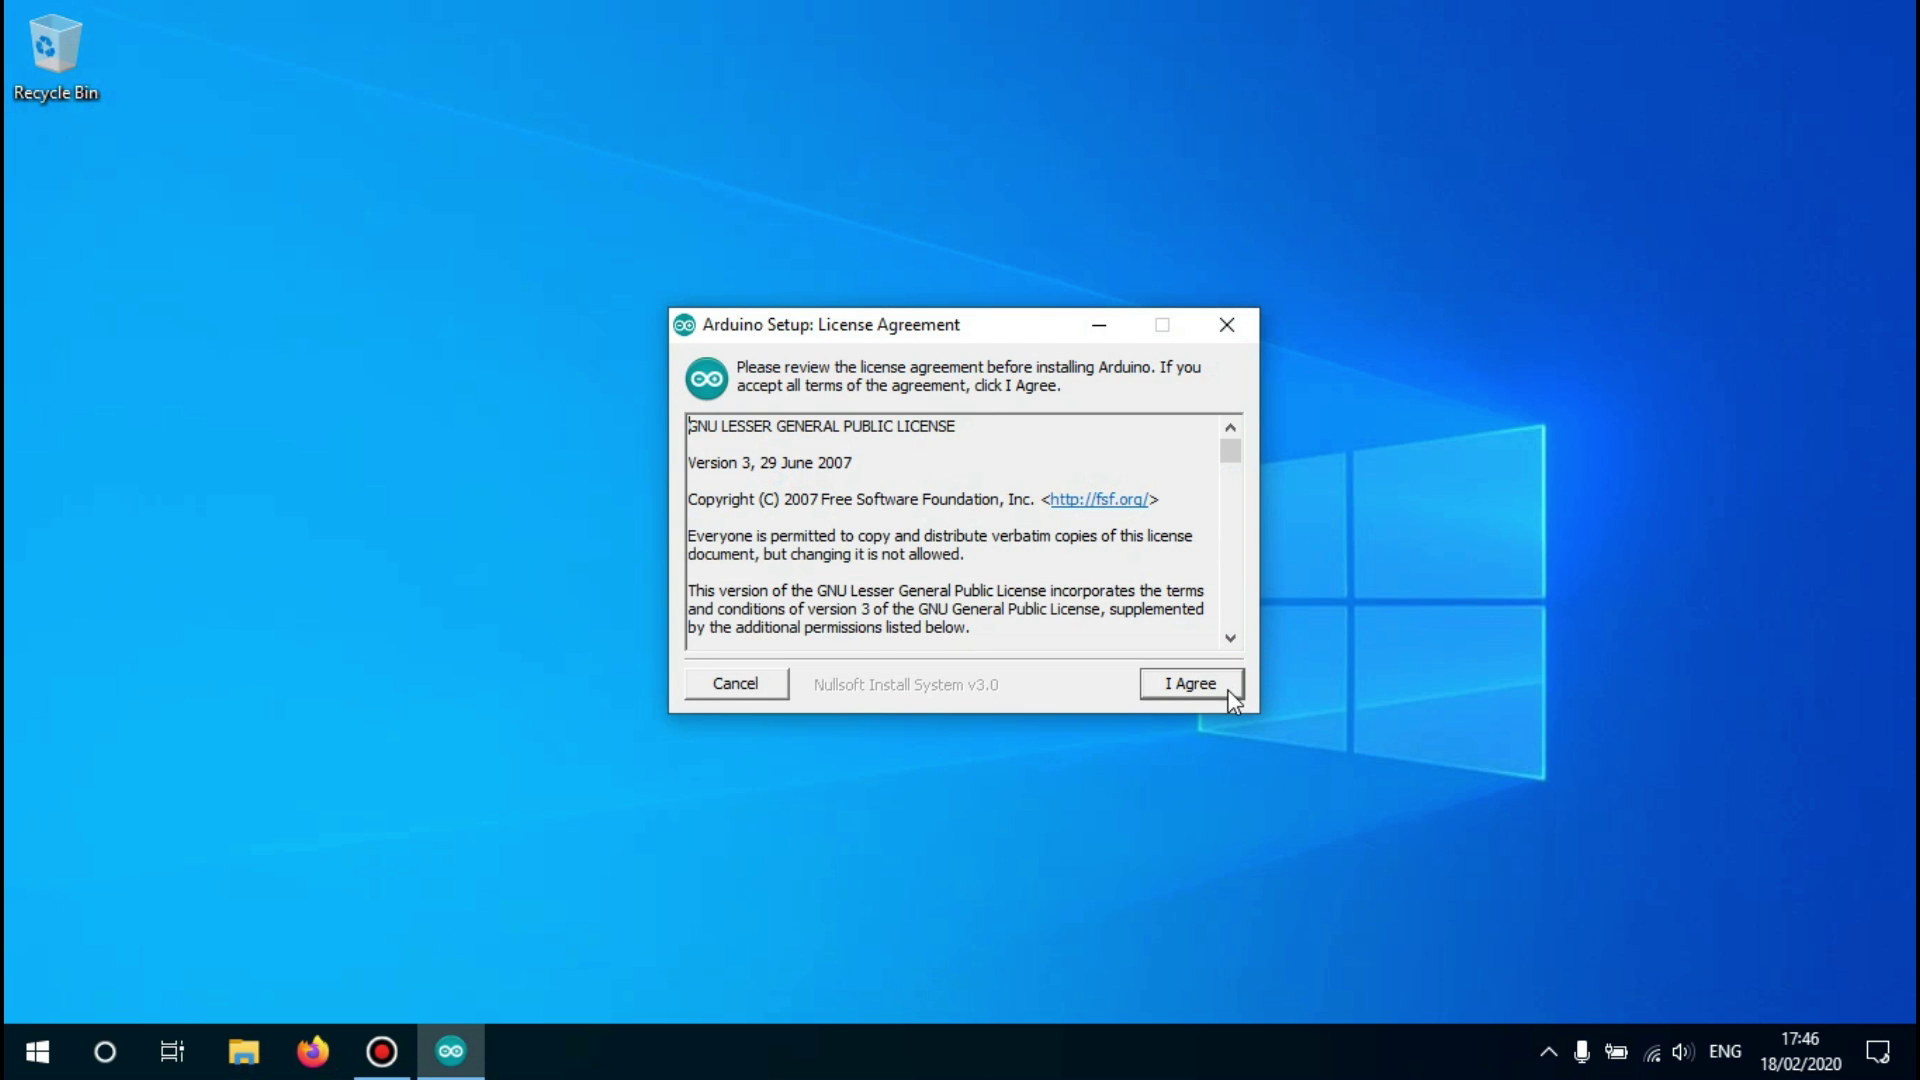
Open the downloaded file.
A new window will open asking you to agree to the license agreement.
Click on 'I agree' to continue.
Select What to Install
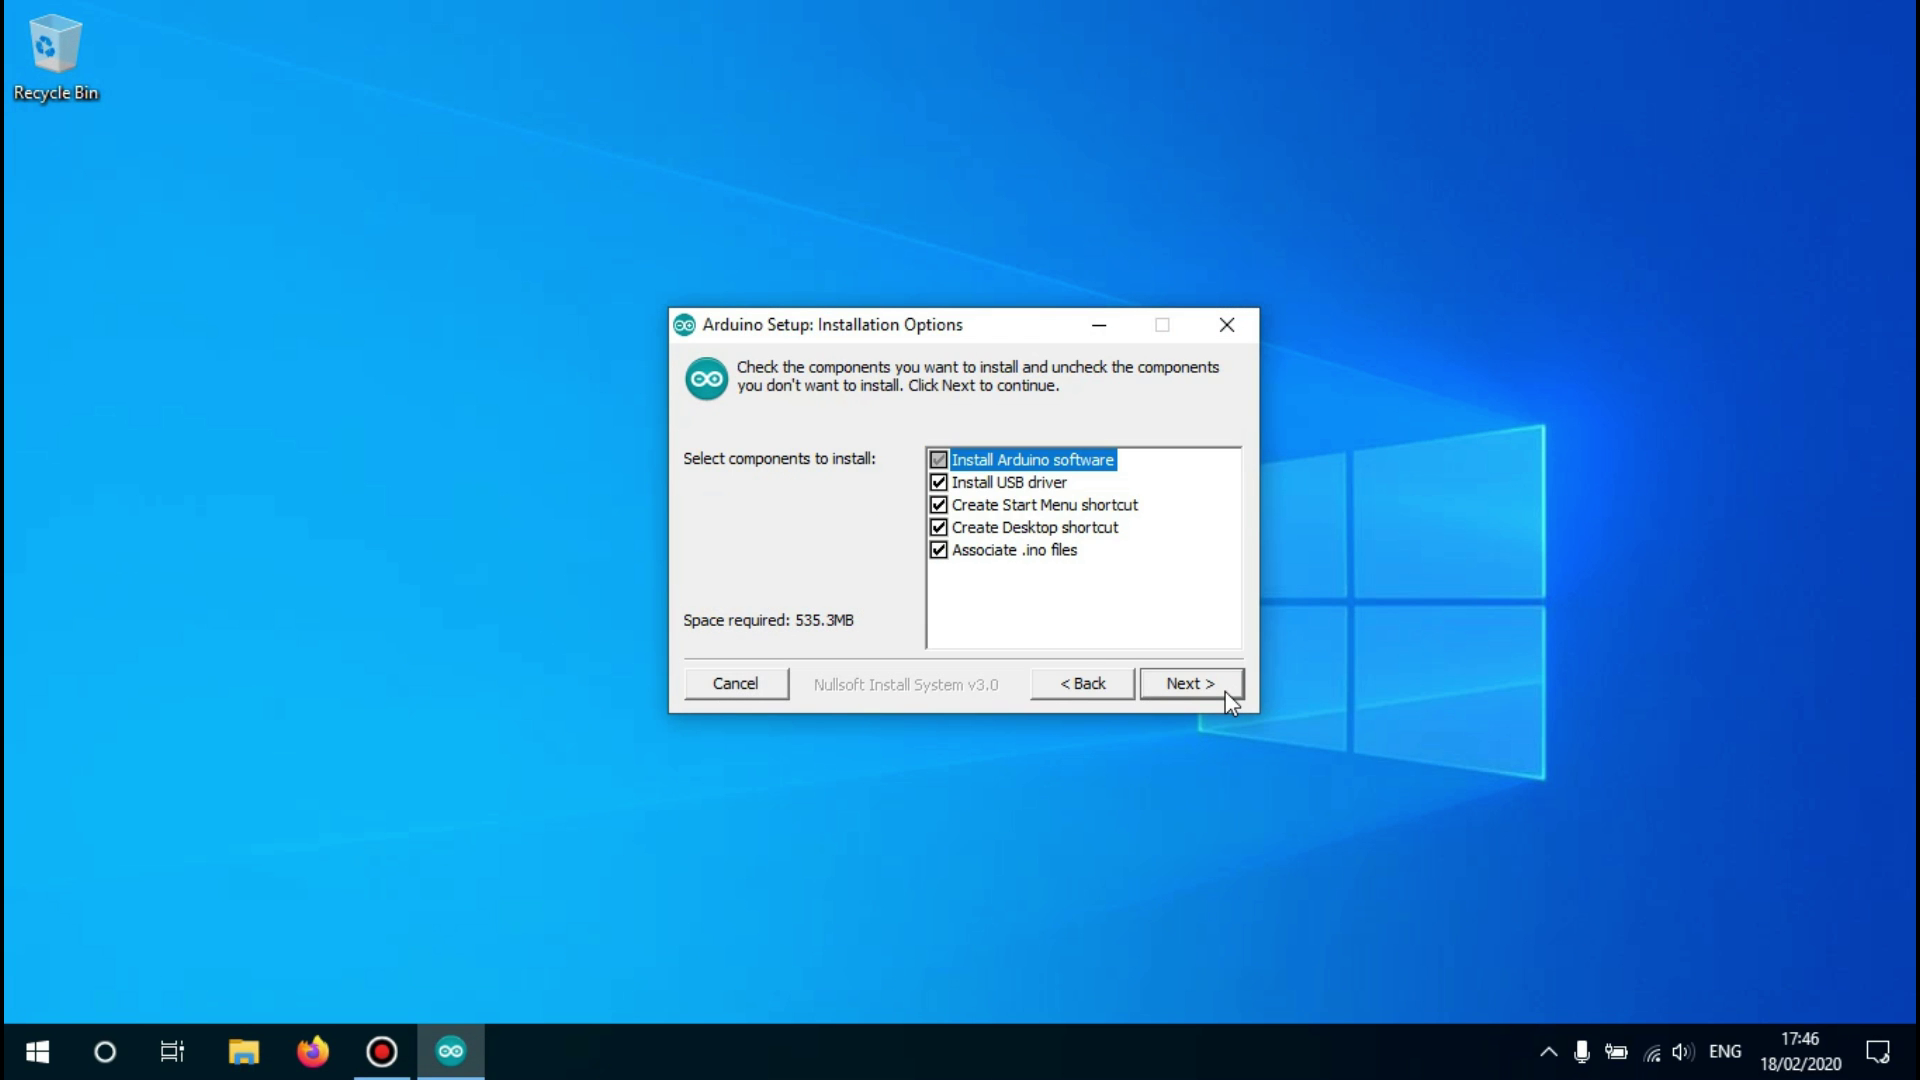
Now you'll see all the available options to install the software with.
If you don't know what you need, it is best to keep everything checked as you can change it later when the installation has finished.
Click on 'Next' to continue.
Choose the Installation Path
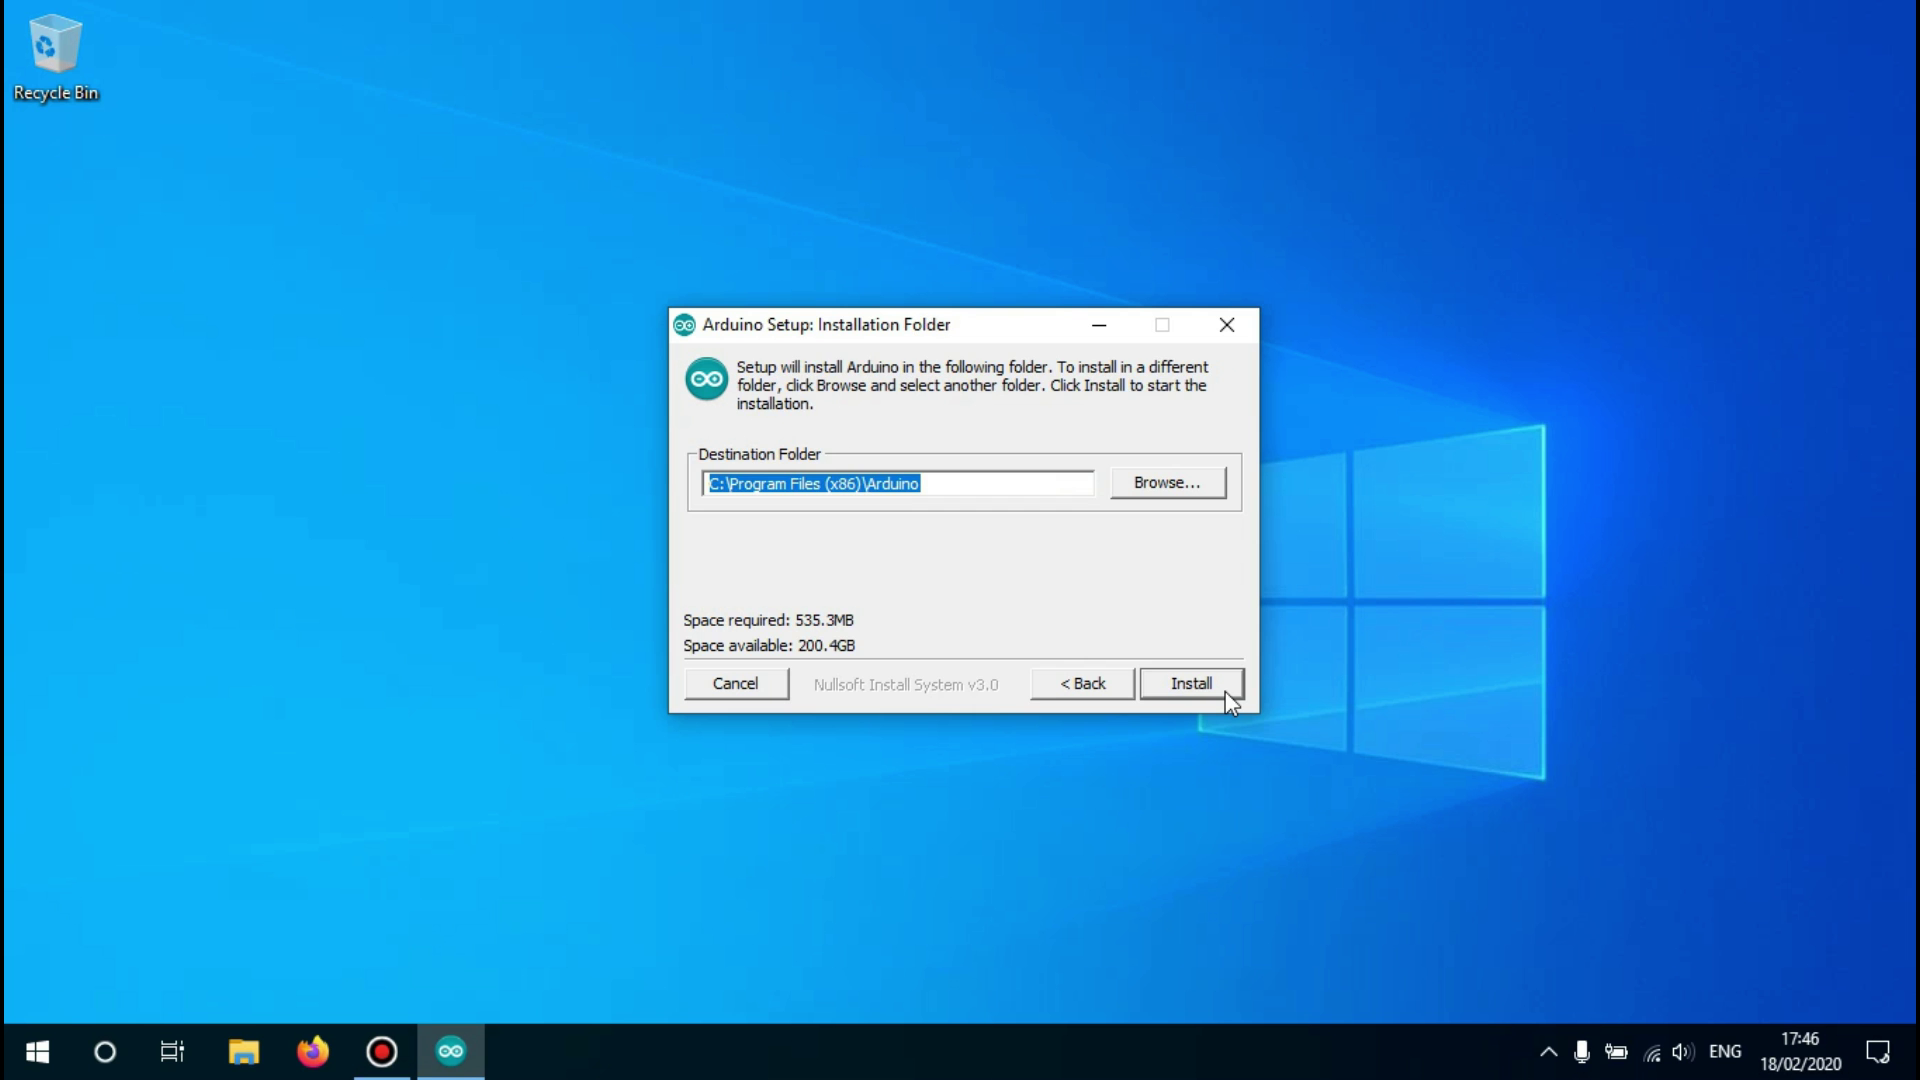
Now you have to choose the path the software will be installed in.
it is fine to leave it at the configured location but if you want the Arduino IDE somewhere else installed you can change that here.
Click on 'Install' to begin the installation
Finish the Installation
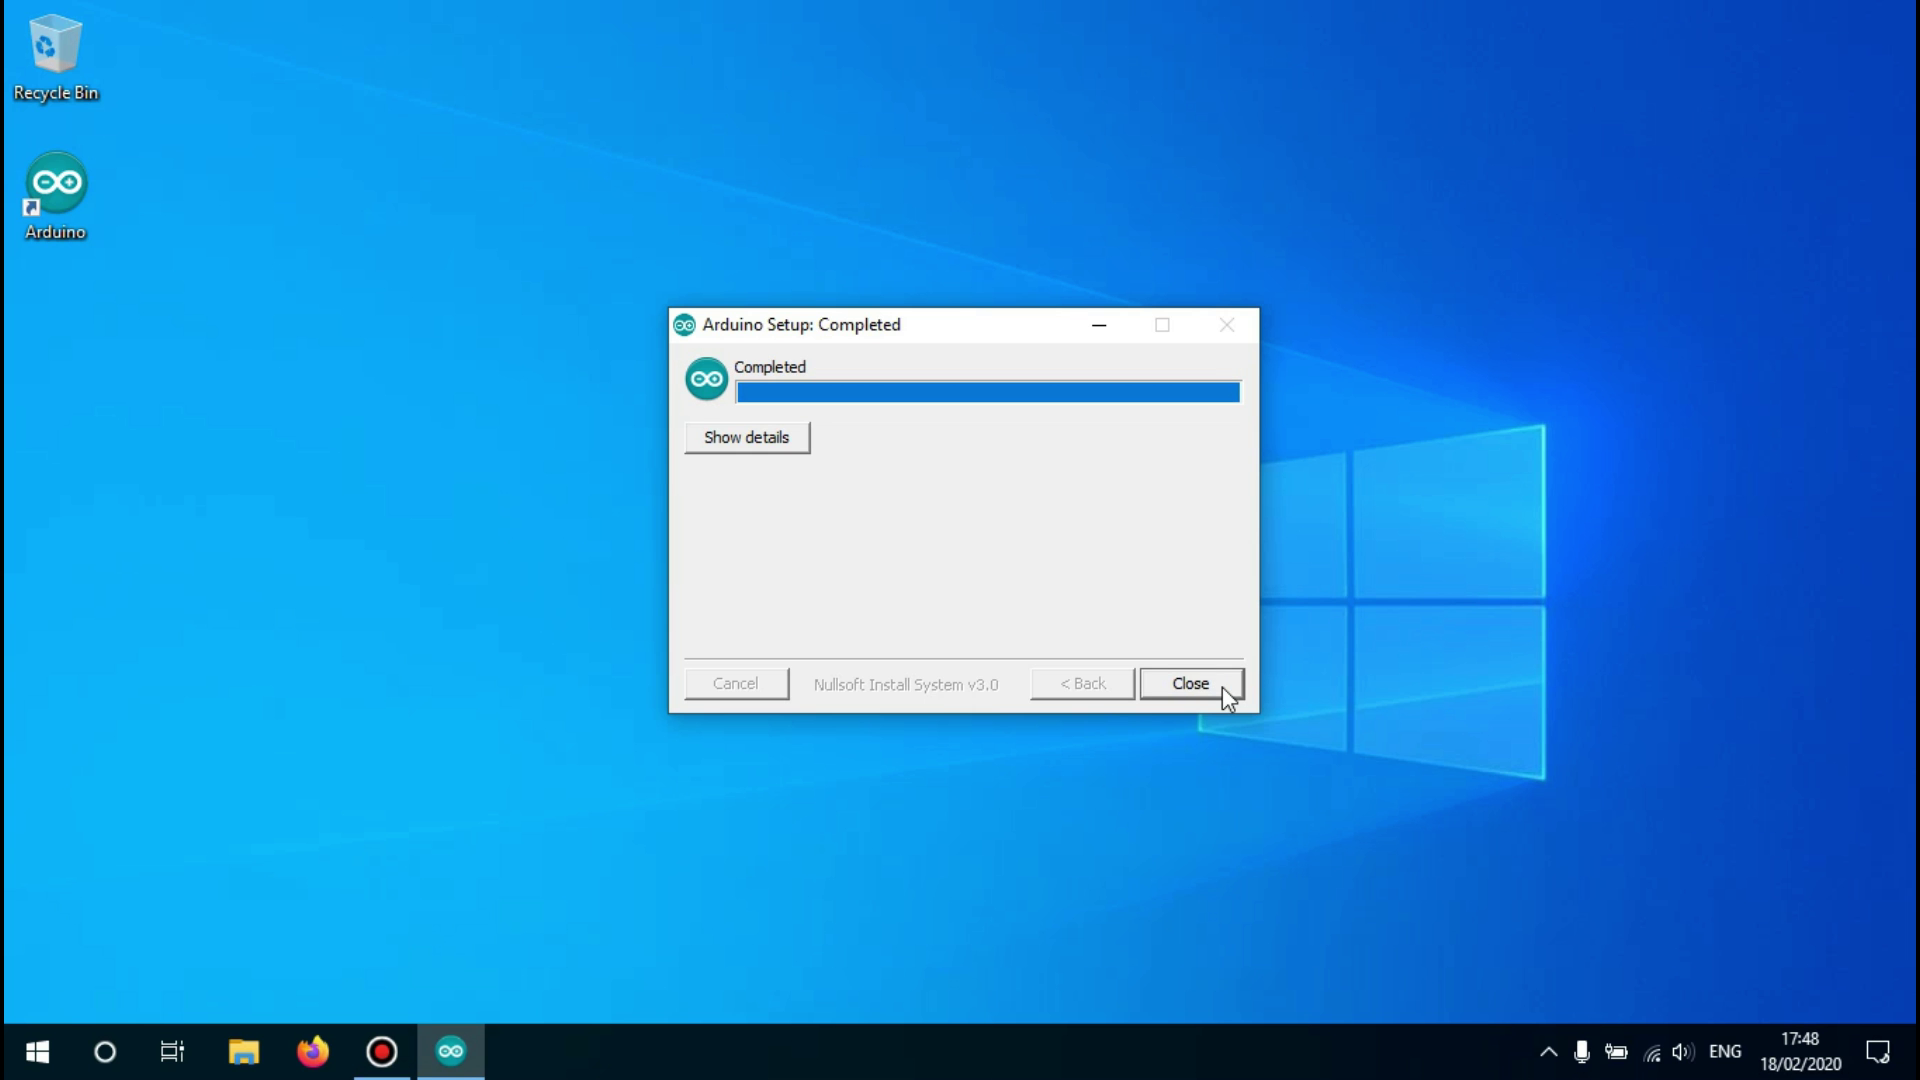
Wait until the installation is finished, it shouldn't take very long.
When the installation is finished you may click on 'close' to end the setup wizard.
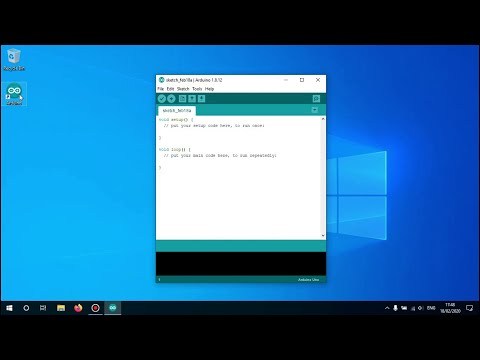
Launch the Arduino IDE
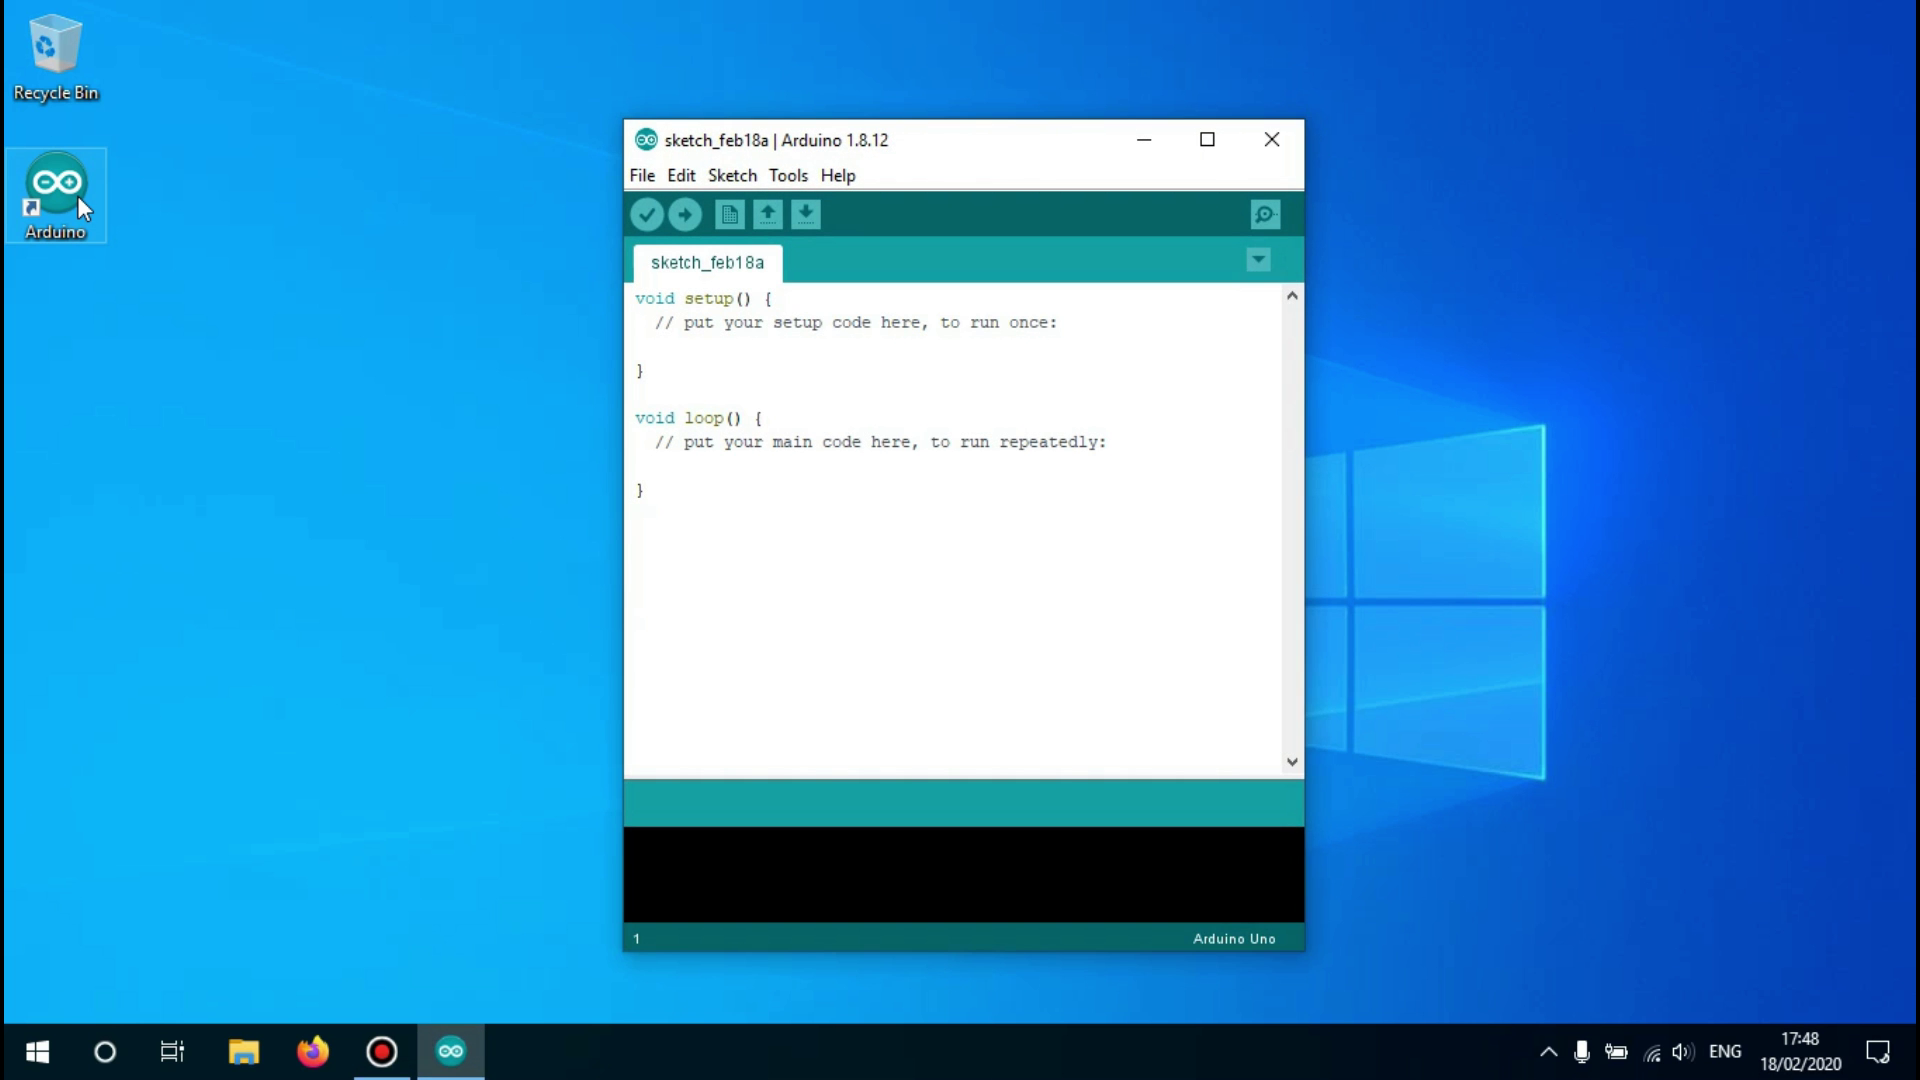
The Arduino IDE has now been successfully installed.
To launch the IDE you can click on the Desktop icon that was created for you, or by searching for it in the start menu.