How to Hide Finger Joints in Laser Cutting
by jkmoule in Workshop > Laser Cutting
2854 Views, 9 Favorites, 0 Comments
How to Hide Finger Joints in Laser Cutting
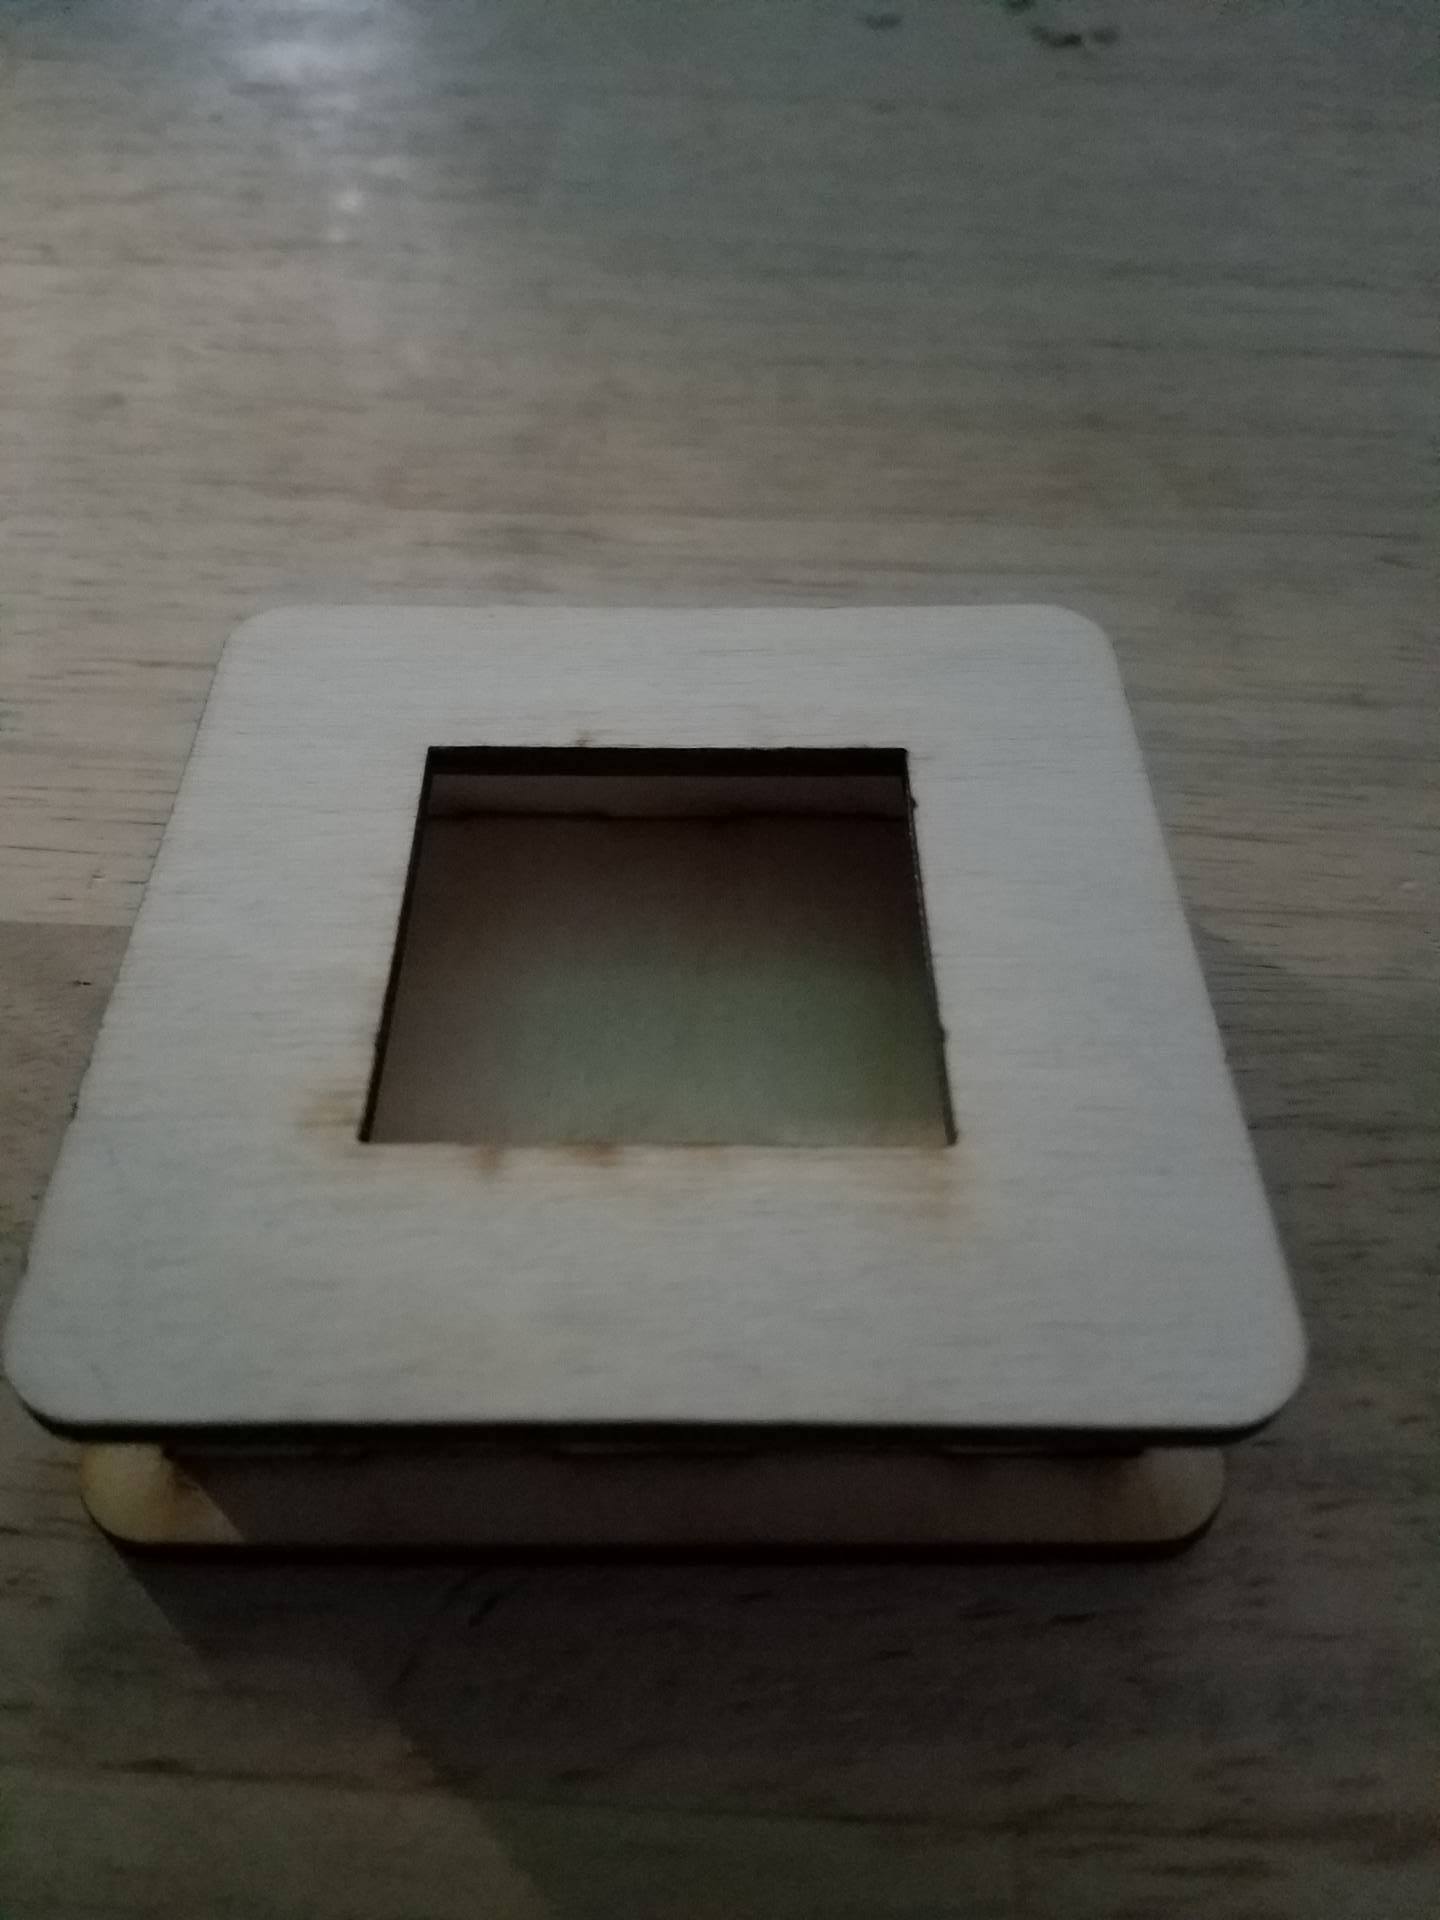
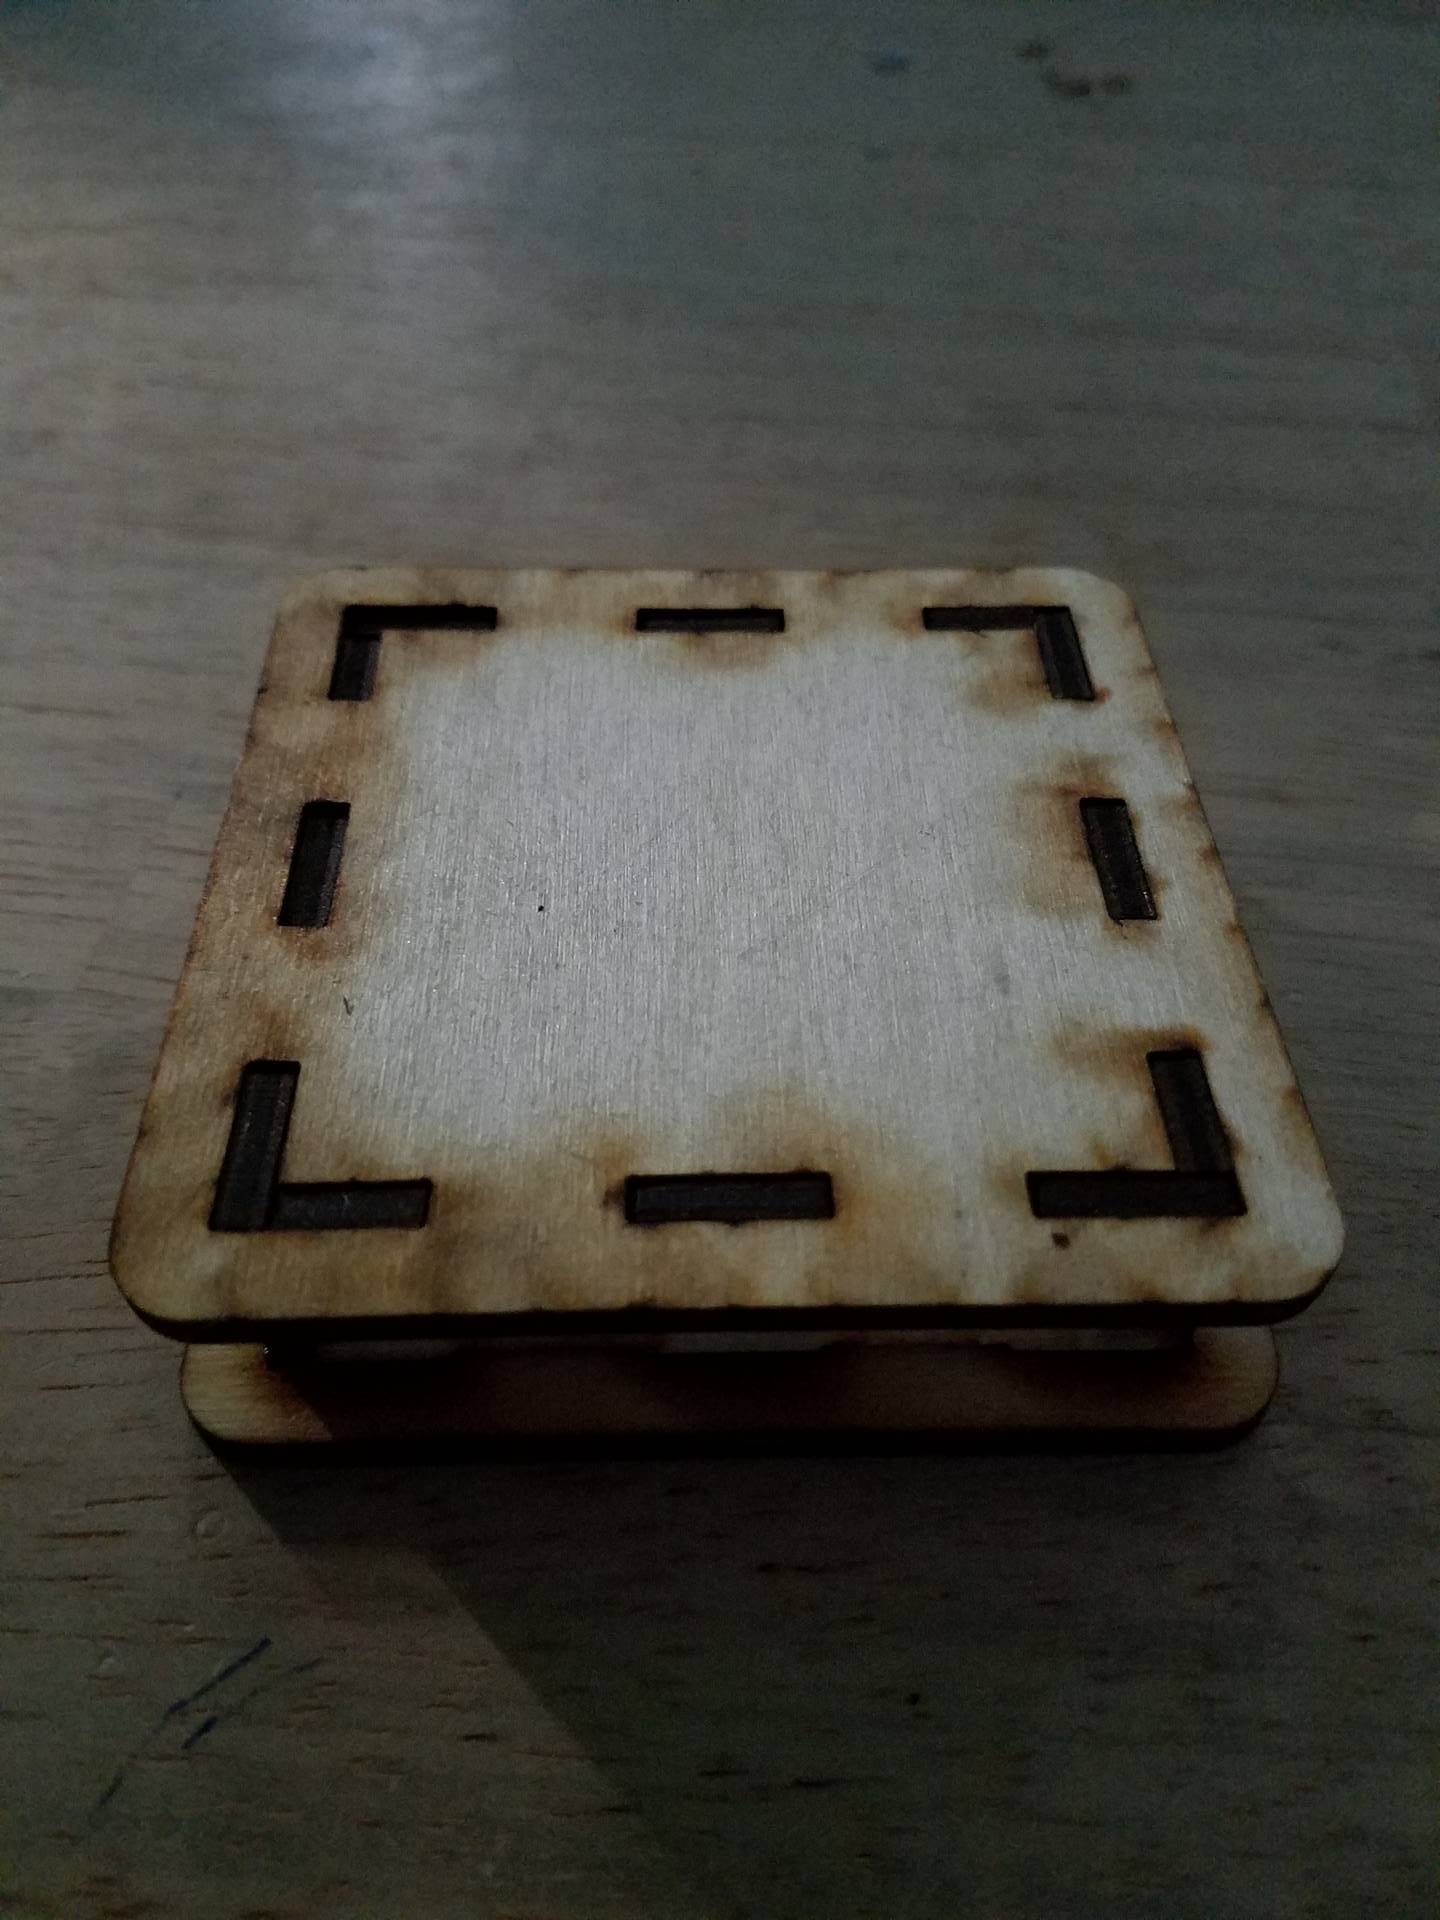
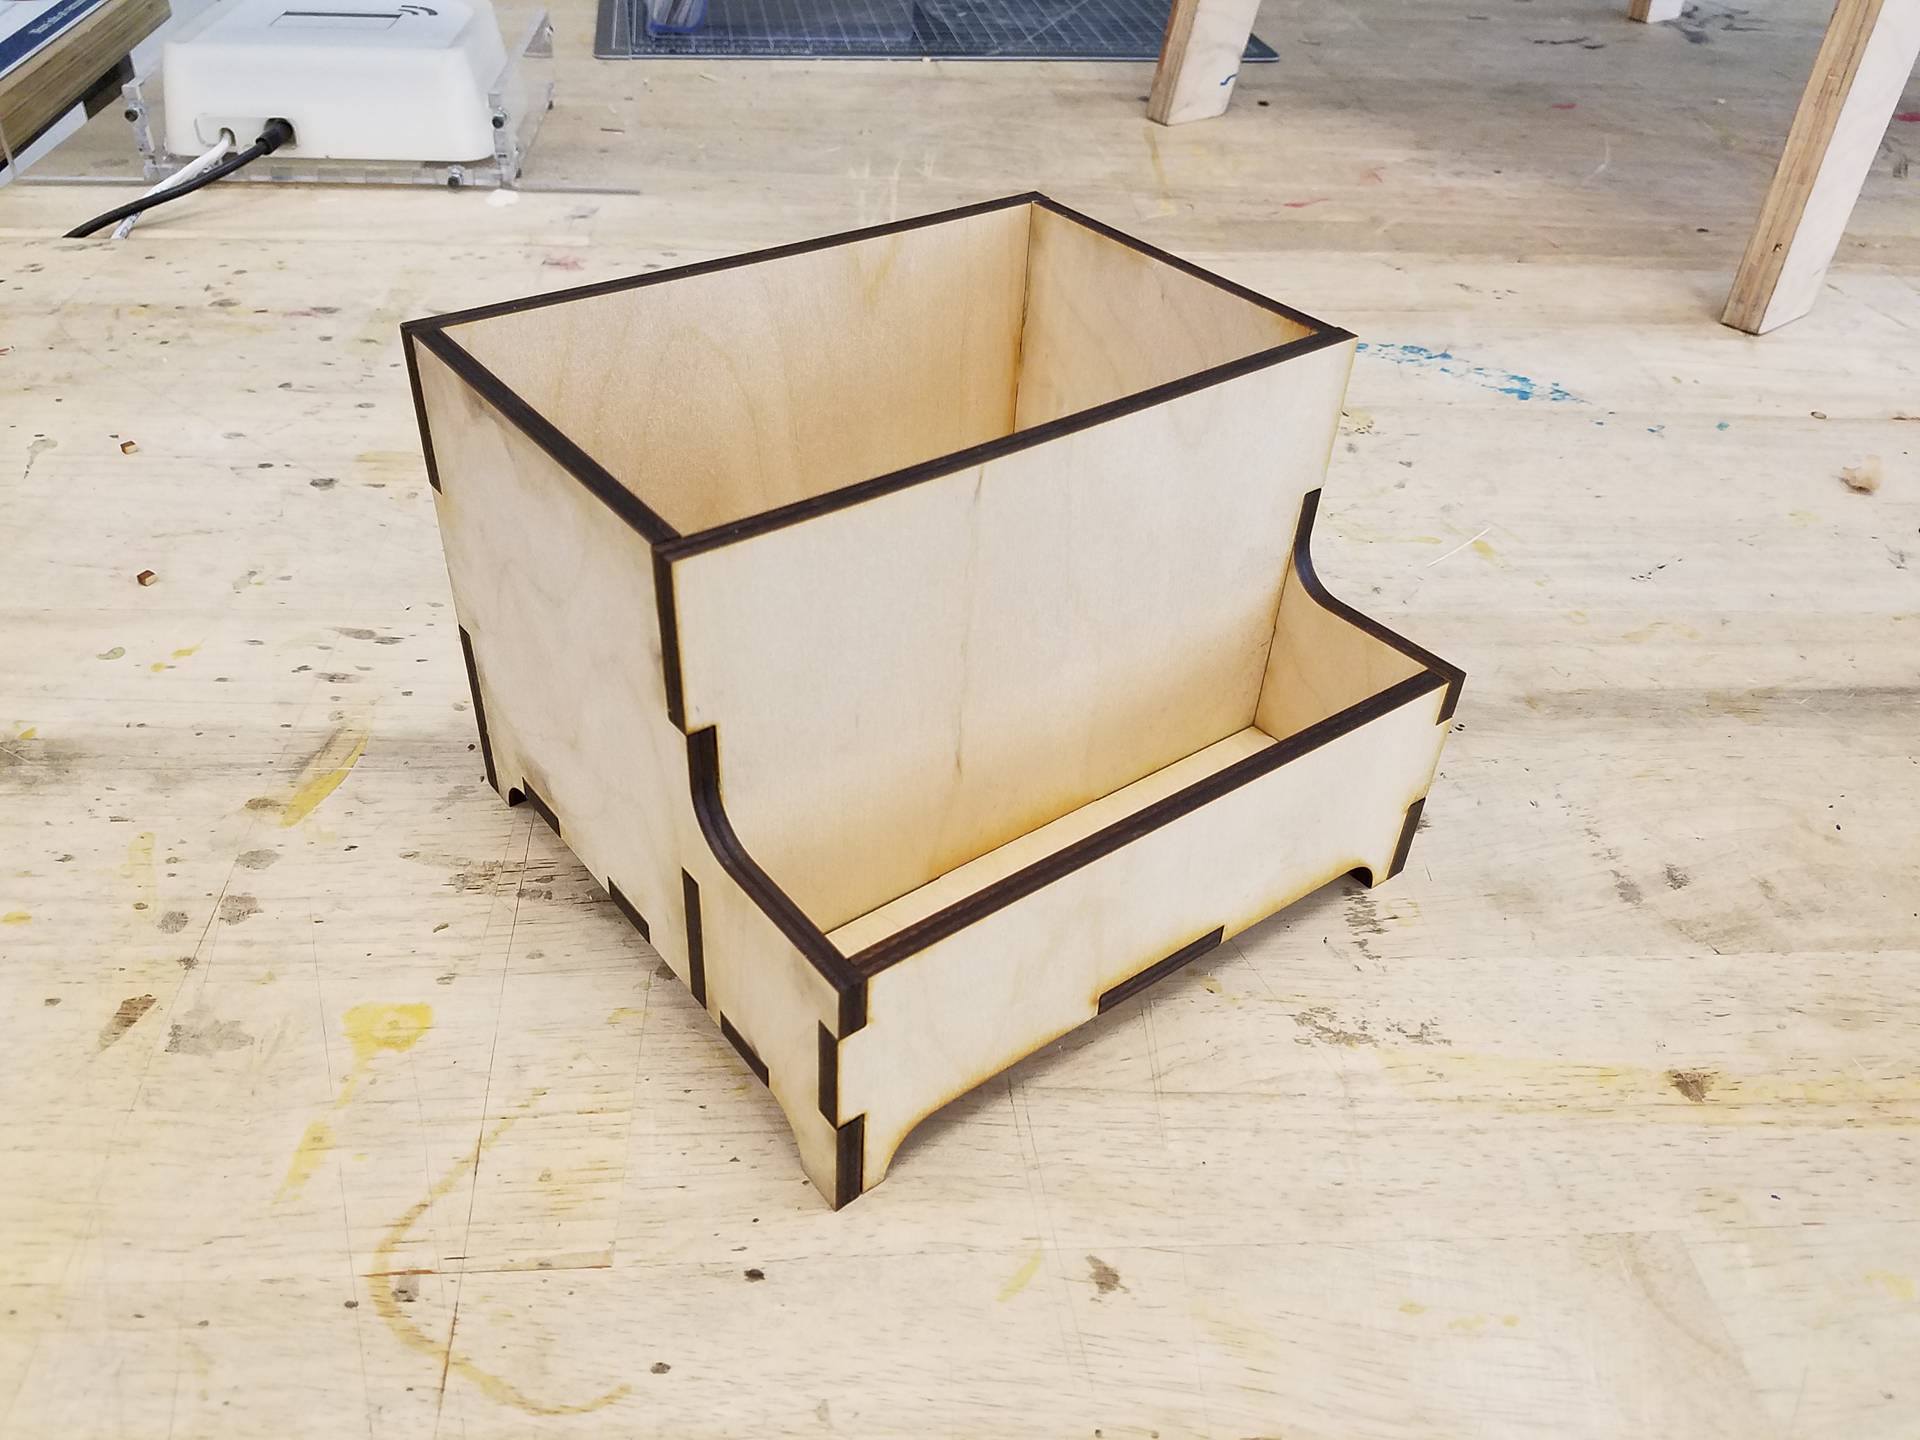
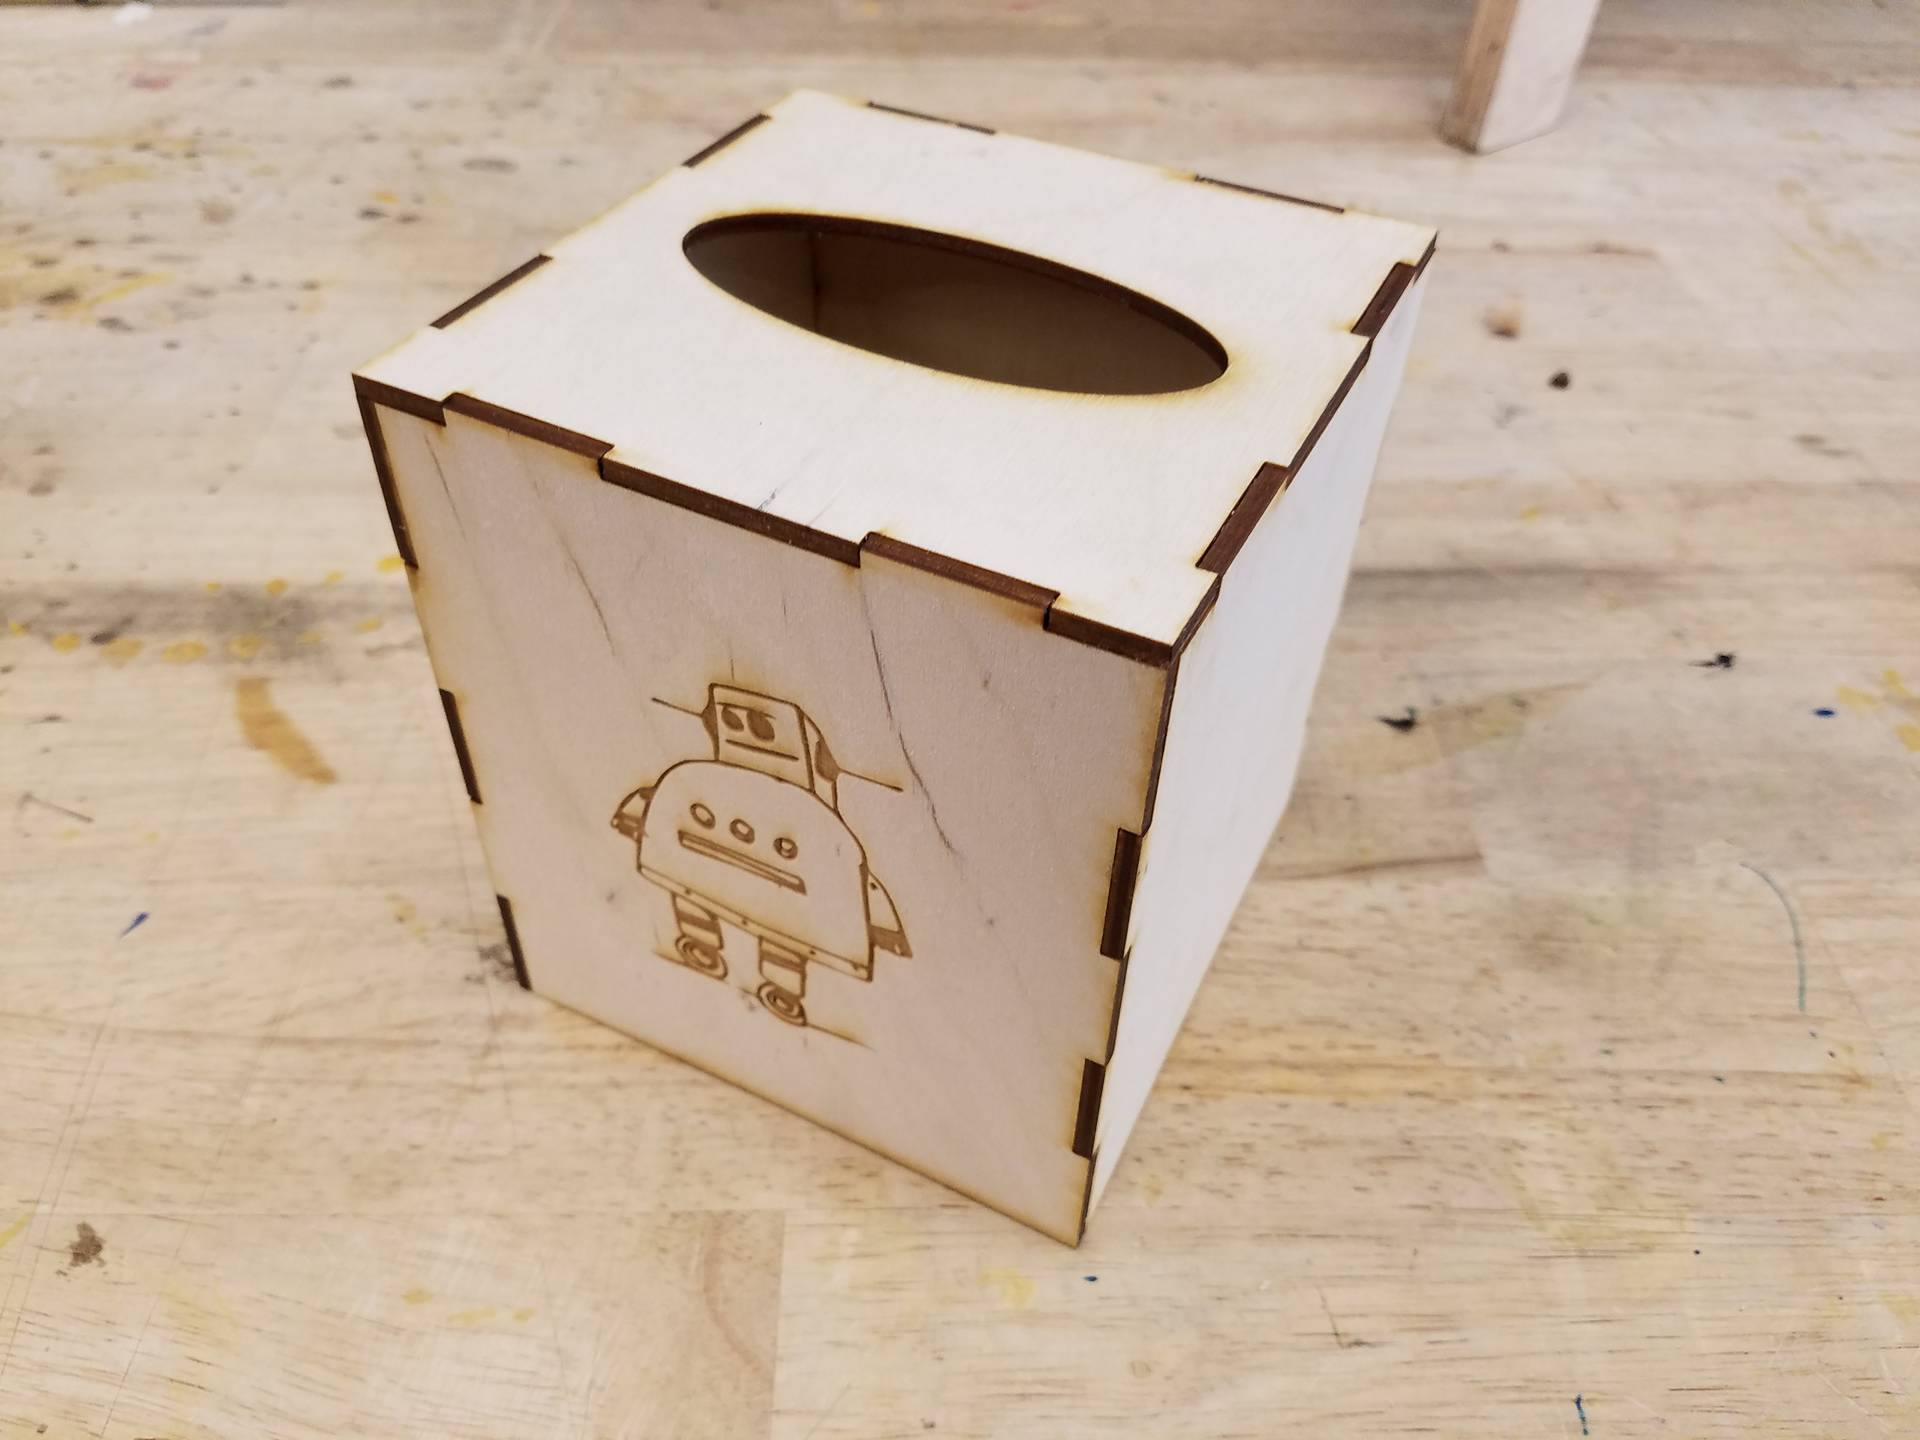
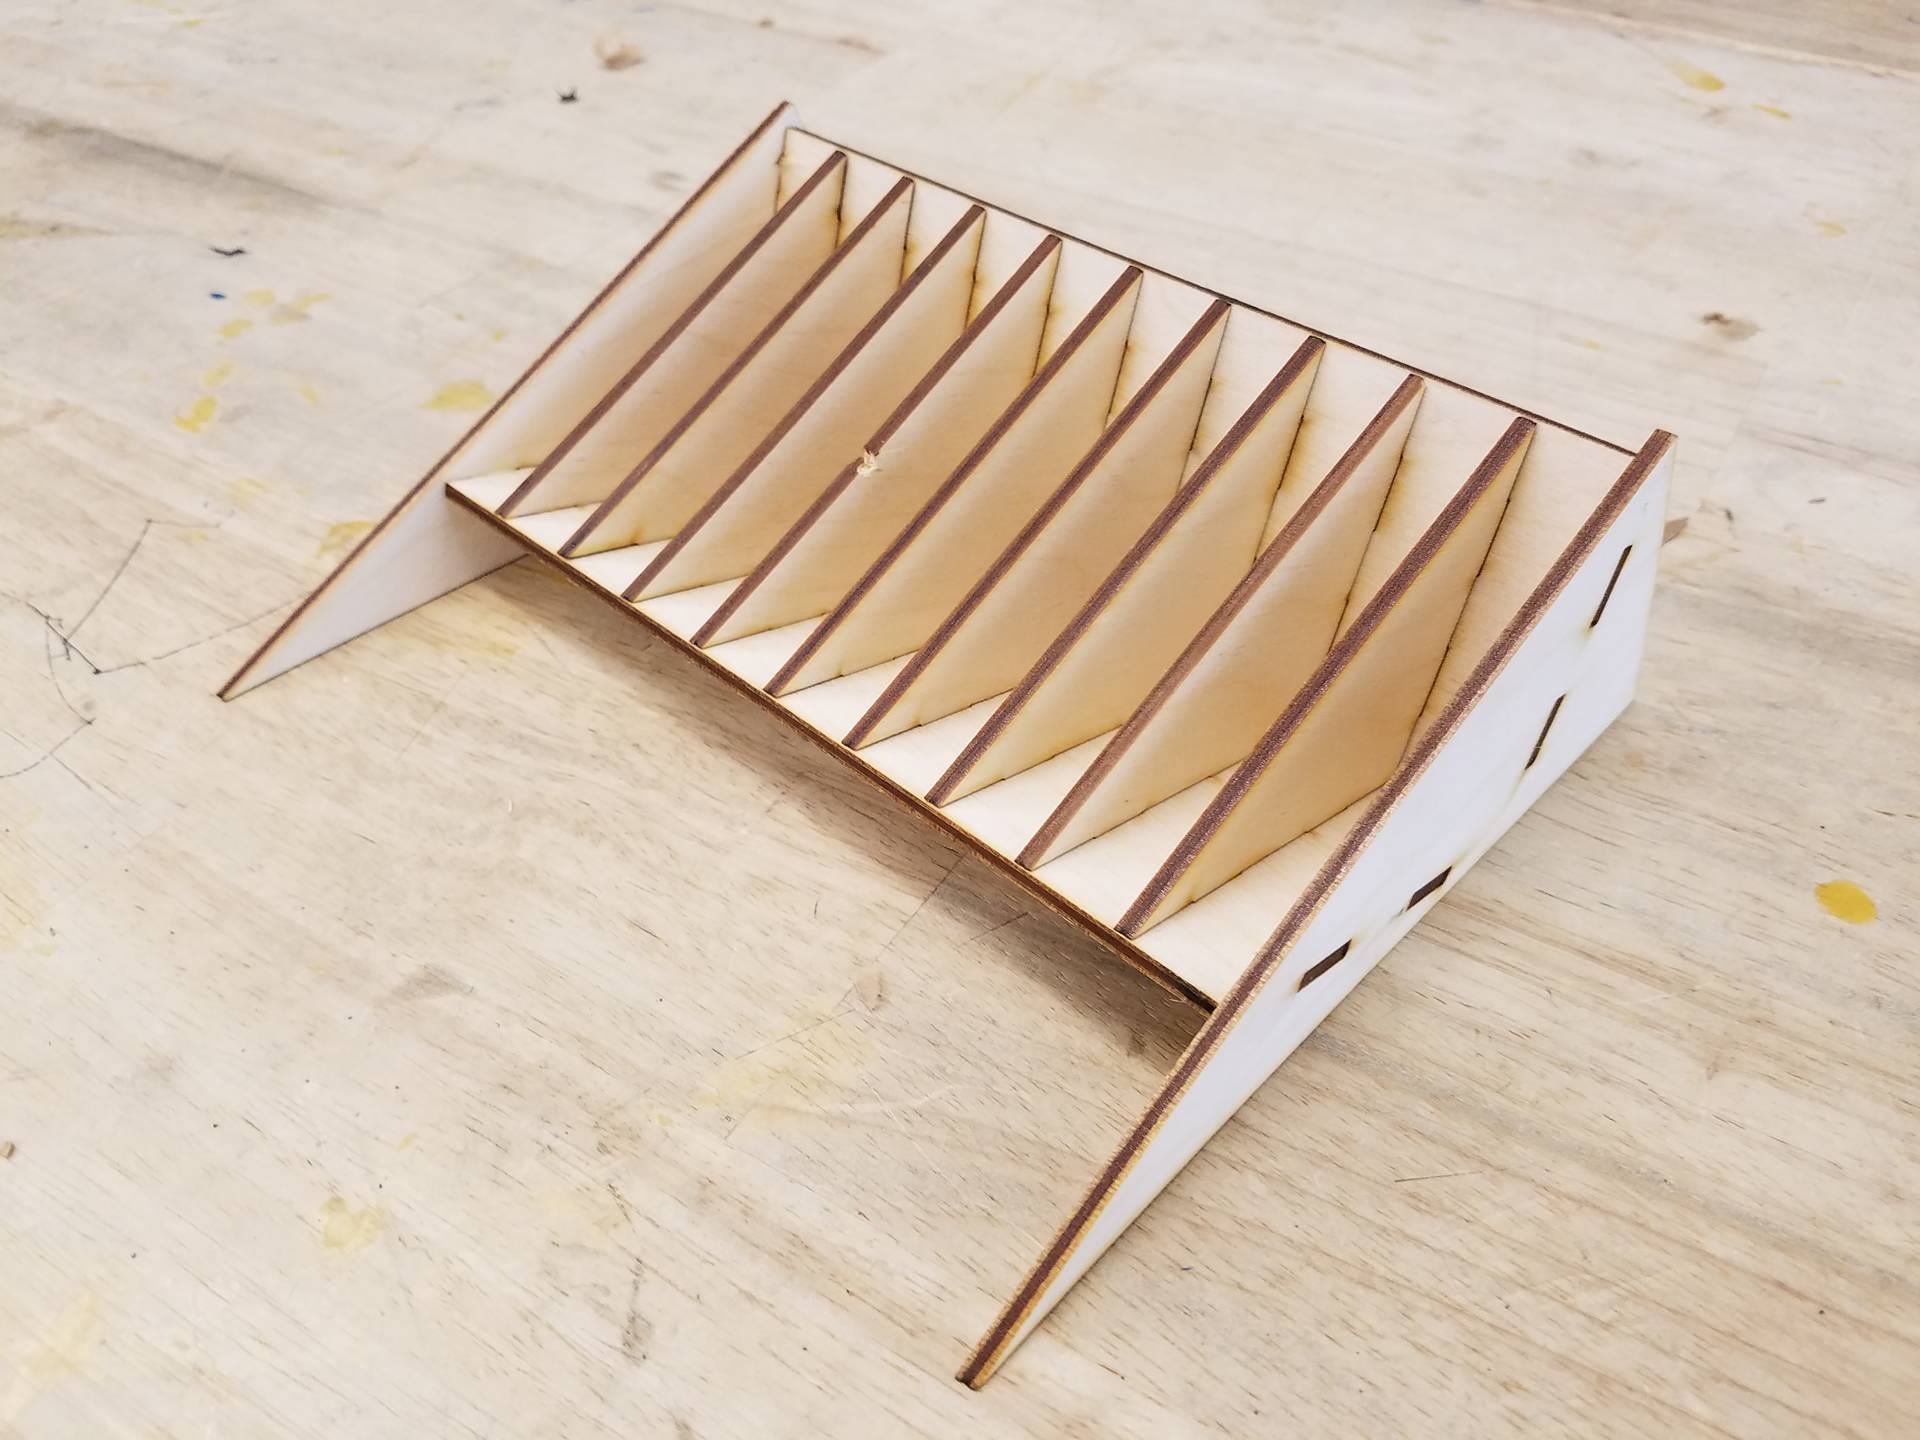
'Fingers' are a method of joining multiple laser cut parts for assembly. Above are some examples of items made using fingers. The first two photos are an example of something made using fingers, with visible fingers in one case and hidden ones in the other. Note that the hidden fingers are much more asthetically pleasing.
As you can see from the examples, fingers are a powerful tool to join multiple parts, and they are much more structurally sound than just gluing two flat edges together. However, they are also not extremely sightly. So I set out to find a method to make the fingers hidden. I accomplished this by making the fingers half as tall, and then instead of cutting out a hole for the fingers to slide into, I rastered a groove halfway through the wood.
In the first picture above, I used the hidden fingers method. Look how pretty the top of the basic demo box is. In the second photo, you can see the same setup but with visible fingers. Much less asthetically pleasing. In this tutorial, I will show you exactly how to achieve the same look on your own projects.
This tutorial will be using Adobe Illustrator, as that is the graphics design program I use. If you use a different one, feel free to try and follow along using the analagous commands, as we won't be doing anything too niche to Illustrator.
Feel free to download the demo object file if you want to follow along with that. Otherwise, you can try it with your own model :)
Demo object file:
Preparing the File
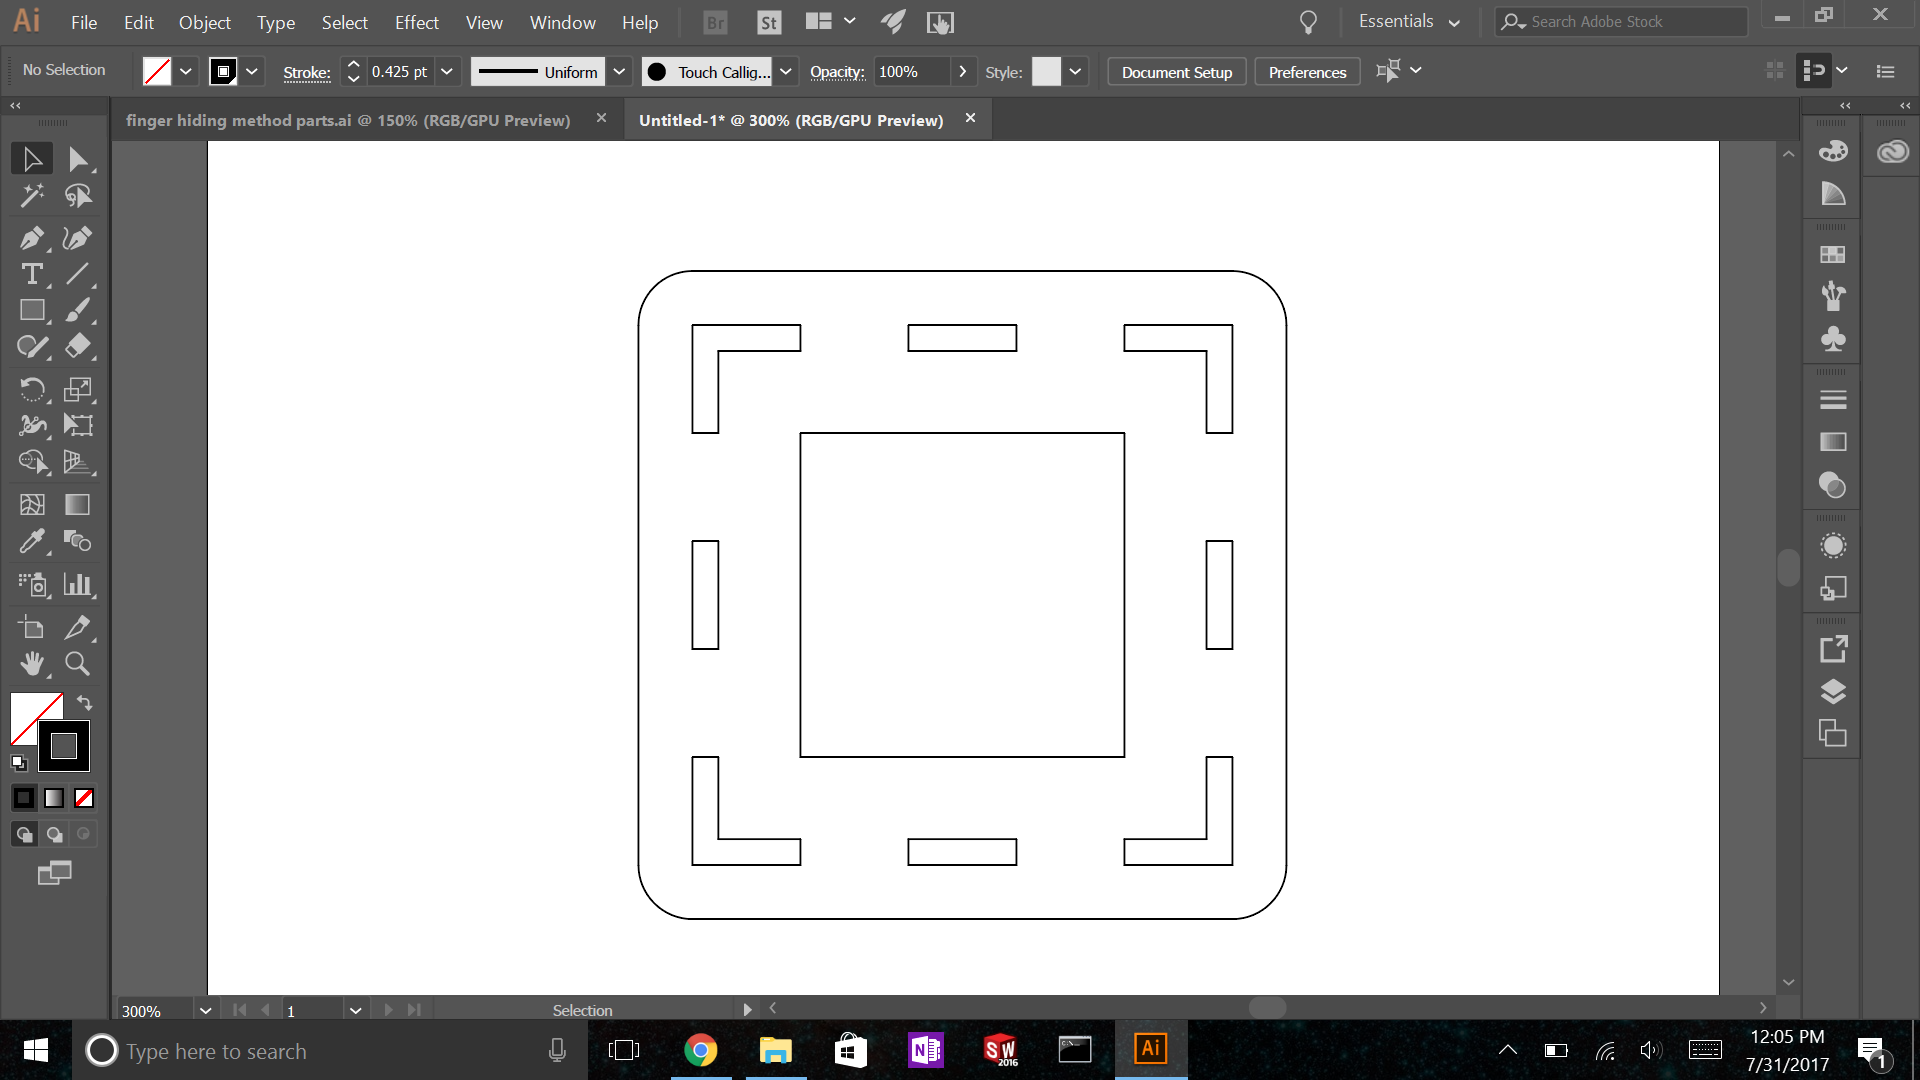
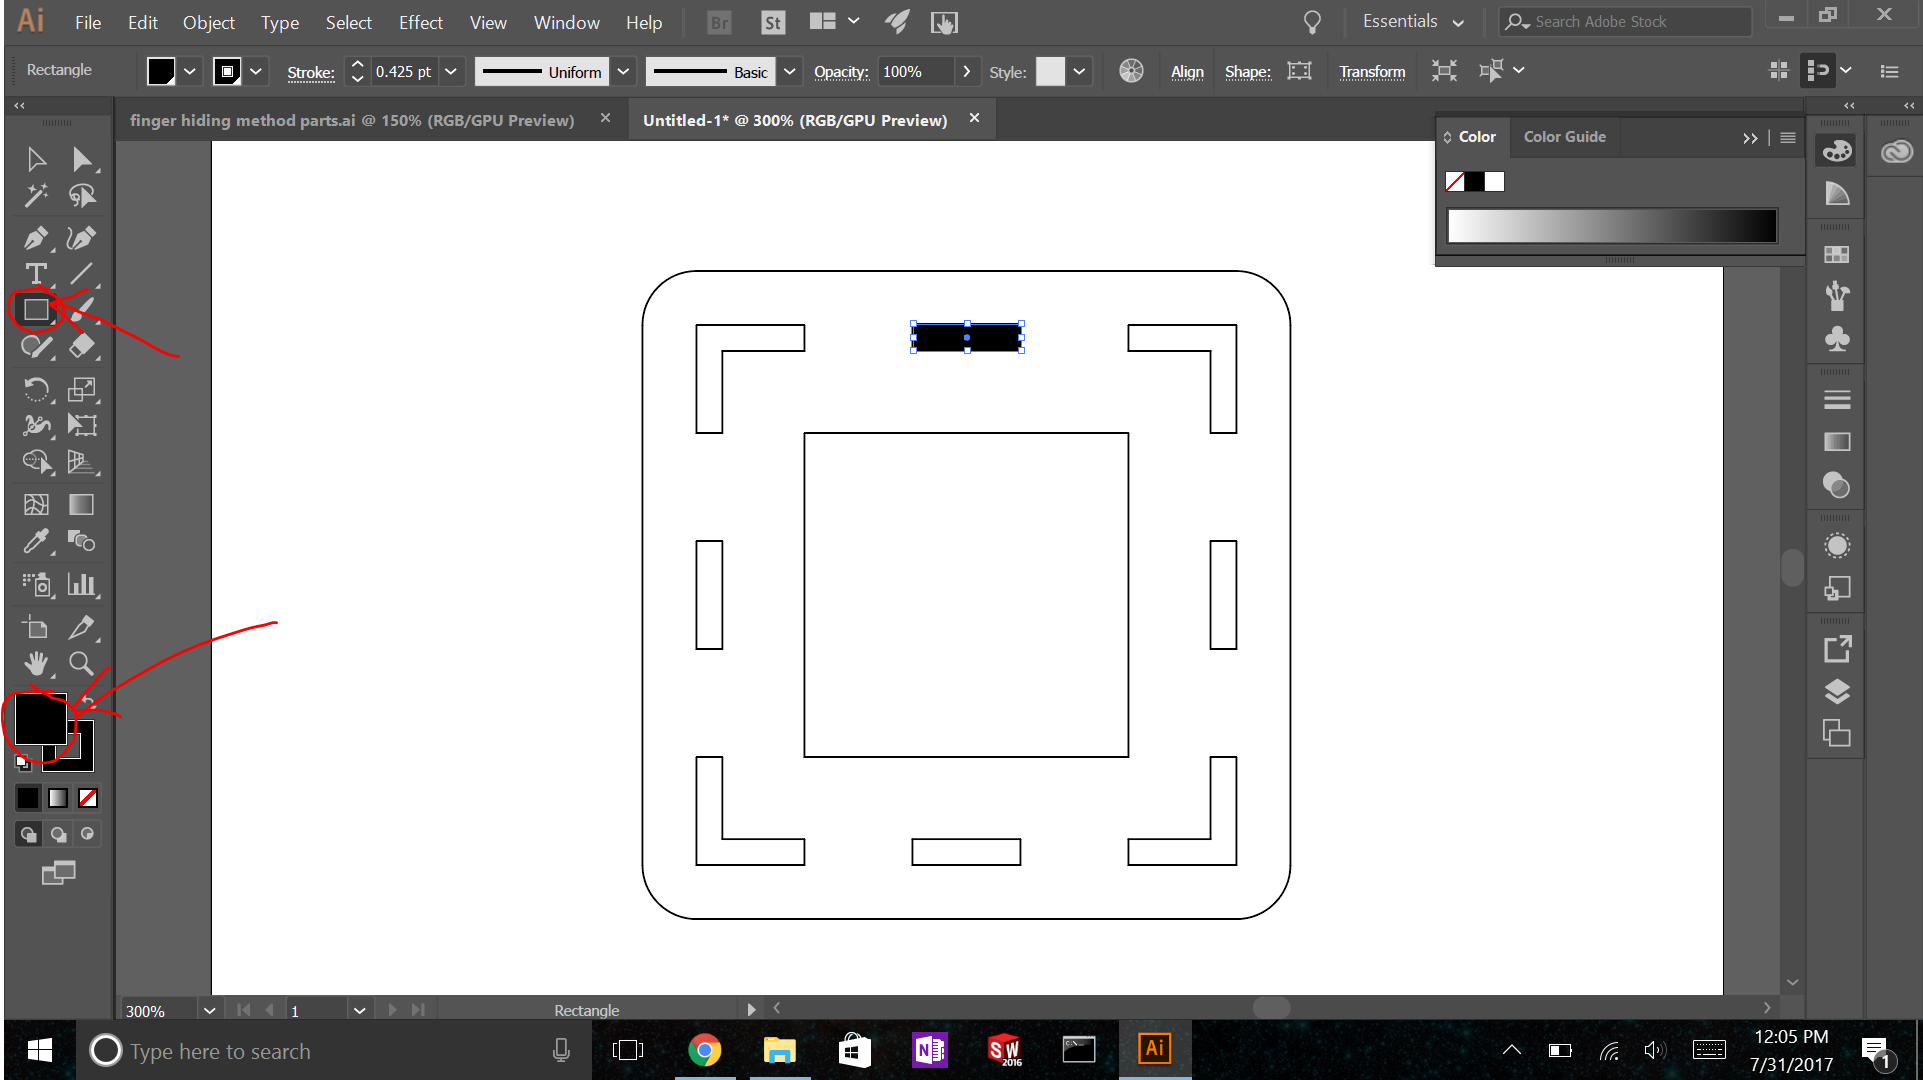
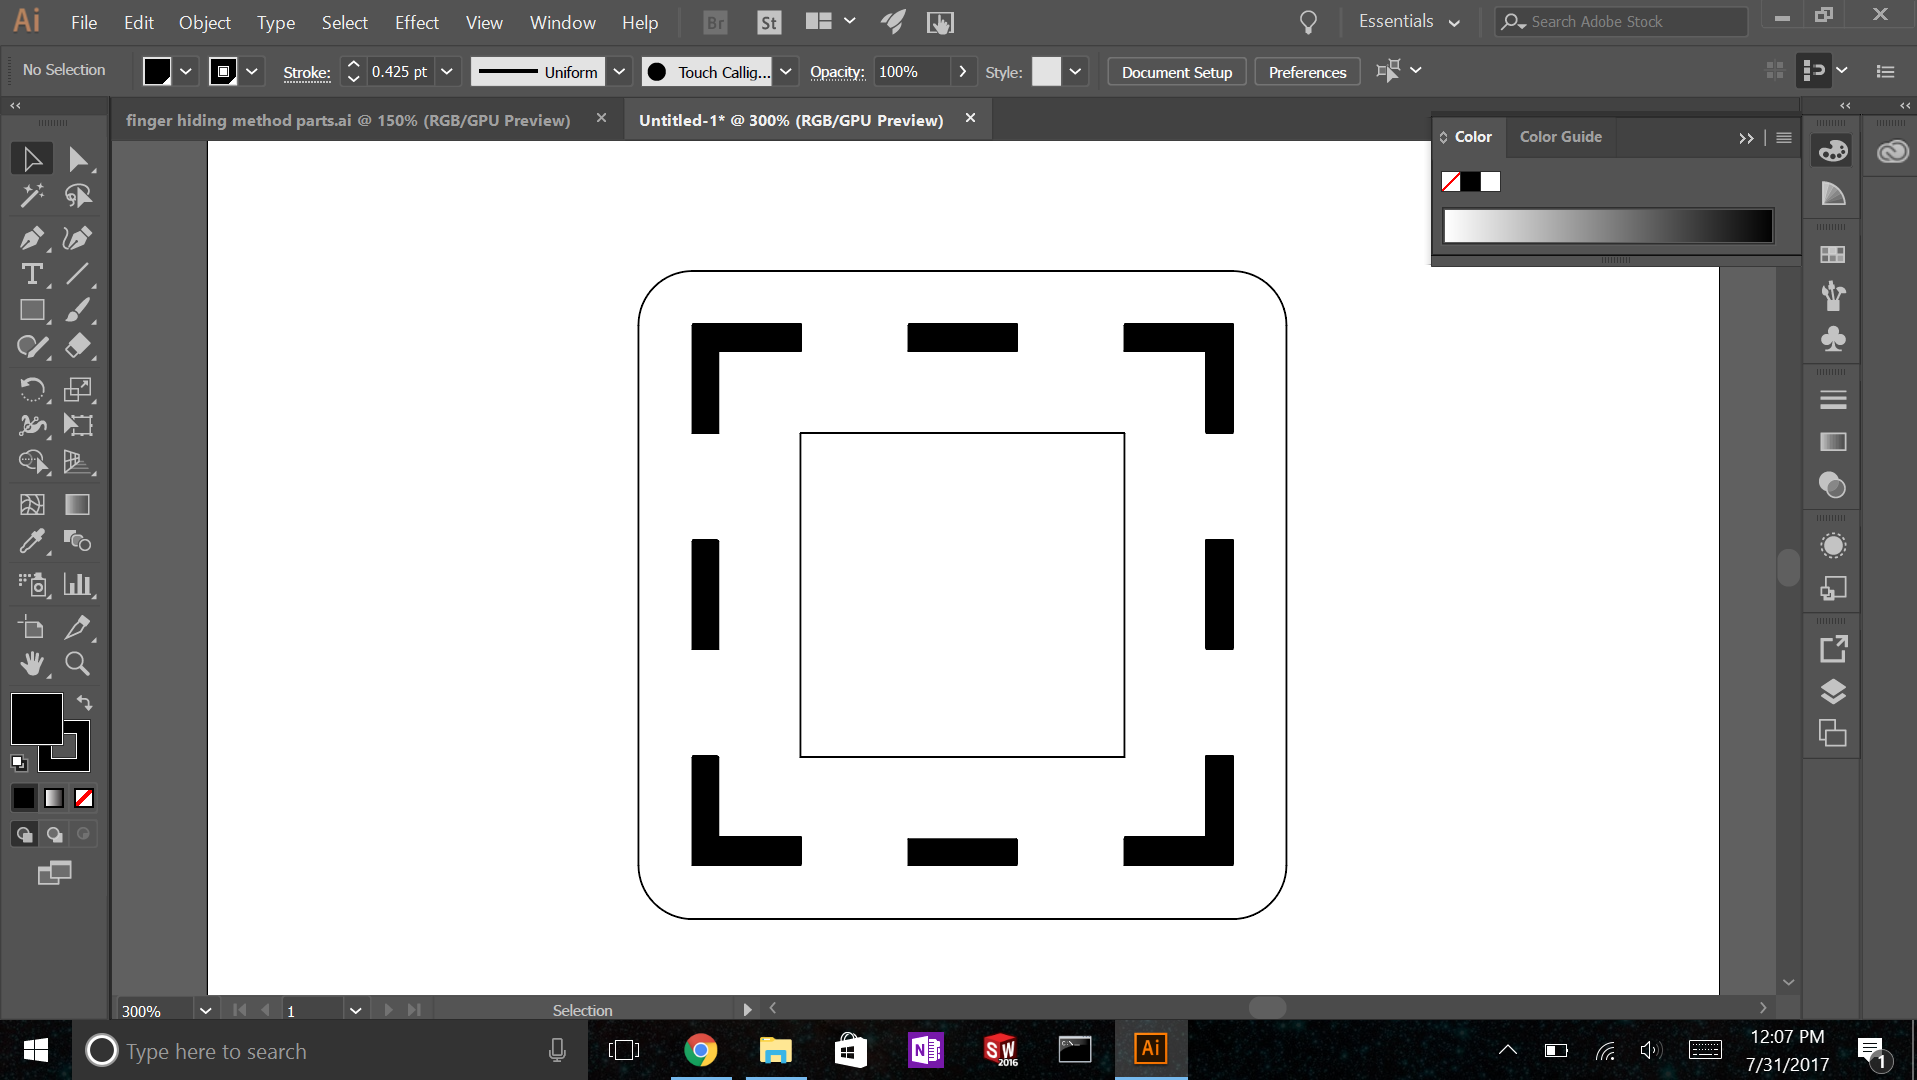
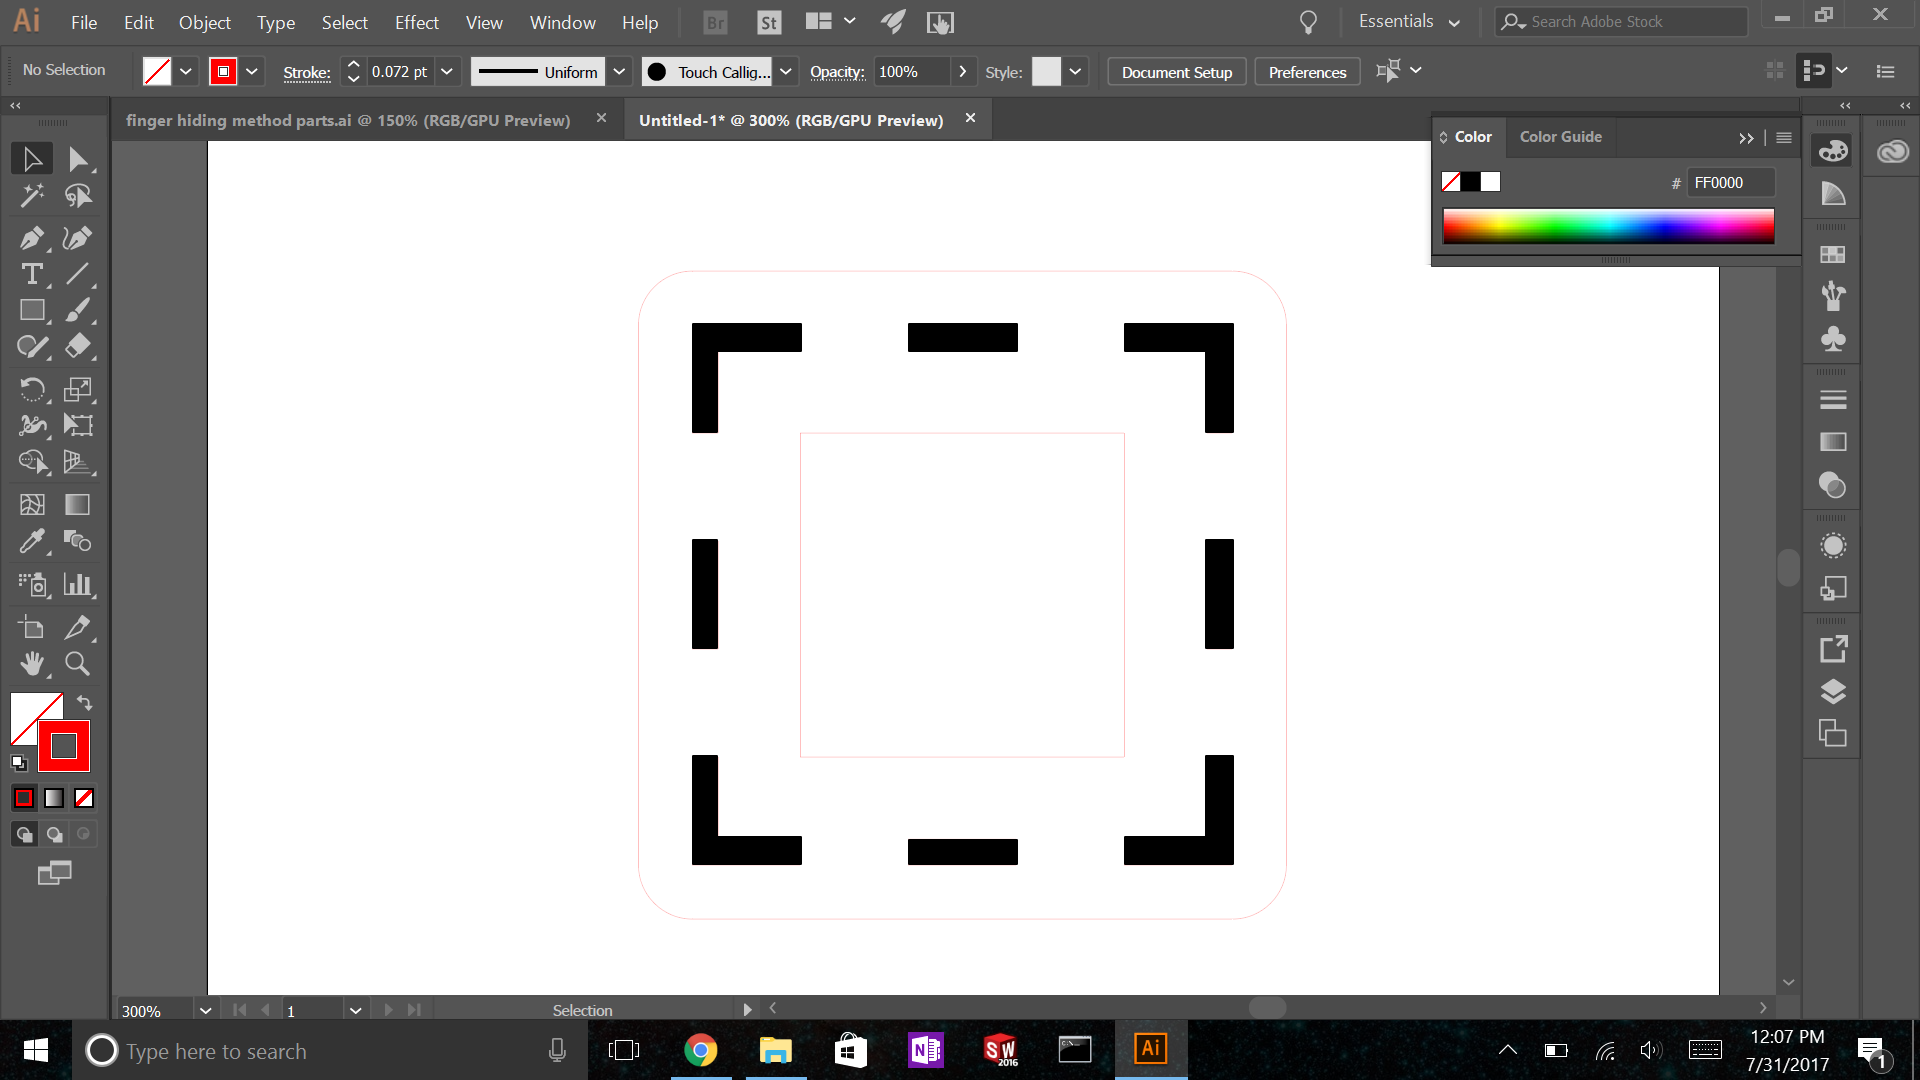
After you design a CAD model with hidden fingers, you will want to save each part's sketch as a DXF. Then, we will open the DXF in Illustrator. Check out the first photo above. If I wanted to use the standard finger method, I would just convert all the lines to vector cut lines so my CNC laser would cut them out. Instead, I want to fill in the rectangles with black so they are rastered. An easy way to do this is to select the rectangle tool in the lefthand toolbar. Click on the corner of each vector rectangle in the design, and drag an Illustrator rectangle across it. You can use the existing lines as anchors to make sure your rectangle perfectly matches the design. Next, lower down on the left hand side, there is a solid square (see image 2). Double click the box, and set the infill to black.
Now one of our rectangles is black and will be rastered out. For the corner rectangles, you can fill them in using the same method but with 2 rectangles that overlap. Do this for all hidden finger grooves in your design.
After all your hidden fingers are filled in with black, you will want to change the remaing vector entities to be vector cut lines. For the Universal Laser Systems laser cutter I use, I needed to set those lines to .001" stroke weight and RBG red.
Laser Cutting Your Parts
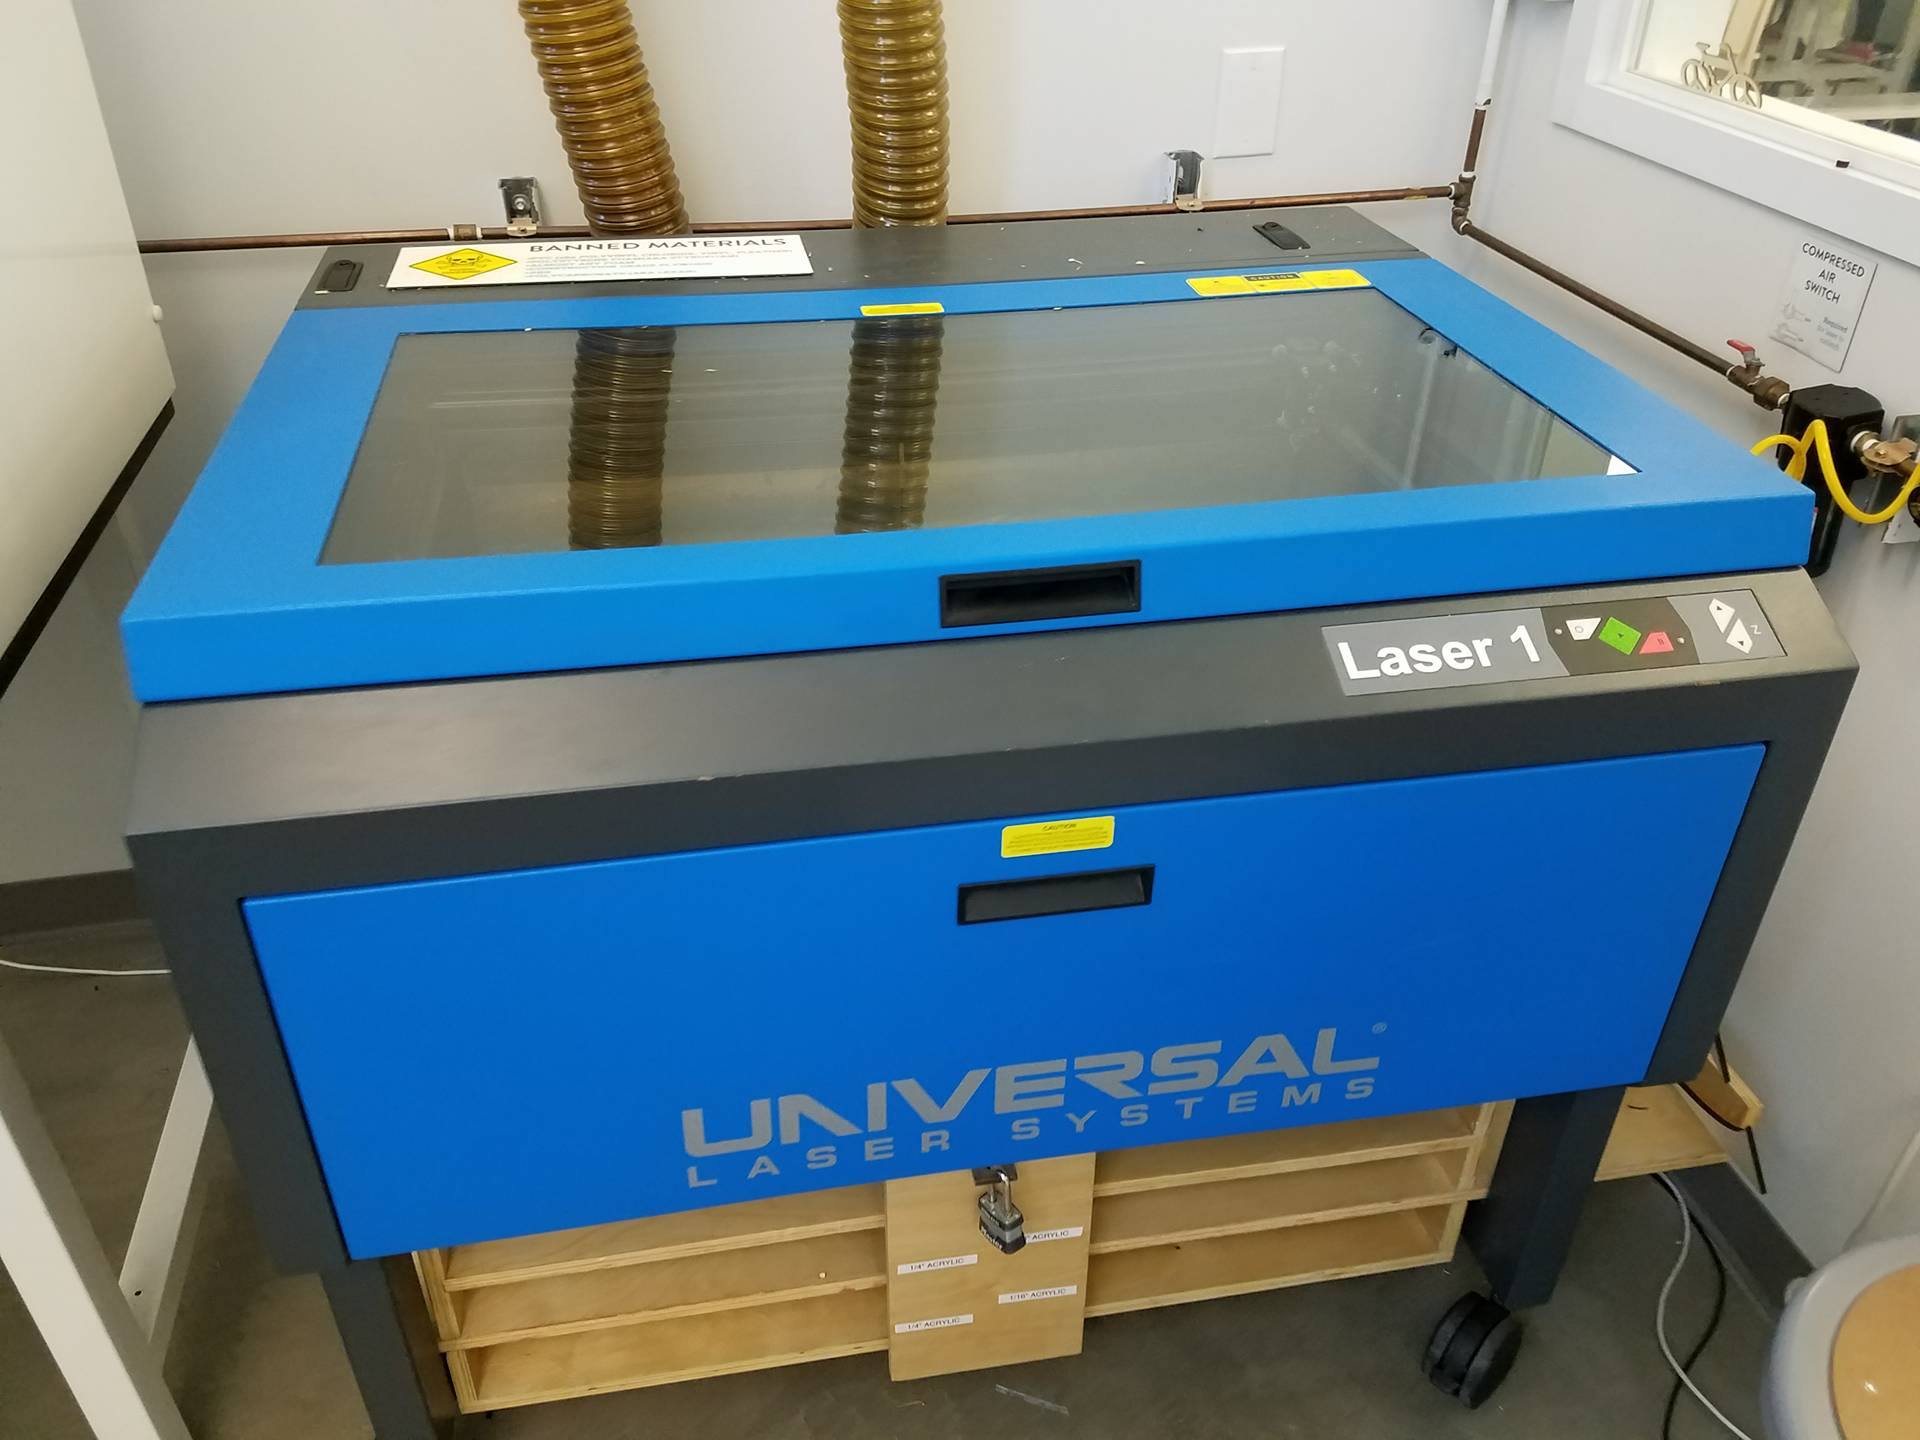
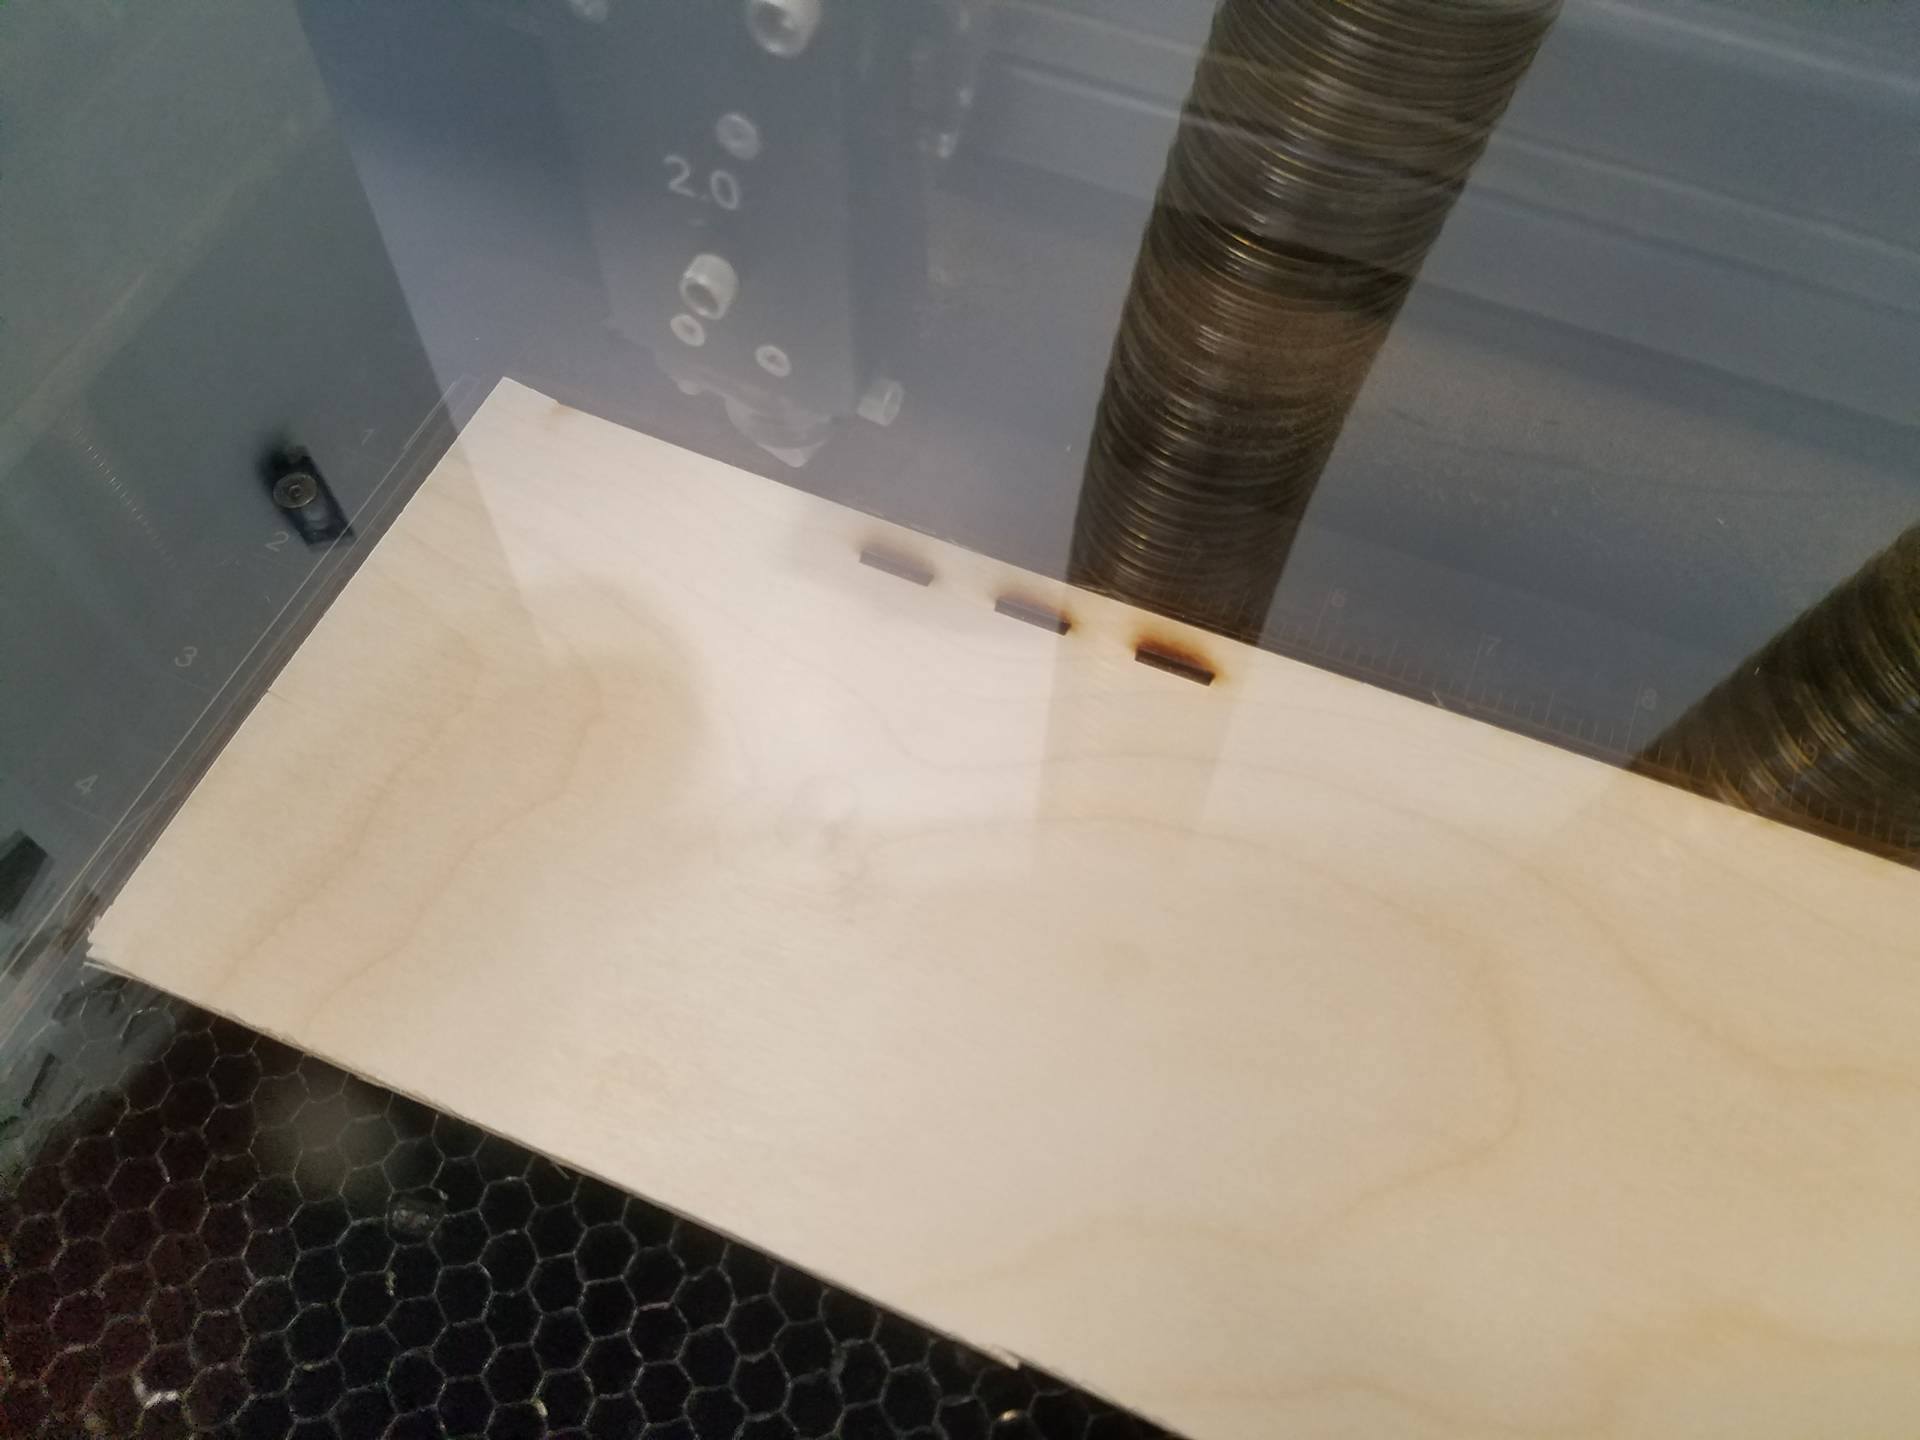
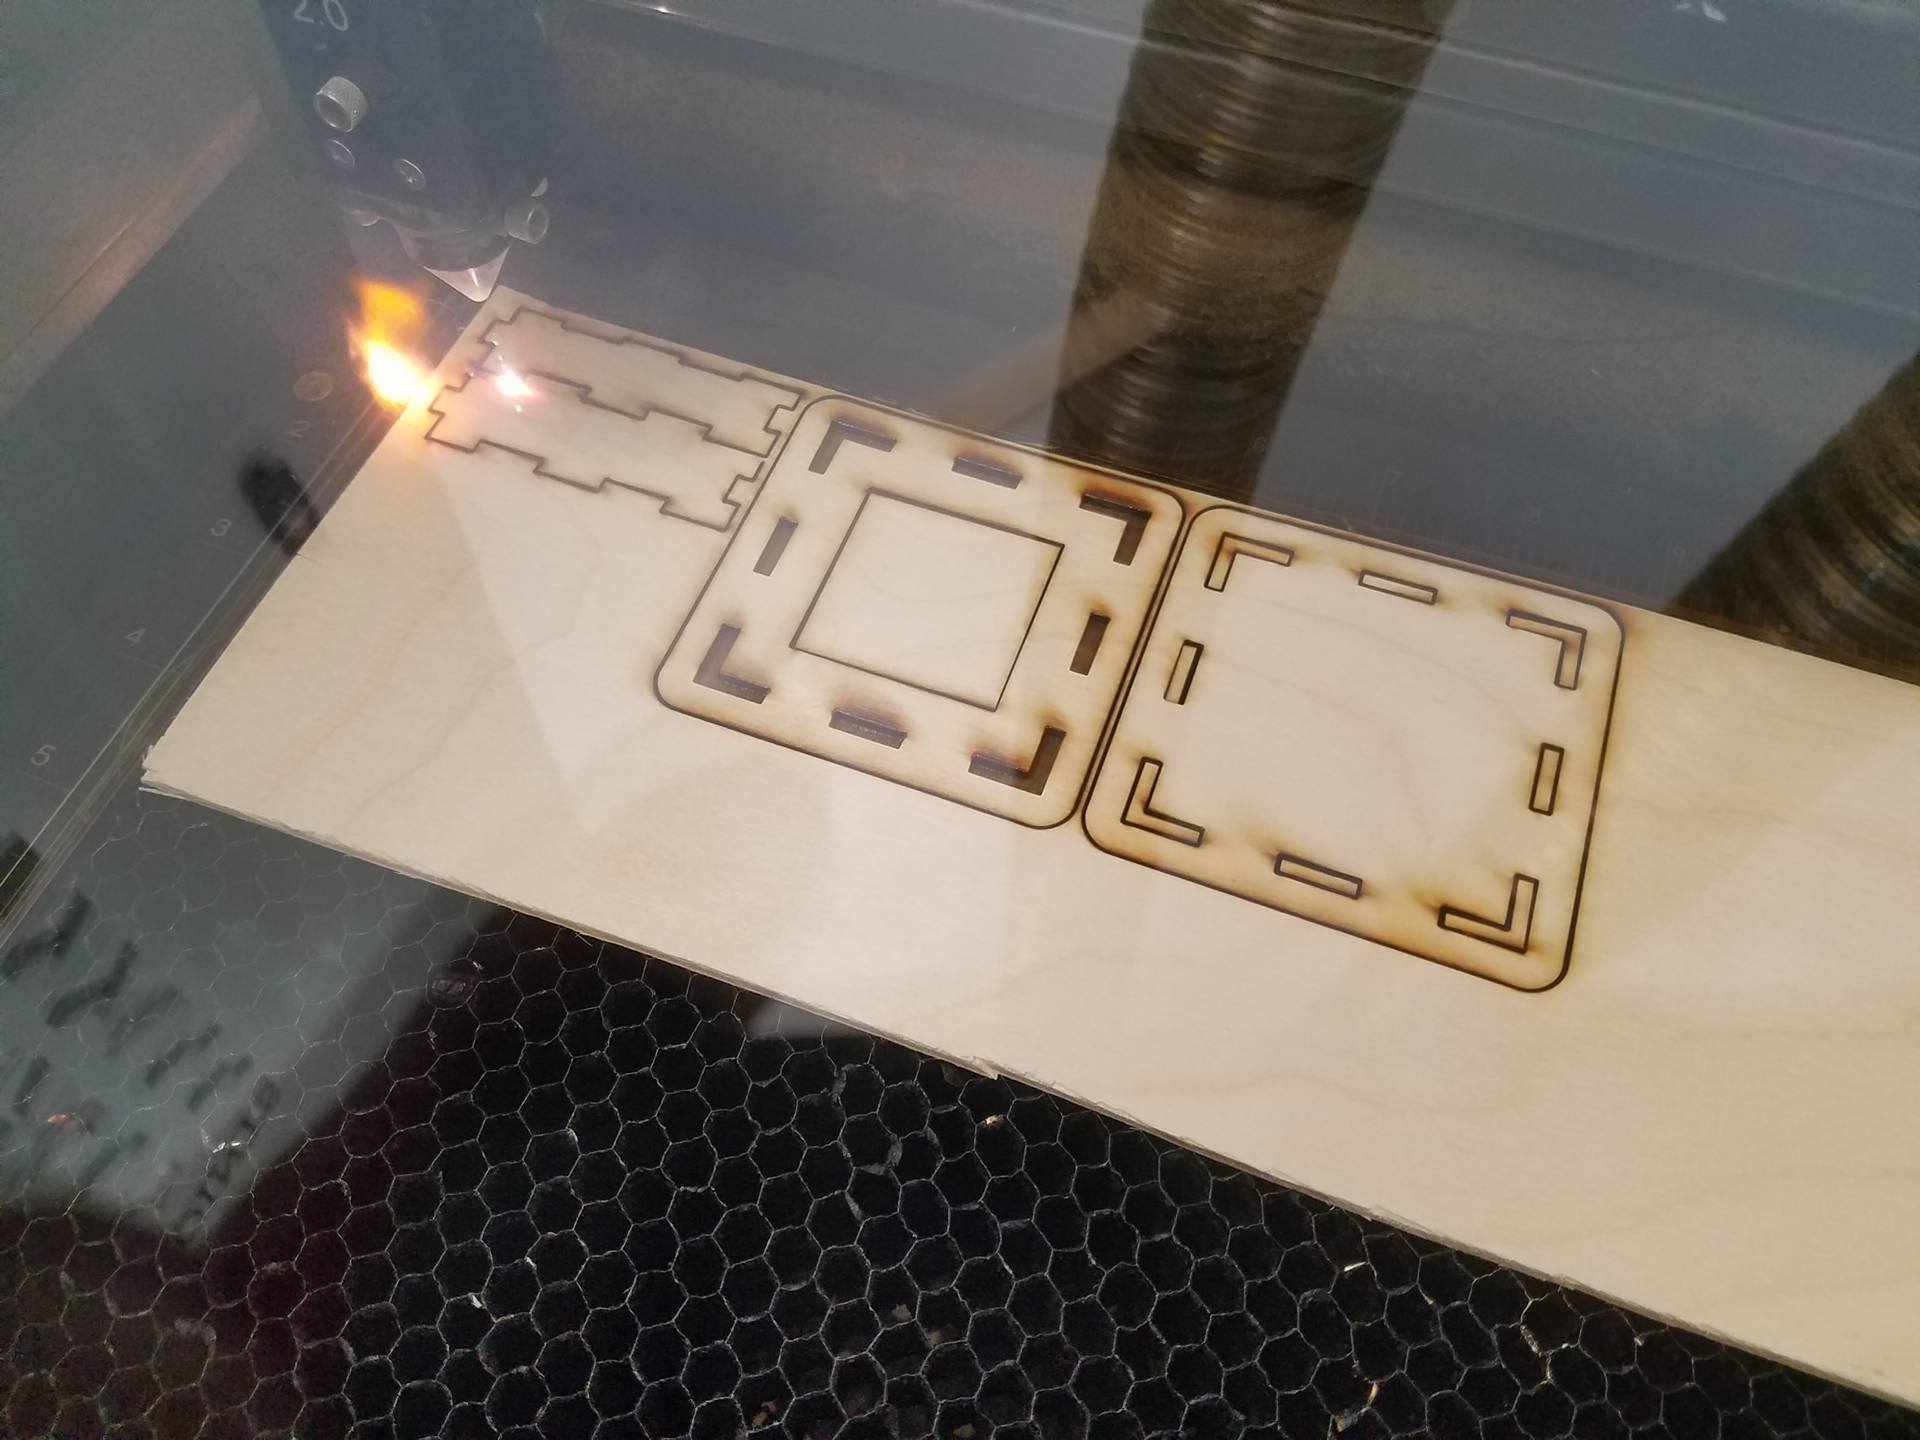
As I said earlier, I use a Universal Laser Systems Laser Cutter. It has a materials data base in which you select materials and the machine then knows what power/speed/ppi settings to use. I used the material 'general medium woods' and set the thickness to .120 (using my calipers to measure my wood). I will have to assume for this part that you know how to use your own laser cutter, because they vary significantly from model to model.
The important thing here is that we are going to edit the raster settings. This will most likely be located under something like manual control or advanced options. For my laser, there is a tab called manual control. Under that, I select the raster category. It shows the default speed/power/ppi settings for 1/8" birch plywood. Typically, rastering just scorches the surface, but I want it to burn out a deep groove that goes half way through the wood, so that my hidden fingers have a groove to slide into. After many failed attempts and trial and error, I found that 100% power, 20% speed, and 500 ppi were the ideal settings to raster half way through the wood.
Note: this only works with a 60 watt laser and 1/8" birch plywood. For other materials and different wattage lasers, you will need to do some experimenting. I suggest leaving power at 100% and ppi at 500, and play around with the speed. That way there is only one variable to toggle. Once you have found the perfect speed setting, set it for the raster settings and cut out your parts.
Assembling Your Model
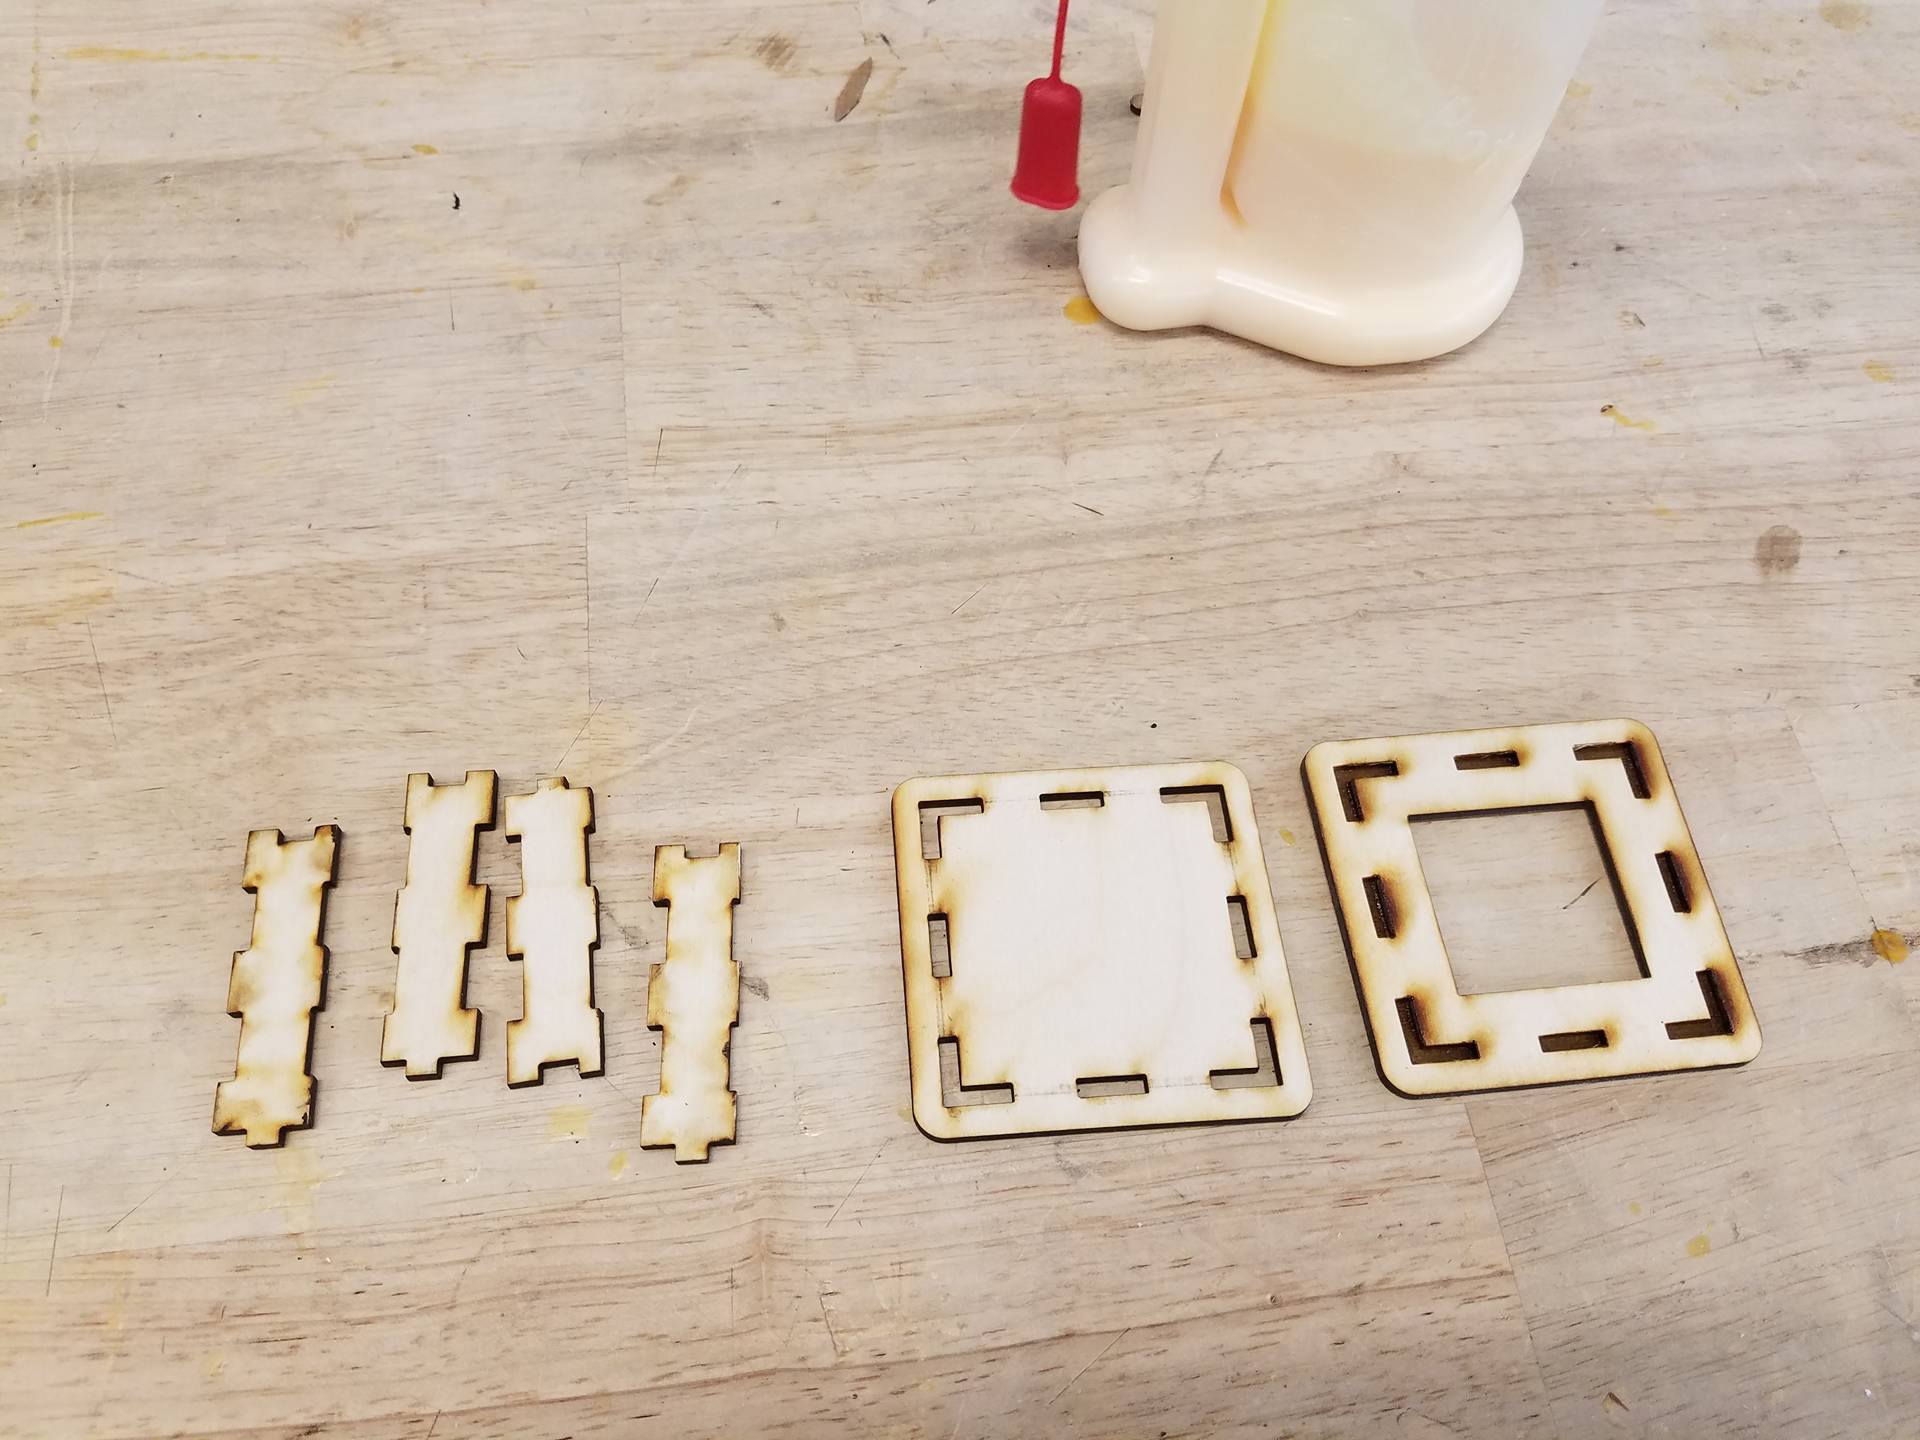
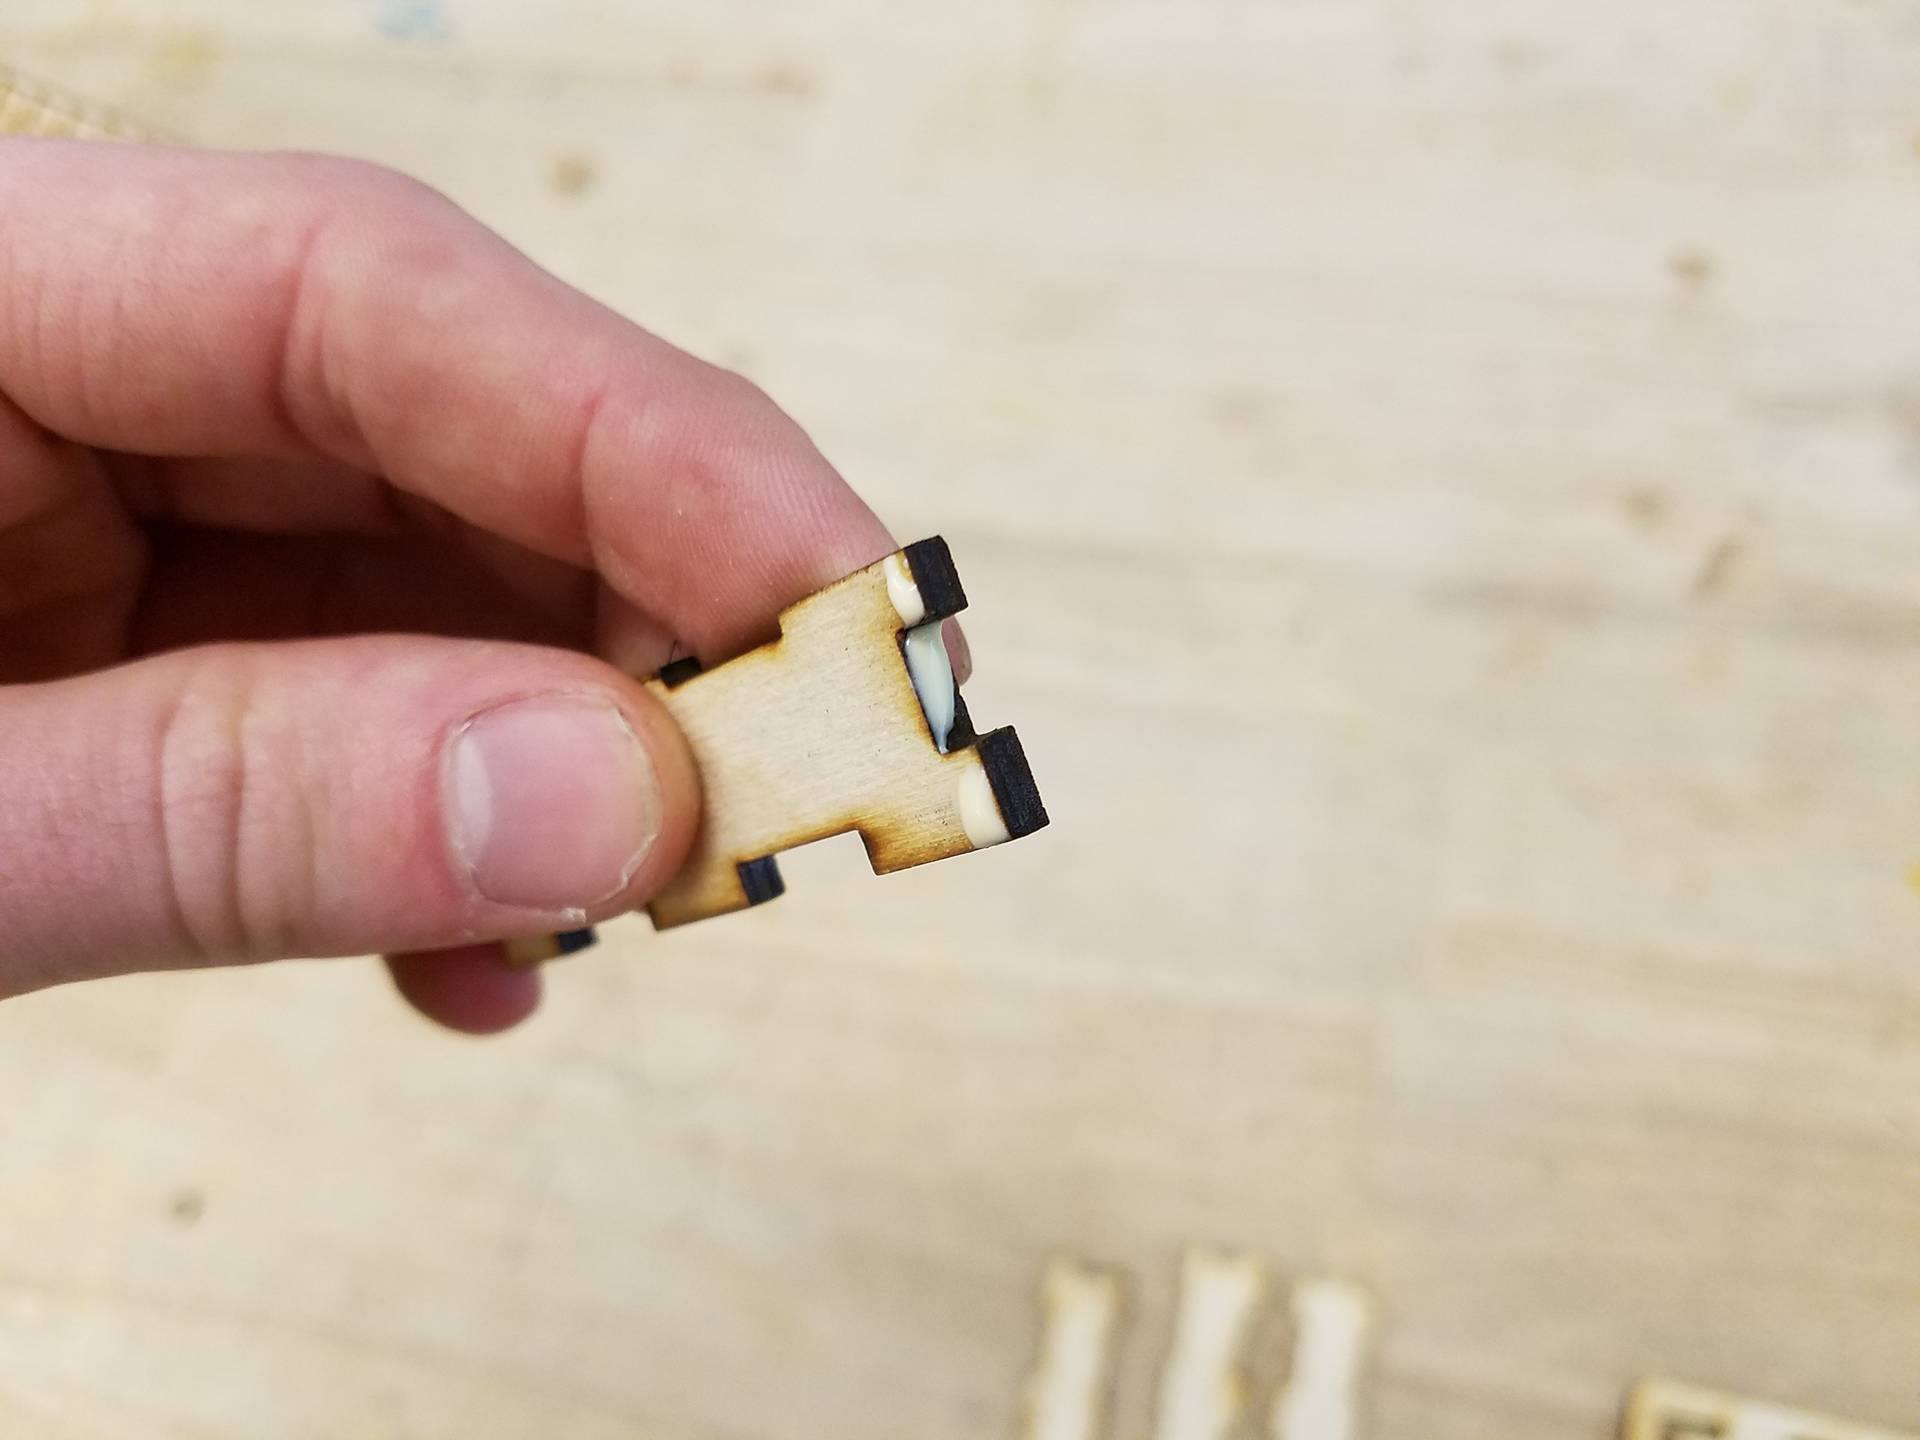
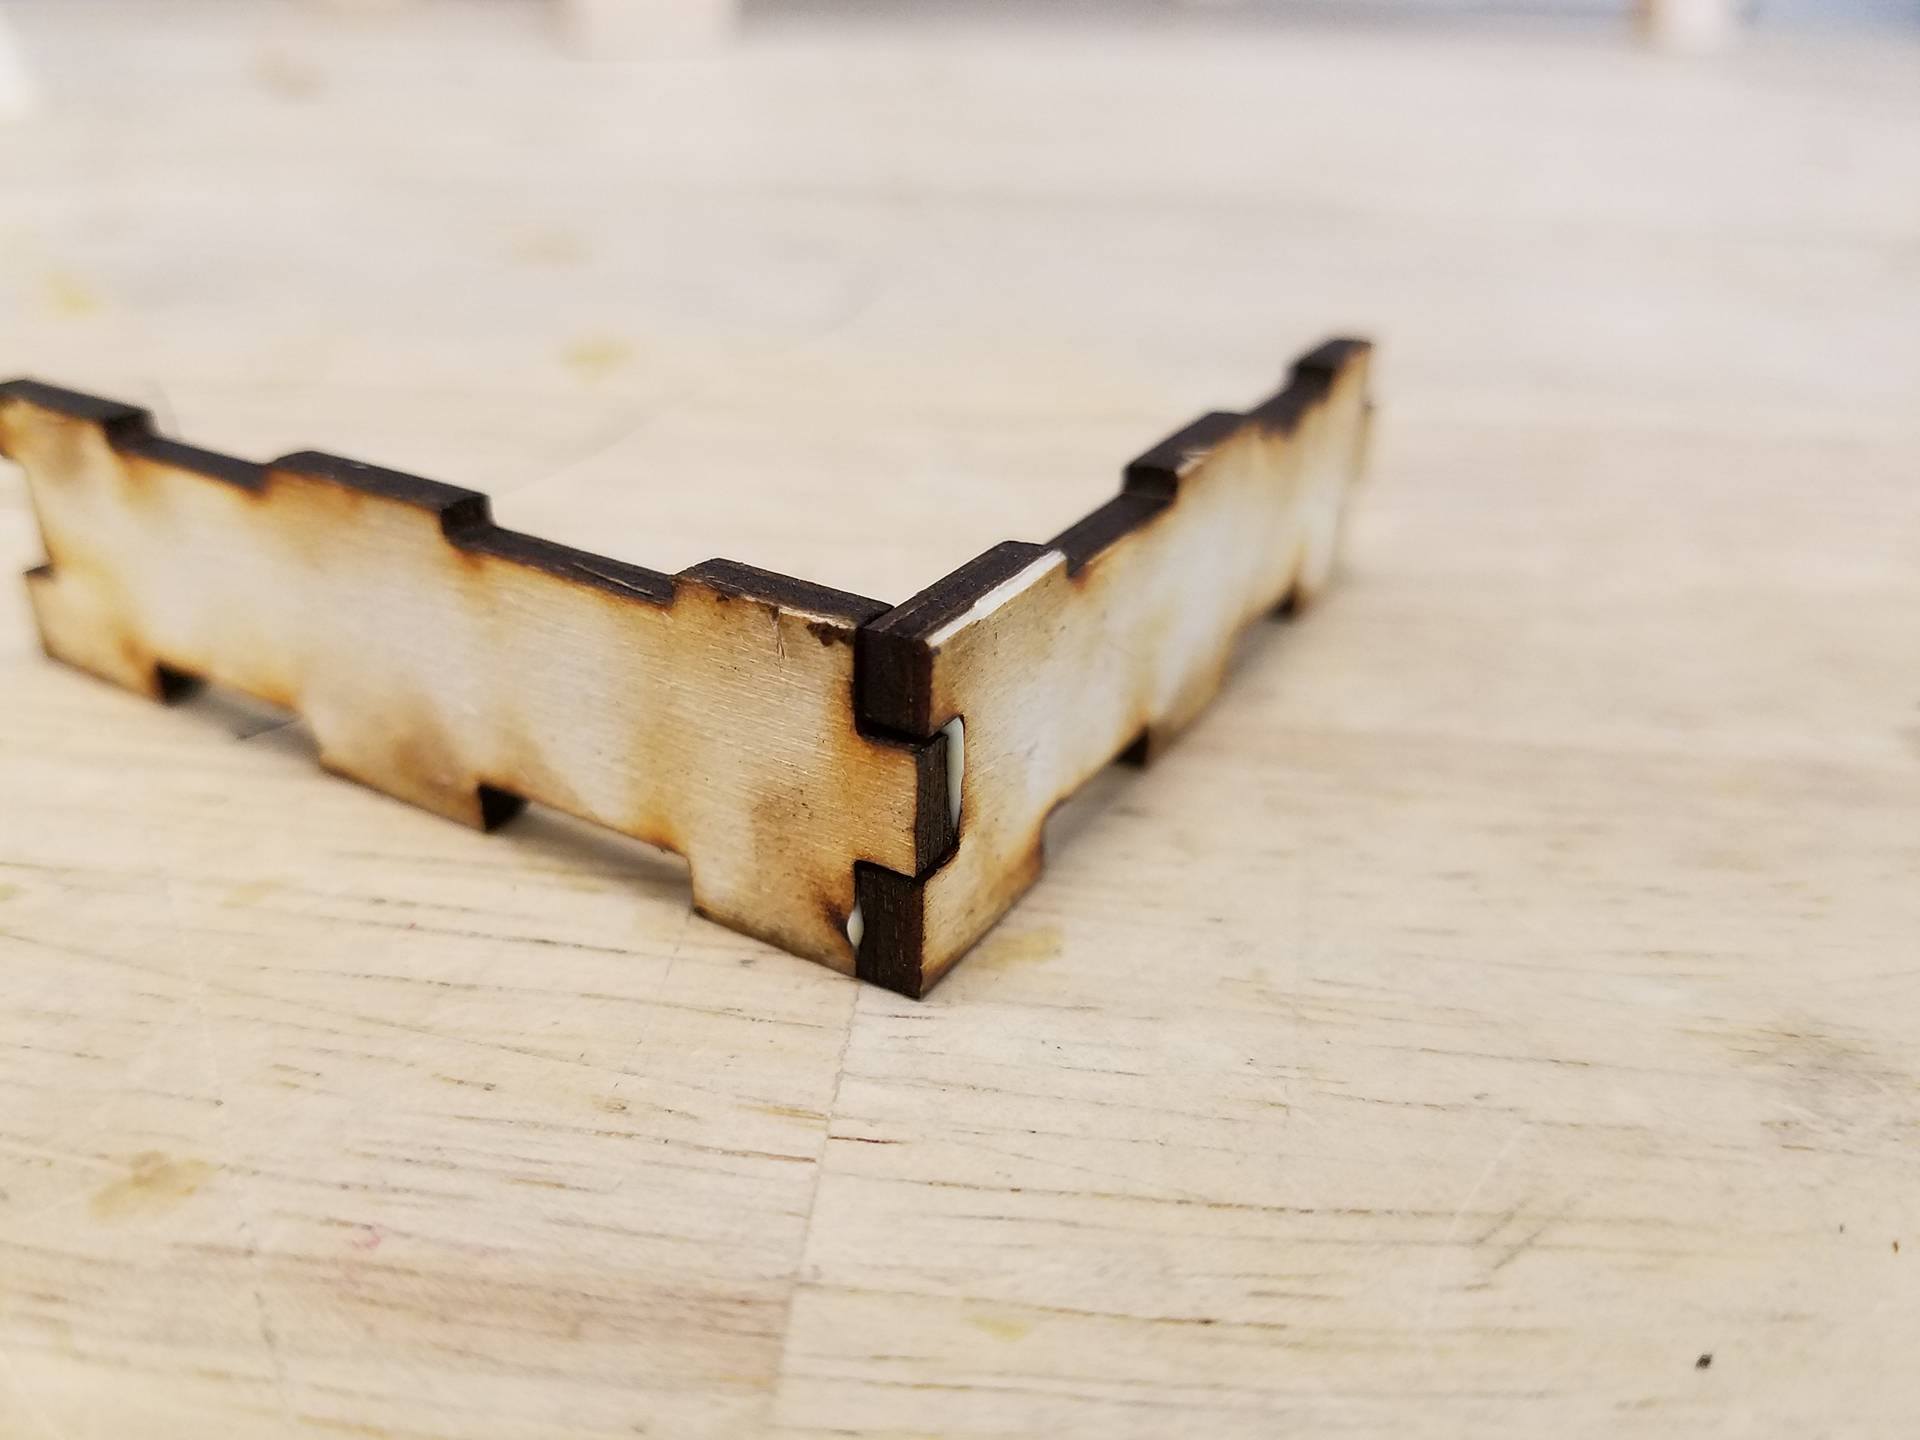
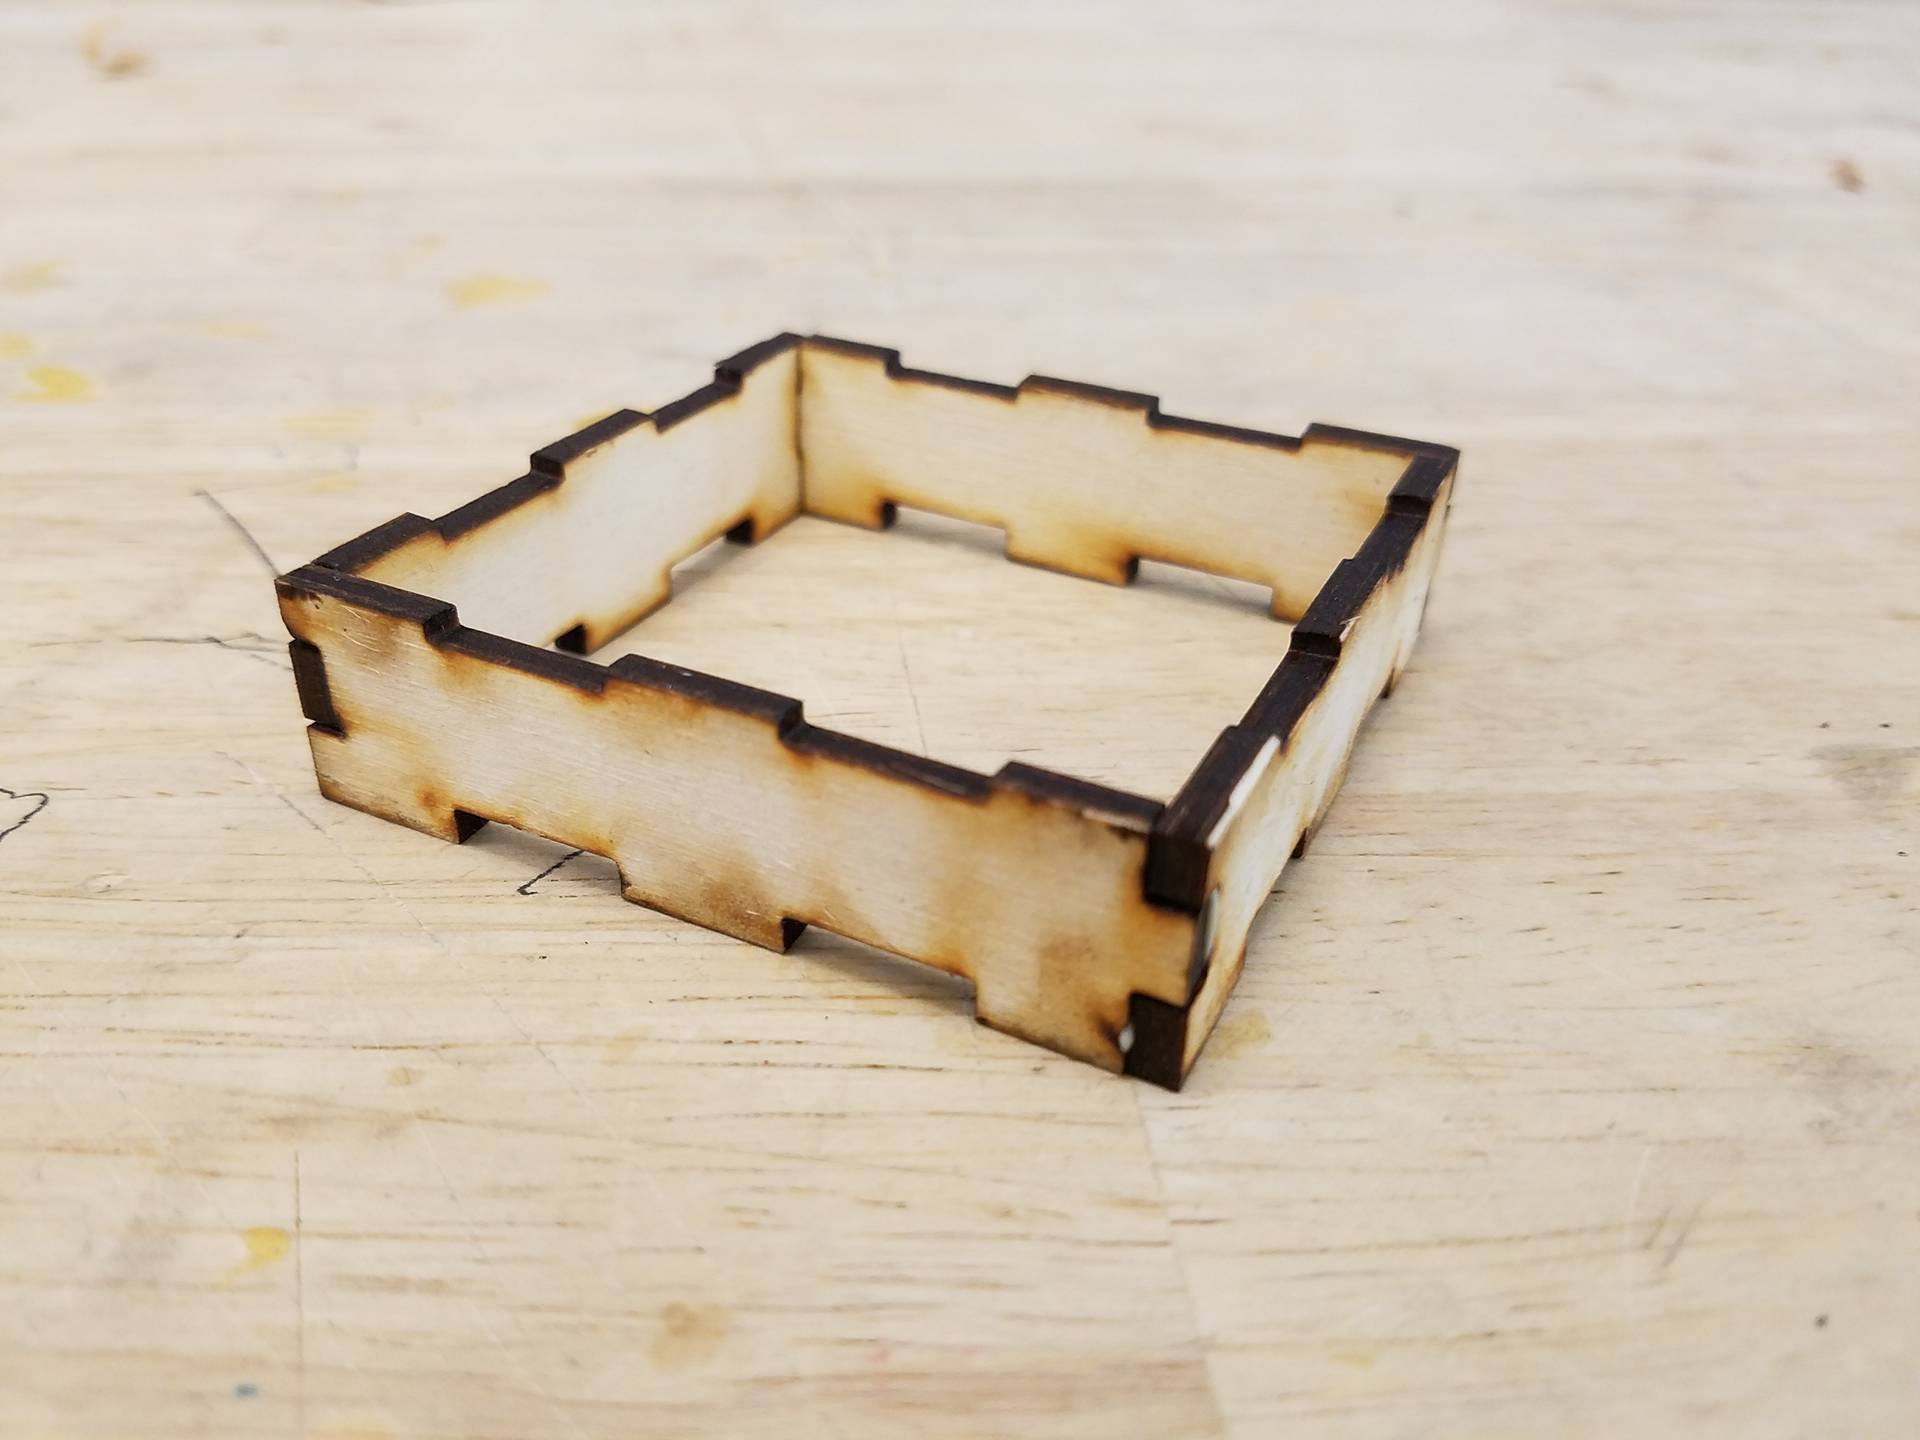
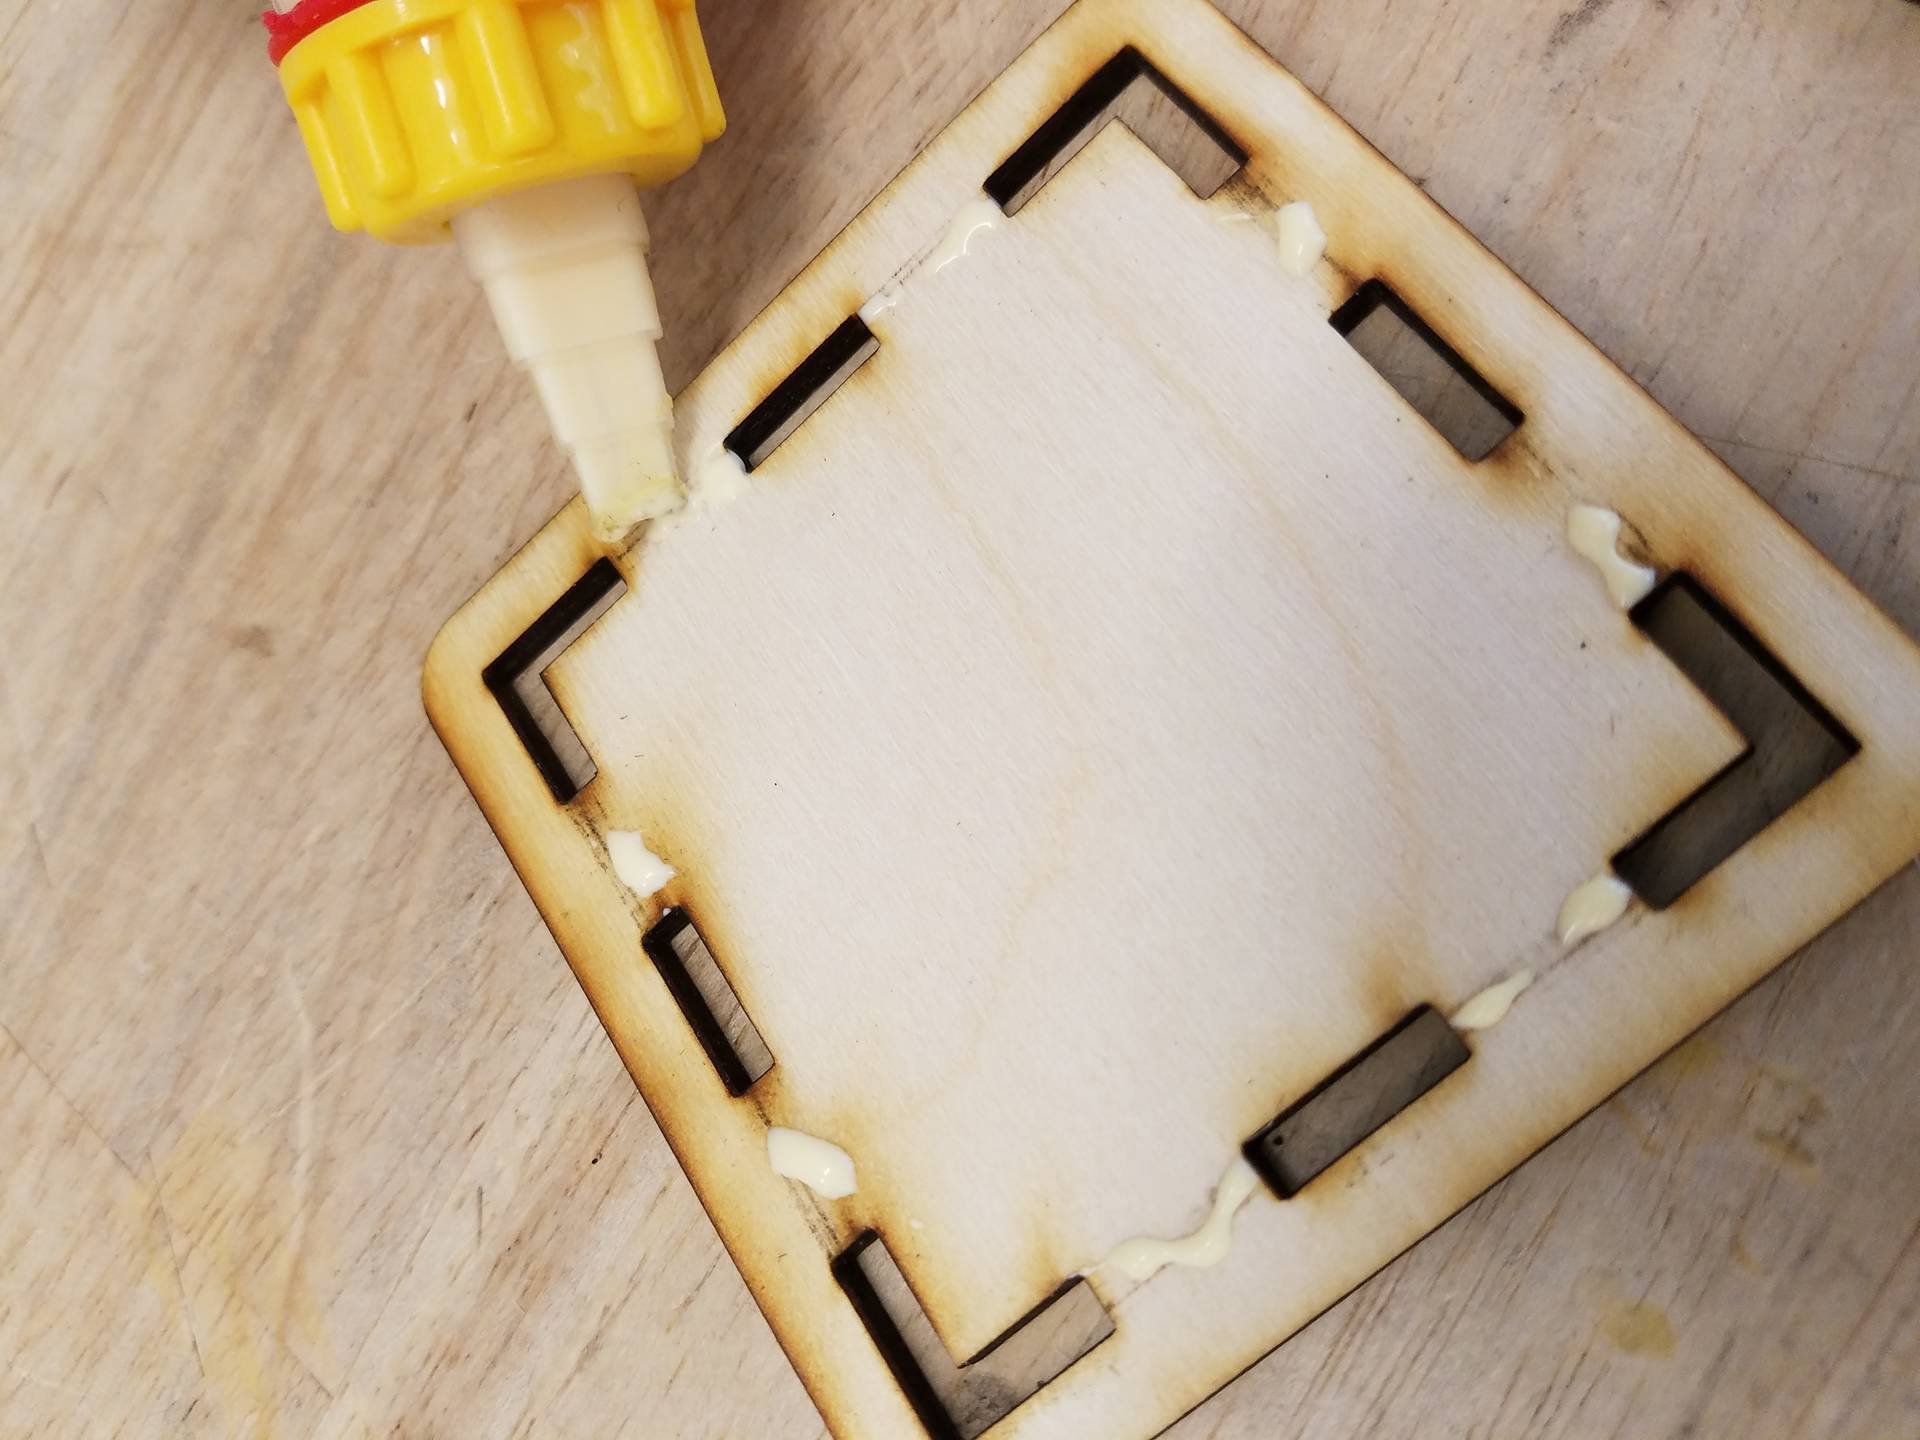
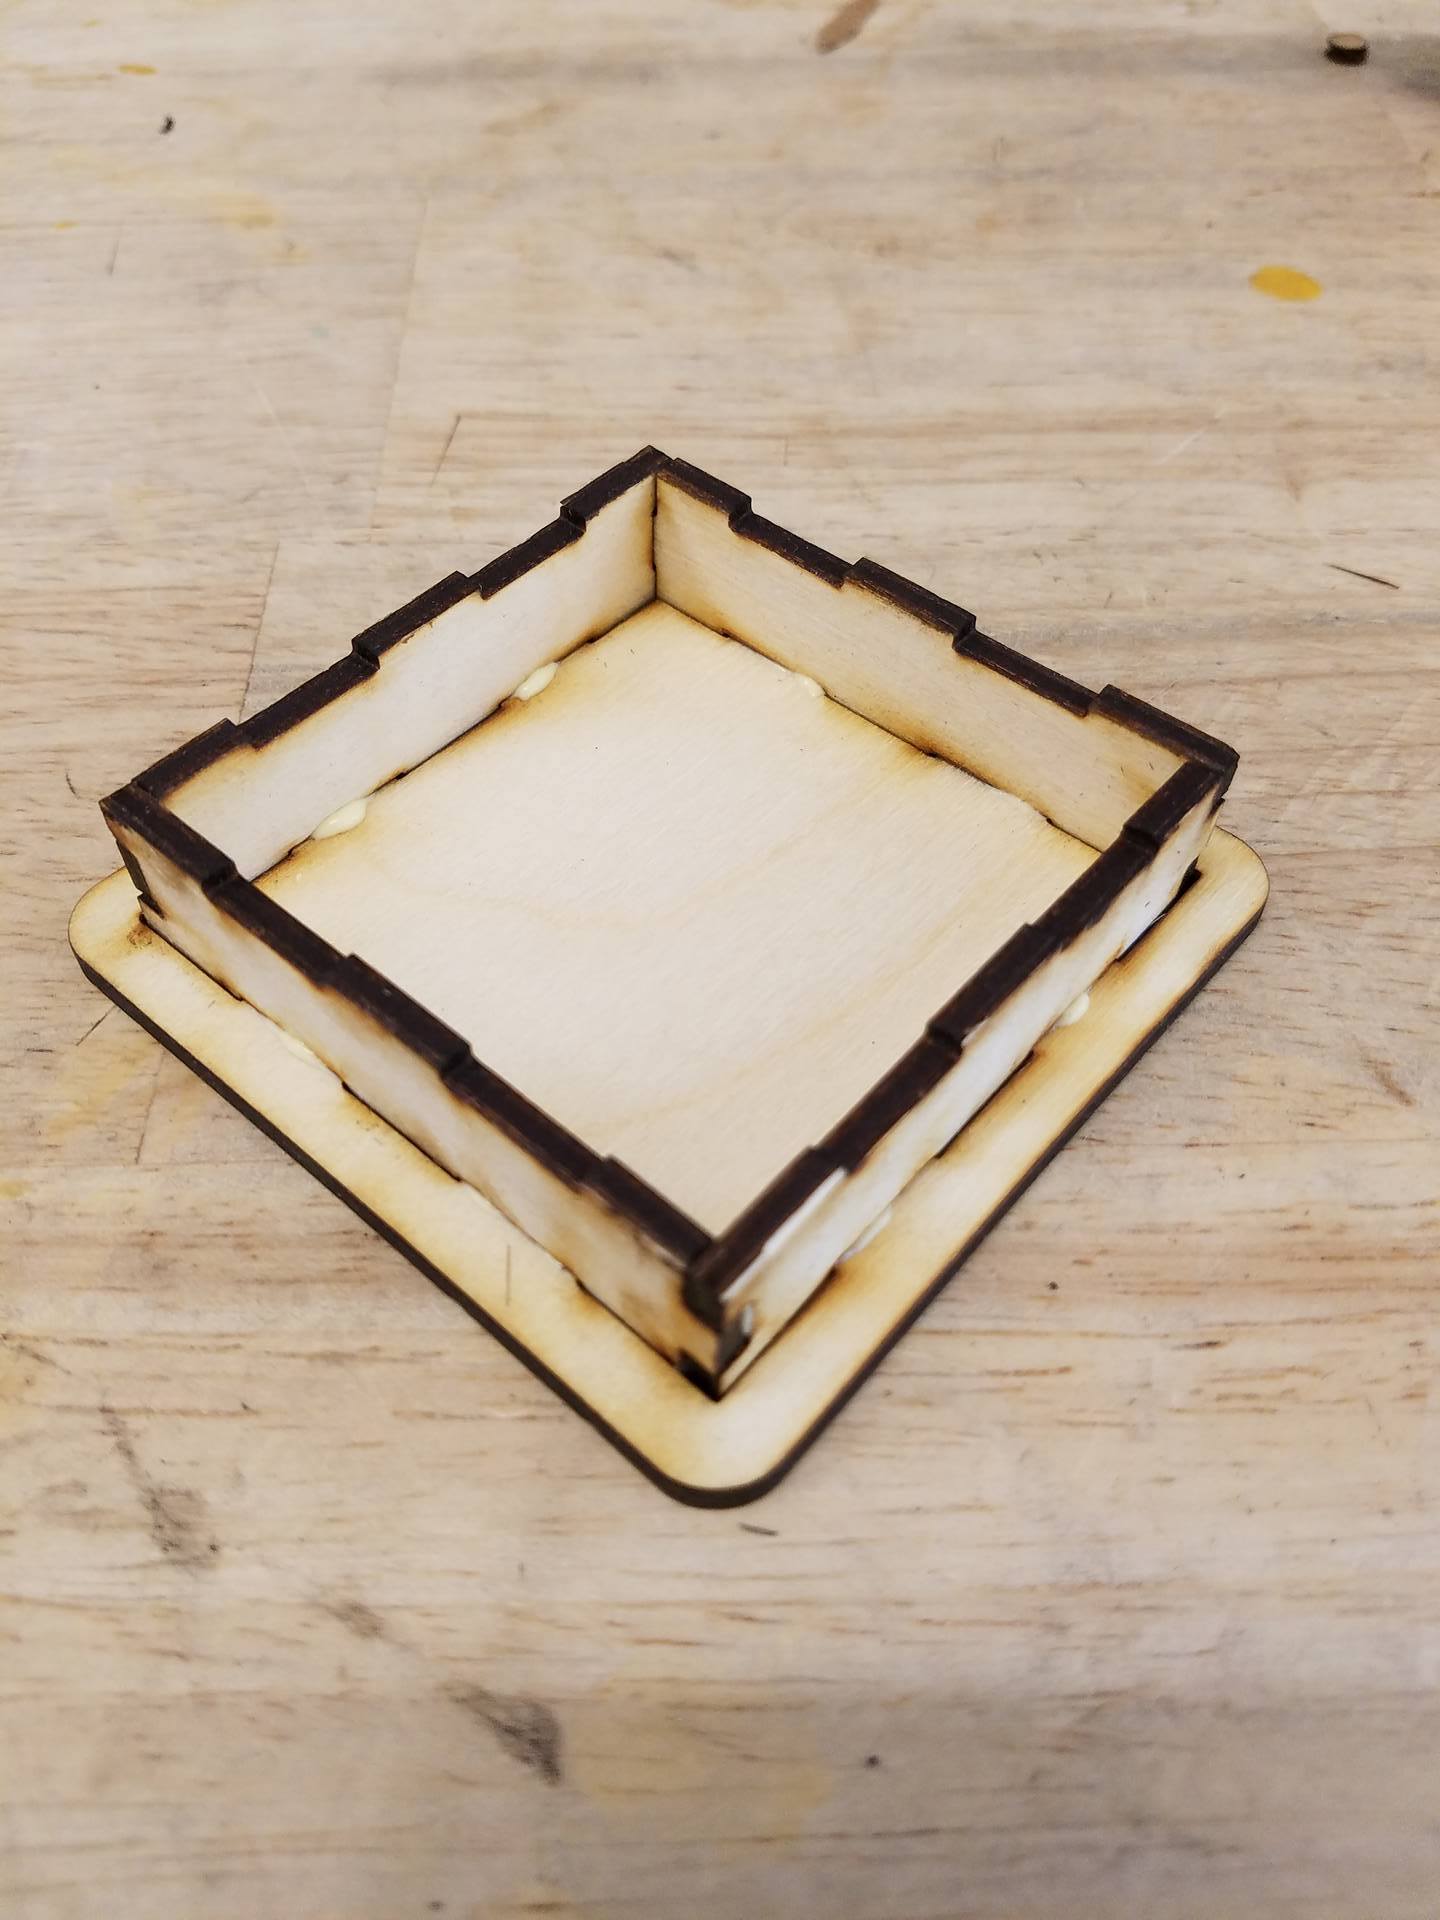
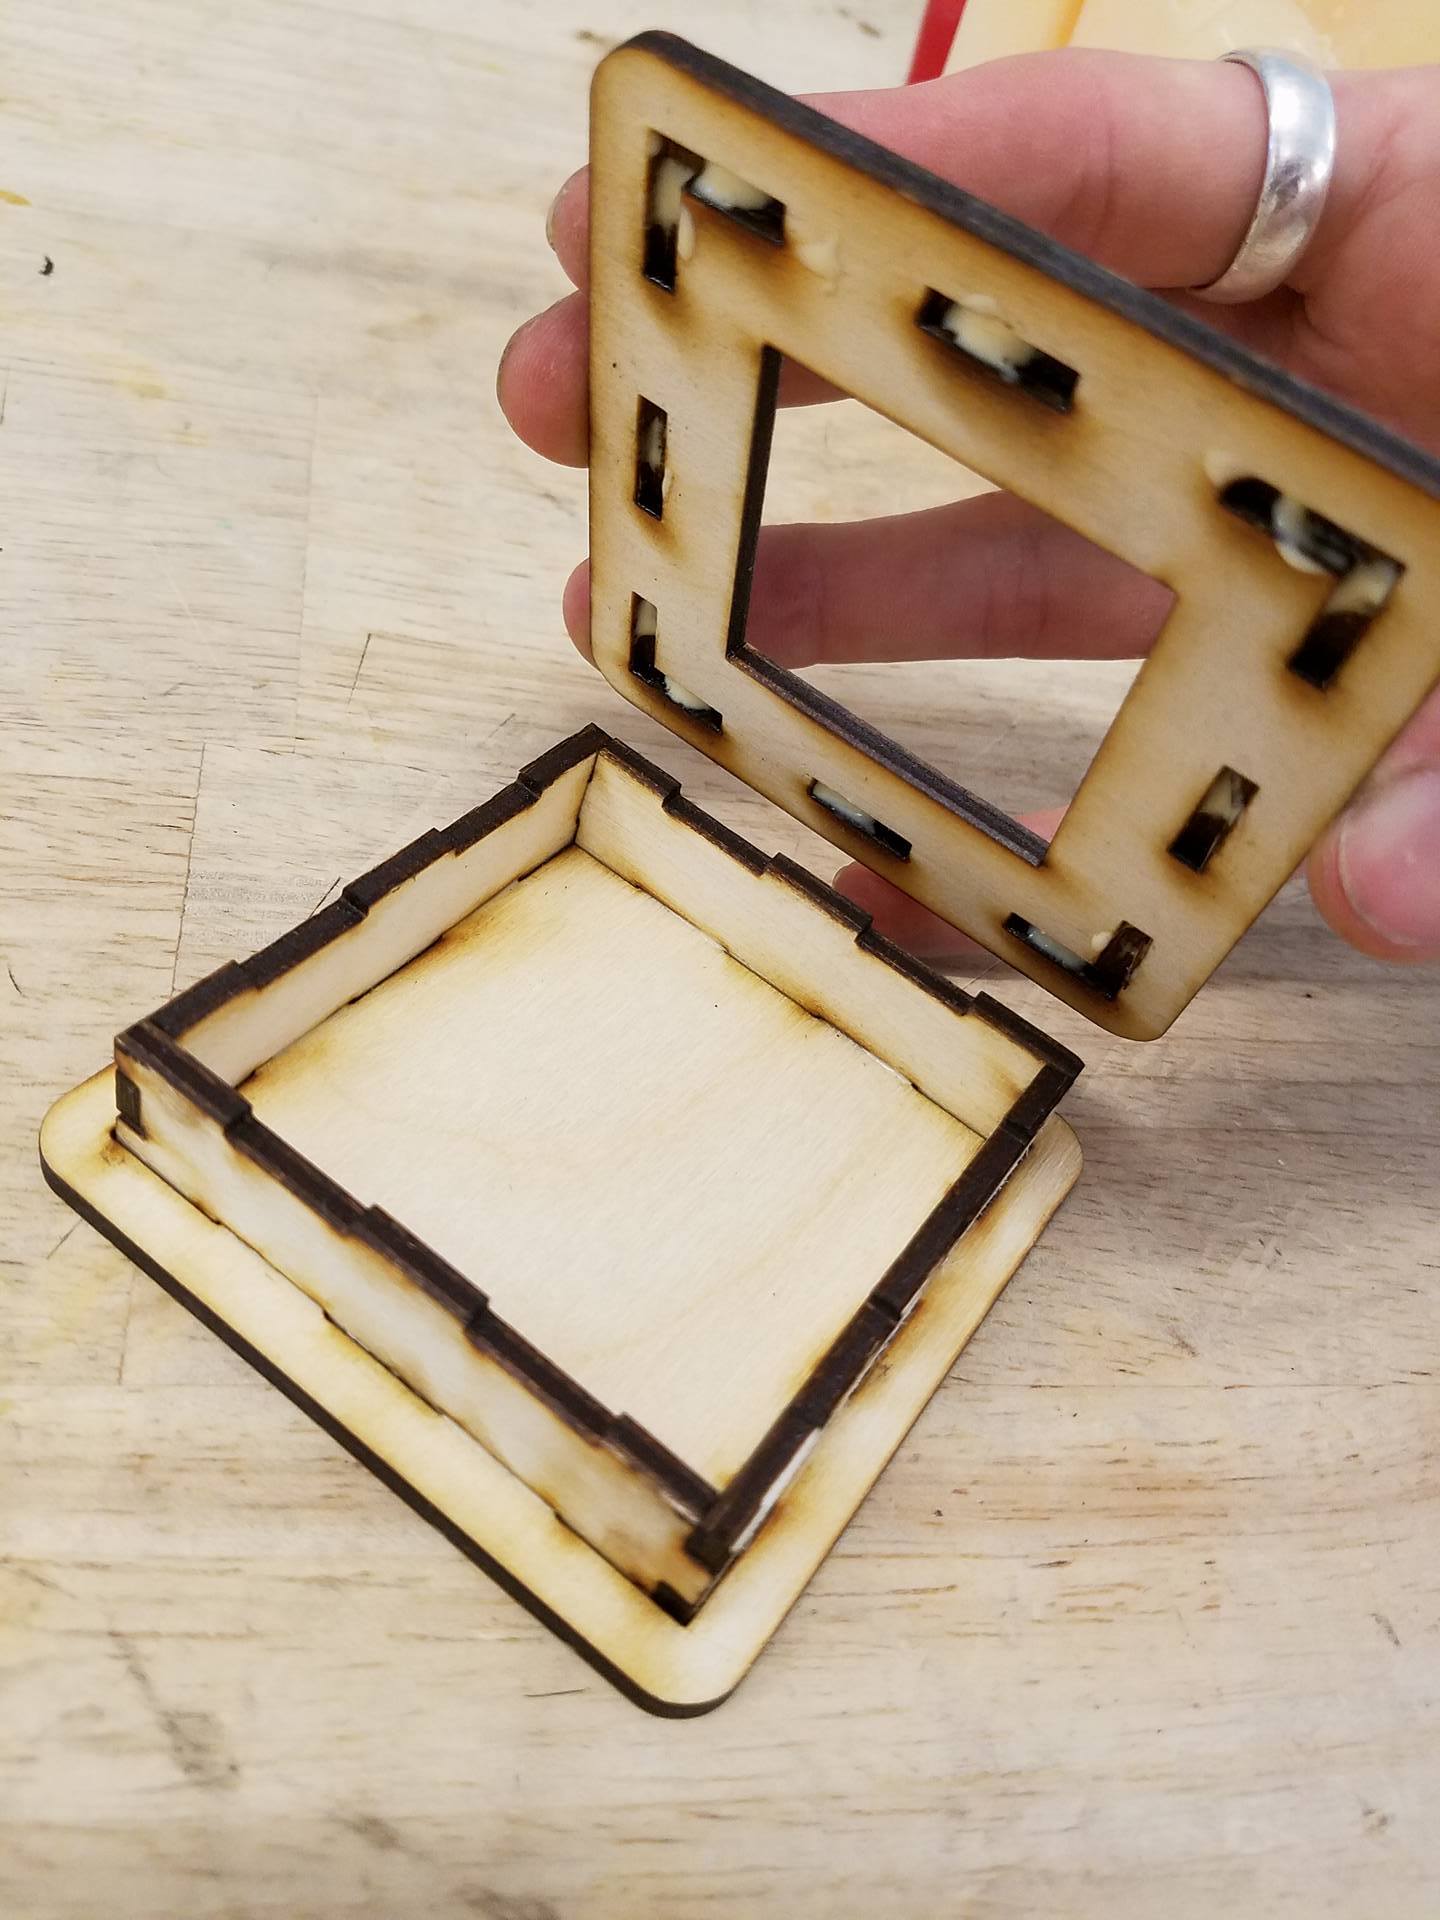
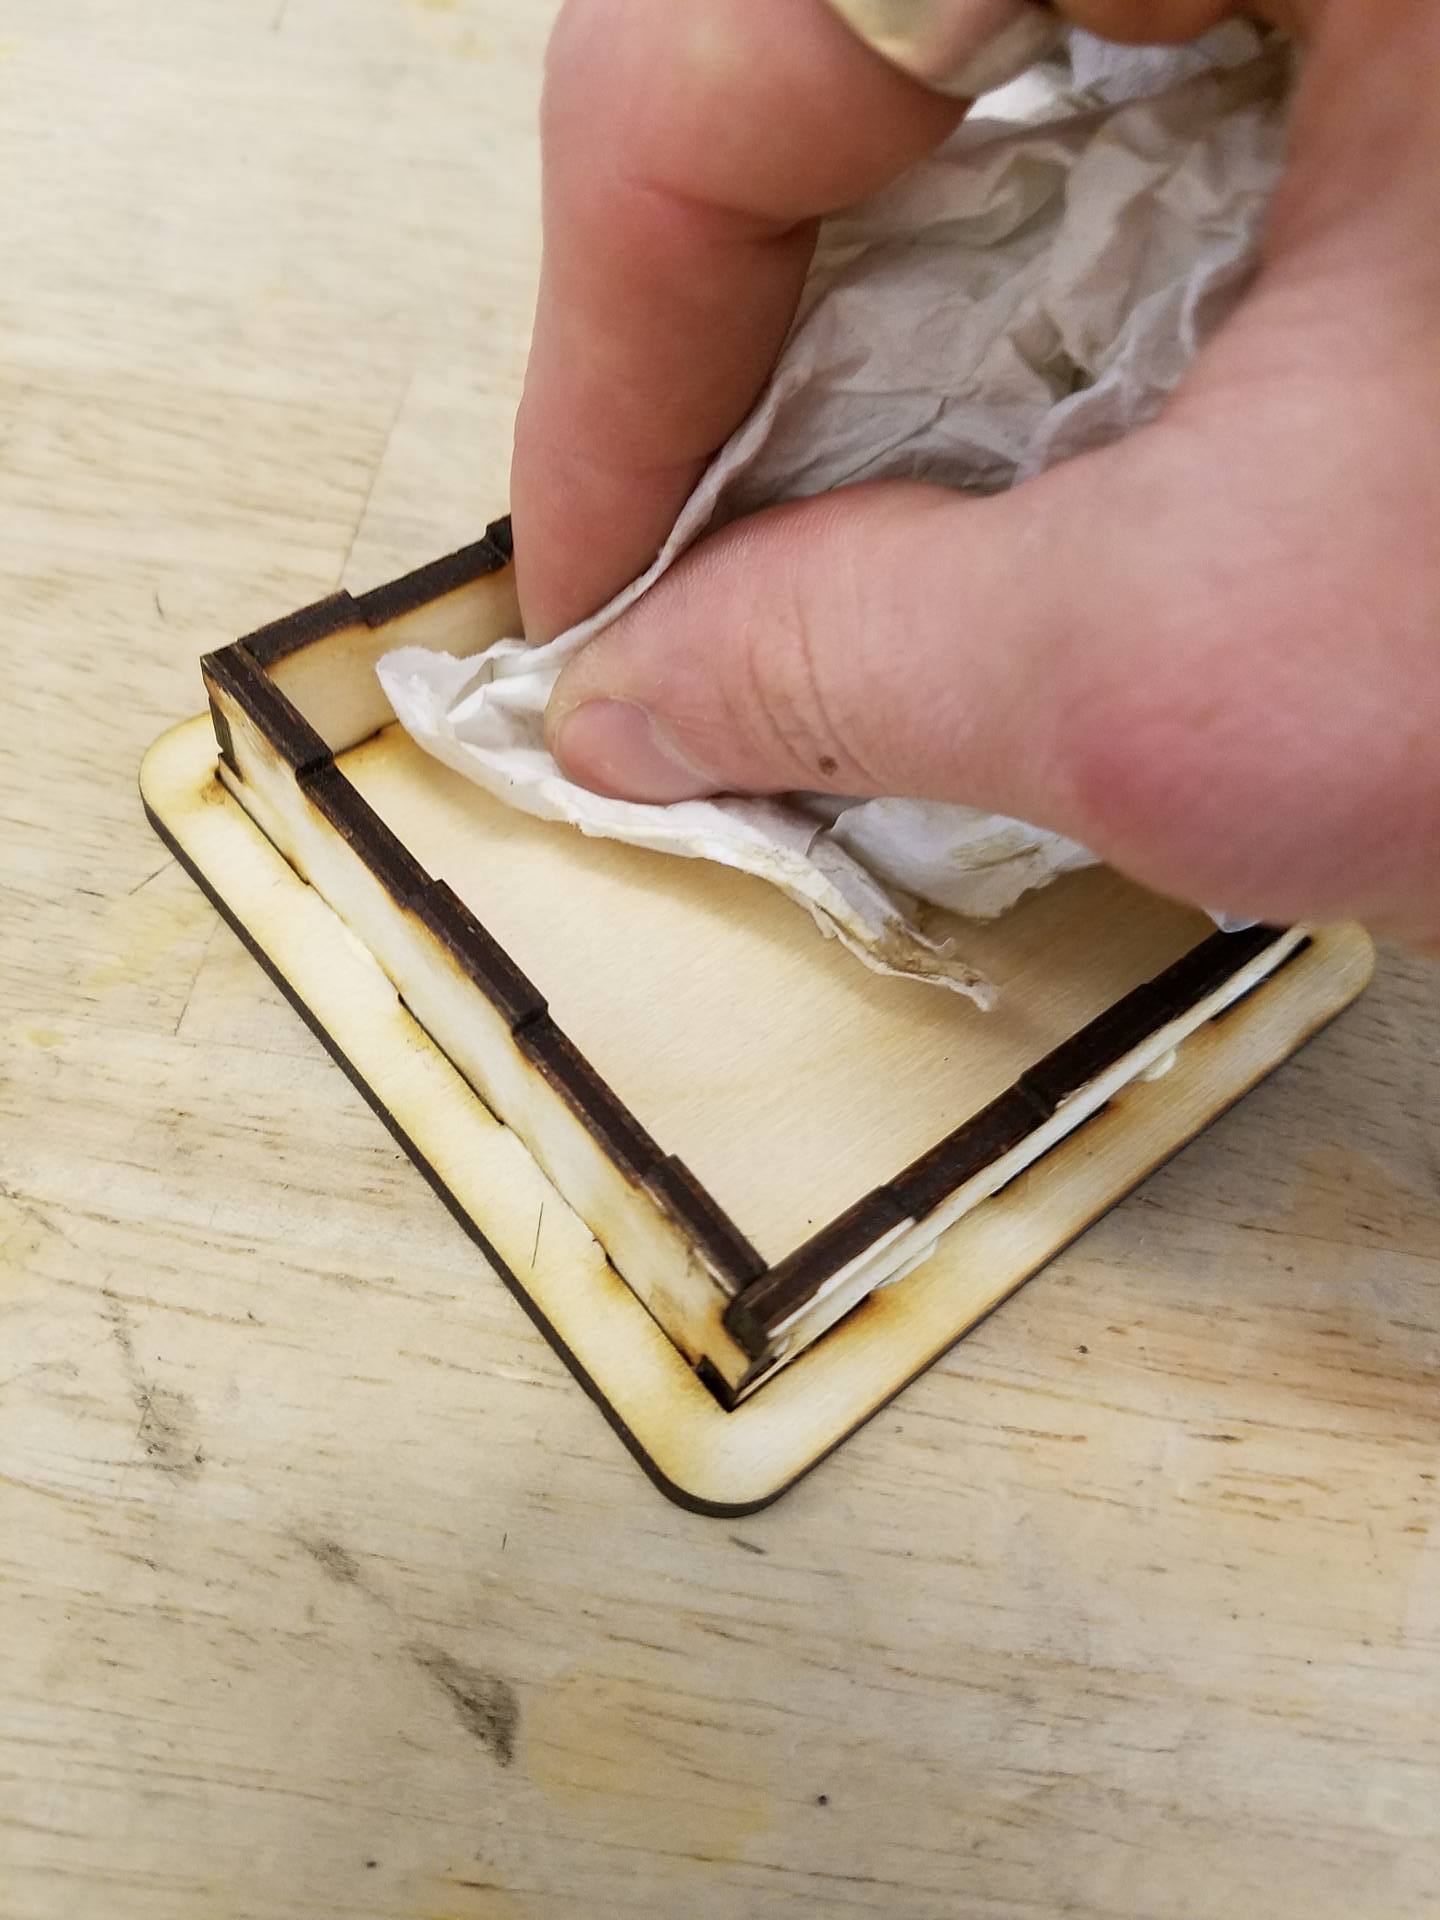
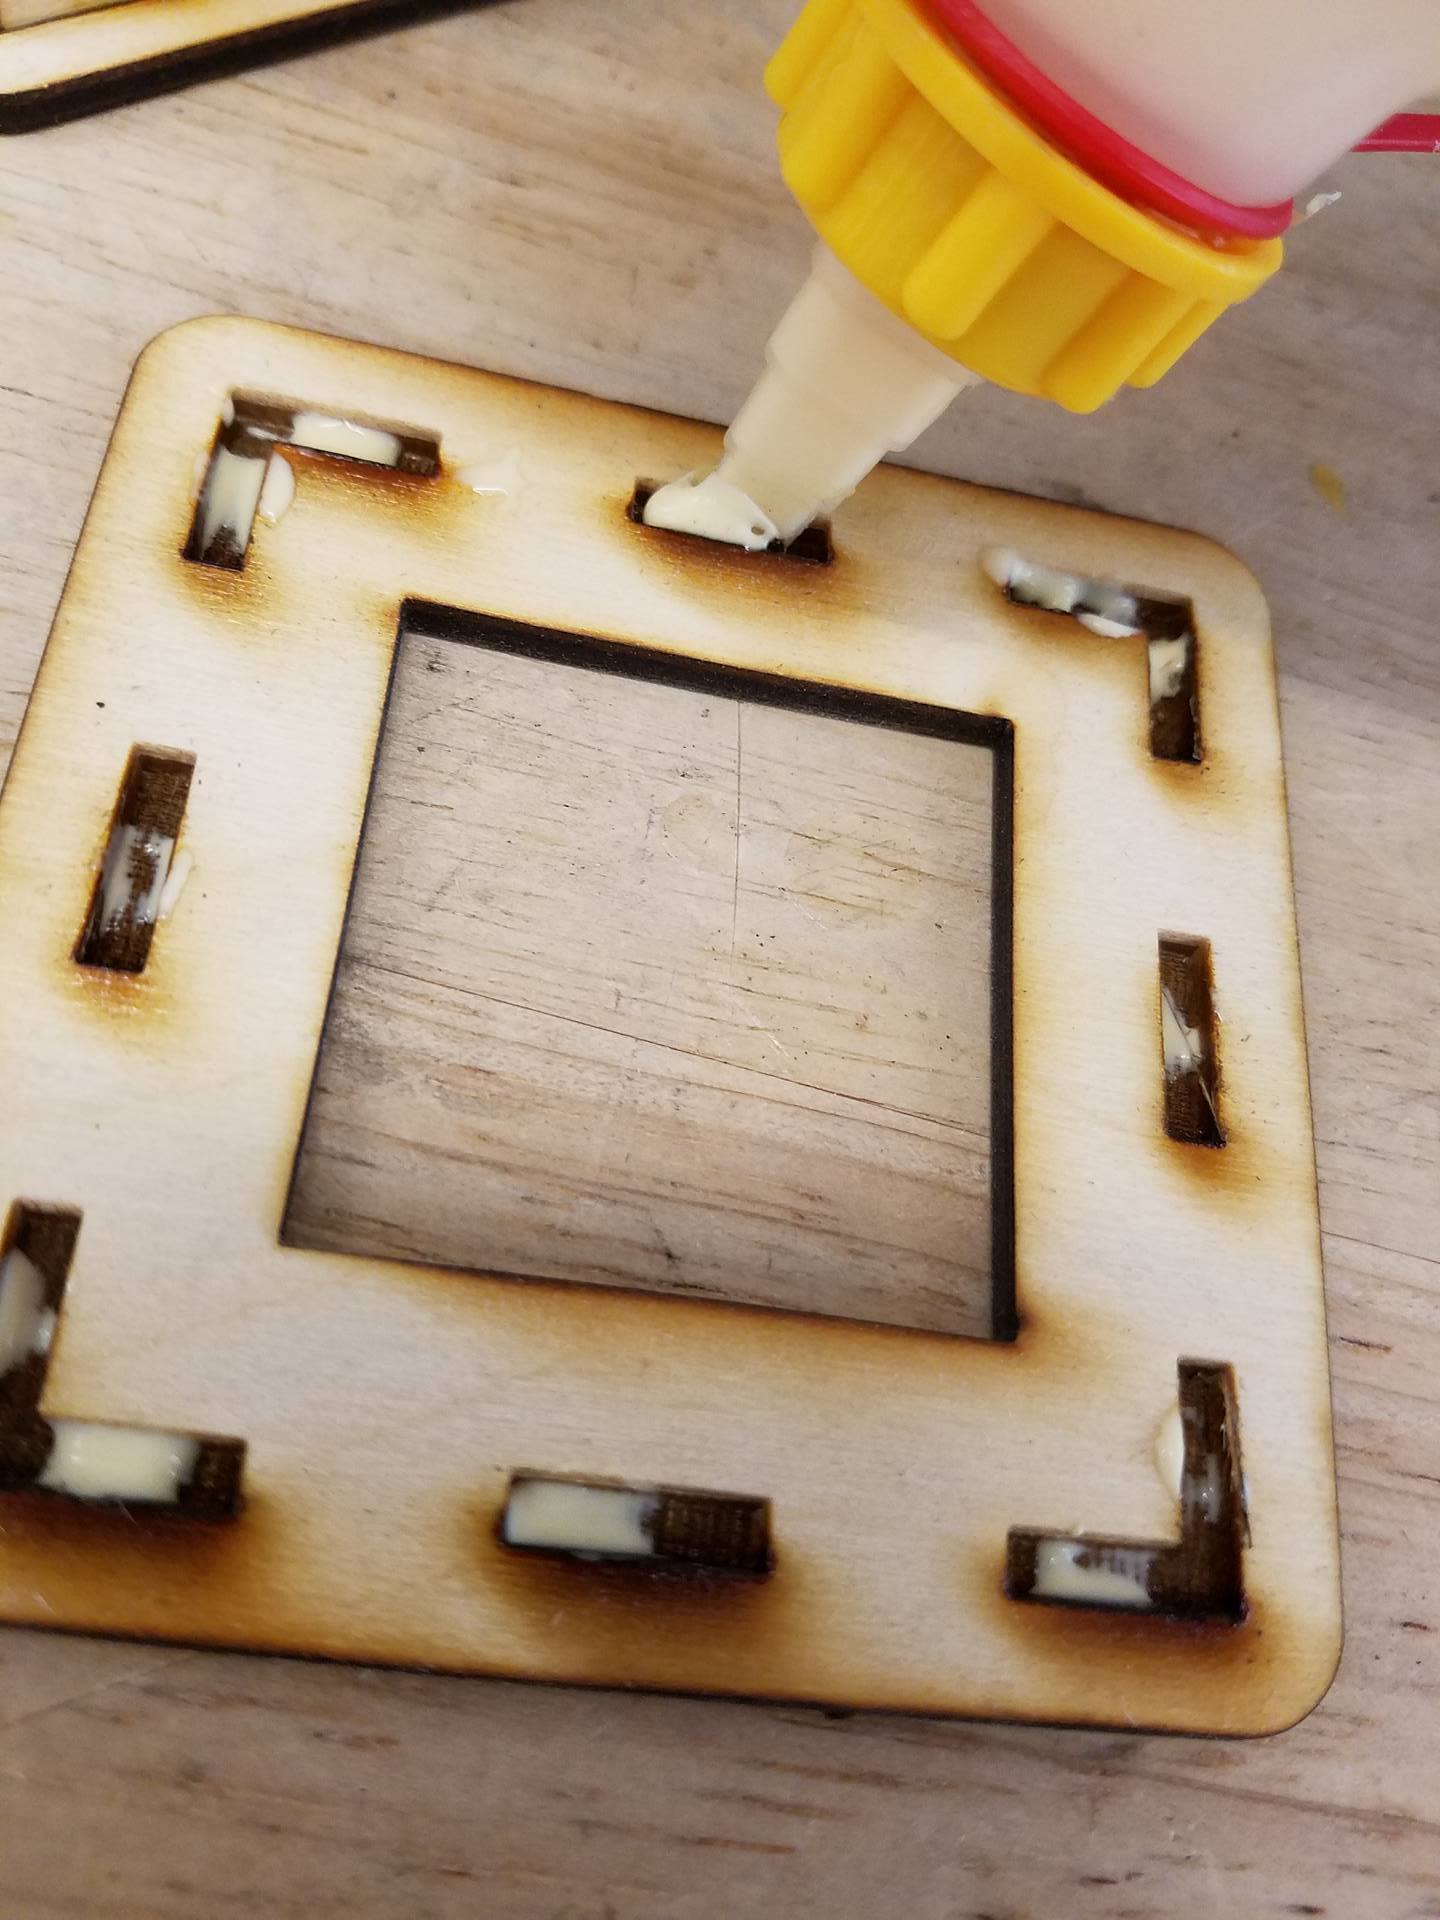
For standard fingers, you will apply wood glue to the indented parts of the fingers and insert the fingers into the corresponding through holes. Afterwards, I recommend using a napkin or something to wipe away extra wood glue.
For the hidden fingers, you will add a dab of wood glue into the rastered grooves, and then insert the fingers into the grooves.
Check out the images above from the demo object.
I hope you enjoyed the tutorial and can use hidden fingers to make awesome stuff. If you do make anything using this method, I'd love to see a picture of how it turned out. Also, if you liked any of the example objects about fingers, you can learn how to make them on my profile. Happy making!
PS: this can be a bit tricky, so if you have any questions or are confused please comment and I will reply.