How to Get Sensor Data From a Remote Arduino Via Wireless Lora Protocol
by DavidGuo in Circuits > Arduino
39445 Views, 133 Favorites, 0 Comments
How to Get Sensor Data From a Remote Arduino Via Wireless Lora Protocol
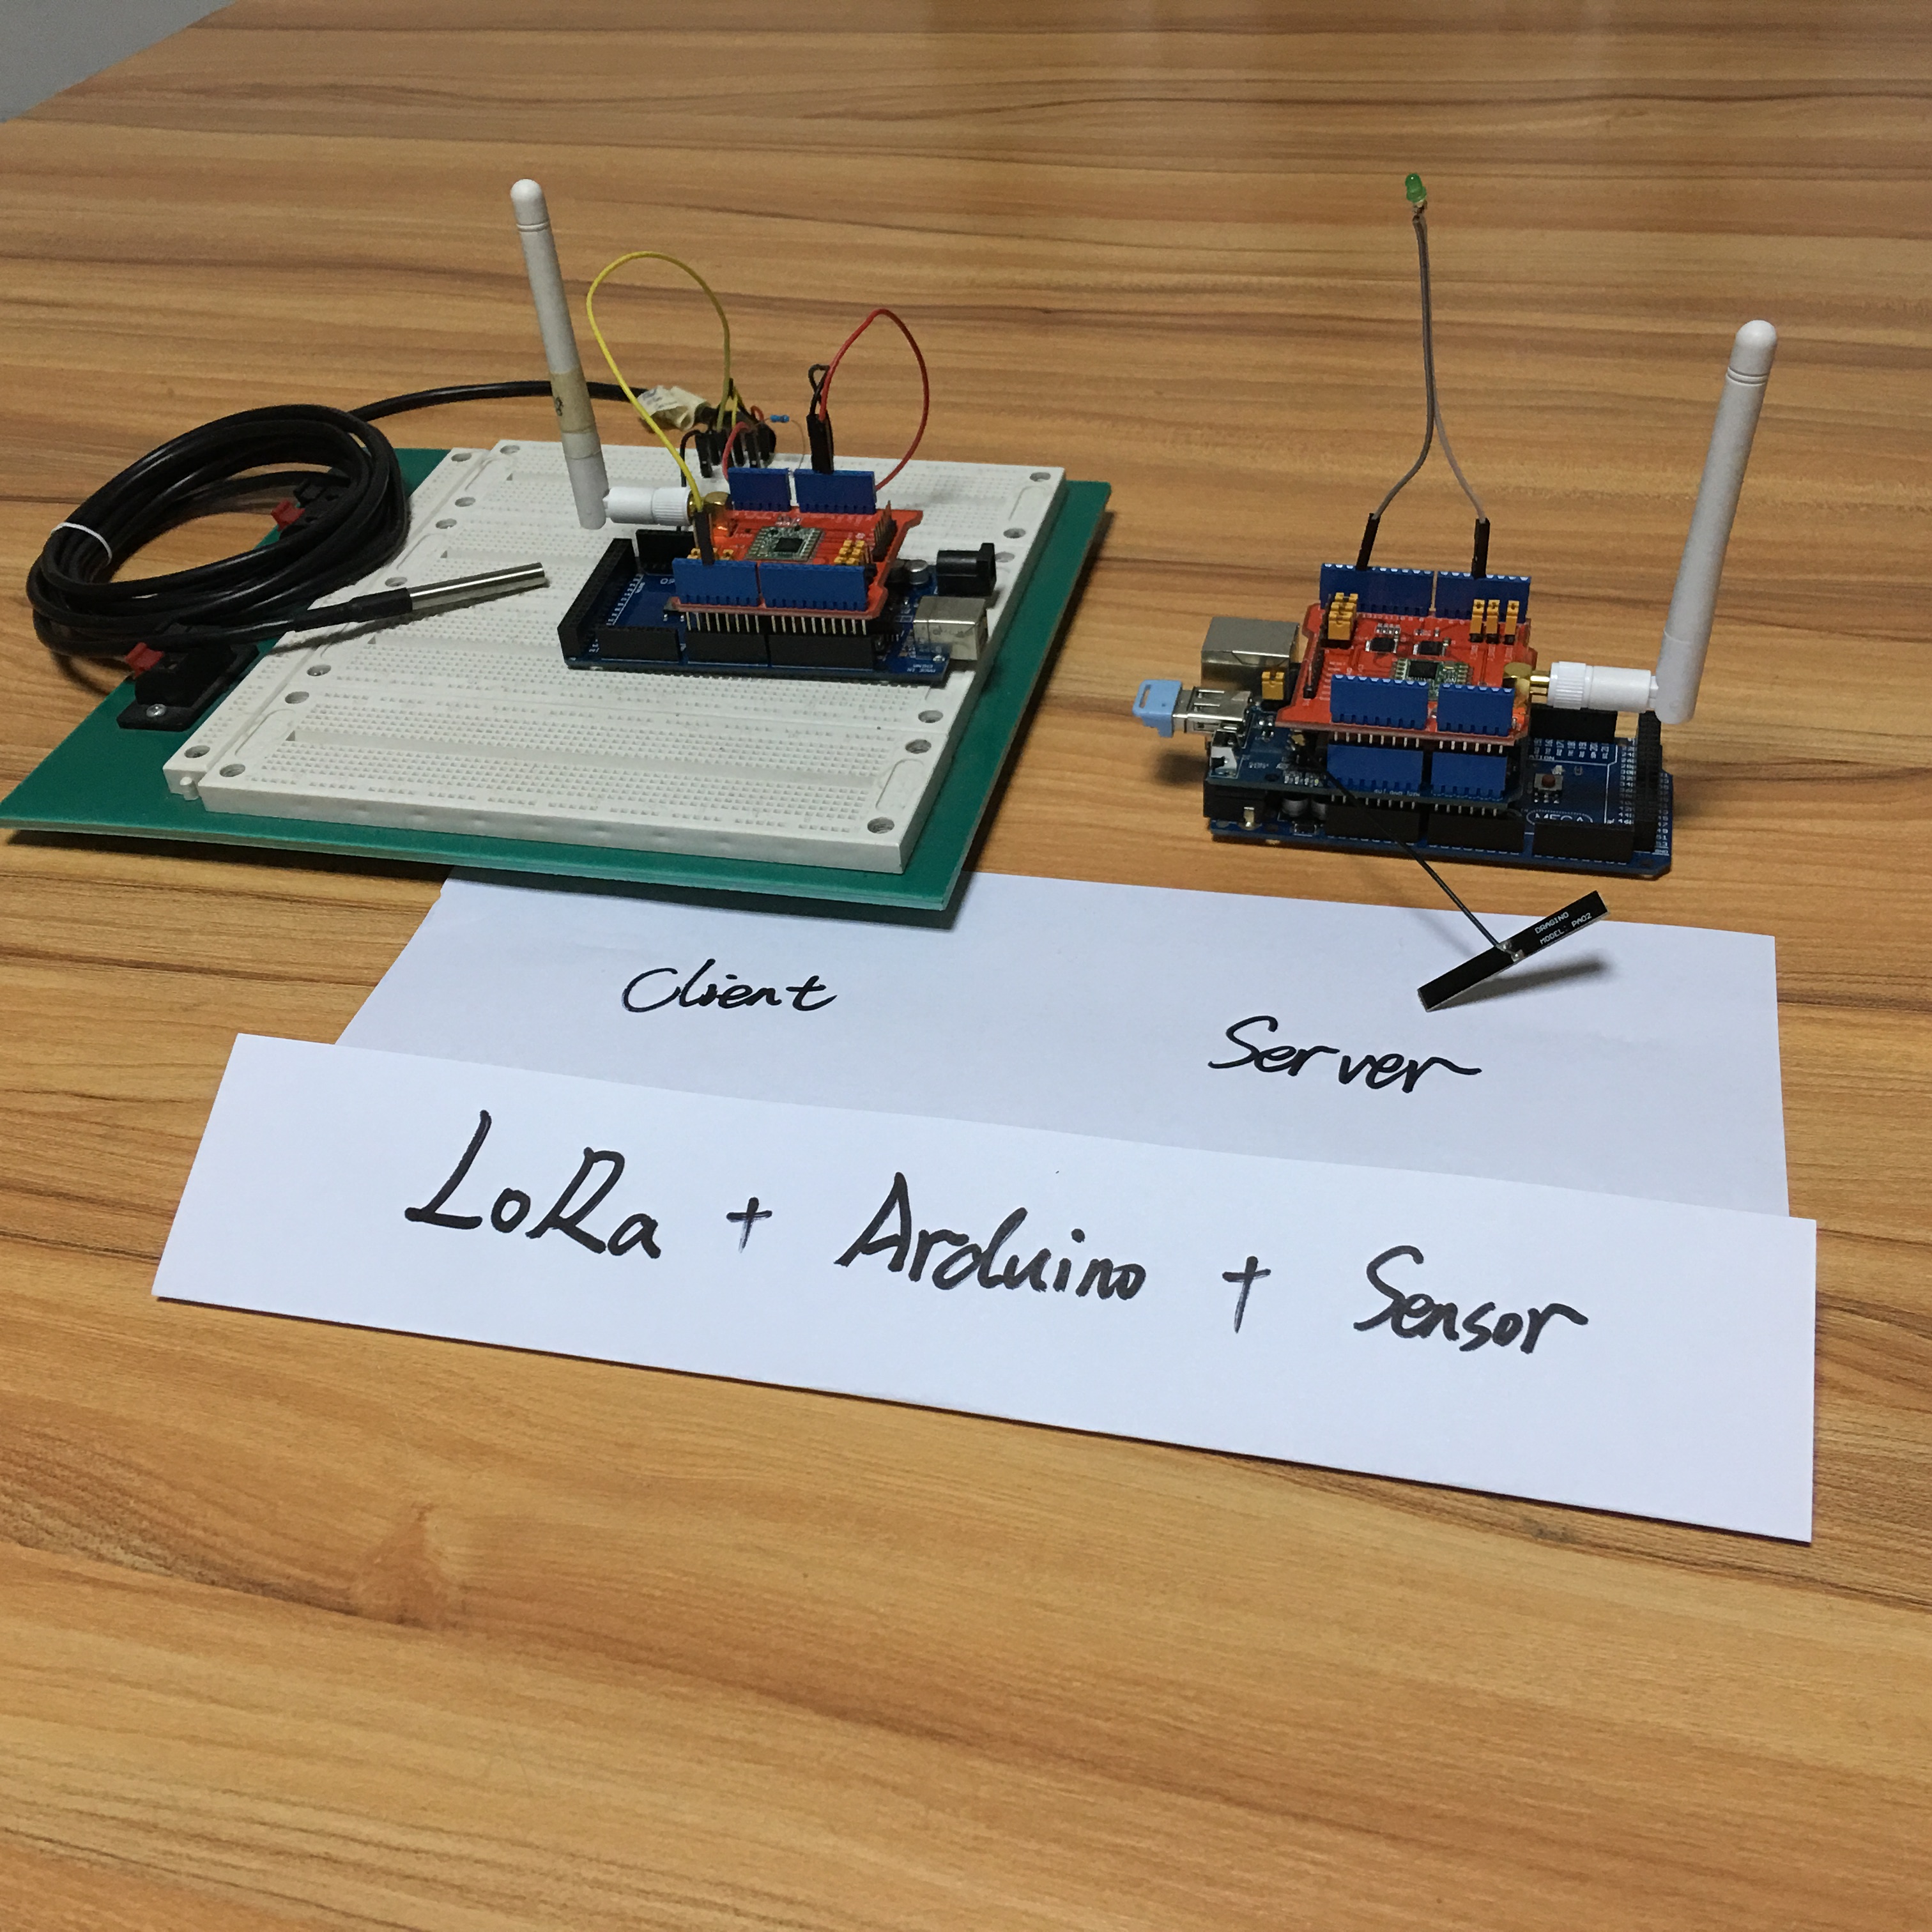
This is an example to show how to get sensor data from a remote Arduino via Wireless Lora Protocol.
The exampels requries below hardwares:
1) Client Side: Arduino + Lora Shield (868Mhz) + DS18B20 (Temperature Sensor).
2) Server Side: Arduino + Lora Shield (868Mhz) + Yun Shield + USB flash.
make sure the USB flash has this file datalog.csv in the data directory of root.
Requrie below software: Radiohead library from: http://www.airspayce.com/mikem/arduino/RadioHead/...
Client side will get the temperature and keep sending out to the server via Lora wireless. Server side will listin on the Lora wireless frequency, once it get the data from Client side, it will turn on the LED and log the sensor data to a USB flash.
Follow the next operations to complete this project.
Preparations

In this project,you need the things below:
- Arduino board x 2 (We use the MEGA2560 here)
- Dragino Lora Shield v1.3 x 2 (We use 868MHZ here)
- Yun Shield v1.1.6 x 1
- USB flash x 1
- DS18B20 x 1 (Temperature sensor)
- Bread board x 1
- 868MHZ antenna x 2
- USB cable x 2
- LED x 2
- 4.7k resistance x 1
- Some jump wires
- Power supply
Note:
About the Yun Shiled,we must use the Yun Shield v1.1.6/Yun Shield v2.2.4 or higher version
Connections

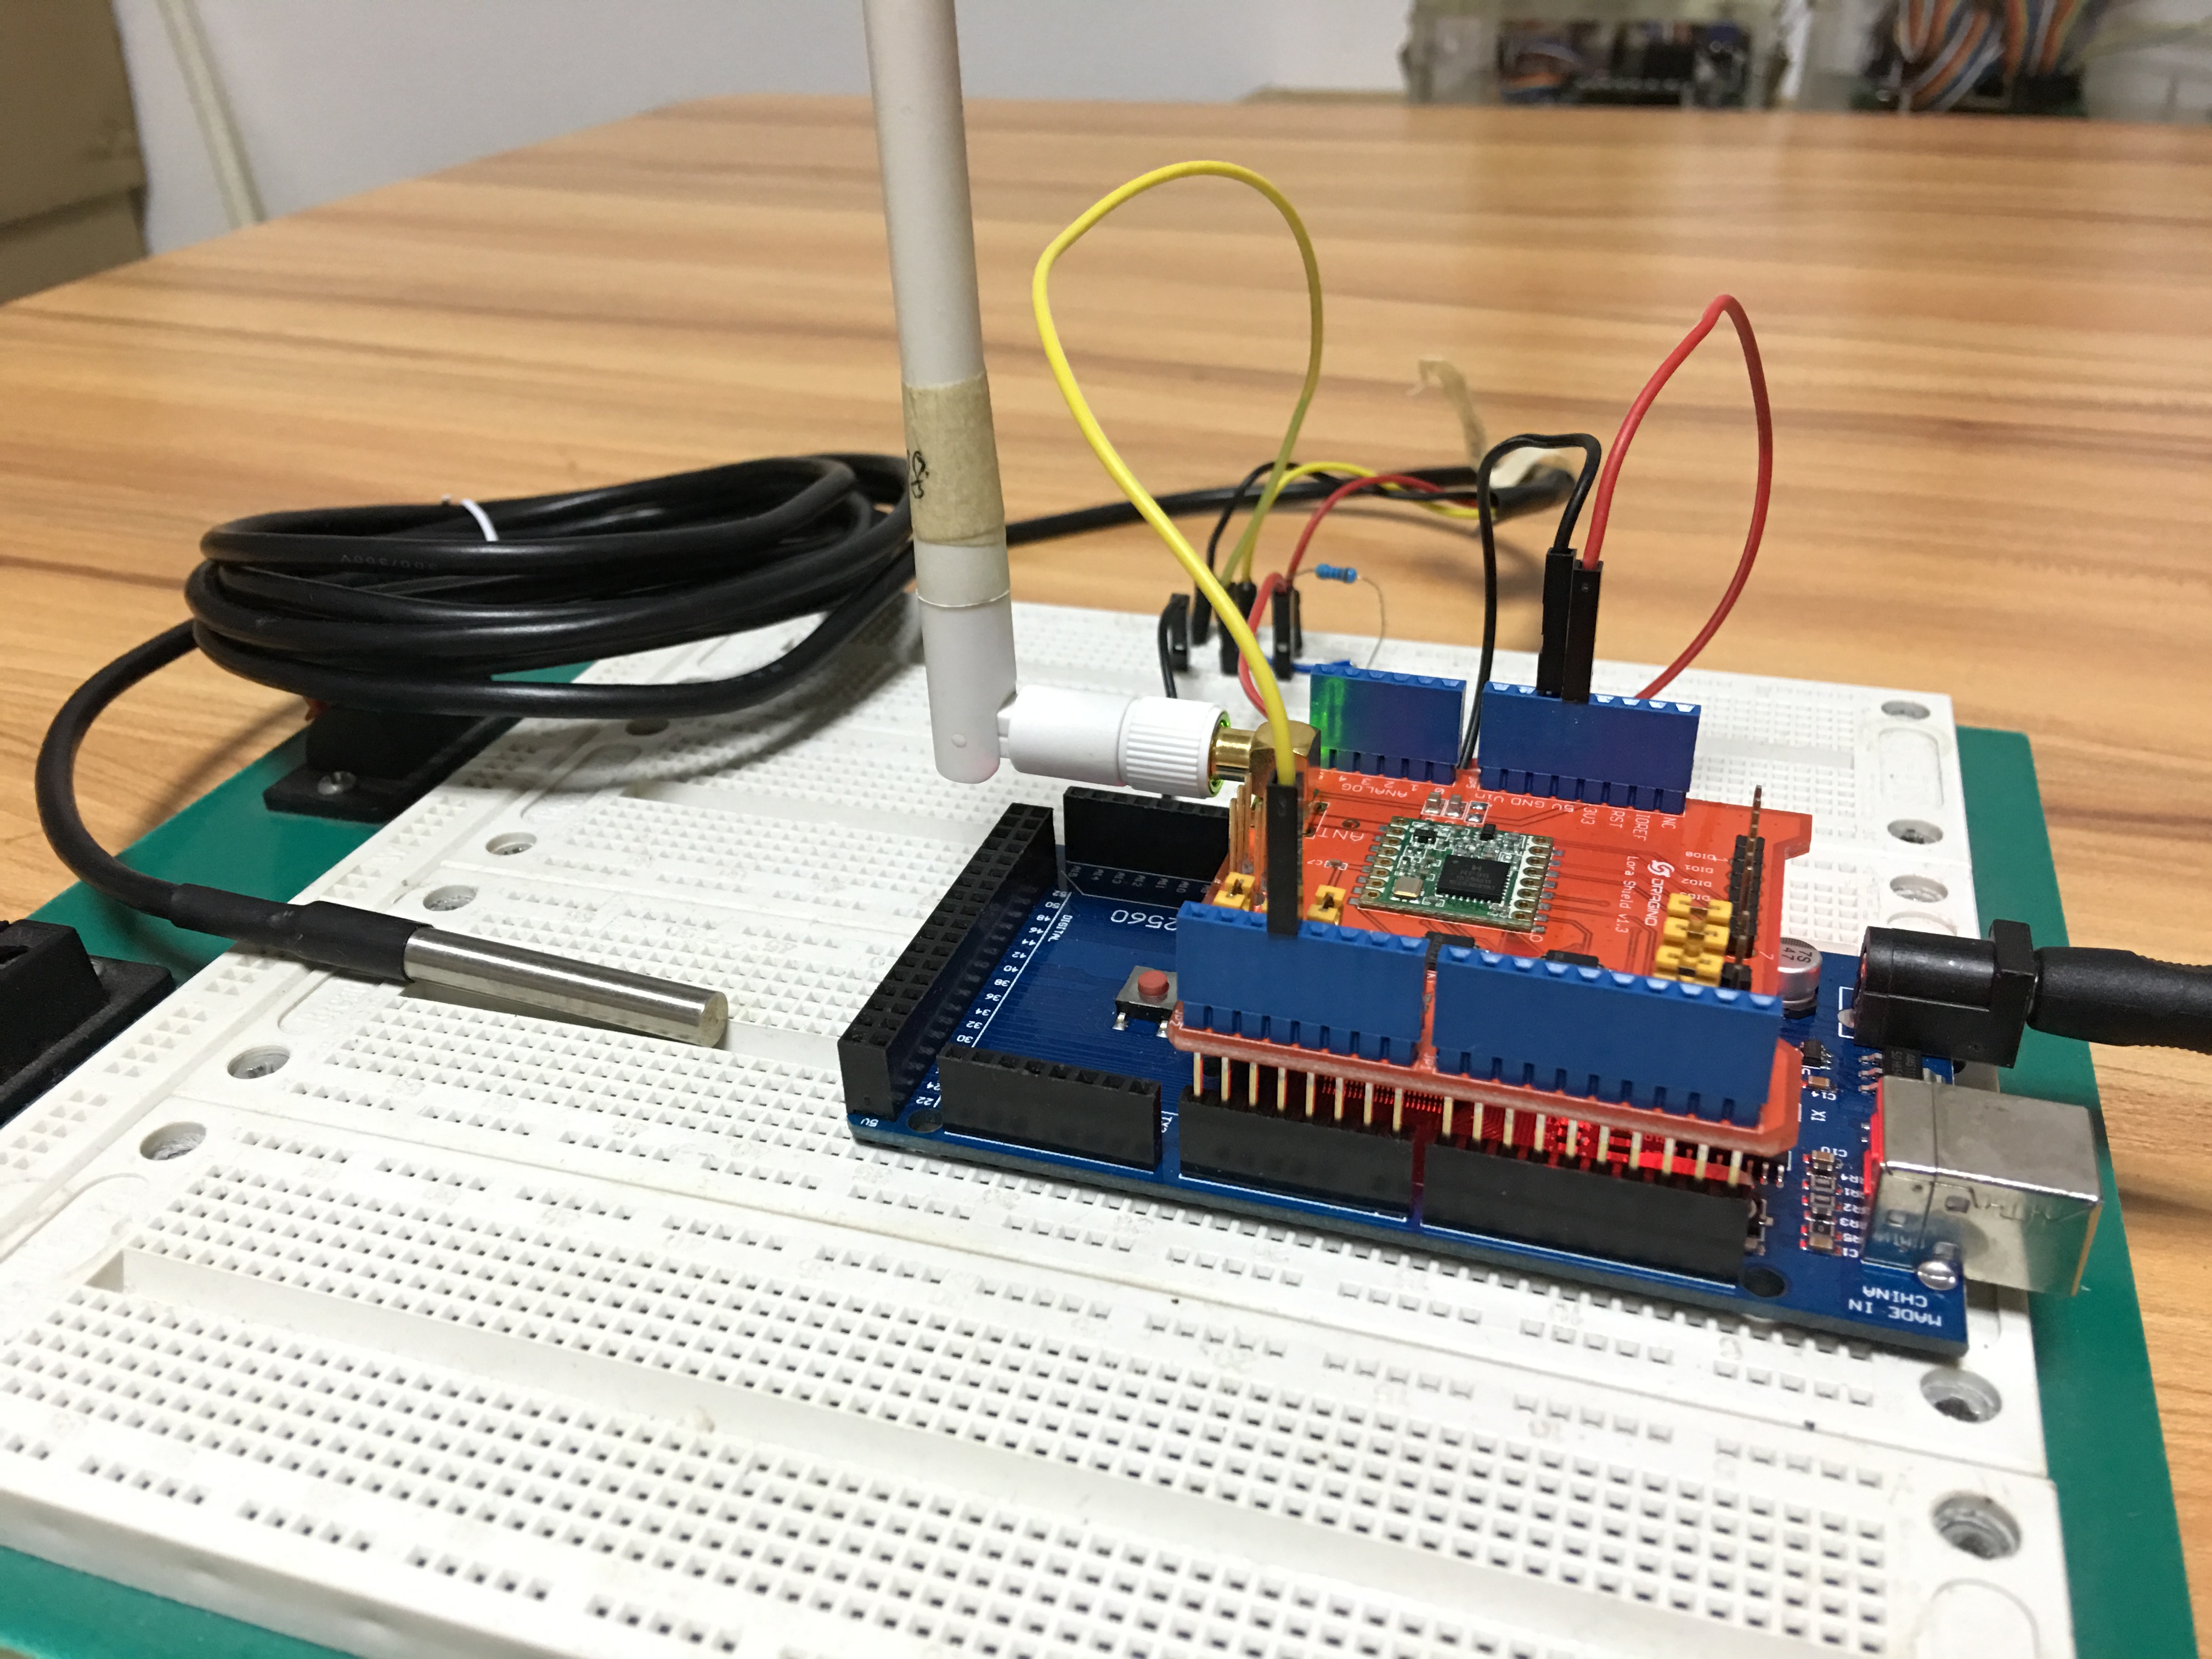
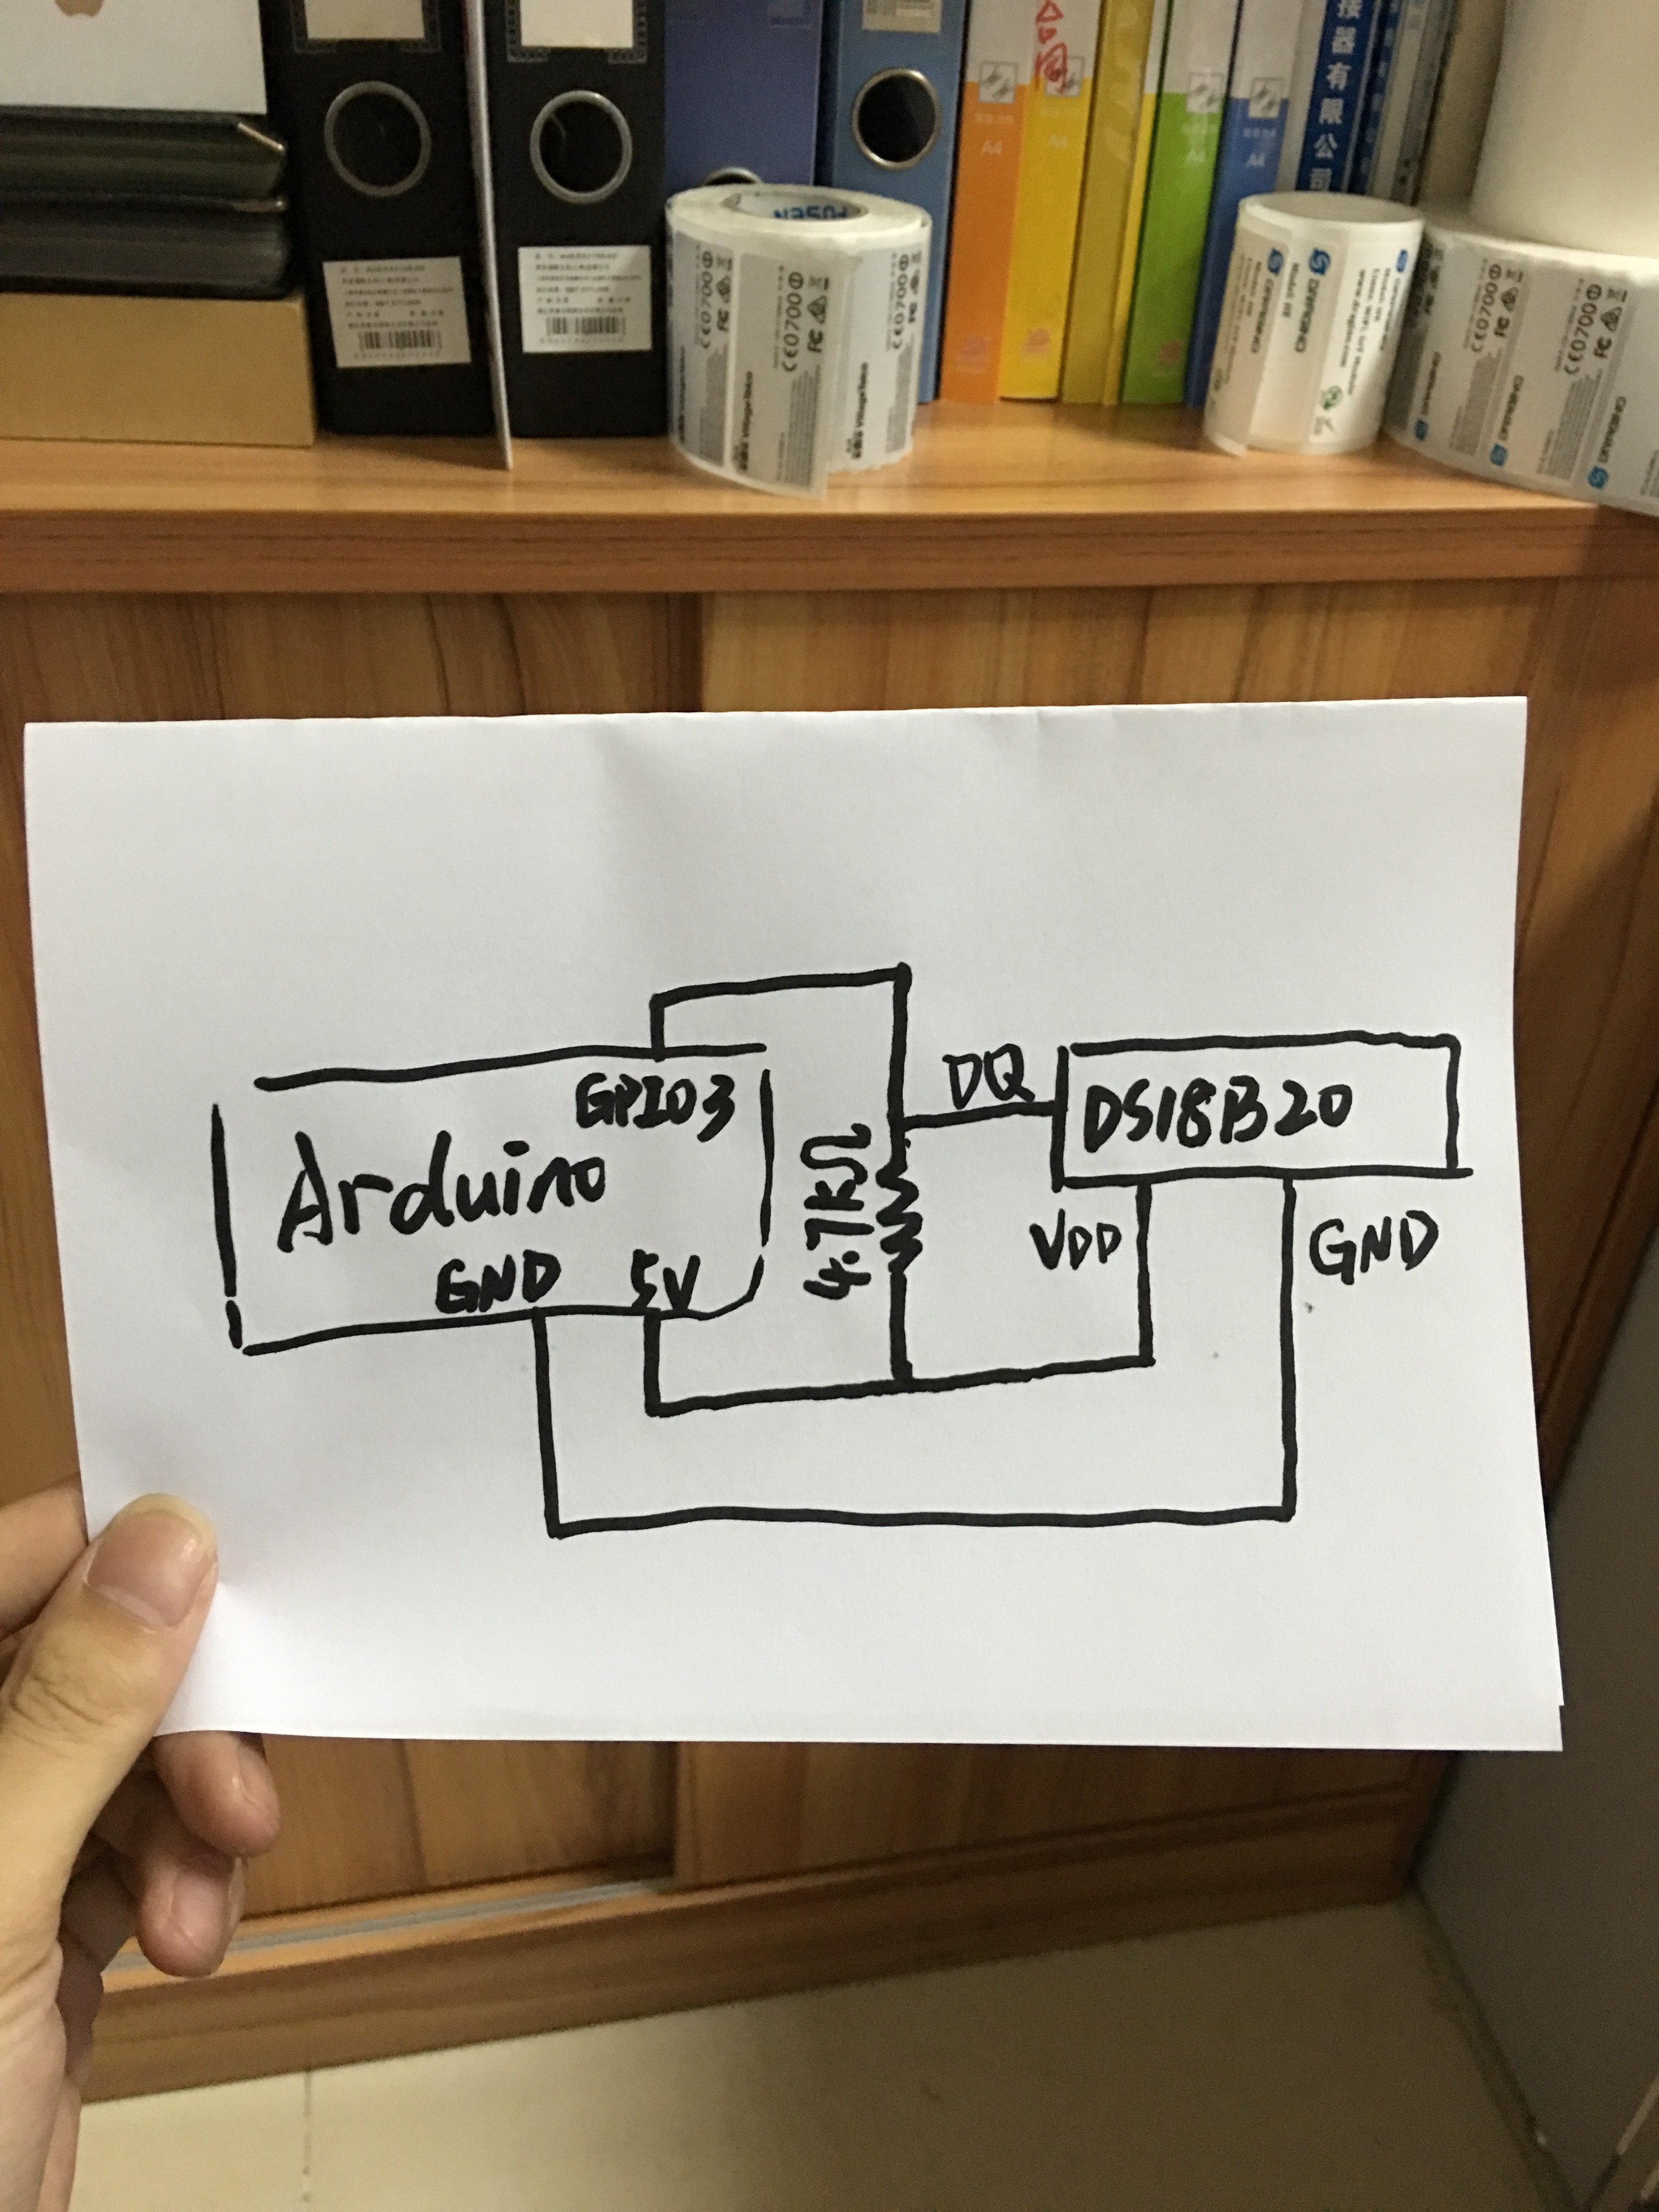
In this step,we need to assemble the client and the server separately.Follow above pictures,and make sure
you got everything ready.
NOTE:
- The data wire is plugged into port 3 on the Arduino (Client)
- The LED is on the GPIO 4 (Server)
- Put the ant on the boards
- Create a directory named “data” in the USB flash root and create a file data.csv in this directory.
.
Codes
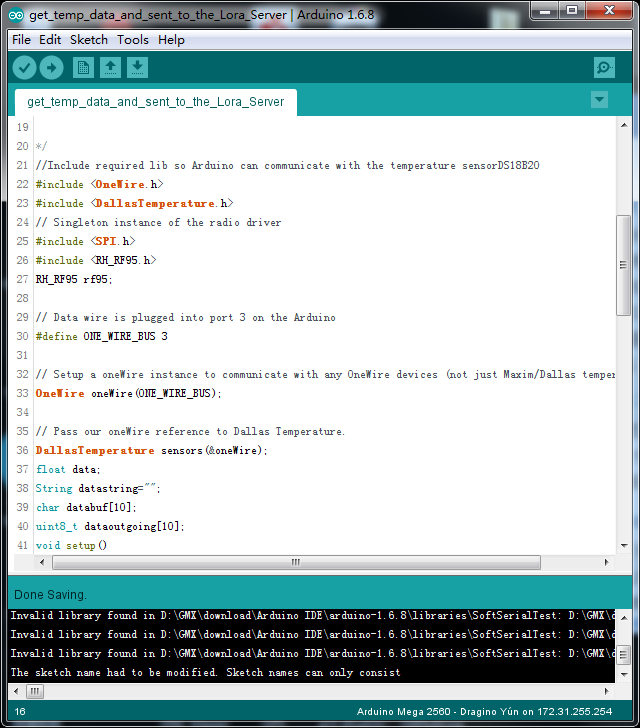
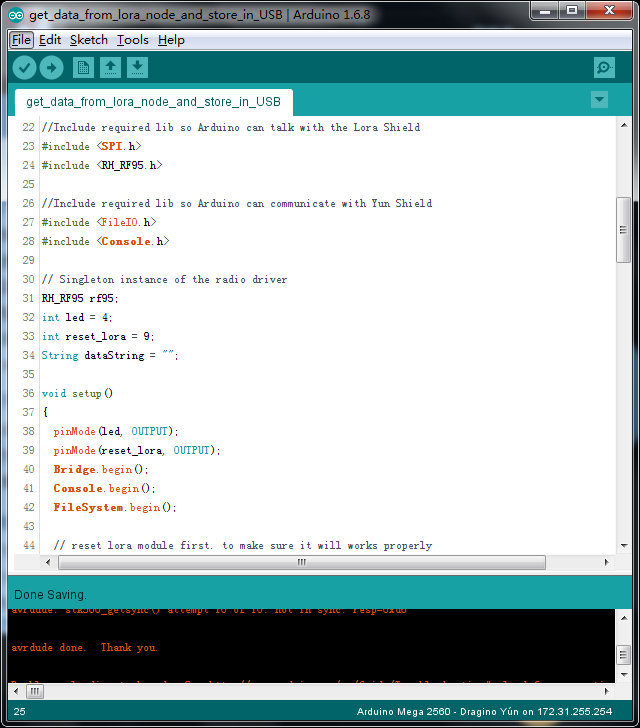
Power them by Power supply,and connect them to the computer via USB cable.
Client
Open the IDE(Over here,we use the version 1.6.8),choose the correct port and correct board for your client.Upload the client sktech to the arduino board,you can find the code here:
Server
Upload the server sktech to the arduino as above,youcan find the code here:
Running Result
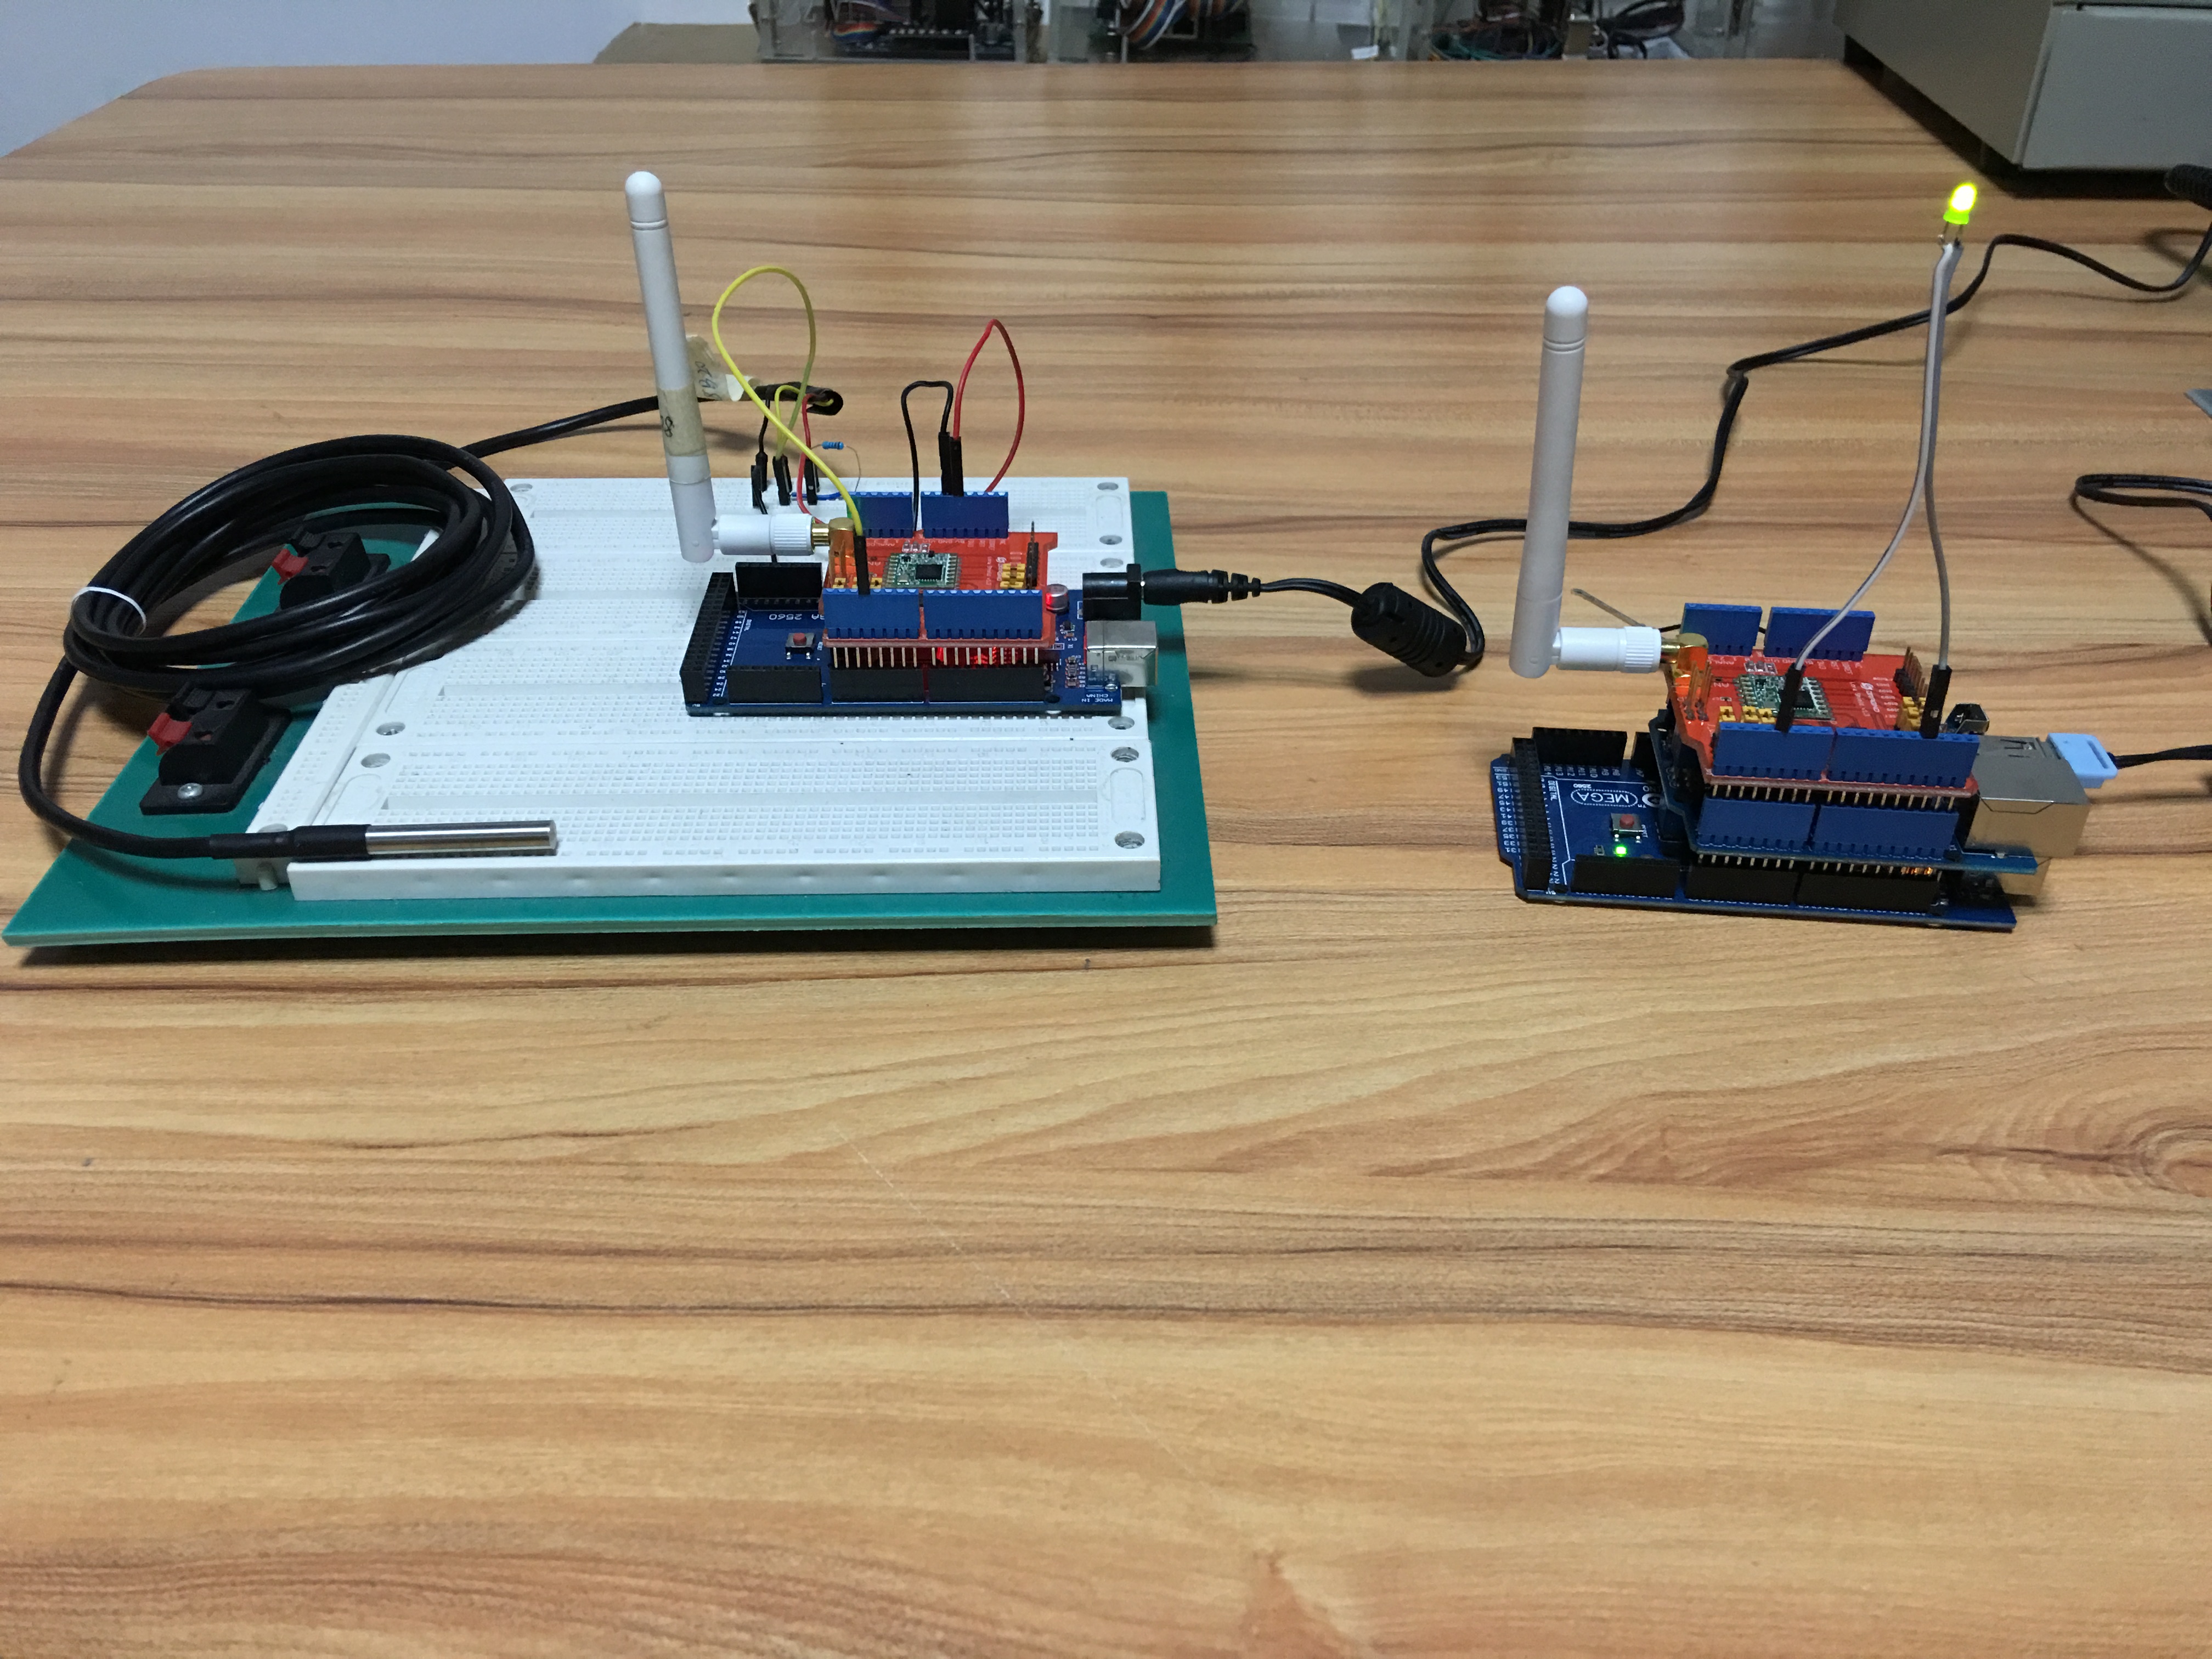
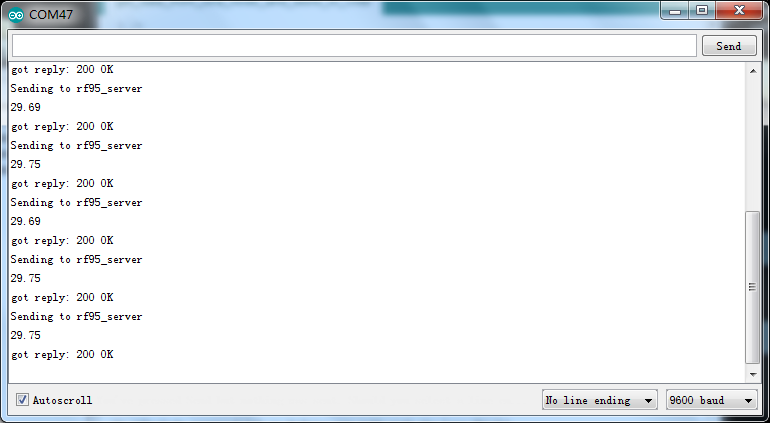
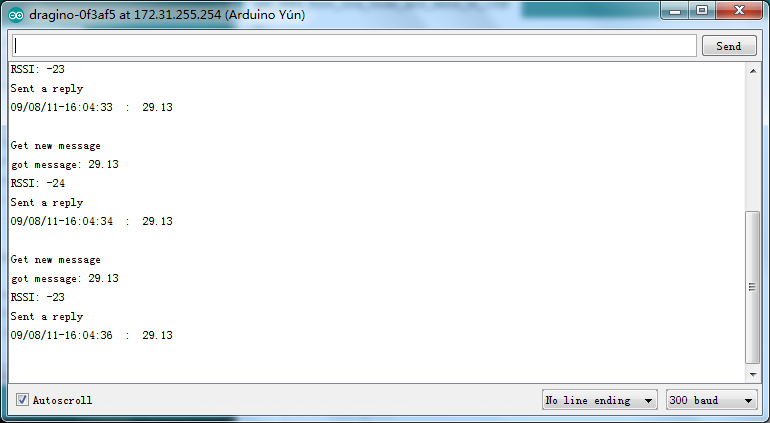
After the last step,you can see the LED on the server will flash once per second.Open the Serial Monitor of the client,you can see the temperature info obtained through the sensor and the communication between client and server.Open the Serial Monitor of the server,you can also get the server status.
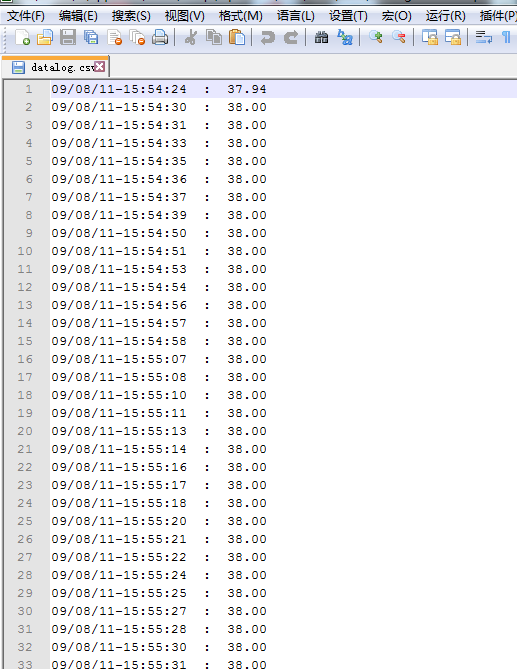
Then,enter the USB flash by WinSCP.Open "/mnt/sda1/data/datalog.csv" and you will see the stored information(time stamp with the real-time temperature) as the last photo at this step.
Usage Notice of Lora Shield
You have to be aware that Radio link quality and performances are highly dependent of environment.
Better performances can be reached with:
- Outdoor environment.
- No obstacles.
- No high level radio interferer in the ISM 868MHz band.
- At least 1 meter above the ground.
Radio performances are degraded with:
- Obstacles: buildings, trees...
- Inner buildings environments.
- High ISM 868MHz band usage by other technologies.
Radio communication are usually killed with bad topographic conditions. It is usually not possible to communicate through a hill, even very small.
Reference
- Lora Shield:http://wiki.dragino.com/index.php?title=Lora_Shiel...
- Lora Shiled Hardware Source: https://github.com/dragino/Lora/tree/master/Lora%...
- Dragino Yun Shield: http://wiki.dragino.com/index.php?title=Yun_Shiel...
- Log sensor data to USB flash: http://wiki.dragino.com/index.php?title=Arduino_Yu...
- DS18B20: http://datasheets.maximintegrated.com/en/ds/DS18B2...
- Dallas Semiconductor's 1-Wire Protocol: http://playground.arduino.cc/Learning/OneWire