How to Fix an Electrical Cord - Also Known As: How to Fix Somebody Else’s Problem
by Ralfskunk in Workshop > Repair
349 Views, 1 Favorites, 0 Comments
How to Fix an Electrical Cord - Also Known As: How to Fix Somebody Else’s Problem

Once upon a time, in a garage not so different than your own, my brother asked to use my table saw. This action in of itself was harmless to all those involved but as he was in a rush and failed to clear off the table saw before he turned it on, mistakes were bound to happen. He made his cut and moved on with life without even knowing the damage that he caused. After the dust literally settled down, for he also didn’t take the time to roll the saw outside before using it, he saw his mistake.
Earlier that day, my brother had used his very own airbrush for painting some sort of hobby related item. As my garage sometimes lacks clear horizontal surfaces to place items that are not in use, he thought that the small storage area on my table saw’s cart would be perfect to keep his airbrush and air compressor safe. Normally this would be fine, but normally the table saw acts more like a table. The power cord for his air compressor just happened to be resting against my table saw’s drive belt, and like a carnivorous monster, my table saw proceeded to chew up that power cord once it was awakened.
This is where the problem gets a bit confusing… While I was neither involved in the placement of the airbrush compressor, nor did I turn on the table saw, this was still my fault. With the weight of this shocking crime weighing on my shoulders, I took it upon myself to fix it in the most efficient way possible so that I would not need to hear about it anymore.
Supplies

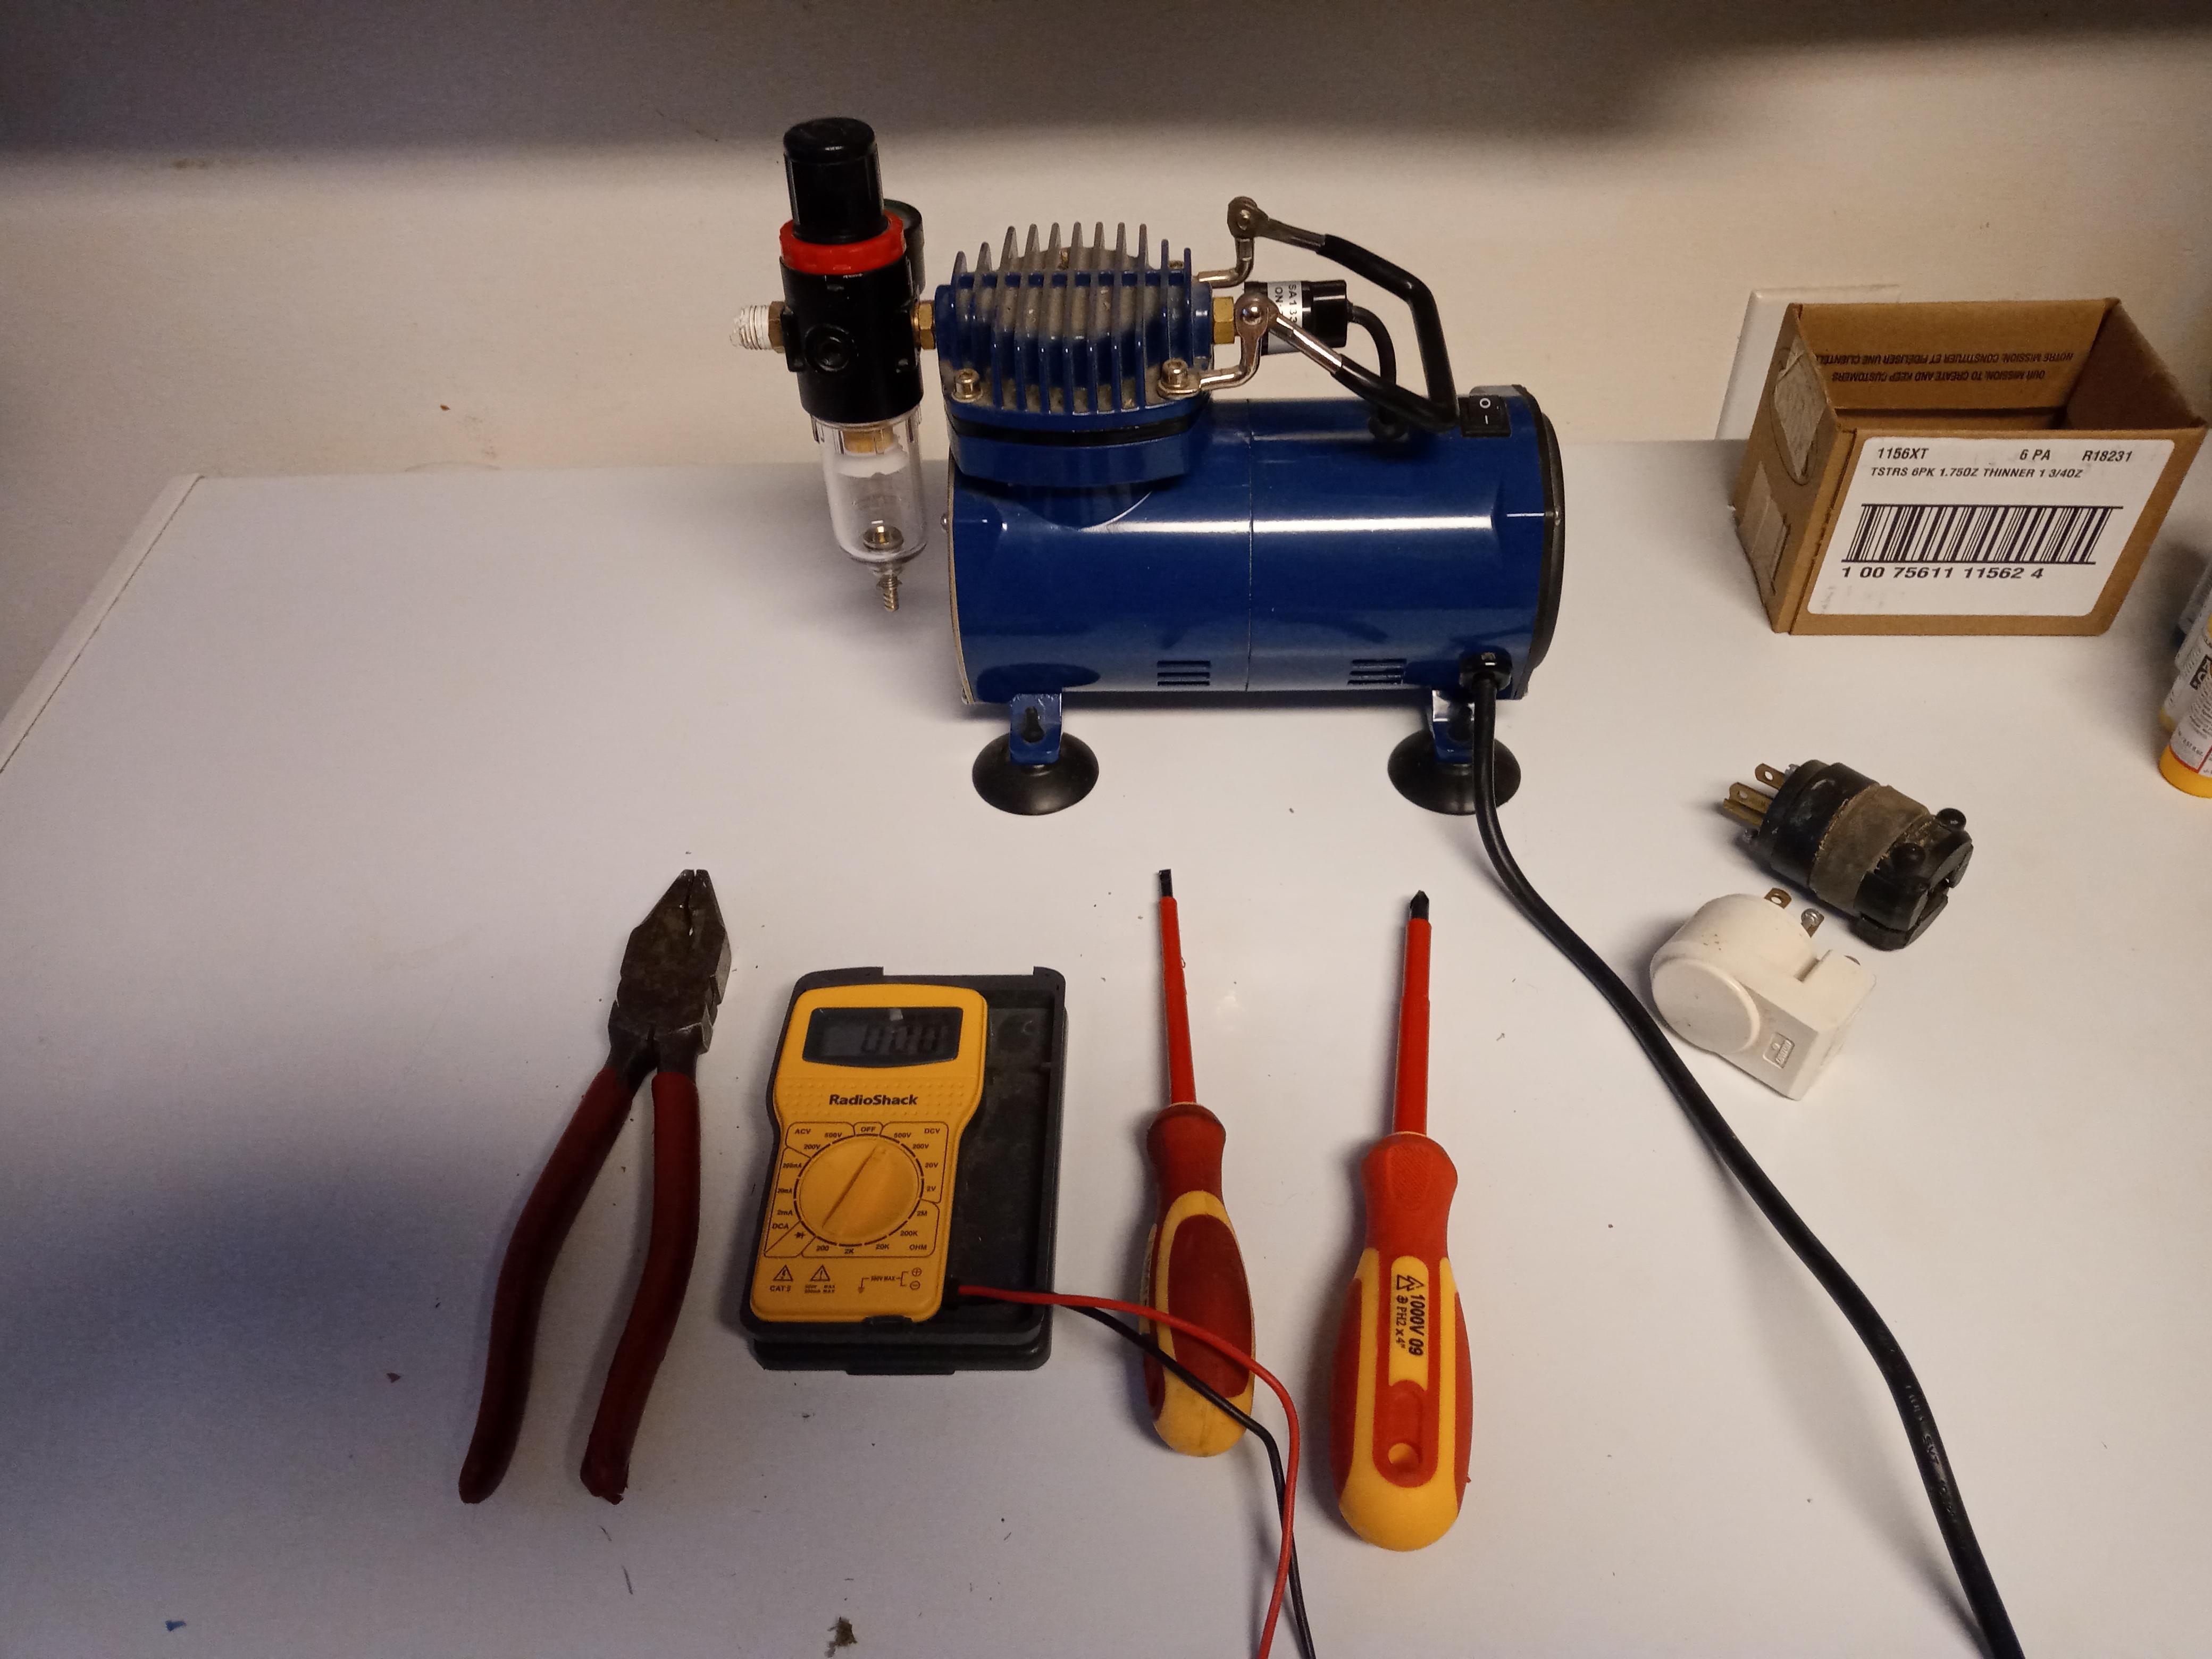
Tools:
- Electrical Multi-Meter (I didn’t even use it, but my brother doesn’t know how to use one and it make cool beeping noises)
- Wire cutters
- Wire strippers
- Electrician’s screwdriver (because all my other screwdrivers were missing)
- Hobby knife
- Old (yet functional and safe) replacement electrical plug.
Find a Clear Location for Making This Repair
I chose the top of my mini freezer as it is in a well lit room and has an easy gravity powered ”insta-clear” feature built into the hinged lid. (open the lid and all the stuff on it falls to the floor…)
Inspect the Compressor’s Power Cord and Re-evaluate the Need to Do the Repair.
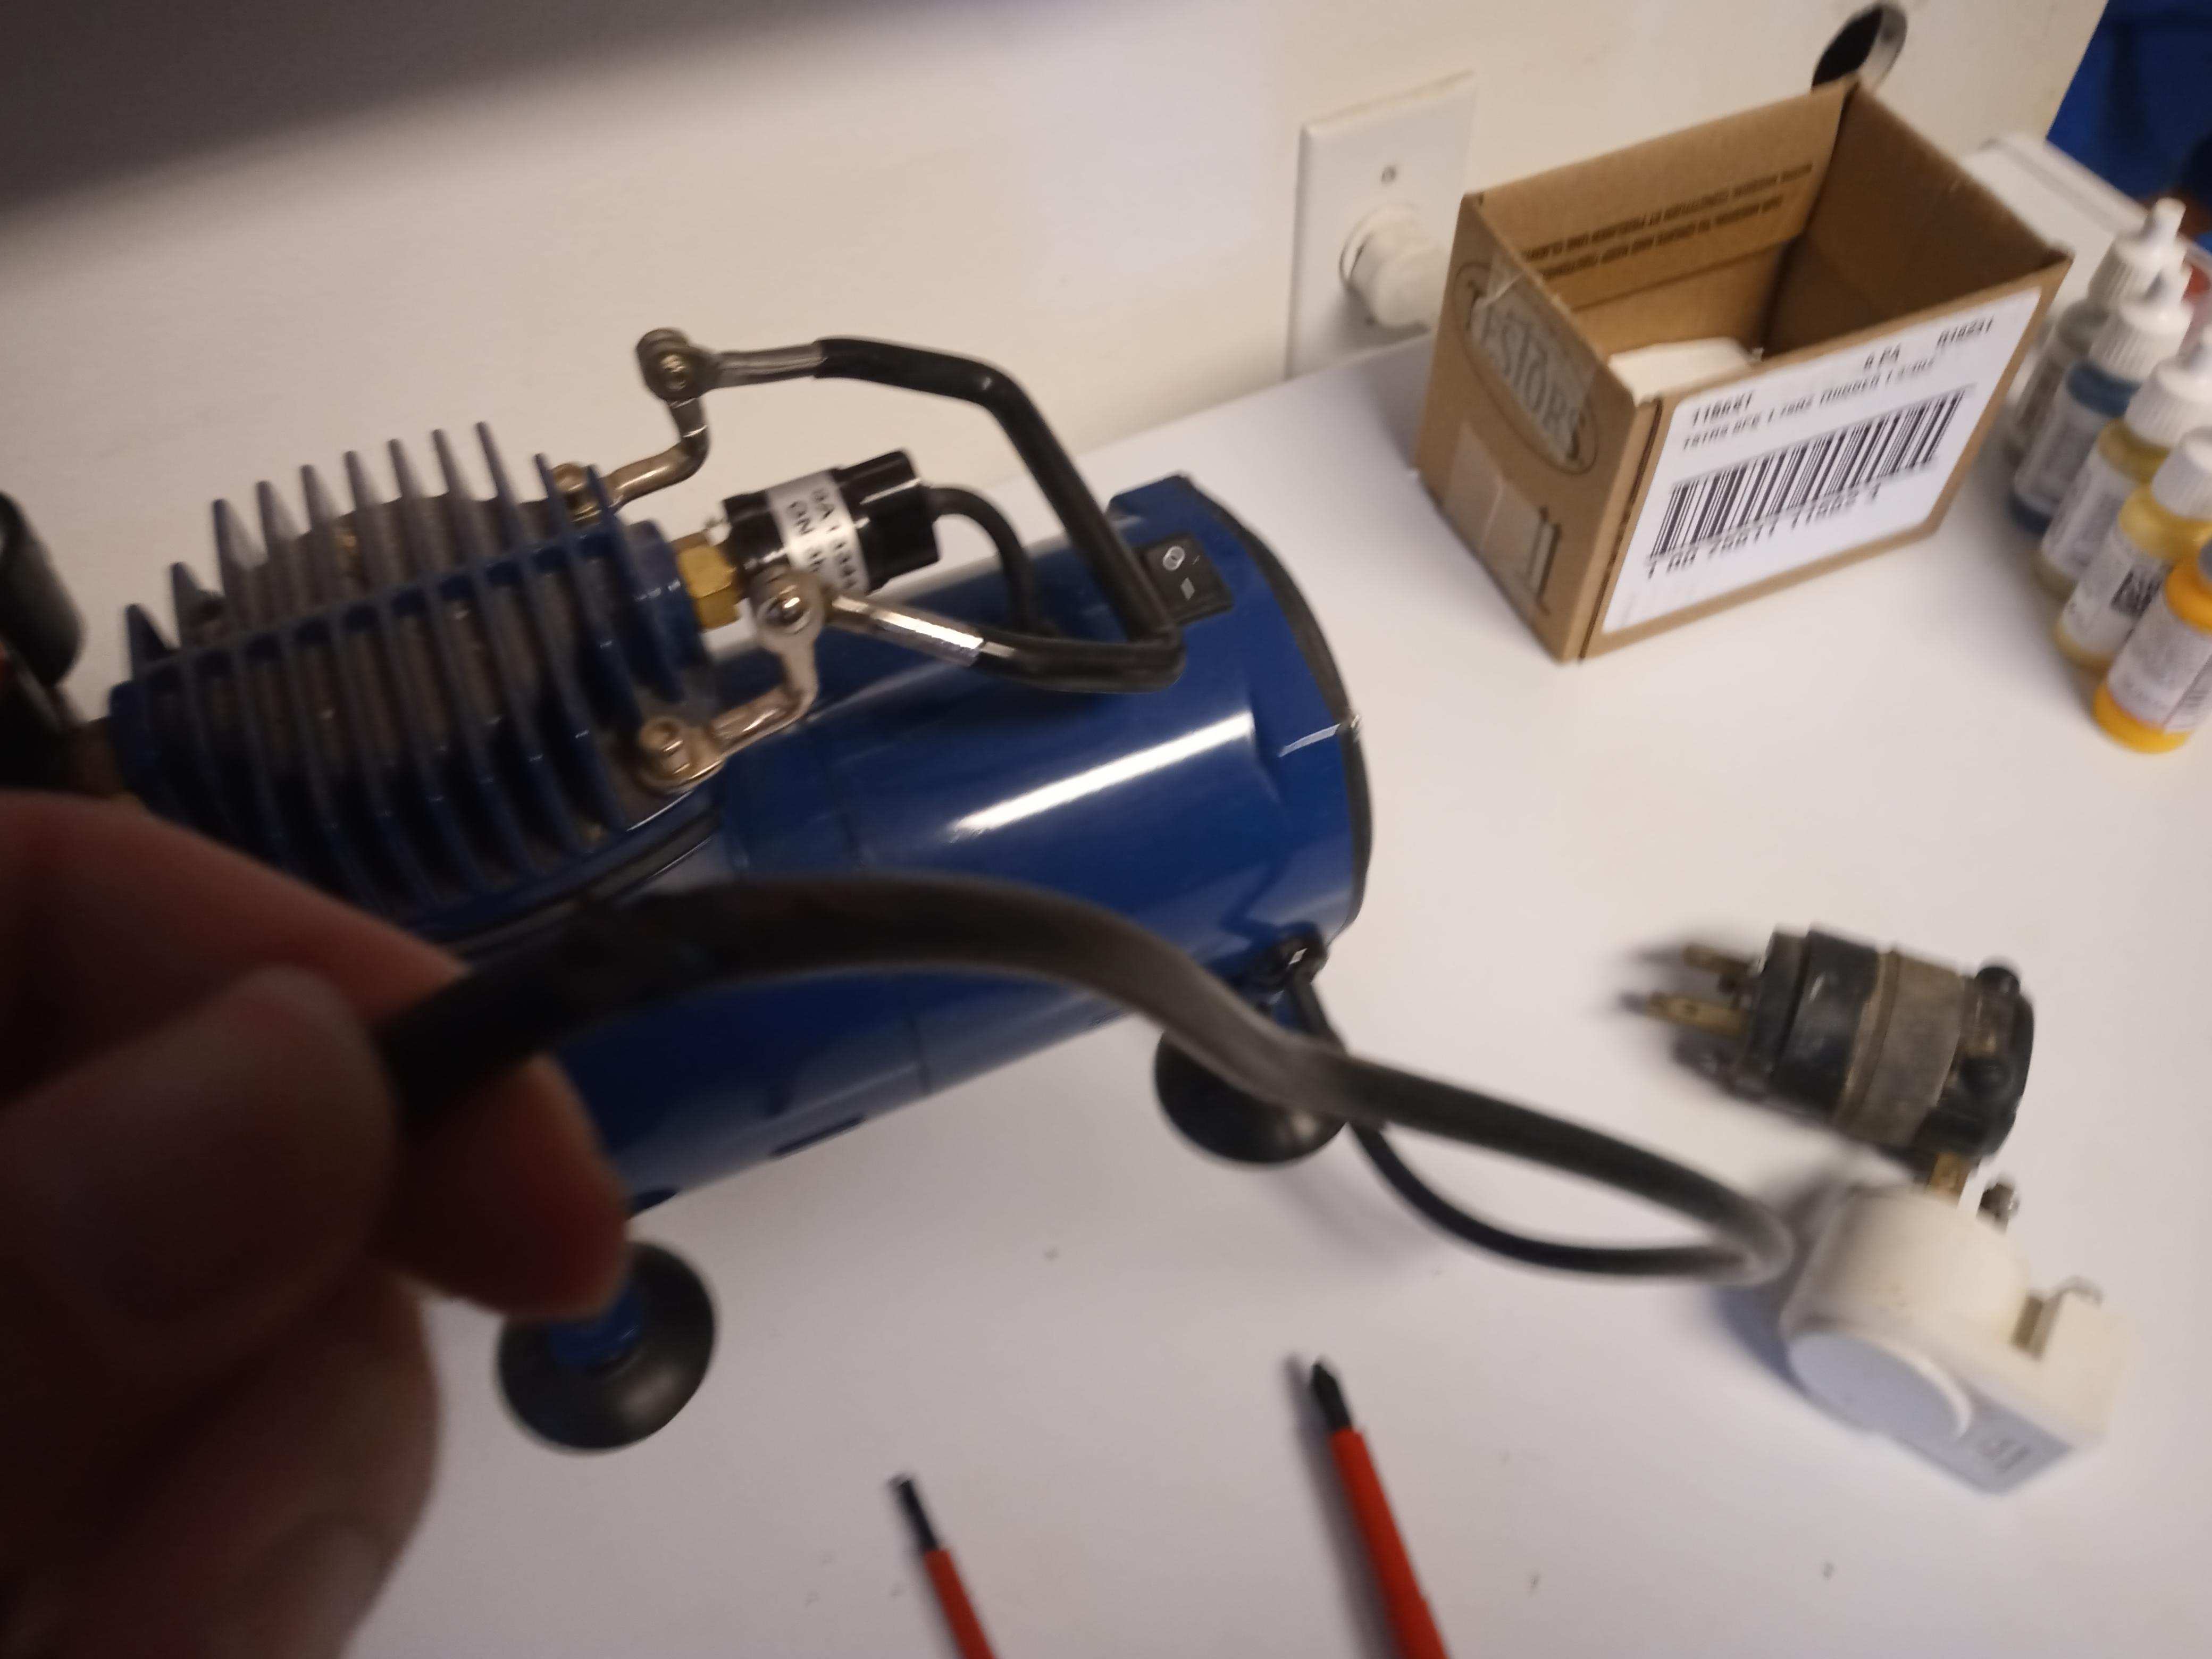

In this case, the brass strands within the ground wire and the hot wire were both slightly exposed. A quick patch job with electrical tape would likely provided a temporary repair, but this does have the potential to become a hazard. As they say, better safe than sorry.
Chop Off the Old Cord

I cut the electrical cord at the damaged area to retain as much of the power cord’s length as possible. Before cutting, I also verified that the power cord was not plugged in (don’t laugh, I’m sure somebody somewhere has hurt themselves by leaving it plugged in).
Prepare the Wires


I used my hobby knife to carefully strip the outer insulation off of the power cord. I removed about two inches of this insulation. This length allowed enough of the individual wire strands to reach their respective terminals in the new plug. You also want to keep this length somewhat short so that the strain relief for the new plug can still grip the outer insulation.
Install the New Plug

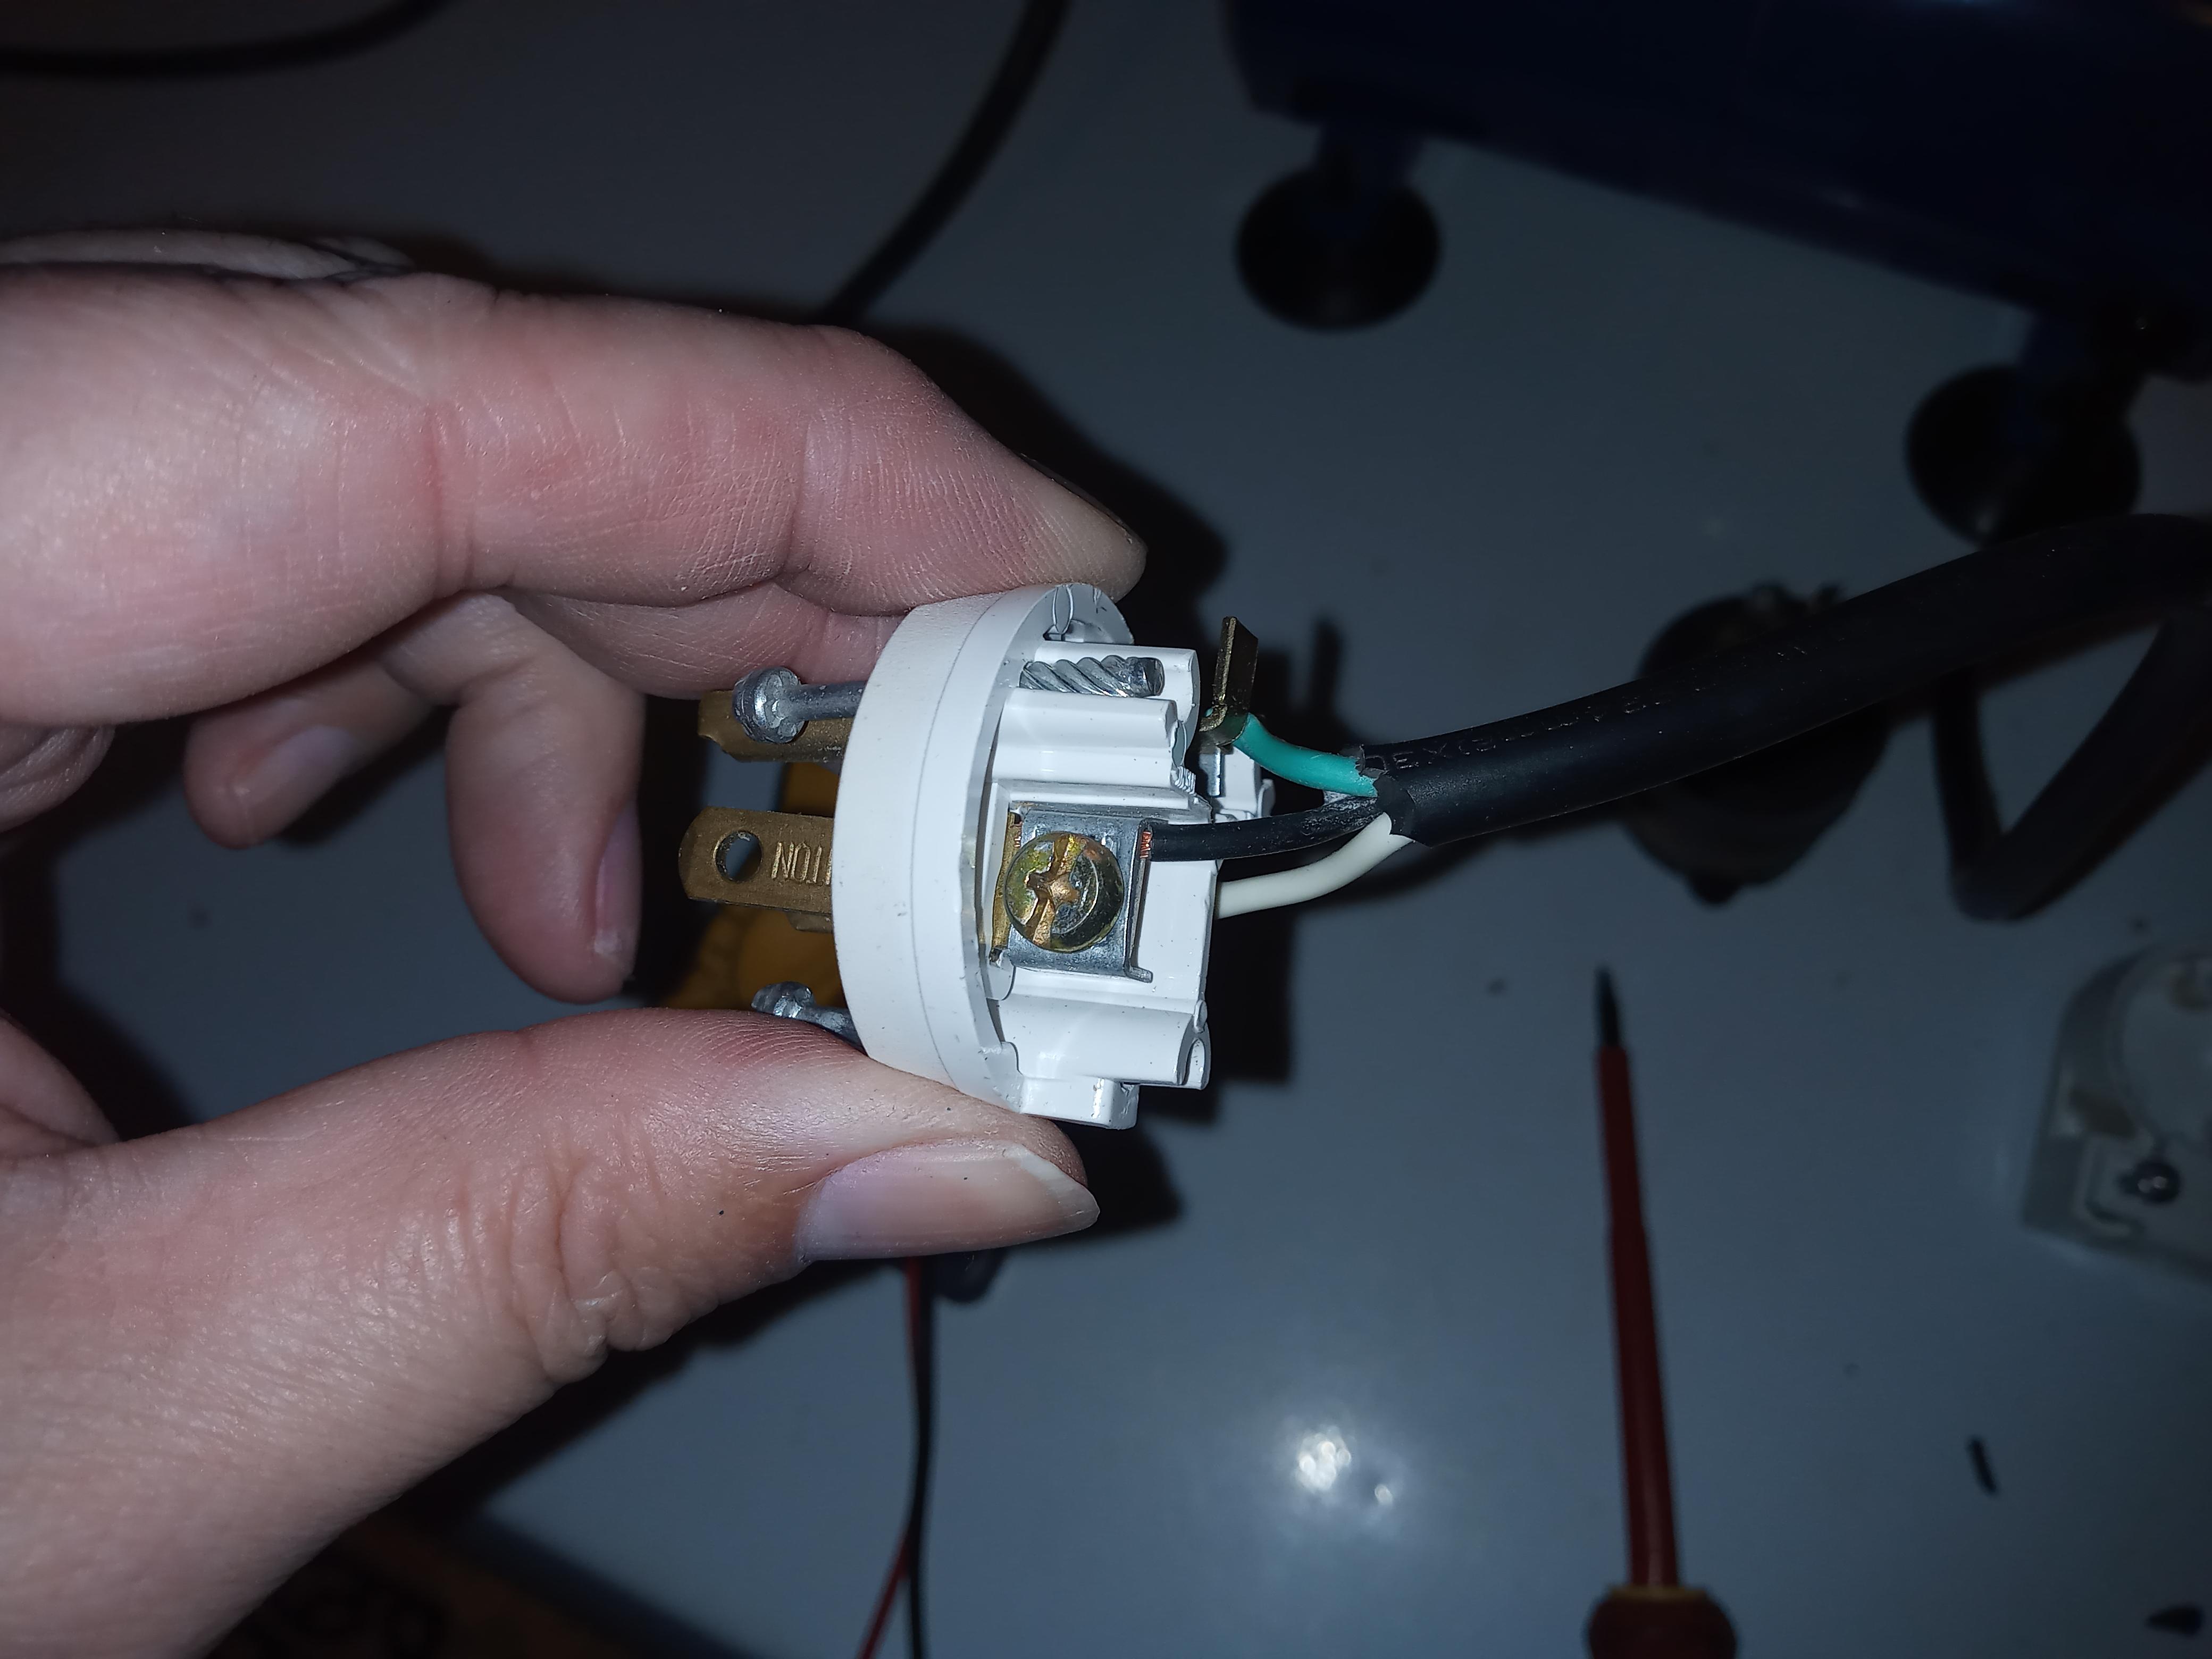
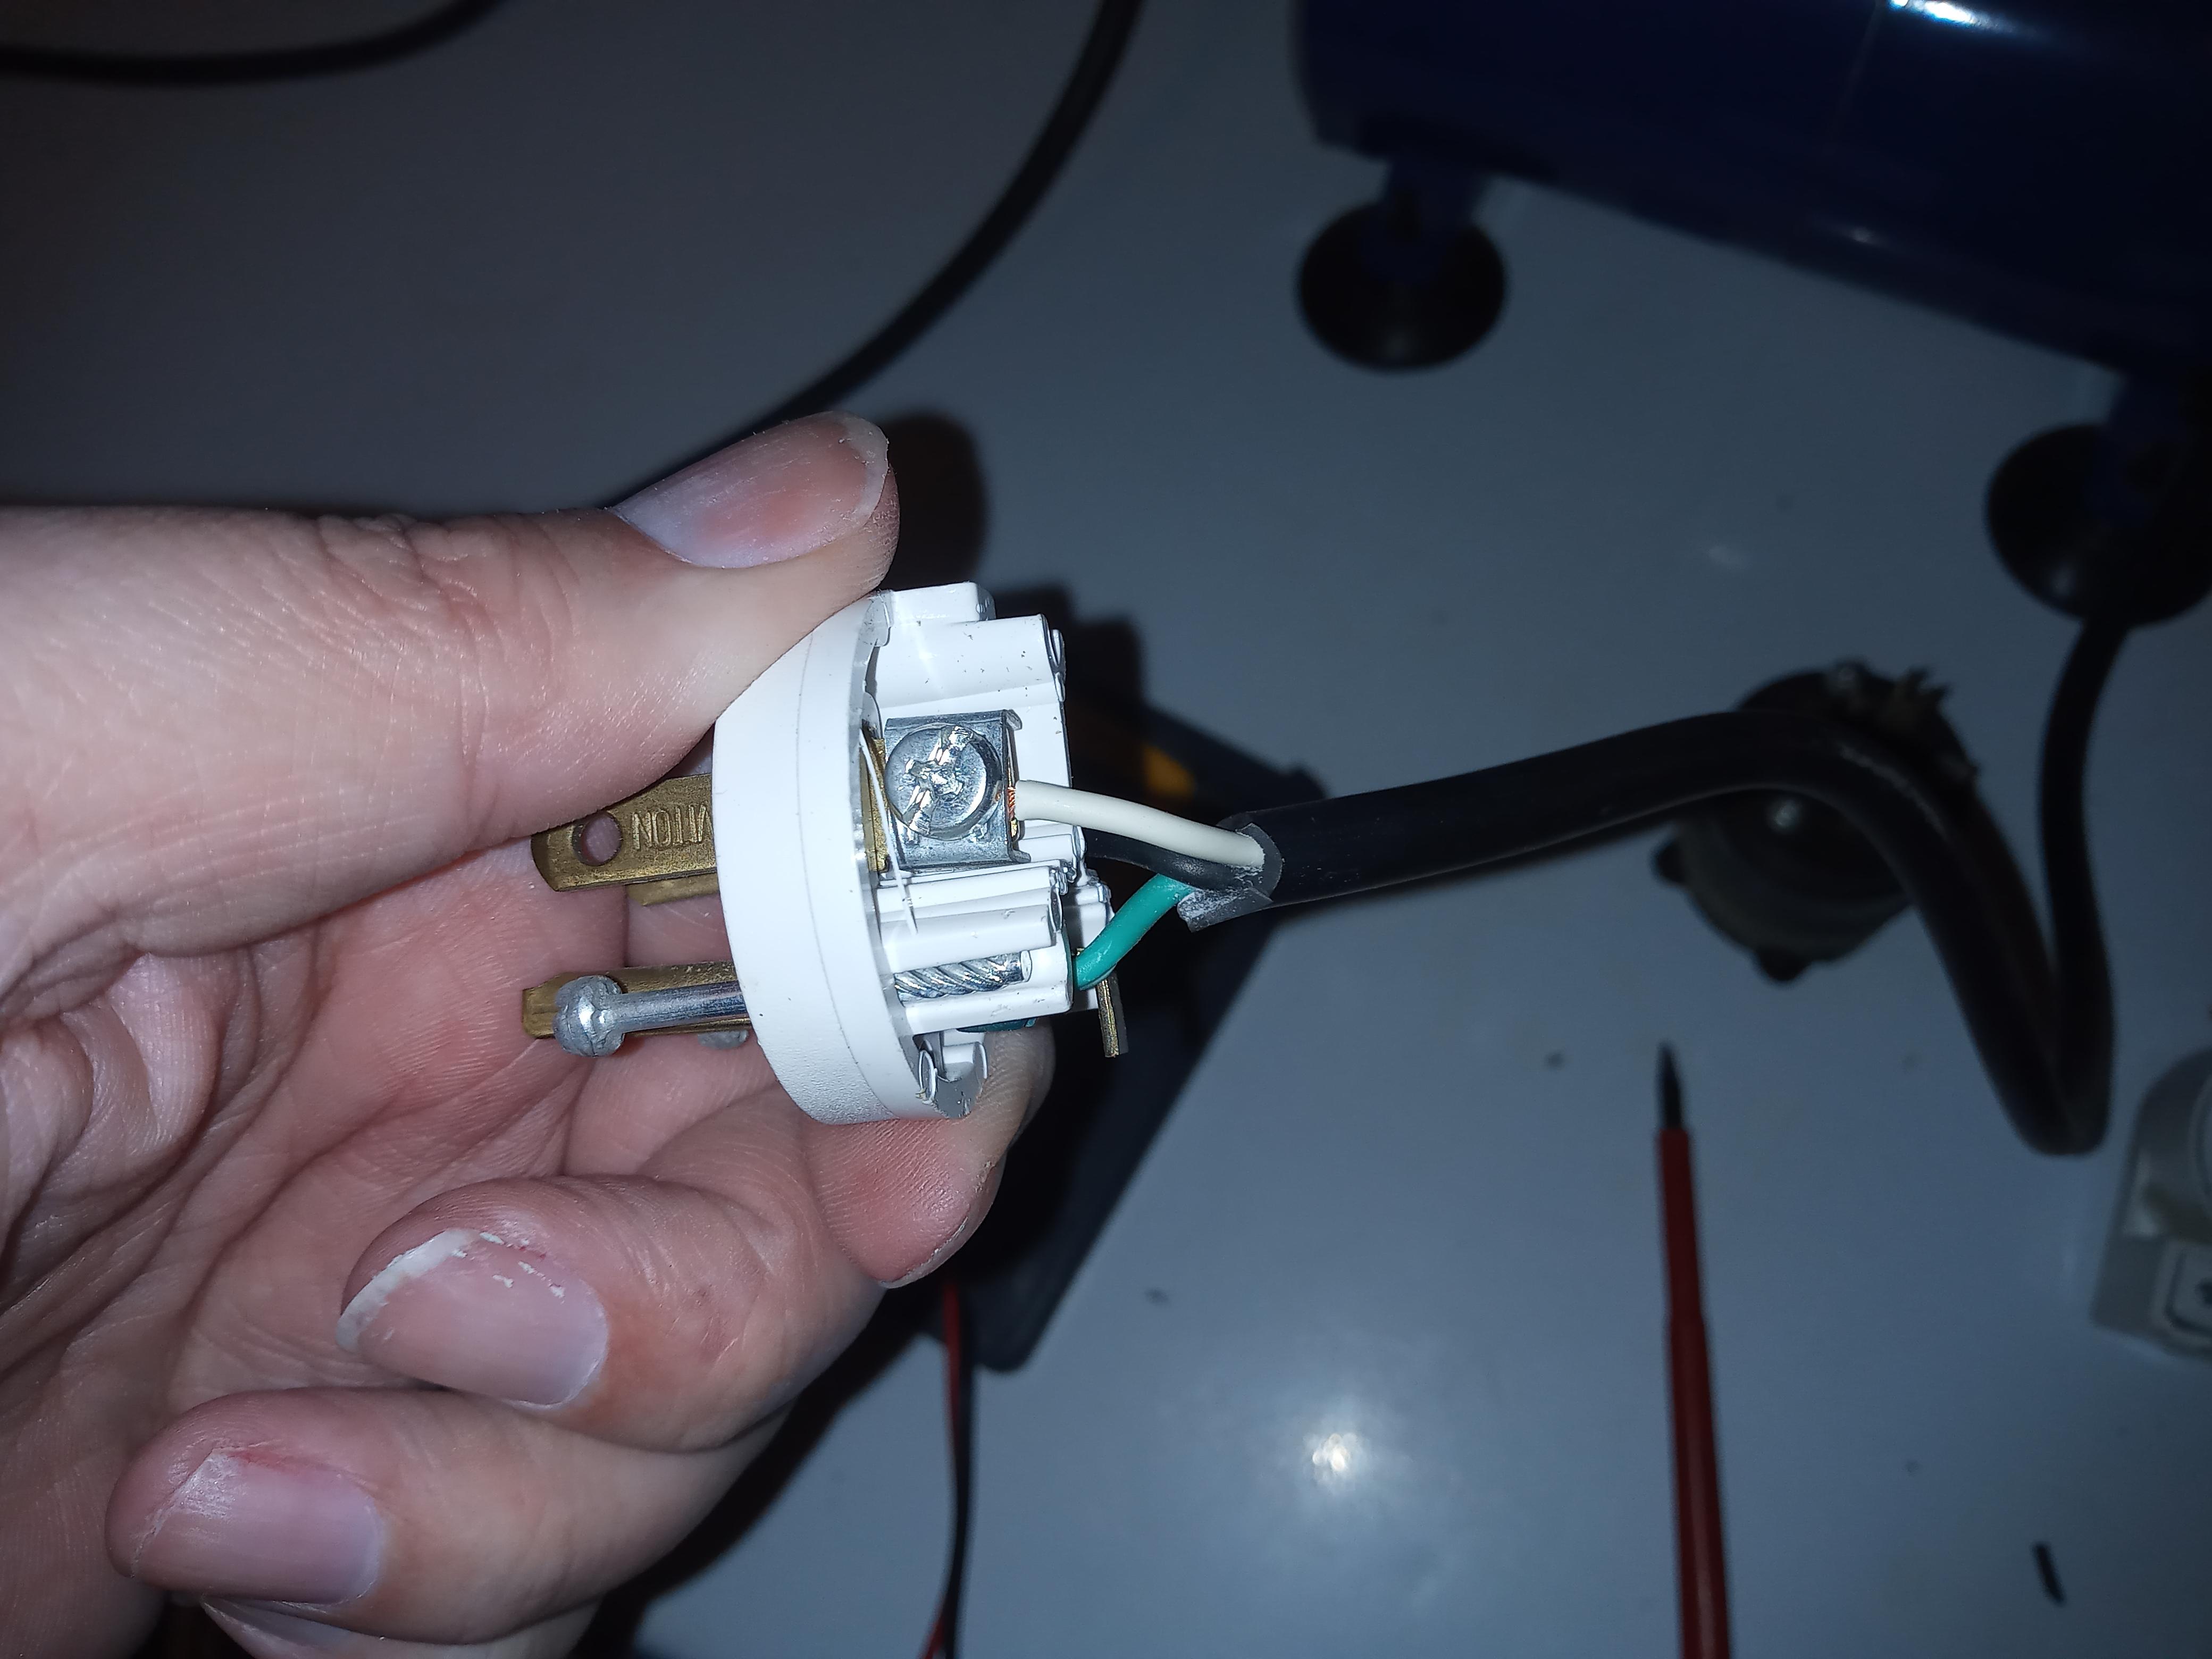
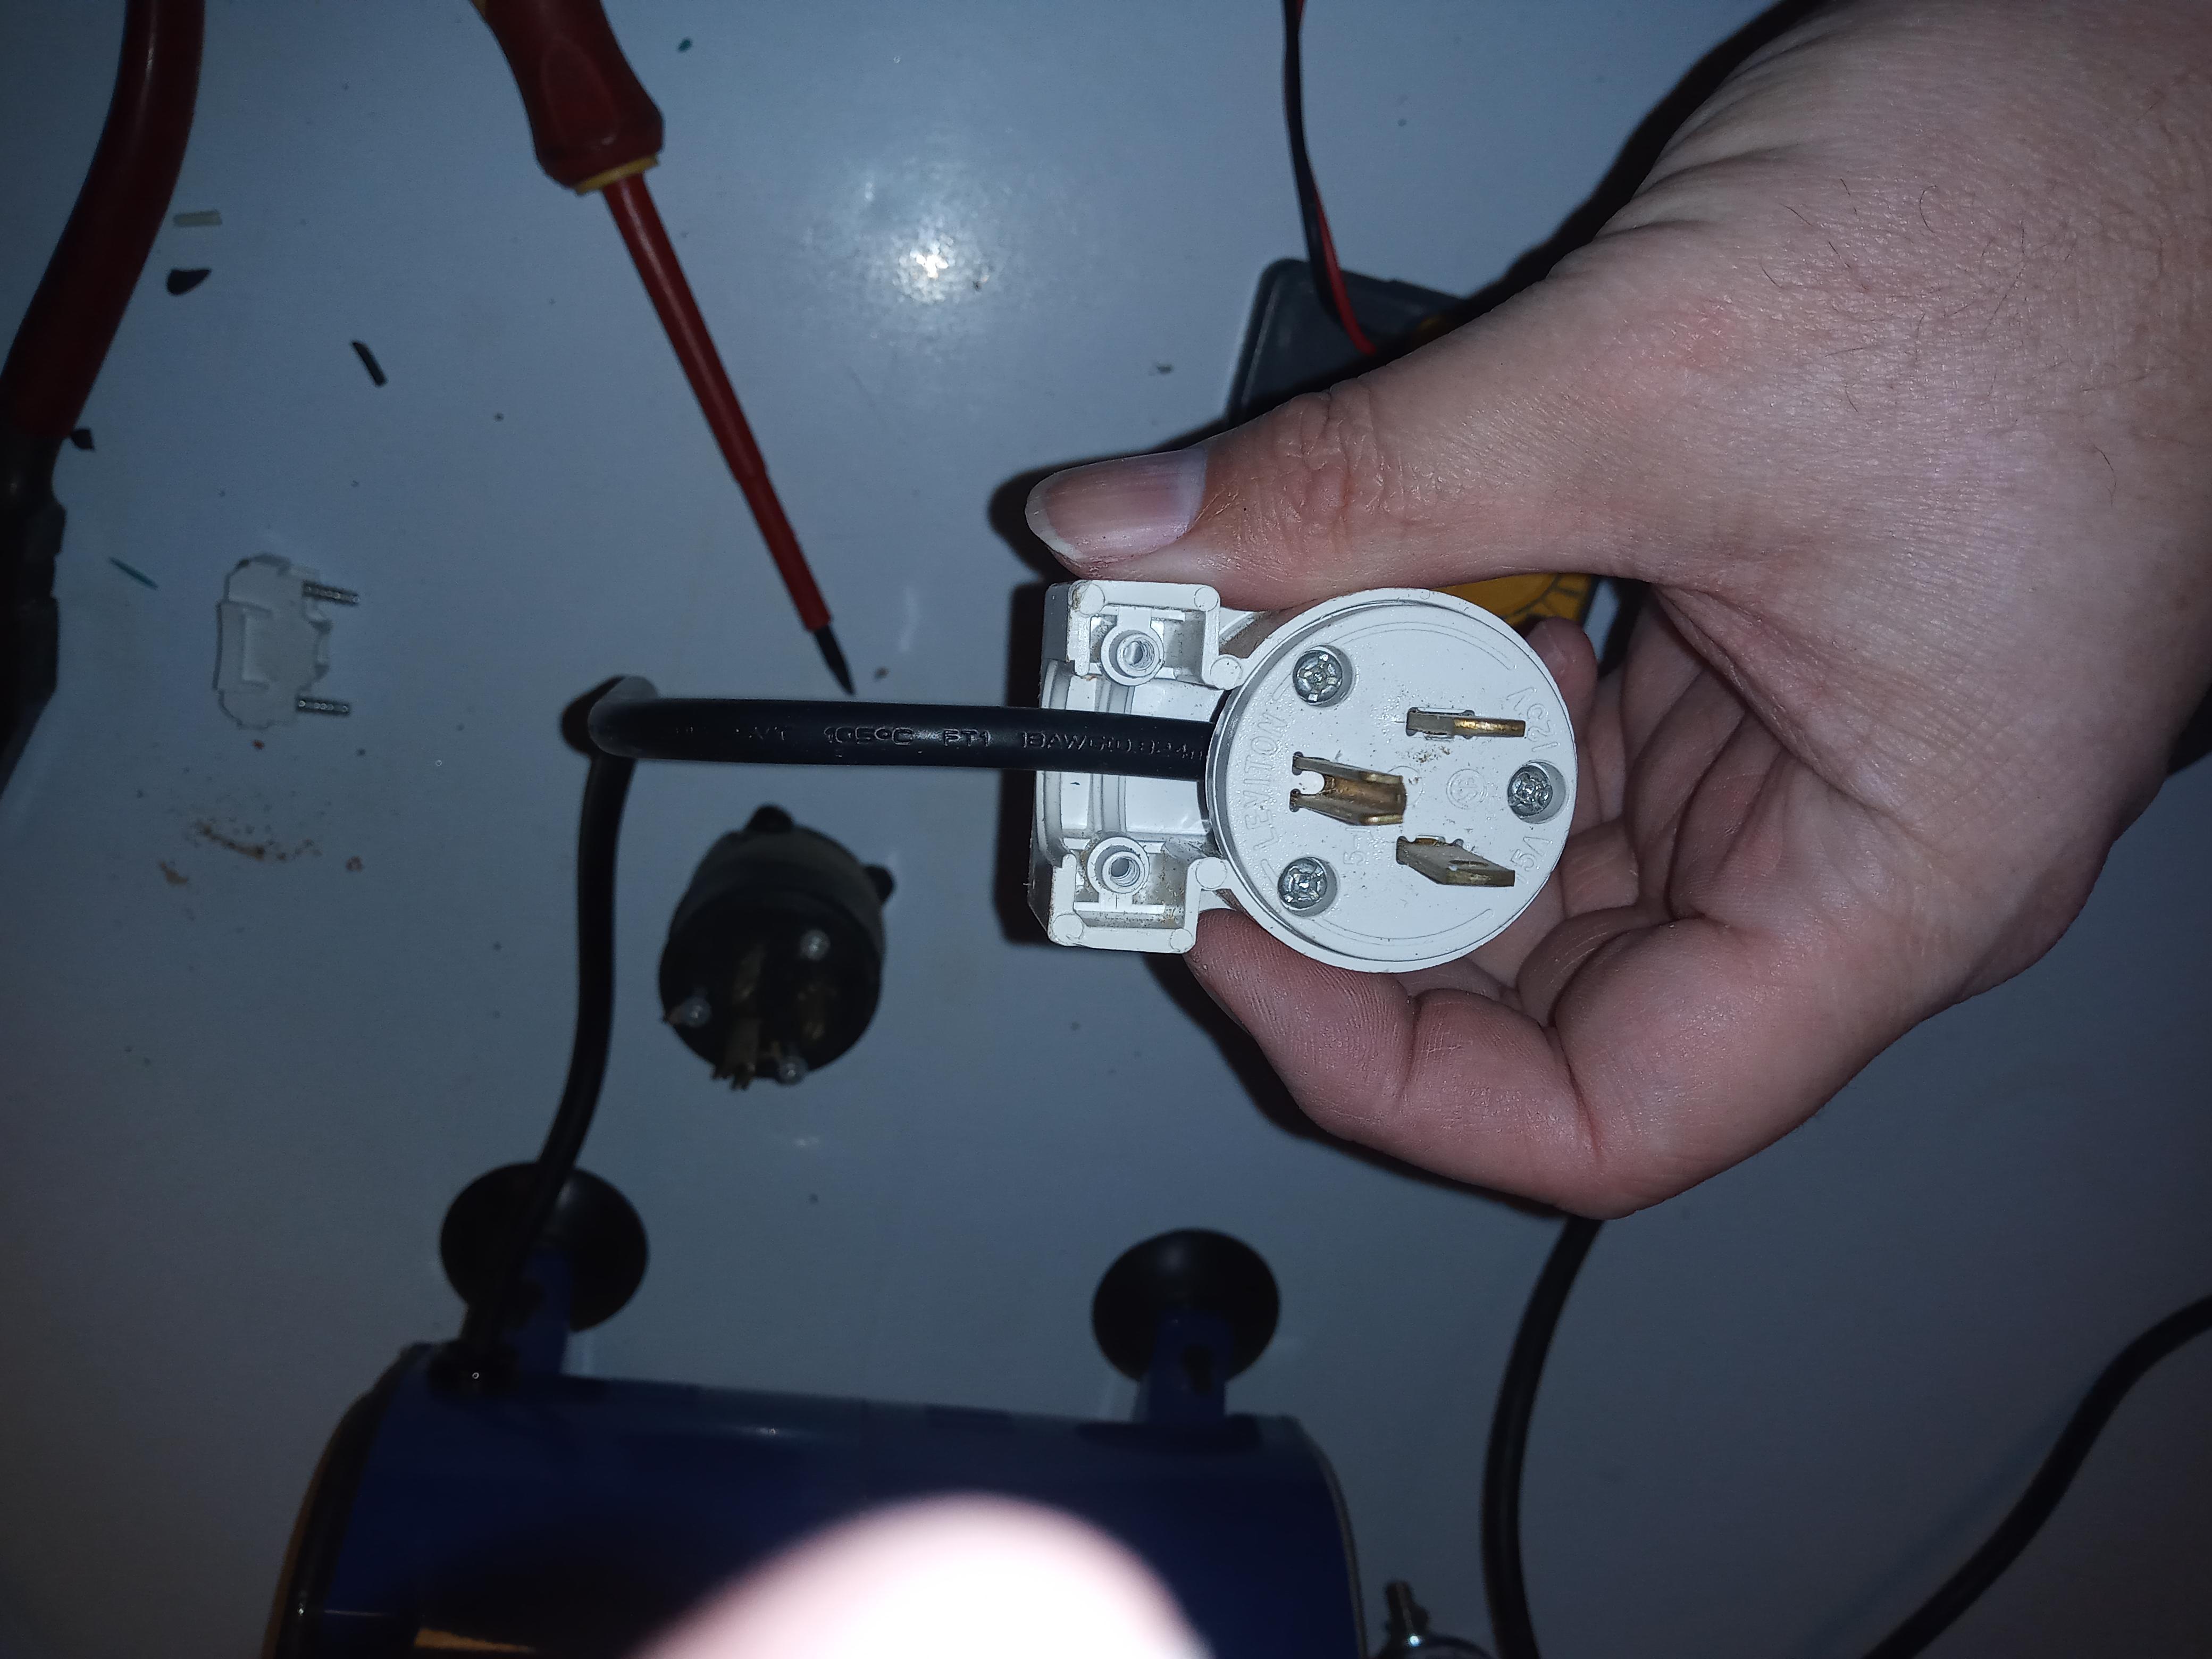
I can’t emphasize enough here that a good screwdriver should be used to avoid stripping the heads of these screws. Electrical connections should be done nice and tight, and stripped screws don’t work. When placing the wires, green goes to ground; black goes to brass, and white goes to silver. Specifically, the terminal for the ground prong on the new plug (the bottom one that does not look like the others) gets the wire with the green colored insulation; the terminal on the new plug with the brass colored screw gets the wire with the black insulation; and the terminal with the silver colored screw gets the wire with the white colored insulation. If in doubt, check the box for your new plug and check for a diagram or instructions. In my case (and most cases for a 120 volt appliance) the wires are colored as follows:
- Black Wire = Power/Hot Wire (this will be the the power supply wire - 120 volts alternating current)
- White Wire = Neutral (this wire supplies the return path for the electricity and completes the electrical circuit)
- Green Wire = Ground (this wire completes a circuit between your appliance and the Earth to reduce the chance that you become part of the grounding circuit - get electrocuted)
If you find other wire colors or more or less wires, you should do some research on your particular project to verify how it is powered or if it have been previously repaired through non-standard practices. Electricity can bite pretty hard (kill you) so use caution if you don’t know exactly what is going on.
Secure the Wires

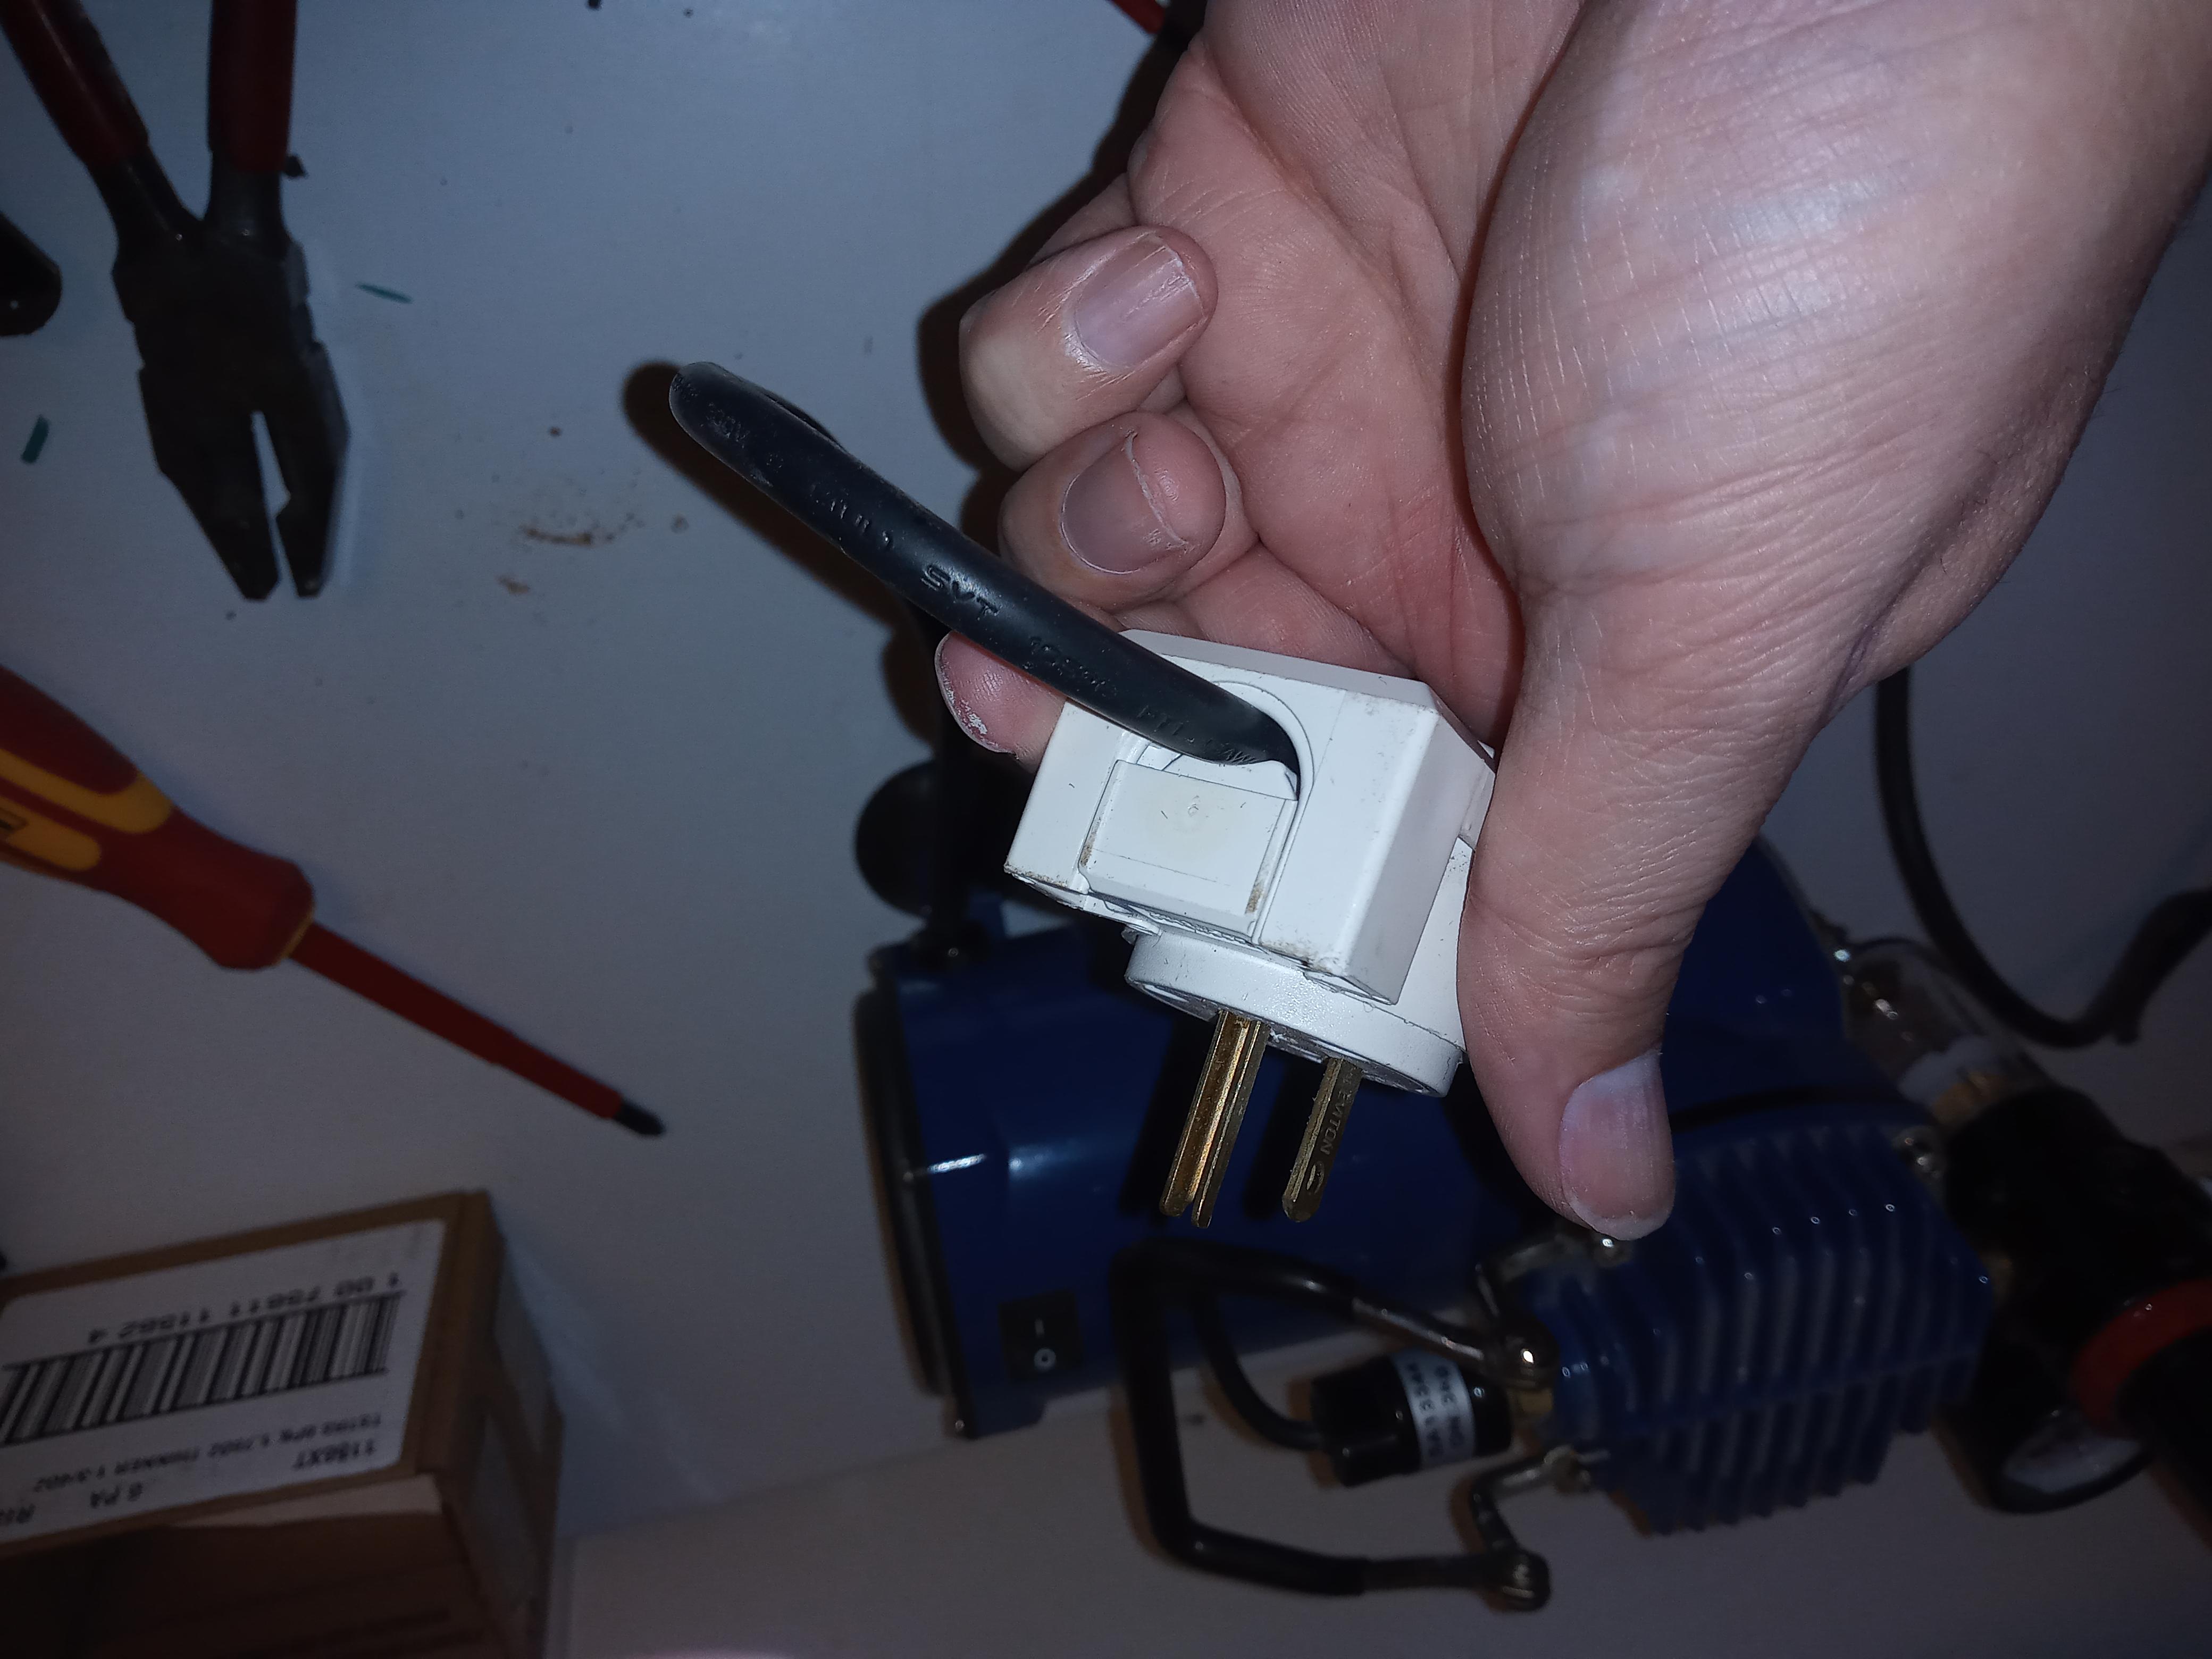
The replacement plug I used, as with all new plugs, uses a strain relief to keep the wires from being pulled from their respective terminals. This is essentially a clamp that grips the power cord’s outer insulation. You should check that this clamp is tight enough that the power cord is firmly held and cannot be pulled out.
Finish the Job

Its important that you clean up after yourself, especially when using a shared space that others will be using.
Also, tell your brother to take his stuff home and that you are not responsible for his stuff when he breaks it… and double check that he doesn’t borrow your good extension cord now that his compressor’s power cord is so short