How to Fix a PC Joypad
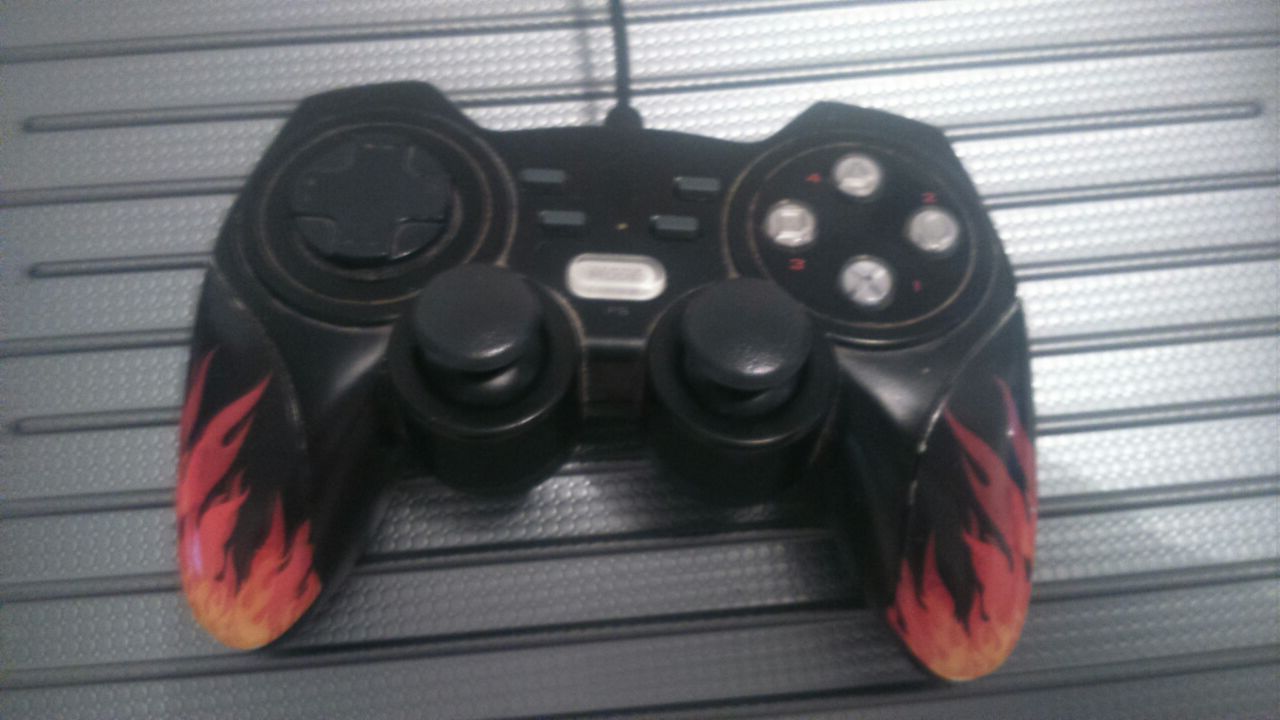
Hi folks, fdr1929 here, and in this instructable i'll show you how you can fix any PC joypad if it is broken down by a cable damage. So keep reading and watch the videos (turn on the subtitles!!!) so you can have your joypad fixed.
Materials
To get your joypad fixed you will need:
- Tiny screwdrivers.
- Cutter.
- Cutting pliers
- Pliers.
- Soldering iron.
- Tin.
- Shrink Tube #2 or #3.
- Multimeter.
When you have all of there items you are ready to go to the next step.
Checking the USB Main Cable and Opening the Joypad
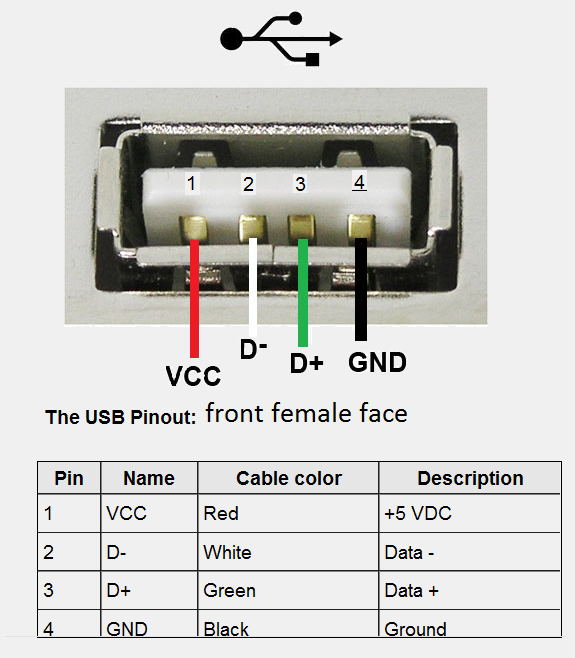
So as you will see in the video when i plug in the Joypad to the PC it makes false contacts, if i move the USB cable it will be recgonized and unrecognized by the PC, which is tottally bad, so if this happens to your Joypad, you can assume the problem is some inner cable that is broken. Now with the cutting pliers cut the USB main cable near to the cble holder where the cable come out from the Joypad, then with the cutter makes little cuts around its cover and with the pliers remove the cover. When you have done this you will find 5 inner cables, one red which is voltage, black which is ground, green which is data+, white which is data- and a peeled one which is the cable shield, so now peel each inner cable on its extremes, except for the shield cable, with the cutter very carefully.
Now with the multimeter in the continuity test mode put one test probe over the black peeled inner cable, and the other test probe put it making contact with the inner contact of the USB plug that is on its left corner, if you point the USB connector facing at you. Check the image to see which contact should be connected to each inner cable. All of the cables must give you a 0,001 reading on your multimeter screen and maybe your mutlimeter makes a sound indicting that there is continuity between the 2 probes, so your inner cables are good, and if this is like that then your USB cable is ok.
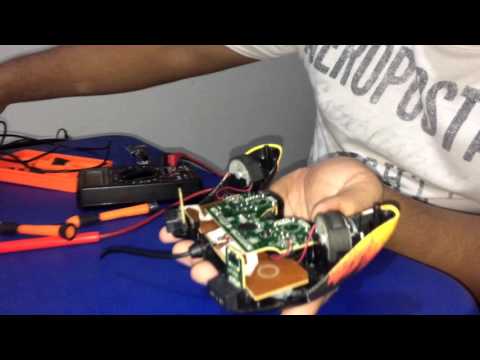
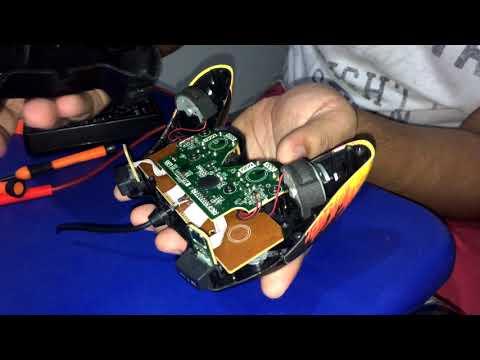
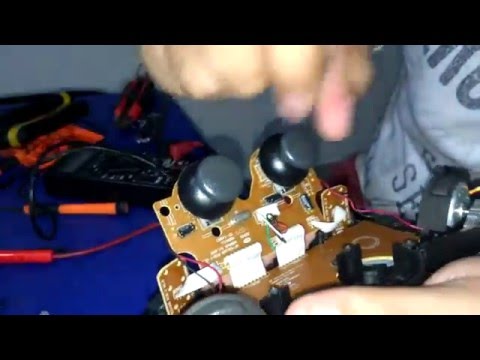
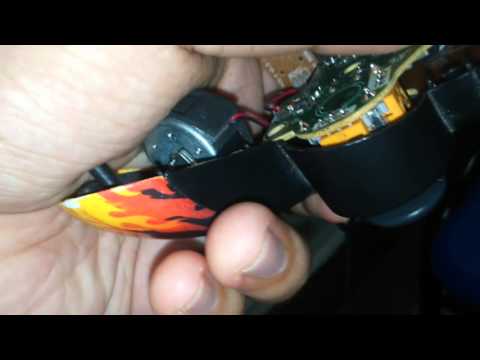
Now grab a tiny screwdriver and begin to take the screws of the rear part of the Joypad away, then remove the rear cover of it, and you will find 2 boards, one bigger that is the buttons board, and another one that is the master board (at least in this Genius Joypad is like that), so now with the screwdriver take out the 4 screws that maintain the master board attached to the bigger board ir order to move it and check where the 5 inner cables are connected to. When you have your master board free move it and with the cutting pliers cut the 5 inner cables near to its end on the master board leaving1 cm of legth from the connector for each cable as minimum. After that you should have a piece of cable free that goes out passing through the cable holder, remove it of the Joypad and grab the piece of cable by one extreme with the pliers and pull it out of the cable holder. Watch the video too see how this process is done!!!
Preparing the Main USB Cable.
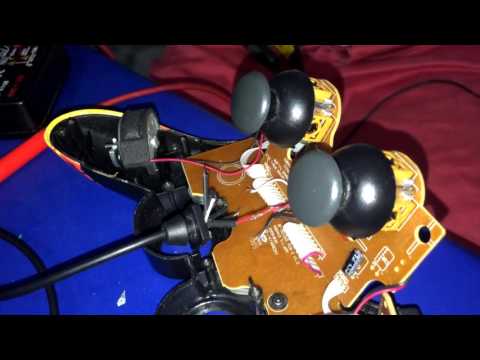
Now grab the cable holder and remove any remaining stuff that could be inside of the hole where the USB cable will pass through. If you need you can make the hole bigger using some thicker cilidrinc tool. After that take the main USB cable and pass it through the cable holder, when you are done with this place the cable holder where it was originally and now put the 5 inner cables near to the 5 inner cables that are connected to the master board.
Watch the video so you can see how this process is done!!!
Welding the Inner Cables.
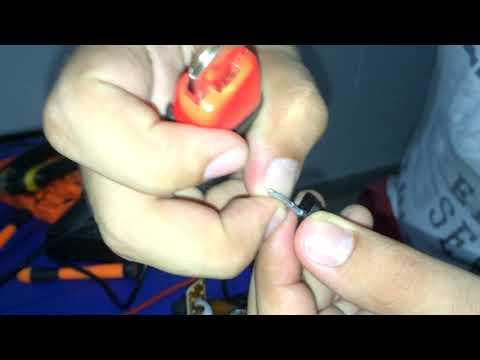
Peel the extremes of the 5 inner cables that are connected to the master board, peel just half centimeter of length. Now cut 5 pieces of shrink tube of 1 cm of length, and introduce each piece in each cable, placing them on the lowest part of the cable.
Now you must cover the shield cable of the main USB cable that comes out of the cable holder, for this cut a piece of shrink tube with a length lower than the cable itself. When you have it introduce it over the cable and place it in the lowest part, grab the soldering iron,previosly heated and heat the shrink tube to shrink it, grab and cover the shield cable.
So when you have all of the cables ready, with the soldering iron and the tin, tin the peeled extremes of all of the 5 inner cables, the ones that are from the main USB cable and the ones that are connected to the master board. Now bend their extremes, and hook up each color, but one at a time, so you can begin with the red one, hook them to each other, and with the soldering iron and tin, weld the extremes of the 2 red inner cables, when they are done cover the welded part with the shrink tube and heat it to cover this part definetely. Repeat this process with the remaining inner cables.
Watch the video to see how all this step is done!!!
Closing the Joypad and Testing It!!!
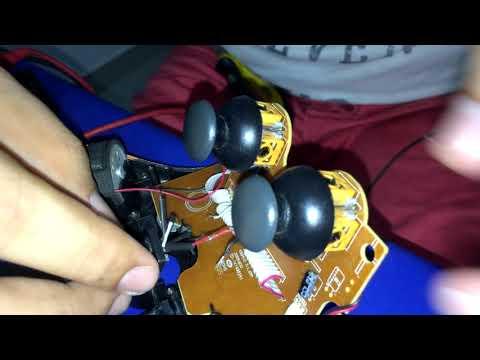
When you have all of the inner cables wleded and ready is time to close the Joypad. So for this, first place the cable holder on its original place, then attach the master board with the 4 screws to the bigger board, then place the sticks and the buttons on its original position.
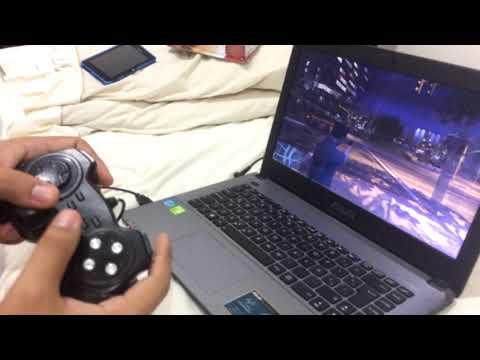
Now that everything is on the right place, take the rear cover of the Joypad and put it carefully to close it again. If you put it rigth the R2 and L2 buttons should move smoothly and return to its initial position after they are pressed. If this doesn't happen remove the rear cover and try it again. When you jave everything ok, attach the both parts of the Joypad with the screws you removed at the begining using the screwdriver. After that you Joypad is closed and ready to be tested, so connect it tou your PC and it should be recognized. If is recognized means that your Joypad is ok again and you can test it with any game you want.
And that's all folks, if you have any doubt you can let me know on the coments below and i will be happy to help you. Have fun.