How to Fix a Broken Toilet With 3D Printing!
by elighsgarage in Workshop > 3D Printing
1063 Views, 5 Favorites, 0 Comments
How to Fix a Broken Toilet With 3D Printing!
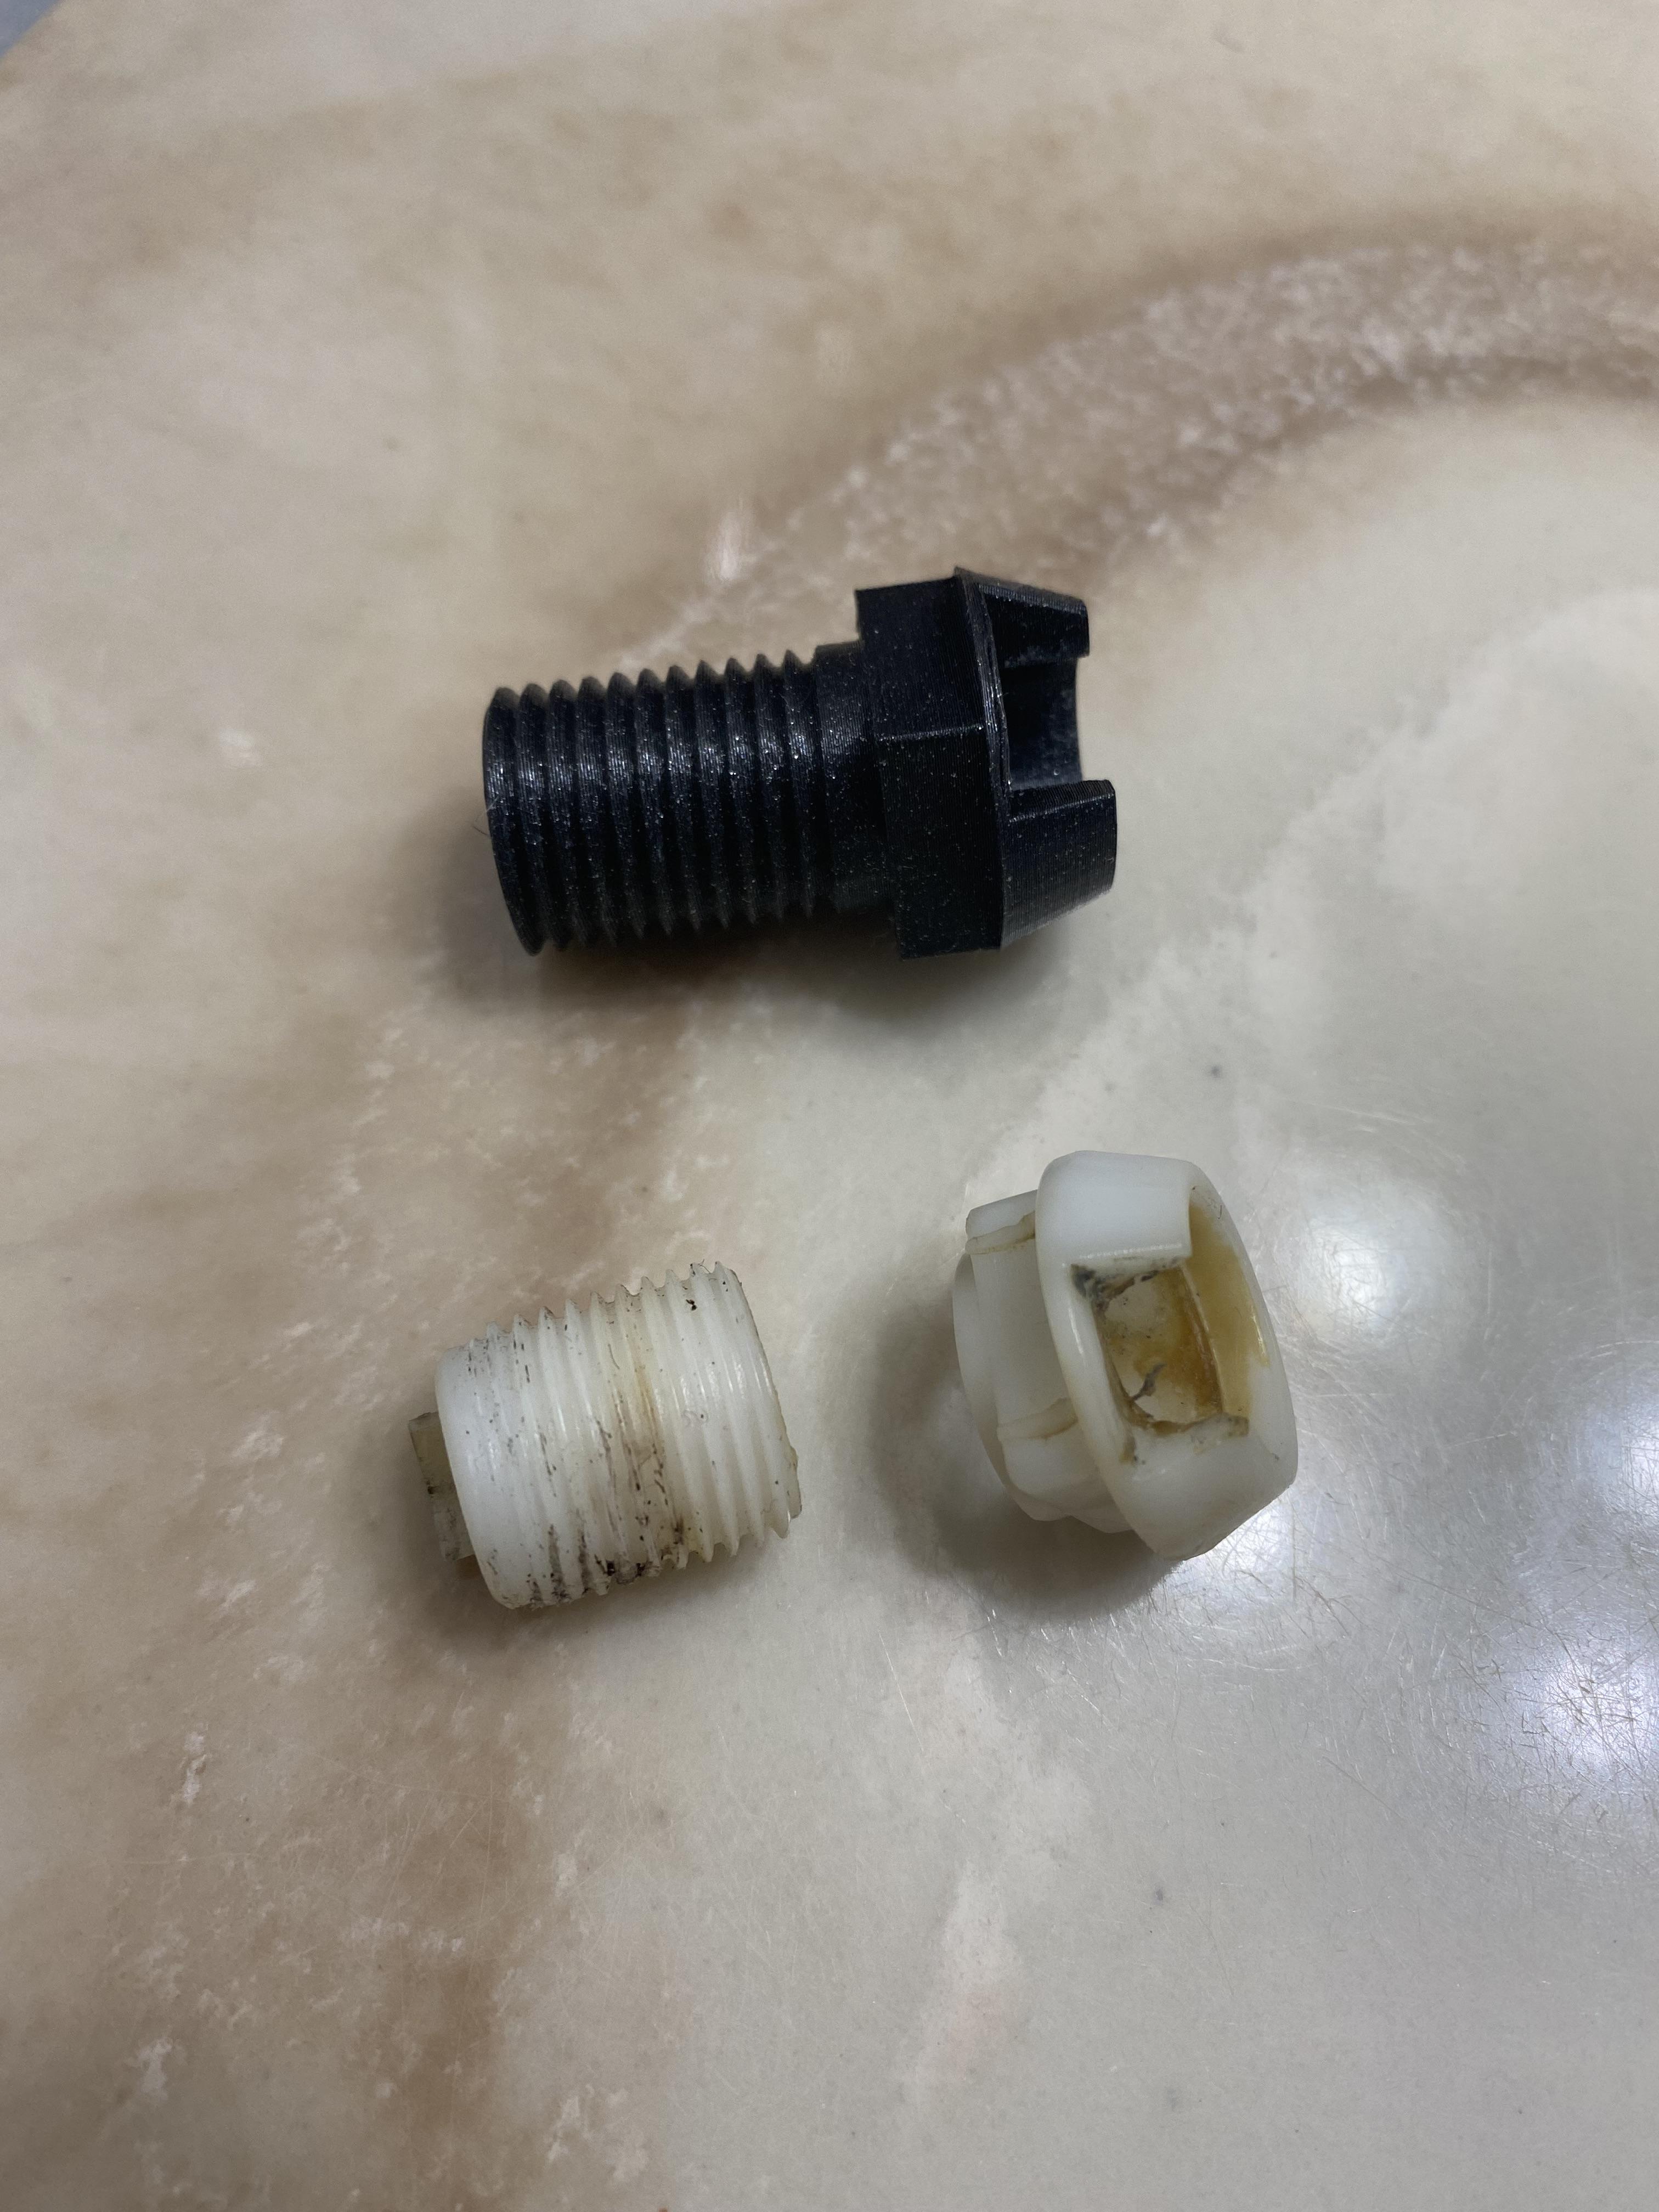
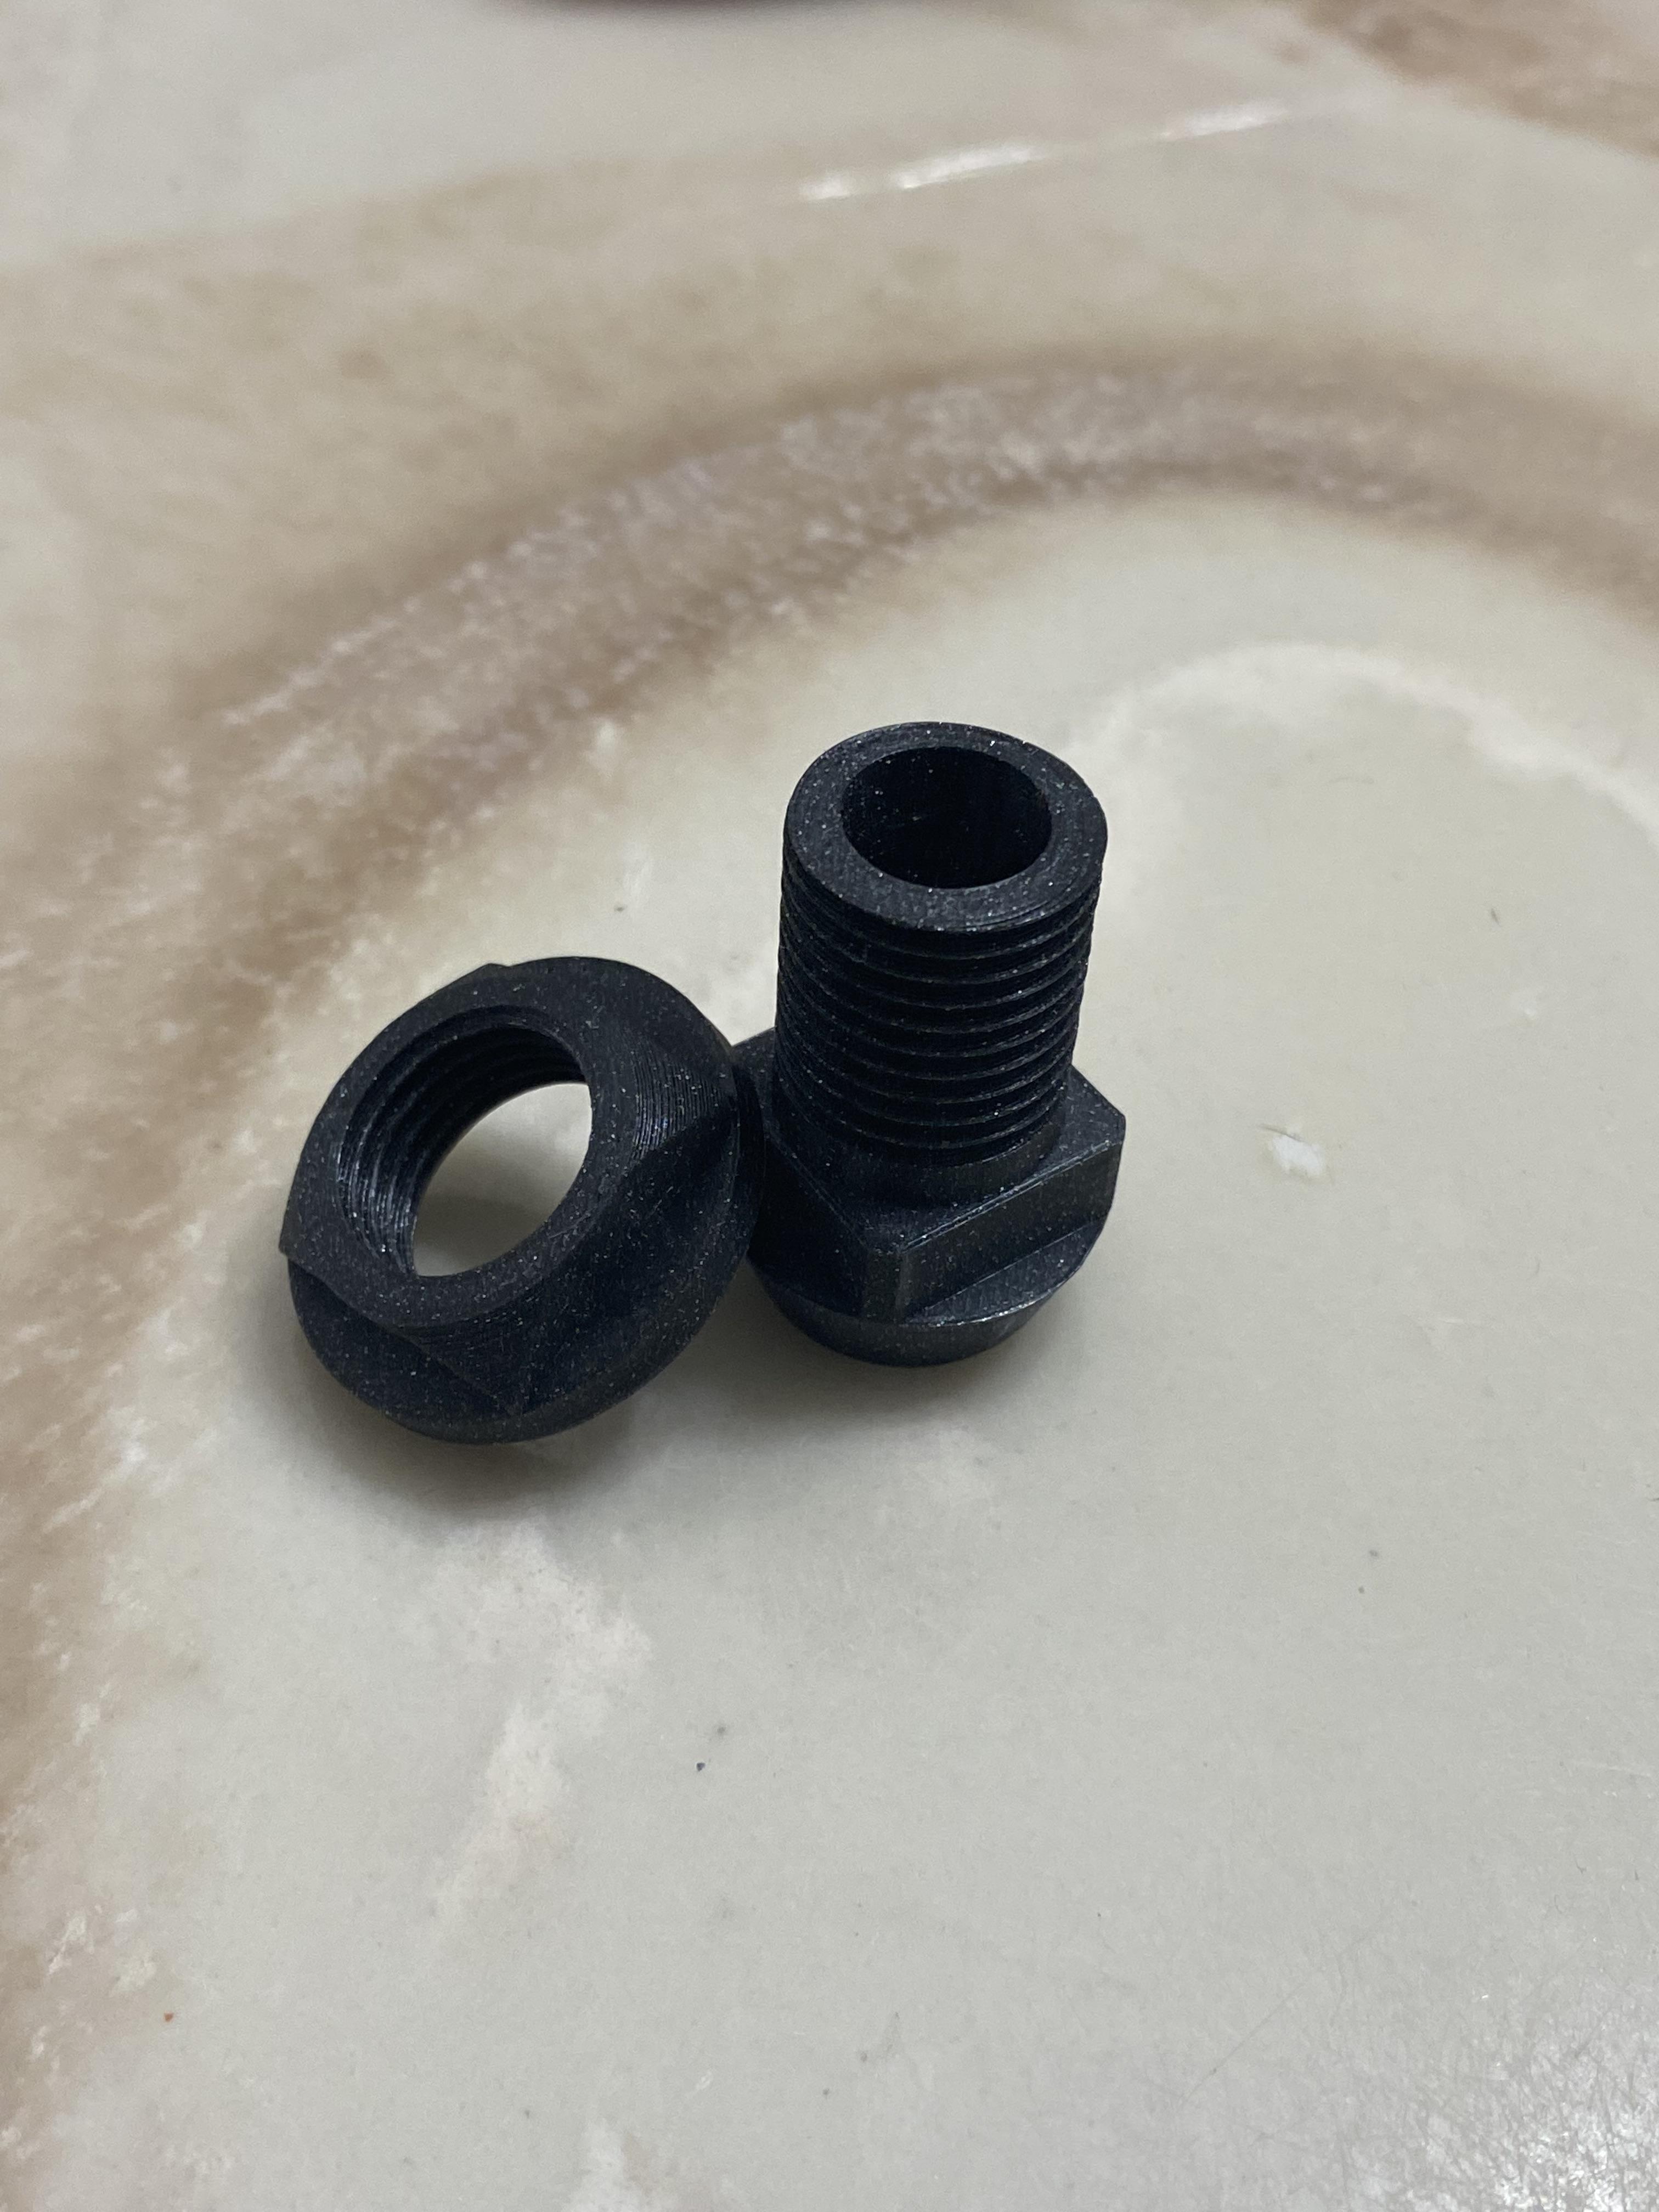
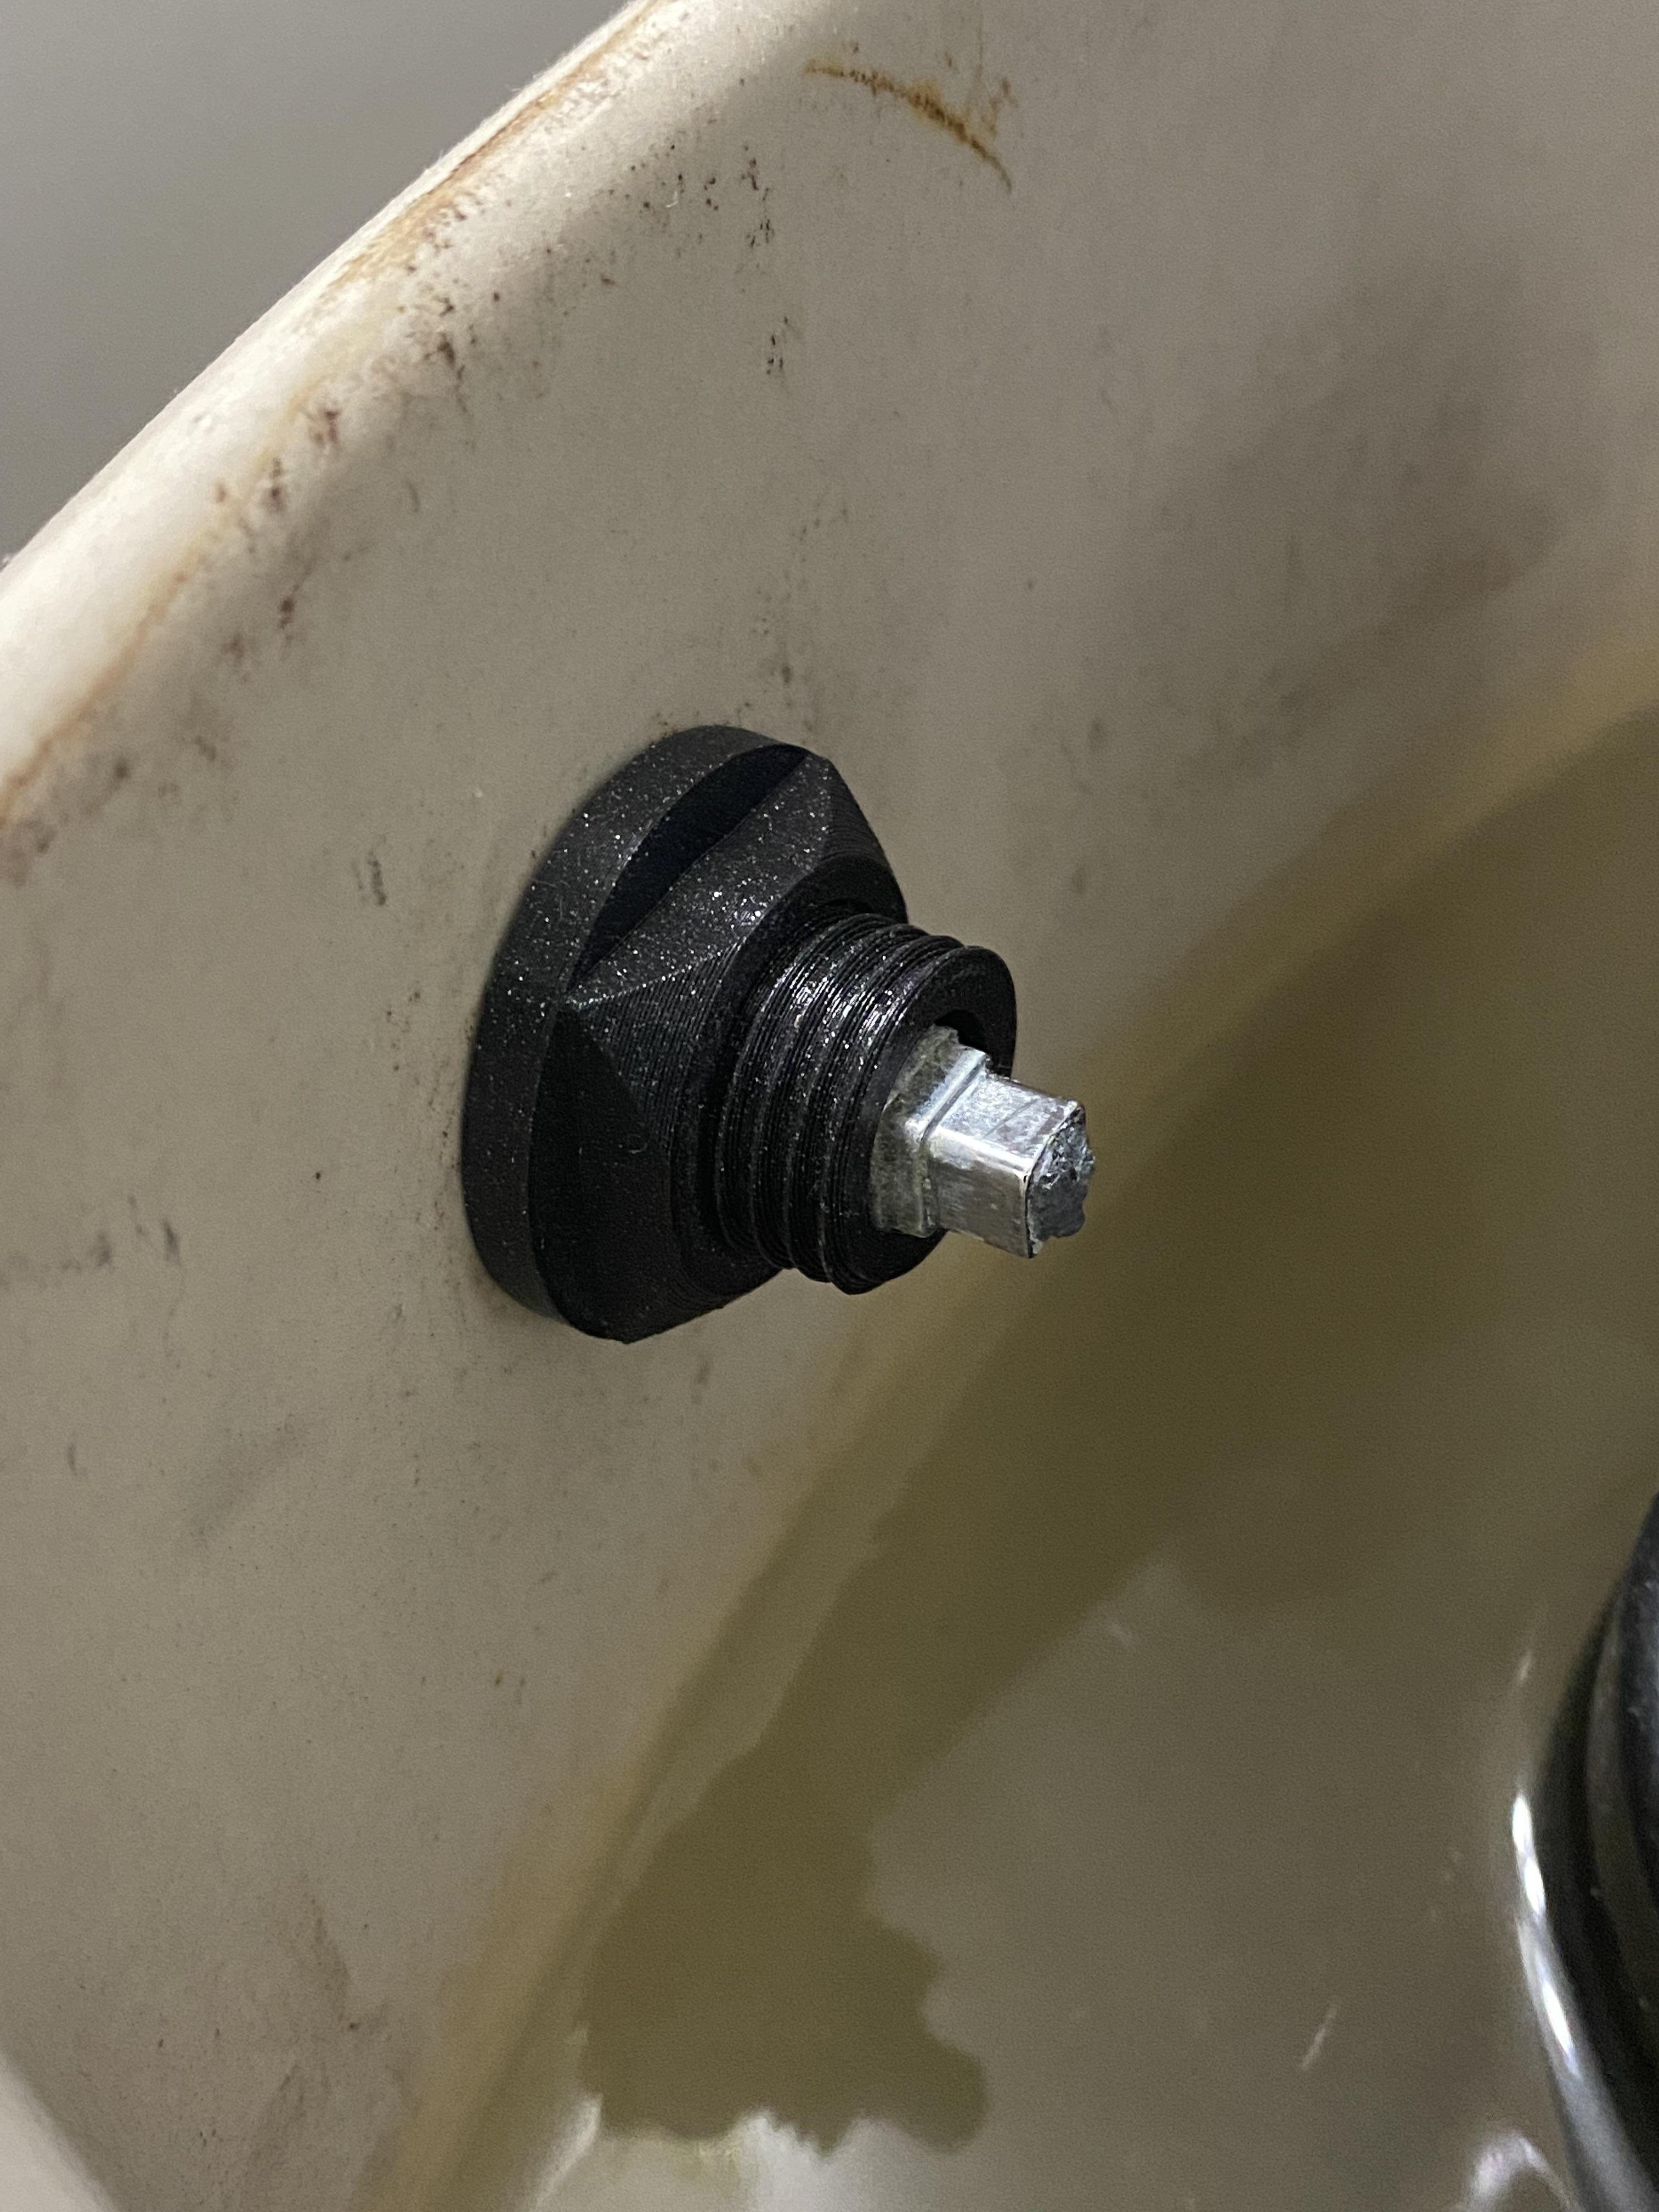
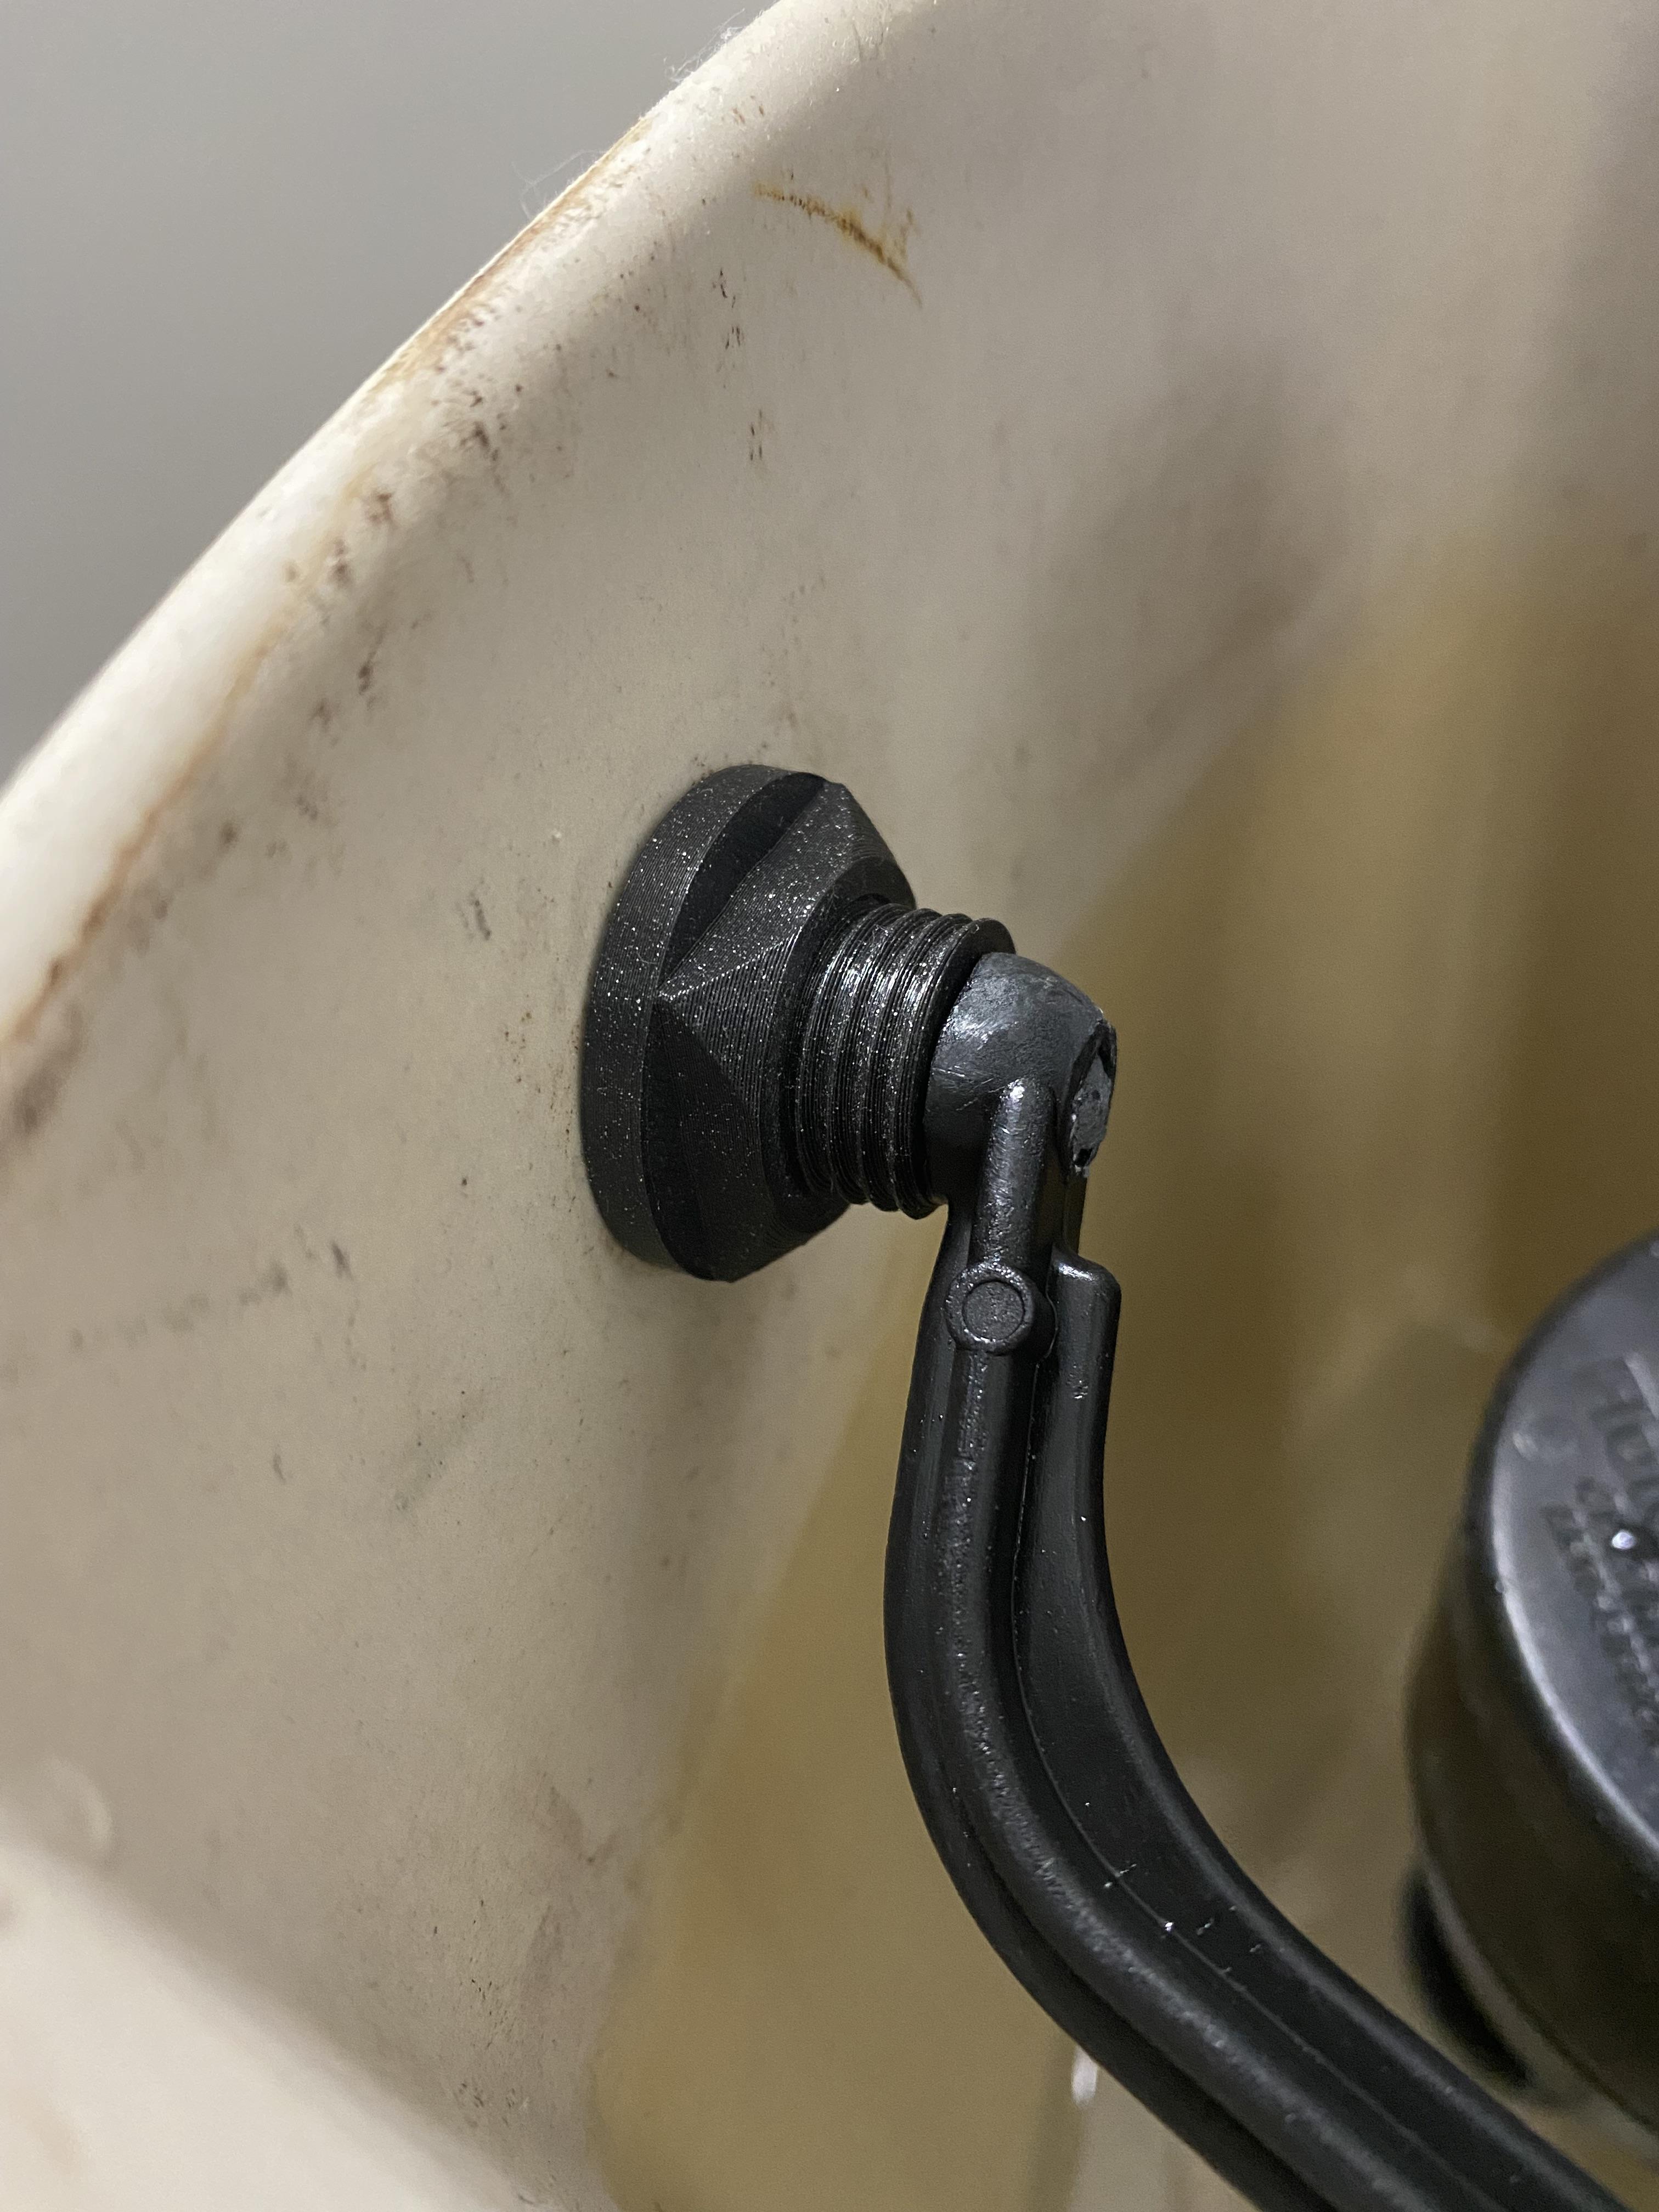
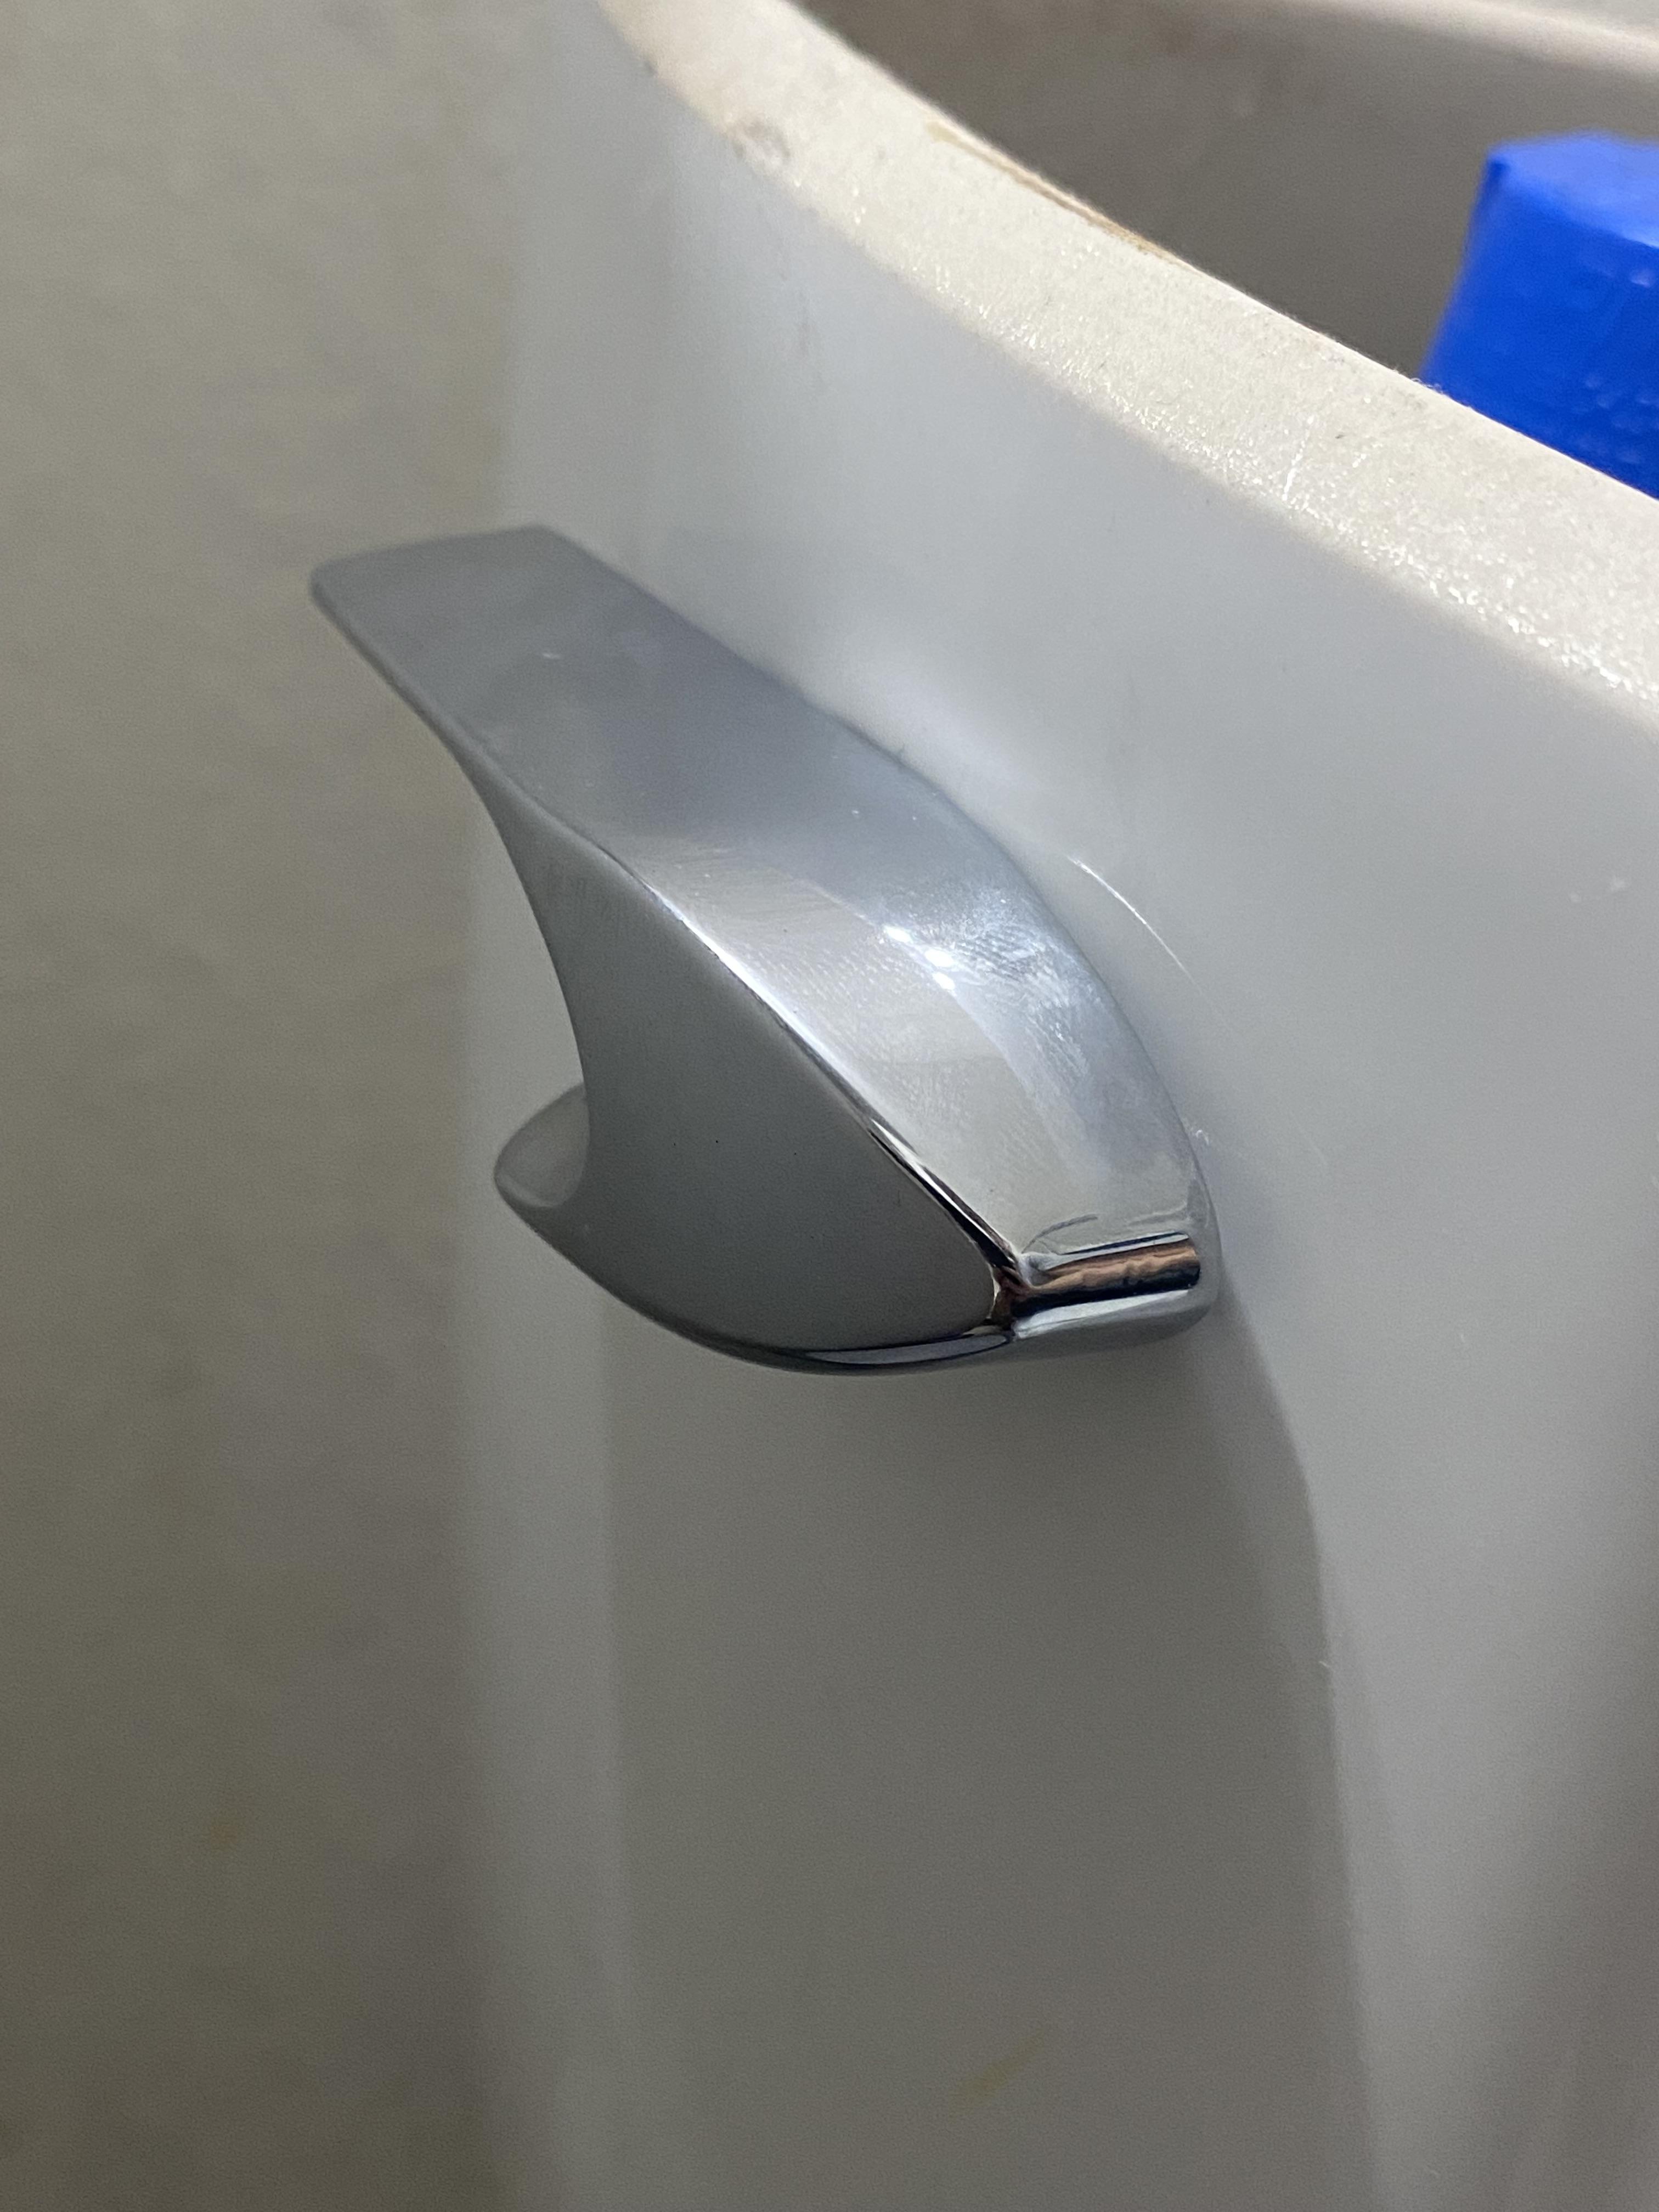
Hello! My name is Eligh Moses, I am currently attending The University of Central Florida for Mechanical Engineering; I am a upcoming Junior in the fall semester. A little background for this project: a little while ago a handle for one of our toilets broke as it was probably quite old and got brittle with supporting all those flushes. For a time we were just flushing it by having the top off and lifting the chain (really because it just worked). And I know its a little crazy to not just go out and by a replacement, however I always like to fix what I can to save waste and really just learn how things work. That being said, instead of buying the replacement parts I decided to model one up from the remaining pieces and give it a shot. This write up is to show my process for recreating this piece but it can really be used to copy any part. So sit back, grab your calipers and have fun recreating parts for real world applications!
Supplies
- Fusion 360
- Calipers
- 3D Printer (or someone you know that has one/school/printing service)
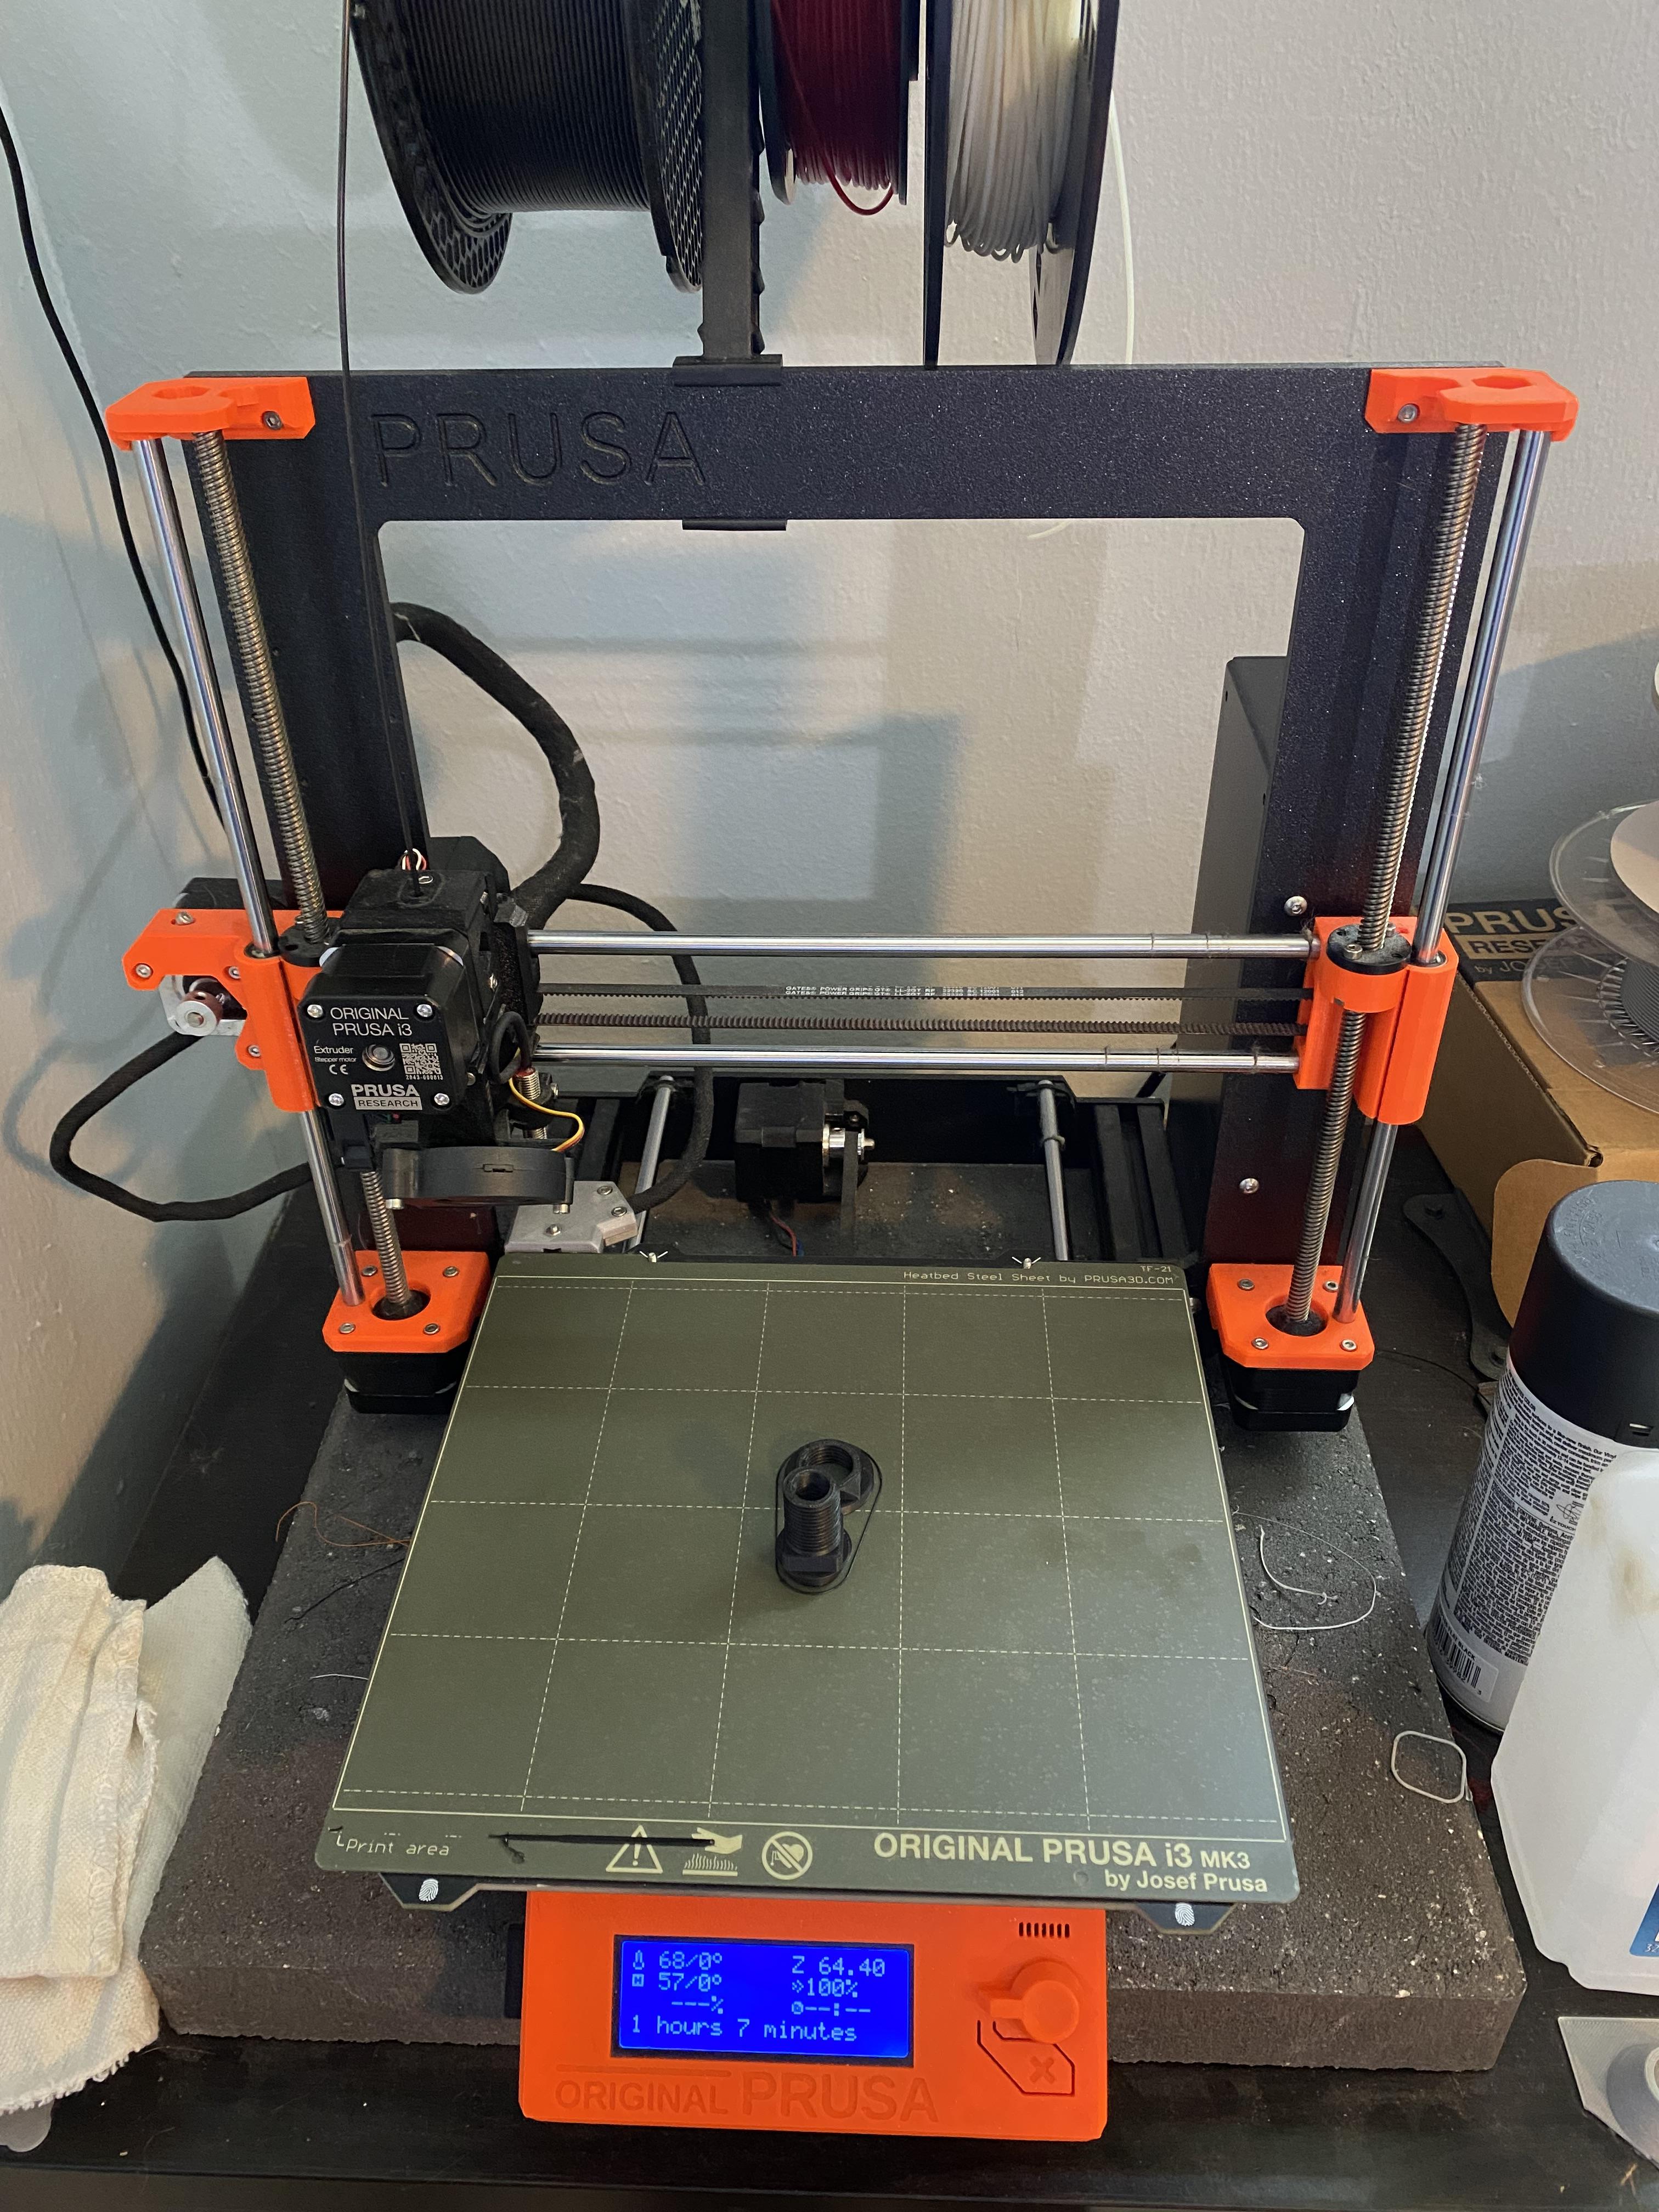
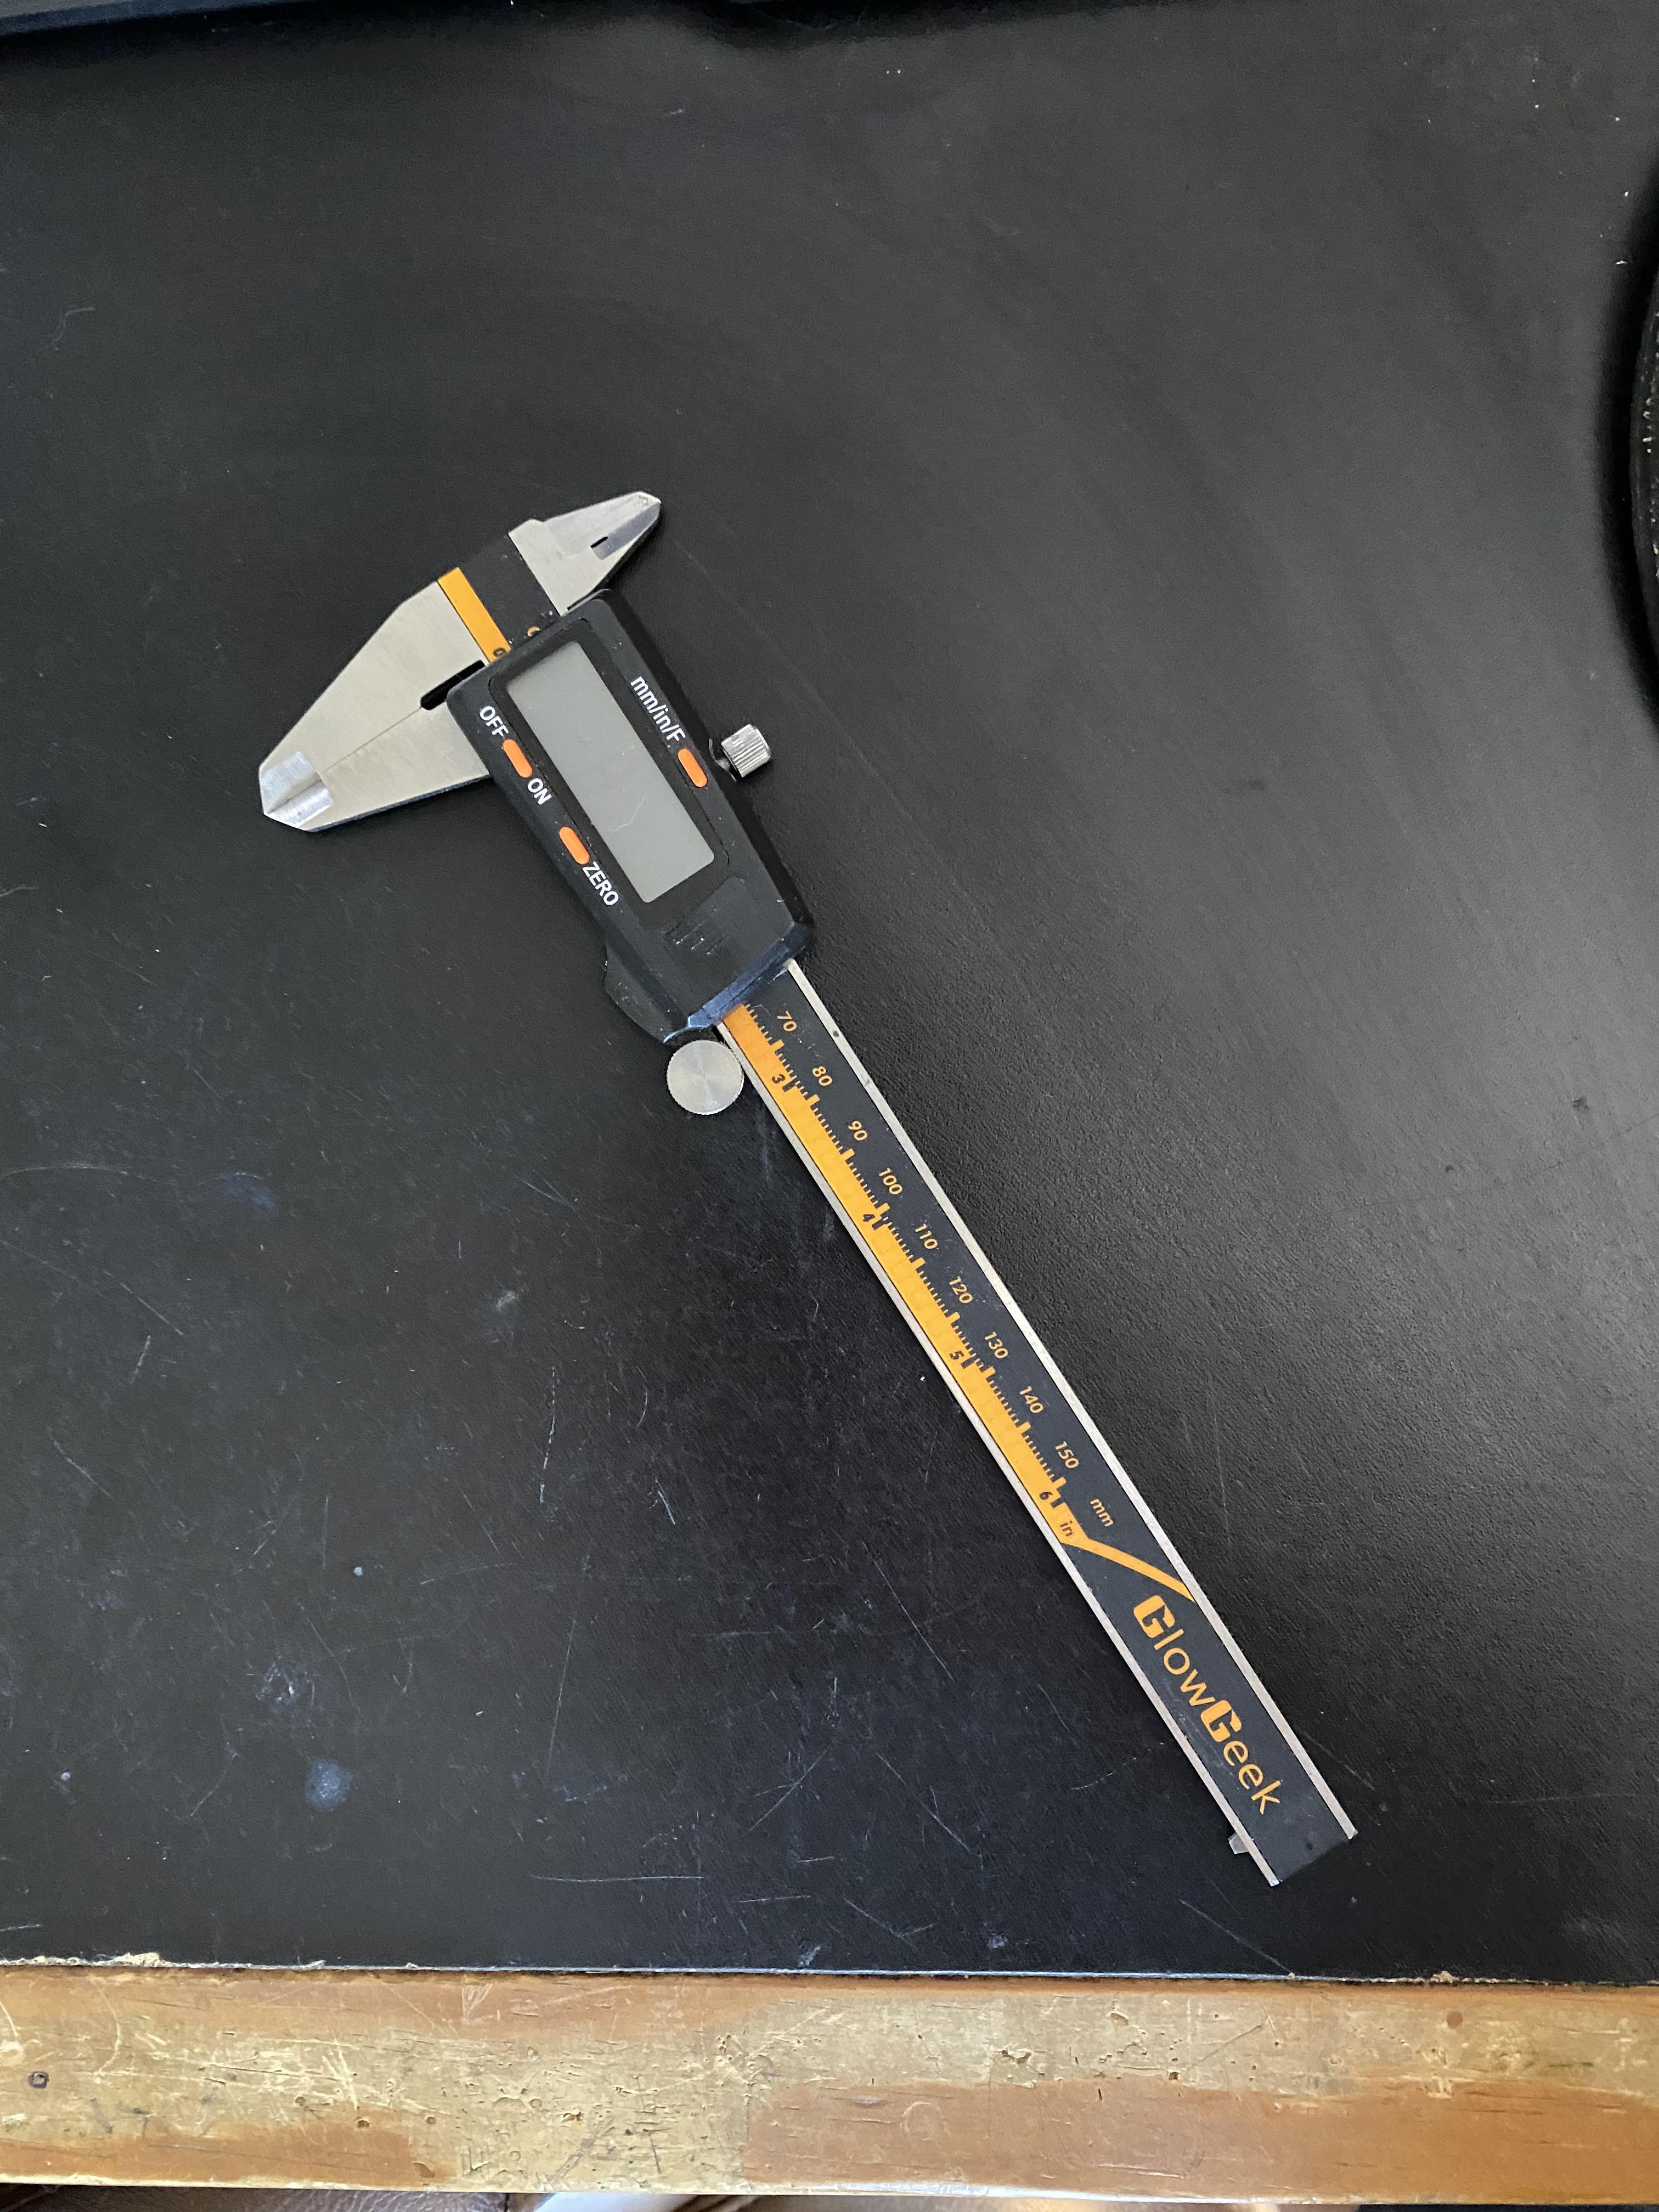
For this project the supplies that are needed are really minimal. You will first need something that your are trying to fix and replicate, in my case the broken plastic pieces from the toilet. Your favorite modeling software, (for this project I chose Fusion 360). A set of calipers, they really don't have to be anything expensive, for what we are doing any set will do. (Heck you could even get away will a ruler if you have a keen eye) For example, I have had the calipers in the photo for the longest time, they were the cheapest on amazon at the time. Yes they might not hold accuracy compared to a set of Mitutoyo's but if you are just getting into 3D printing just having a set will suffice. And last but not least a way to print the final result, I will be using a Prusa i3 Mk3.
Get Dimensions From Broken Part
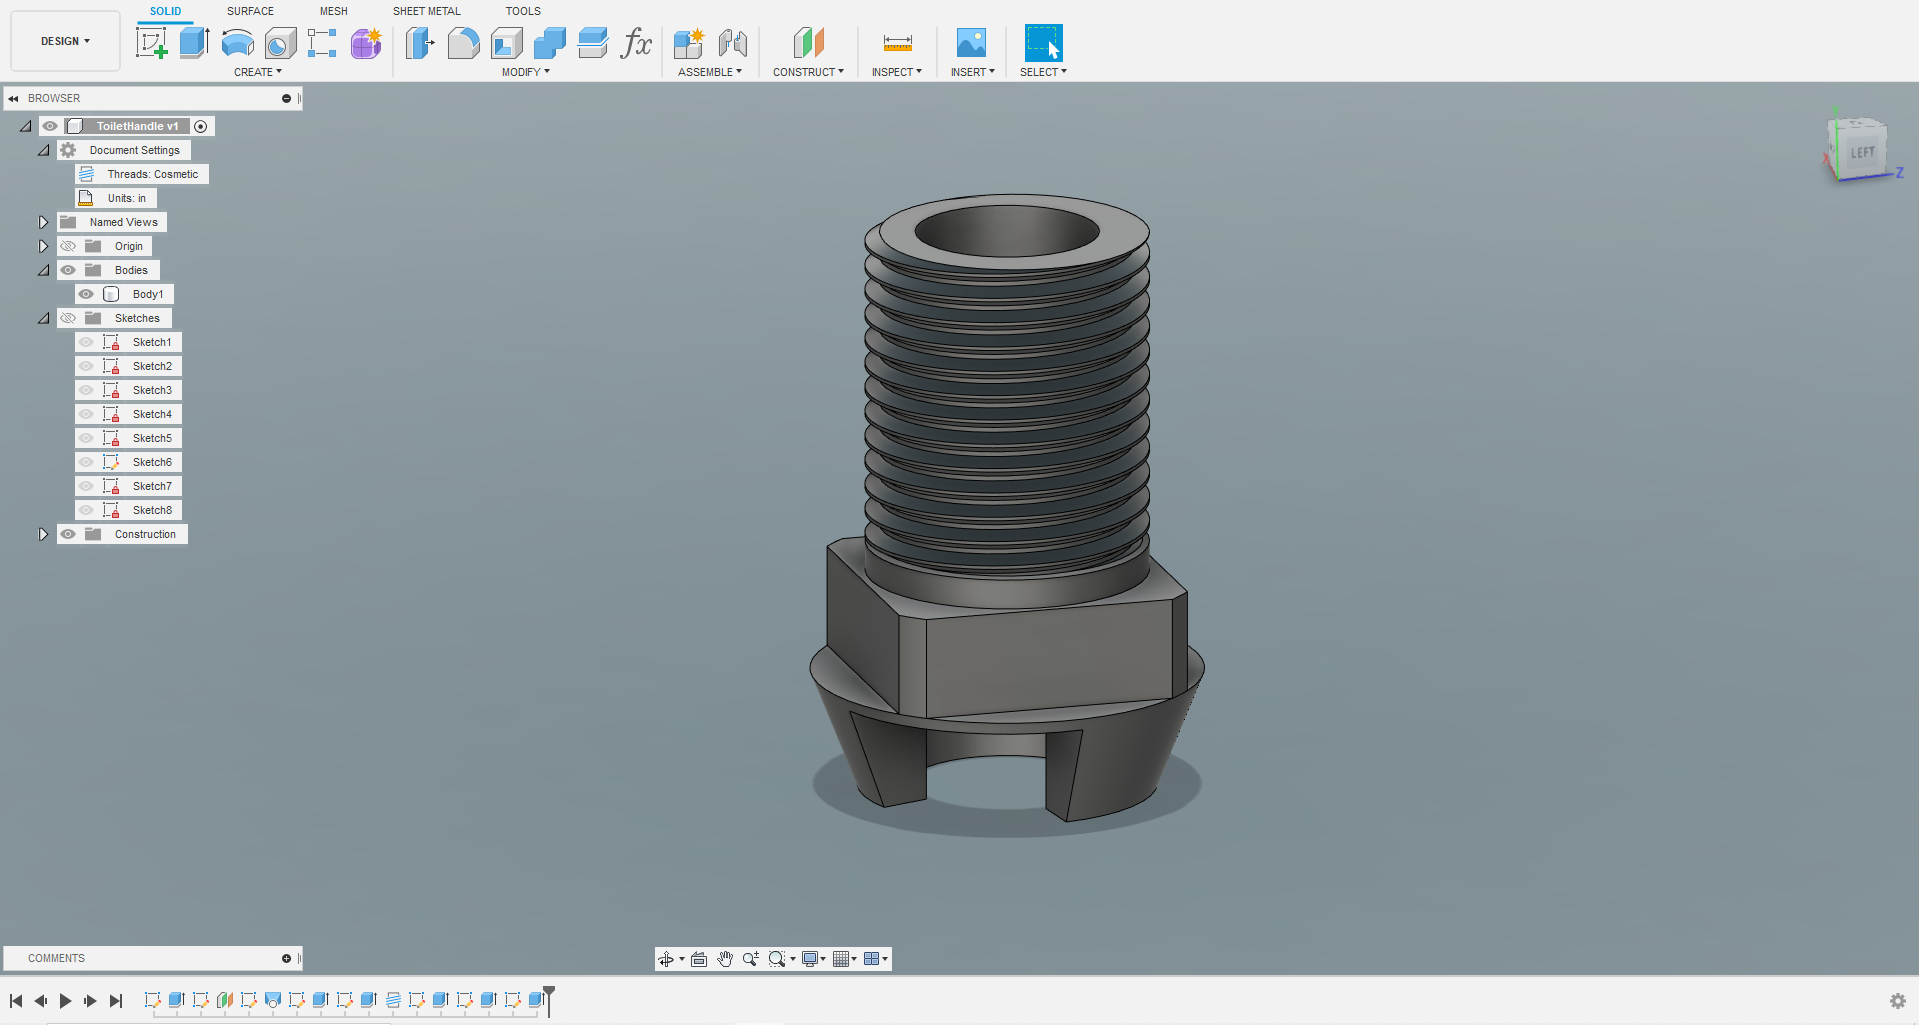
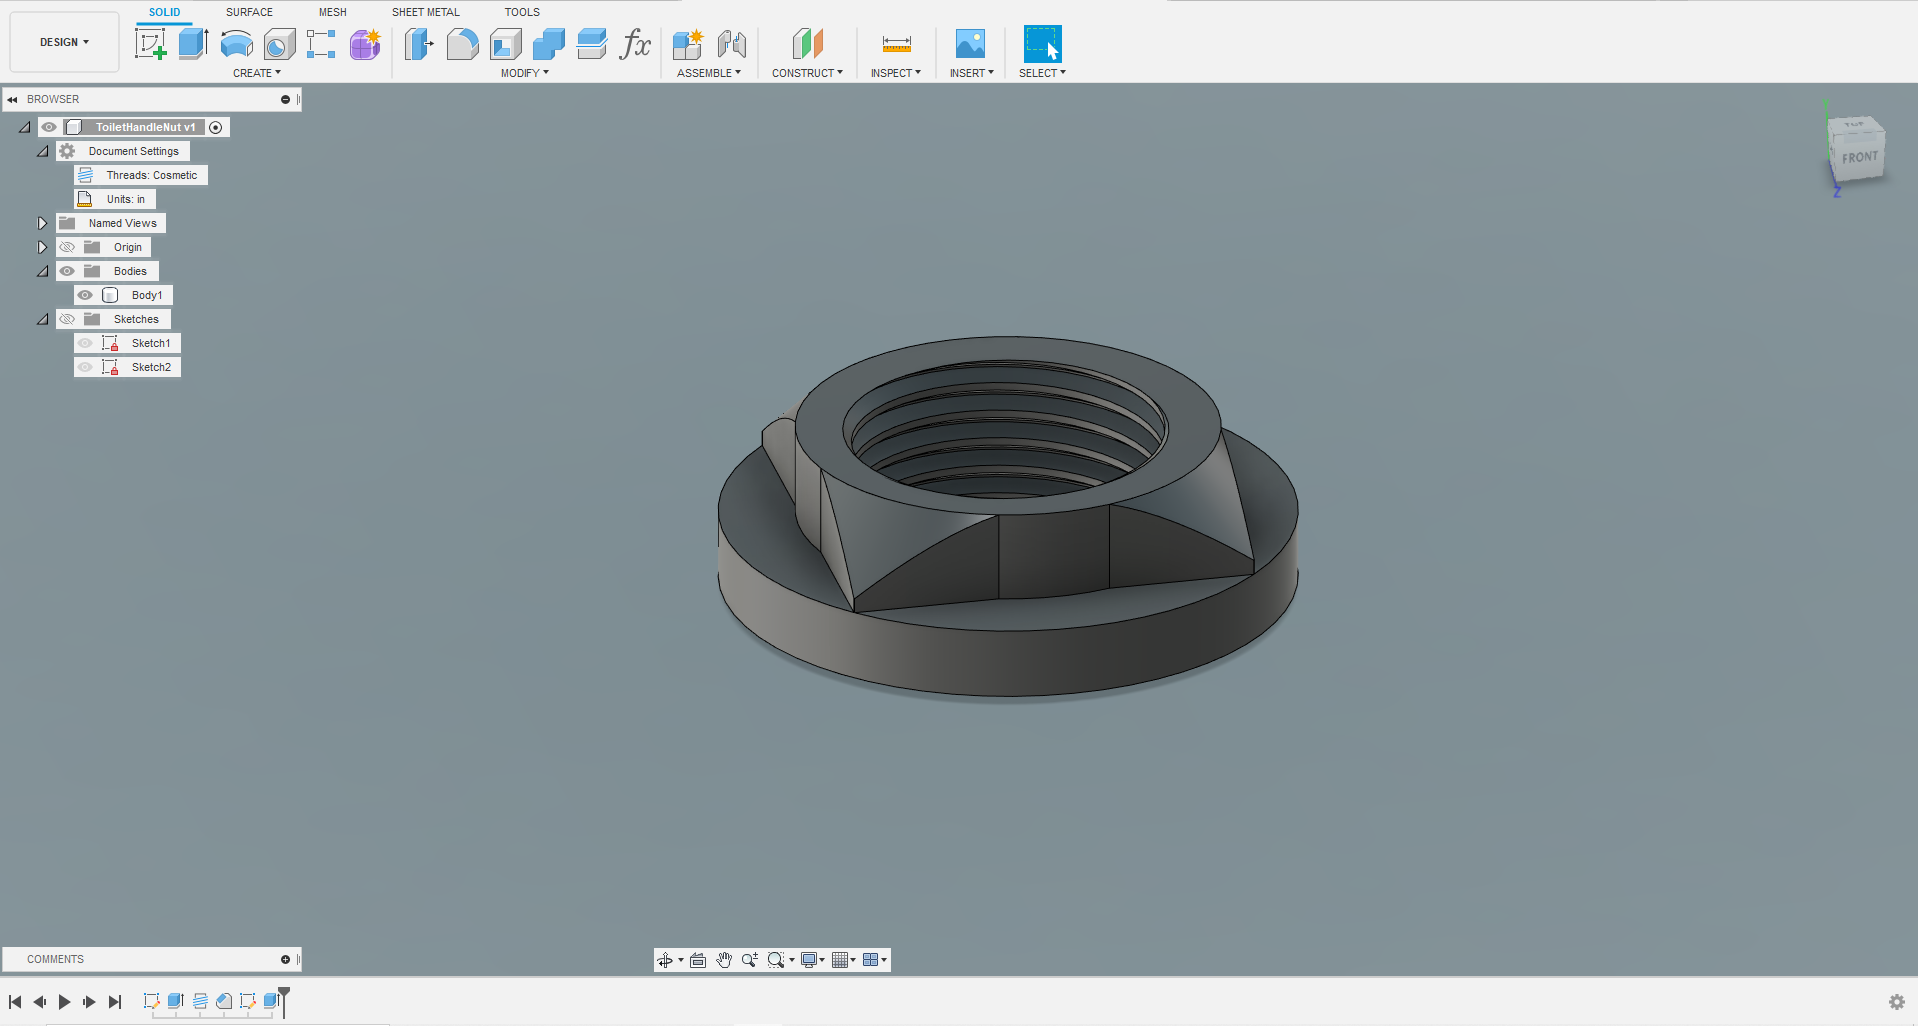
The first step of the process will be to take dimensions from the broken parts to be able to recreate them in Fusion 360. There are a couple ways to go about this; one option is to sketch the part on paper and do all of the measurements before starting to model. Another option, (and the one I normally choose to use for tasks like this), is to take measurements are you make your sketches in Fusion 360, so sit down with your part and your calipers, take measurements and start putting them in Fusion 360.
Complete Design in Fusion 360
.gif)
.gif)
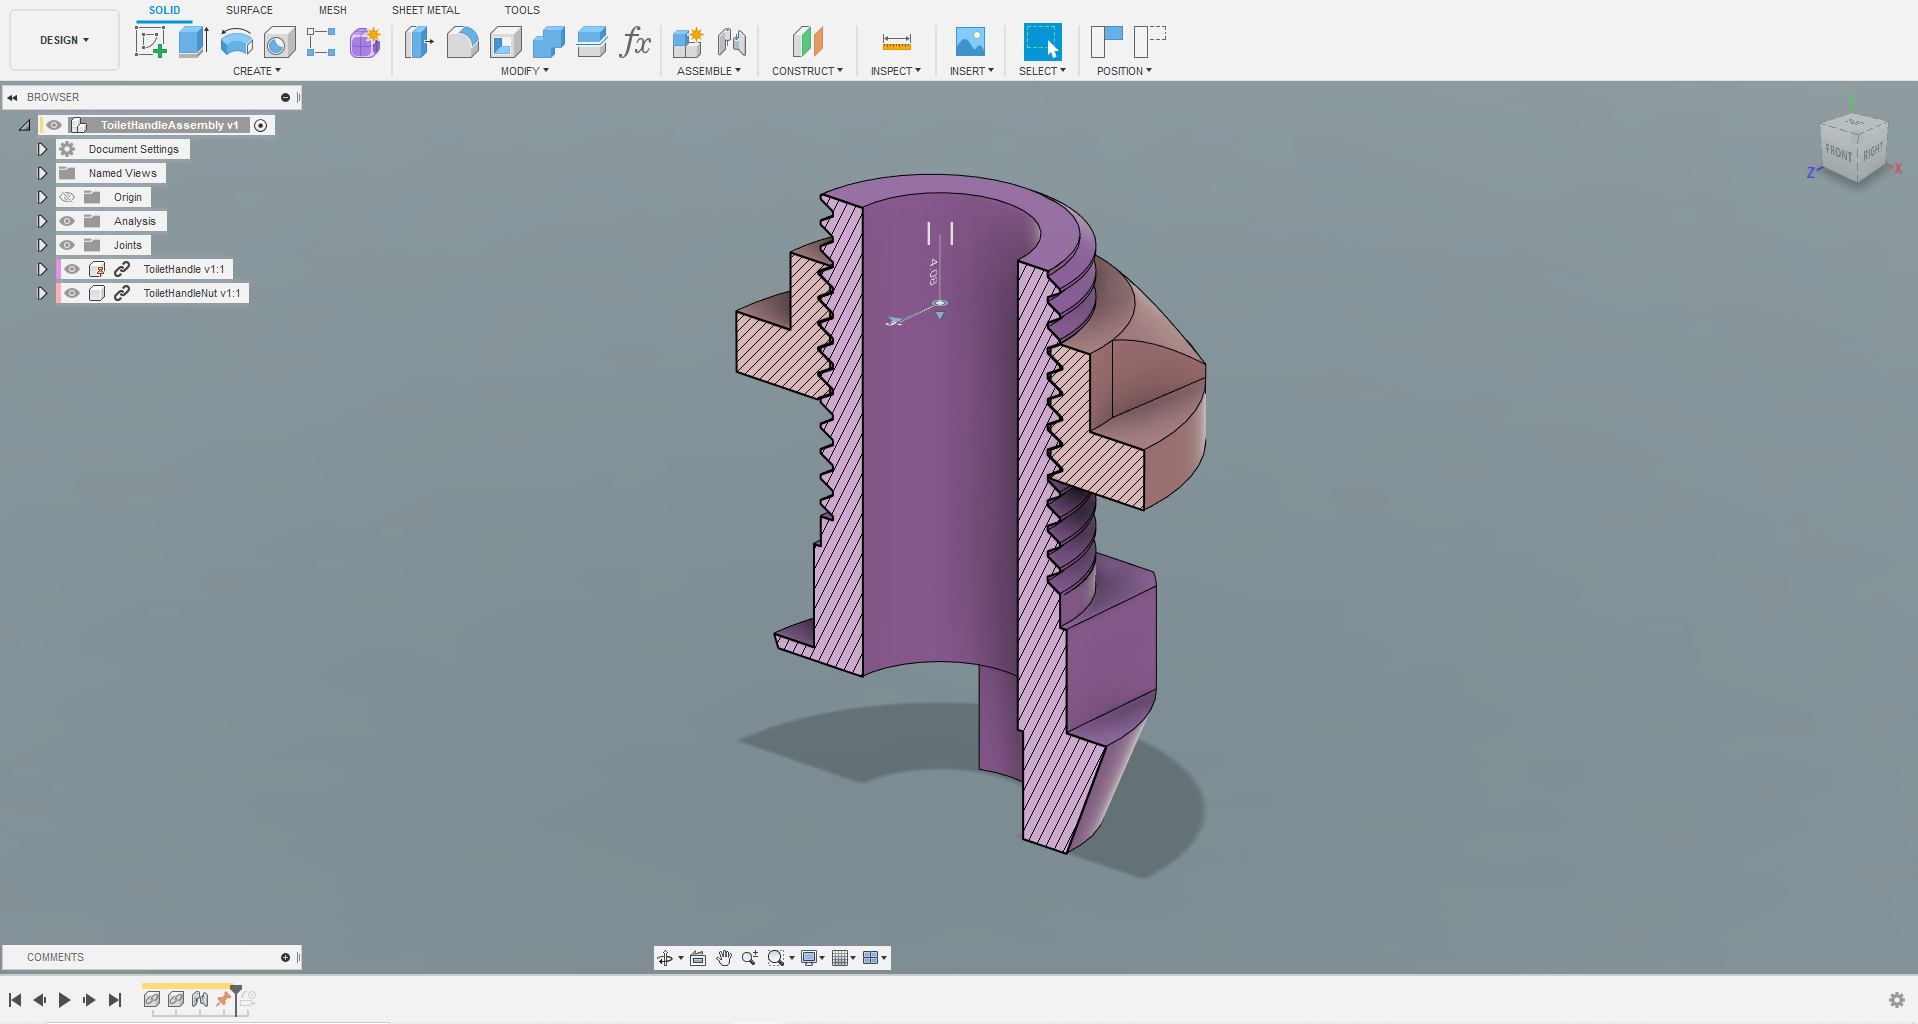
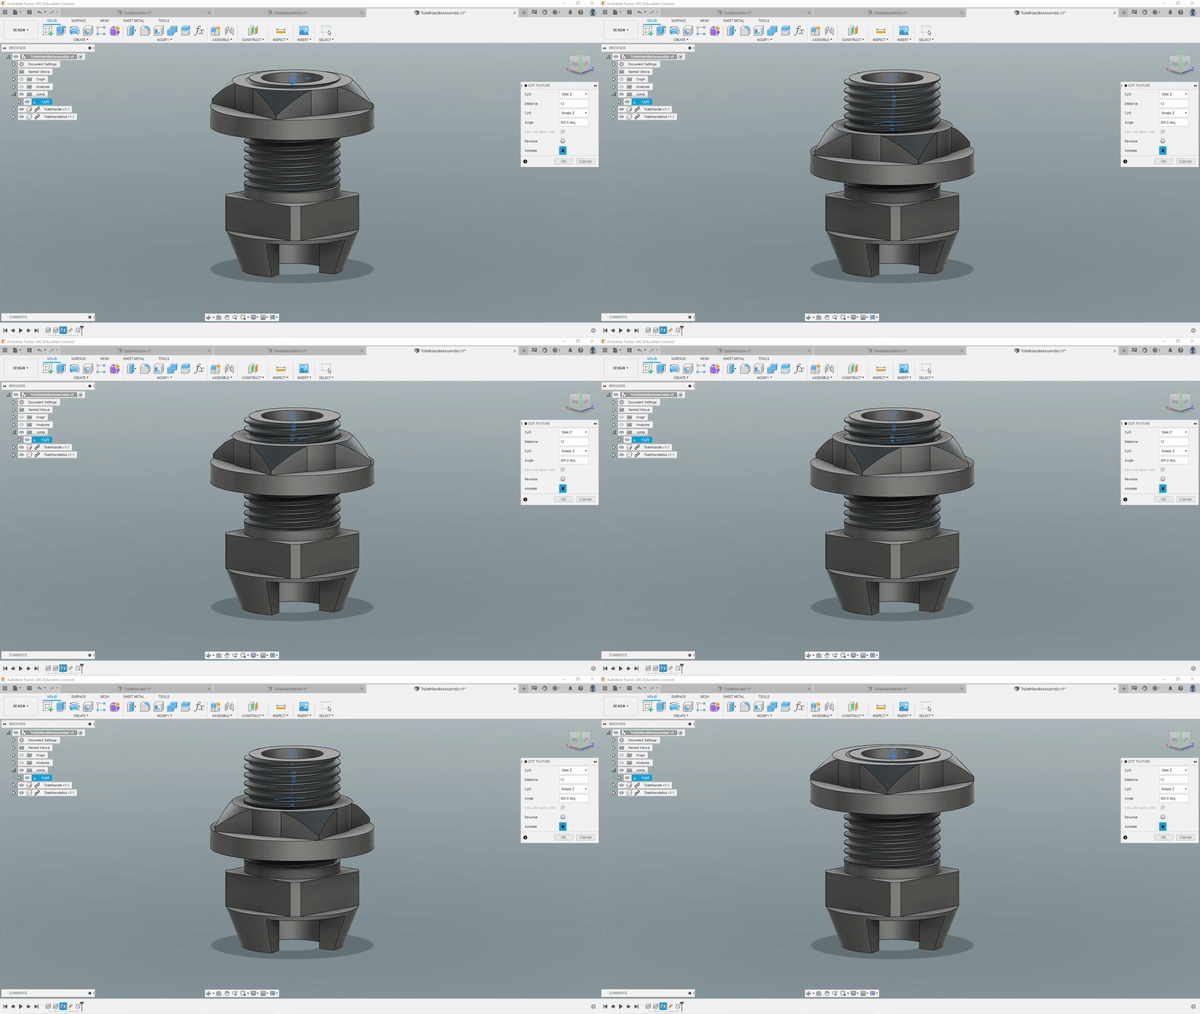
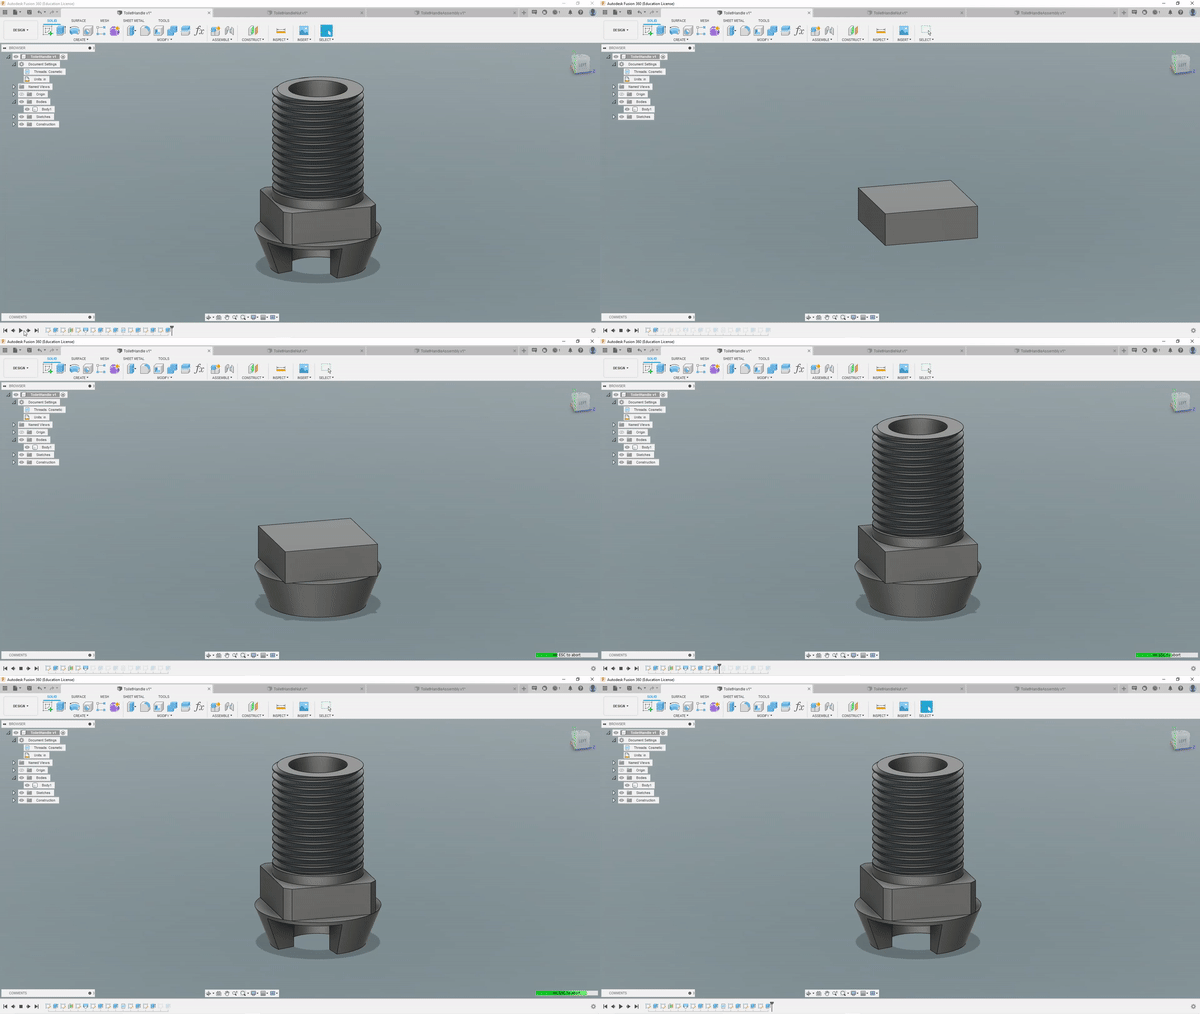
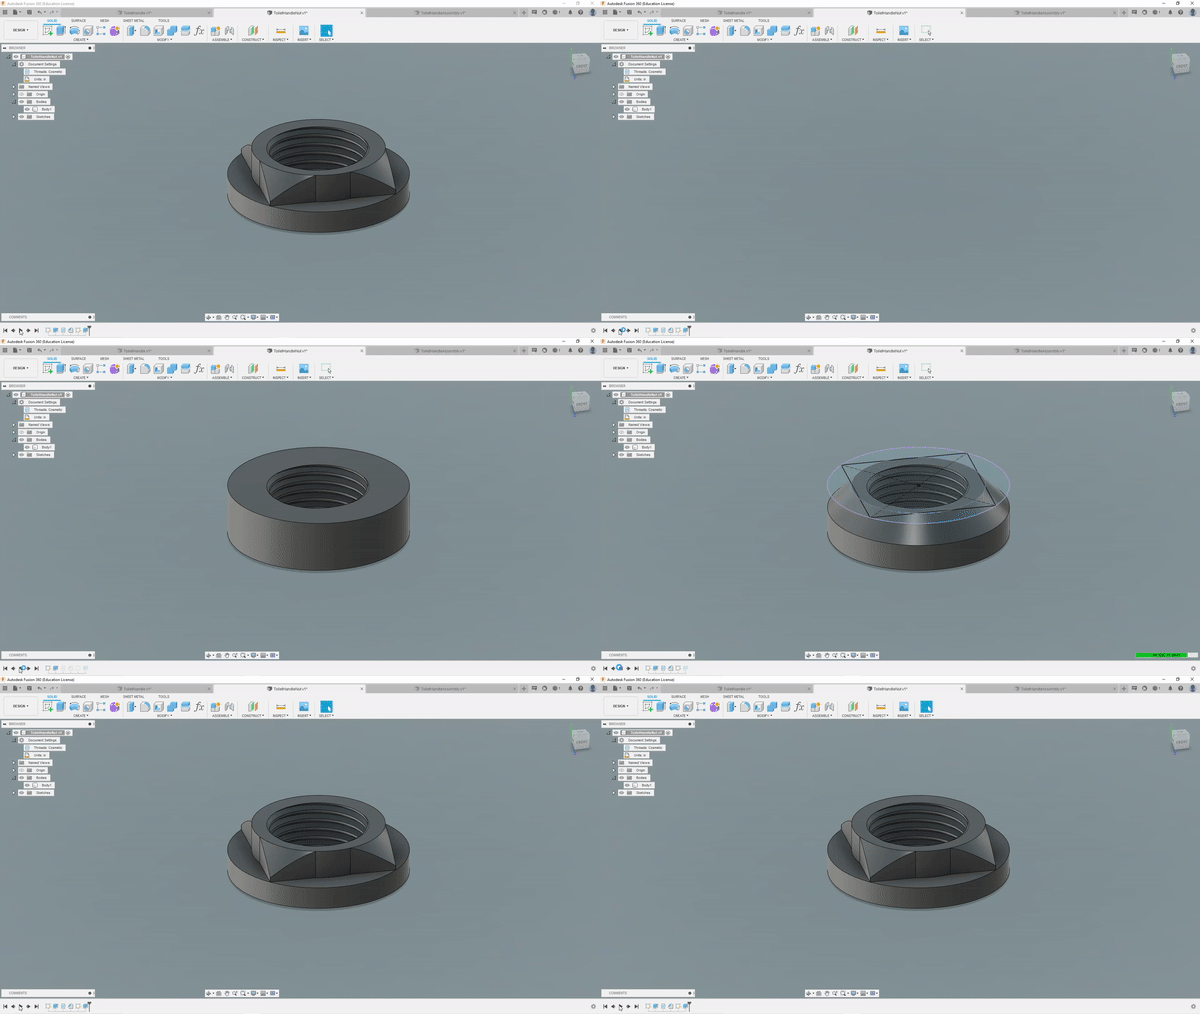
Now take all of the measurements and put them in Fusion 360 to create the parts. There are many different ways to go about creating the parts but I always like to start with the simpler geometry and go from there. Making the main features and adding or subtracting little things to create the complex and more intricate geometry. For the threads I had now good way of measuring to old ones so I decided to just pick a size that would work best with 3D printing and use for both parts.
3D Print Fusion 360 Part
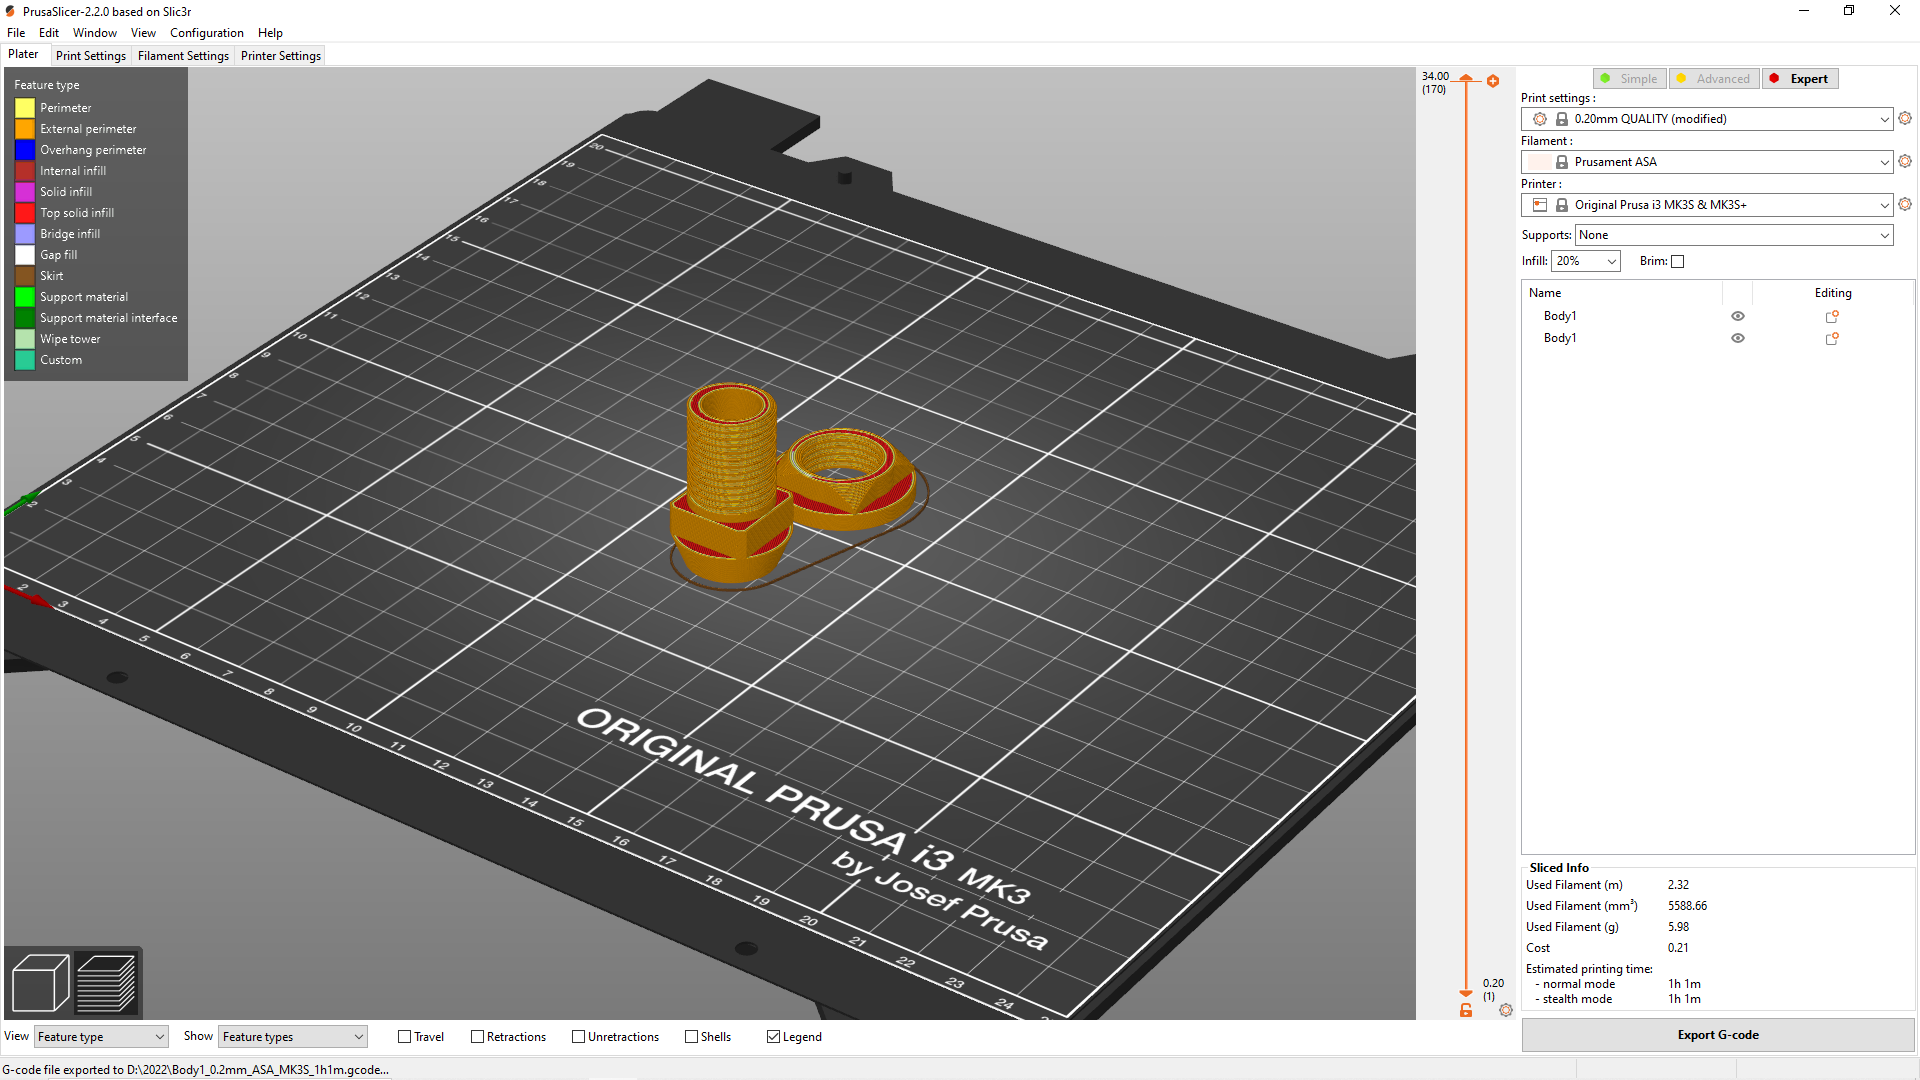
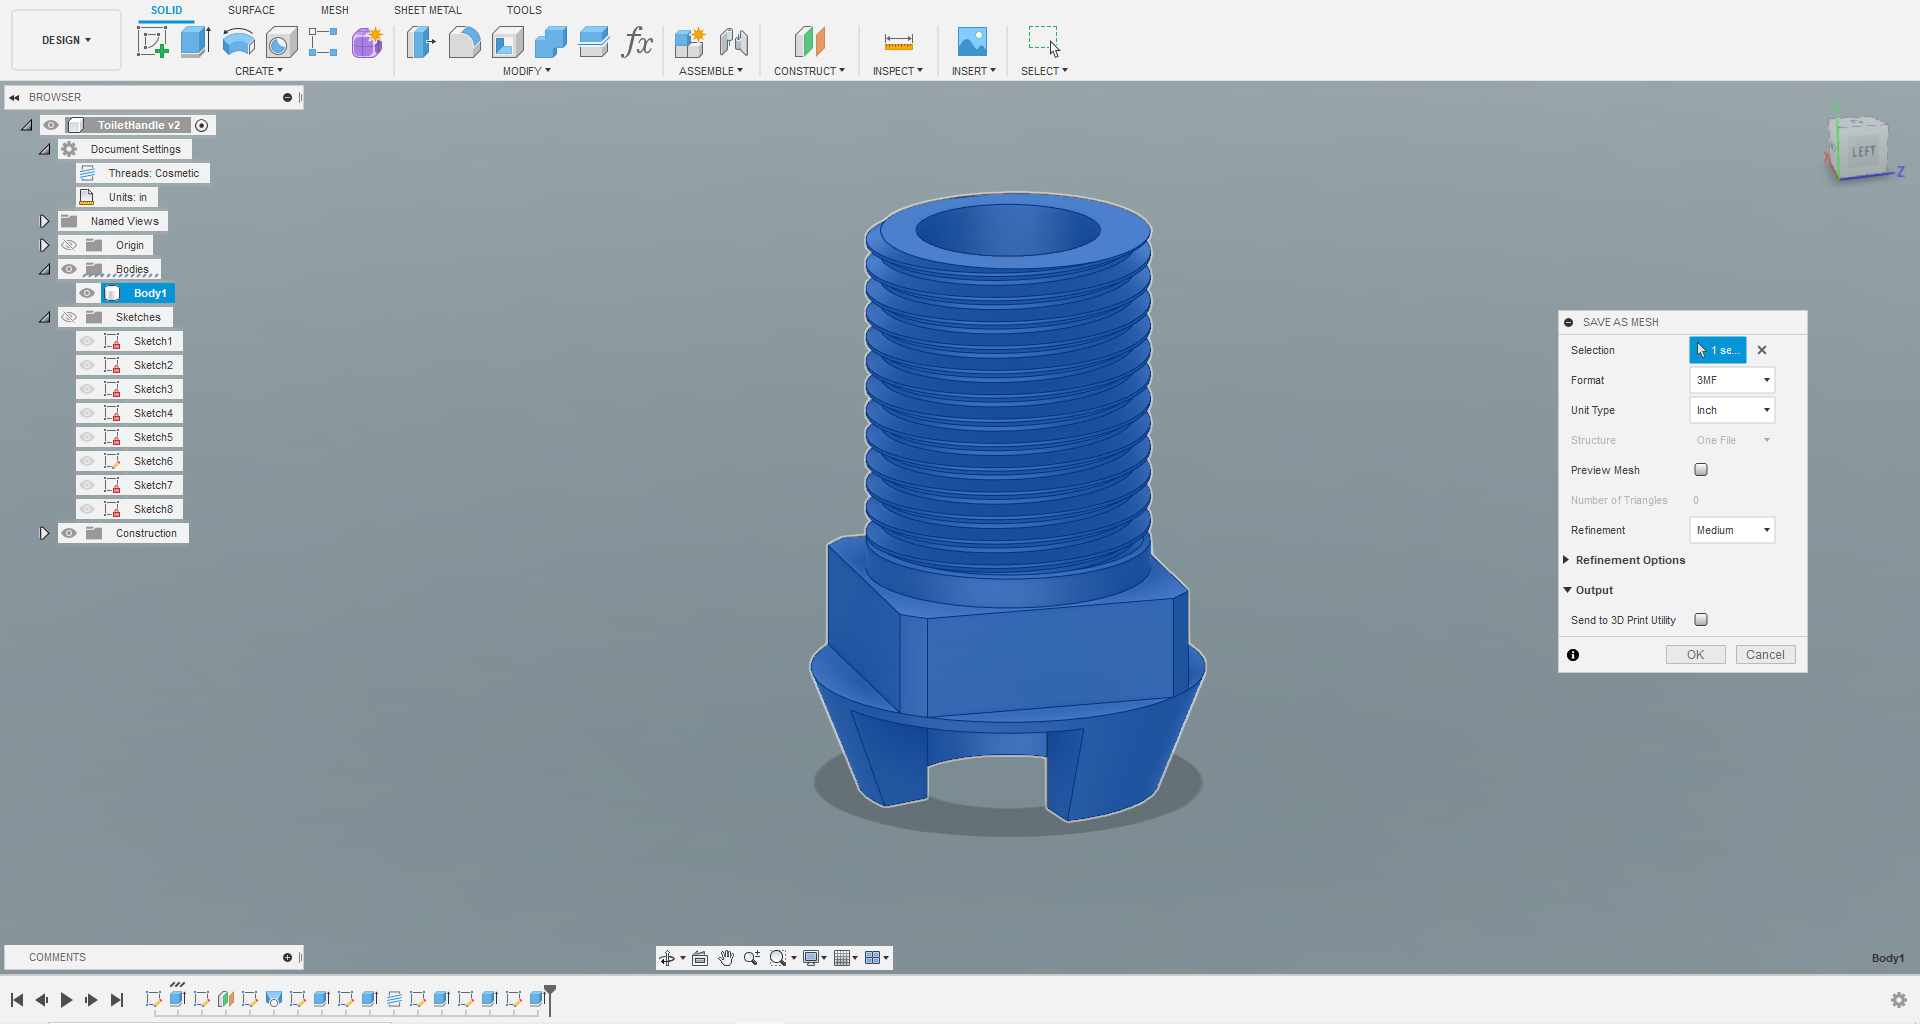
One of the final steps is to take the Fusion 360 model and convert it into a mesh and bring it into a slicing software to setup for print. To convert to mesh inside Fusion 360 you will first want to right click on the body in the browser, a pop up will come up and allow you to save it directly as an STL or 3MF and import it into your slicing software. The slicing software I chose is PrusaSlicer. As for the settings on the print, it depends on the material you are printing and the needs of the print. For me I used PLA at .2mm and a 20 percent infill but this will vary based on quite a few variables.
Test and Repeat
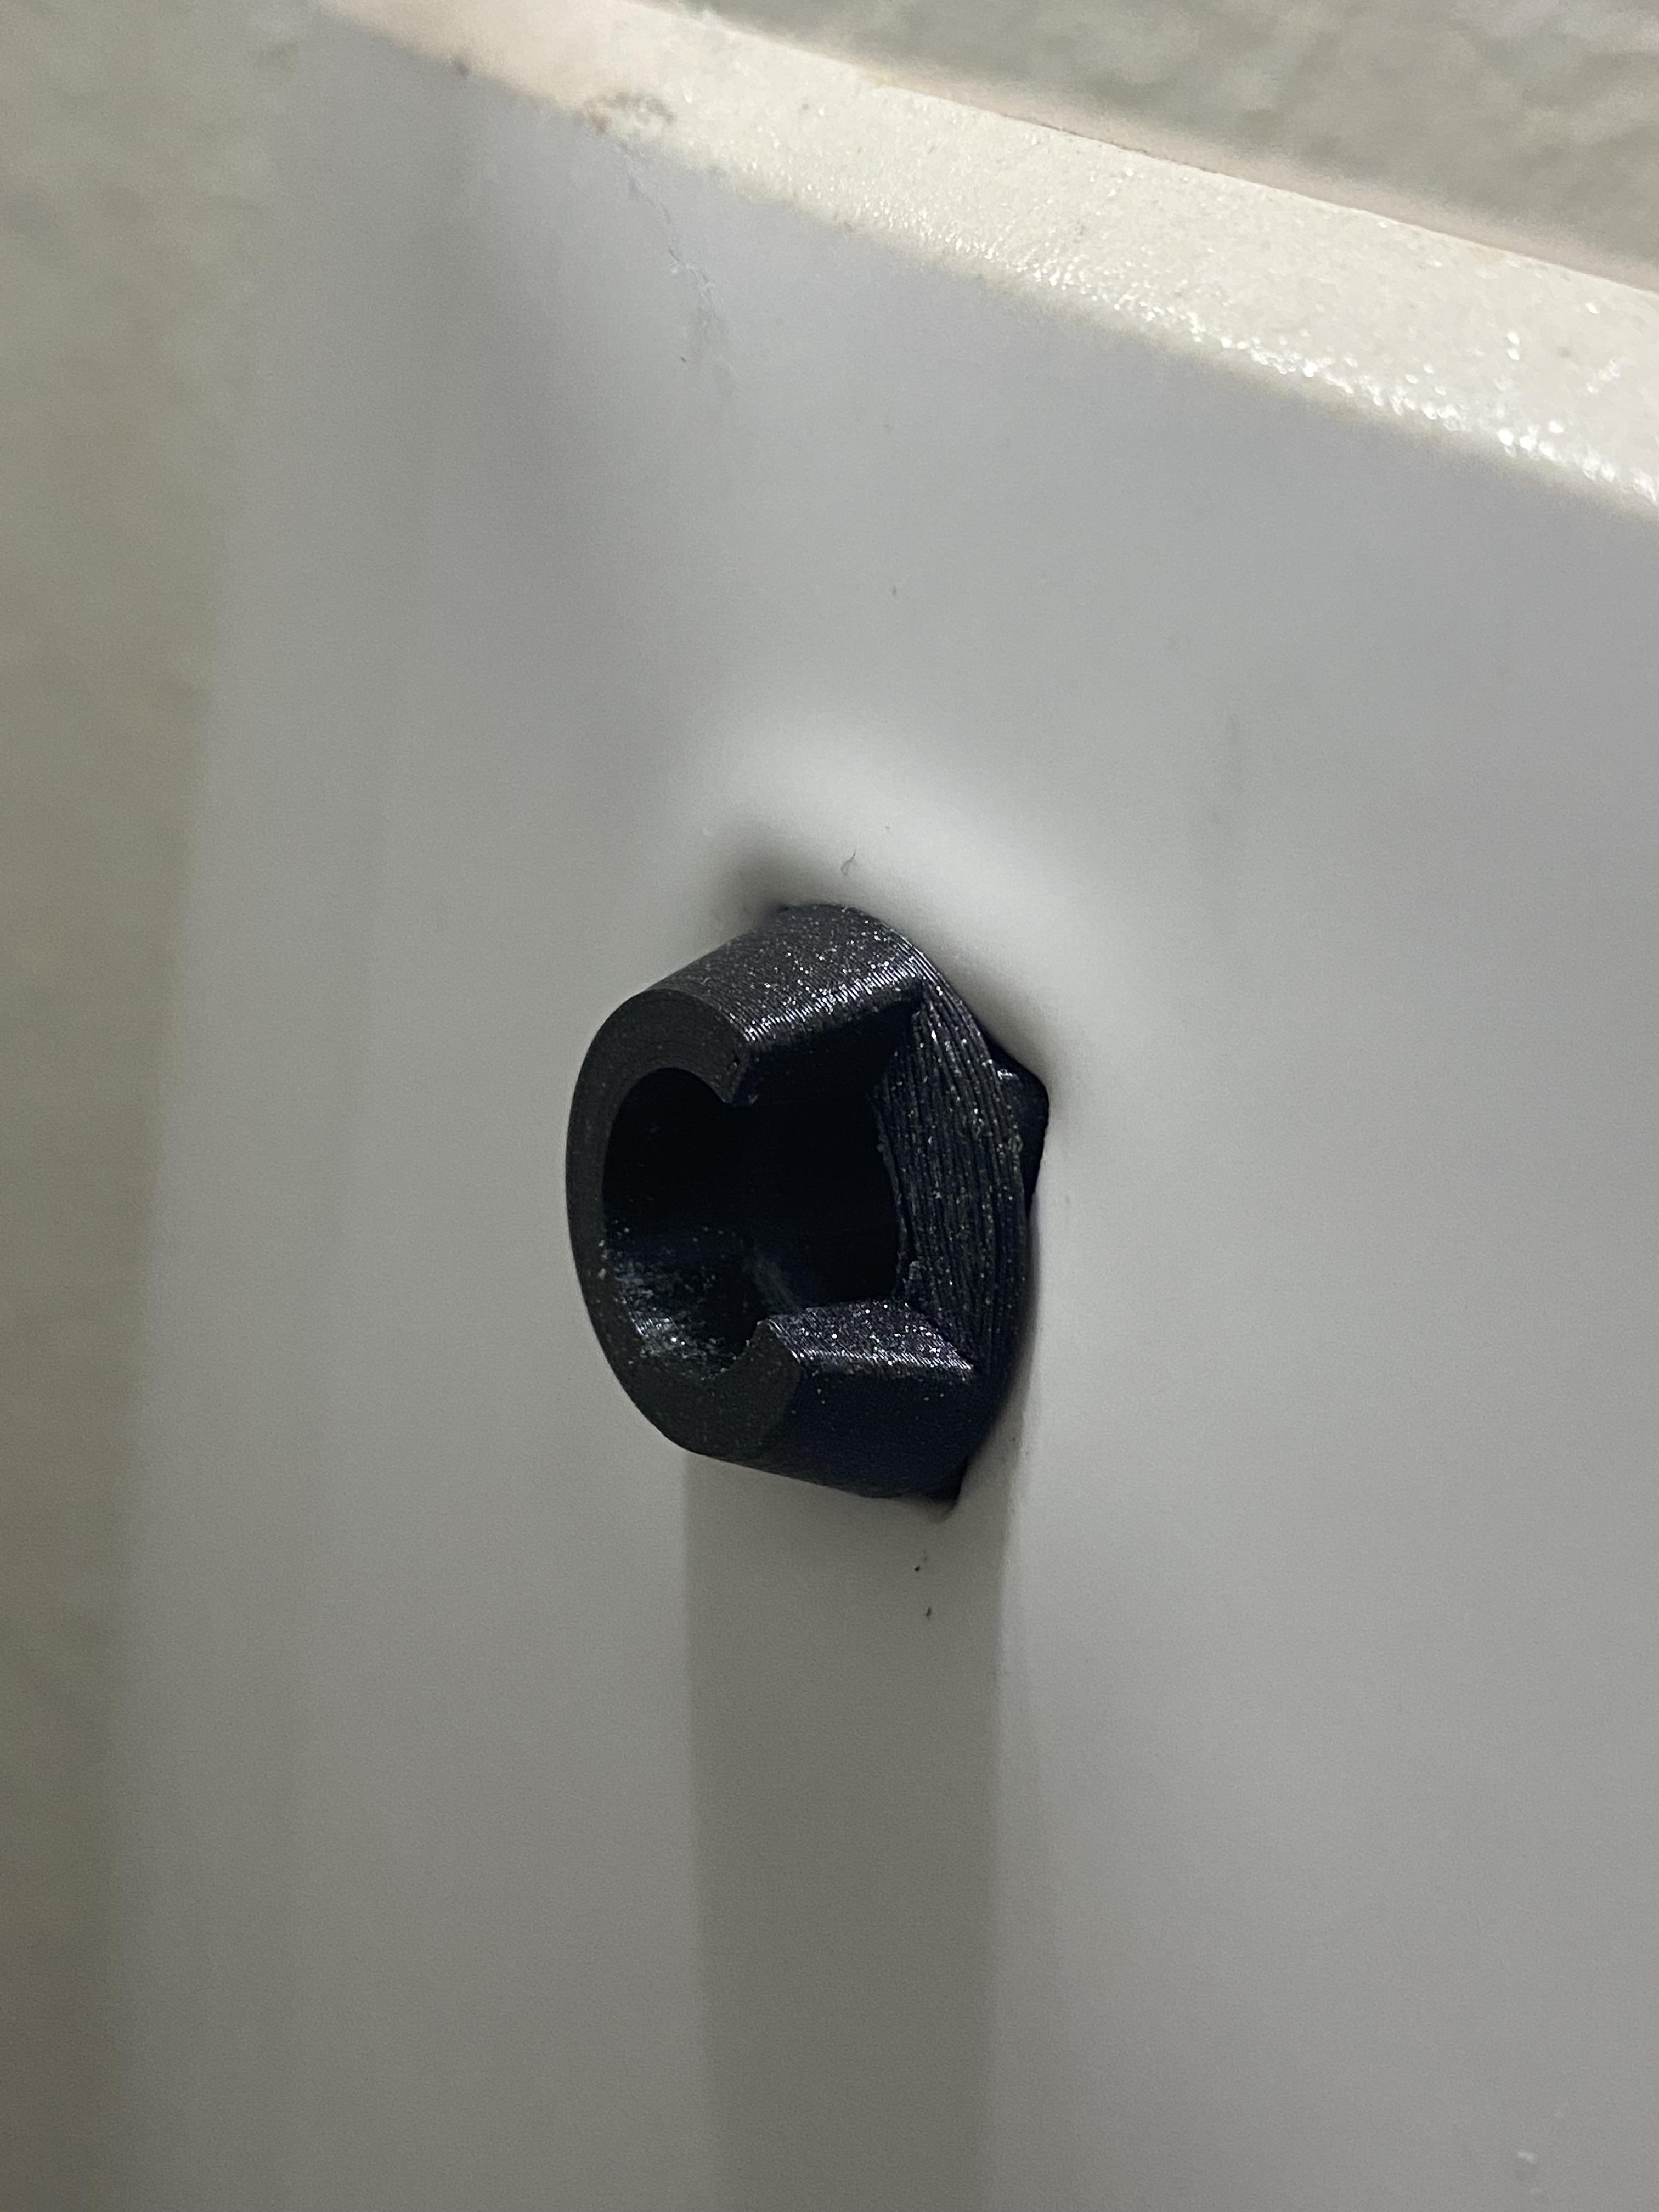
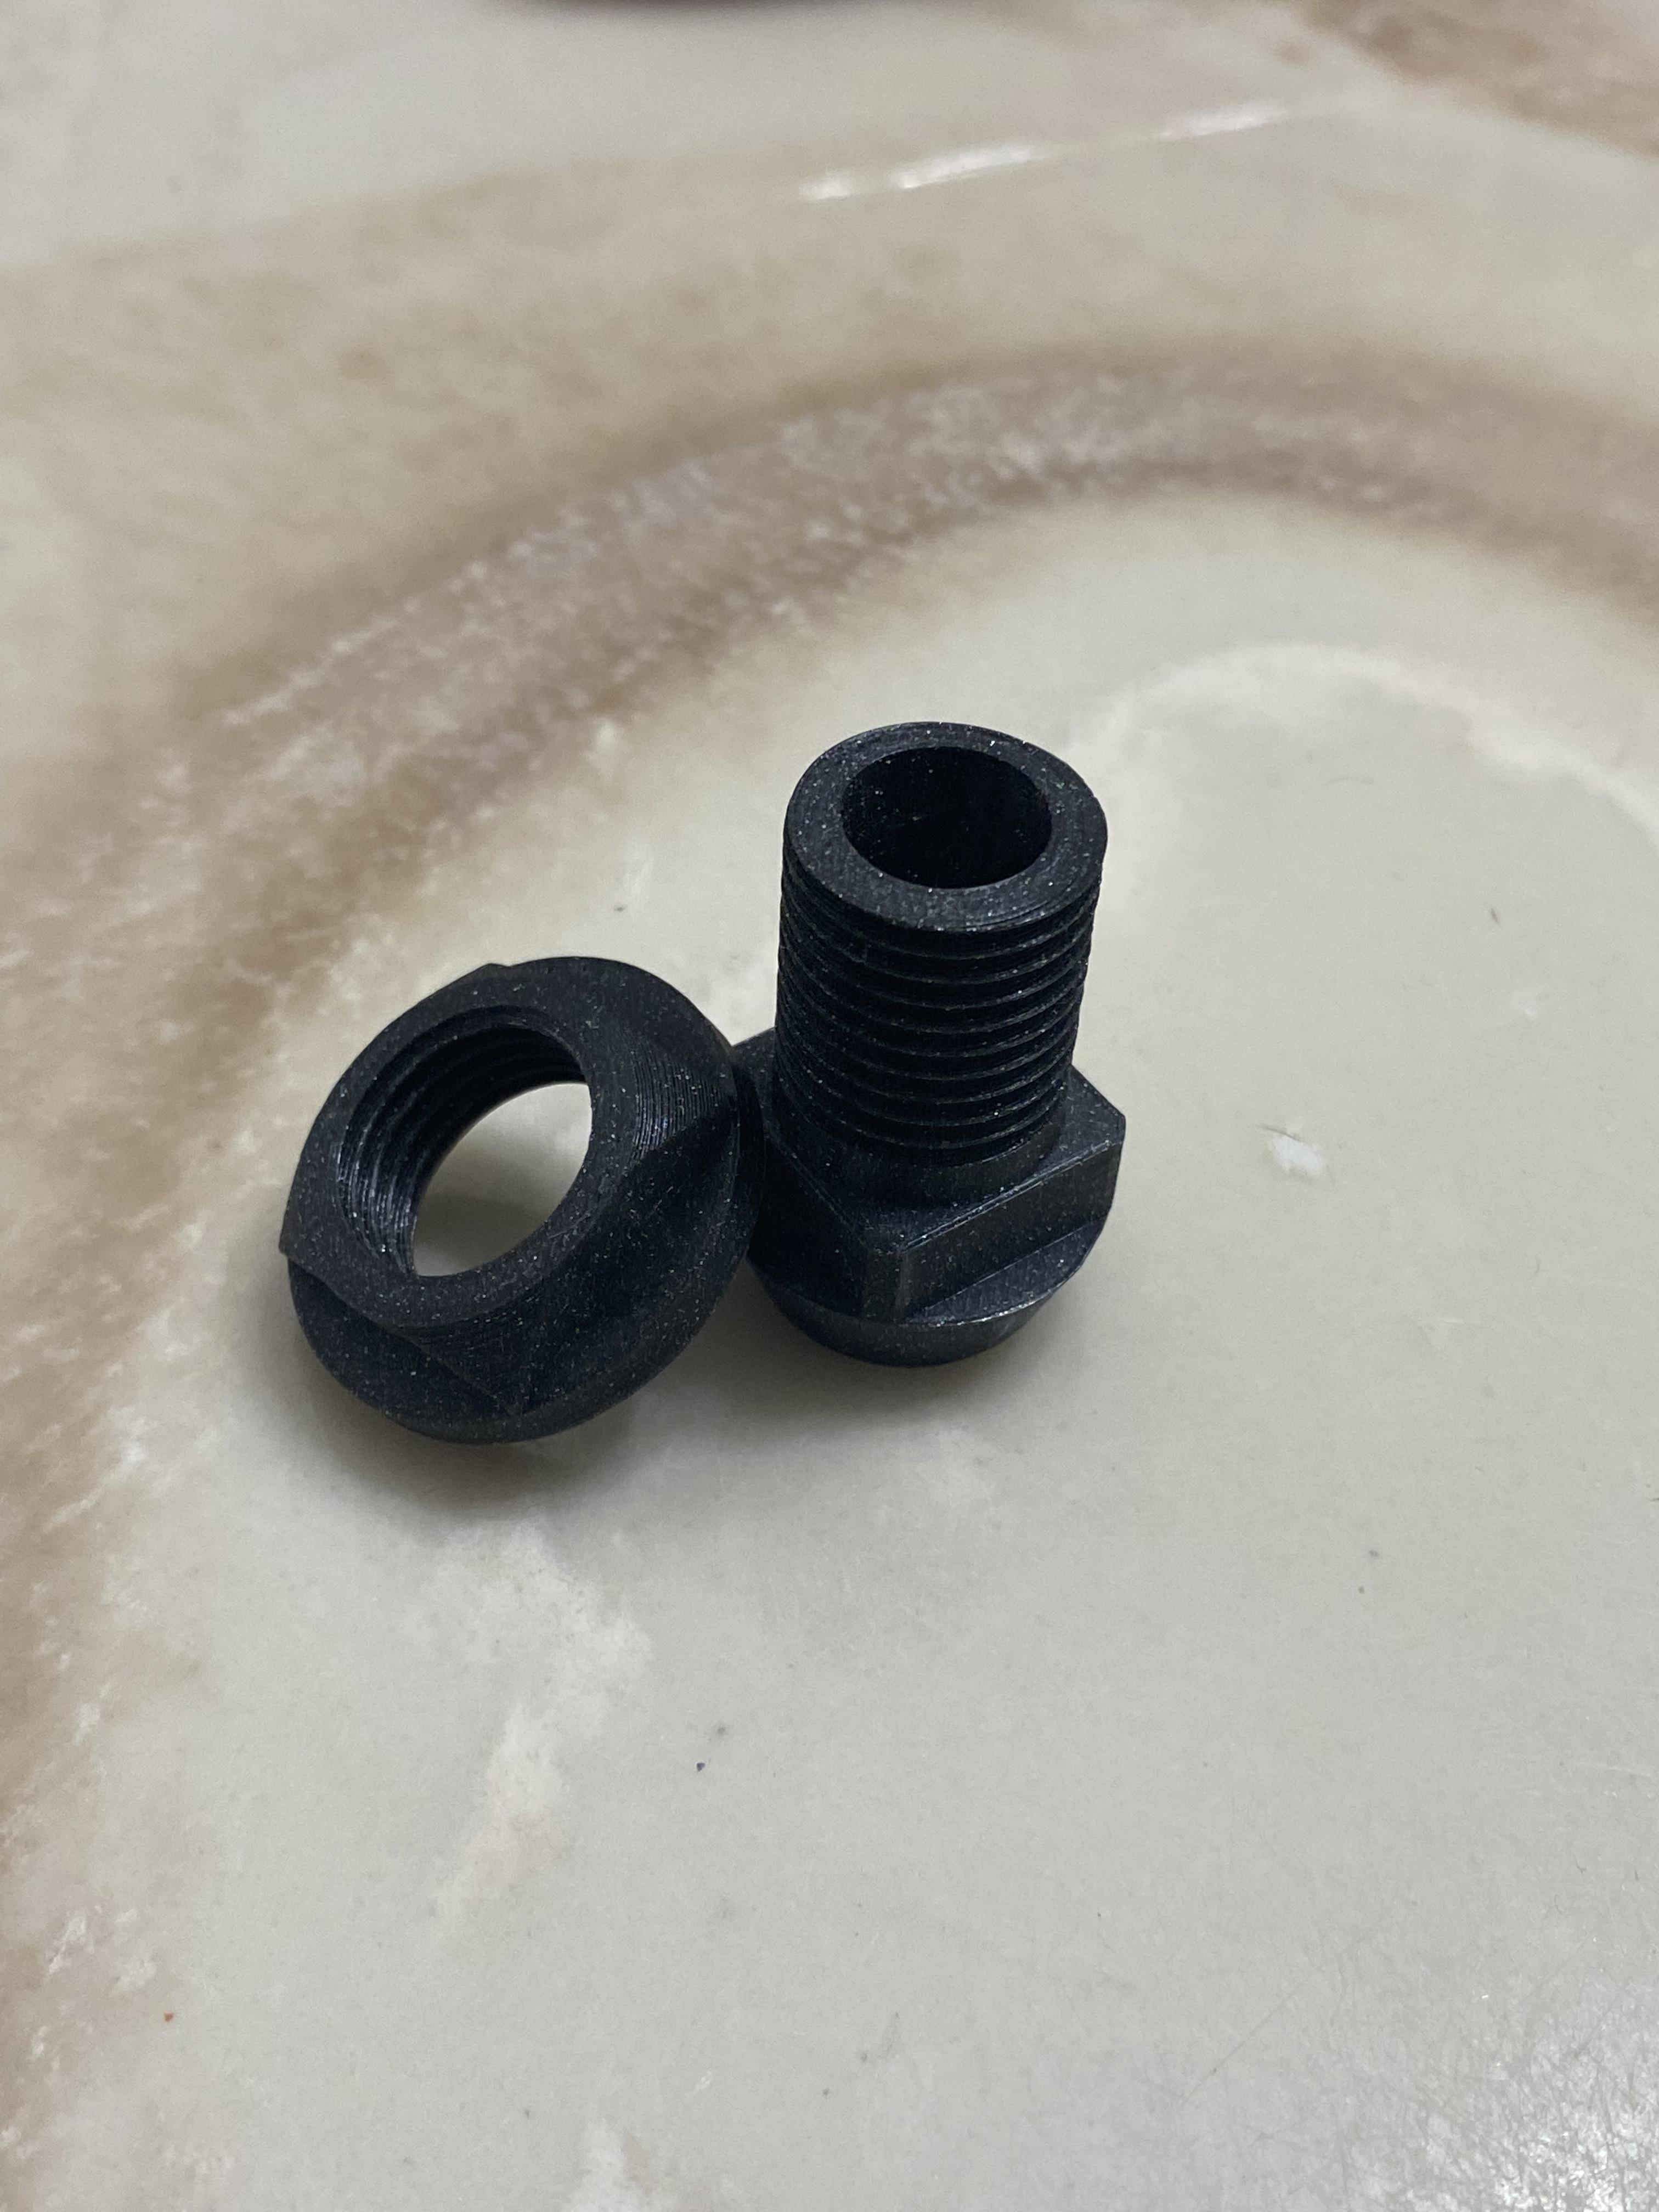
Once you have a printed model, the final step is to test and see how it works. For this design it took only 2 prints to get a piece that worked (which is kind of surprising). But sometimes it takes quite a while of remeasuring and seeing what needs to be changed for a final part. So take your time and don't get frustrated if it takes a few tries to work how you wanted it.
Conclusion and Parts
And now that you have completed, pat yourself on the back. You have probably spent more time than it would have taken to go and buy a replacement, however this doesn't matter, you now know how to fix anything! This part has actually been installed for about 8 months at the time of writing this and it is holding up well, even printed in PLA! And even if your not fixing your toilet handle, hopefully the steps taken can be used to fix the EVERYTHING!!