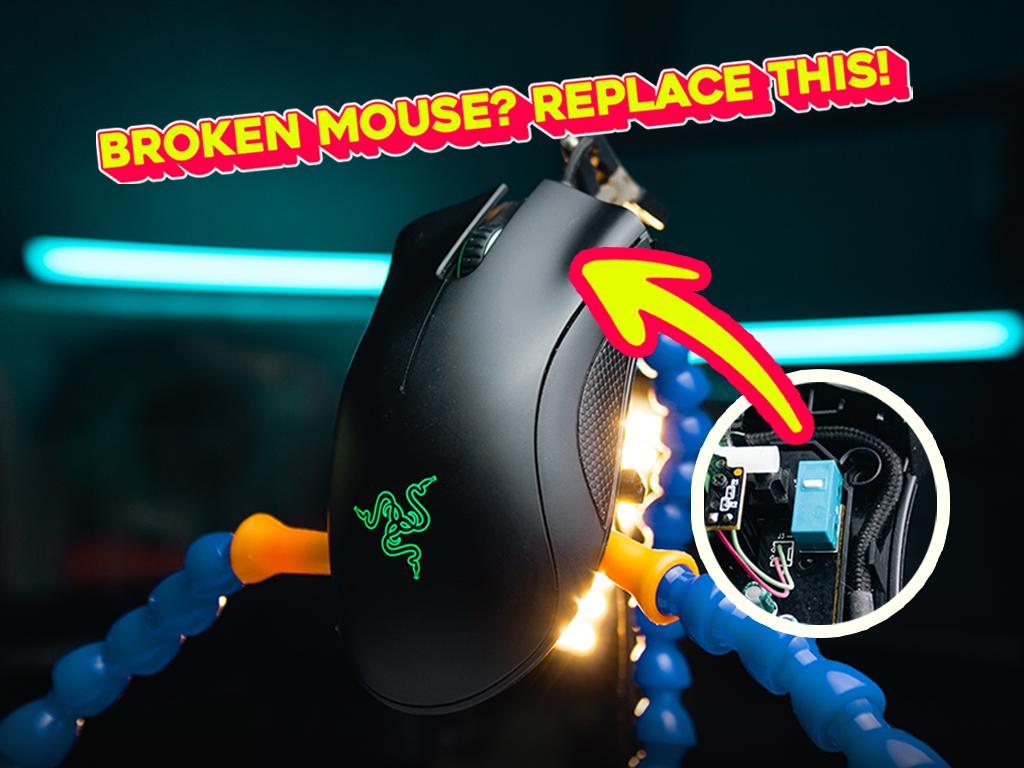
How to Fix a Broken Gaming Mouse Clicker!
by earldanielph in Circuits > Computers
2543 Views, 12 Favorites, 0 Comments
How to Fix a Broken Gaming Mouse Clicker!

The Problem!
We all know how annoying it is when our mouse is double-clicking, skipping a click, or worst of all, not working at all. Like you can't click anything on your computer.
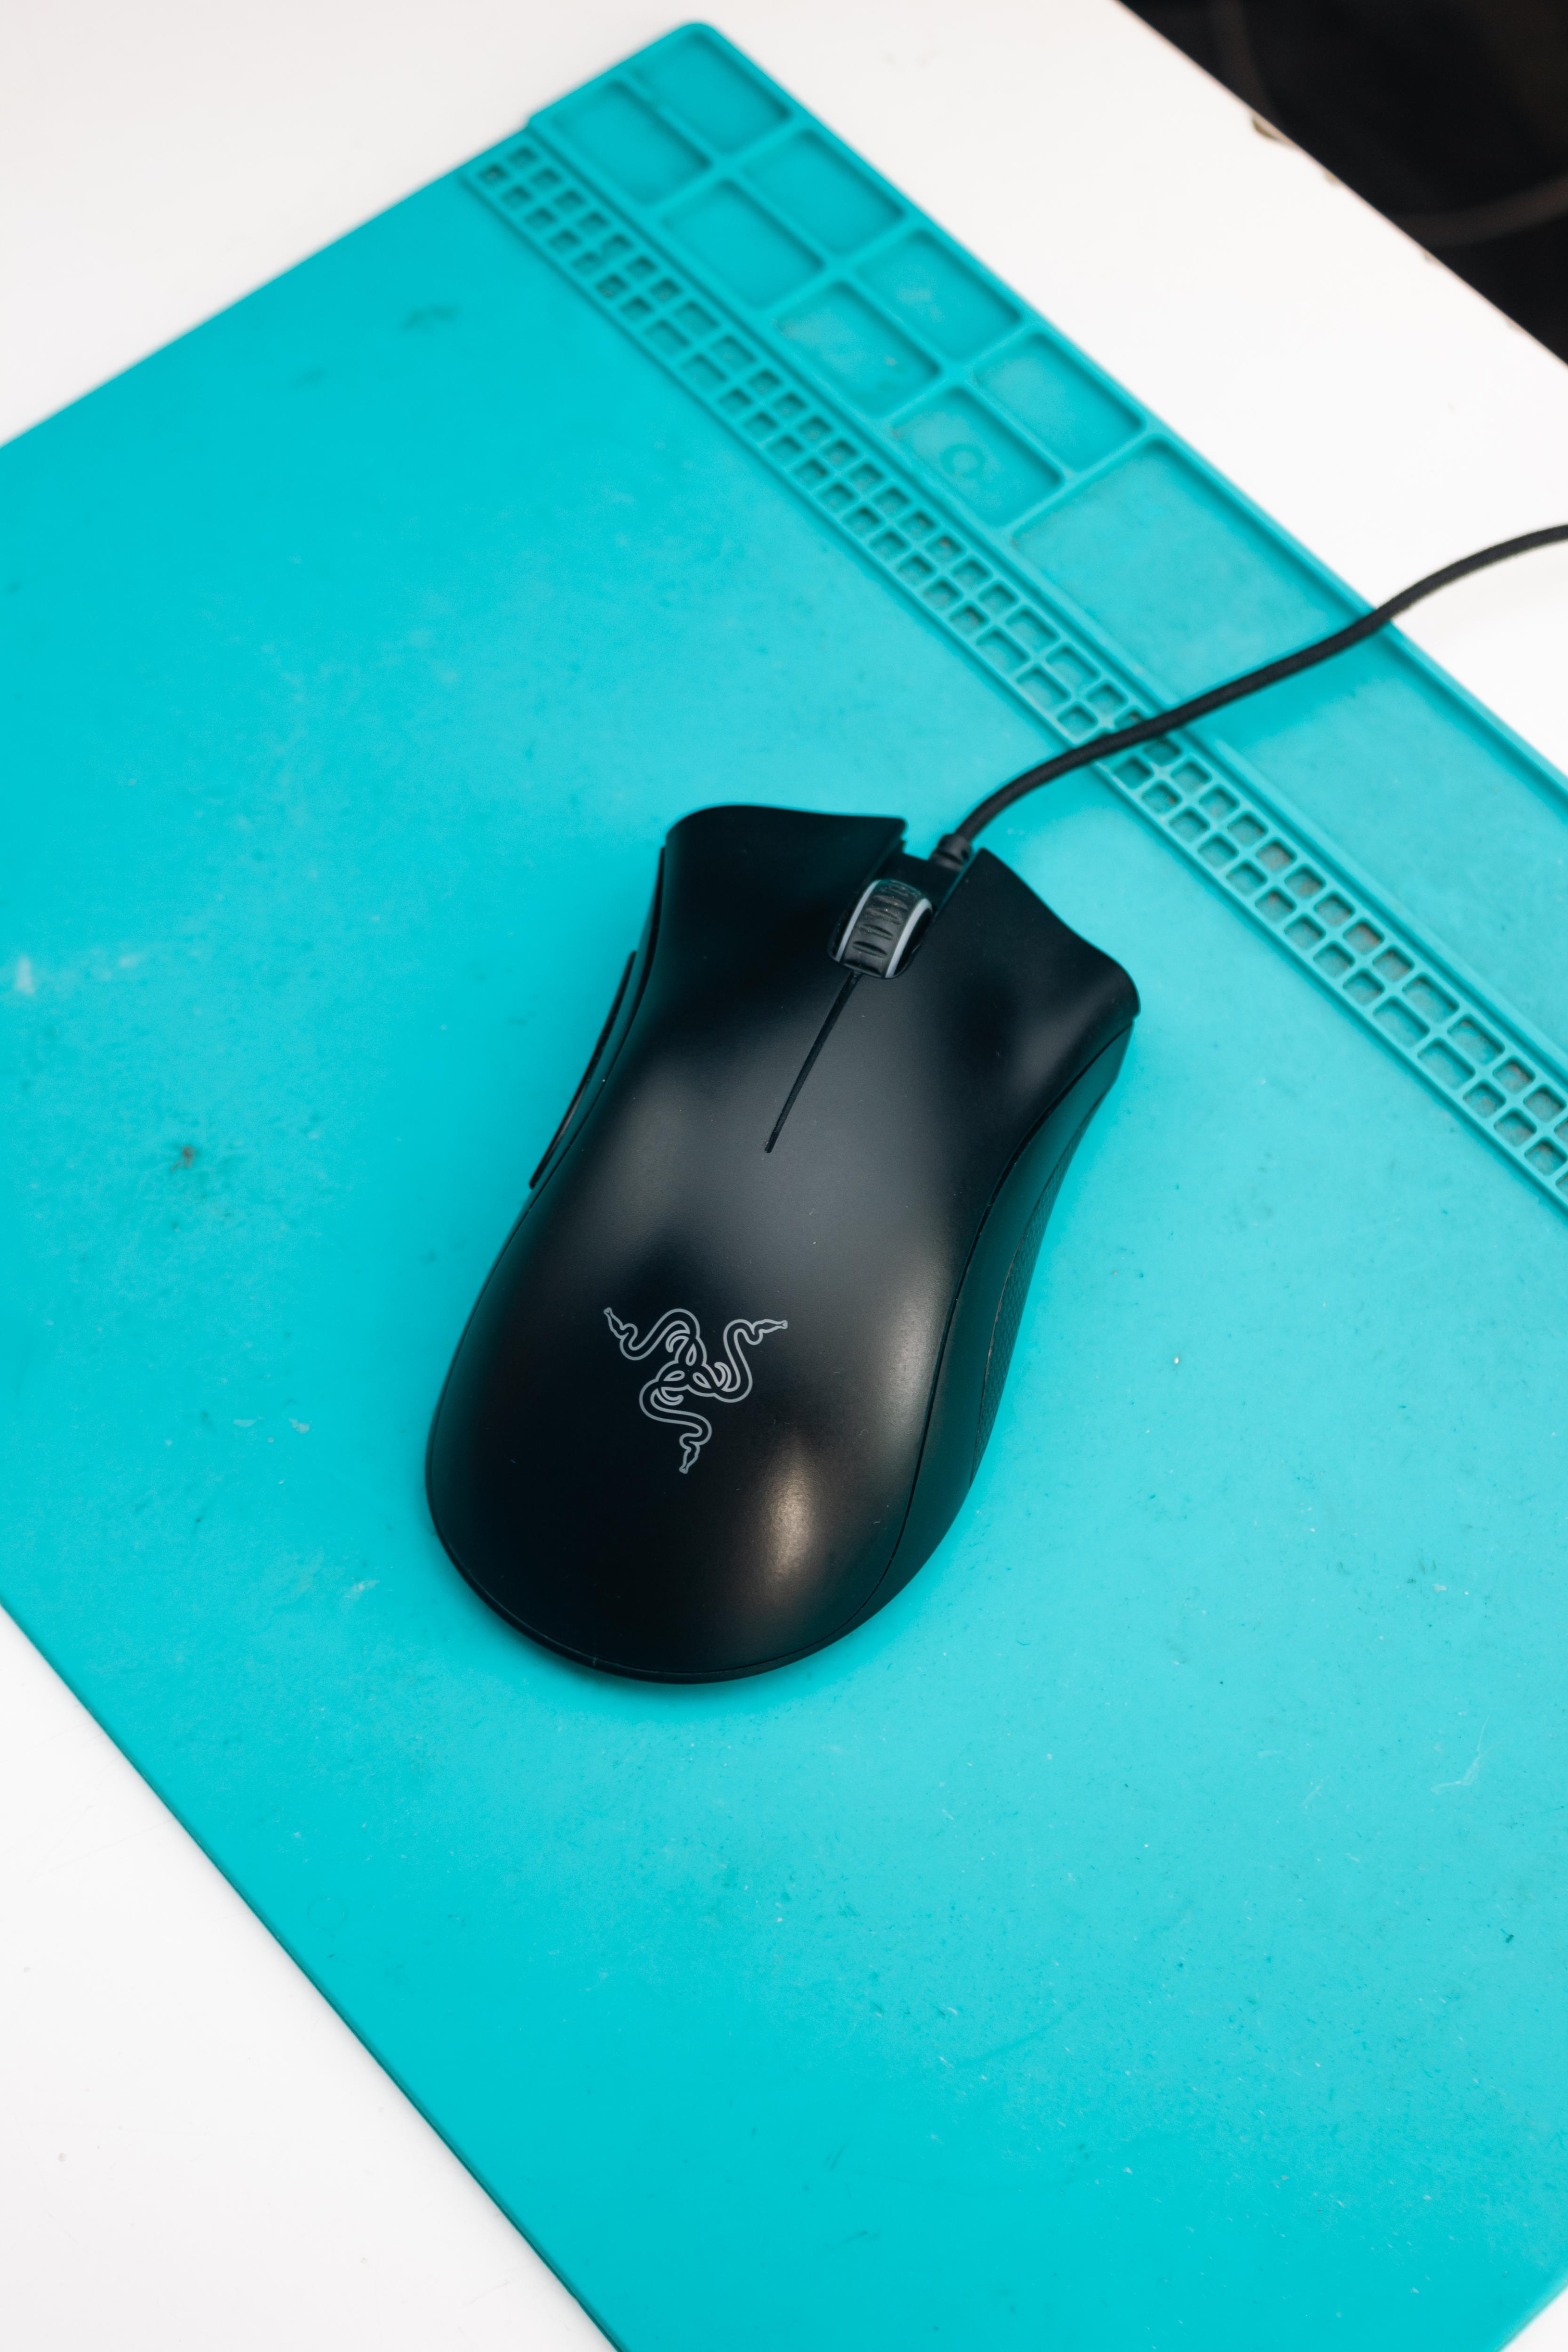
These are some of my broken mice that I have accumulated over the years. Today, the mouse given to me, which cost around 27 dollars, is experiencing those issues; and instead of buying a new one, we are going to fix this gaming mouse for only 2 dollars! That's a big save, right?!
So, what are we waiting for? Let's get right into it!
VIDEO TUTORIAL:
Supplies
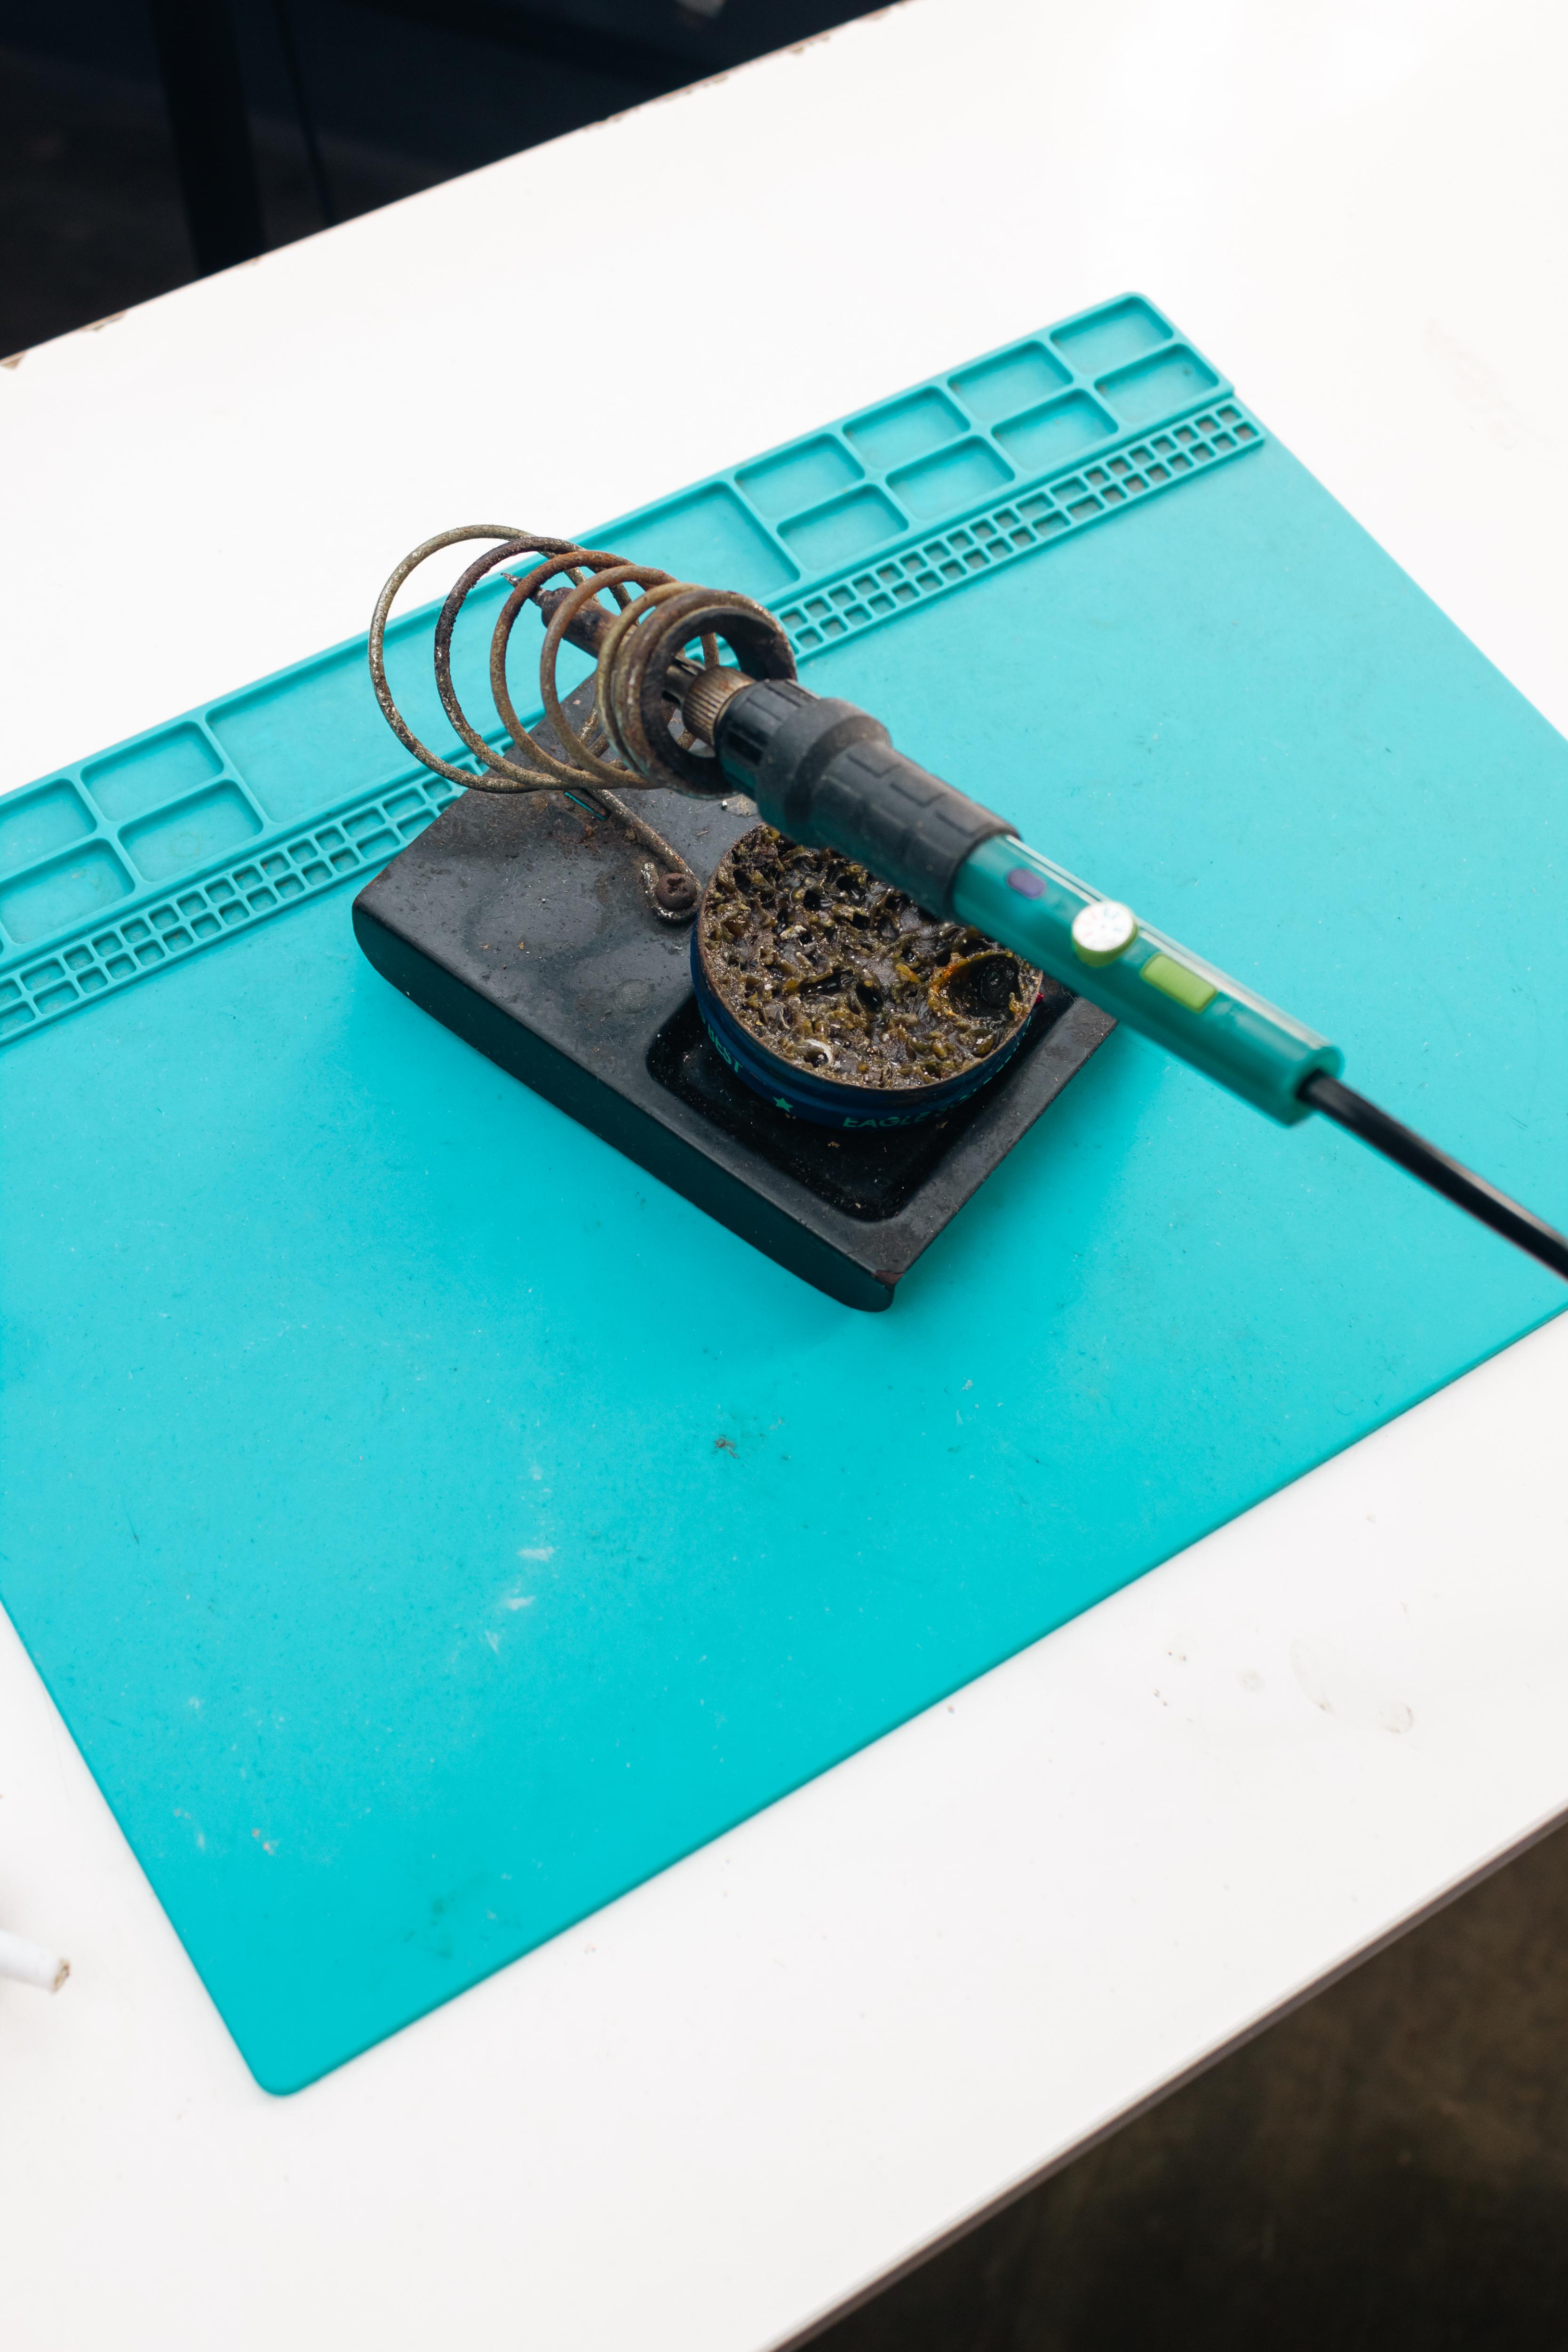
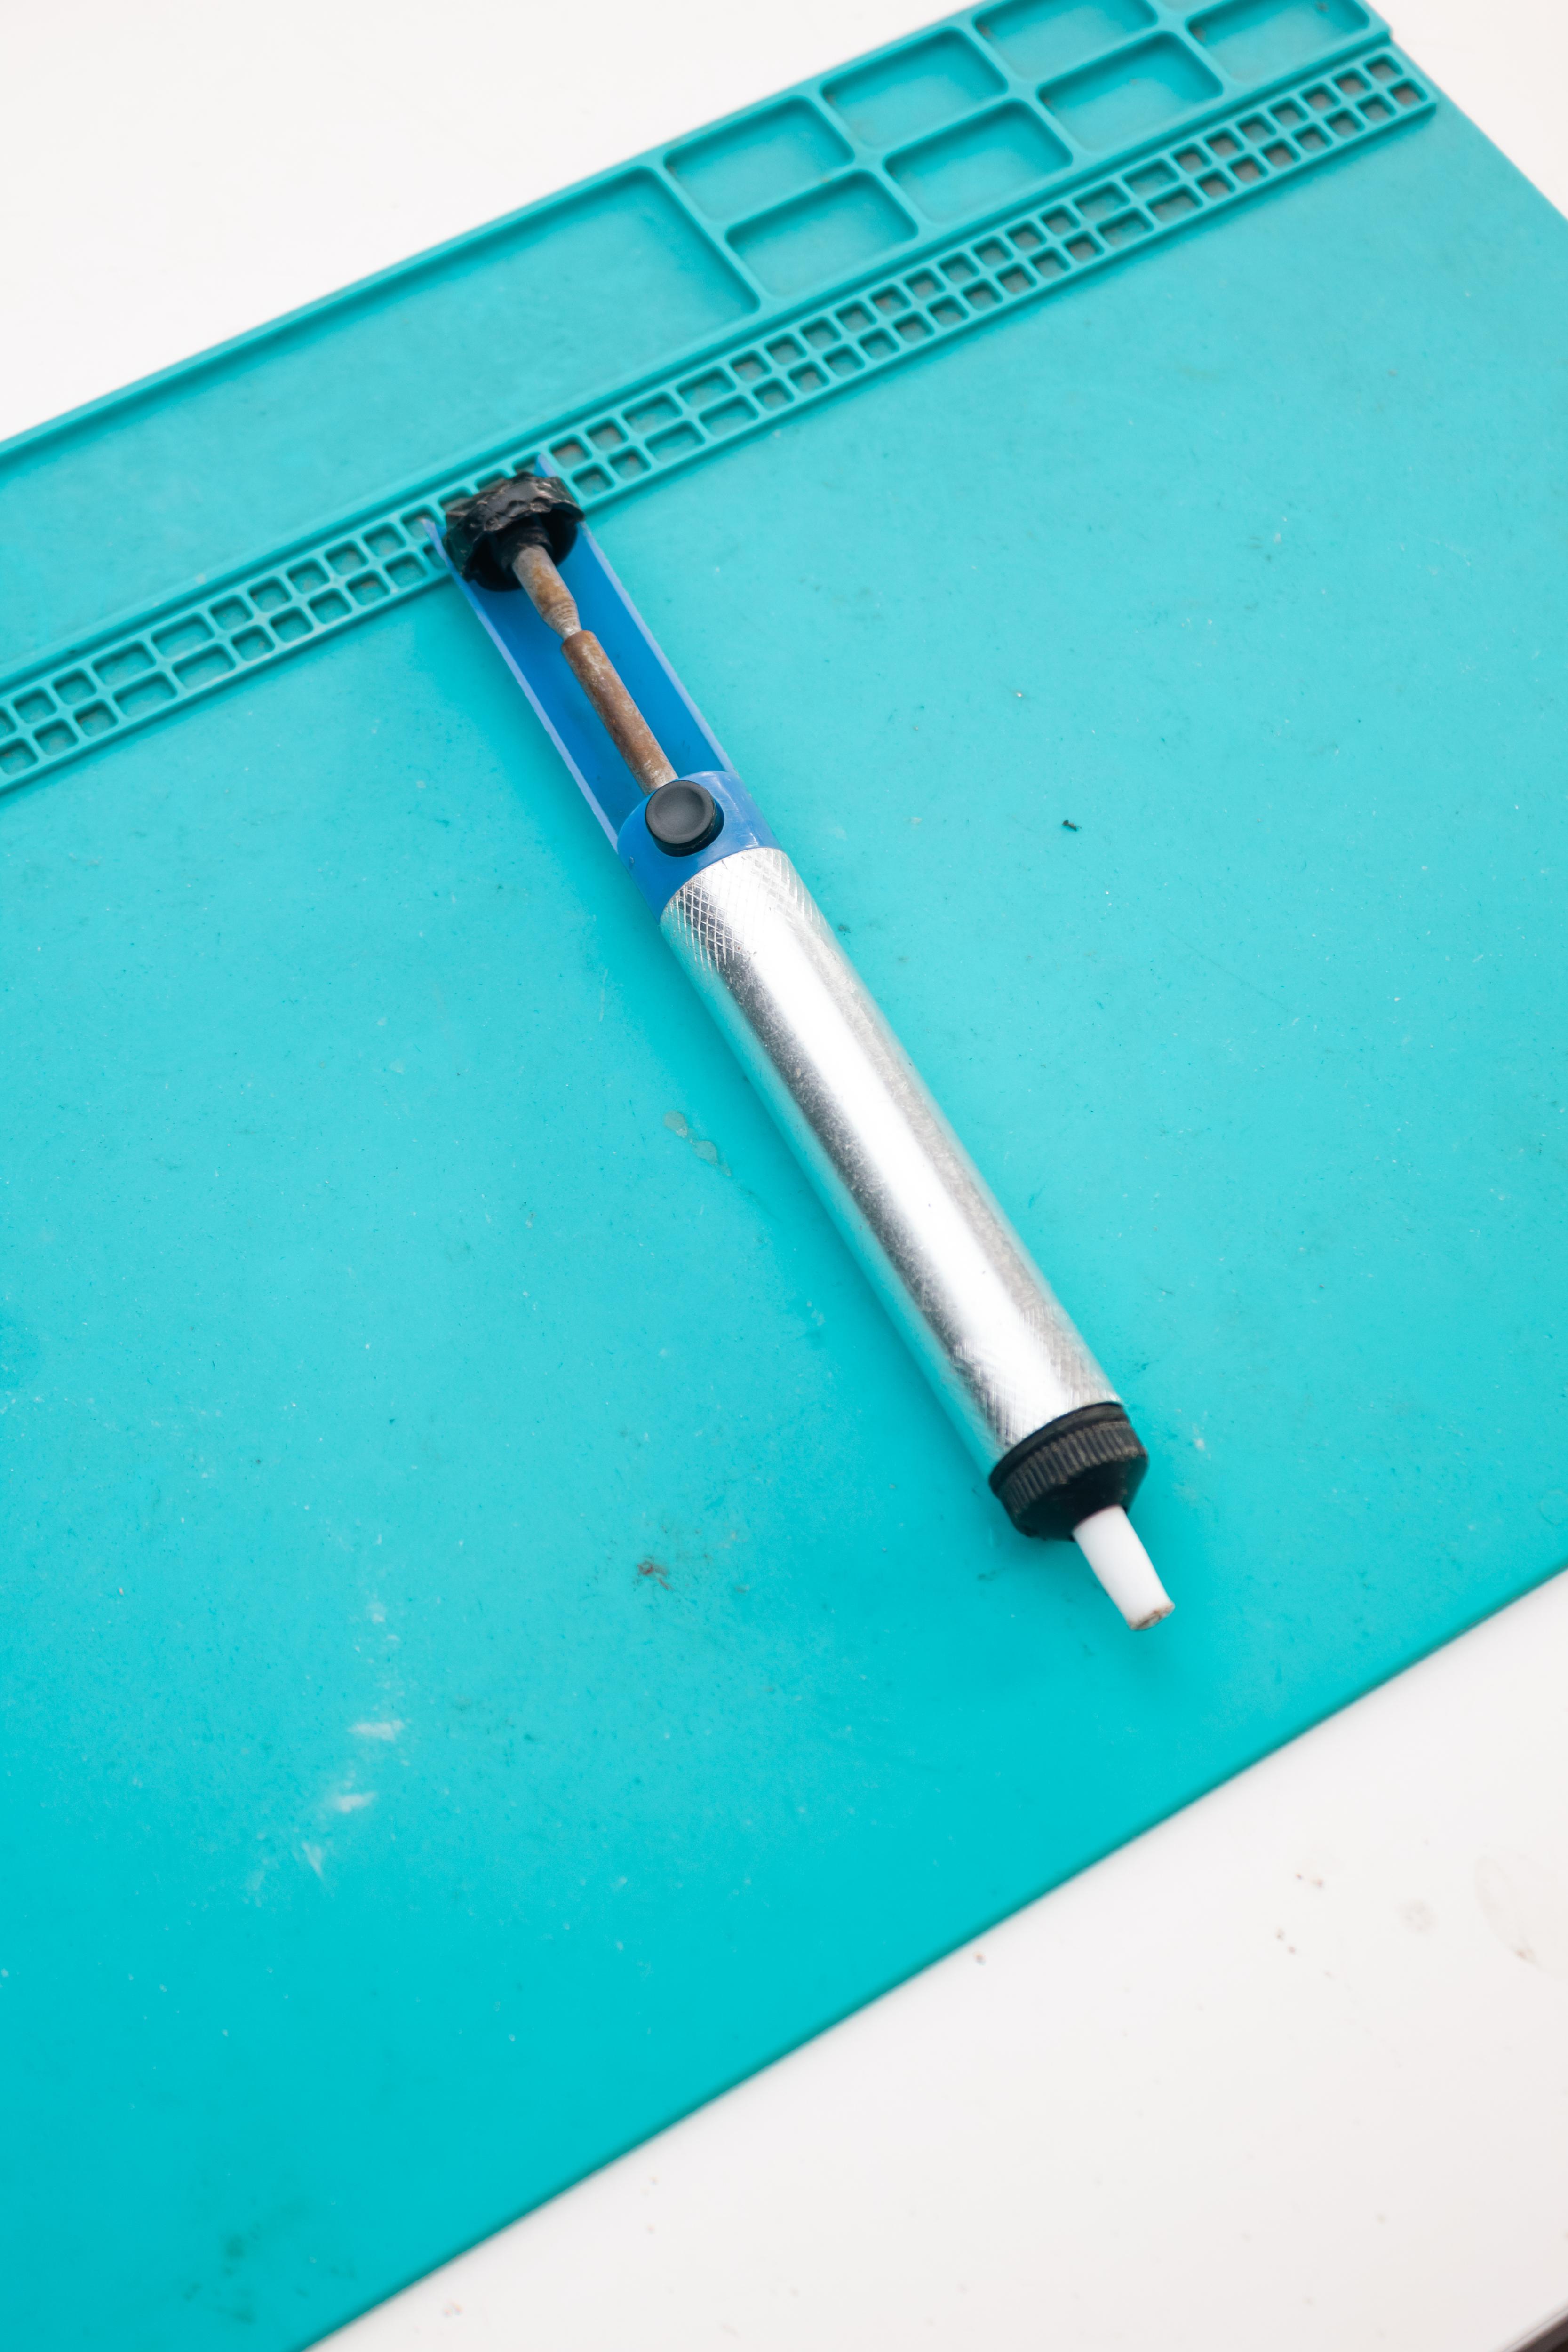
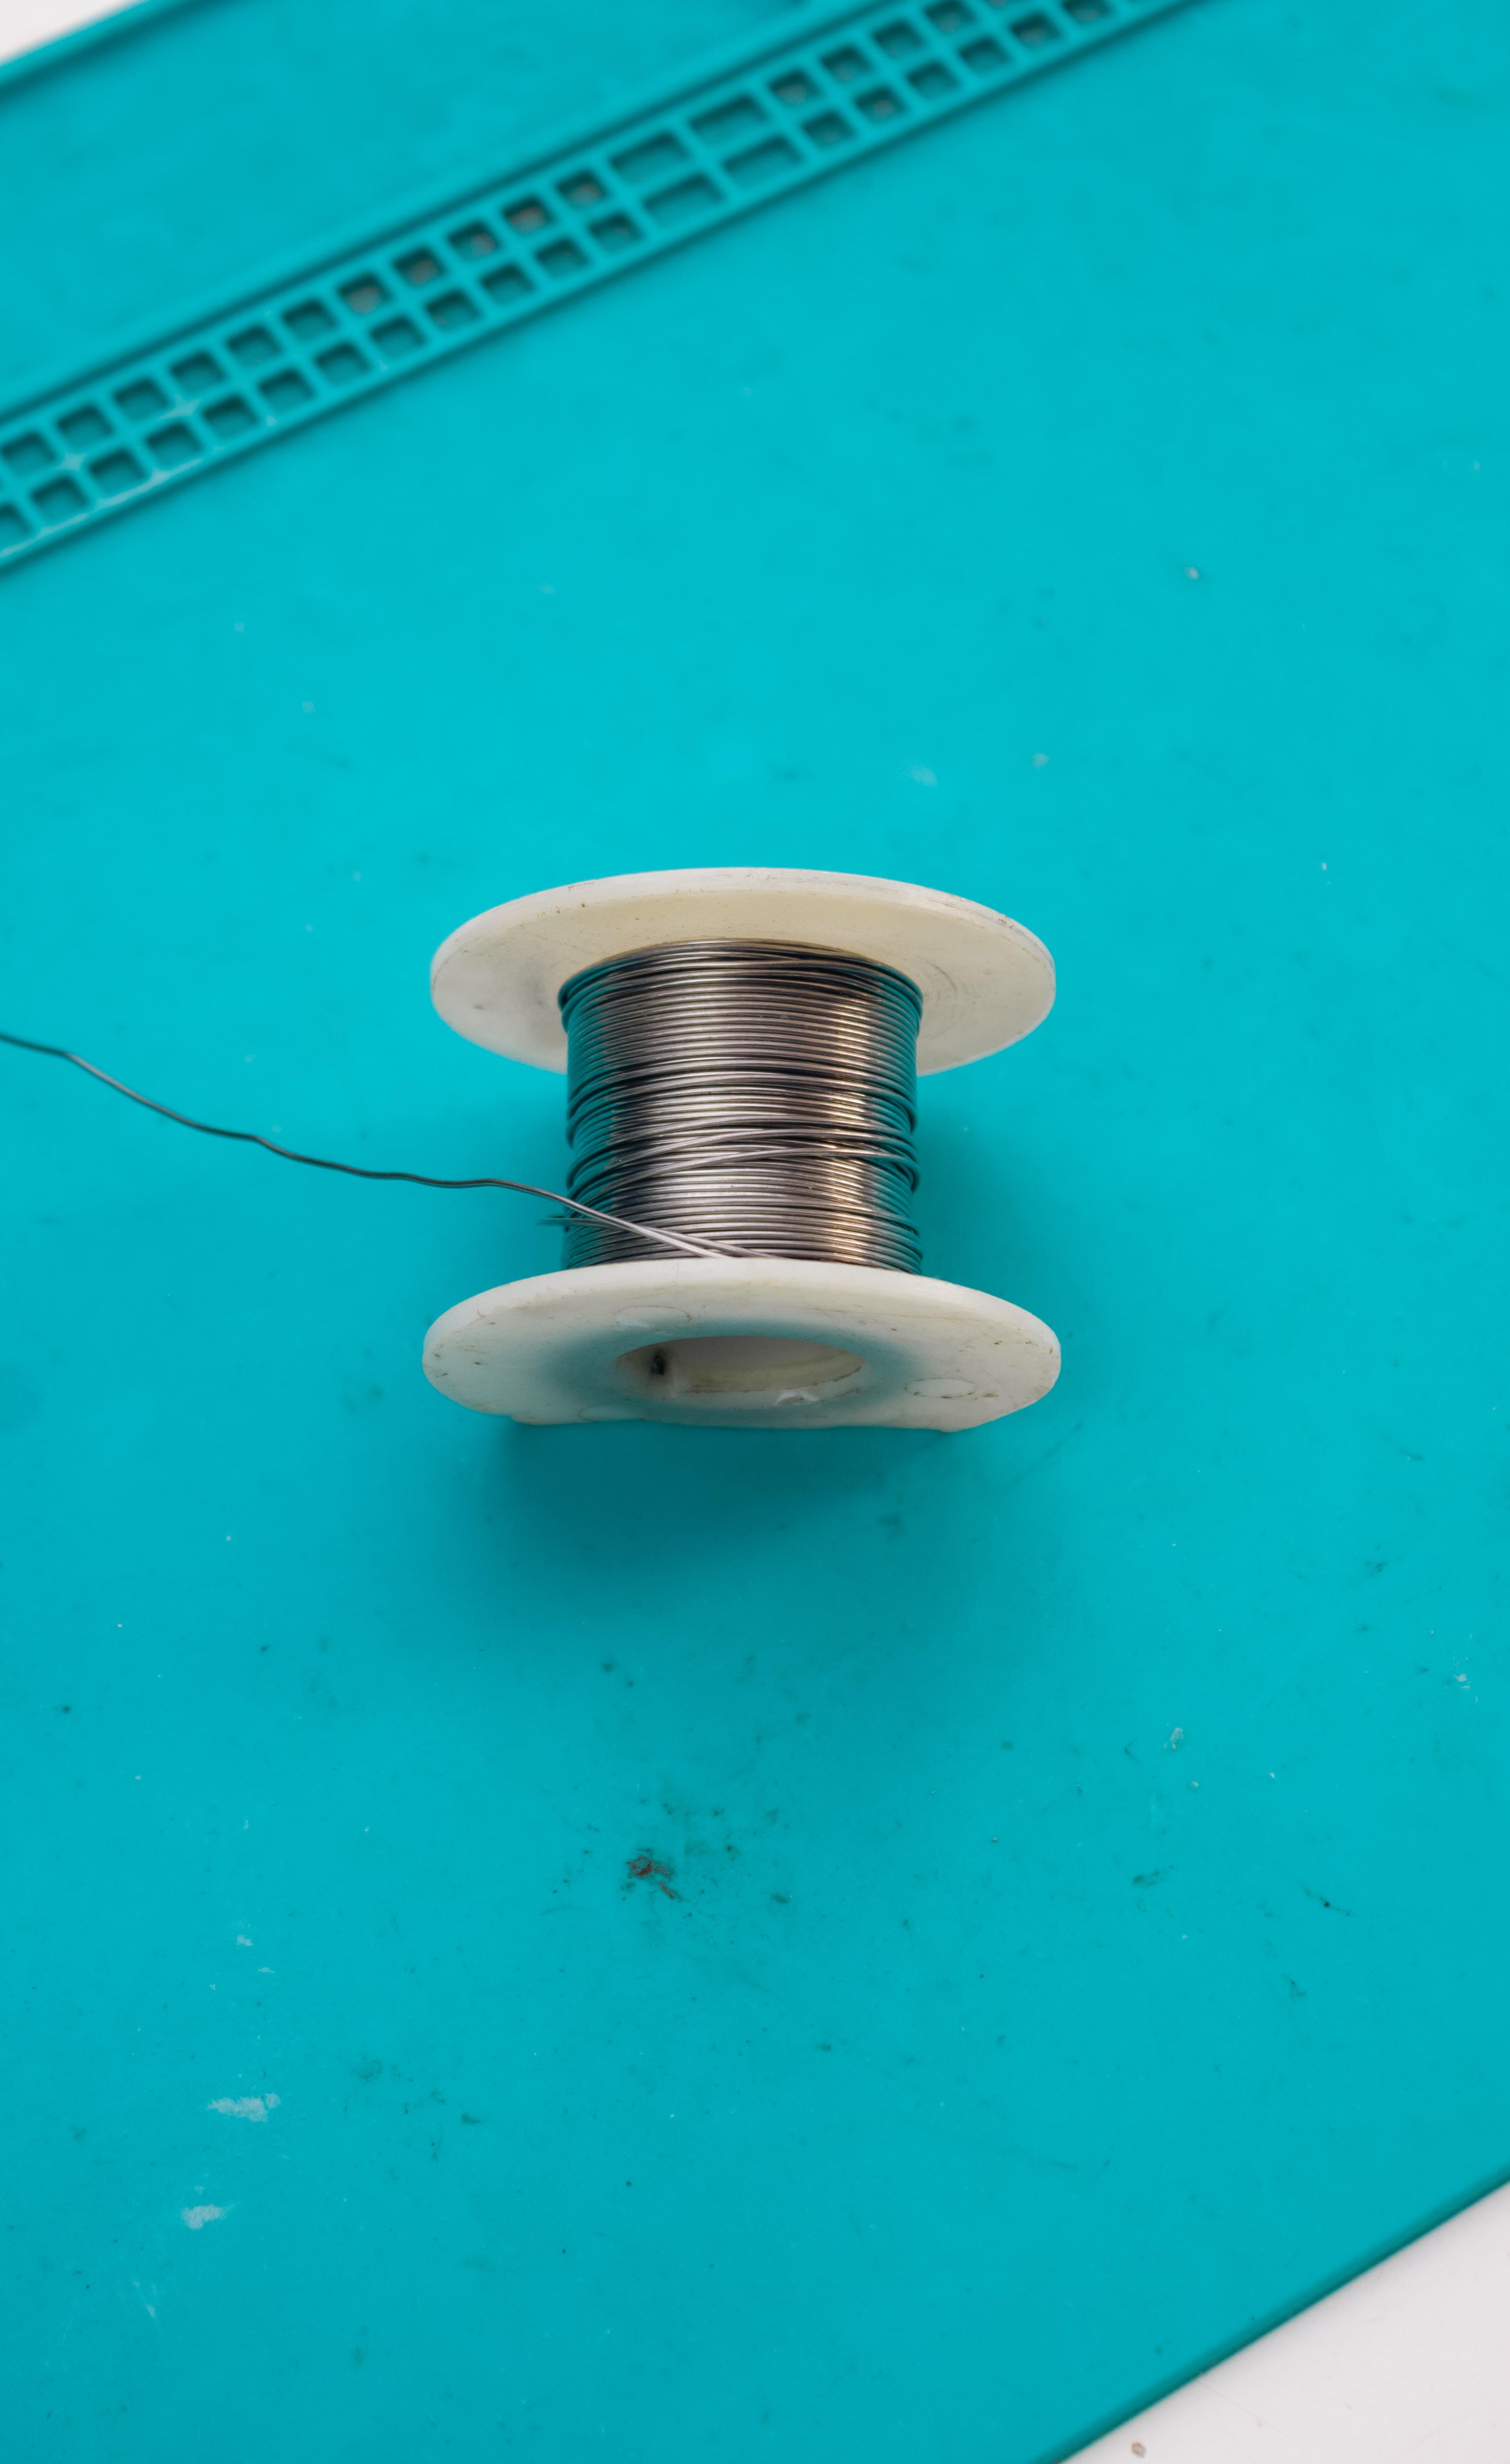
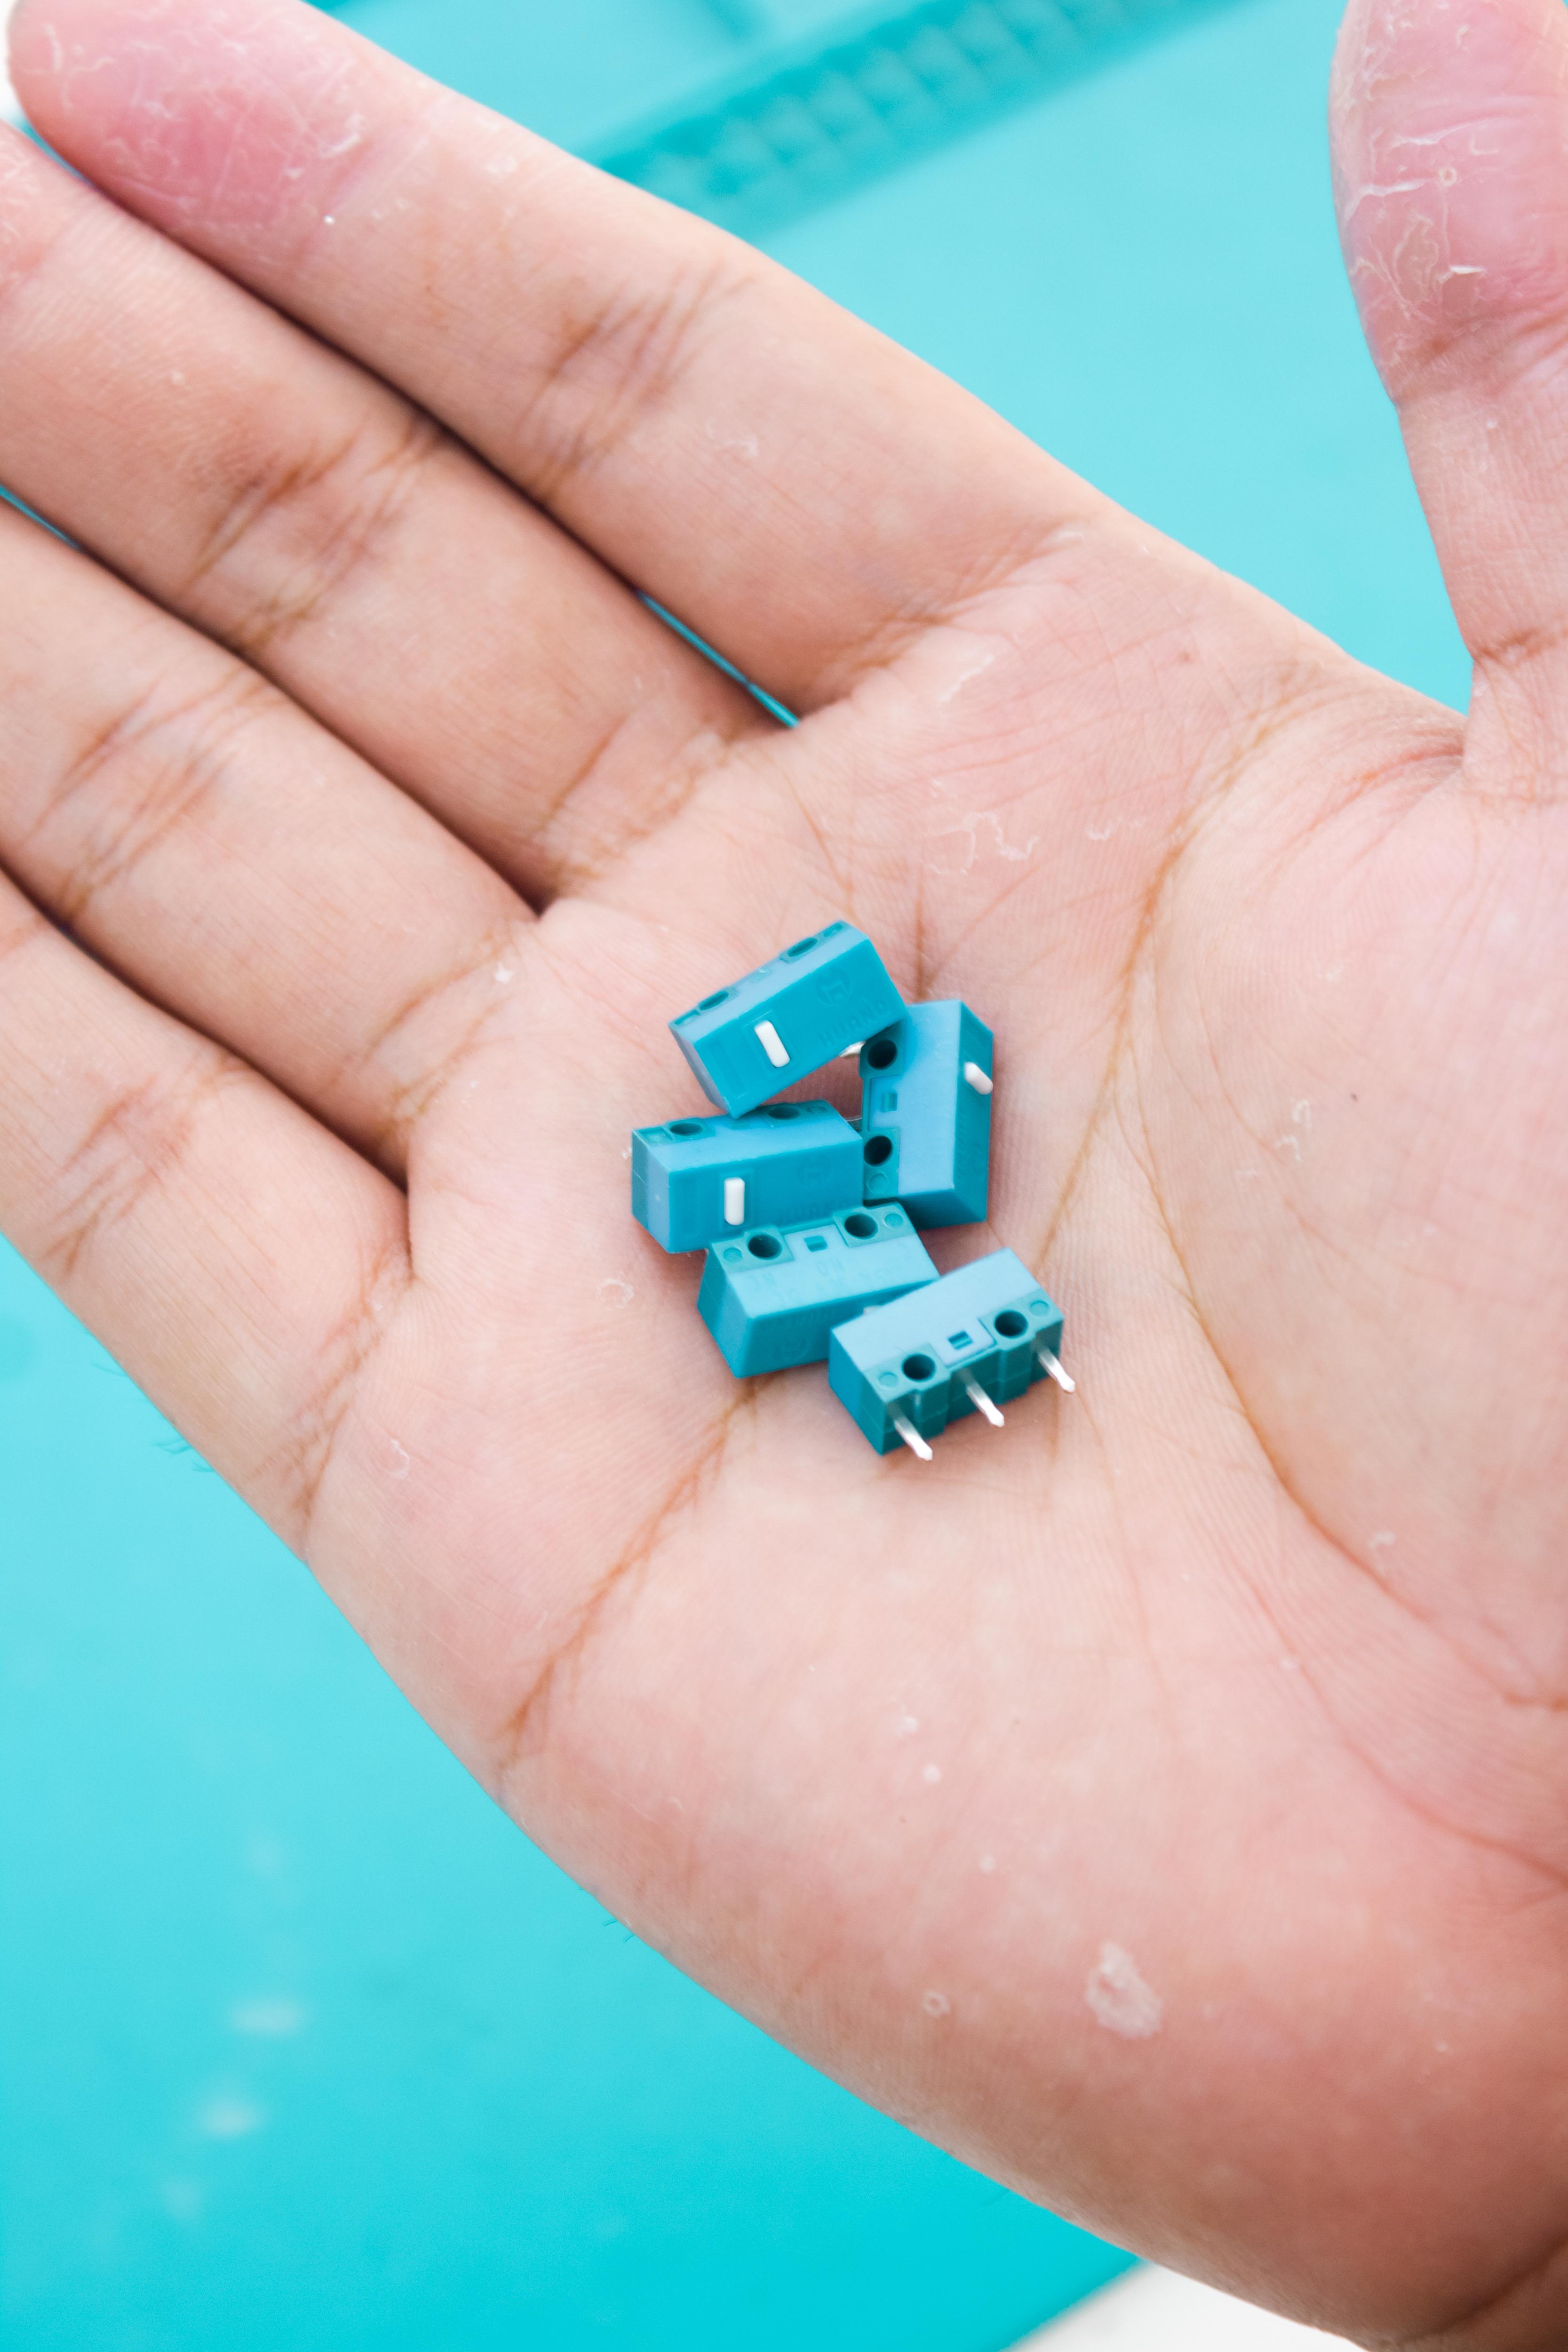
Let's start with the things you will need: a soldering iron, a soldering pump, soldering lead, mouse with broken clicker, and lastly, the star of the show— the replacement clicker that I bought for only 2 dollars!
- Soldering iron
- Soldering pump
- Soldering lead
- Replacement clicker - Link
- Mouse with broken clicker
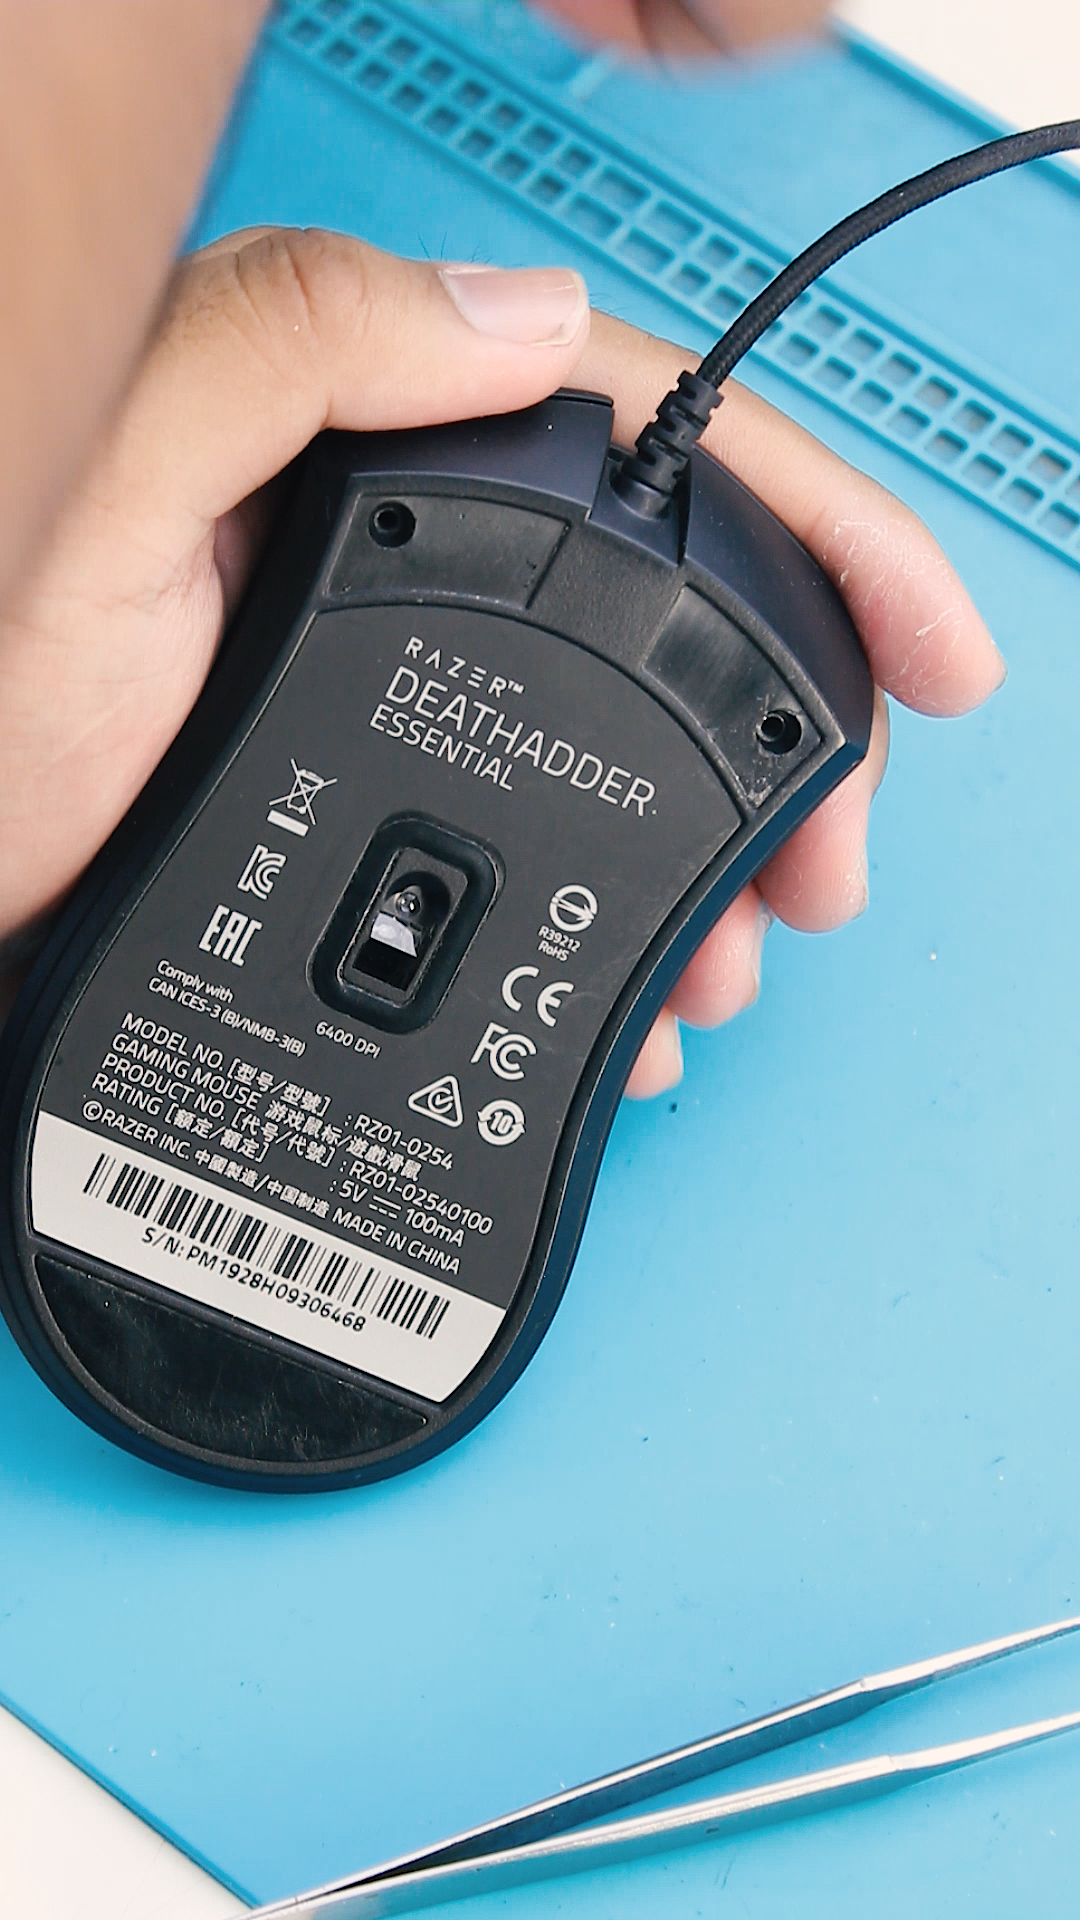
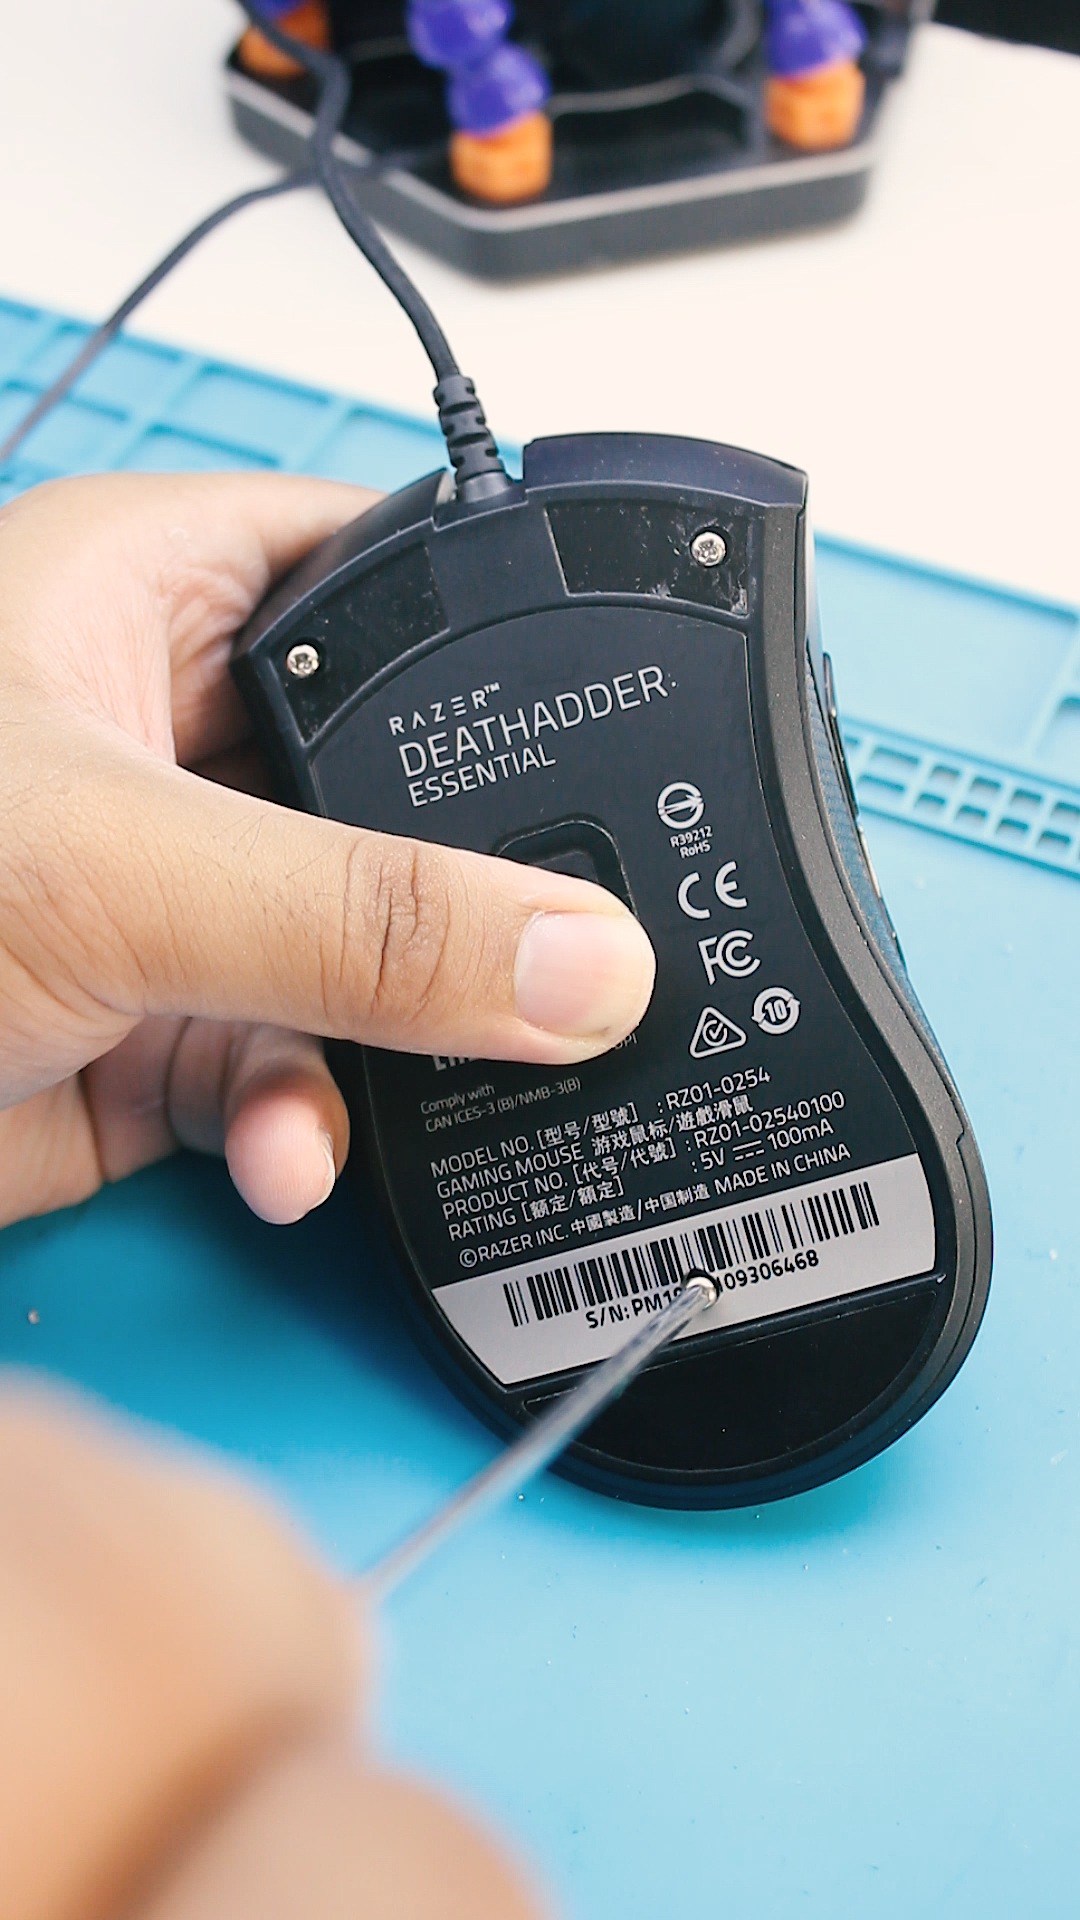
Find the Screws
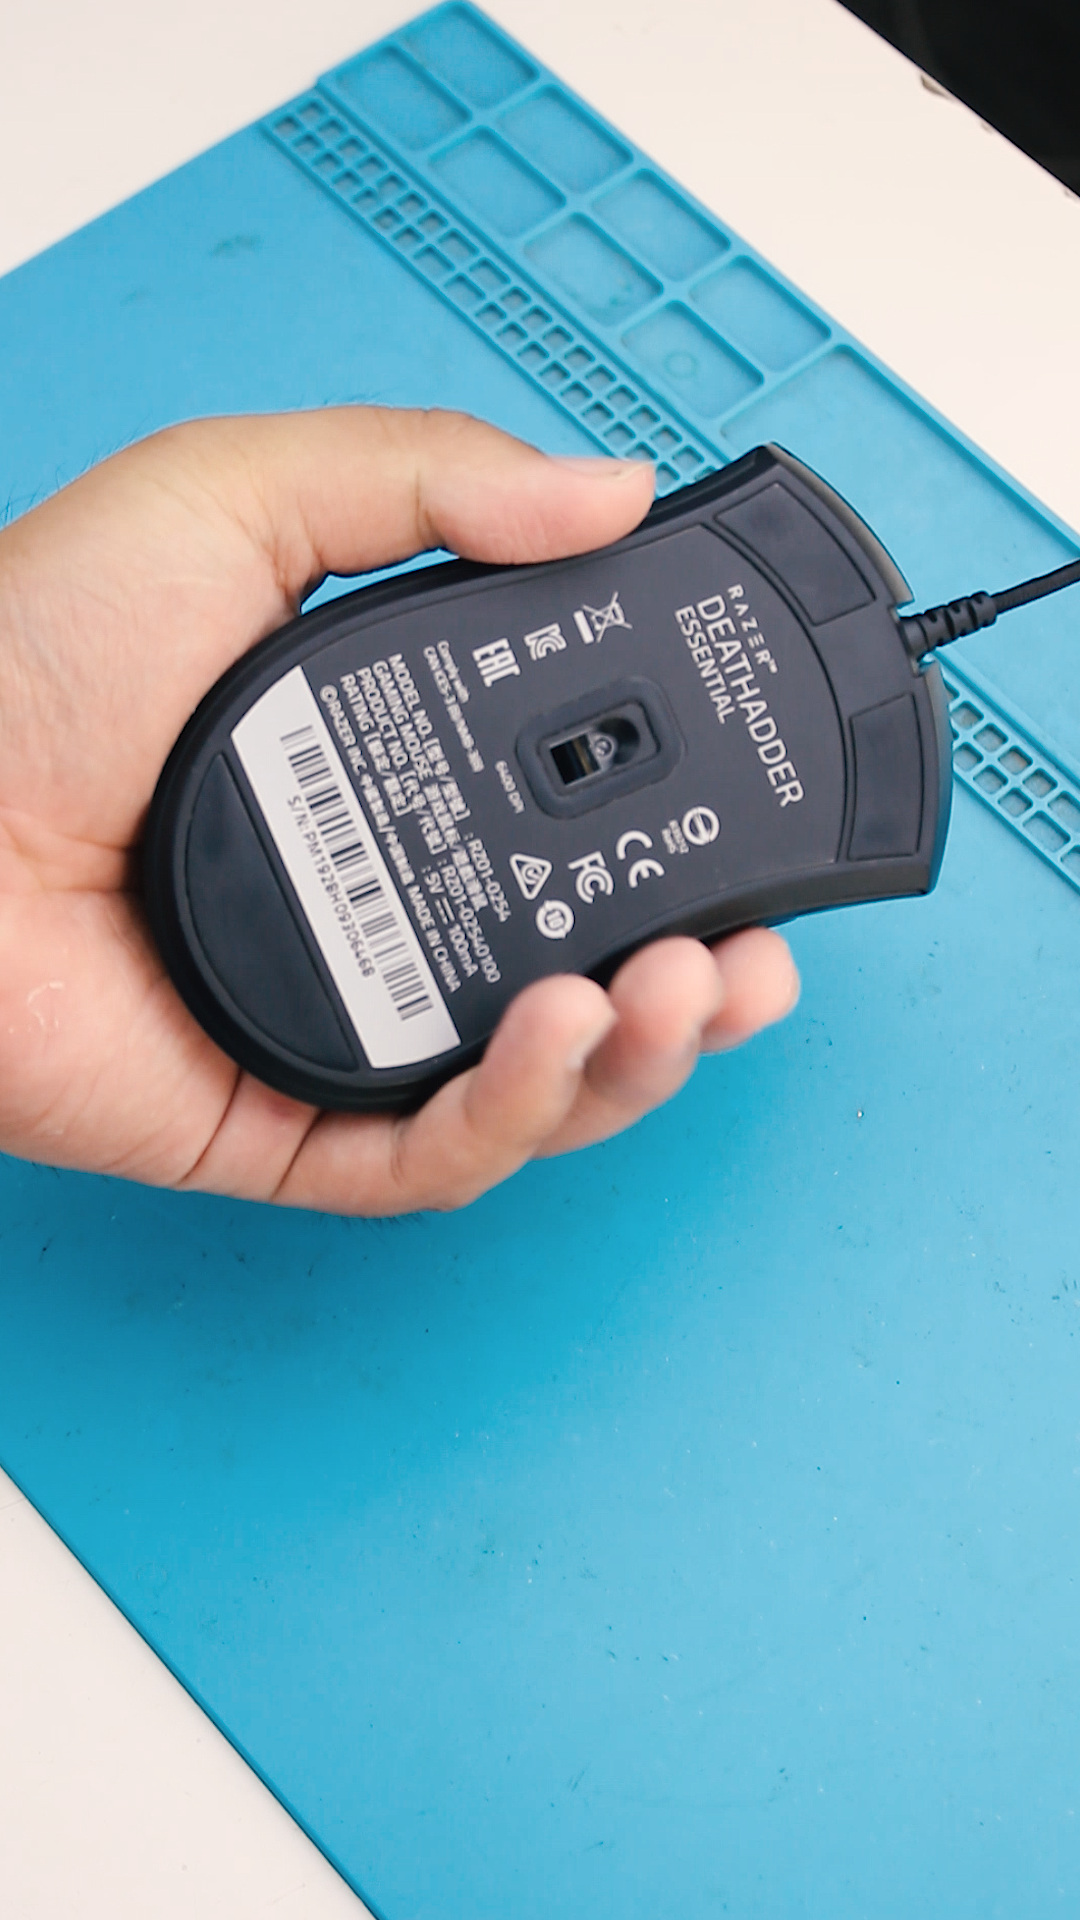
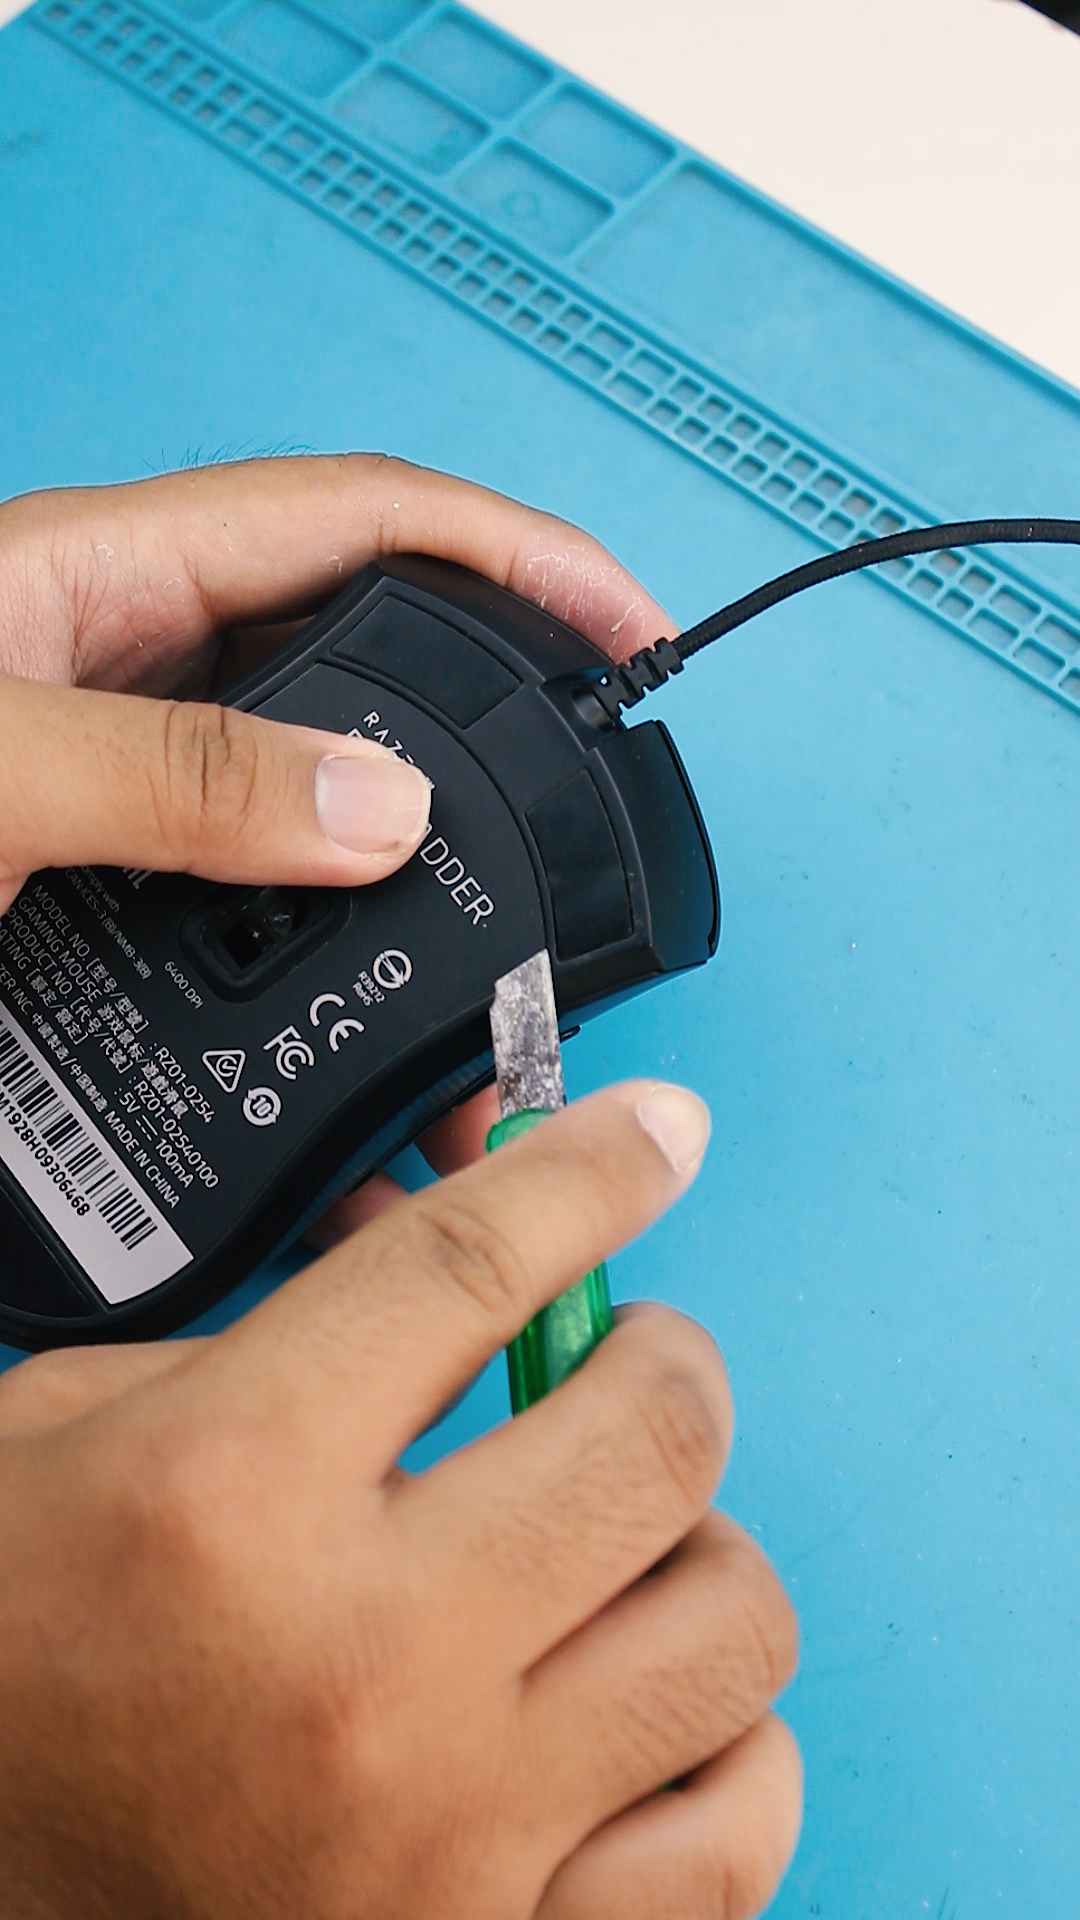
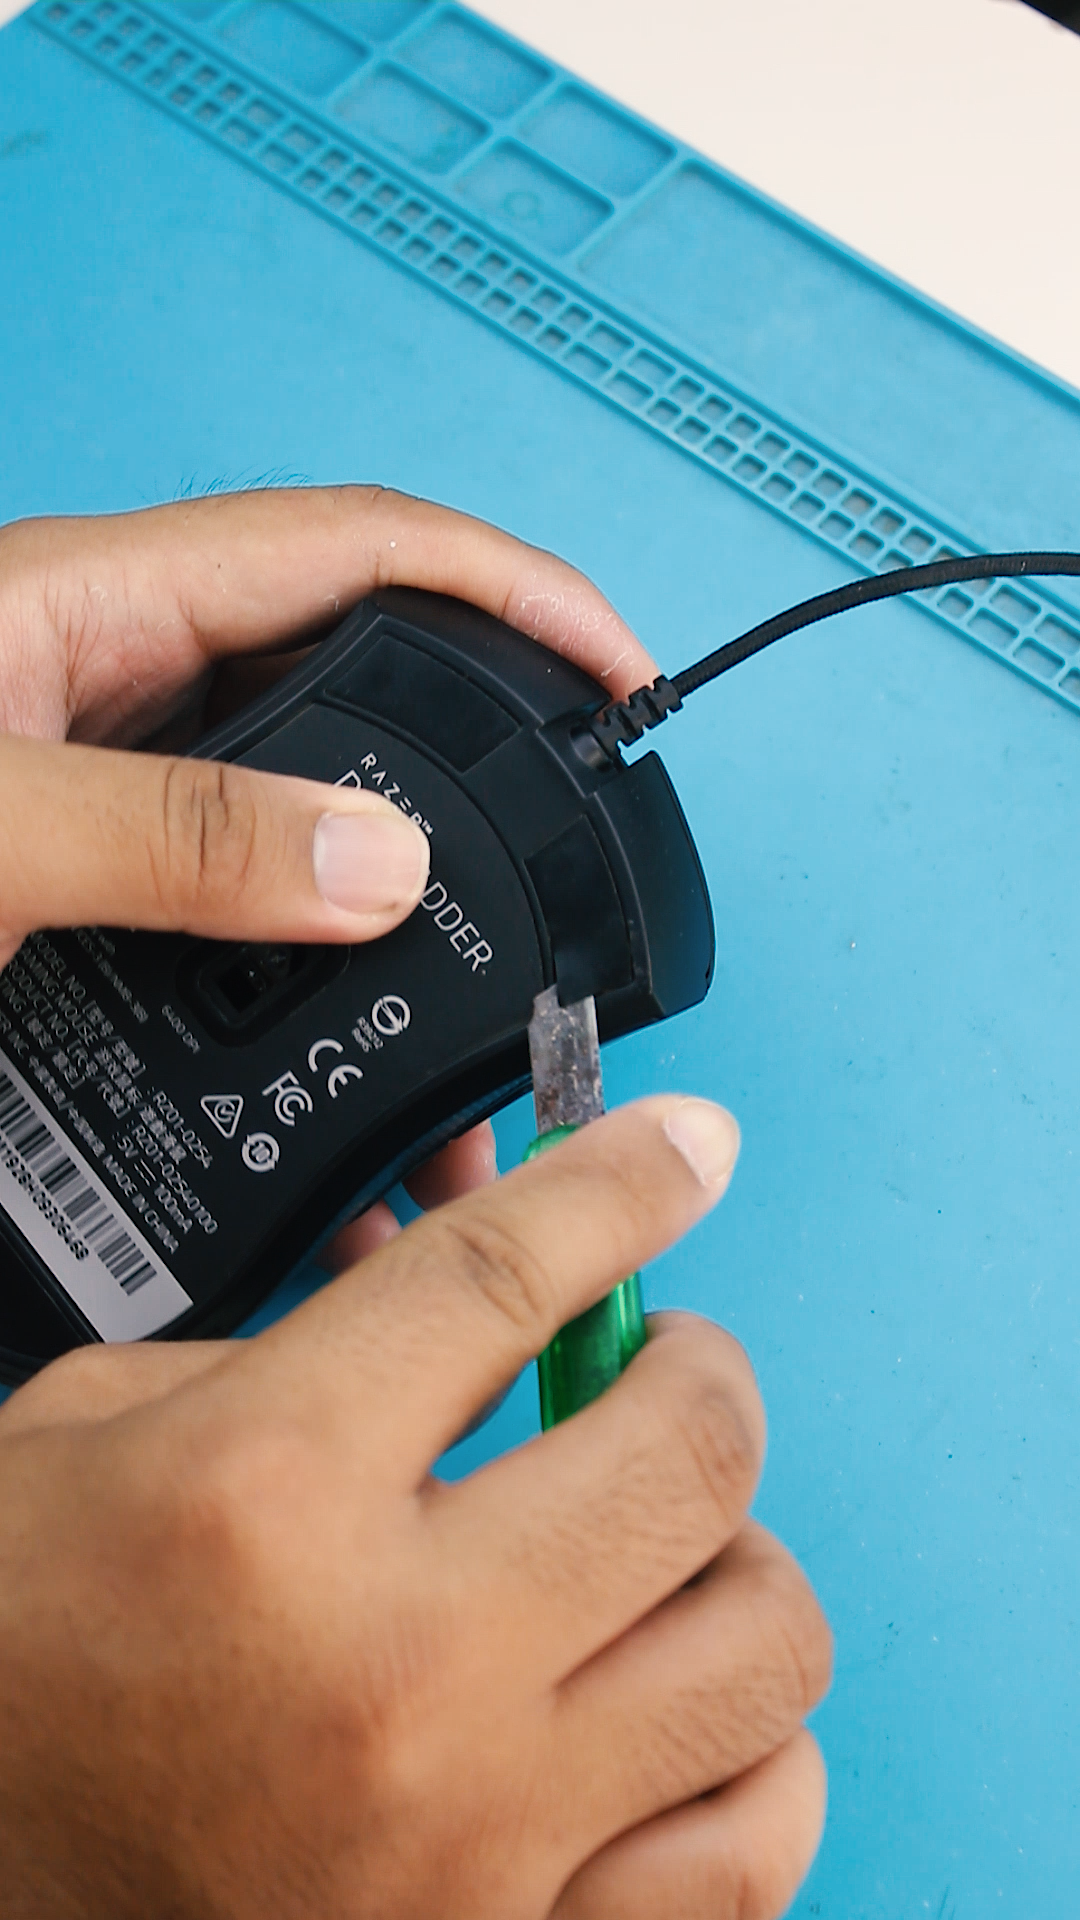
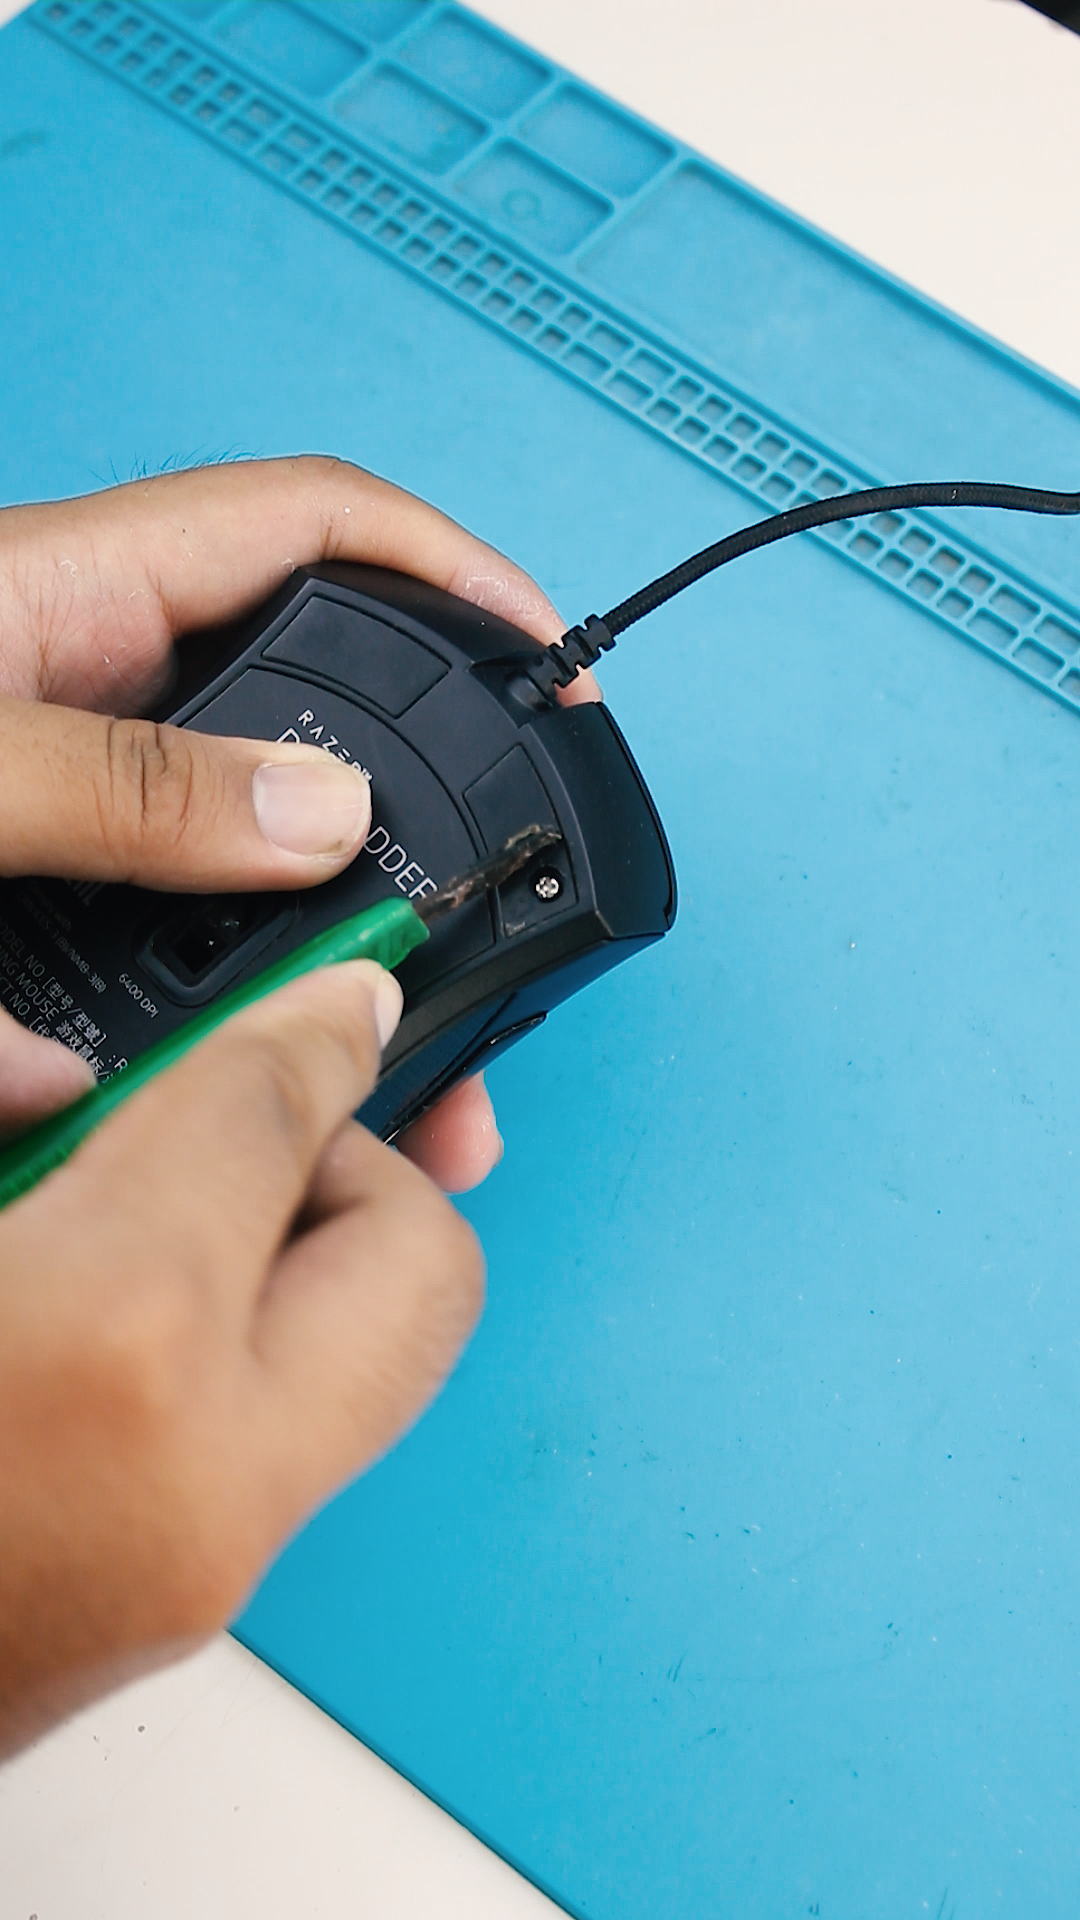
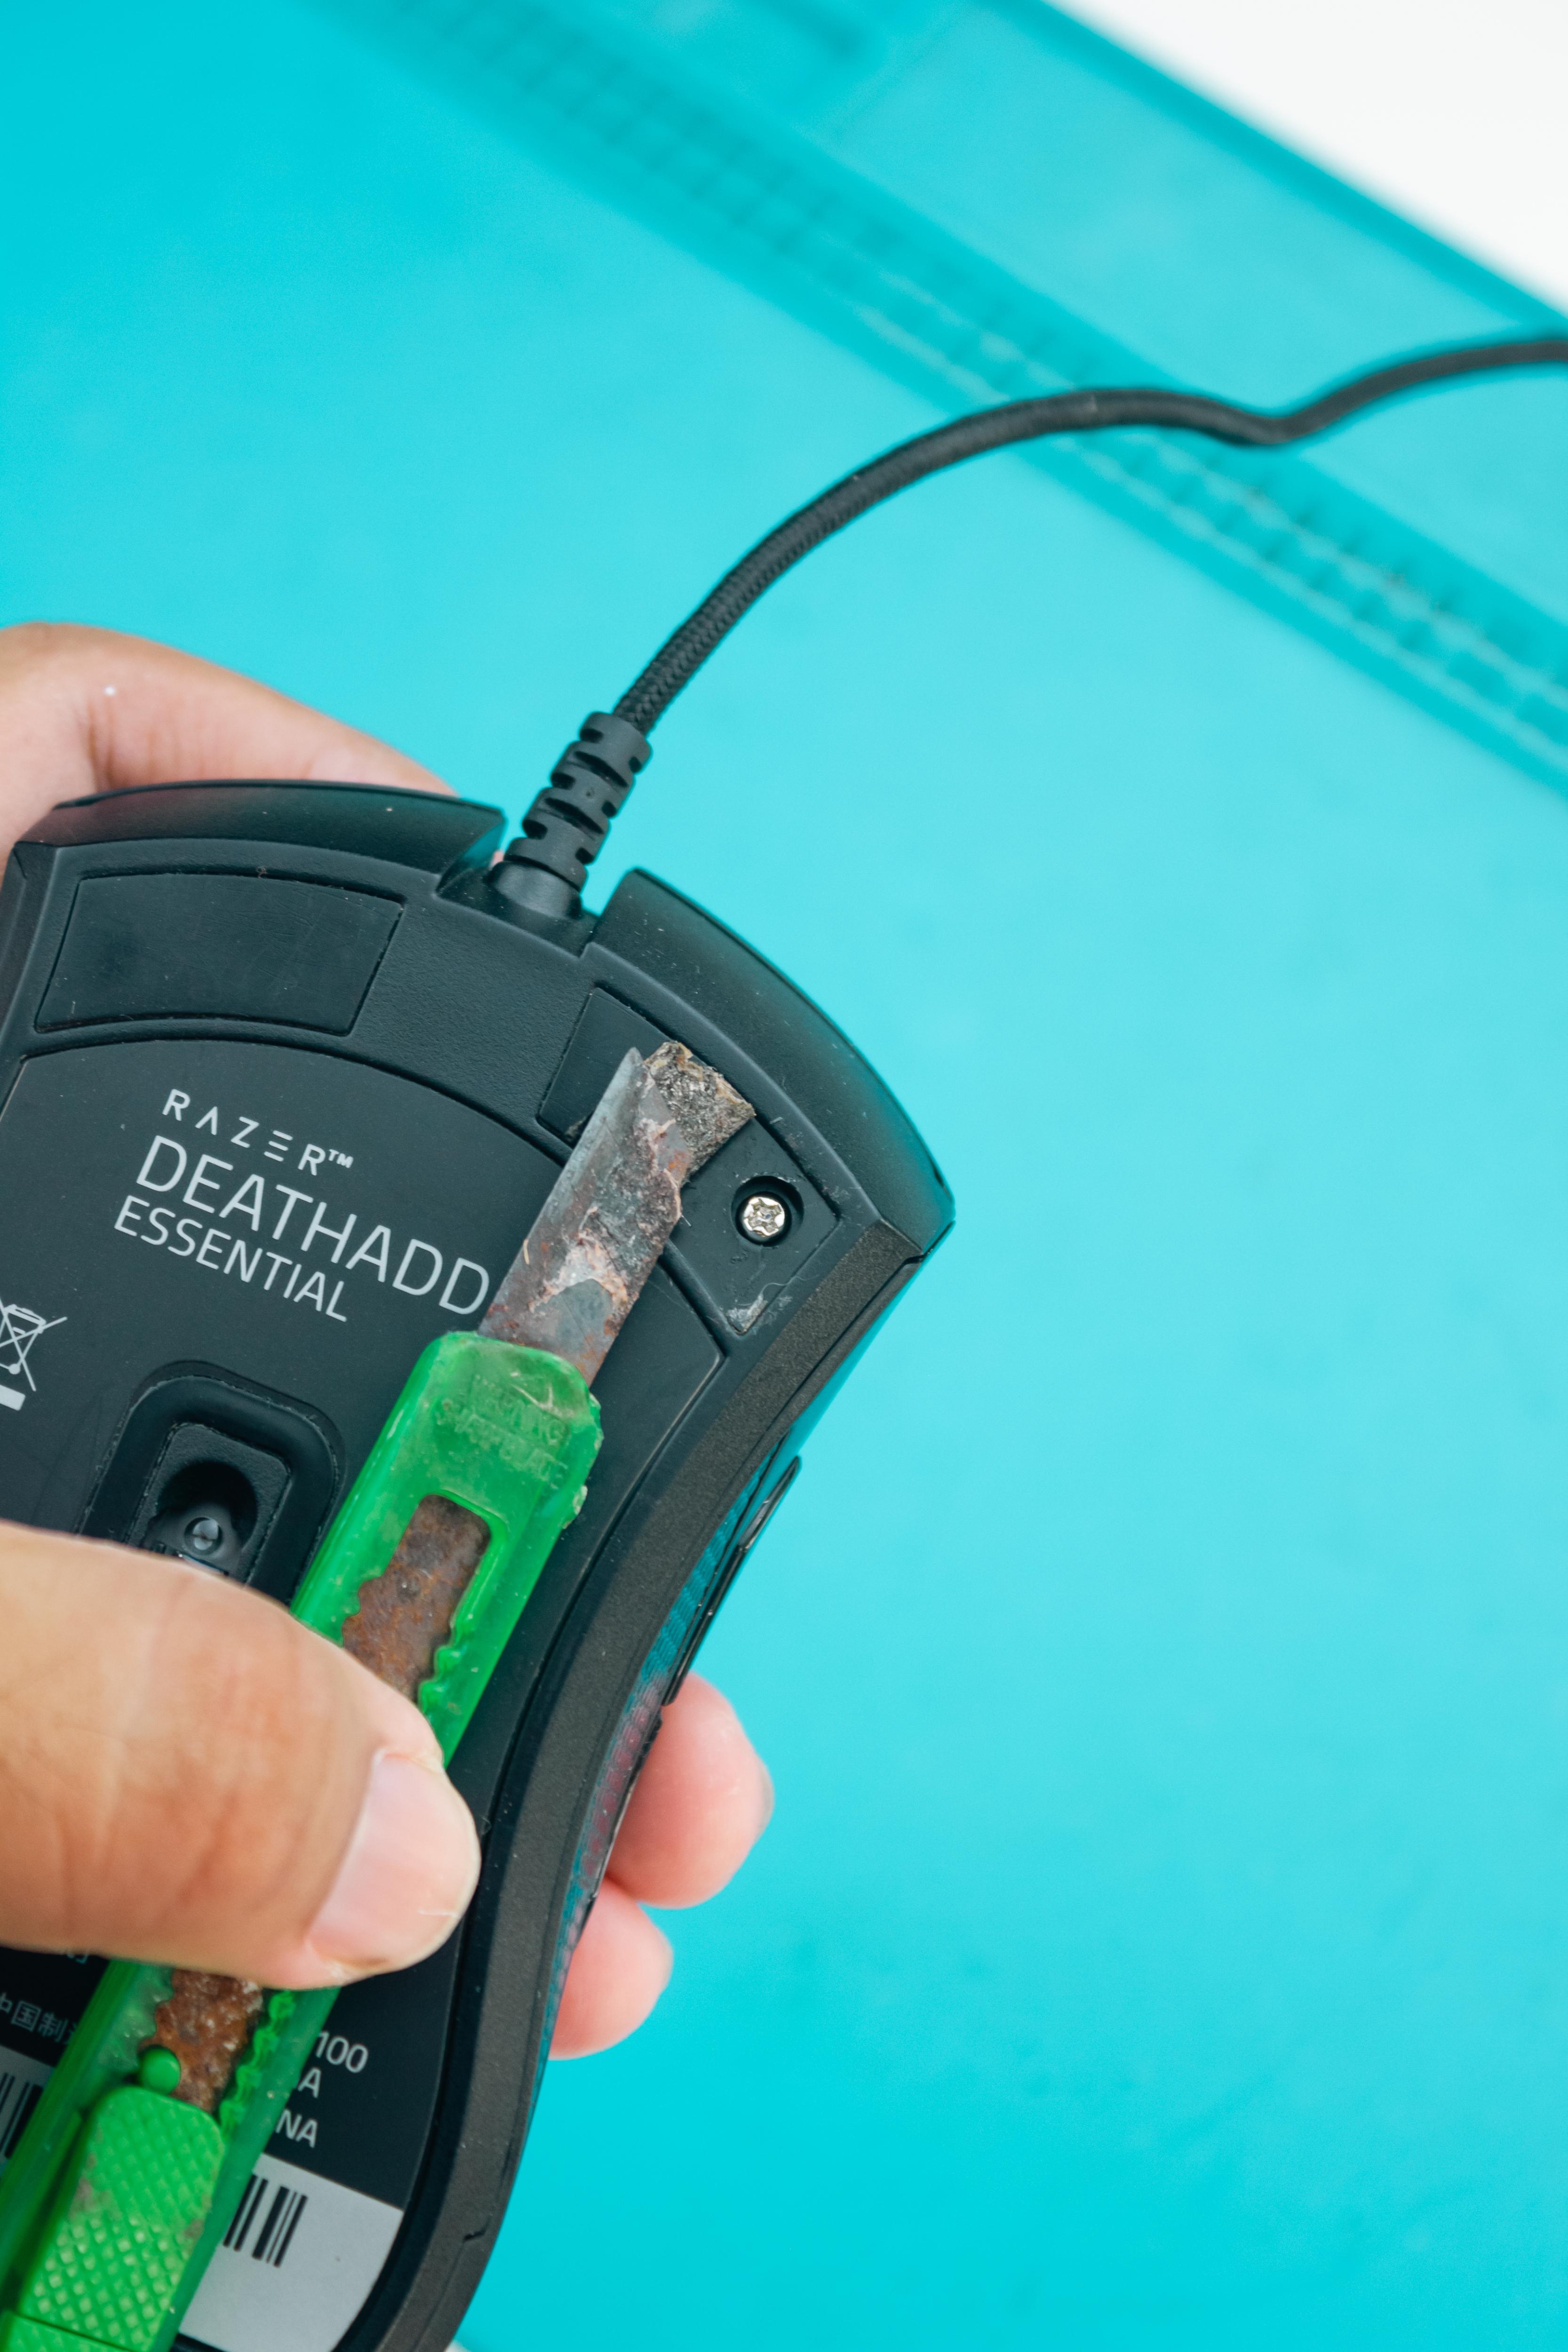
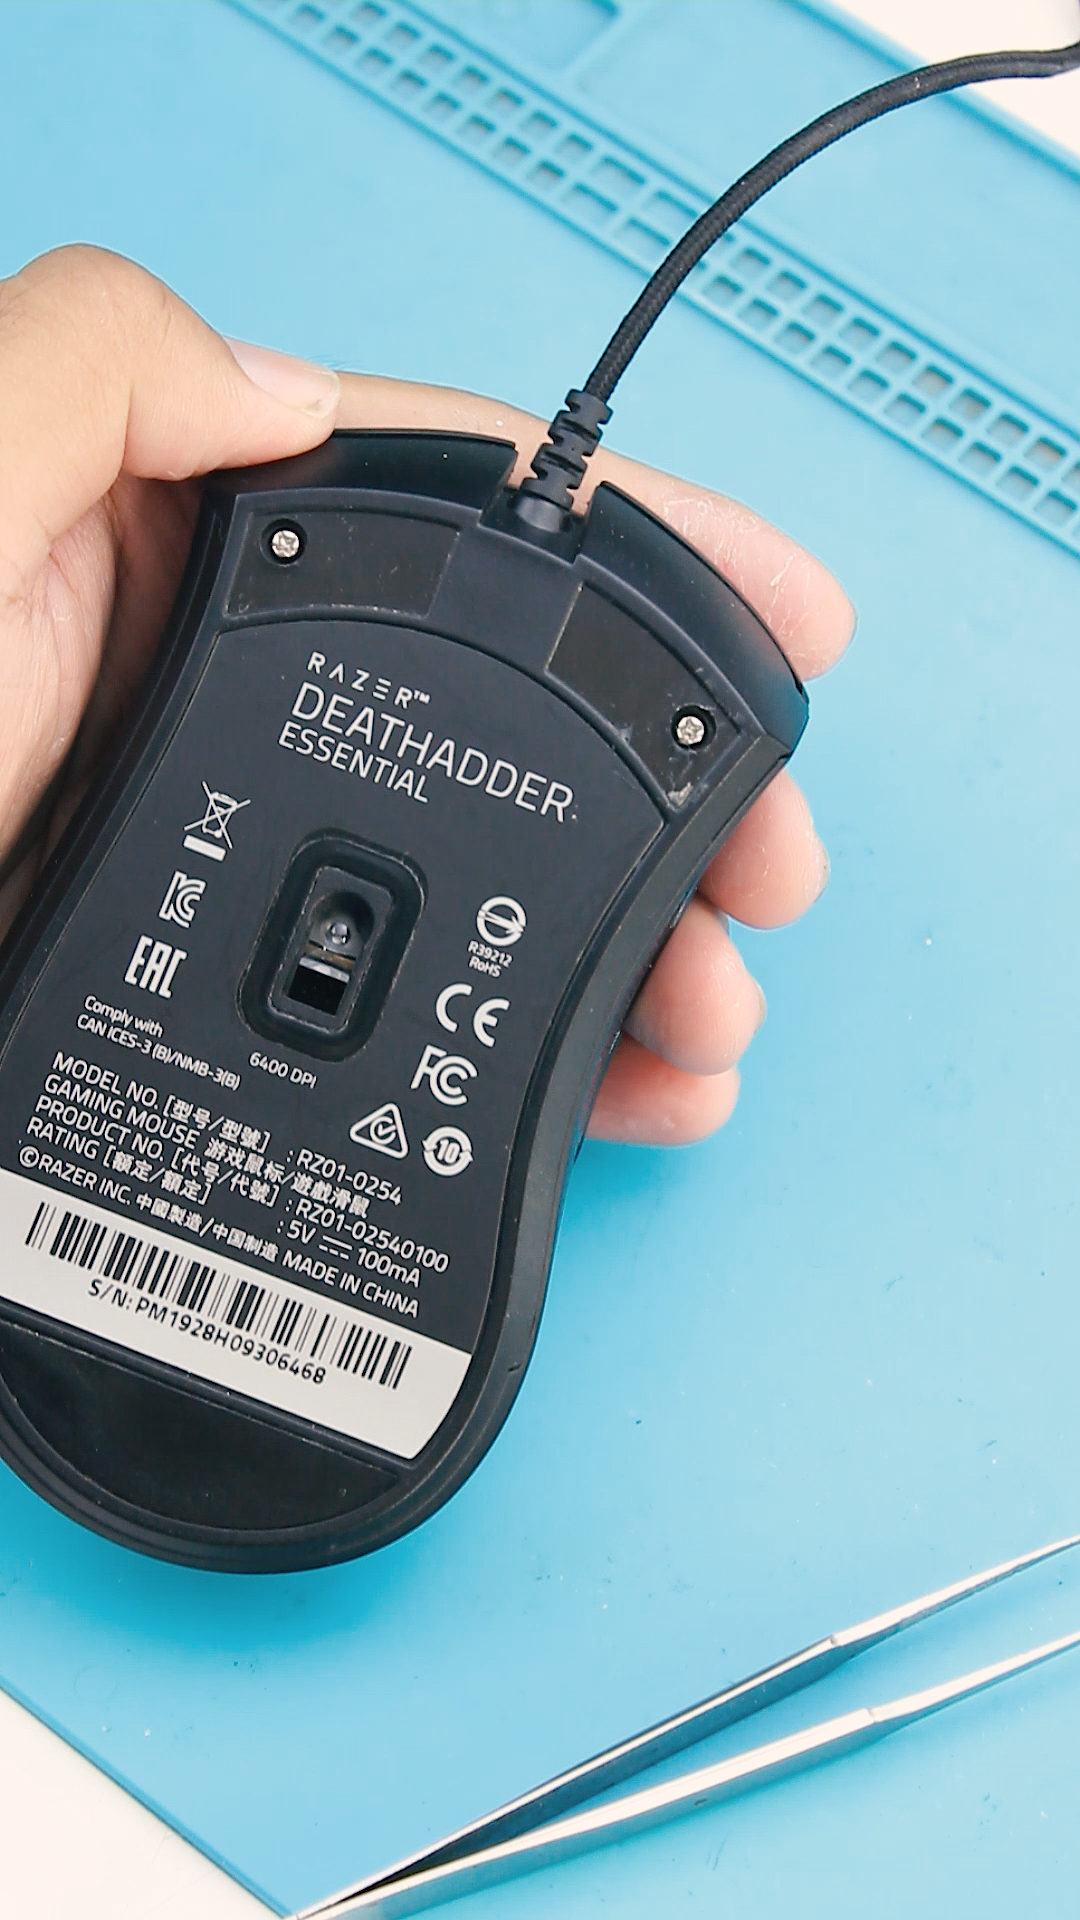
The first thing we need to do is find the screws holding the mouse body together. On this particular model, the screws are located underneath these gliders. To remove the gliders, I grab my blade cutter and gently peel them off. Make sure not to destroy them because we are still going to use it.
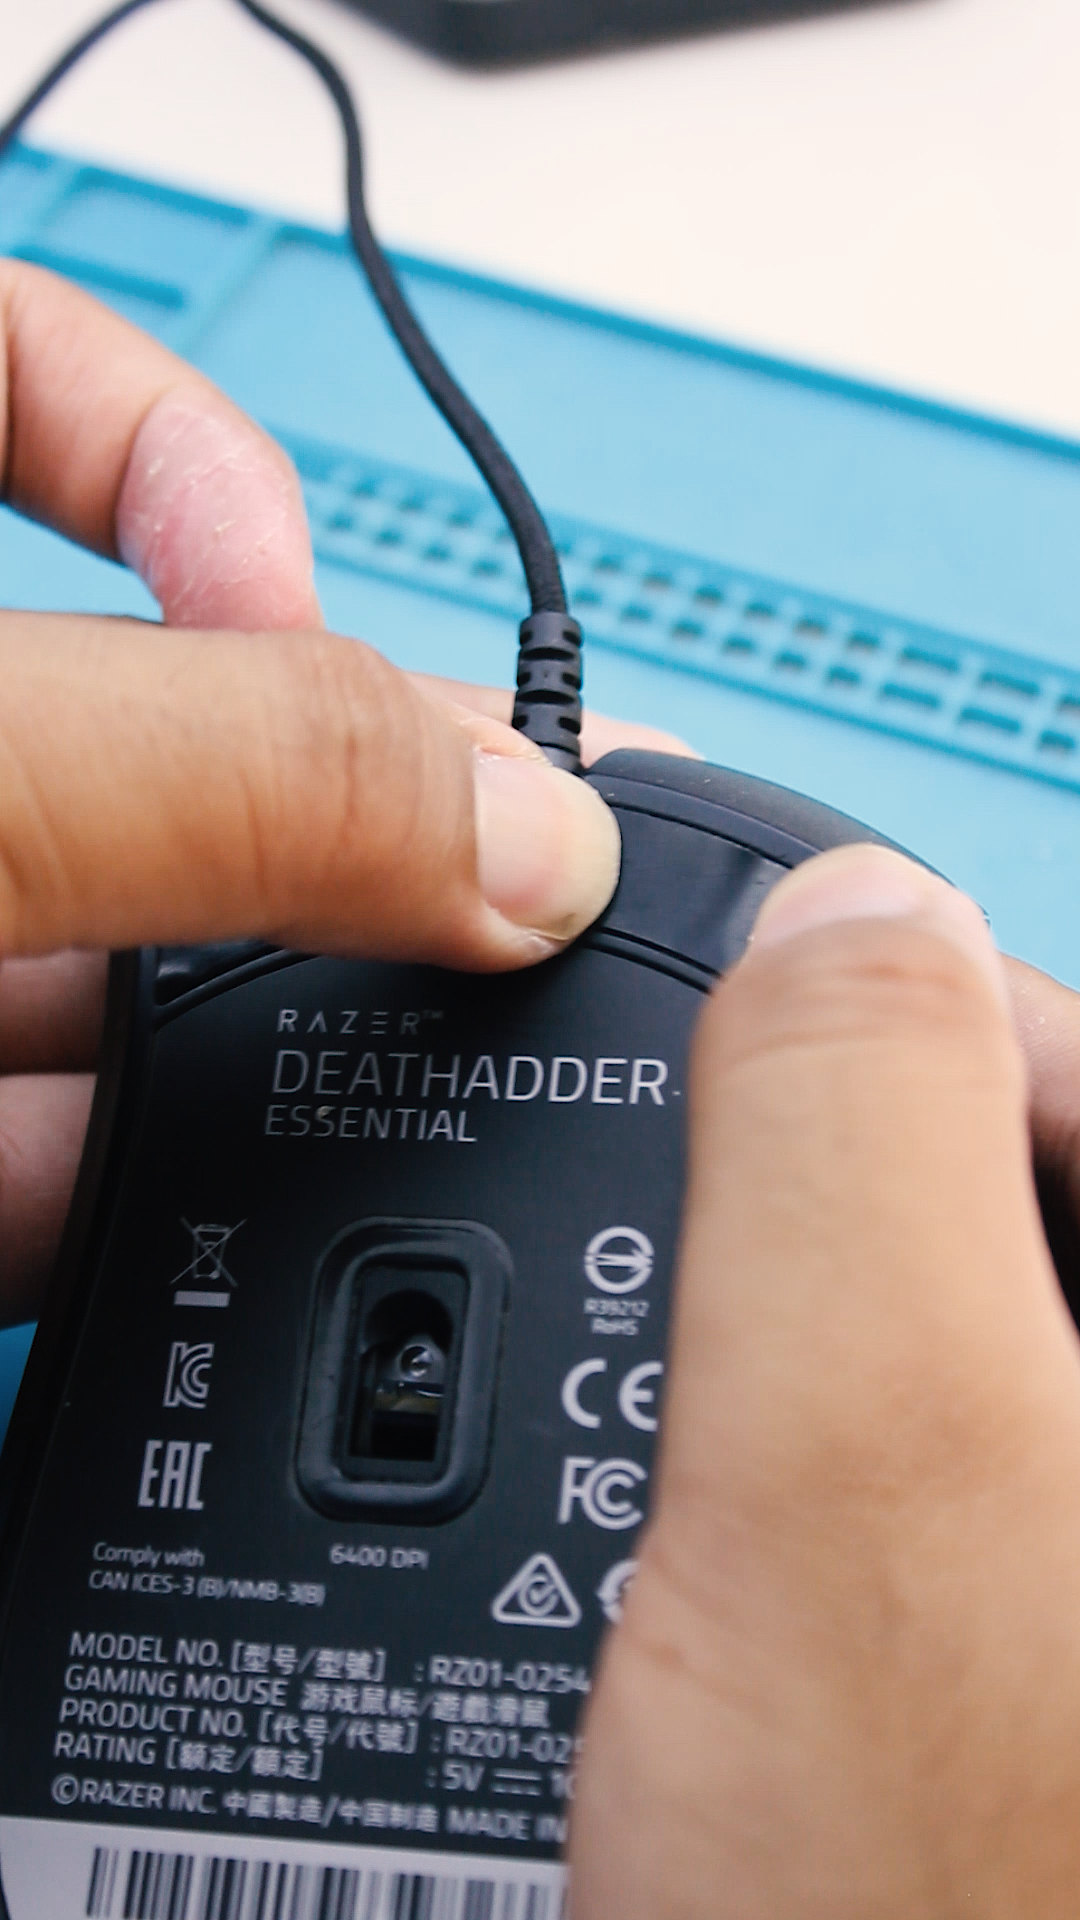
Remove Those Screws
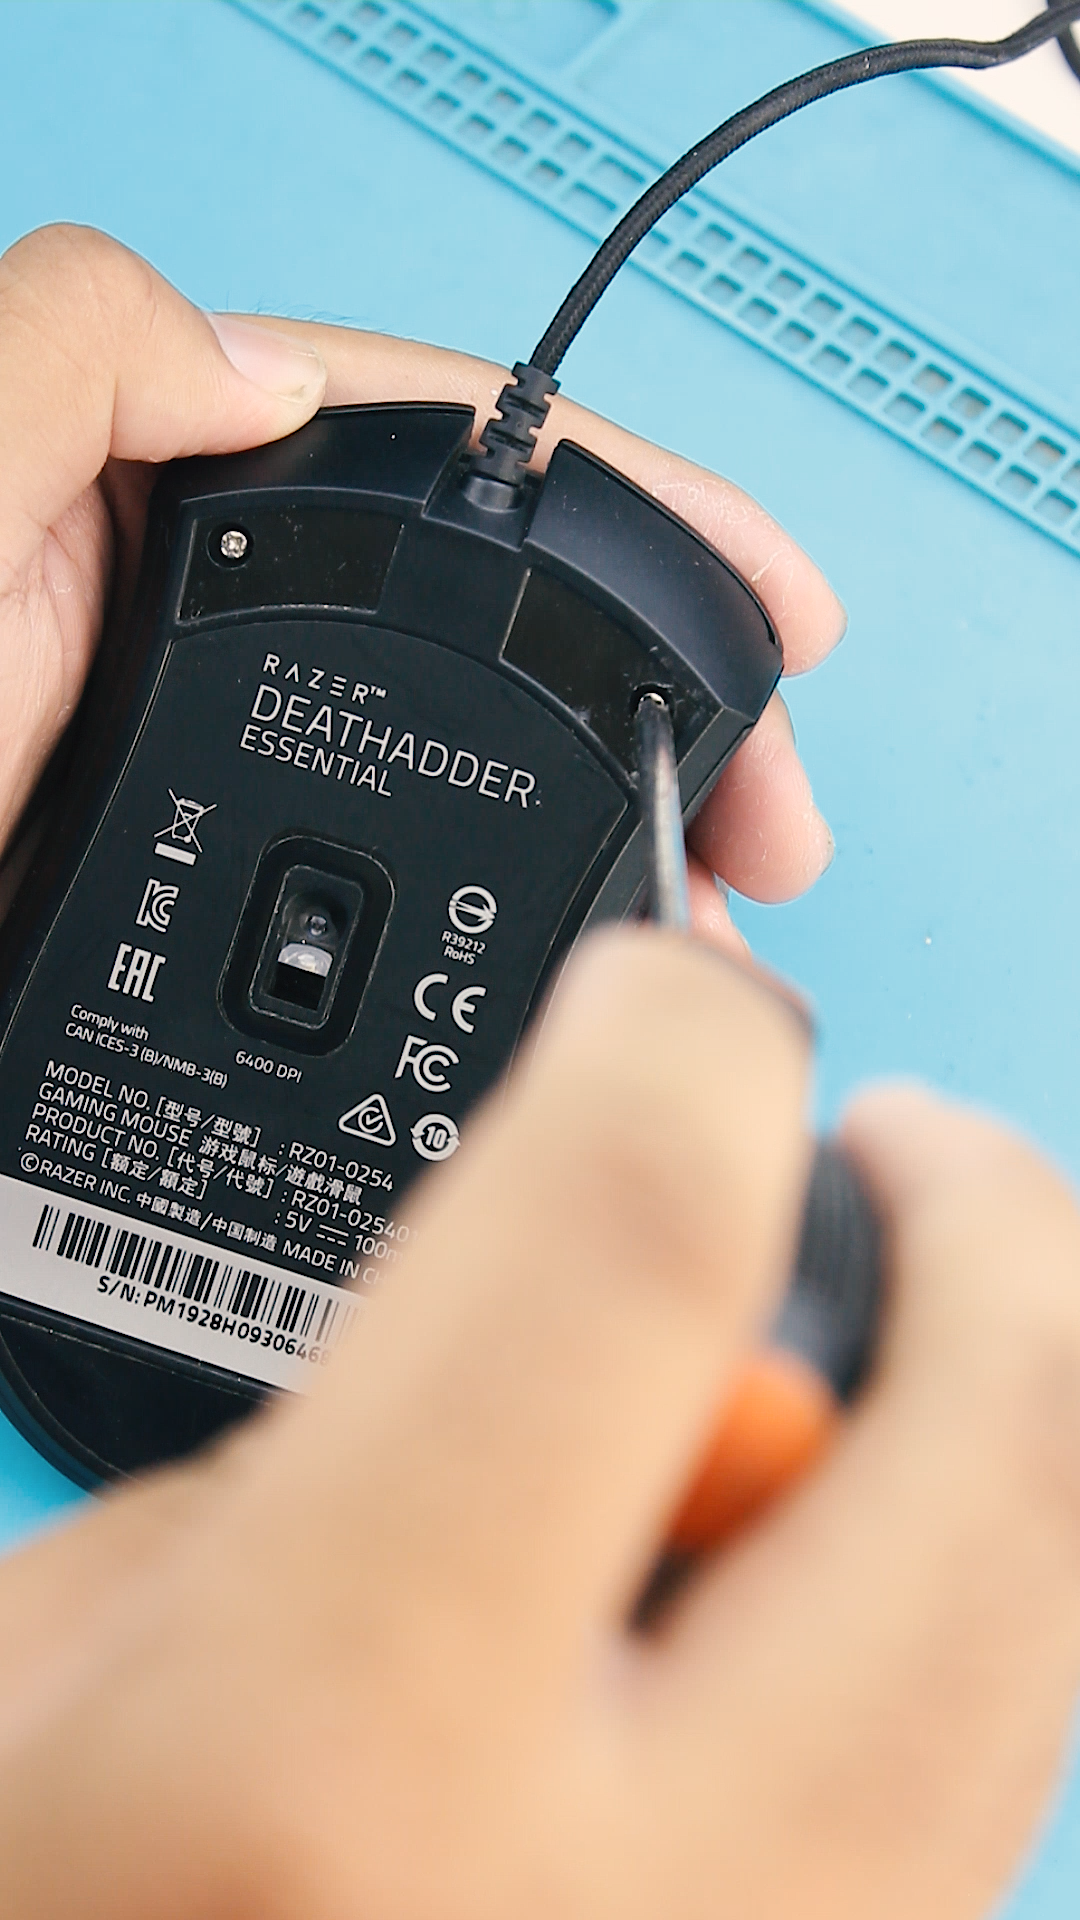

Now that we have already found the location of the screws, it's time to remove them using a small Phillips head screwdriver.
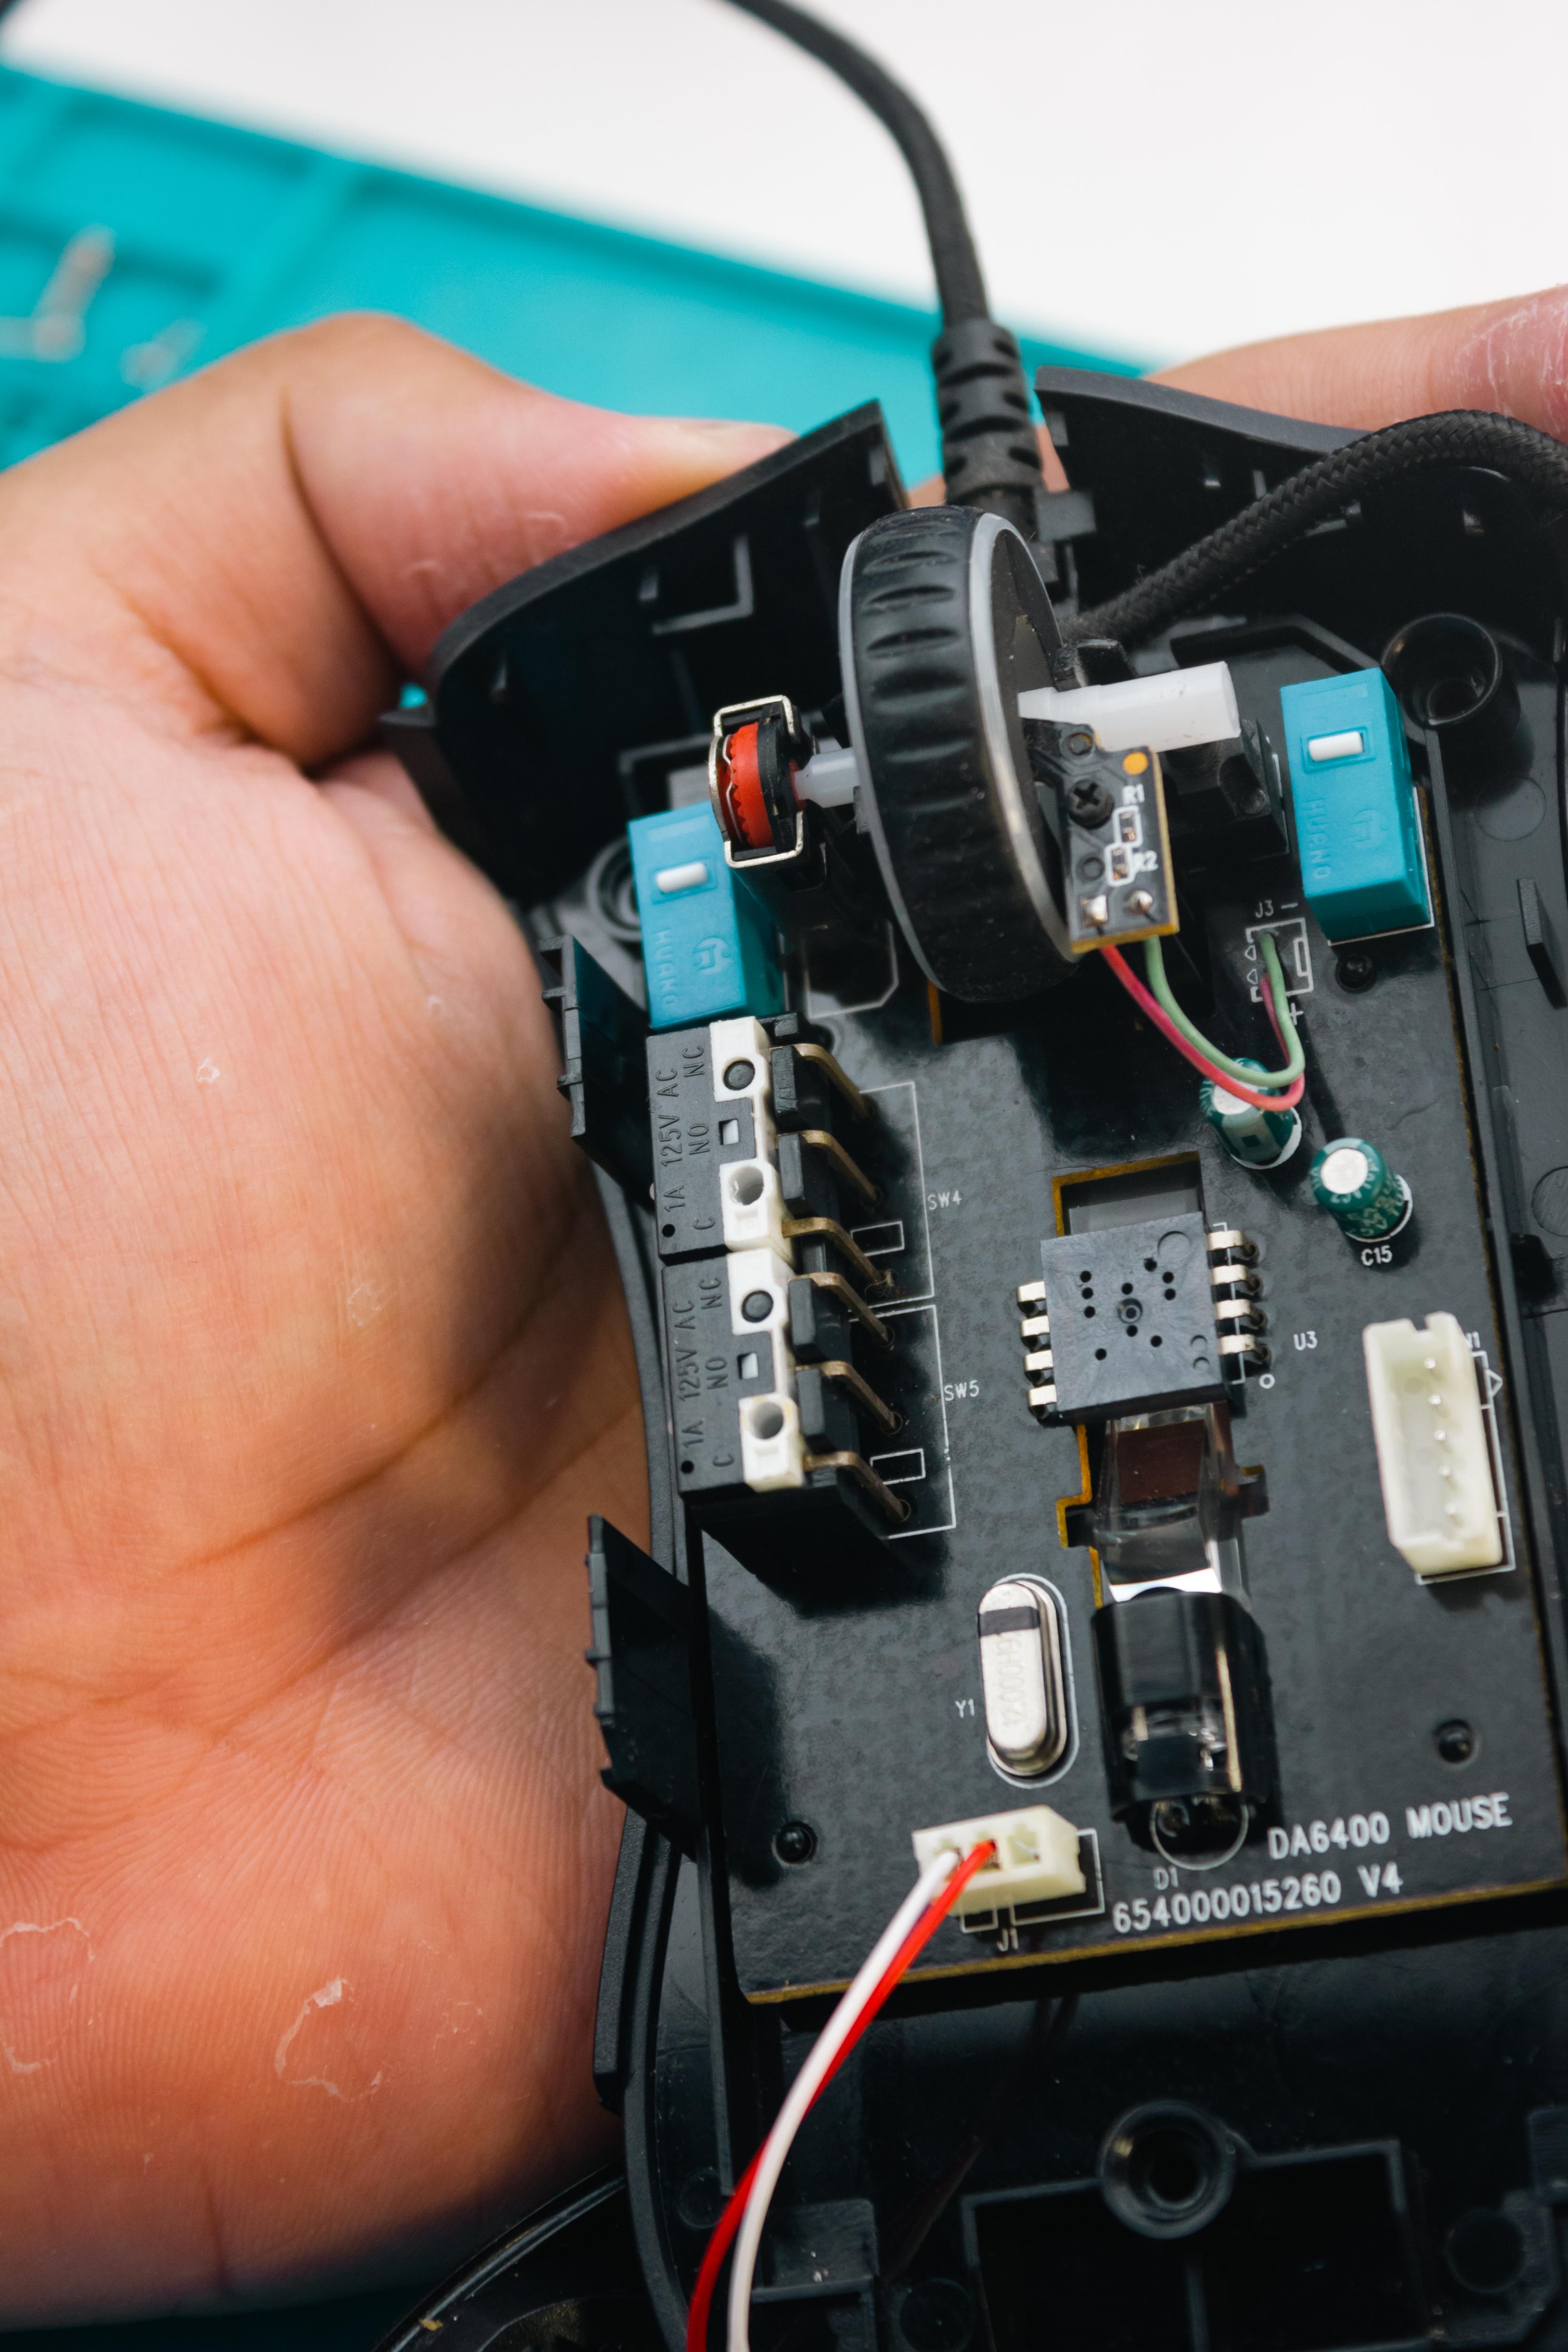
Open It Up
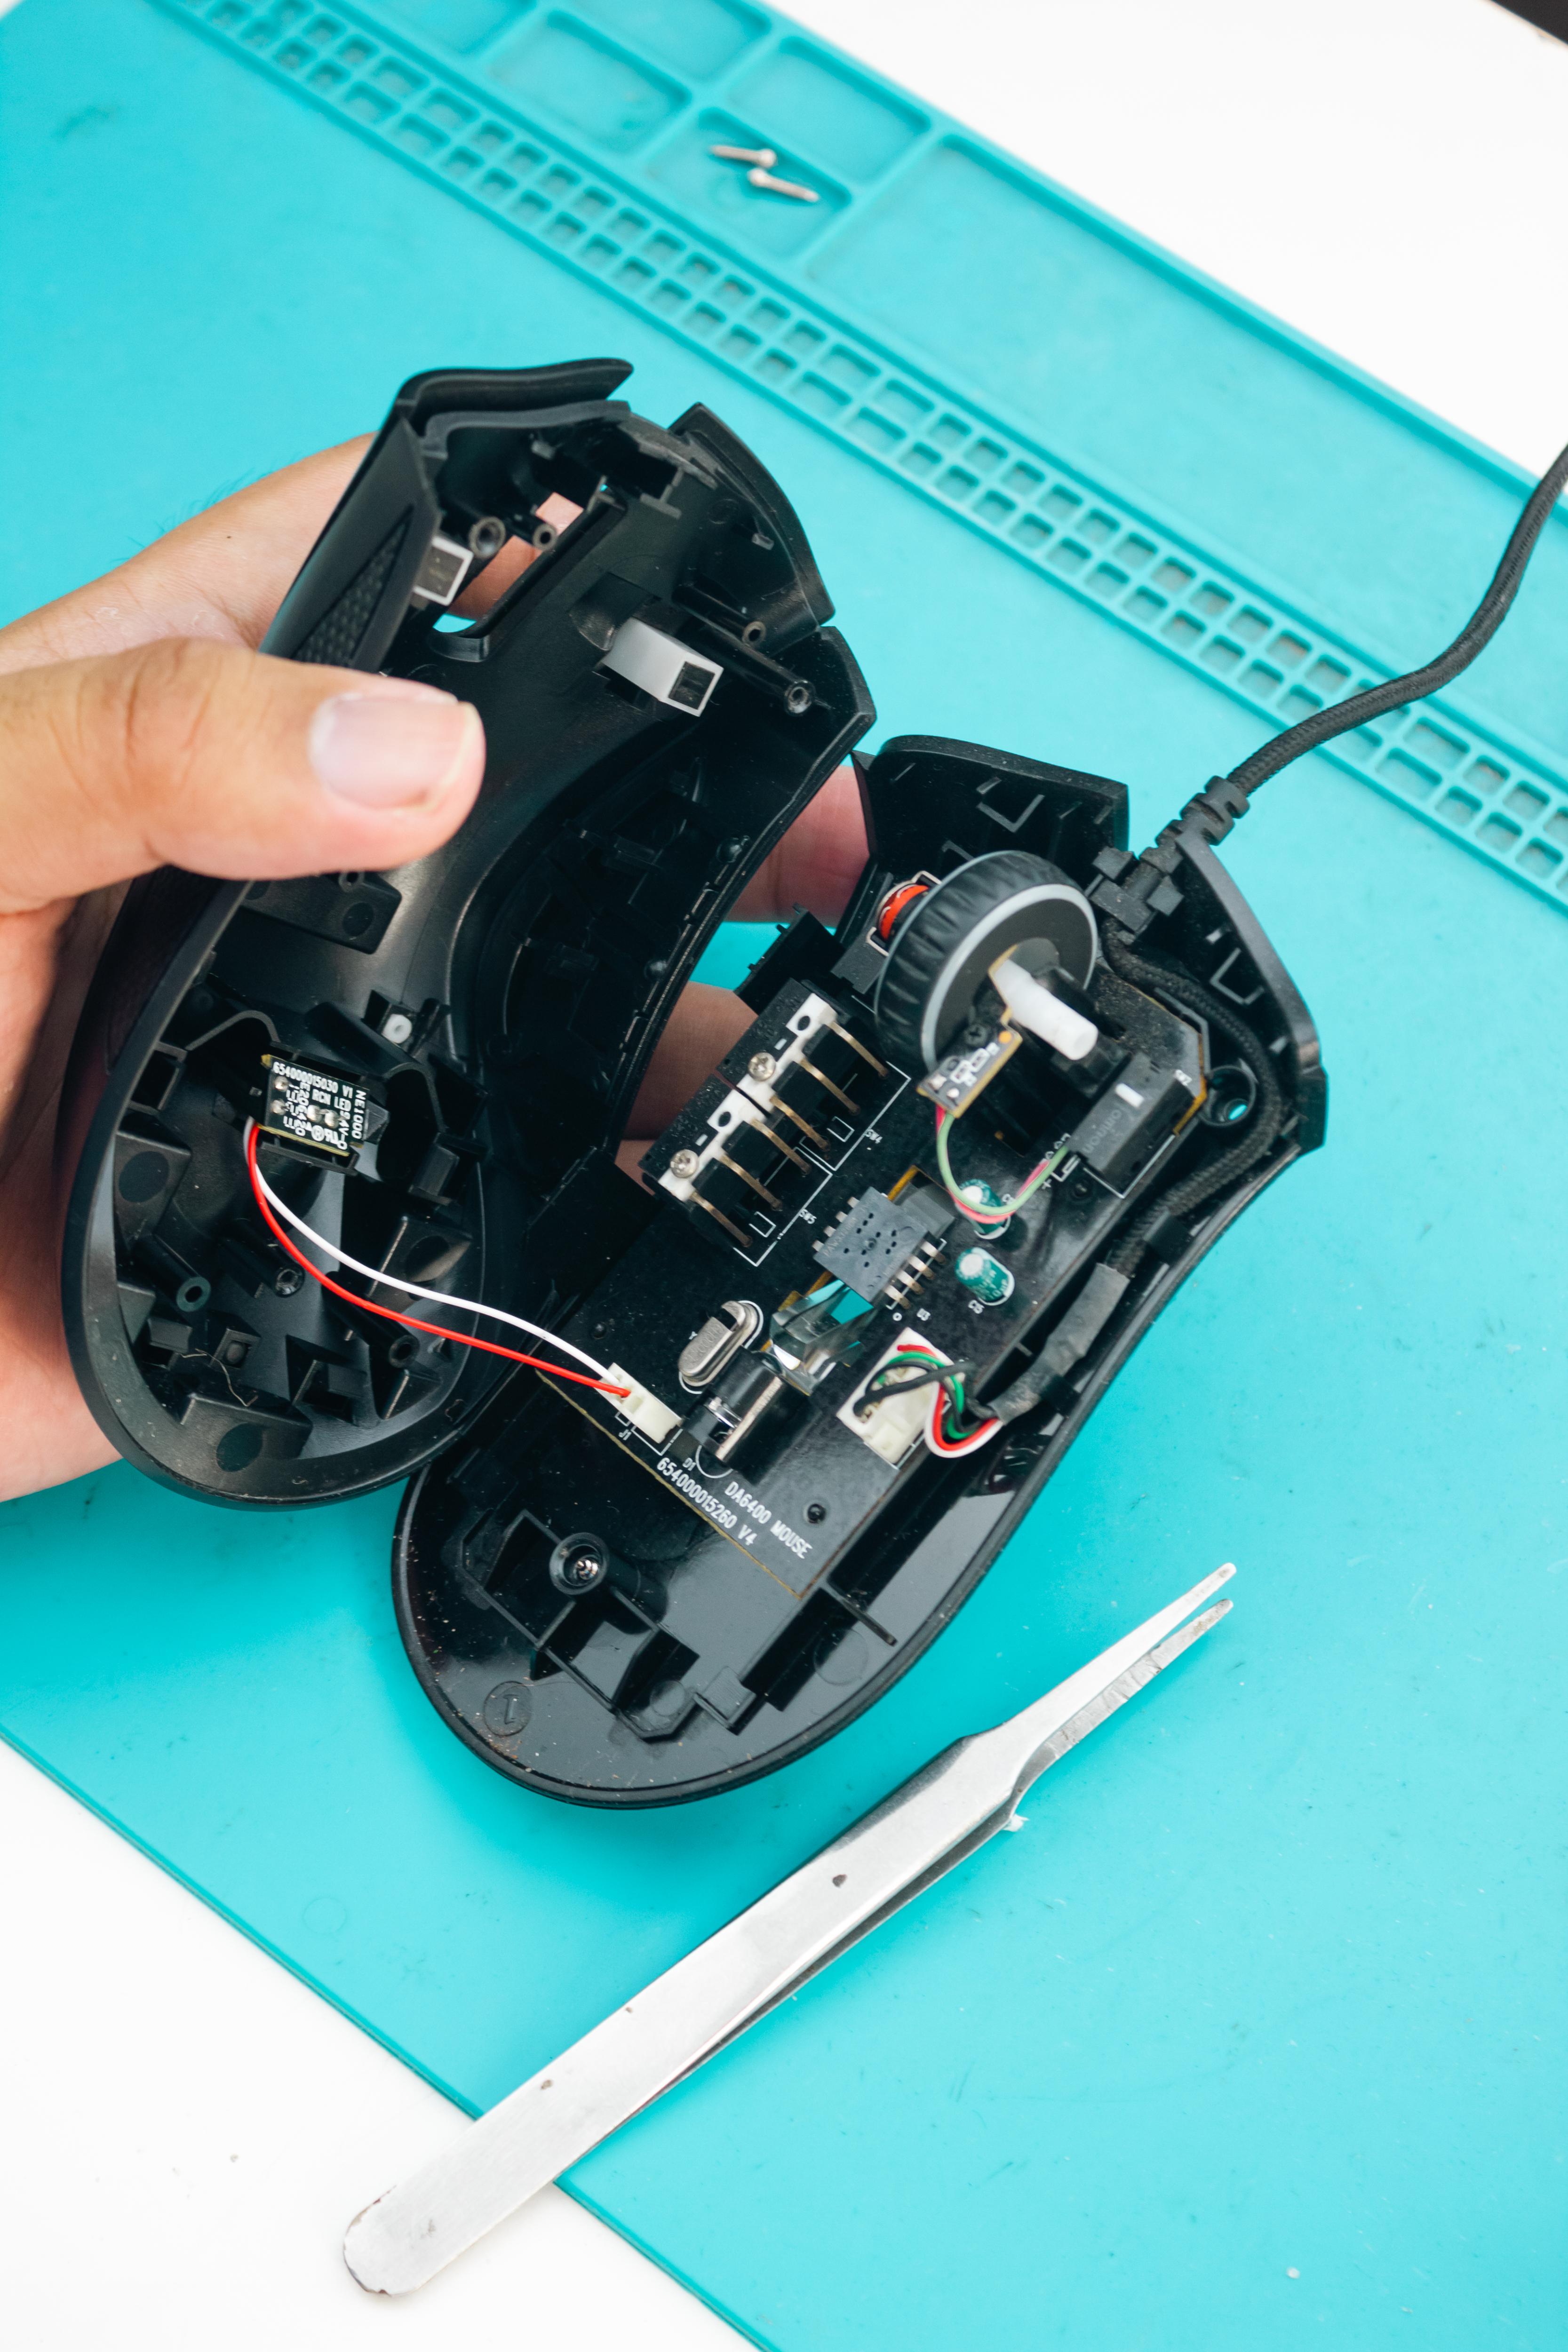

After removing the screws, you will now be able to open it up and see the circuit board of the mouse.
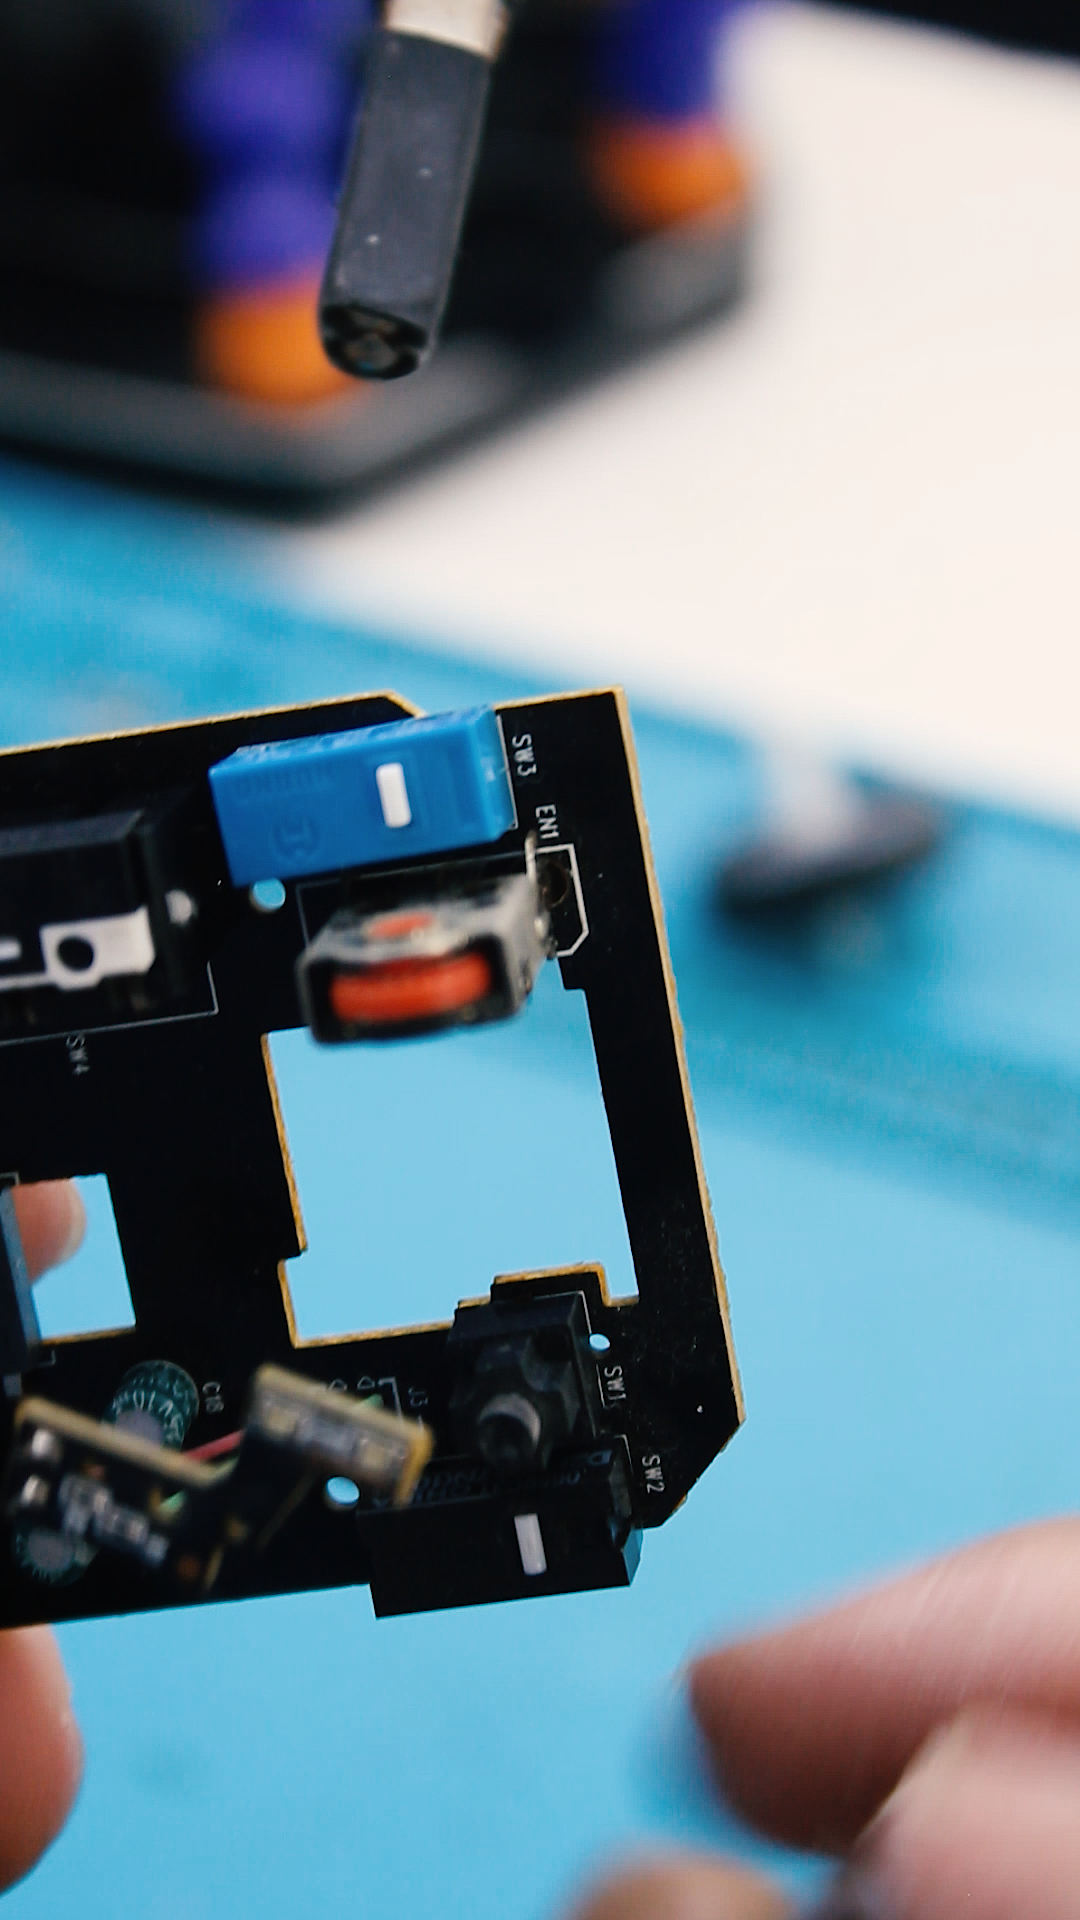
Locate the Faulty Button Clicker
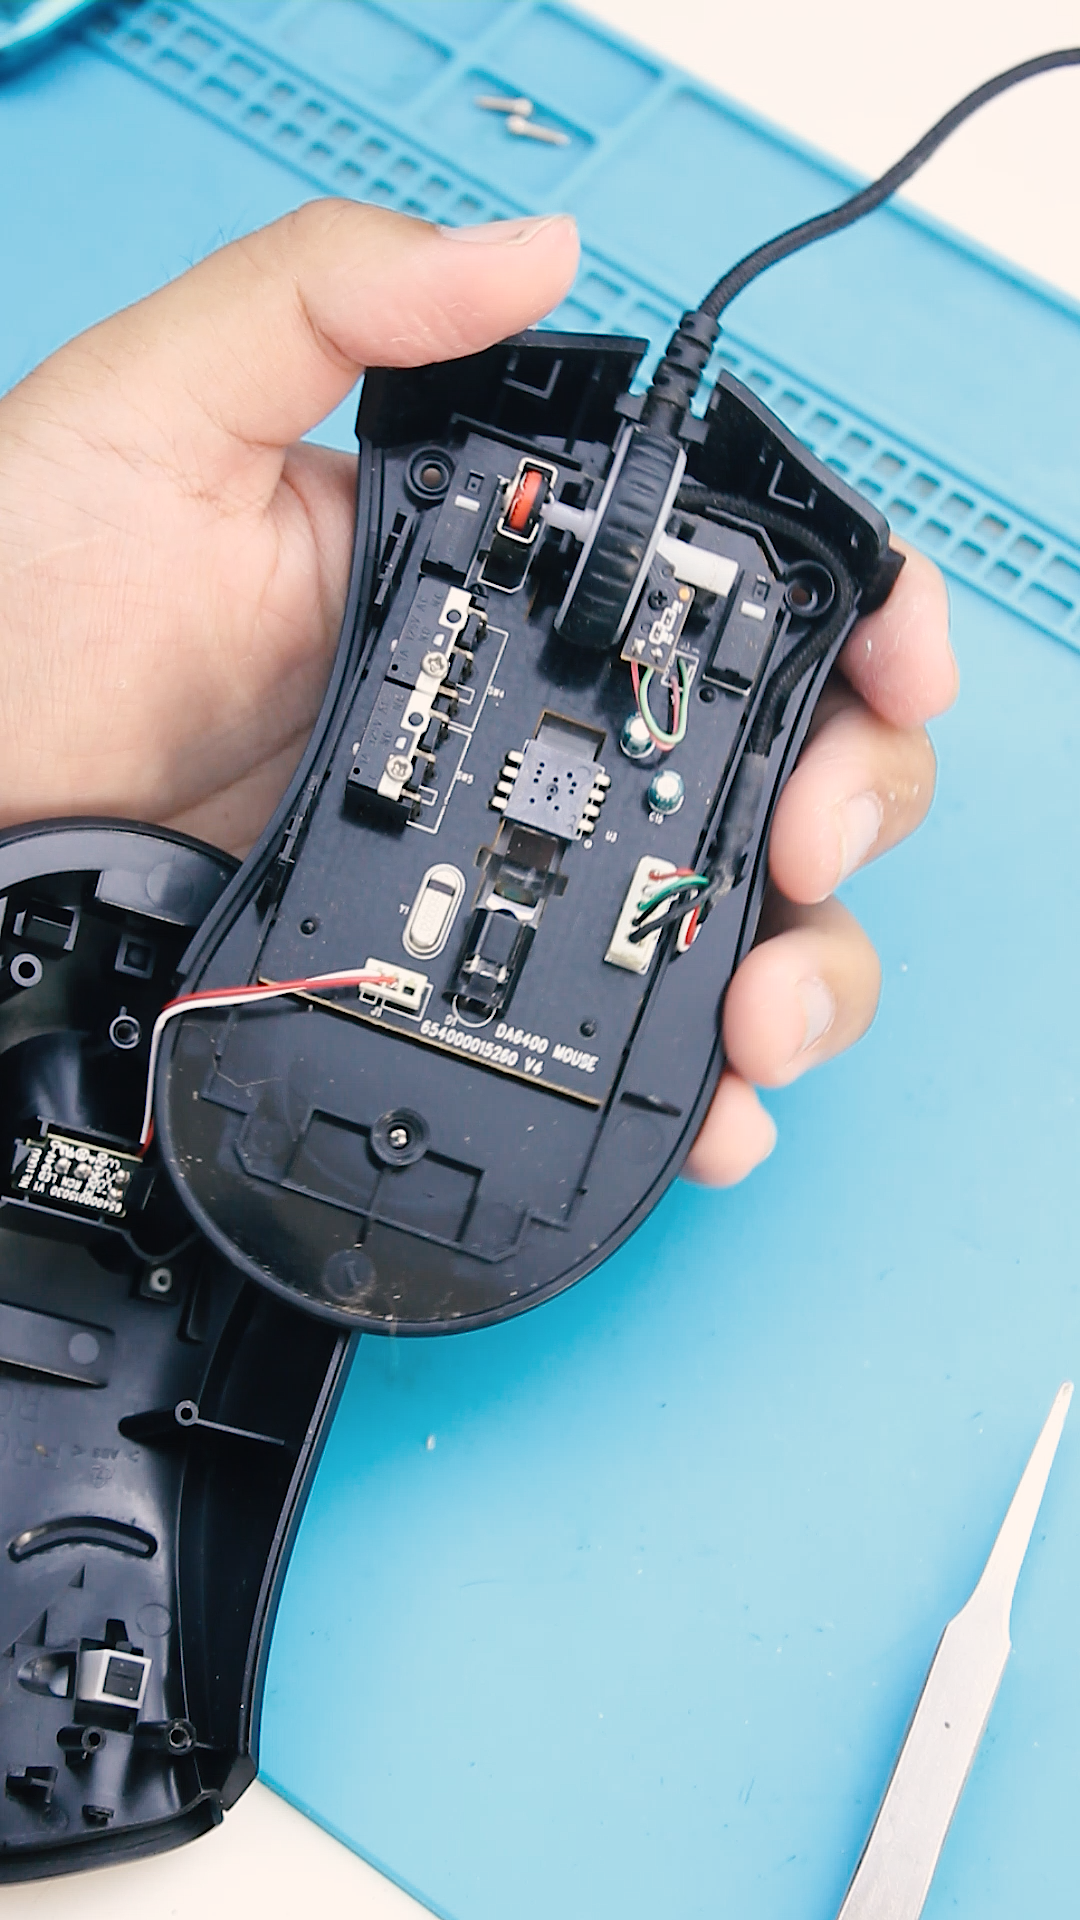
After that, check which mouse clicker is not working. Usually, it's the left one that gets used the most, but in my case, the right one is also broken. That's why I'm replacing both the right and left clickers.
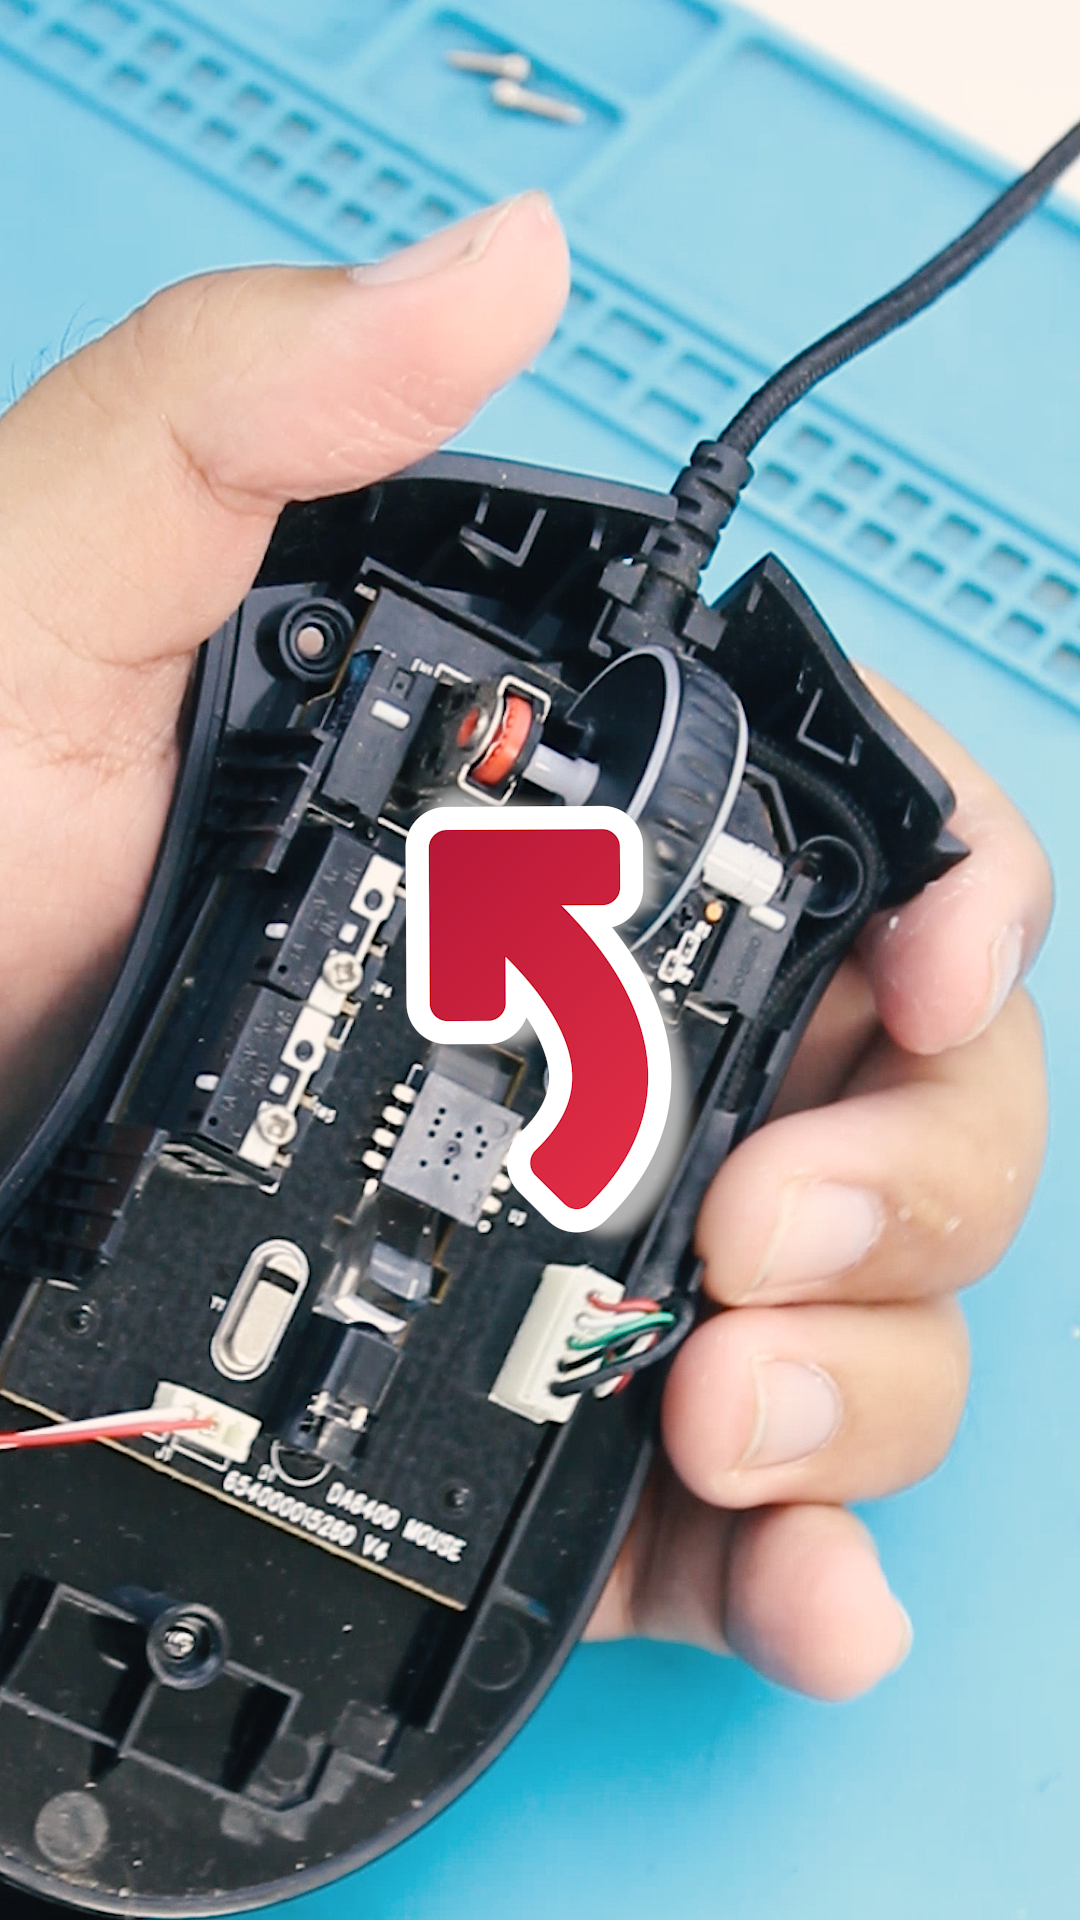
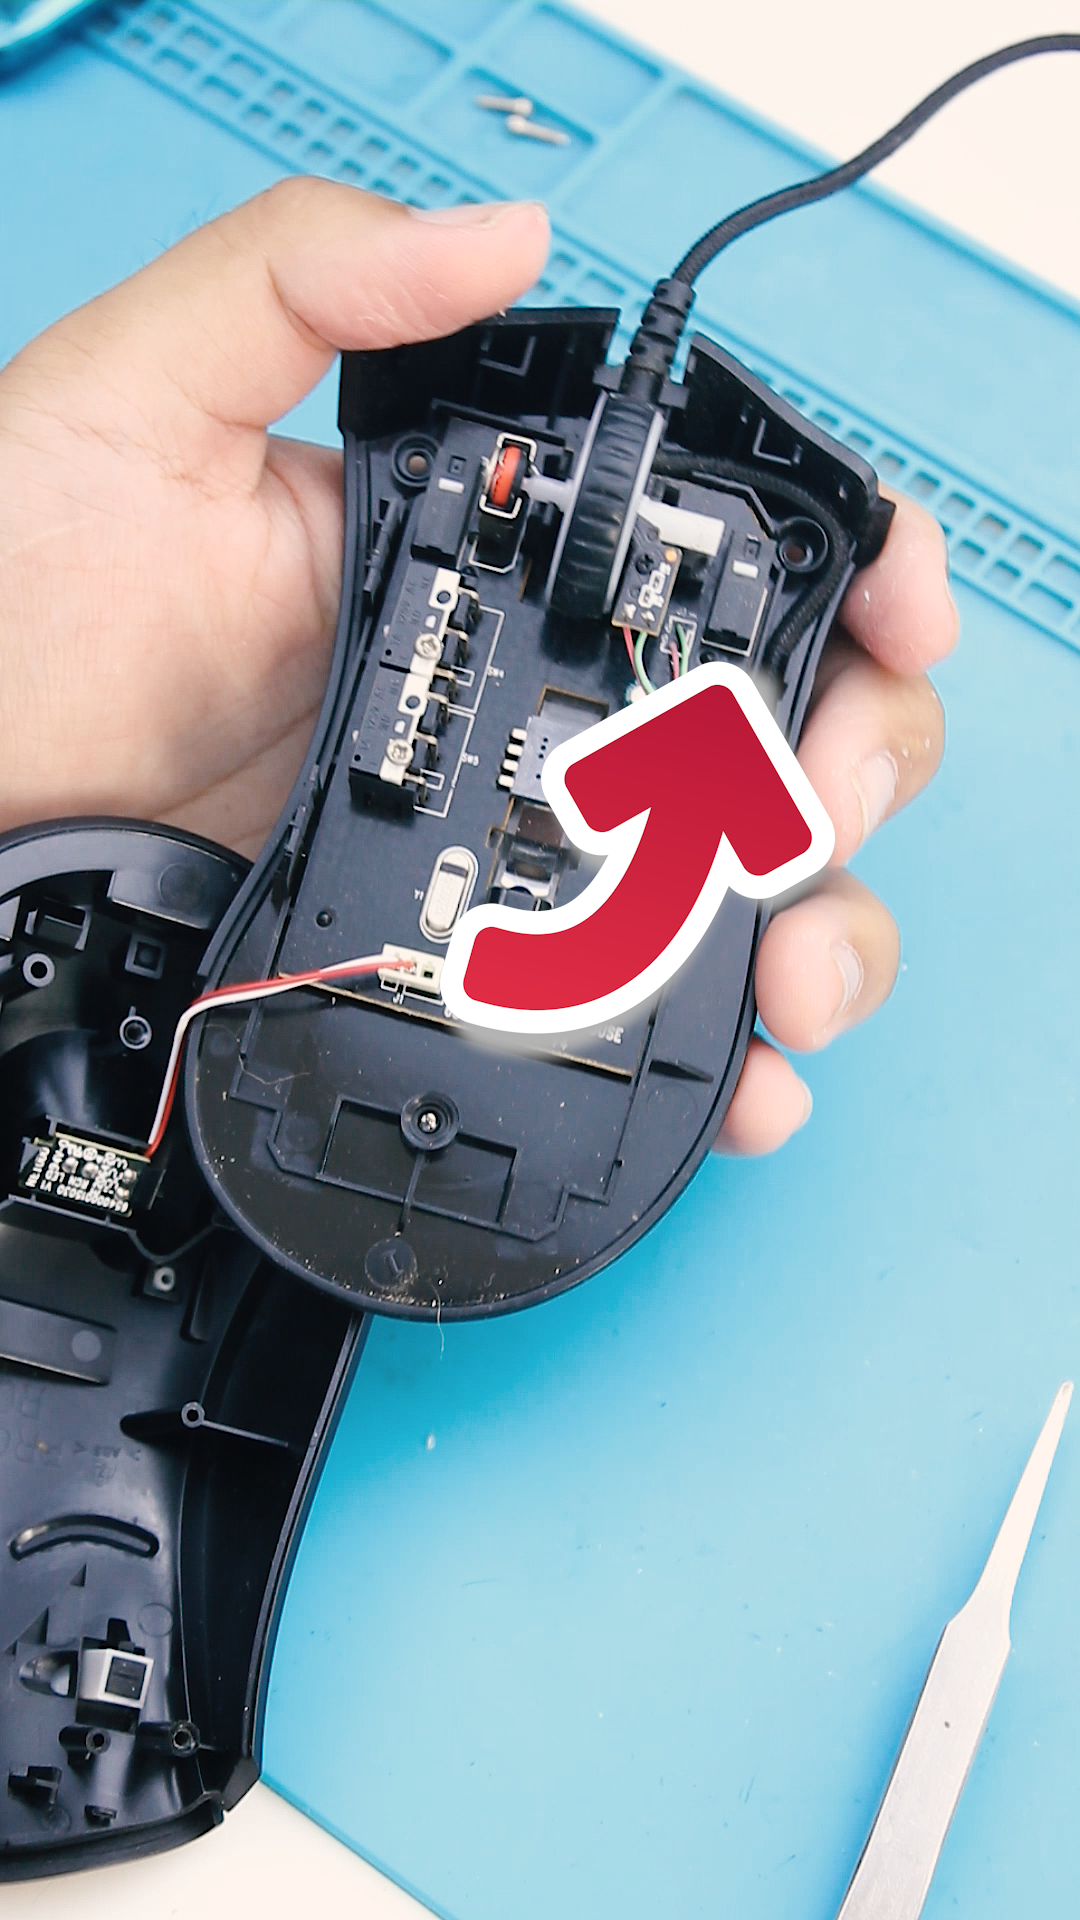
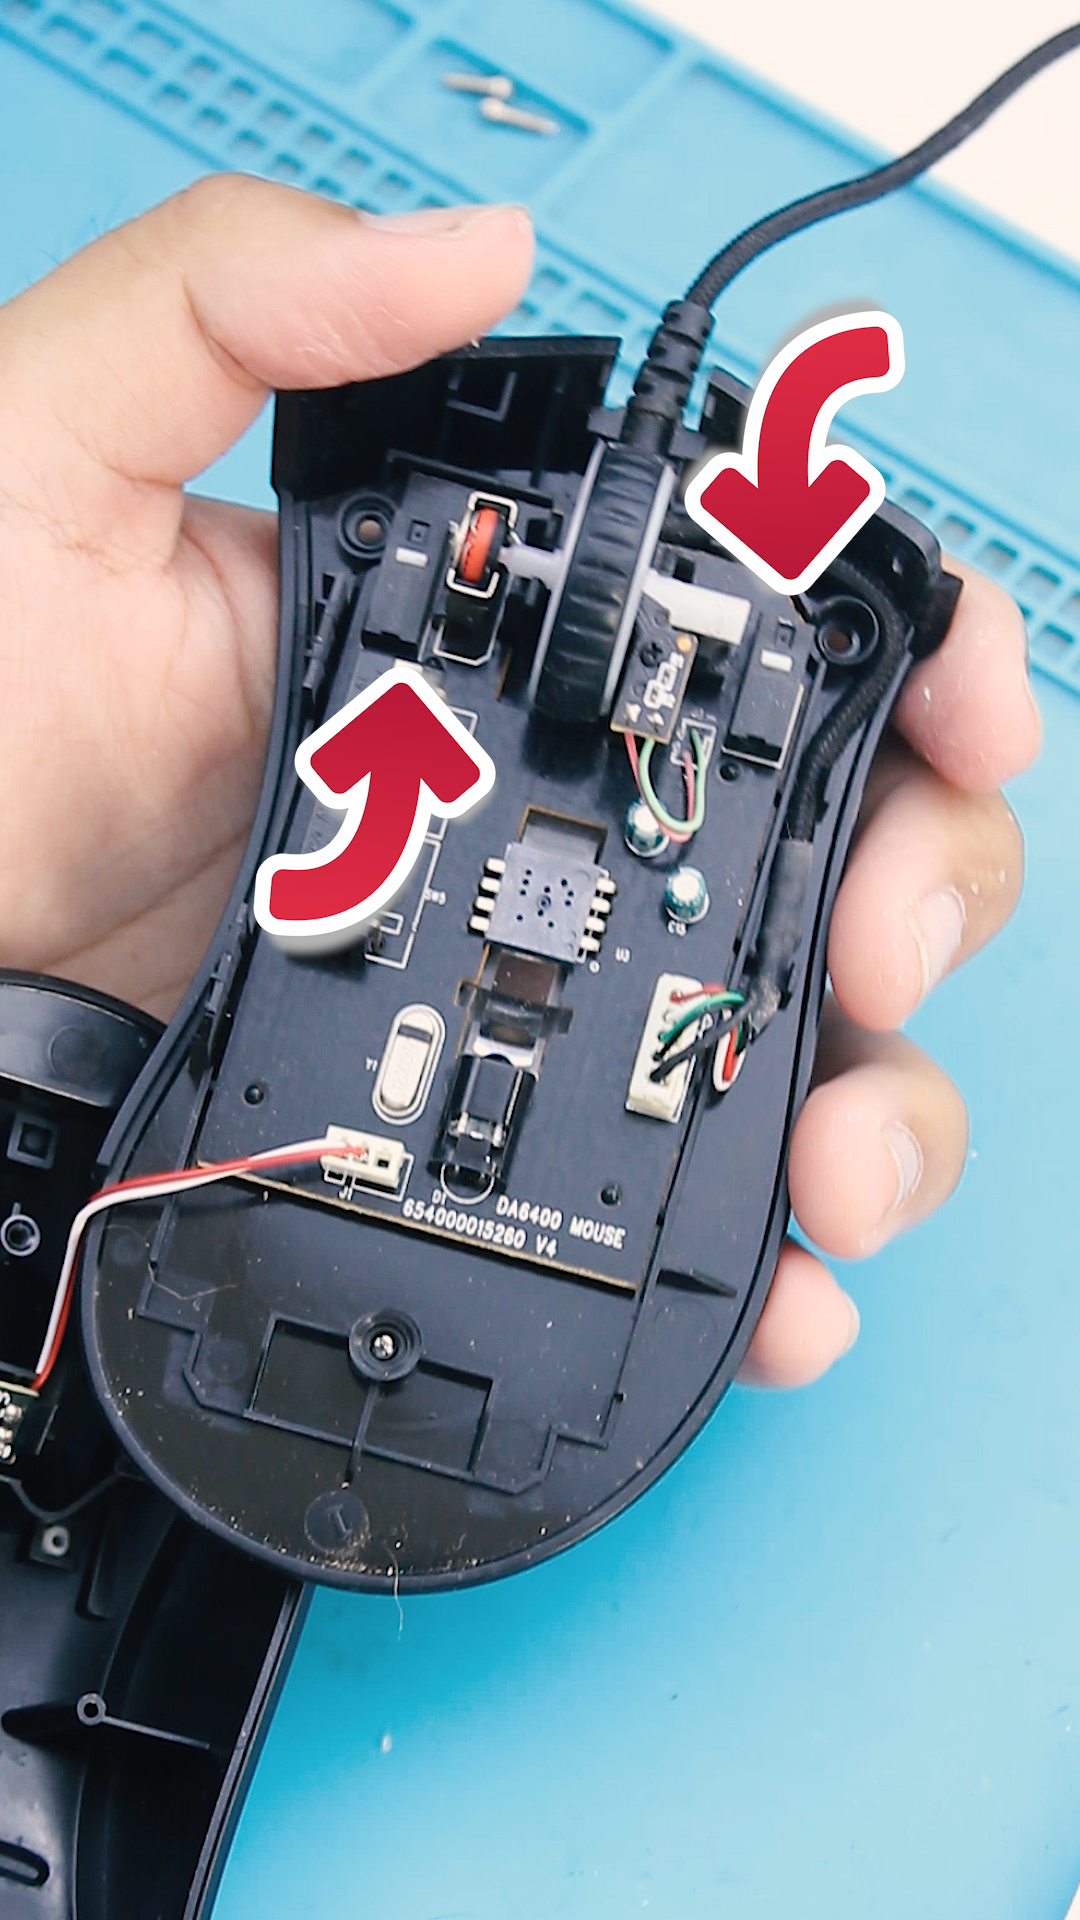
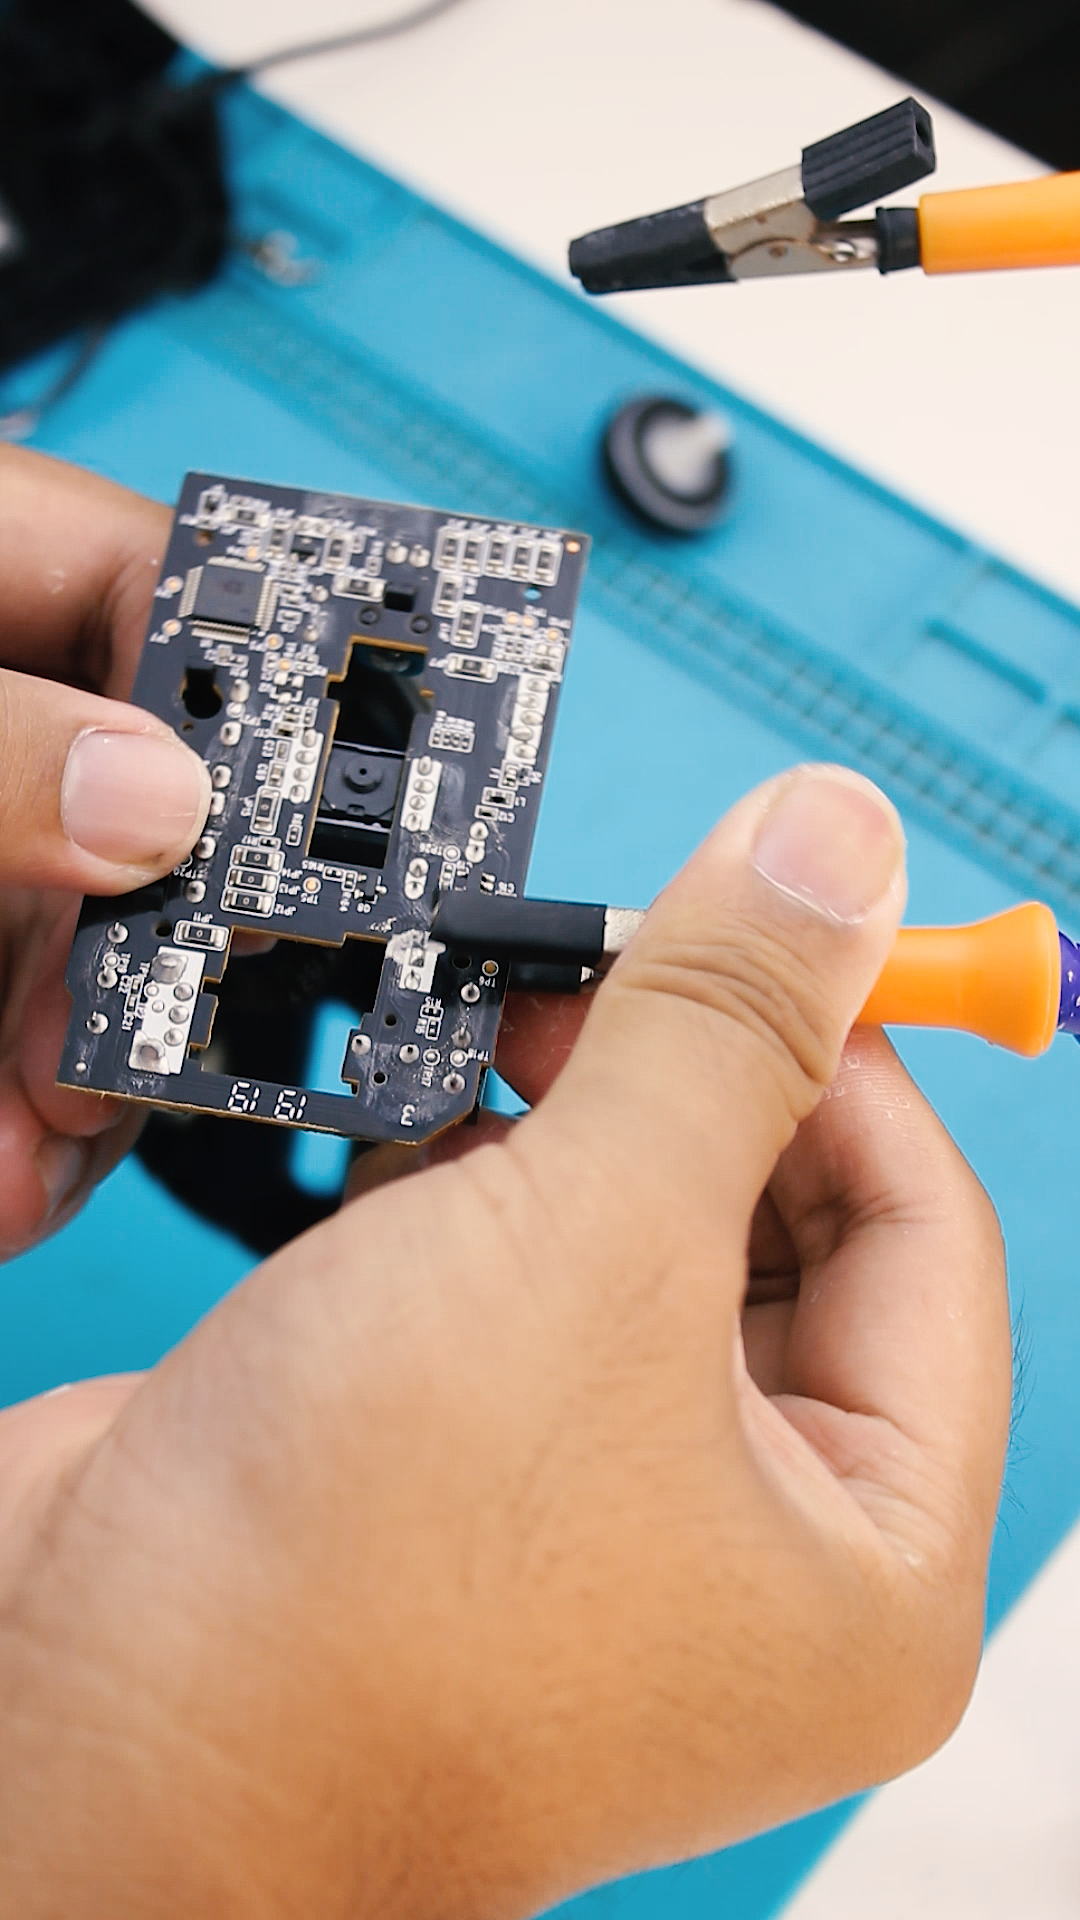
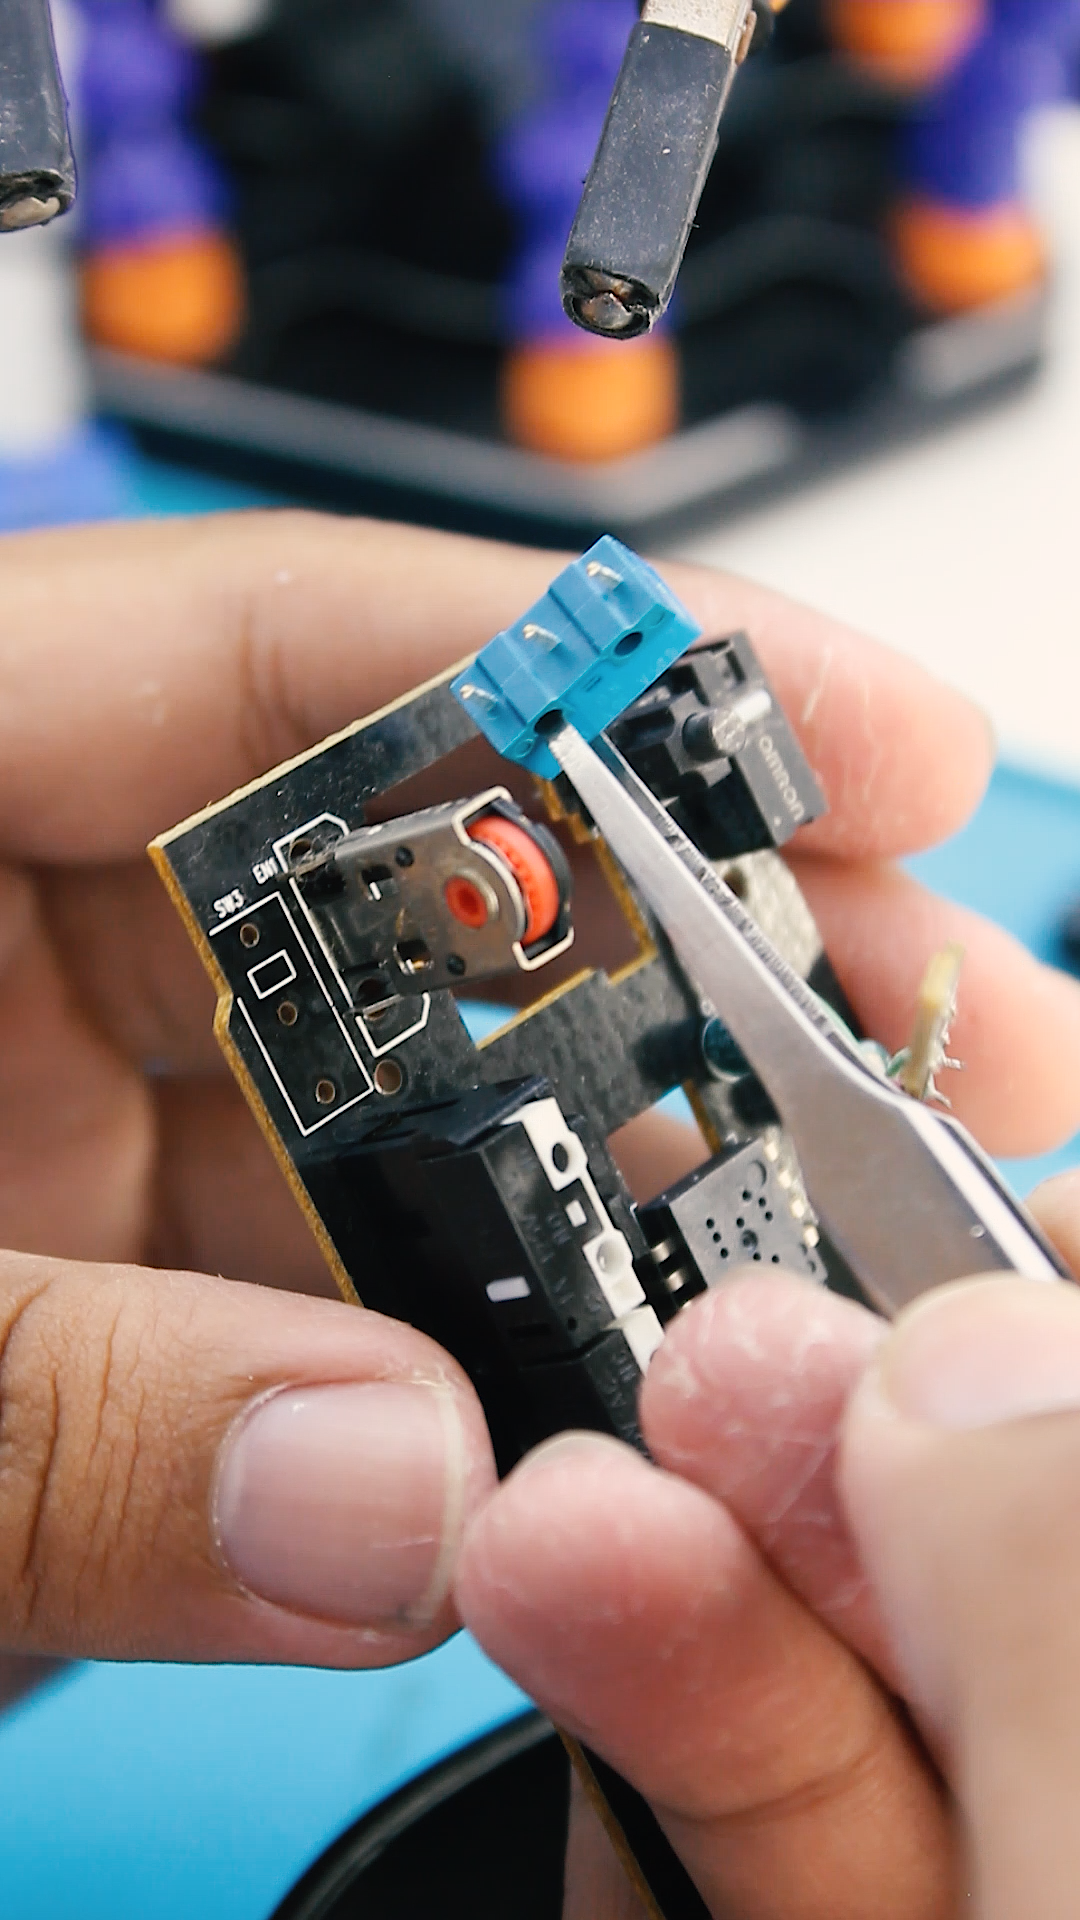
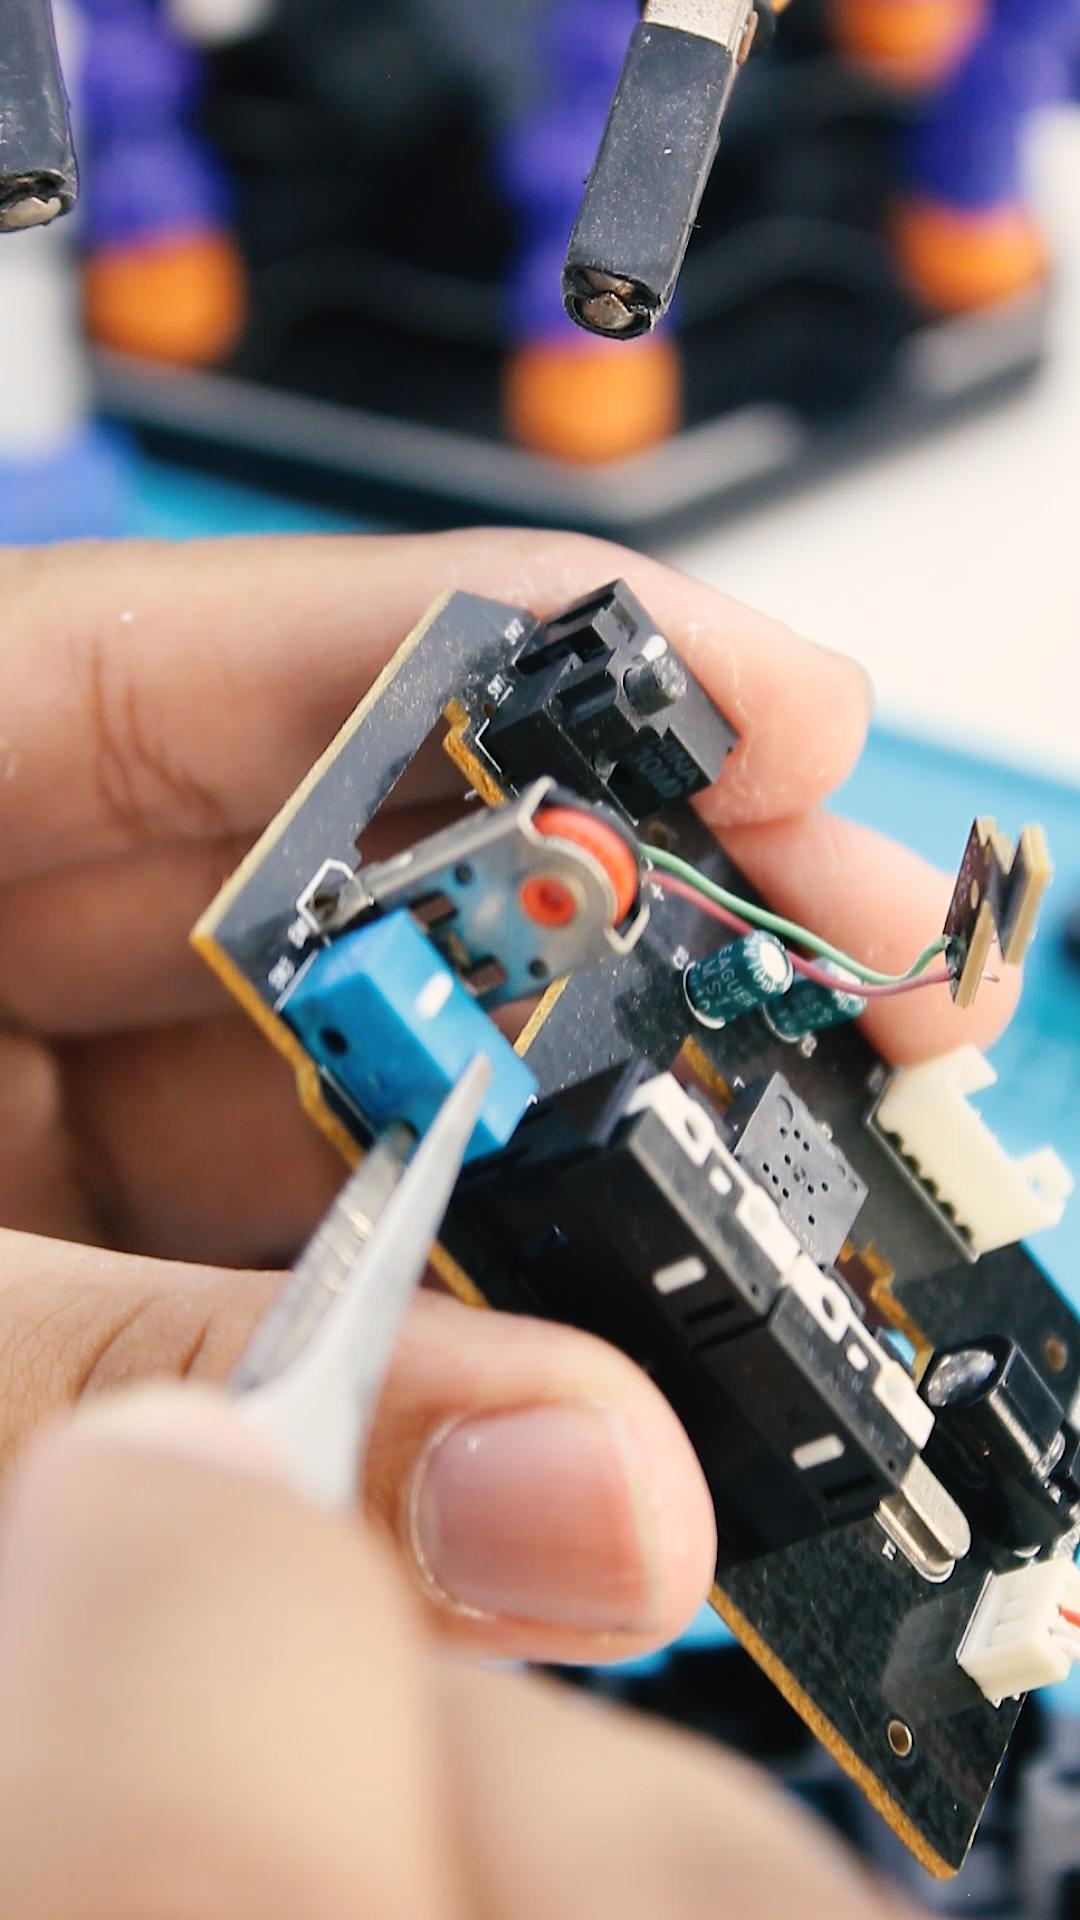
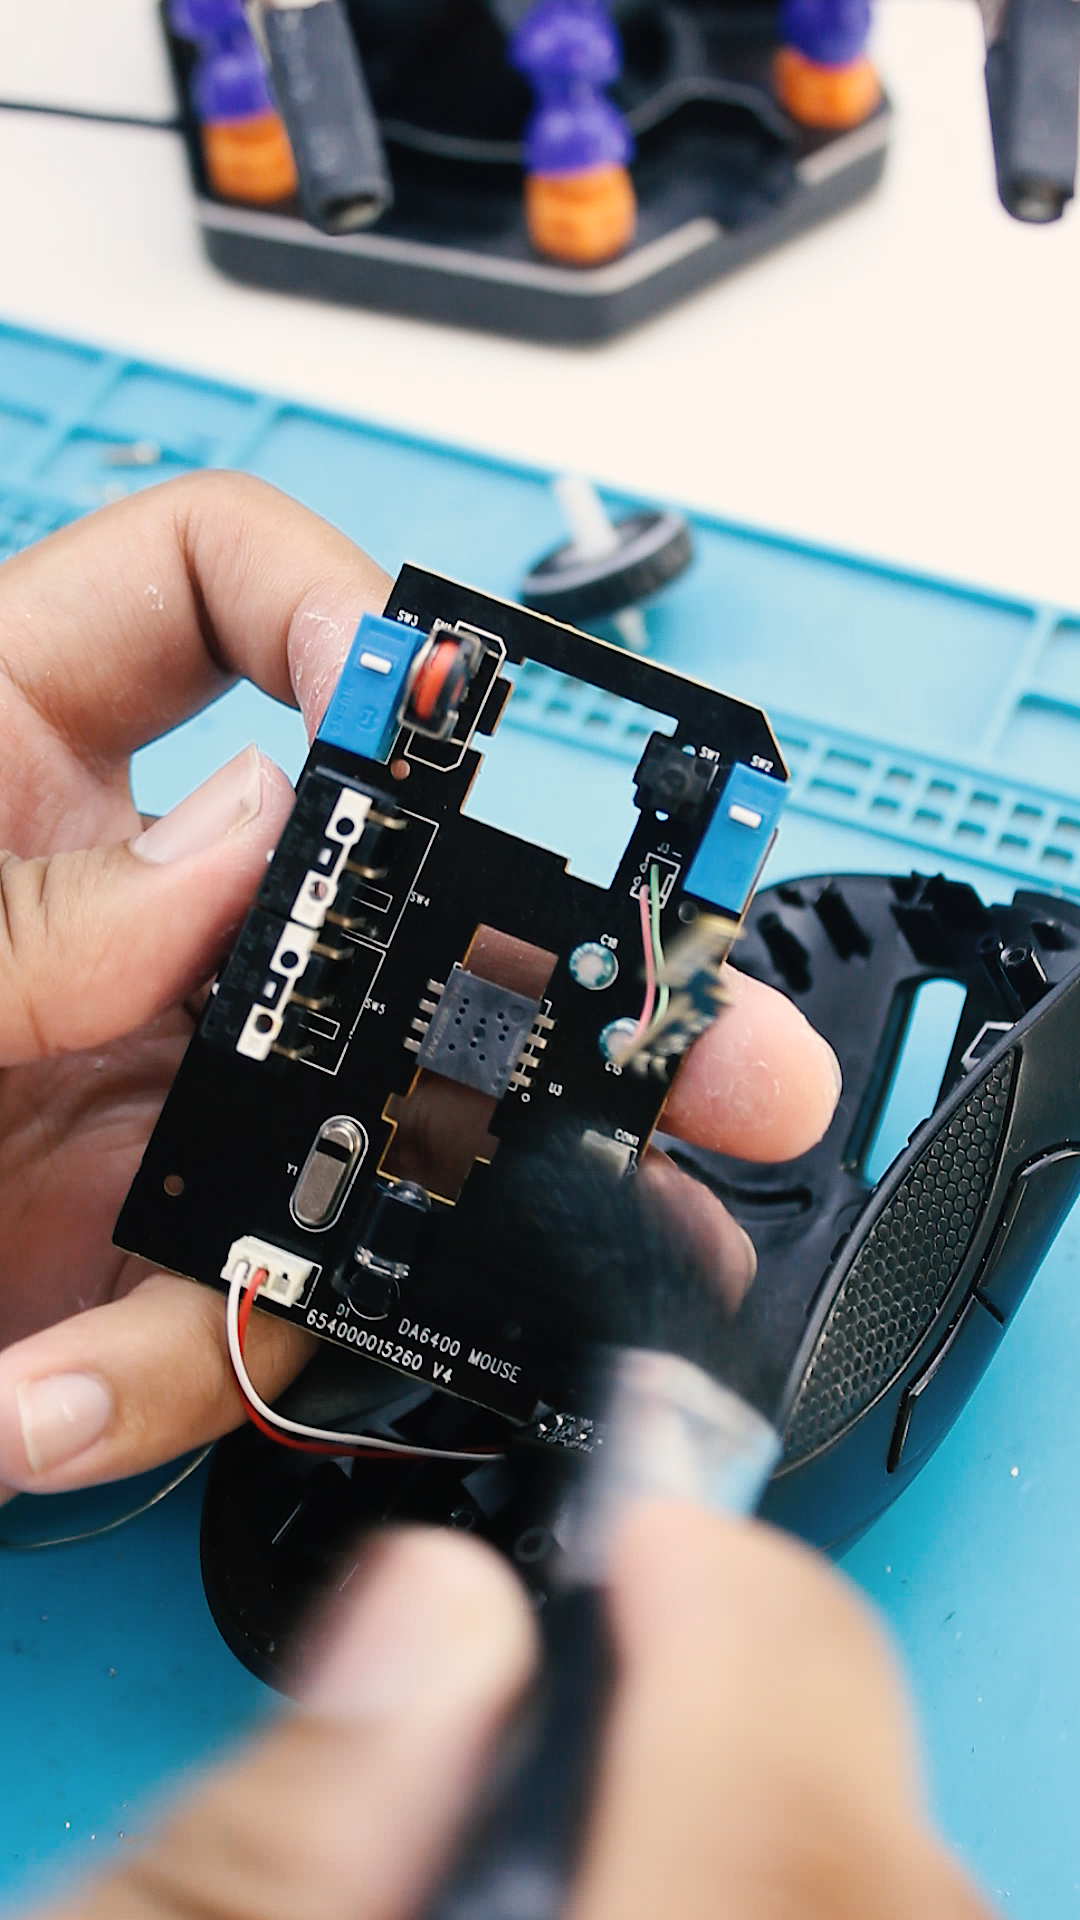
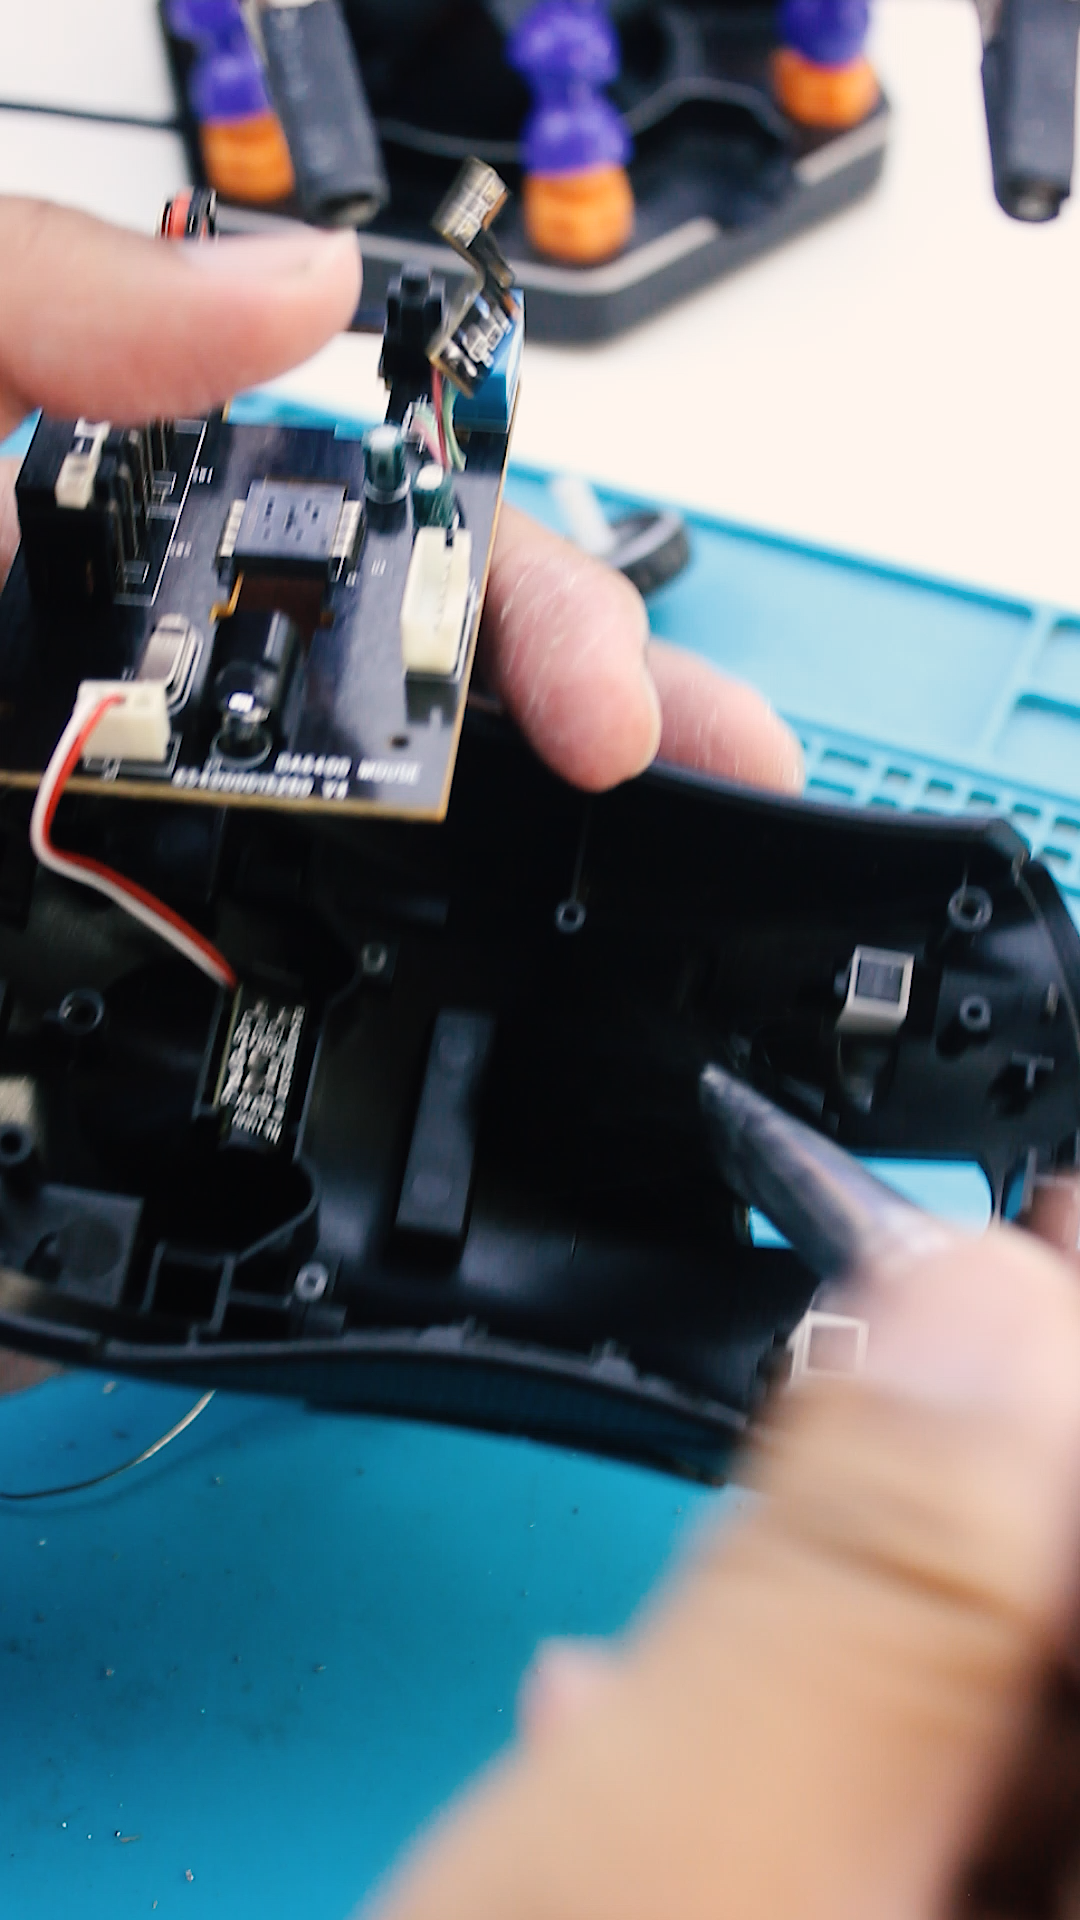
Take the Board Out
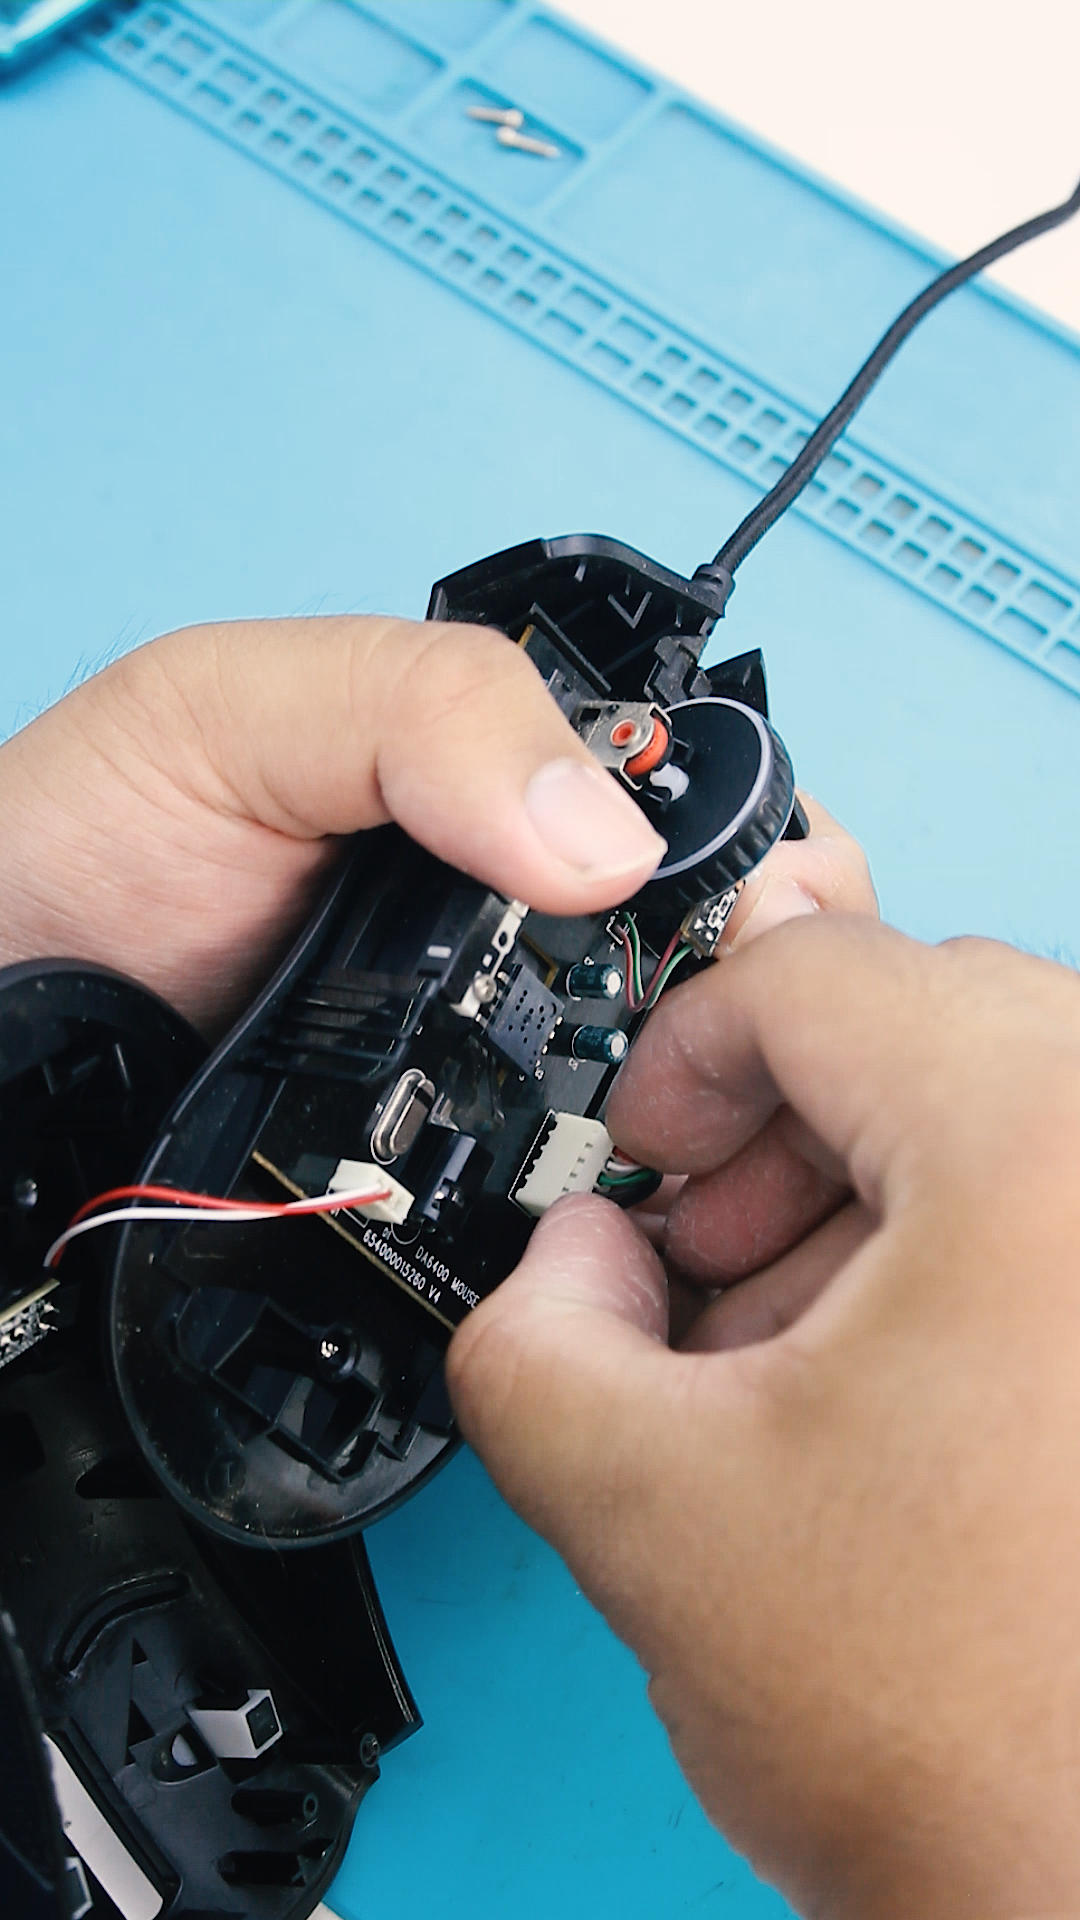
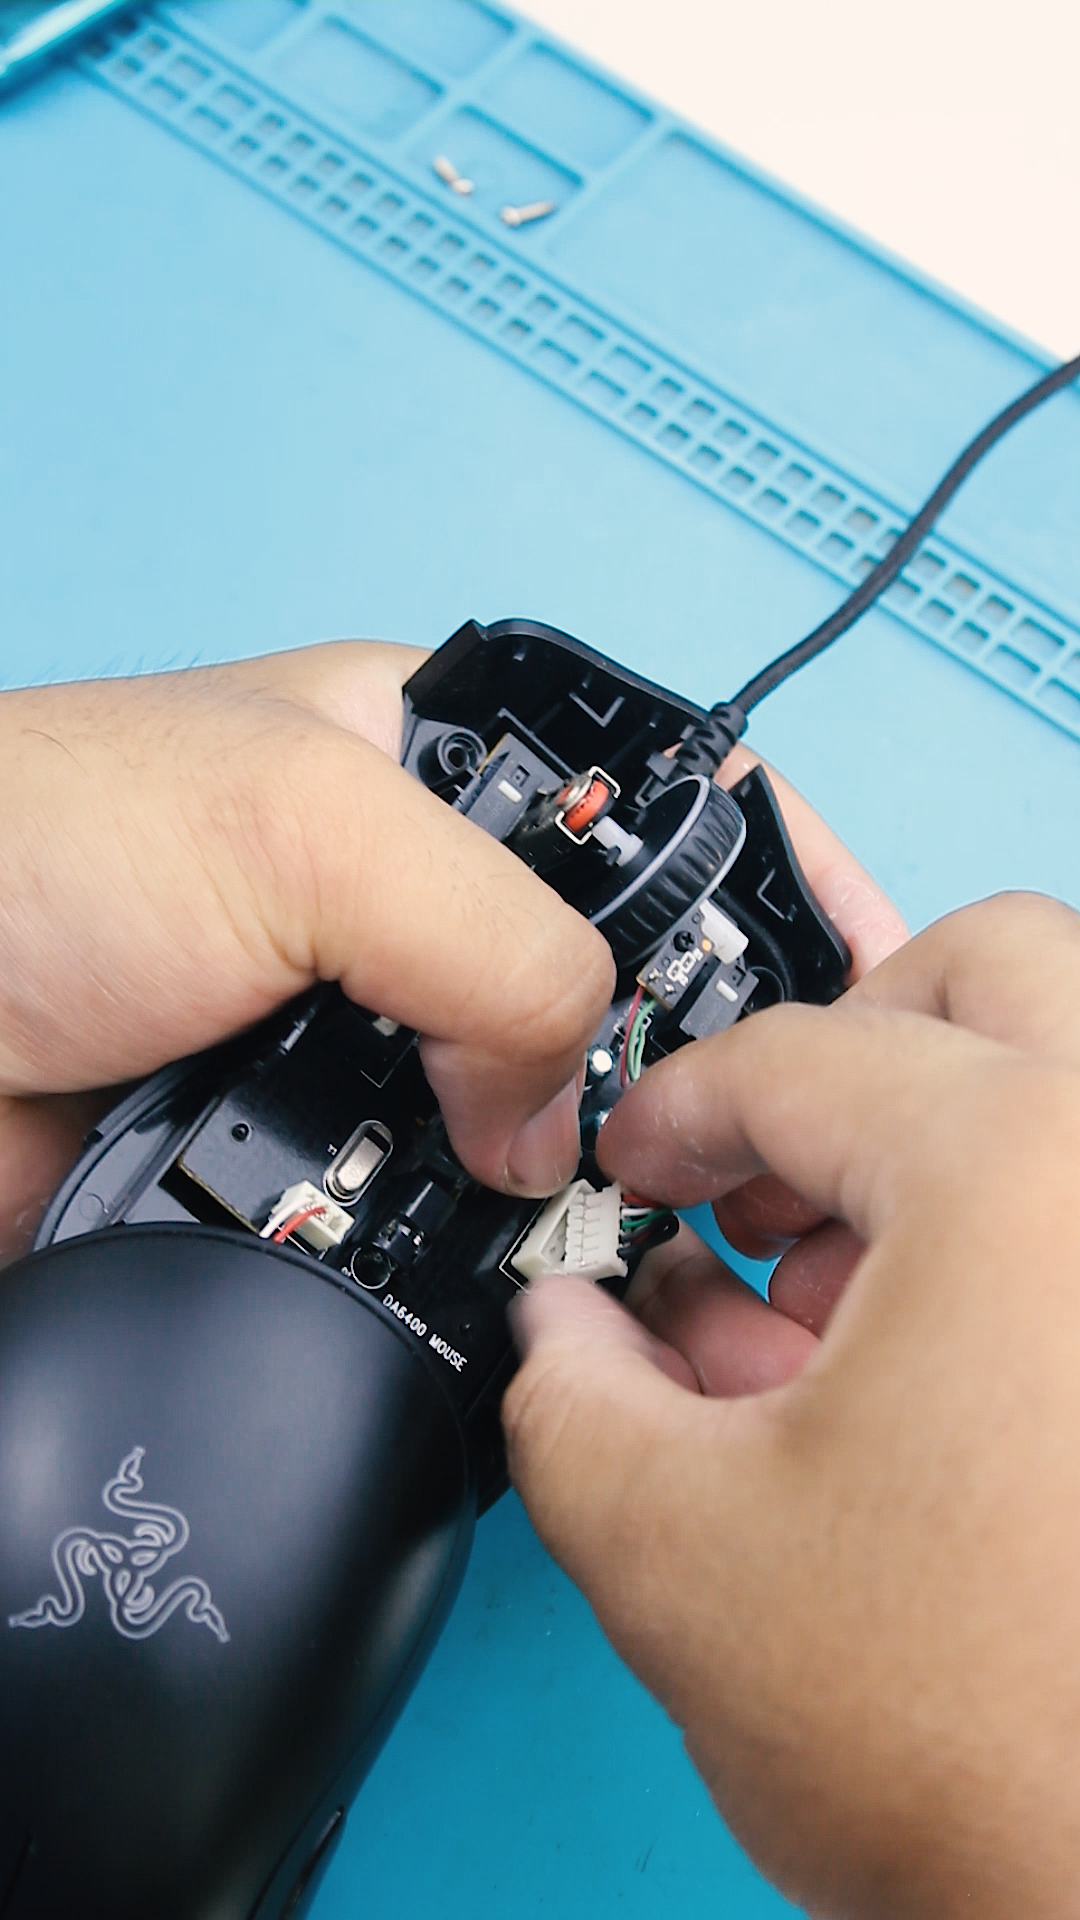
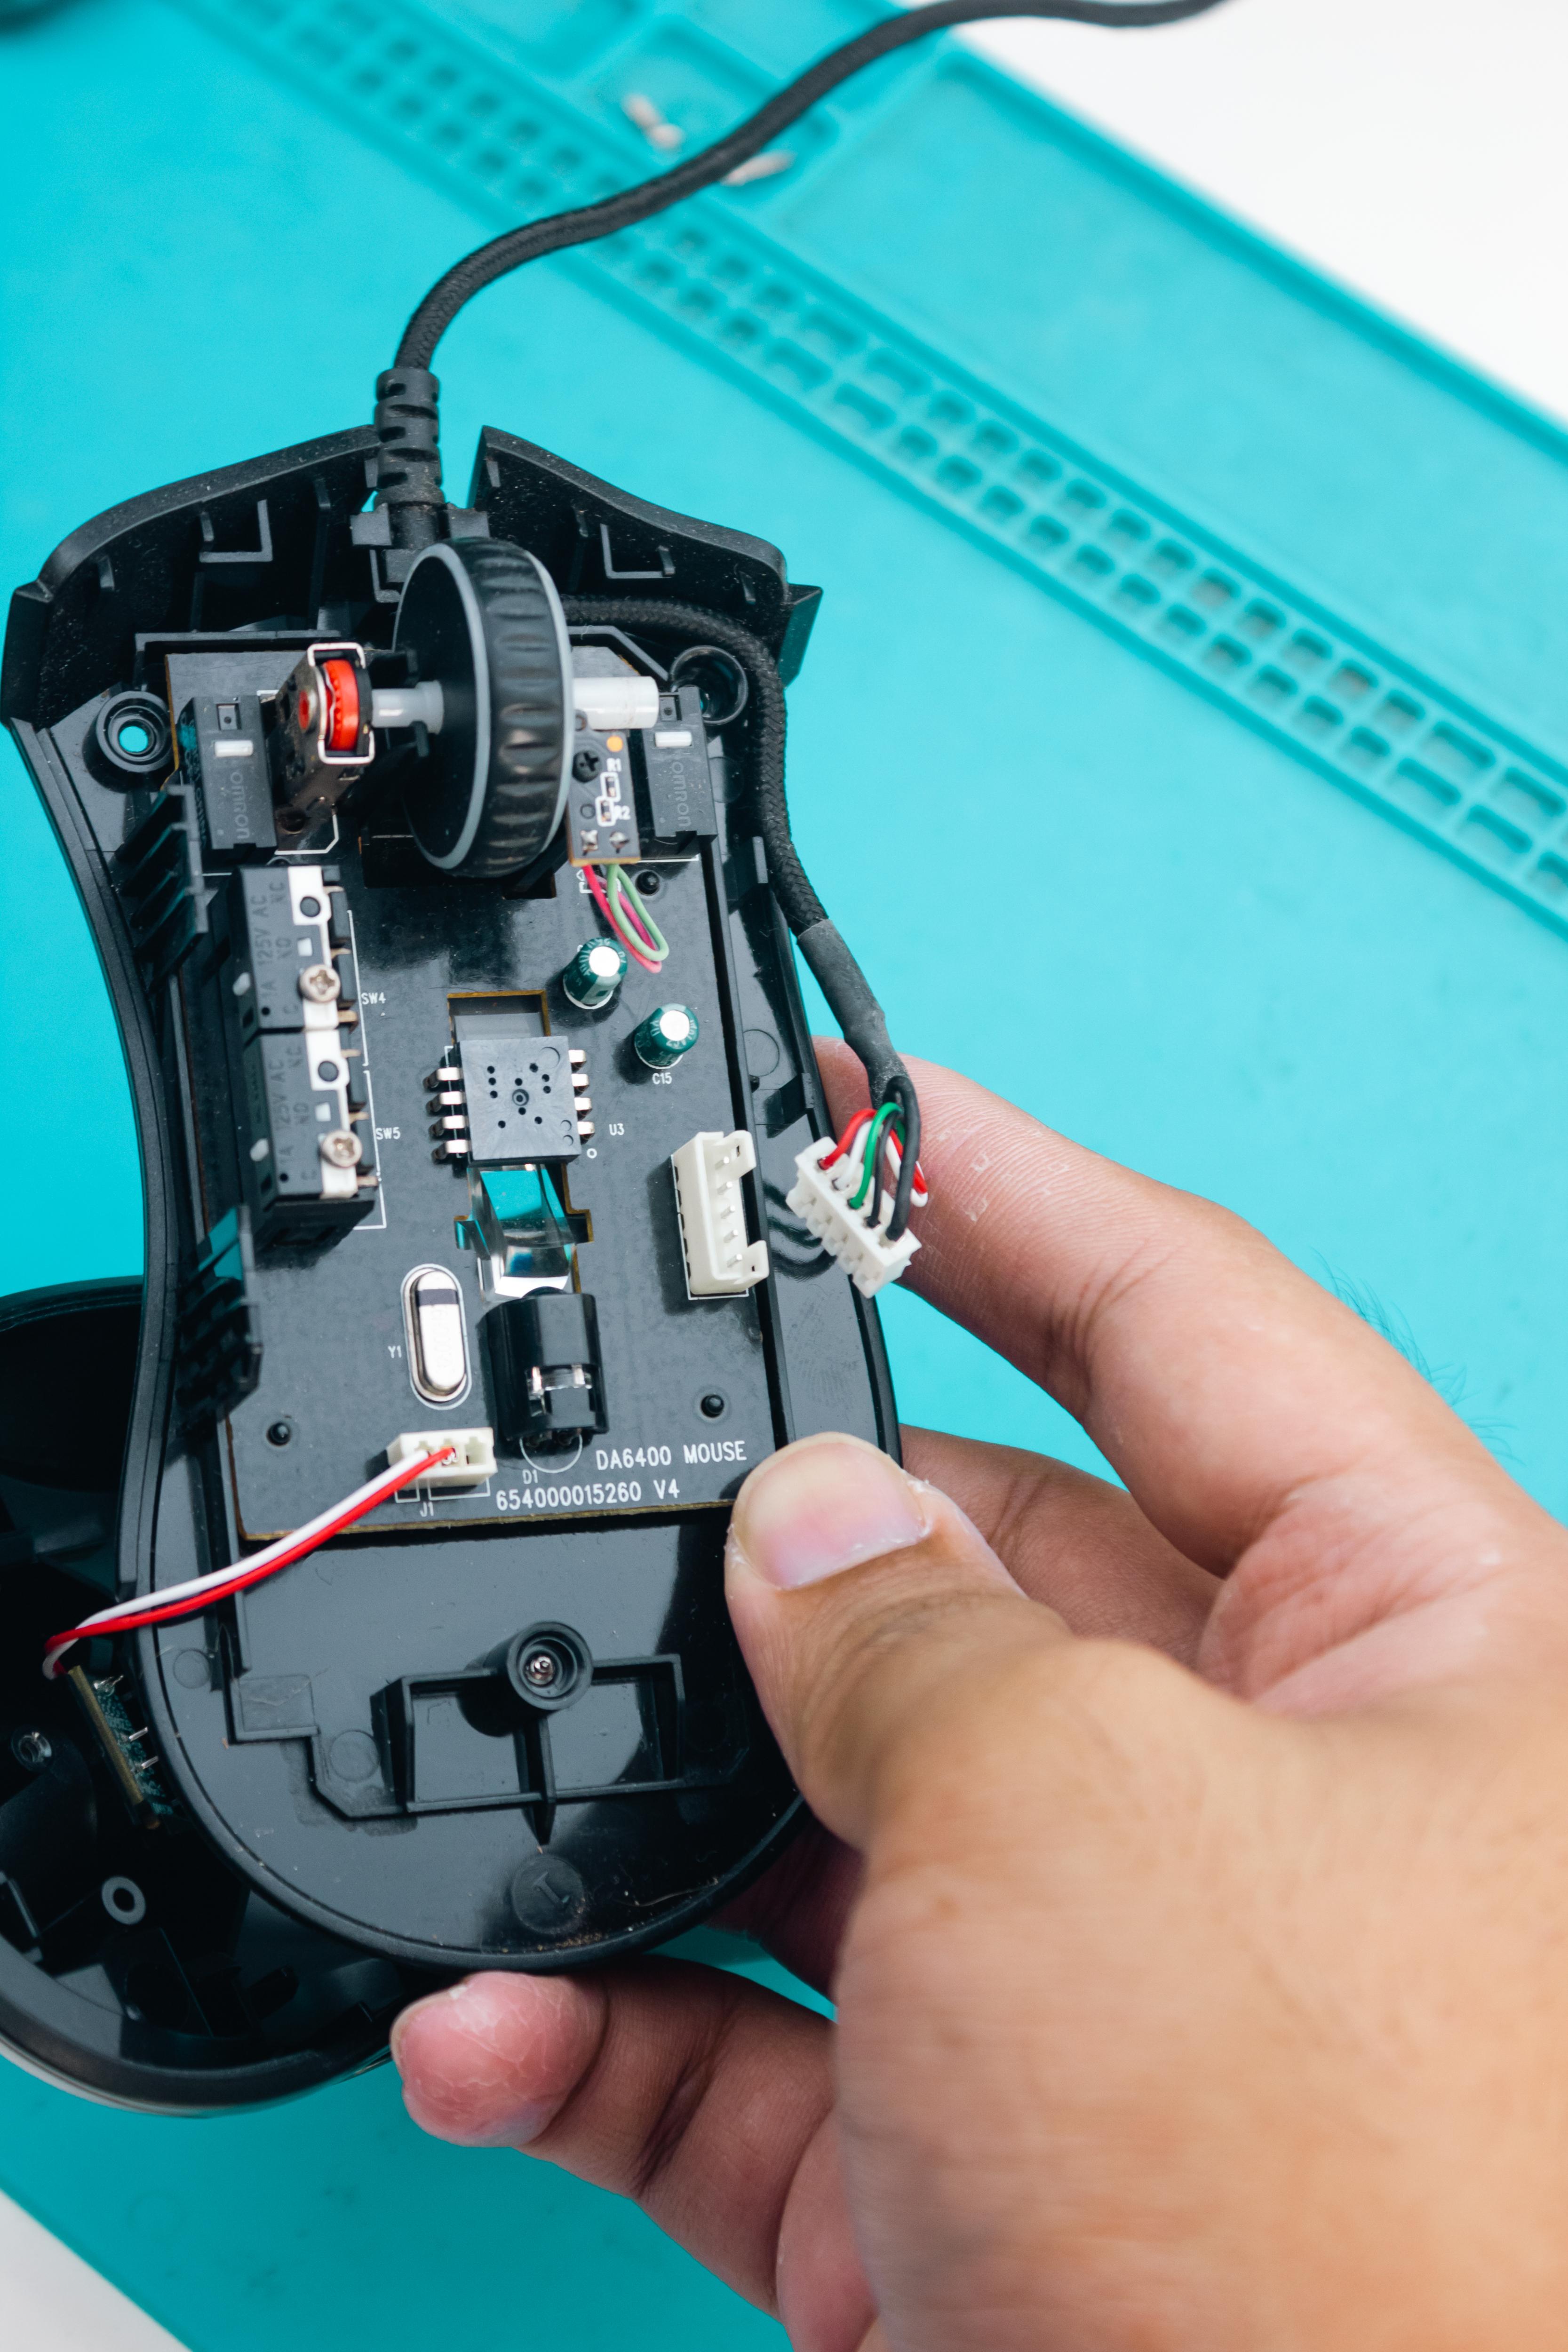
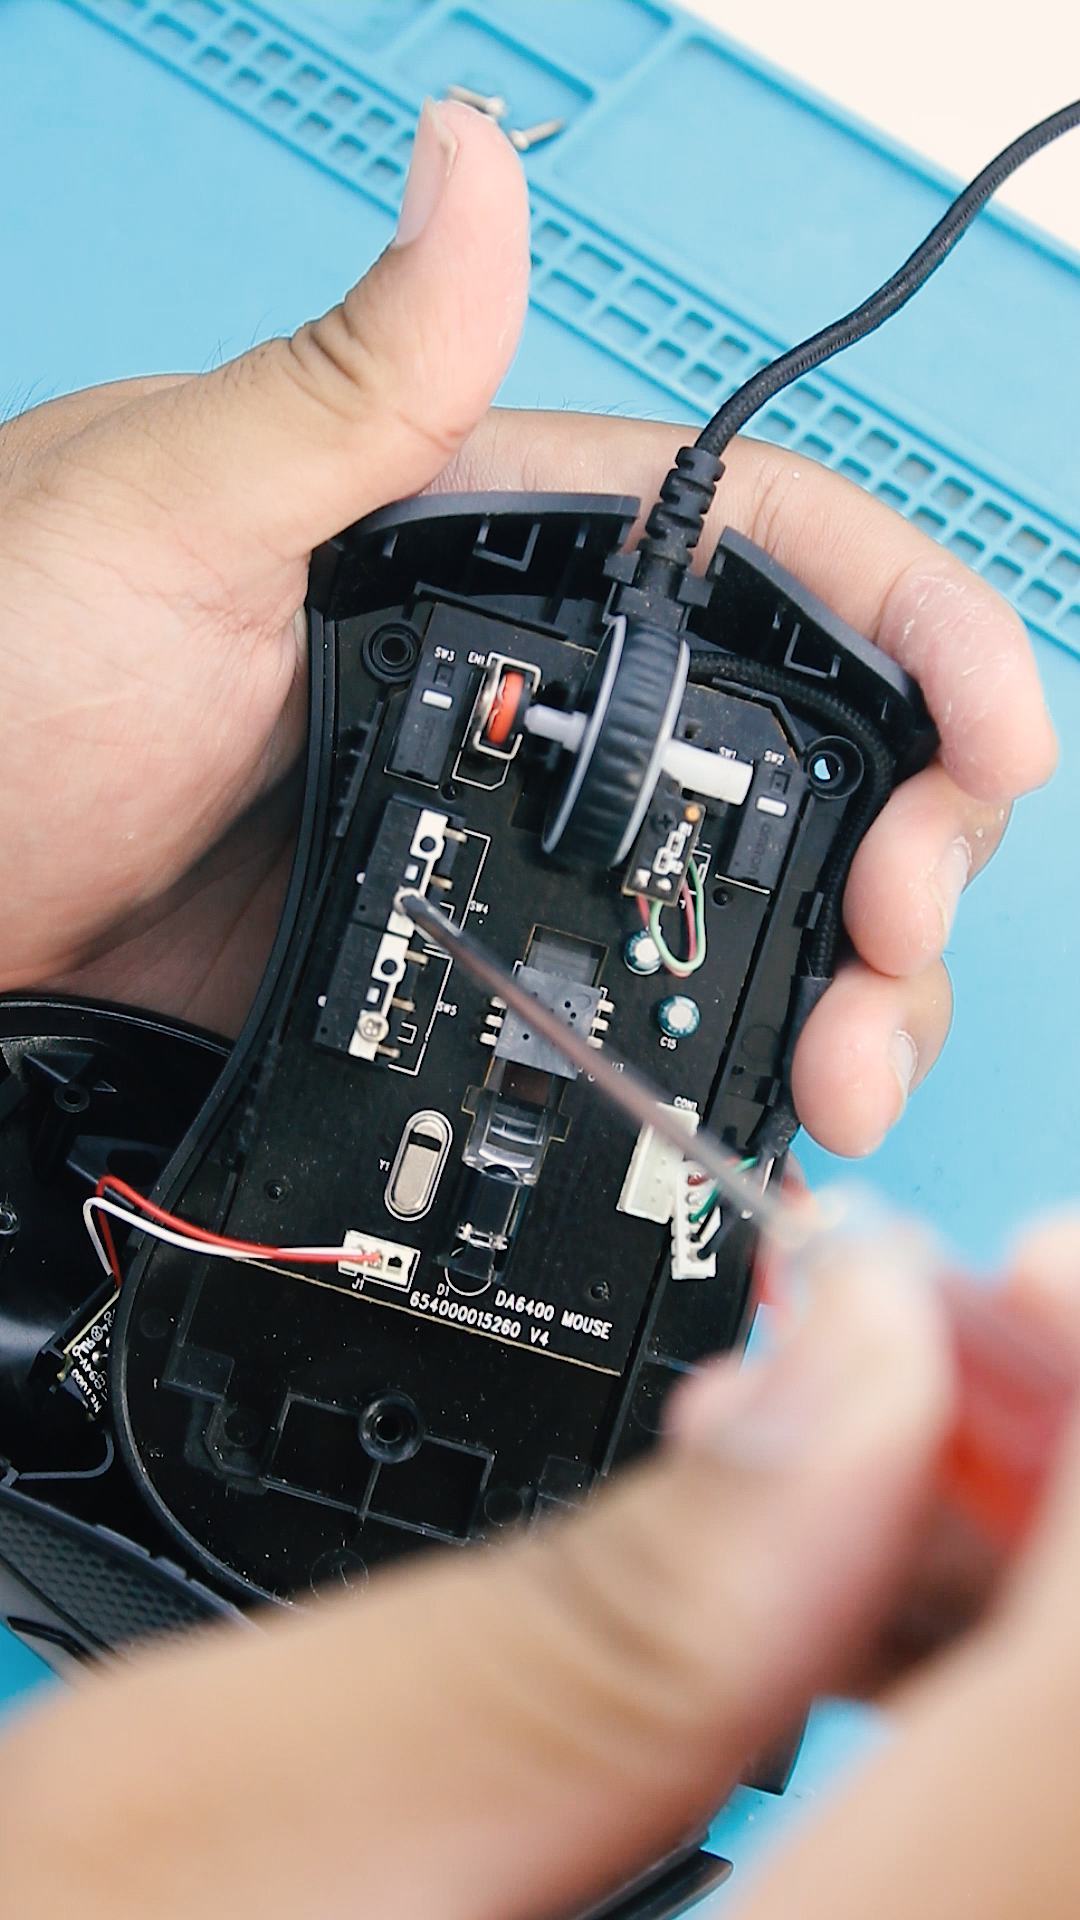
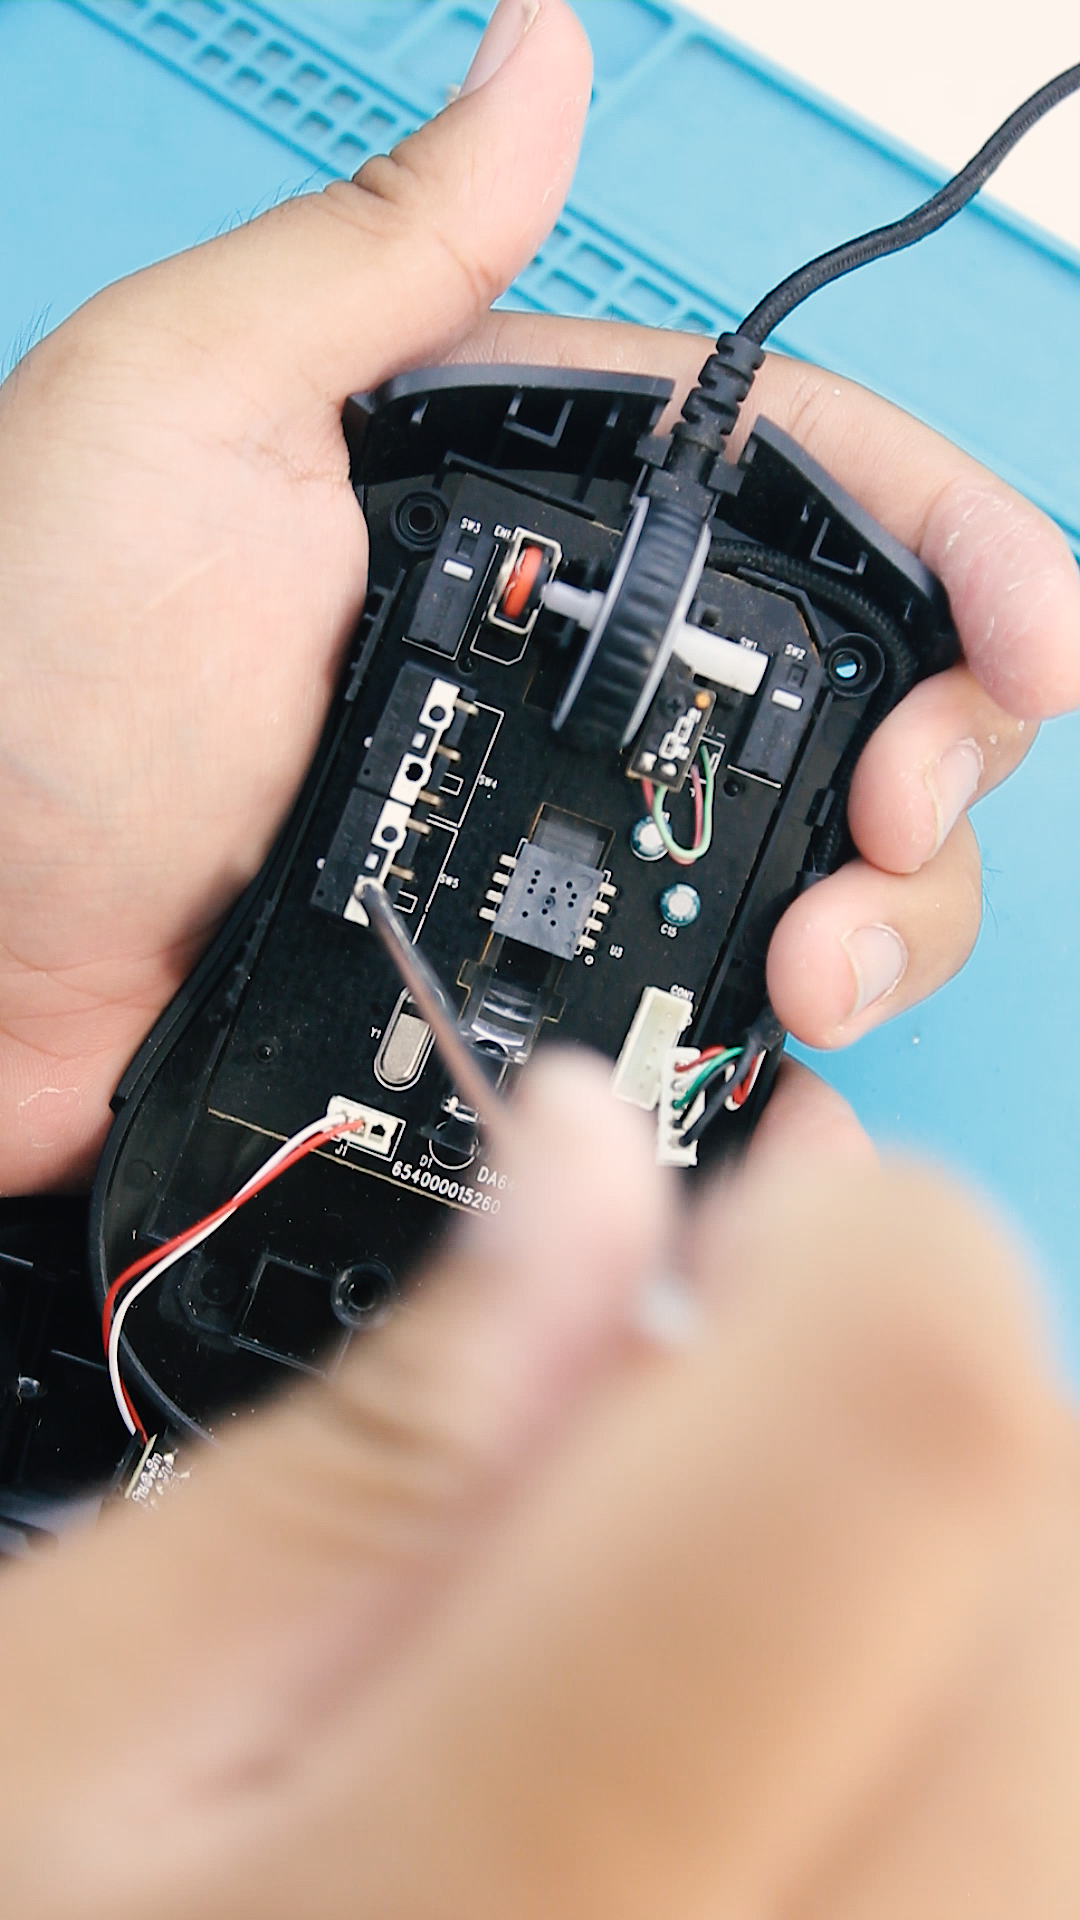

Now, in order to replace the faulty button clicker, we need to remove the circuit board from the base of the mouse. In my case, I first need to disconnect this JST connector from the circuit board. Afterward, using a screwdriver, I will remove these two screws that hold the side clicker and the circuit board to the base of the mouse. Once these screws are removed, I should be able to take out the board from its base.
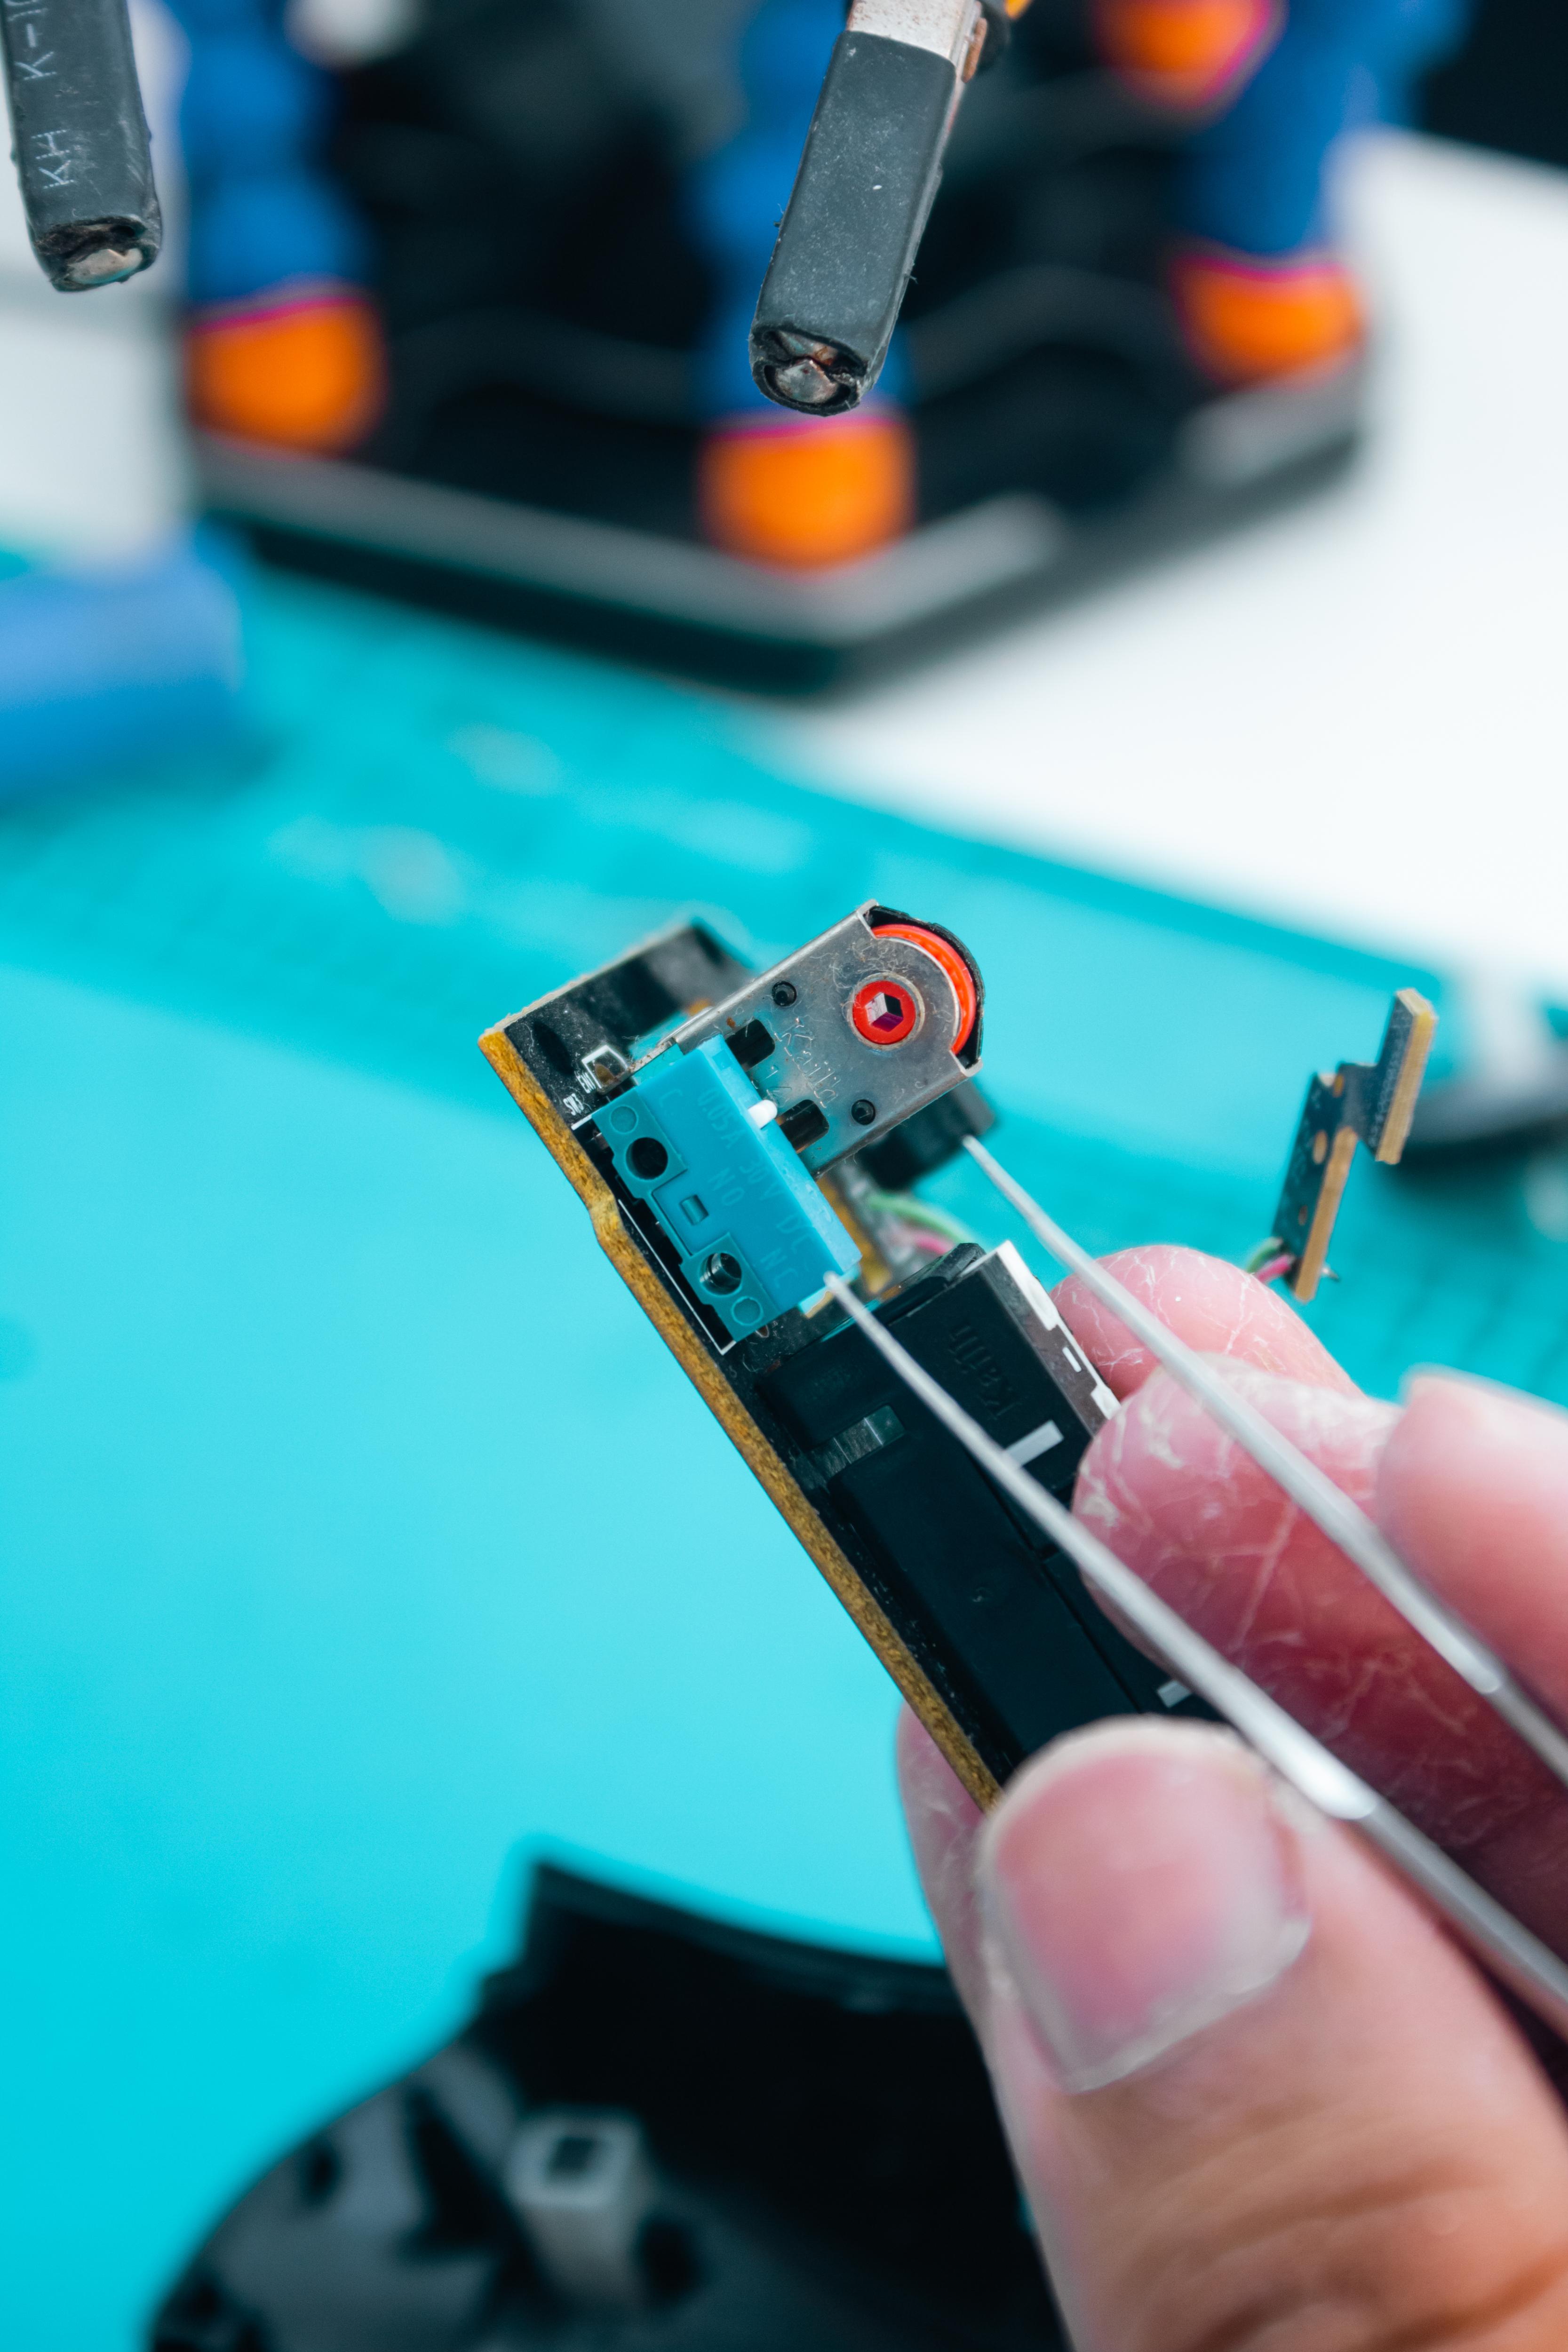
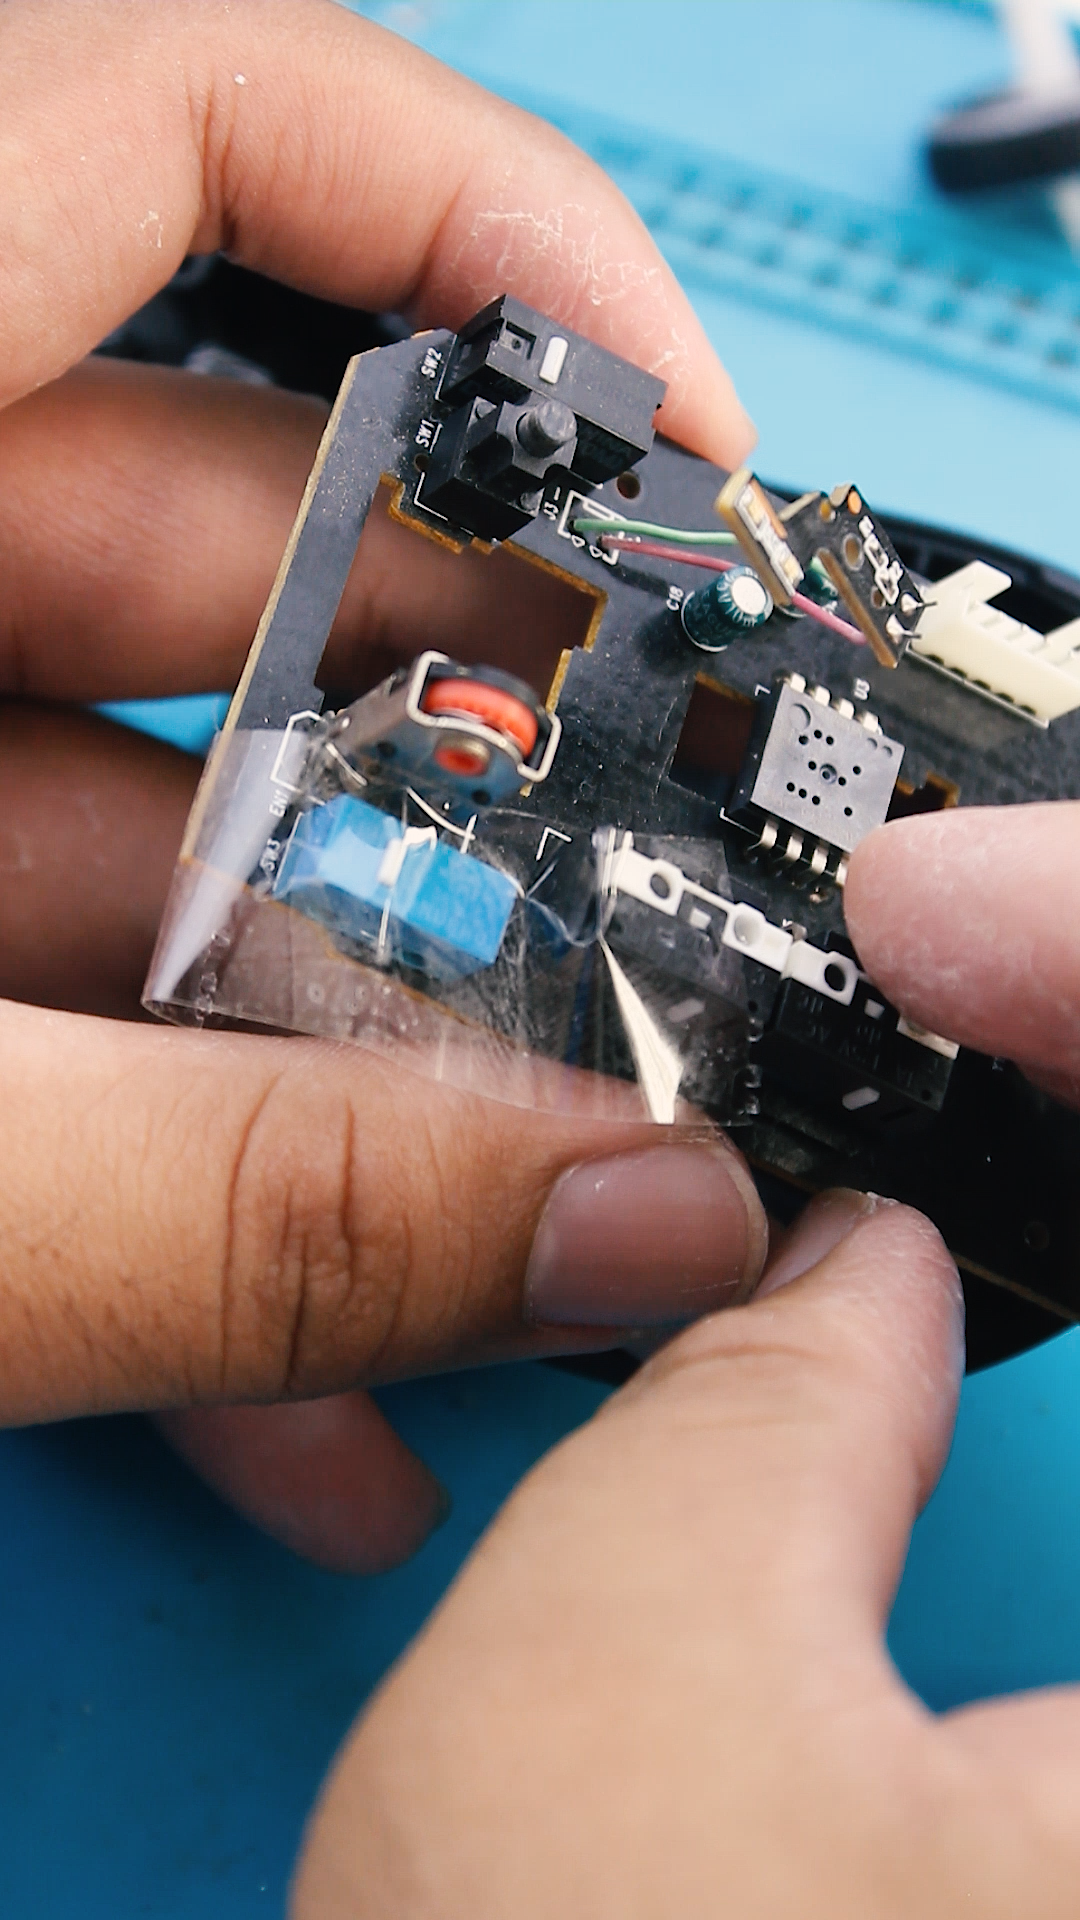
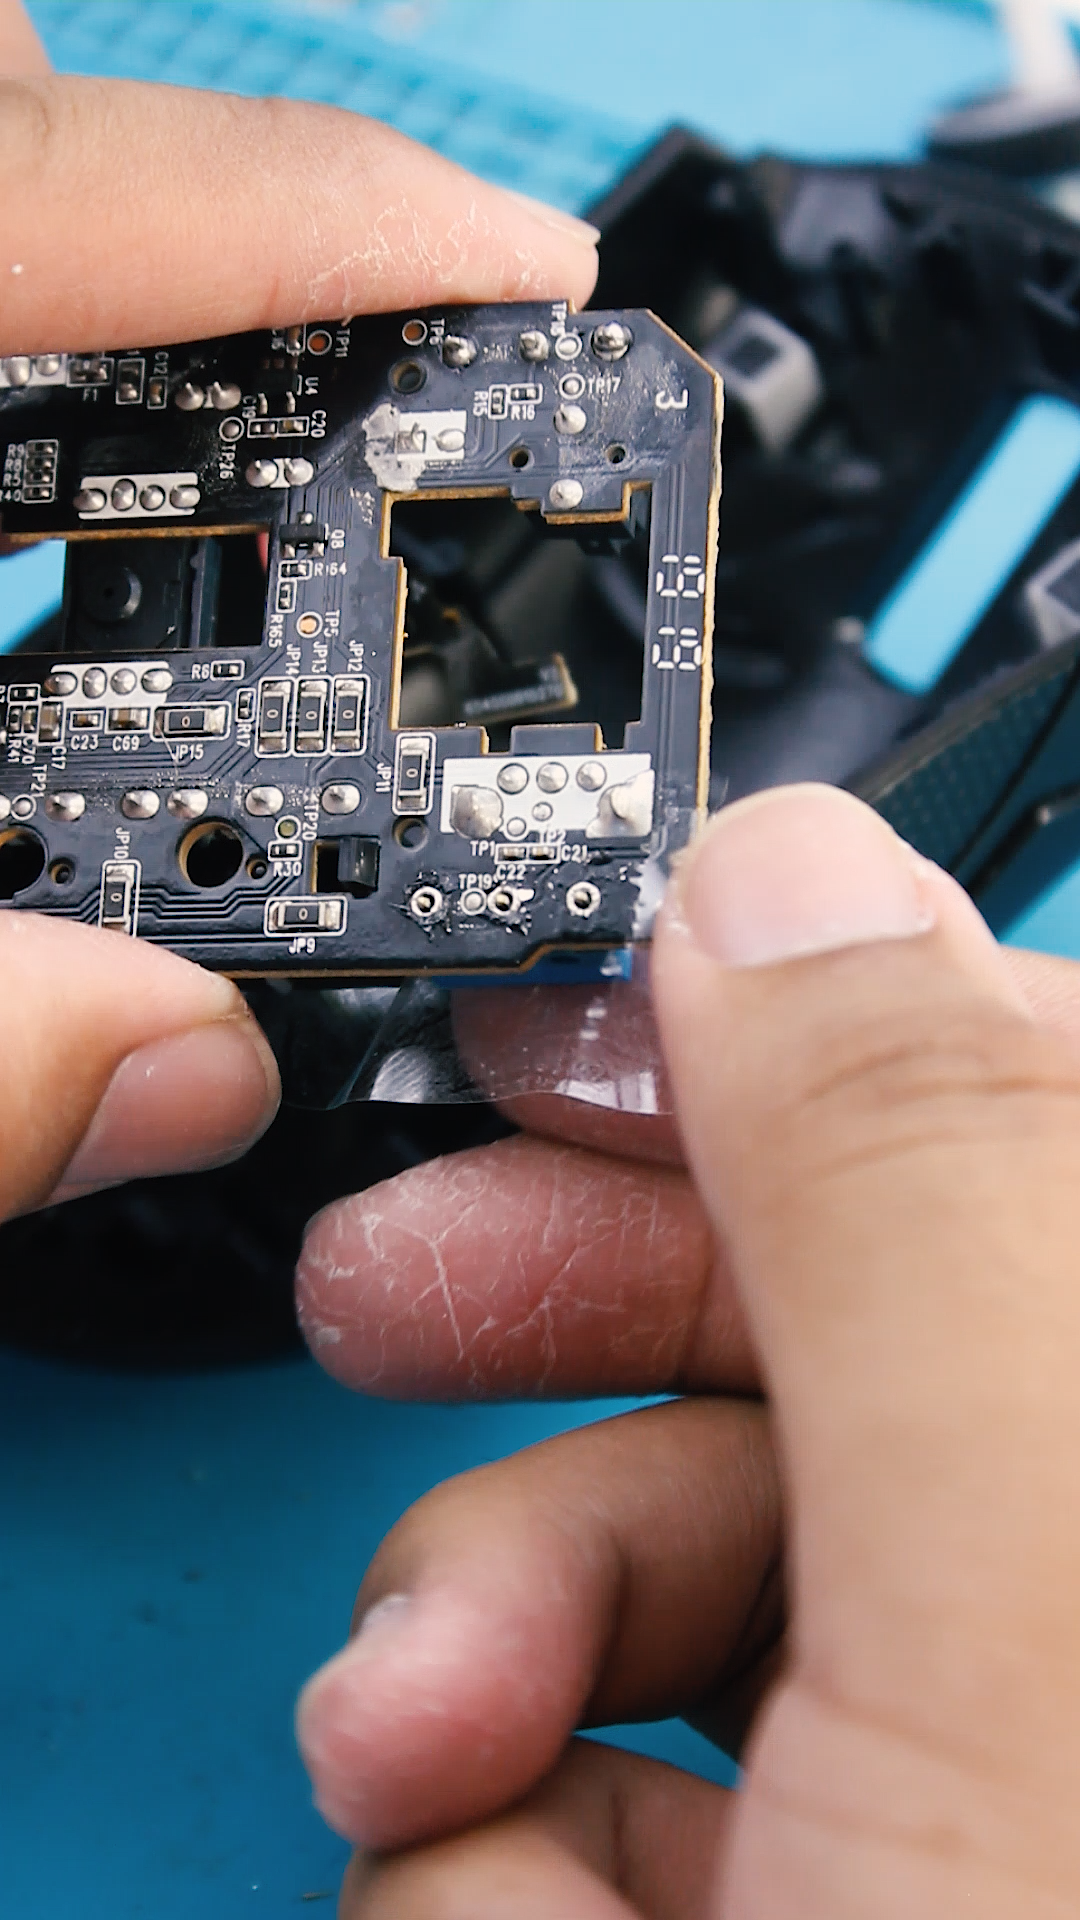
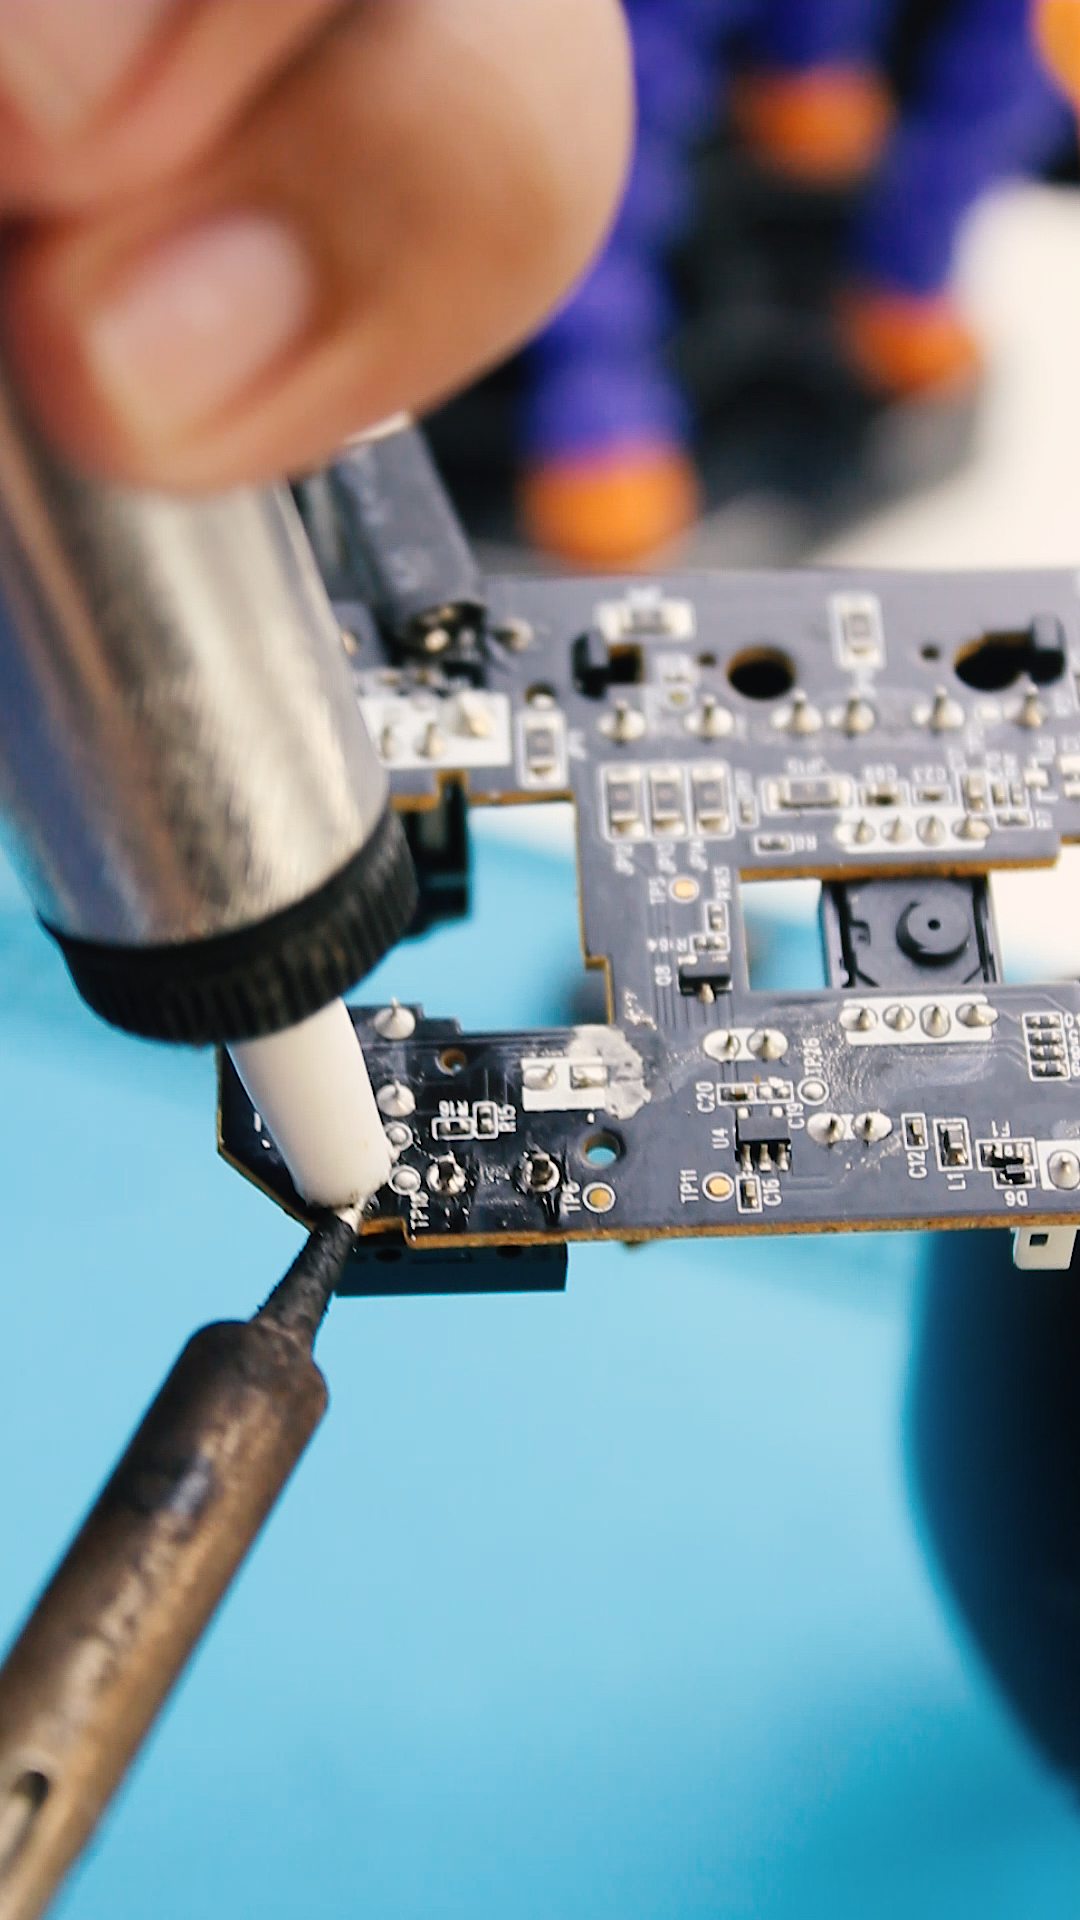
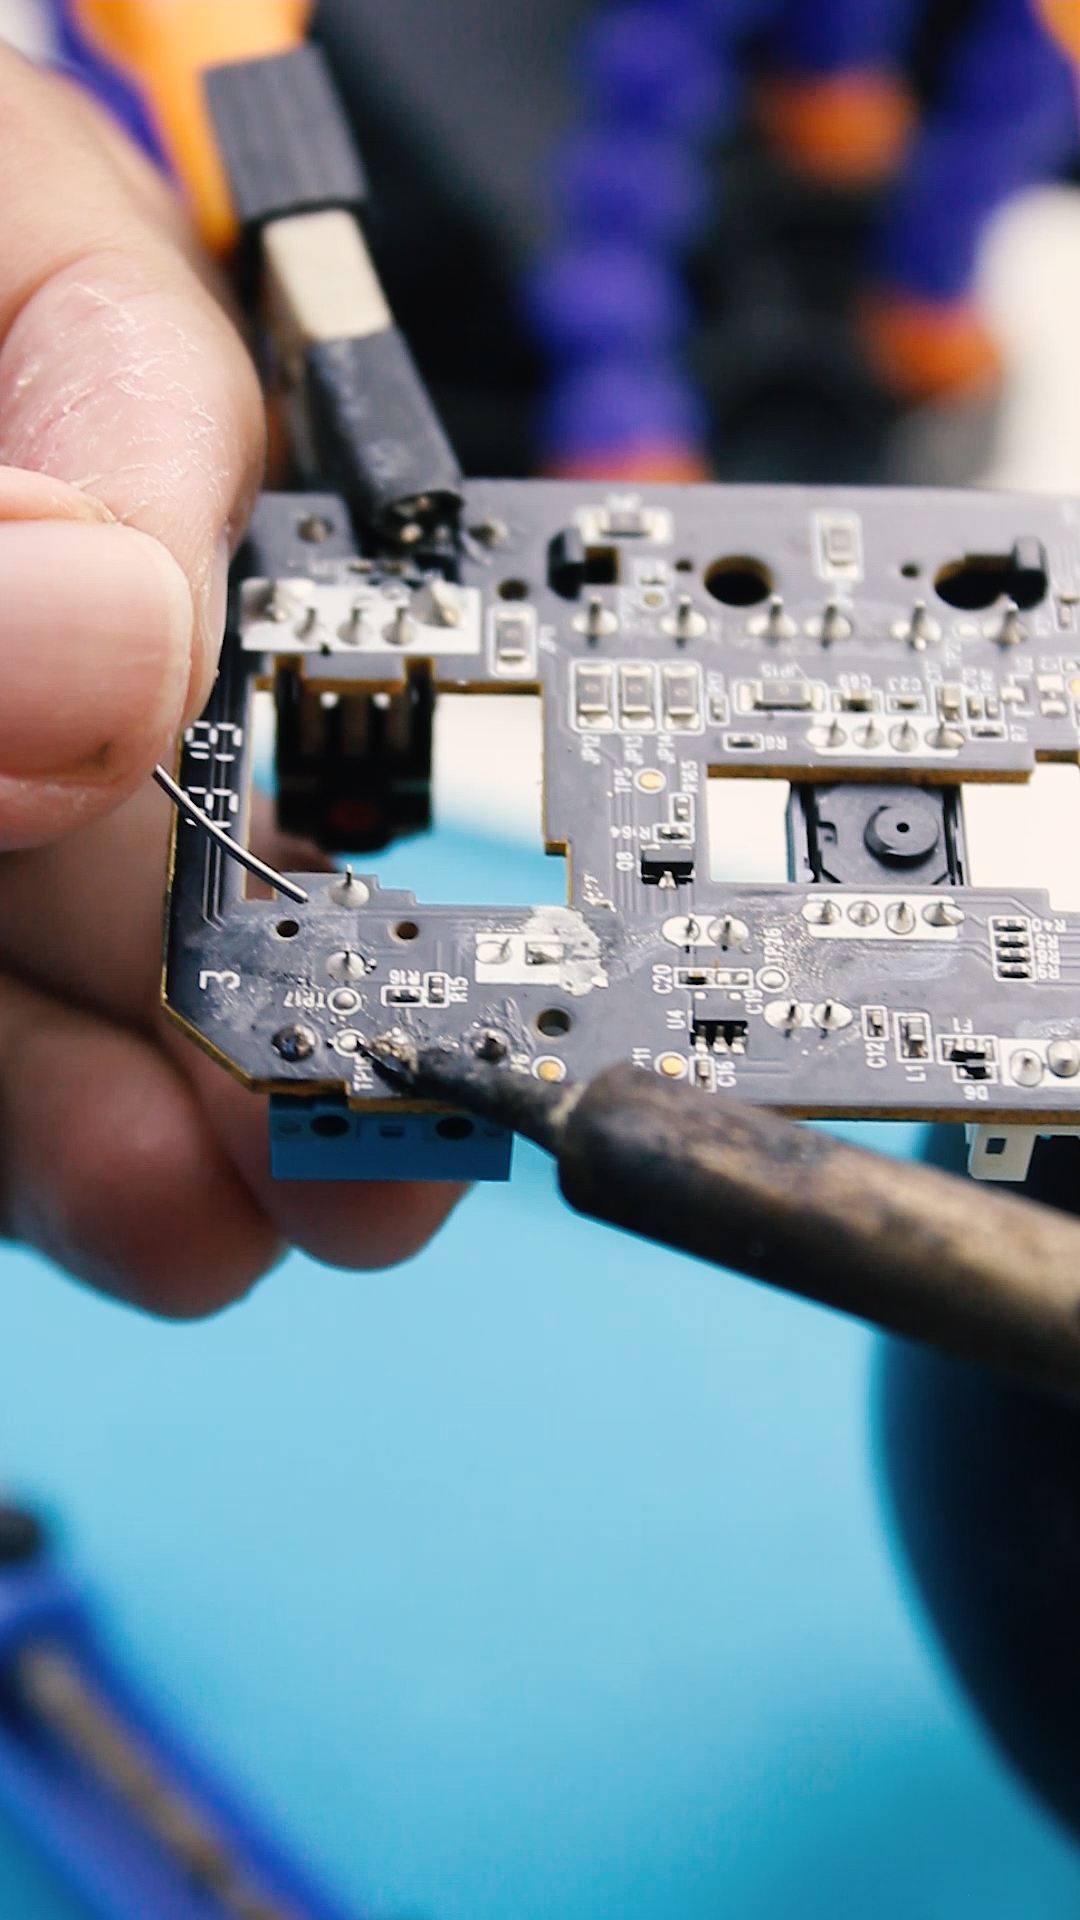
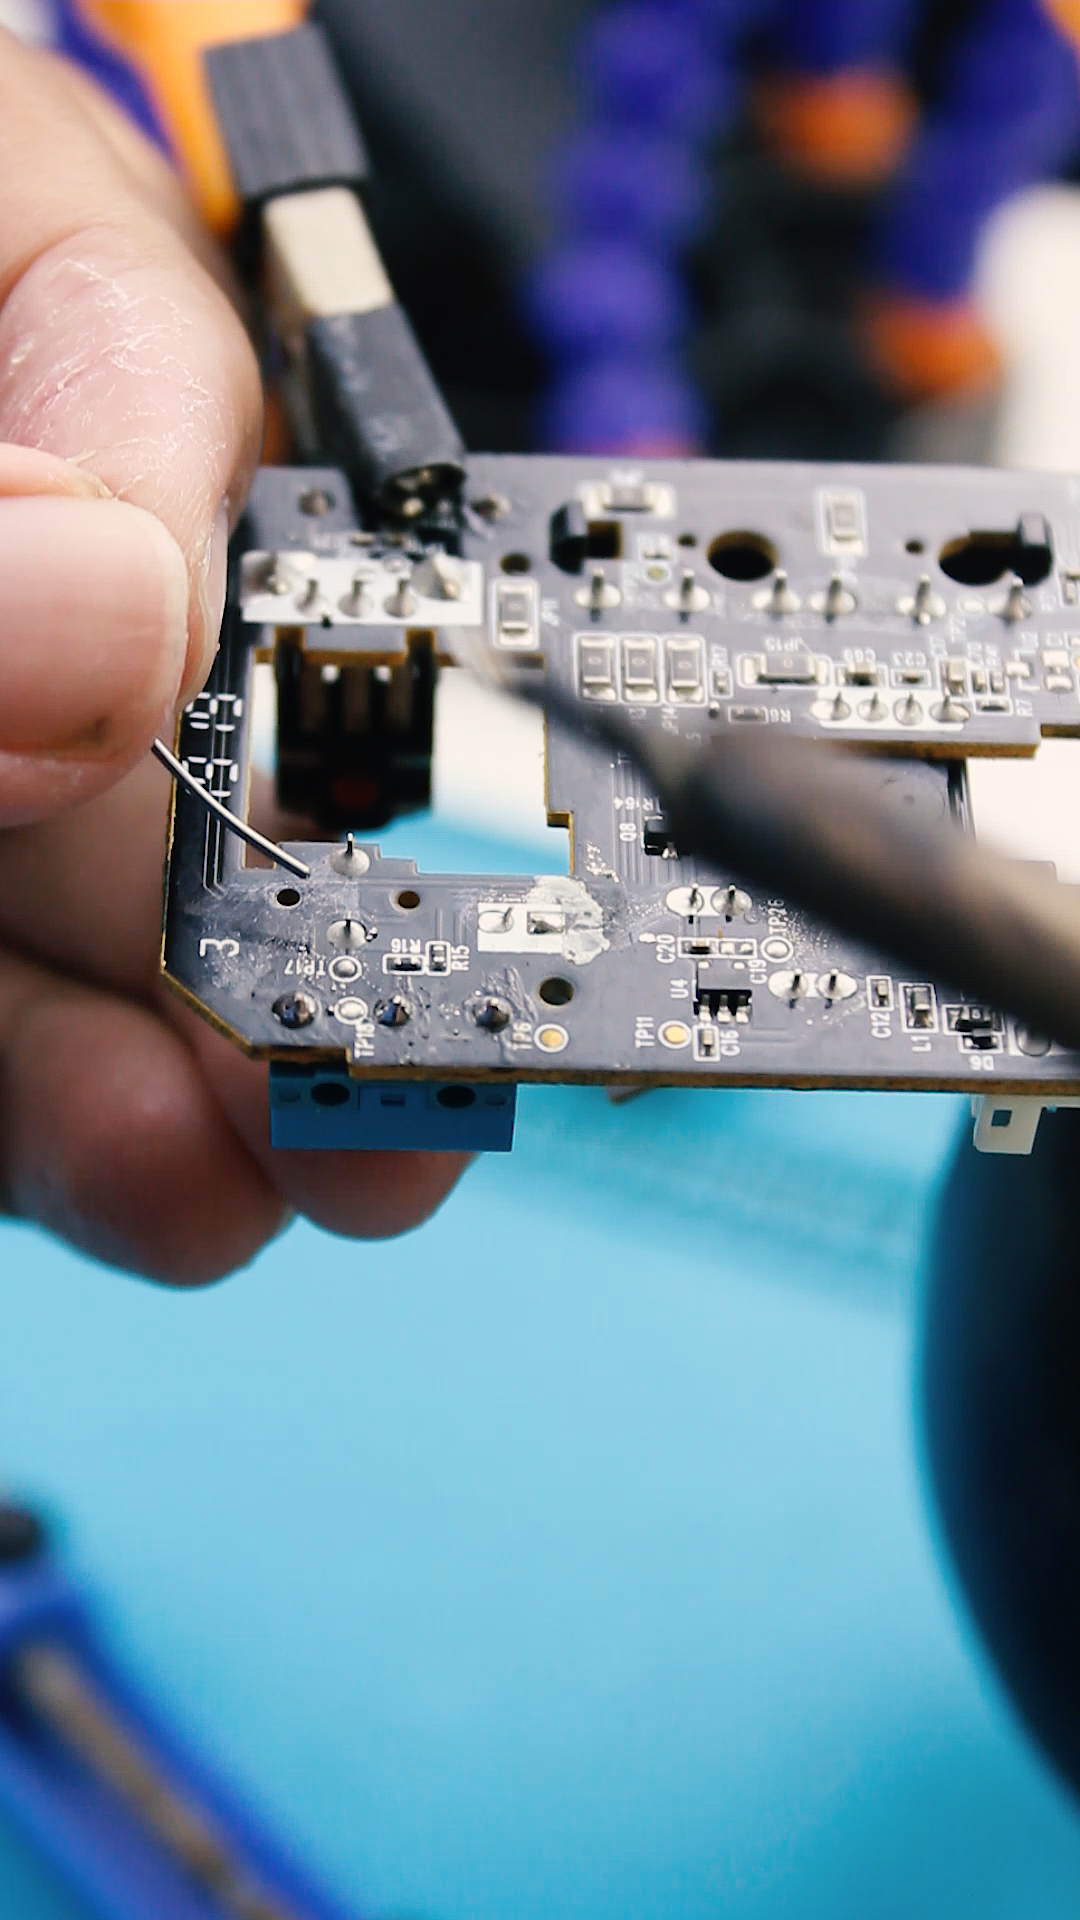
Desolder the Faulty Clicker
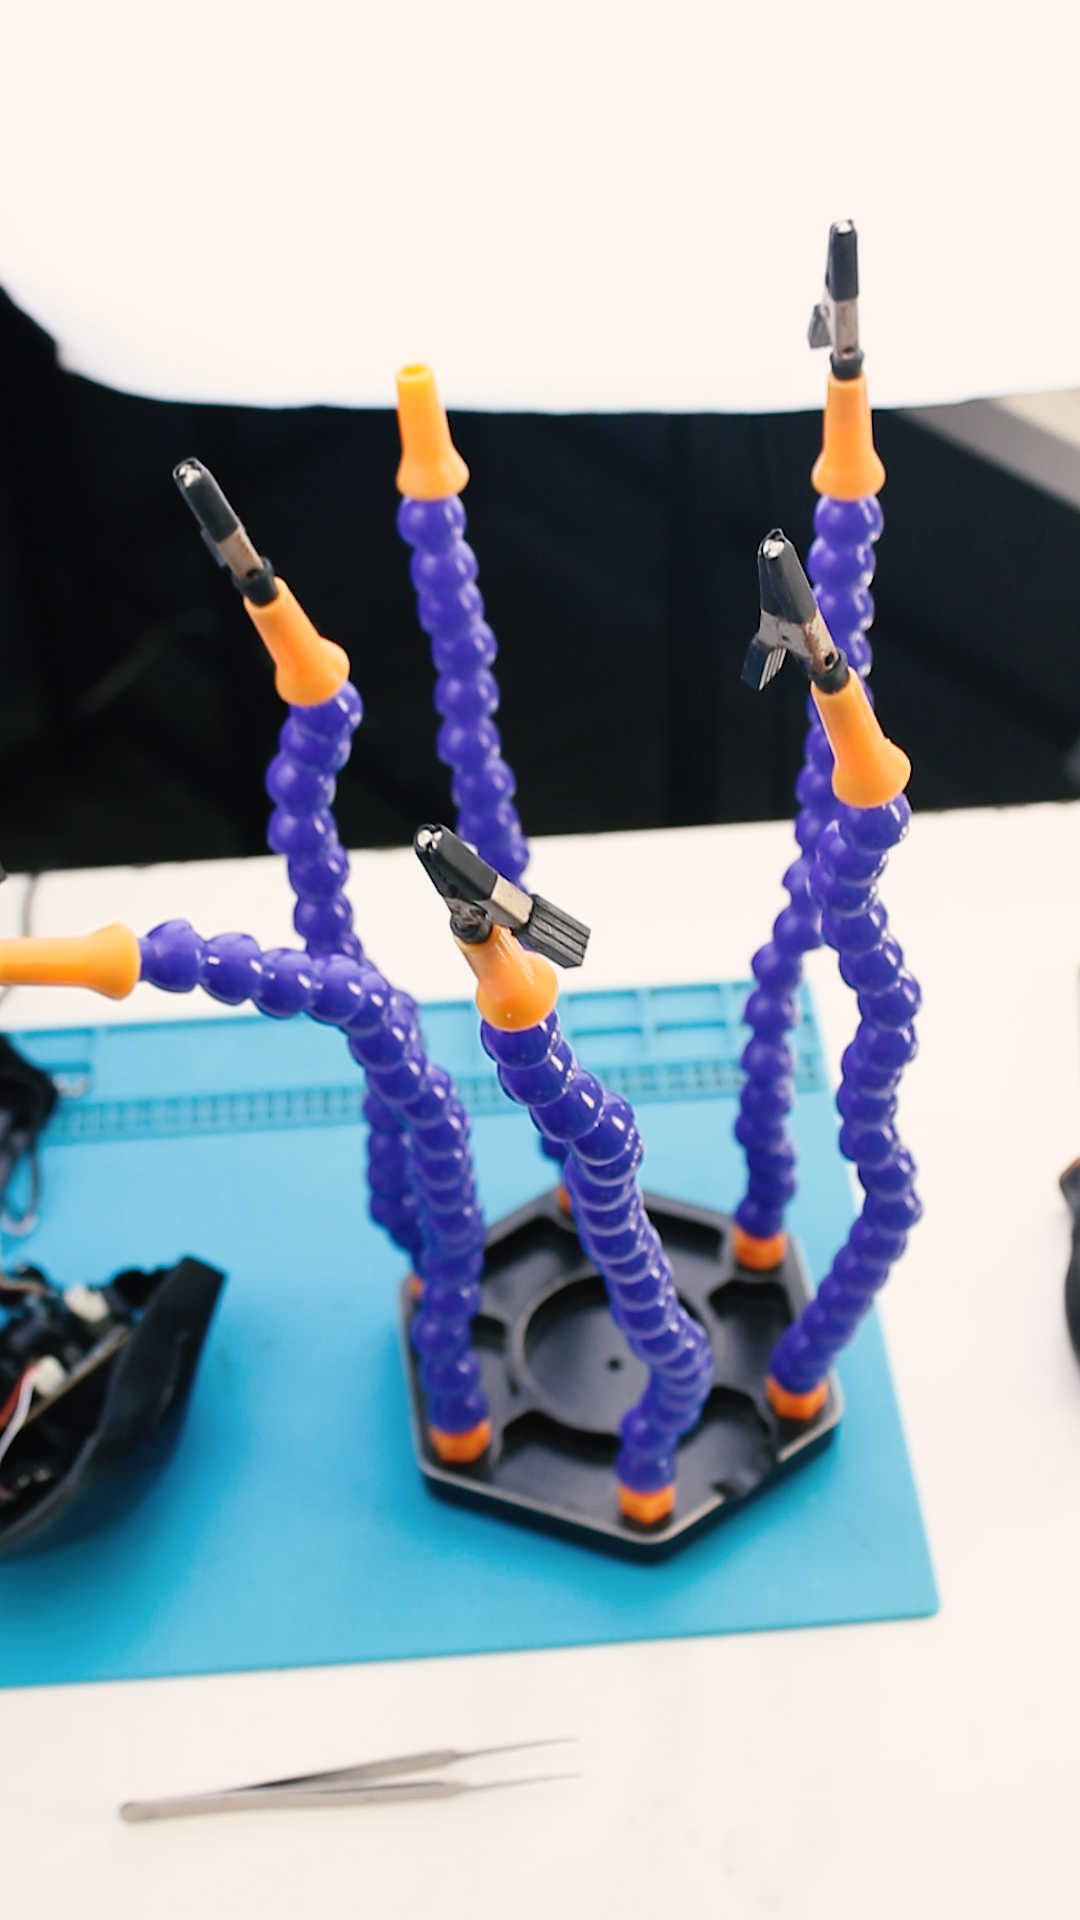
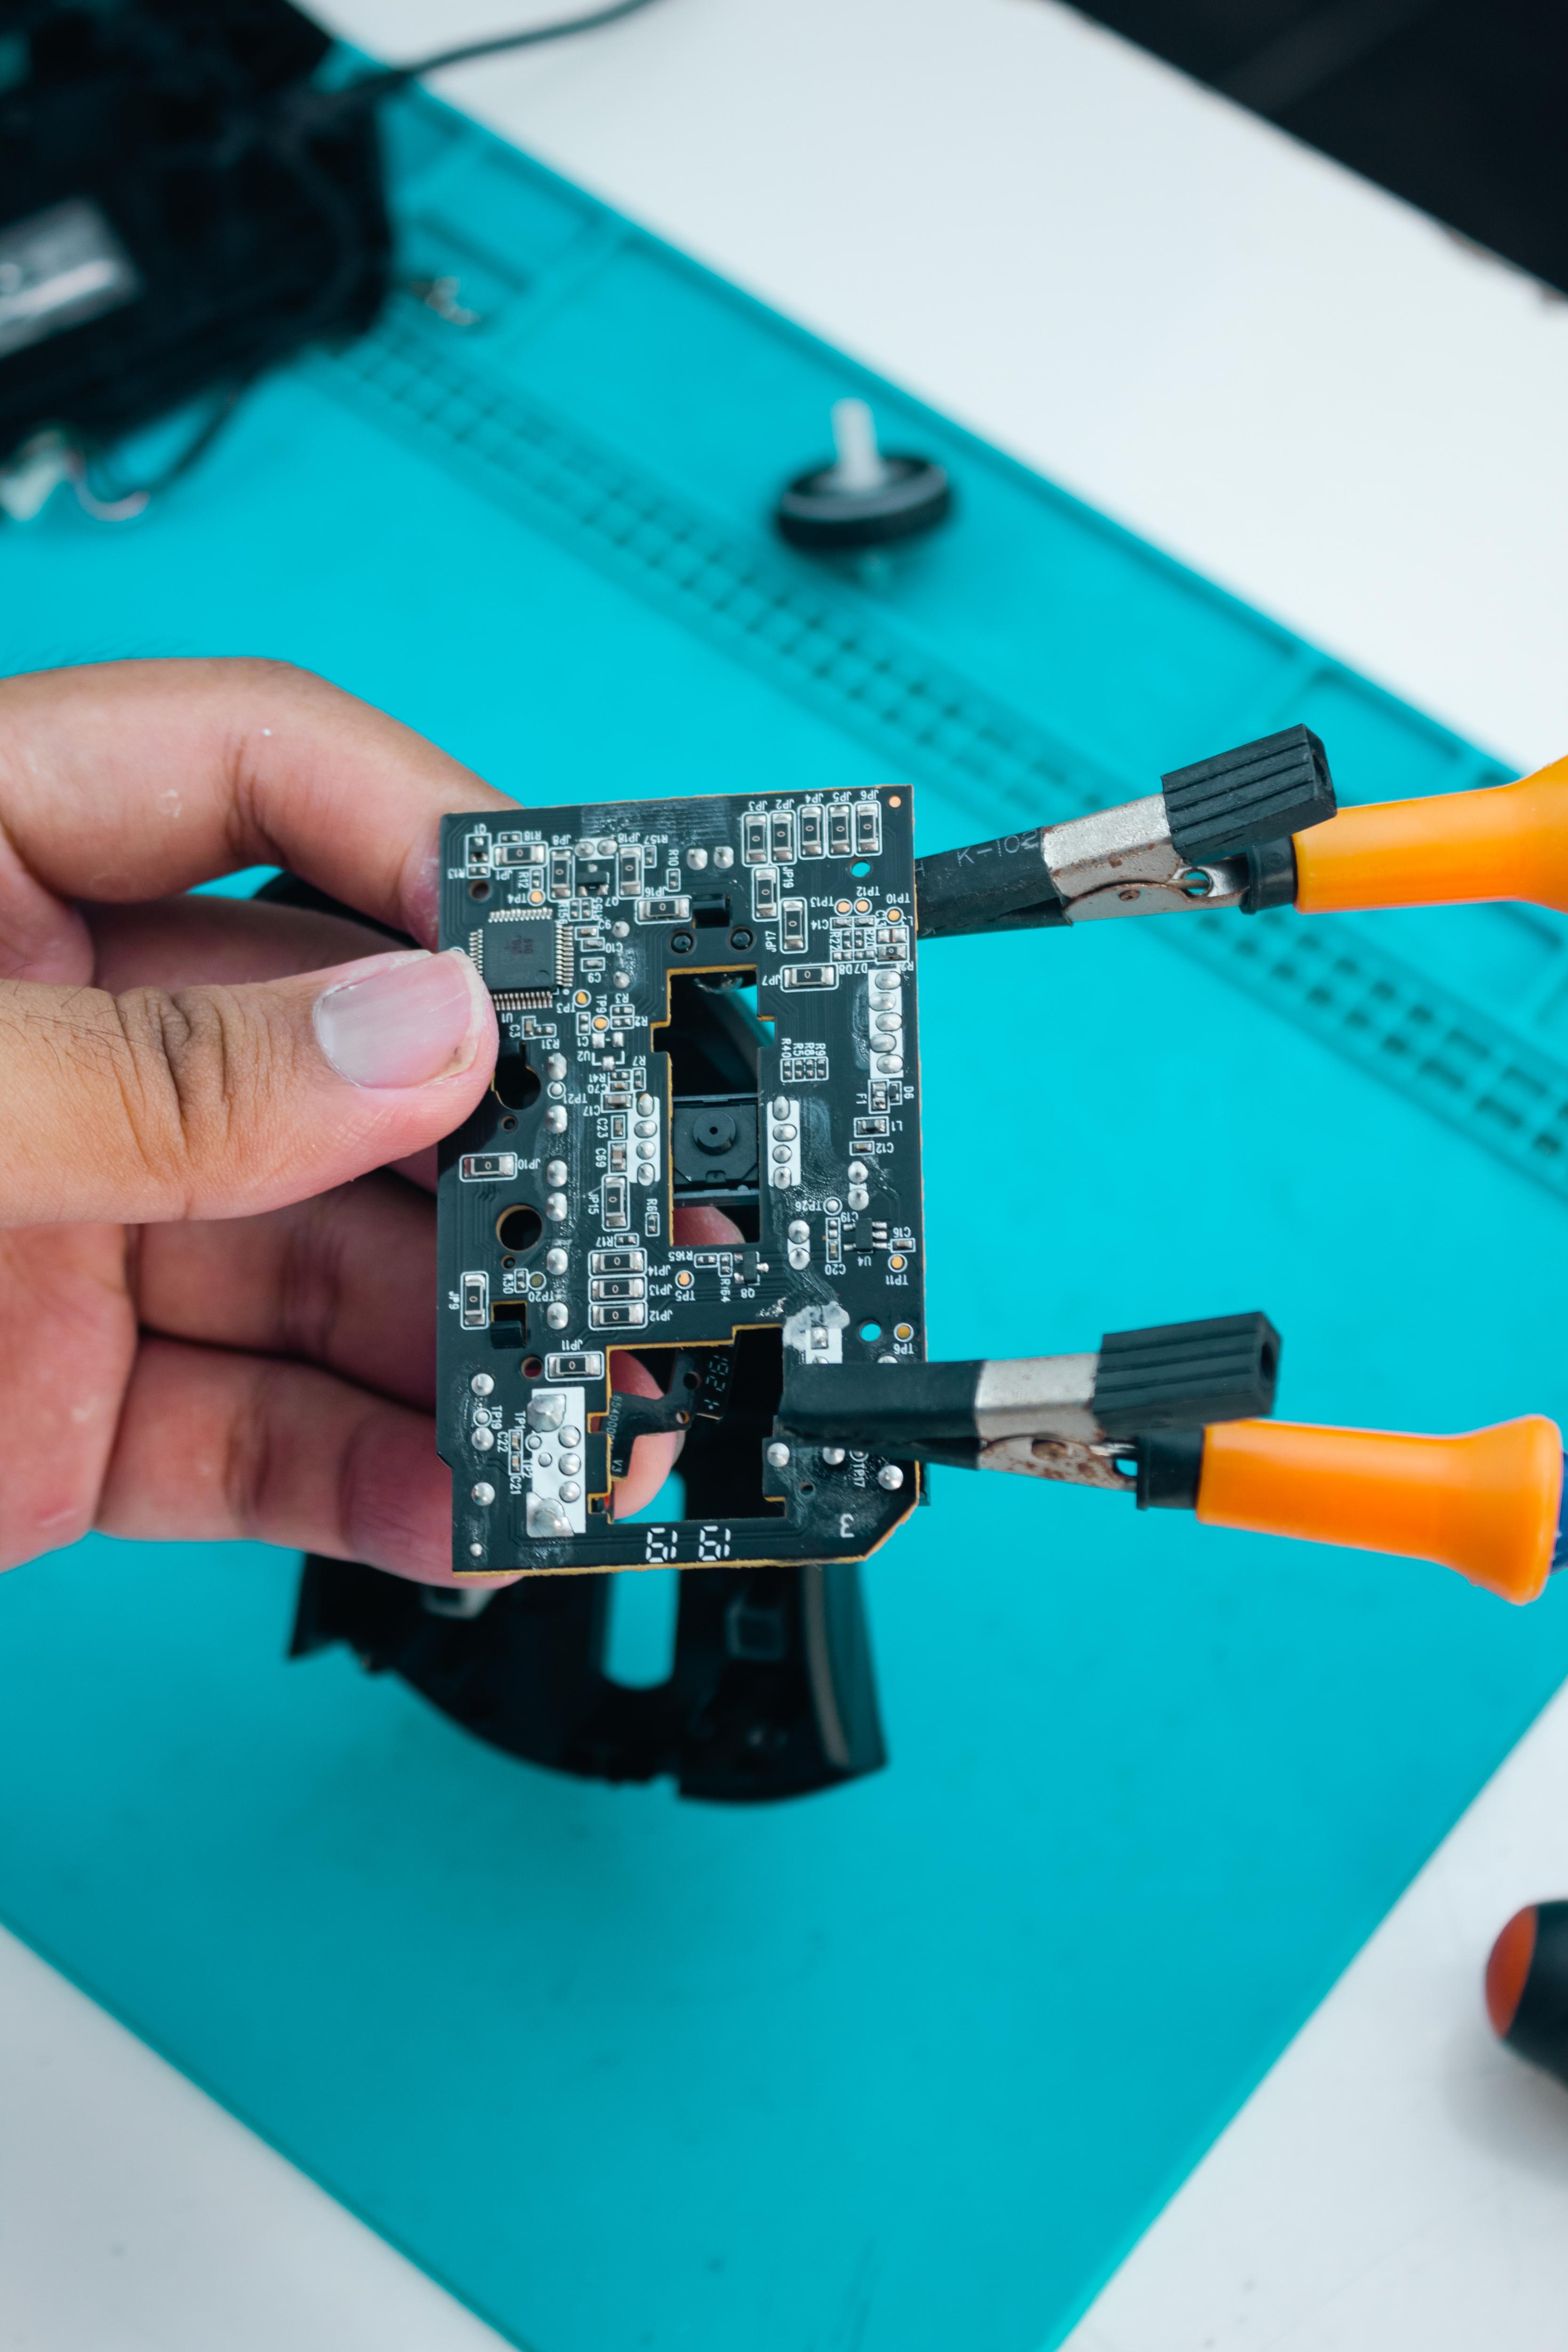
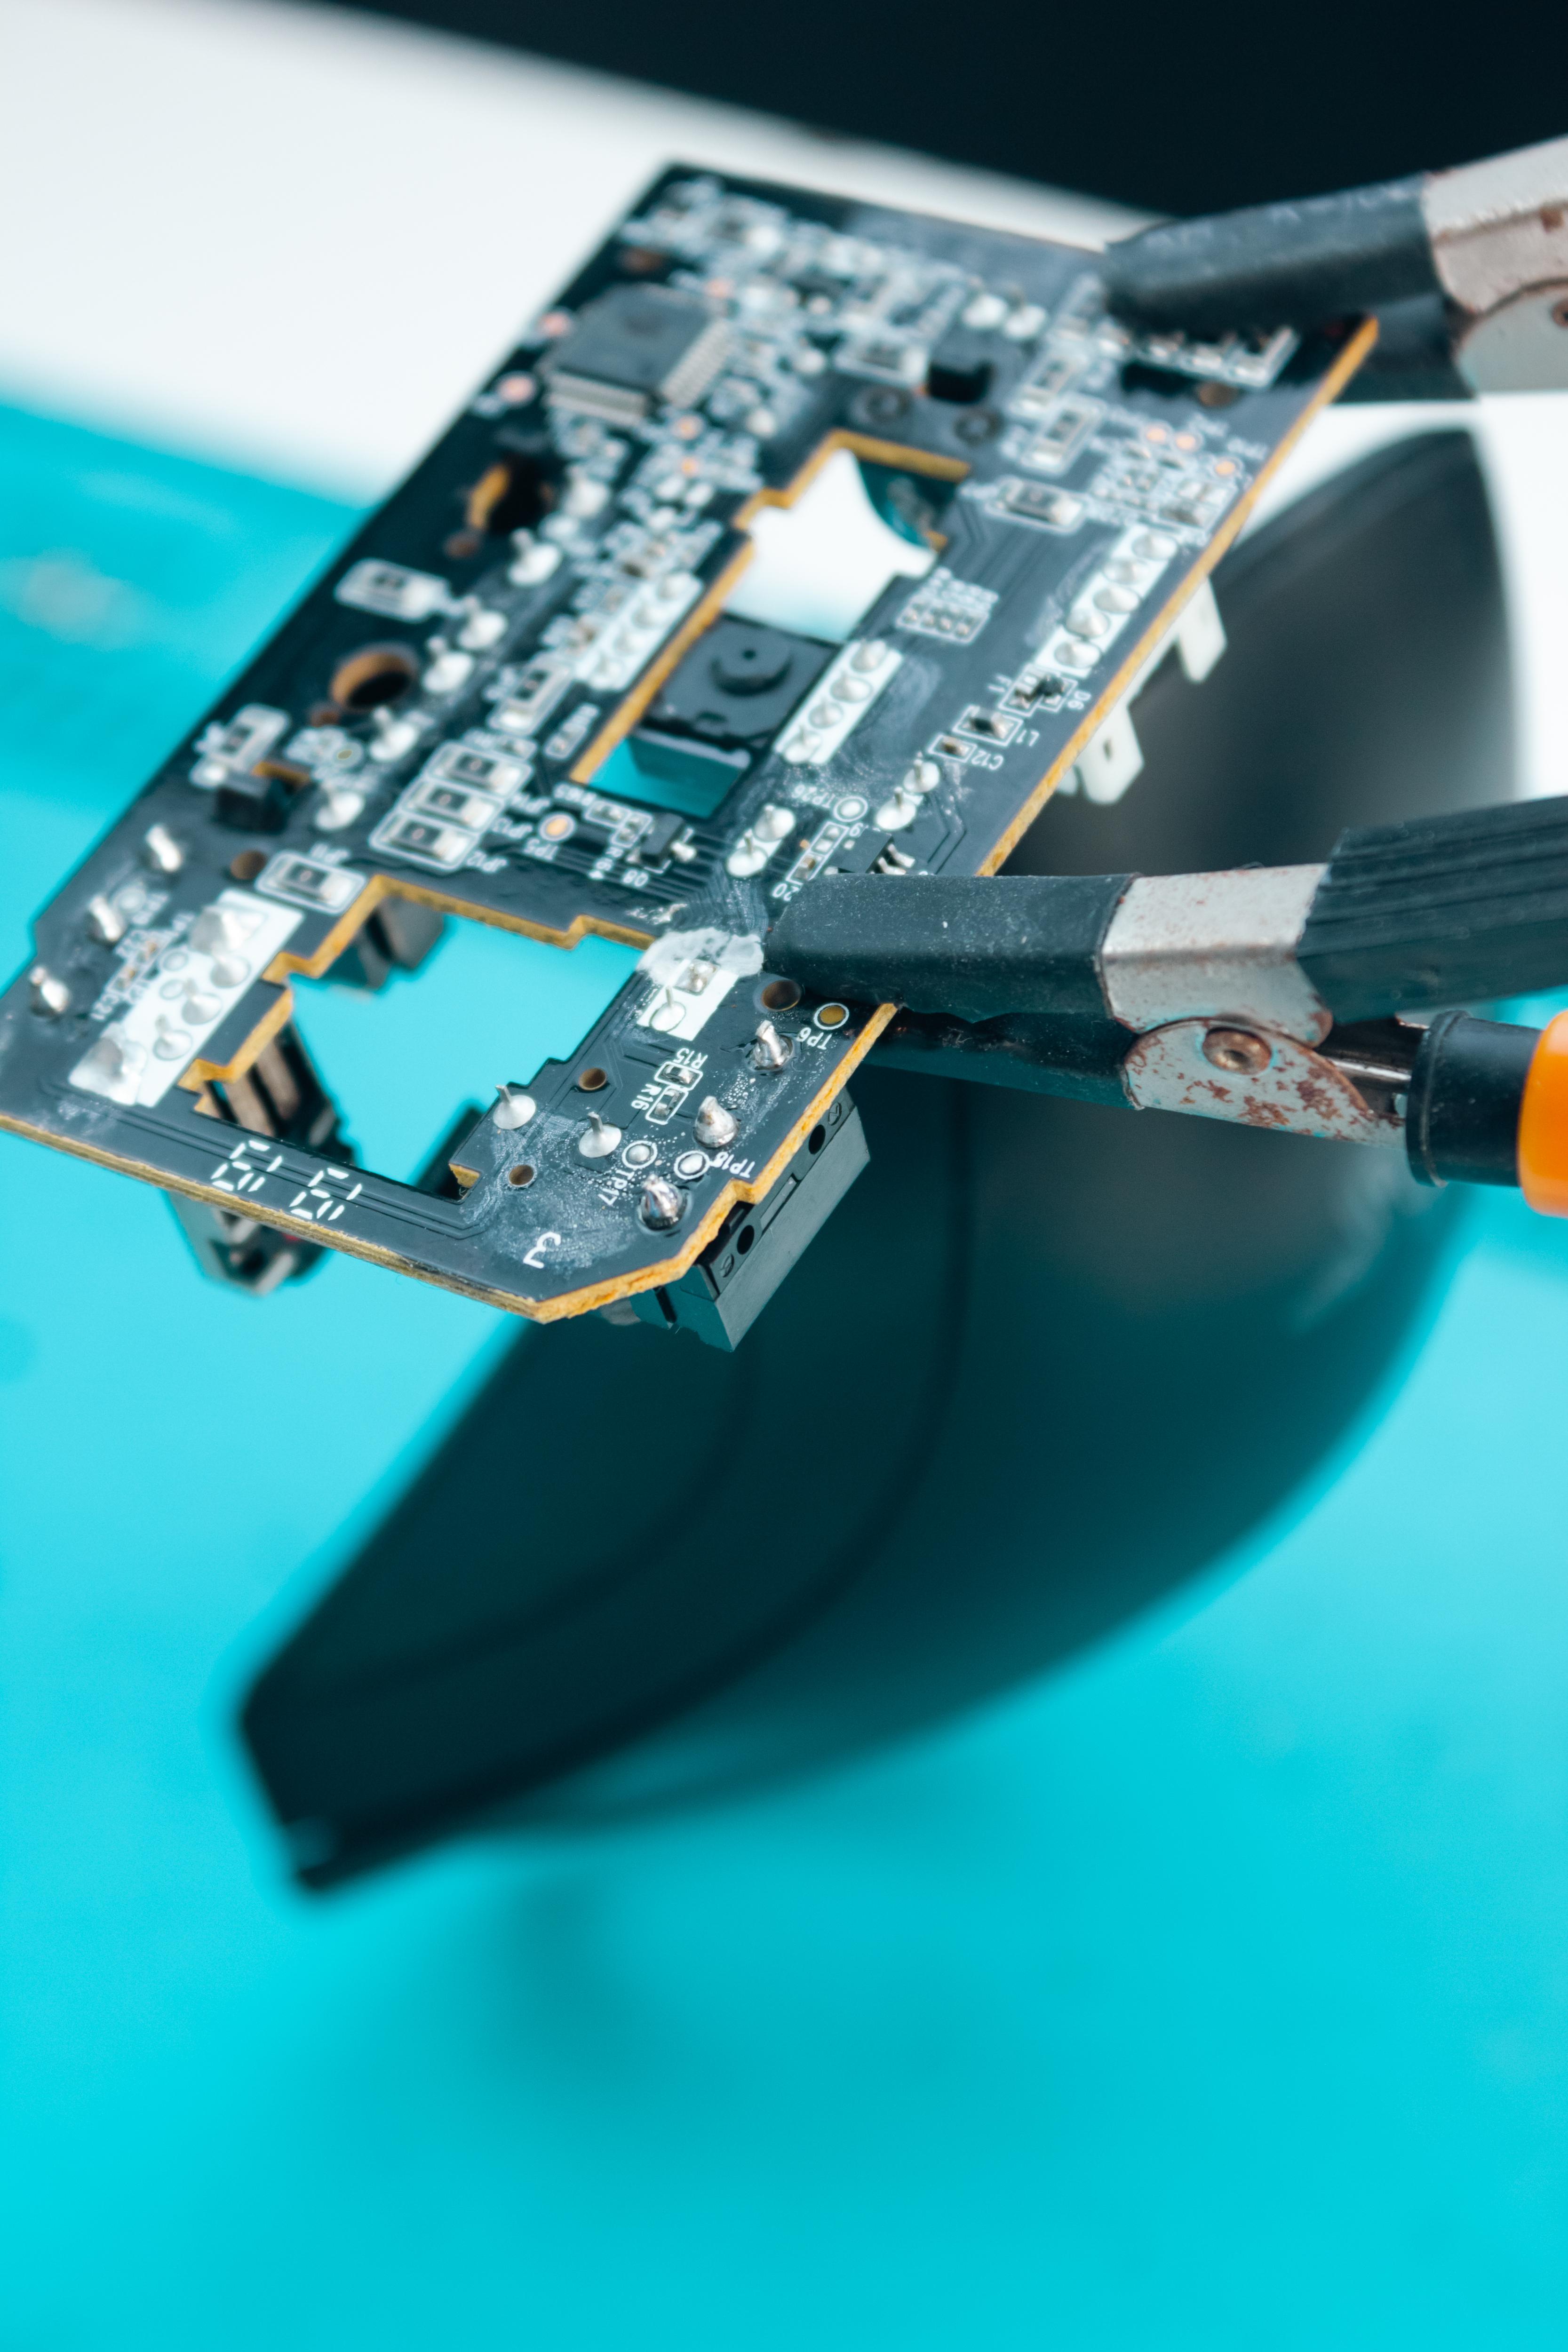
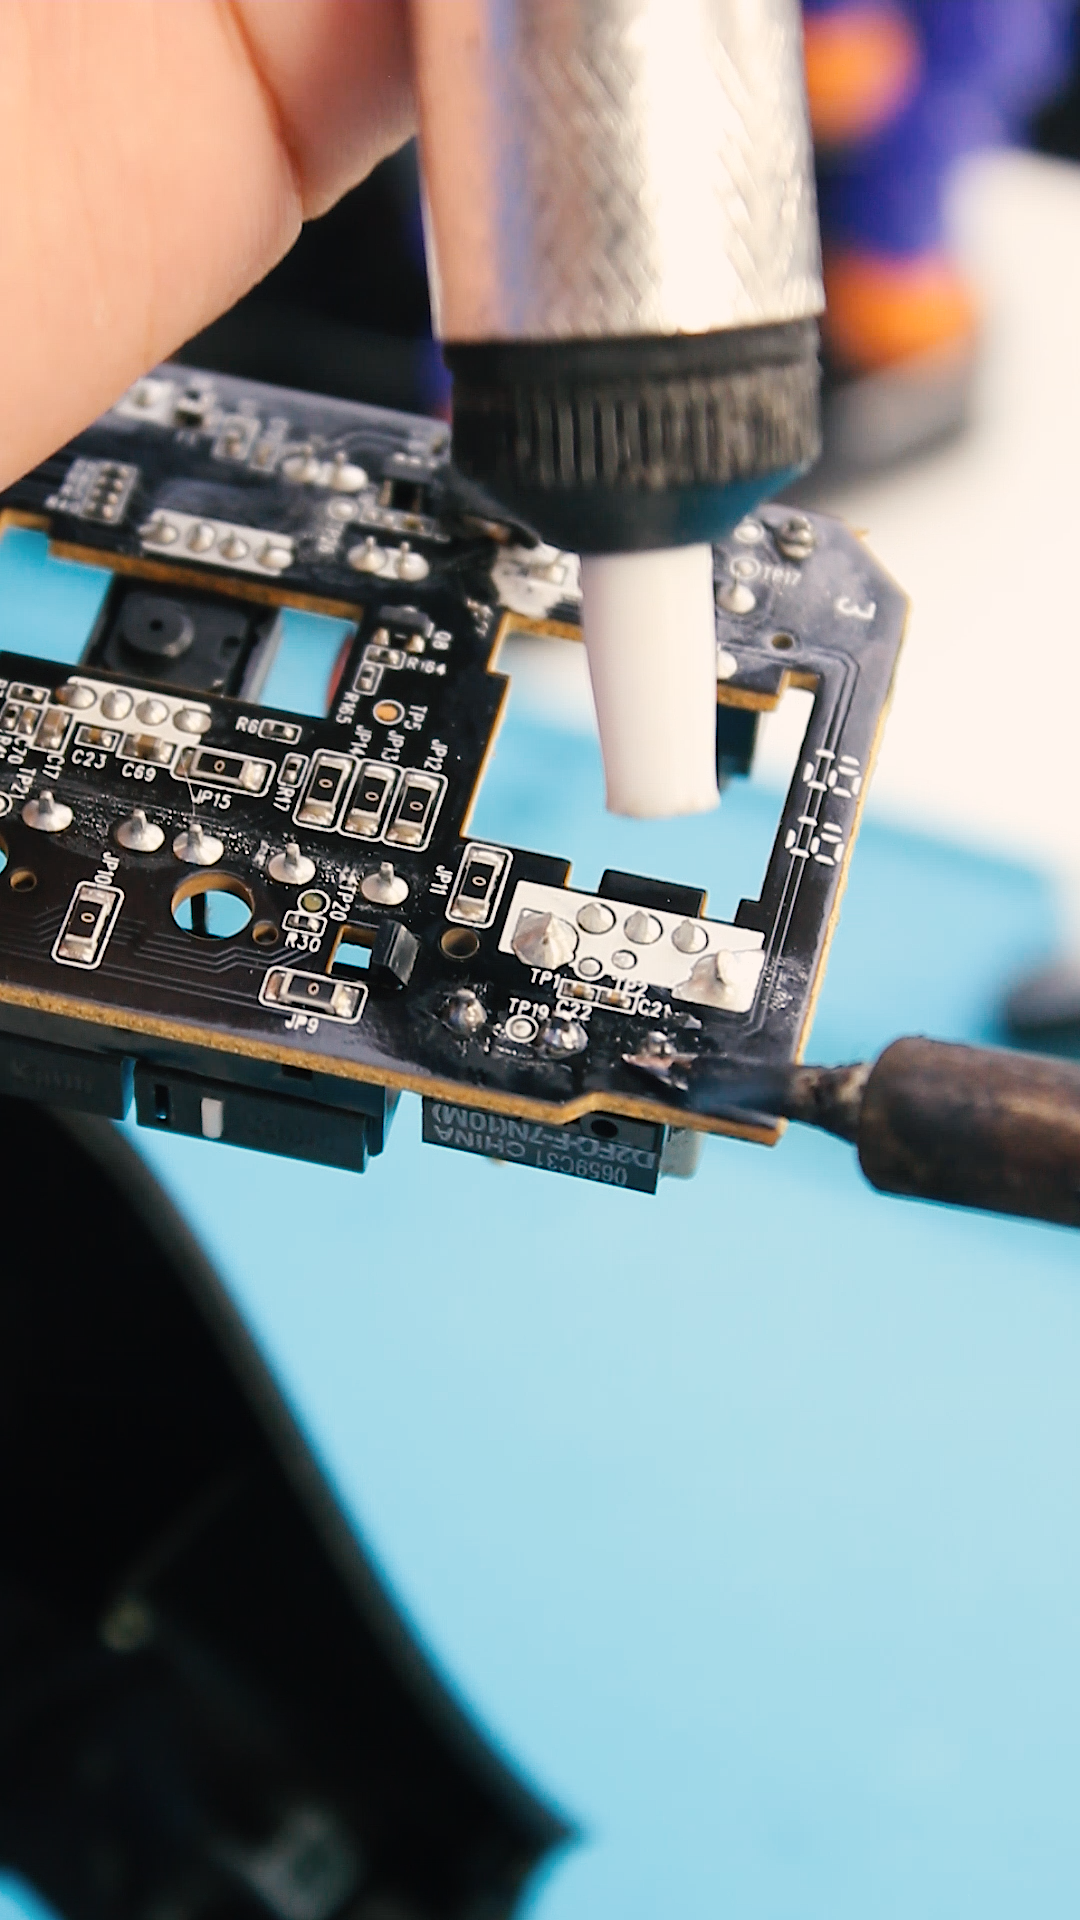
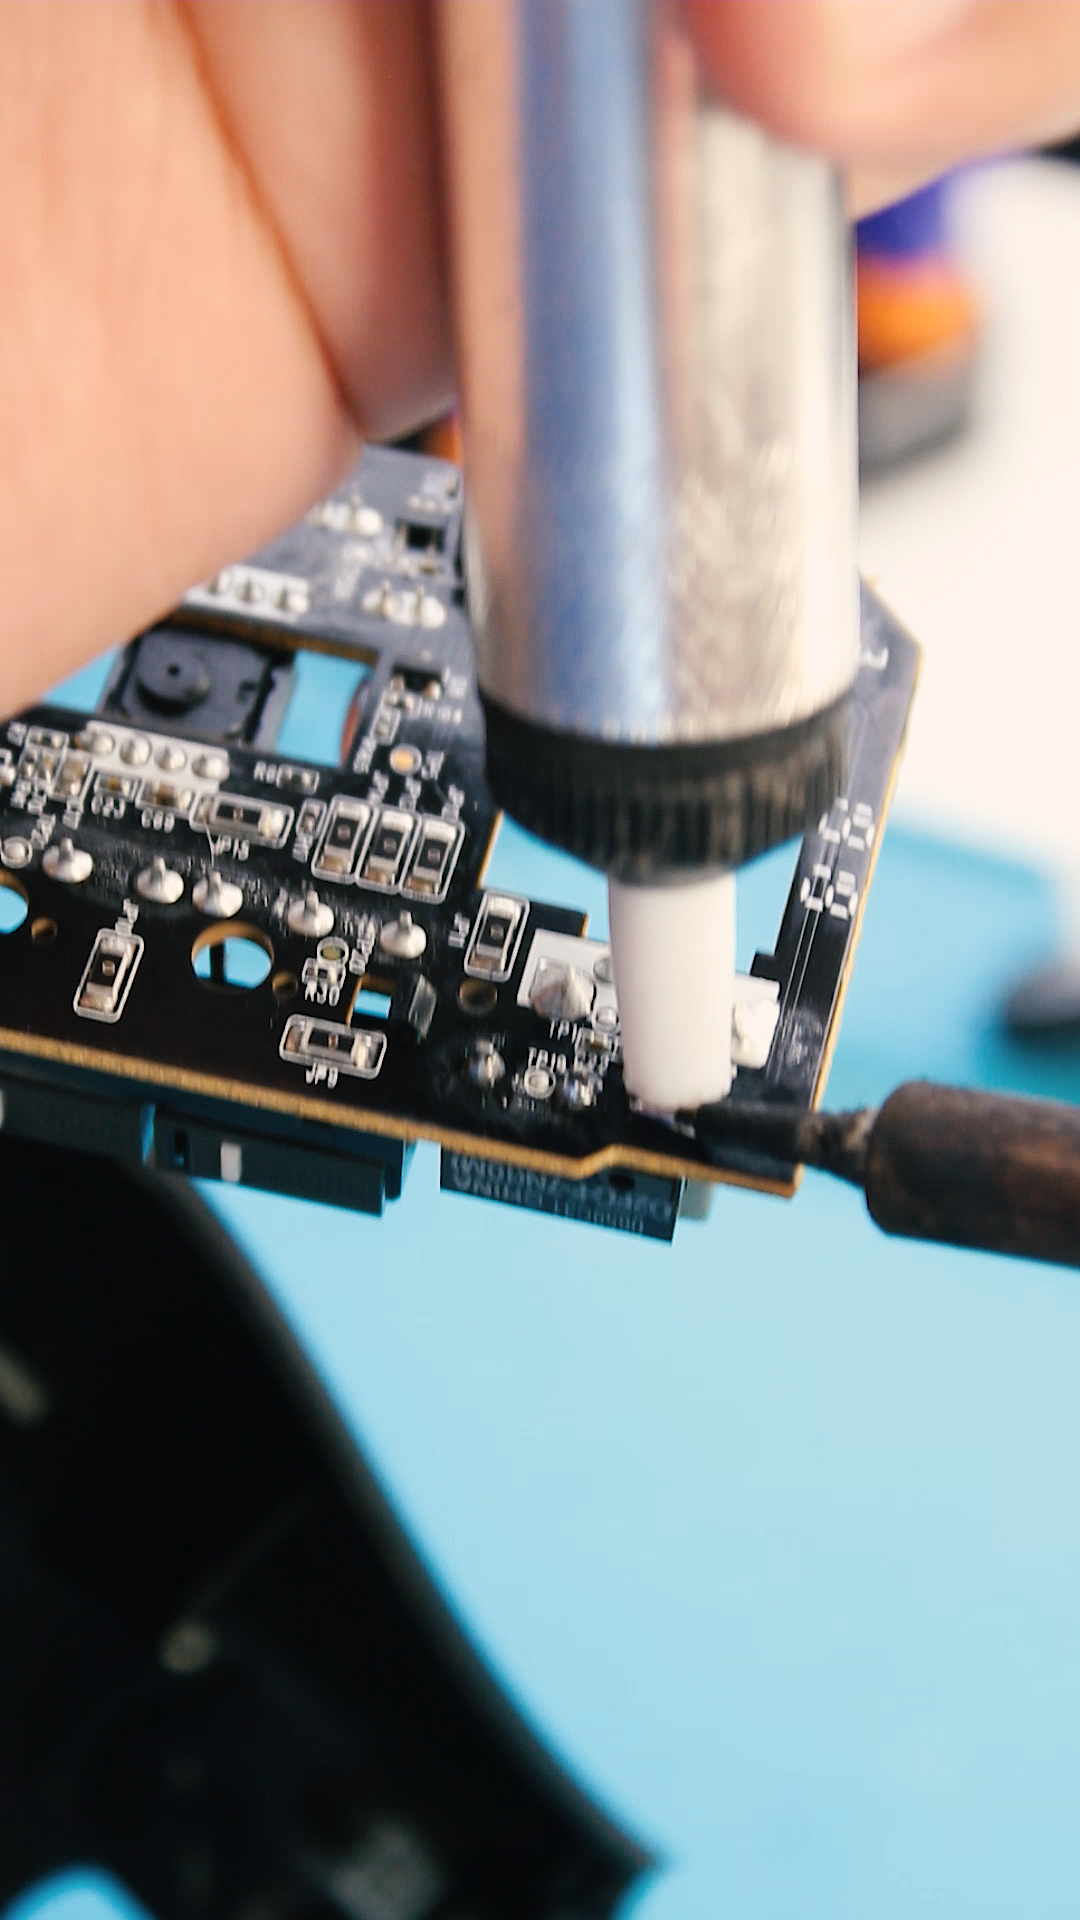
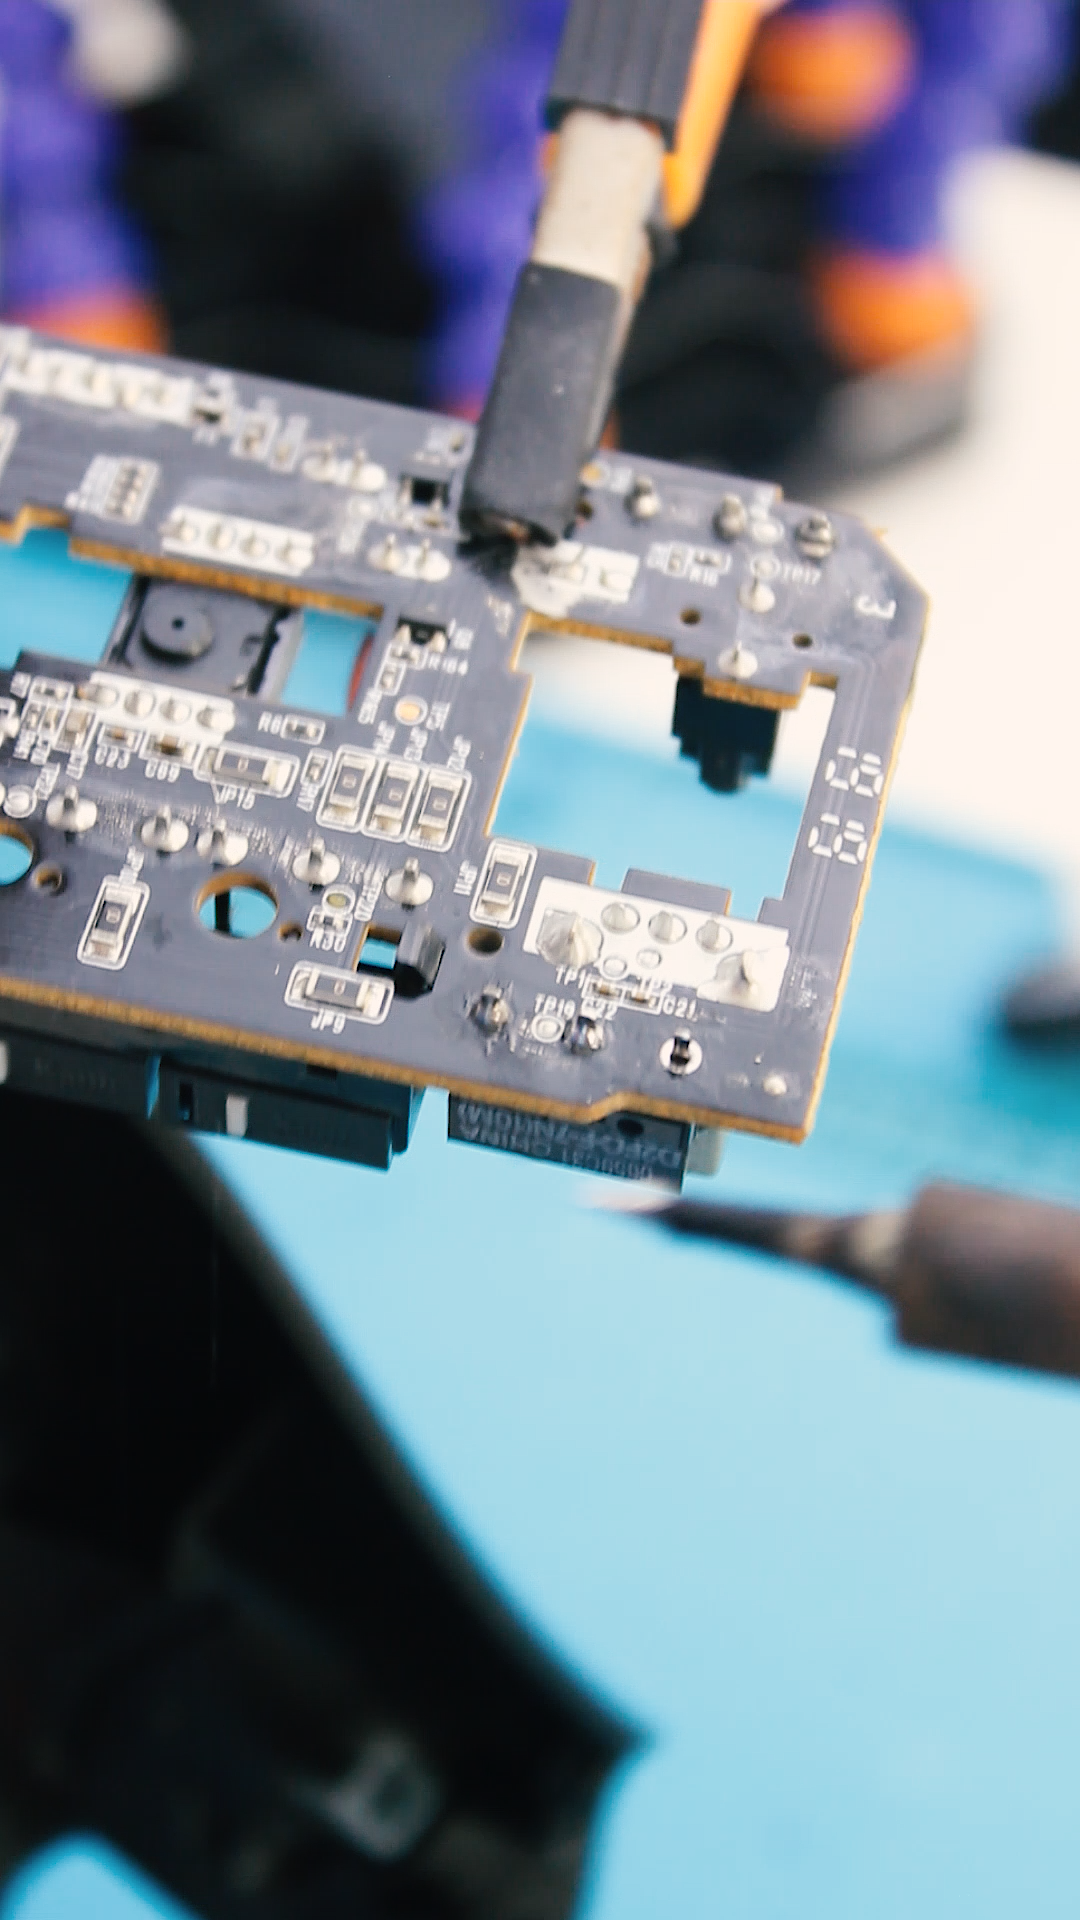
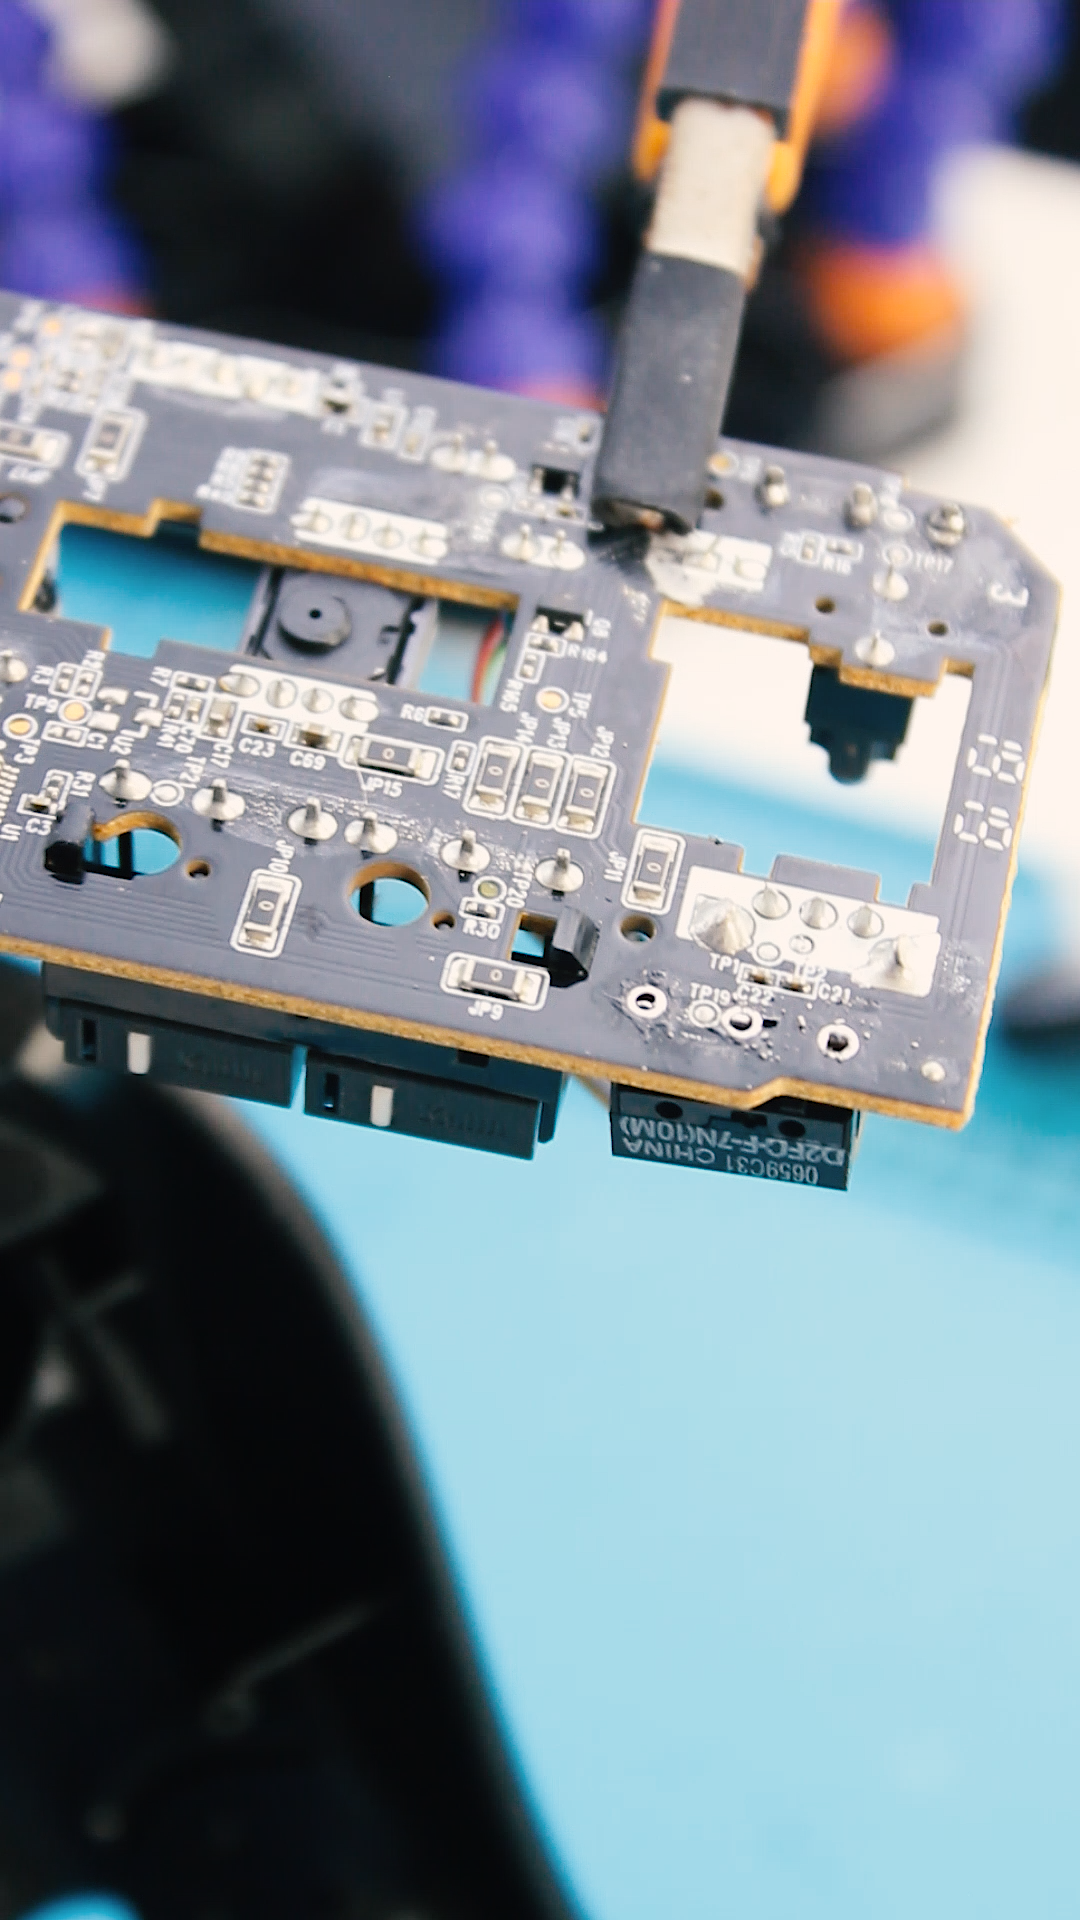
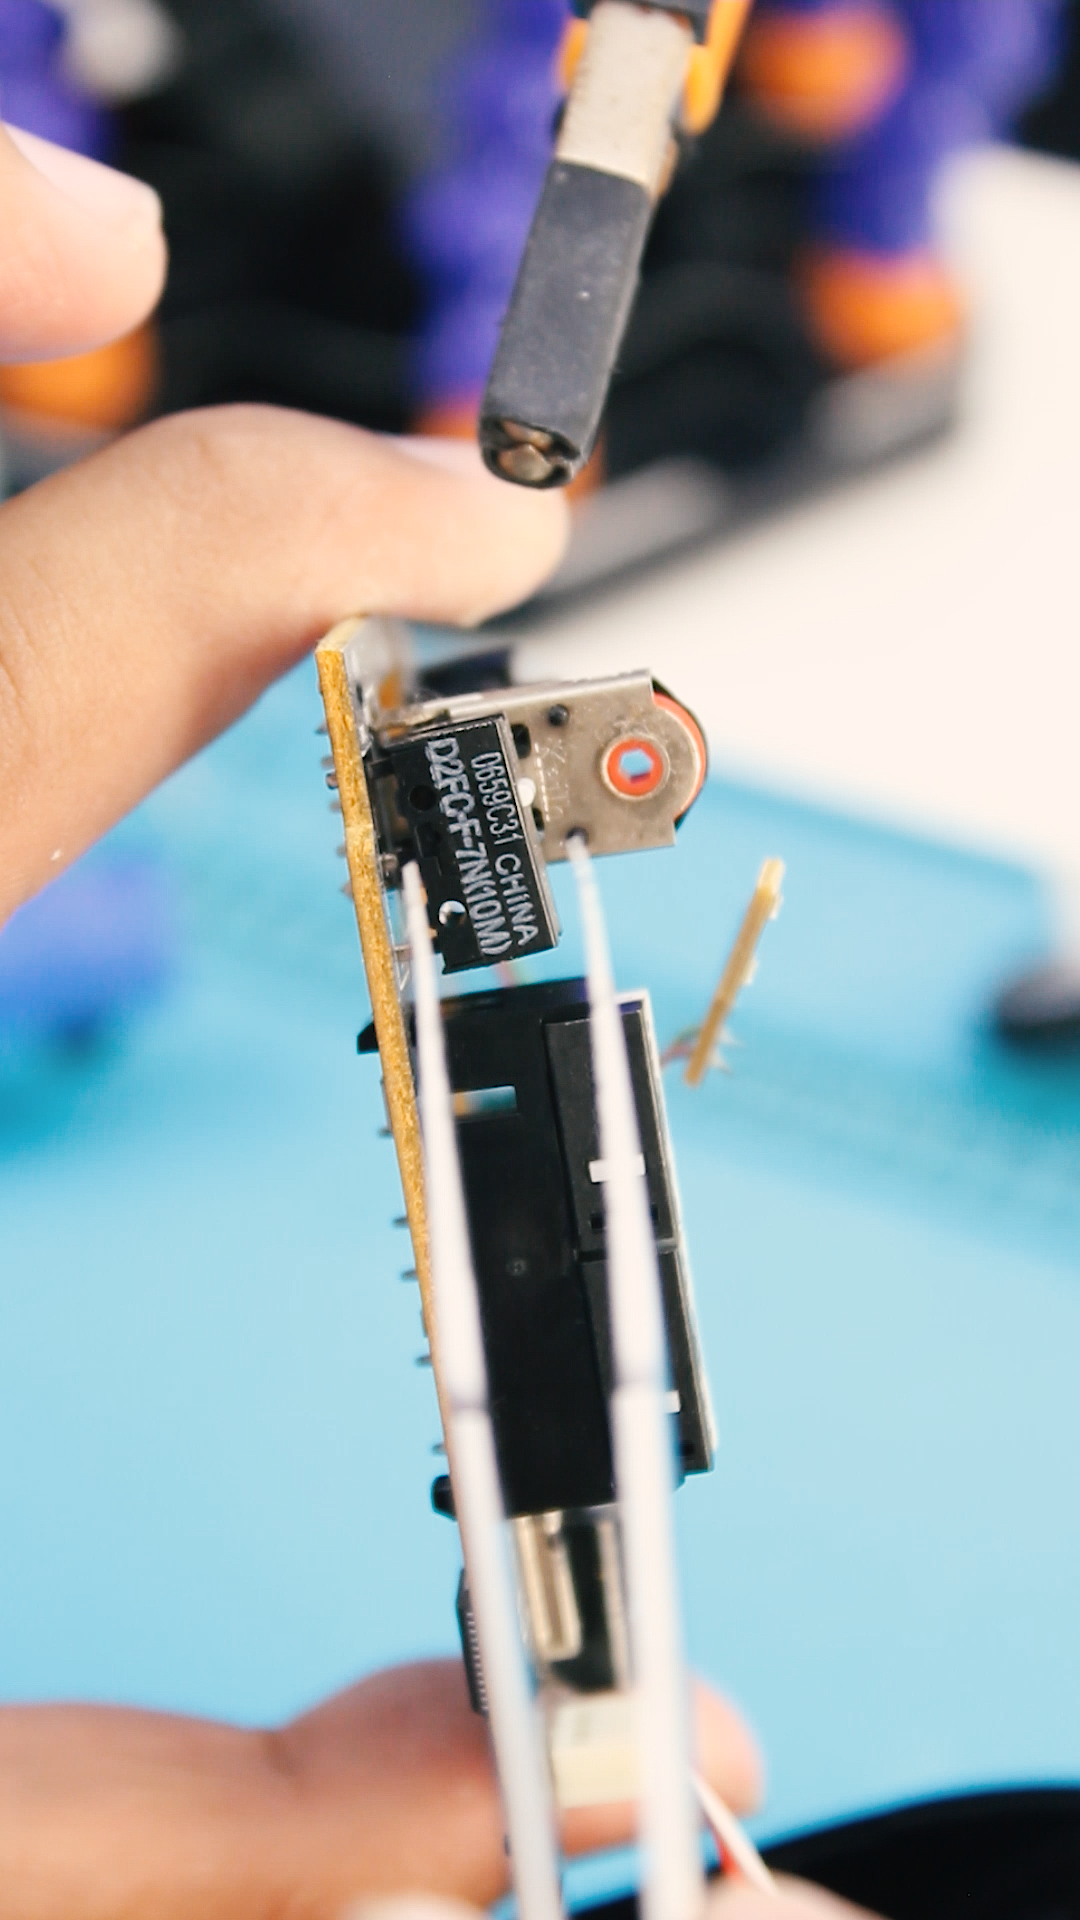
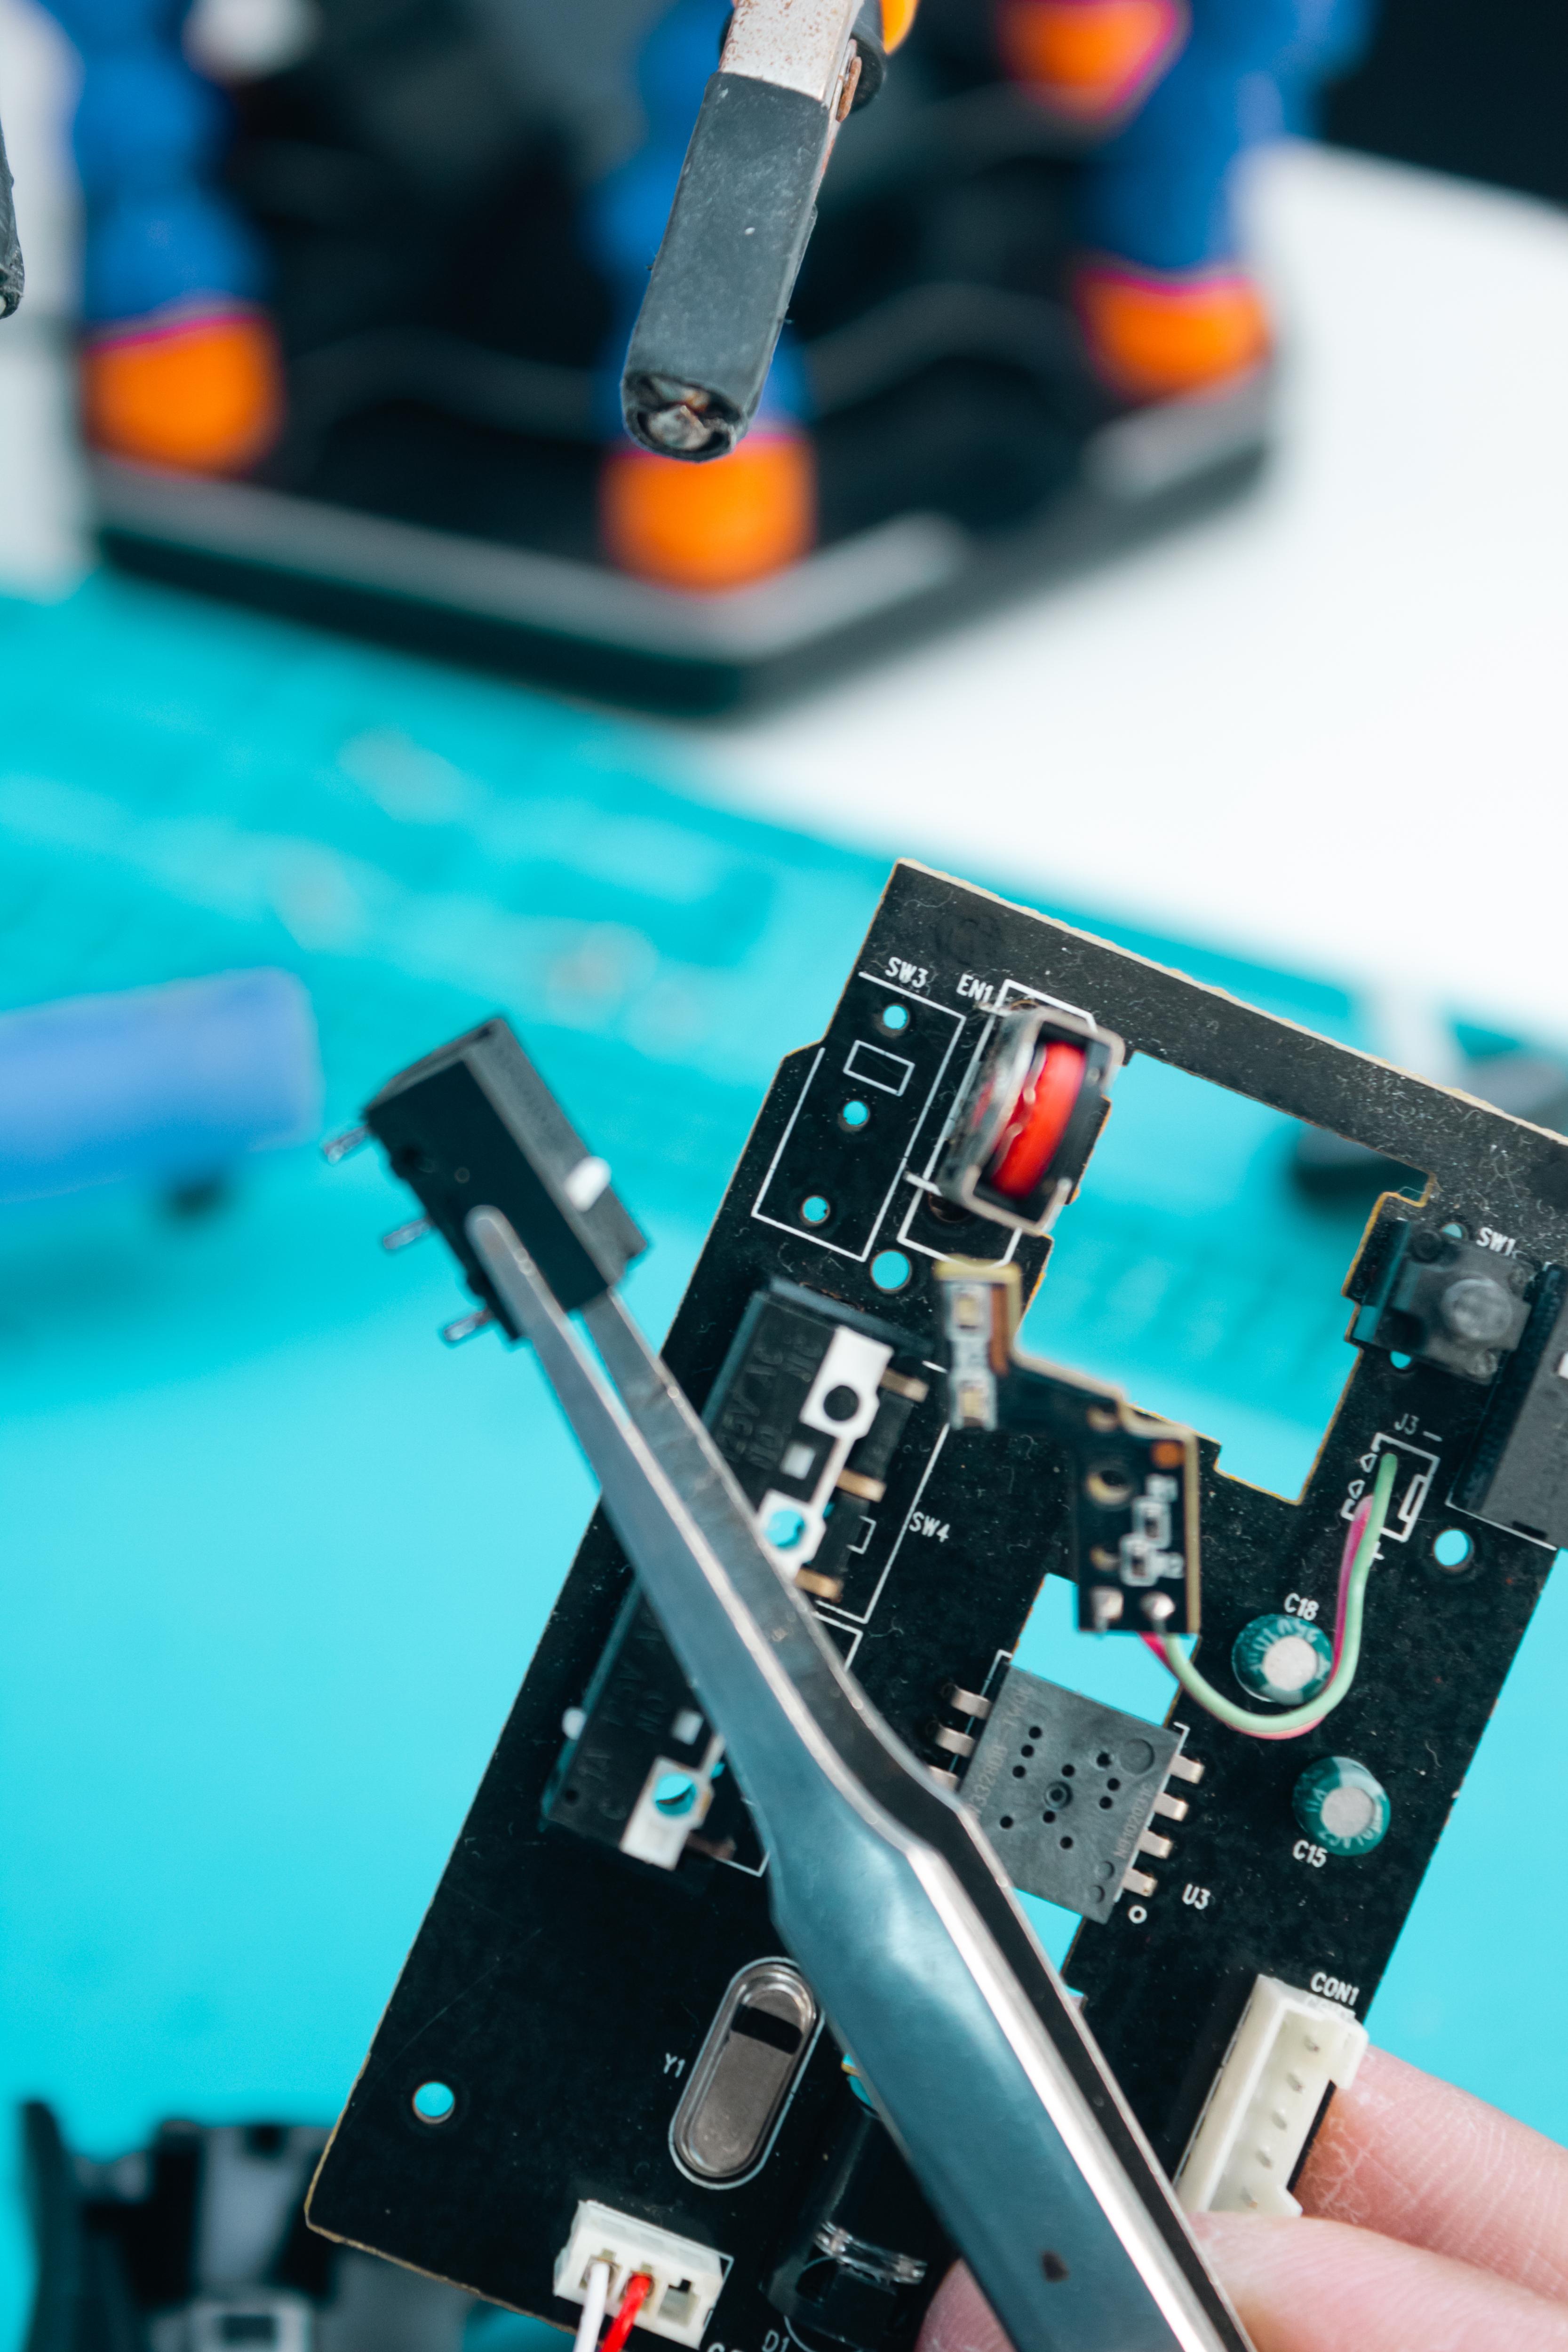
Now, it's time to desolder those clickers. Using this third hand provided to me by PCBway, I held the PCB of the mouse with it, making my soldering and desoldering process much easier and faster. Here's a closer look at how to perform the desoldering process: To desolder a component, you have to heat the leg of the component first using the soldering iron and then remove the lead with the soldering pump. Repeat this process for all the legs of the component until it finally falls off. If it doesn't fall off, you can use tweezers or your hand to remove the faulty clicker.
PCBWay

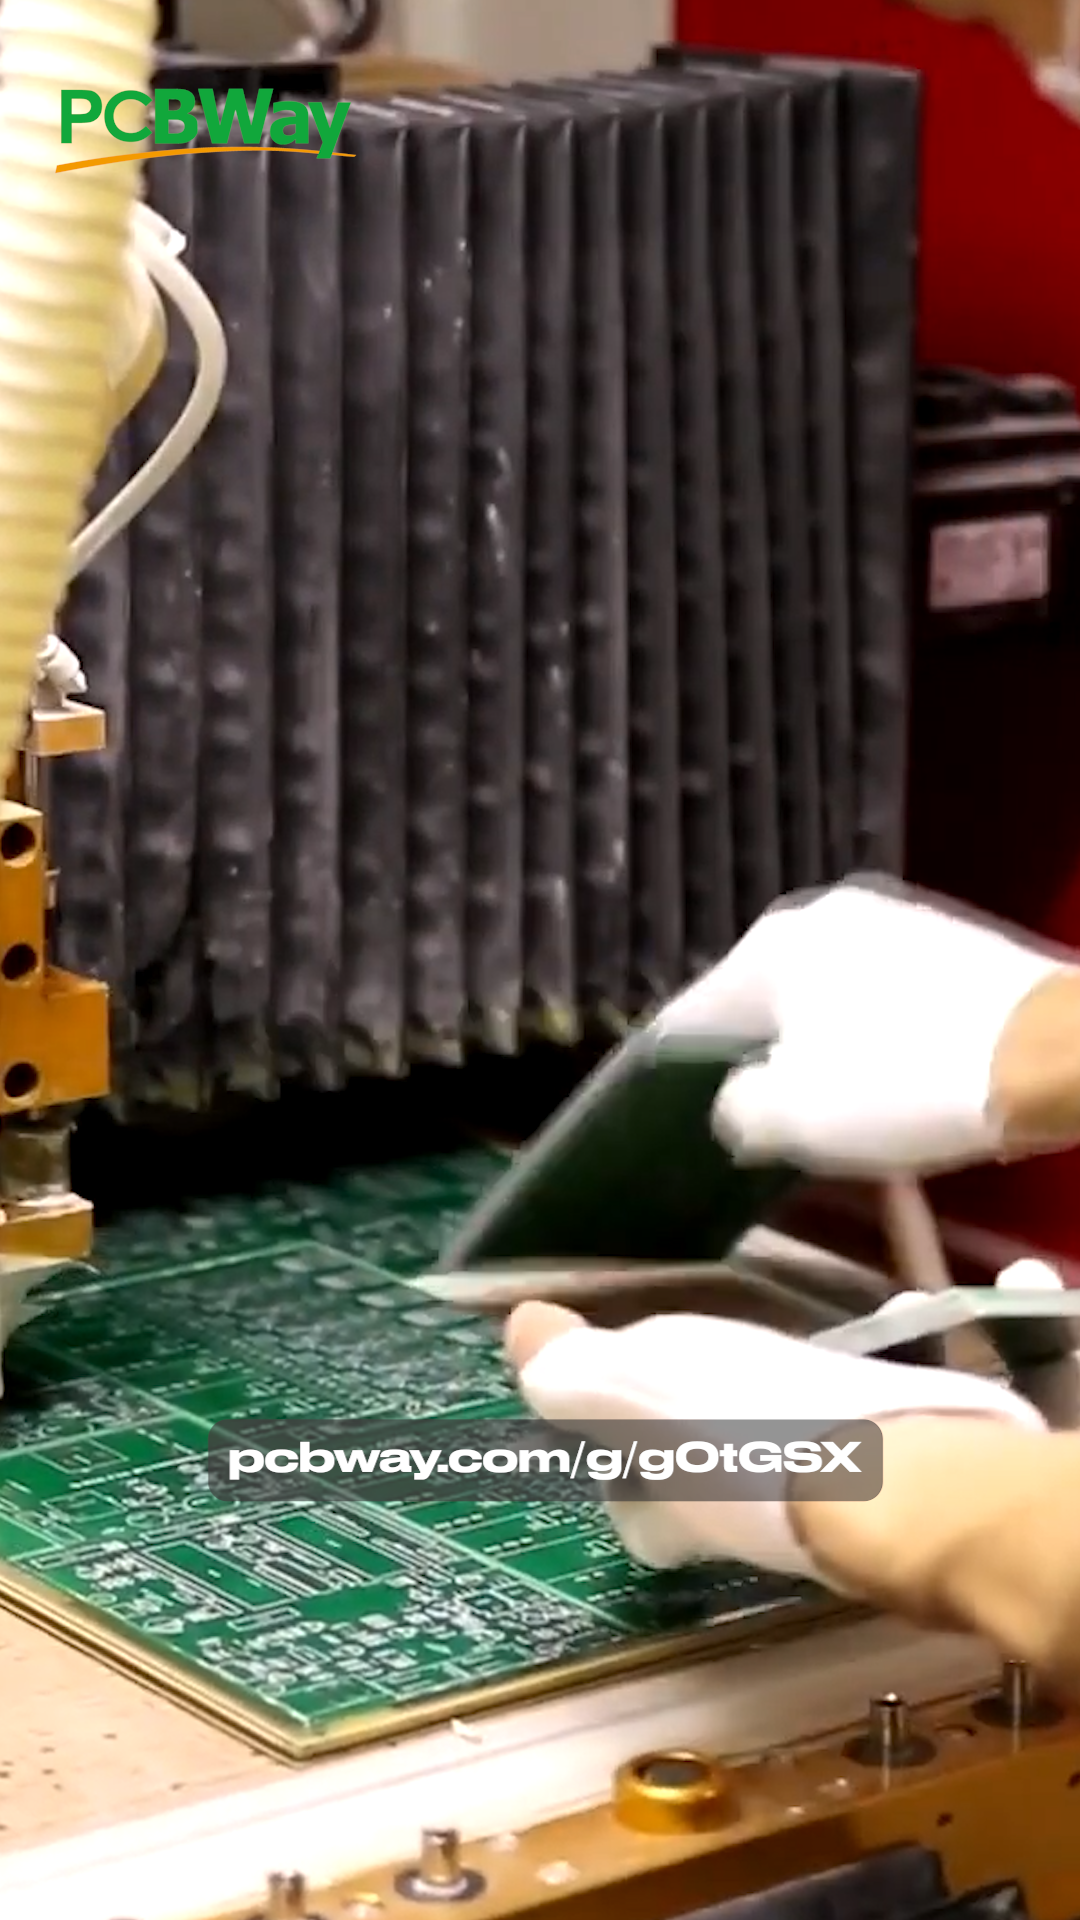
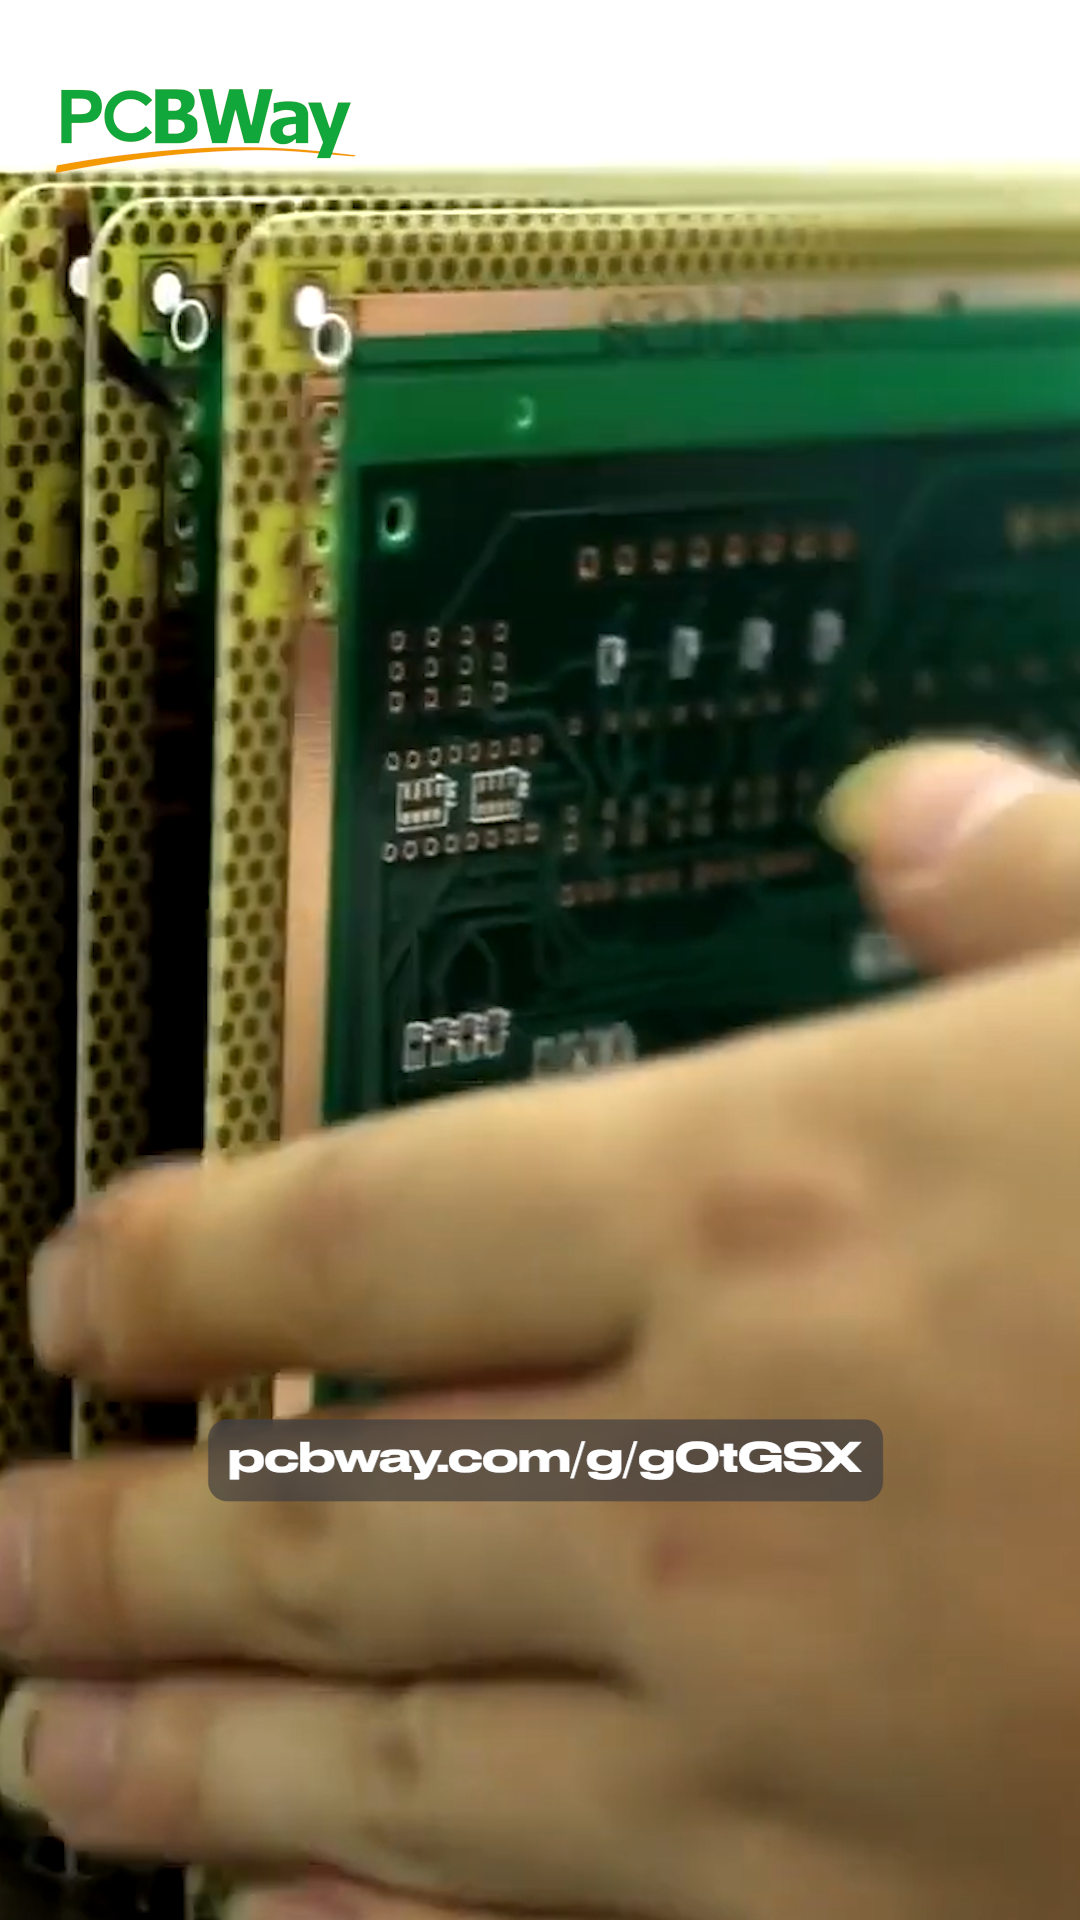
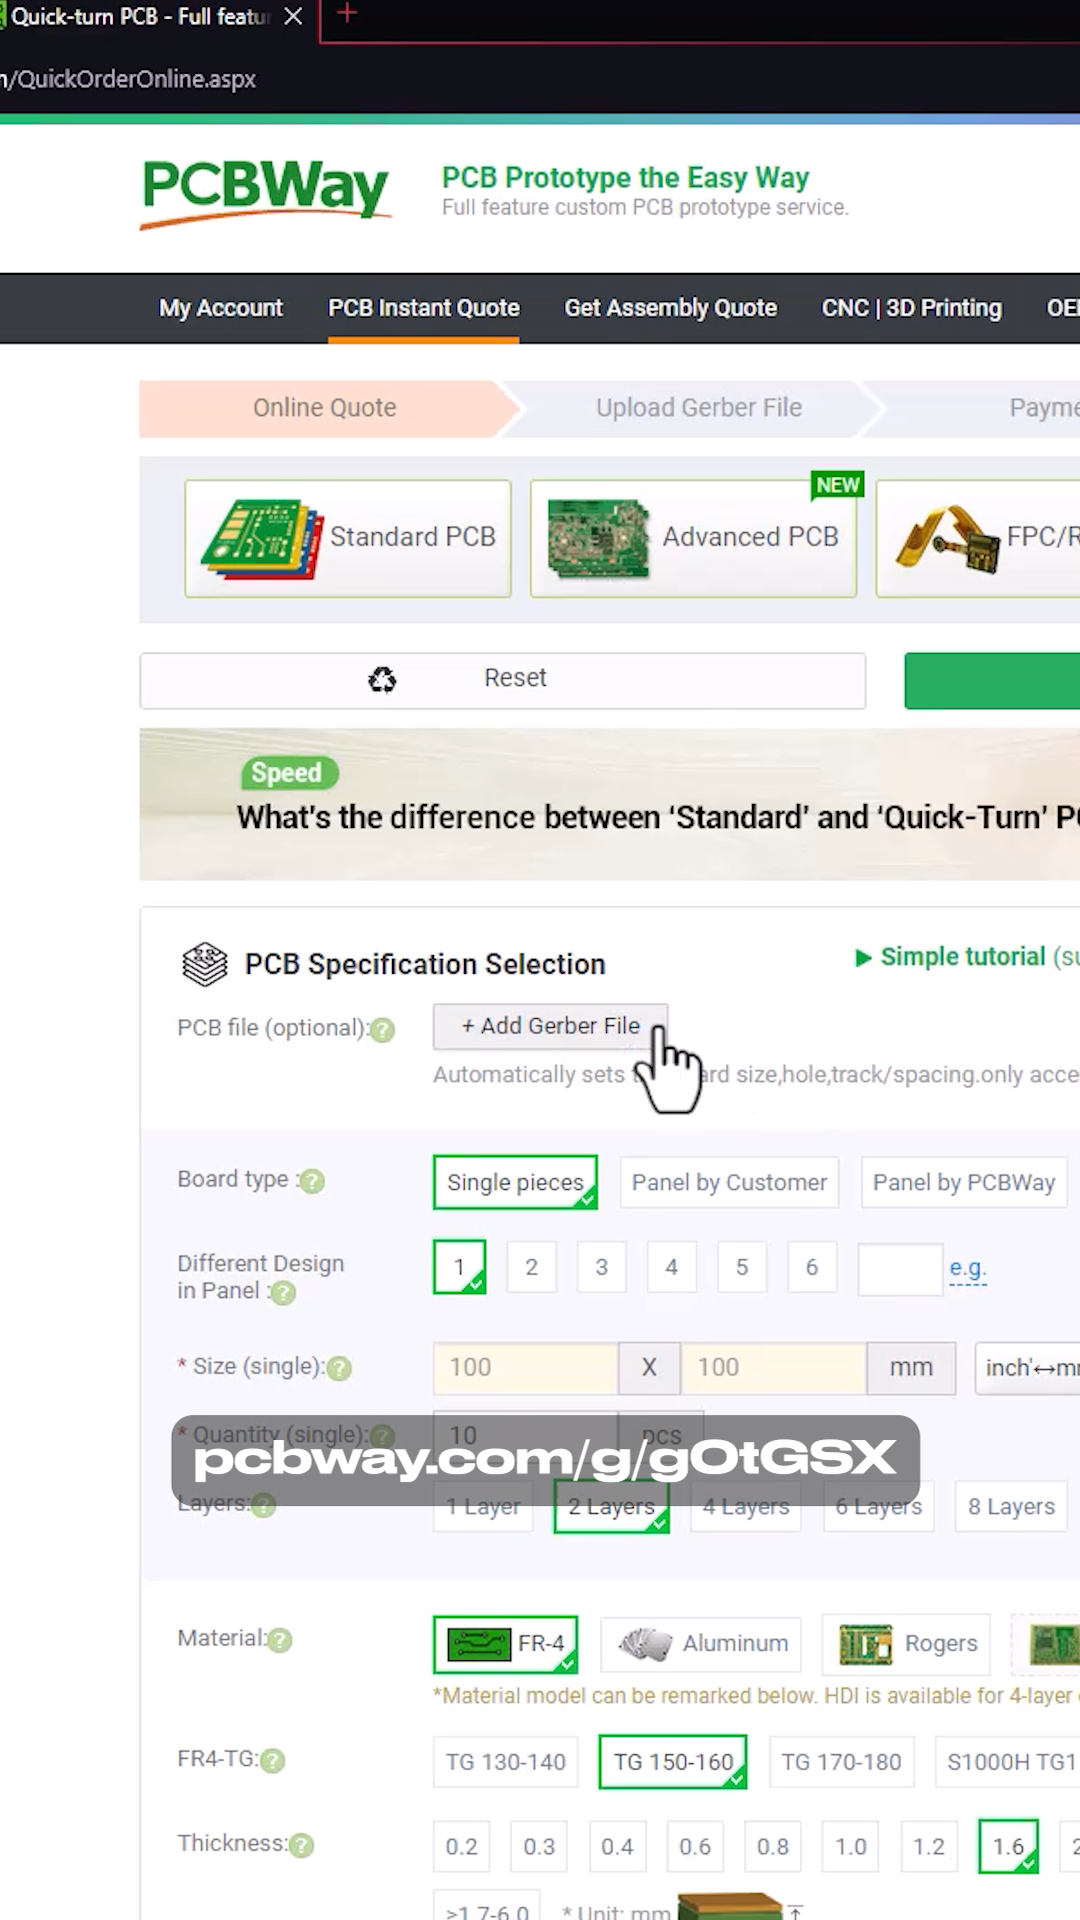
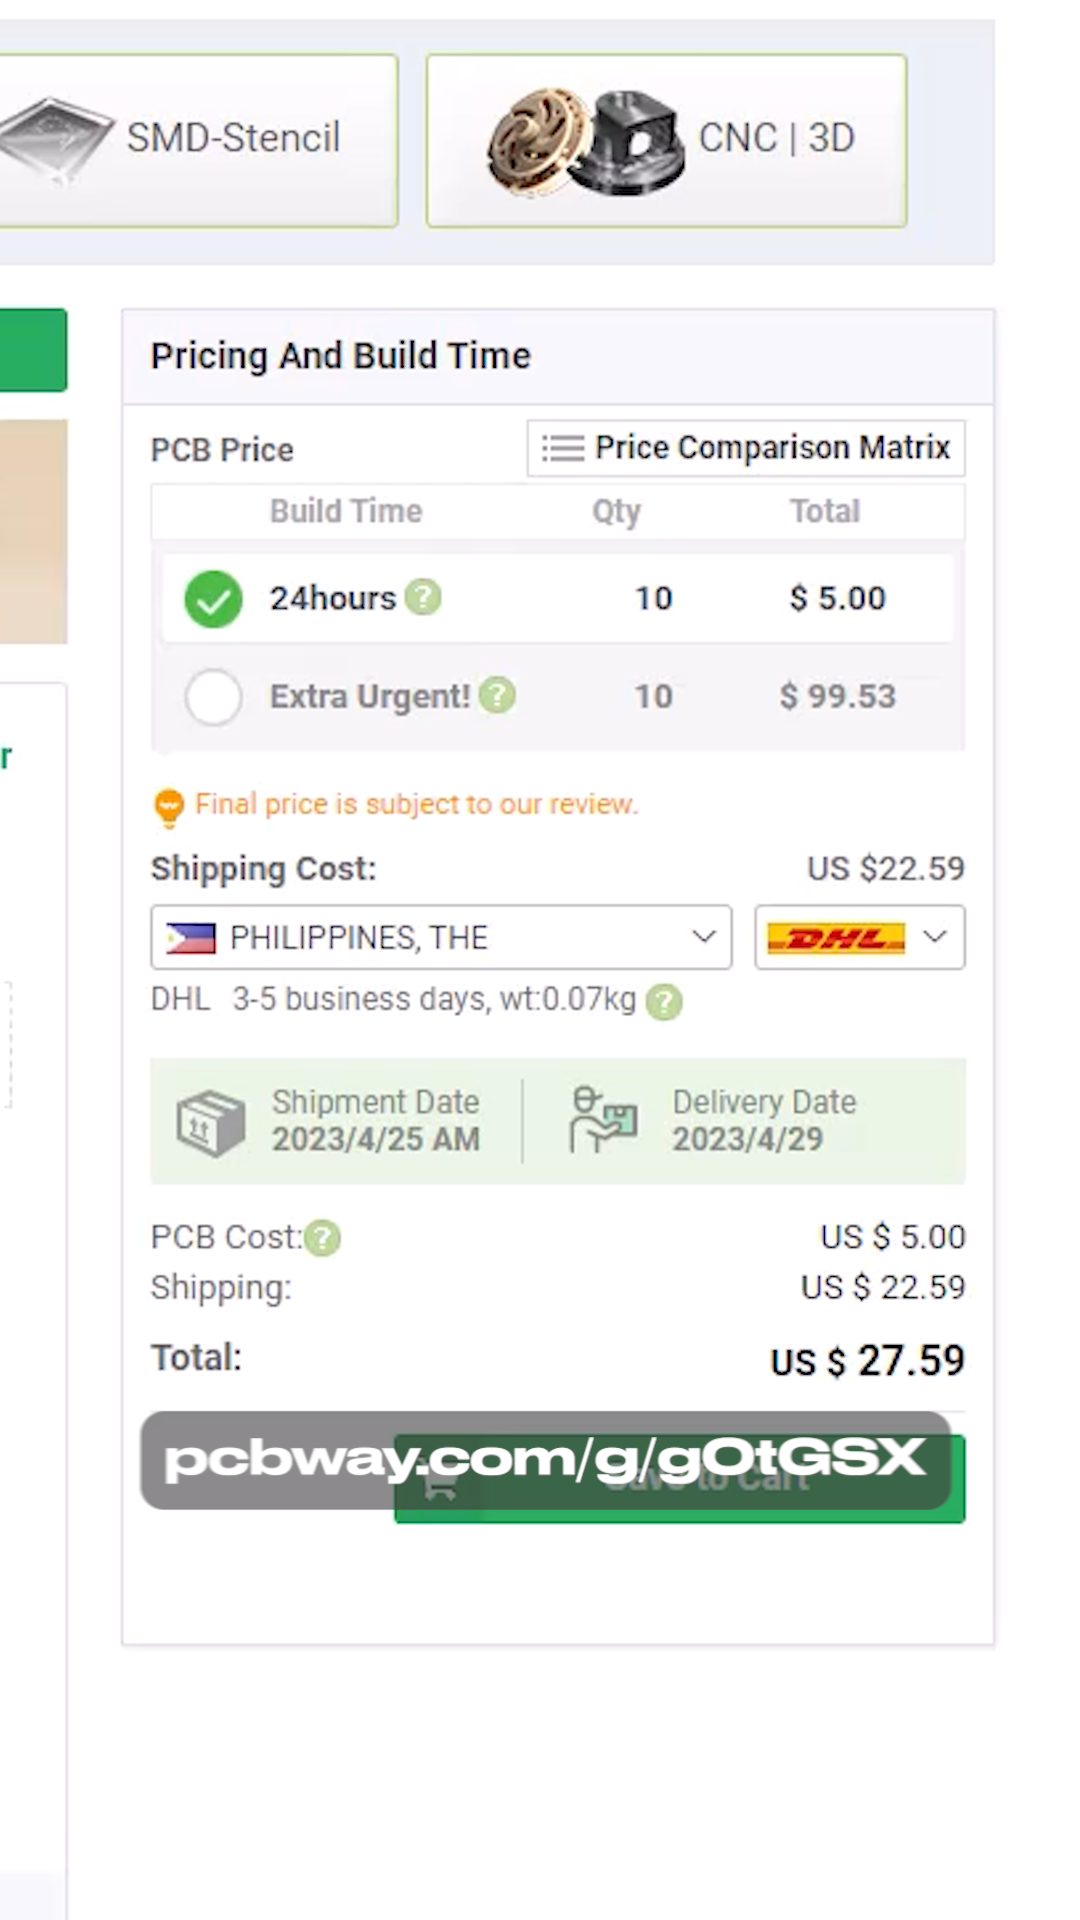
Just a quick shout-out to our sponsor, PCBWay. PCBWay is one of the leading professional PCB fabrication services. I do appreciate it when you buy from my PCBway link, I use the commission to fund my other projects and tutorials, your support would be much appreciated.
PCBWay Link: (https://pcbway.com/g/g0tGSX)
Solder That New Clicker
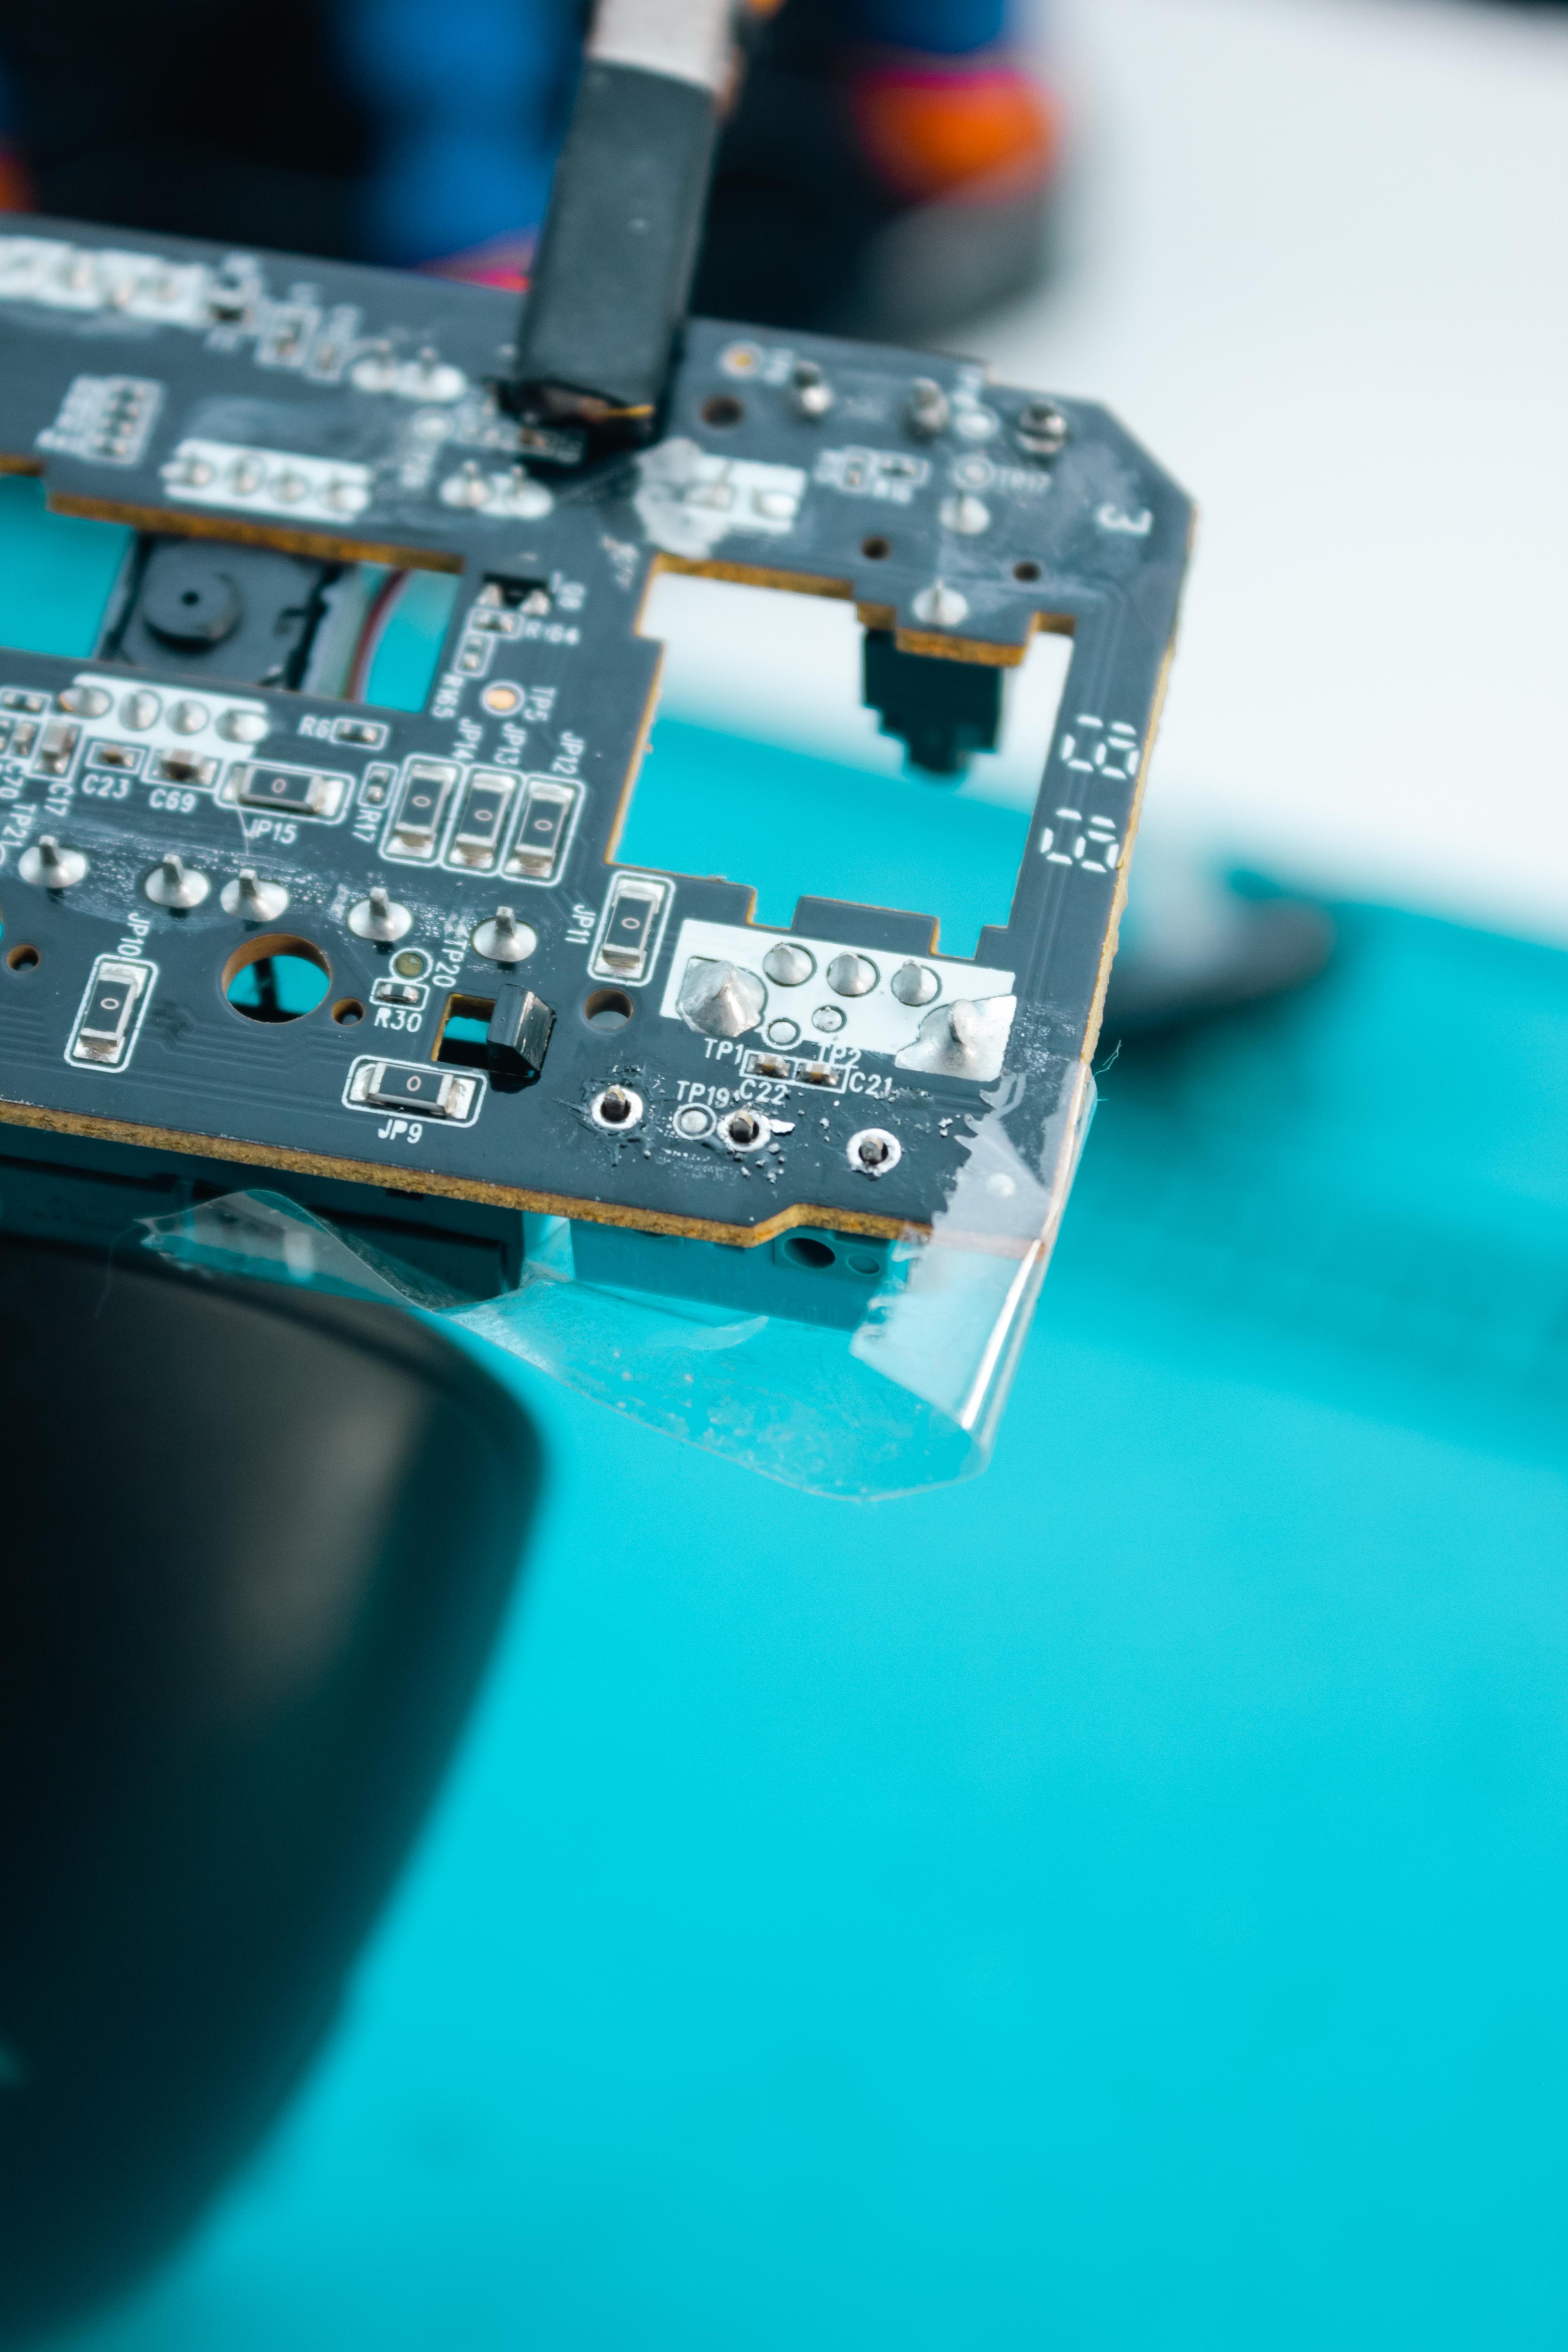
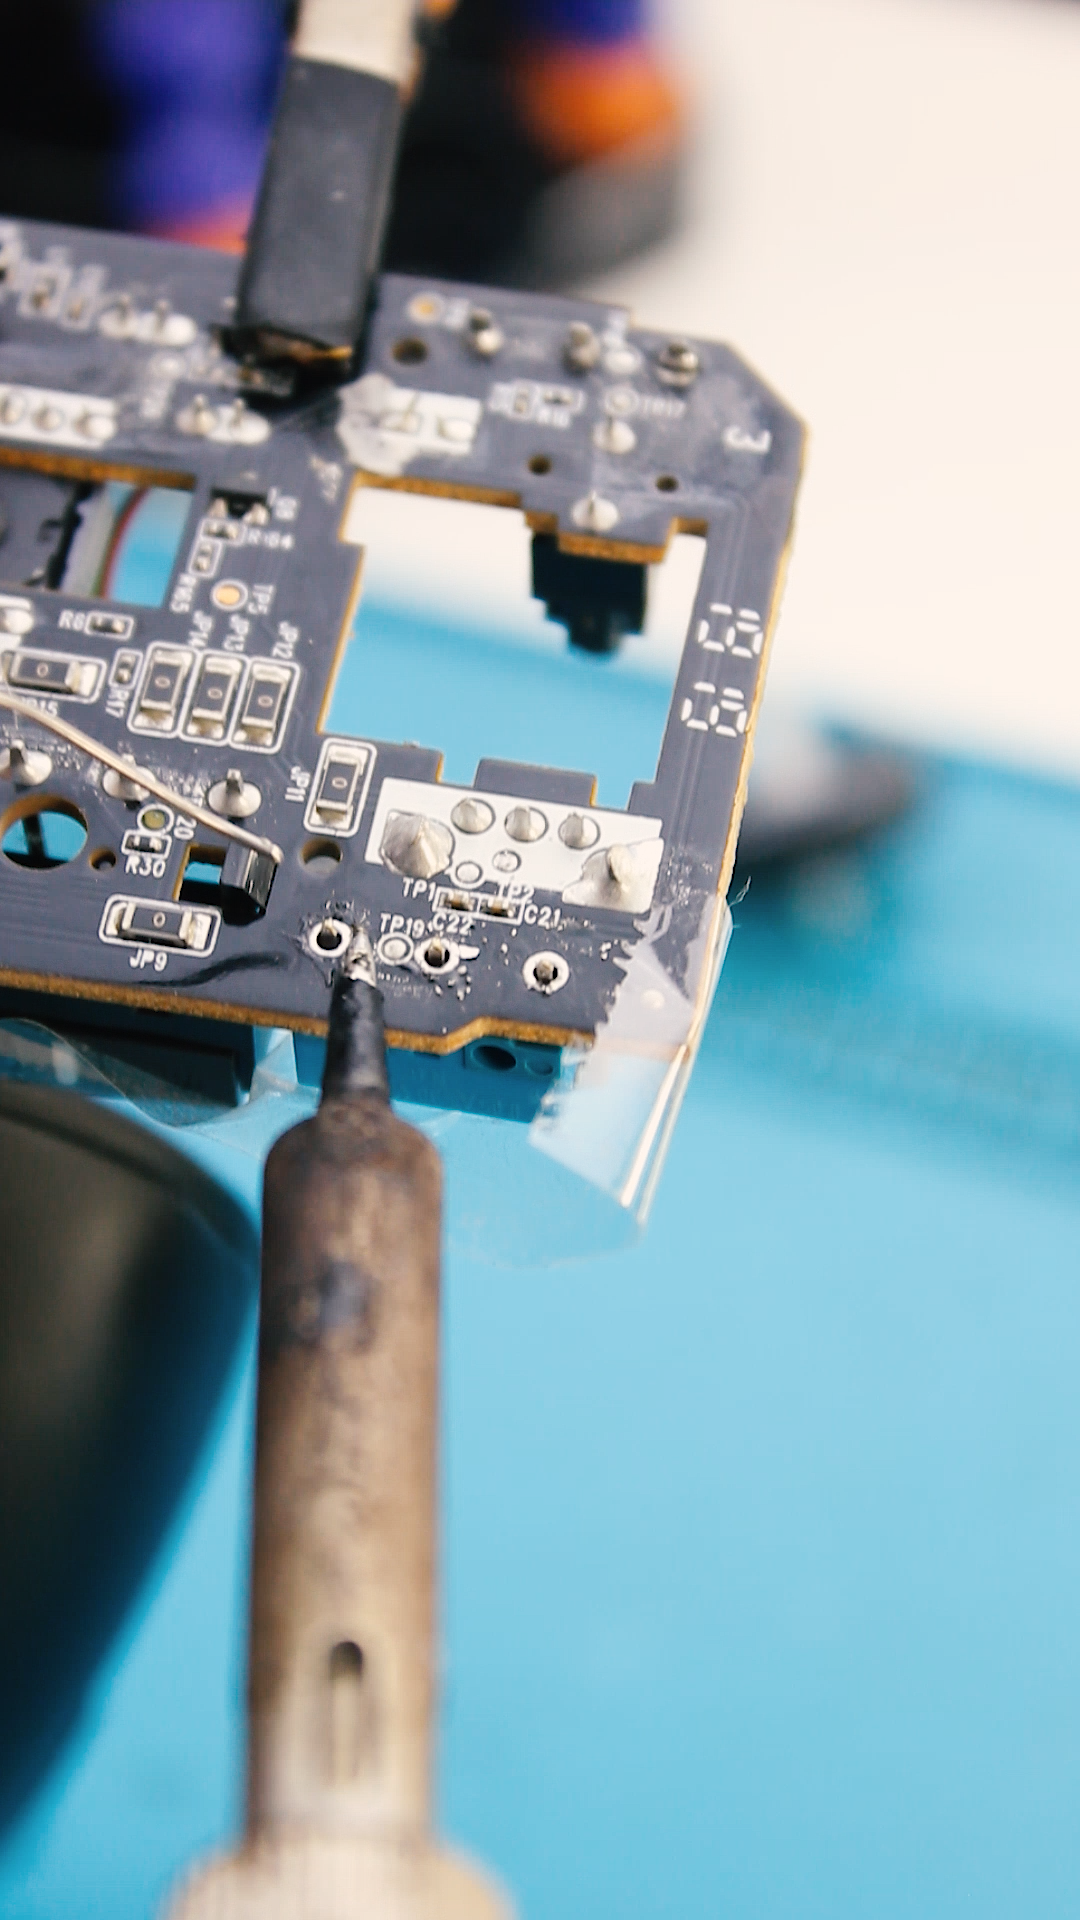
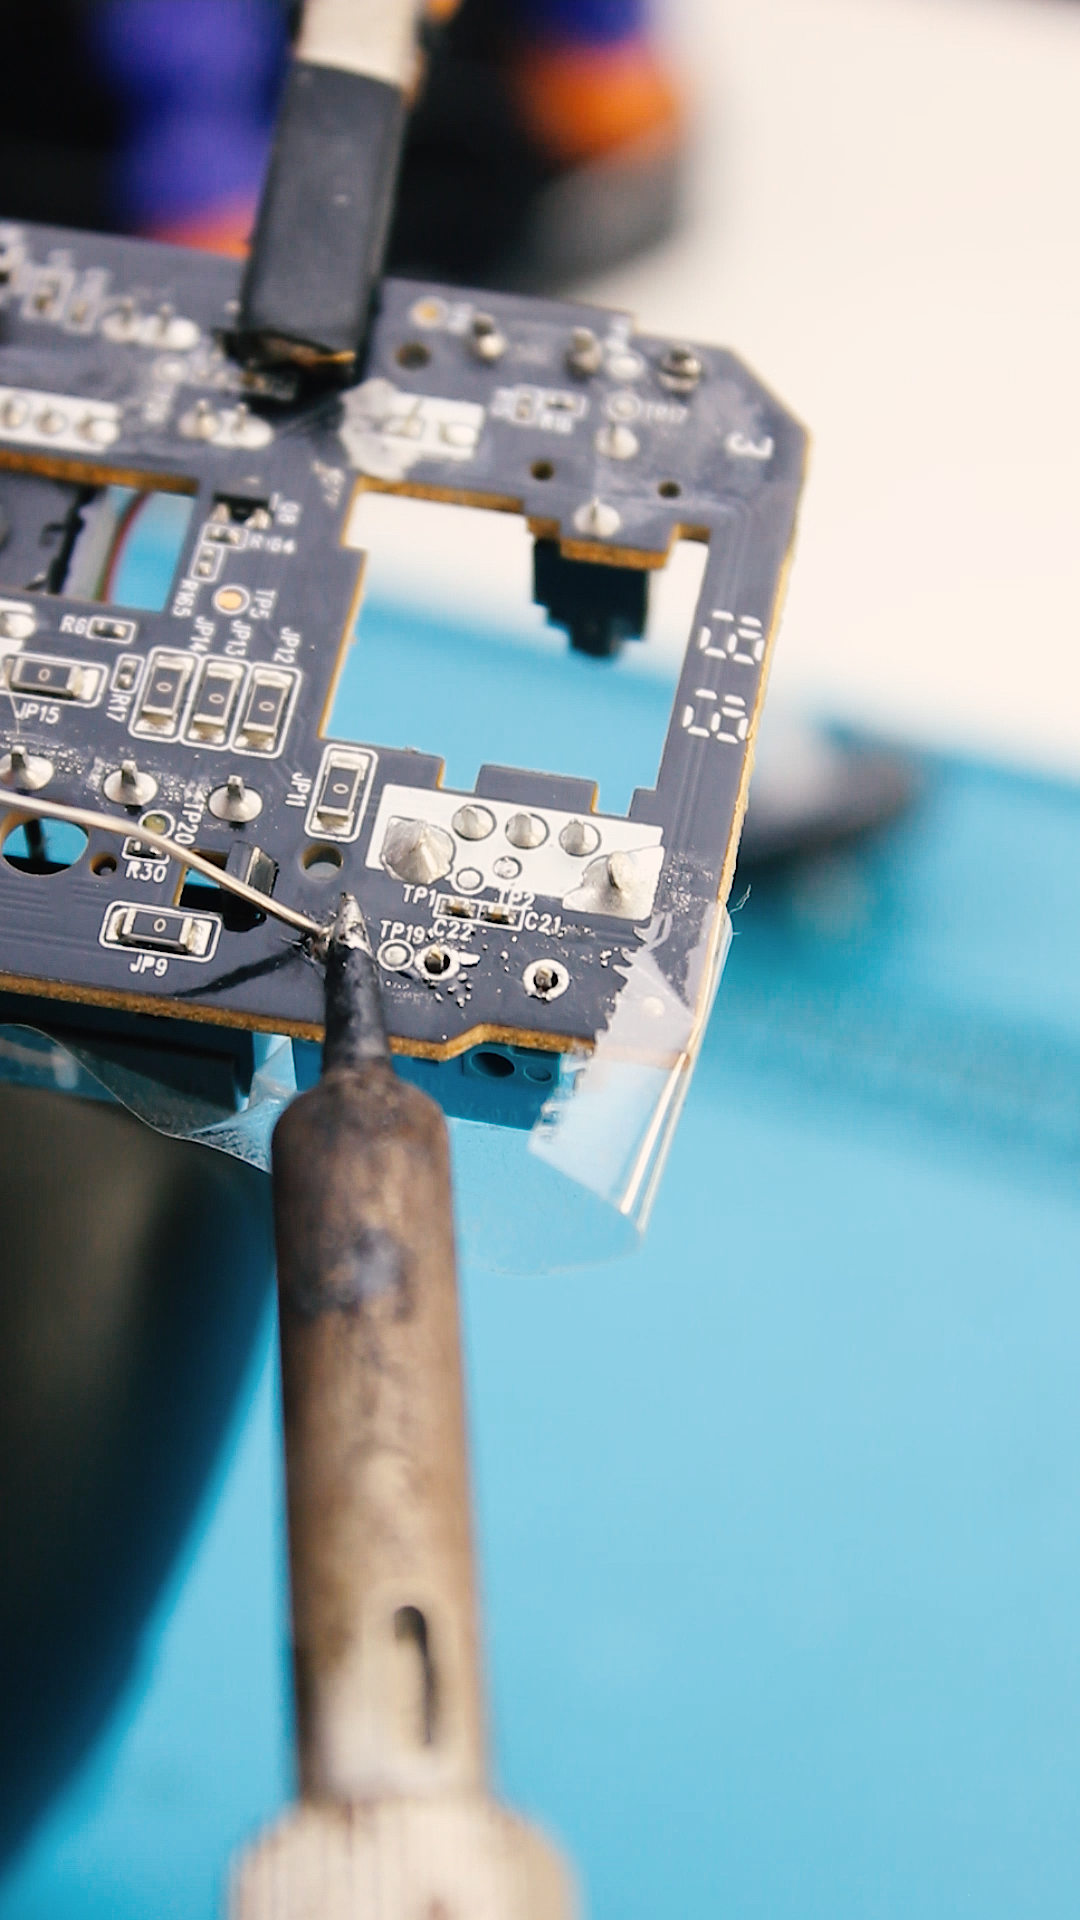
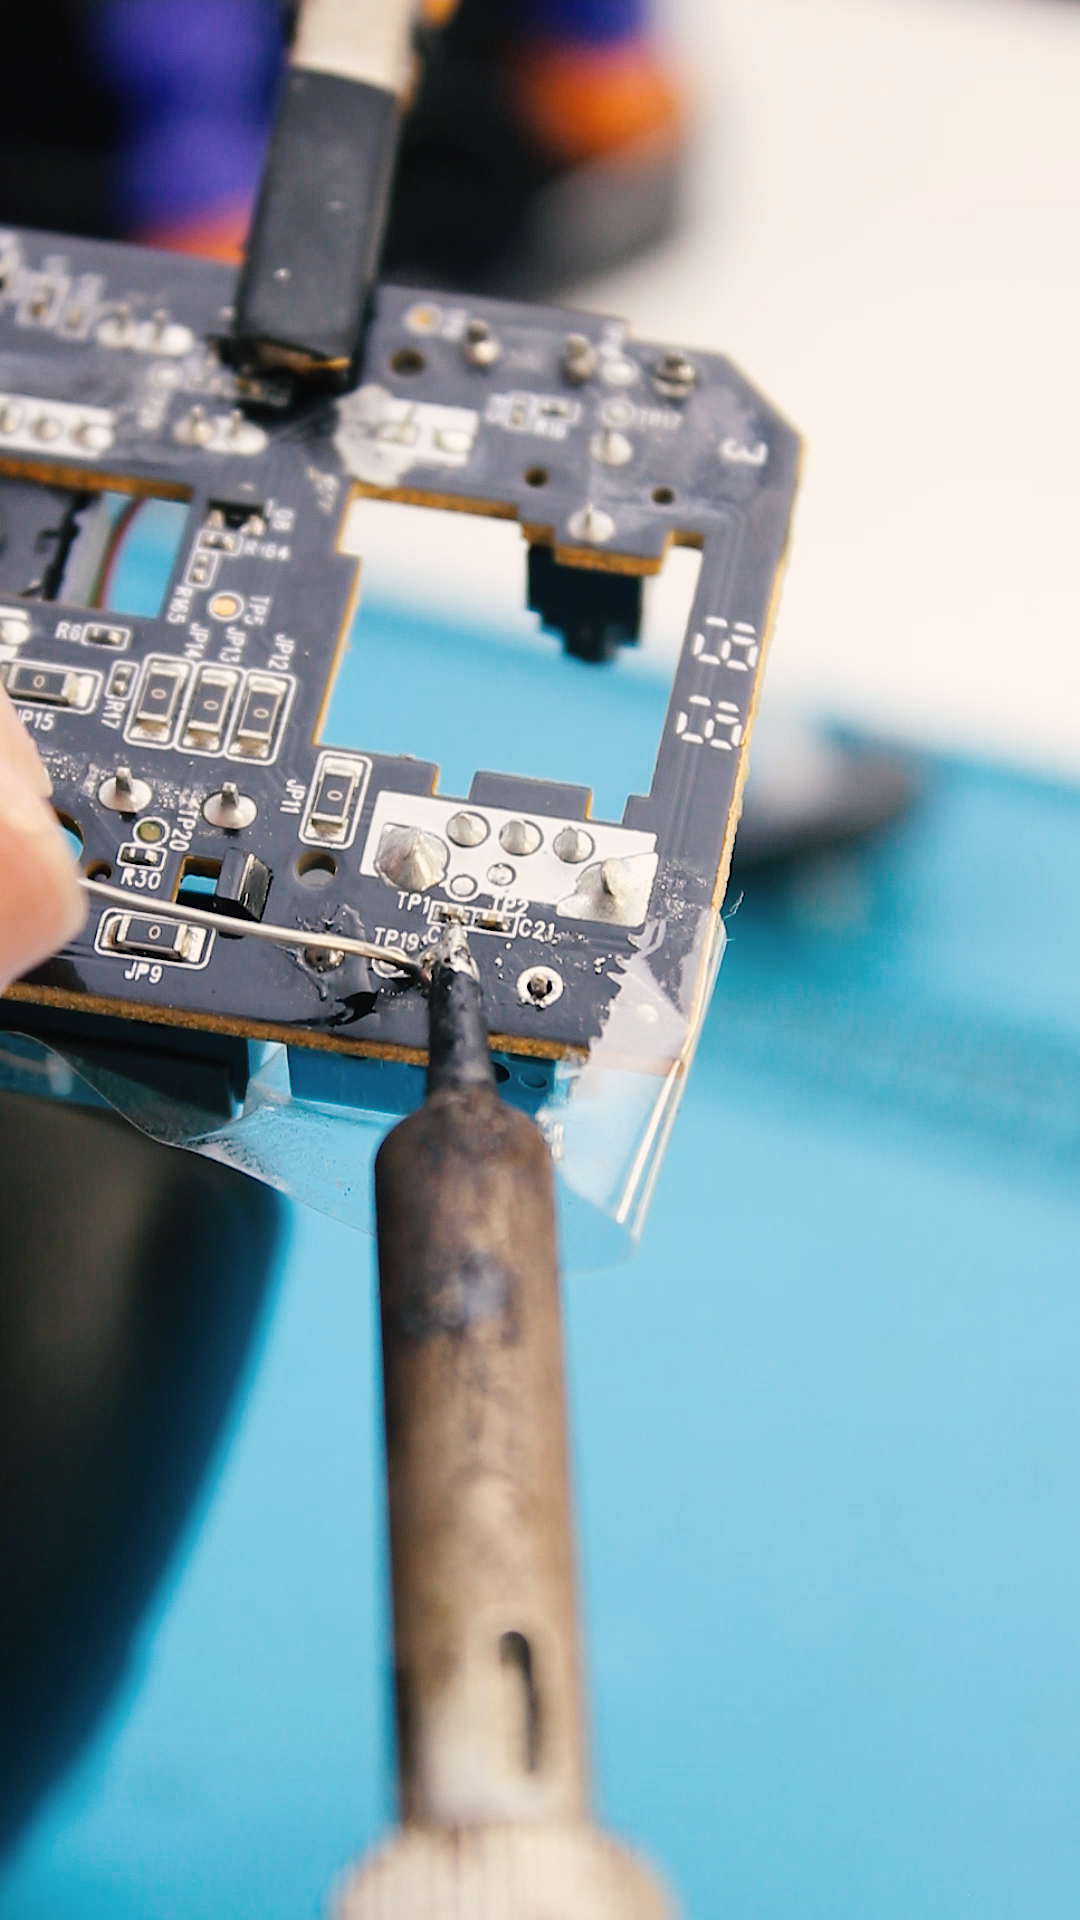
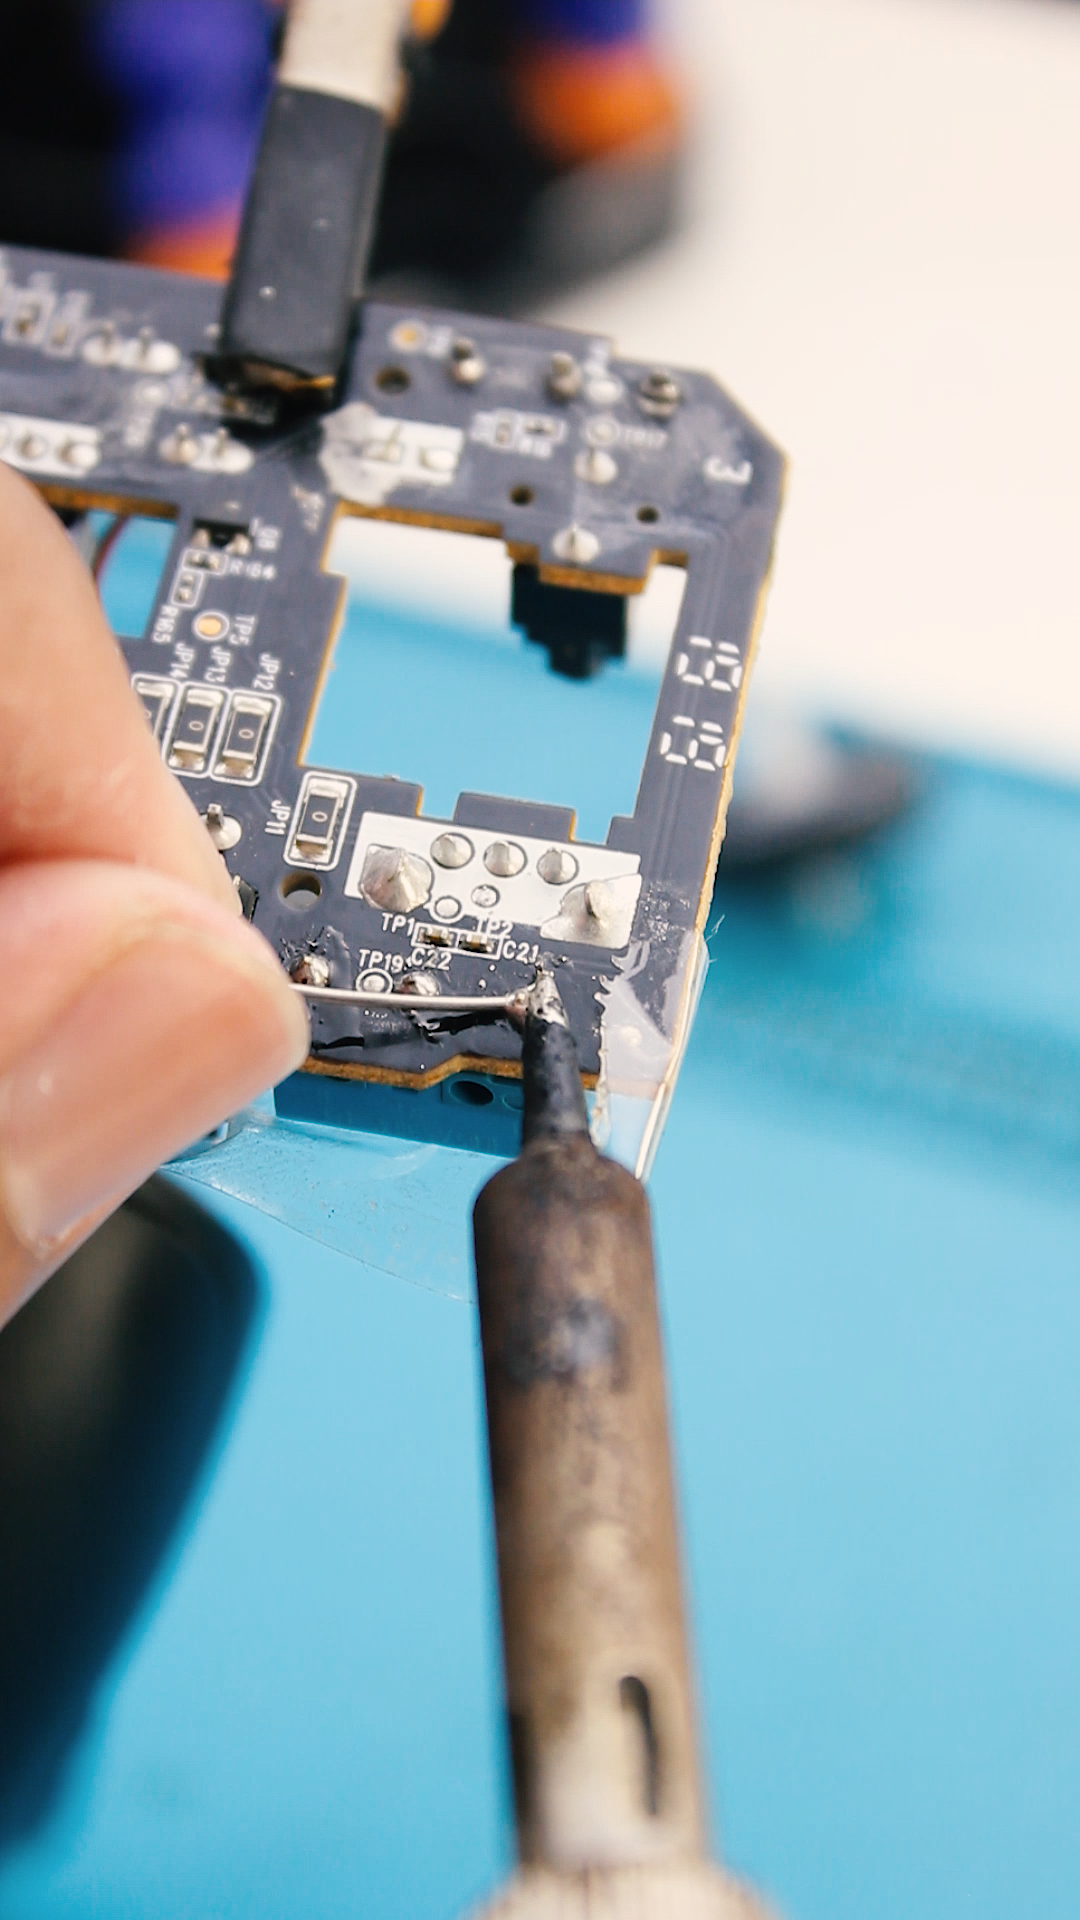
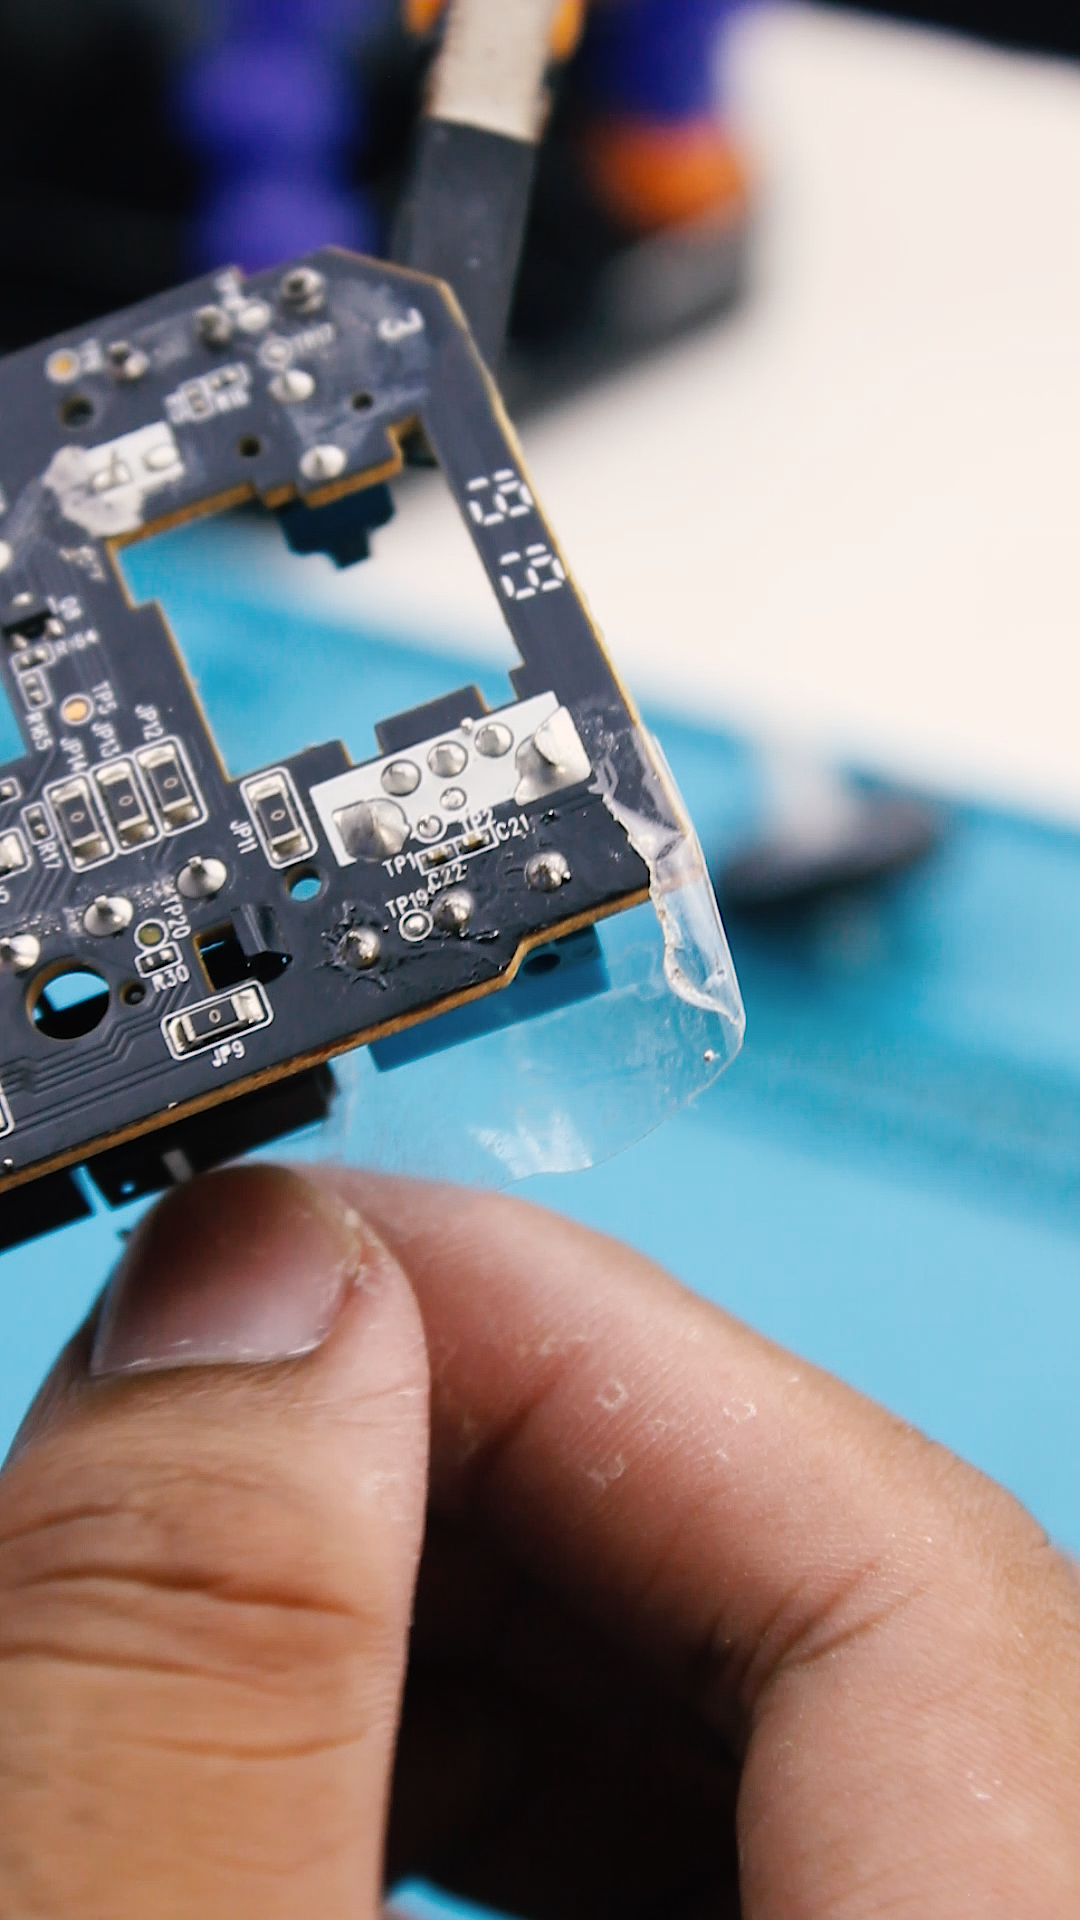
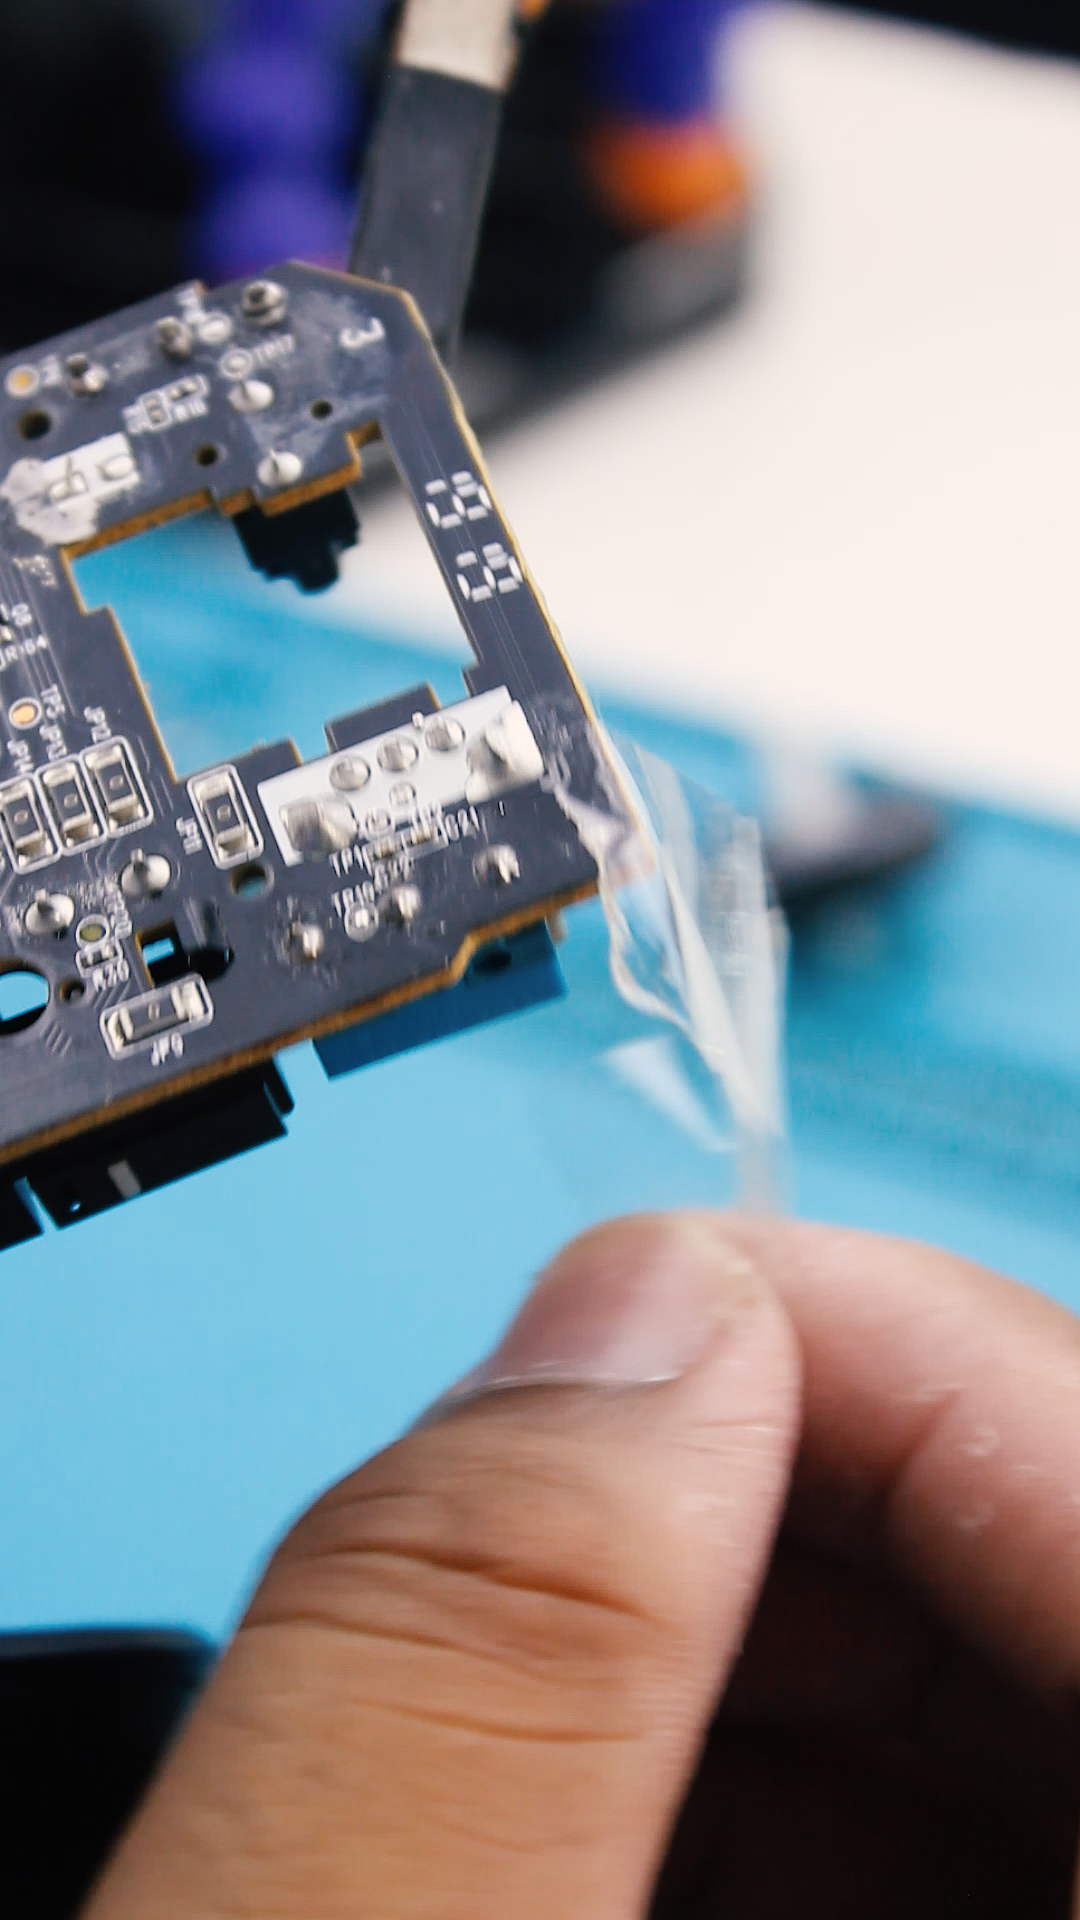
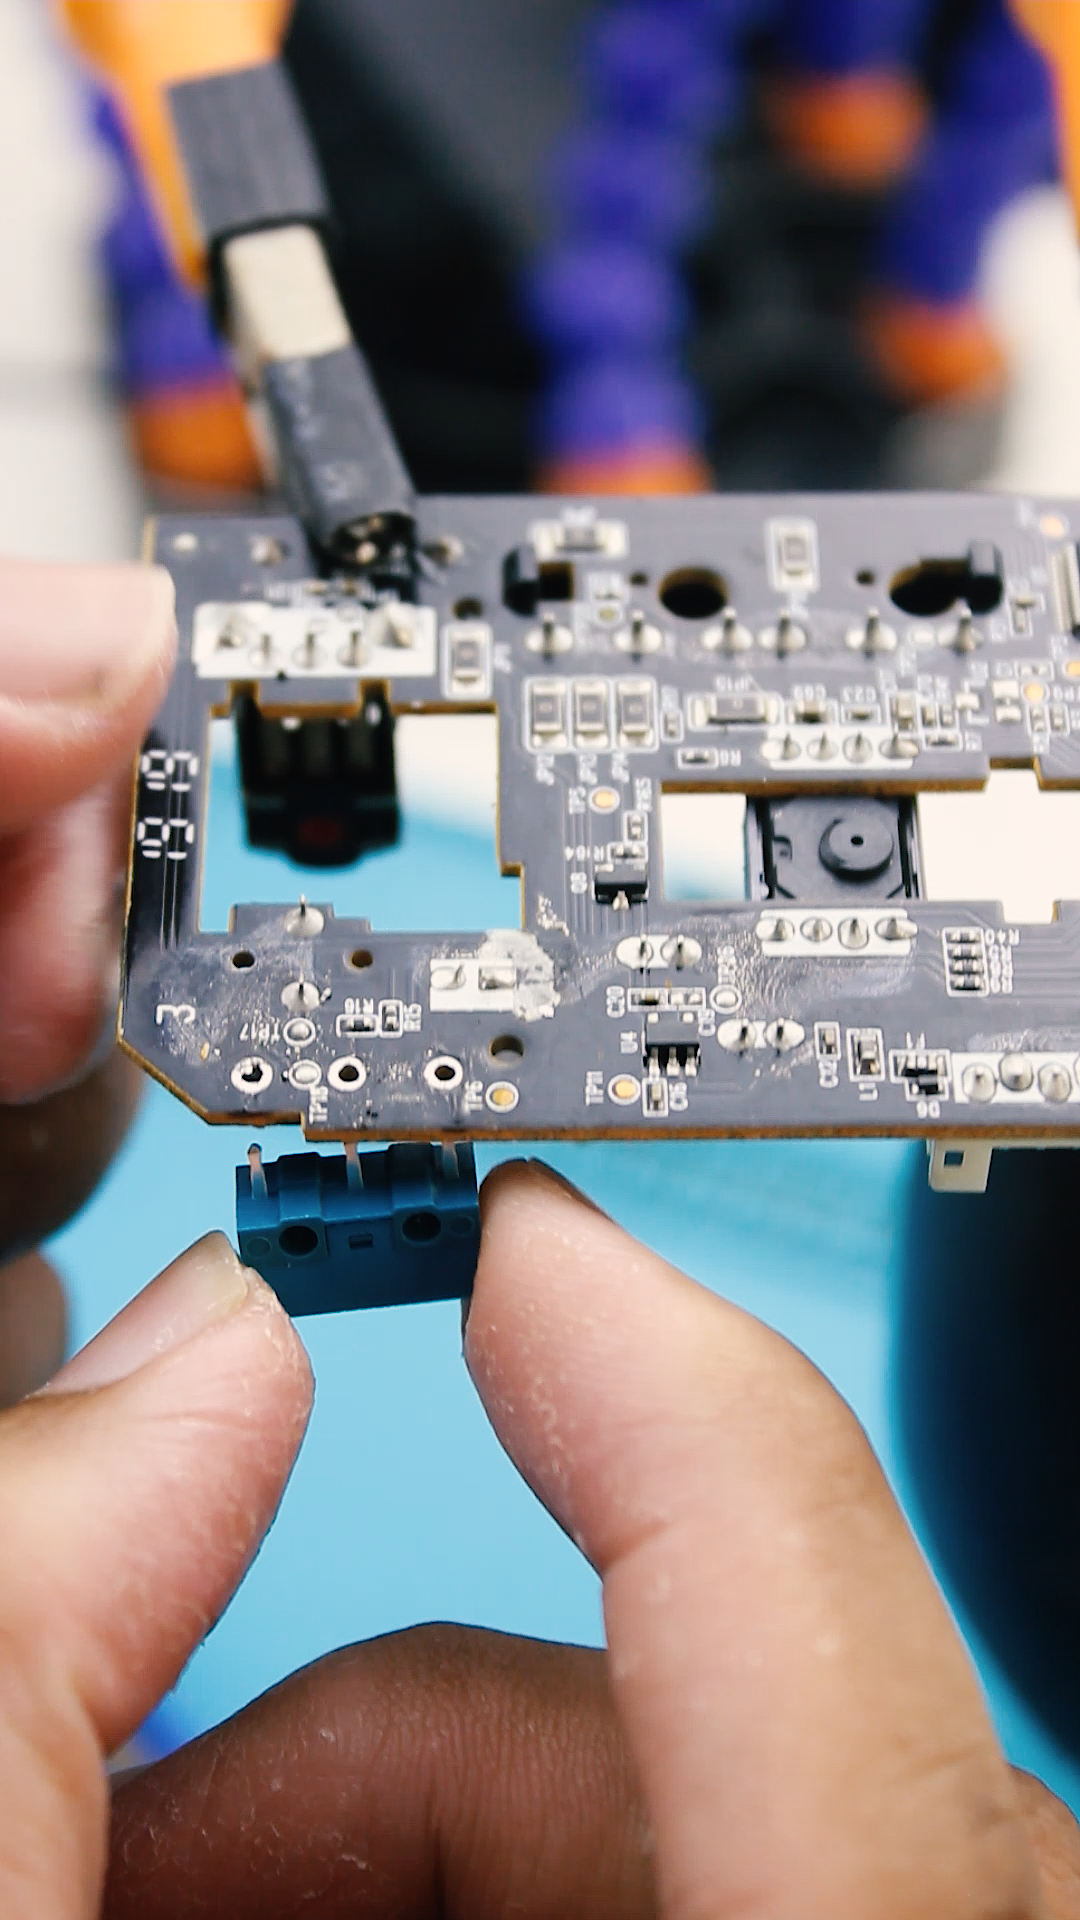

Going back, after removing the broken clicker, you can now mount your new clicker. I used tape to hold the clicker in place while I soldered it. To finish the job, you just have to solder the legs of the components and make sure to add enough soldering lead to hold it in place. Once done, you can now remove the tape and repeat the desoldering and soldering process for the right clicker.
Closing the Mouse

Once you've finished, it's time to close the cover of the mouse. But before doing so, give it a quick clean before putting back its screws and closing it.
Enjoy!

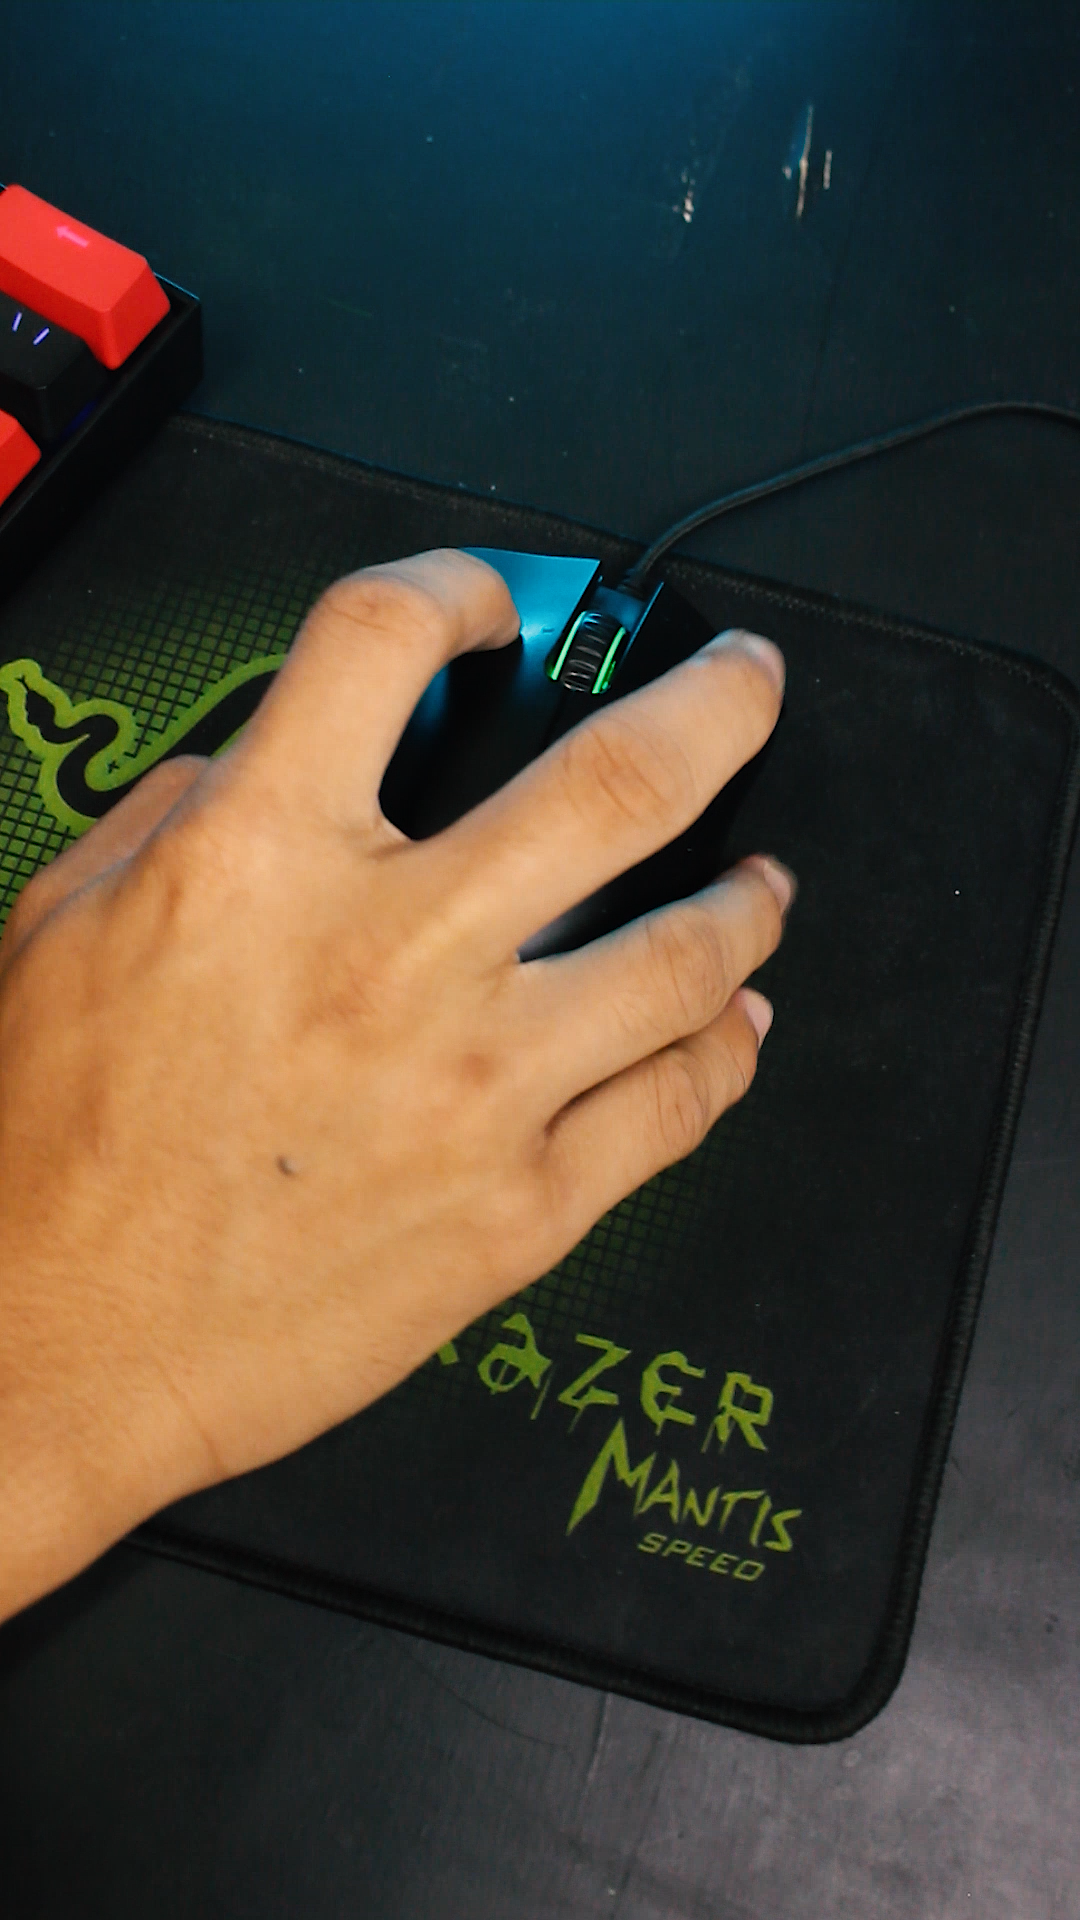
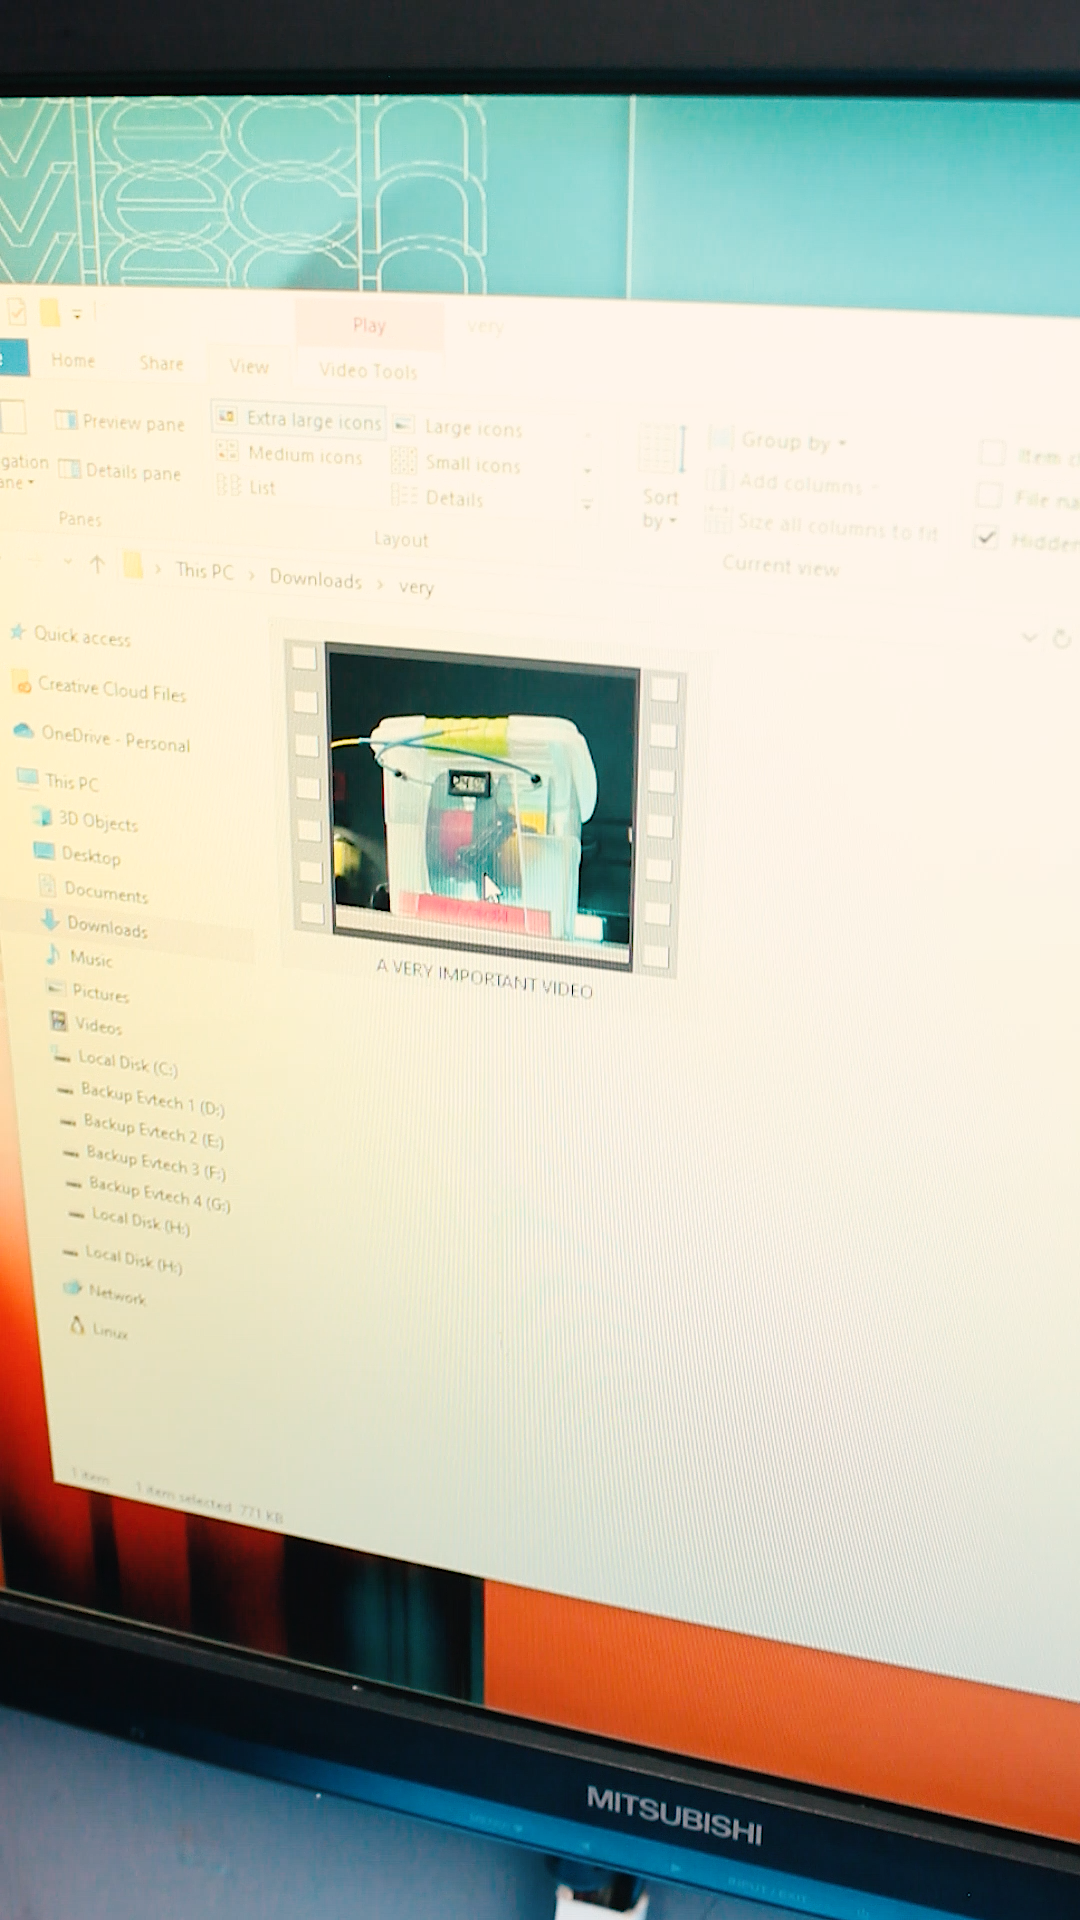


Now, it's time to test the mouse to see if it is working properly and if you can now click on something on your computer.
And that's how you fix your broken gaming mouse clicker!
As always, keep learning and have fun! Byeii!