How to Finish 3D Printed PLA Objects
by CJA3D in Workshop > 3D Printing
27190 Views, 156 Favorites, 0 Comments
How to Finish 3D Printed PLA Objects
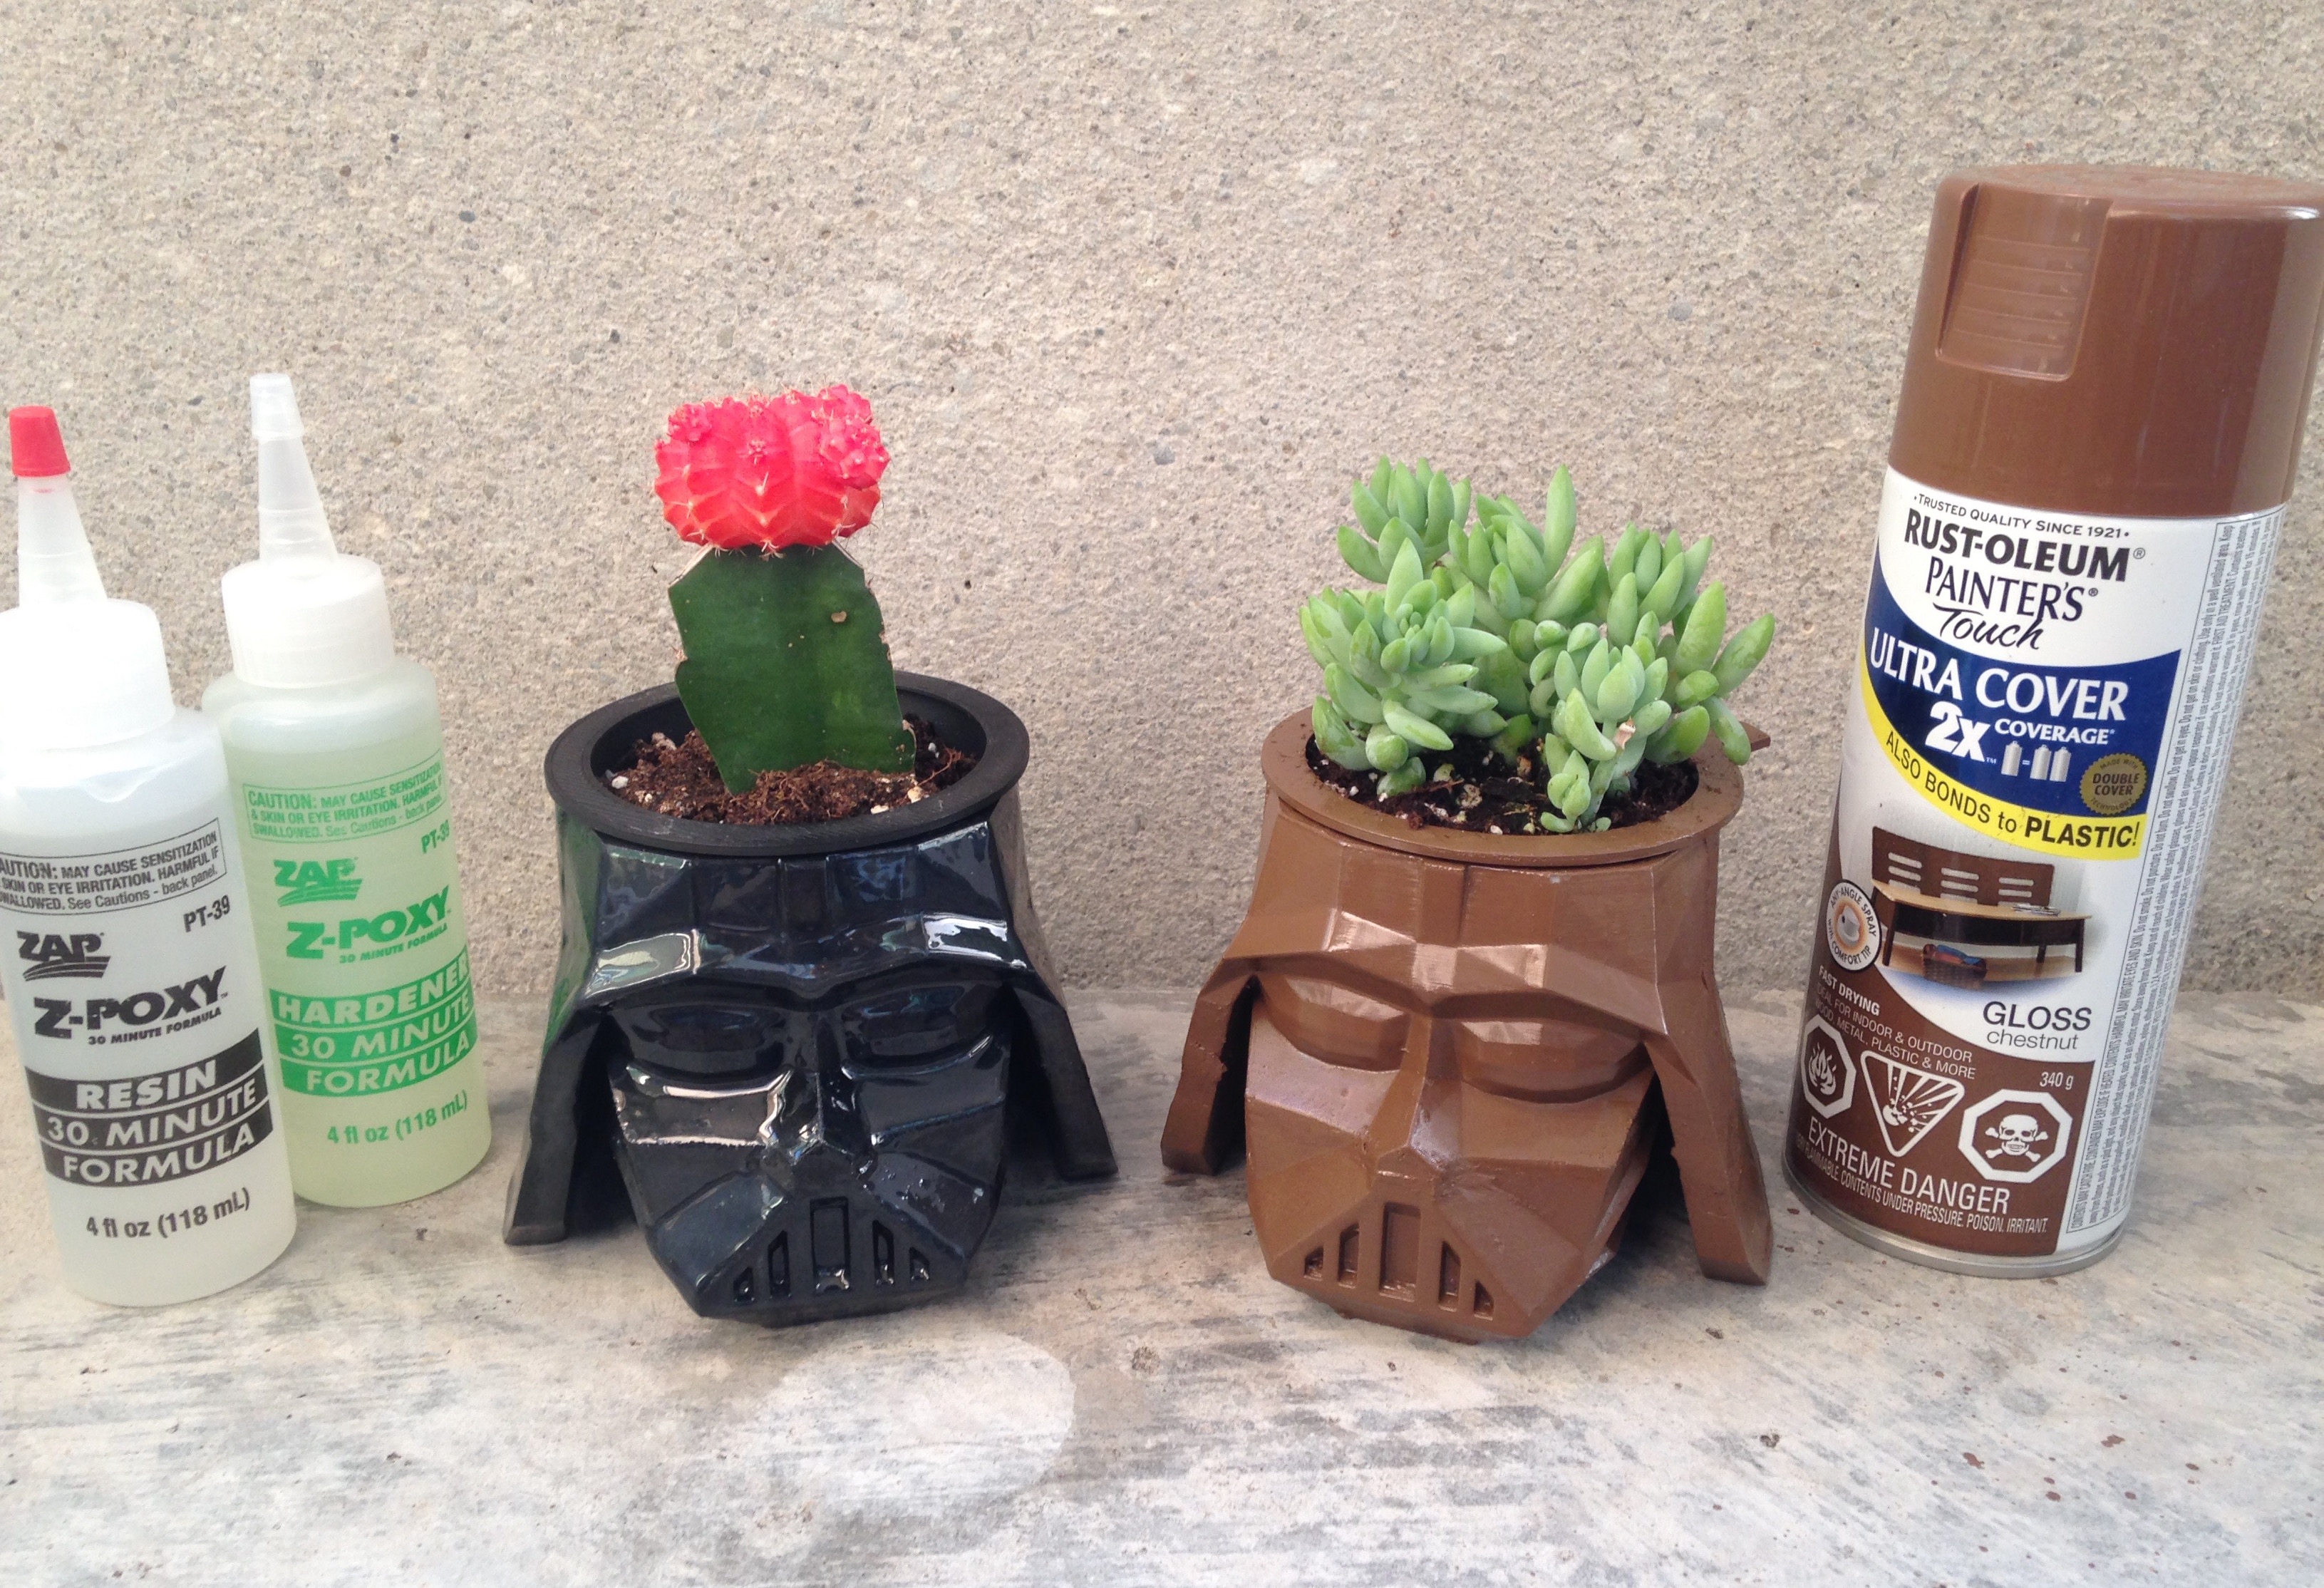
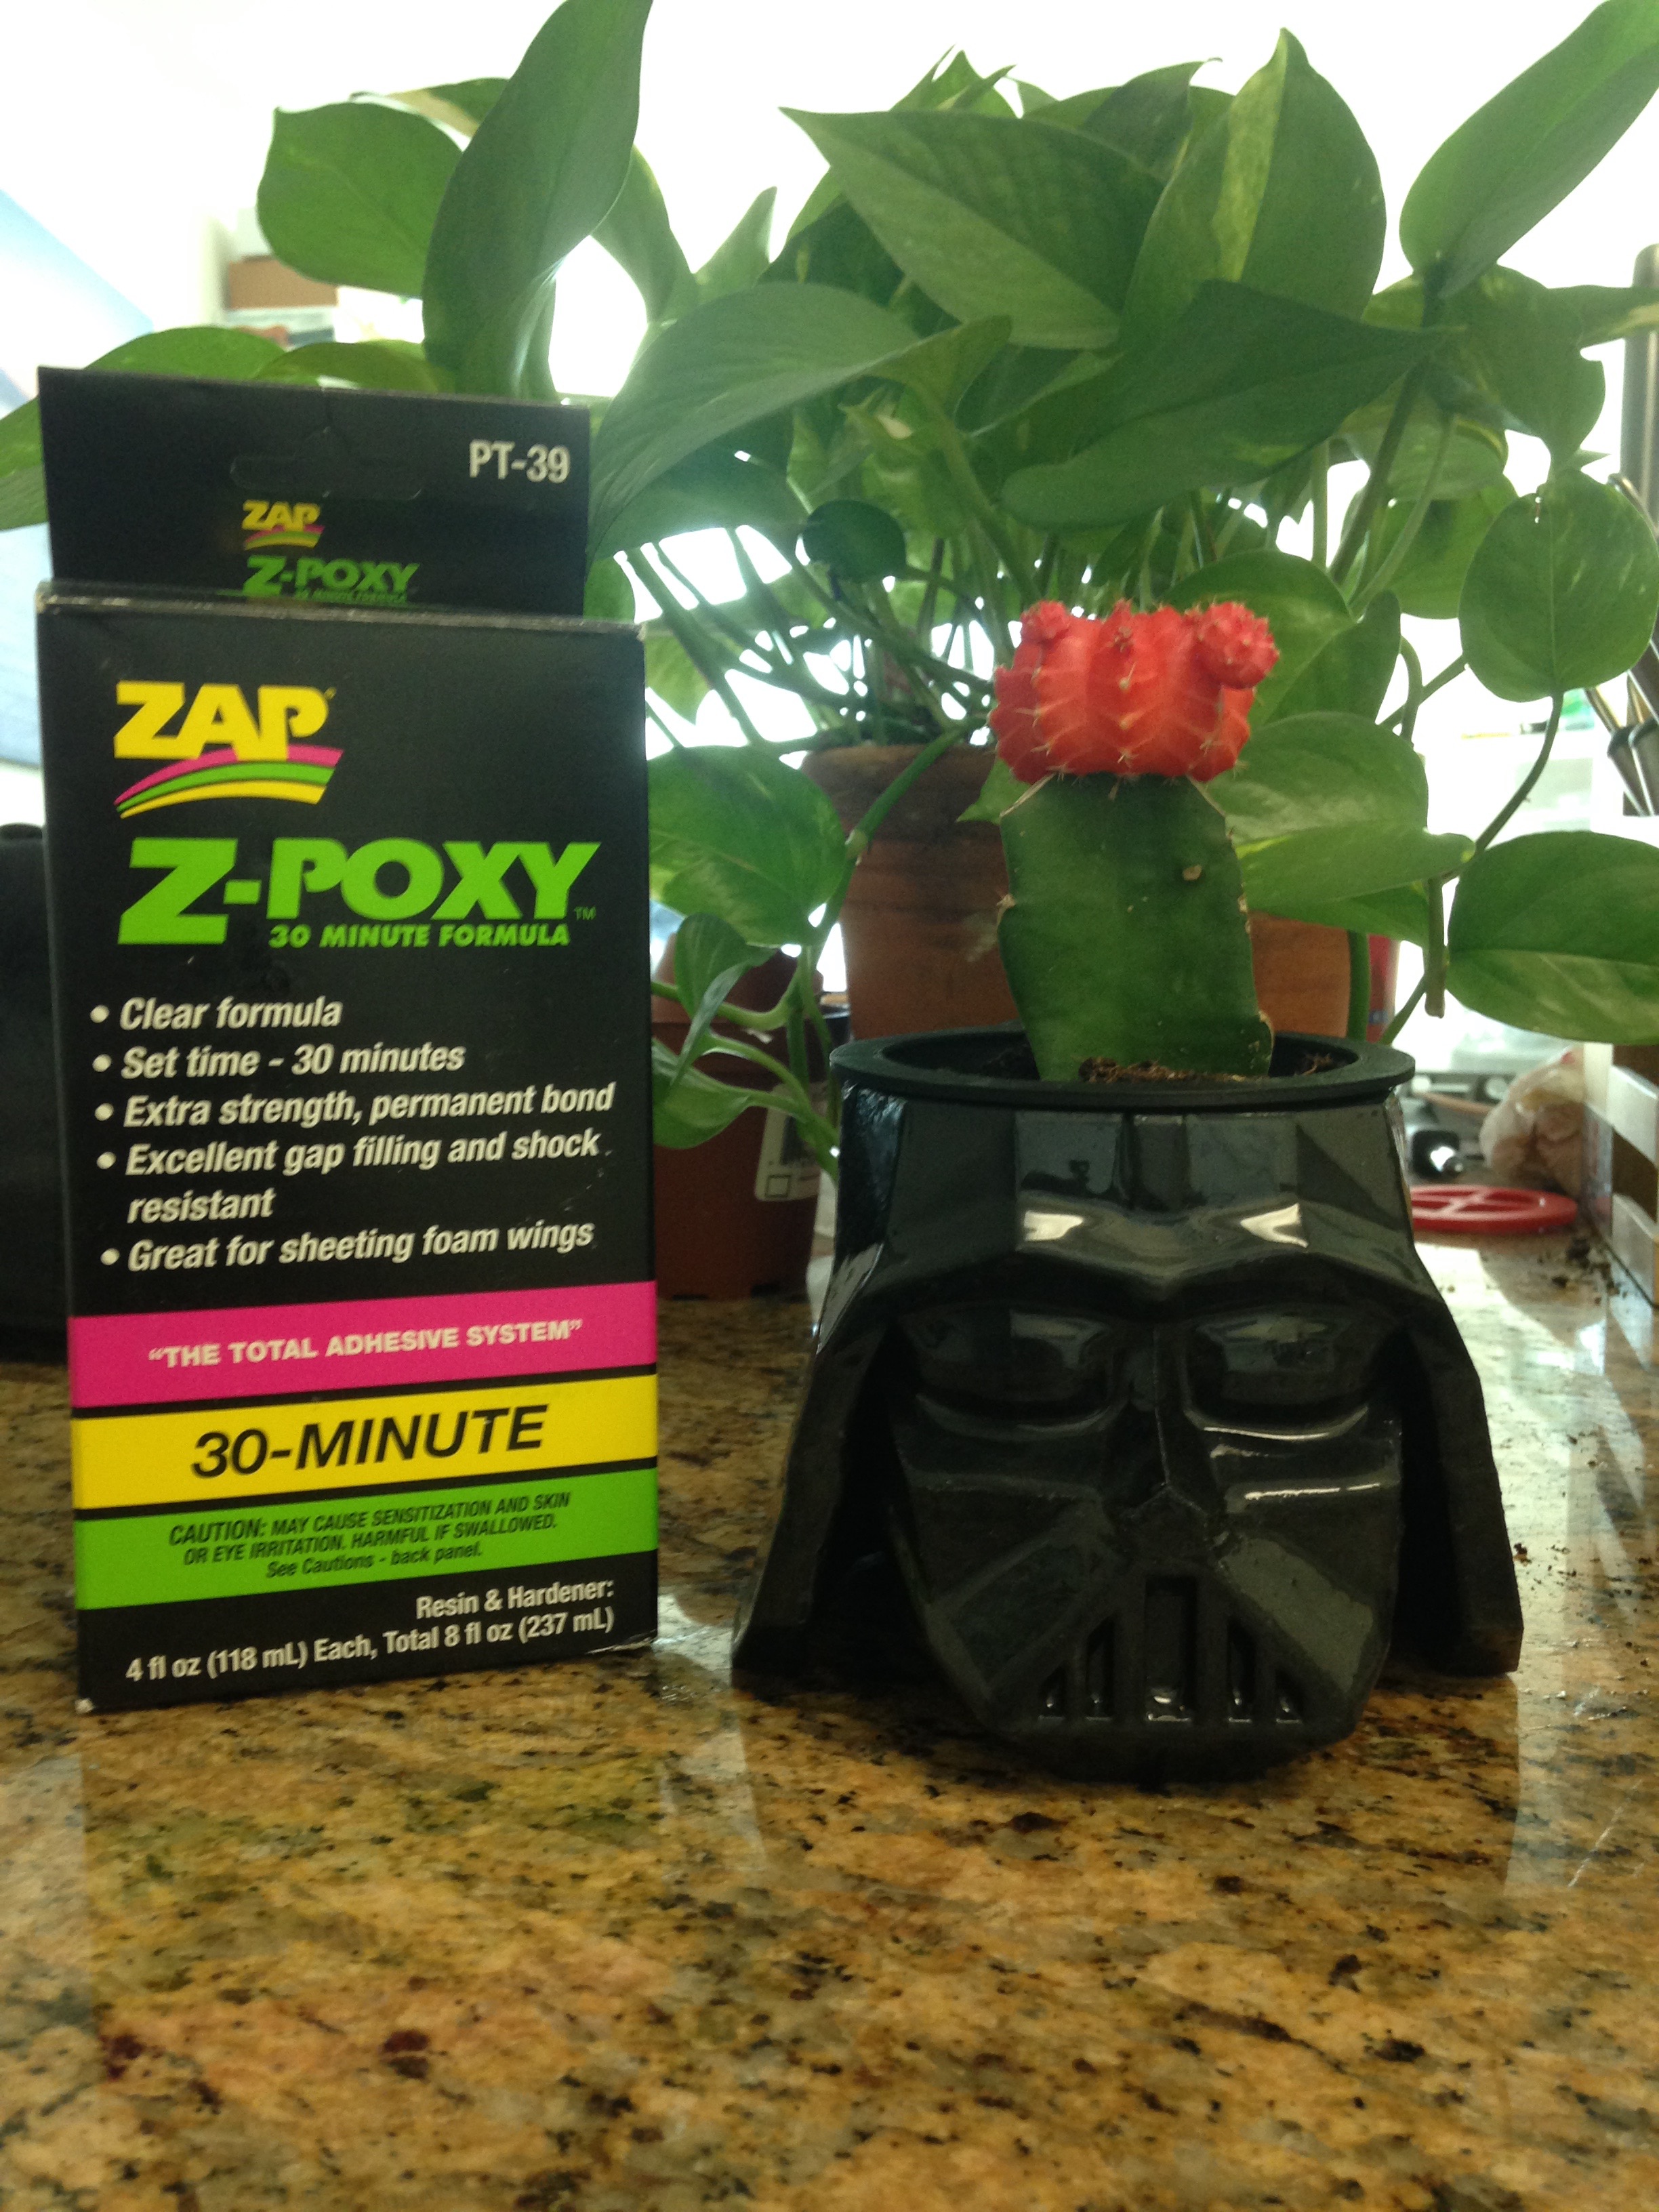
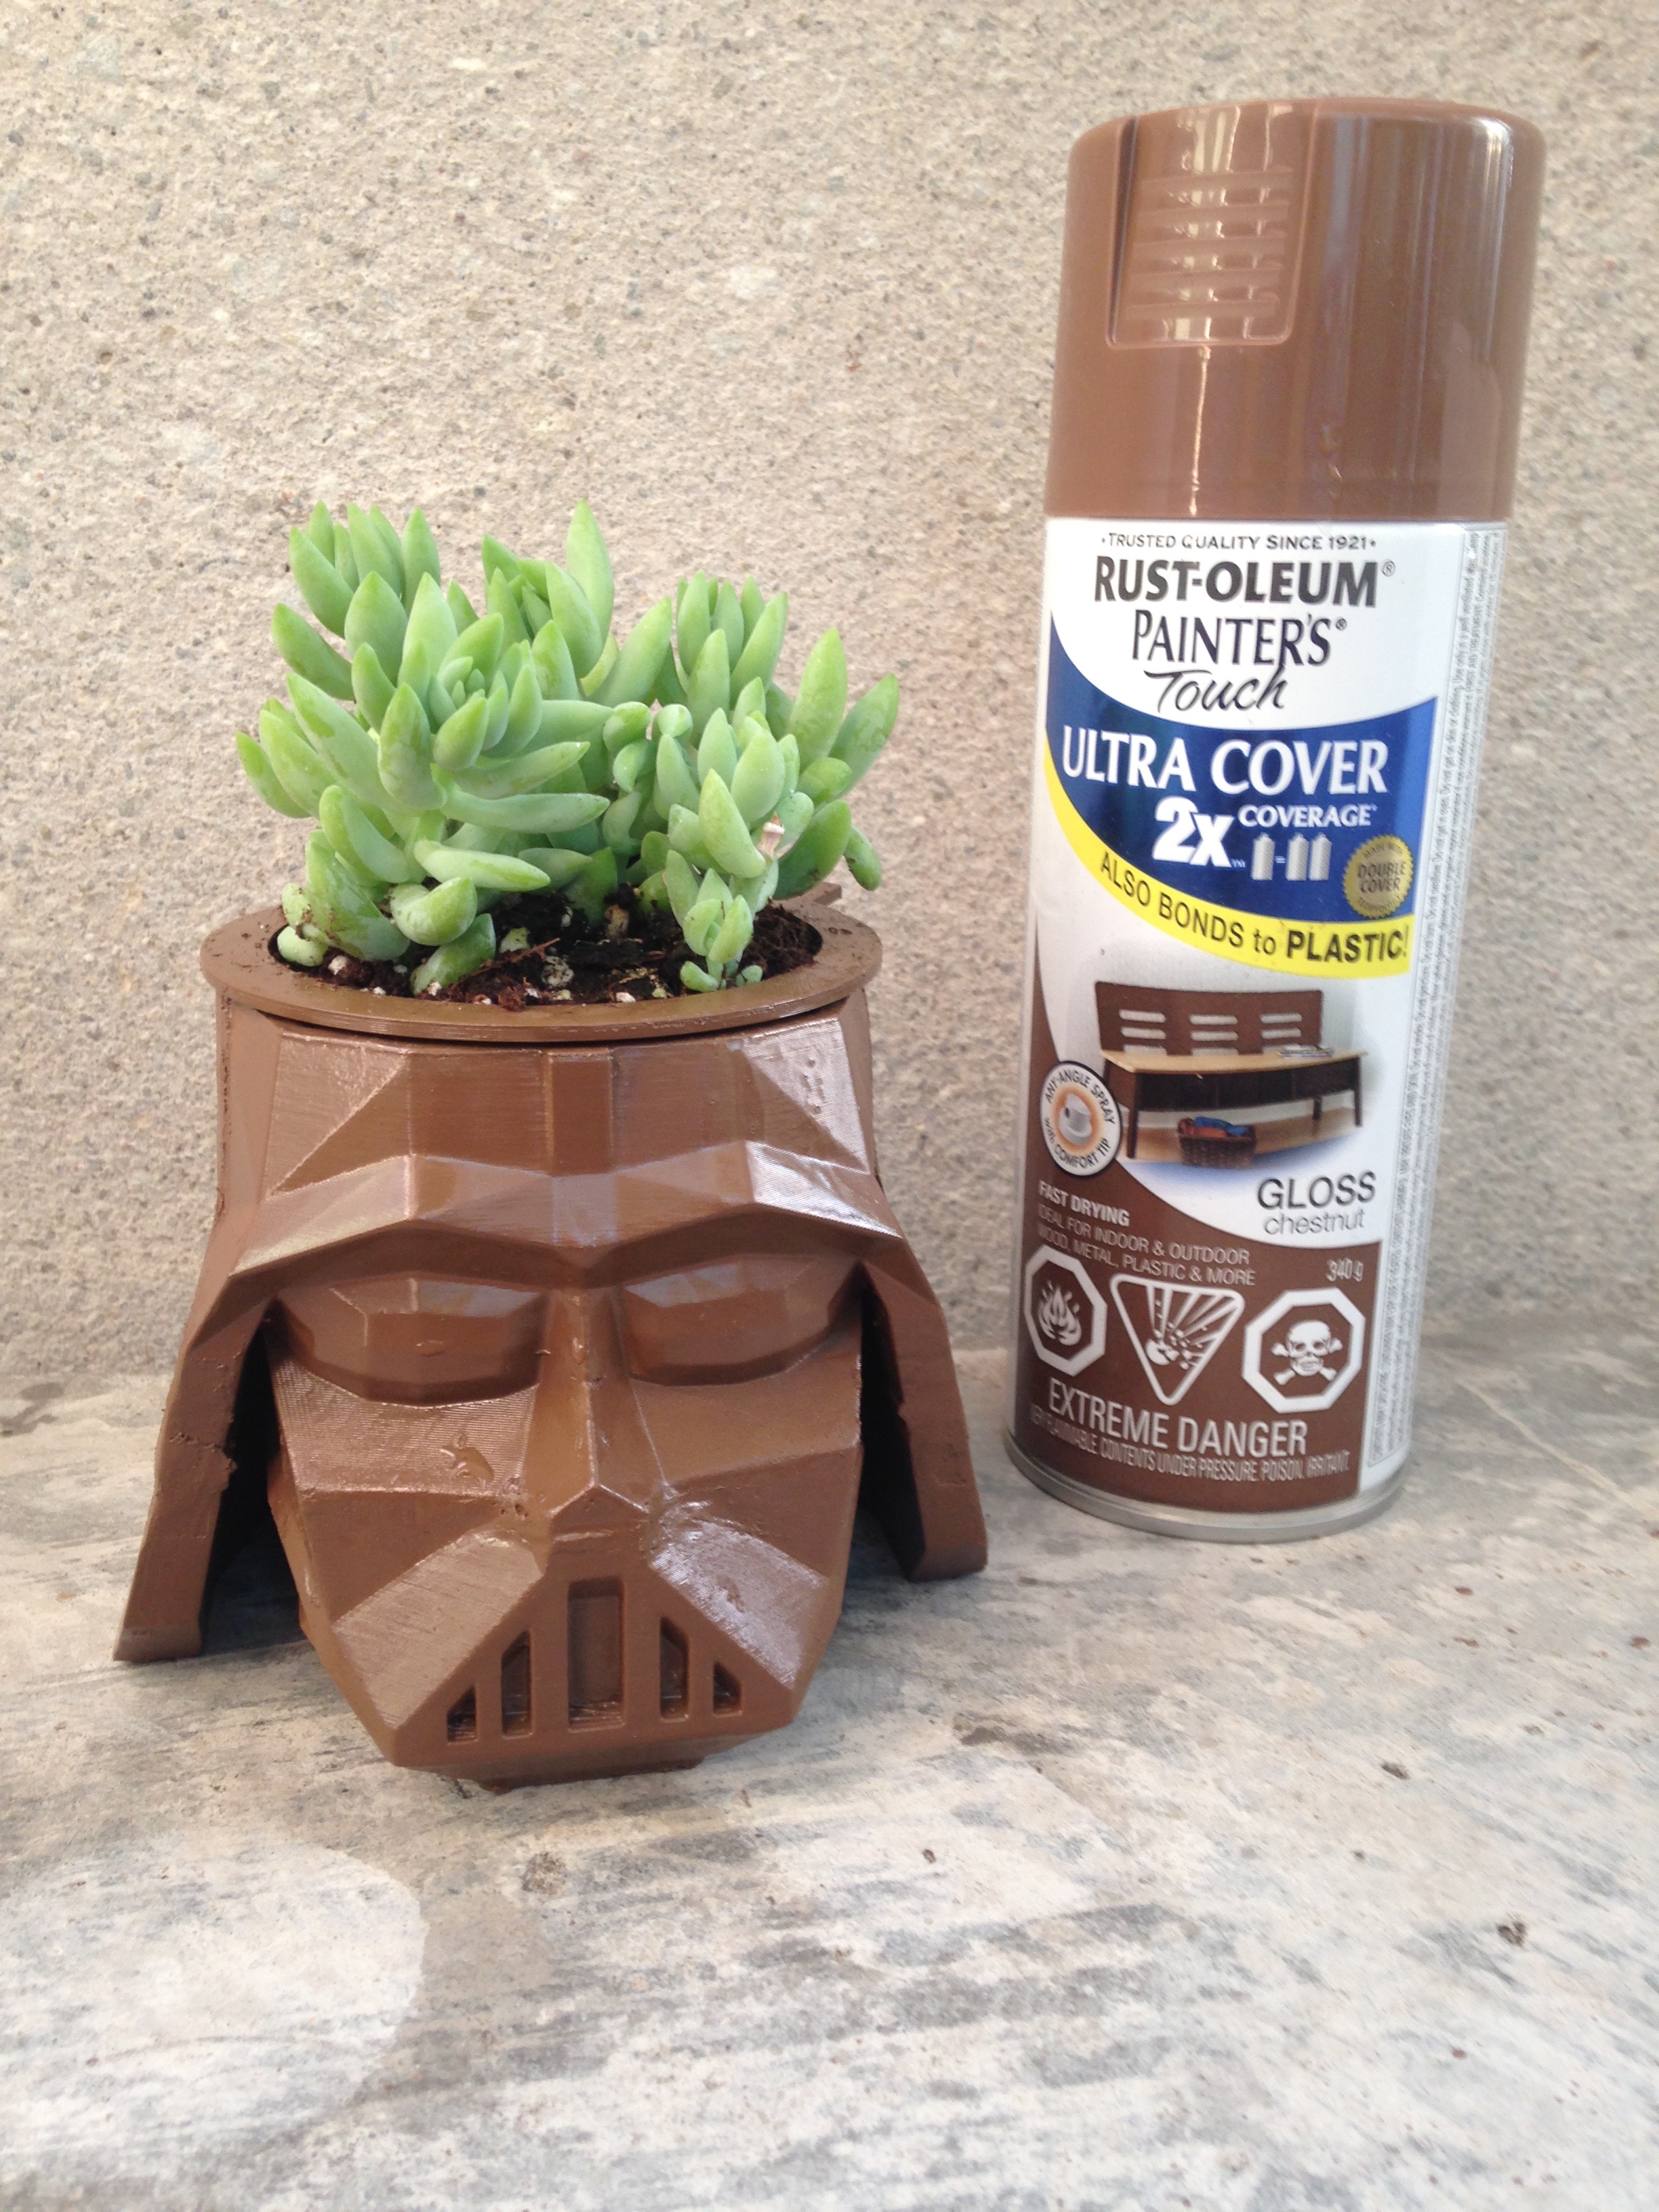
Here are a some methods I use to put together 3D printed PLA parts and a couple of ways to finish 3D printed parts.
The best way to put 3D printed parts together, if you have a 3D printer that has a small build platform, is to break the STL file into smaller parts using a software like netfabb and then use a 3D printing pen to put the individual 3D printed part together. The 3D printing pen I use is from 3D Simo which you can use with various types of filament .Using a 3D printing pen in combination with a rotary tool like the Dremel and plain old Sand paper is a much superior way, then just using glue. Obviously you need have a good amount of patience ! as this time taking process..
As part of the finishing process , depending on how you want your 3D printed object to look and feel you can use one of the methods shown in the videos below
#1 Using Z Poxy resign
Use Z Poxy in a scenario, when you want your part to look glossy and have shinny metallic finish to it. And retain the color of the filament you 3D printed your part in. This is idea if you want to finish a small figurine you printed.
#2 Painters Touch
This is much faster and cheaper way to finishing larger 3D printed parts, and yes ! you will need to apply multiple coats to get a nice even finish. In addition, painters touch comes in number of colors , which mean you can print your parts in white PLA and then spray paint them in your favorite color.
As part of the finishing process, I have mentioned some tips based on my experience. And please leave a comment/suggestion below if you use one of these methods and I will add it to the list..
You can also use these methods on ABS , but the best way to finish ABS parts is to use the Acetone vapor technique ..
Printing Your Parts
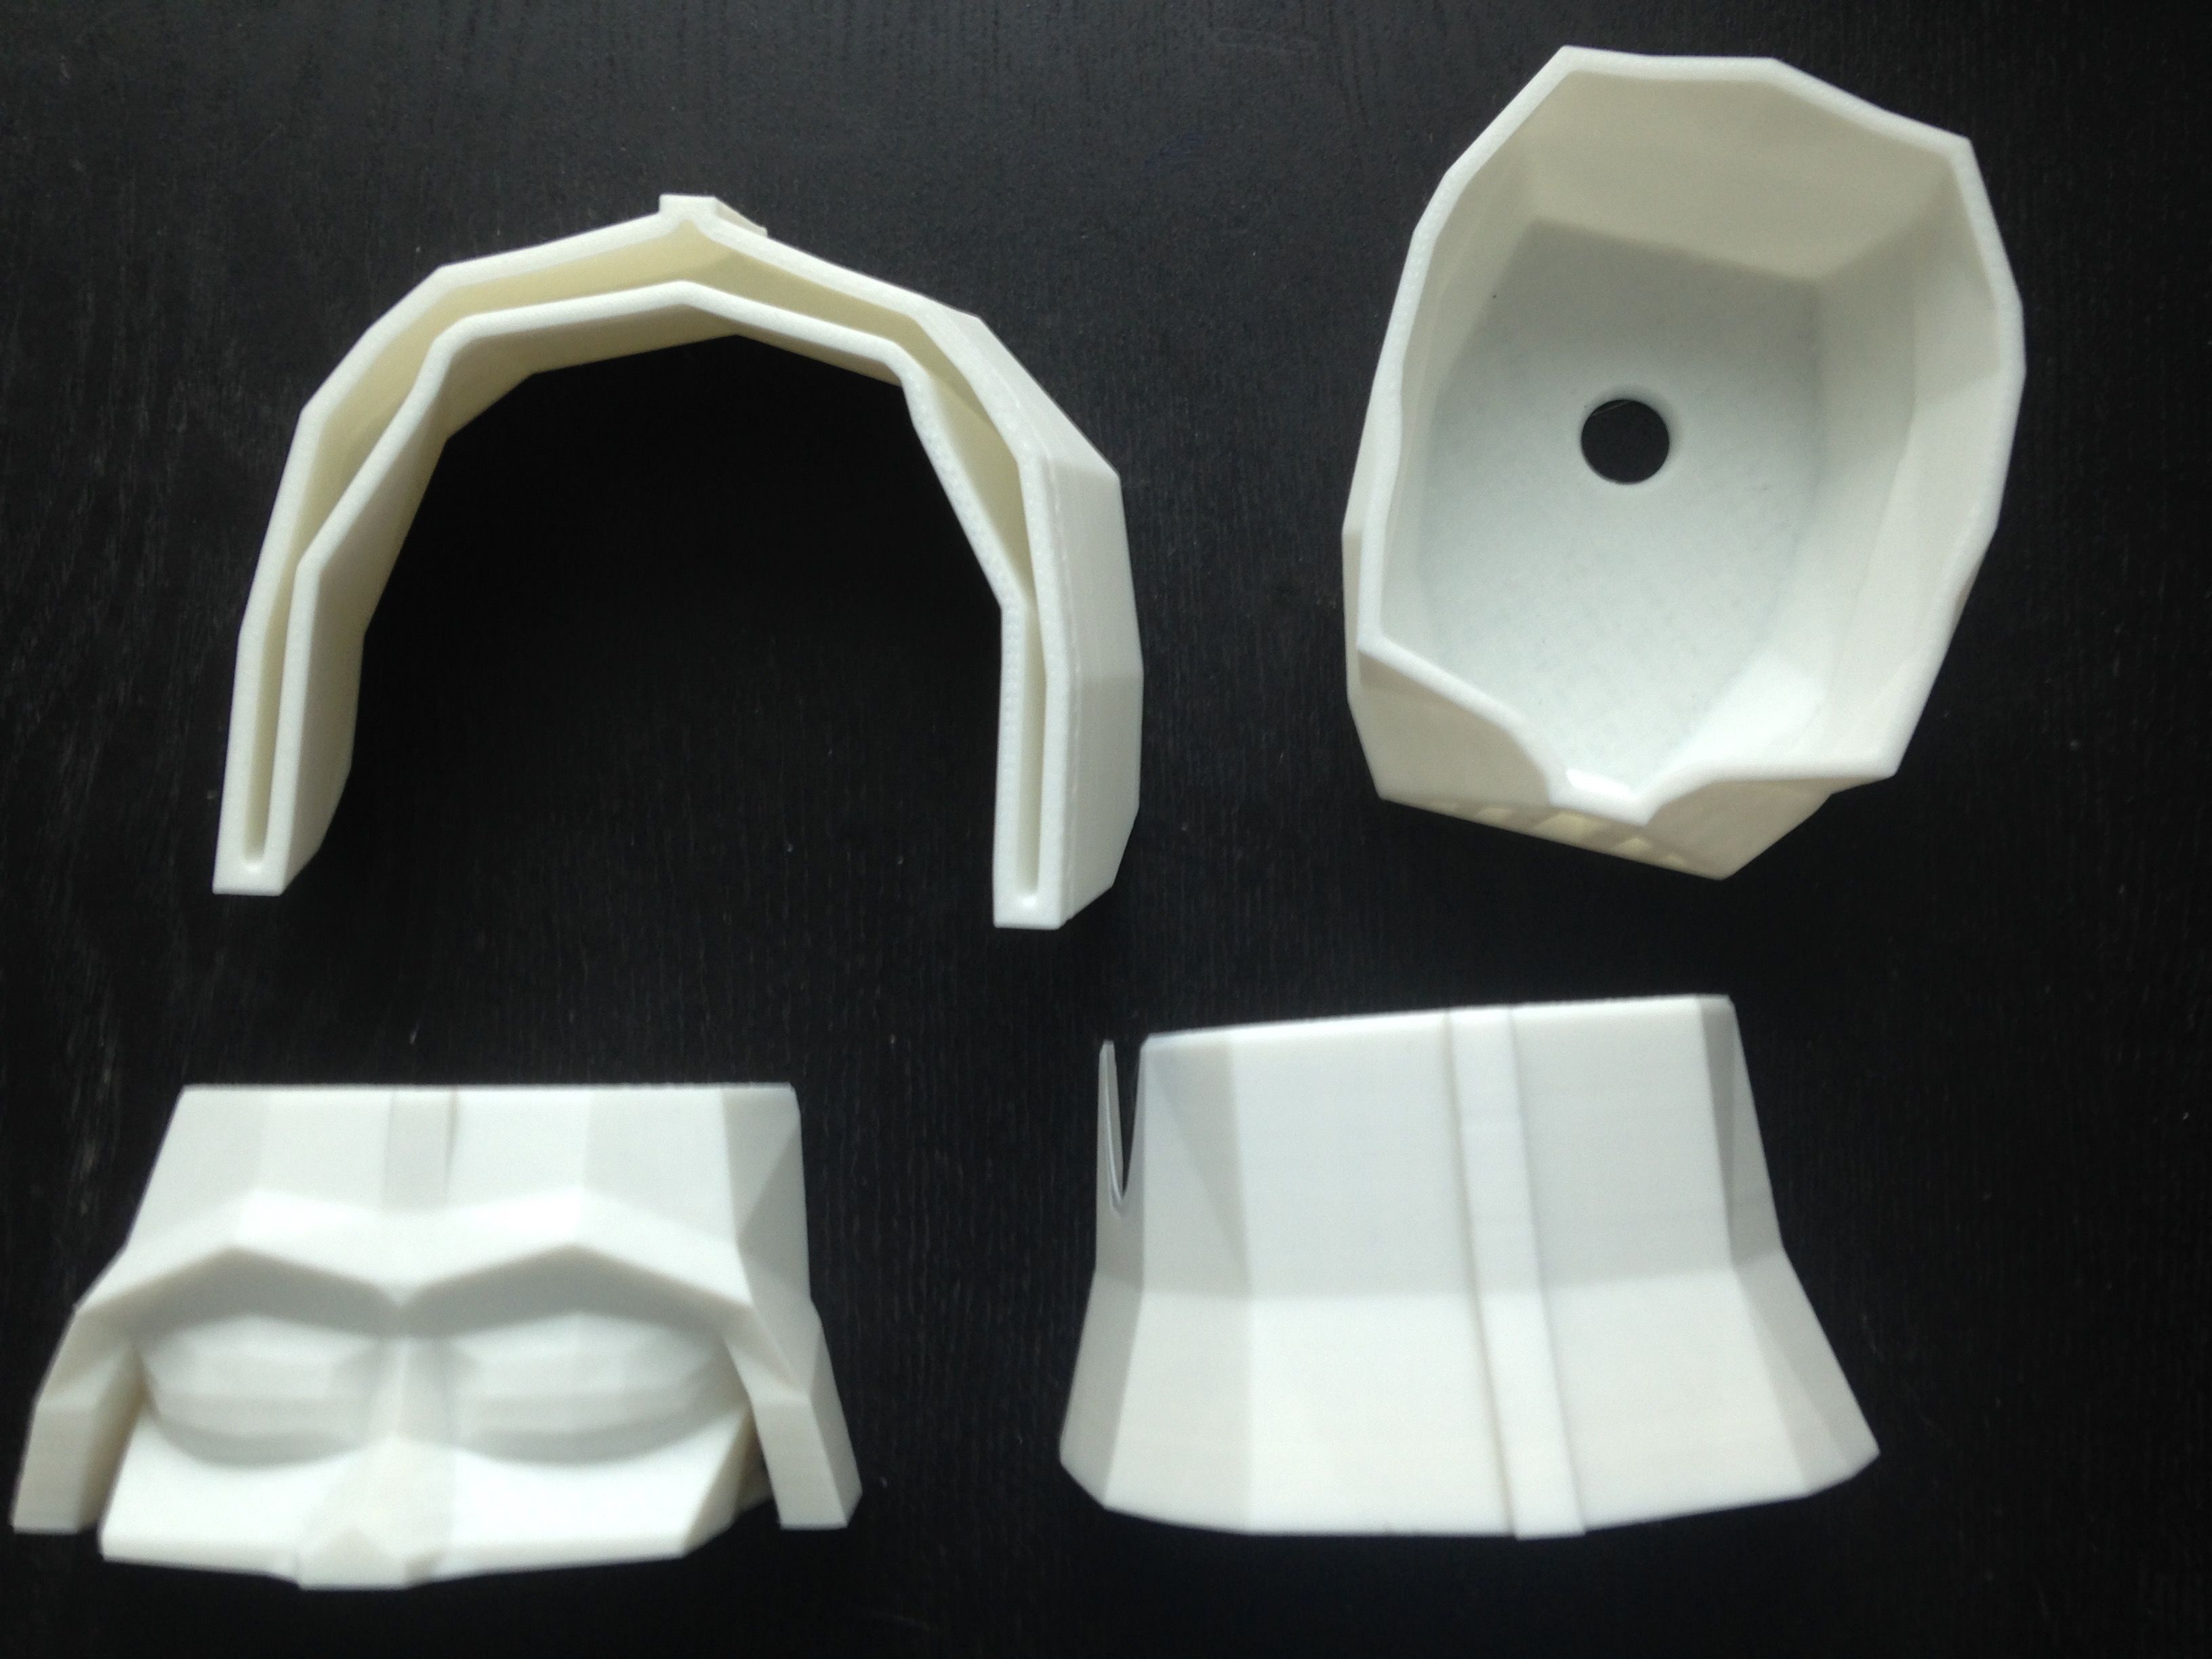
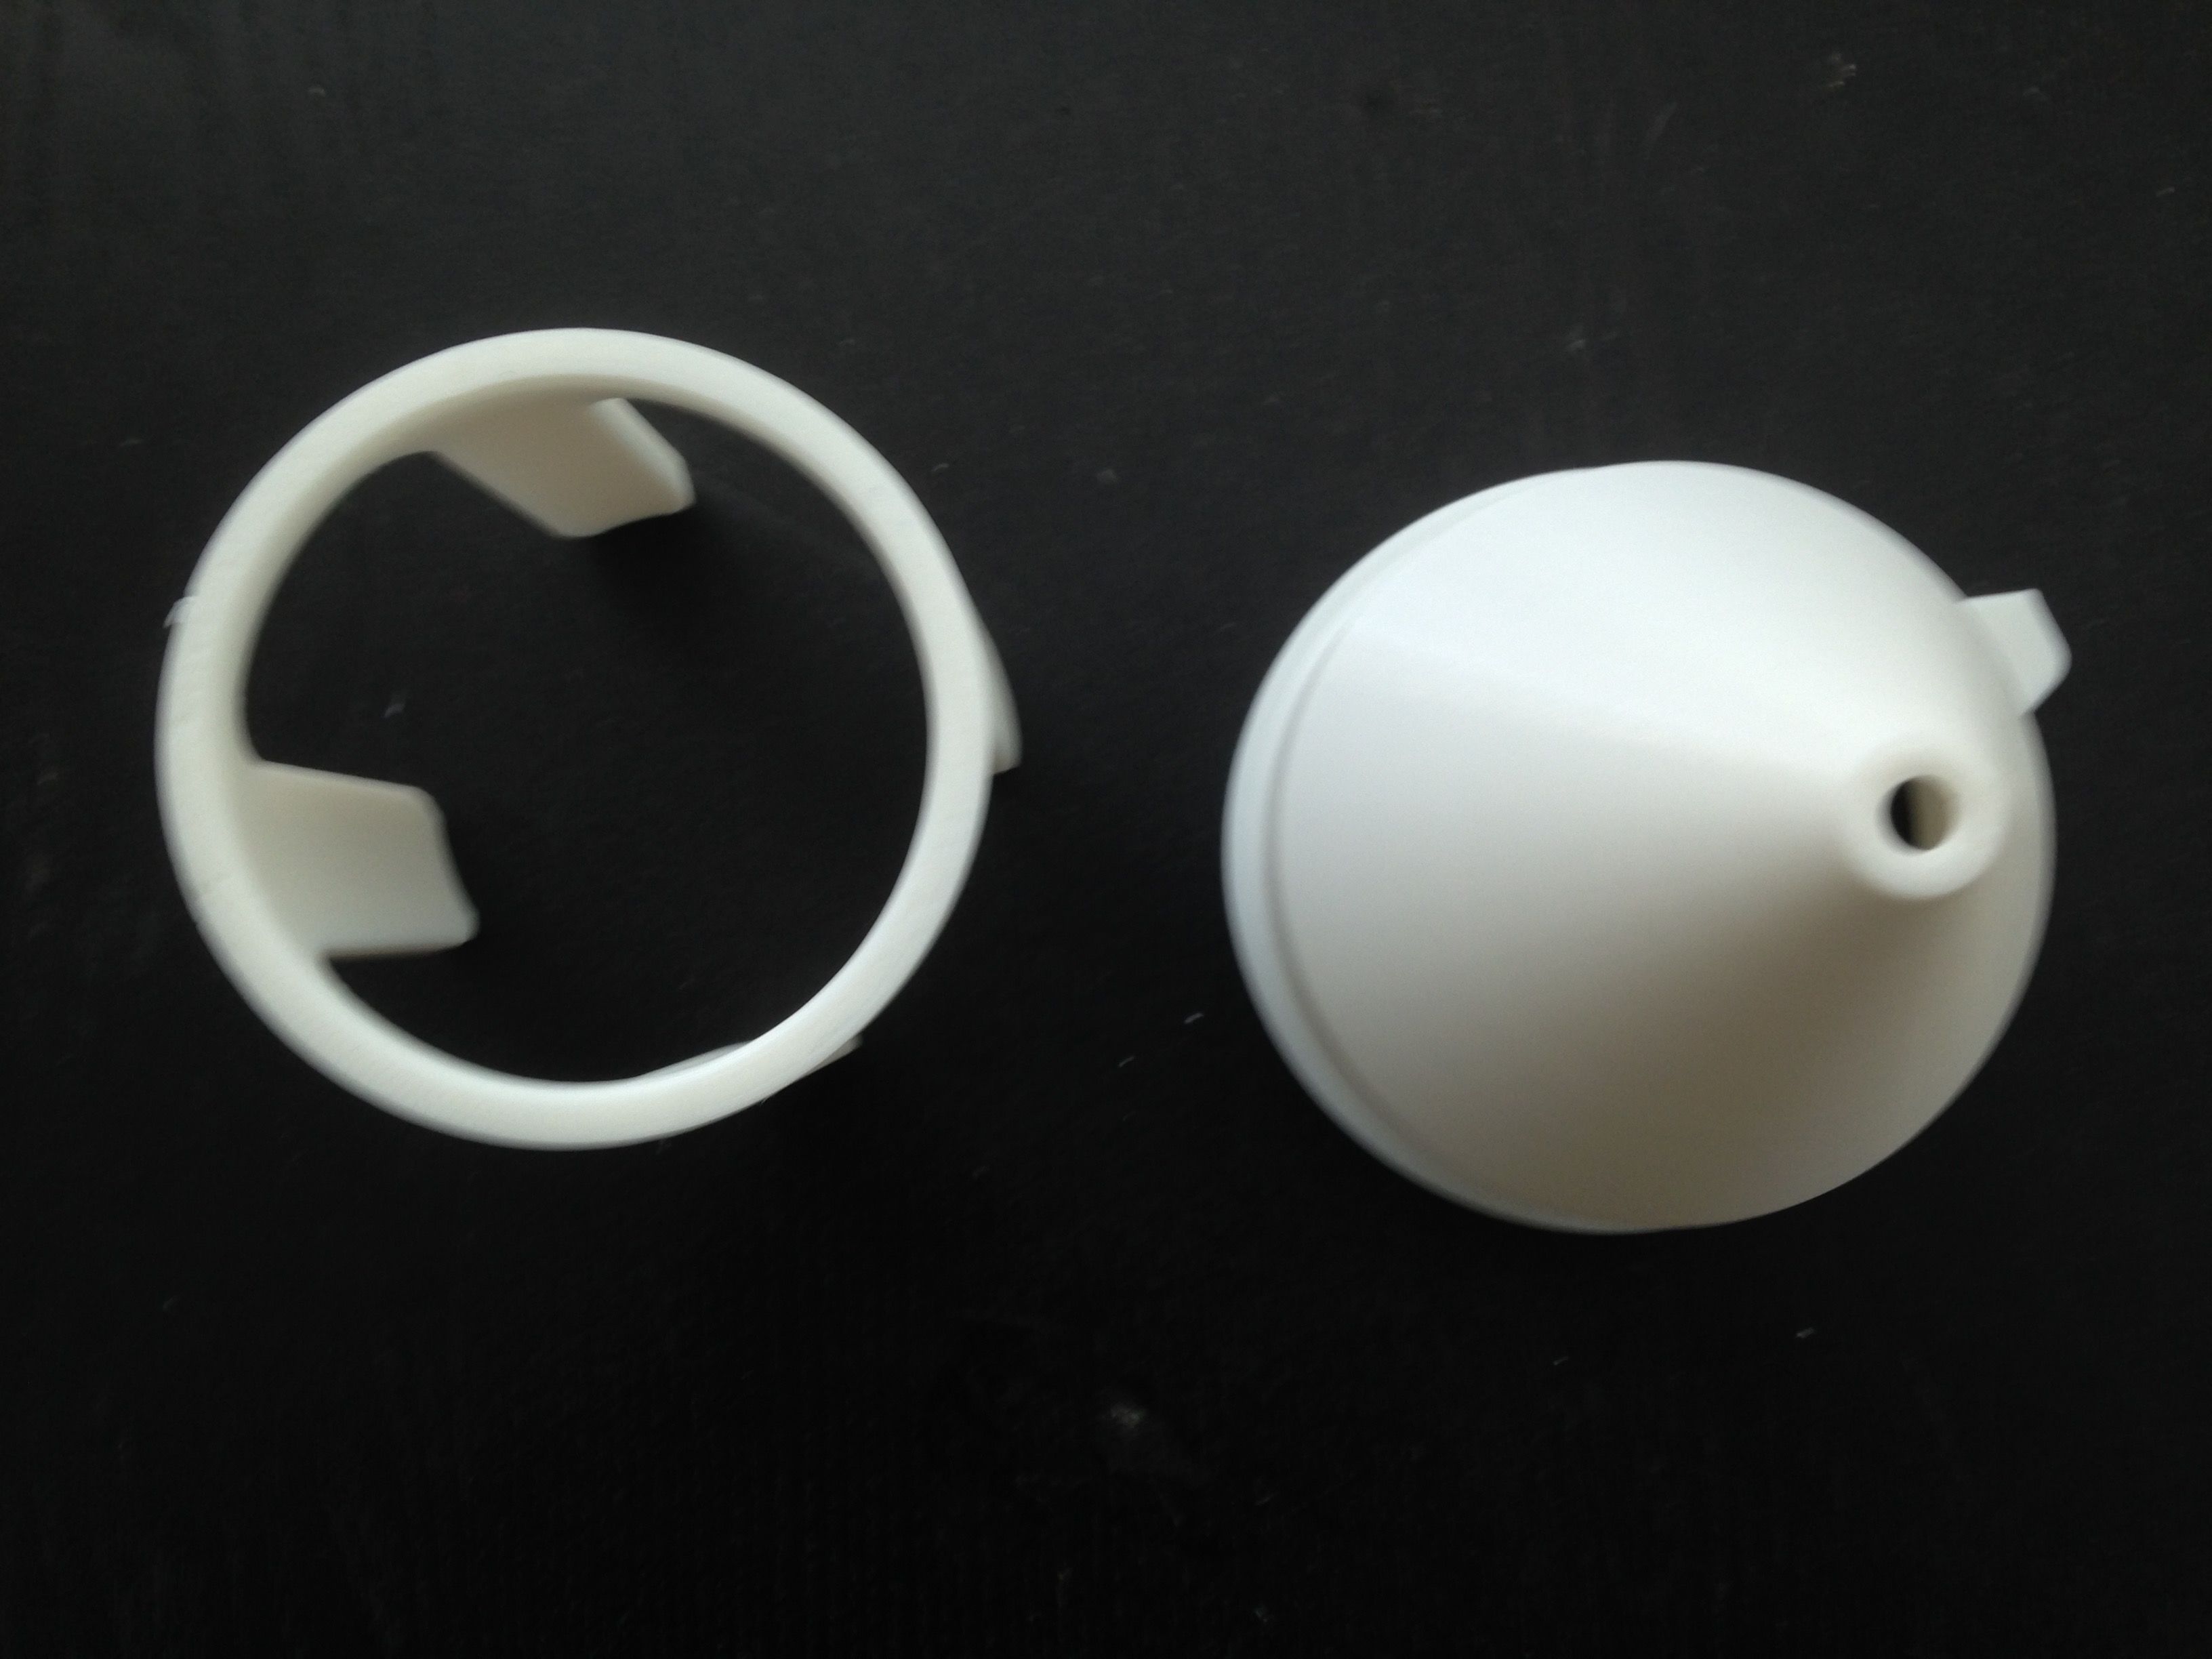
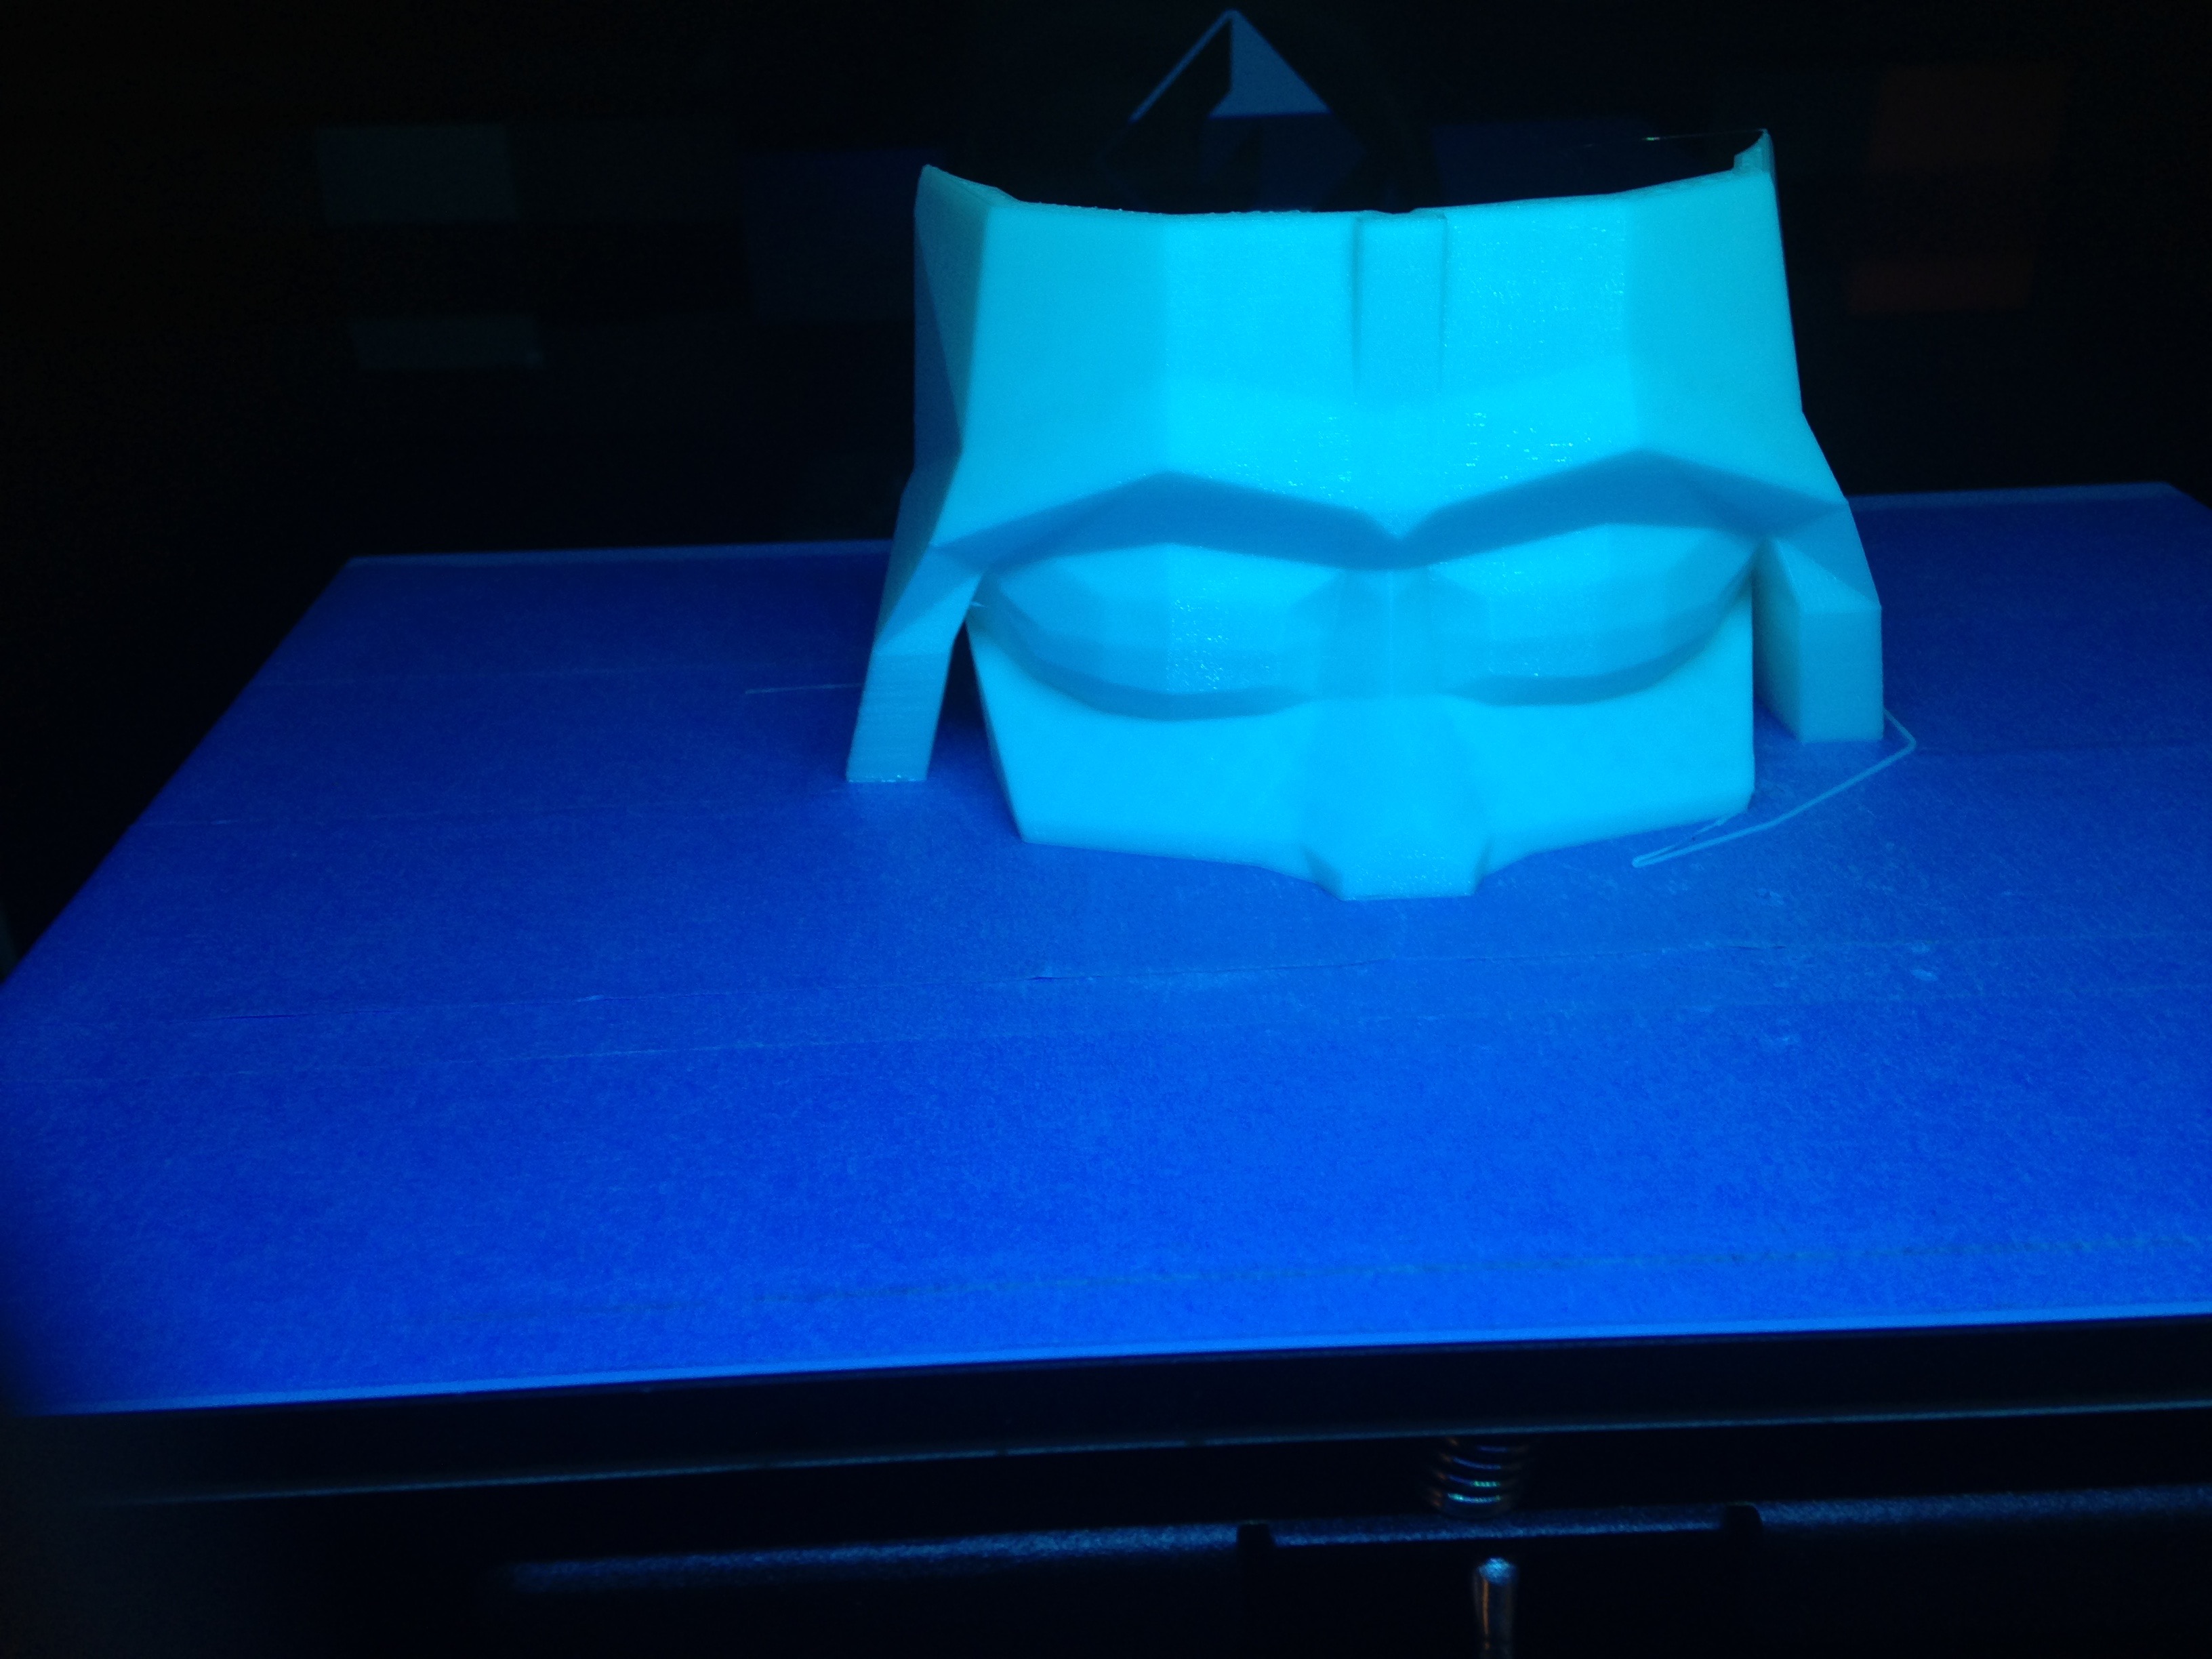
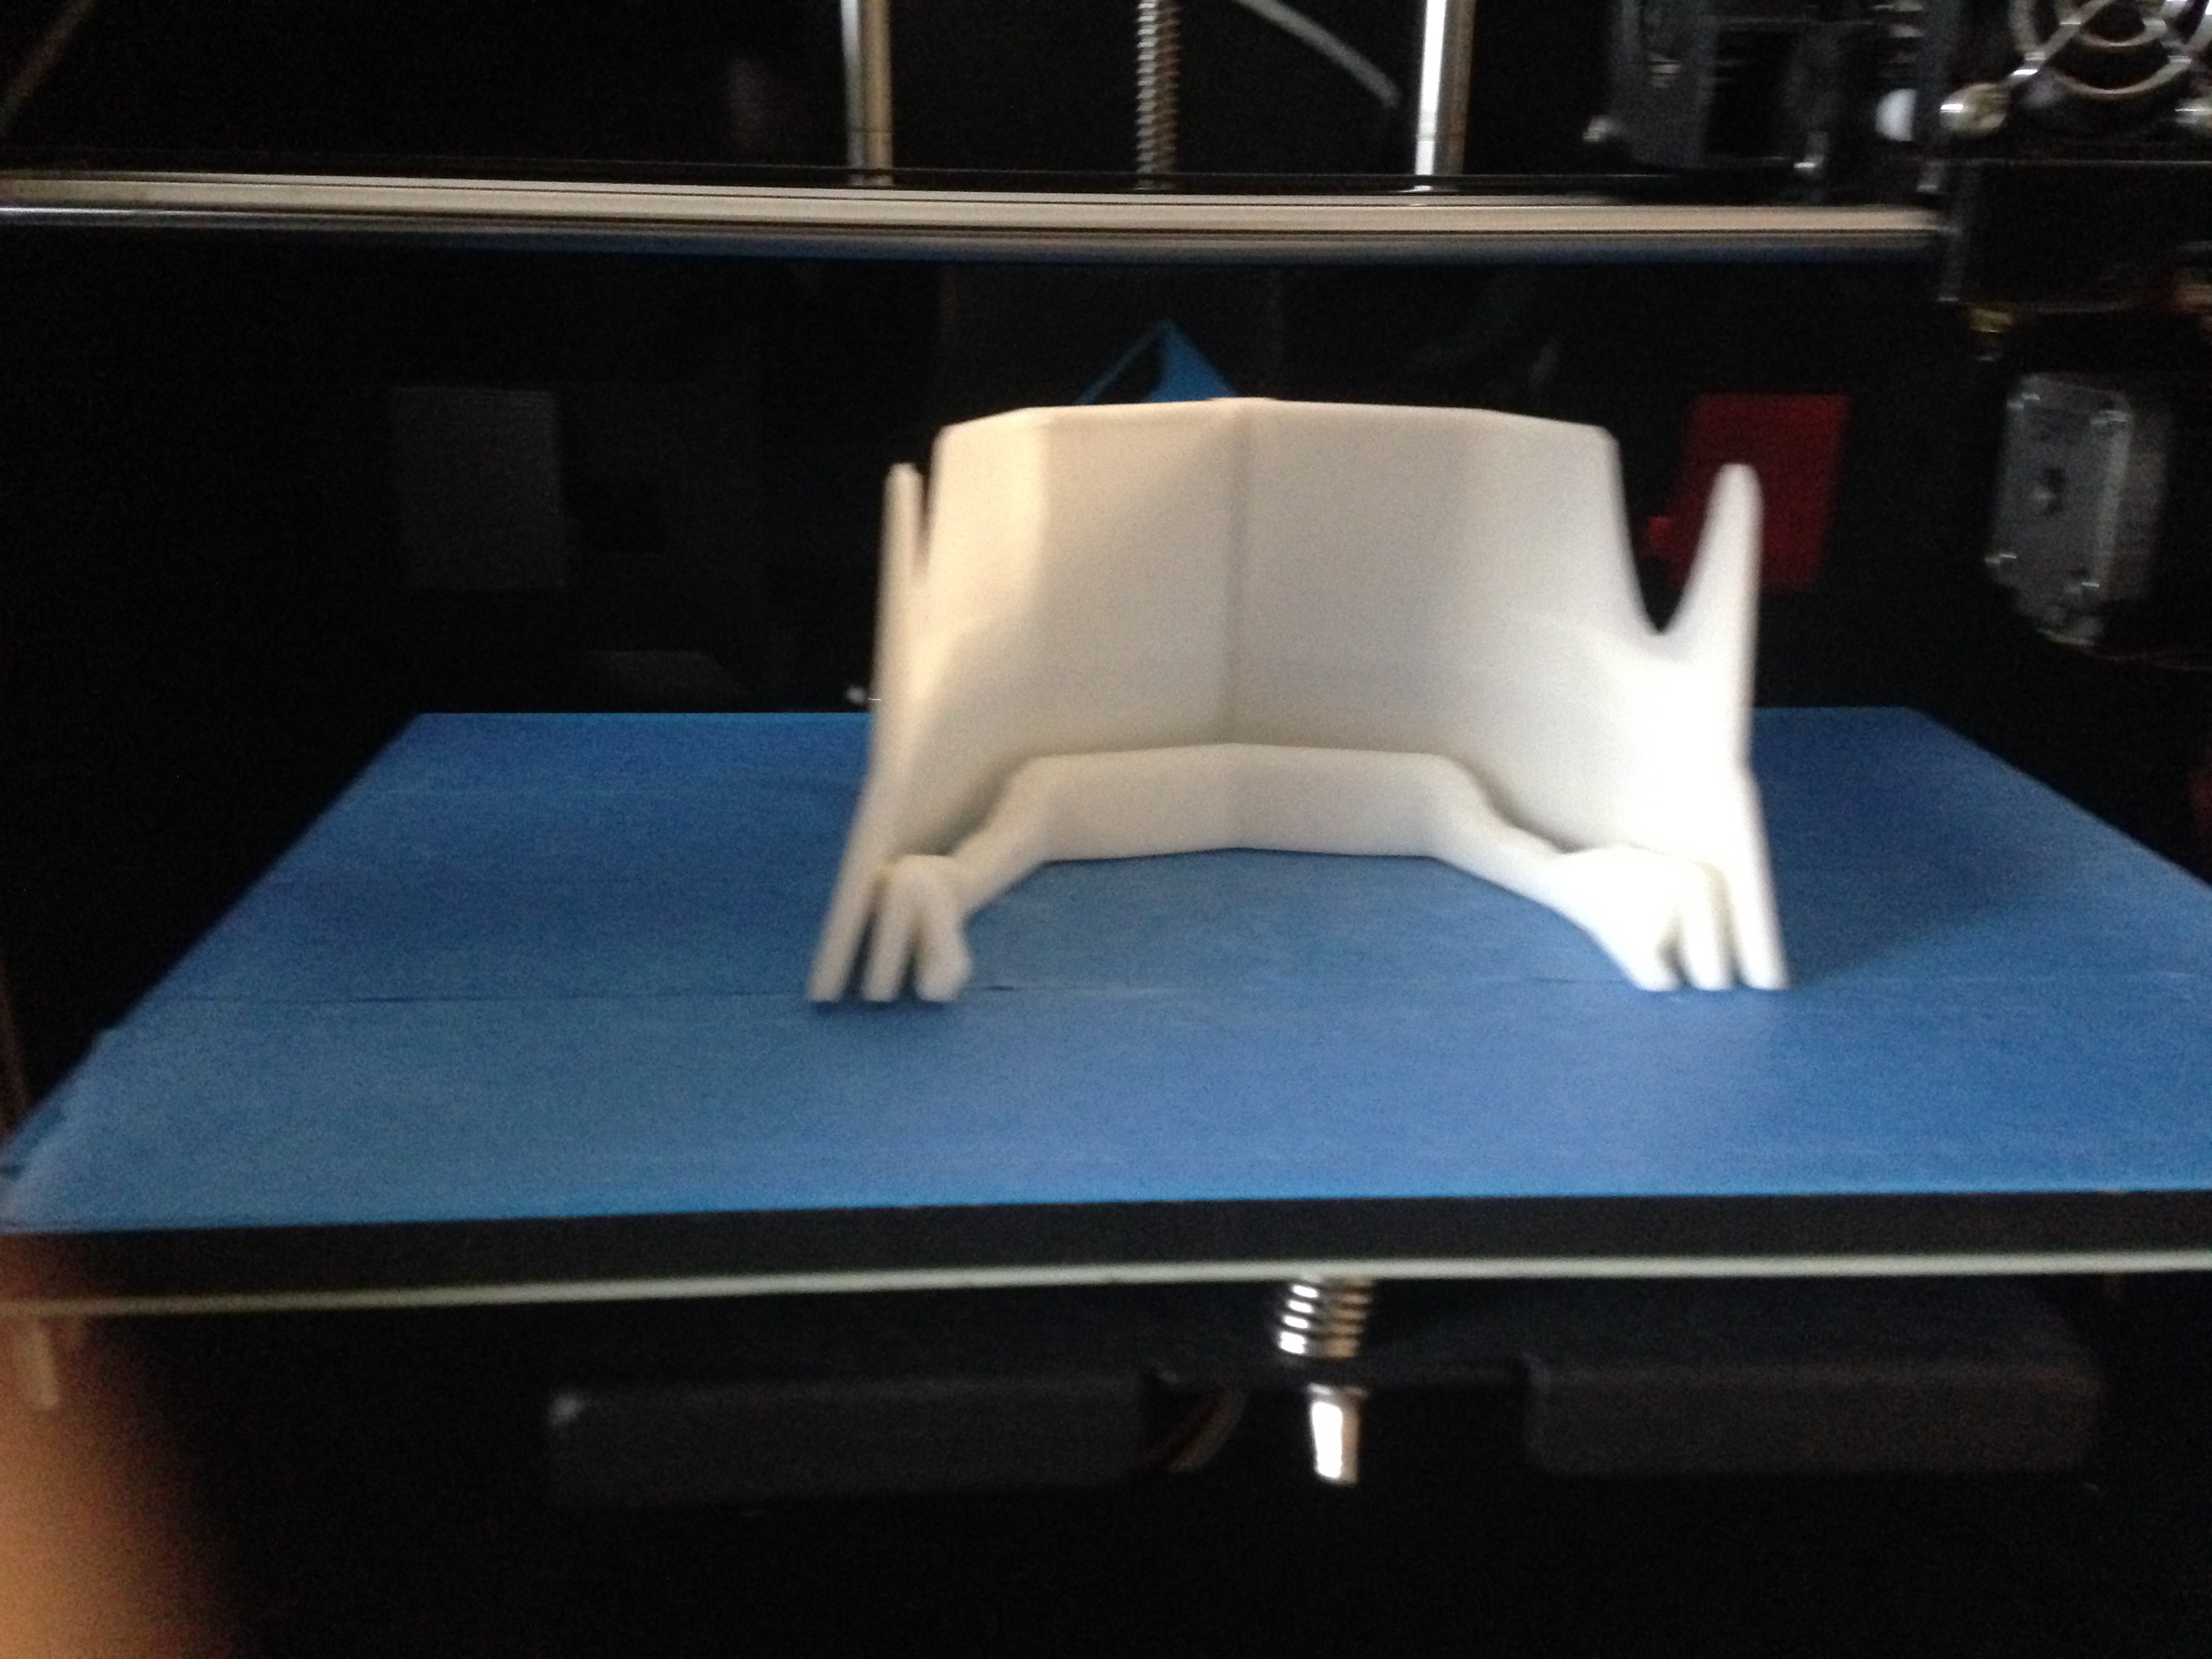
Here are the STL files if you are interested in following along or just want to make a copy of the planter (most of these files are from an earlier instructable I wrote called Darth Vader Planter)
Download the STL files attached and using 3D printing software slice and 3D print the files.
Here are suggested slicer setting for all STL files
- Layer height 0.3mm (you can drop this down to 0.2 , i am pretty impatient !! and print with 0.3 mm layer height )
- Infill - 15 %
- Nozzle Temperature - 200-210 C
Printing all the parts individually should take about 6-7 hours and is dependent on your 3D printer settings.
To demo the 2 finishing process , I printed the STLs in black Hatchbox PLA and white PLA.
Putting PLA Parts Together Using 3D Printing Pen
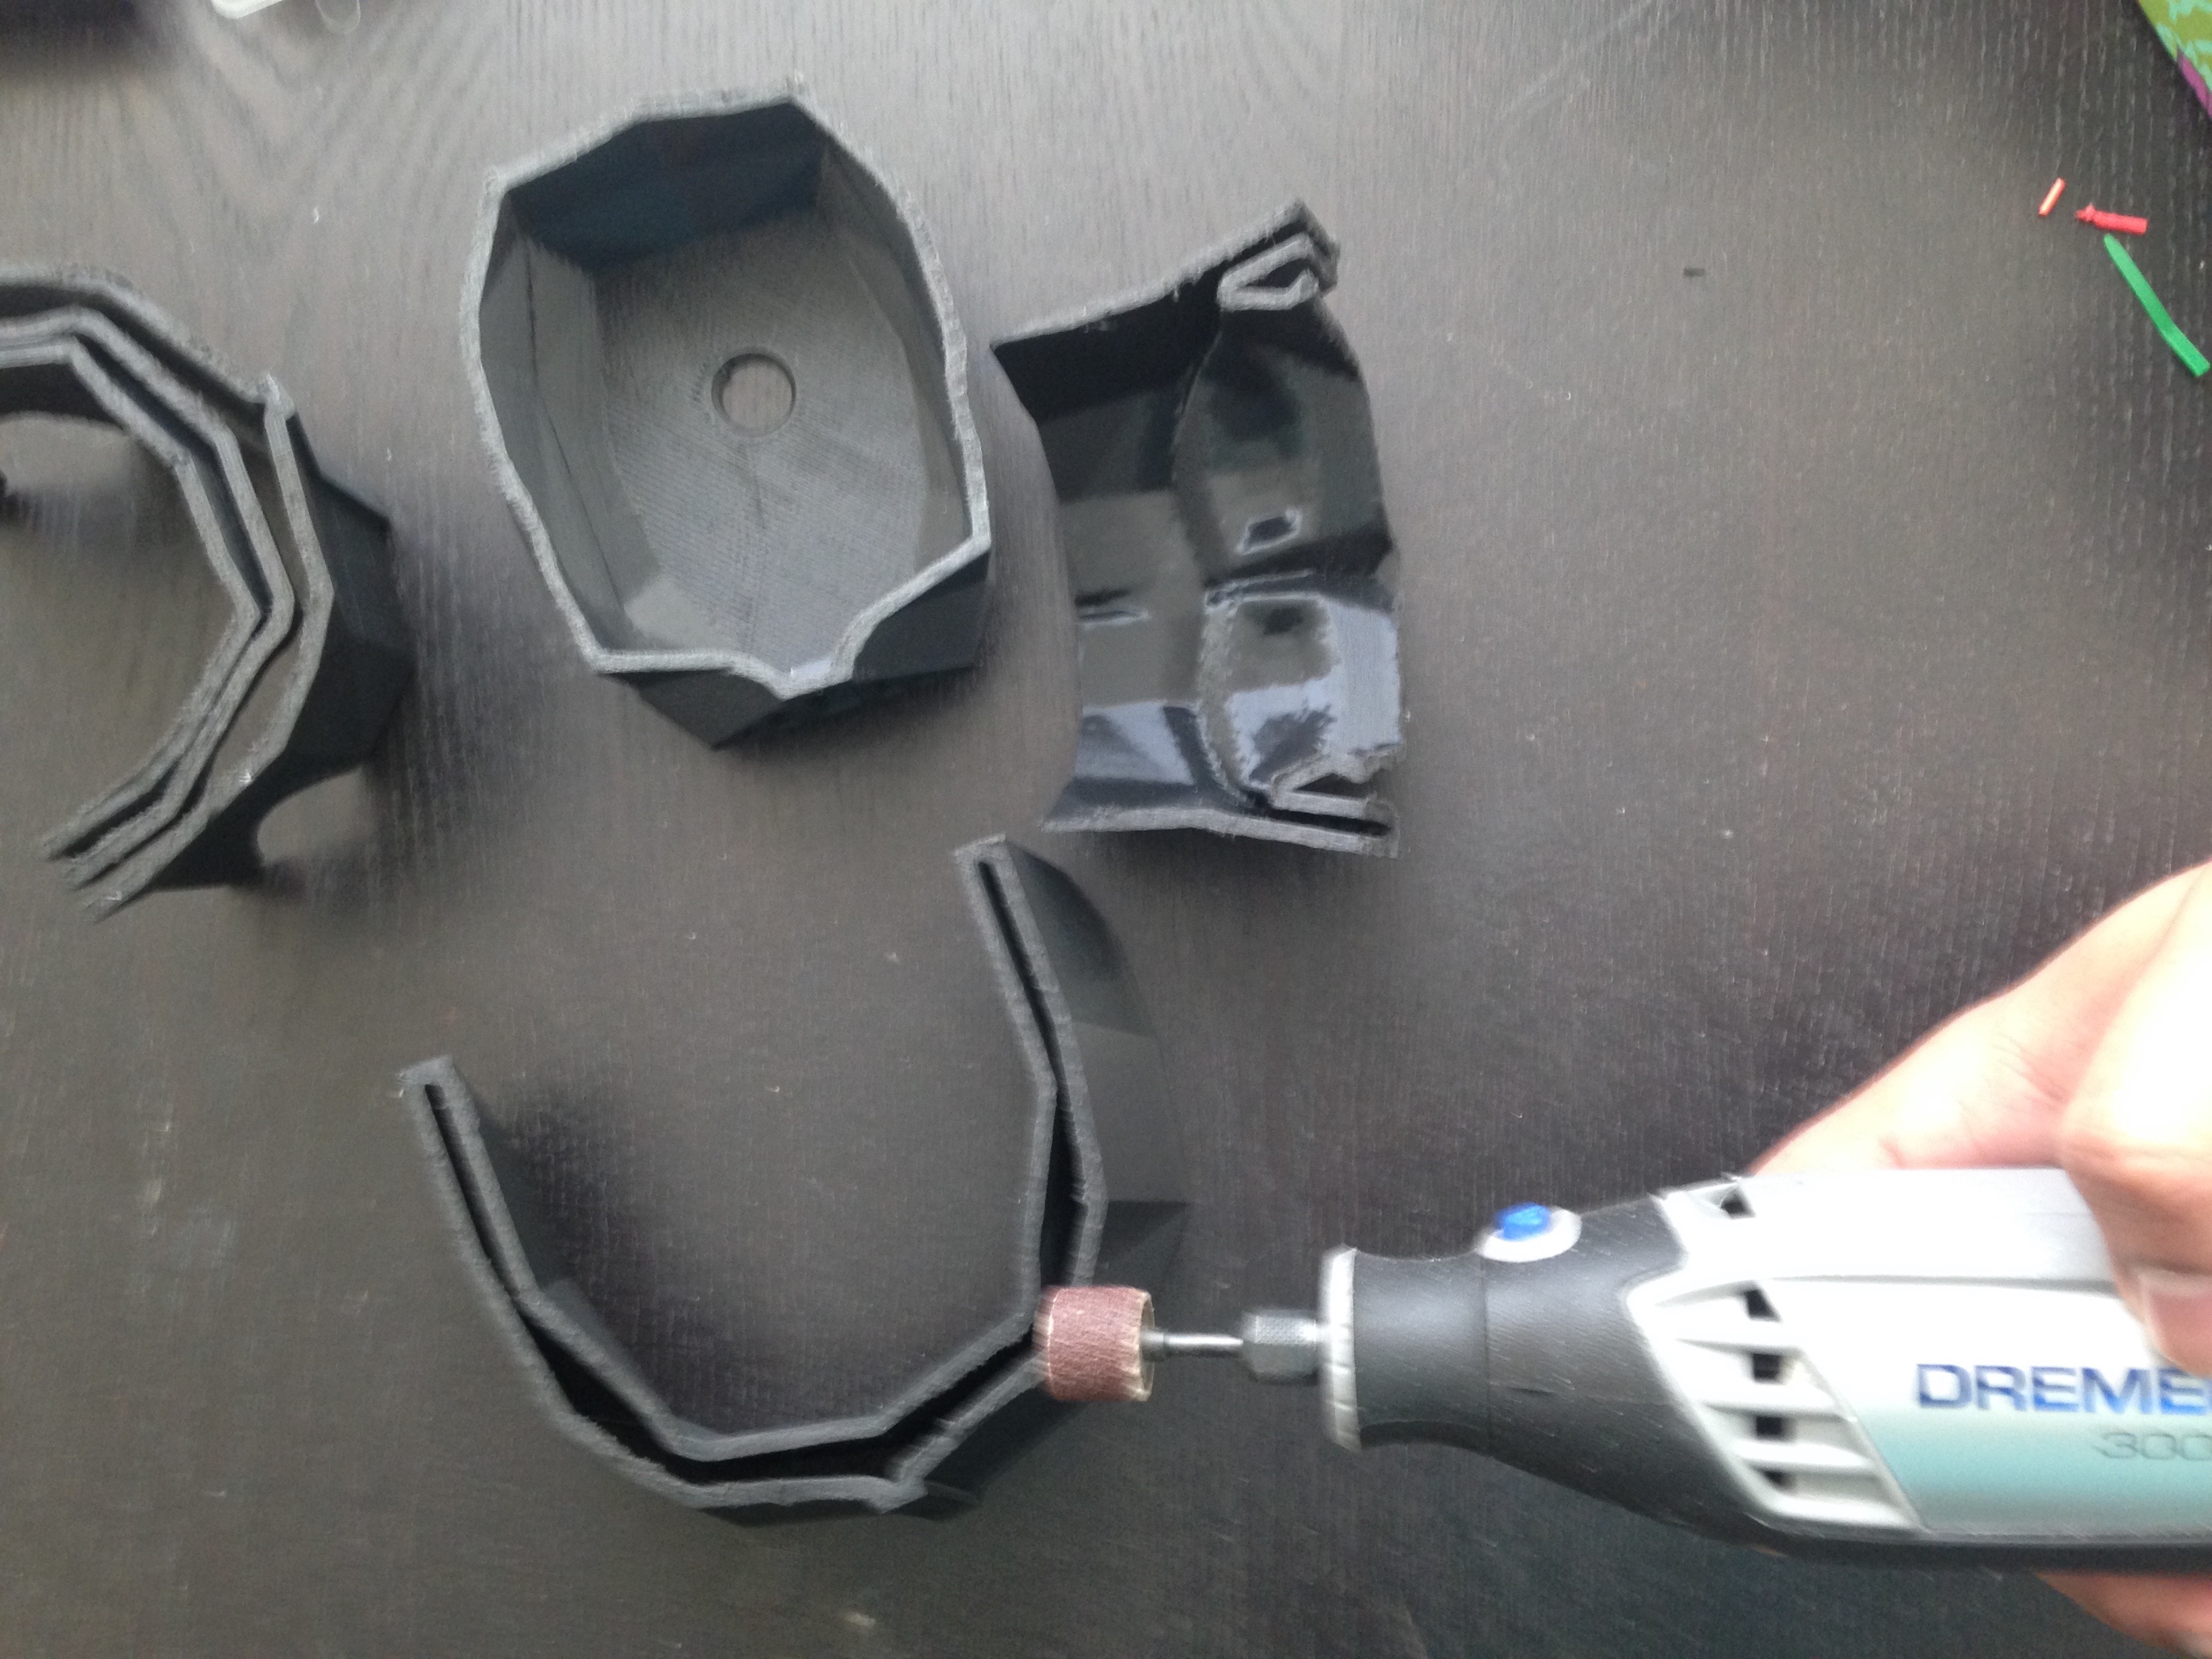
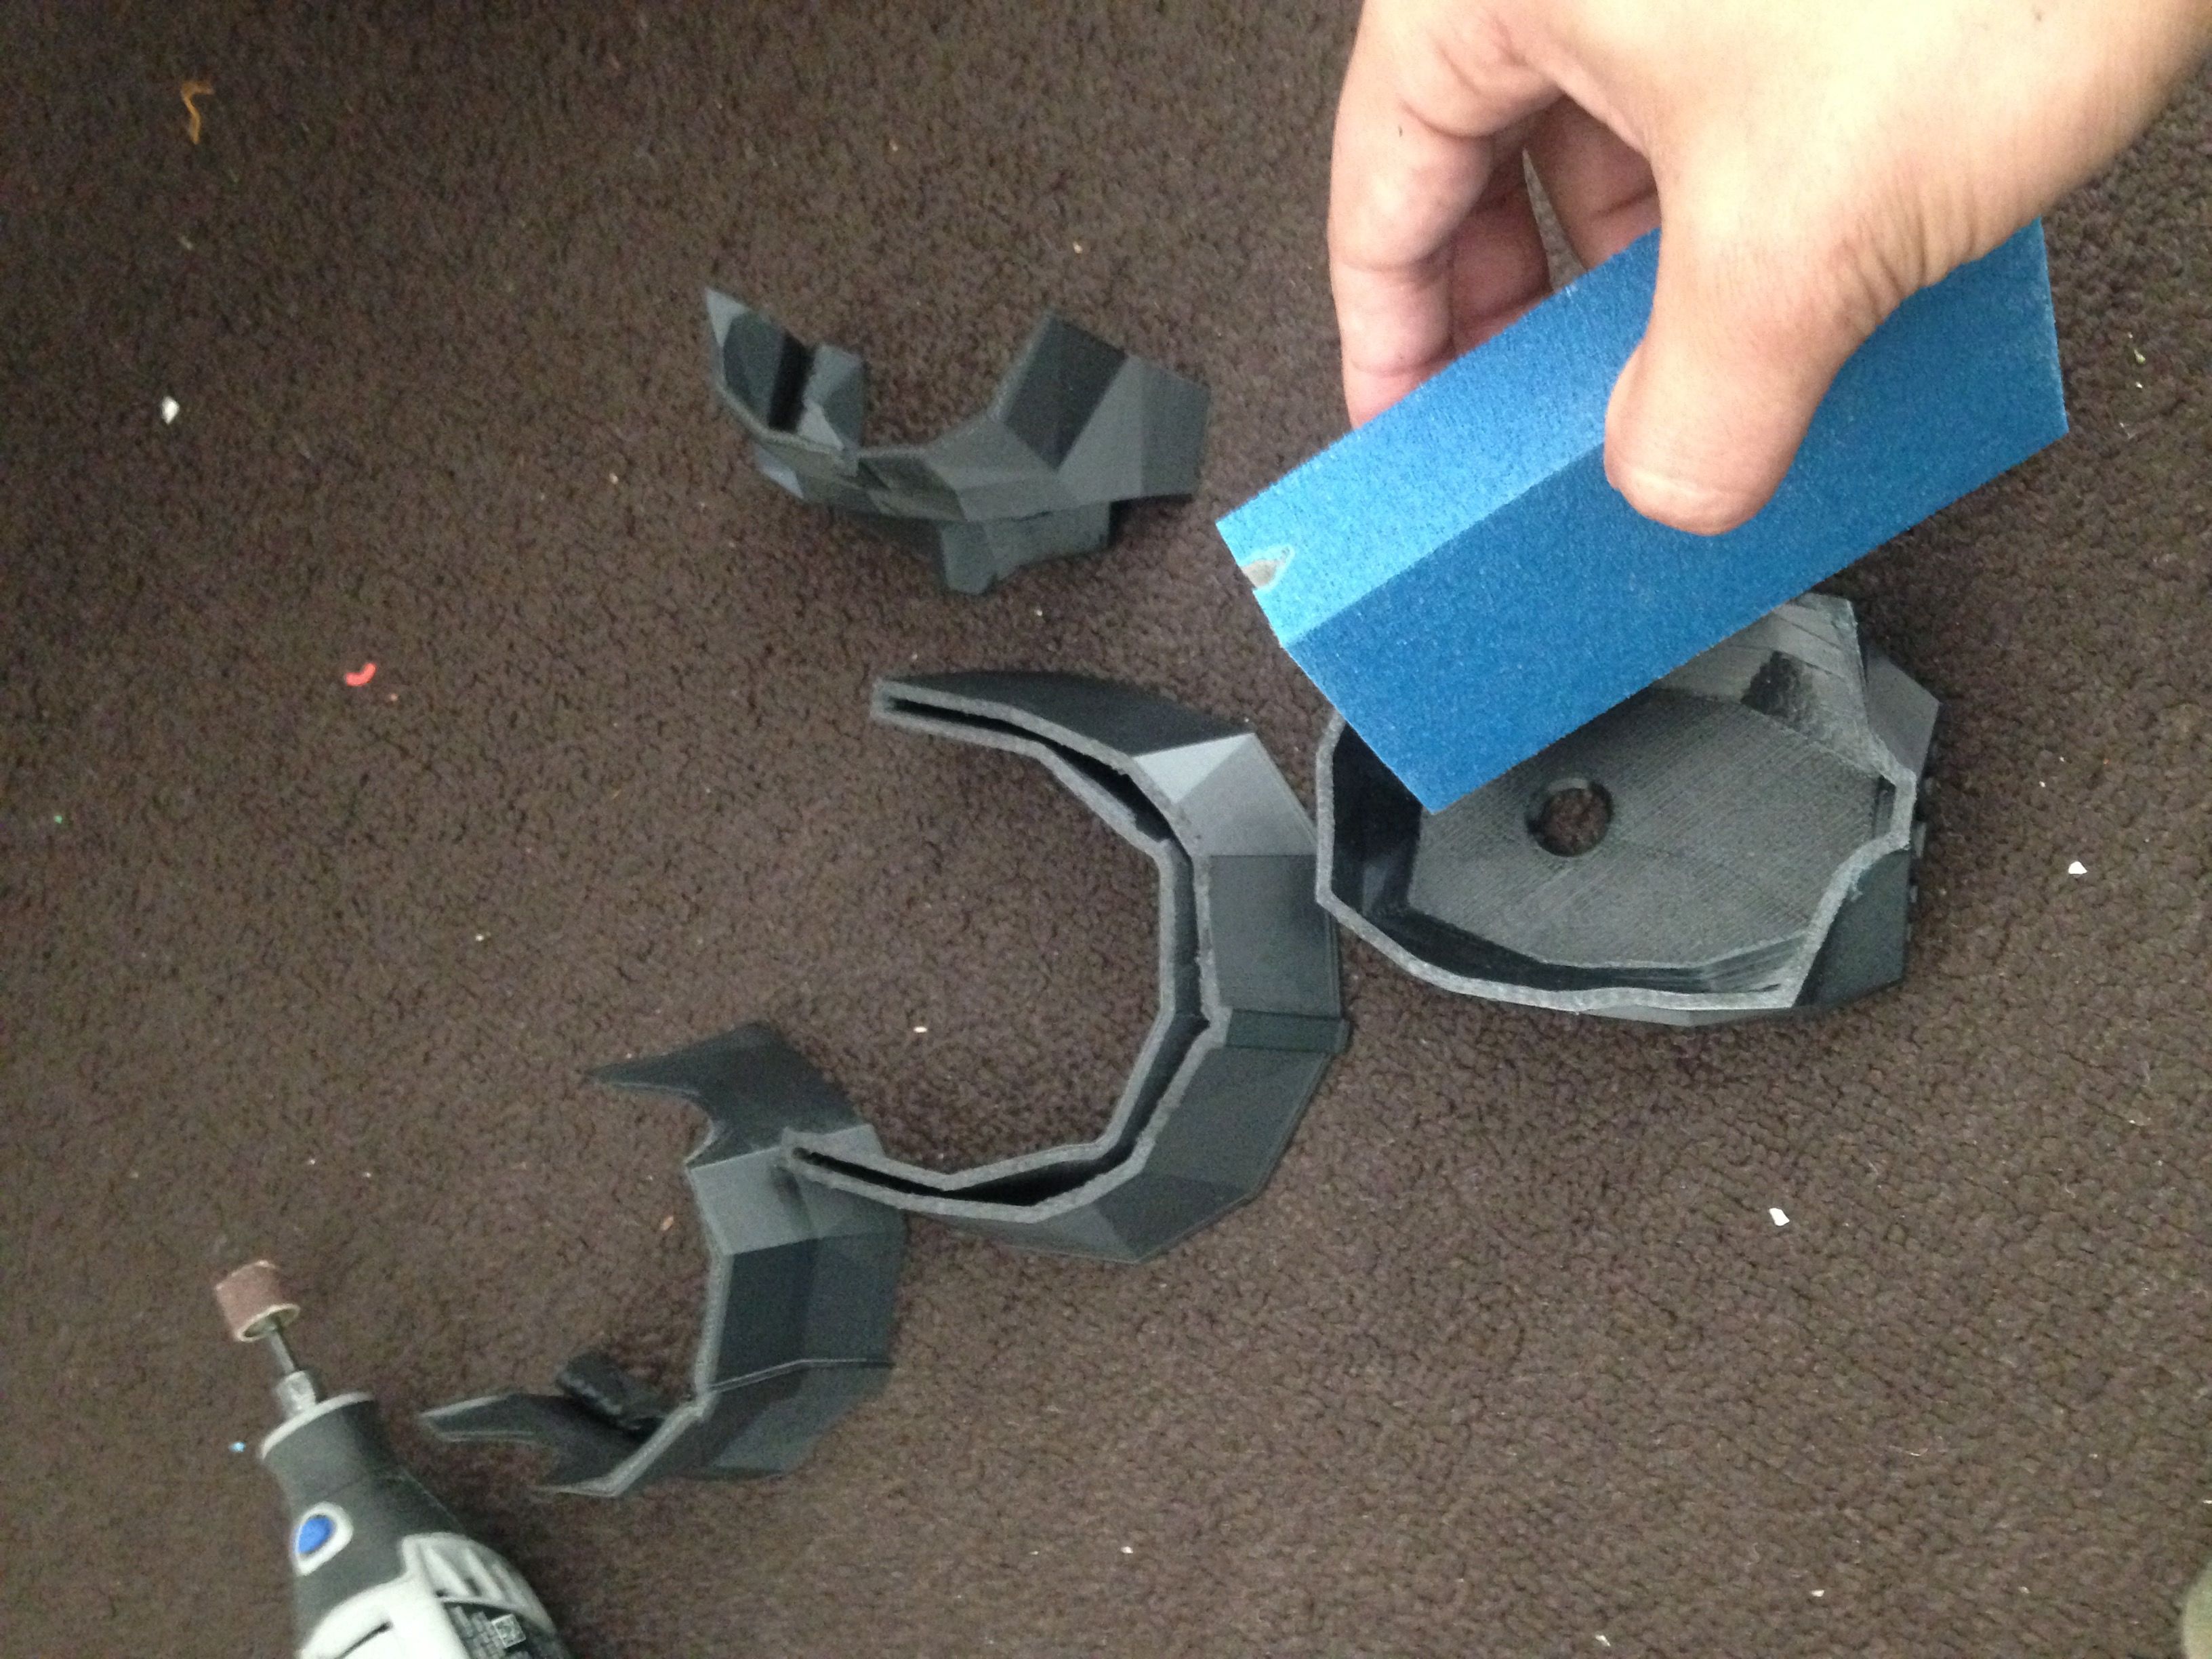
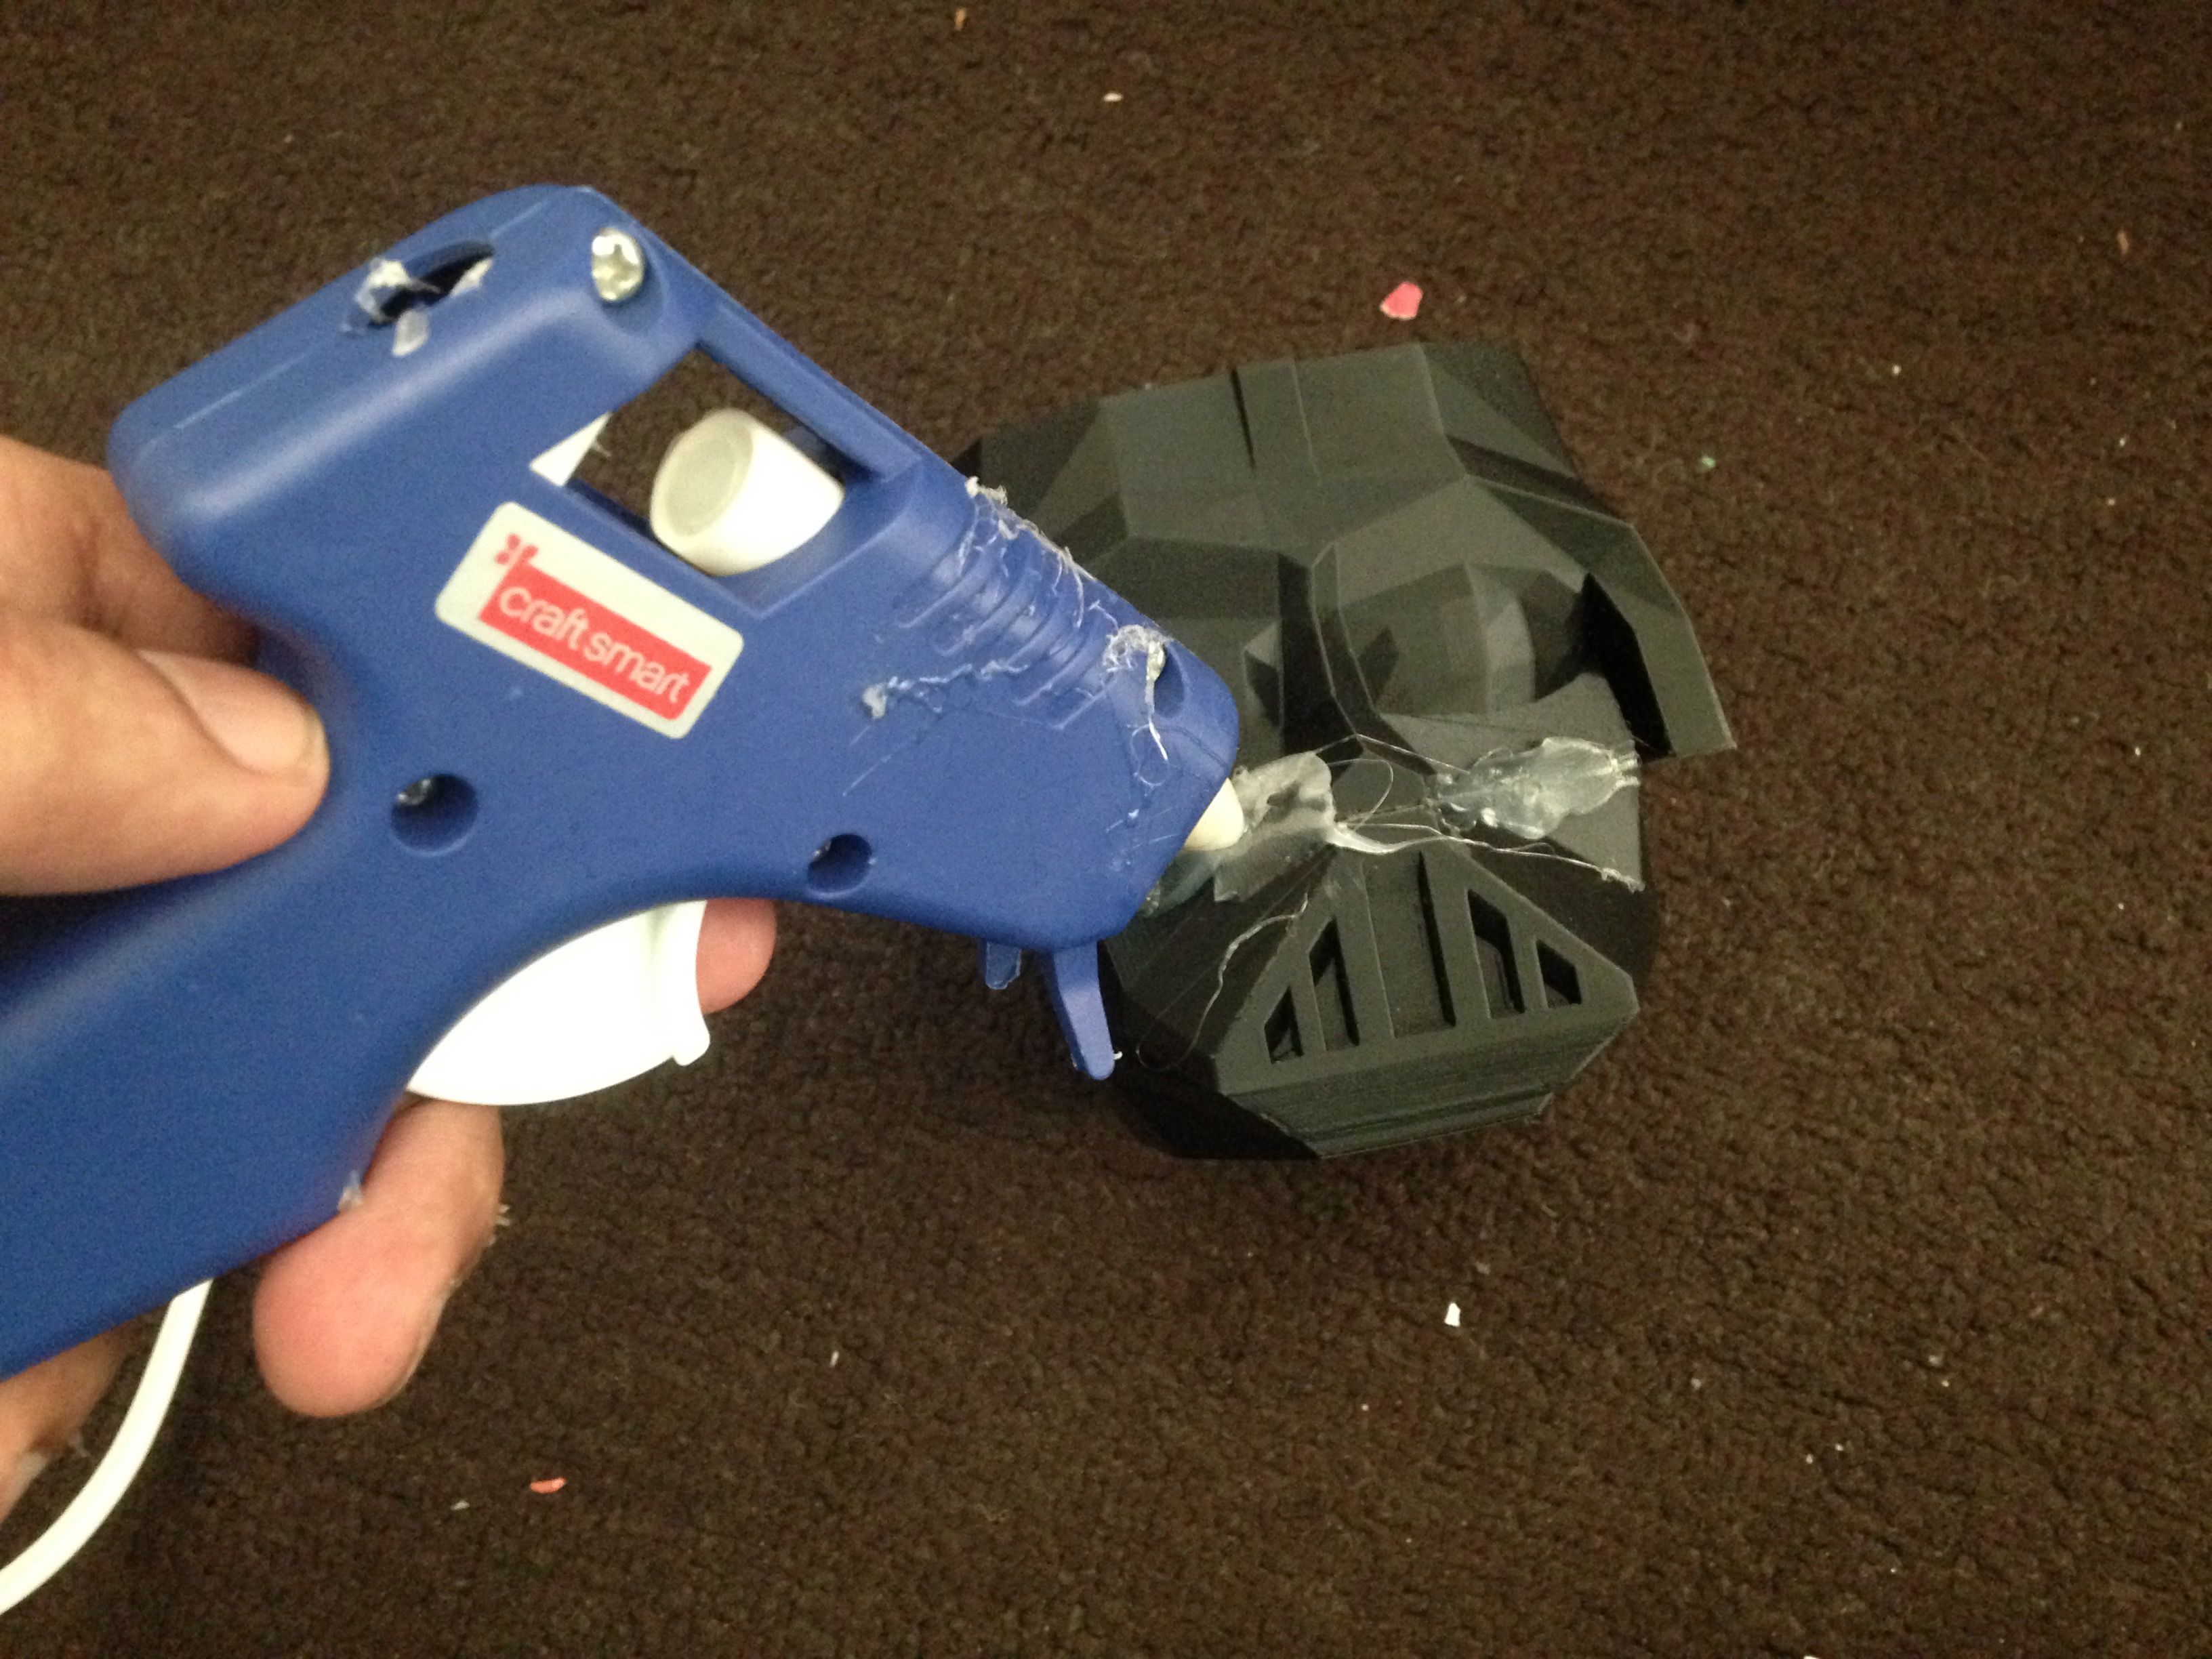
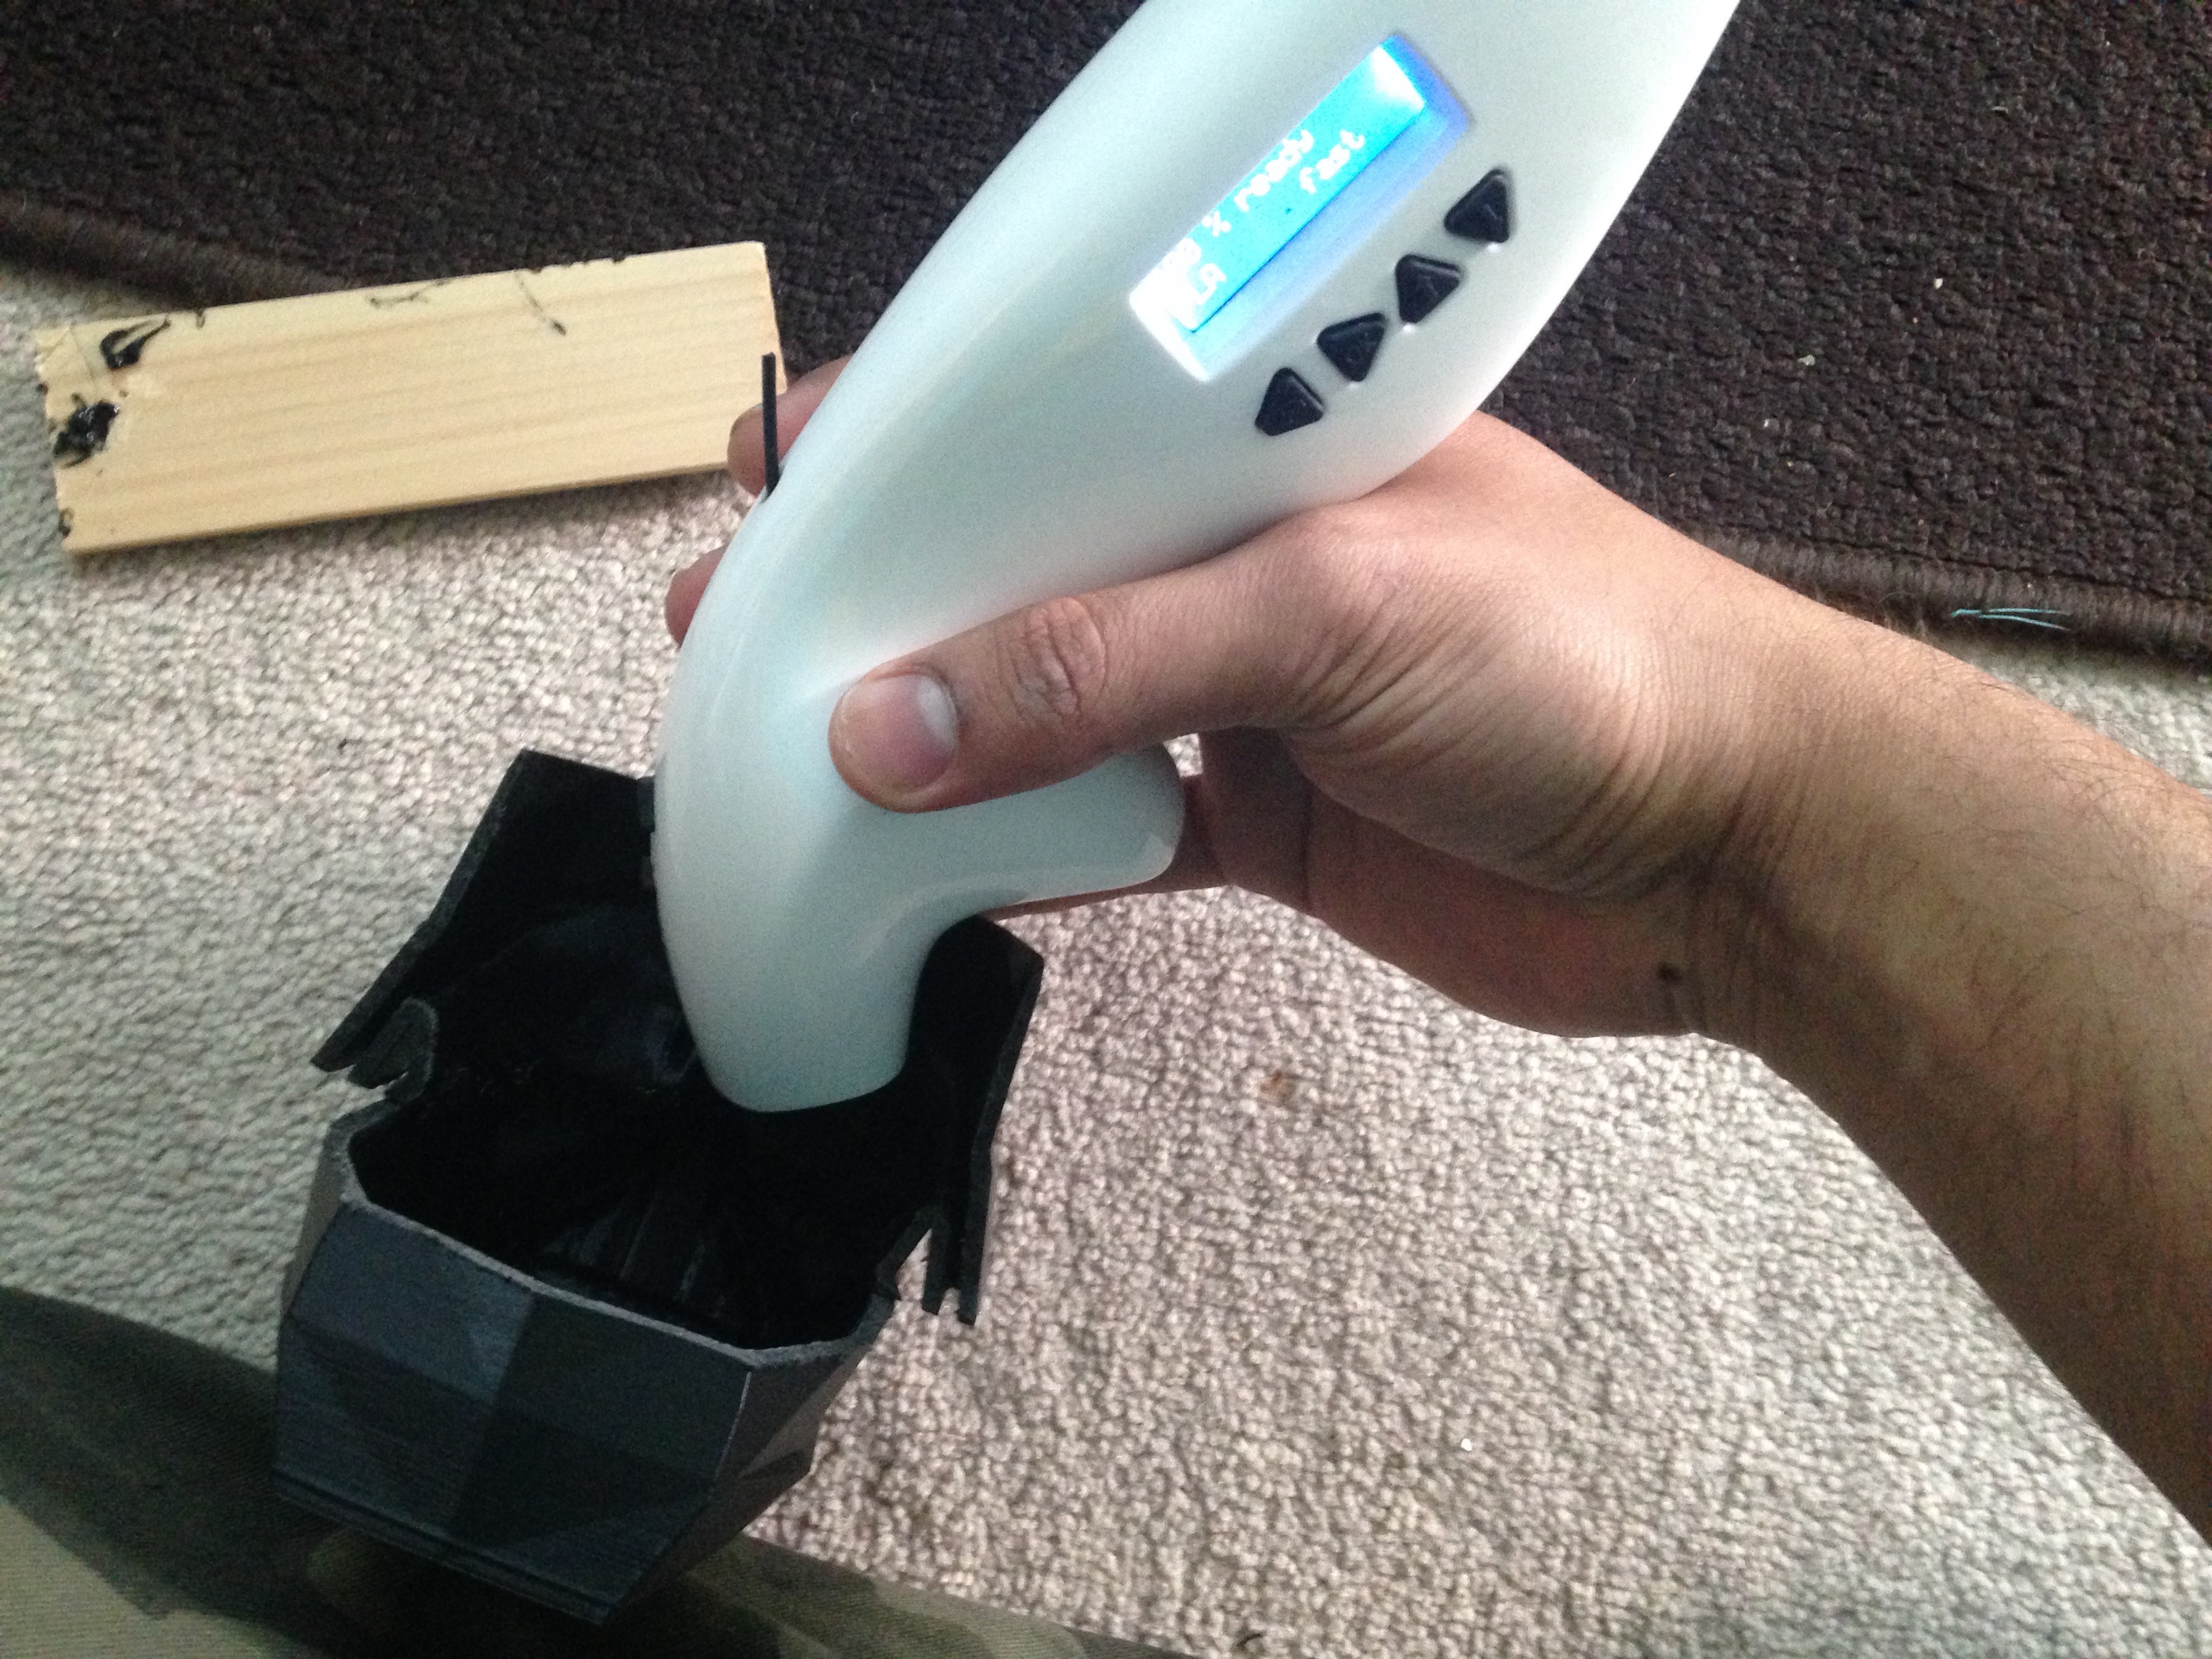
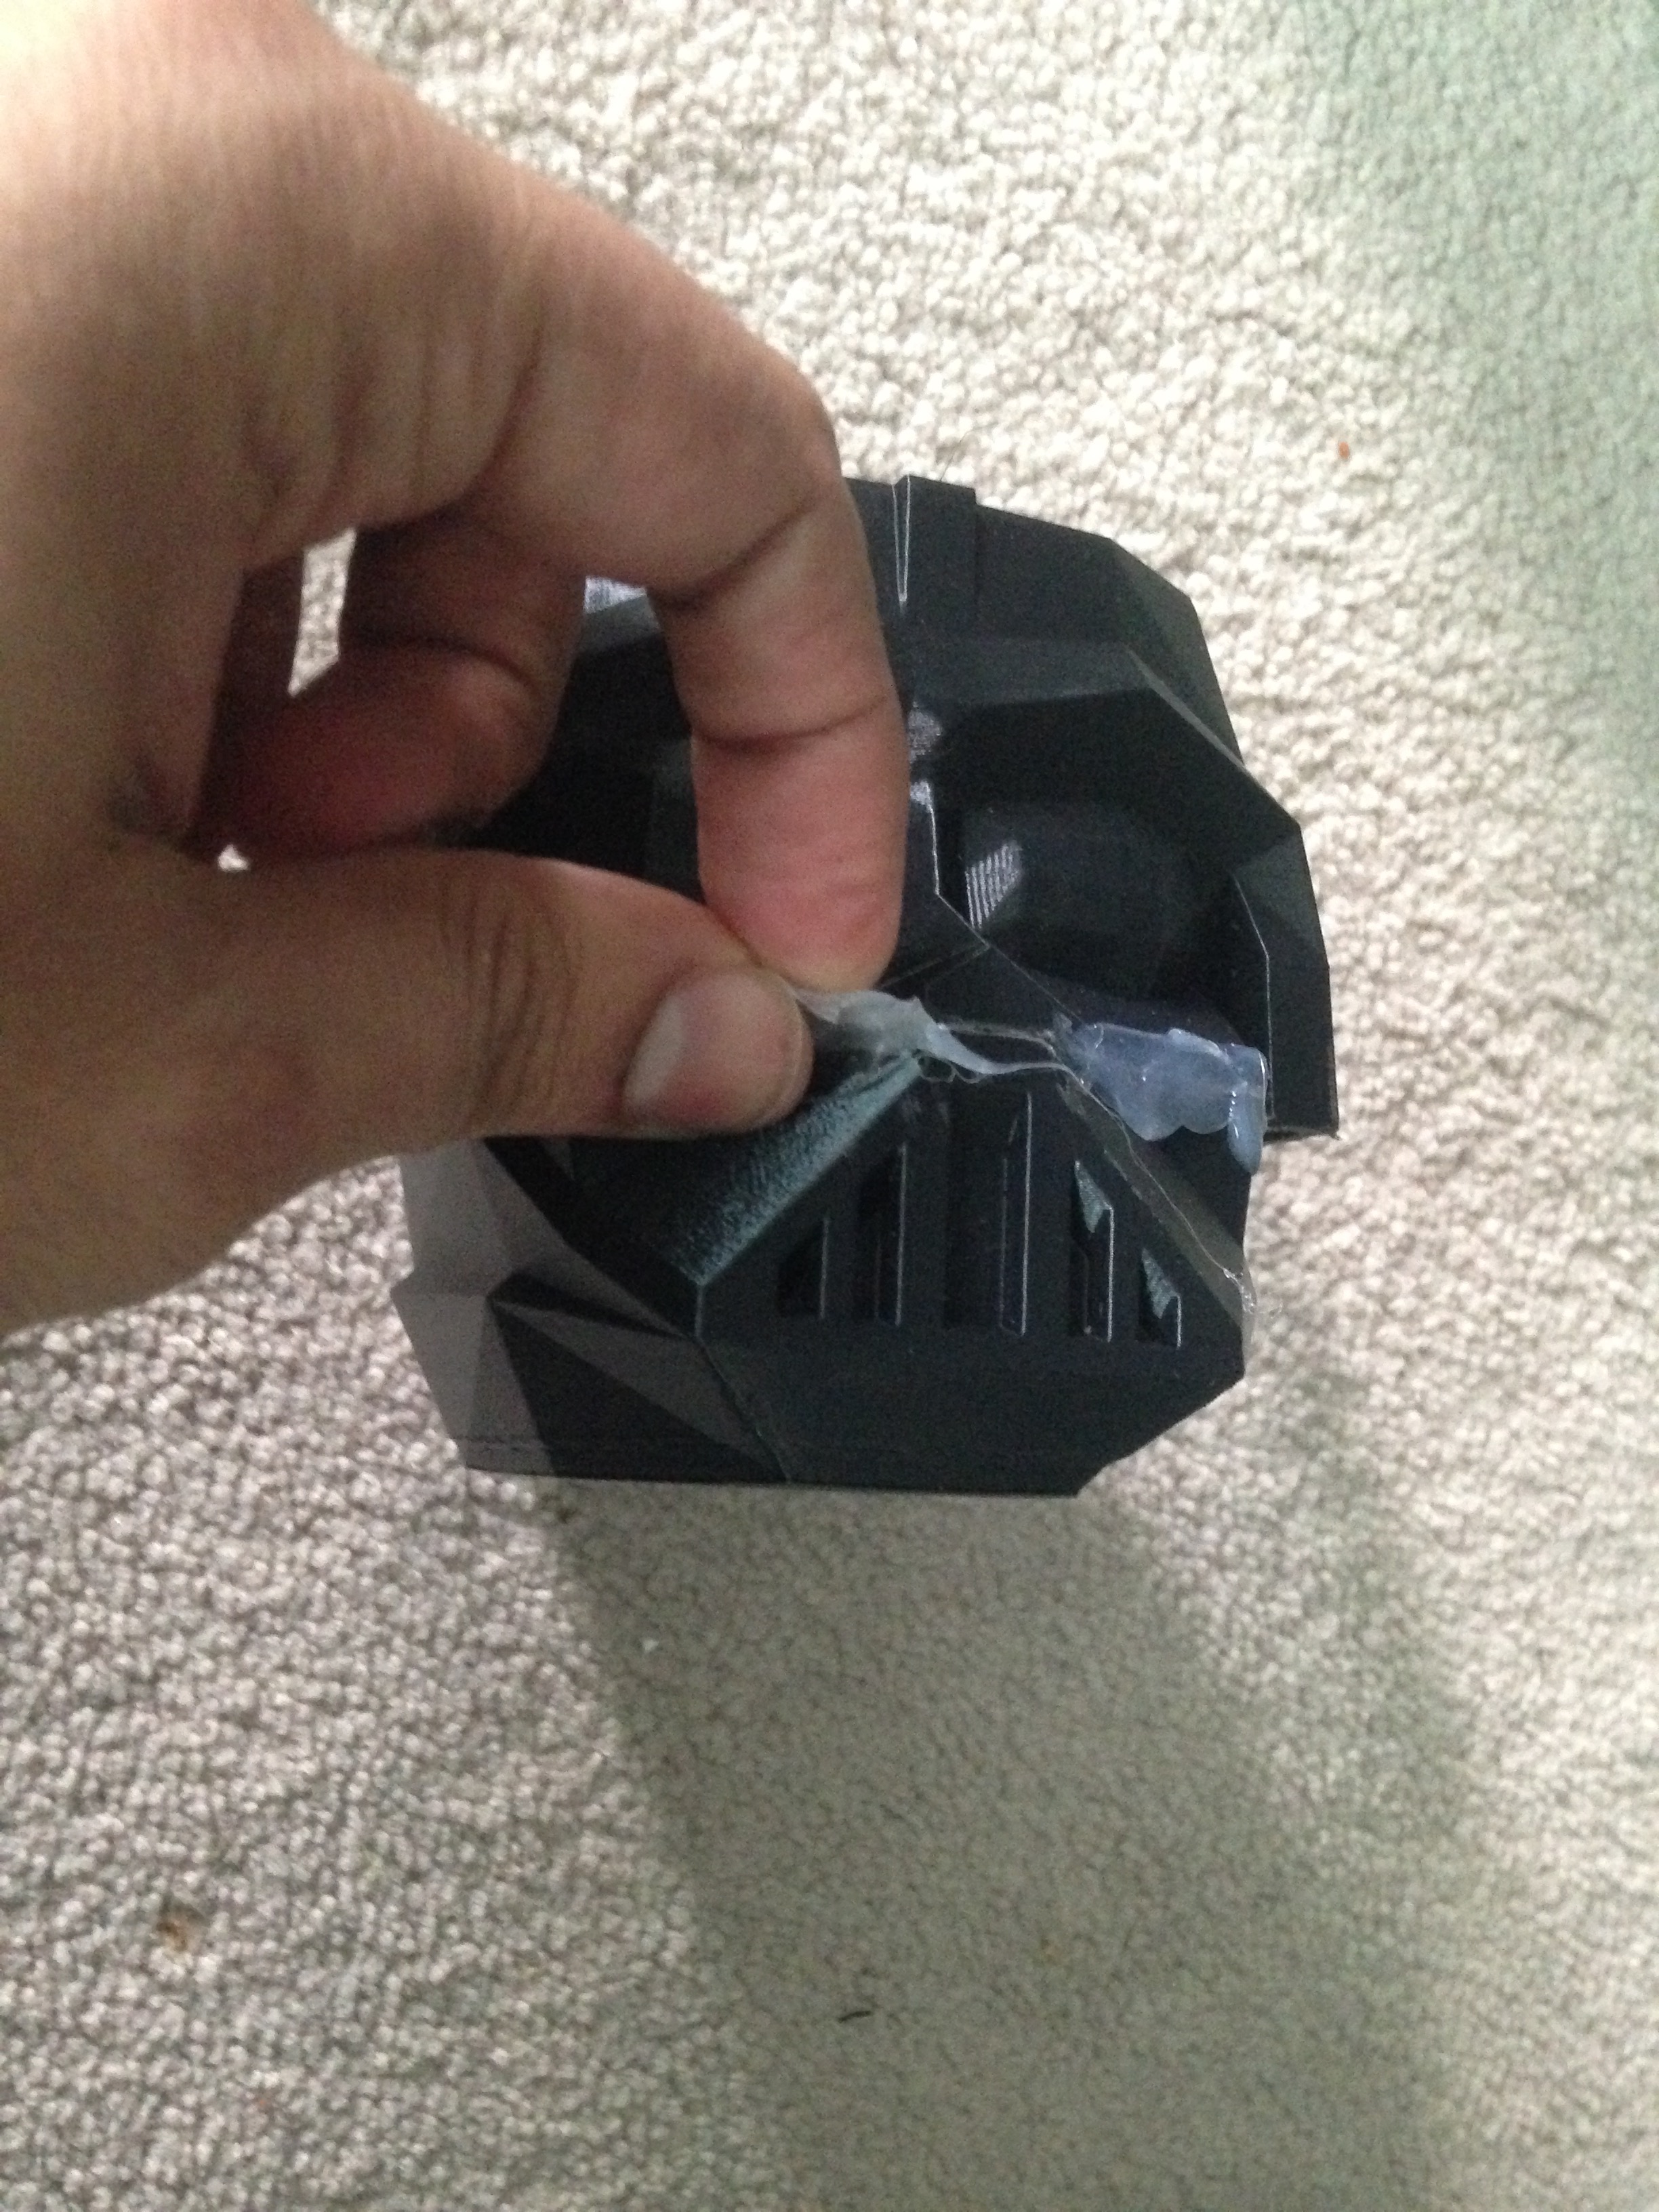
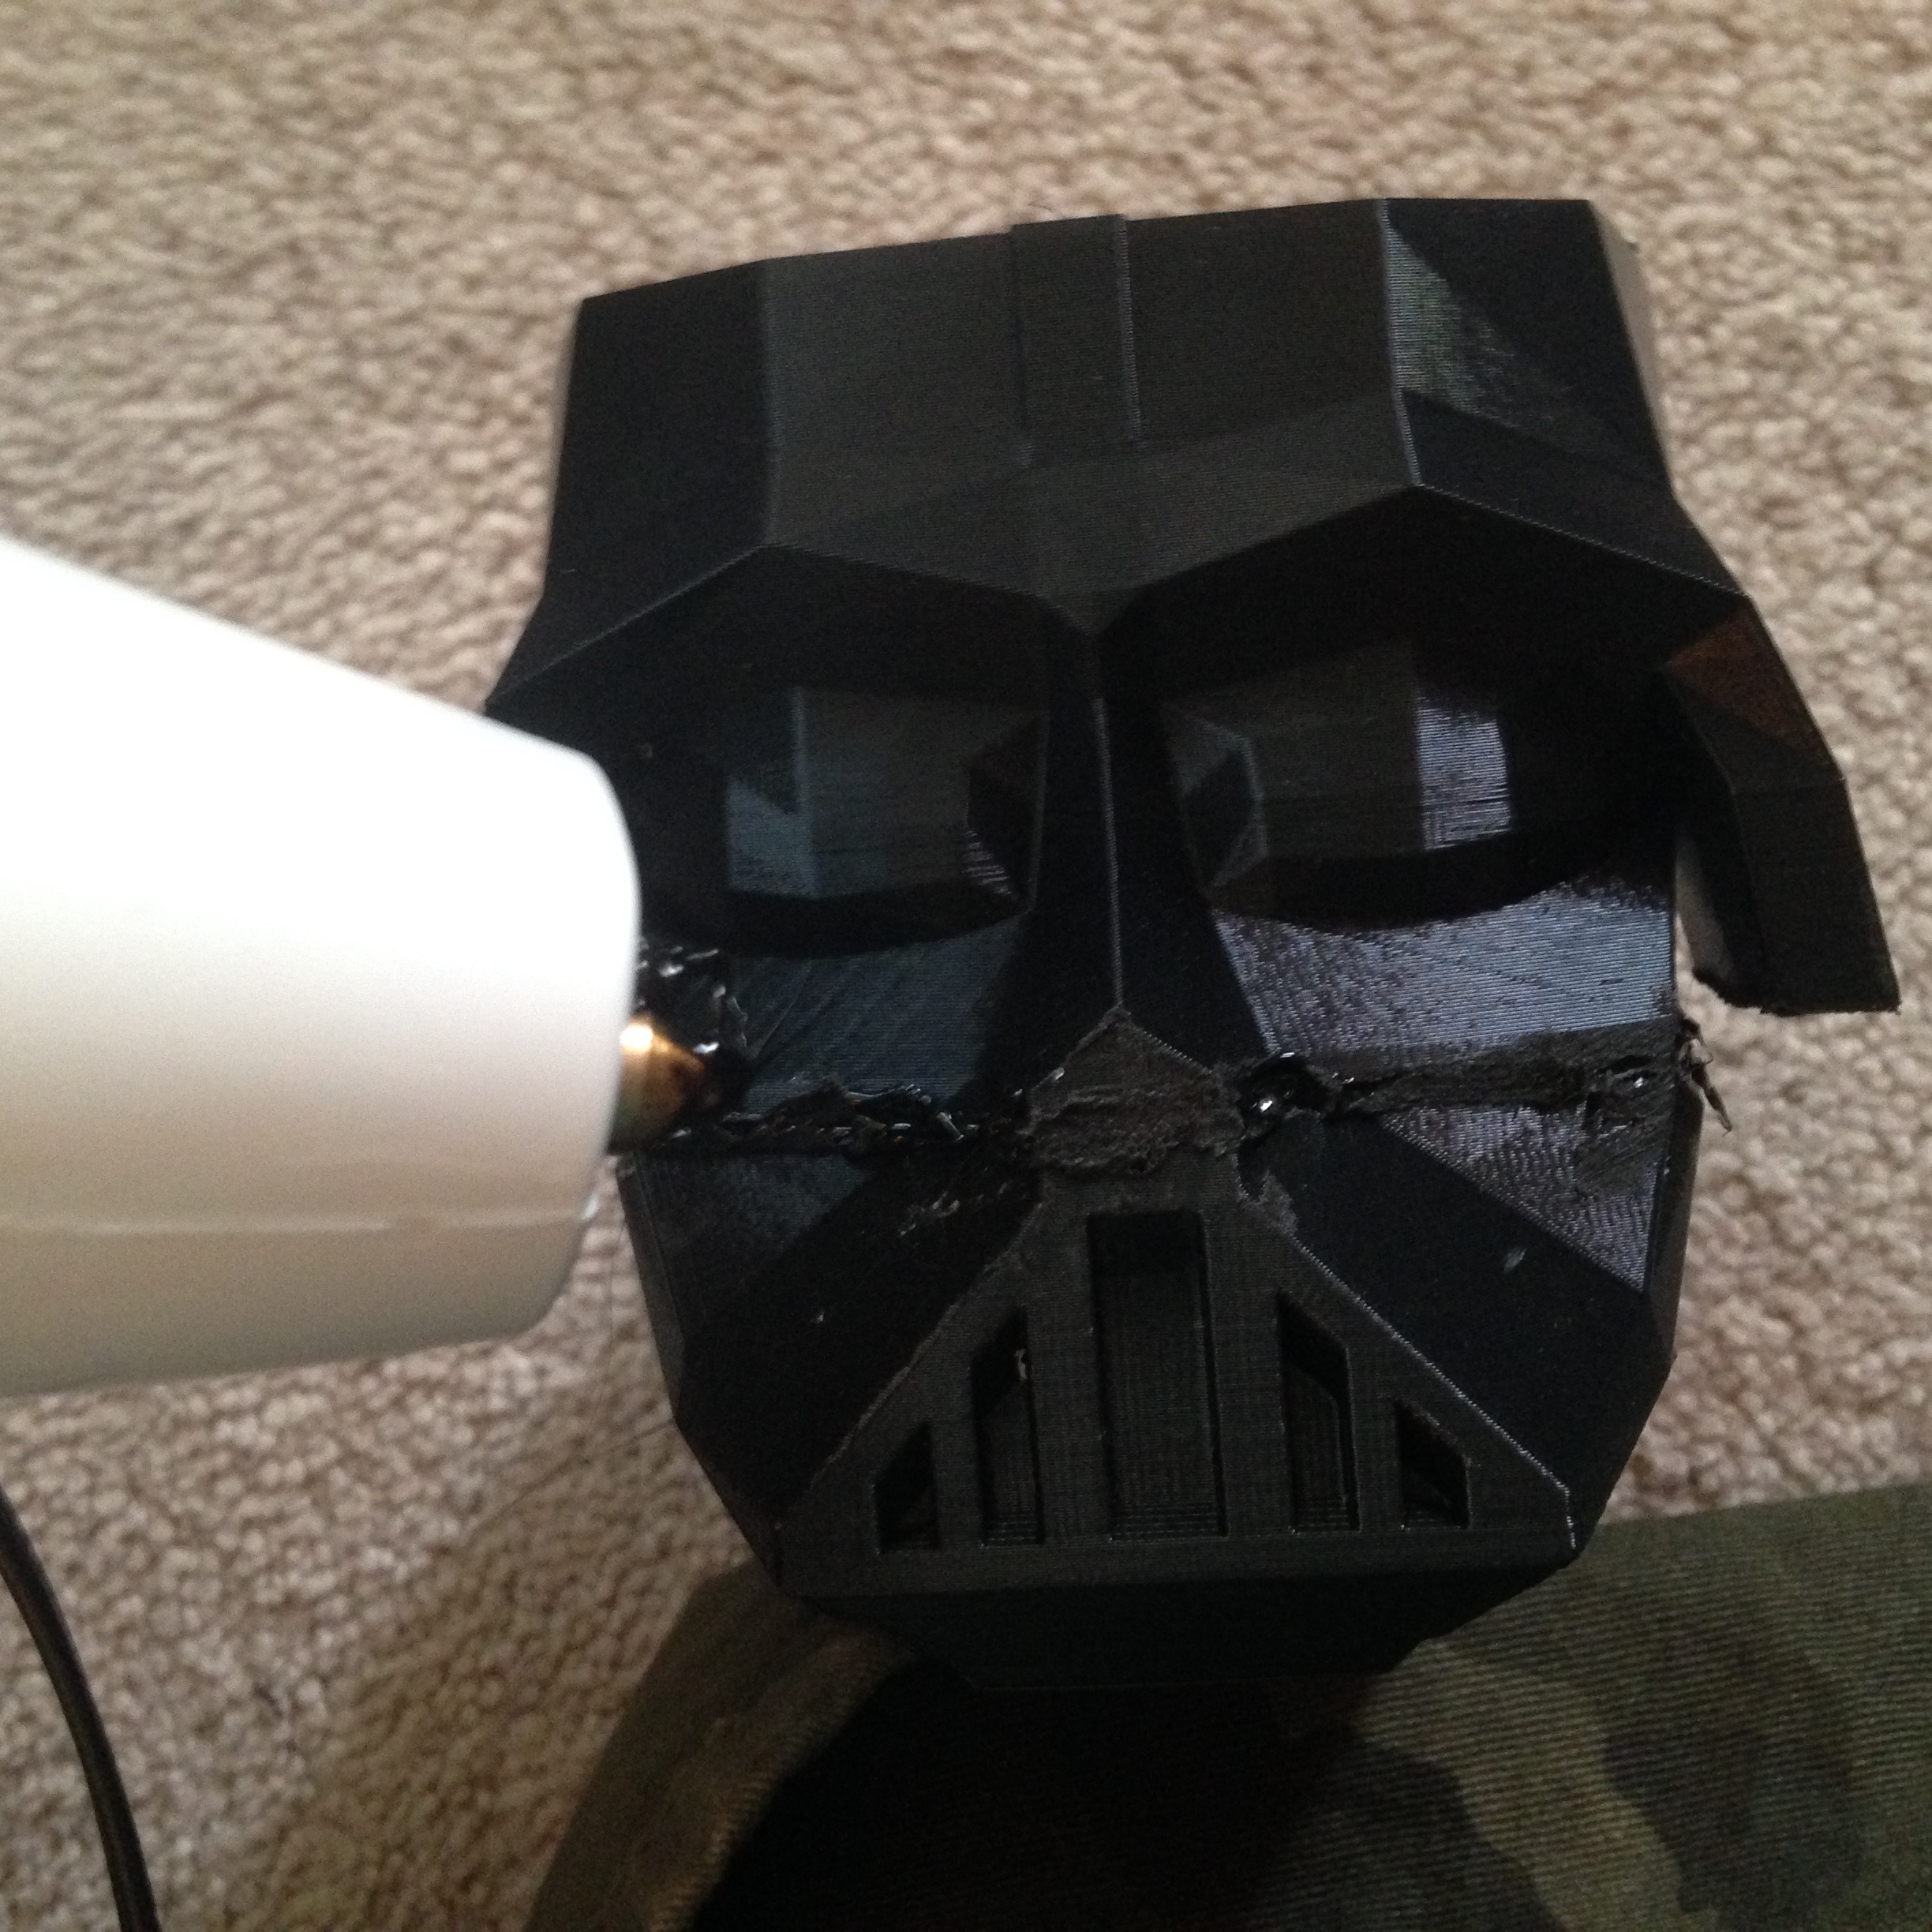
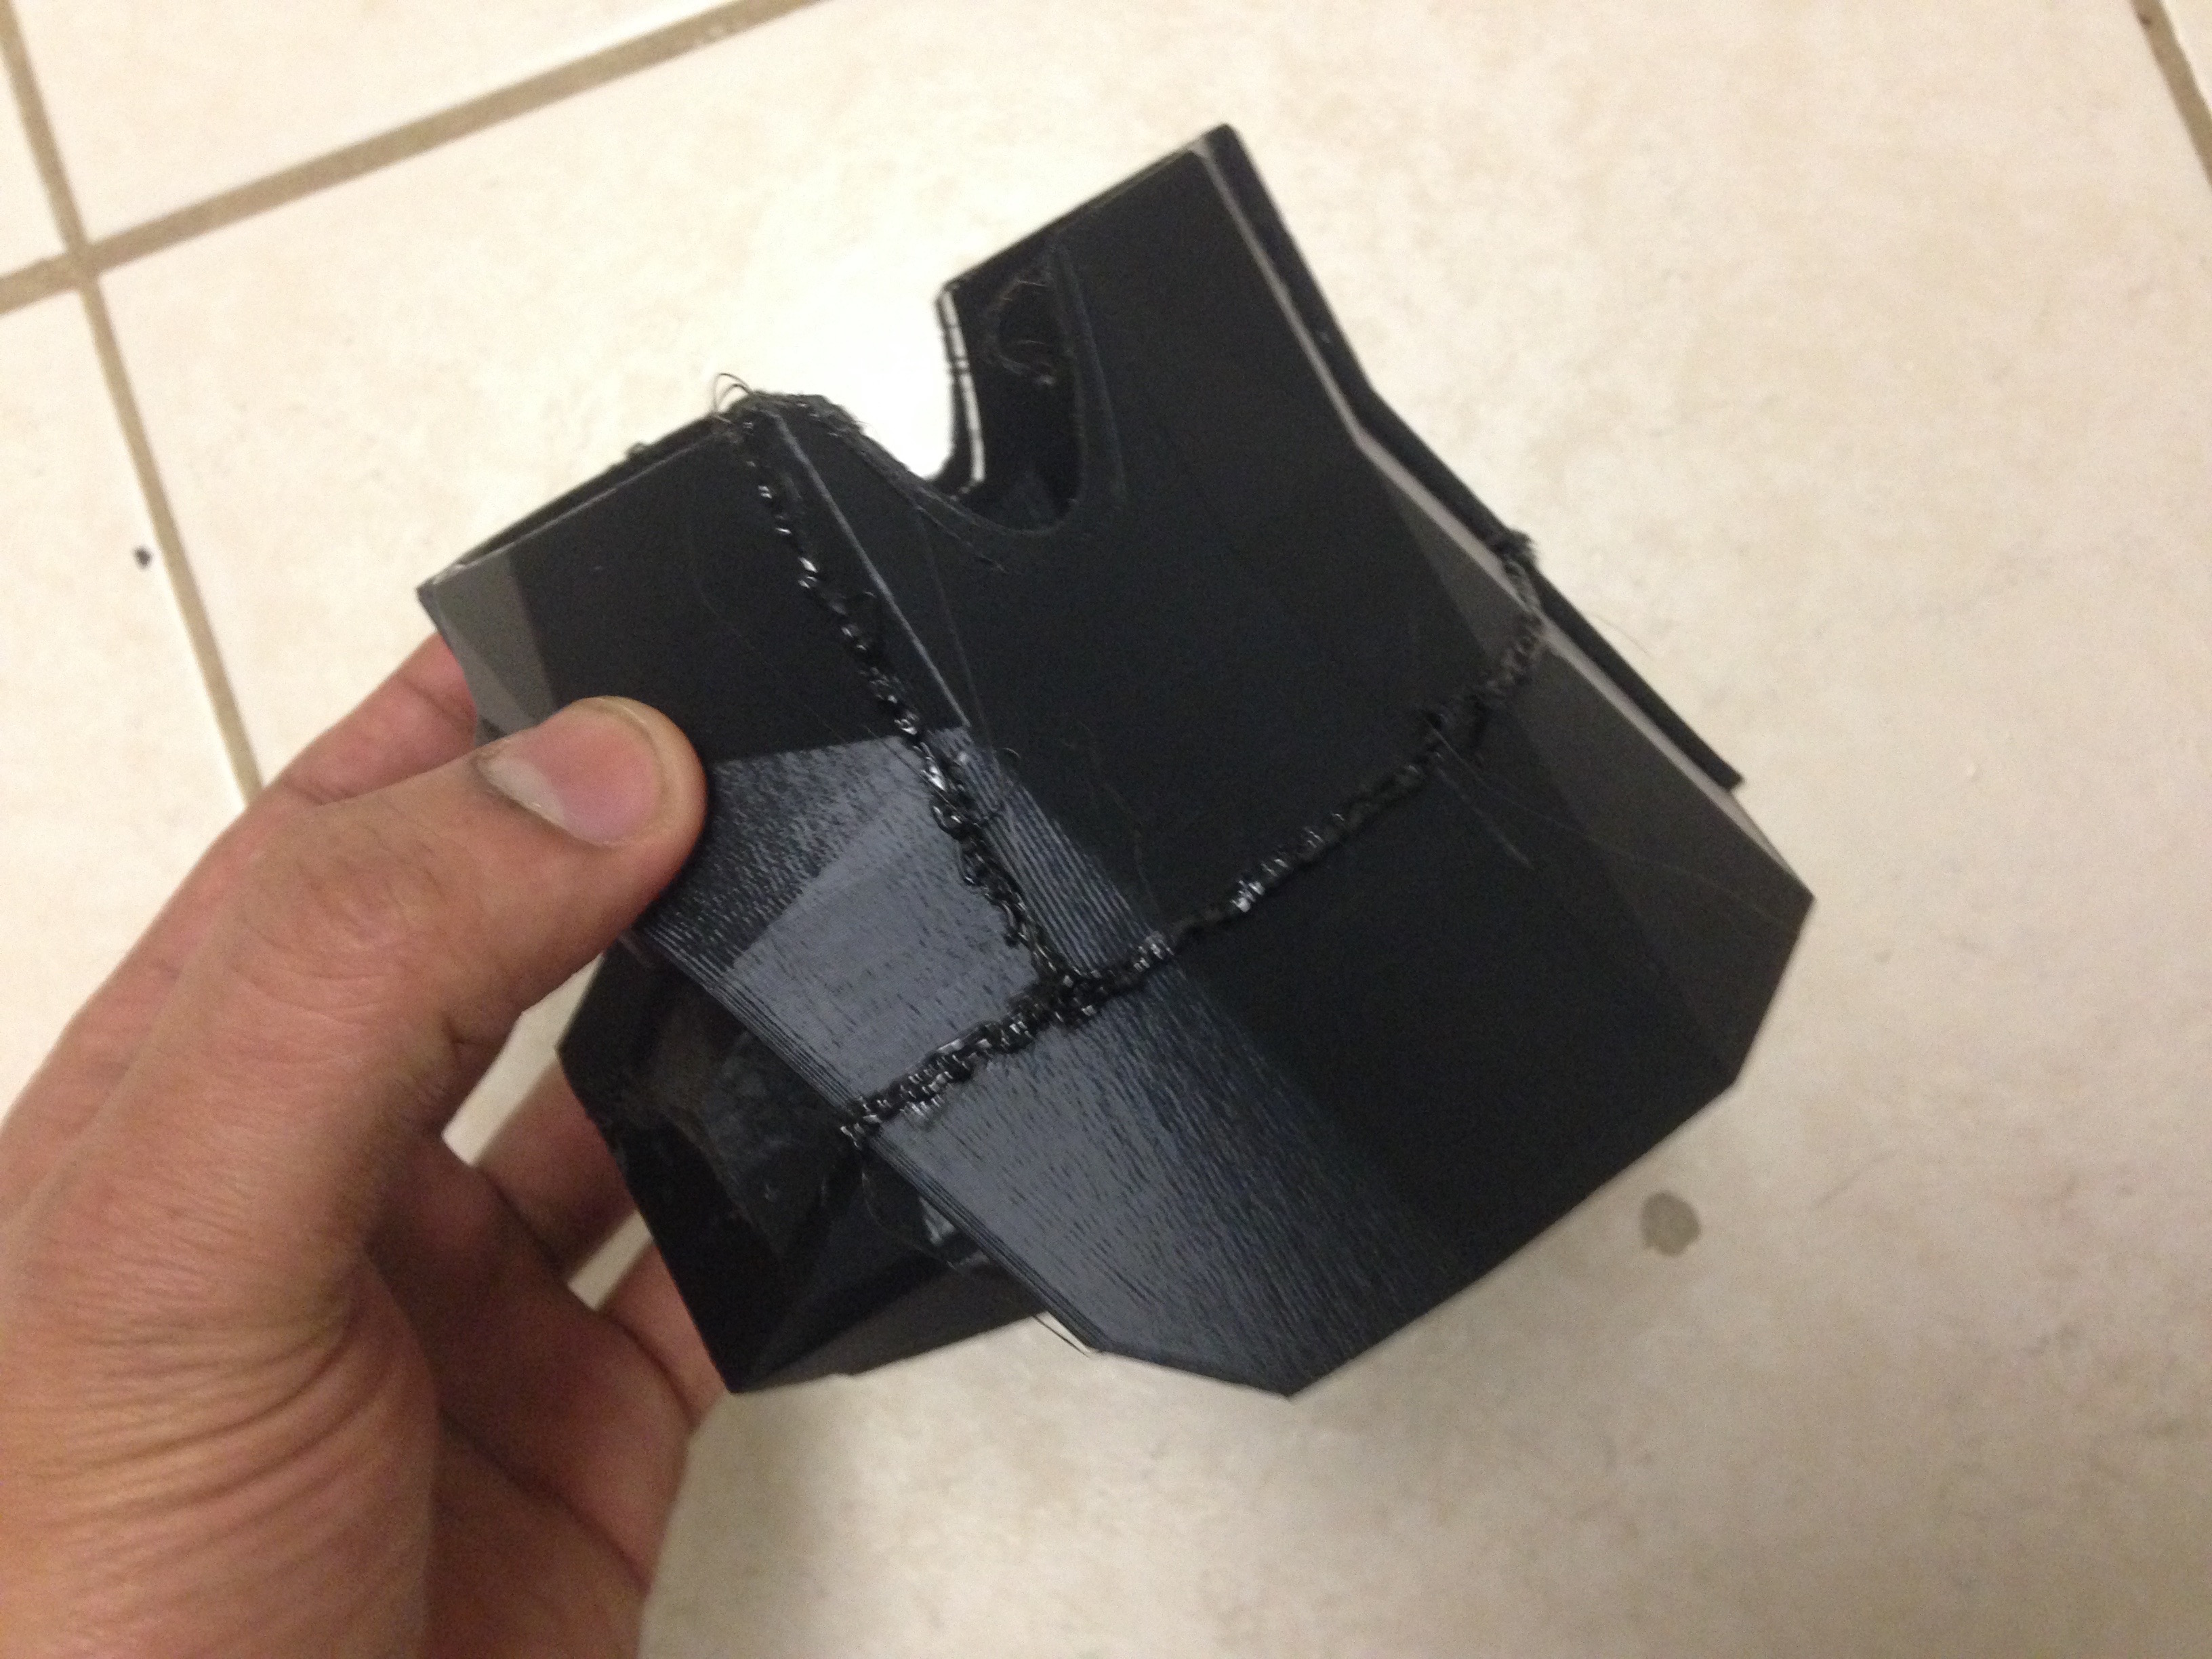
Now to put the part together instead of using super glue, we are going to use a 3D printing pen , which means you will need a few tools -
- Sand paper/sanding foam
- Rotary tool with the sanding bit
- Hot glue gun
- 3D printing pen - I am using the one by 3D Simo , but you can by one from Amazon
- PLA filament from the same spool you used to originally to 3D print the part
- Xacto knife
Once you have your parts printed , use the Rotary tool/sand paper to file the edges of the parts to put together.
Use a hot glue gun to put the parts together ,this will temporarily hold the part in place,and will make it easier to use 3D printing pen to melt PLA on the inside of the part.
Now once the inside of your part is done, remove the hot glue using an xacto knife from the outside as shown in the picture above, and extrude out filament from the Pen to apply to the outside of the part.
Note
- Using this method can test your patience!! , so remember take breaks.
- In addition, remember to do this in a well ventilated area and wear protective glasses to cover your eyes while sanding.
Sanding and More Sanding
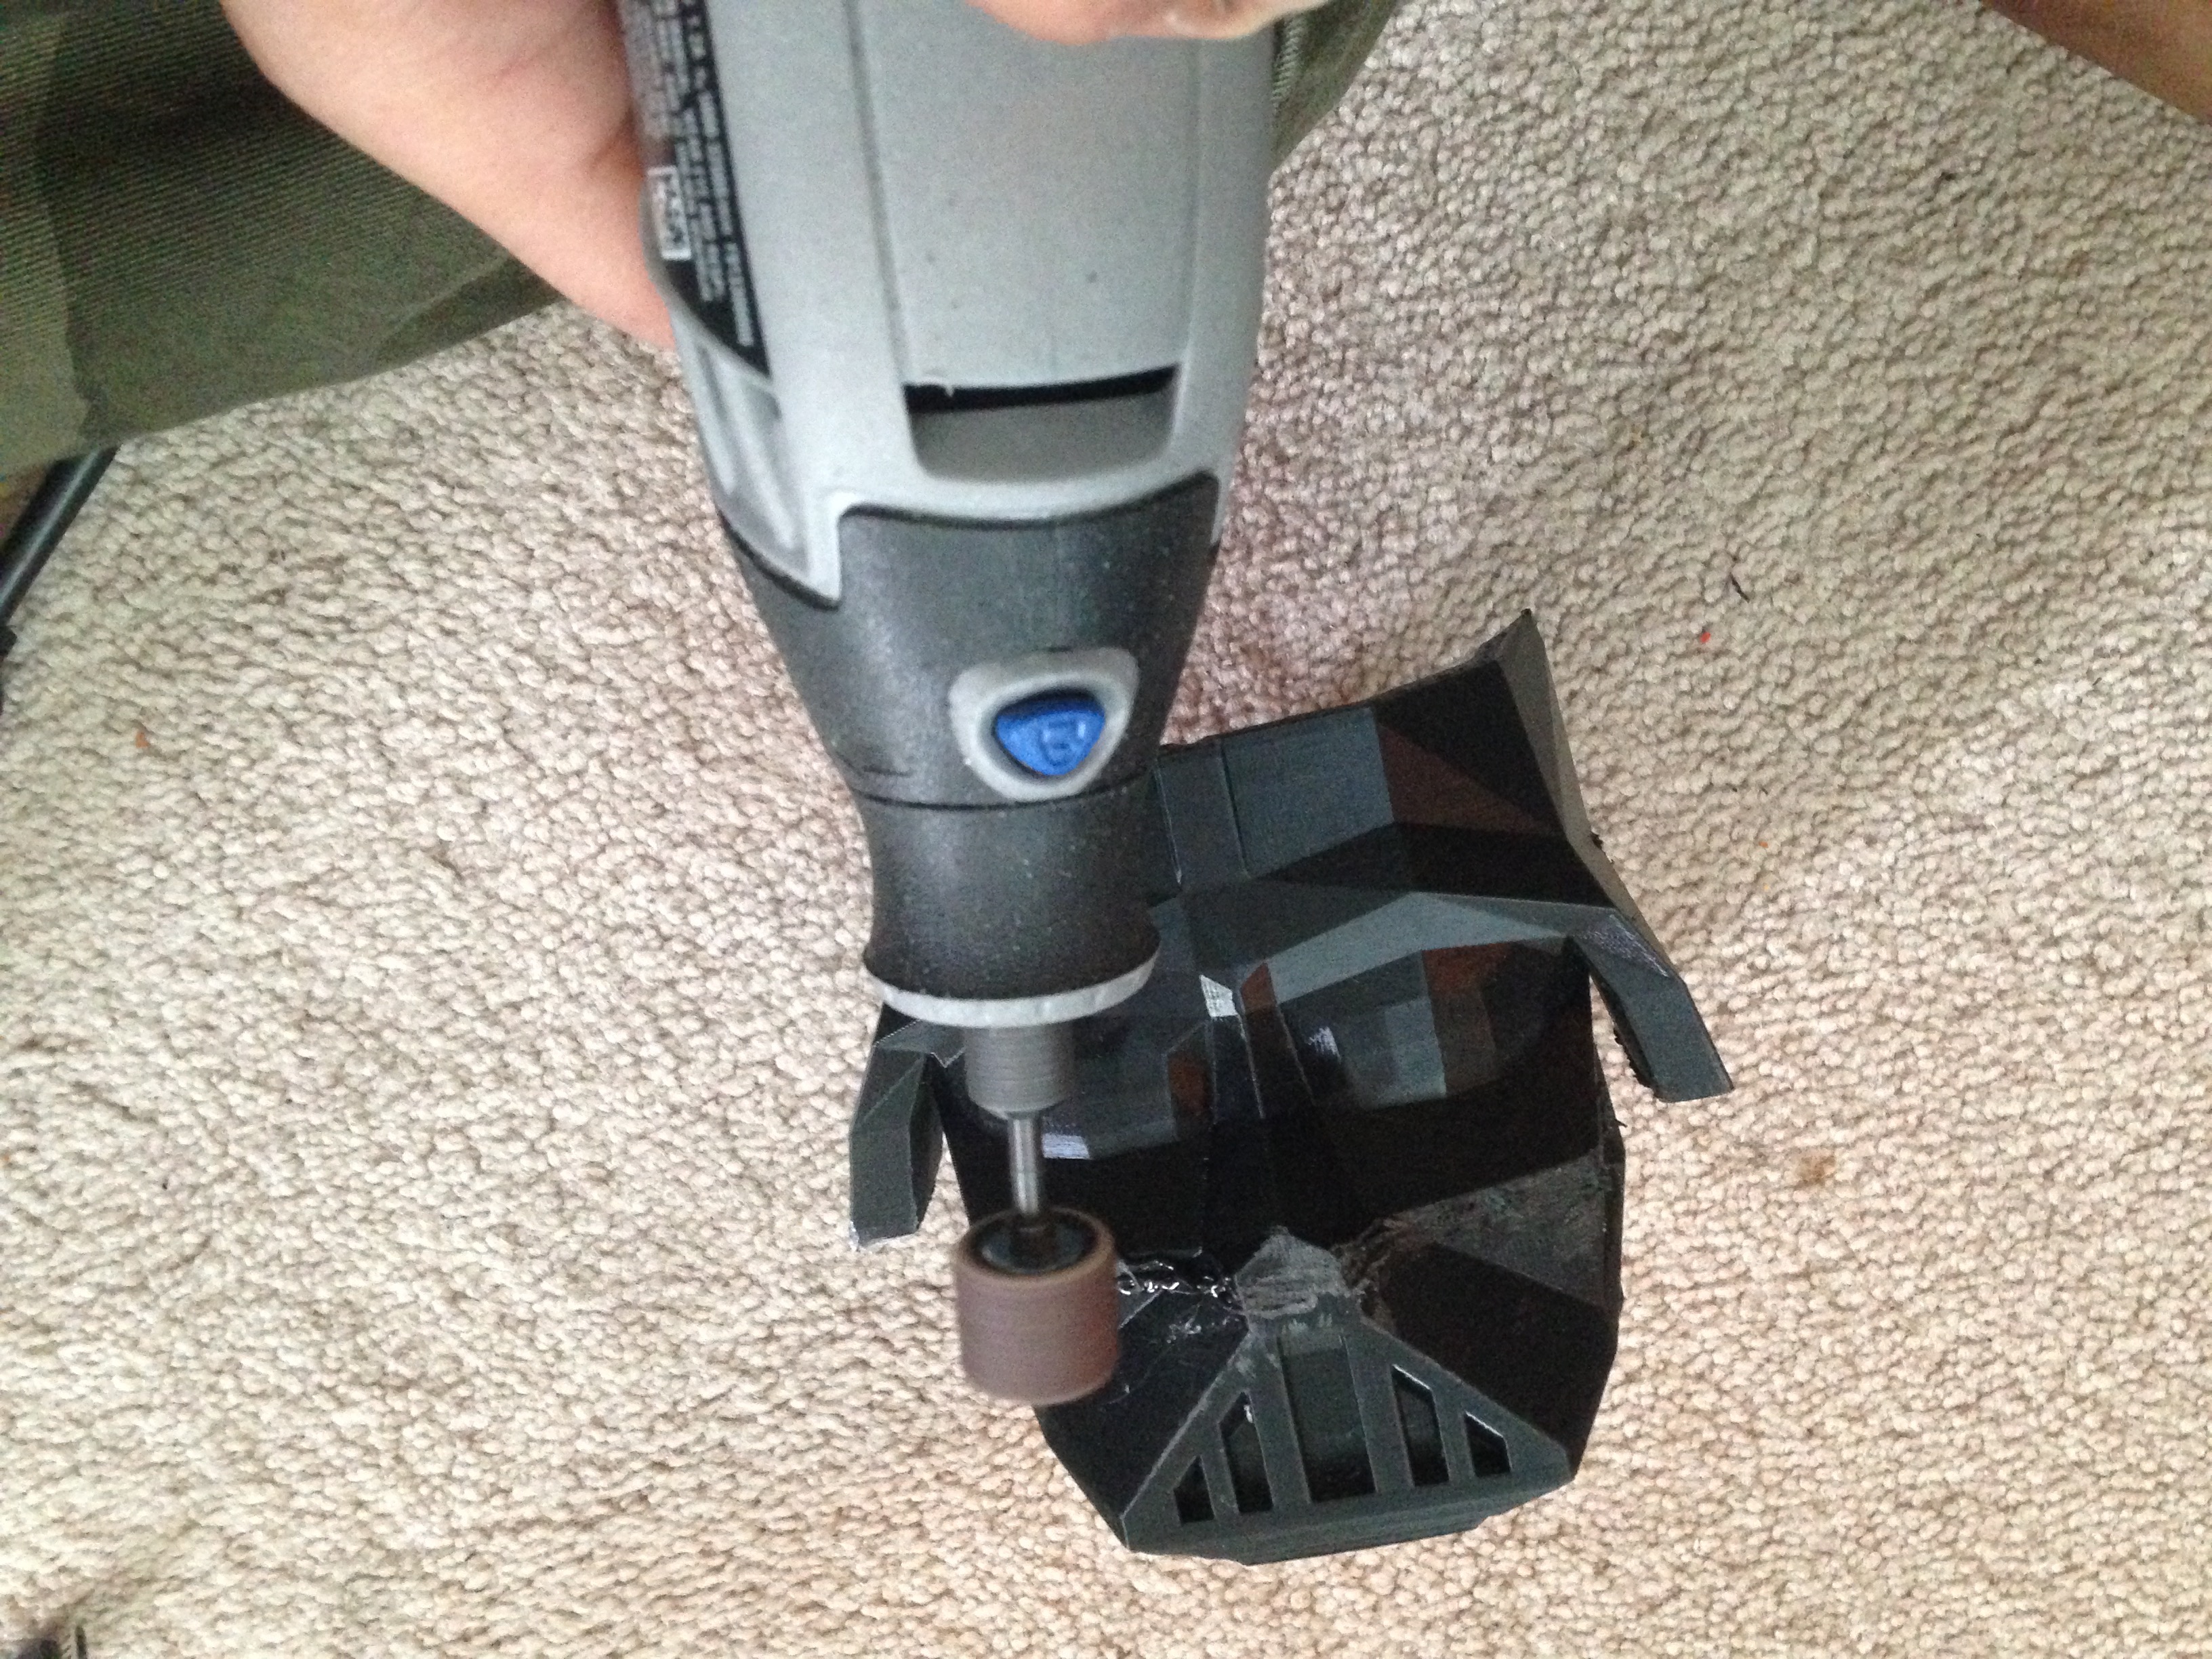
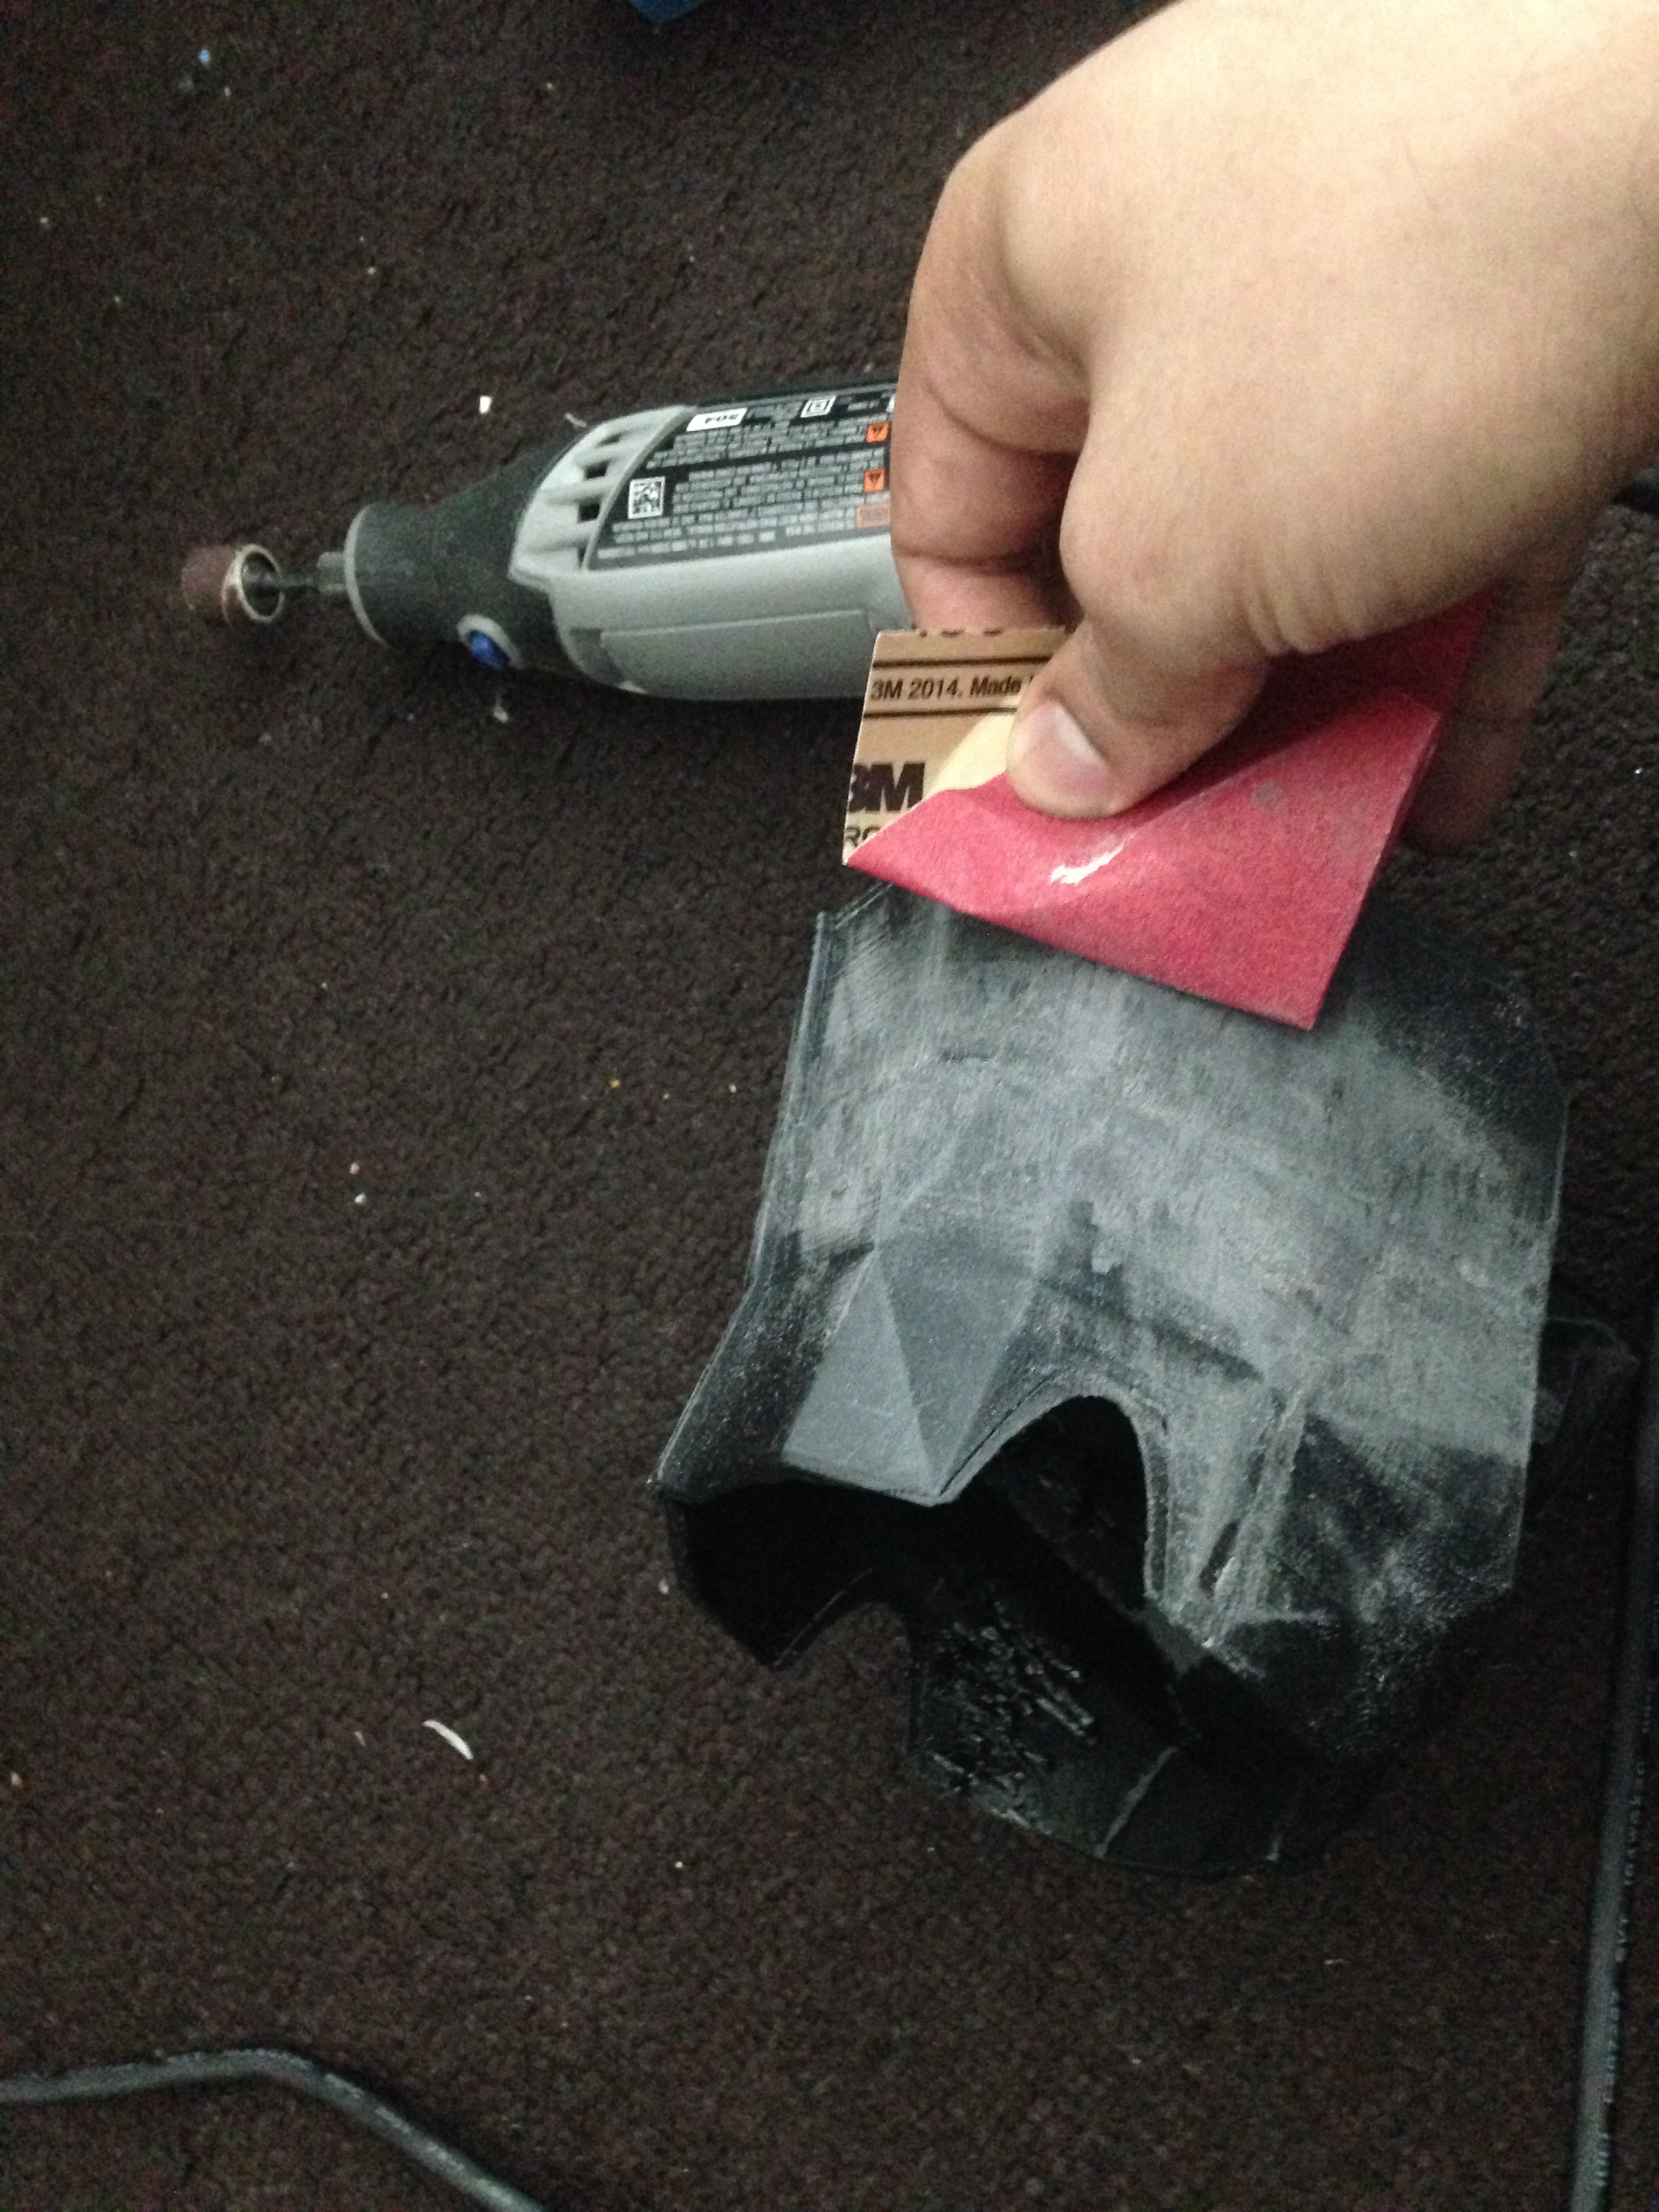
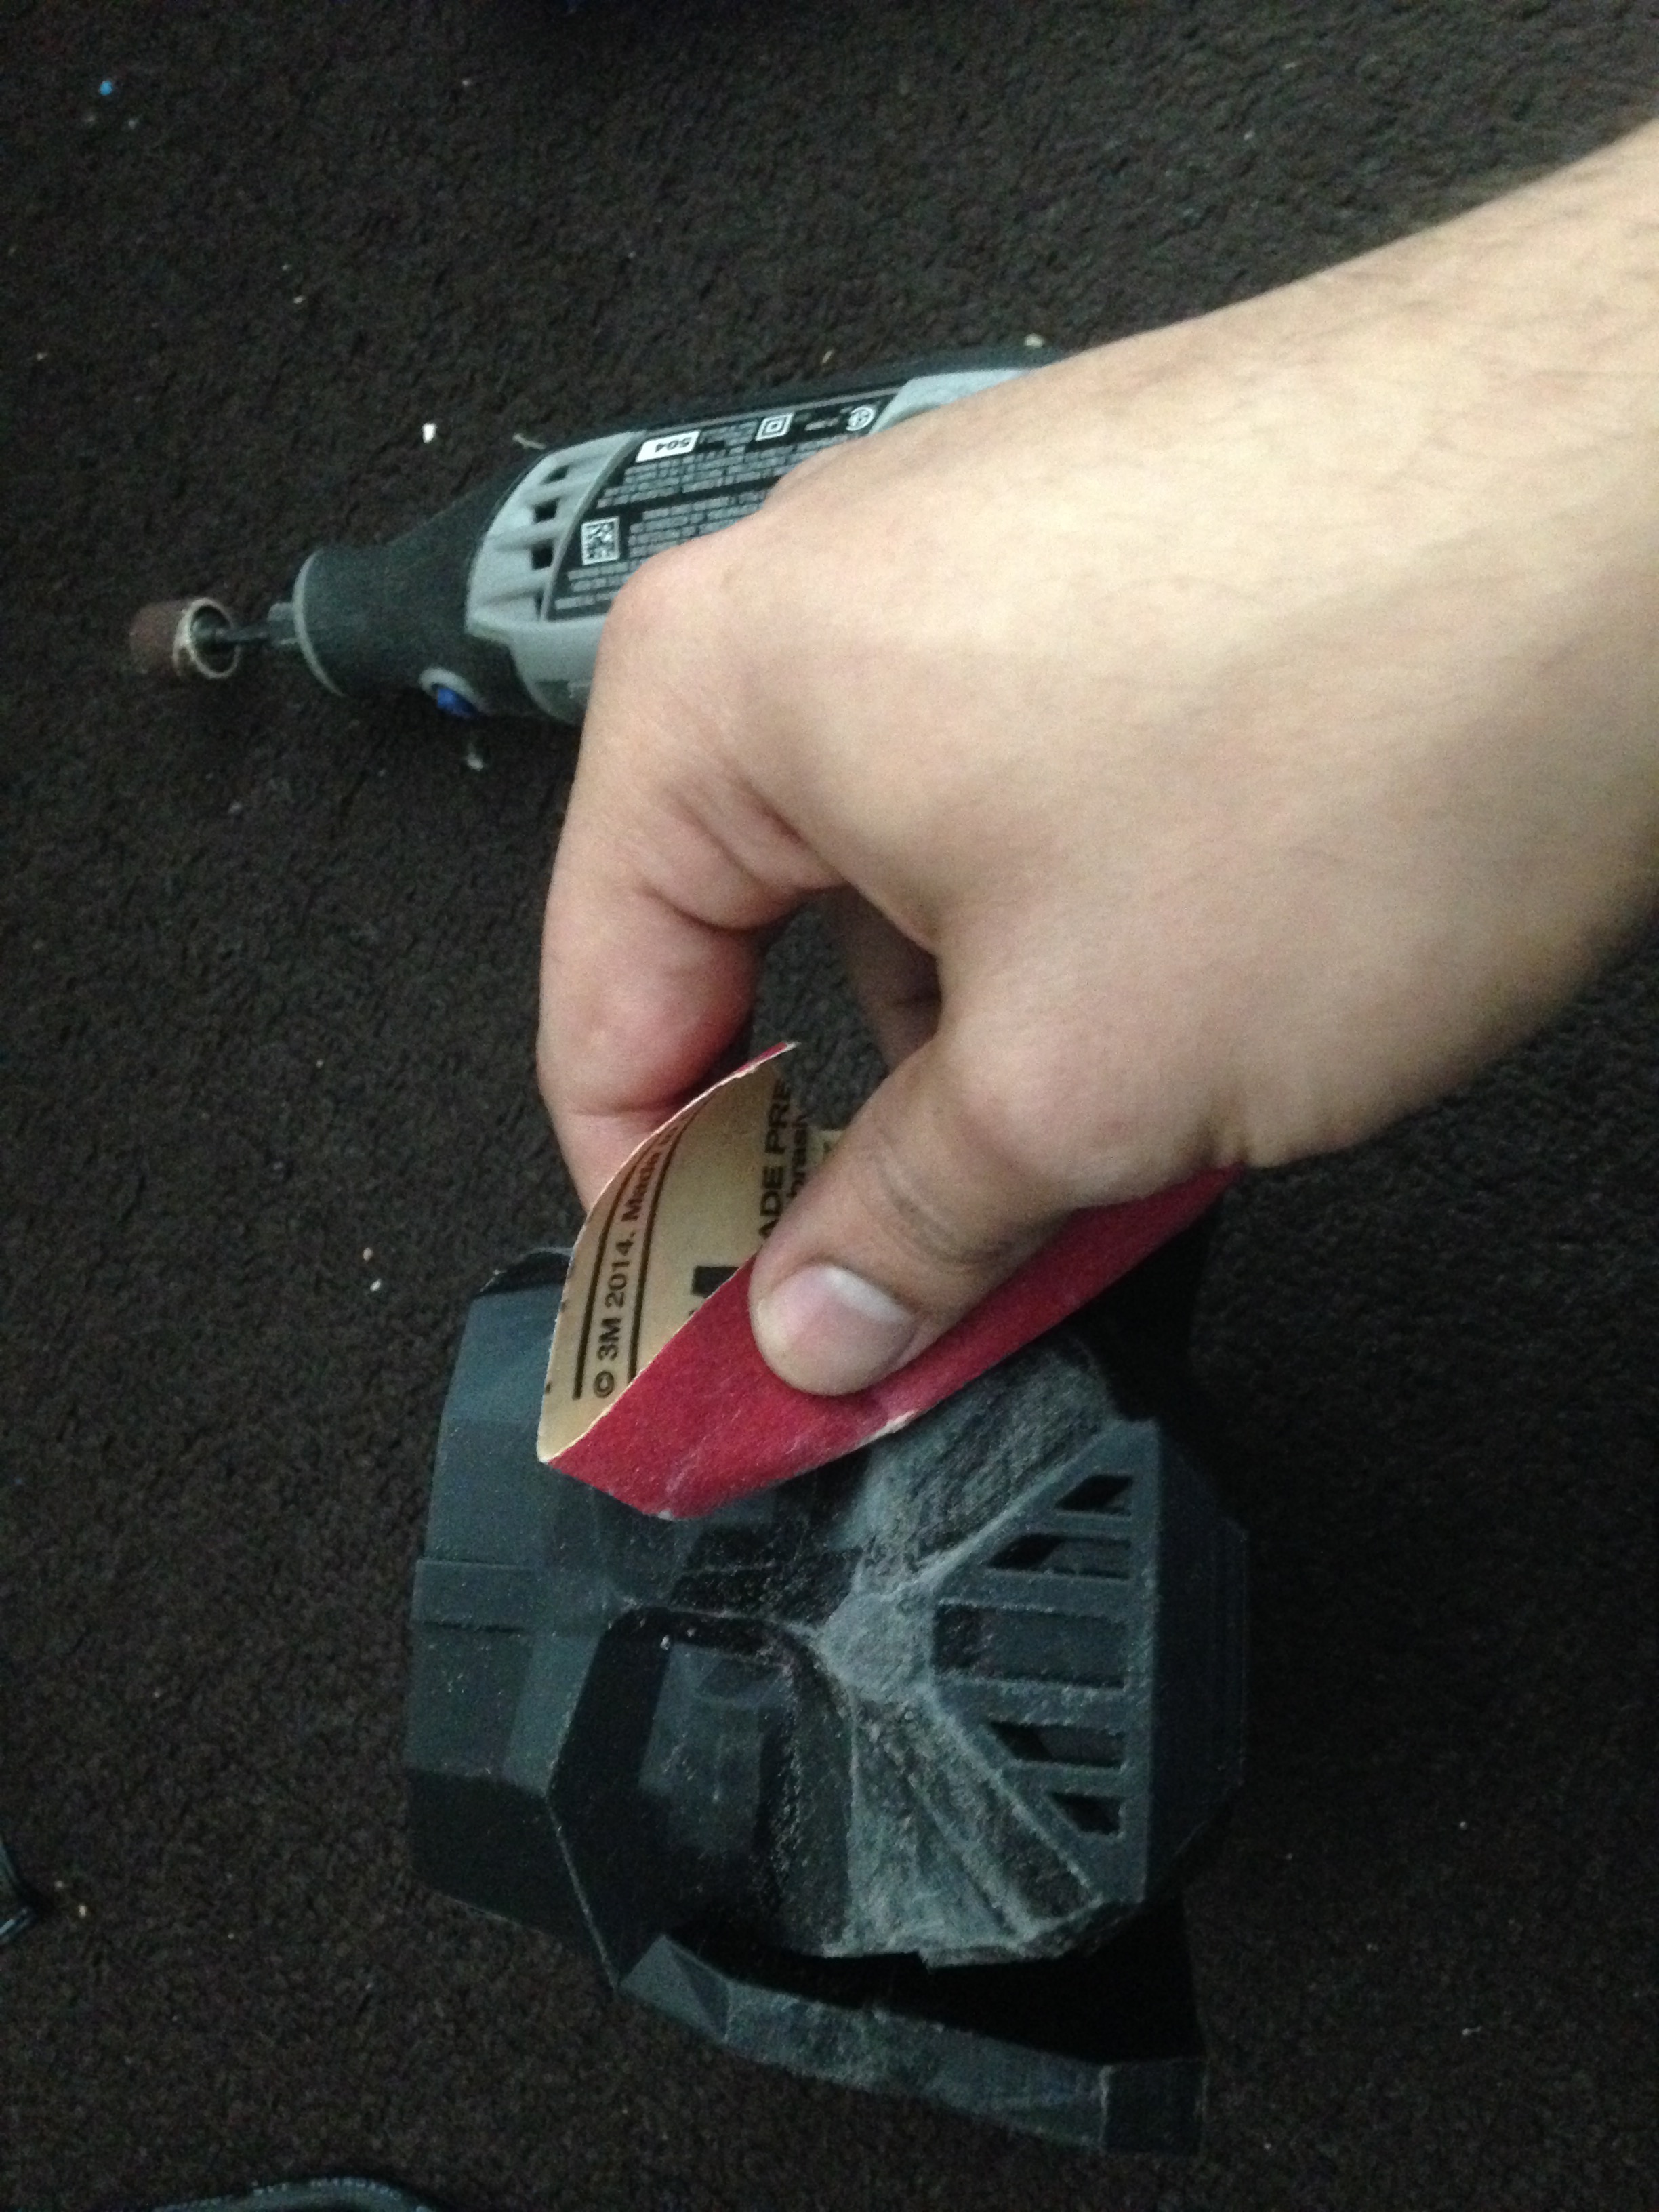
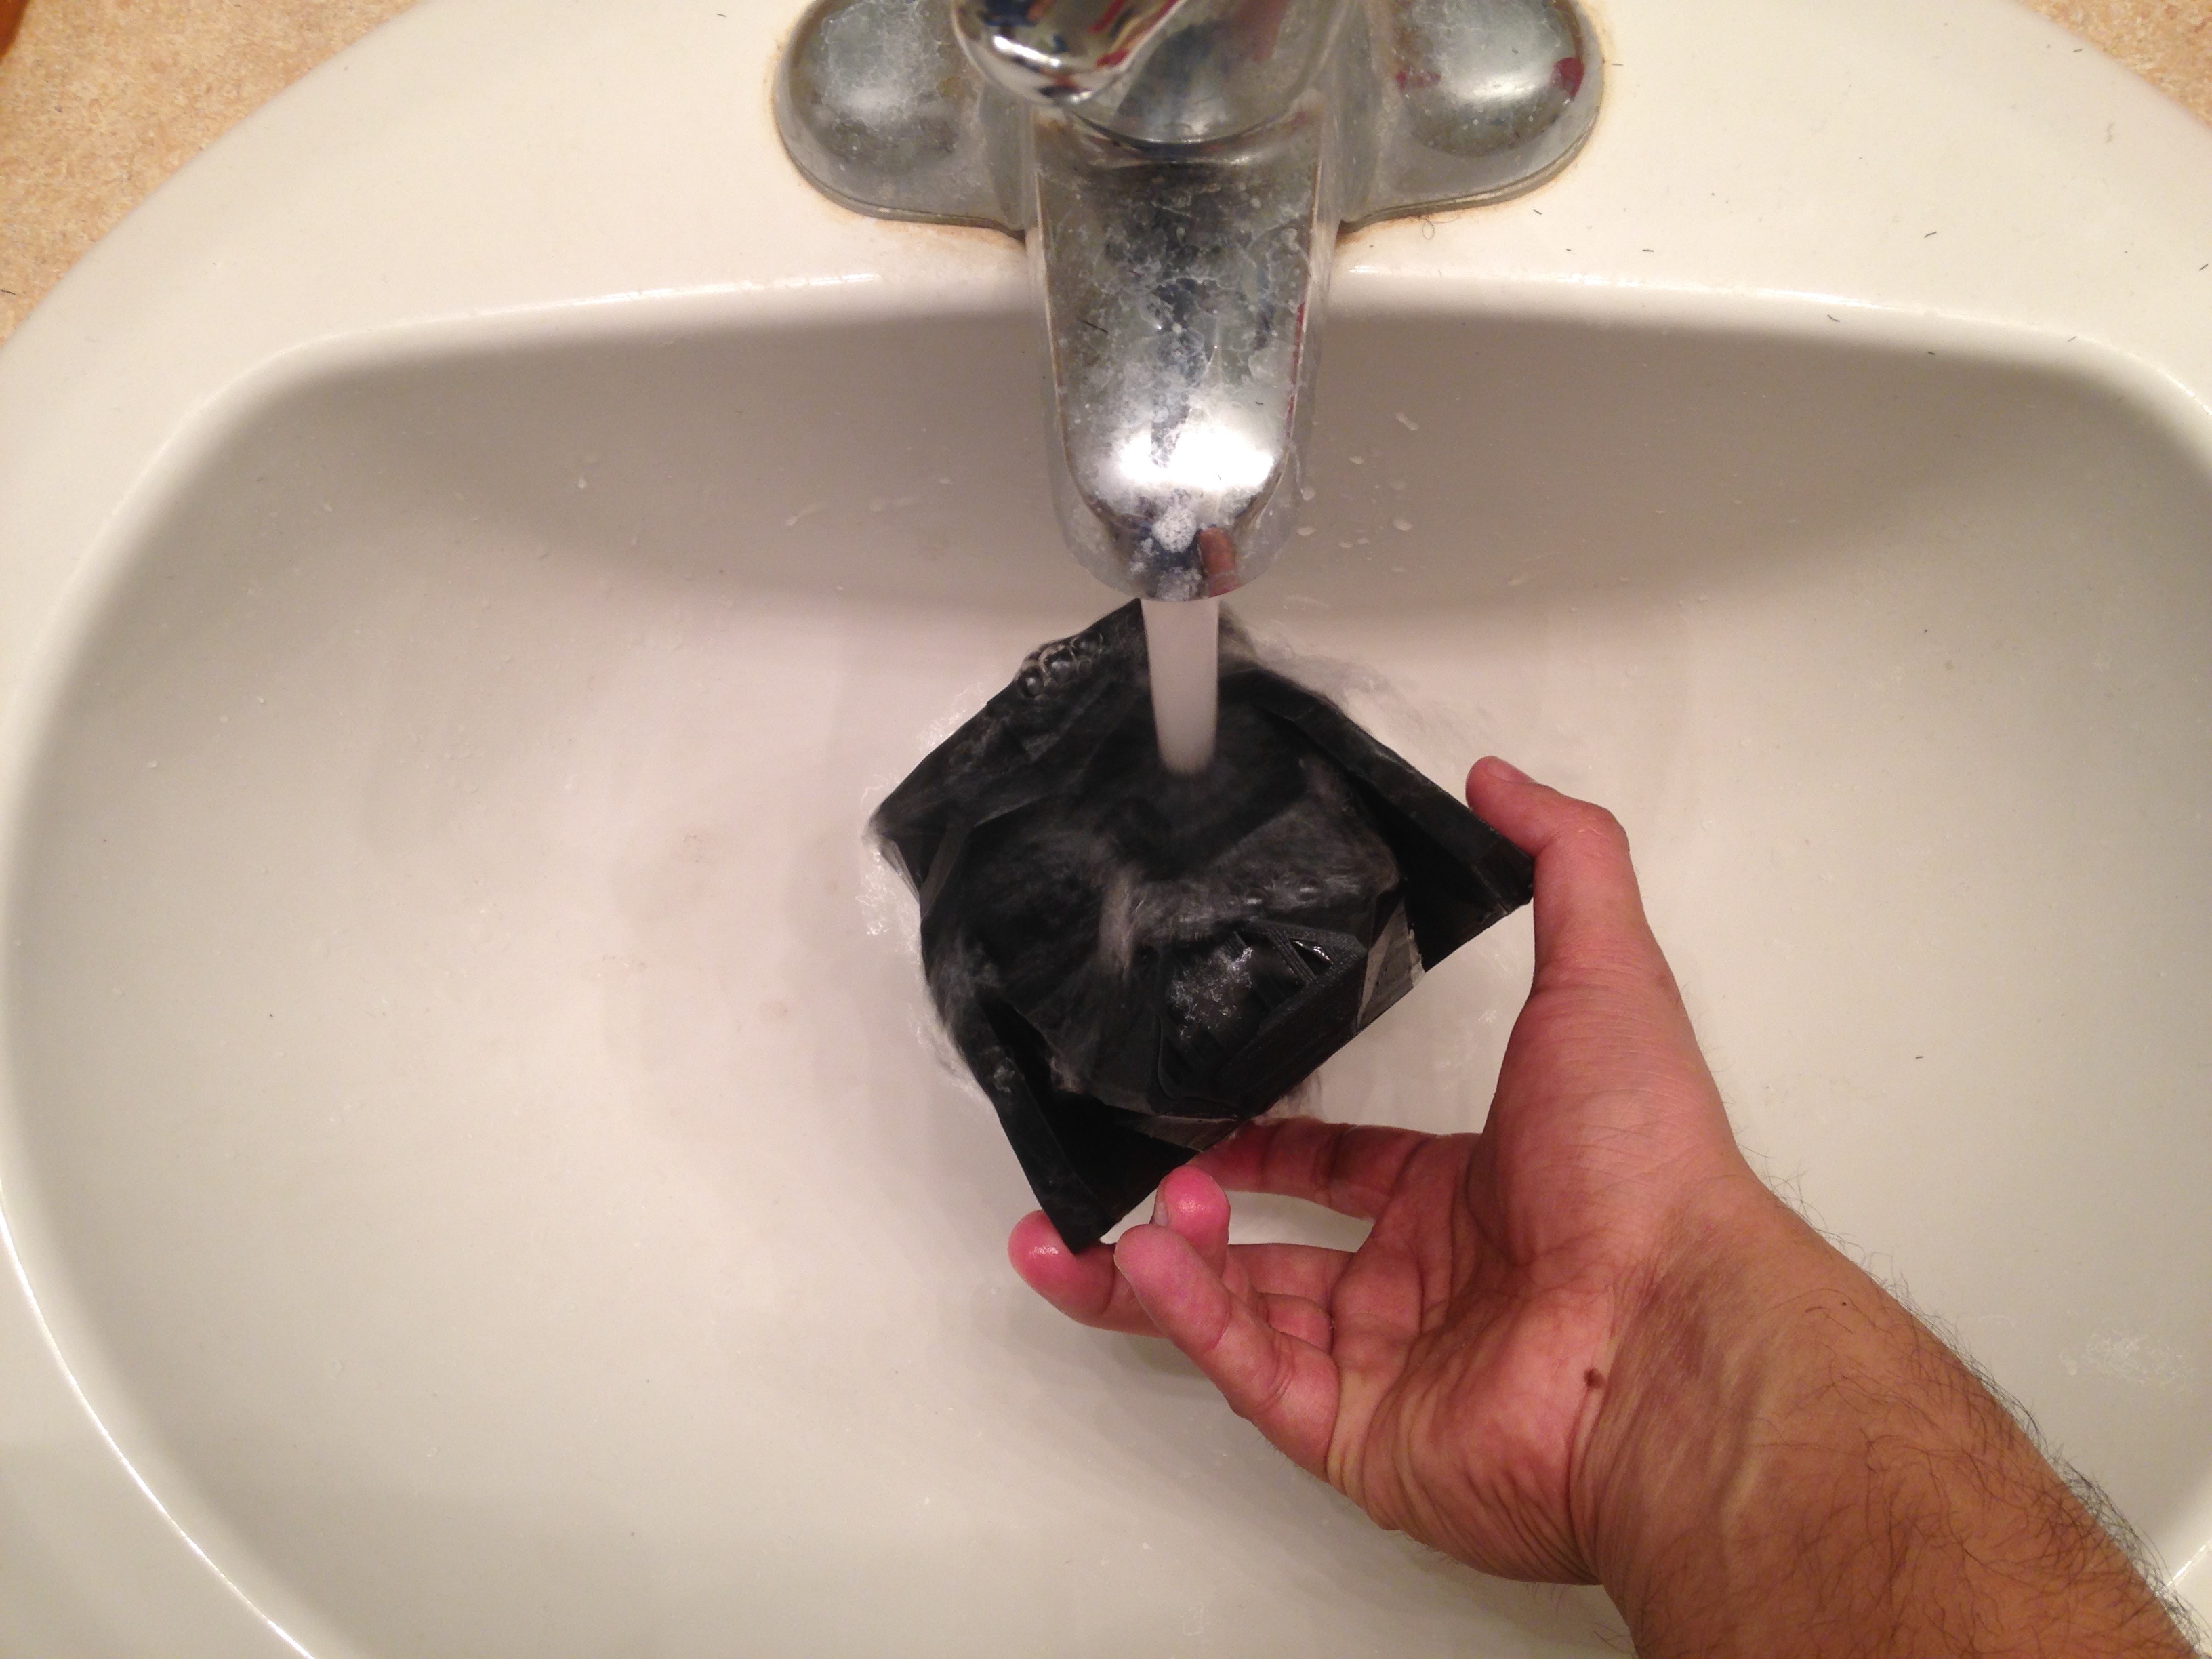
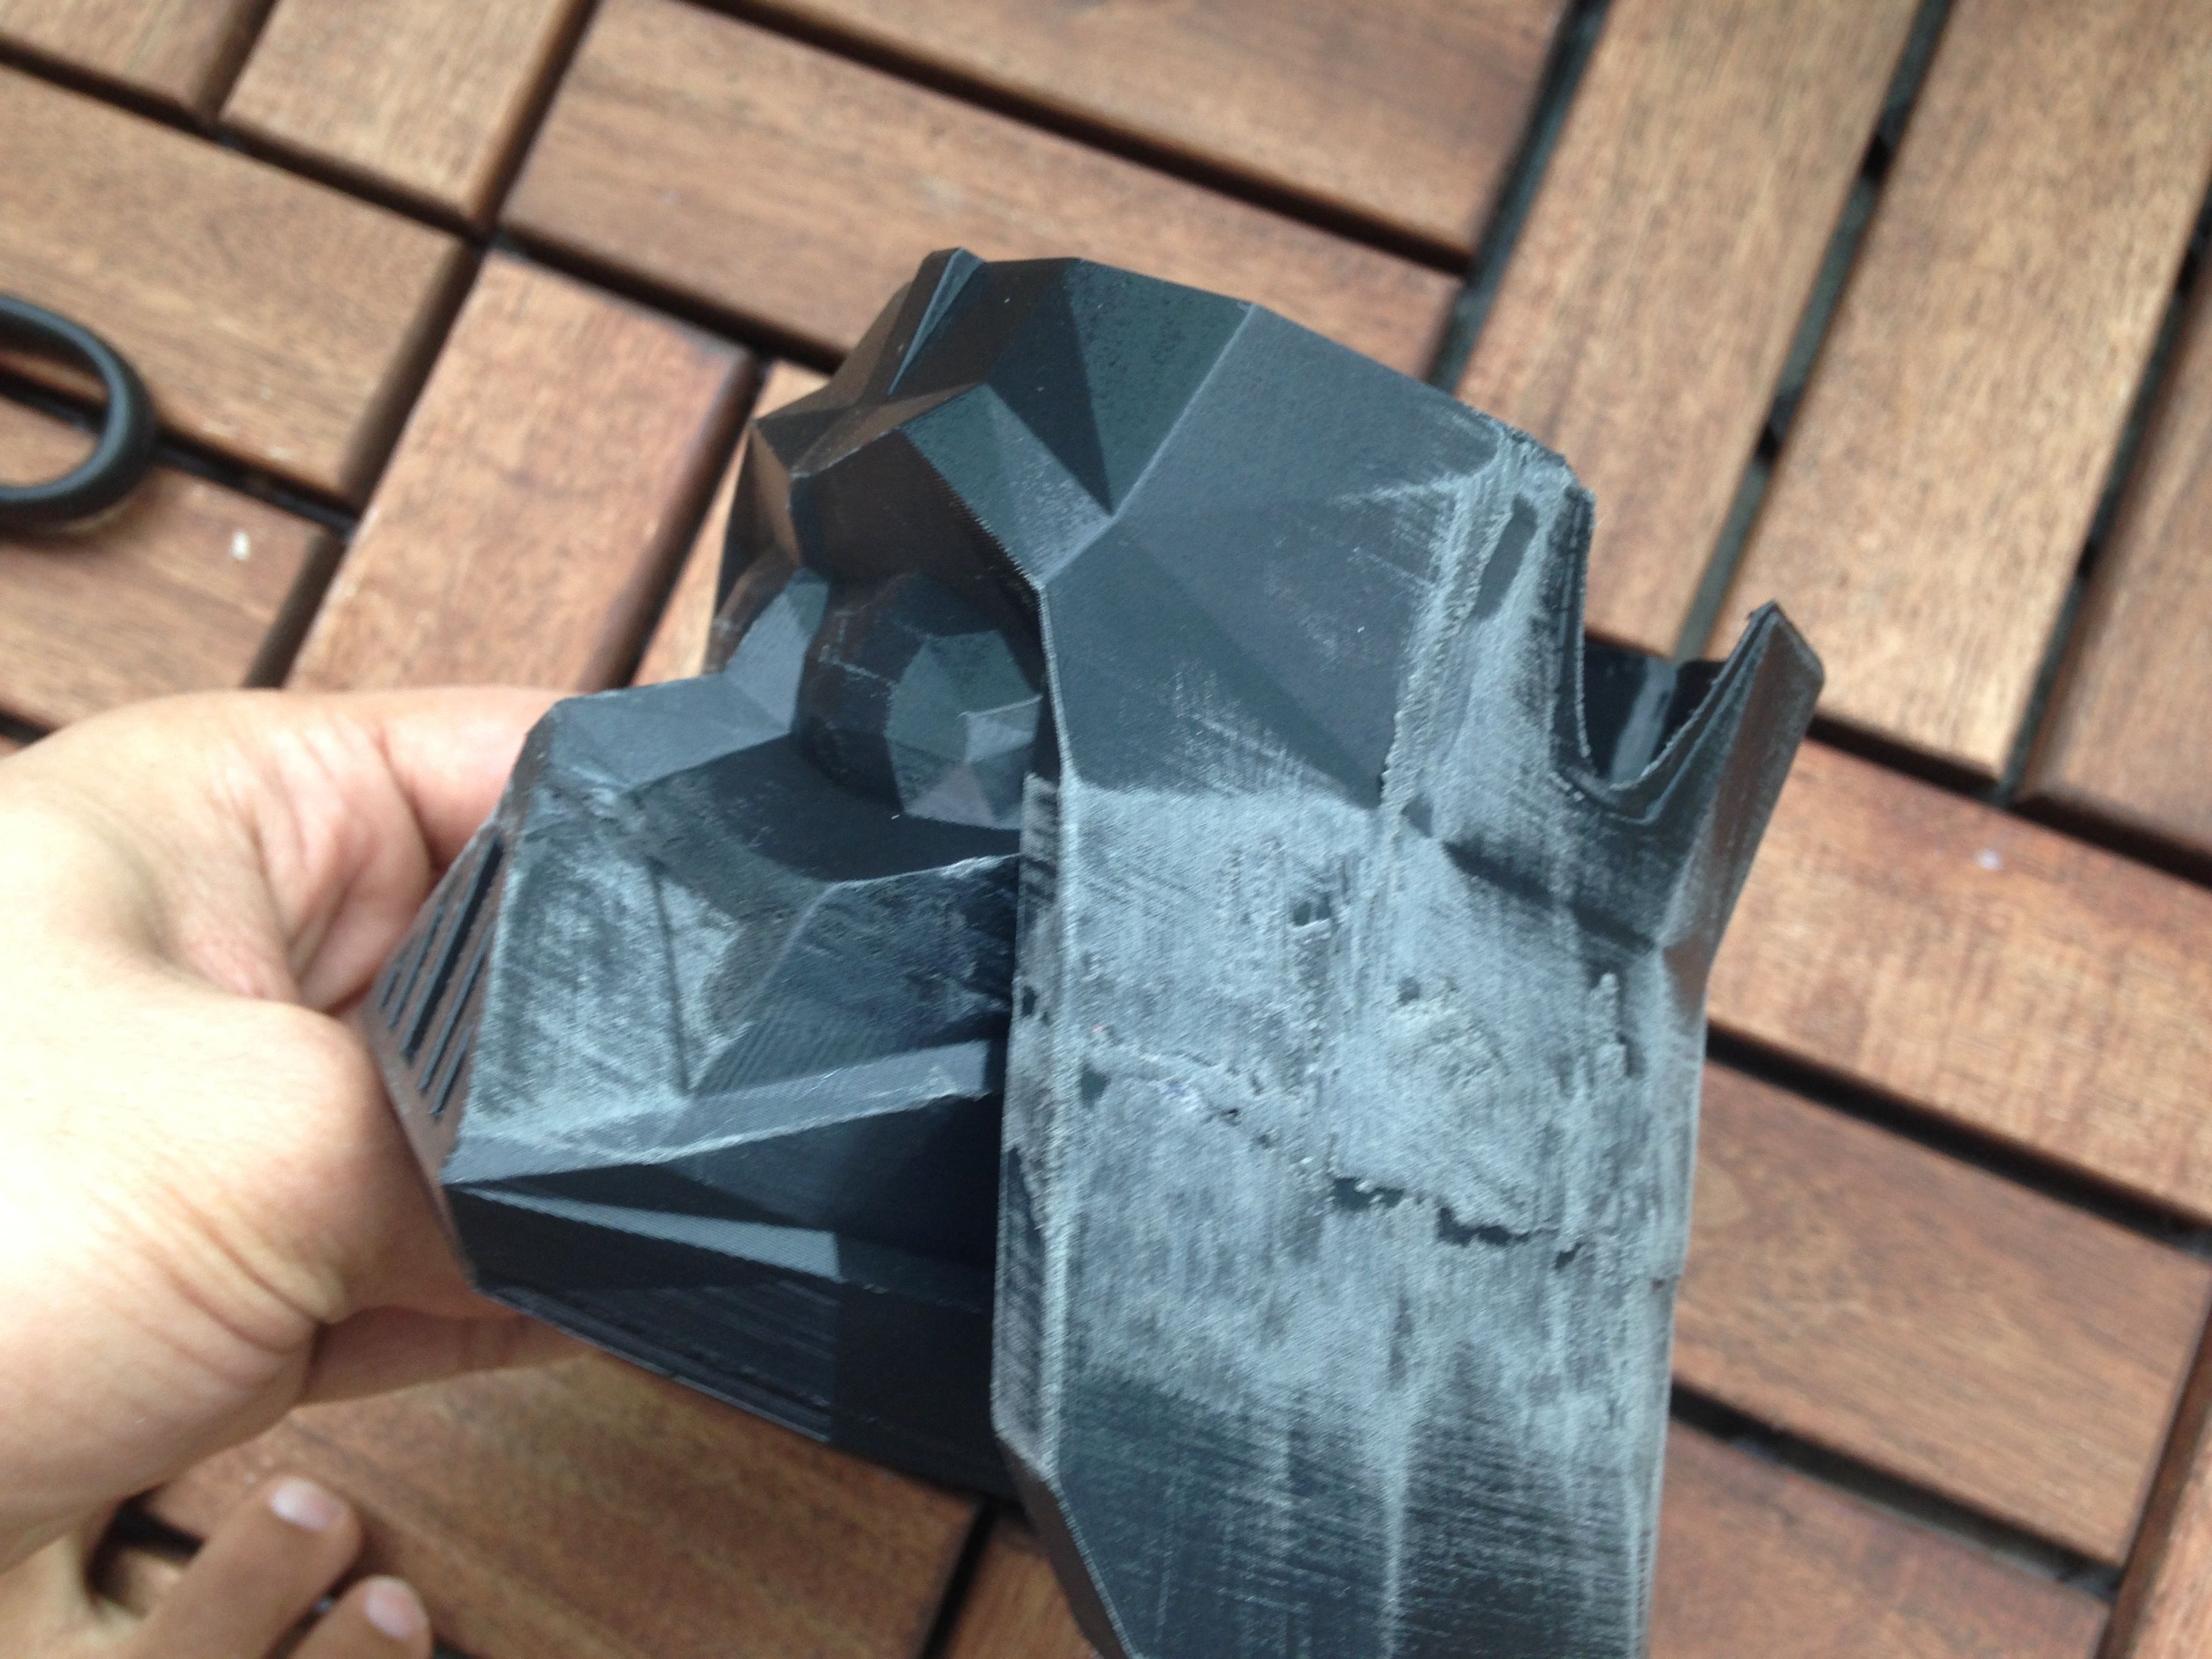
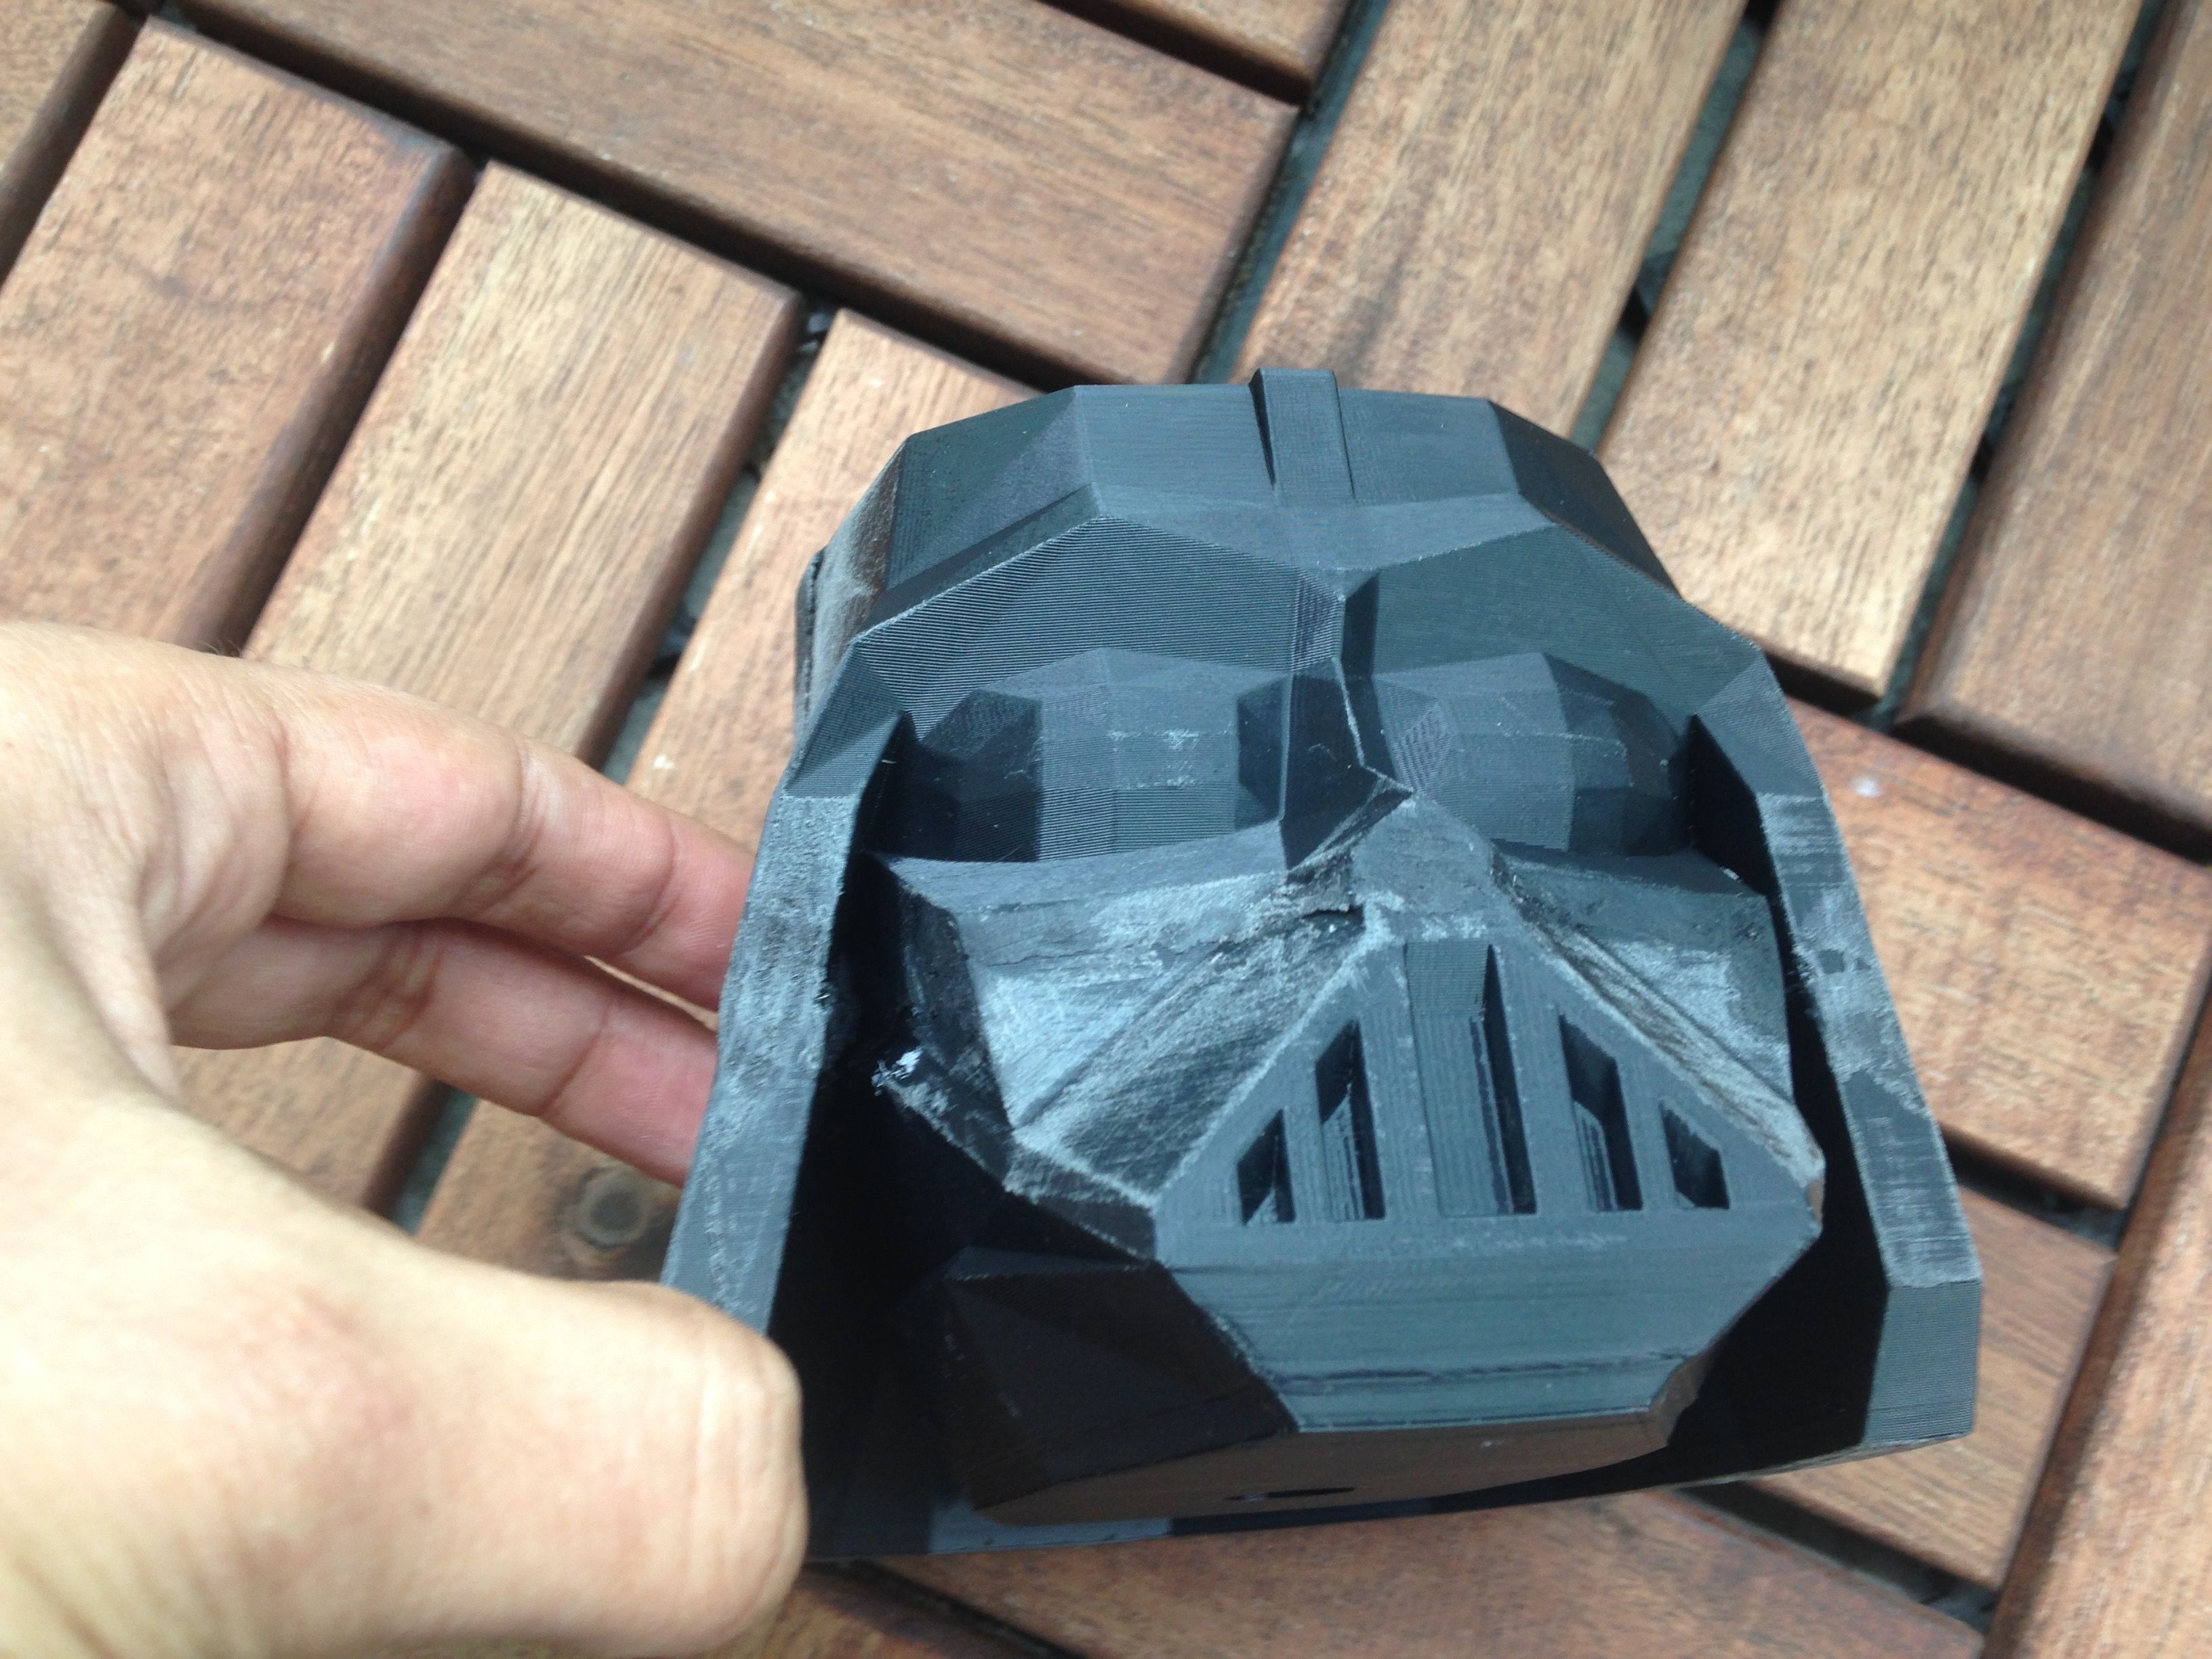
Now comes the hard part , Sanding !!
Use a rotary tool like Dremel to speed up the sanding process and they use sand paper.
Wash the part once you done , you will see sand marks on you 3D printed part as shown above, but that should not be a problem as you are going to finish it with one of the steps mentioned below.
Since you have used a 3D printing pen with the same filament you printed STL files with , this method will prevent the parts from coming apart in a few month , when compared to if you had used glue..
Finishing With Z Poxy
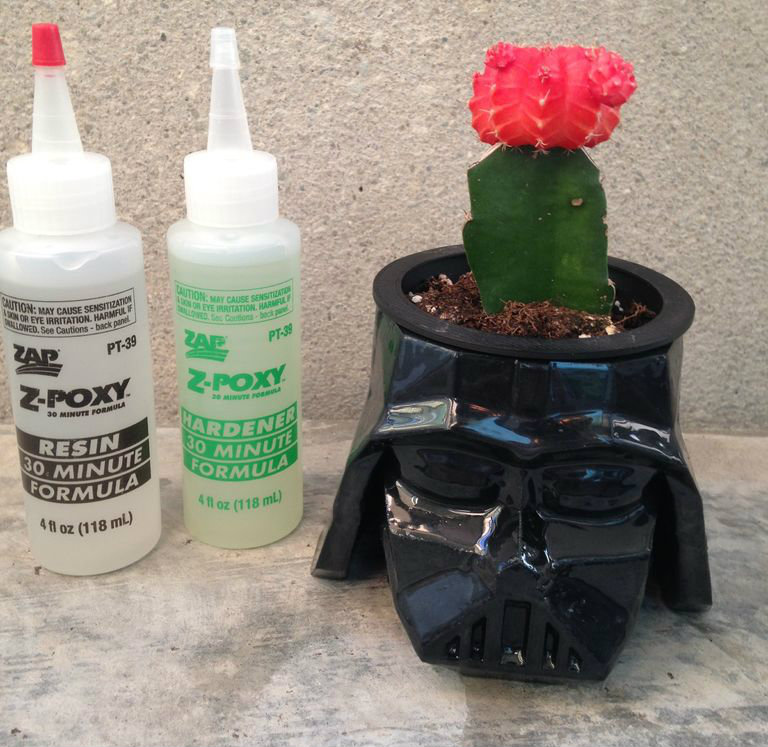
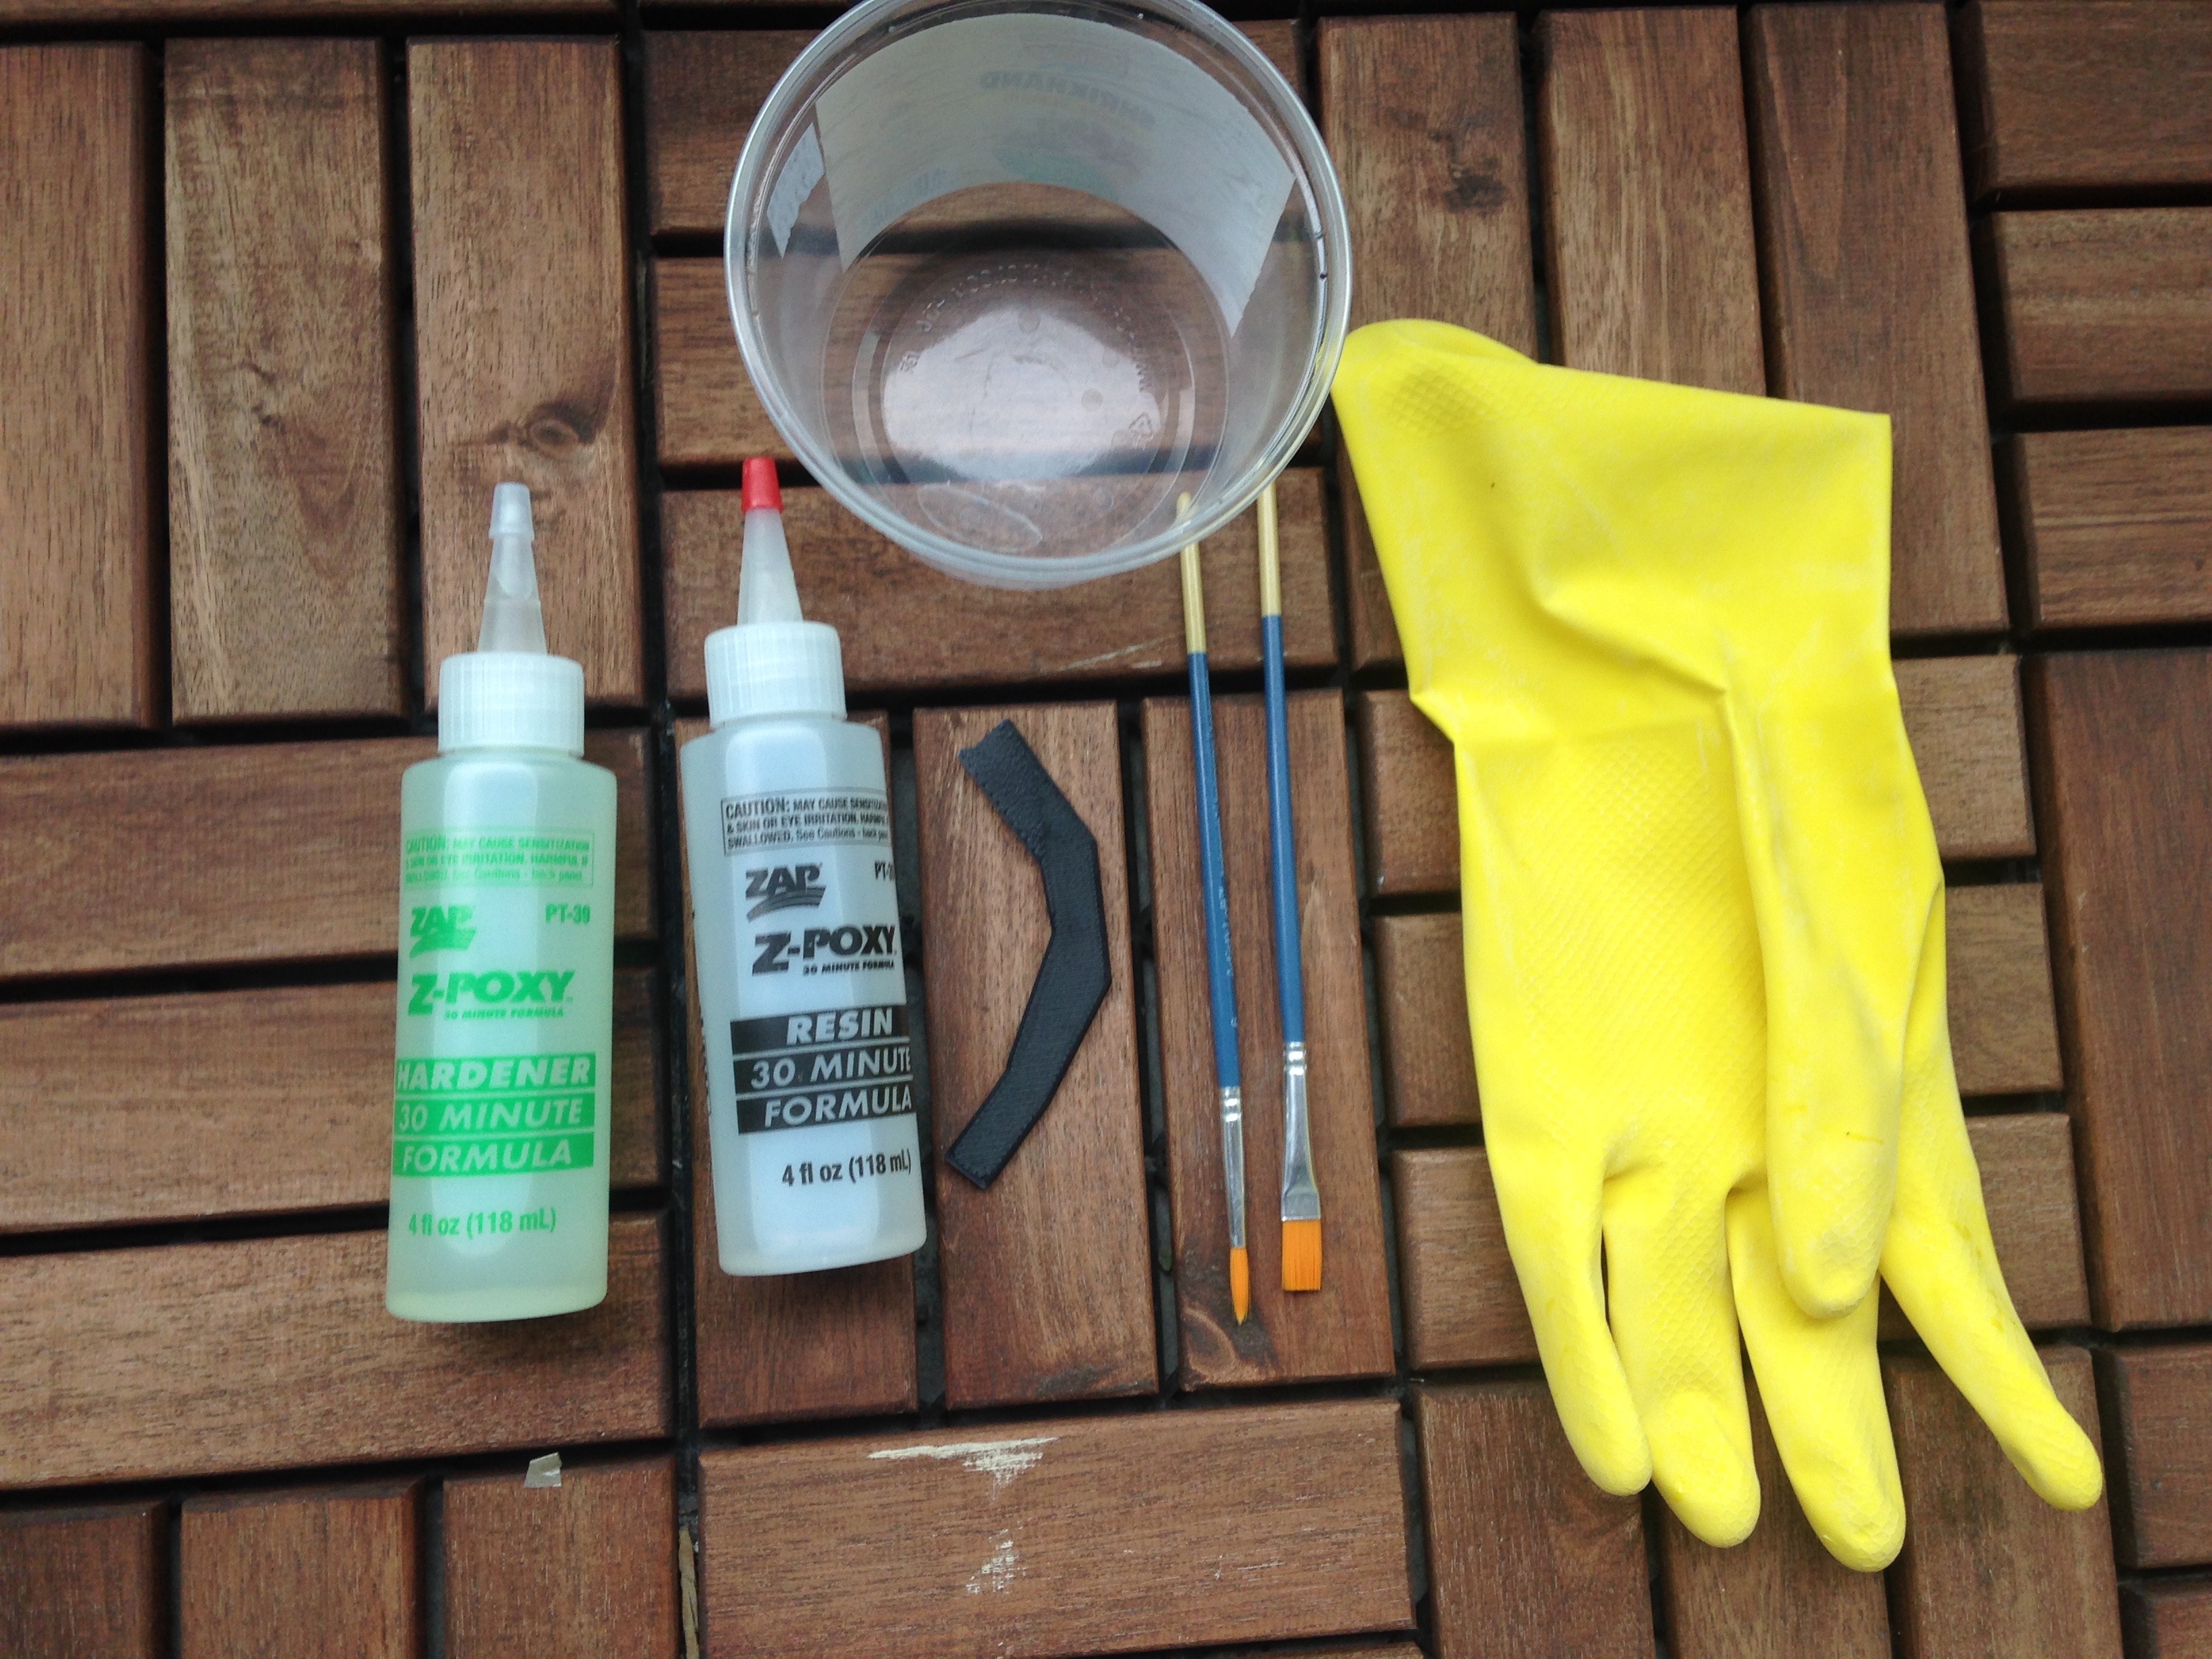
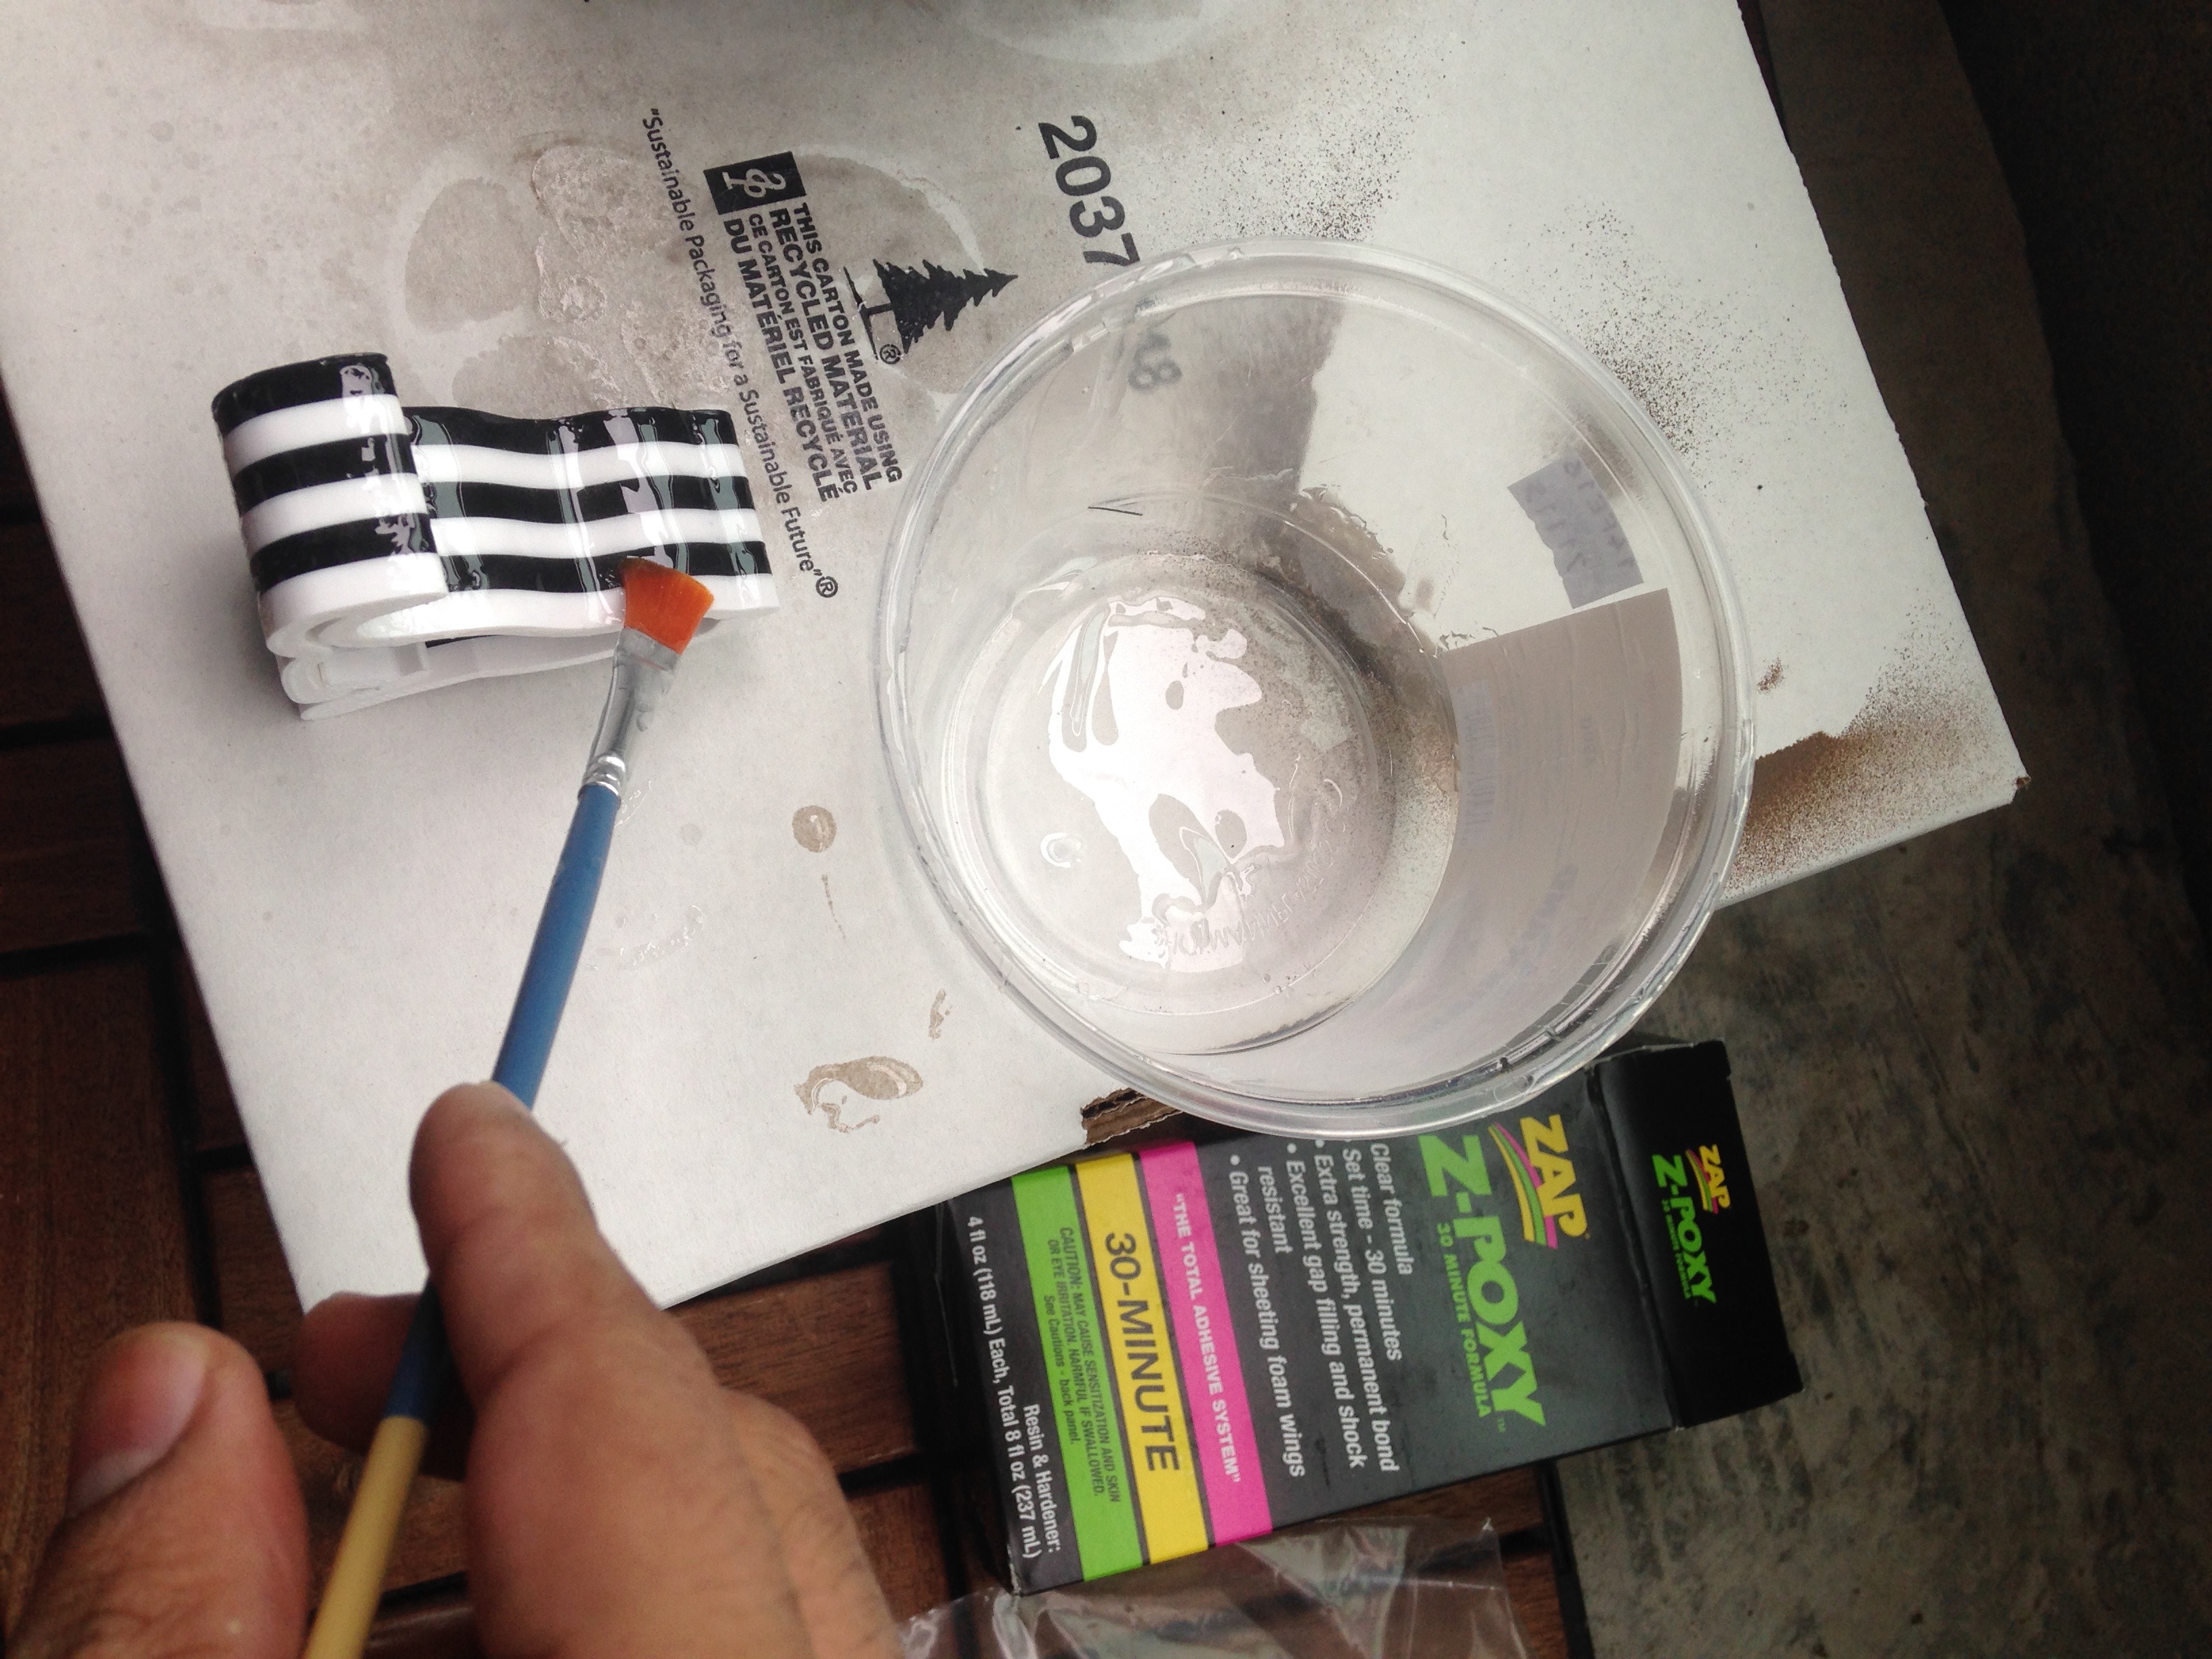
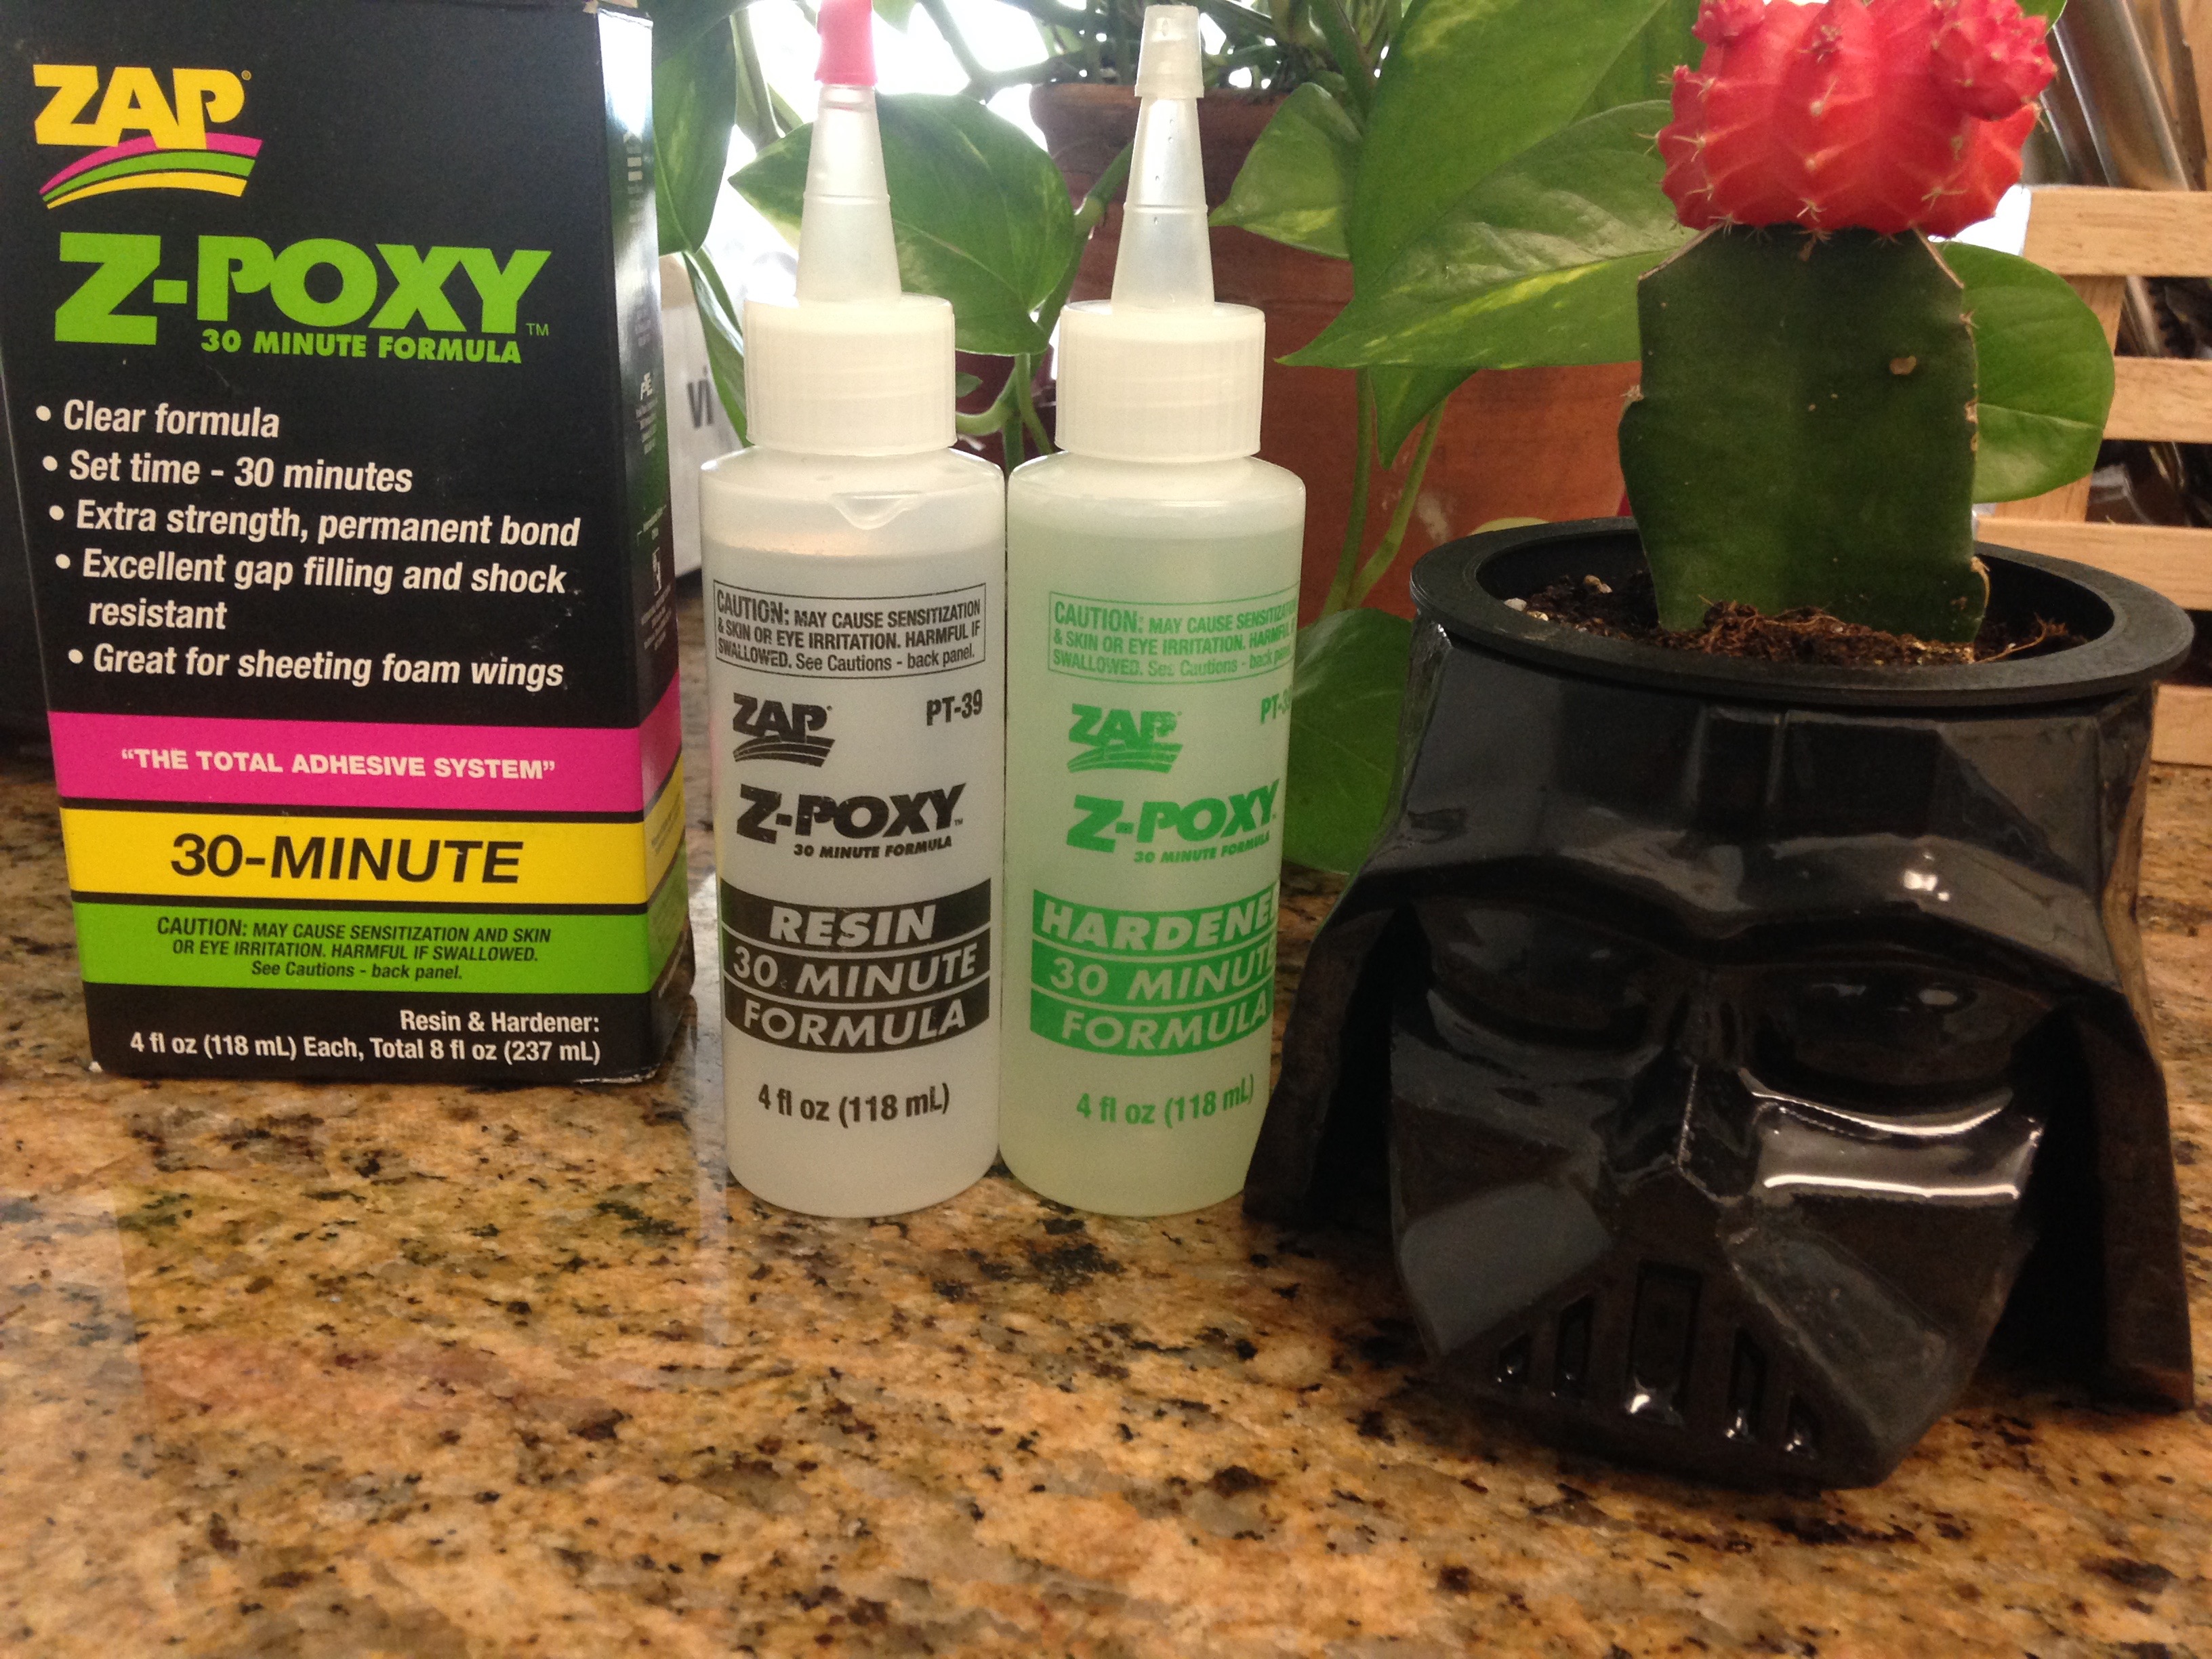
As part of the Z poxy kit it comes with two bottles, on contains the resin and the other the hardener.
Approximately pour equal quantities of the resin and hardener in a container.
Mix it using the end of a brush or one of your test prints, this takes about 3-4 mins and wait till the liquid turns a whitish color.
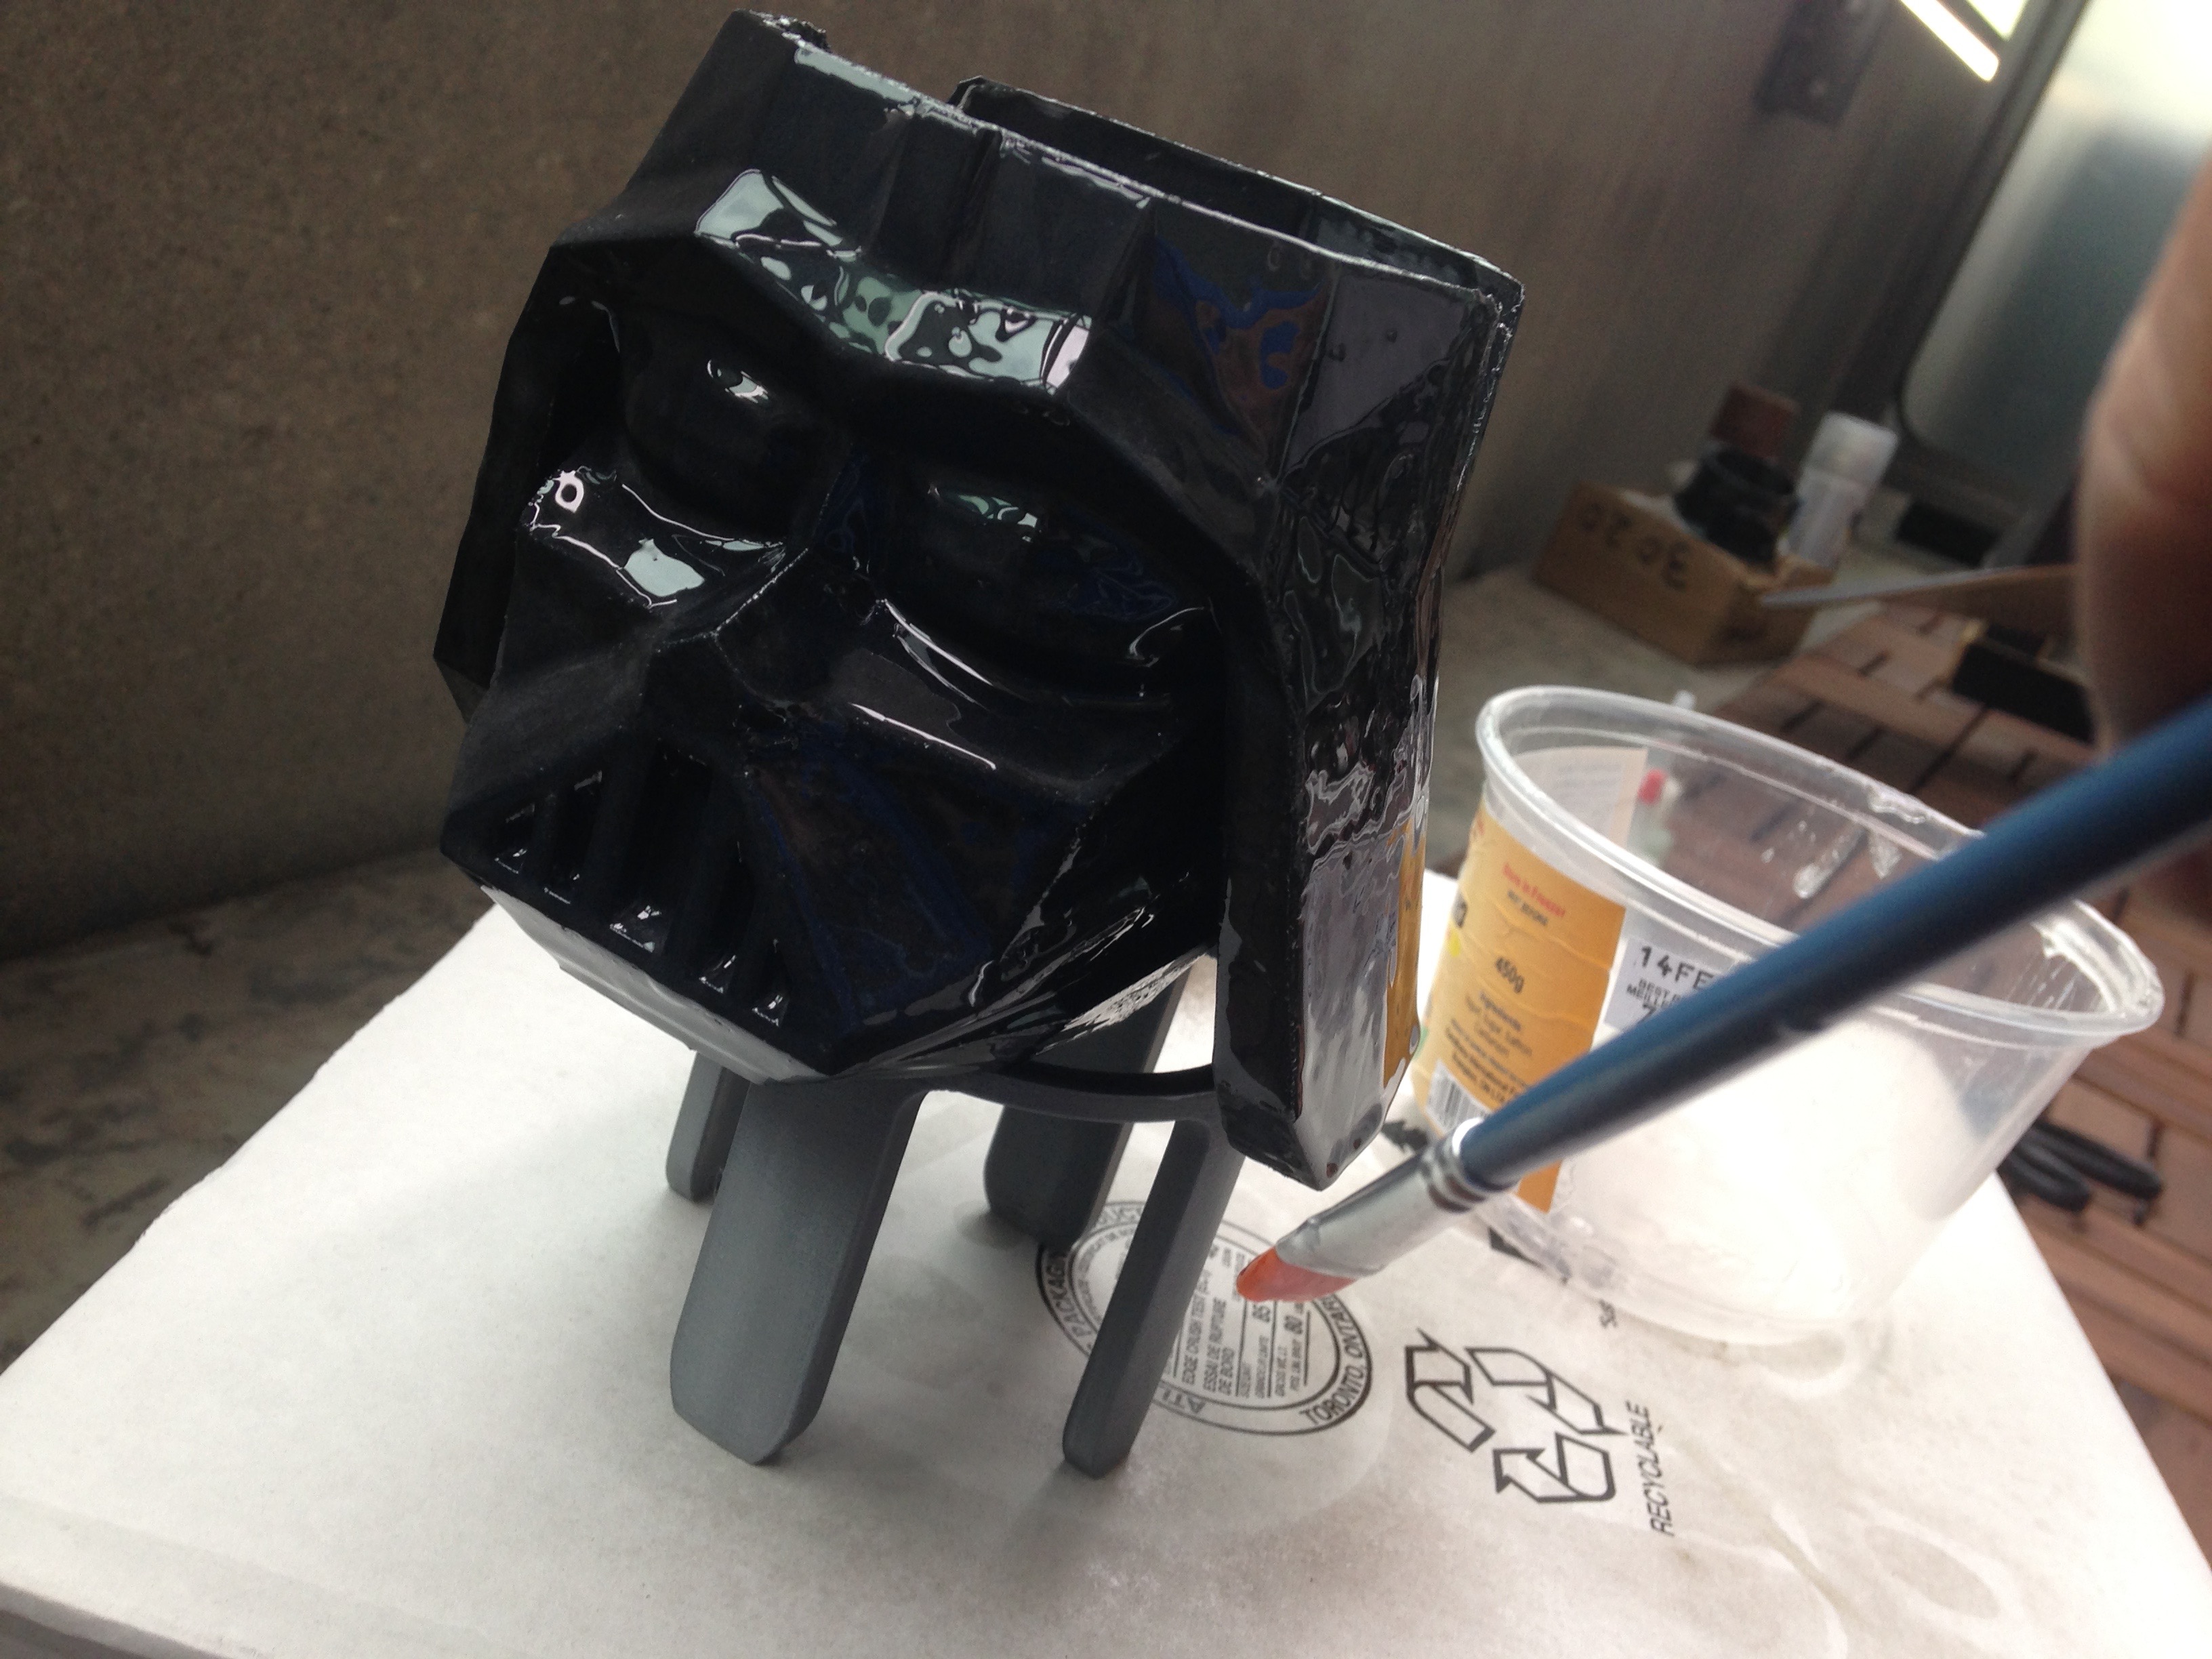
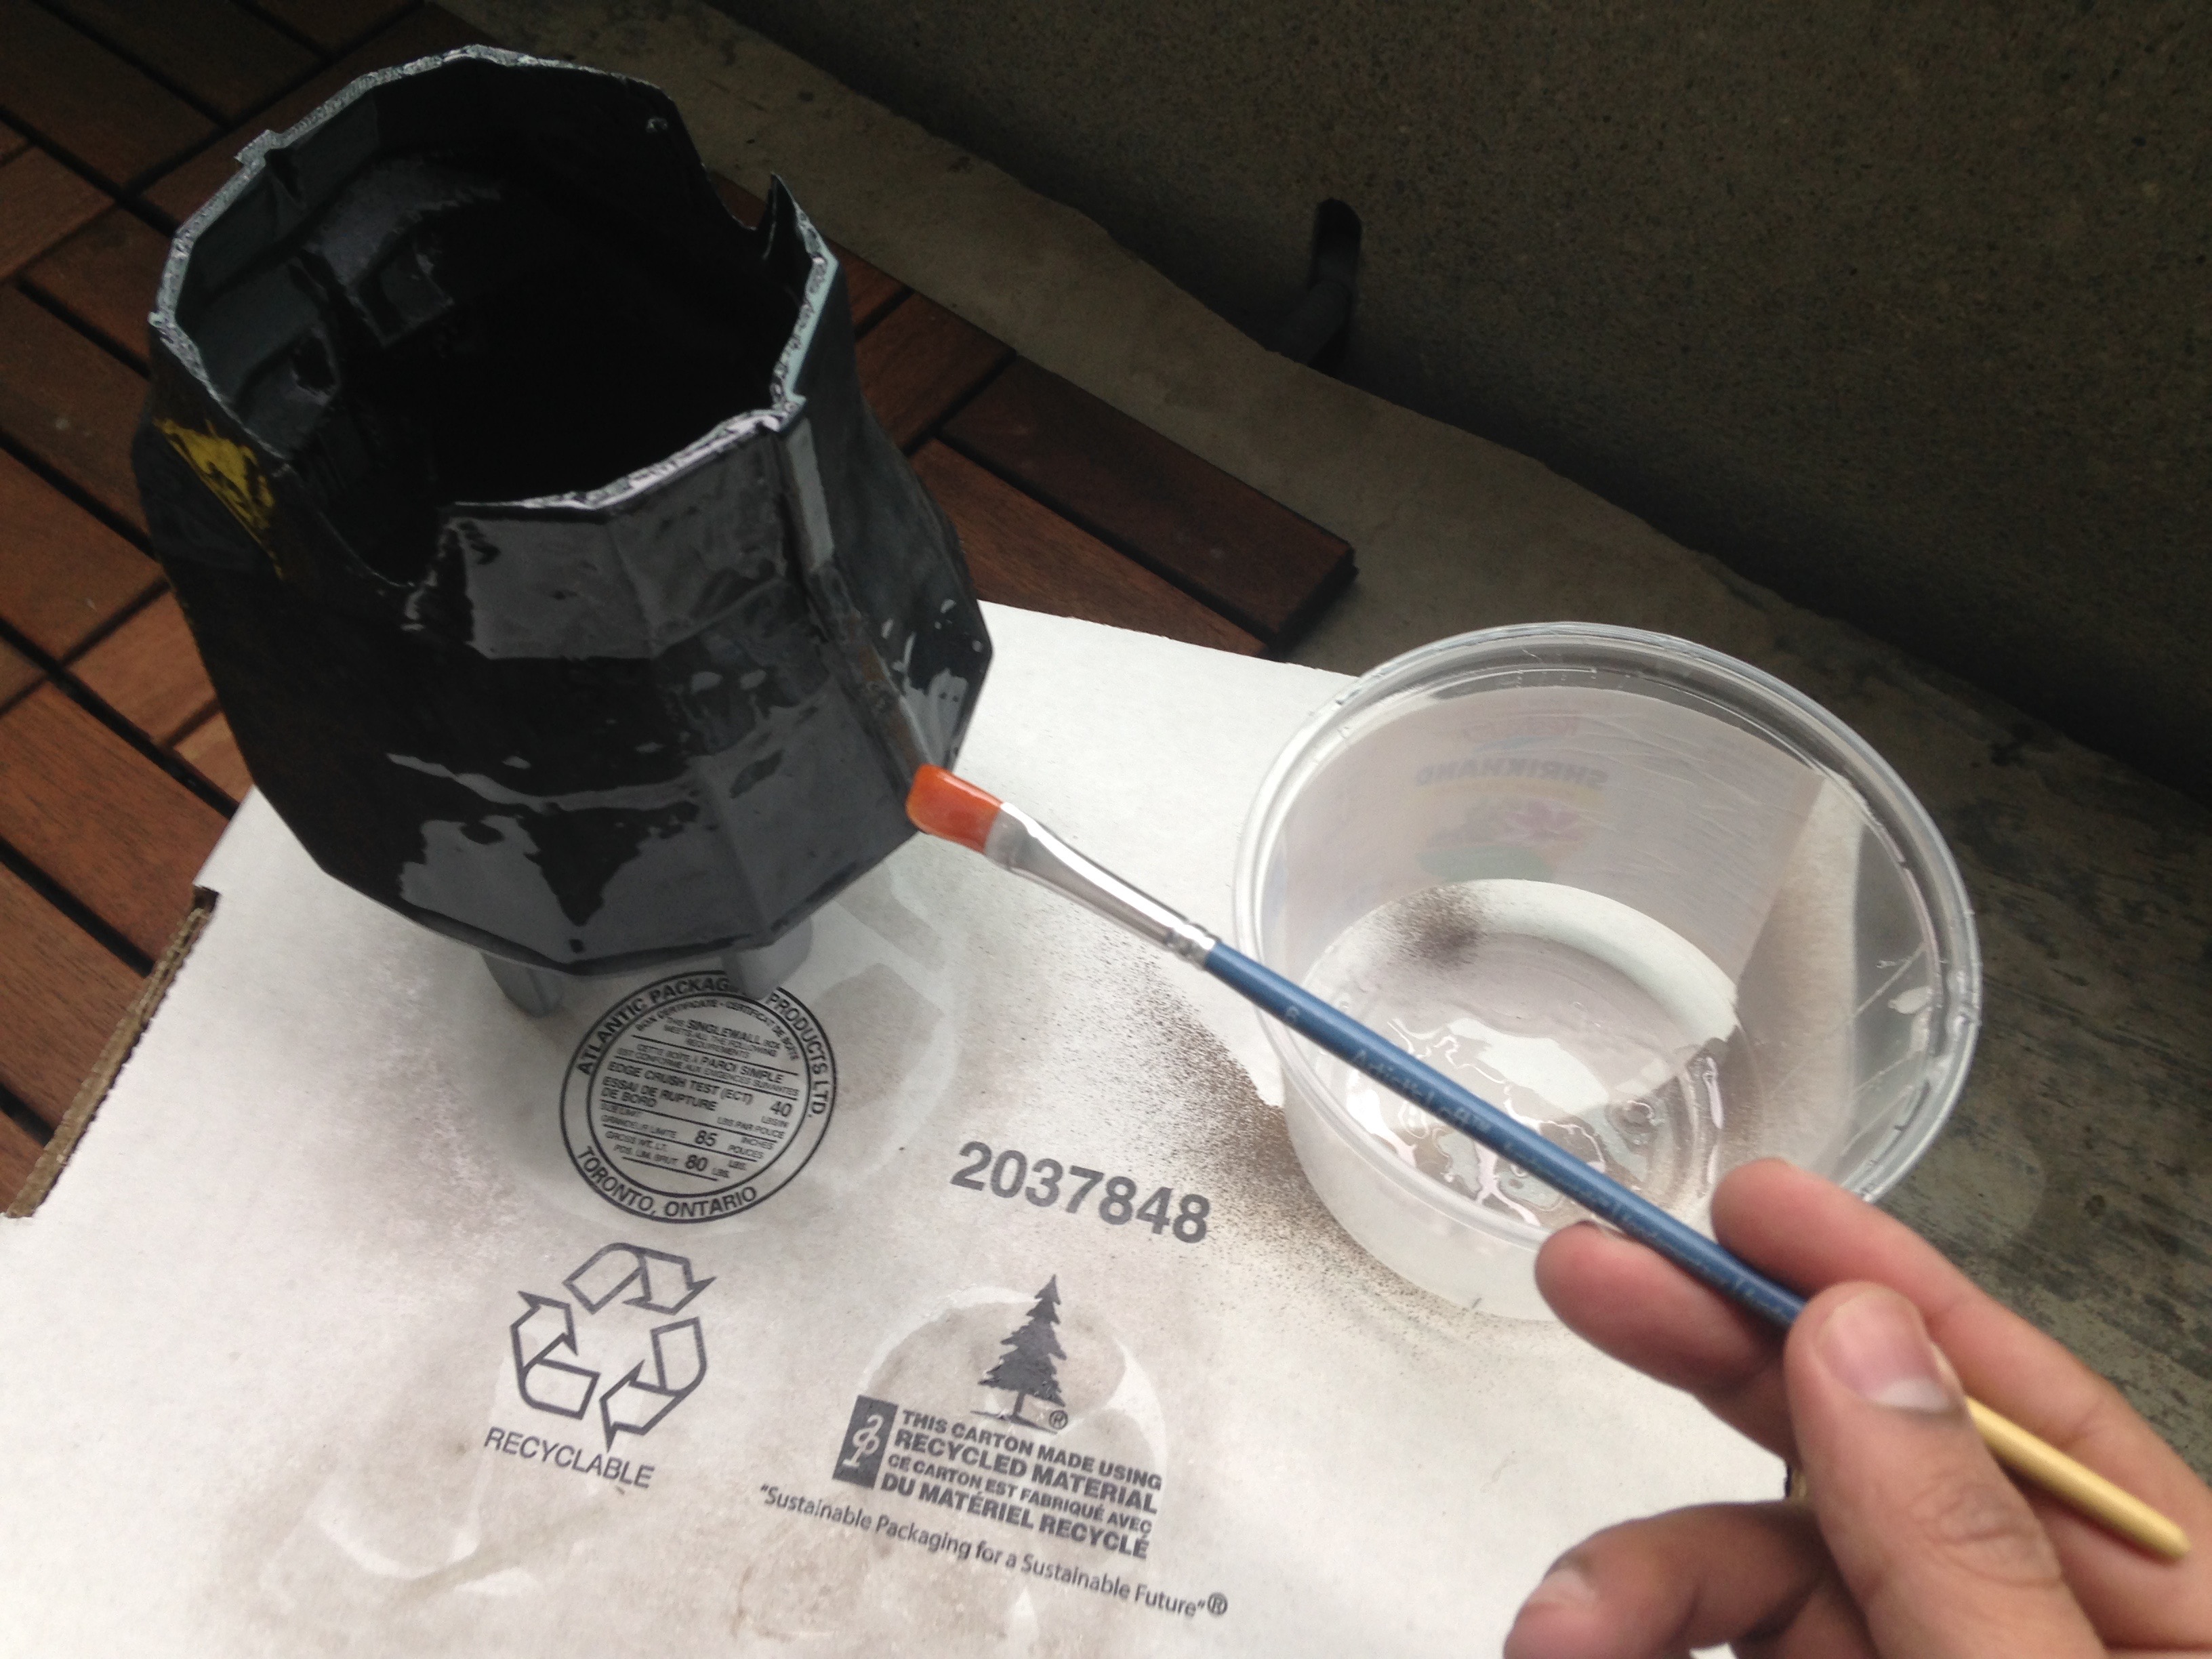
Use a combination of small and large paint brushes to pain the model, start with the part of the 3D print which has more details , like the eyes and the mouth of the Darth Vader Planter.
Let the part to dry for at-least 4 hours and keep it away from dust.The time 4 hour can vary, and depends upon the portions of hardener and resin . Here the safest bet is to leave the part overnight to dry.
Do not lift the part up before the part is completely dries , or else you will end up leaving your finger prints on the model.
If you don't have Z Poxy available , you can also try out XTC-3D buy a company called Smooth-On.
Tips for applying Z Poxy to the 3D printed part
- Buy the Z Poxy which say 30 mins on it, so that you have more time to work with the solution before it gets hard.
- If you are applying this to a small figurines, you may want to hot glue the base of the 3D printed part to piece of wood, so that using the brush is much easier and you don't leave finger prints/glove marks on the model.
- In addition, try and place you model on a base that you can move around like a box or a piece of wood , if you don't have one of them fancy turn tables.
- Try and use a transparent tupperware container so that you can see the mixture turn a cloudy white color.
- Do this in a well ventilated area , though it say it is odorless on the box, it has a slight pungent smell to it
- Use gloves, as this solution can stick to hands just like super glue and can be difficult to get off.
- Try and keep you model at a room temperature,in about 15-30 C and away from dust.
What type of 3D parts are ideal to use Z Poxy on.
- Small Figurines
- Dual printed part as shown in the picture above
- Parts that you need to repair/sand
- Temporarily water proof a part, this makes the surface of your print so smooth that the water just drips off.
- do NOT use this with moving parts like gears mechanism or part that your use to prototype a robot, because once your done this leave a soft coat of 1-2mm on your part.
- do NOT using this method on extra large part, in my case with the Darth Vader planter in the picture above I would have preferred using the method detailed in the next step as this is a much more expensive option.
Using Painter Touch
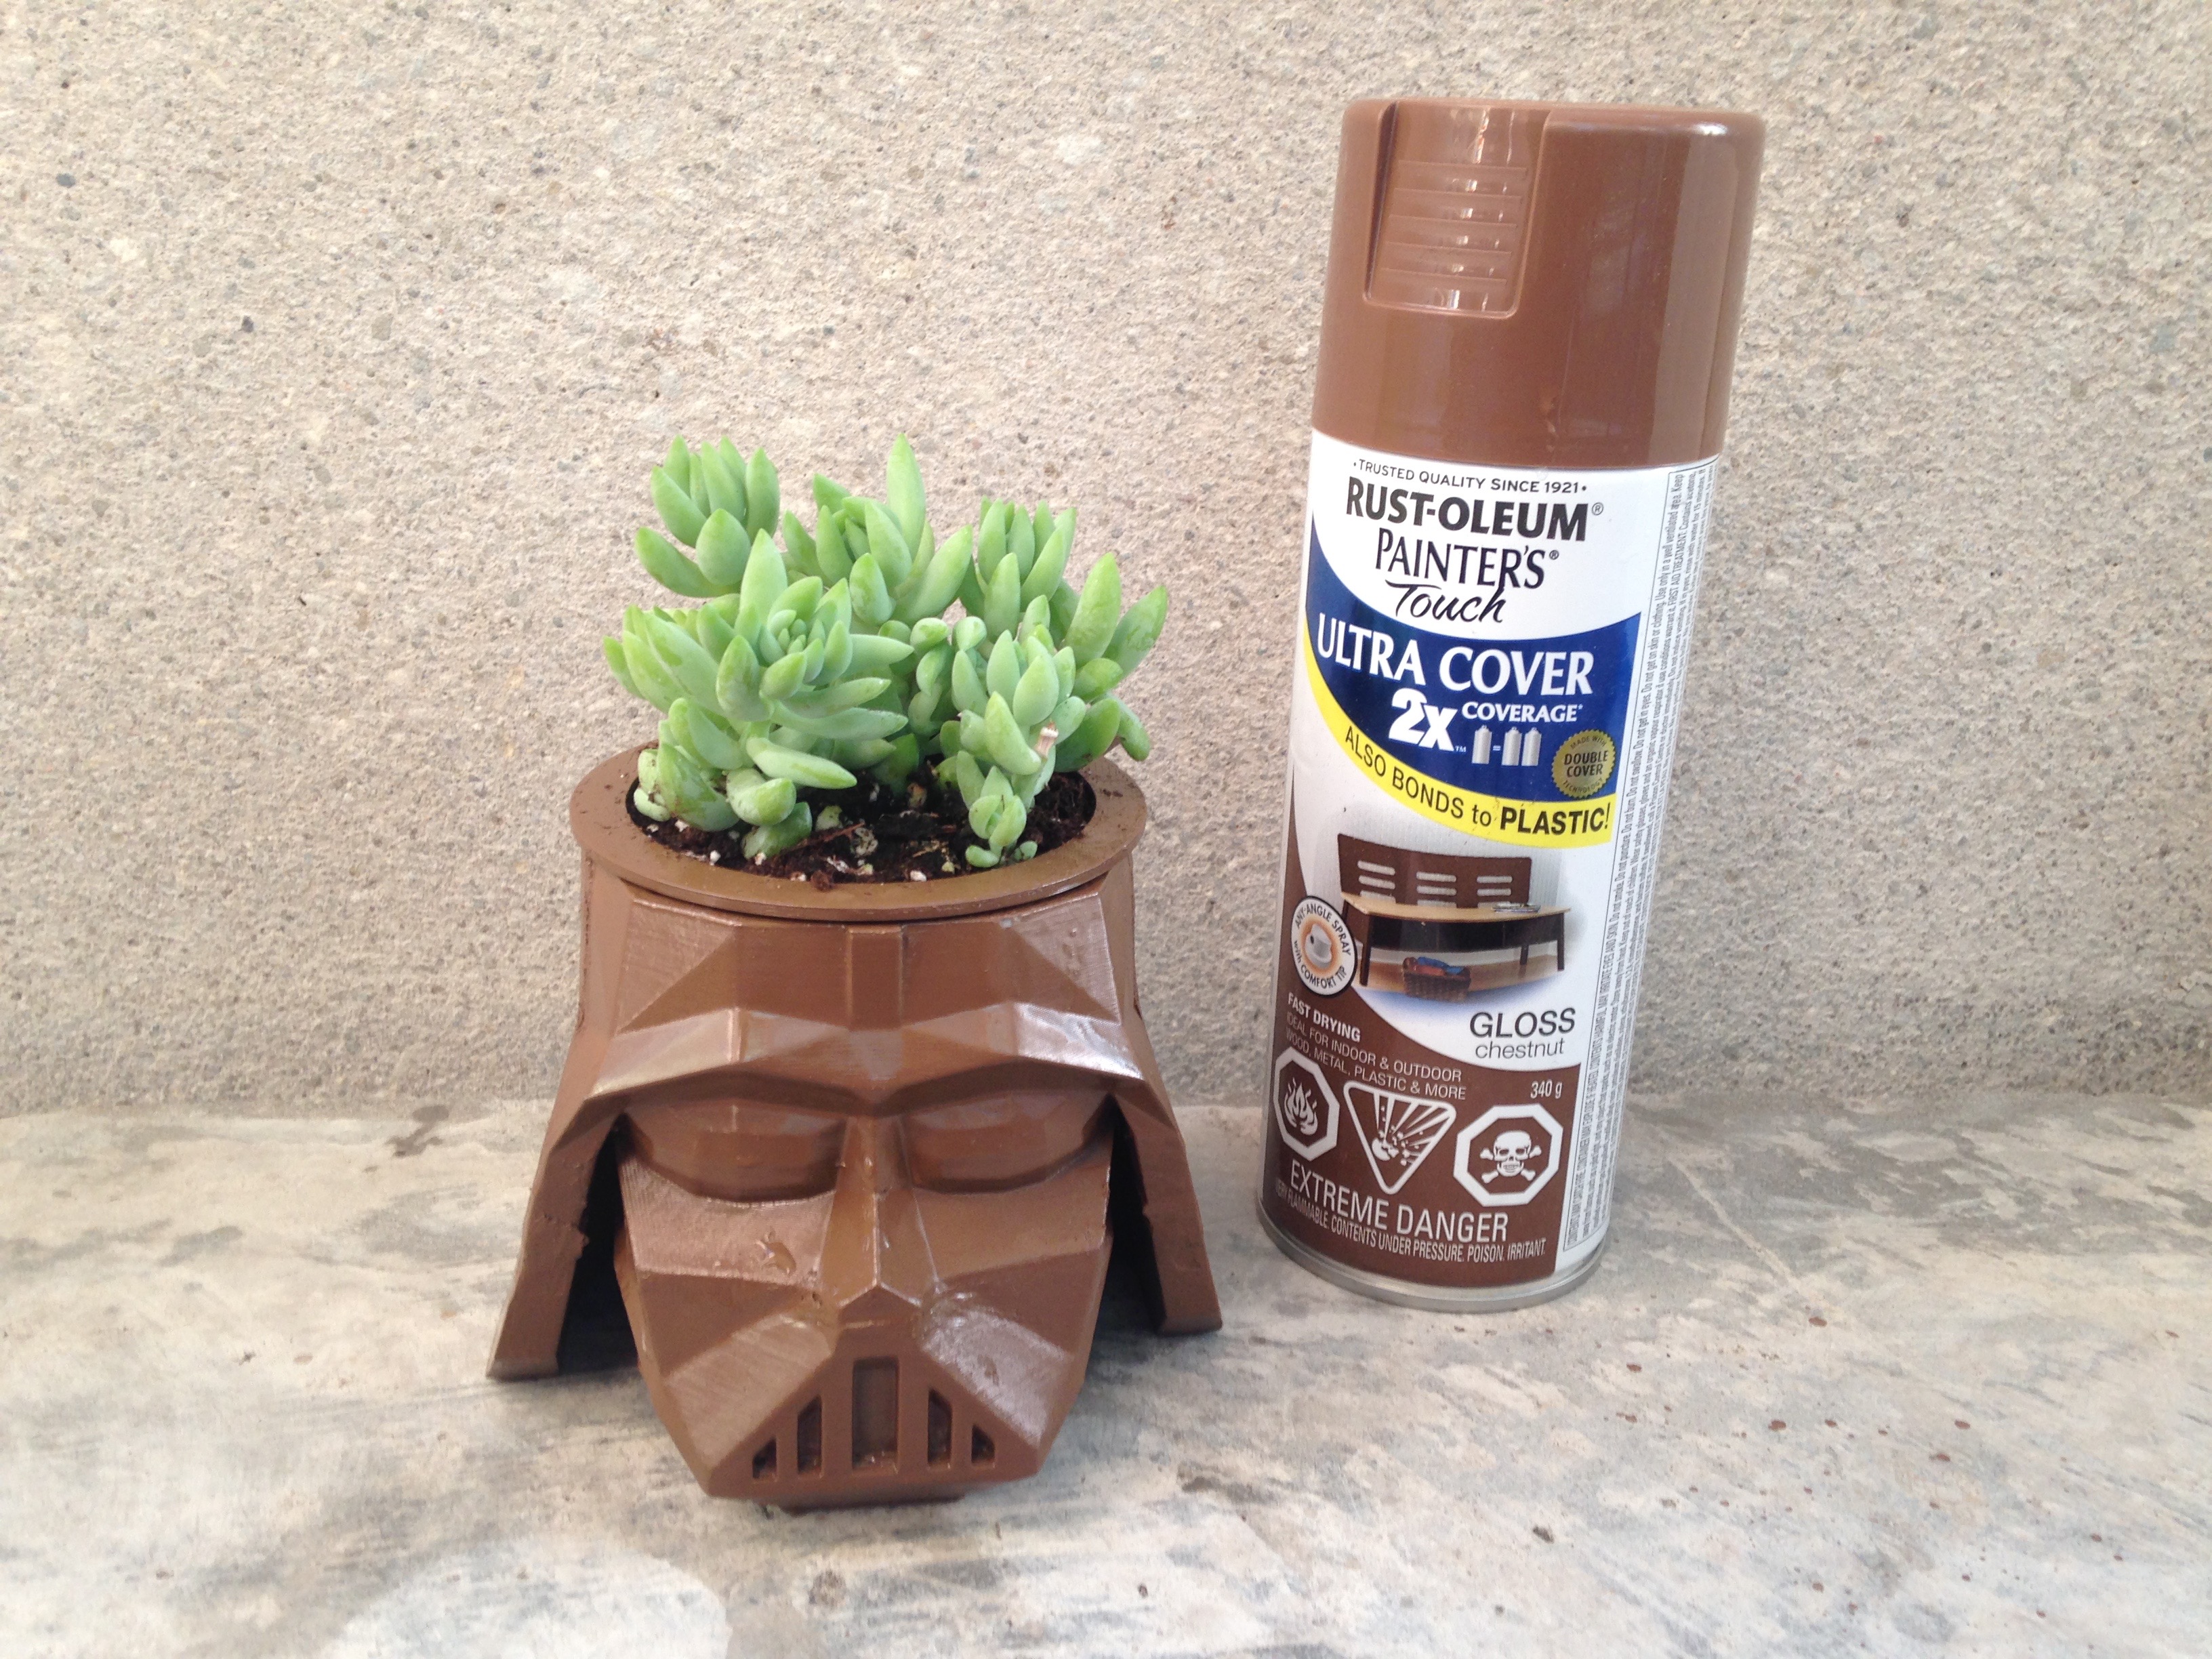
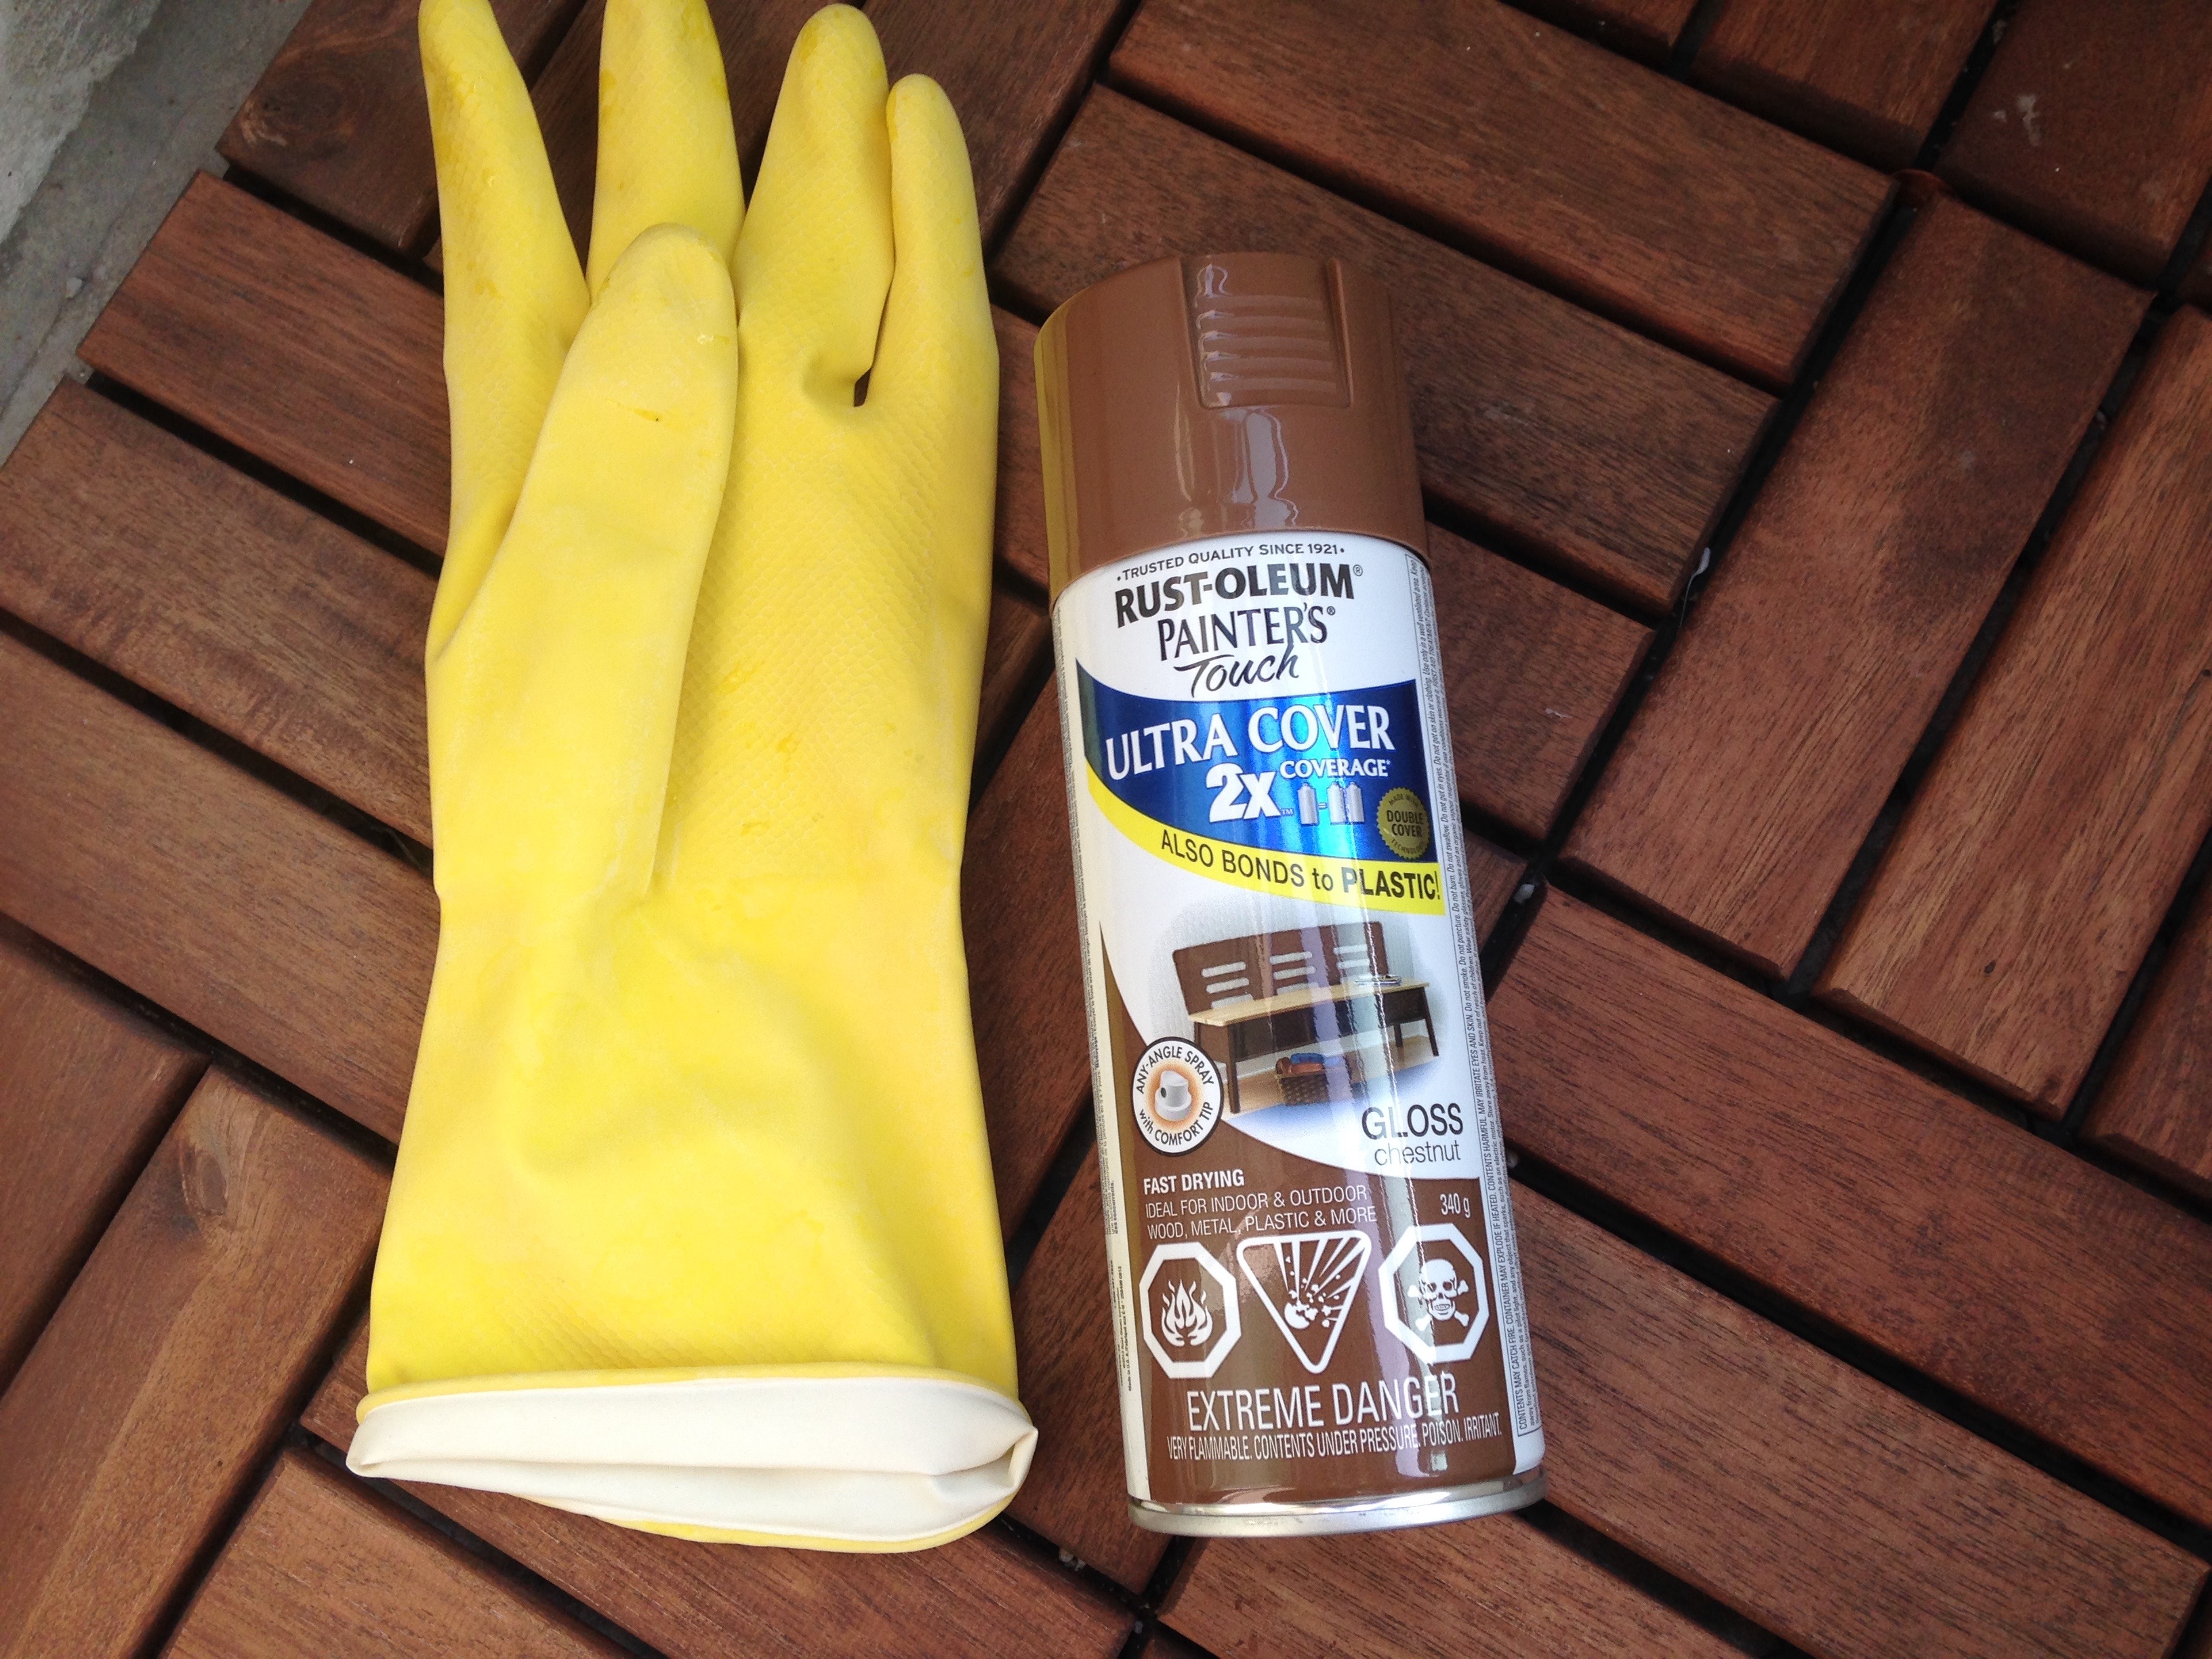
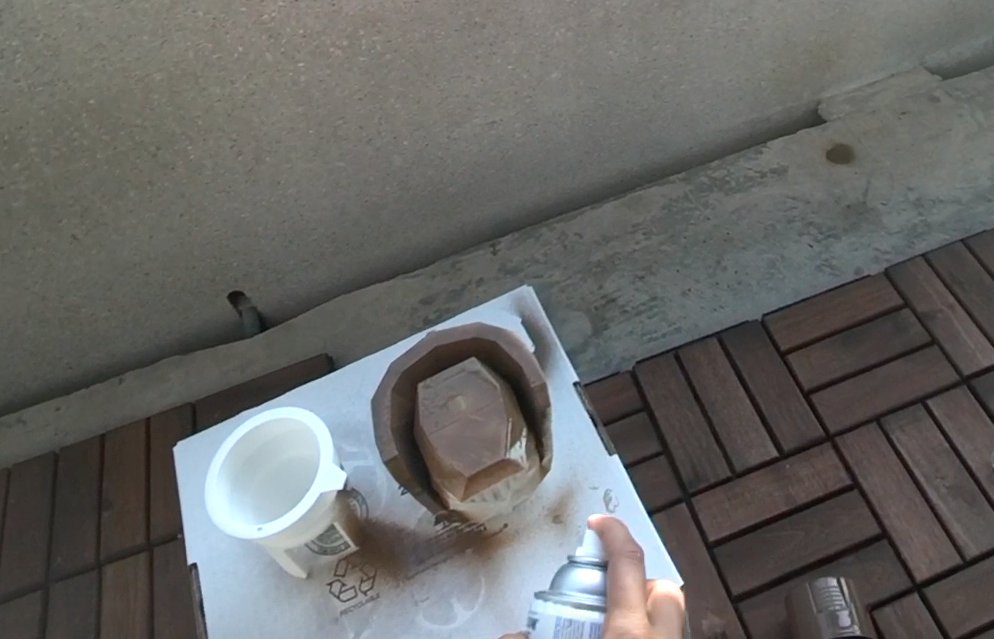
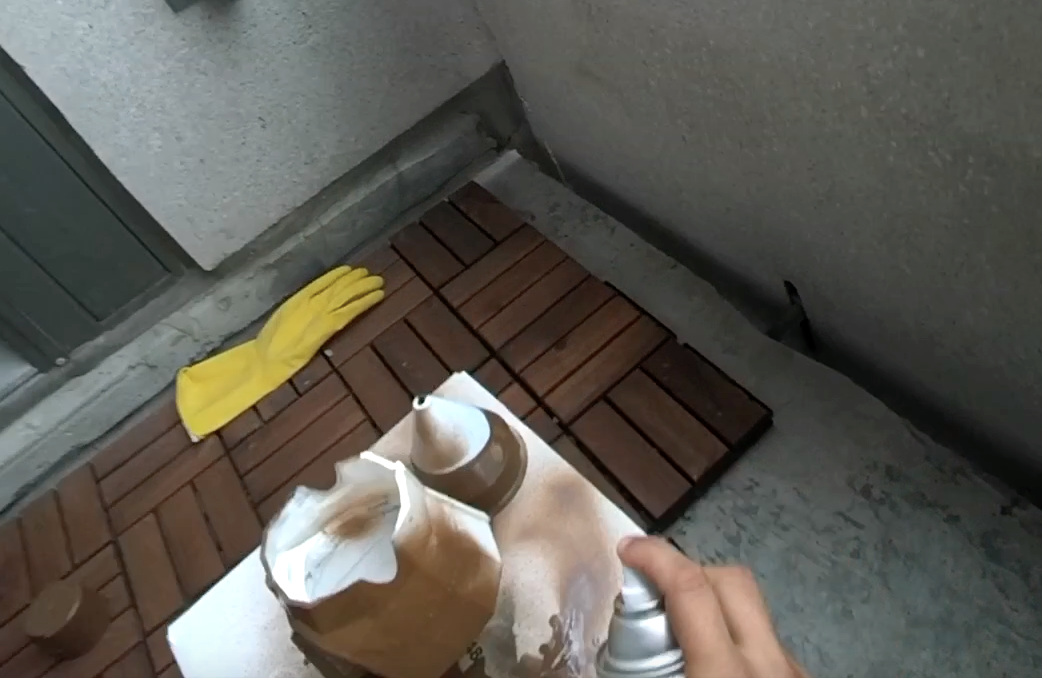
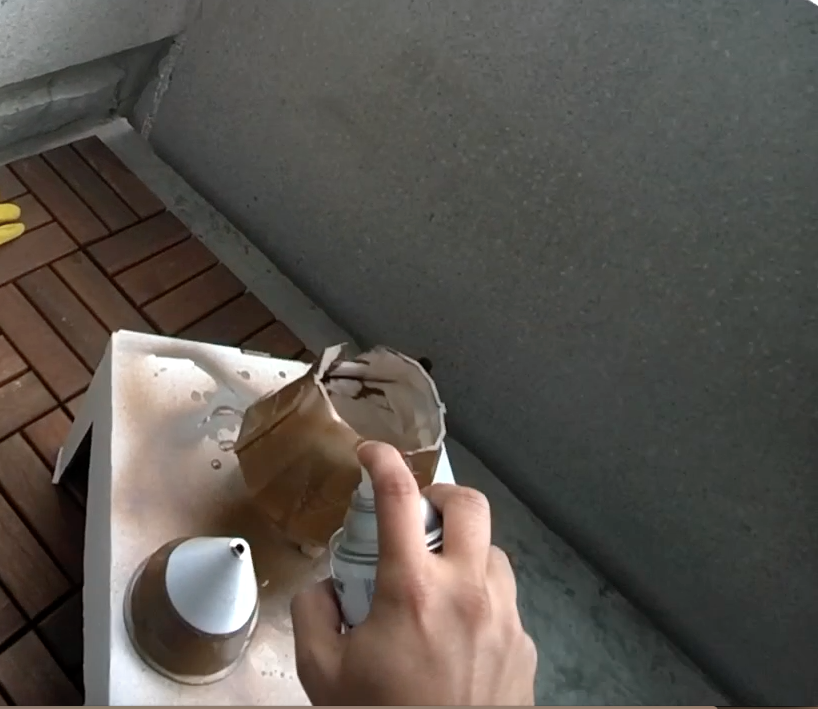
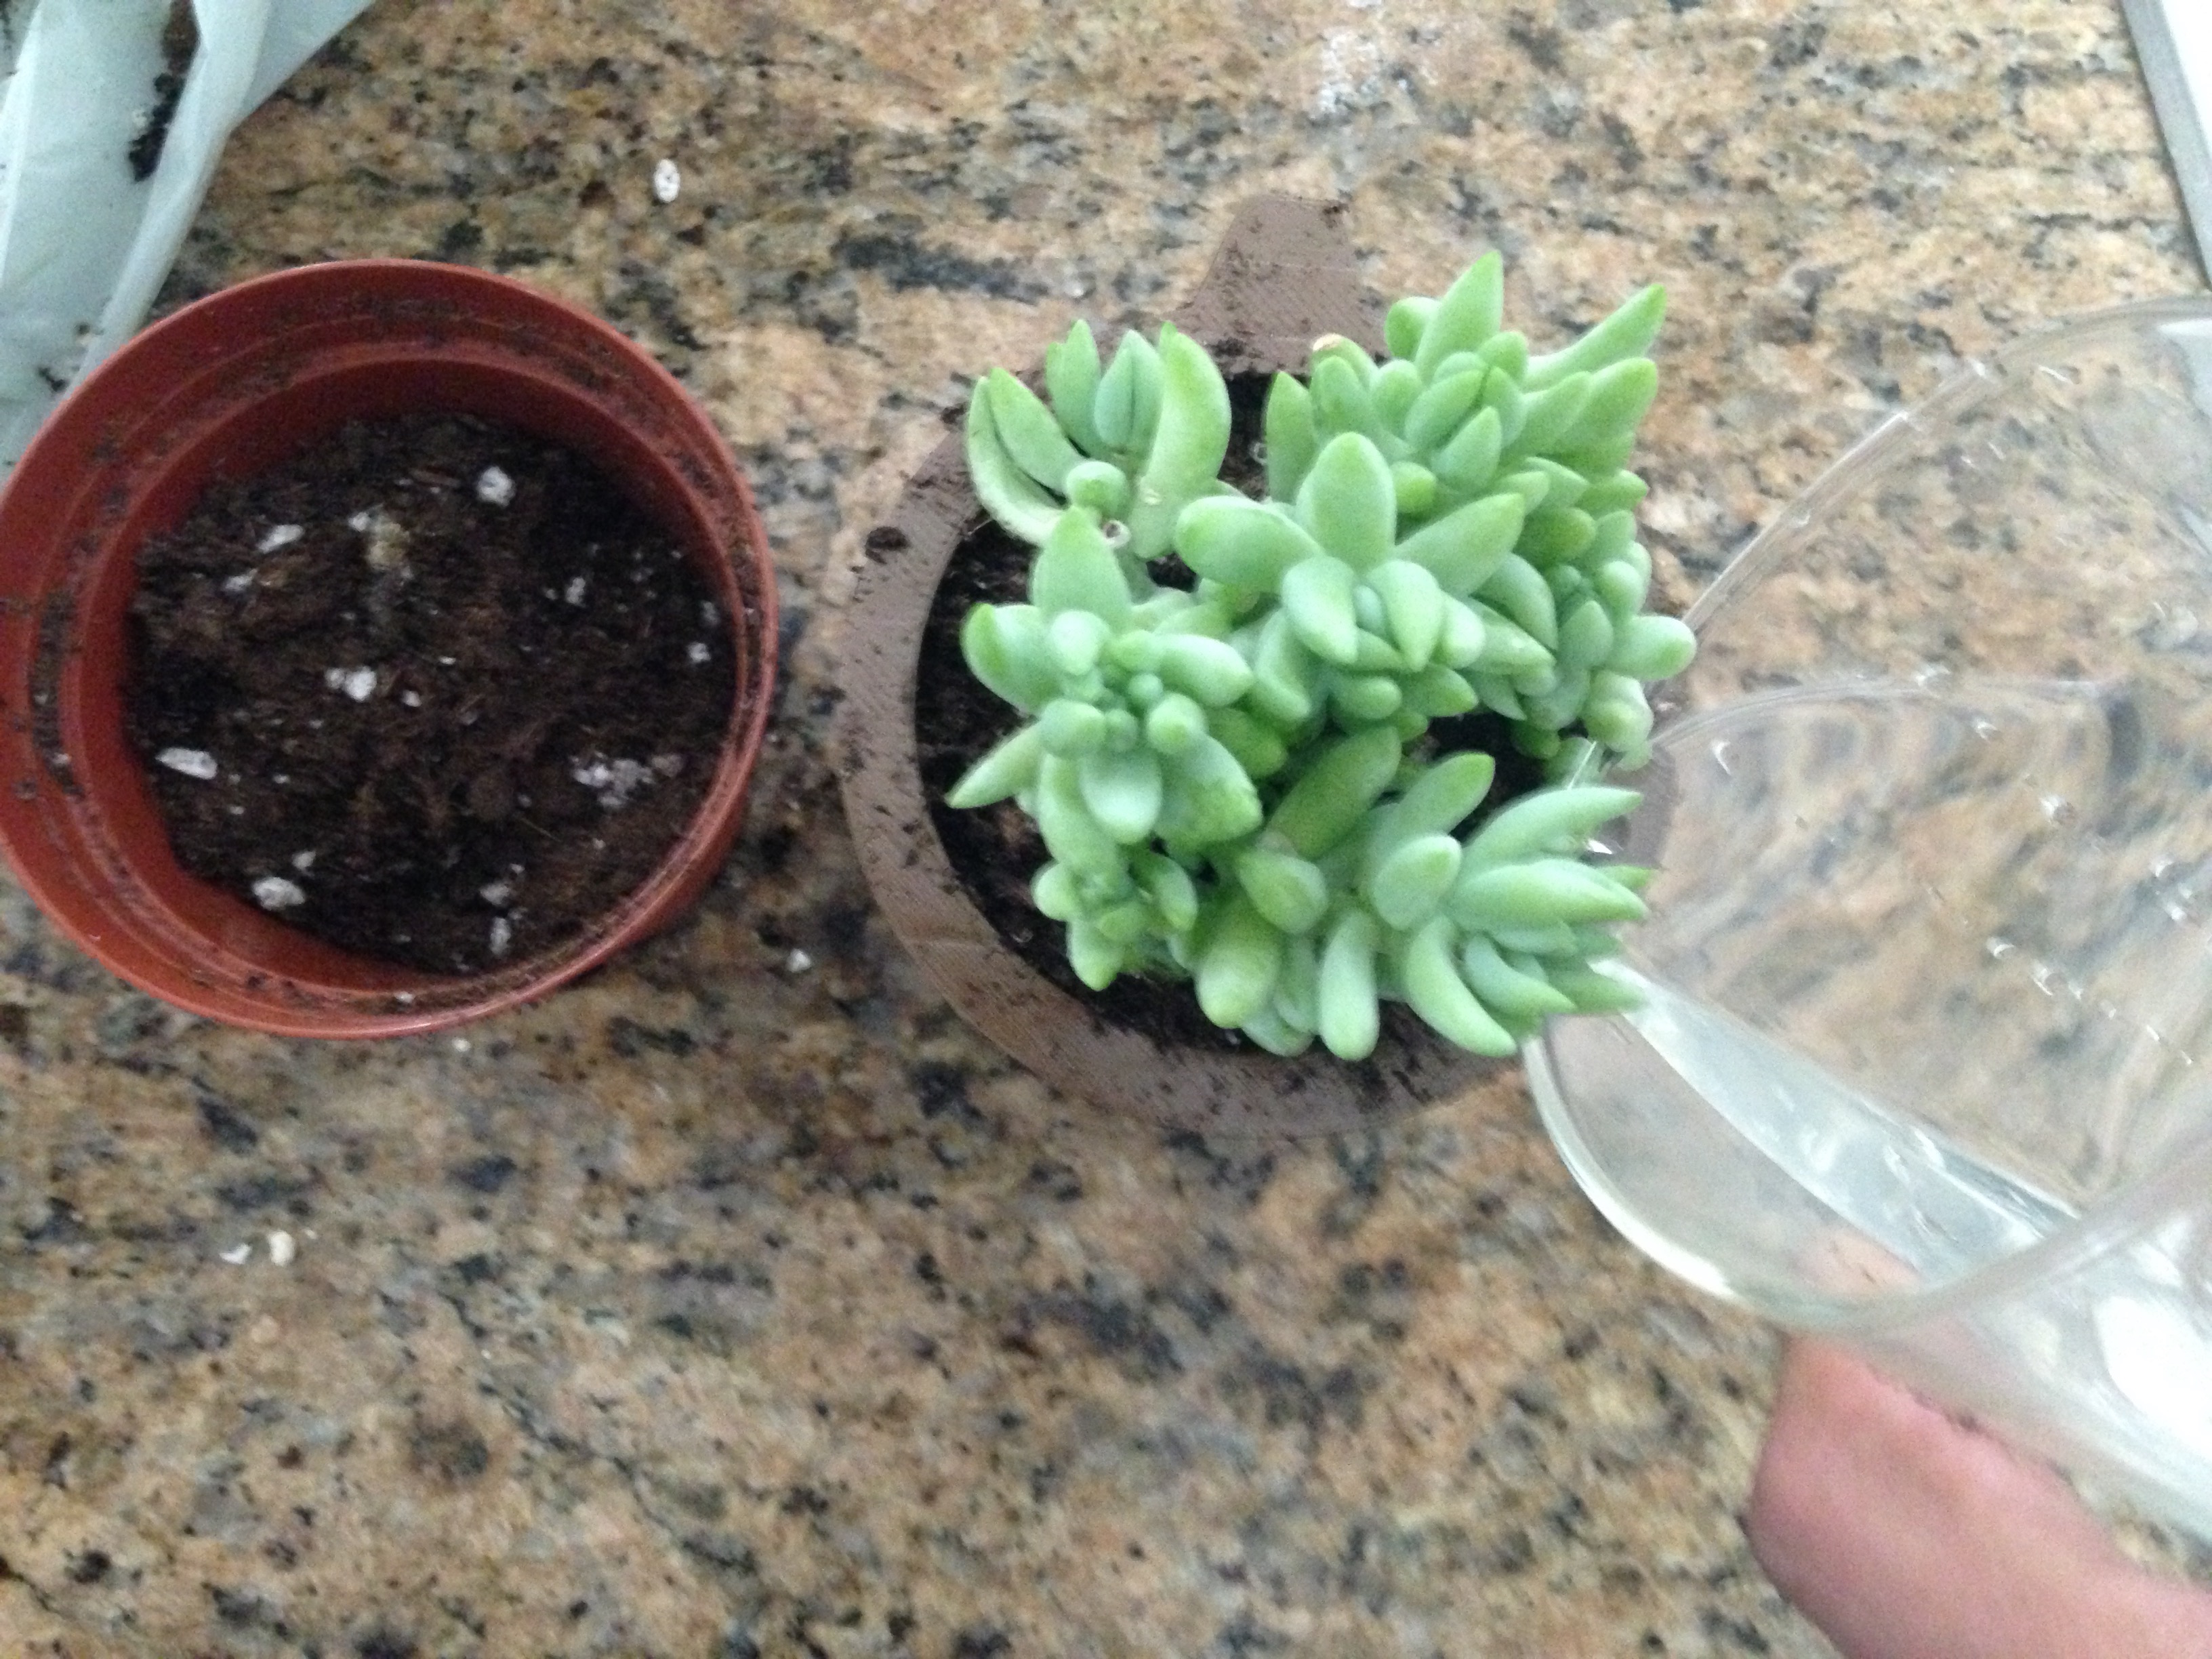
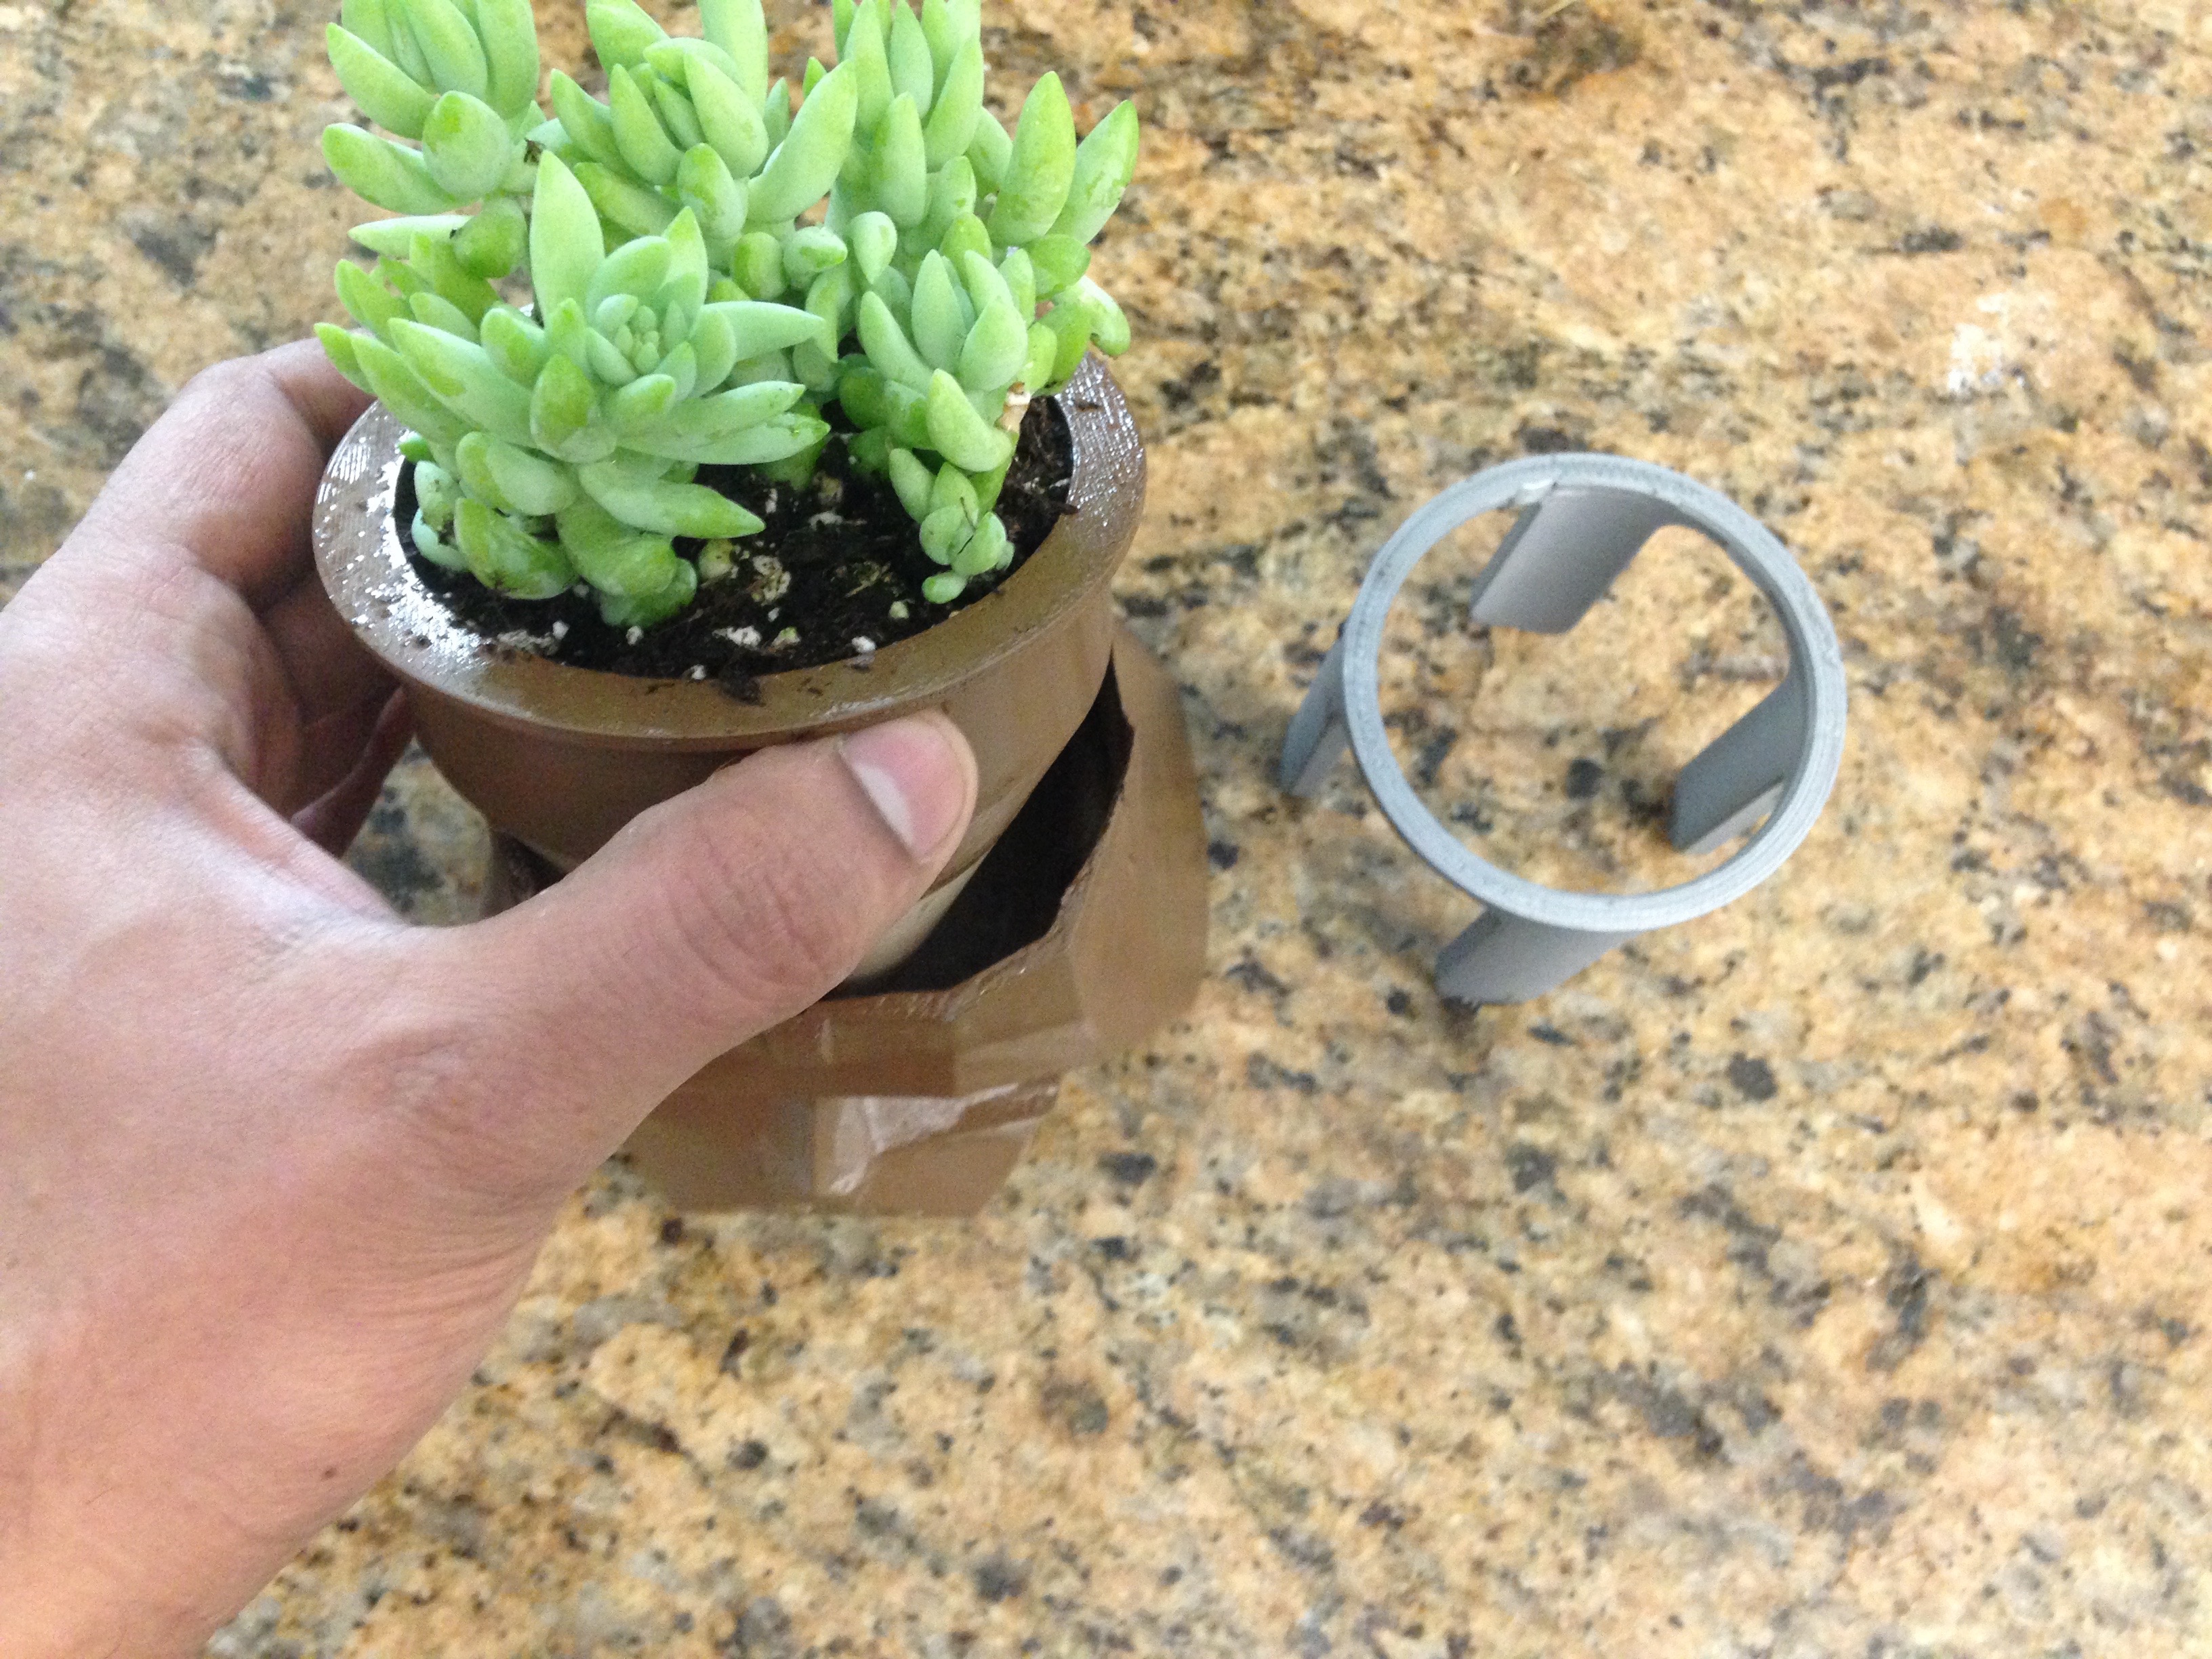
Compared the previous method this is a much cheaper as one of these bottles can cost about 6-8 dollars and can be easily found at your home hardware store (like the Home Depot) , the brand that I am using is called Painter's Touch 2X by a company called Rust-oleum.
This is an ideal method to use with extra large 3D printed parts , and unlike the previous method these spray bottles make it easy and the process more gratifying. In addition the access paint just drips of the part, so place your part on a smaller object, like in the picture above.
Spay the parts as shown it the picture above, I applied about 4 thin coats over a period of 2 days.
If you want to maintain the color of you PLA print use the Gloss clear version, for pictures check out the instructable at - https://www.instructables.com/id/CupBot-3D-Printed-...
In addition, I have found that spraying a primer really does not help.
Tip on using Painter Touch
- Like any other spray paint, use the can in the well ventilated area
- Test a spray on a failed part to get a hang of it , if you are using a spray paint for the first time
- Do more thin layer then just a couple thick layer.
- Wipe of the tip after use to prevent clogs when you use the can again
- Between your coats ensure that your earlier coat is completely dry ,I found that it takes the first coat at-least 5 hours to complete dry
- Protect your eyes by using protective gear and a safety mask around your nose.
- Depending on your 3D printed part , spray the under side part first
- Use a side to side motion for a smoother finish and better coverage
- Shake the paint can every couple of mins while using
- Hold the spray can about 20 cms from the 3D print.
What type of 3D parts are ideal to use with Painter Touch
- Use this method with large parts with thicker wall like the planter in the picture above, you may want to adjust your 3D software slicer setting to have thicker walls.
- Do NOT use this on moving part like gears, but you can use this on robotic project , but ensure that your parts are thick enough (at-least 6 mm thick) , otherwise you will observer that the part becomes flexible and will deform from its original shape after a couple of coats
- Works ideal with part in combination with wood and other metal object, say you are putting an old table together and kind find the correct brackets and you have to 3D print the brackets
- Temporarily water proof your part when your print is large with a lot of infill, in this case the previous method will work better