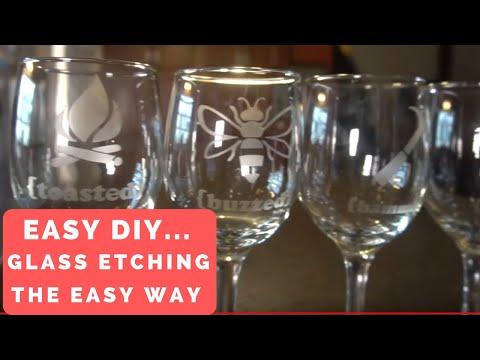
How to Etch Wine Glass the EASY Way (with Armour Etch & Cricut Vinyl Decals!)
by ICreateCrafts in Design > Art
2515 Views, 8 Favorites, 0 Comments
How to Etch Wine Glass the EASY Way (with Armour Etch & Cricut Vinyl Decals!)
)
.png)
Hi,
In this tutorial, I will be showing you an easy way to create some beautiful personalized wine glasses using some Armour Etch and some vinyl cut outs from a Cricut machine. You can use this technique to personalize any glass you may have. Have fun and happy crafting!
Supplies
These include my affiliate link to Amazon. If you purchase something from my link, I will get paid a small percentage that will help me create more videos :)
*Roll of Oracal 651 Matte Black Vinyl
*Cotton ball or paper towel
* Foam brushes or paper plate for the etching cream
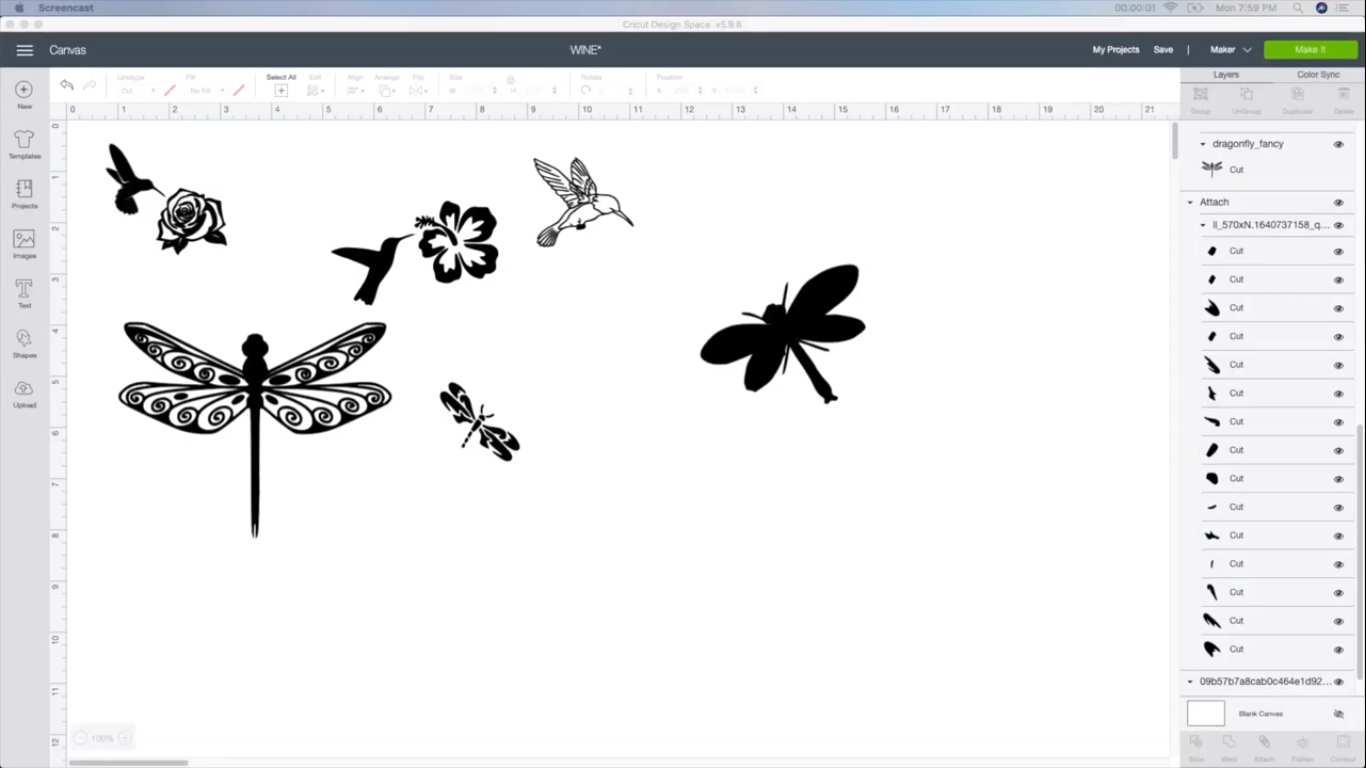
Select Your Design(s)
.png)
You can find designs online, or even some on Google and clean them up in Design Space, like I did.
There are lots of design options, from birds, animals, symbols to words. I like dragonflies, fireflies and humming birds simply because we have loads of them around here, in the countryside.
Figure Out the Size, Color, and Arrangement of the Design(s)
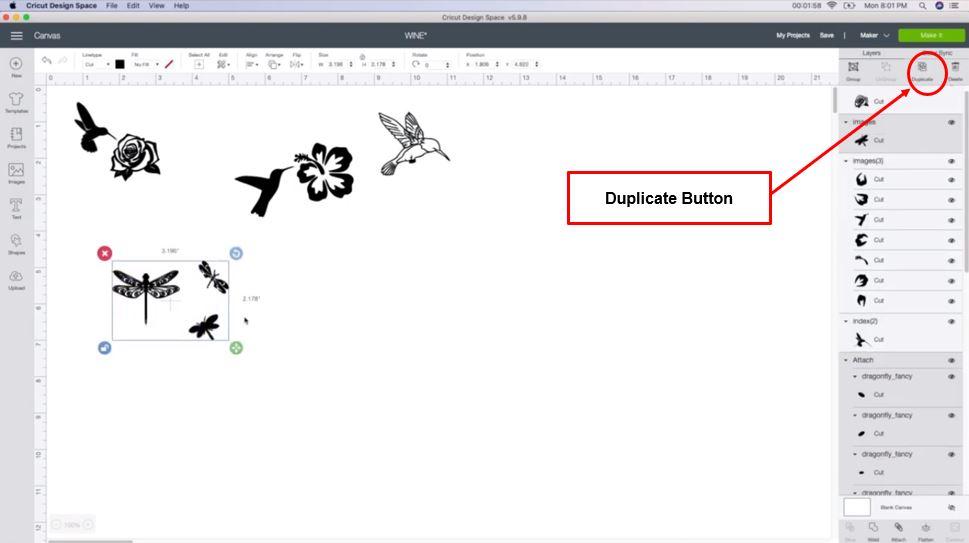
You need to have a rough idea of how you would want the designs on your glass. I plan to have two big dragonflies (one on each side of the glass) and other smaller ones all around the glass. So, I selected all three of the dragonflies and hit the duplicate button on the top right corner.
The designs that I don't want to work on now, but want to put aside do not need to be deleted. Just change the color. Since the cutting is done color wise, and I plan to start with blue, the purple humming bird design will not get cut out. It'll just stay safe on my system.
Tip: Avoid using designs that are too little or too detailed. You will go crazy weeding them out.
Make the Designs
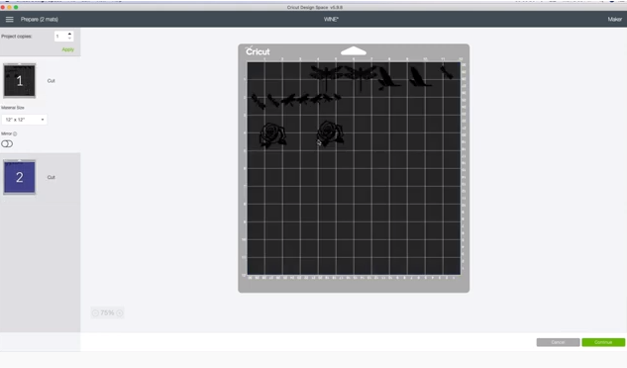
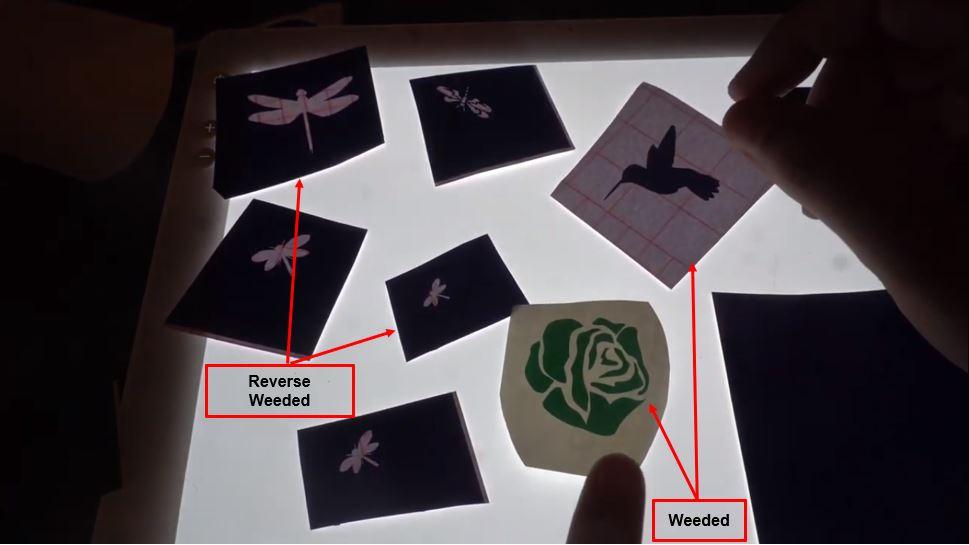
Once you have the size, color and number of images figured out, hit the green 'Make It' button on the top right corner. You can then see the designs on the mat. Once cut, weed out the designs. I weeded the flower out, but with the dragon flies, I did the reverse weed. Basically, I pulled out the dragonflies themselves, instead of pulling out the extra vinyl around them.
Tip: Spread the designs out a little on the mat so that you are not cramped for space and have enough room to work around them.
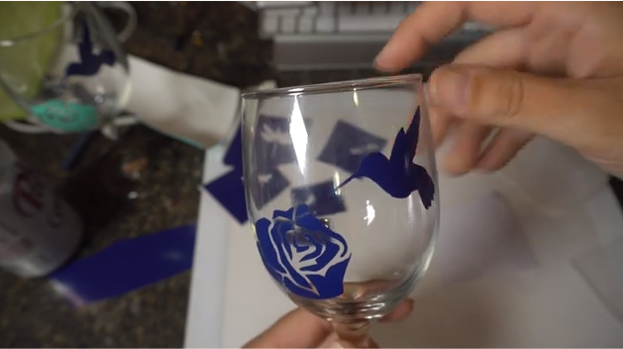
Stick the Vinyl Cut Outs Onto the Glass
.png)
Clean the glass surface with some alcohol and paper towels. Let it dry for a couple of minutes.
We are doing two types of design at once.
1. The humming bird and rose design- Here we stick just the two designs onto the glass. The rest of the surface is empty.
2. The dragonfly design- Here we cover most of the glass with vinyl, leaving just the dragonfly shape empty.
Get the designs on the transfer tape. Next, transfer the designs onto the glass. Carefully press with your fingers. Avoid any bubbles. Now, slowly peel off the transfer tape. Again, press the designs onto the glass, using your fingers. This is to make sure that the vinyl sticks to the surface really well.
Tip: Since it is a curved surface, you can't use a scraper to stick the vinyl onto the glass. Press with your fingers really well, so that no Armour Etch sneaks in where you don't want it.
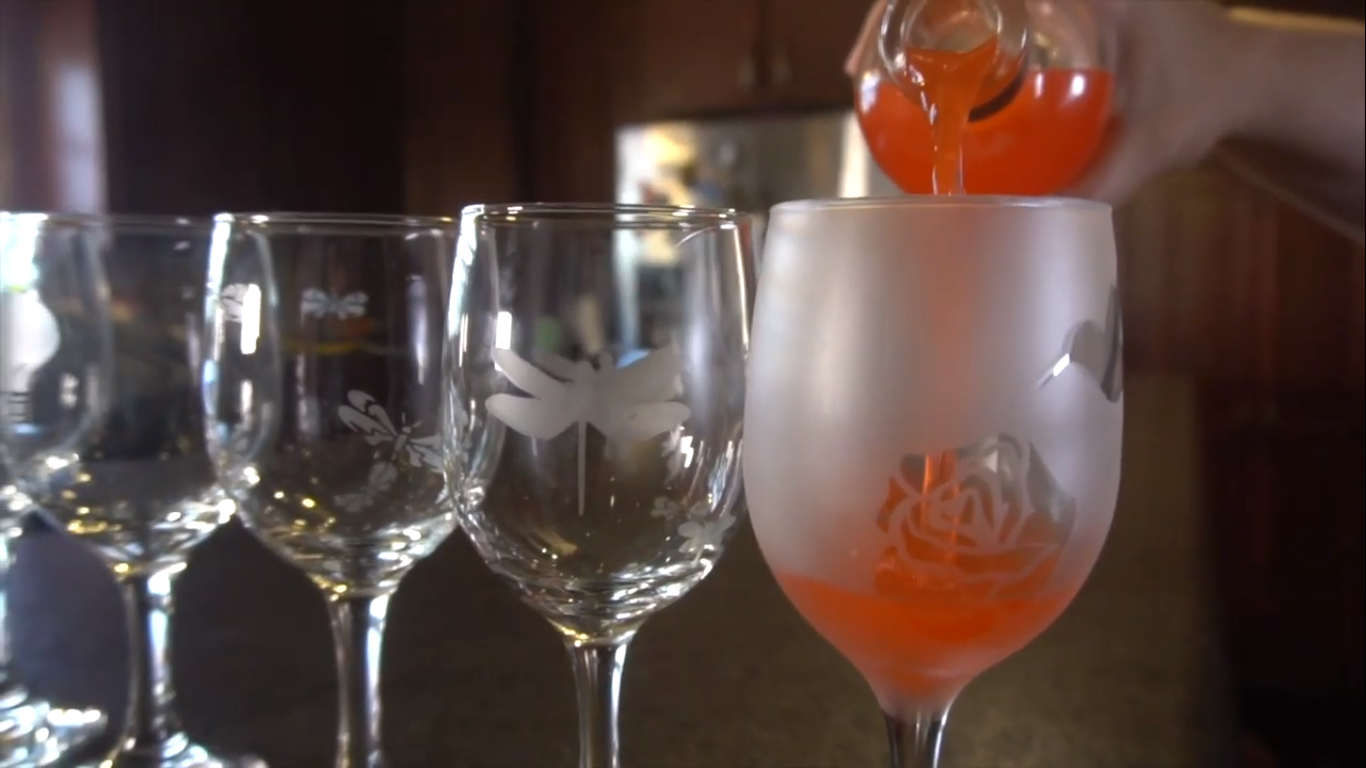
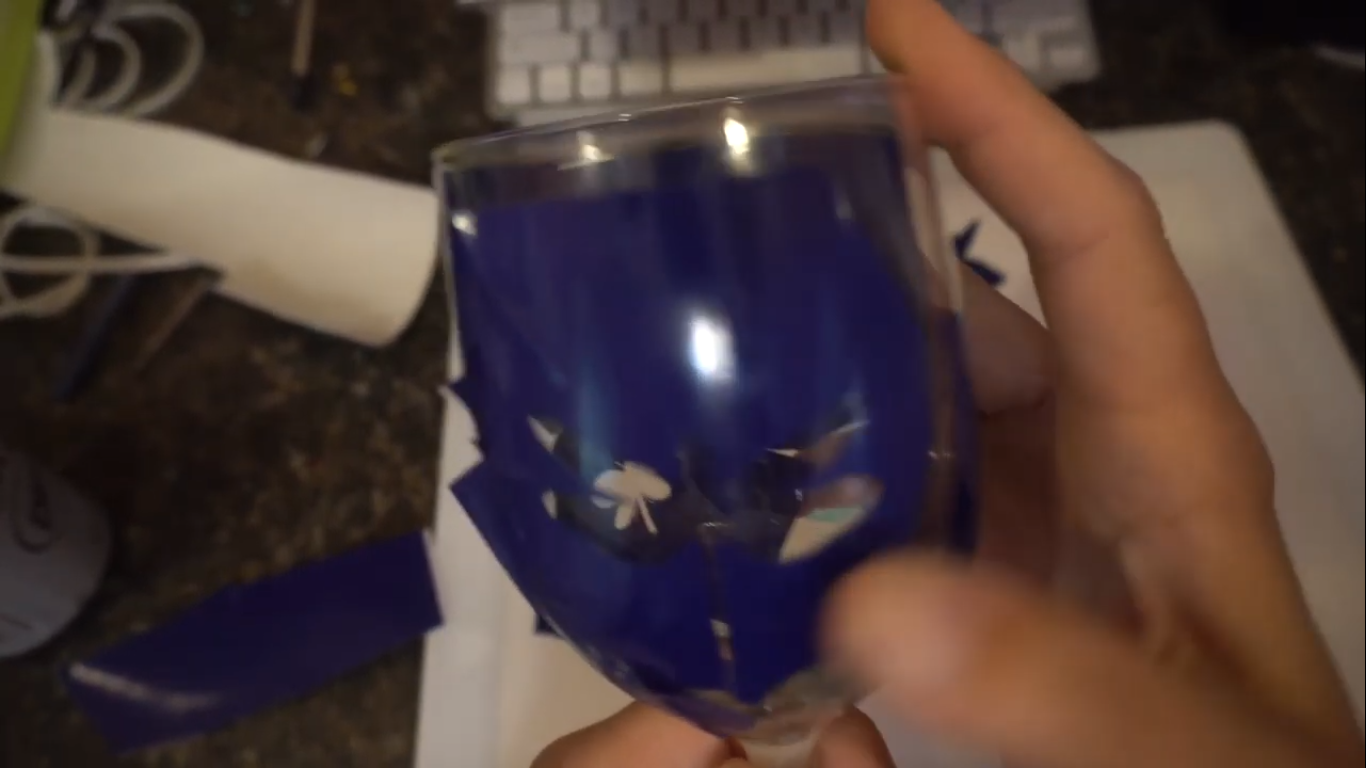
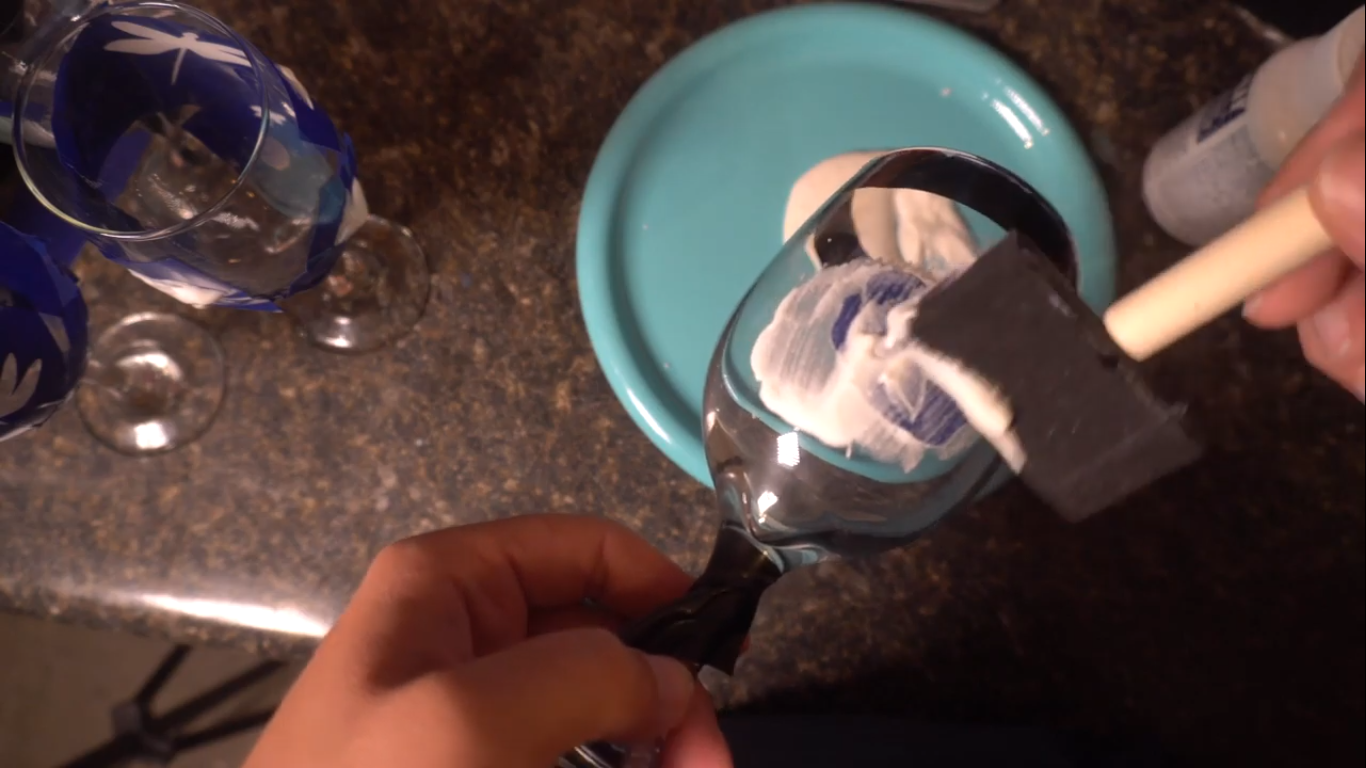
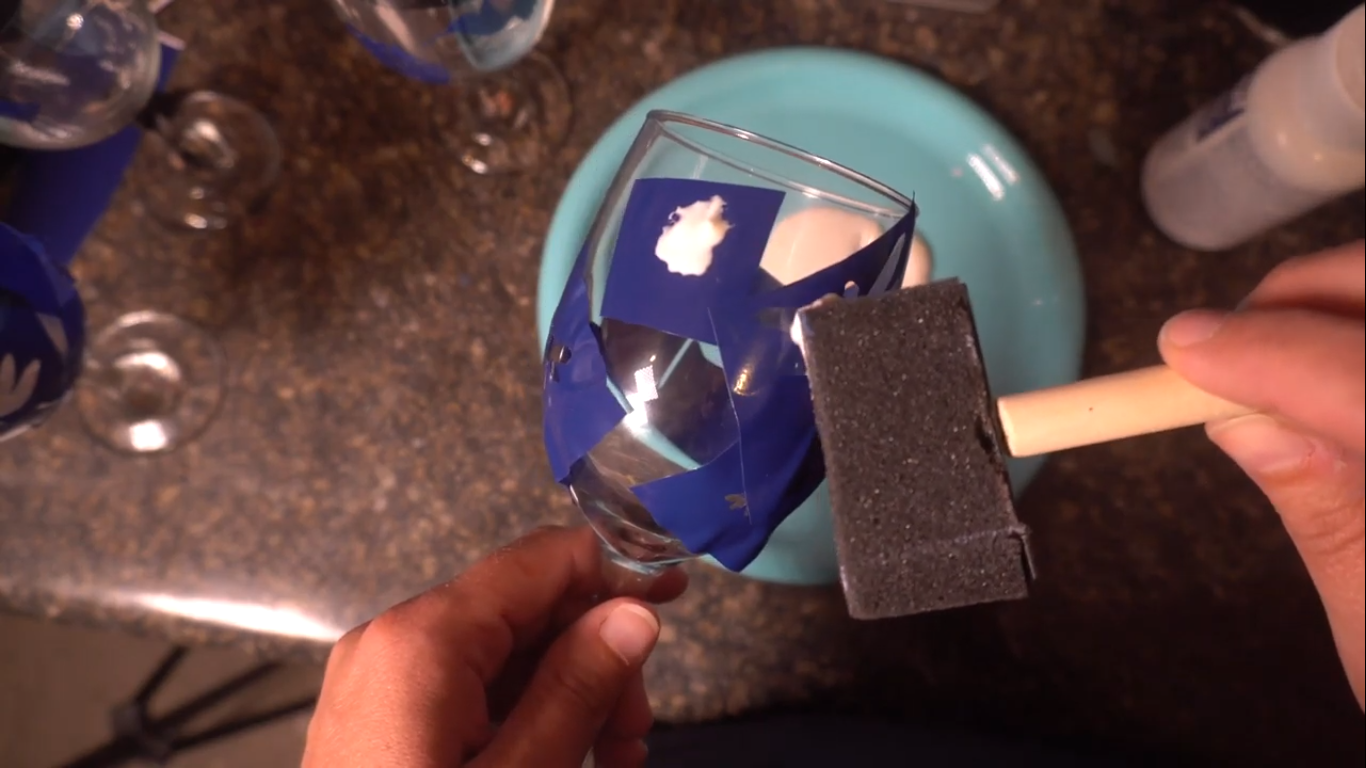
Get Armour Etch on Your Glasses
.png)
.png)
Put some electric tape around the top of the glass (with the rose design), both on the inside and the outside. Also cover the stems of both the glasses with the tape so that you don't get any Armour Etch on these areas.
Next apply the Armour Etch using a foam brush.
For the humming bird and rose design- Apply Armour Etch all over the surface.
For the dragonfly design- Apply Armour Etch only on the open dragonfly shape.
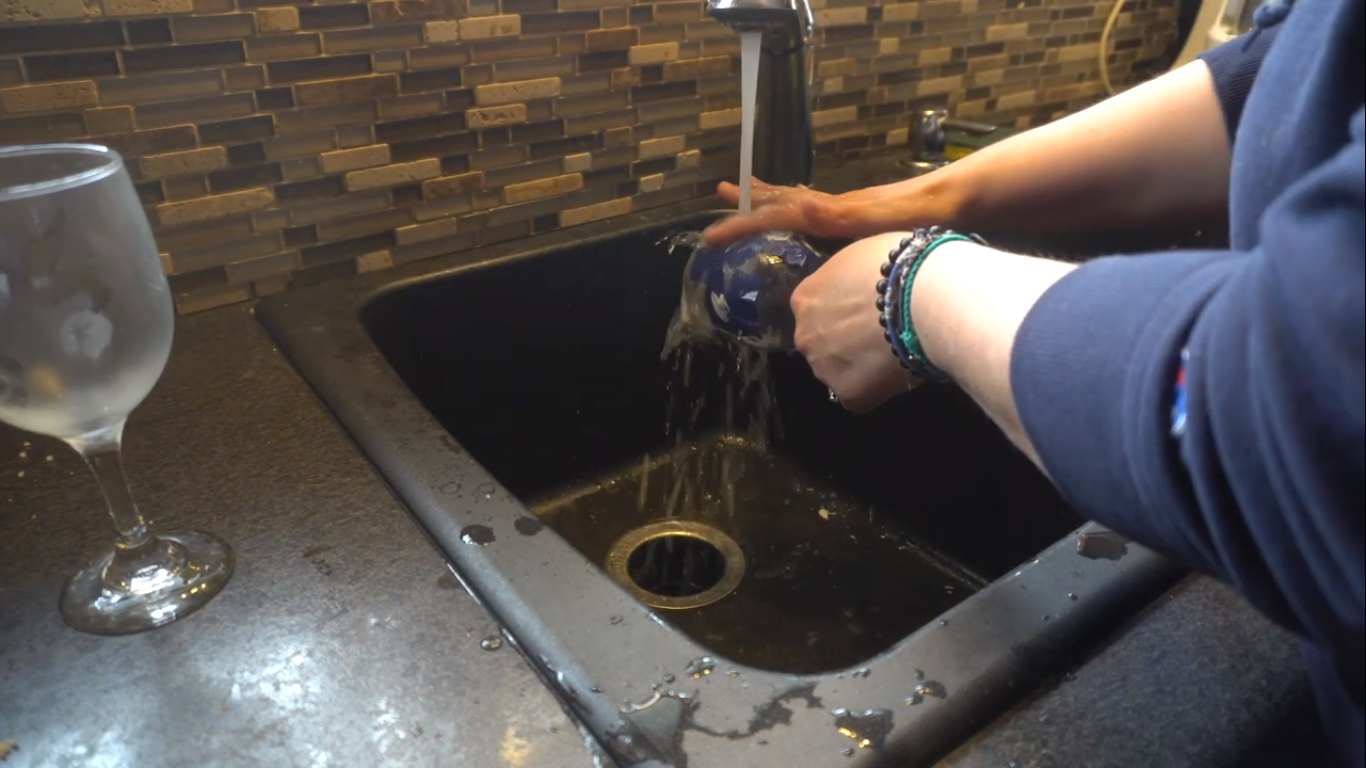
Get the Armour Etch Off the Glasses
.png)
Let the cup sit for 10 minutes. Then wash the cup with warm water. Get the Armour Etch off. Then peel the vinyl off.
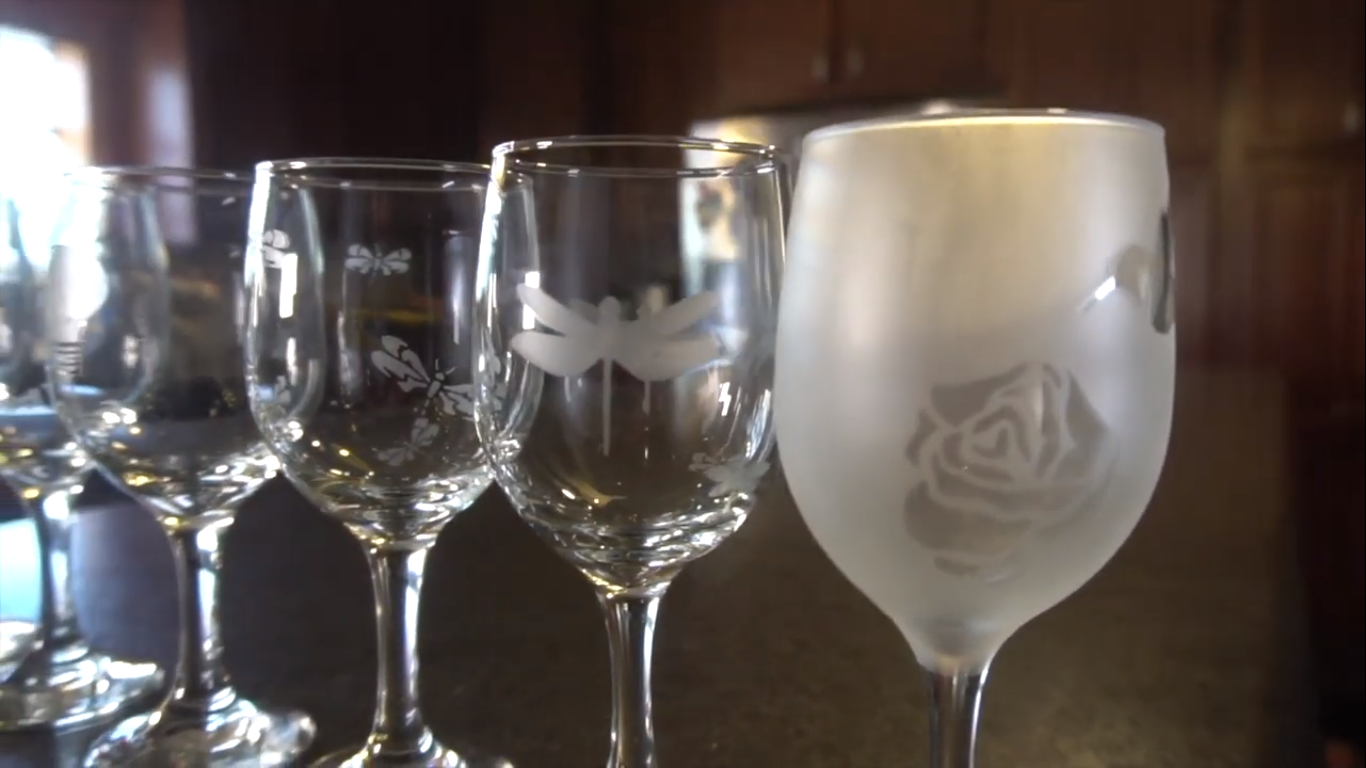
The Final Look
.png)
And this is how it turned out. The good thing- it's dishwasher safe and you just don't need to worry about the design coming off!
I intend to sell these at the local boutique store and give some away as gifts. What are your plans?
Happy Crafting! :)