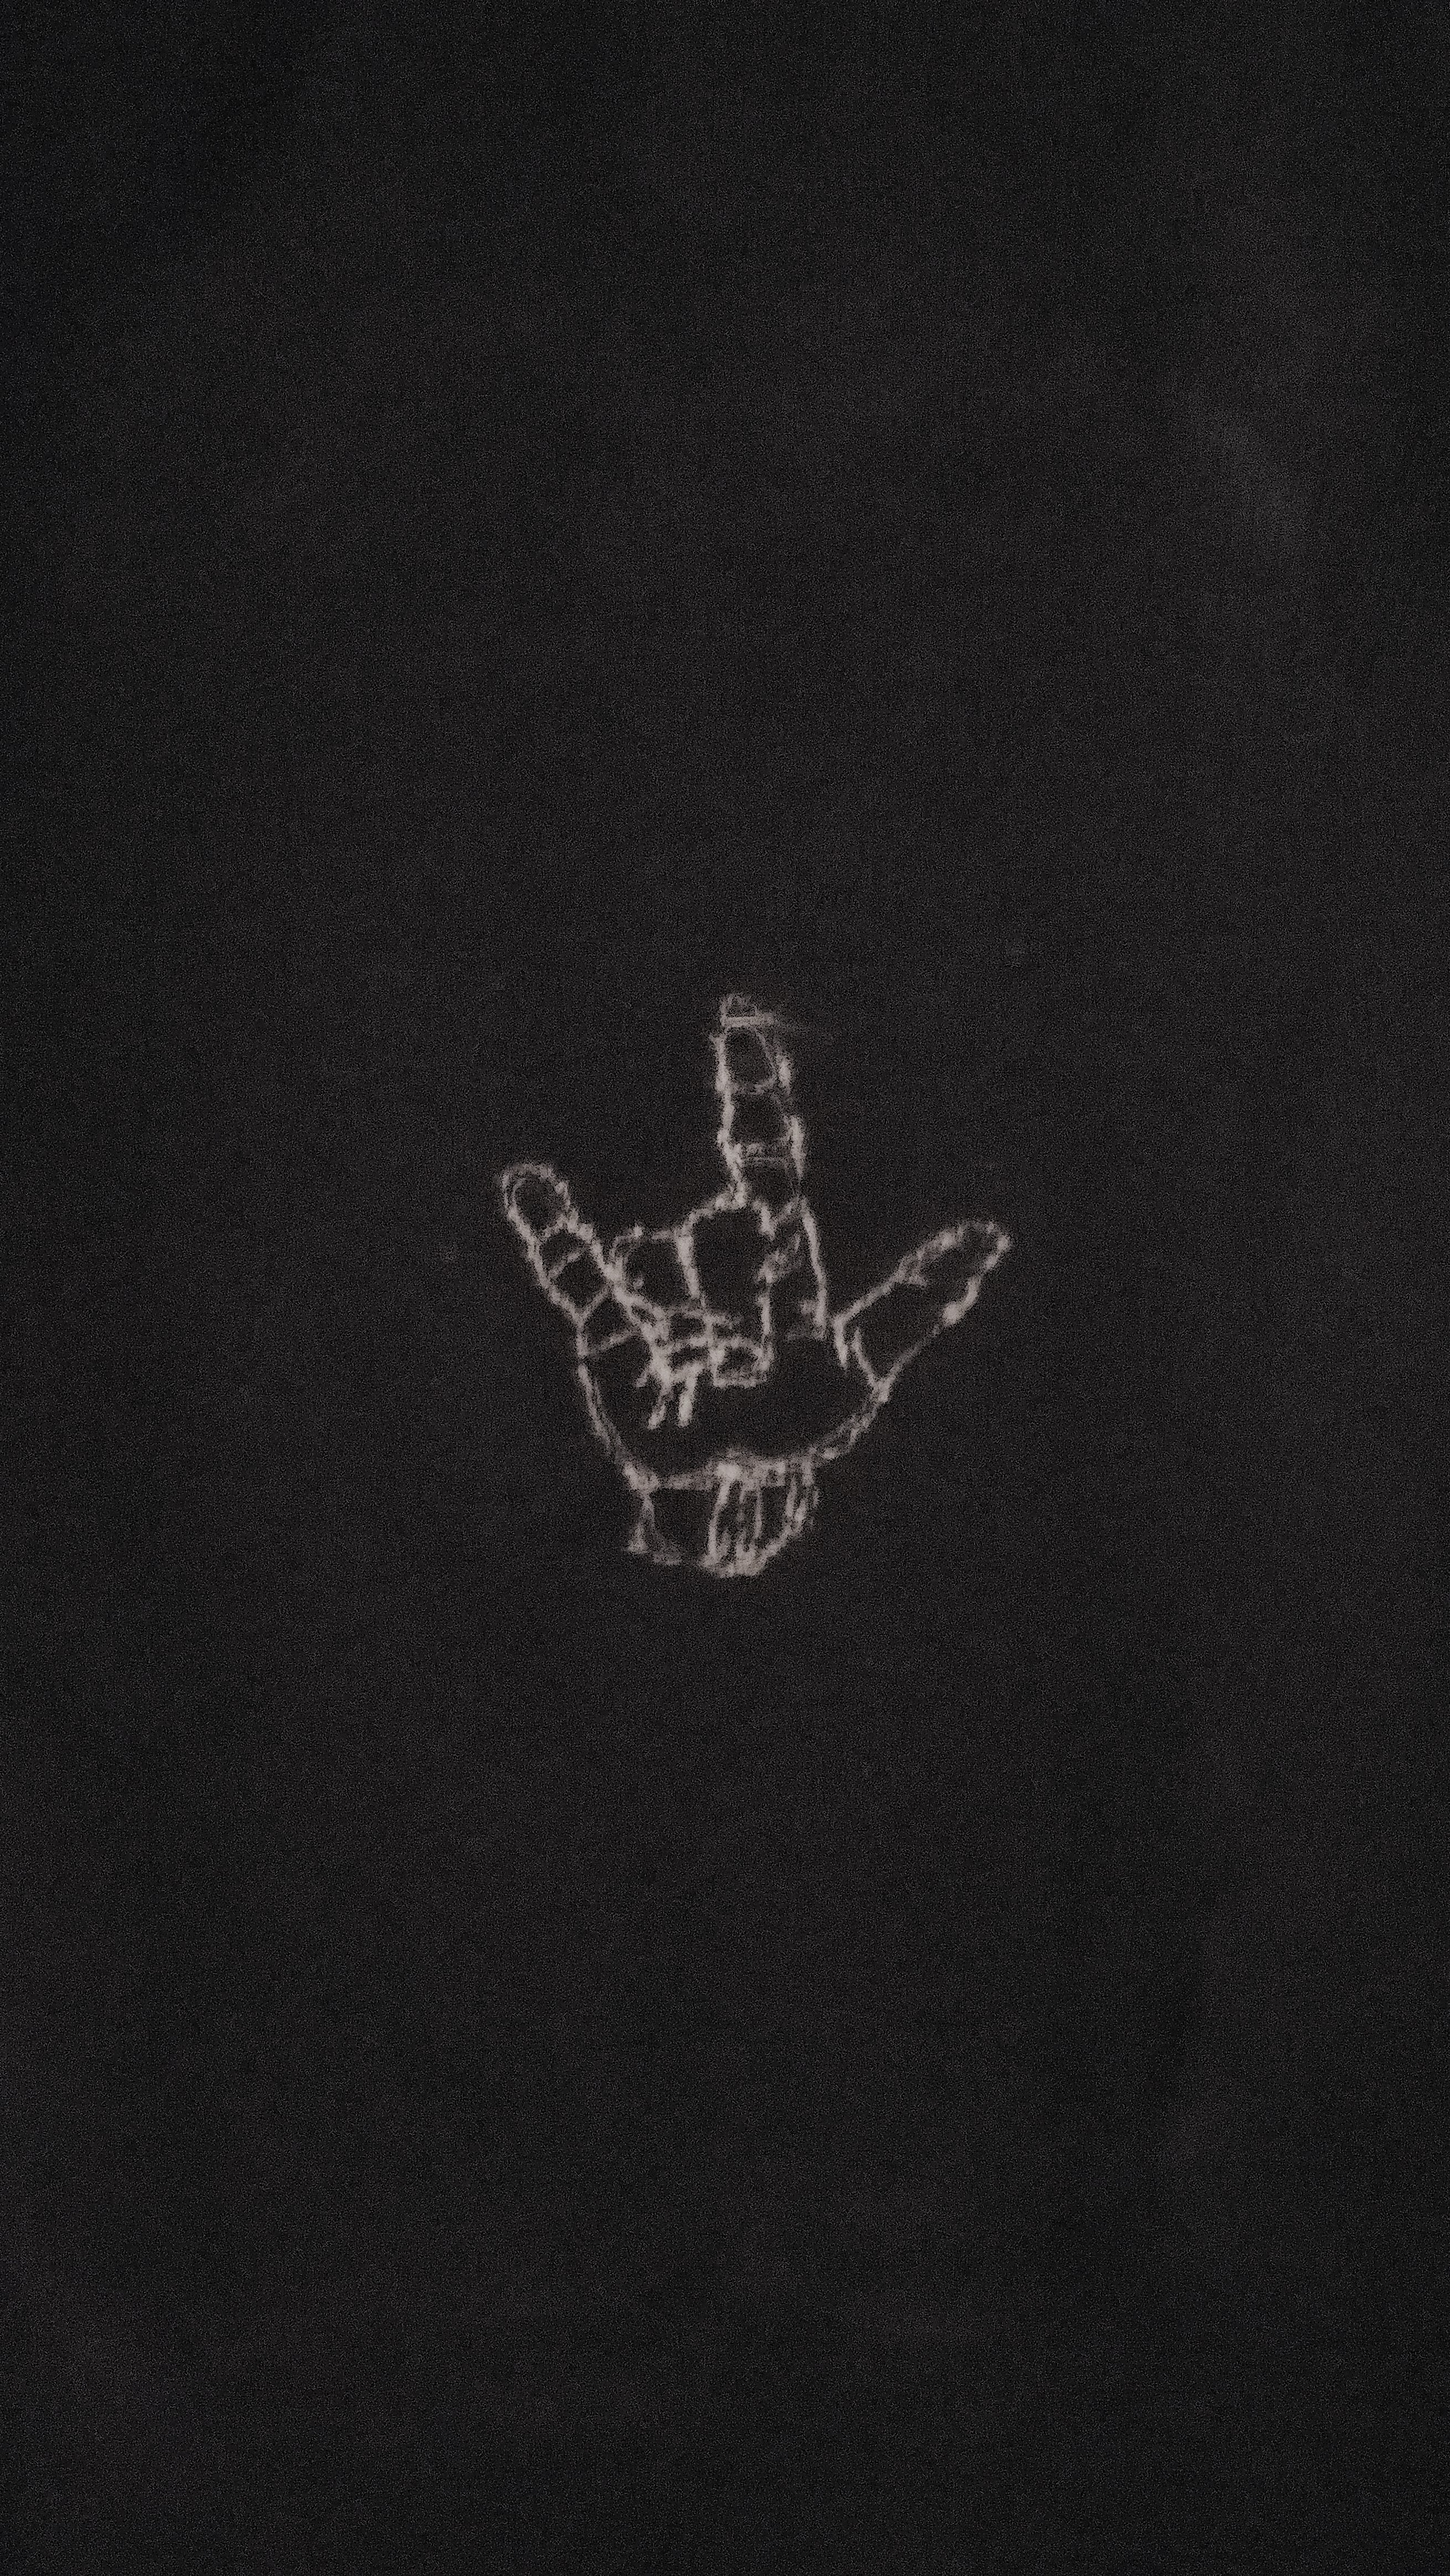
How to Embroider "I Love You" in ASL With a Brother SE400 Embroidery Machine
by regrettigoretti in Craft > Embroidery
949 Views, 3 Favorites, 0 Comments
How to Embroider "I Love You" in ASL With a Brother SE400 Embroidery Machine

Hi! This Instructable is here to teach you how to embroider on a Brother SE400. I will be walking you through how to embroider the design I did, but you can also use your own design as well.
What you will need:
- A piece of fabric to embroider (T-shirt, cloth, etc.)
- A Brother SE400 Embroidery machine
- A USB cable
- Embroidery thread in your preferred color
- a design in mind
Obtaining Your Design
If you already have your design in mind, that's great. If not, don't worry. I did not either. I went to EmbroideryDesigns.com and found my design (the "I love you" in sign language) for free. The site allows you to download three free designs a week without paying any money. Some of the designs cost money, but they are fairly inexpensive.
It should also be noted that the Brother SE400 Embroidery Machine comes preloaded with some designs as well.
Thread the Embroidery Machine
One of the first things is to thread the machine, and I will be completely honest by saying I learned how to do this by watching youtube videos. On the Brother SE400, the machine has numbers to guide the user through the process of threading the machine. Here is the video I watched that helped me thread the machine:
Make sure that the bobbin in the bottom of the machine is threaded properly. It is down by the needle of the machine. The clear plastic piece can be removed to show where the bobbin should go. On the side of the machine there instructions on how the bobbin should be specifically placed. It should be counterclockwise. Pull some of the thread to your left and place the bobbin in the opening. Then, take that excess string that you pulled out and wind it through the channel. Then, place the clear plastic over the opening.
Place Fabric in the Embroidery Hoop (Square)
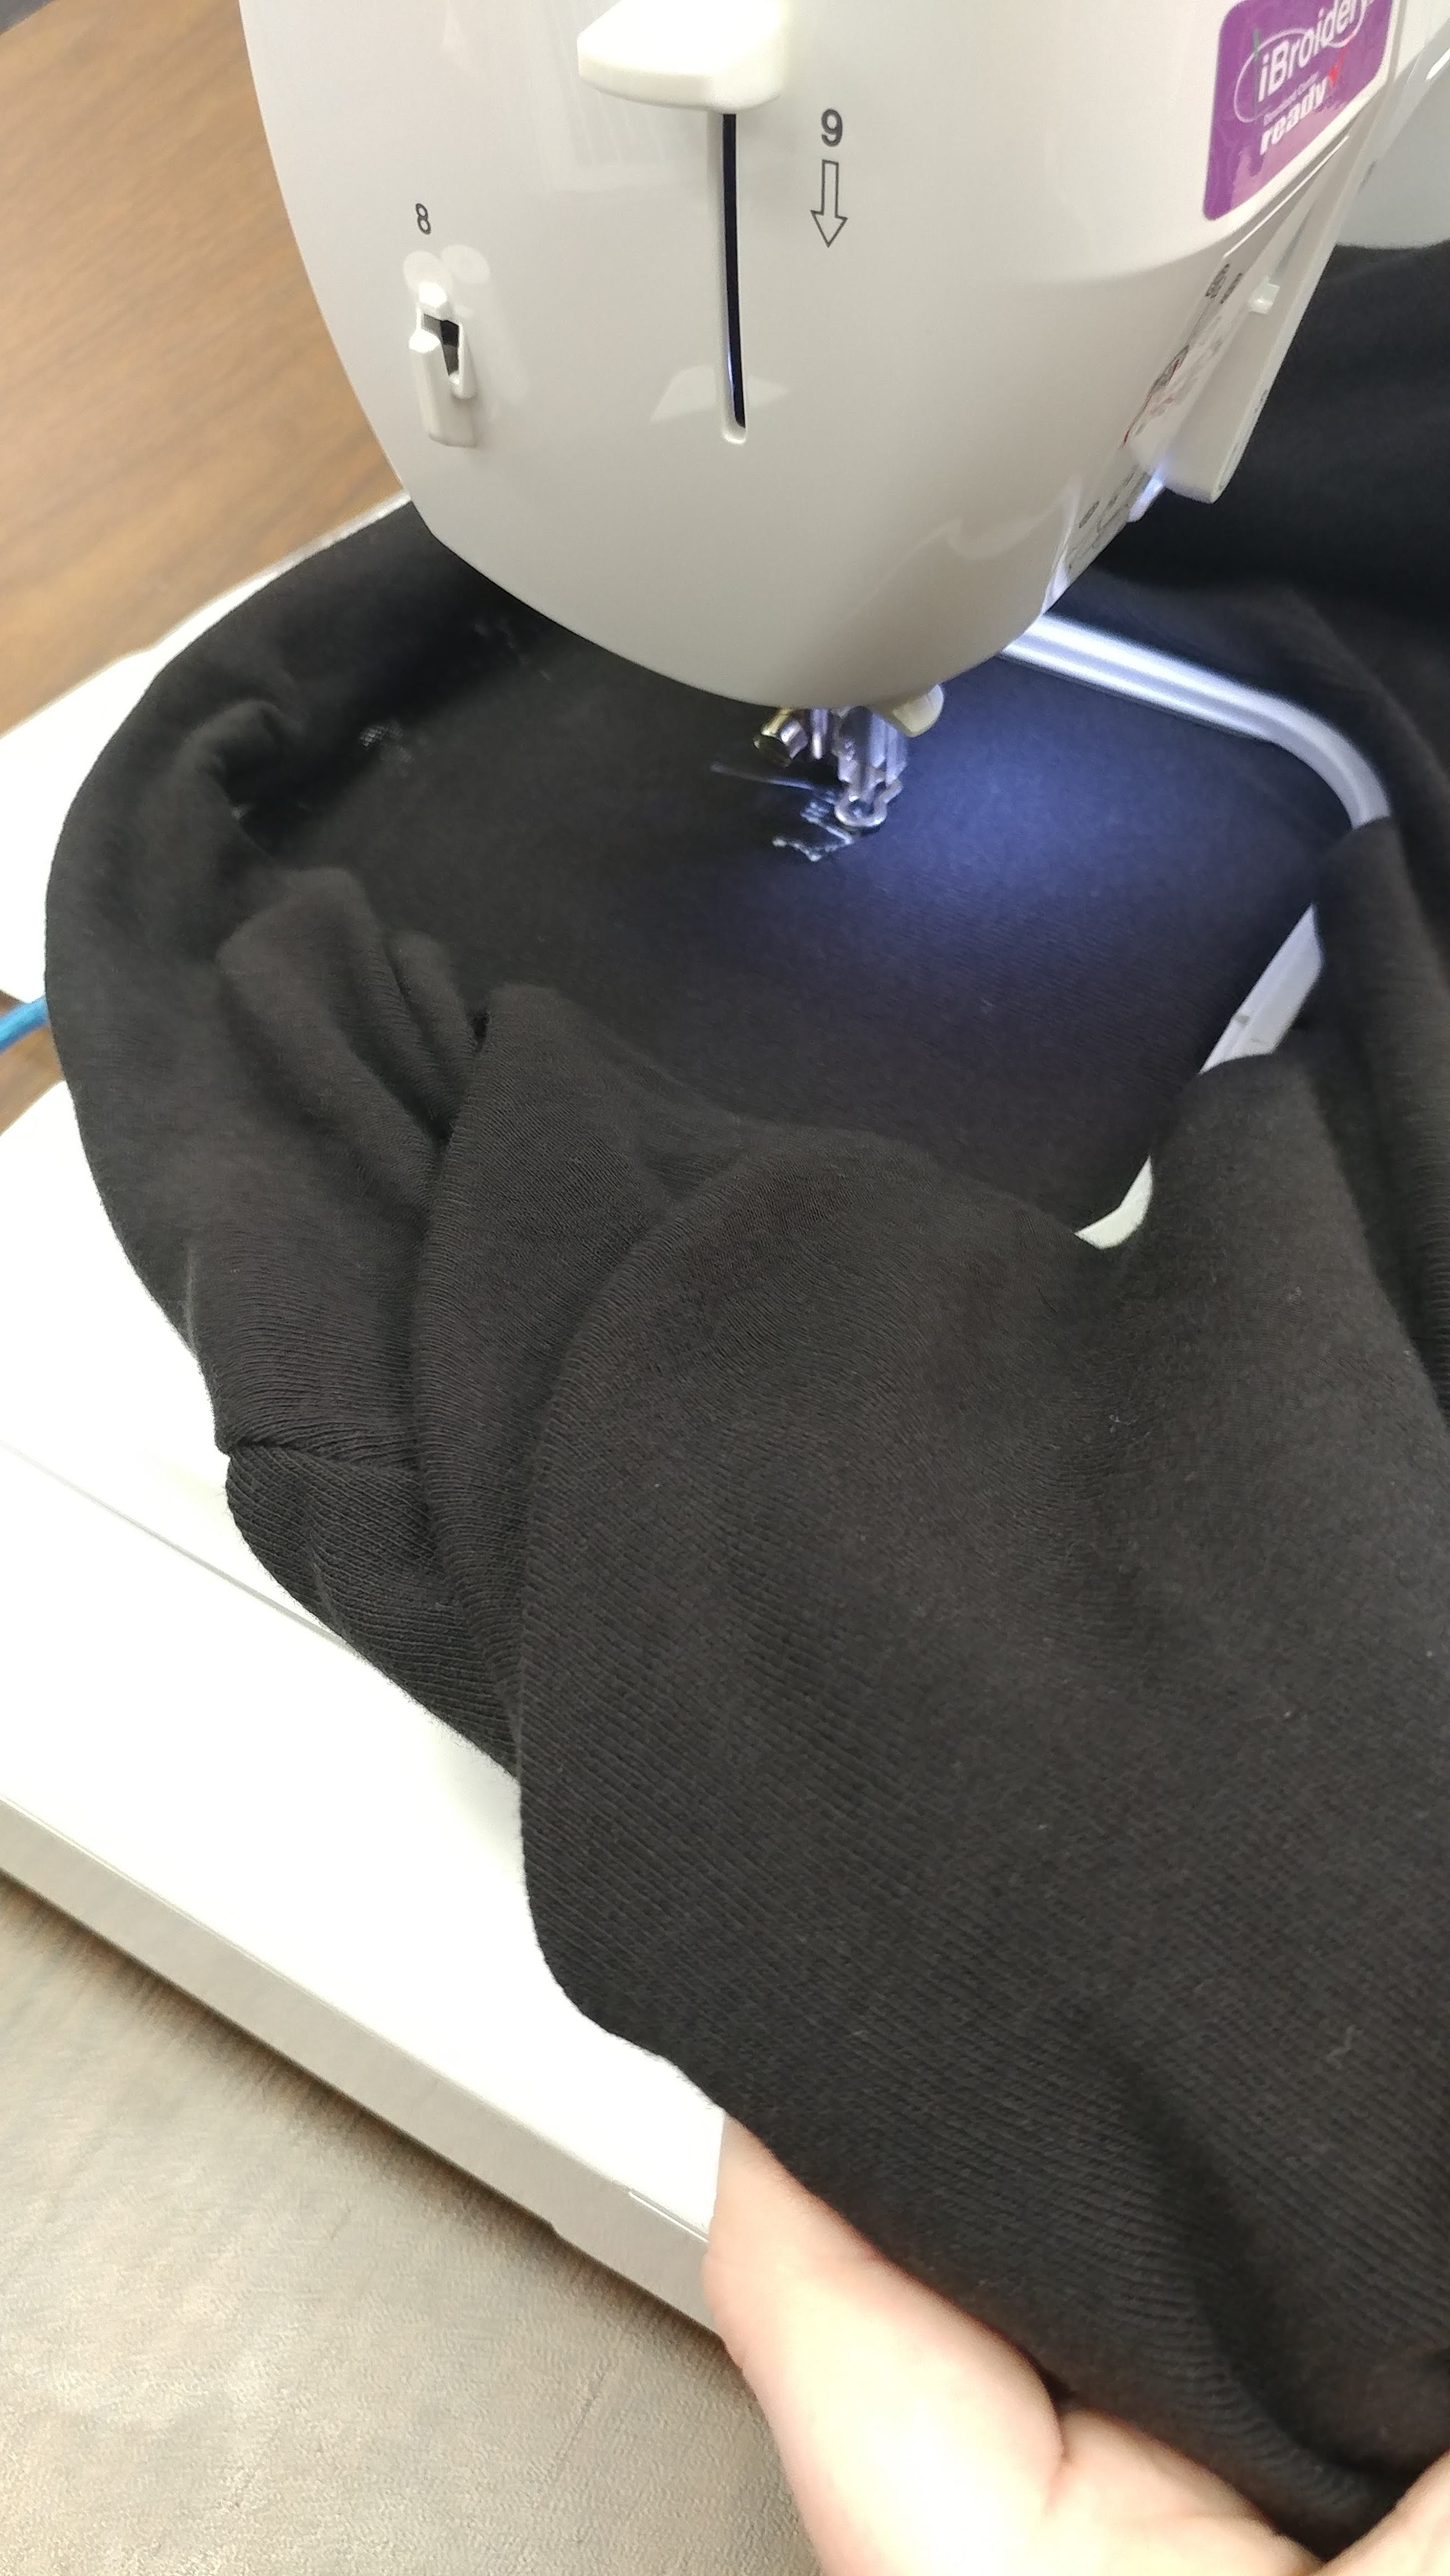
The hoop that comes with the Brother SE400 is more square/rectangle than it is a hoop. The hoop has a screw on the side to tighten or loosen. You want to loosen that screw to remove the upper half of the hoop. Once you are able to remove that bit, you place your fabric over the bottom half of the hoop. Then, you set the upper half of the hoop over the fabric and retighten that screw. You want your fabric to be tight and centered.
Upload Your Design to Brother SE400
In order to upload a design to Brother SE400, the file must be a .DST file. You connect the cable that comes with the Brother SE400 (it connects to a USB slot on the computer). Once you have connected the cable to the computer, it will come up on the computer as if it is a removable disk. You then drag the design file to the connection as if is a flash drive. Now, the file is on the Brother SE400. On the main menu of the Brother SE400, there should be an option that looks like a computer and a cable. You click on that, and you should see the file that you just sent over.
Embroider Away and Enjoy


Now, your needle should be threaded, and your design should be uploaded. Release the needle, and embroider away!