How to Easily Create a Vinyl Car Decal Using Your Cricut Machine
by ICreateCrafts in Design > Art
4114 Views, 8 Favorites, 0 Comments
How to Easily Create a Vinyl Car Decal Using Your Cricut Machine
.png)
In this tutorial, I am going to teach you how to create a vinyl decal for your car, using your Cricut machine.
You can watch the video here:
Supplies
Open Design Space and Upload Your Design


I had some designs saved on Design Space. So I just pulled them up.
You could buy some SVGs online or even look them up on Google.
Add Text and Select the Font


Click on the Text button and add the words.
Next go to Font and then to System. This will give you a list of fonts that came with Cricut and any that you have downloaded from defont.com. If you are not a monthly subscriber of Cricut, don't worry. Your system has enough font options. Select a font that works for you. I like 'Impact' for this project. It is nice and bold and pretty much gets the point across.
Adjust the Size of the Design.

You cannot have a design that's a full 24 by 12, so you need to adjust it to make it a little smaller than that.
Select all and click on the unlock button on top and change the width and the height.
I changed the size to 22 by 11 and the design got so big that I couldn't see it all on the screen. So, I zoomed out to be able to see the complete design.
Work on the Dimensions of the Image and Text Separately

I adjusted the eyes and made them a bit smaller. I also rotated the image a bit, to give it a bit of attitude. (Lol!)
Basically, you can make the text and/or design bigger or smaller, whatever you please.
To make the size of the text bigger, you will first need to unlock it, using the Unlock button on top.
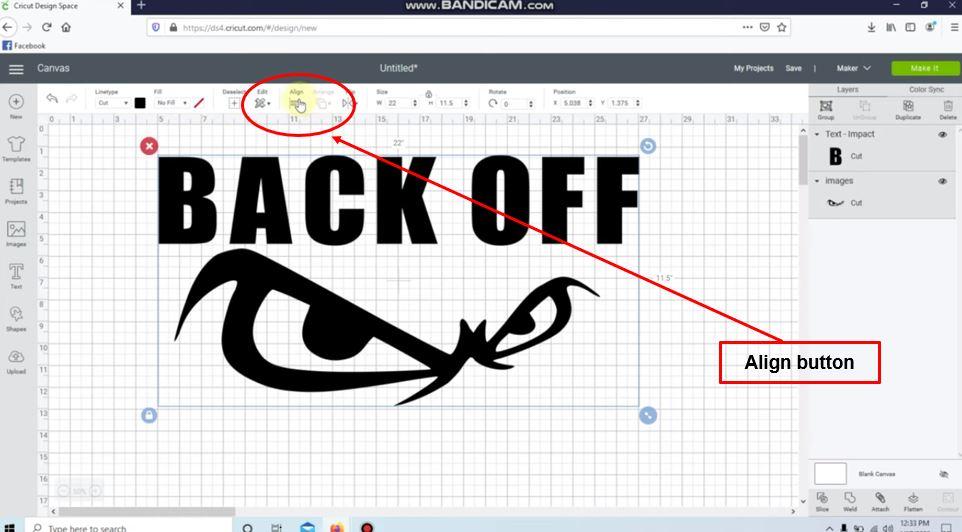
Get the Alignment Right

Select both the parts and click 'Lock'. You need to have your complete image together to make sure that you don't go beyond the mat size. Everything together needs to comfortably fit on the mat.
Again select all and click on 'Align'. Then, from the options, choose 'Center Horizontally'. It will align the eyes in the middle.
Click 'Attach'

Click on the 'Attach' button so that everything cuts out together, and you are not left struggling with single letters.
Push 'Continue' at the Top and at the Bottom

The system might say that the design is too big, but if you have your calculations right, don't worry. Just push 'OK' at the top and 'Continue' at the bottom.
Select the Material and Print It
.png)
.png)
I have the Cricut Maker, so my screen might look a bit different. For this project, select Vinyl and leave it at default settings. The system will figure things out.
Once your design is out, weed it and get the design on transfer tape.
Transfer the Design on to the Windshield
.png)
.png)
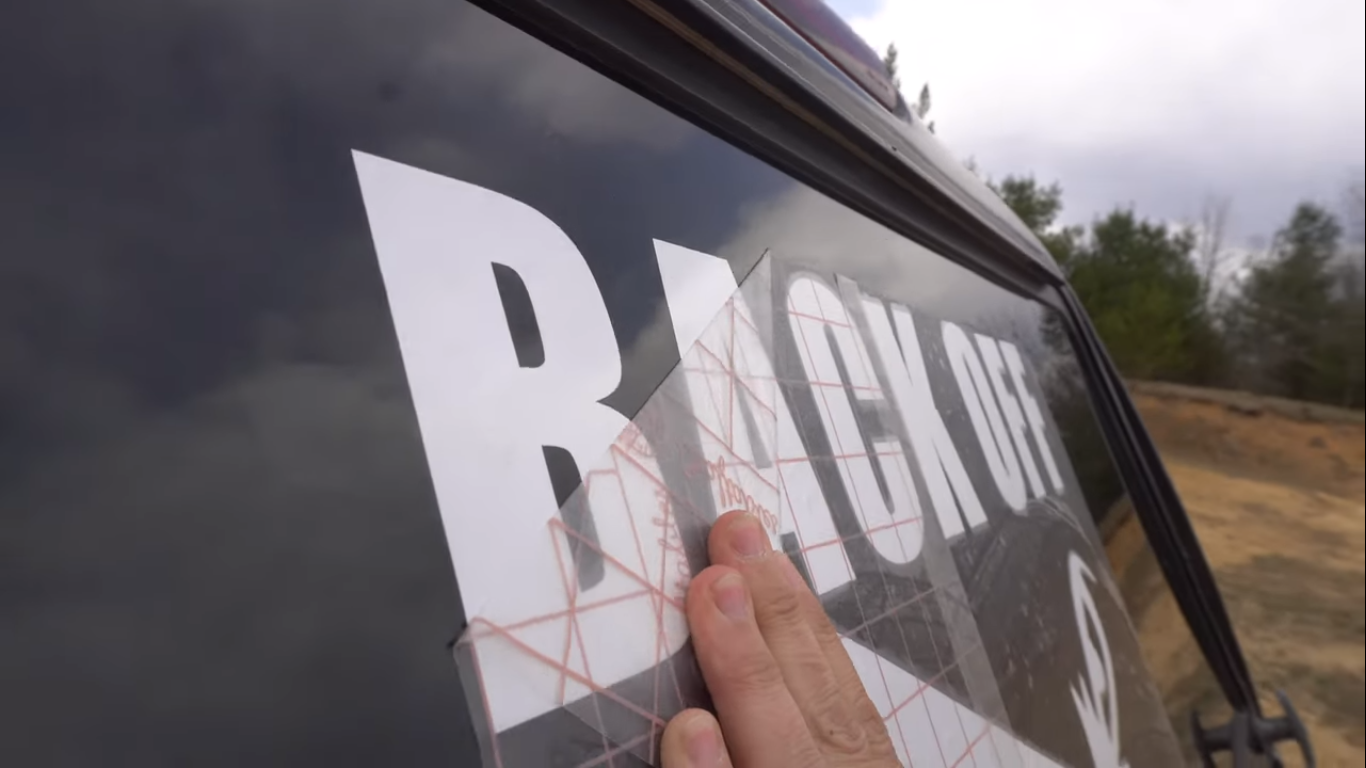
Before you place the design onto the windshield, make sure you have a reference point, to keep your design exactly where you want it.
Once you've stuck the design on, run over it with a scraper, to get all the bubbles out. If you don't have a scraper, you can also use your credit card. Then peel the tape off gently.
In case there are any leftover bubbles, don't worry. They will eventually find their way out, but if you are a perfectionist, use your fingers to gently guide them out.
And that was it!
Hope you enjoyed the tutorial!