How to Draw an Isometric Dungeon
by CraftyEnby in Design > Digital Graphics
683 Views, 2 Favorites, 0 Comments
How to Draw an Isometric Dungeon
To make an isometric dungeon, you need either a drawing program or a pencil and an isometric paper printable (or make your own). There are tons of isometric paper printables available for free, but I used a drawing app called ProCreate, which has an isometric drawing guide.
Open Up Your Program or Grab a Pencil.
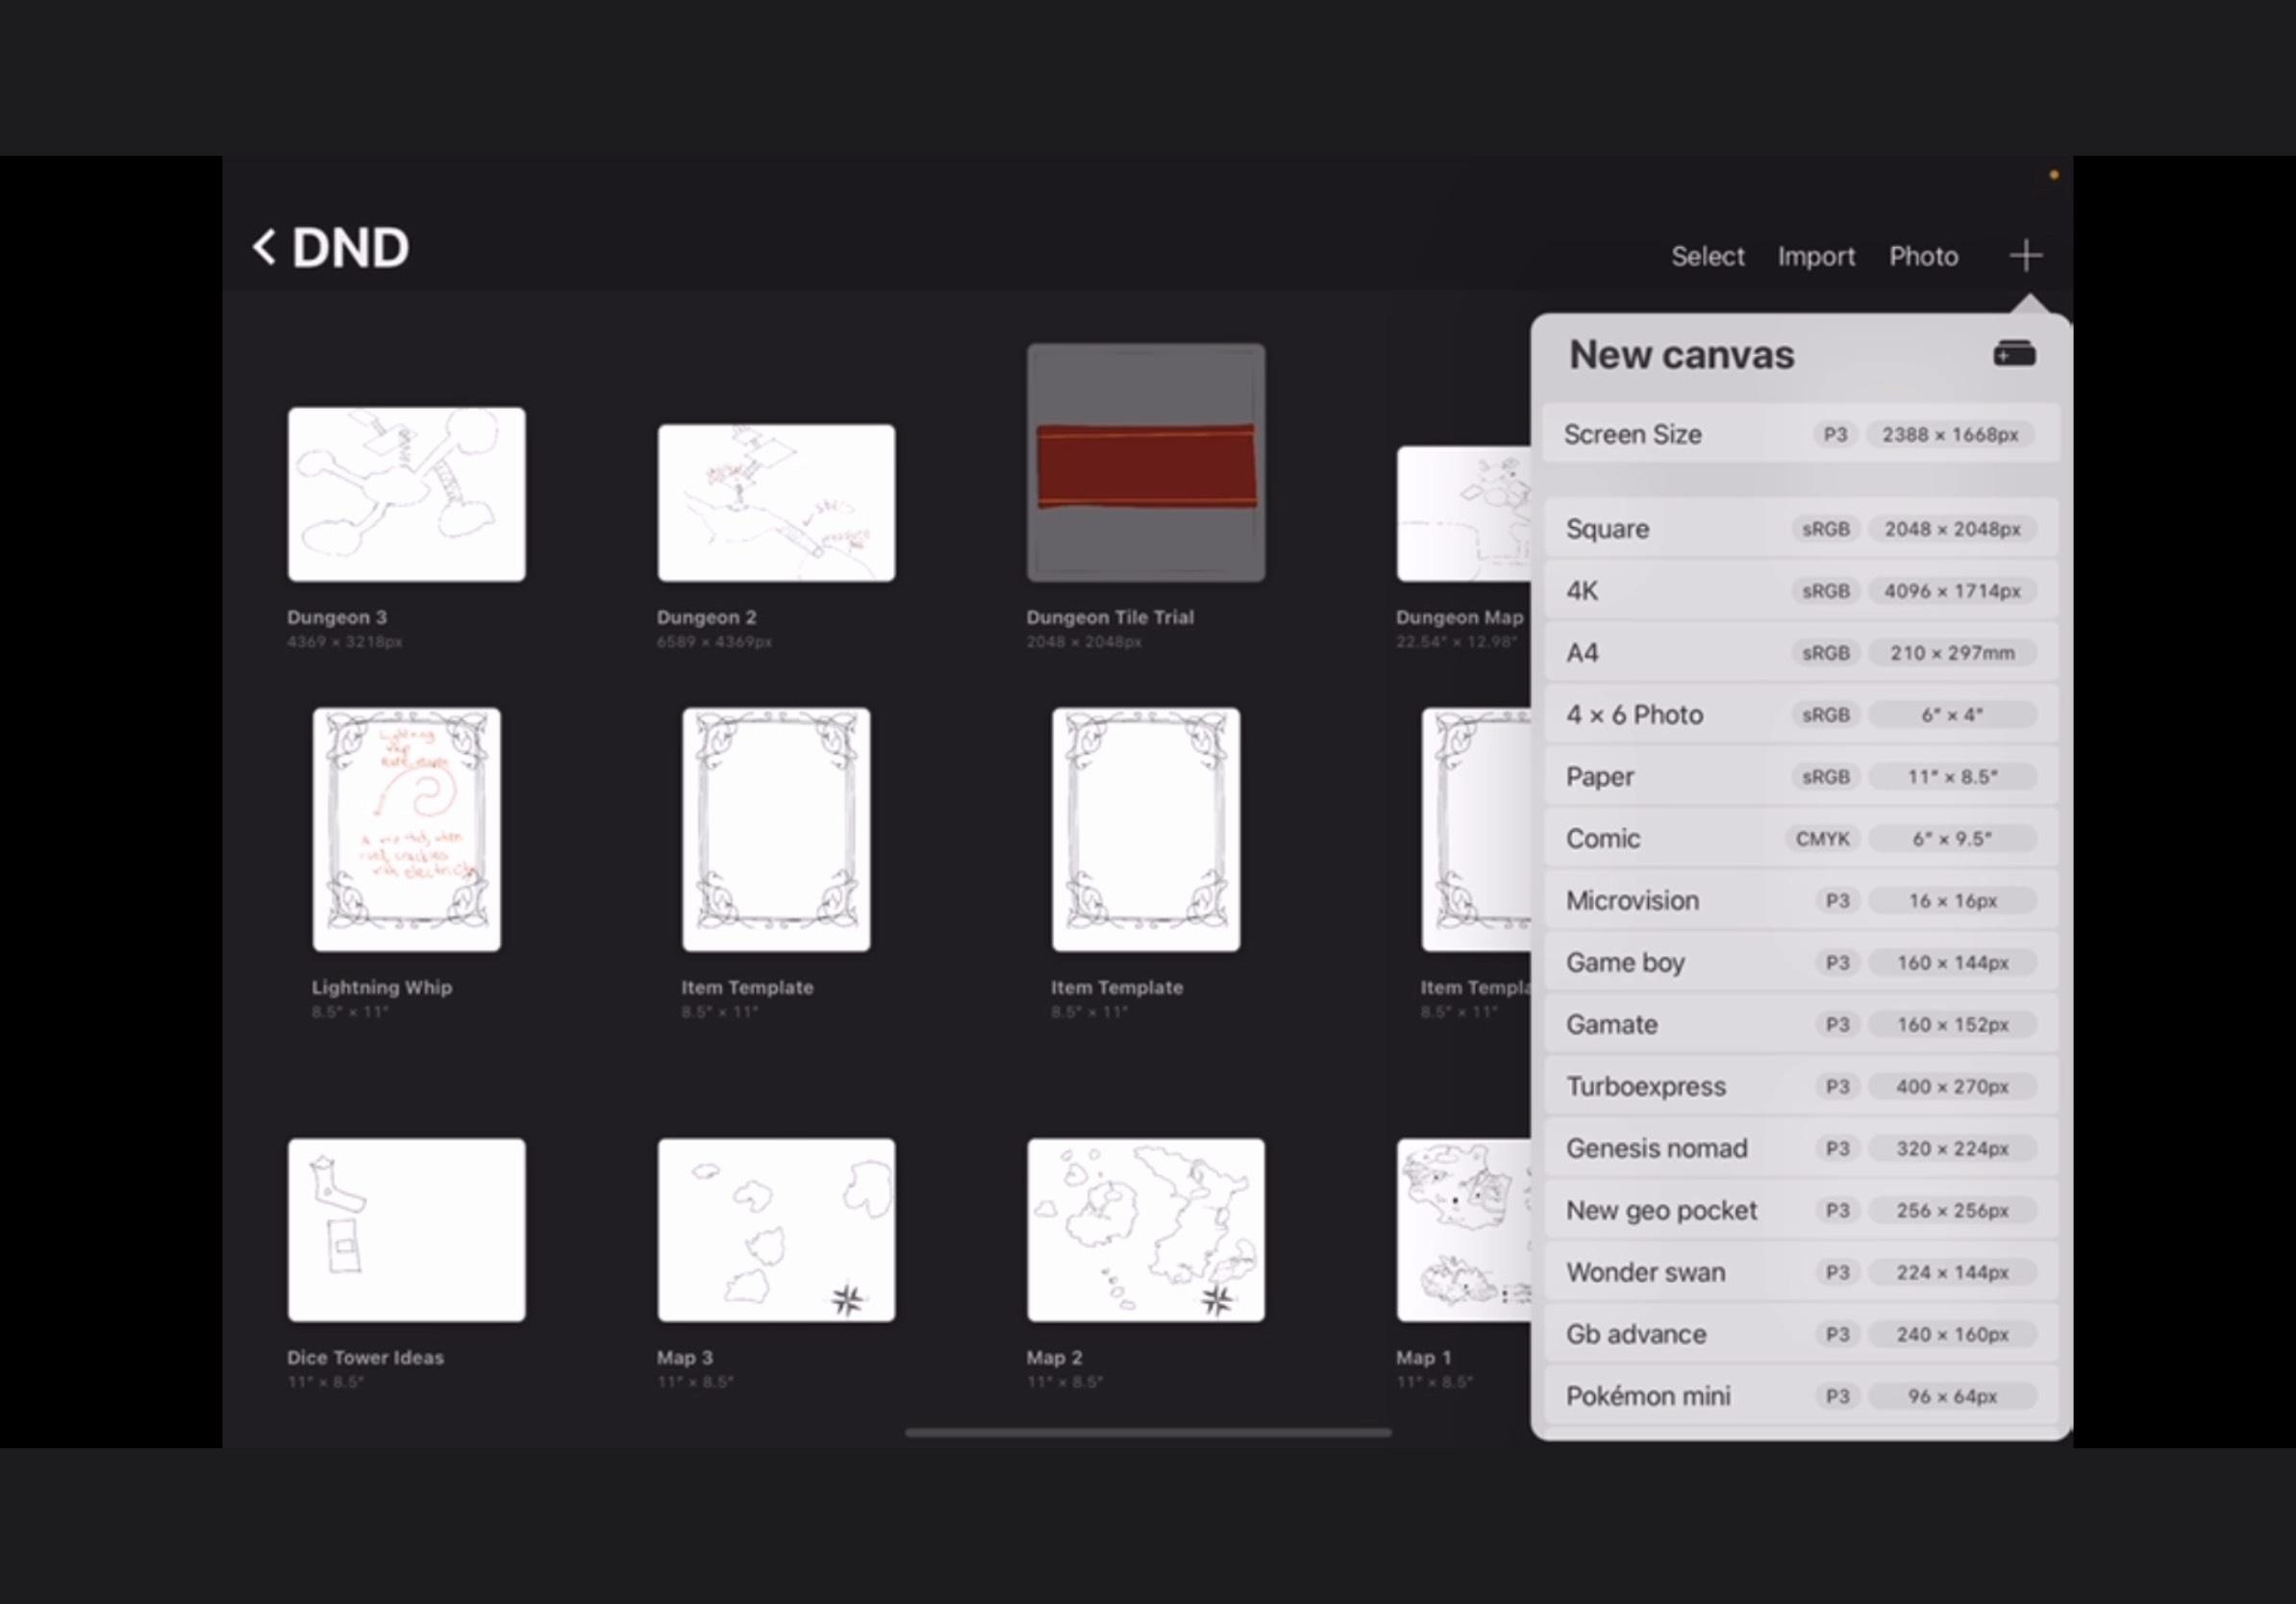
Like I said before, I'm using Procreate and this is the 'canvas selection' drop down menu. I tend to use 'screen size' because I don't plan on printing this out, but you can use 'paper' if you are. Plus, I can always copy-paste my drawing into the 'paper' size if I wanted to print it out.
Open Up the Isometric Drawing Guide
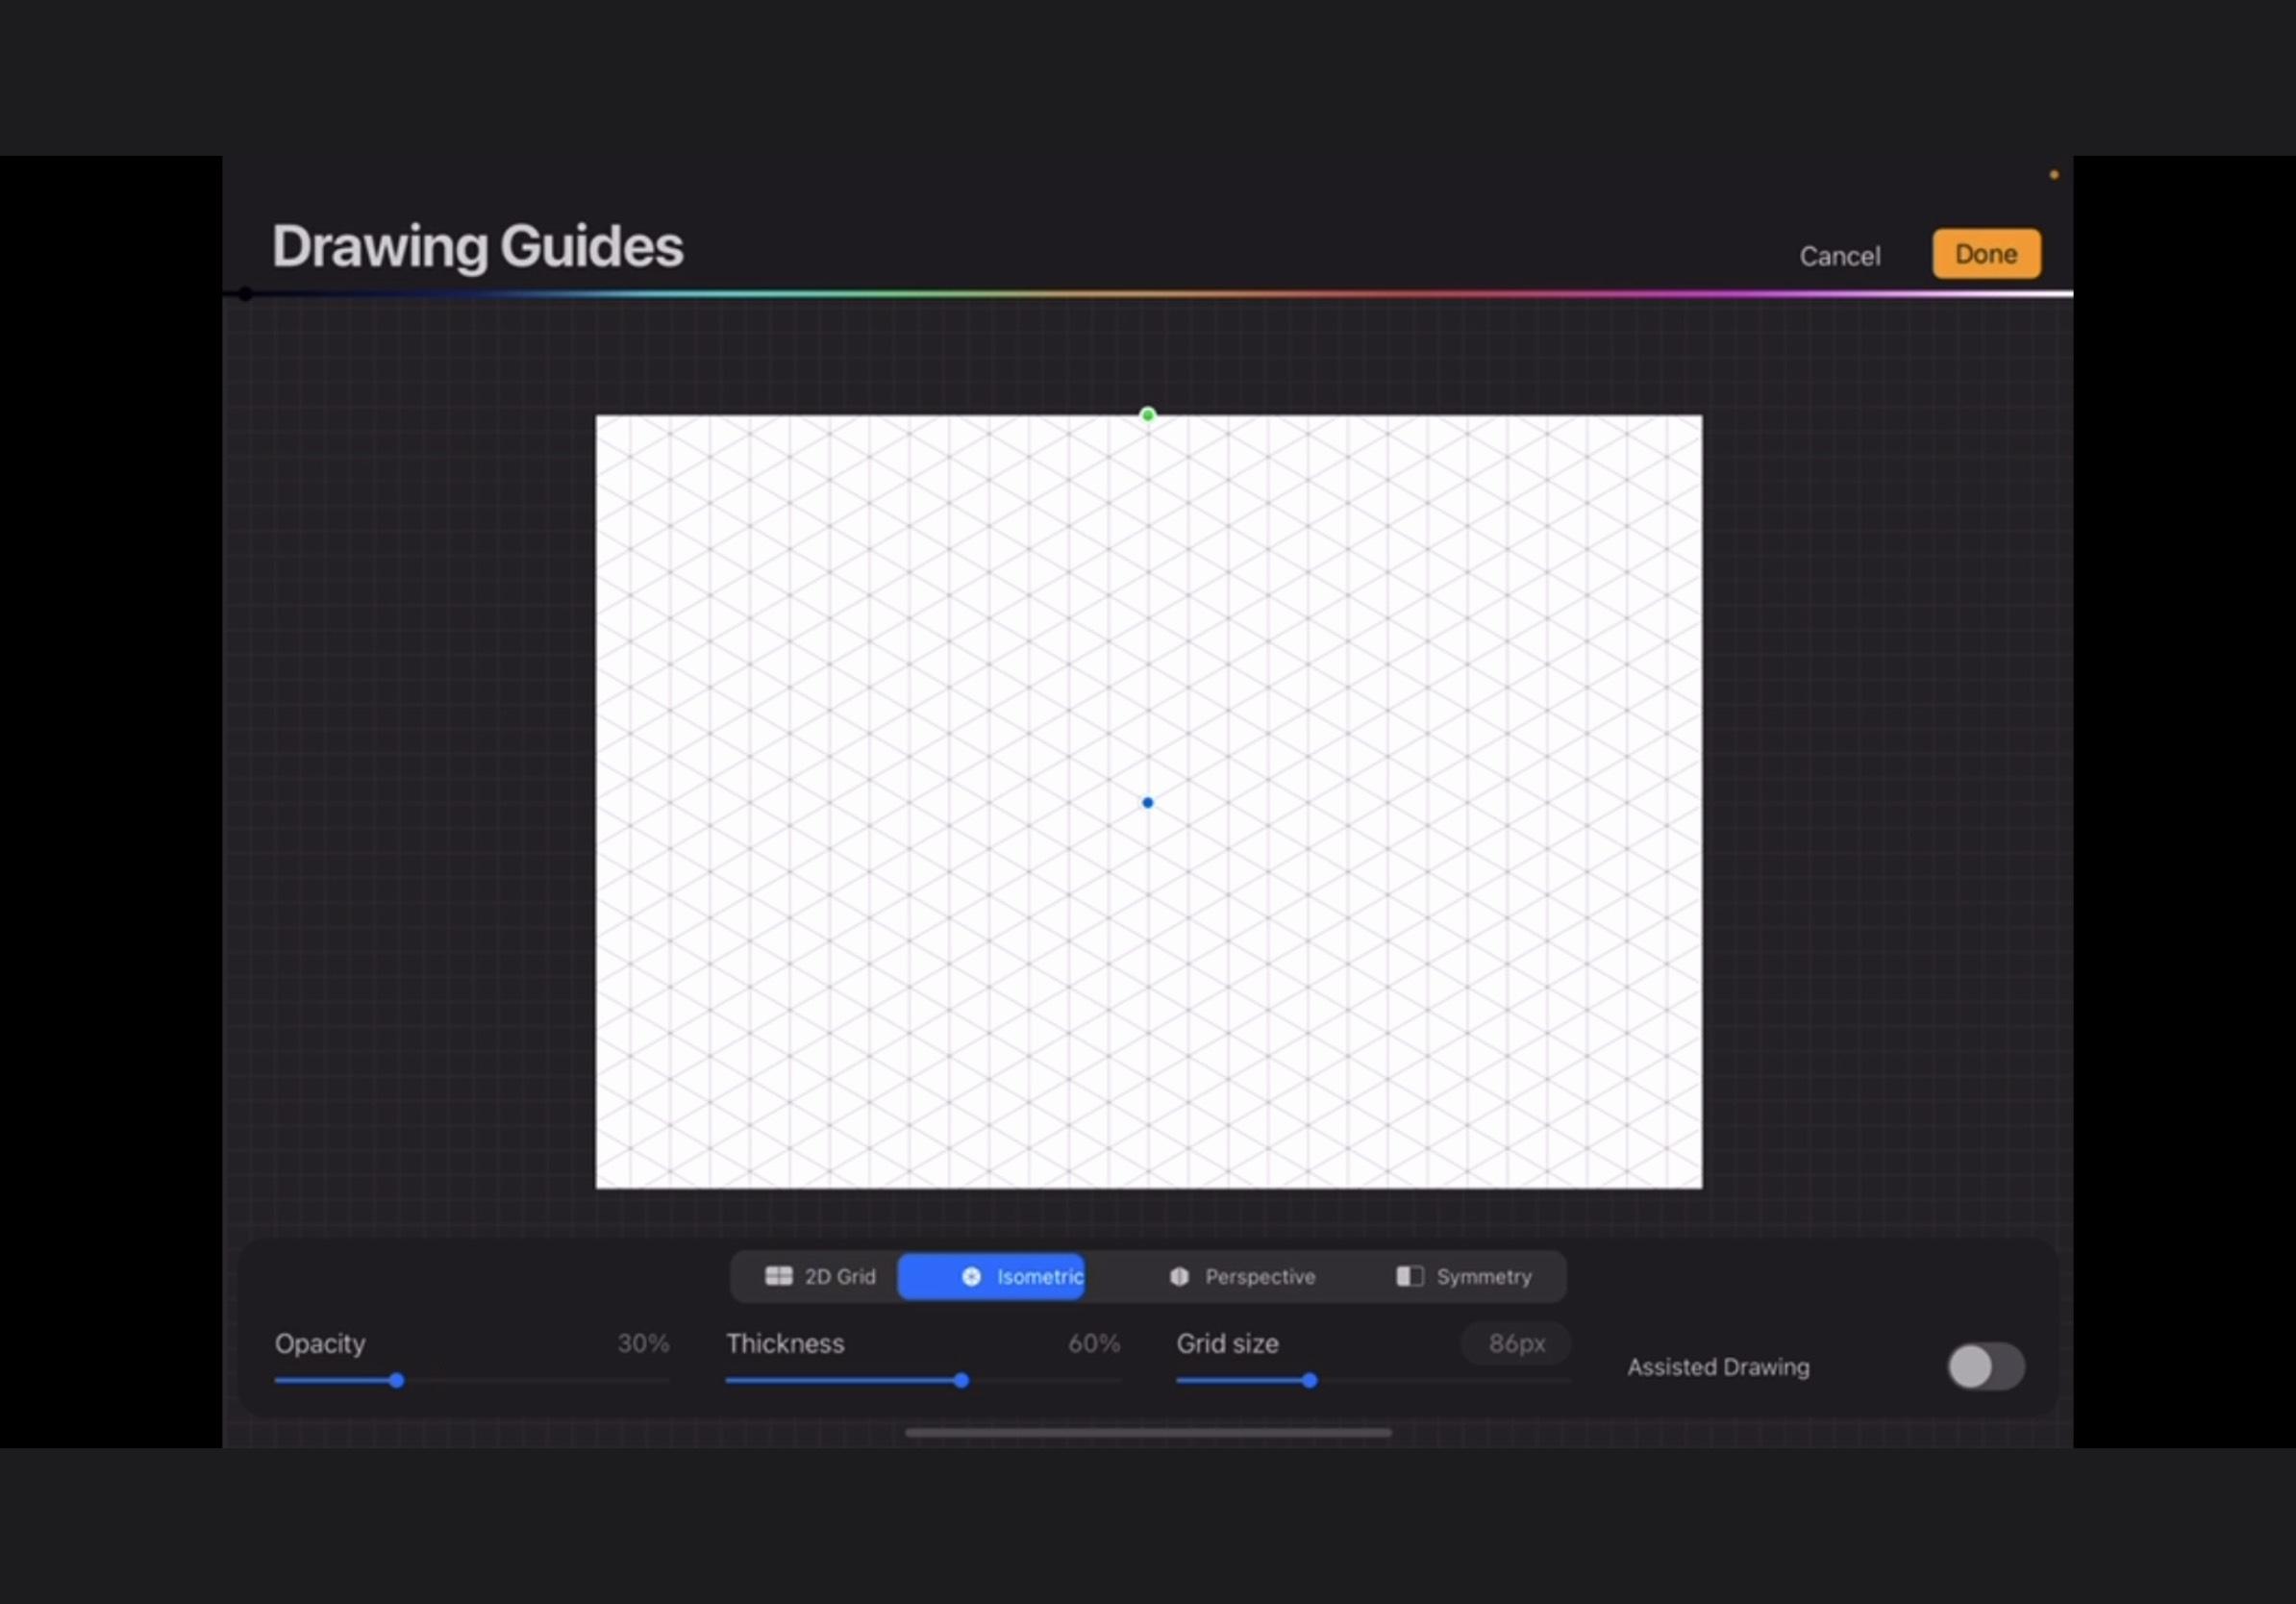
Luckily for me, Procreate already has an isometric drawing guide built in. You go to the wrench icon in the upper left corner, tap it, tap the subheading of 'canvas', choose 'drawing guide' and then 'edit drawing guide' because it's defaulted to 2-D grid. The next option is 'isometric.'
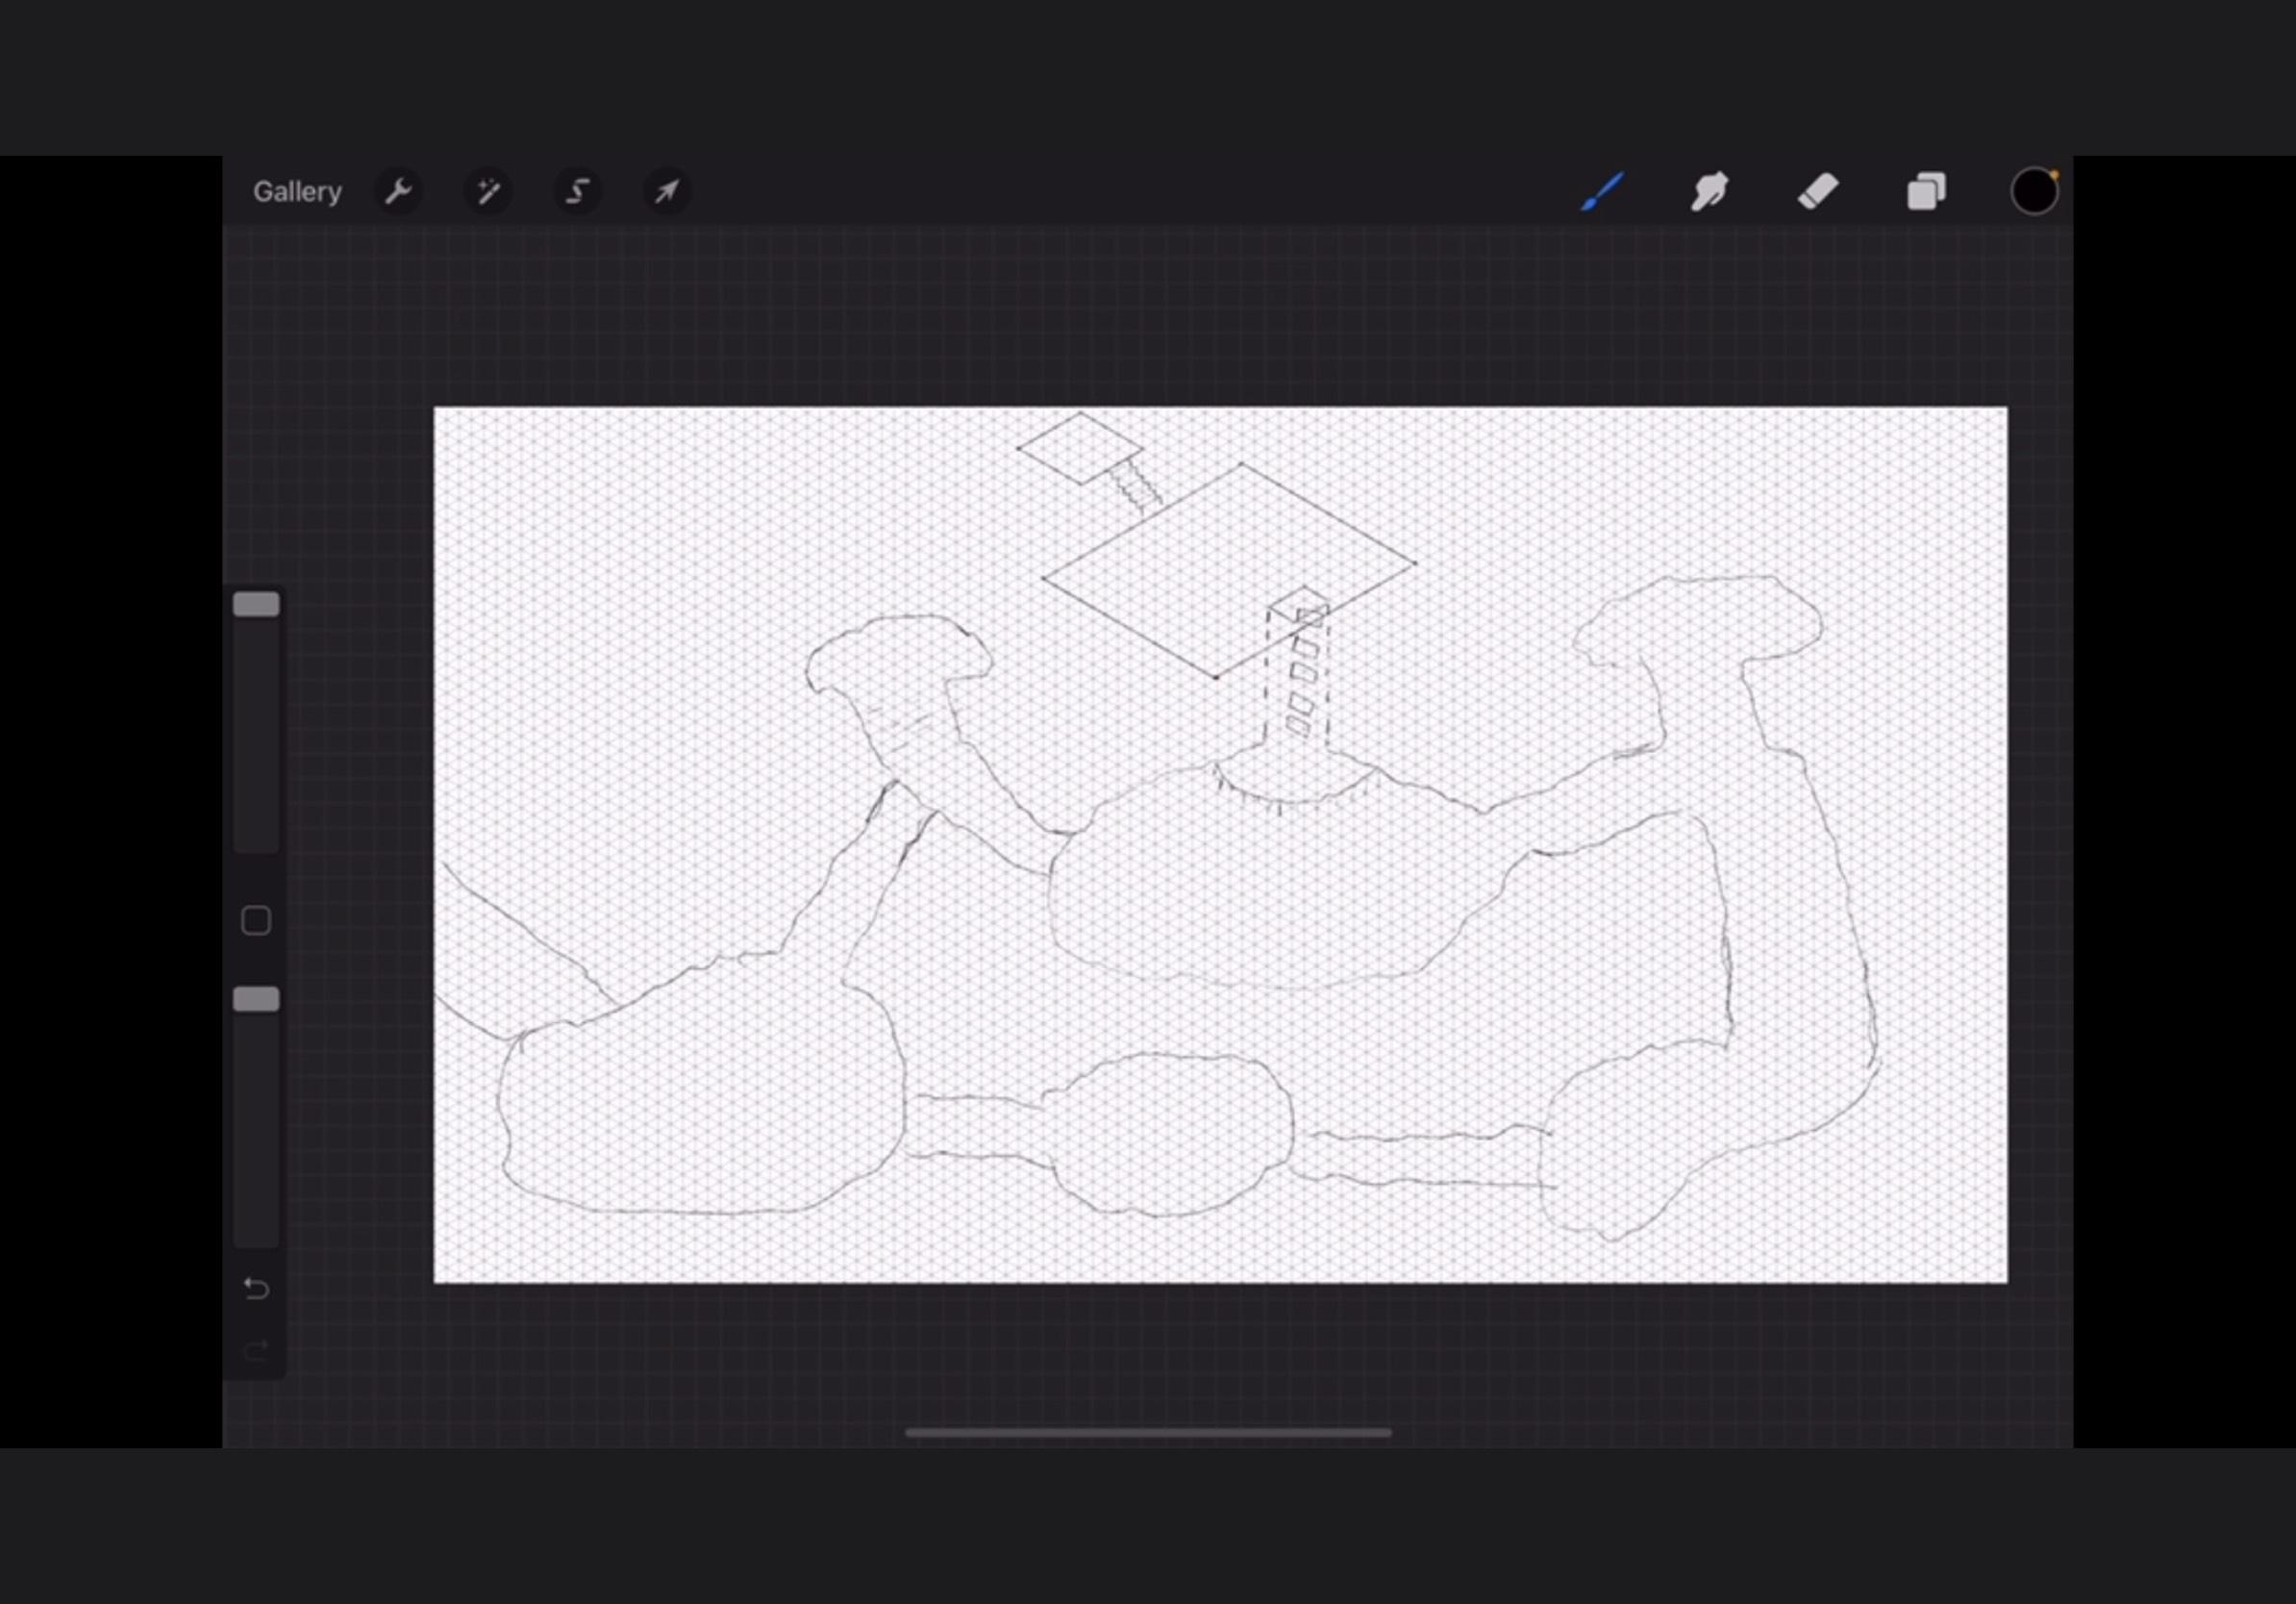
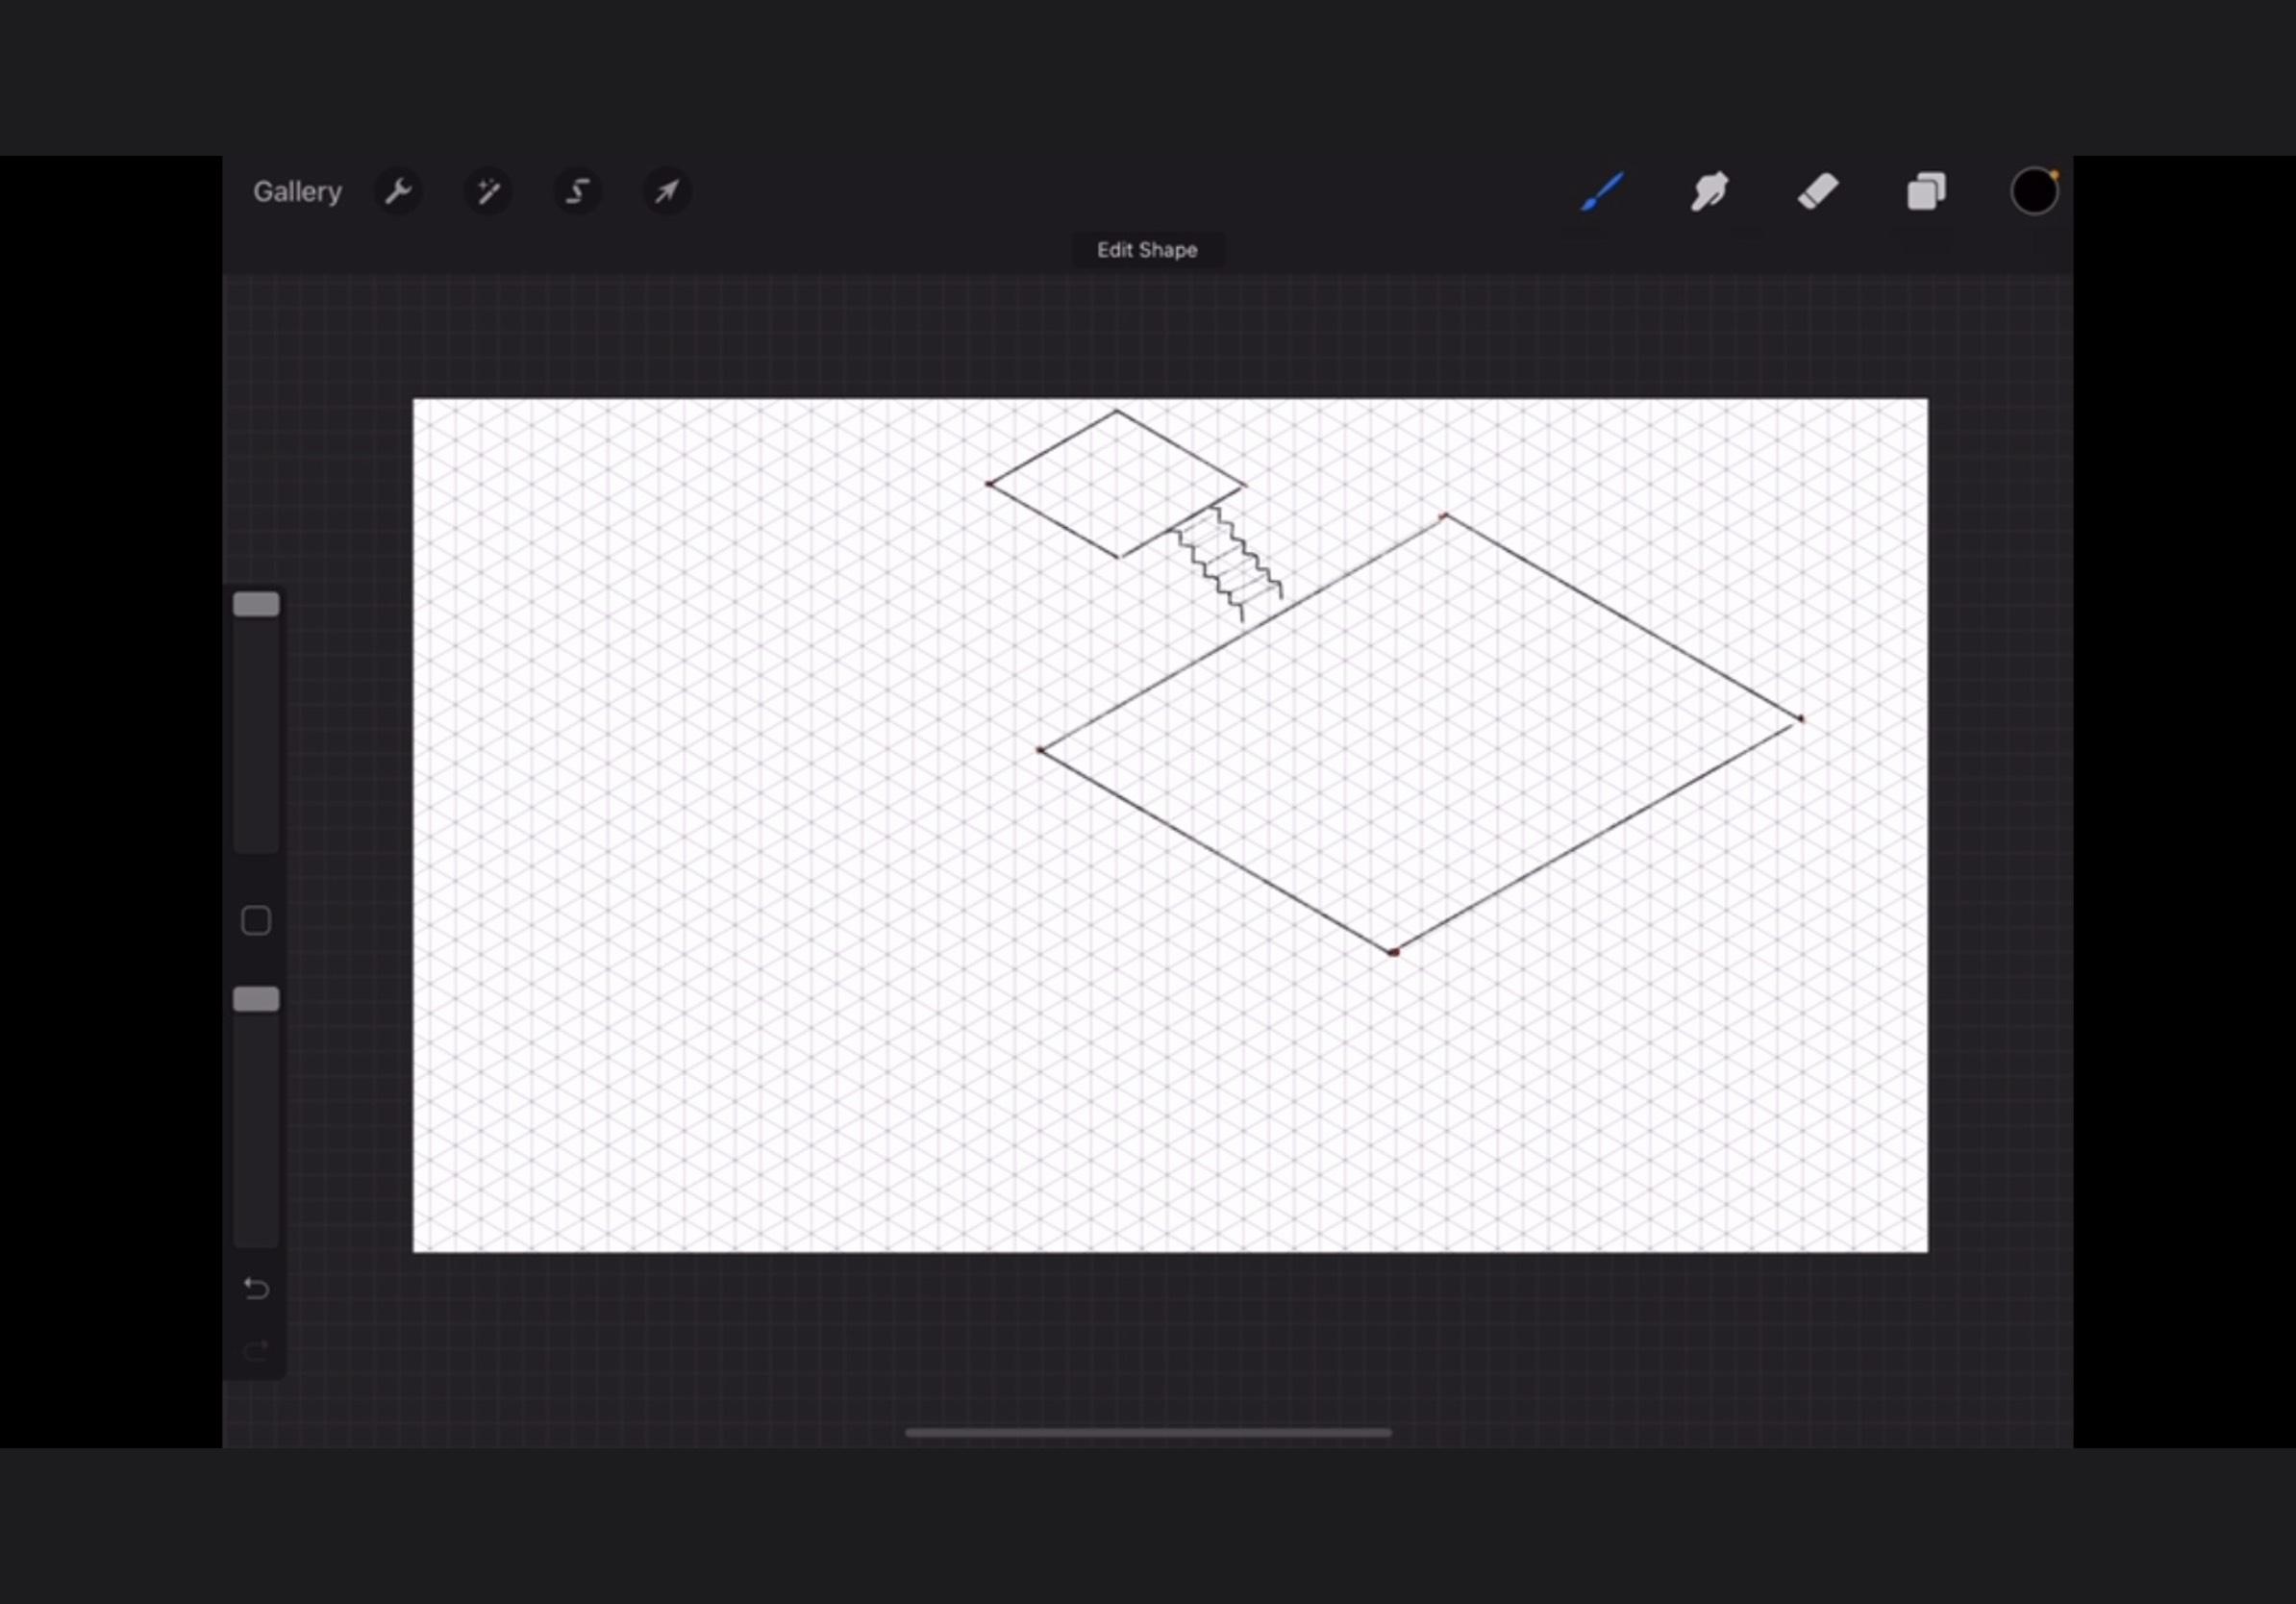
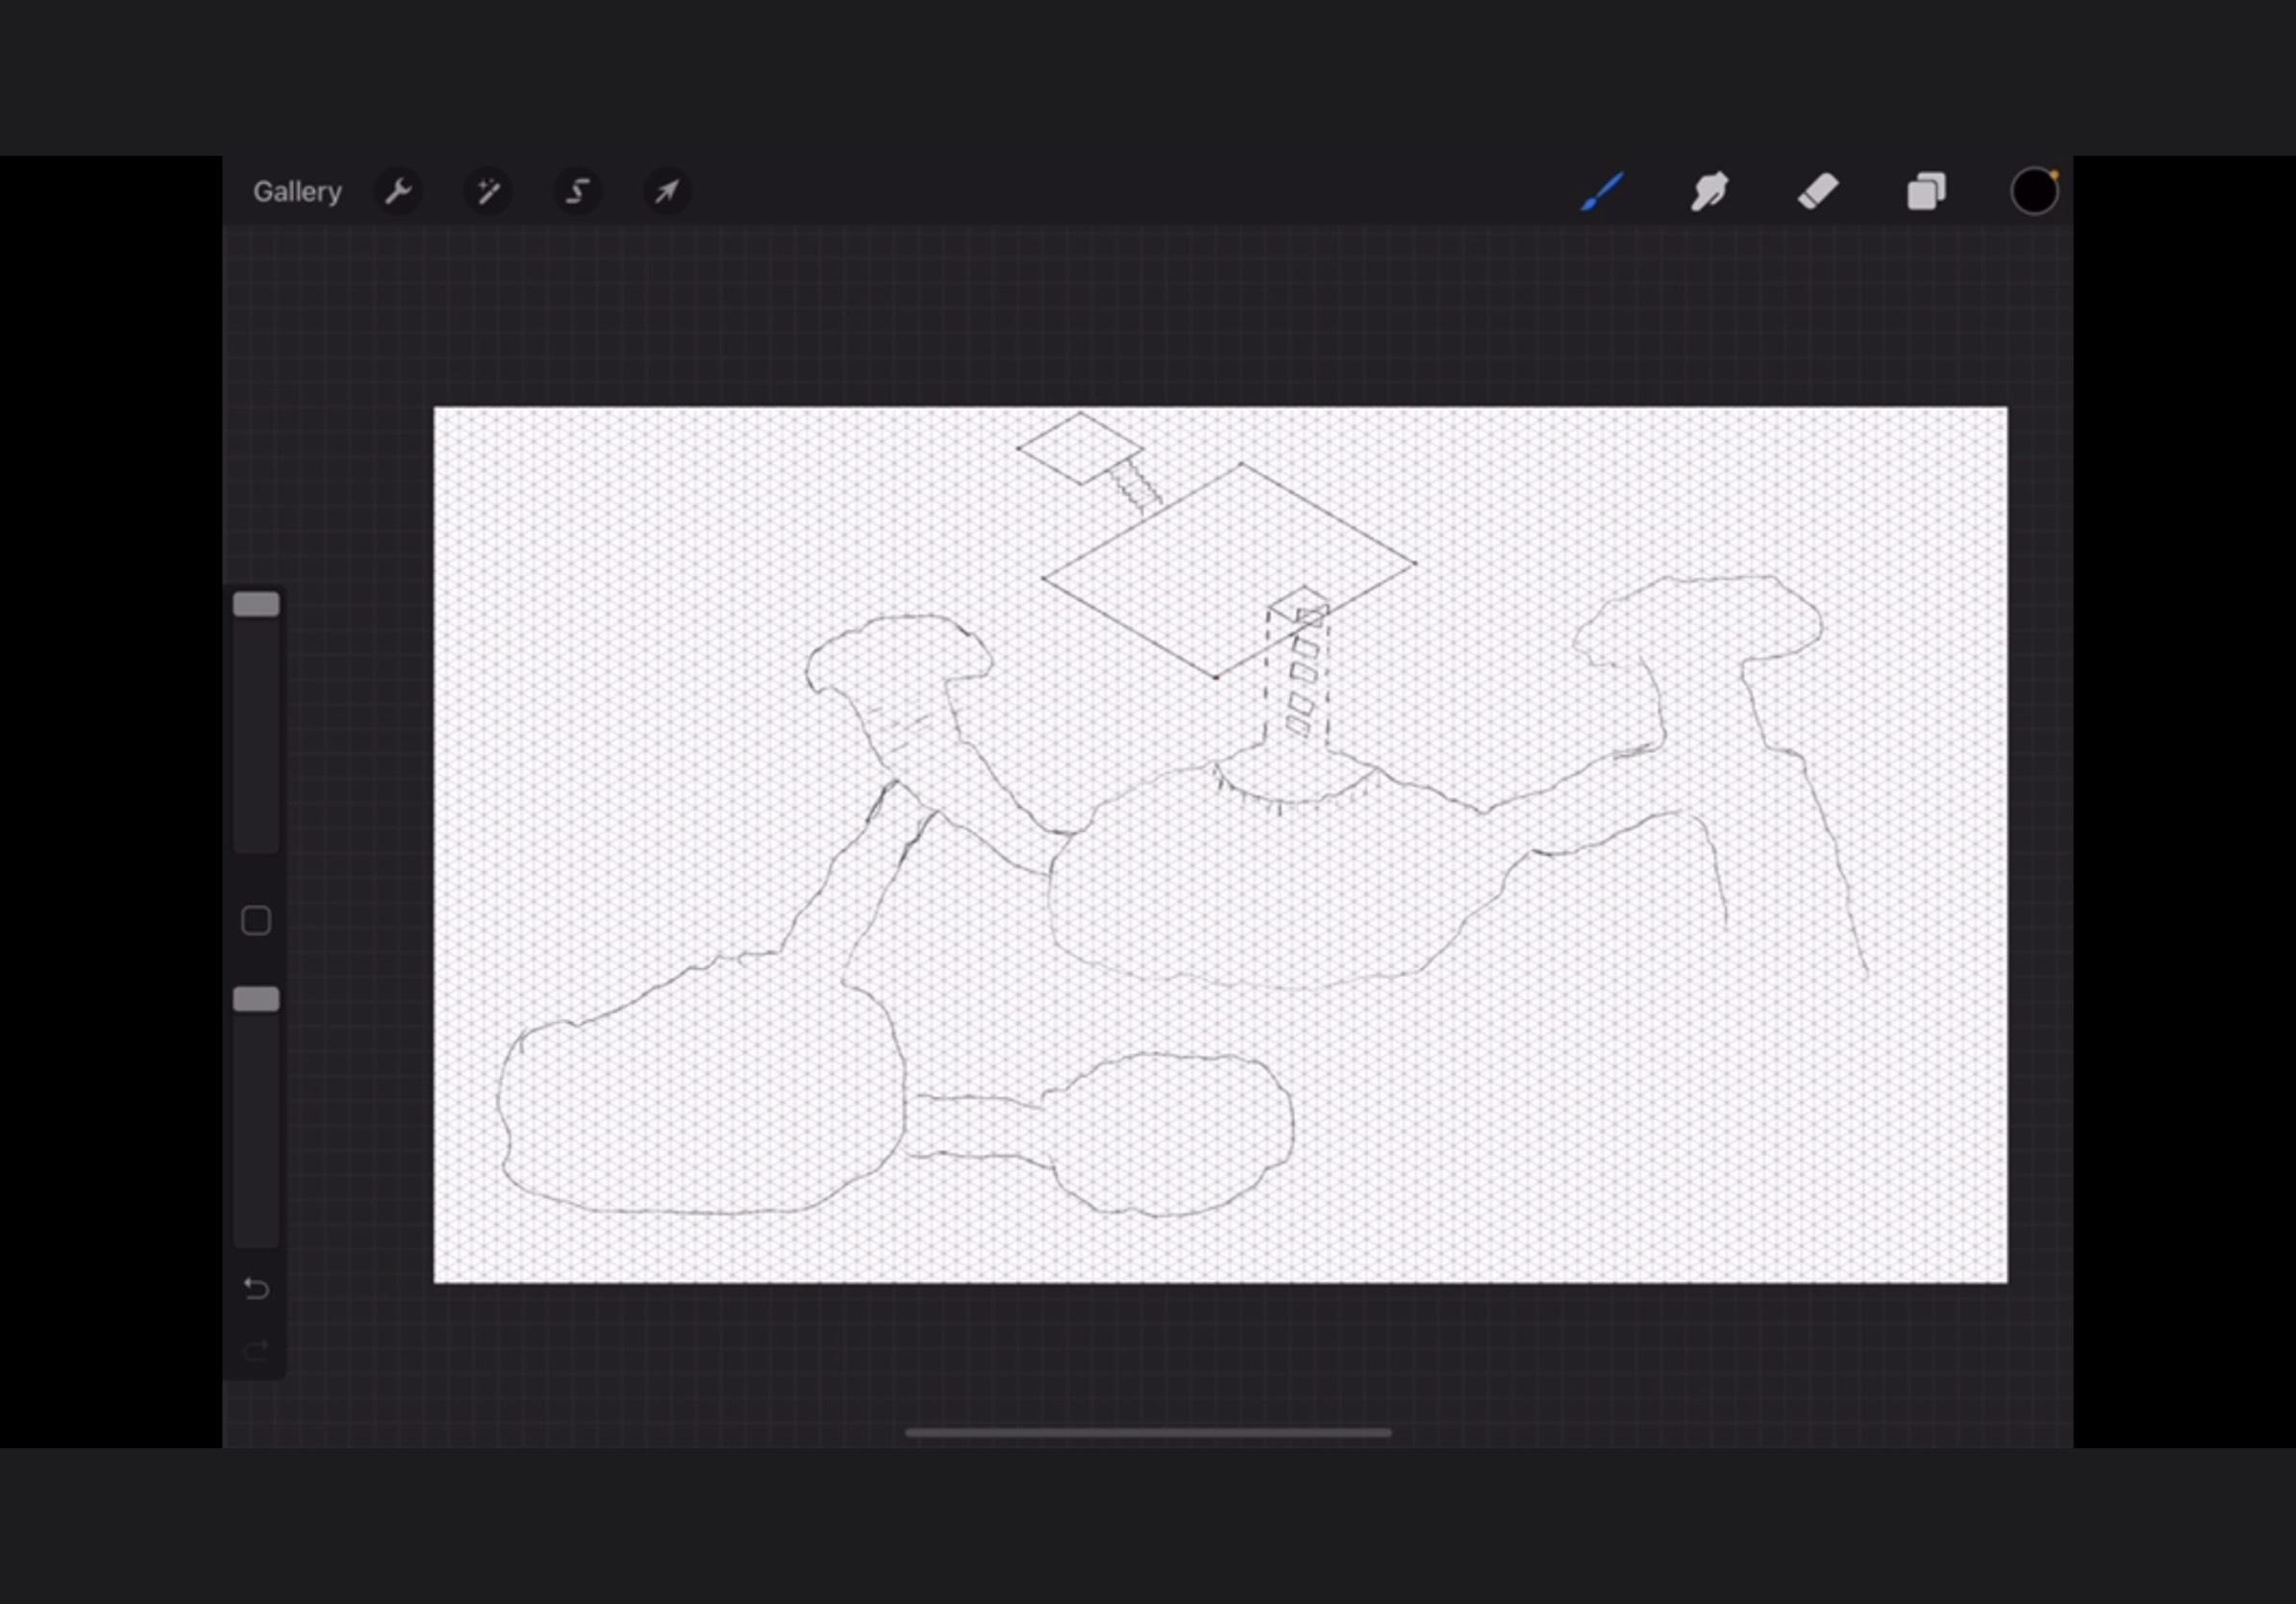
First Room
I put down some guiding dots for myself because I'm bad with proportions. So I just put four dots where the corners of the room would be. I'm picturing this dungeon as being hidden in the store room of a tavern, which is why it starts with a room.
Connect the Dots
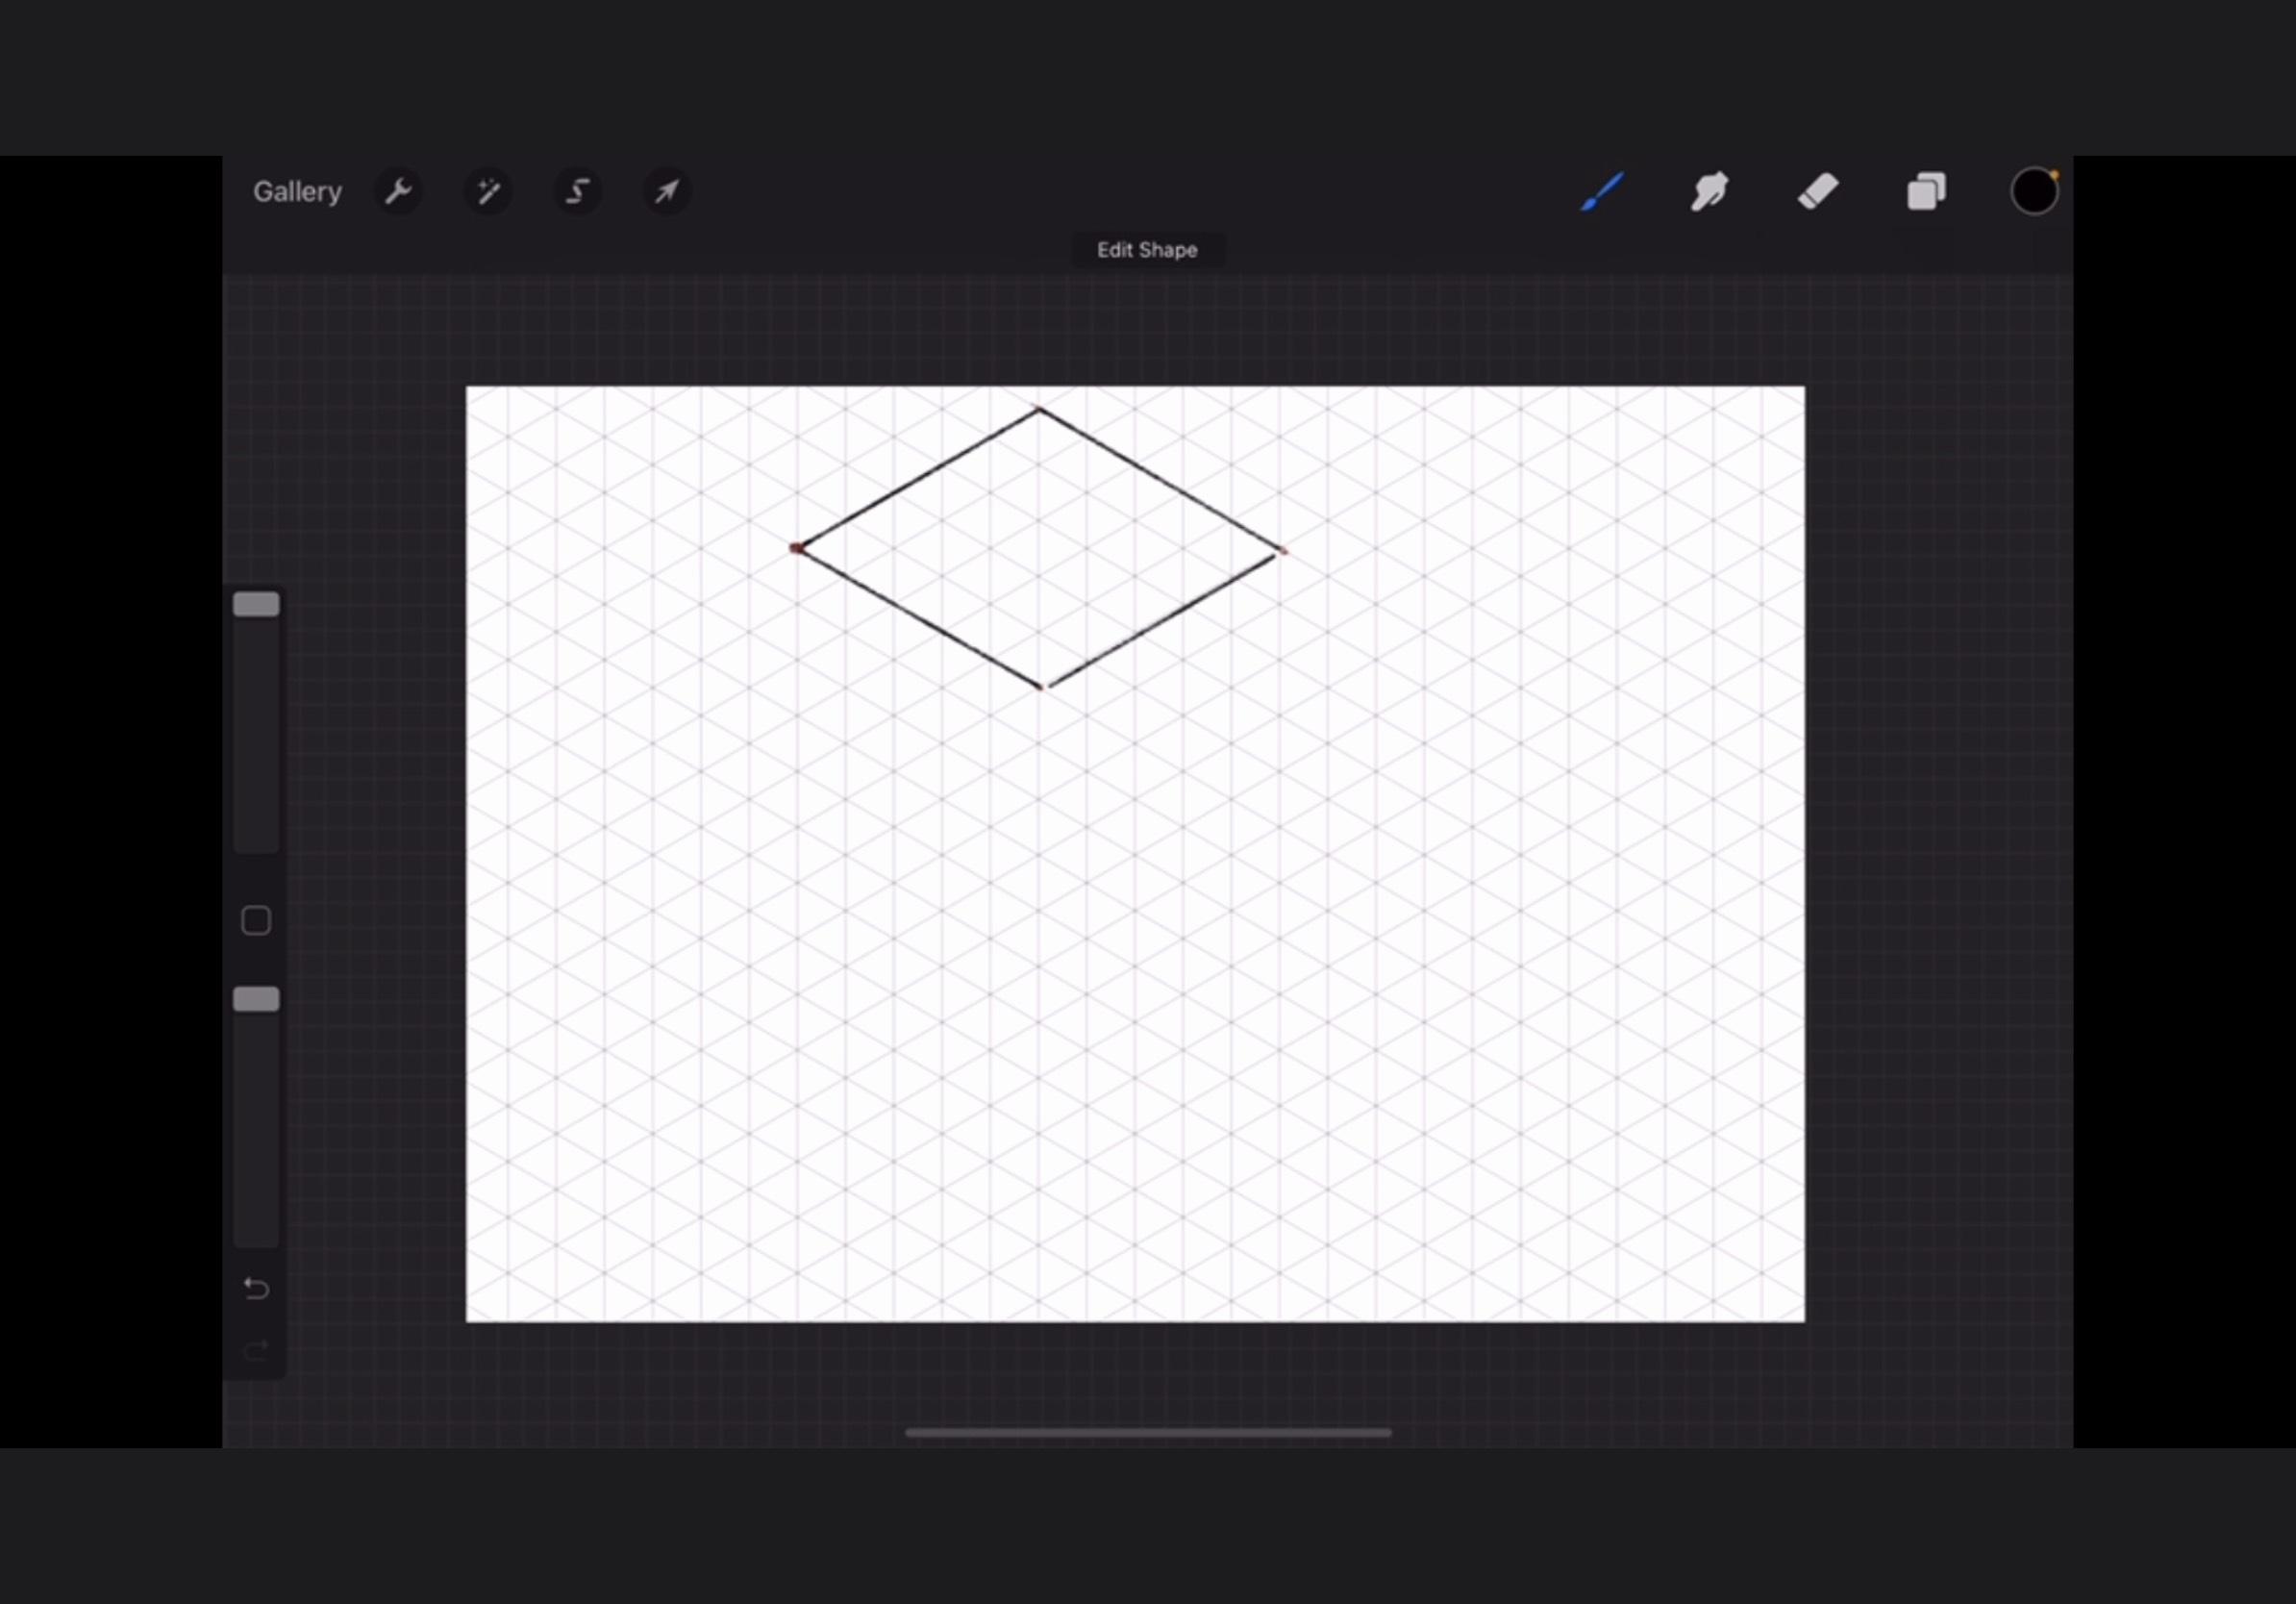
Then all I did was draw straight lines connecting the dots the right way. If you draw a line and hold it in Procreate, it straightens itself out. I use that feature all the time, especially for very precise drawings like this one.
Draw a Staircase
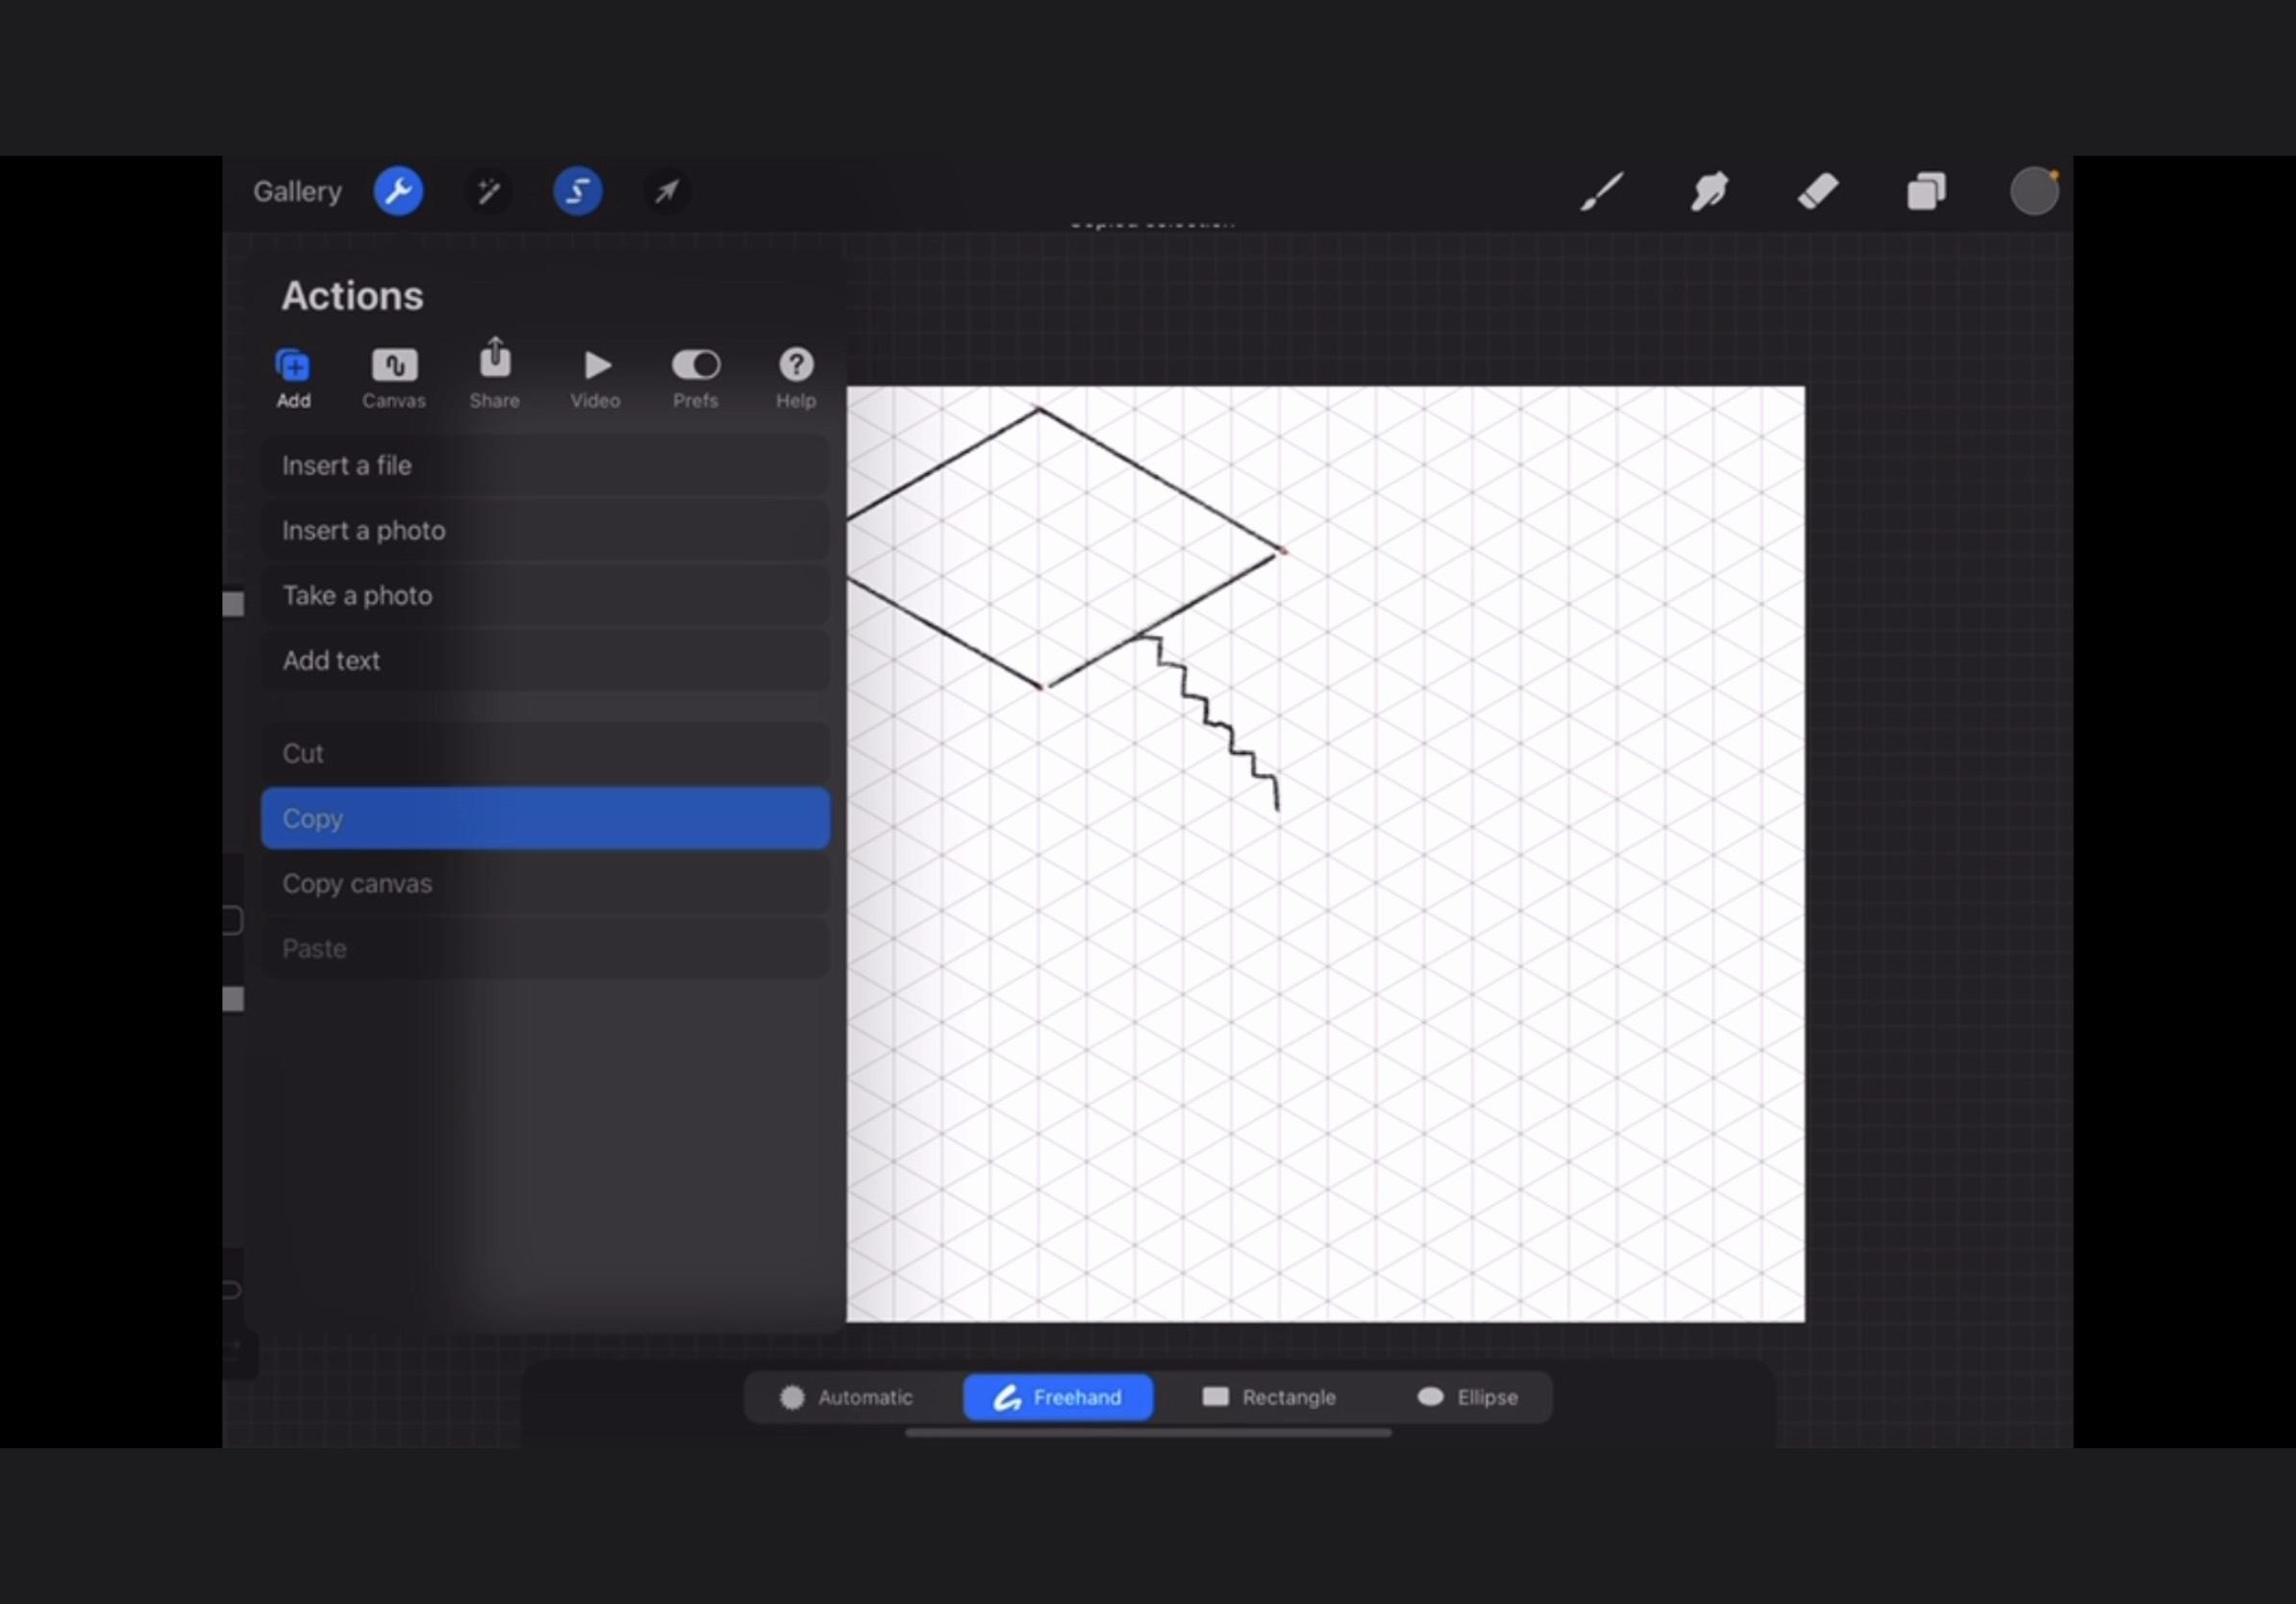
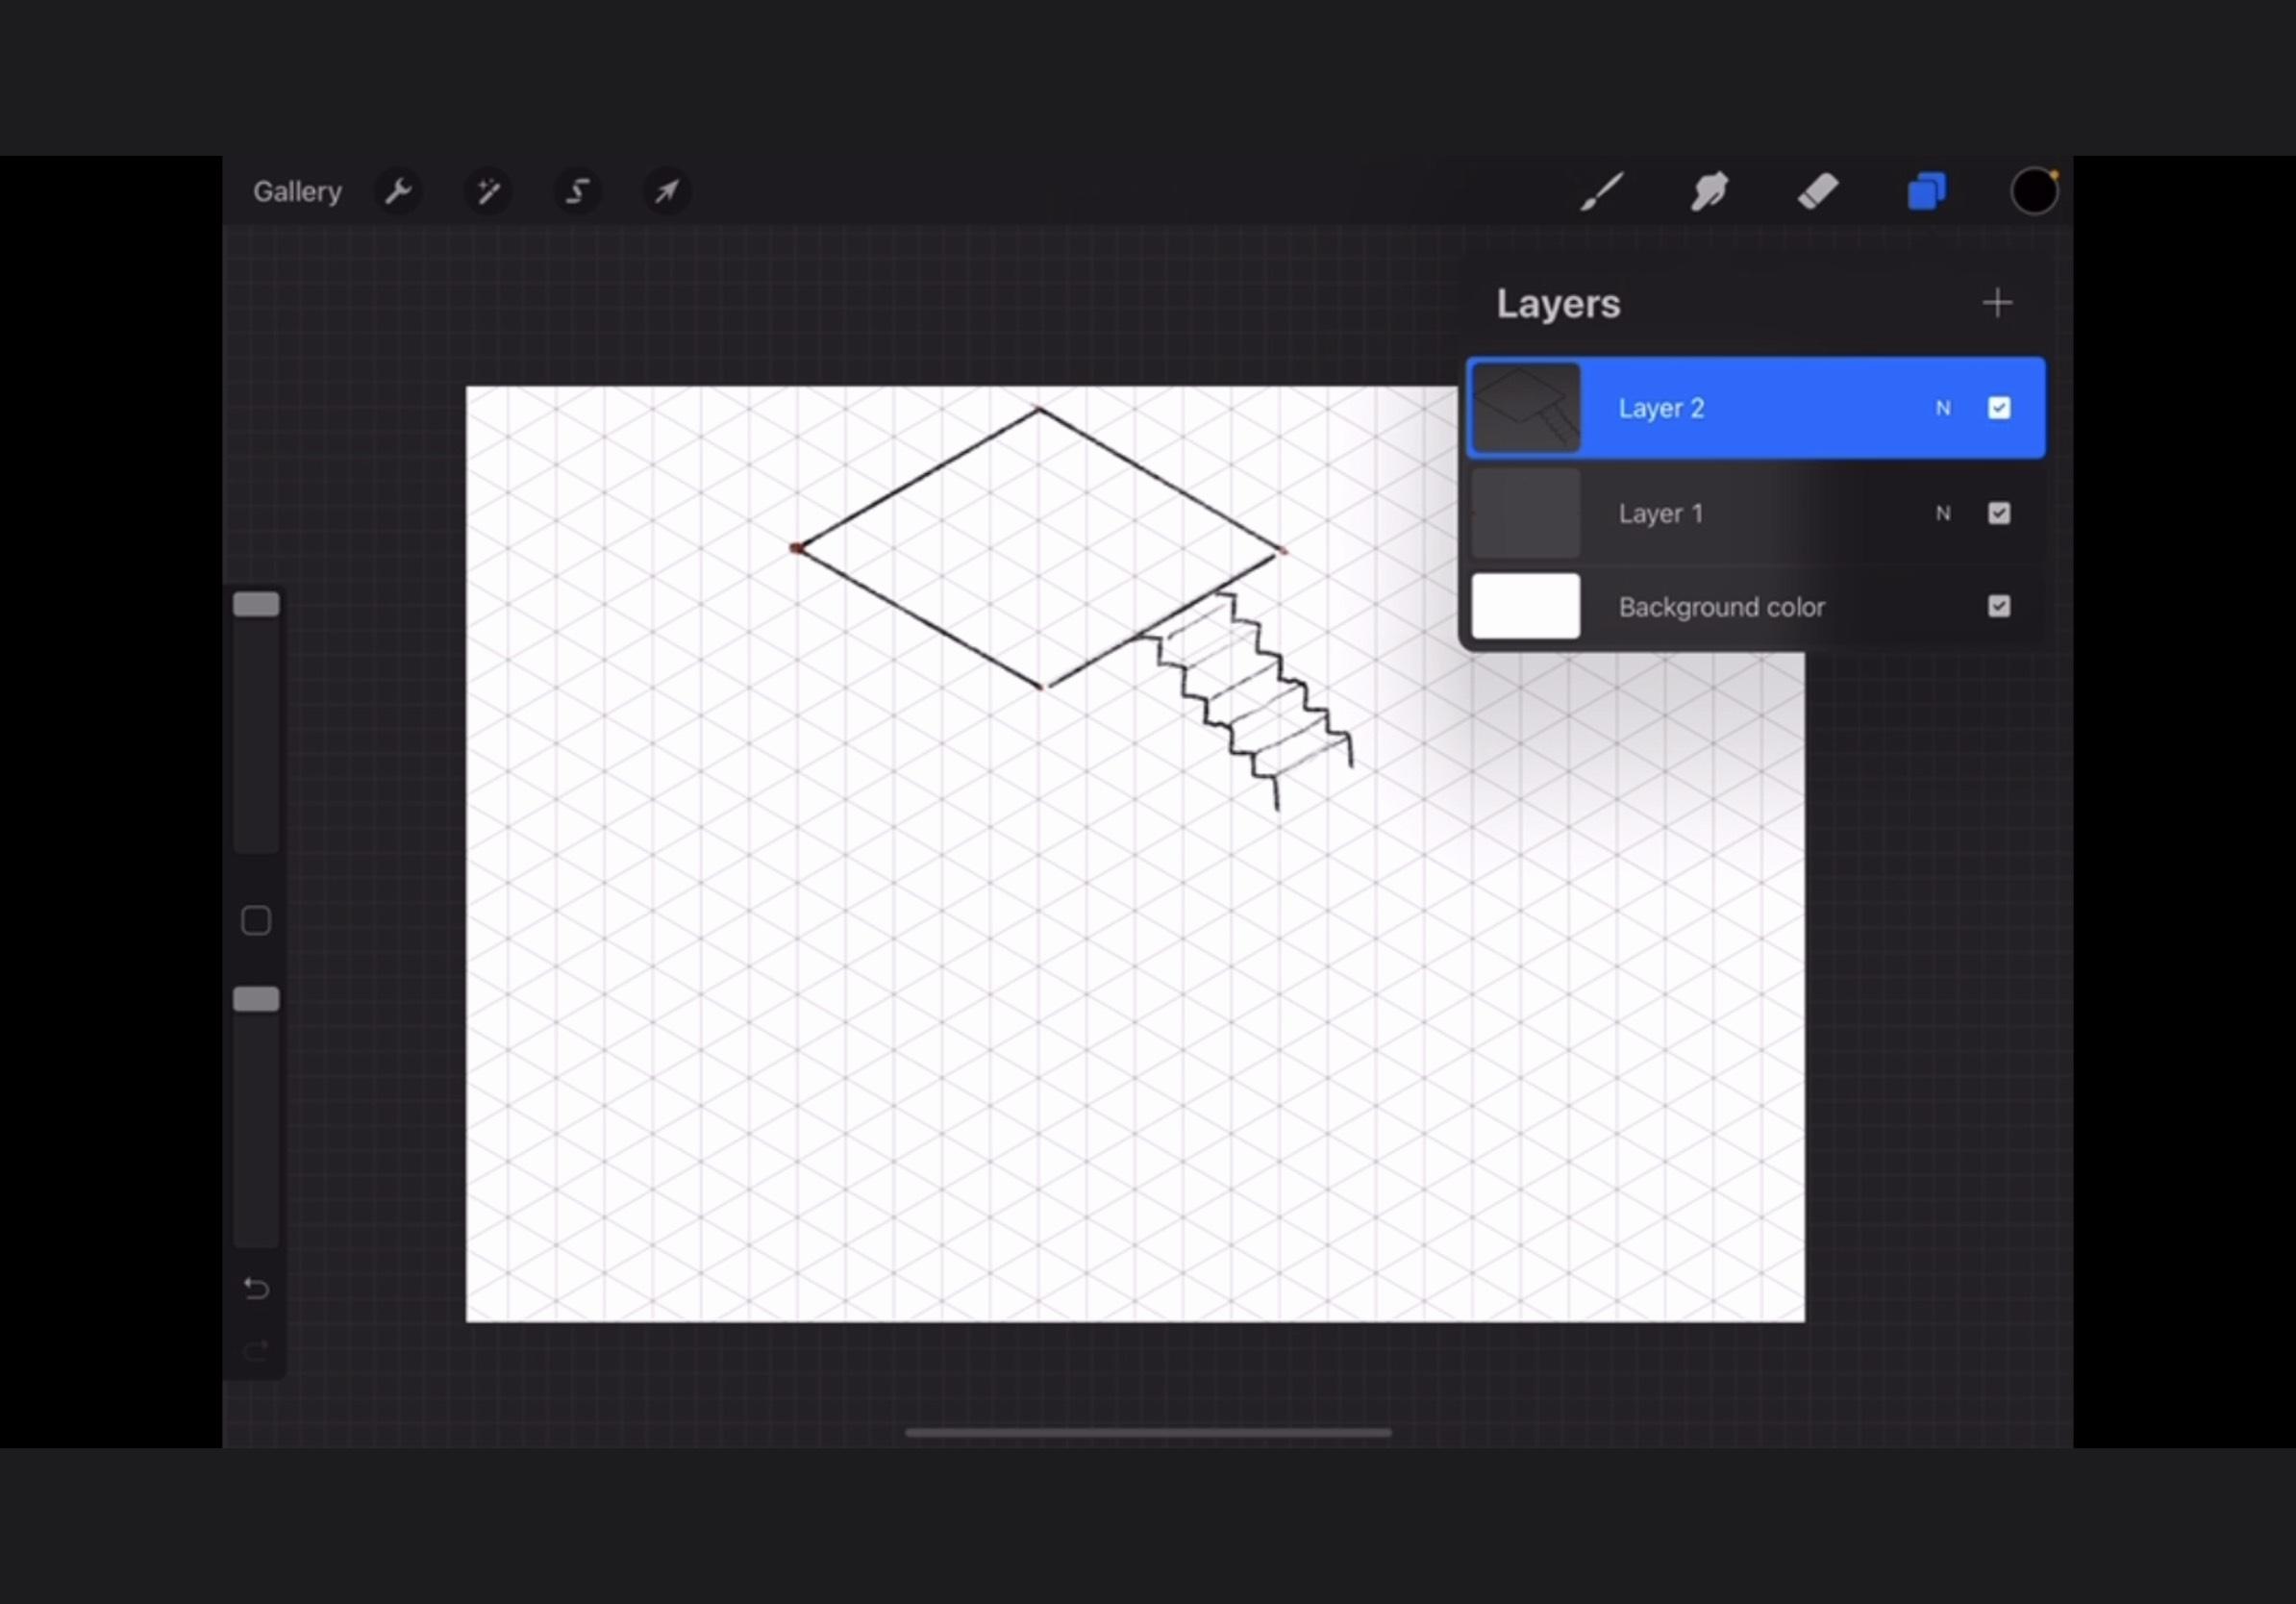
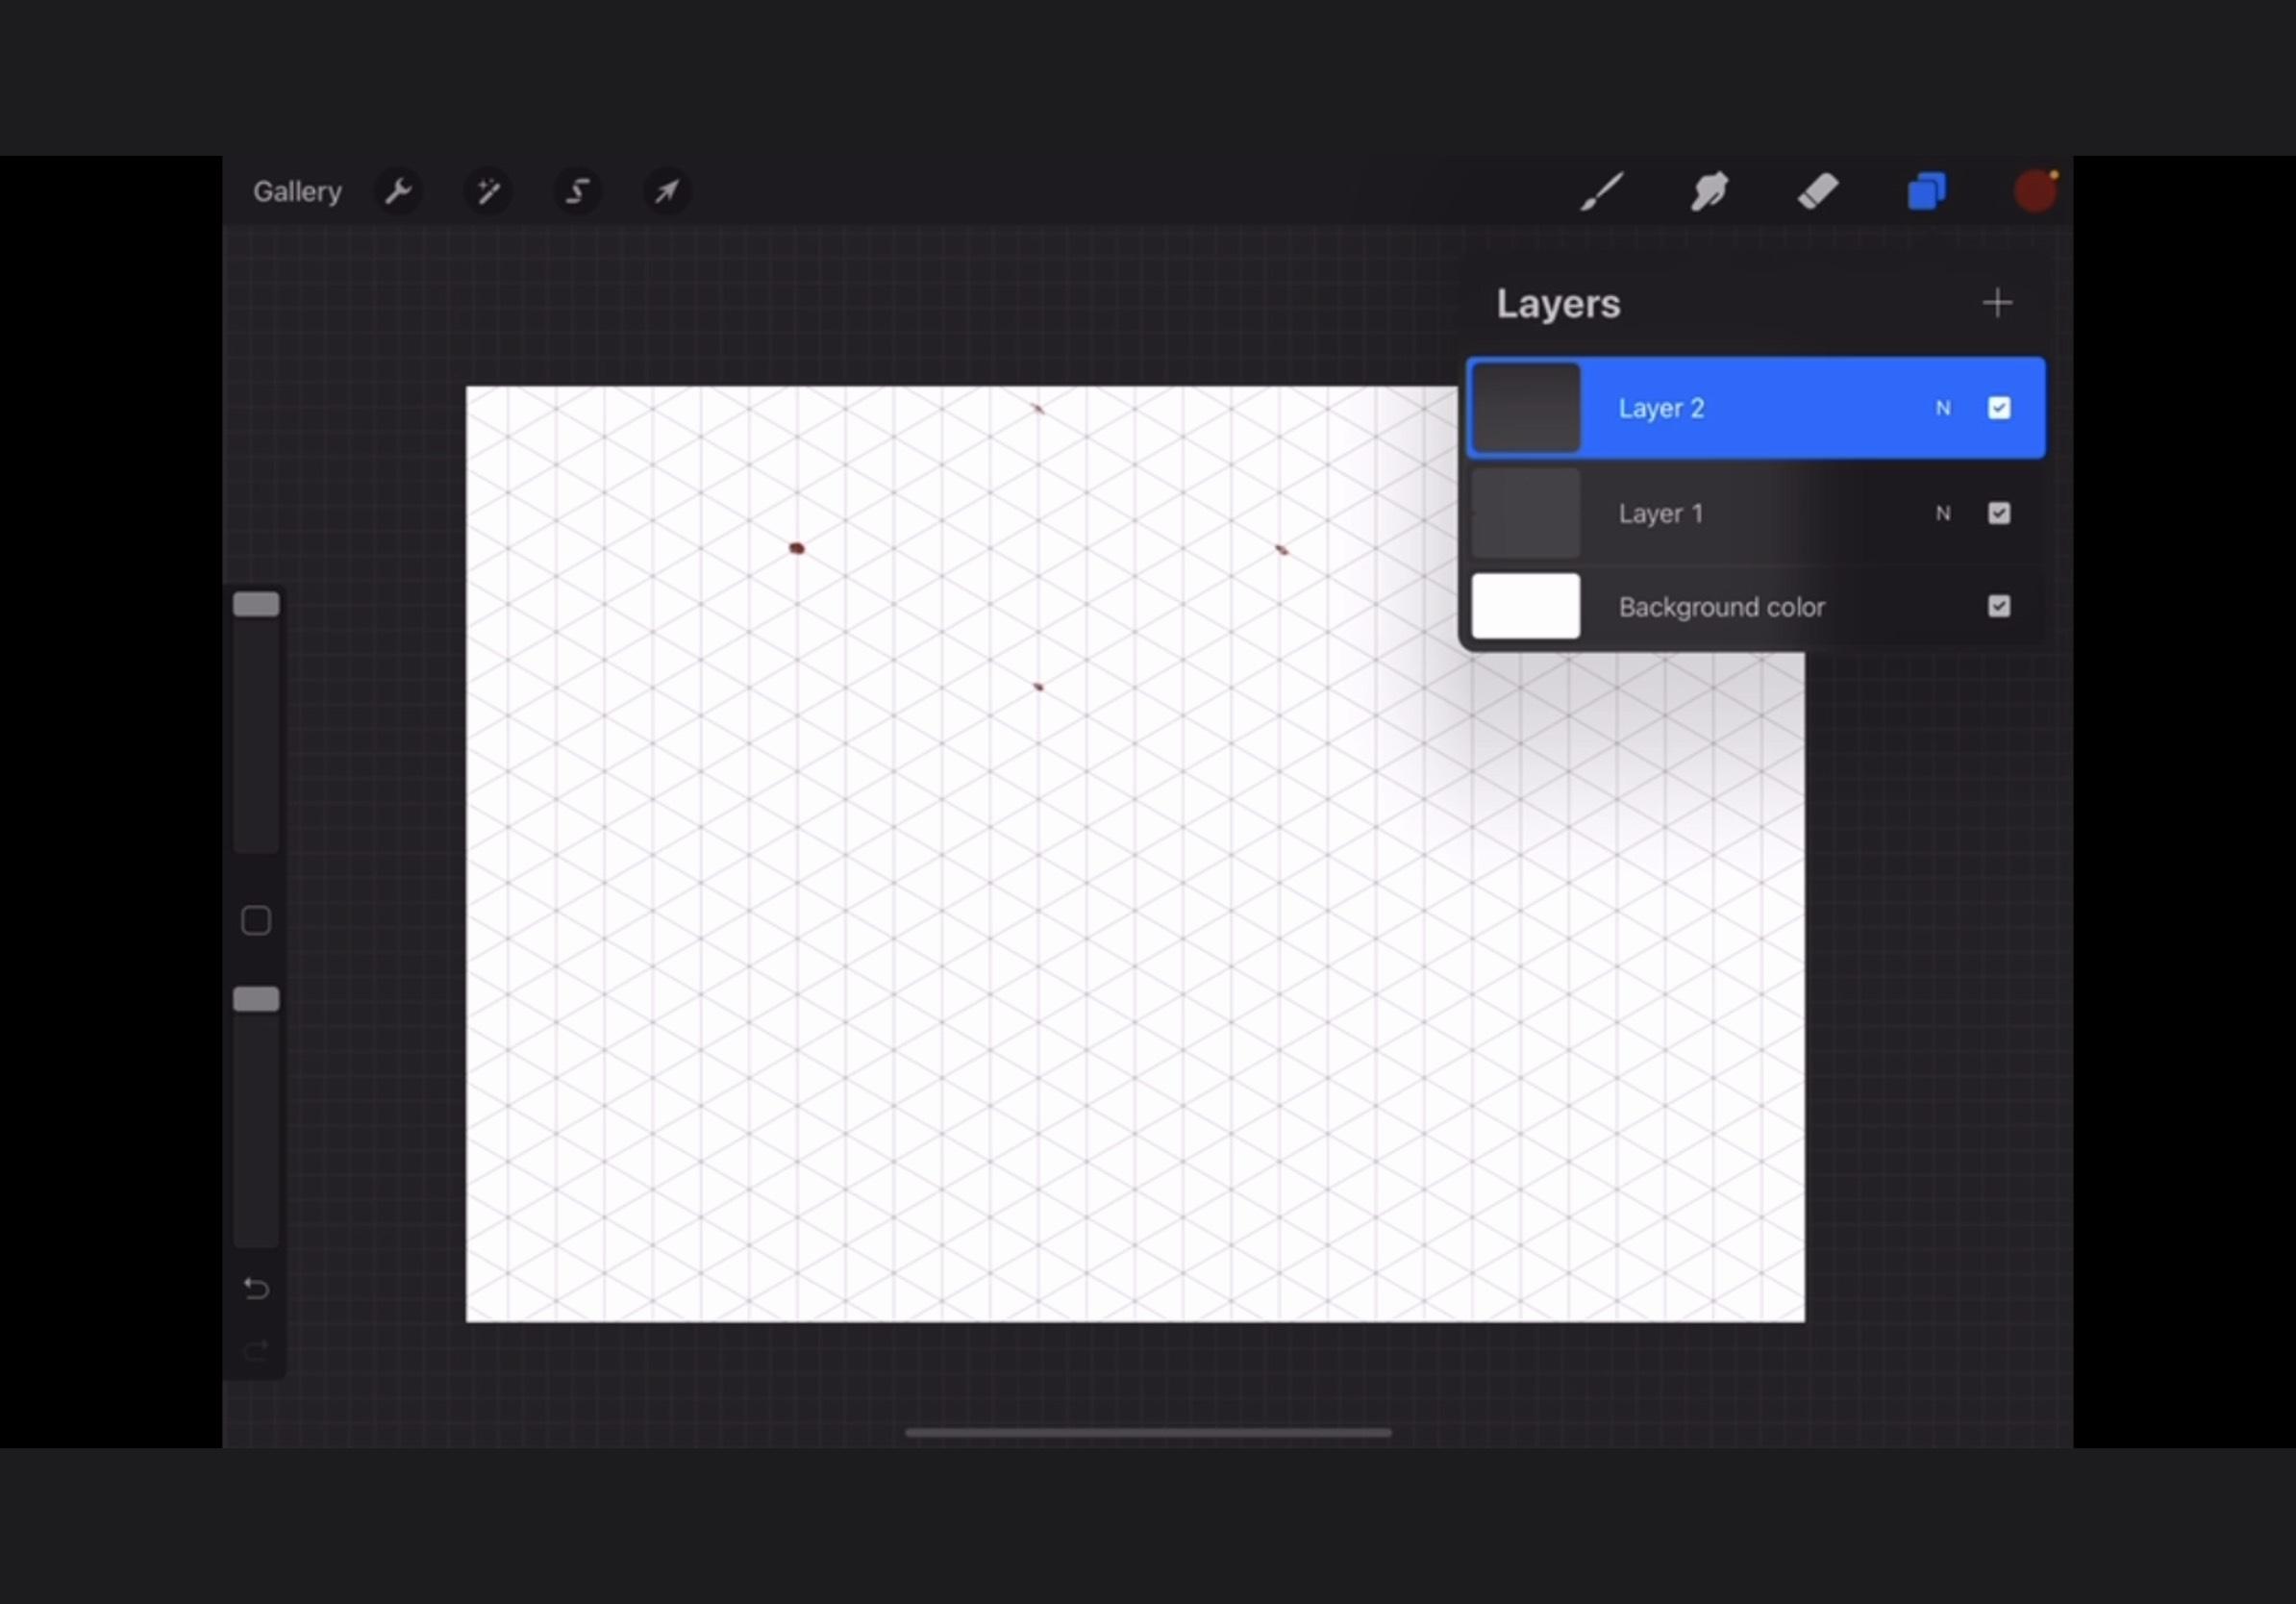
Then I drew a staircase. I drew steps on one side, still keeping in perspective with the isometric guidelines. Then I copy-pasted it over. To do that, you have to use the selection tool, which looks like the letter S, draw around the area you want to copy, tap the wrench icon, tap the subheading of 'add,' and you should see the options for both copy and paste. I had to click out of the menu after I hit copy and had to go back to hit paste. Then you just hit the cursor icon and drag your drawing over. I then drew lines connecting the steps. Then I merged the layer with the 'inserted image' down so I was drawing on only one layer. Well, two technically, but I don't count the guiding dots layer a layer.
Draw Another Room
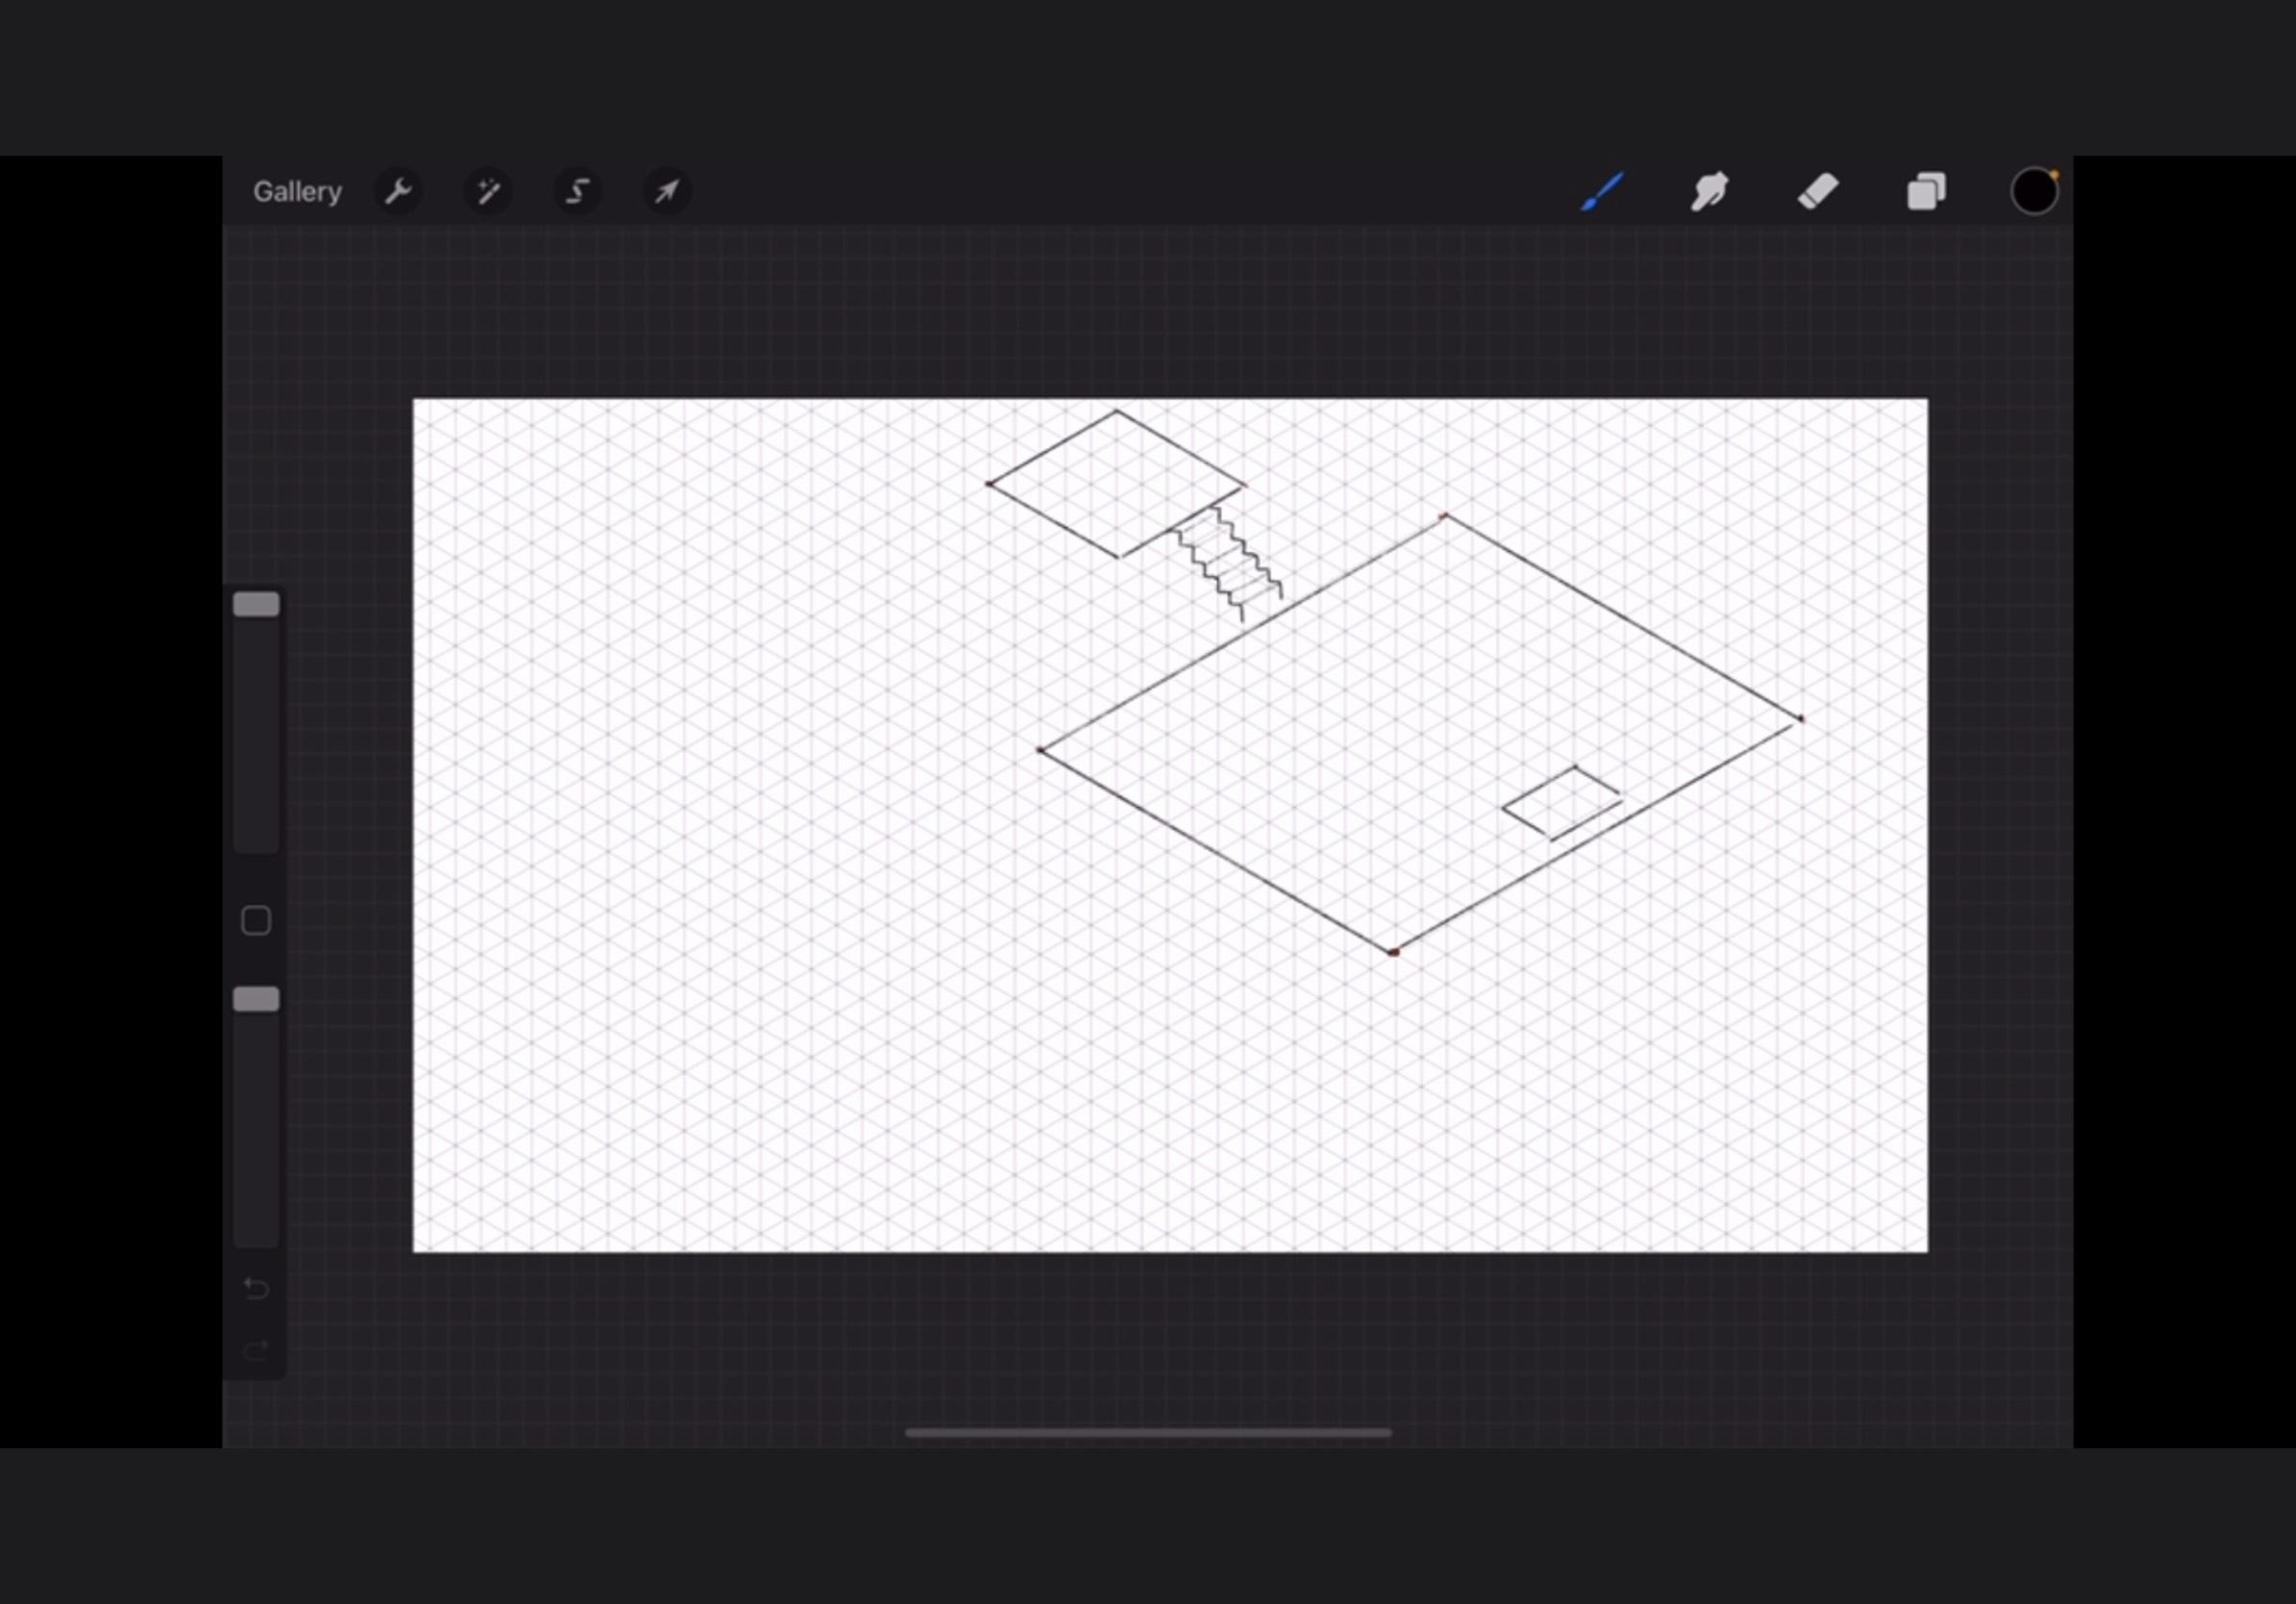
So I drew another room using the same process- go back to layer 1, draw guiding dots, go back to drawing layer, connect the dots. I also needed a trap door to get into the dungeon itself. I imagine this one being hidden under a statue, like you have to solve a puzzle to get it to slide aside.
Draw the Entrance to the Dungeon
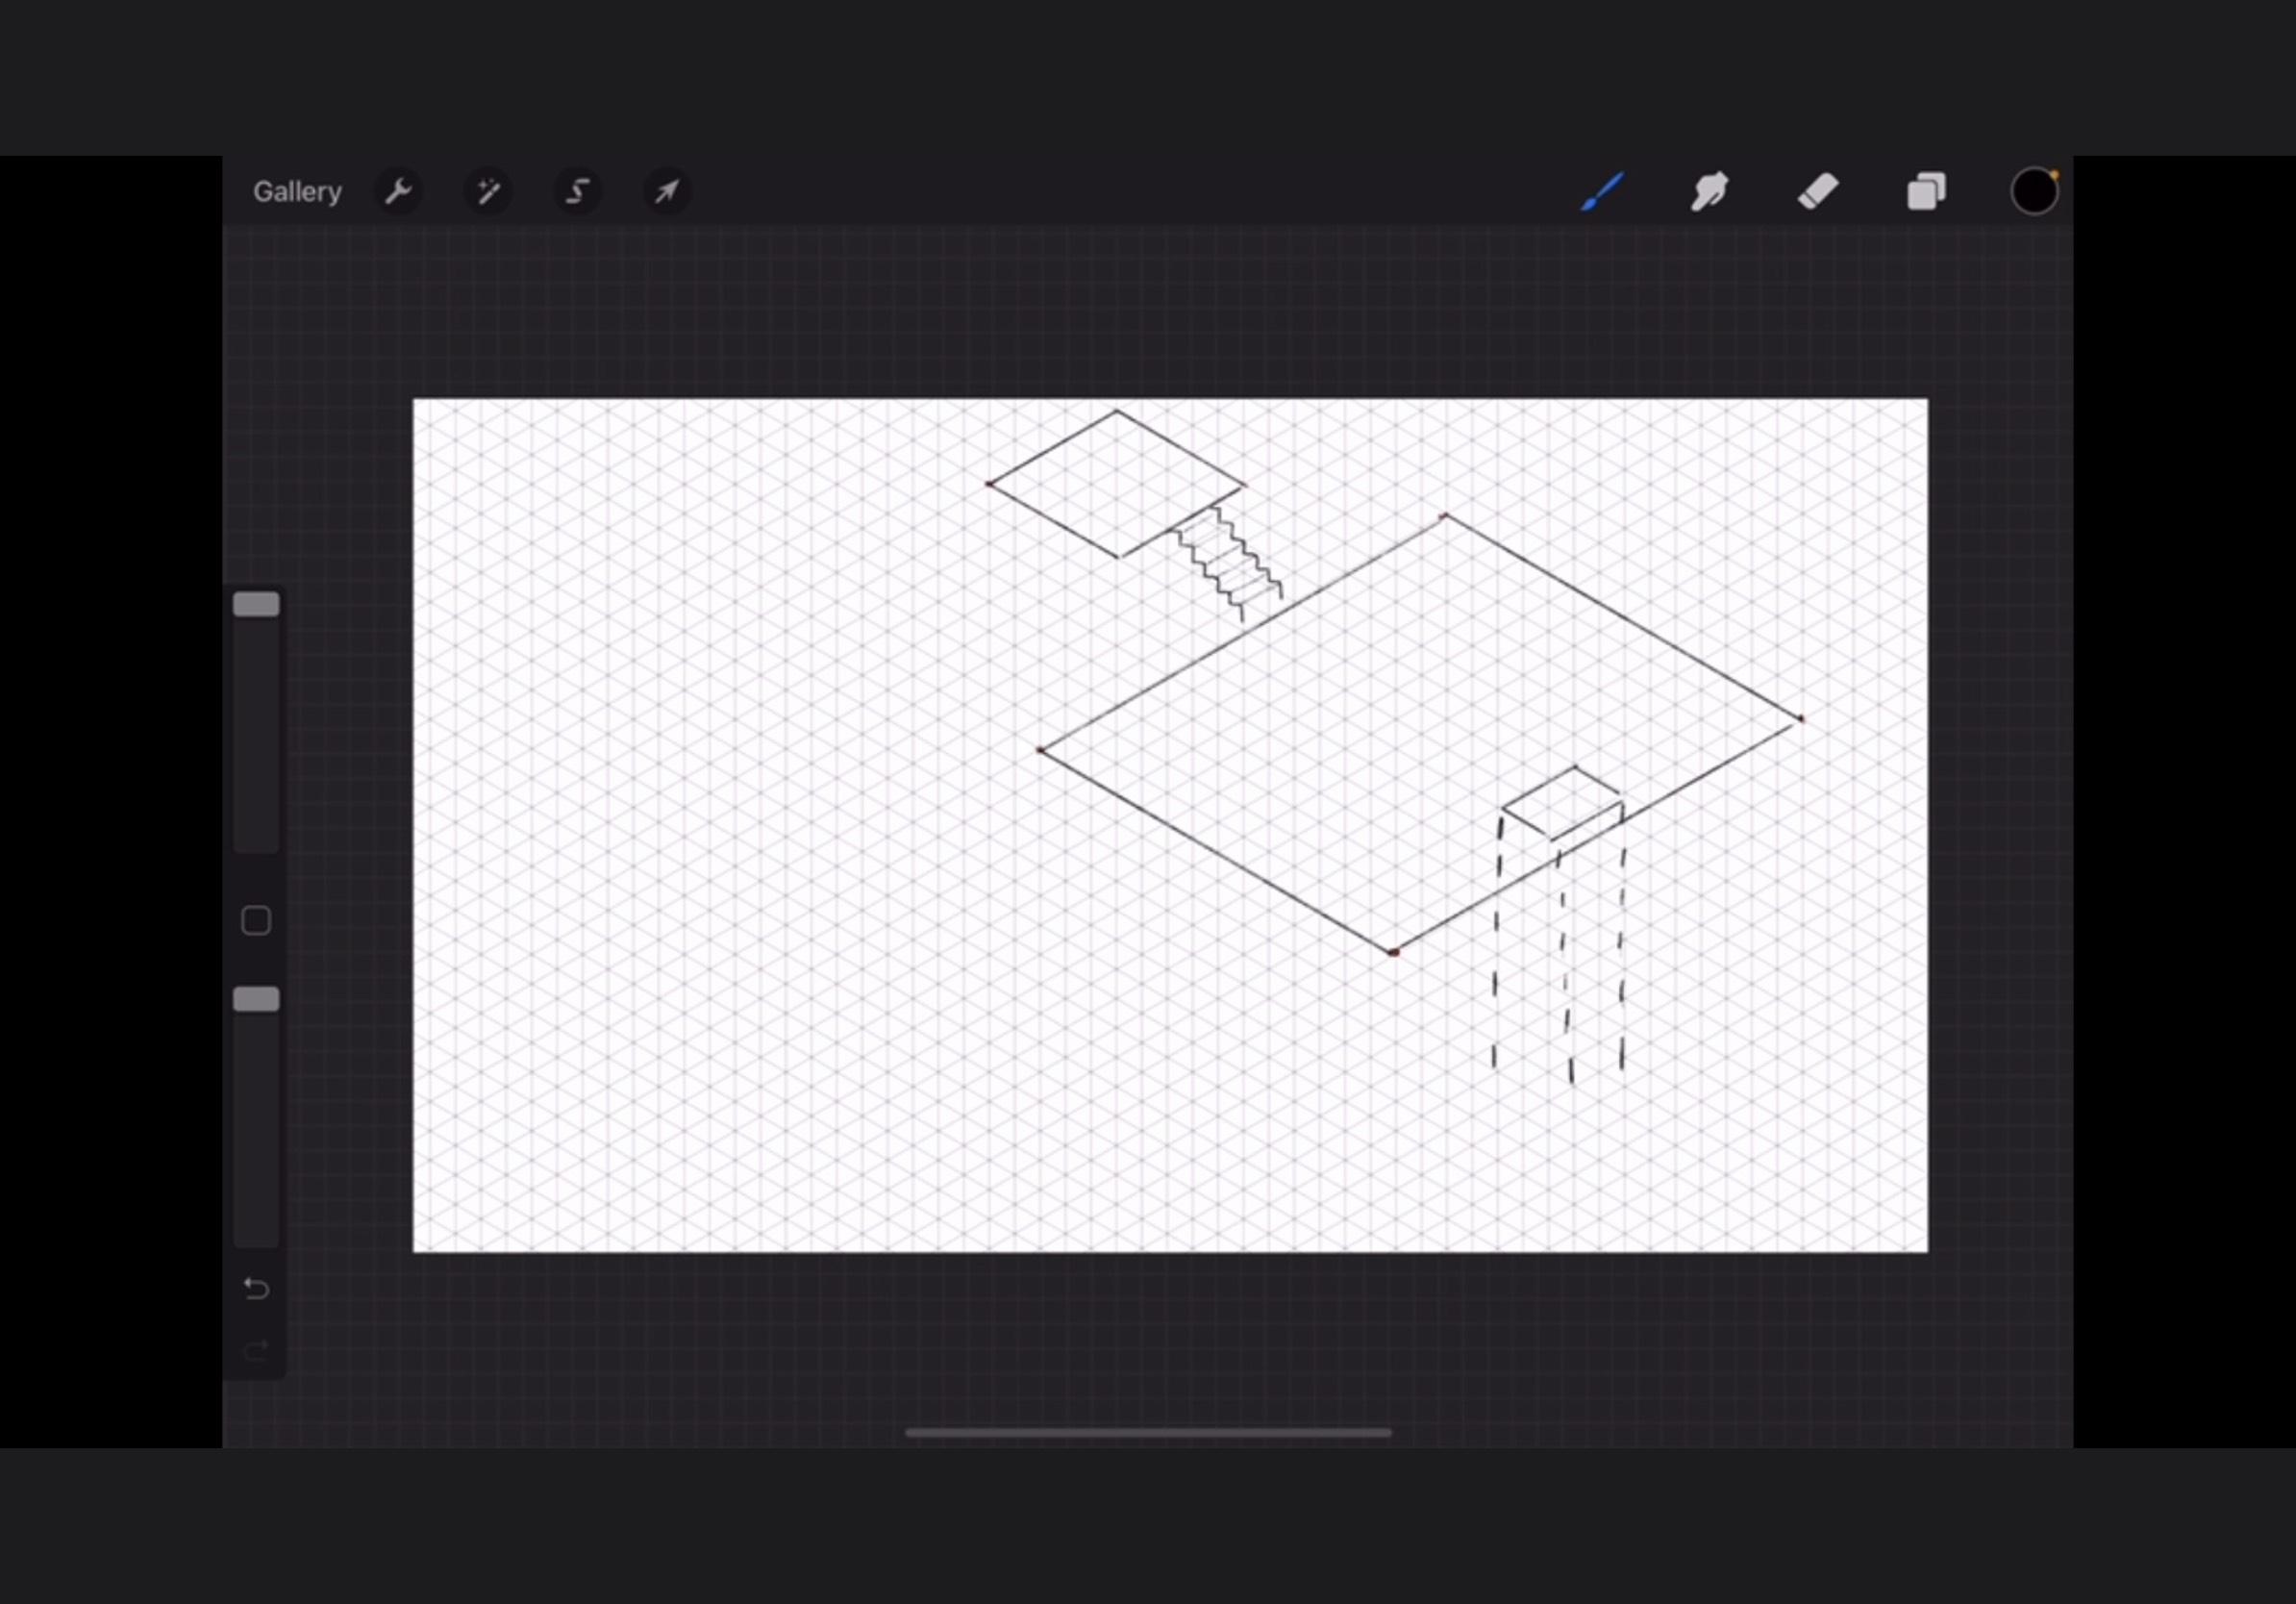
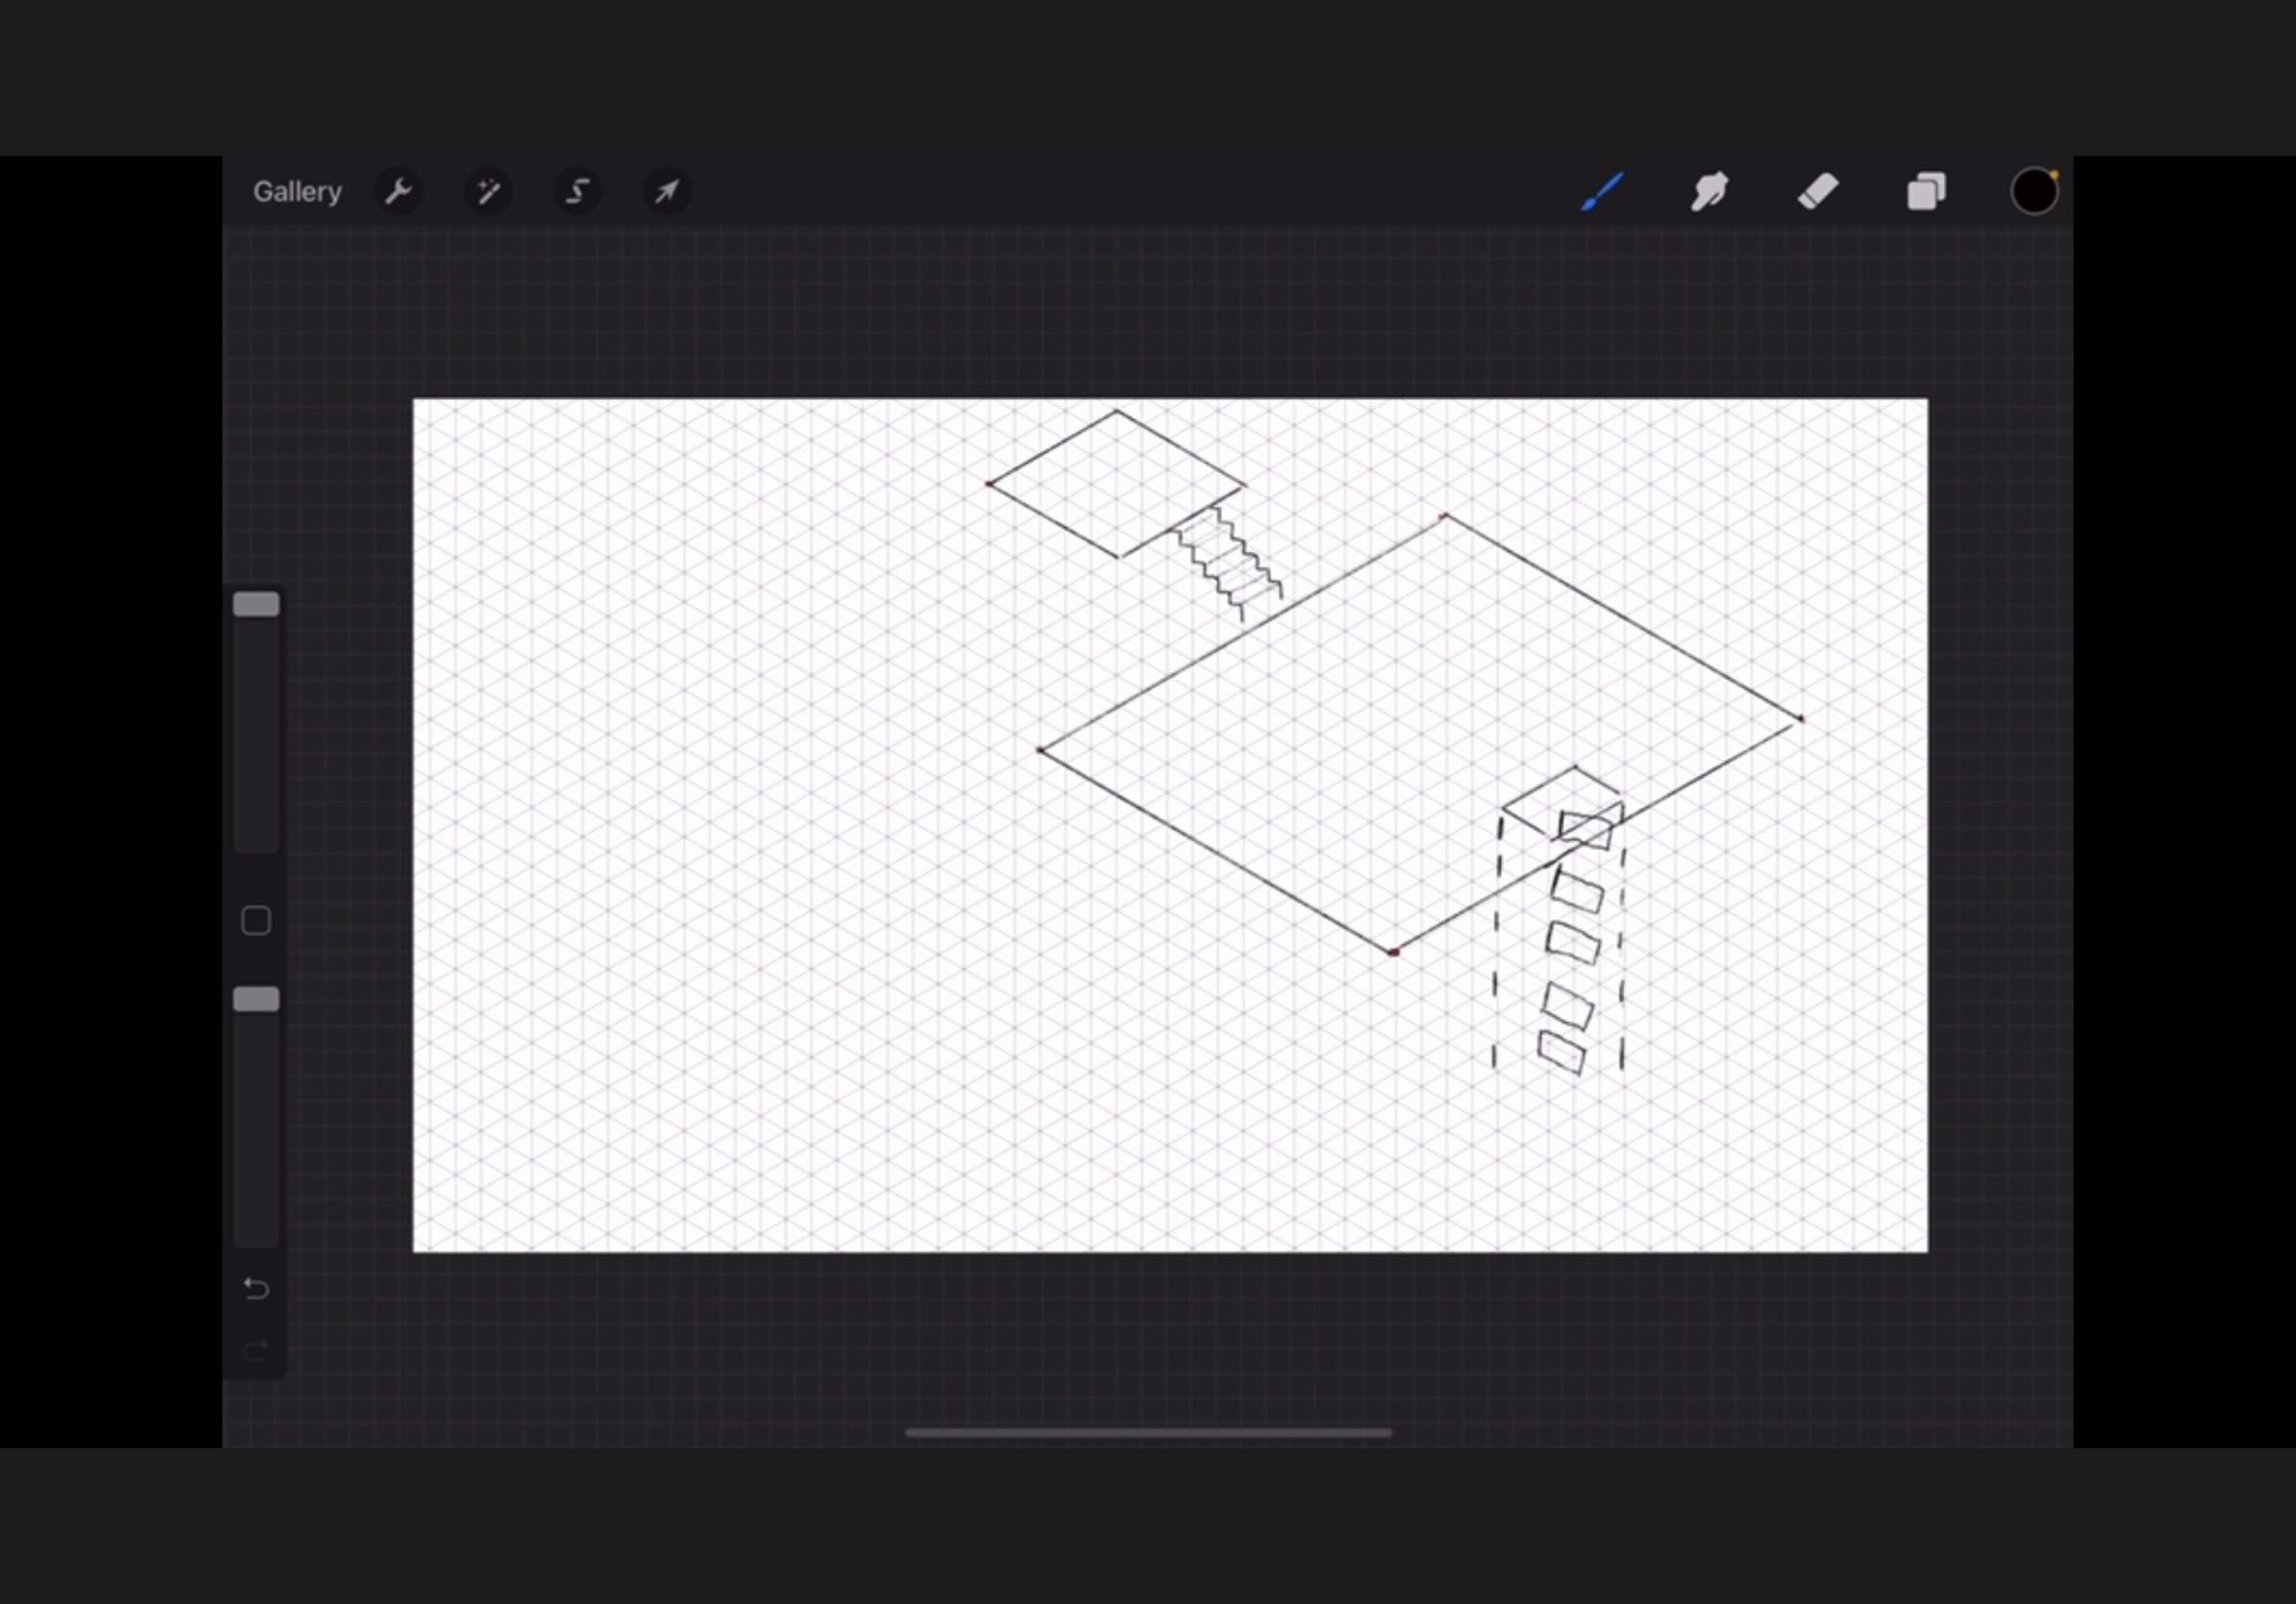
Because I drew a trap door, I needed something the players could go down to get into the dungeon. I drew a shaft with a ladder in it. I imagine the ladder is hastily put together (and not that I'm incapable of drawing small rectangles).
Draw a Cavern
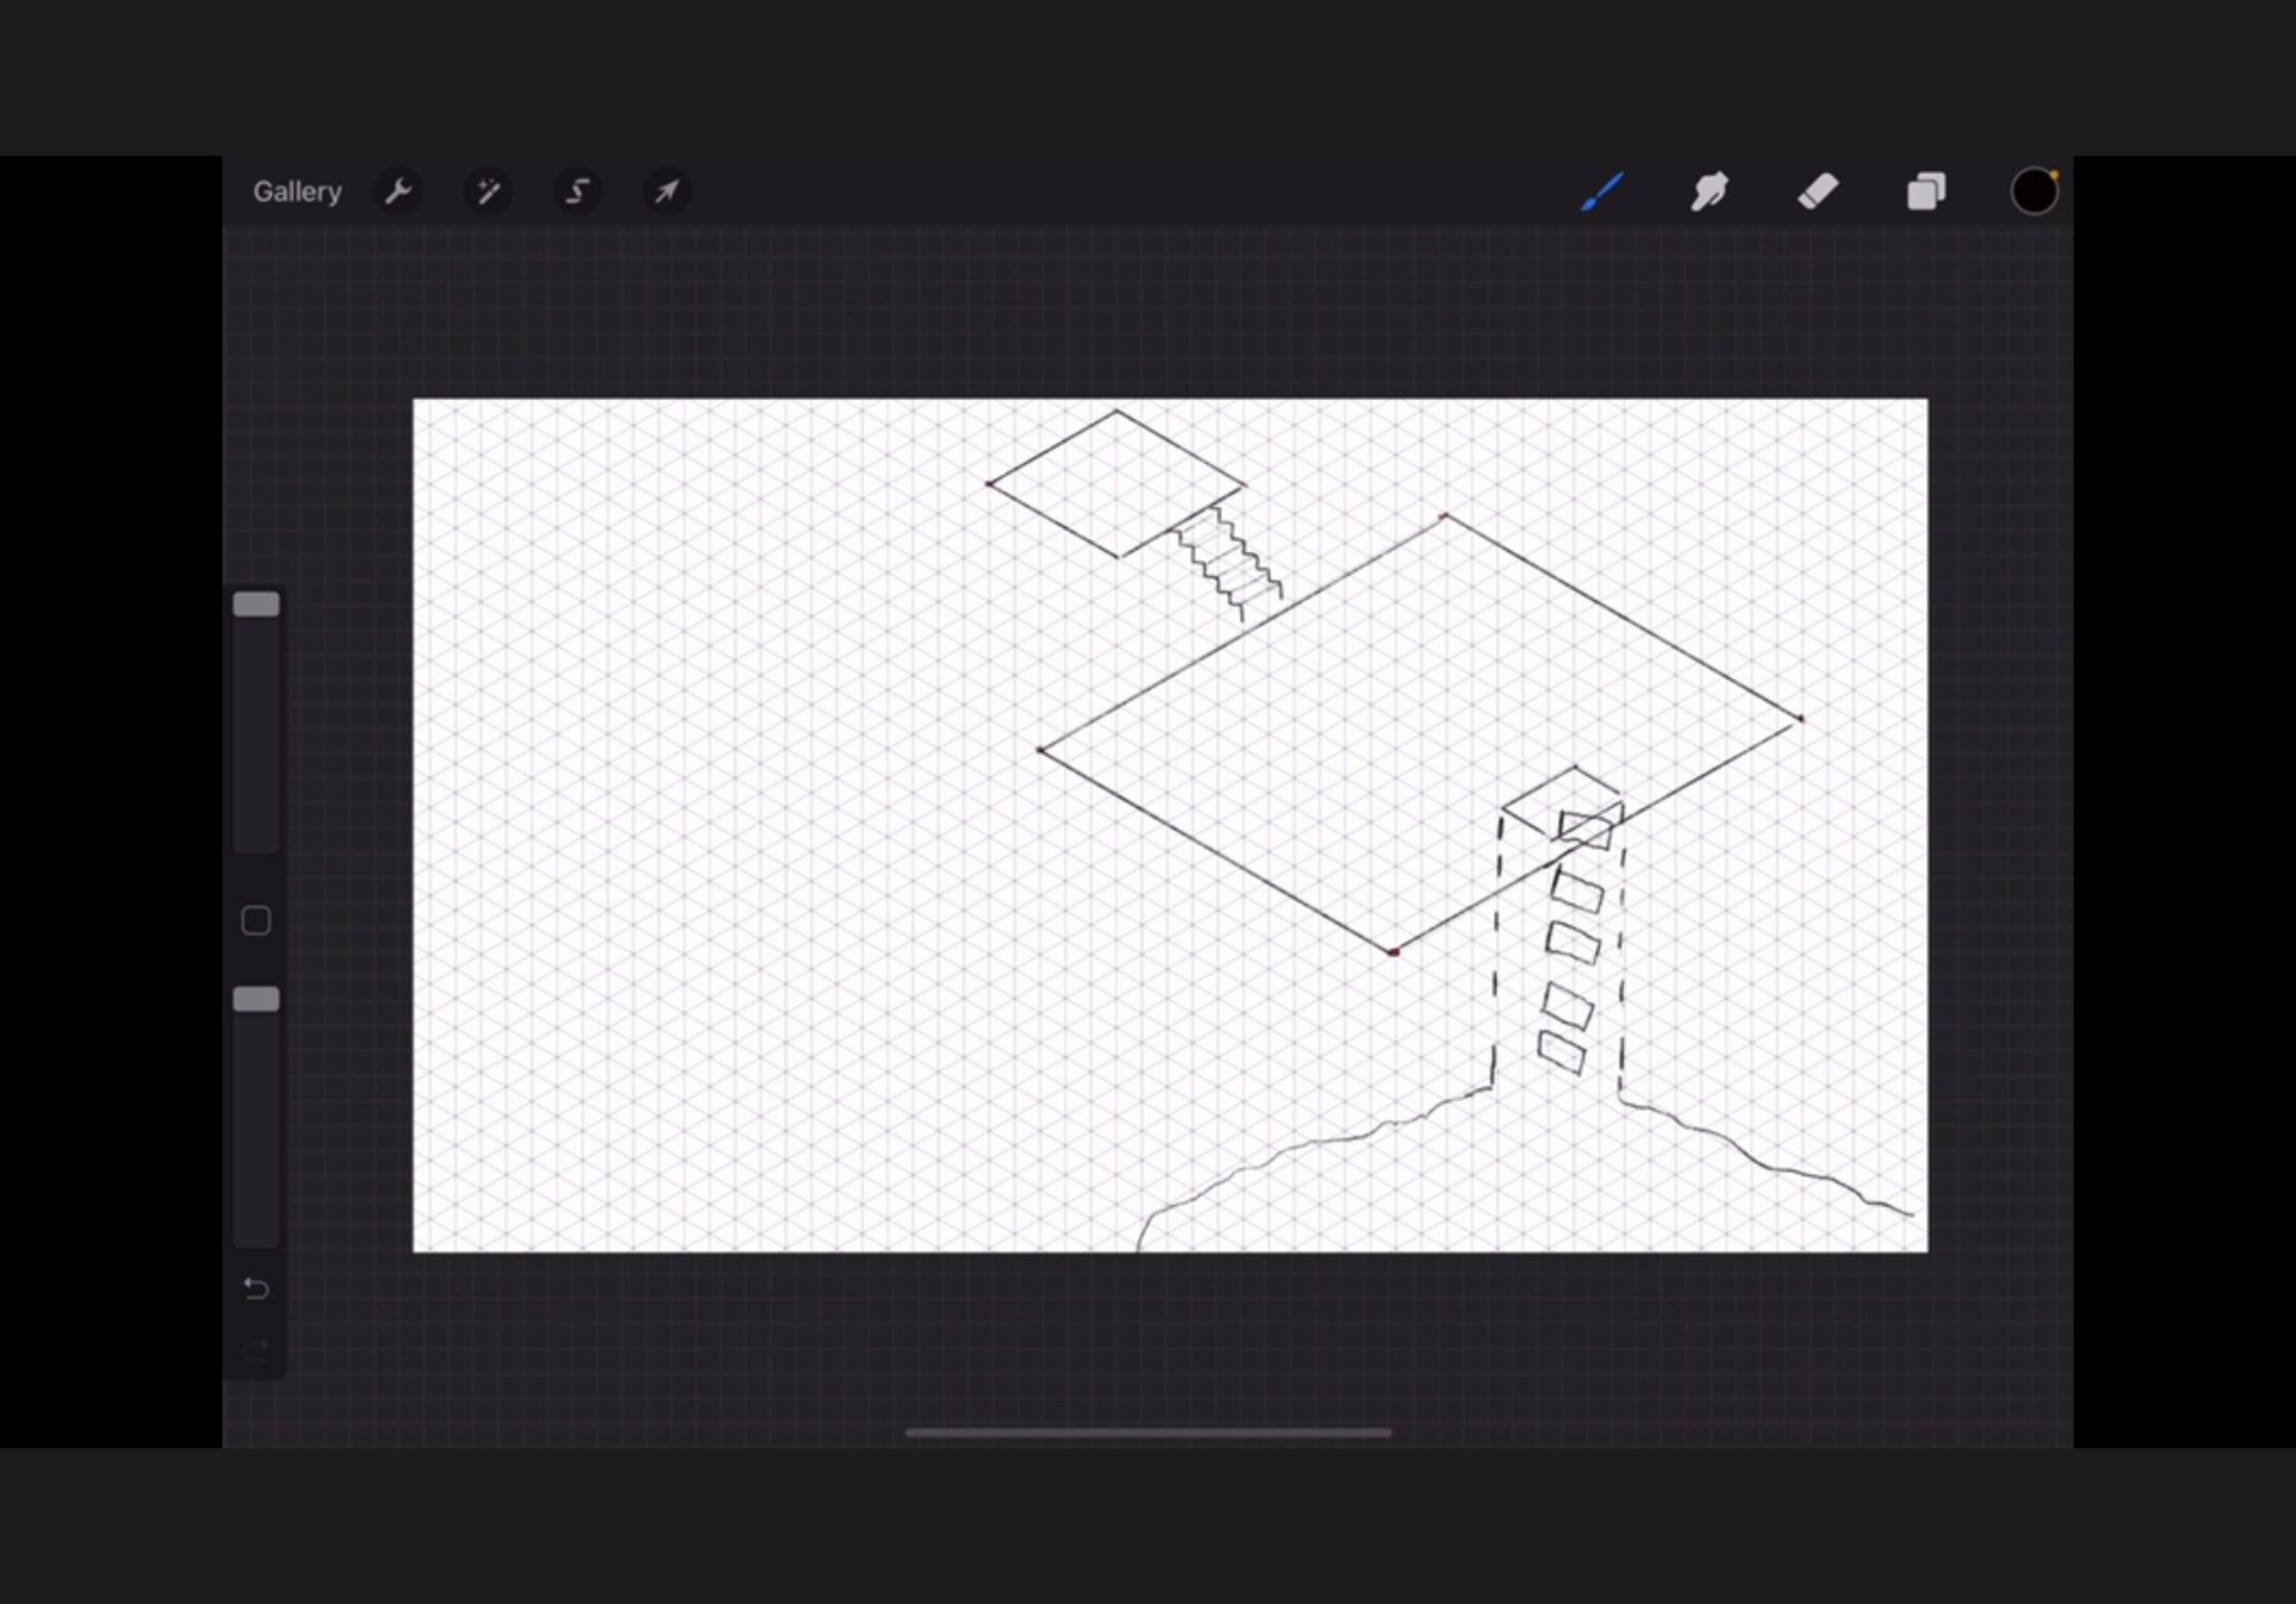
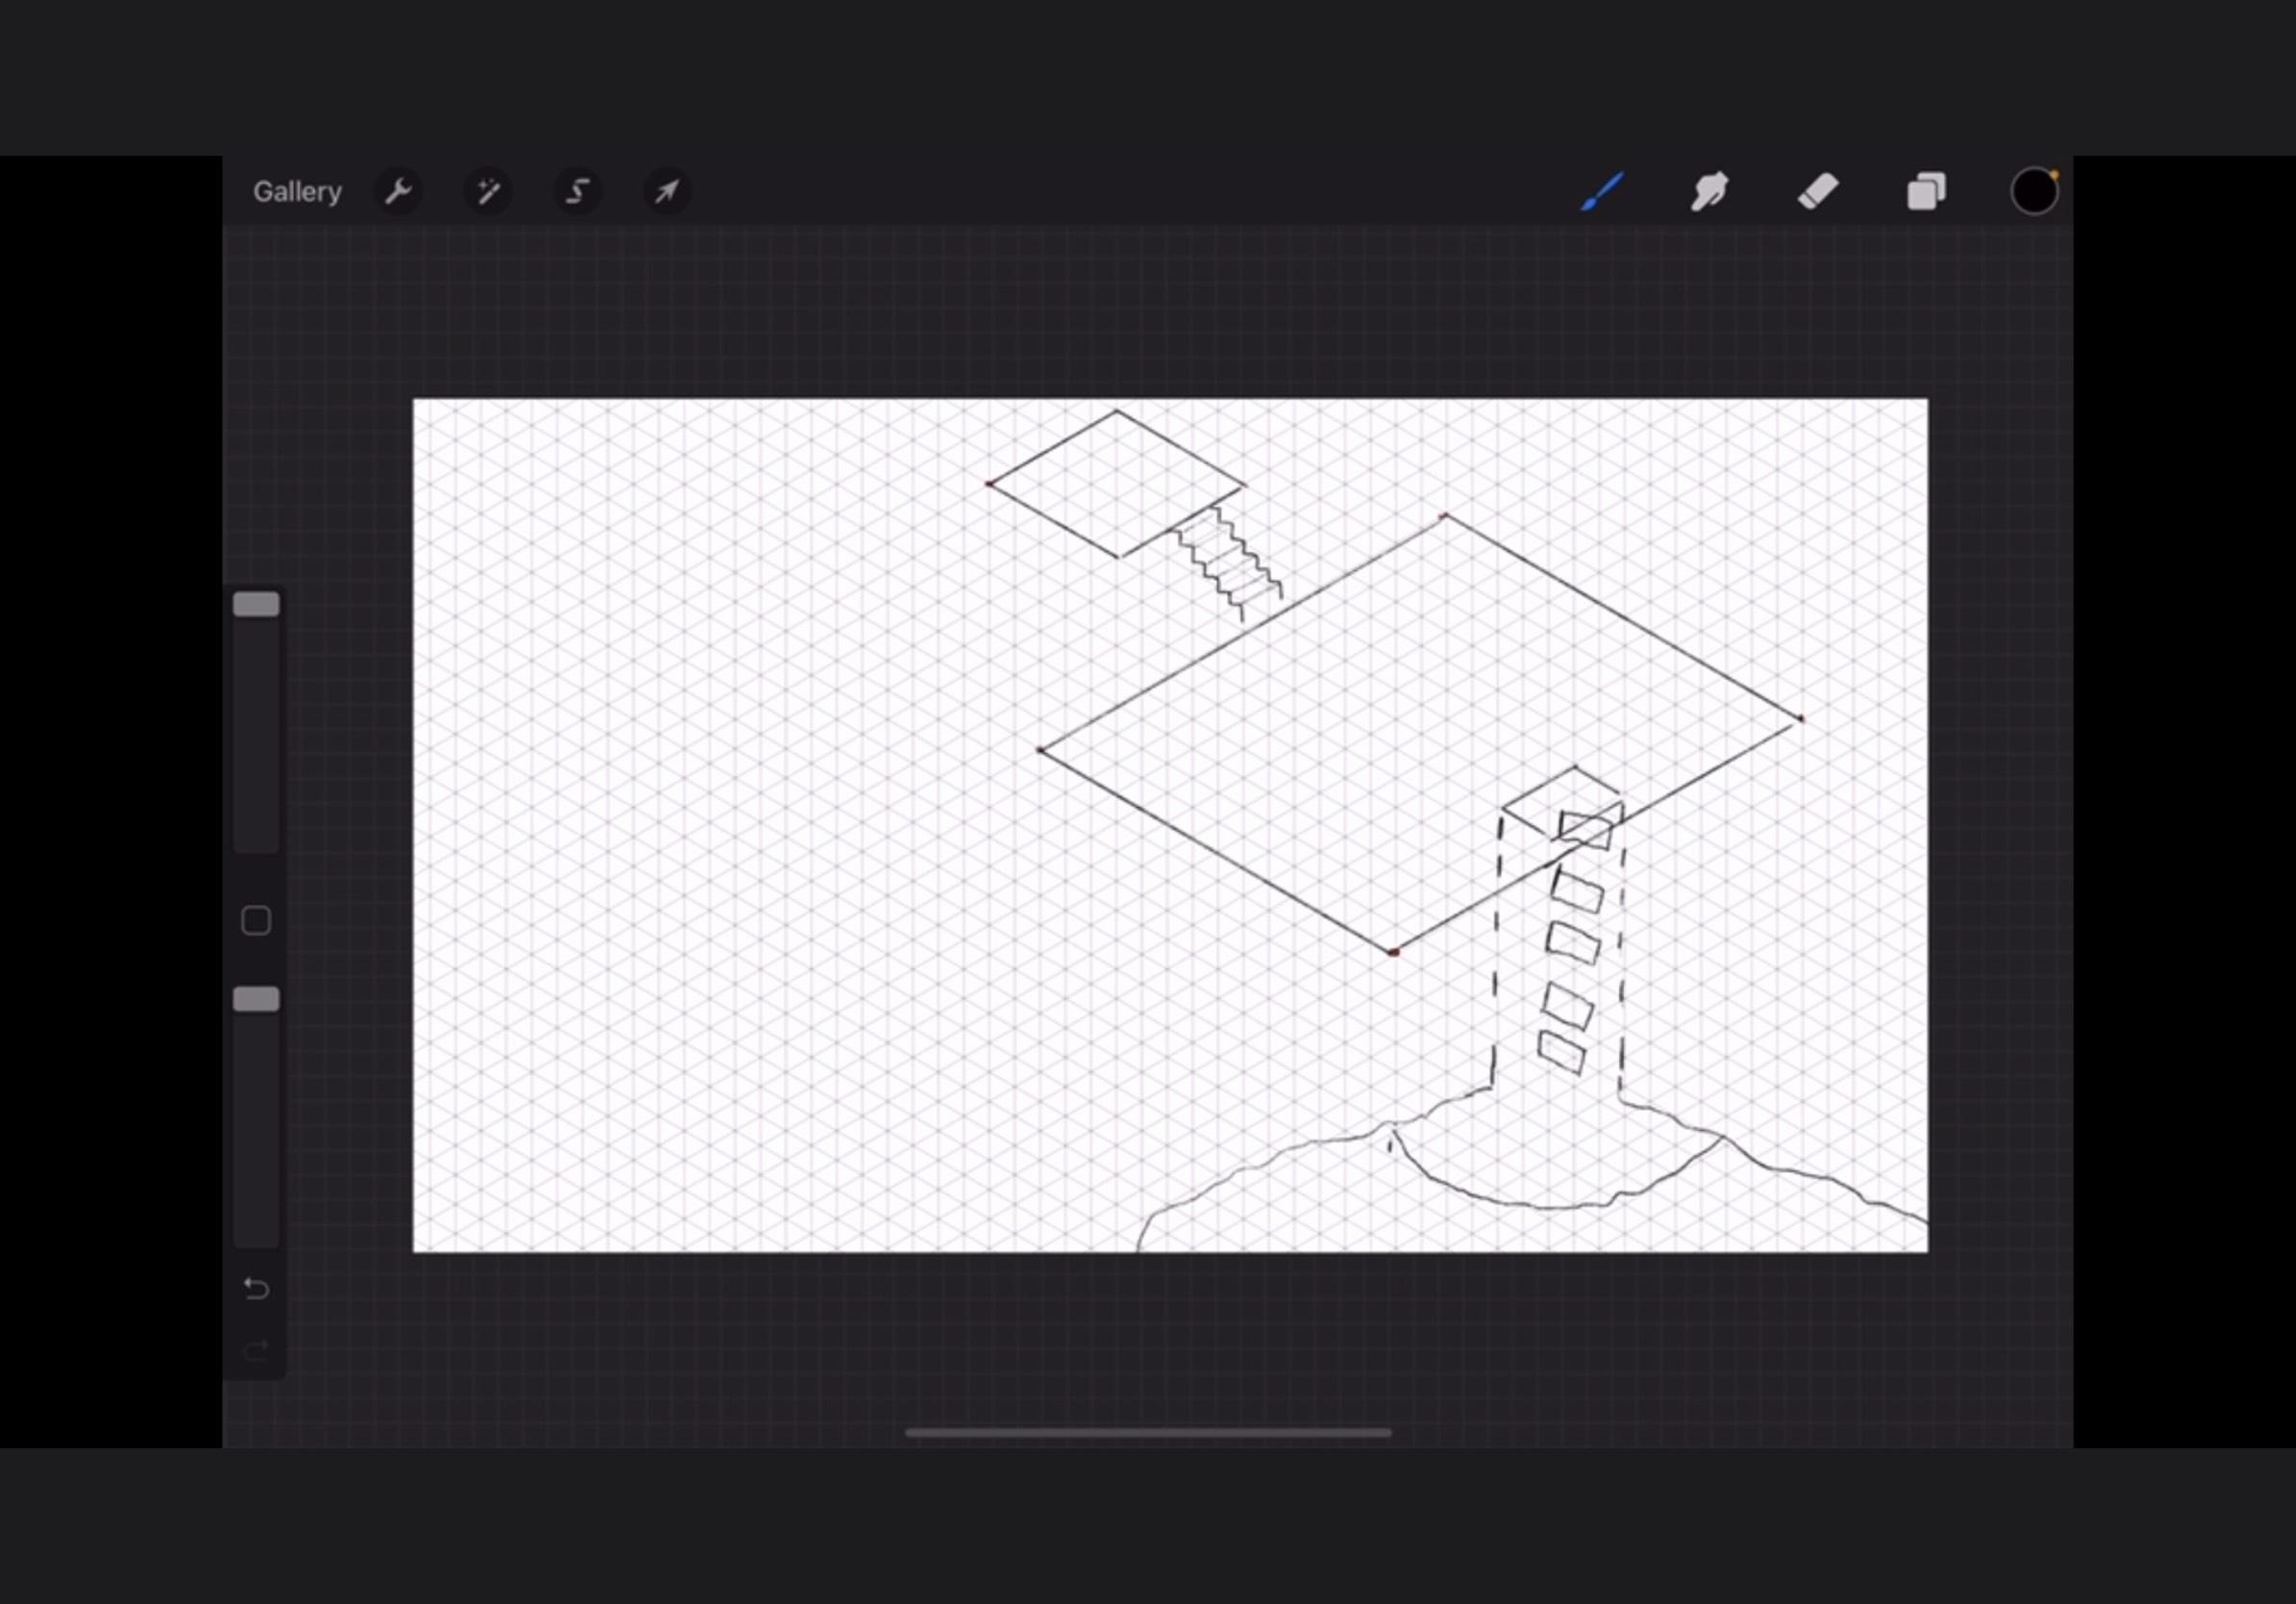

After your players' characters emerge from the shaft, they need something to step into. I drew a cavern, as big as I could make it with the limited space I had. I make it bigger later by enlarging the canvas, which you can do by hitting the wrench icon, 'canvas,' 'crop and resize,' and then just dragging it to the dimensions you want. I made it as big as I could on the bottom and sides because I tend to draw big.
I also drew a little ledge just to give the map a little change in elevation, so I drew a ledge. I think it doesn't make the map look so flat. To do this, you draw an uneven line around the shaft, leaving room for the PCs to stand. Then I drew small vertical lines down to indicate a little cliff of sorts. I add another line capping the lines off later.
Draw Branching Paths

Your dungeon would be pretty boring if it was only one room. So I drew paths to the left and right for the players to explore. To make another change in elevation, I drew rough stairs on the left one suggested by broken lines going across them. I wanted to give the impression that someone had taken a chisel and just barely made stairs.
Make More Caverns
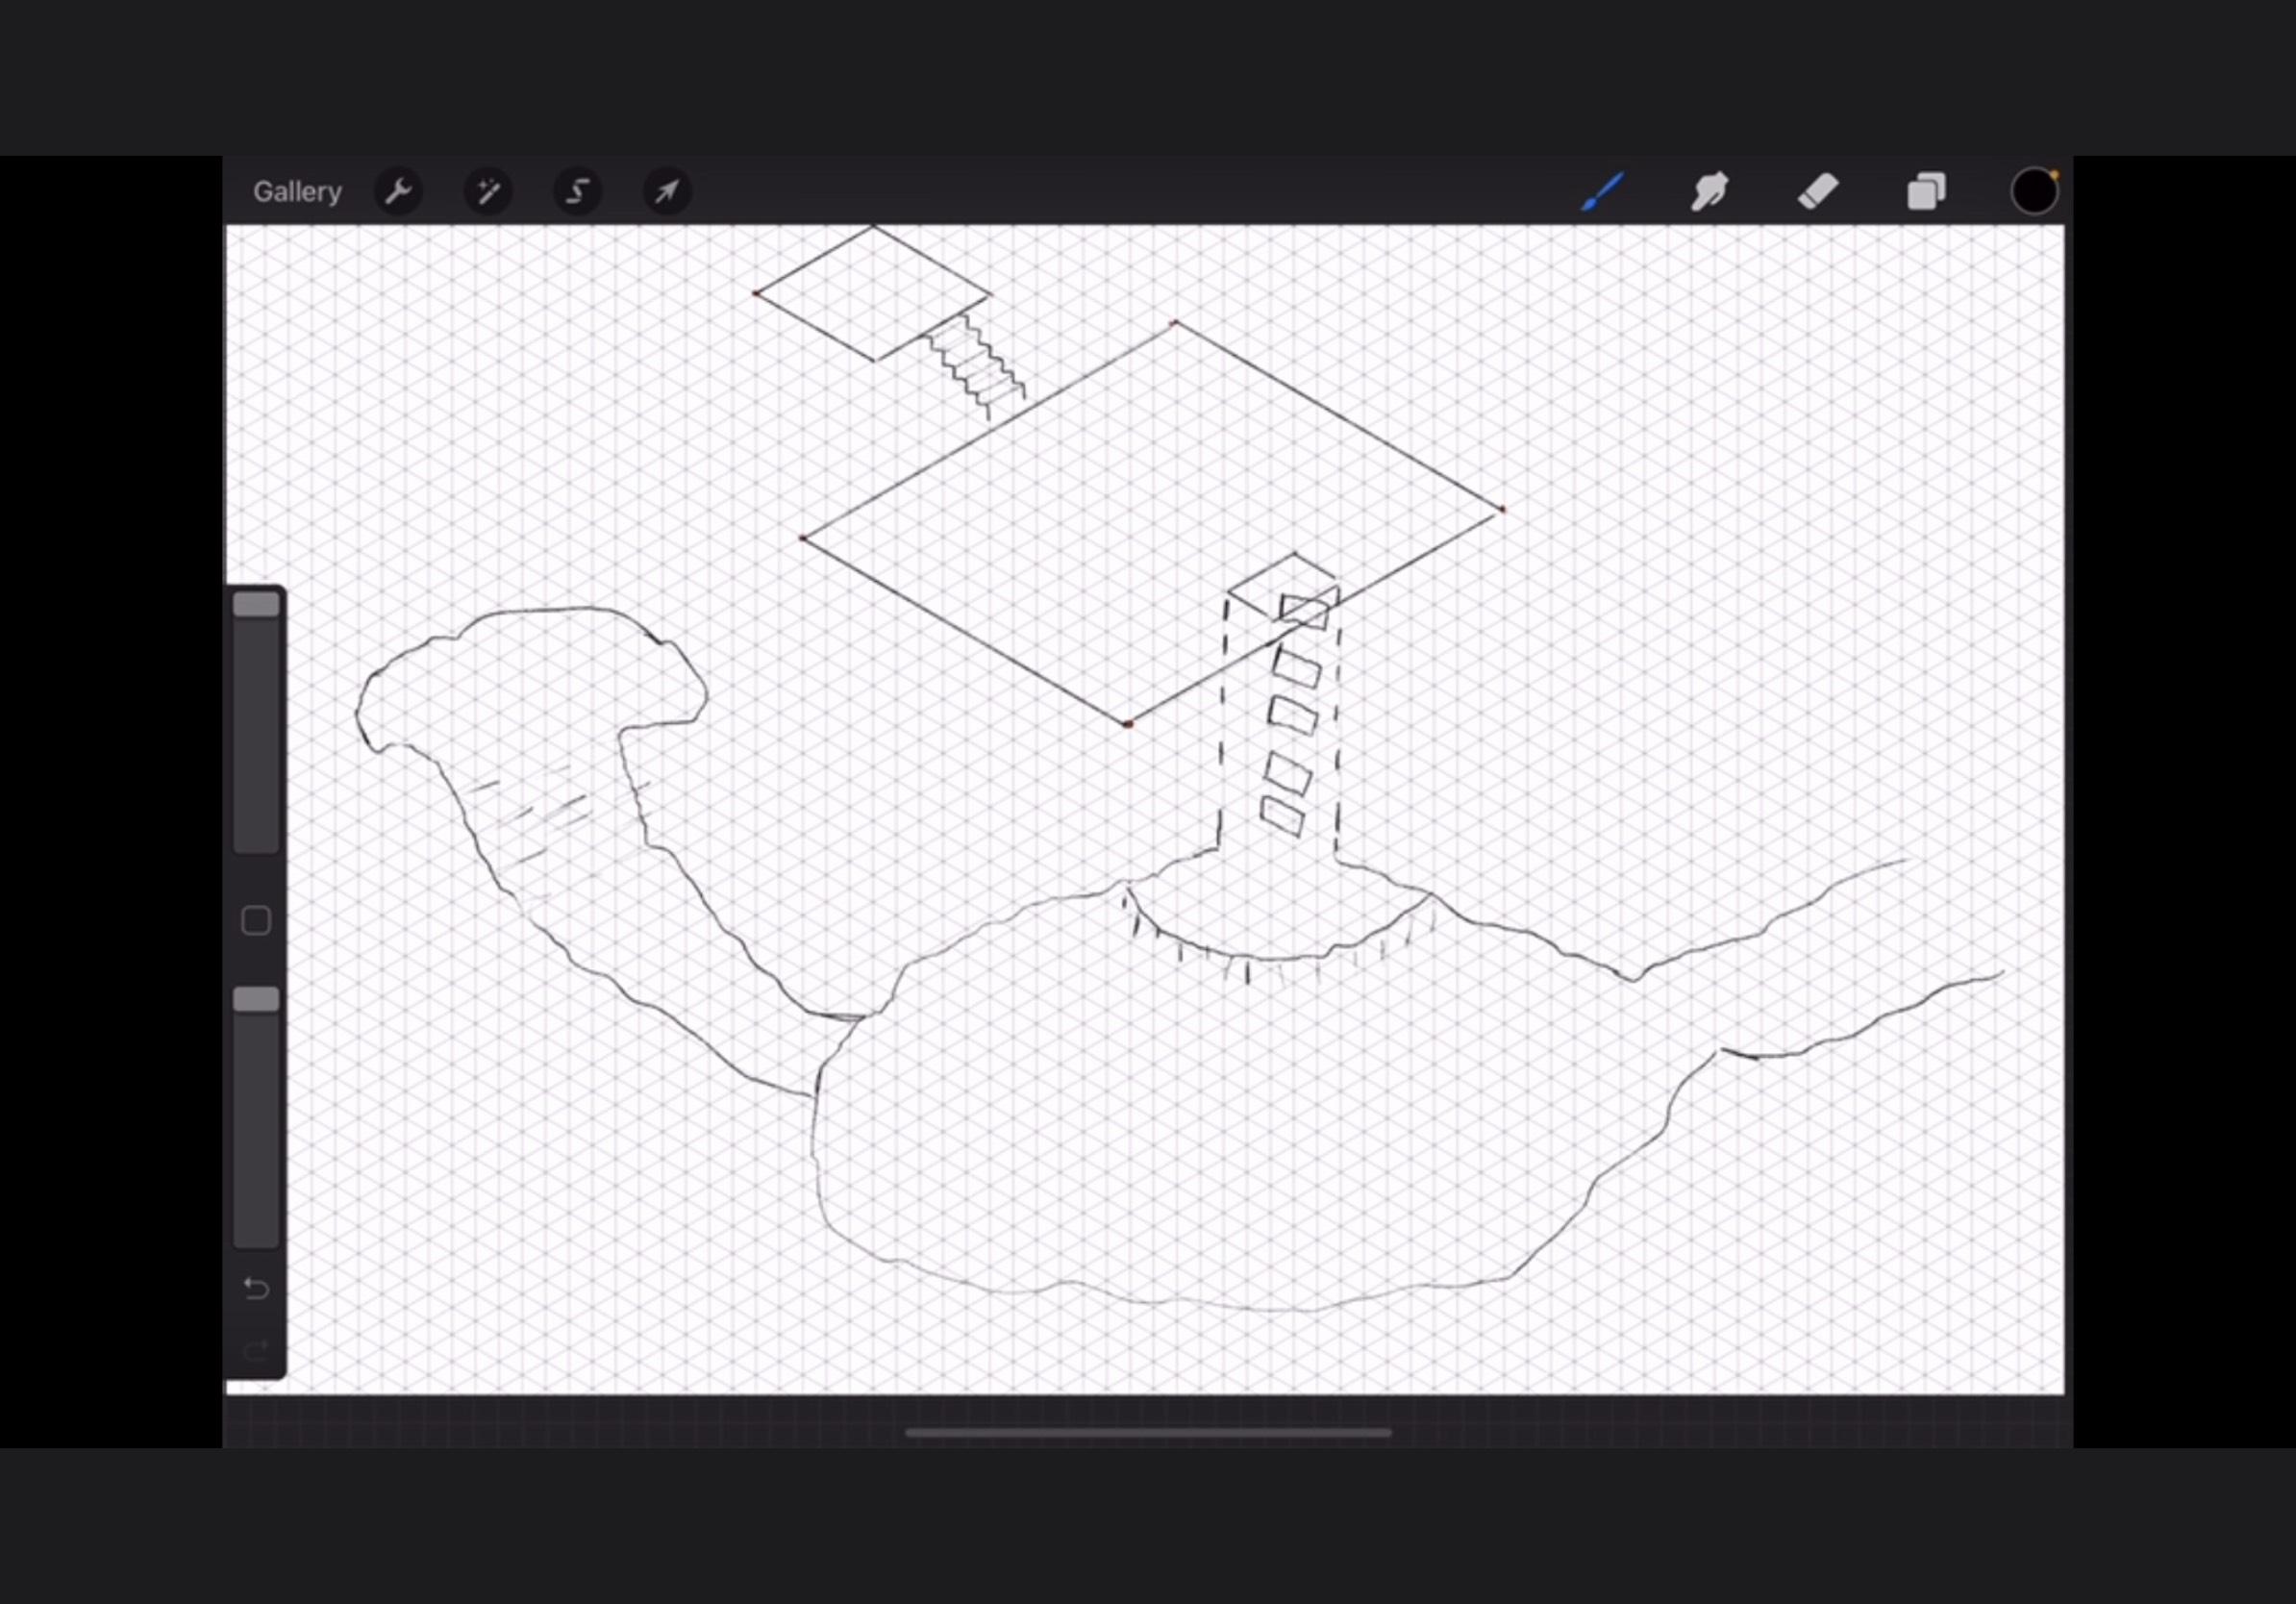

I decided to make my dungeon pretty big so I added a bunch of caverns. You could add less or more as you need them. I also made two of the paths connect to the same cavern so that I could put something important in that cavern.
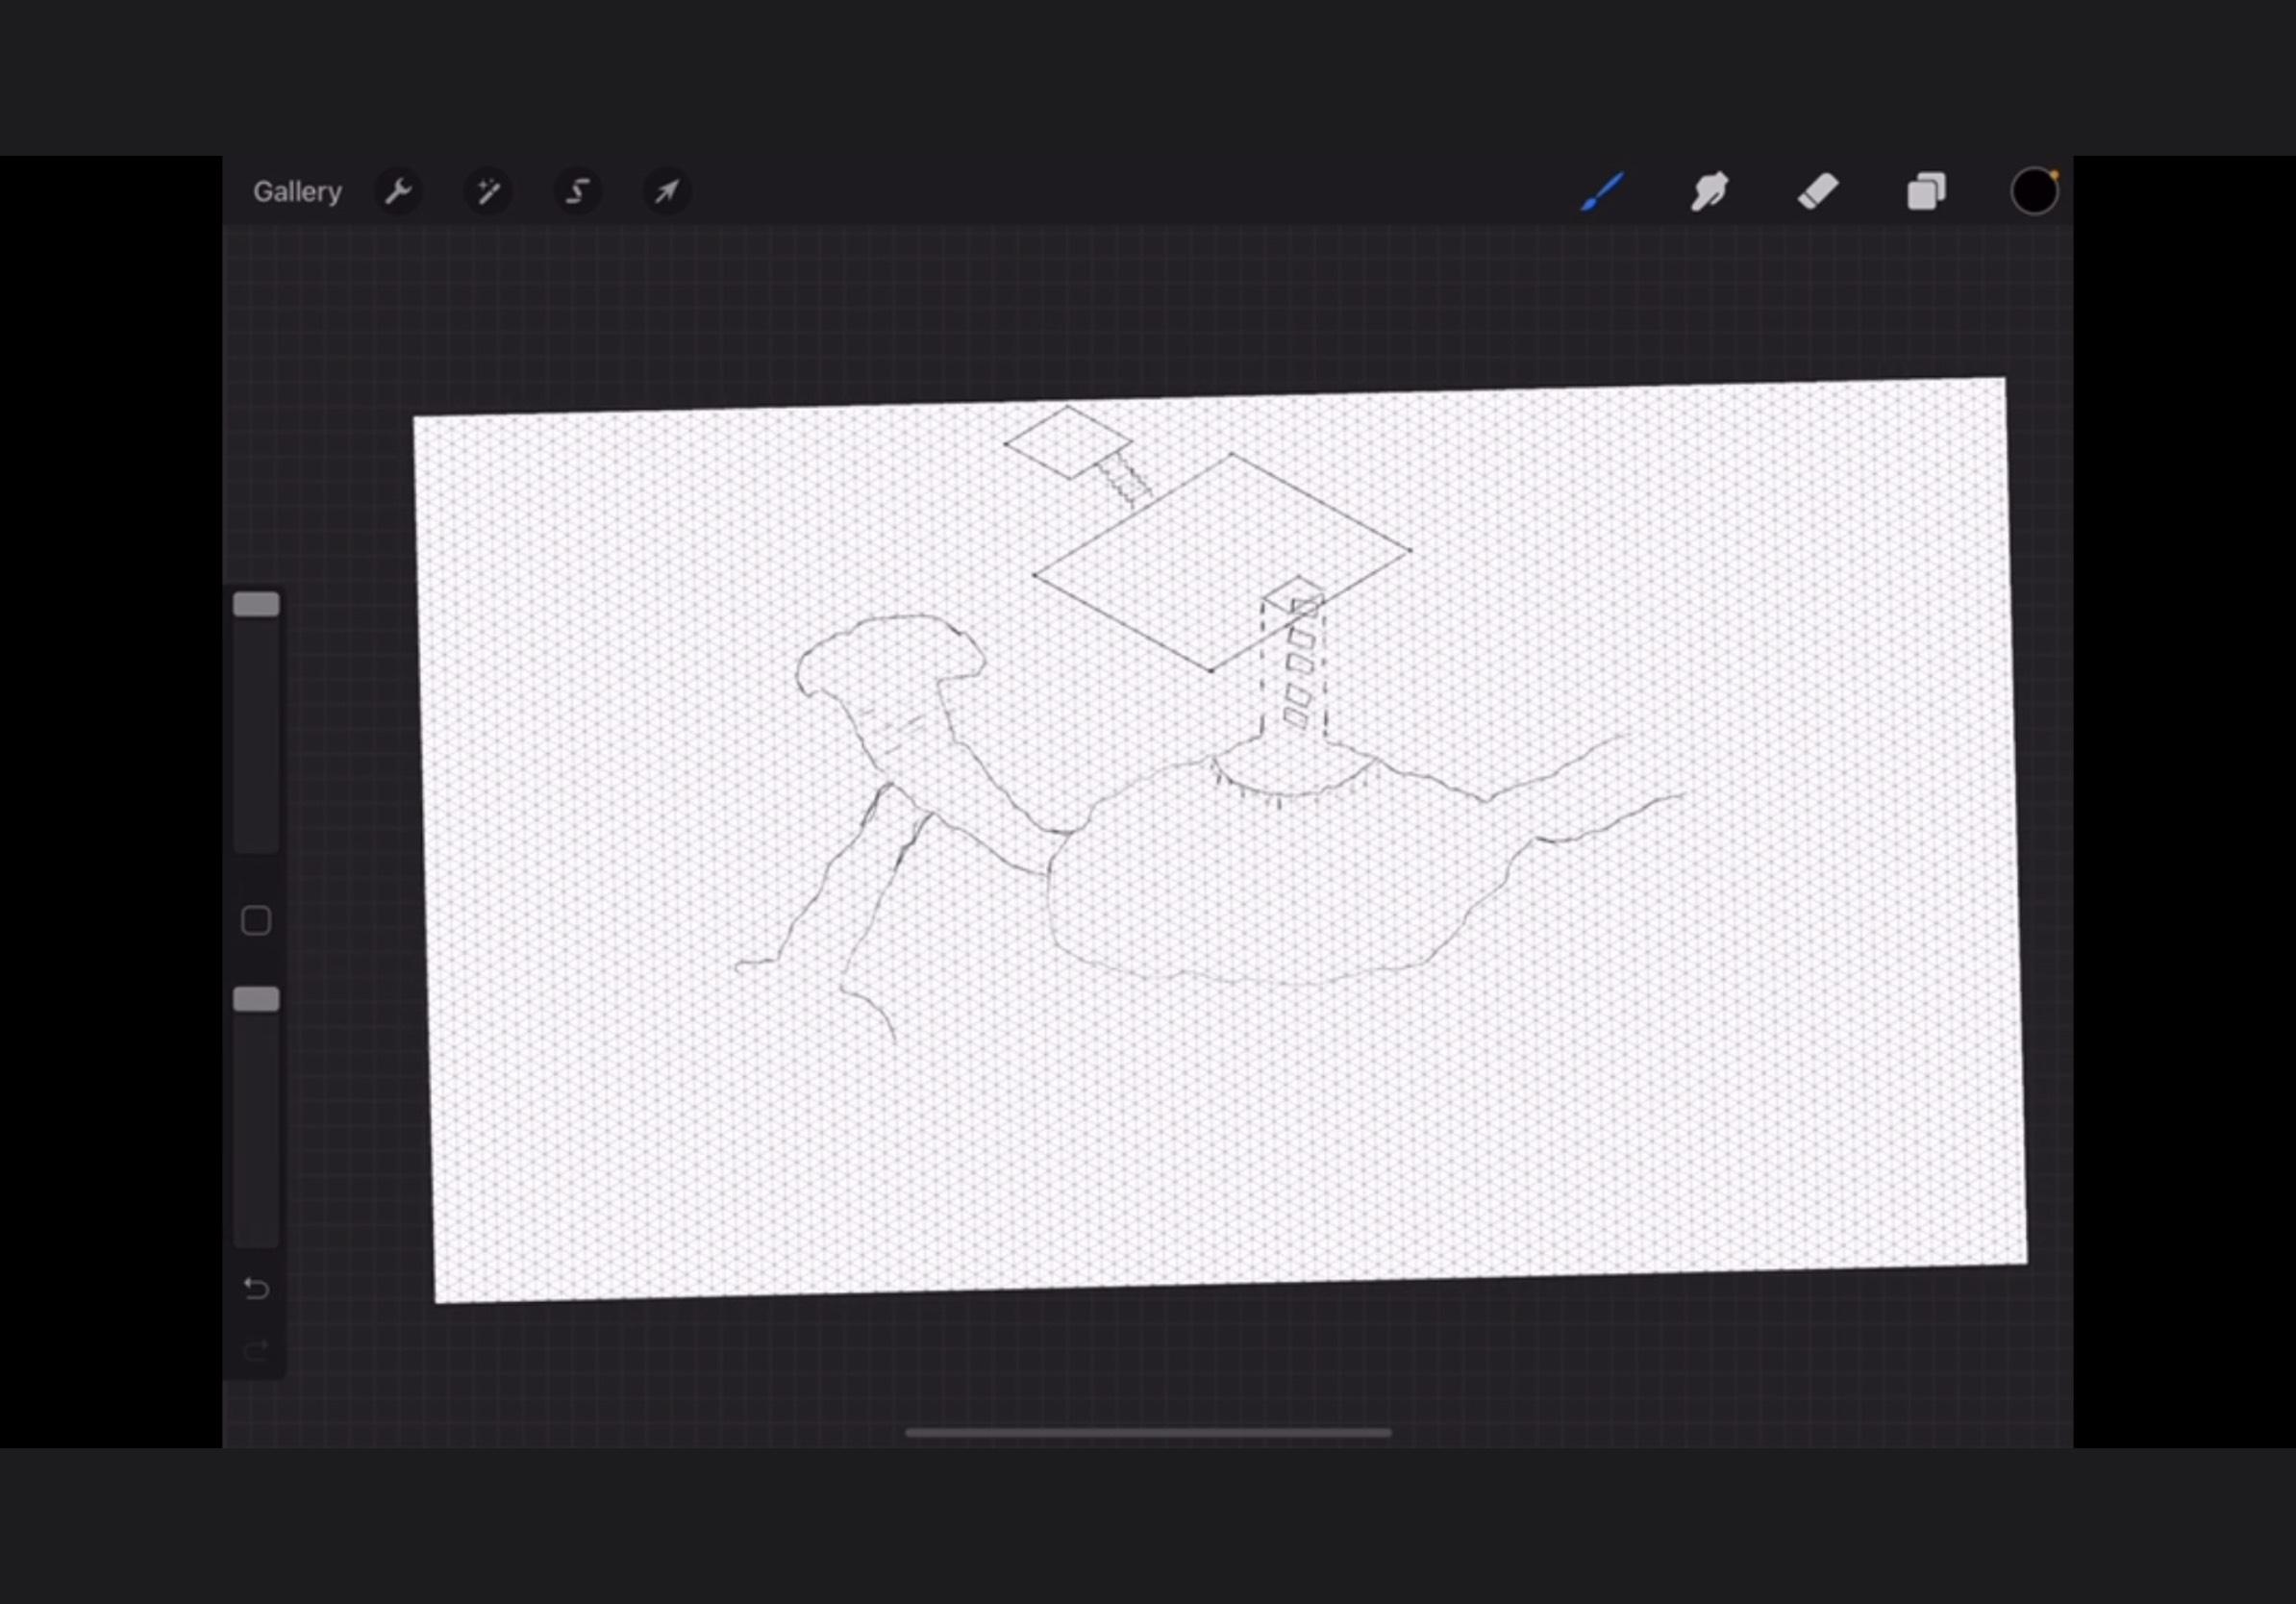
Ta-da!
You're done drawing your dungeon. I also put a wide branching path off to the left that I imagine goes outside so they could discover the dungeon that way if they want. I plan on making more 'set dressing' with items added in the dungeon, and I can make a tutorial of that if y'all want. Just know that this is my first dungeon and I just drew inspiration from various videos on YouTube.