How to Draw a Tiger Banner
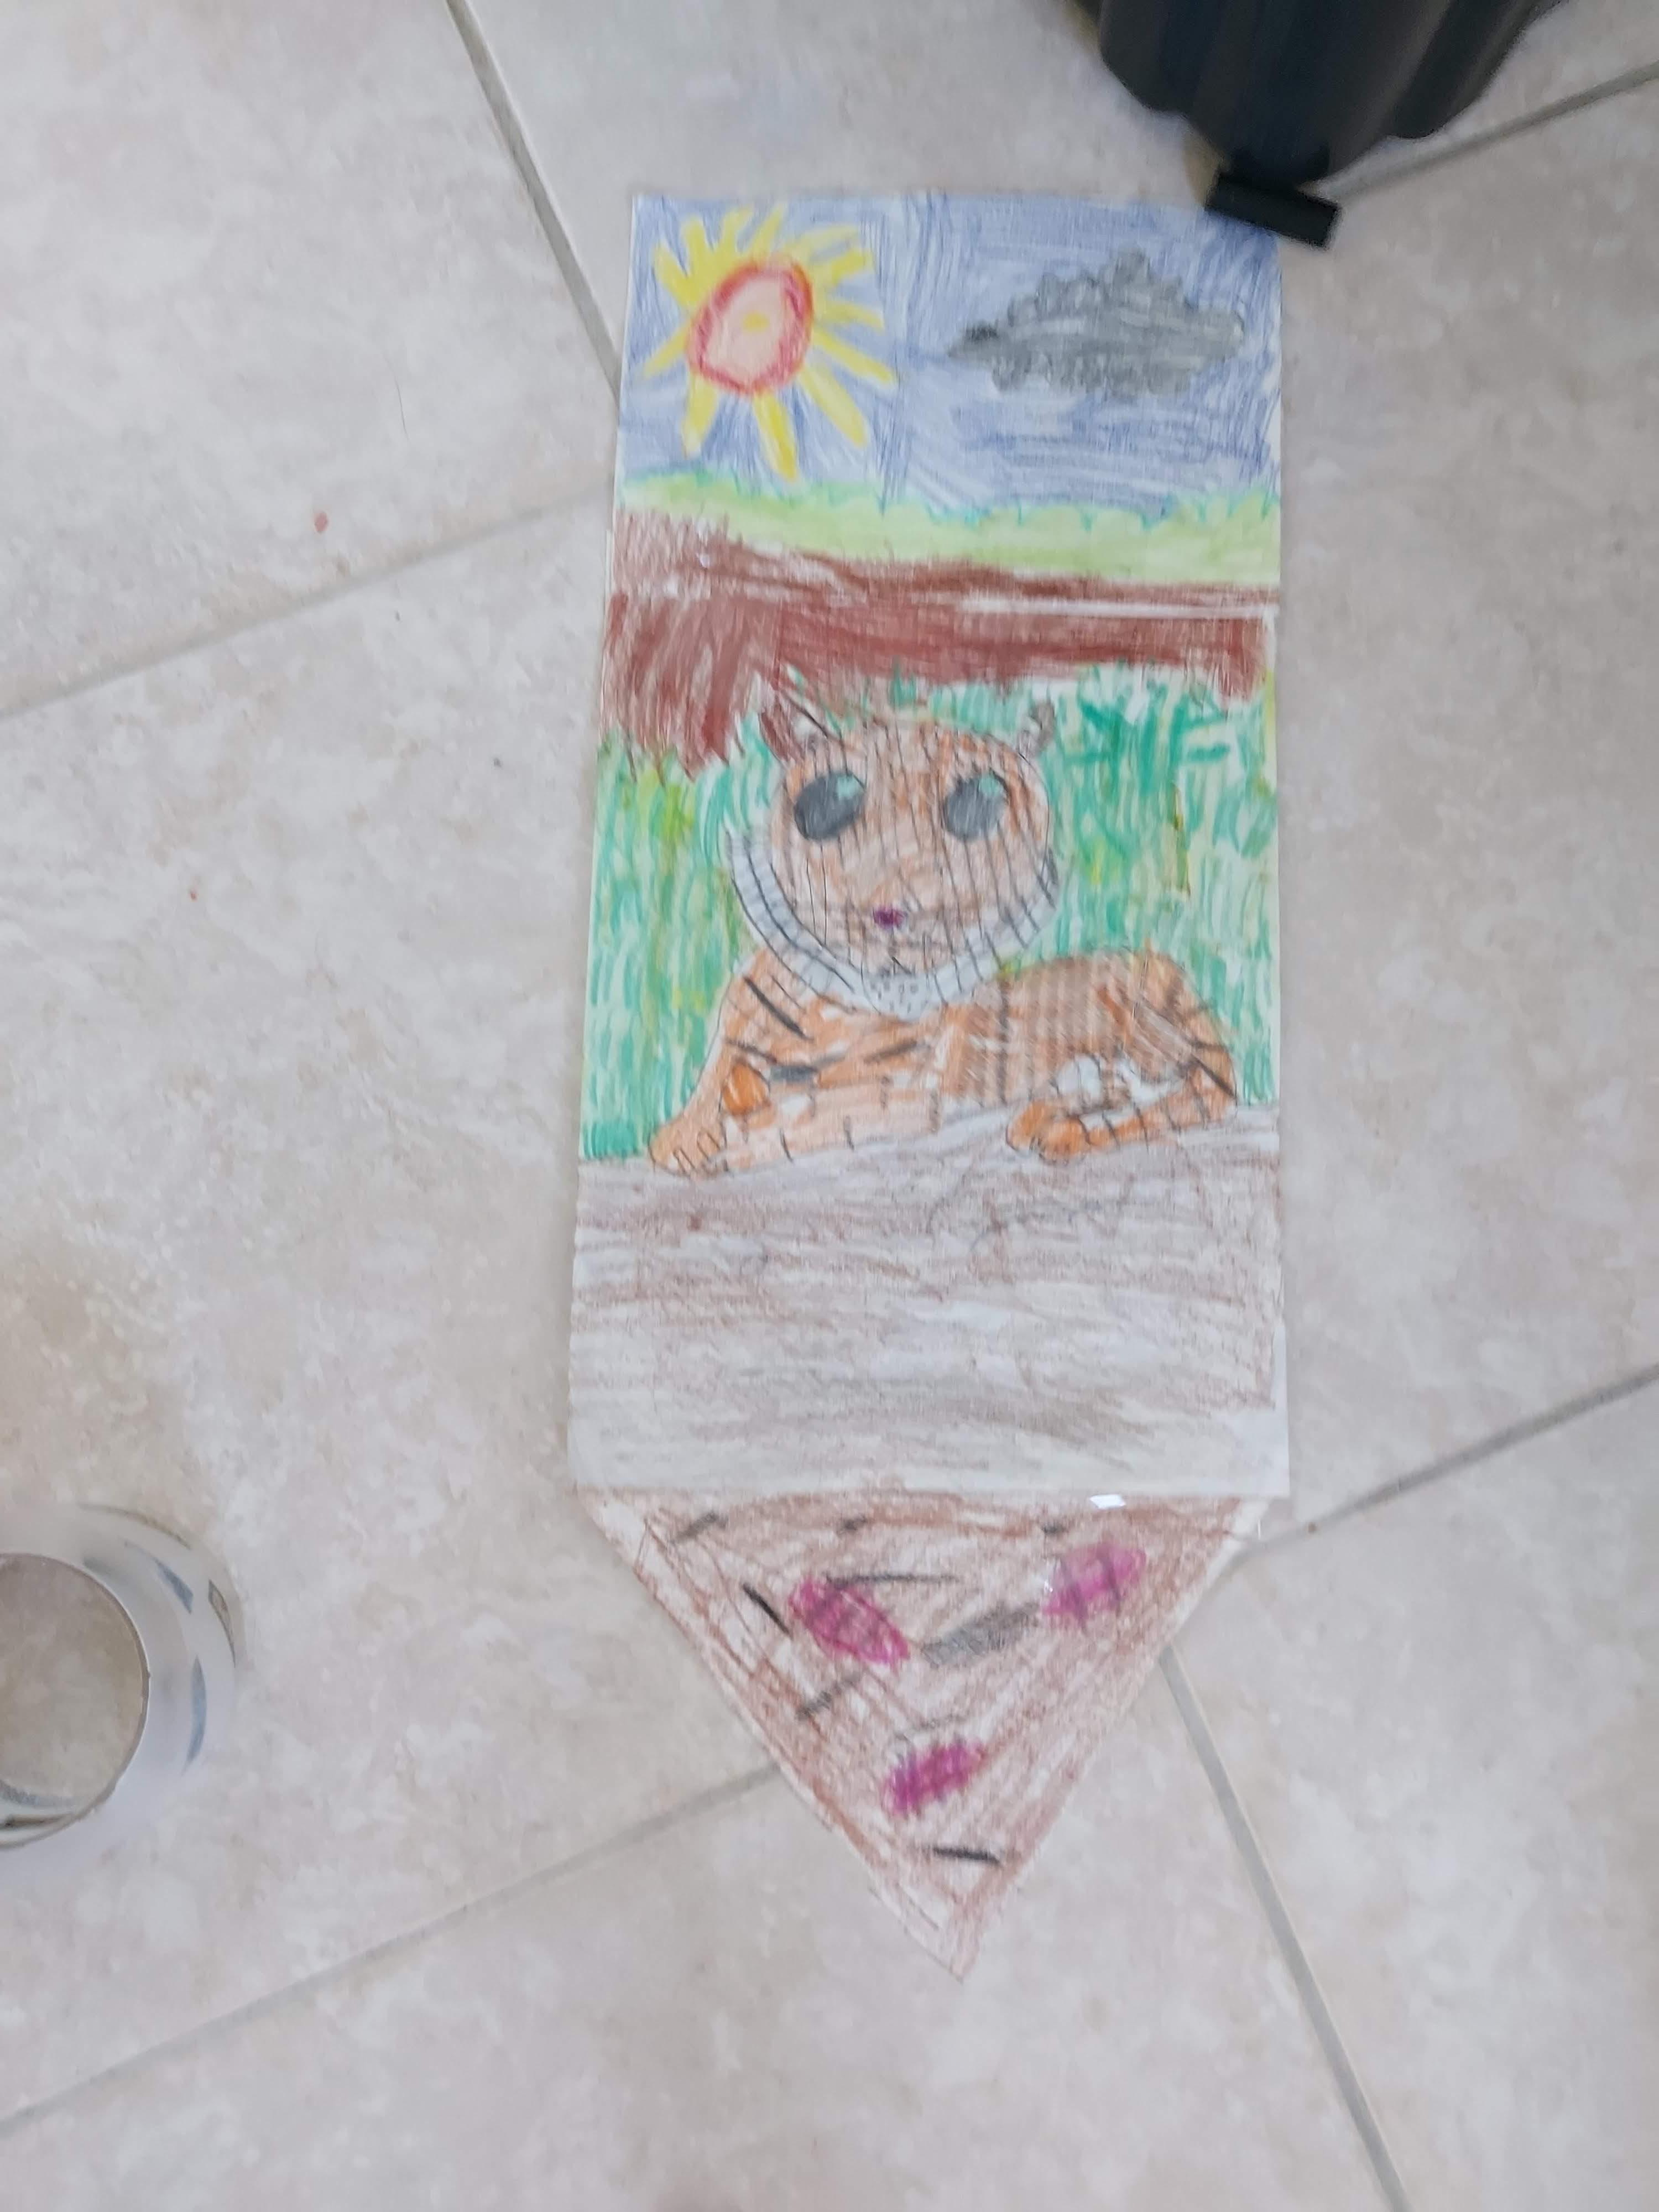
For this project we'll be drawing a tiger. To make our drawing unique we'll combine several pictures to set the scene; this will include a image of the tiger itself, dirt beneath it, and a sky above it. You can select a different subject to personalize this project. For example you could create a dolphin set in the ocean or a bird flying through the sky.
Supplies
The following supplies will be needed to recreate this project:
- 3 pieces of paper
- Crayons of various colors
- Scissors for cutting the paper
- Tape for mounting and connecting pieces
- Good energy to work through problems
Draw Tiger Face 🐯
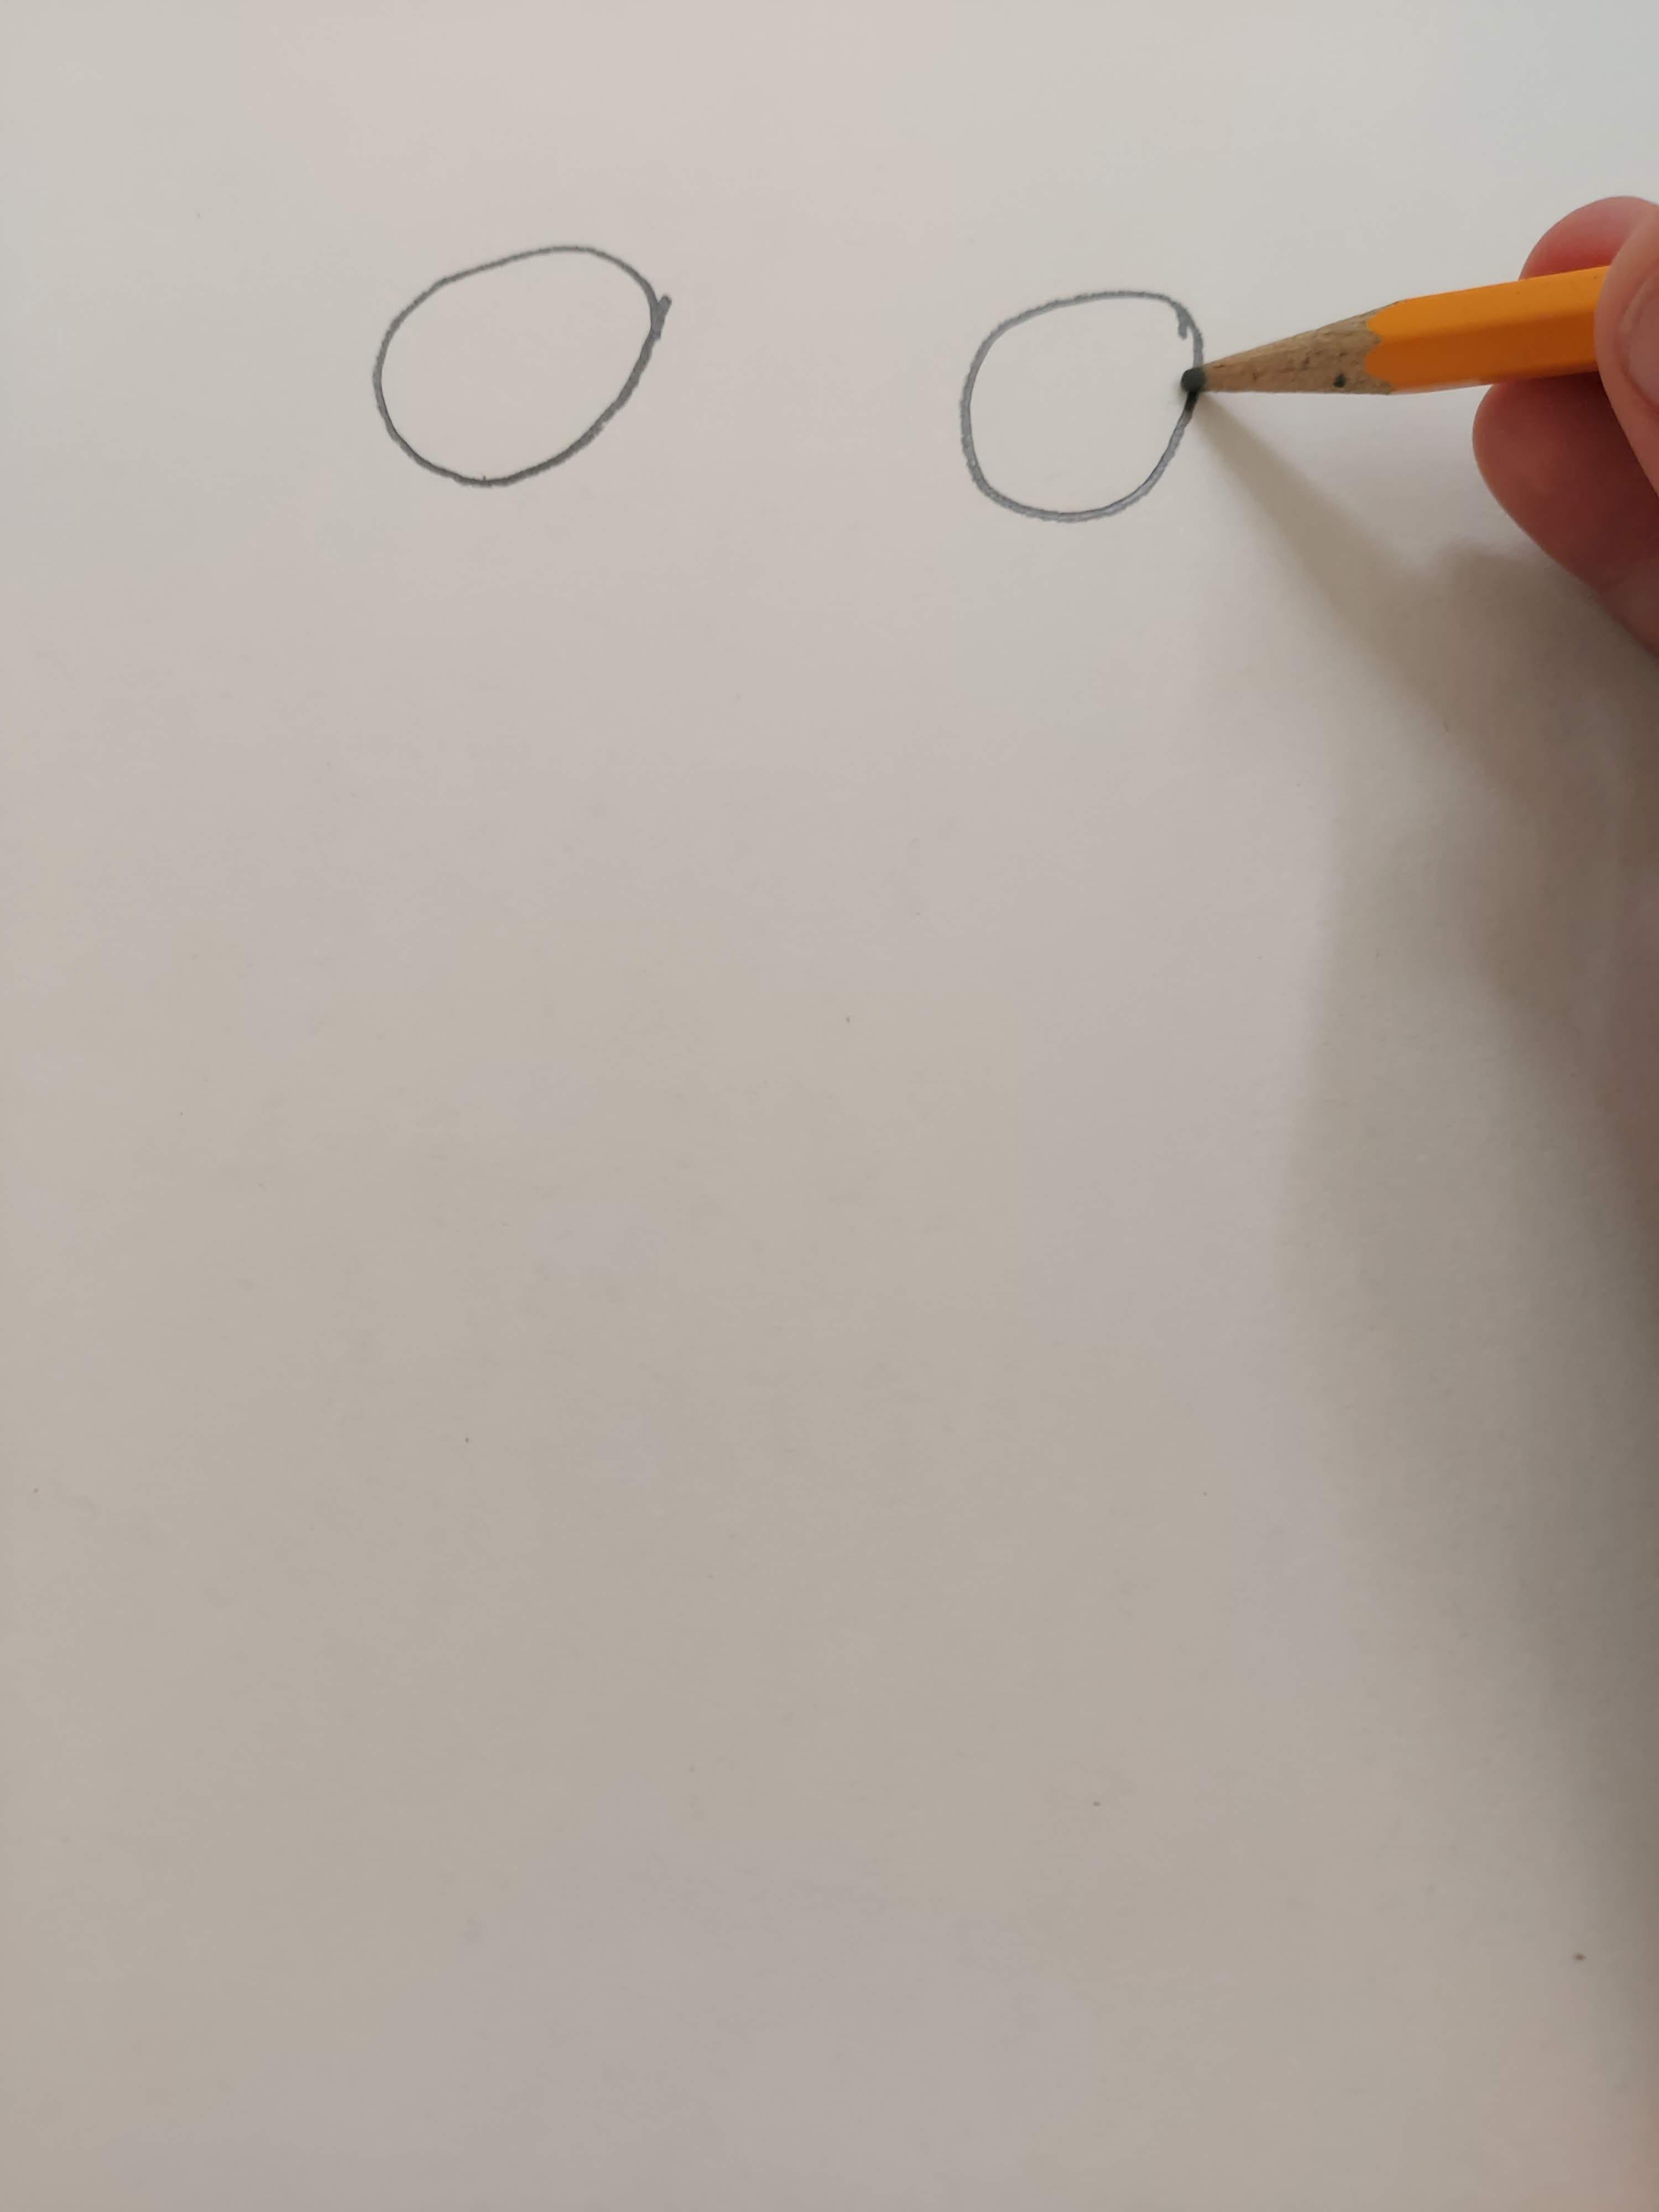
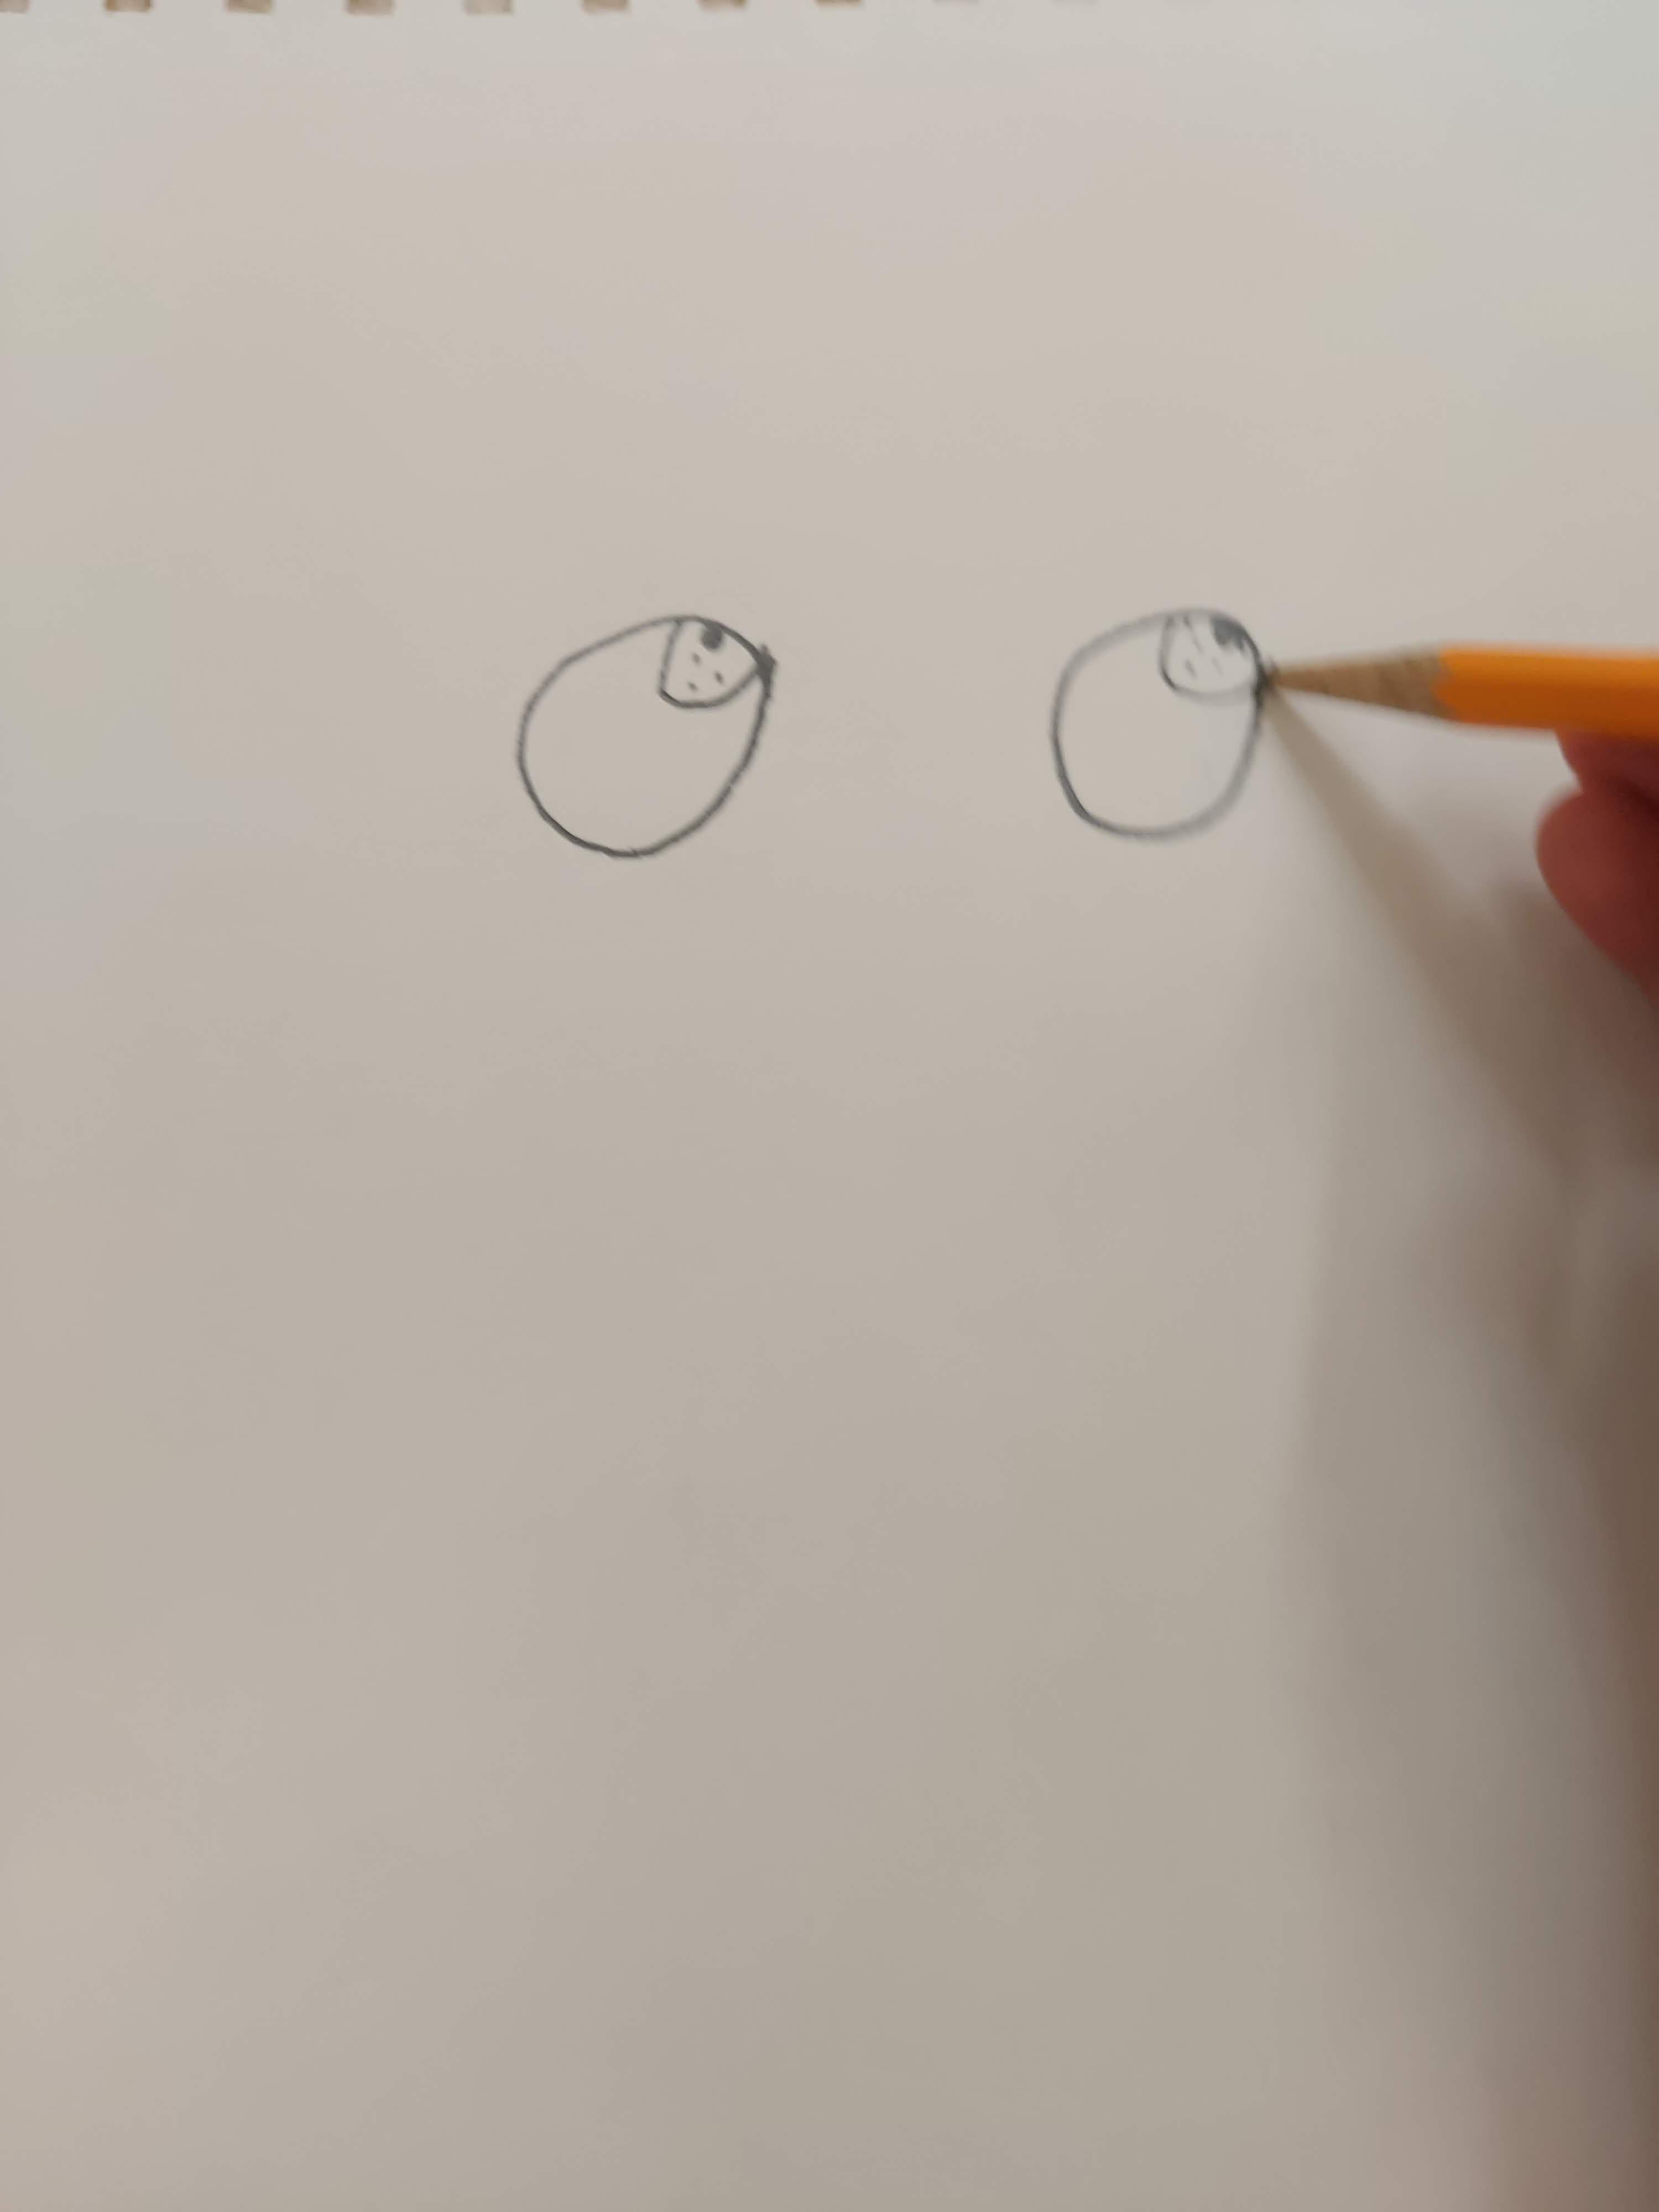
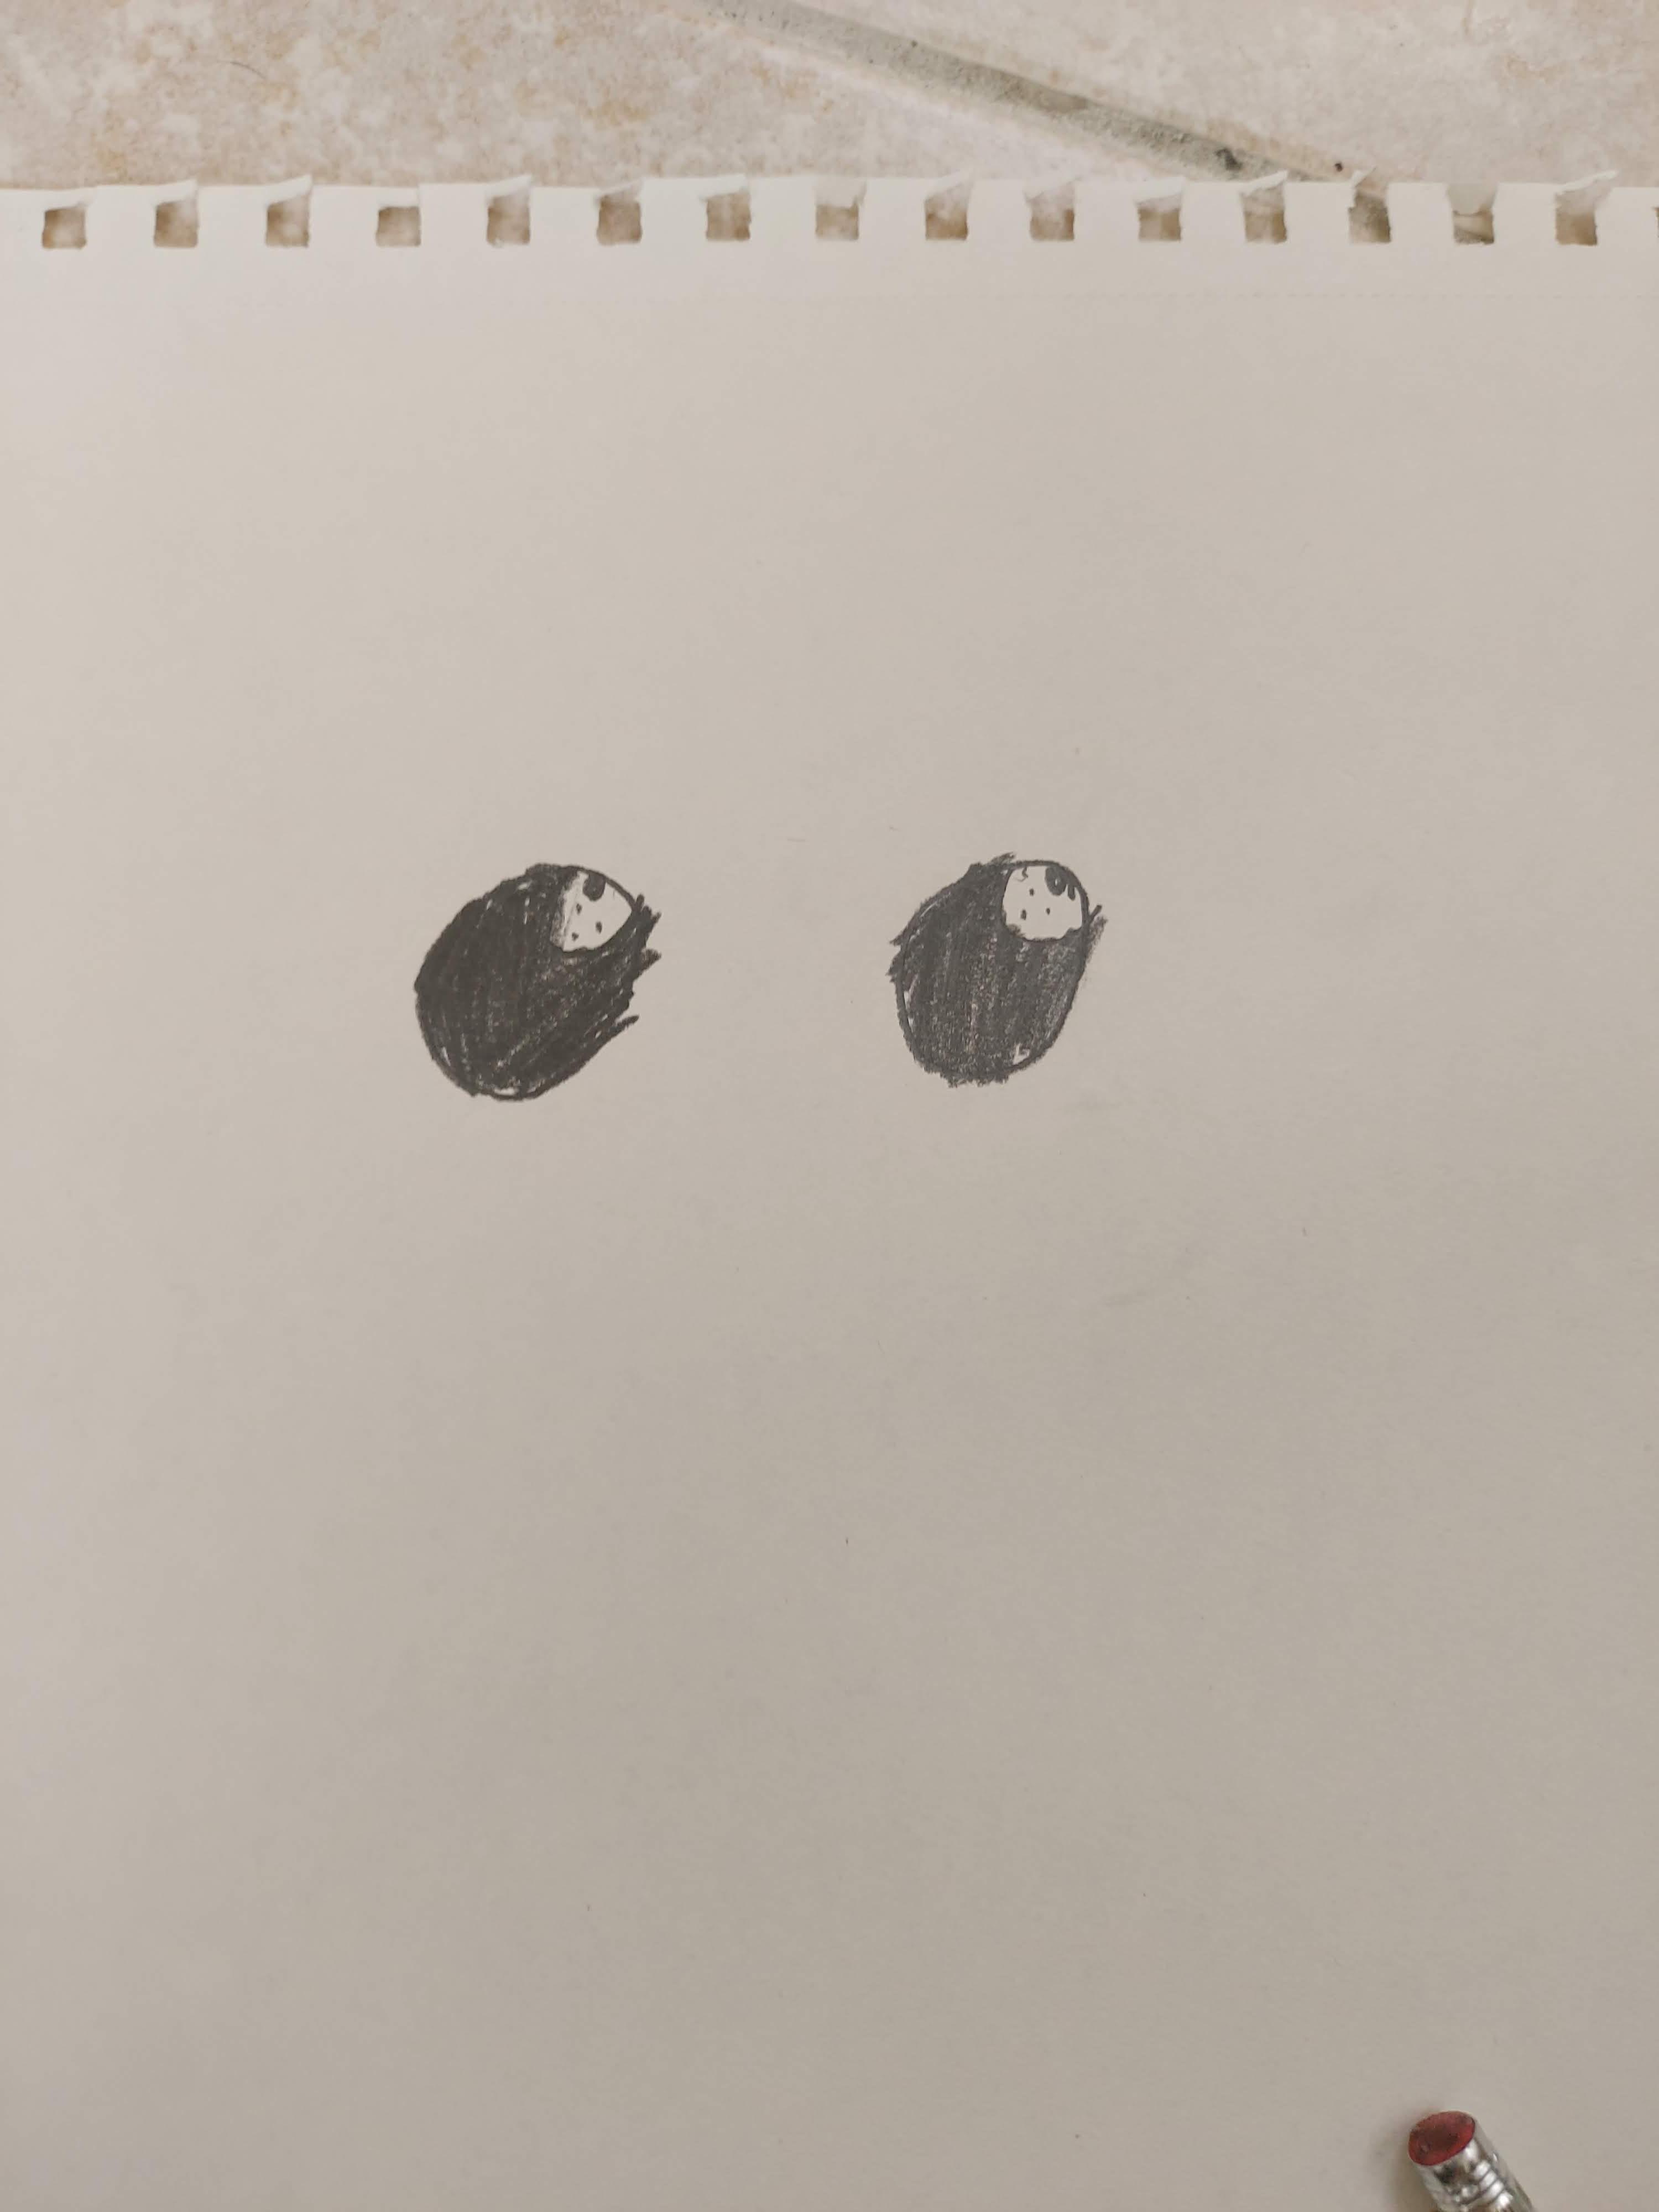
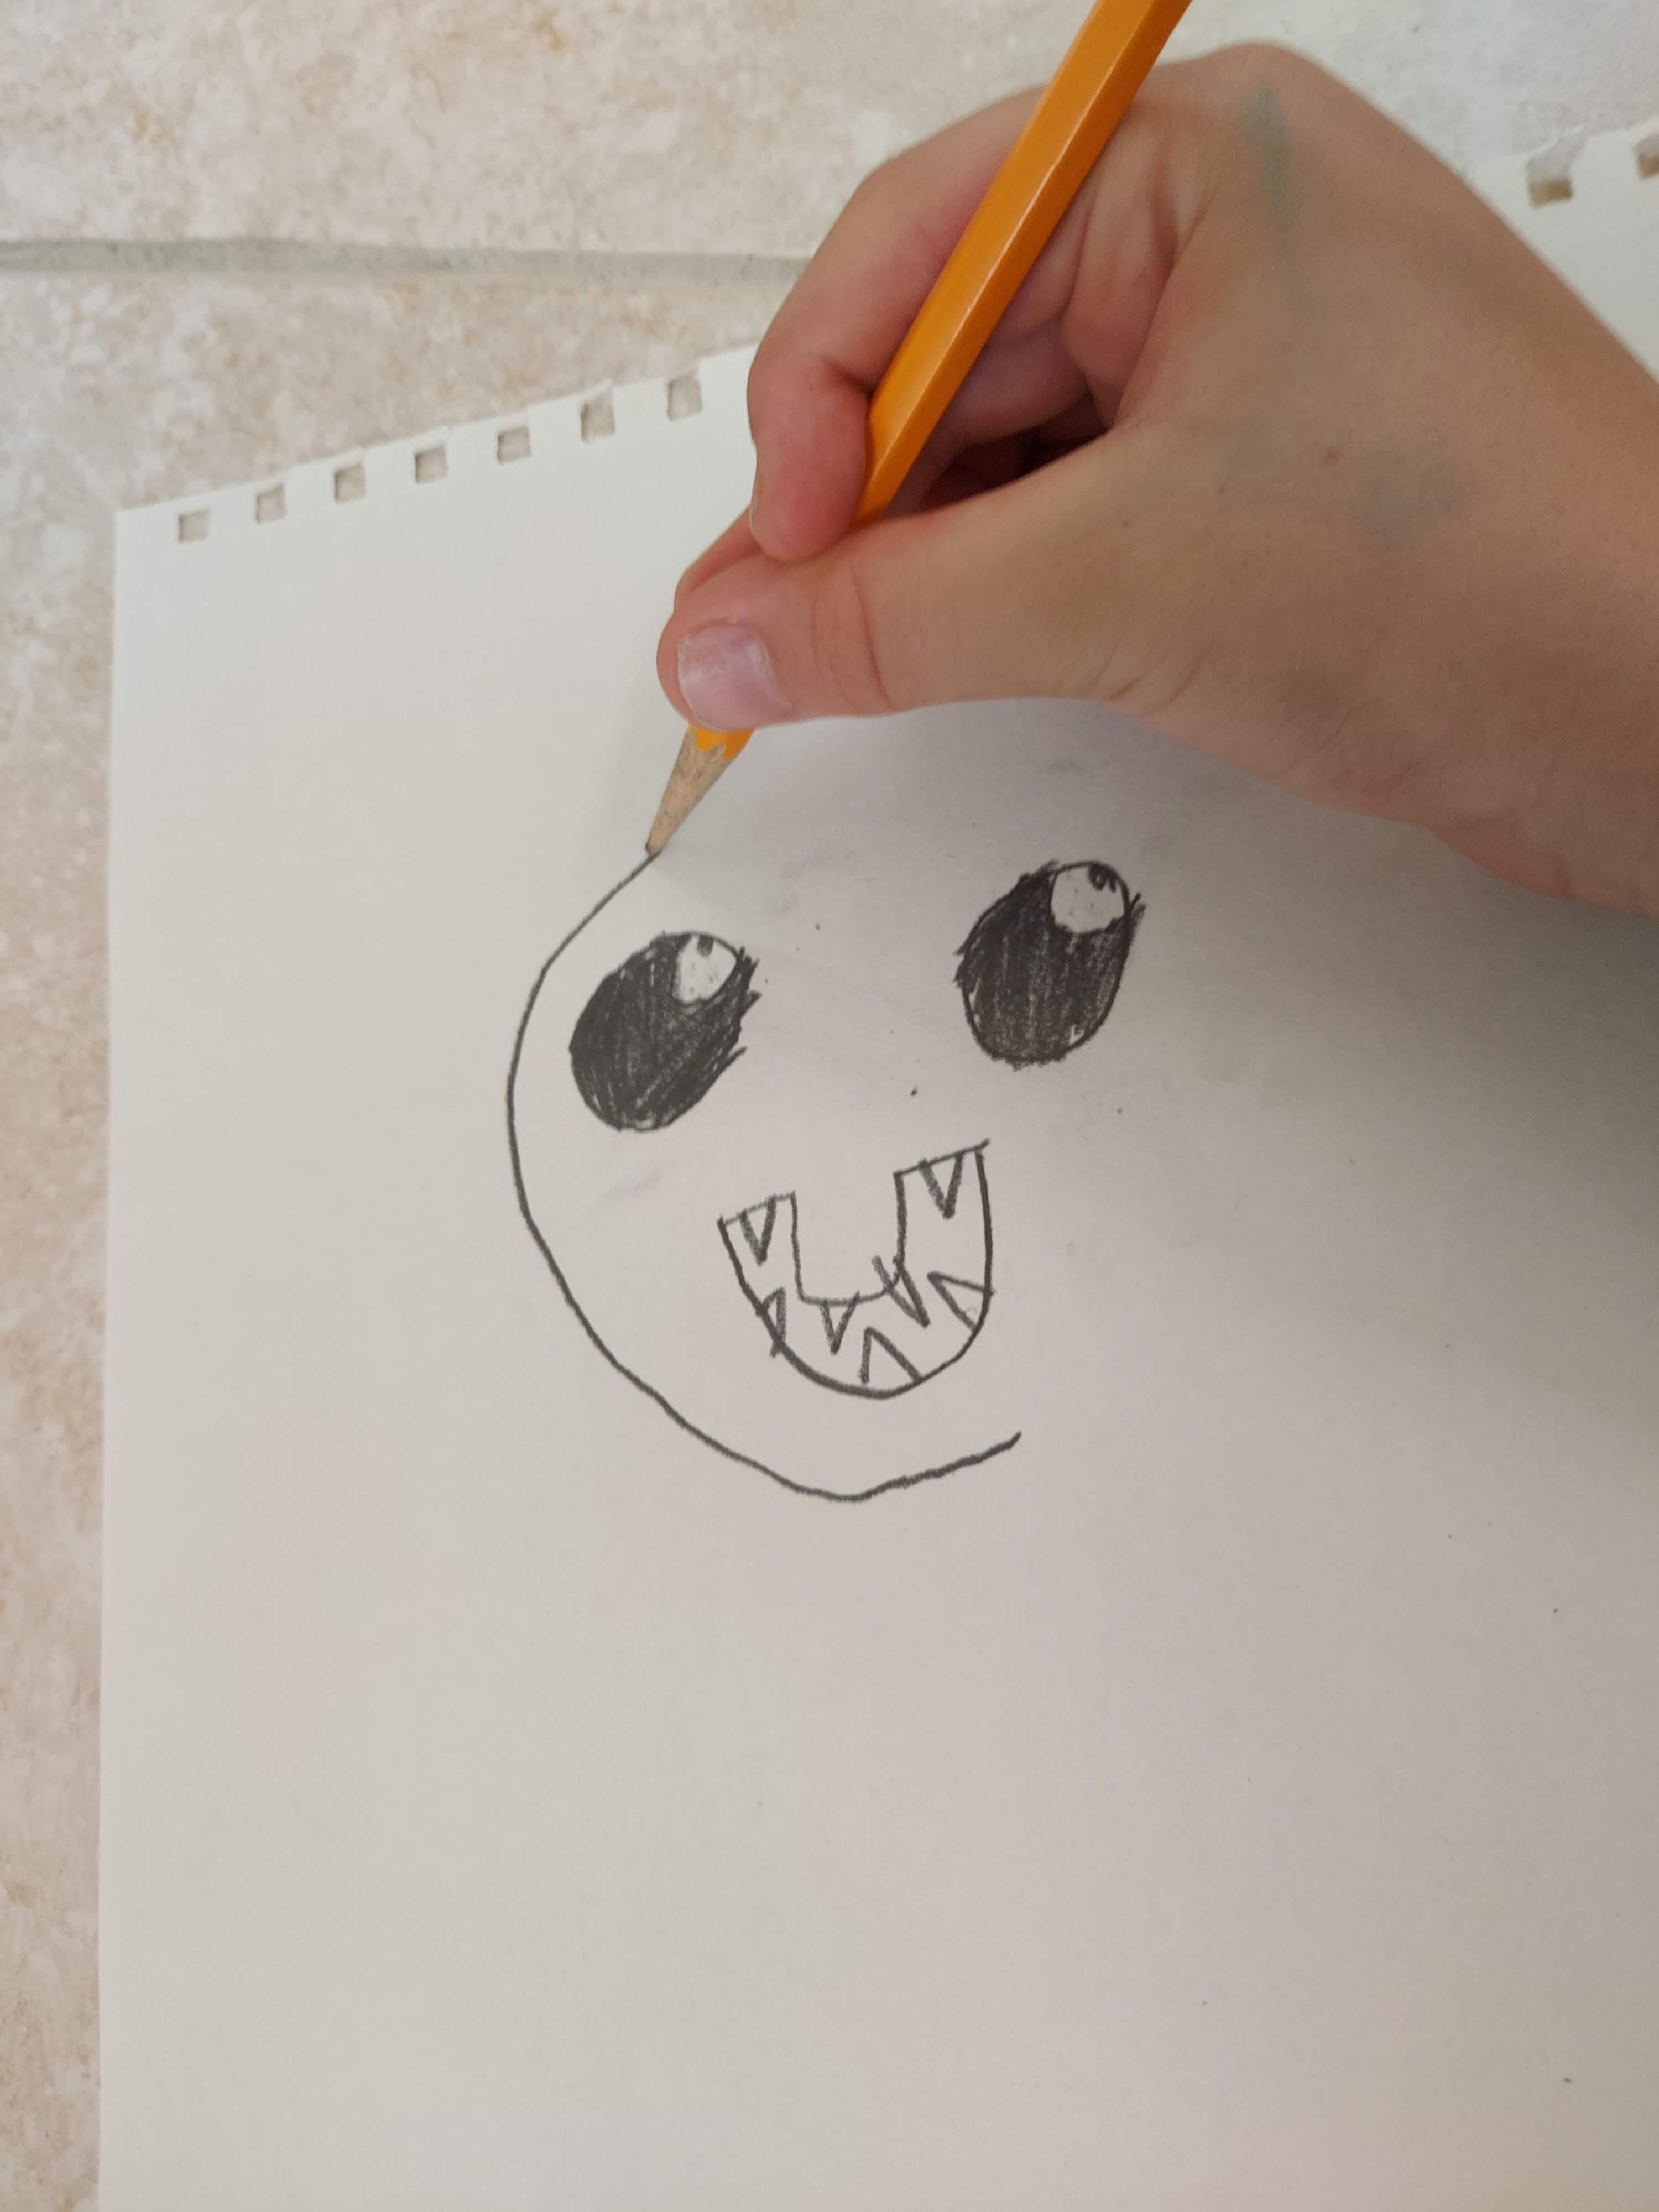
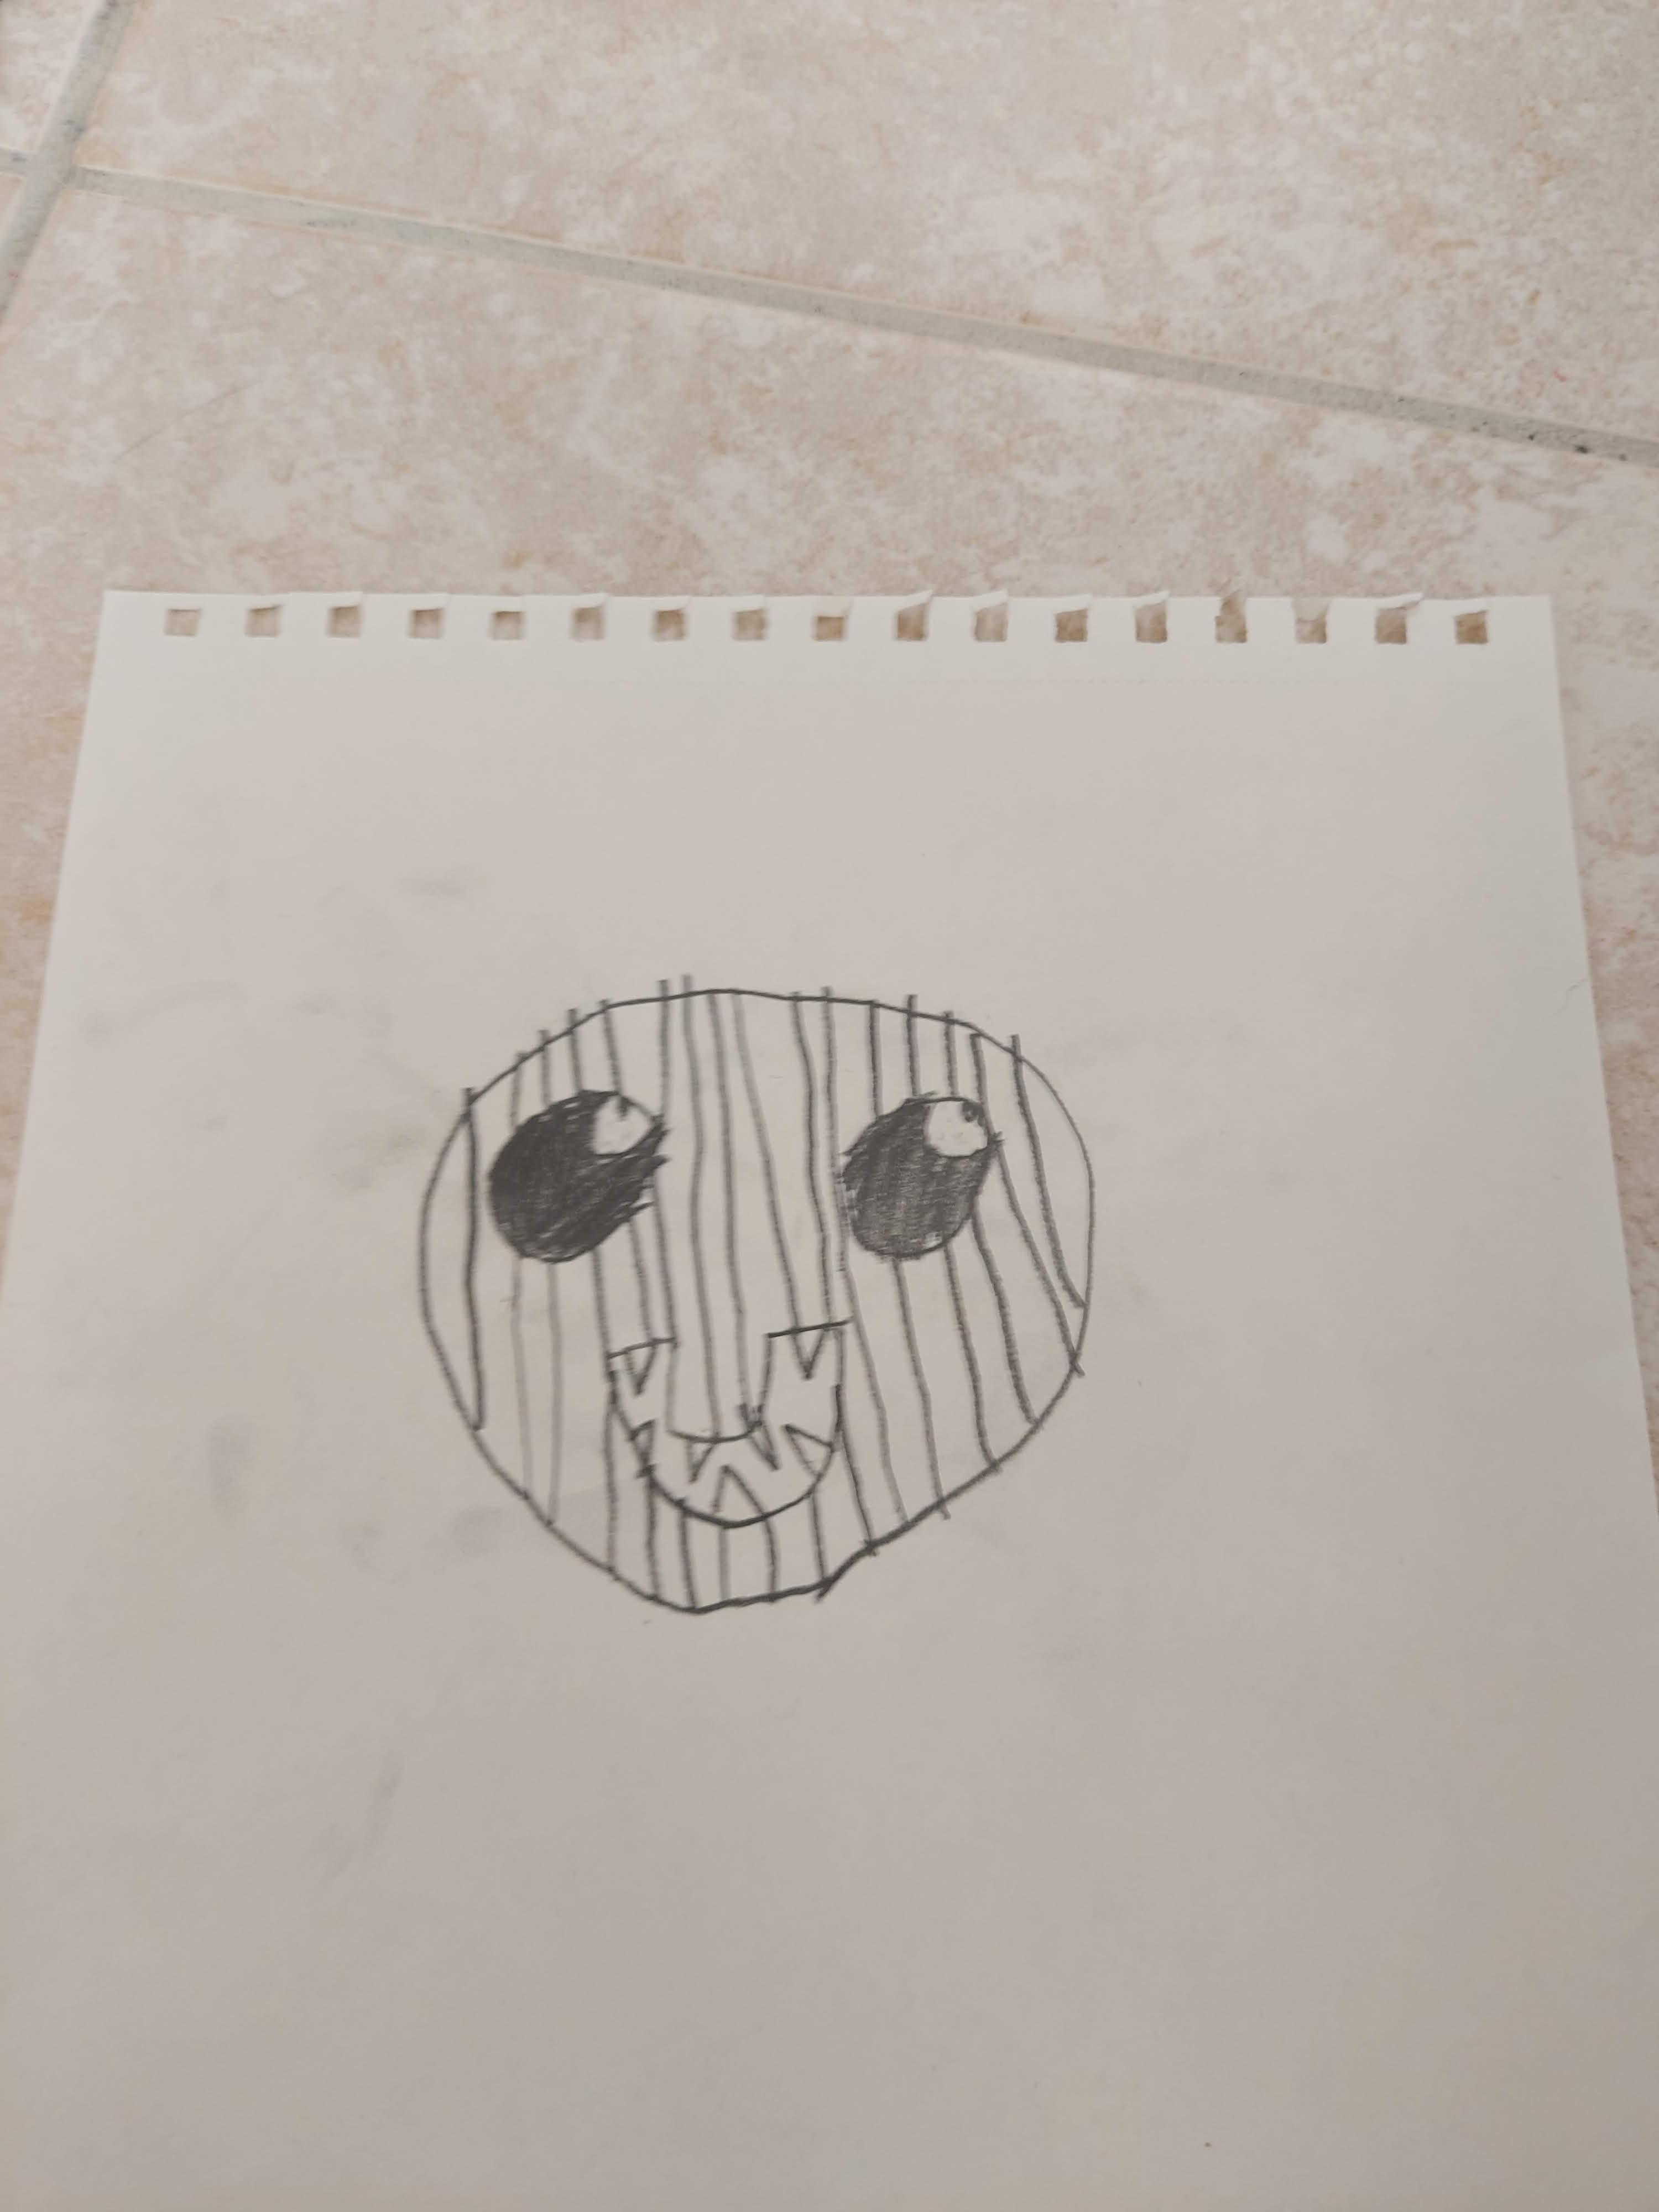
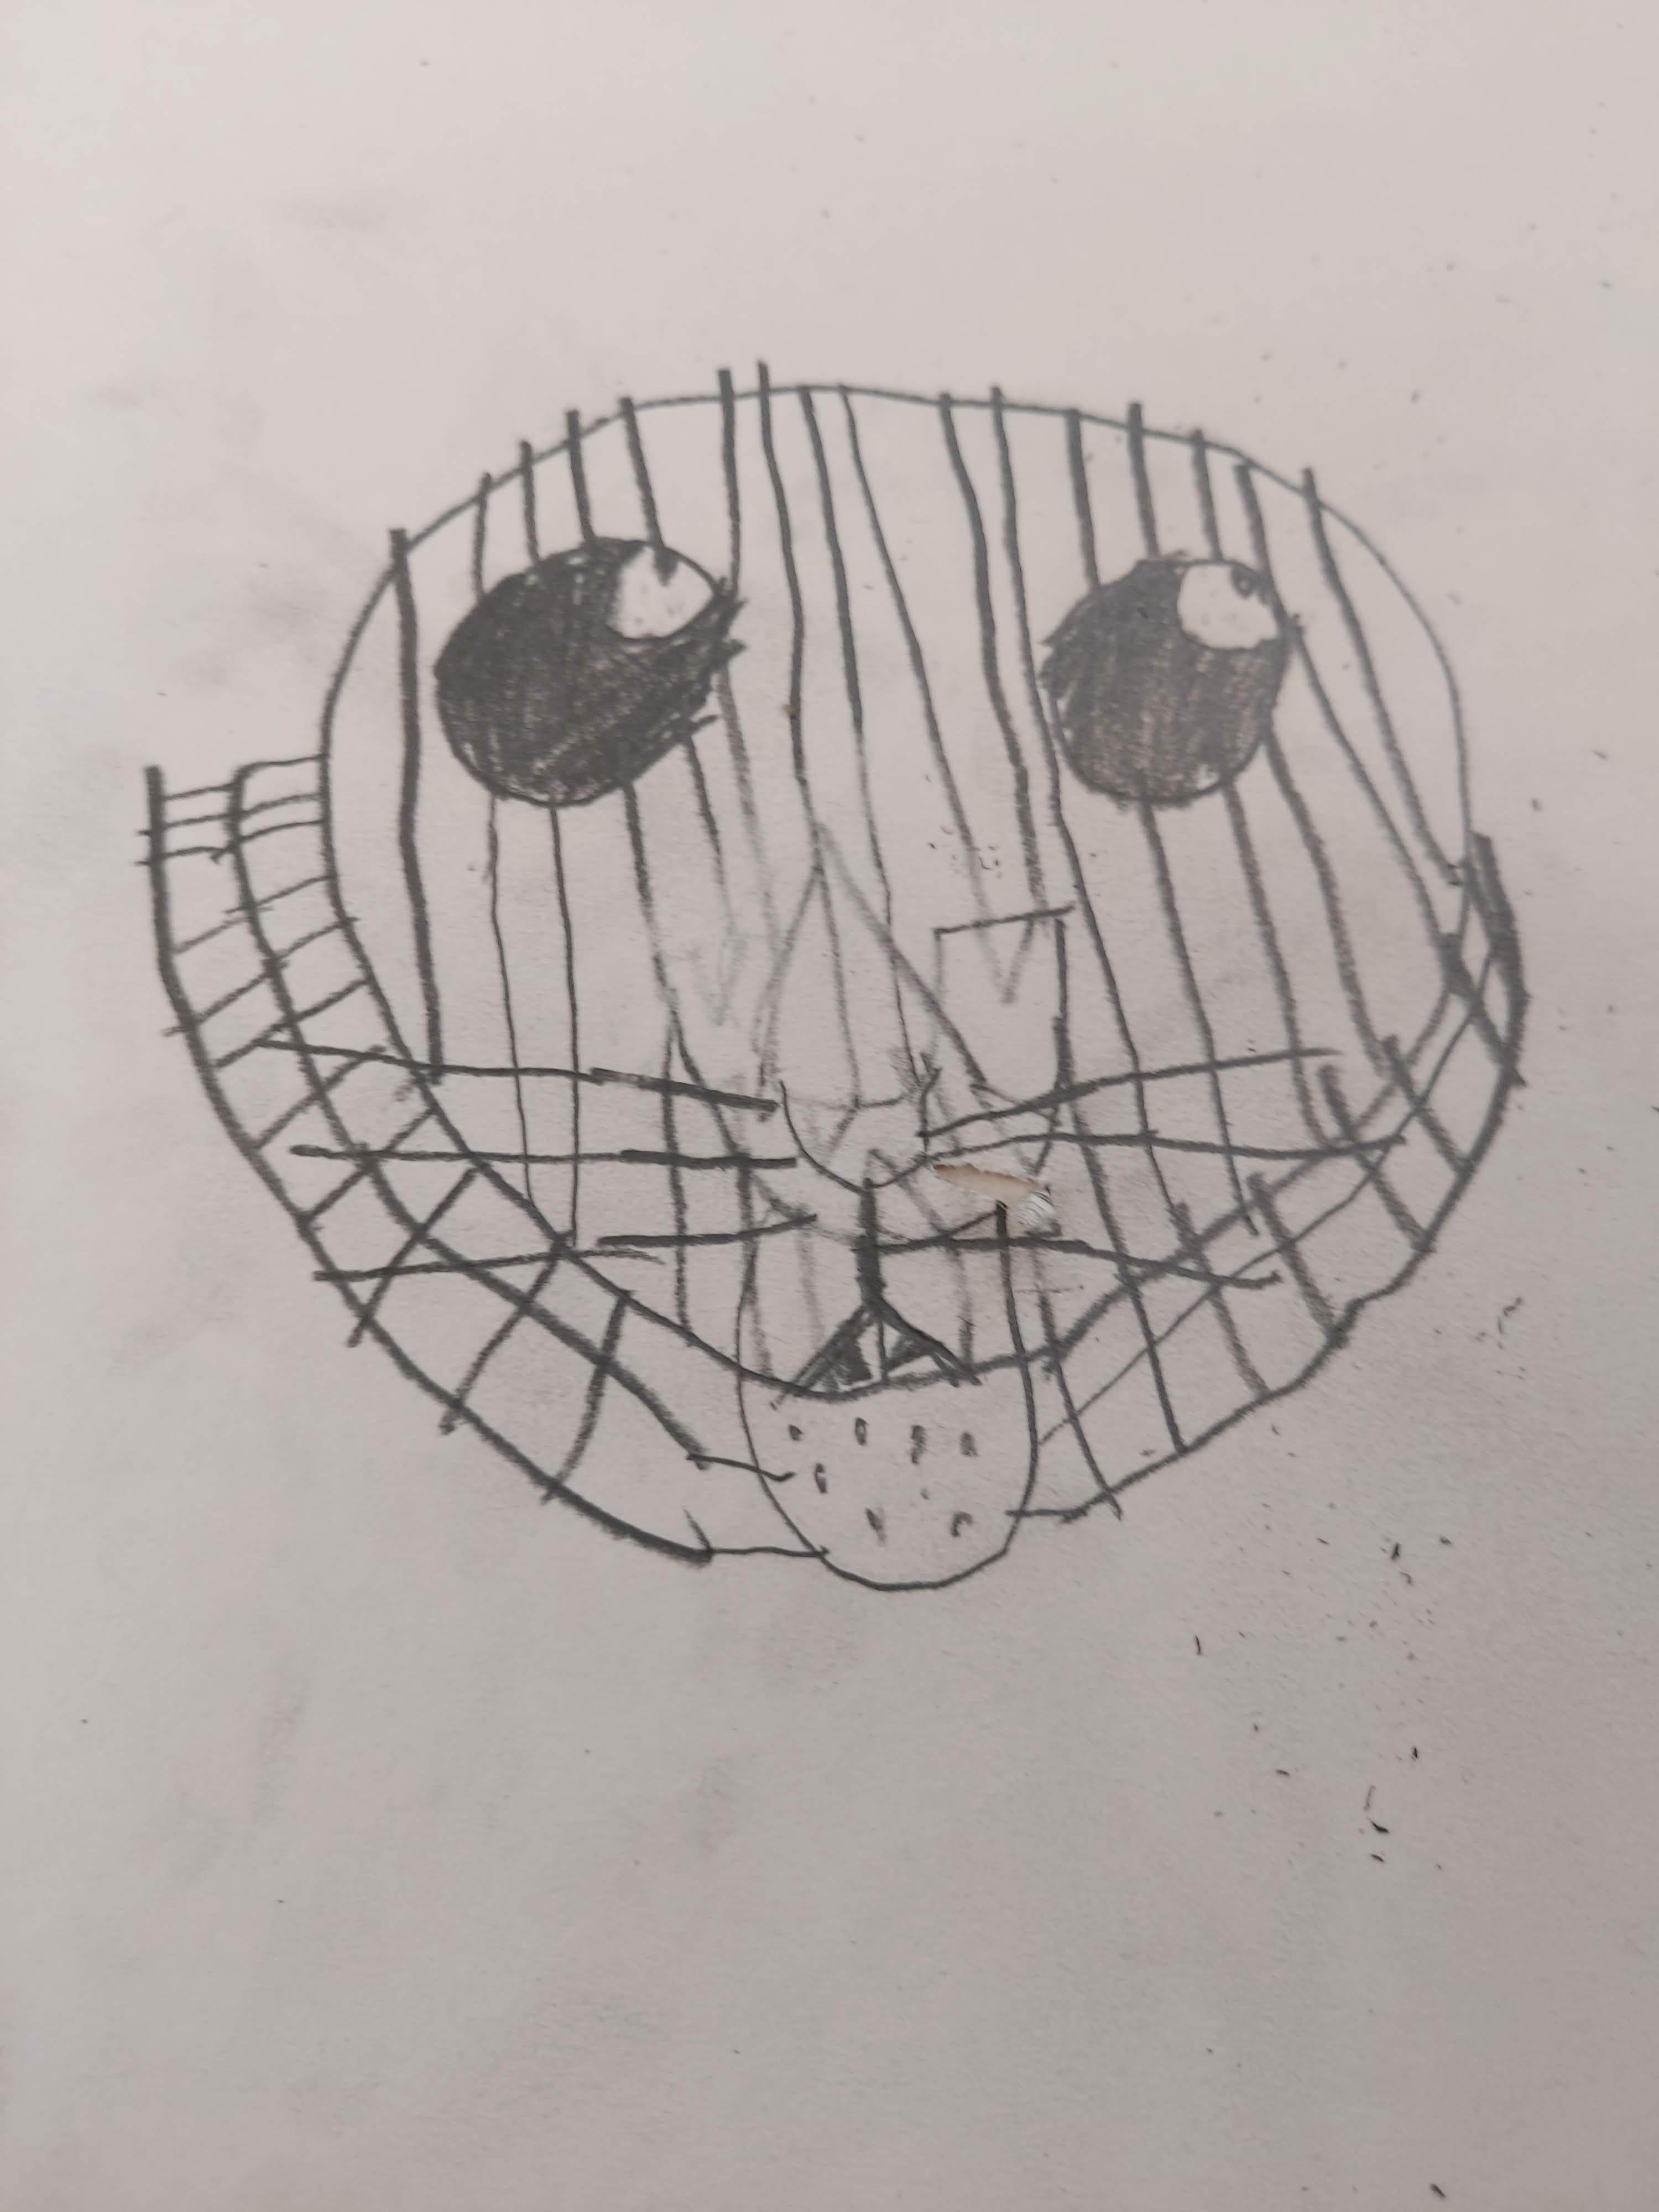
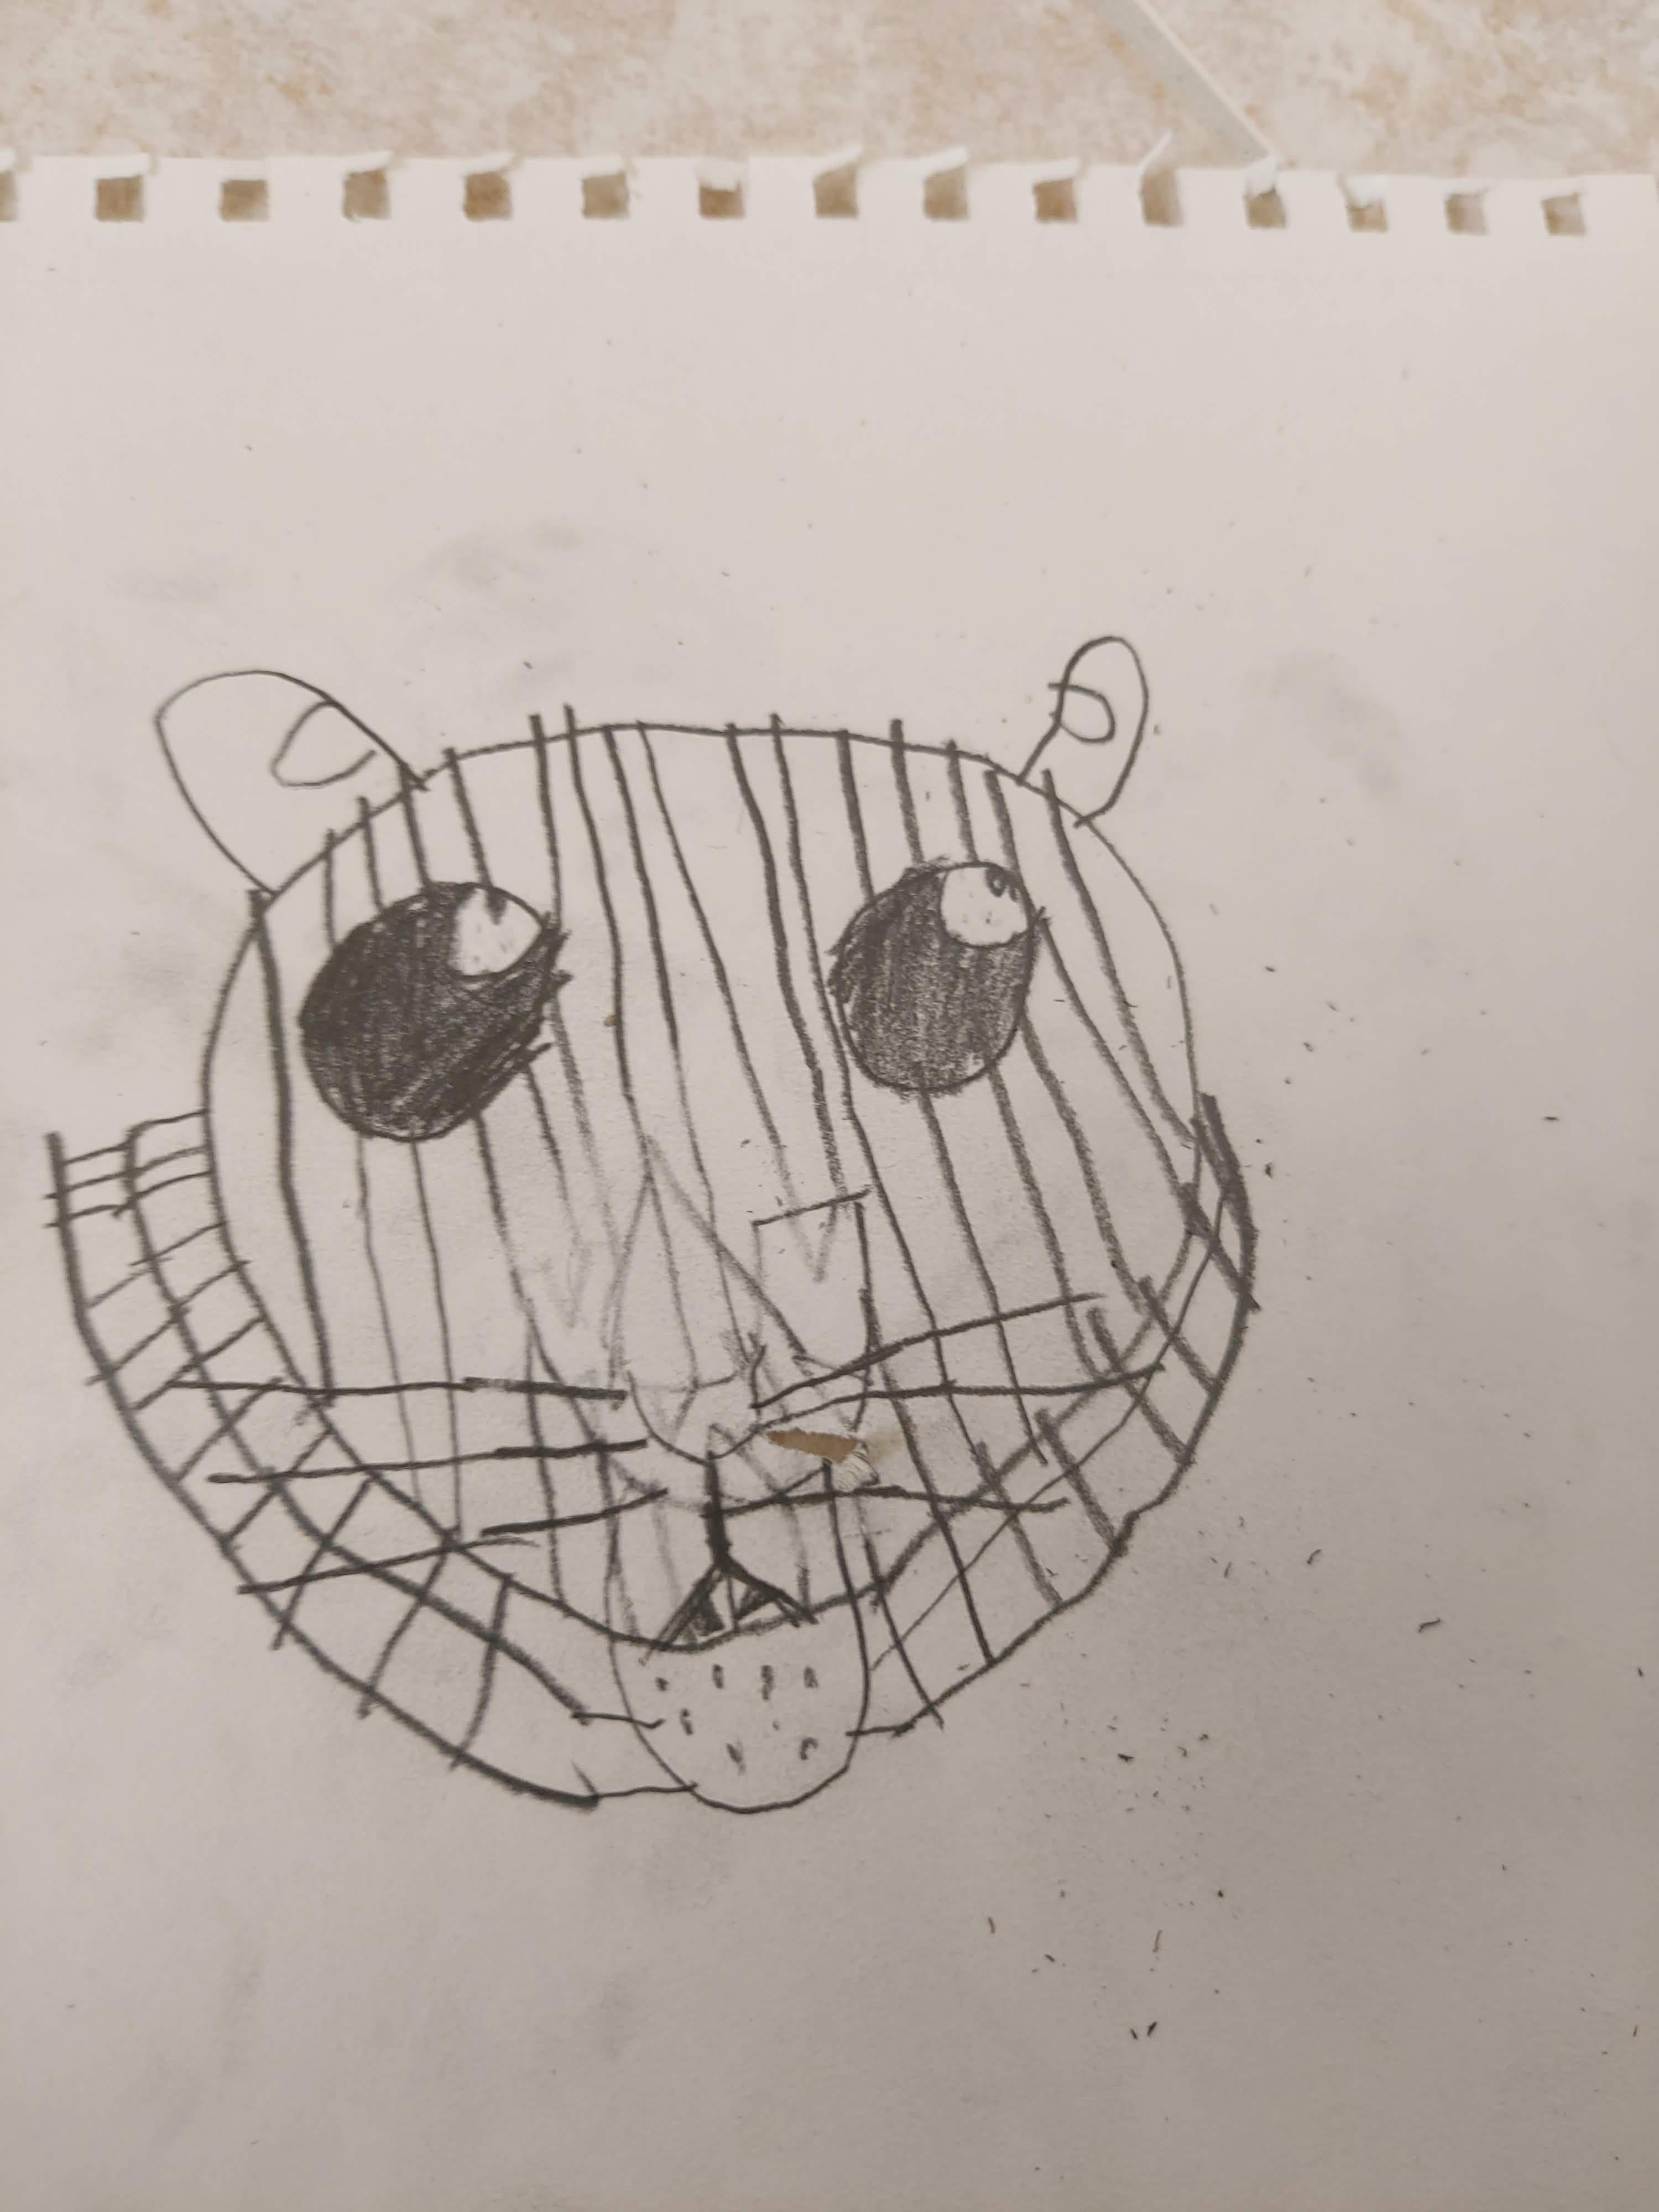
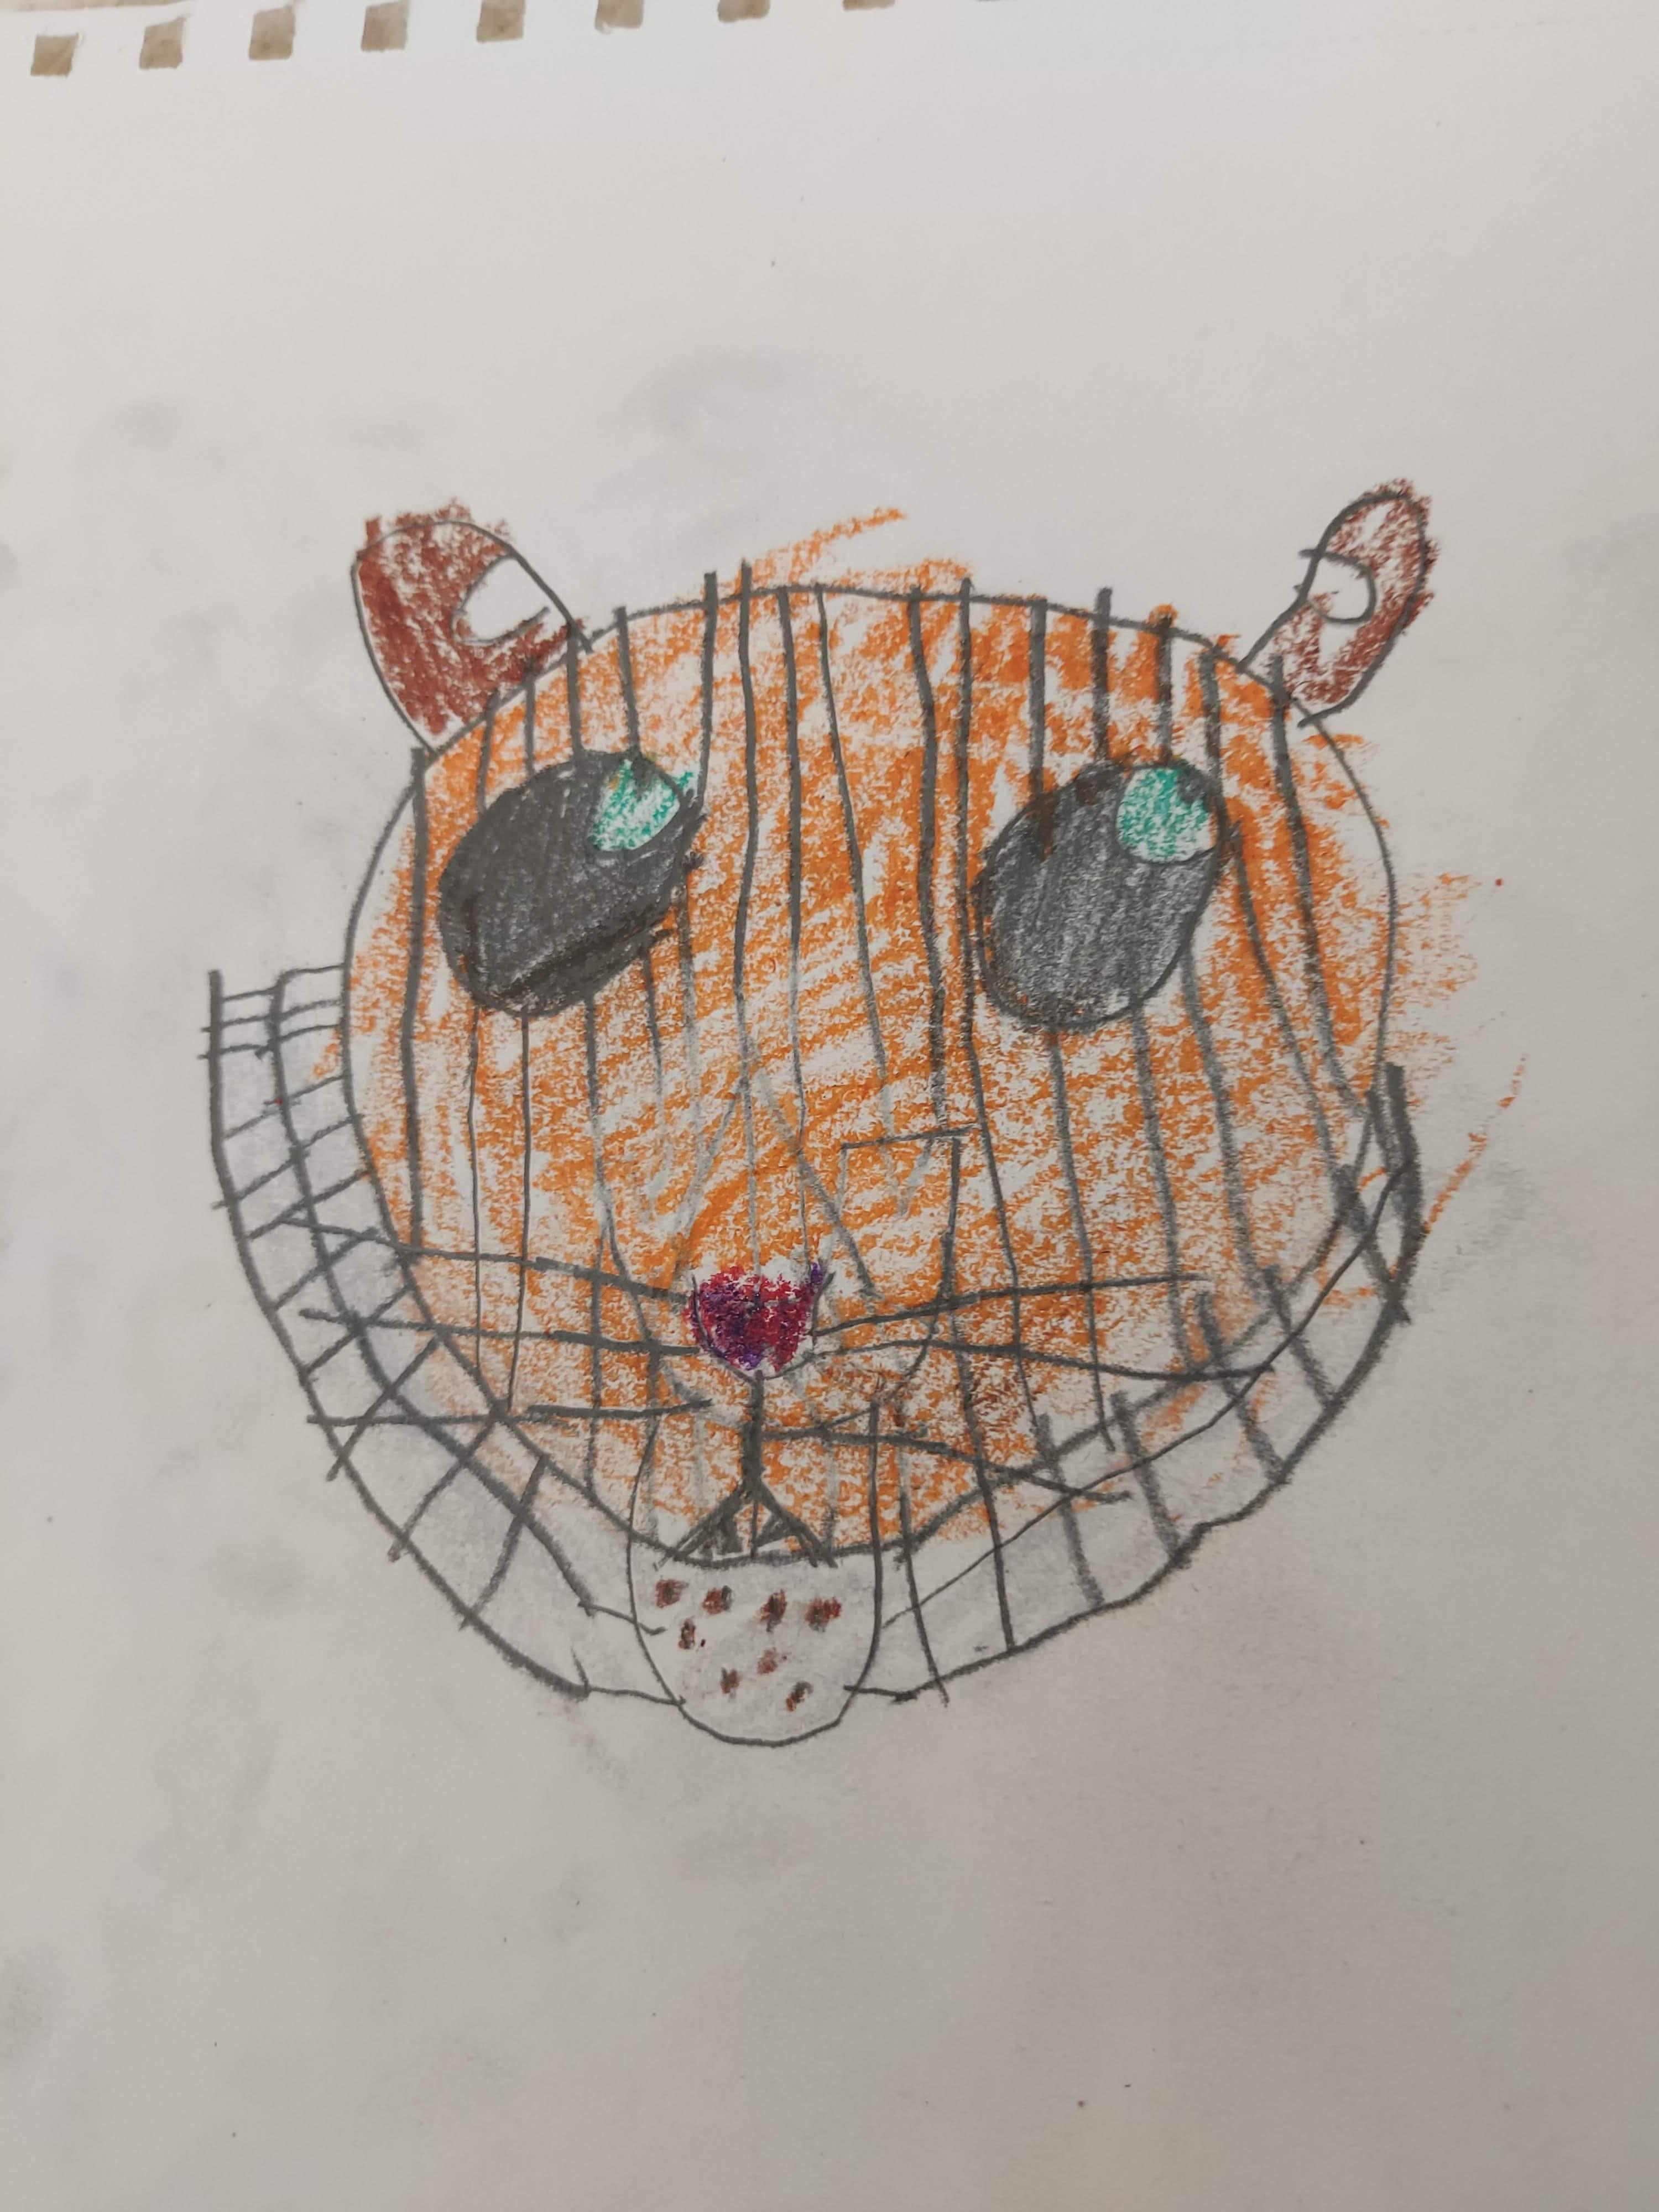
This step involves drawing the tiger's face. Let's get started!
- Draw the eyes first as two circles
- Create circles inside of the bigger circles to act as the pupils
- Fill in the shaded area of the eyes
- Draw the face (you'll notice I initially added a grin which I later removed; it's important to always be flexible with your art and adjust it as you feel out the drawing -- don't let a mistake lead you to throw away good art but make changes with a positive attitude)
- Draw stripes for the tiger
- Add whiskers and the tiger's beard
- Add ears and remaining face details
- Color in the tiger using various colors such as orange for the face
Draw Tiger Body 🐅
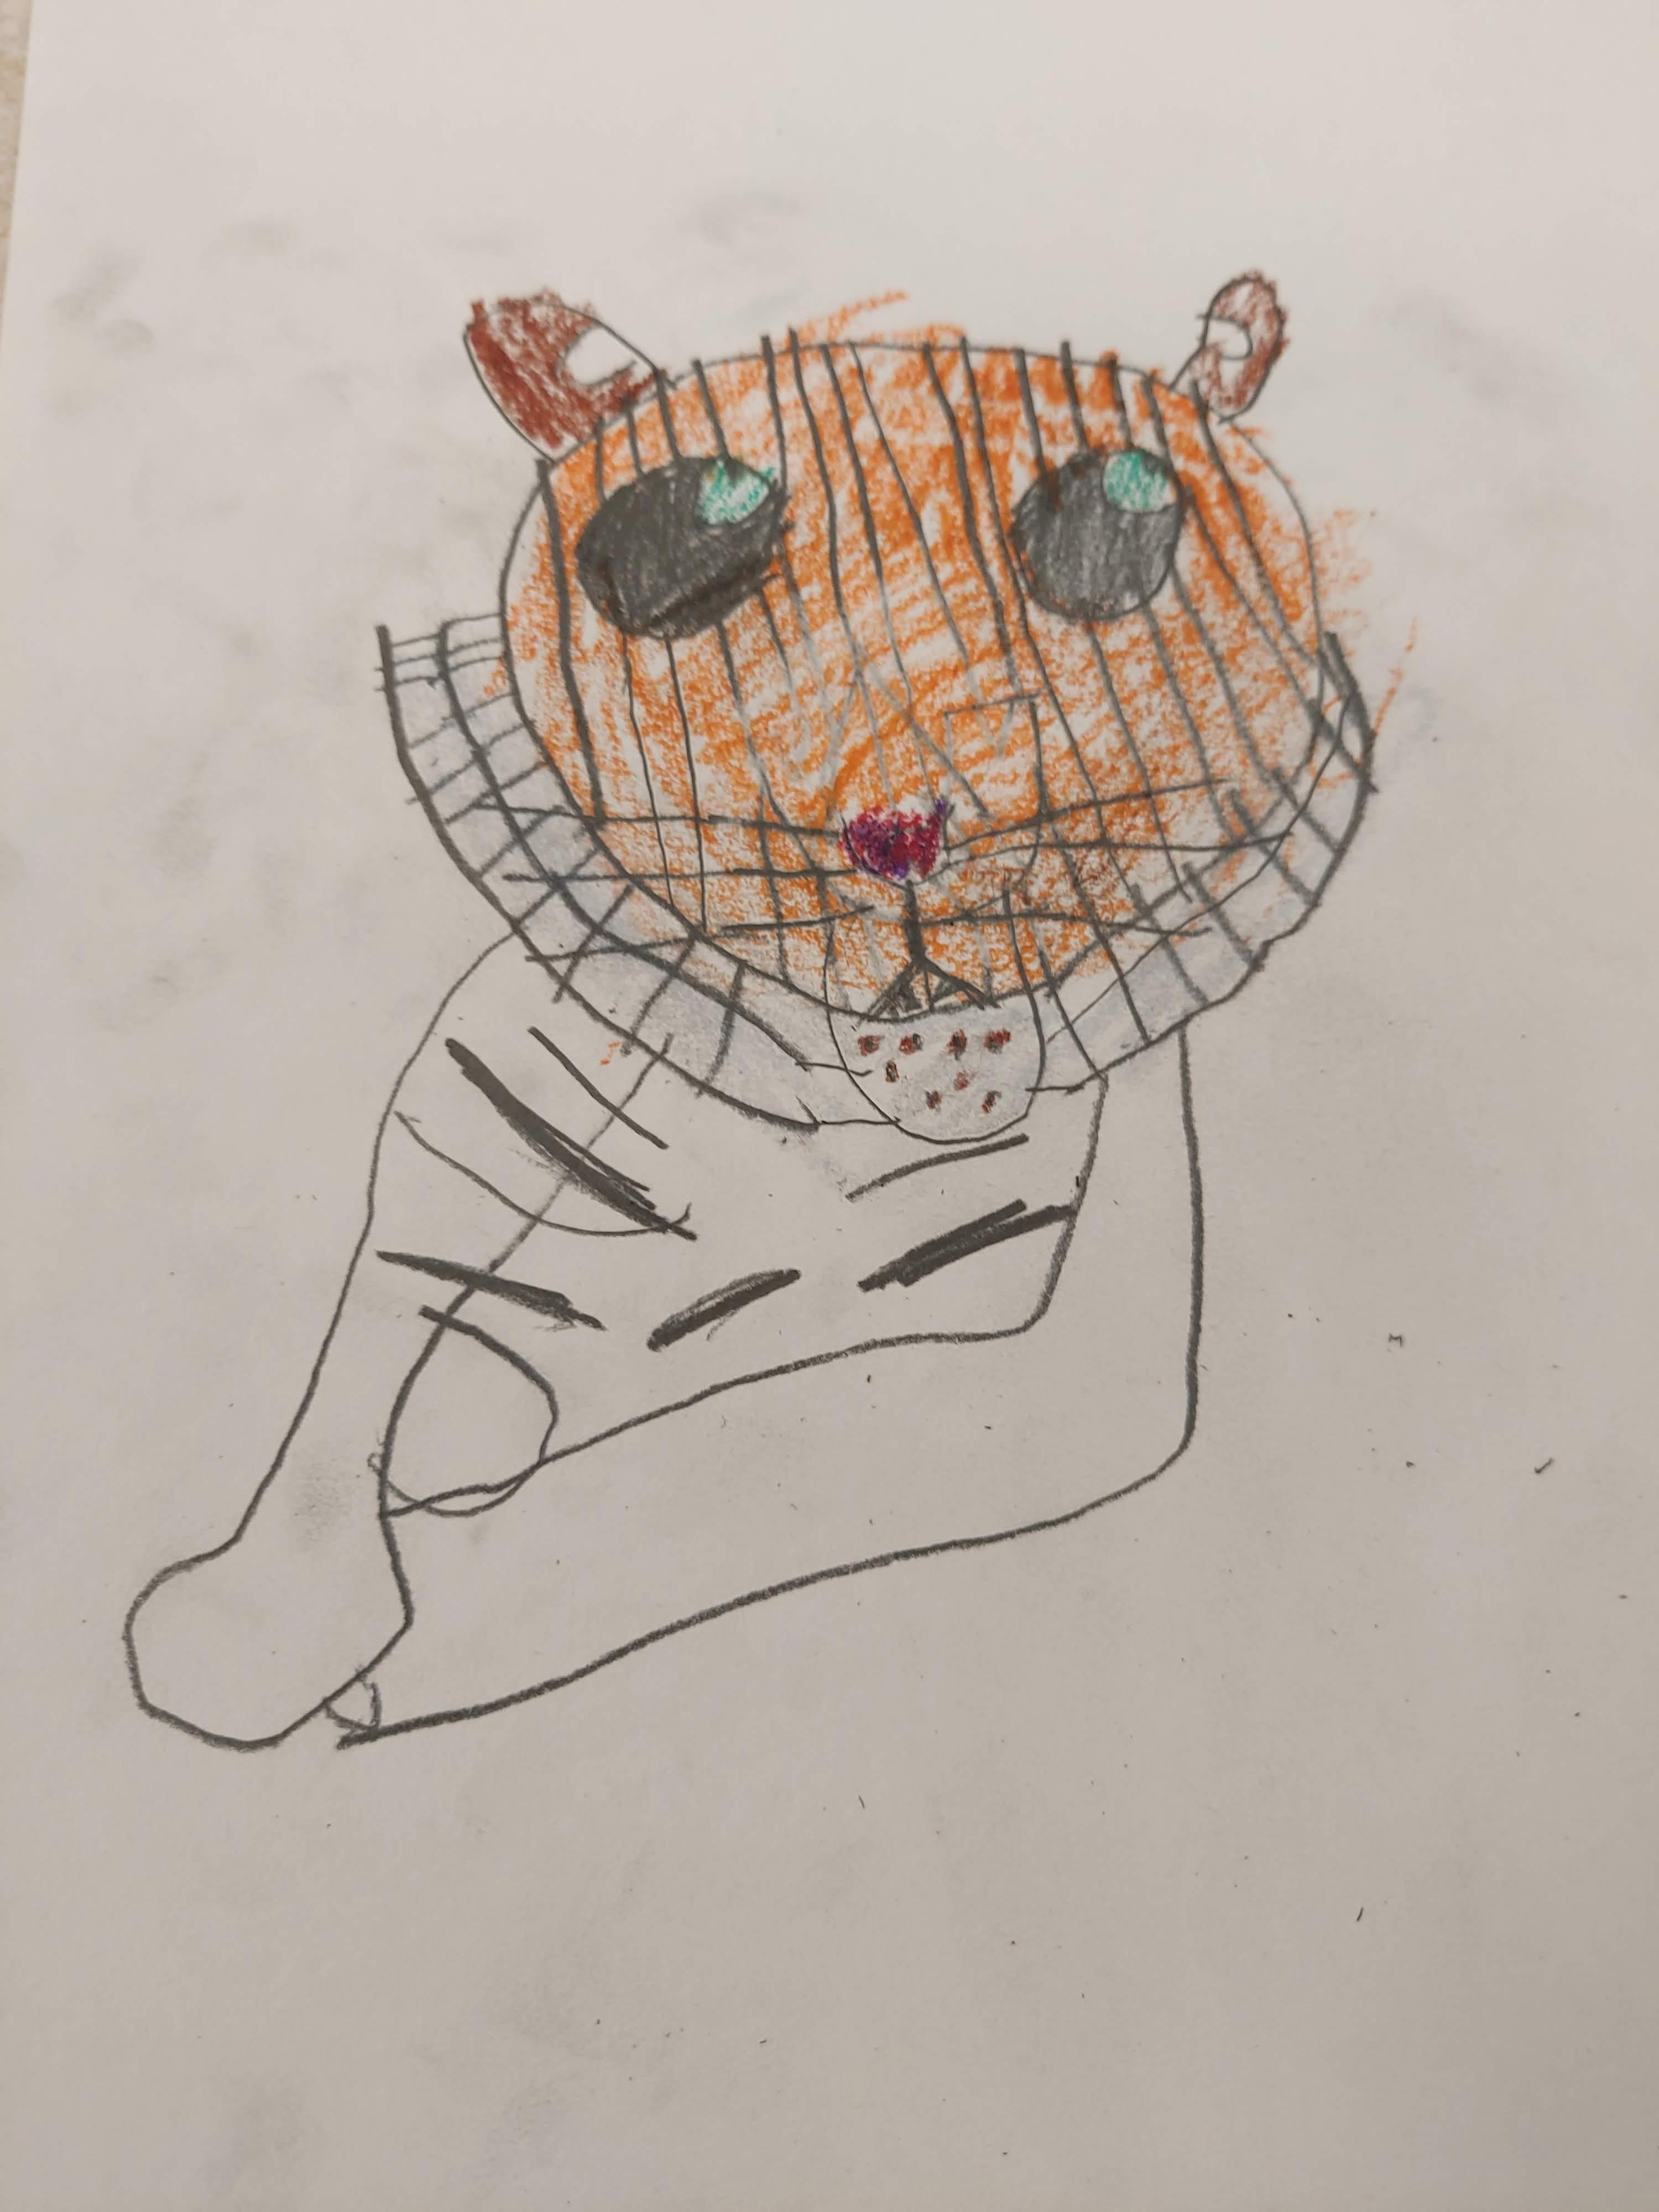
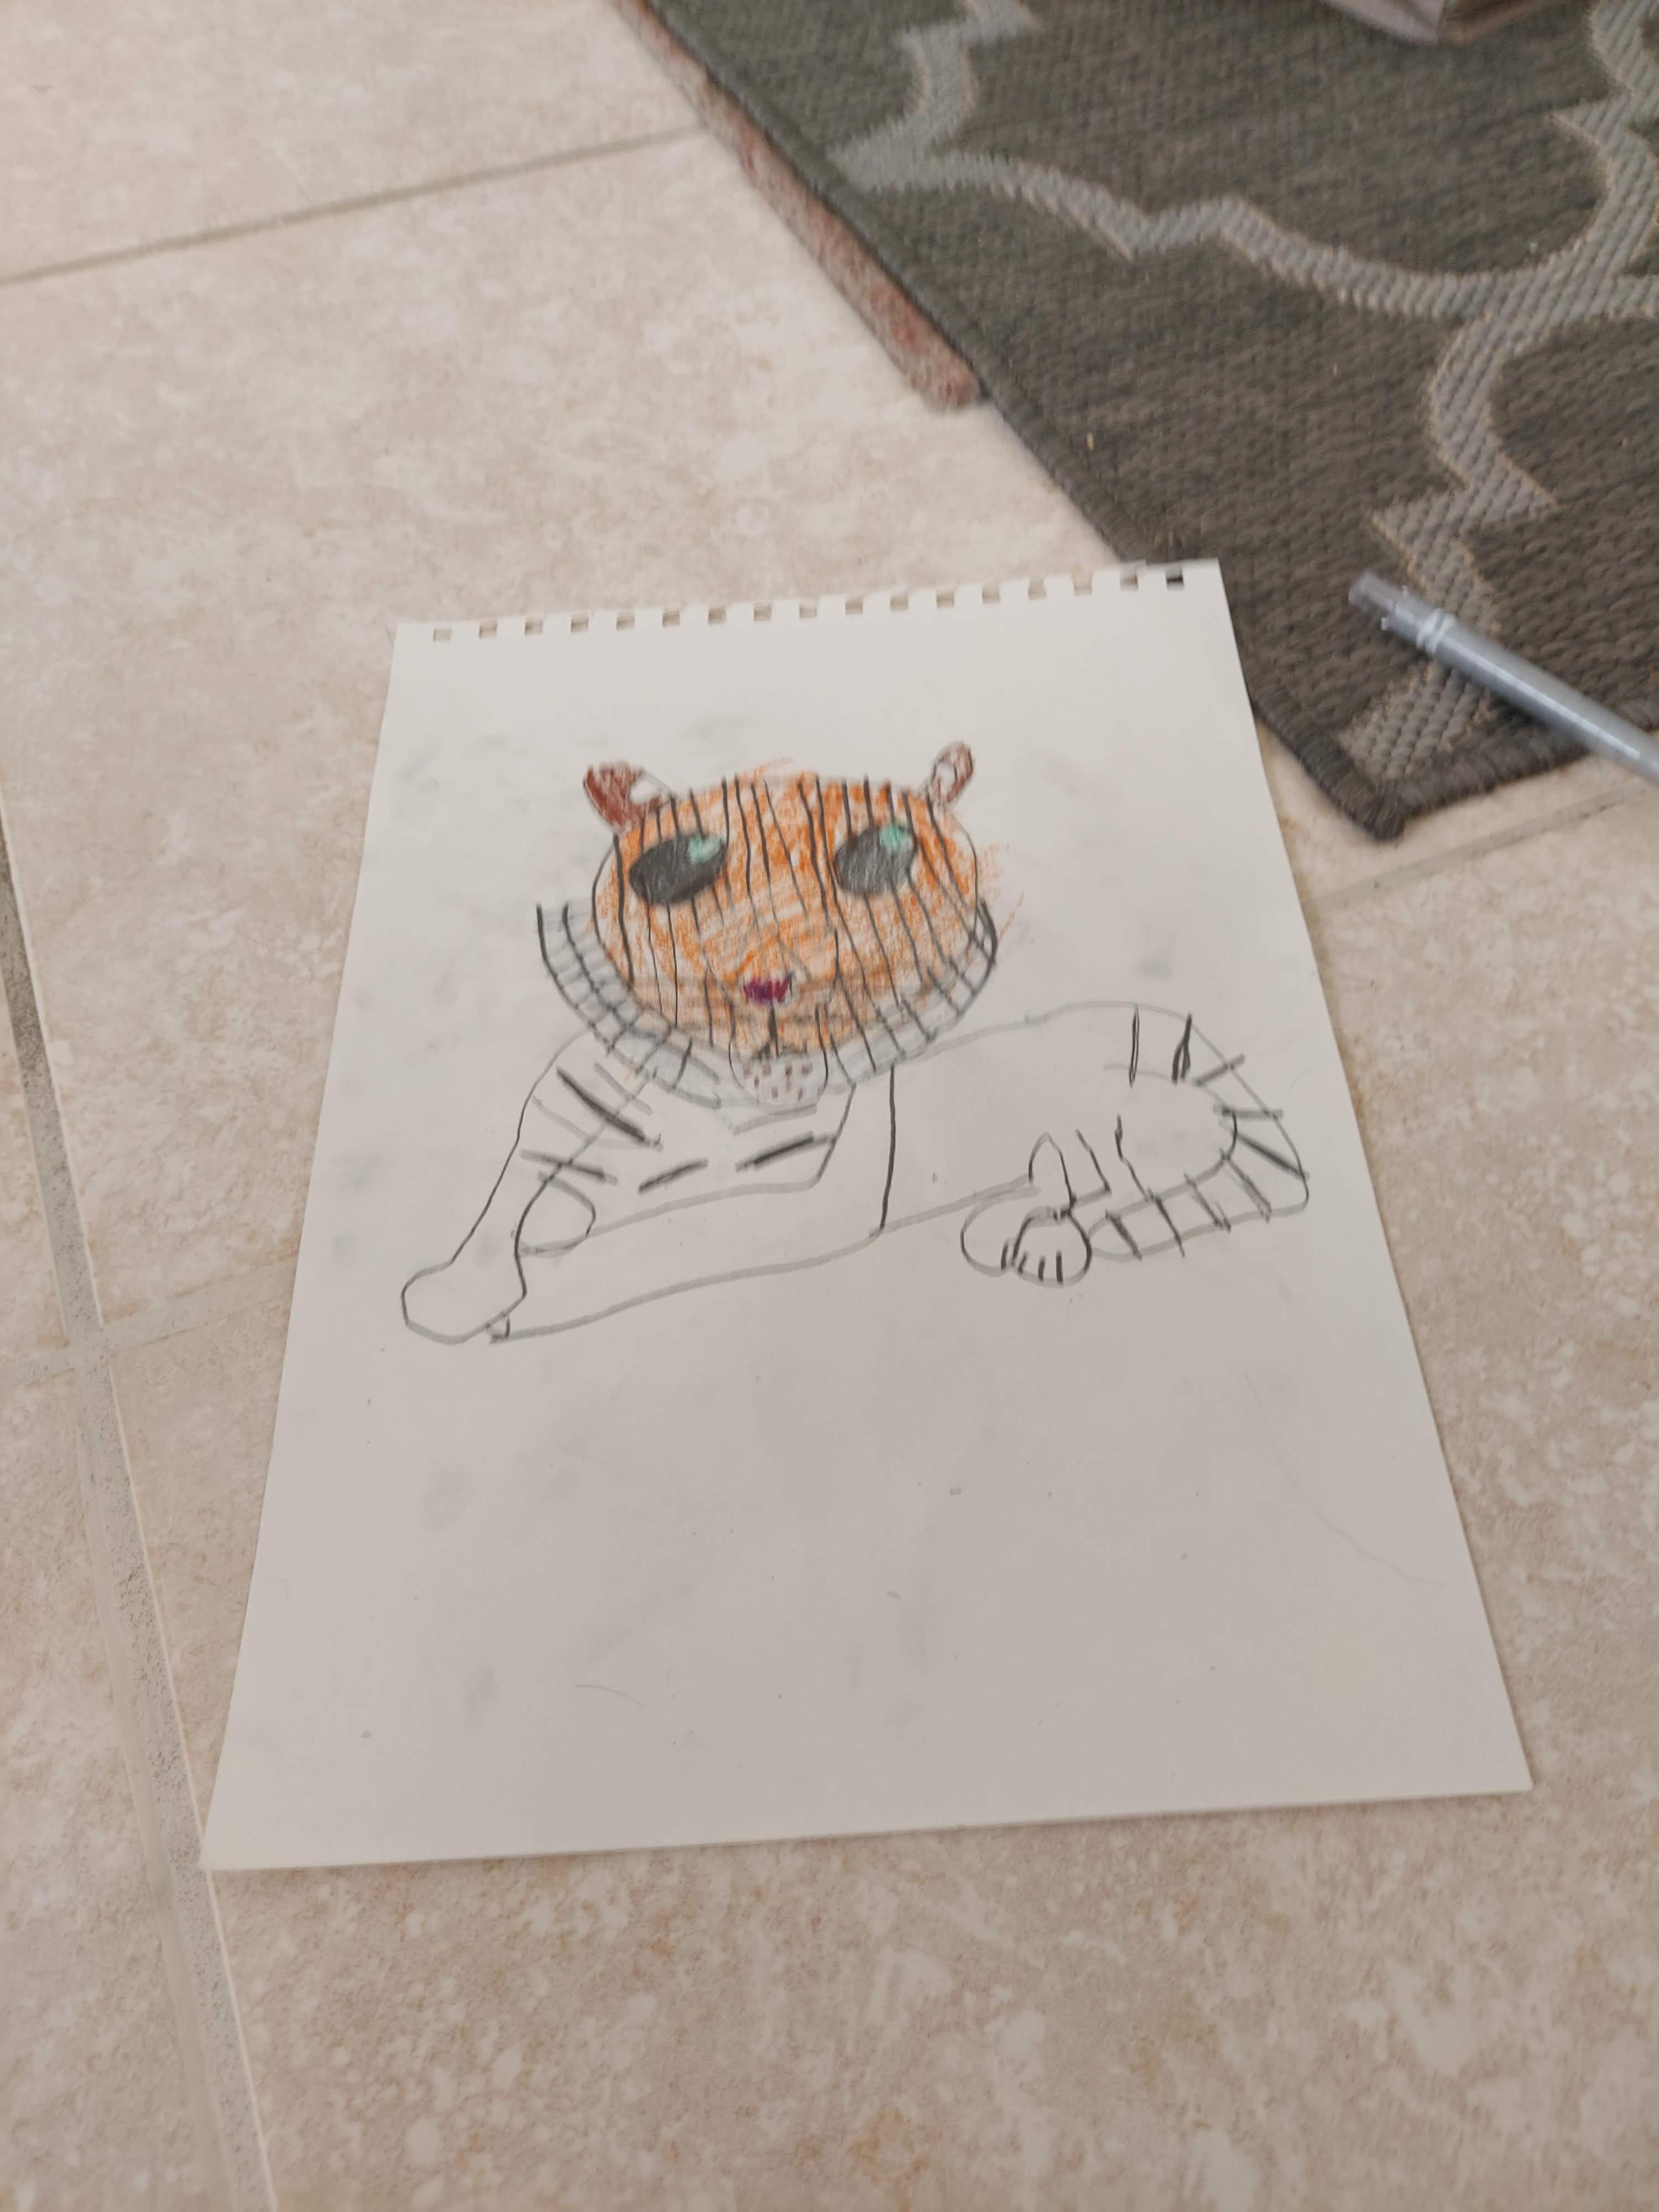
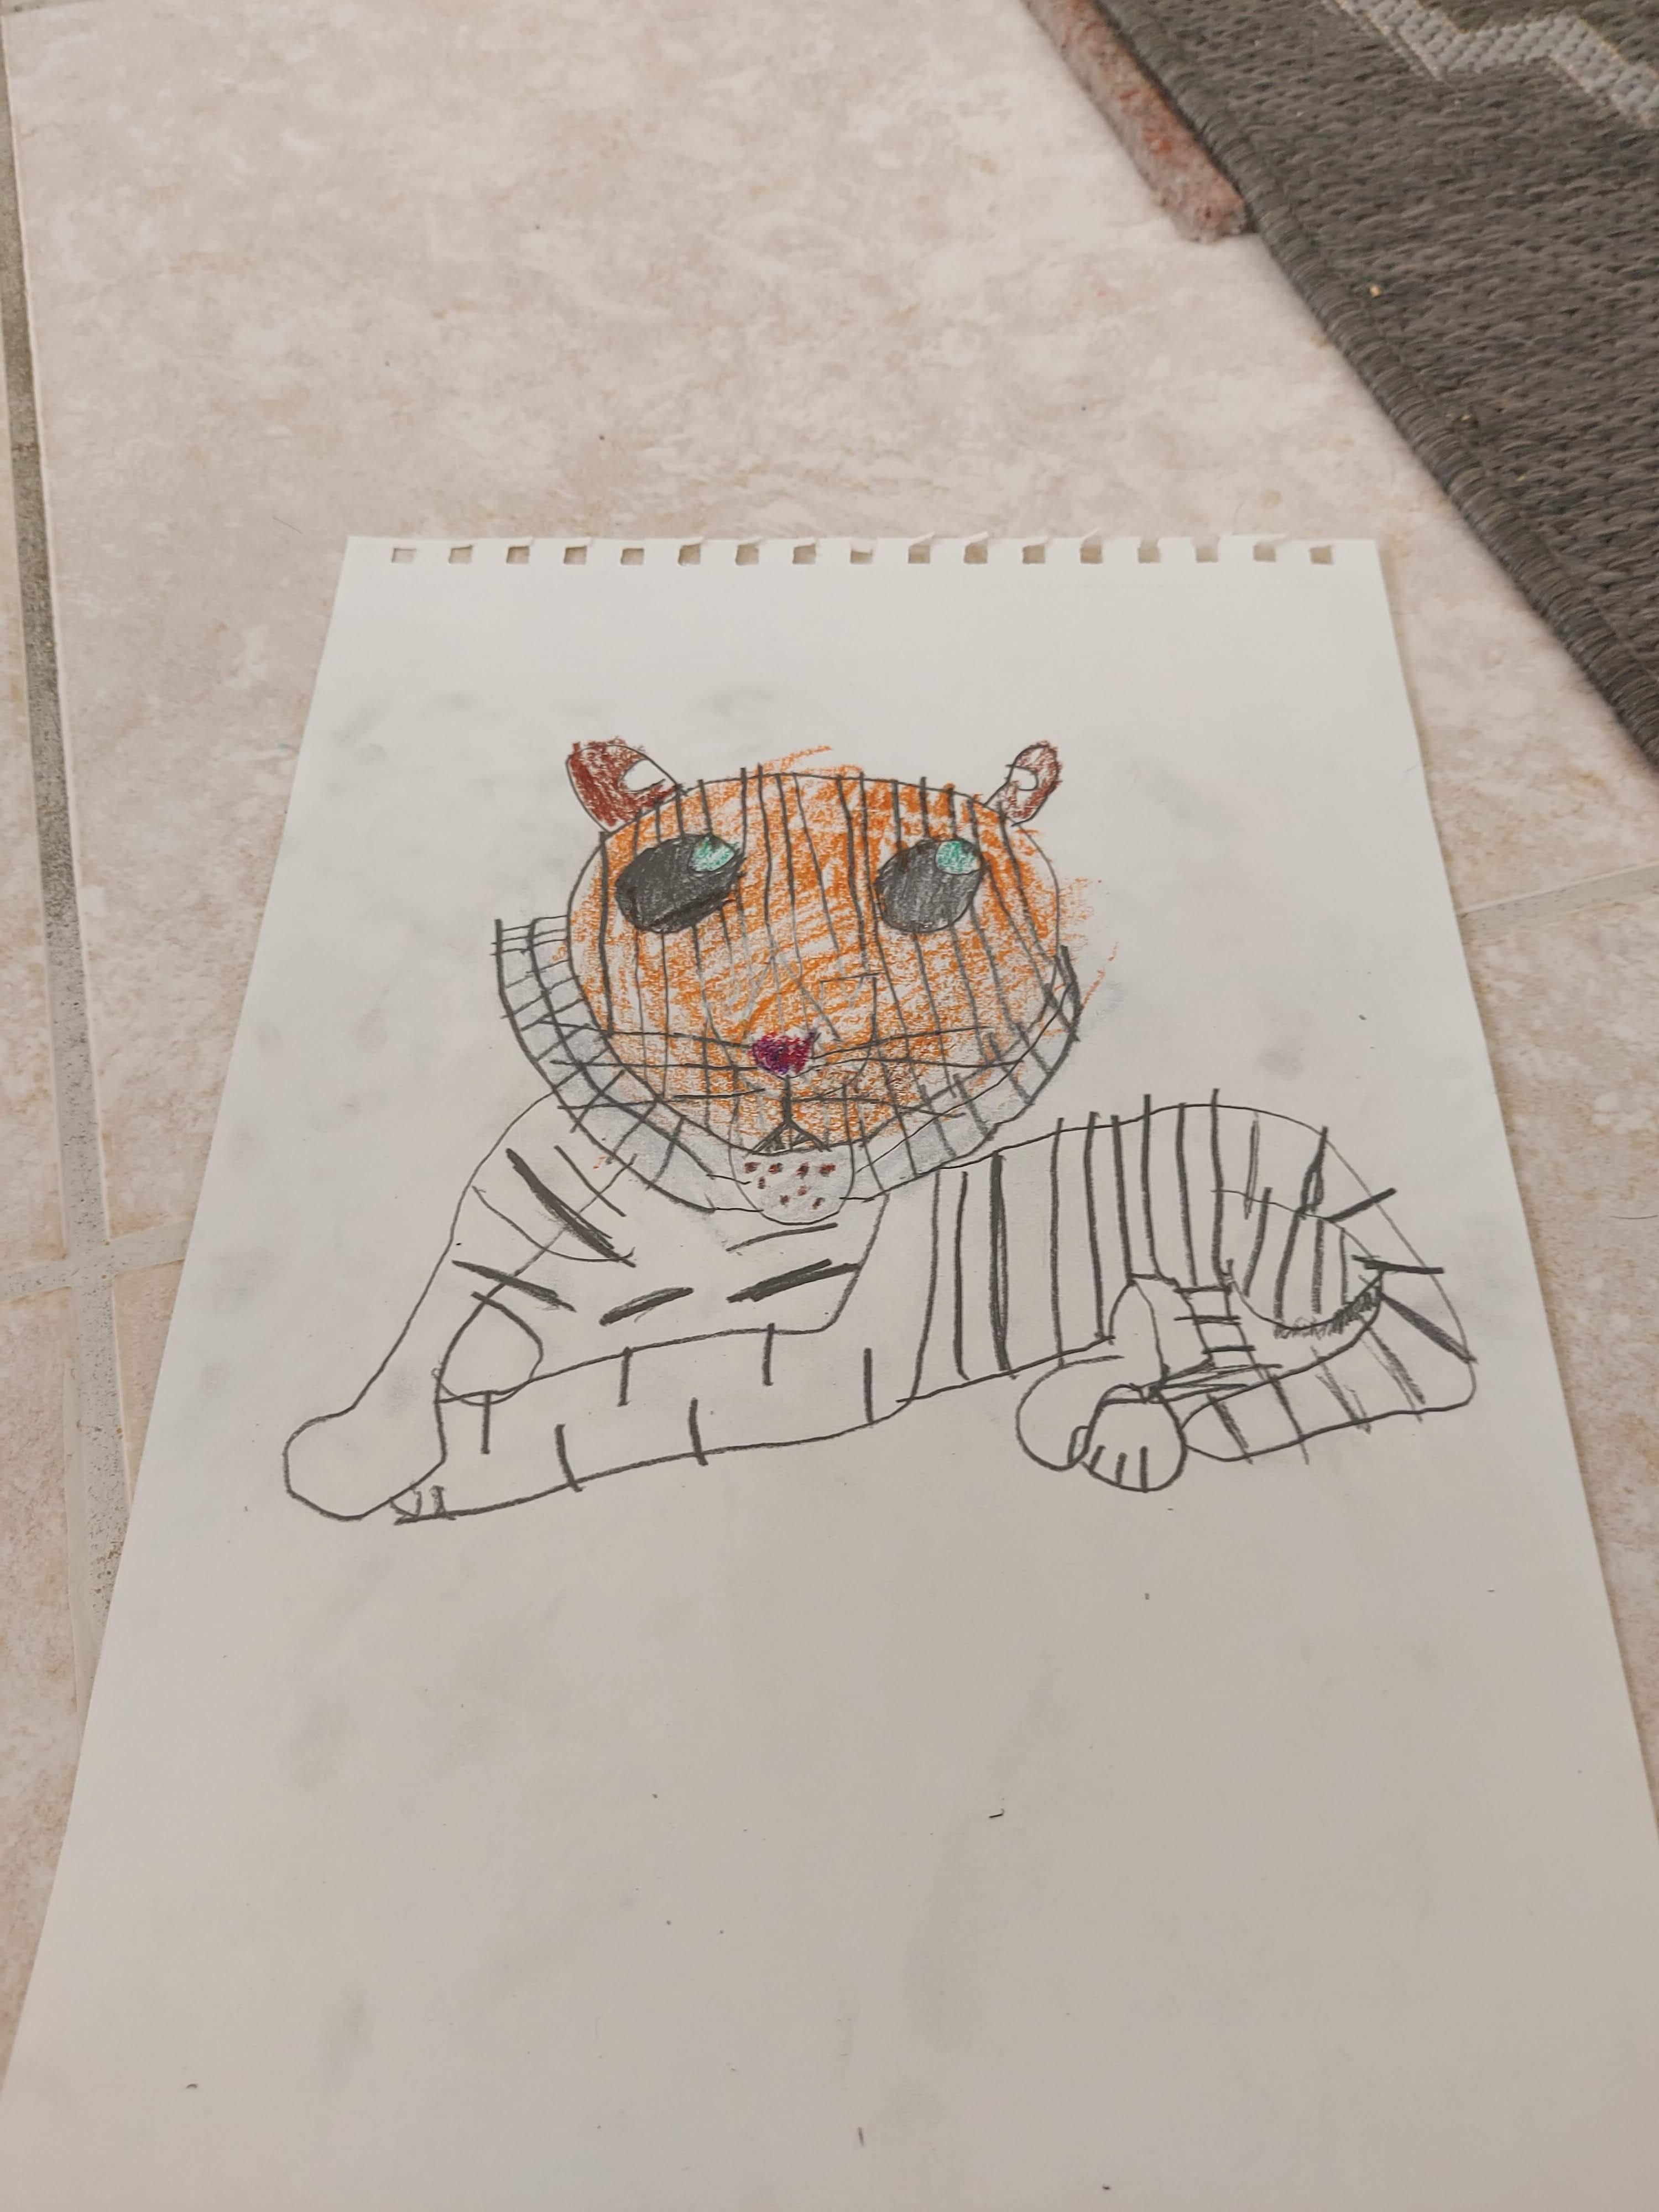
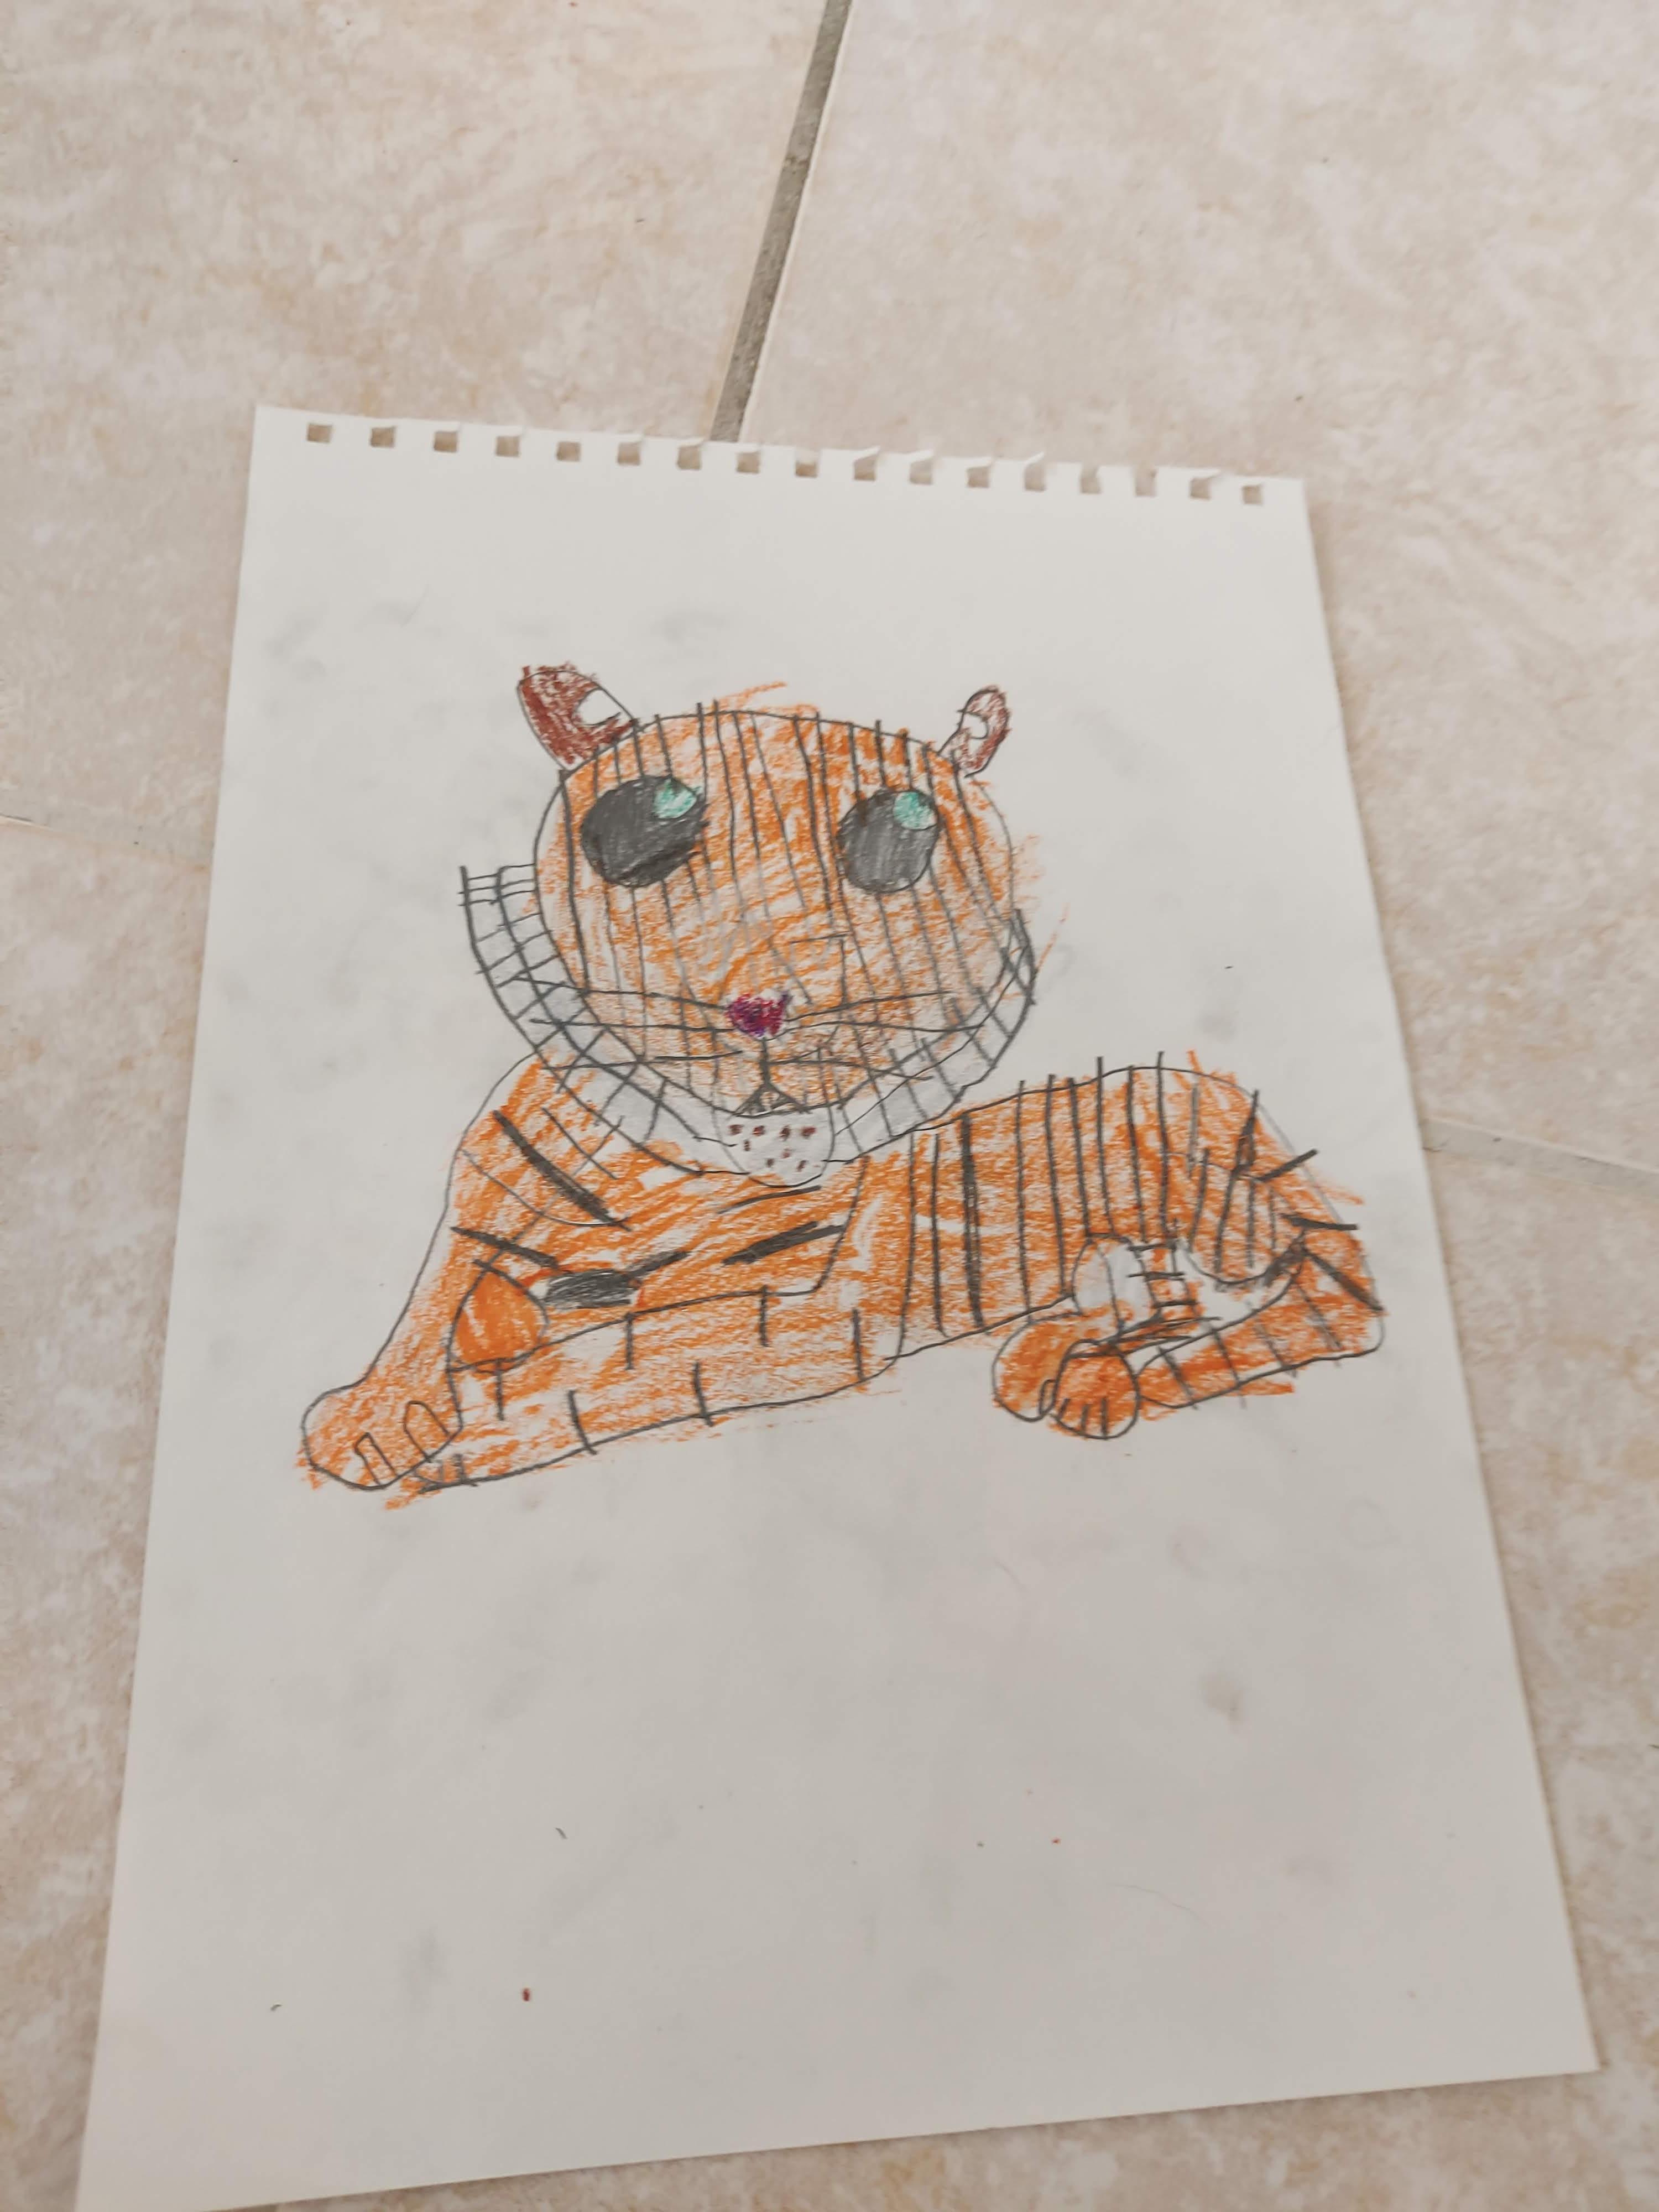
With the face done you'll now need to draw the body of the tiger. I looked up various photos of tigers on my phone to get a feel for how they'd rest in their natural habitat. I hope you vibe with my tiger's energy. Here are the main steps to this process.
- Draw the tiger's arms remembering to include stripes
- Add the remaining elements of the body including the hind legs and tail
- Color in the tiger using the crayons you used for the face
Draw Background 🌳
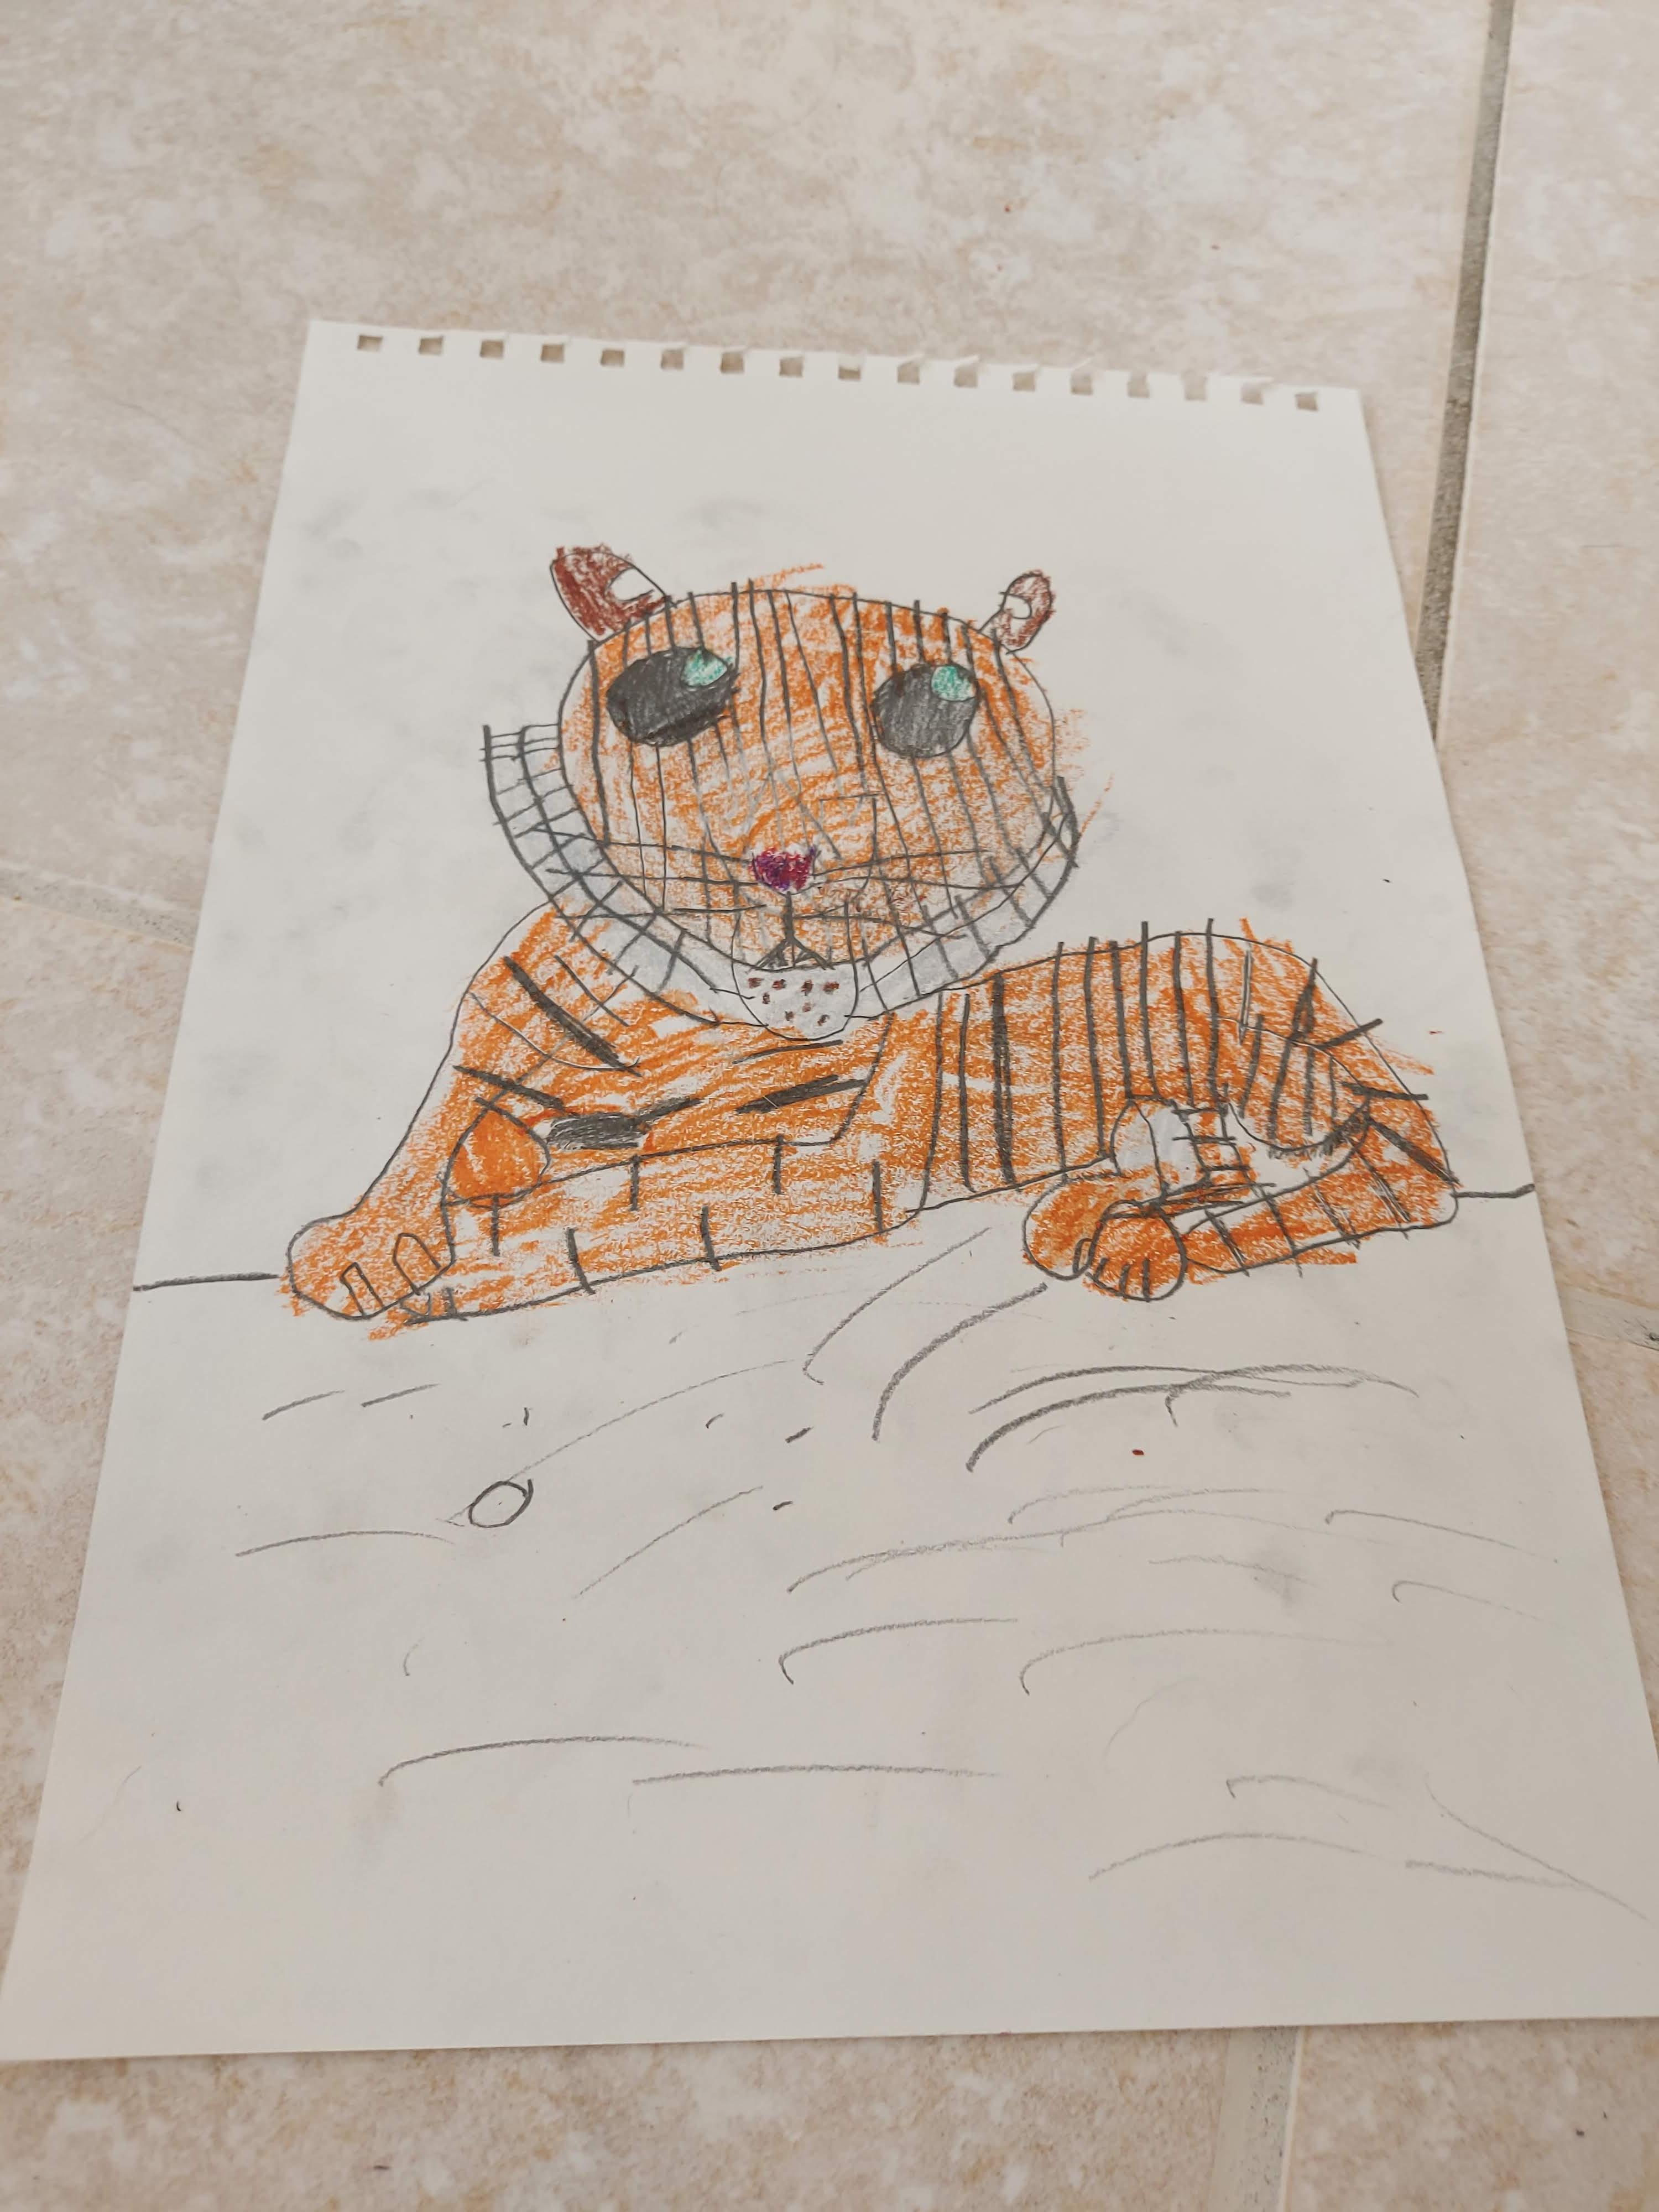
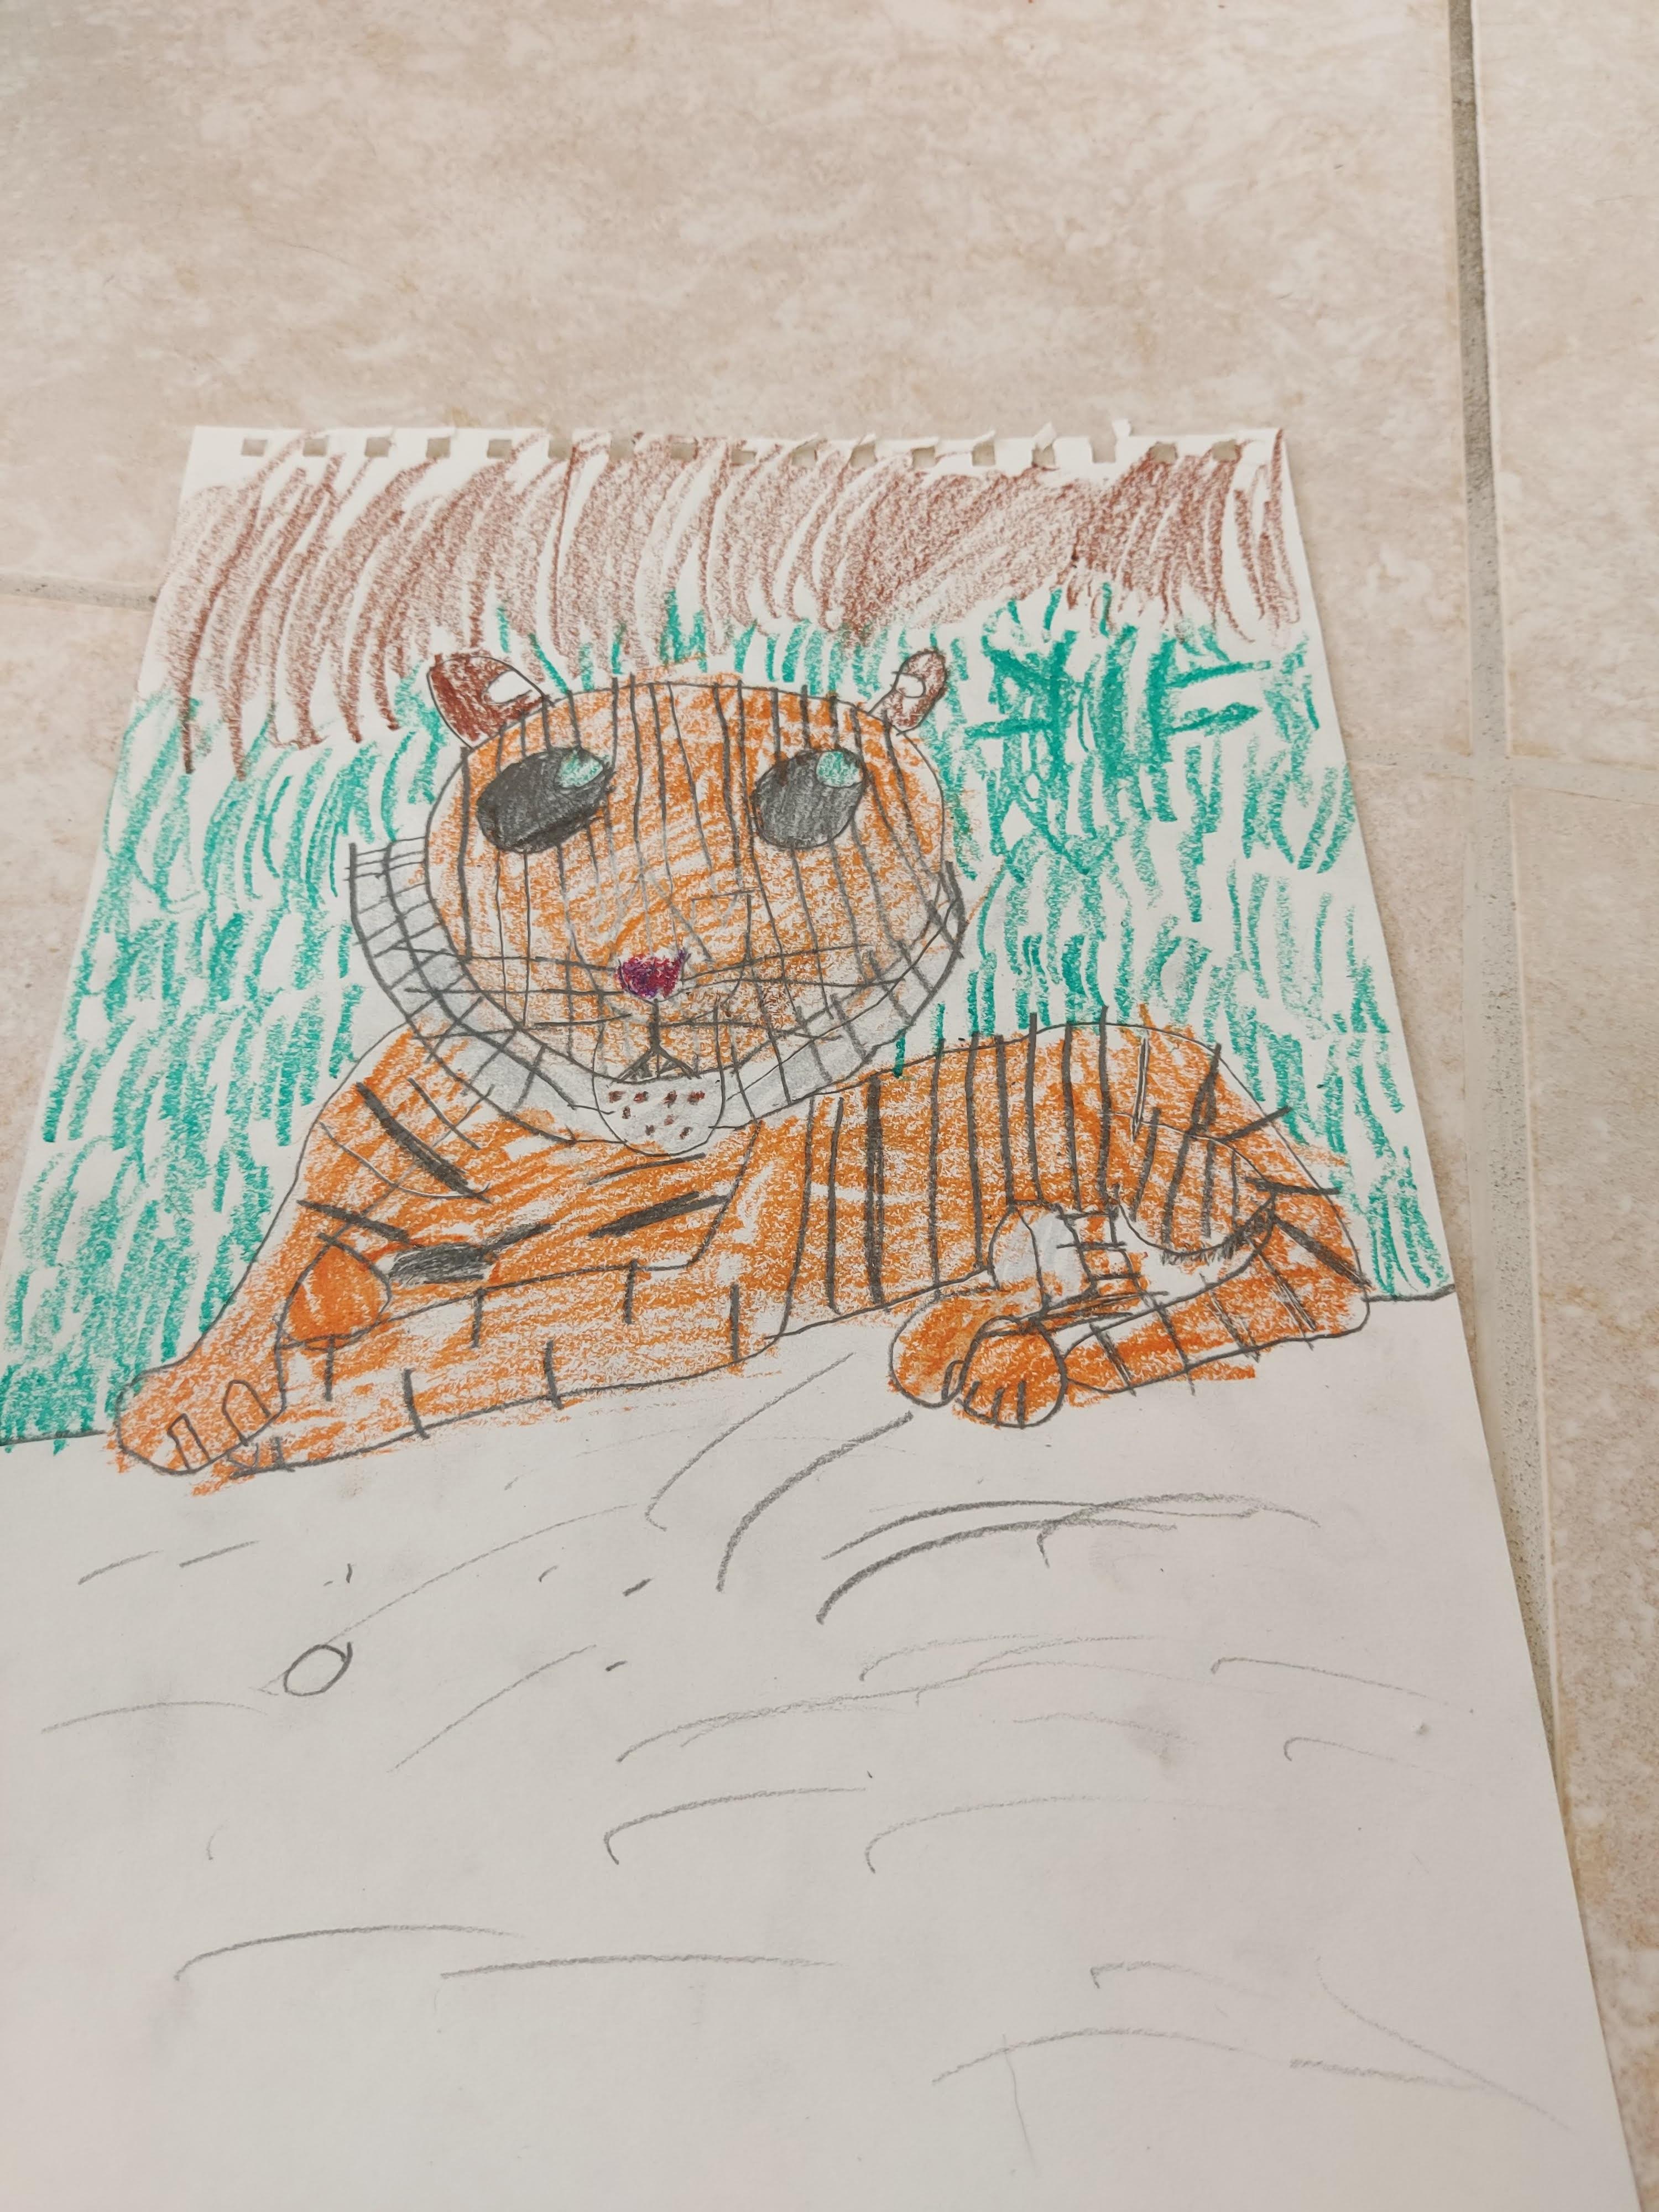
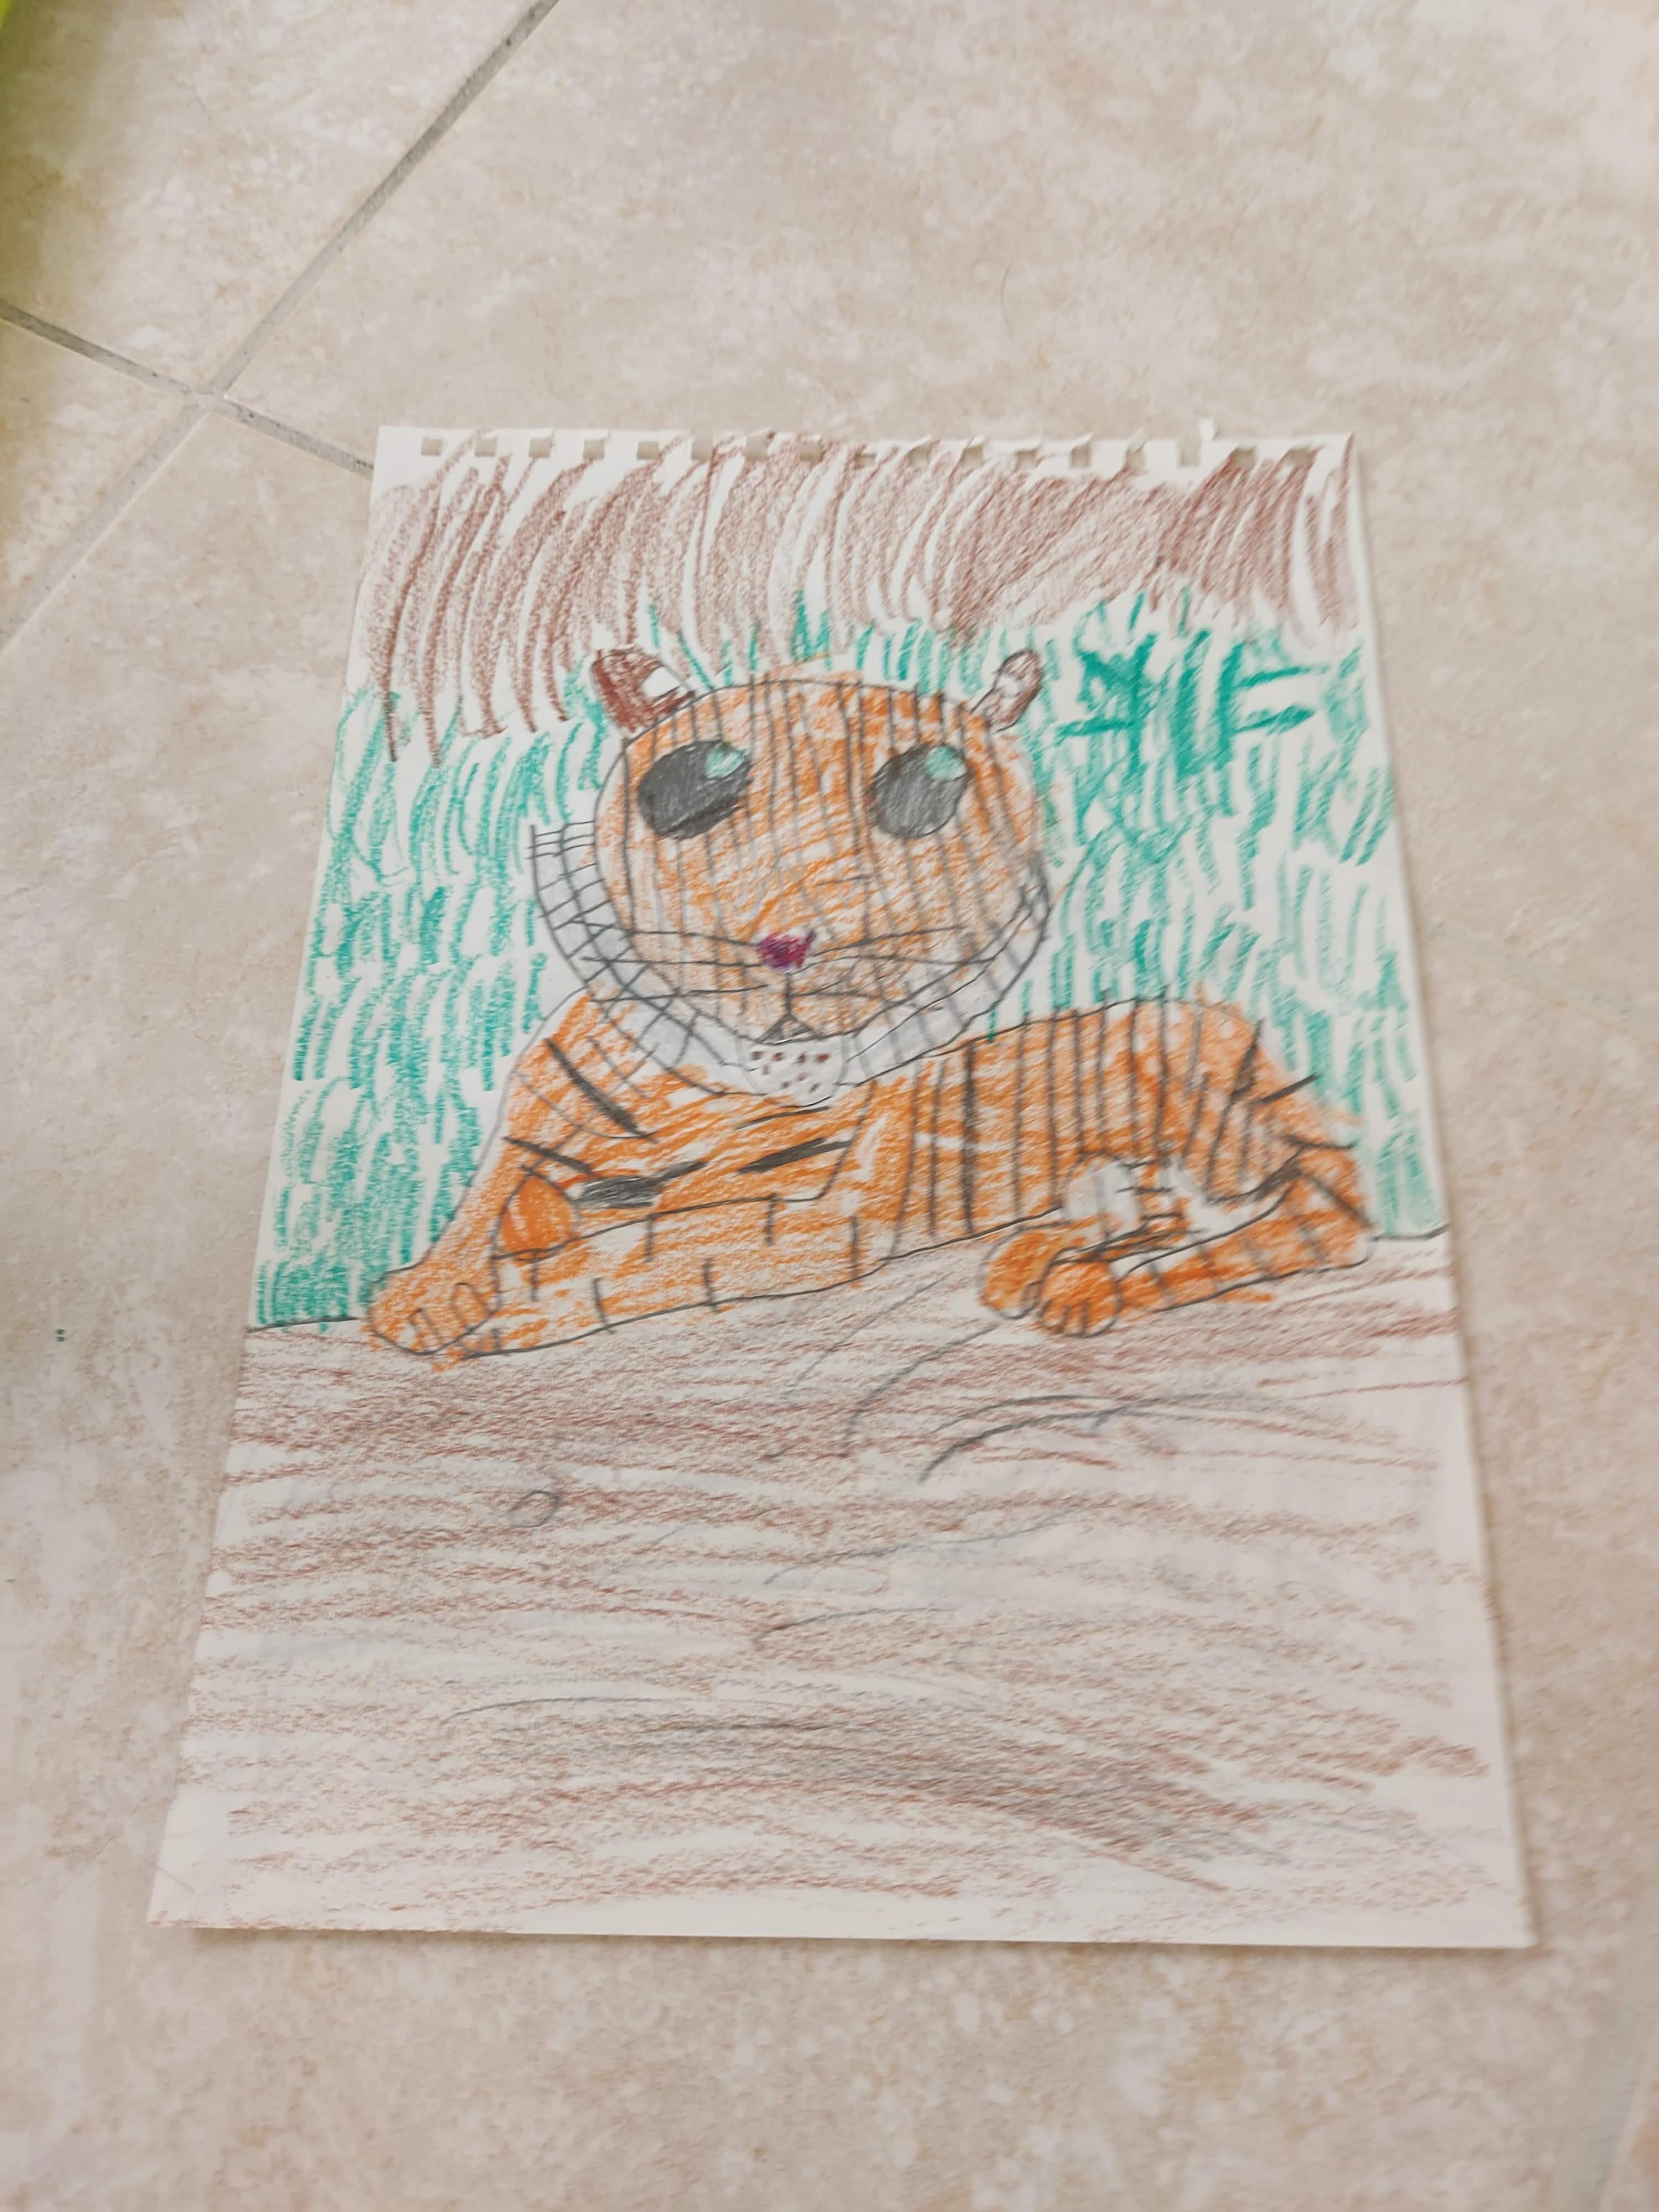
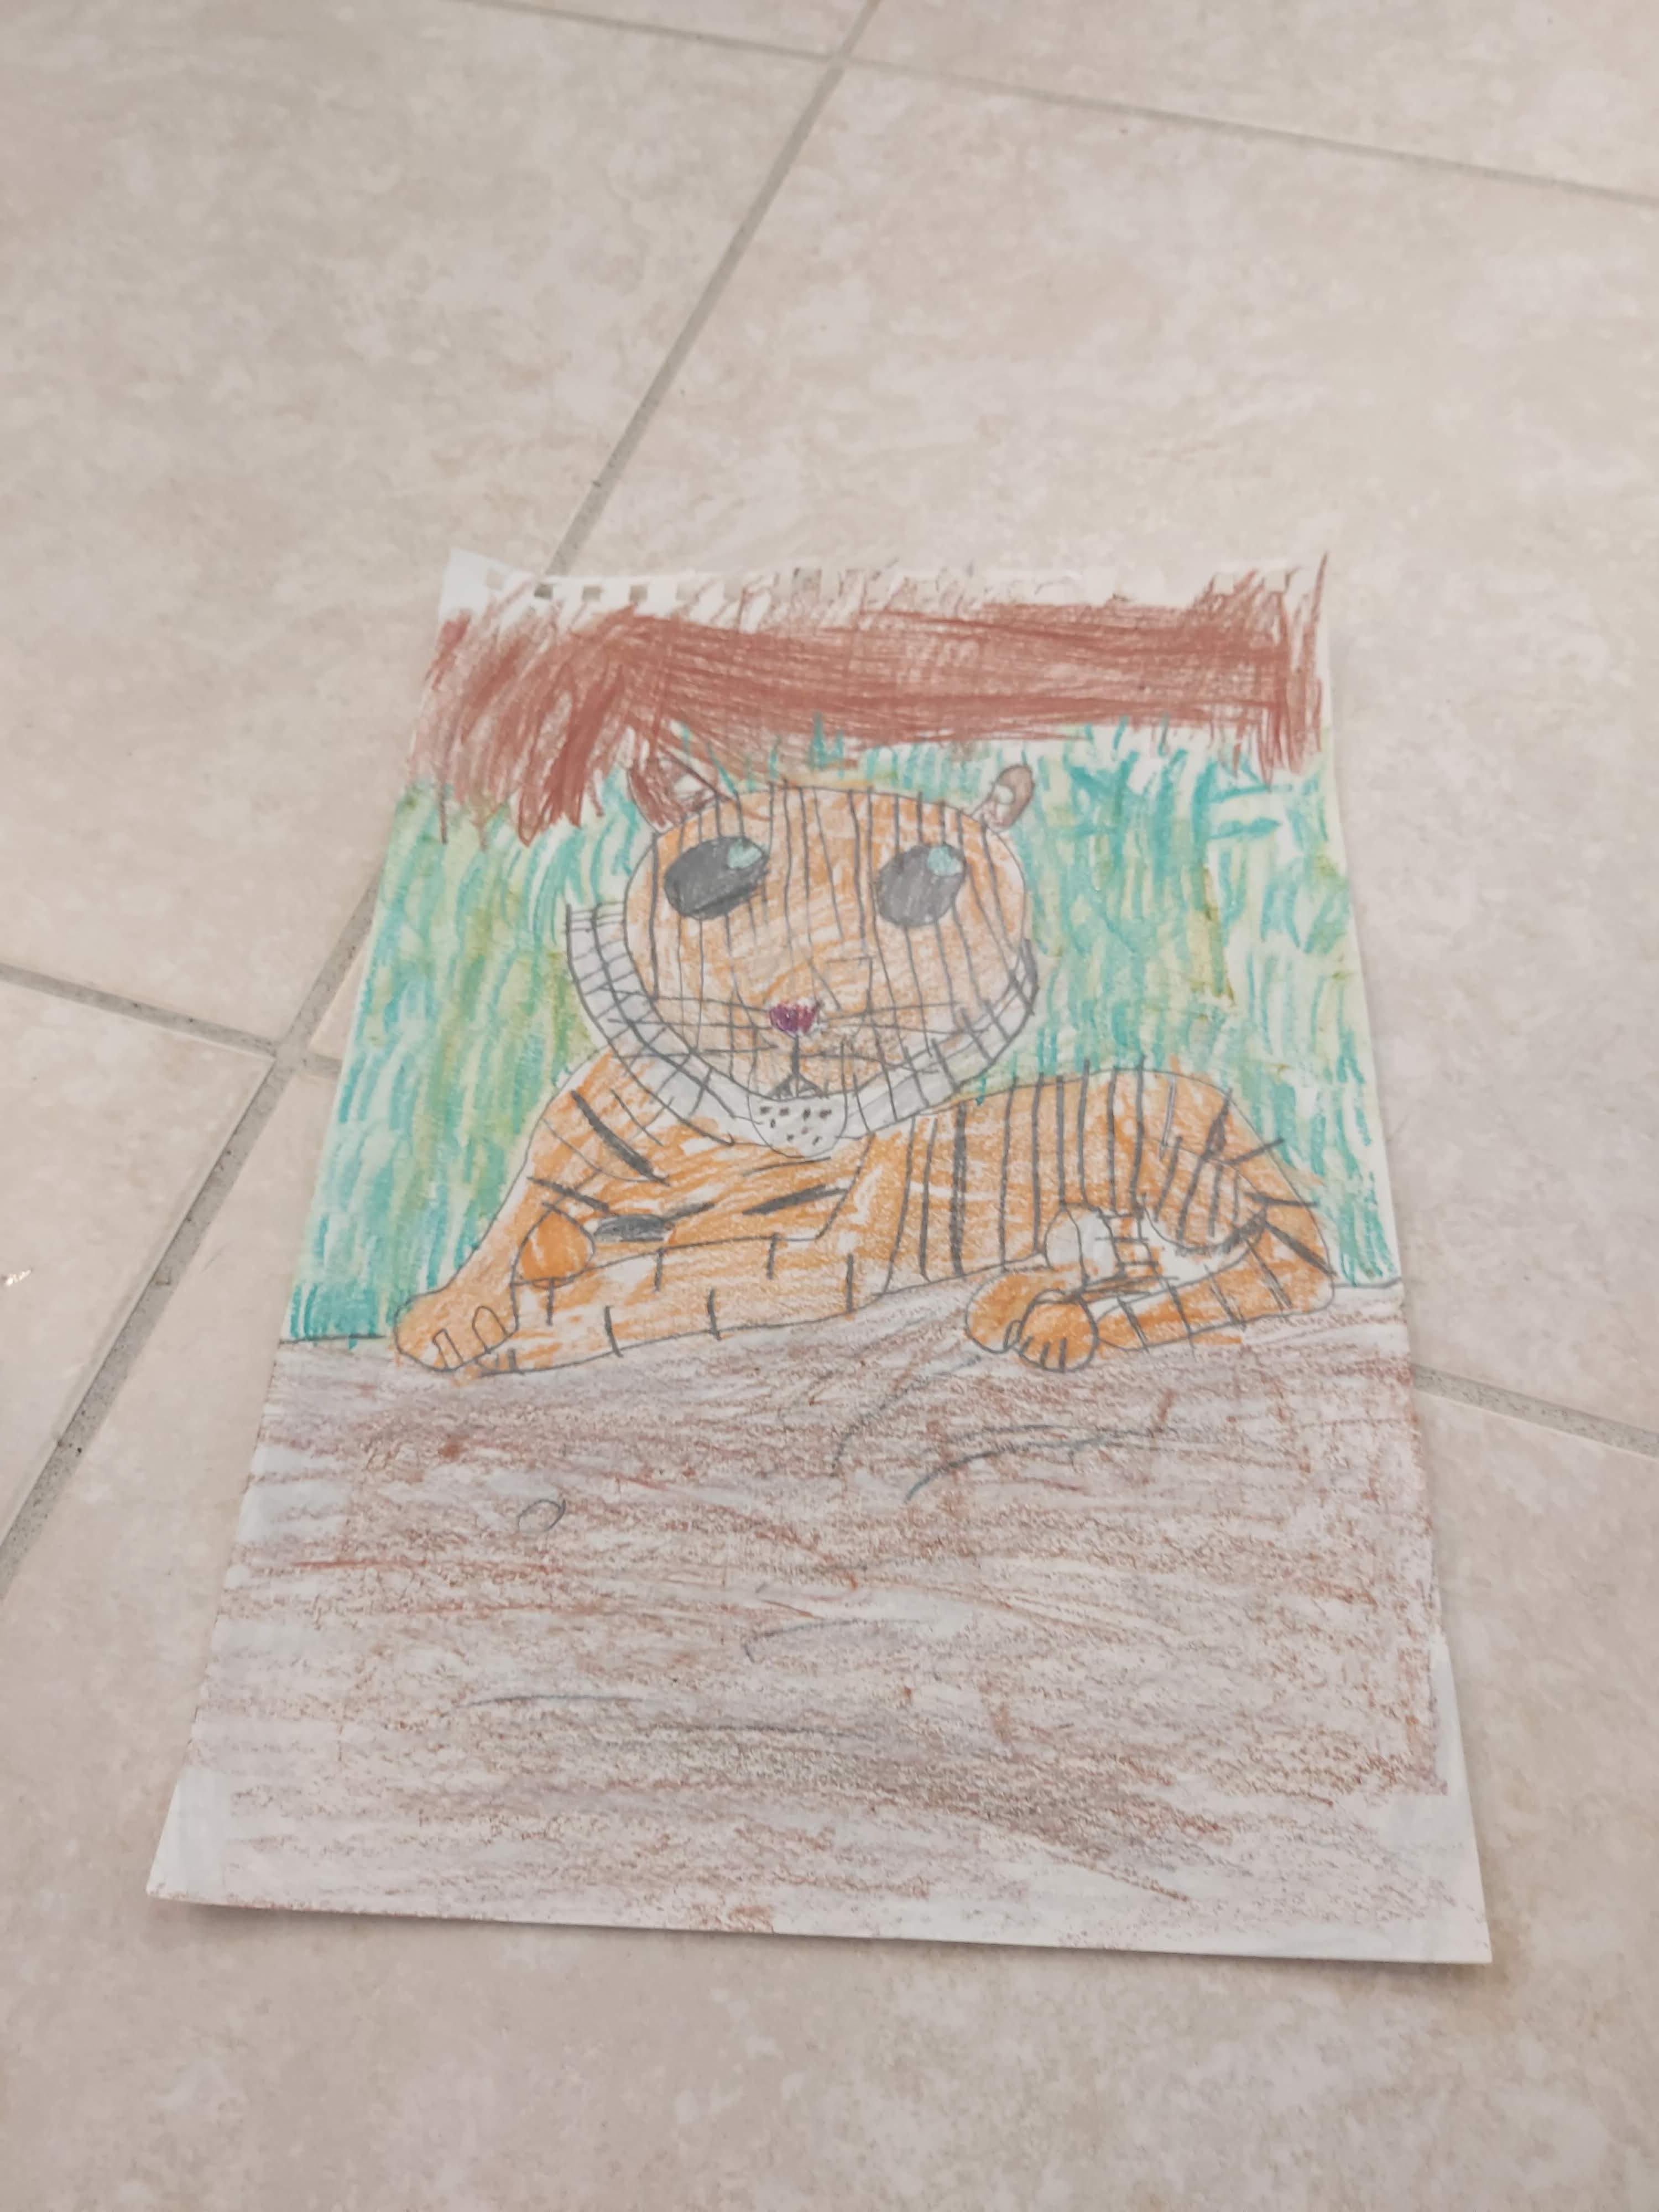
Now that you have the tiger complete we'll need to start setting the scene. To do this first add lines representing the ground and add additional detail as you begin to work around them. After I added basic details I added color to help the tiger stand out.
- Draw lines for the ground
- Color in the grass and bottom of trees
- Color in ground
- Touch up coloring as needed to complete the scene
Cut and Draw Ground 🪱
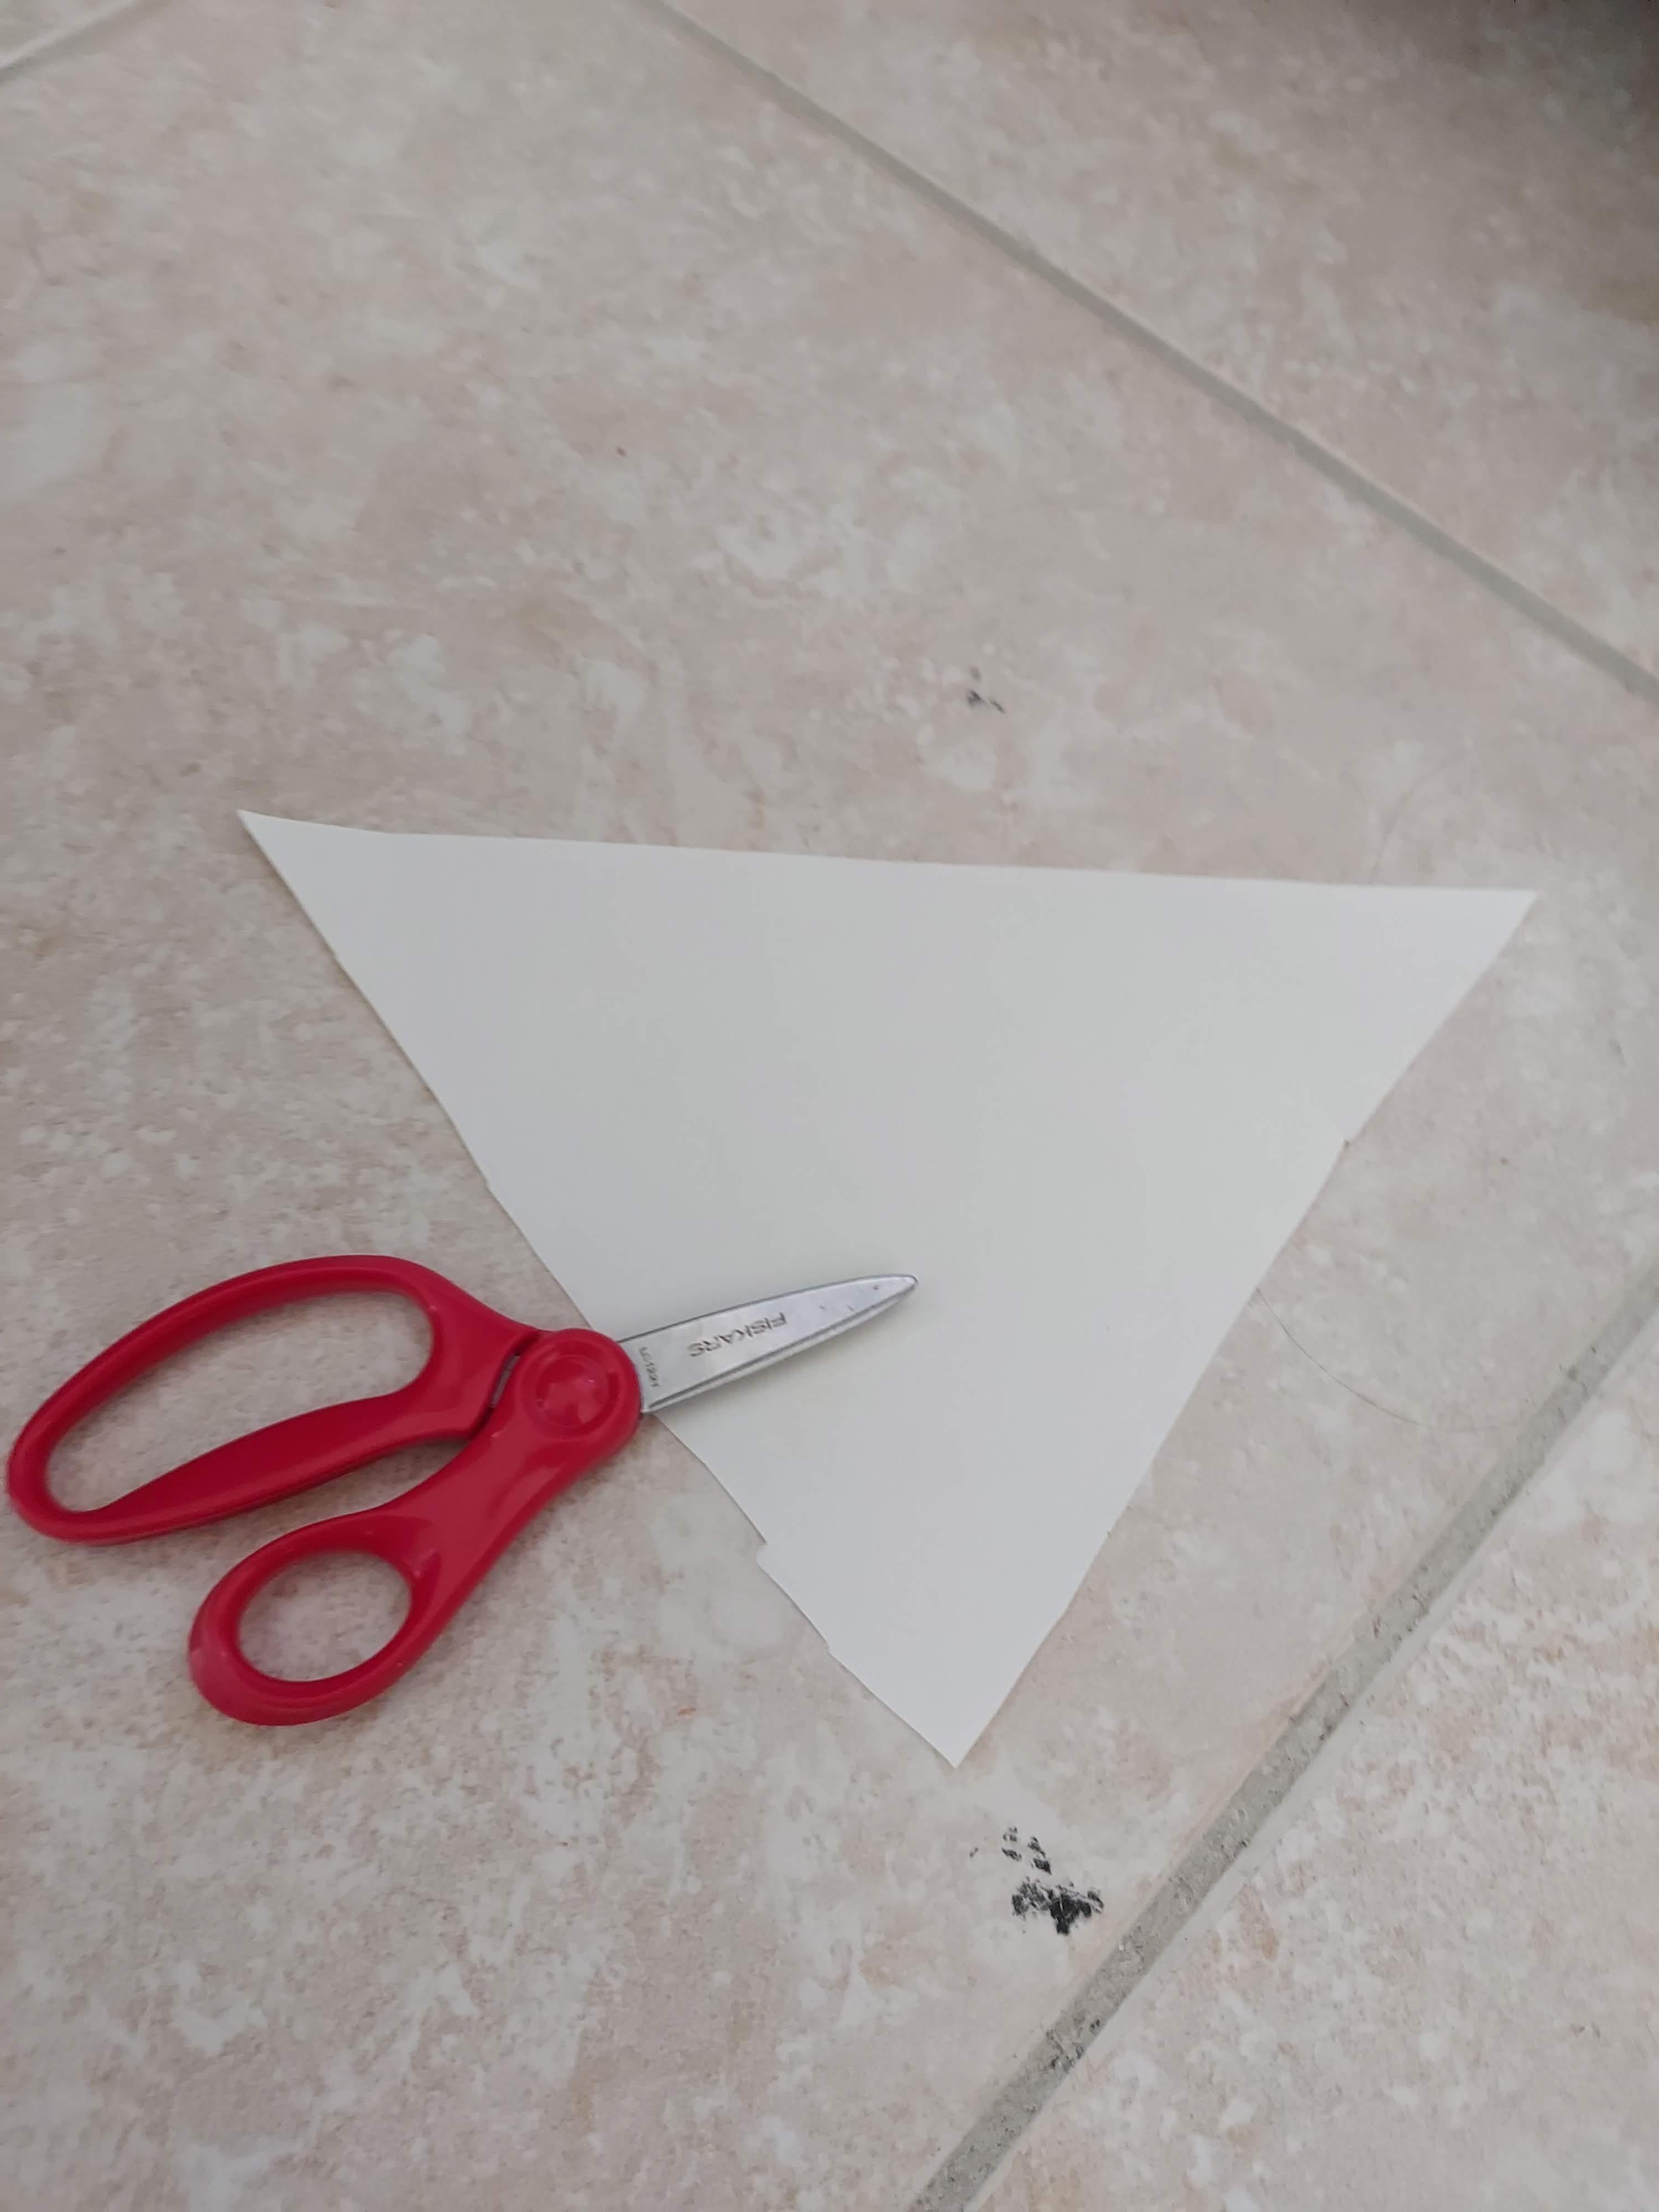
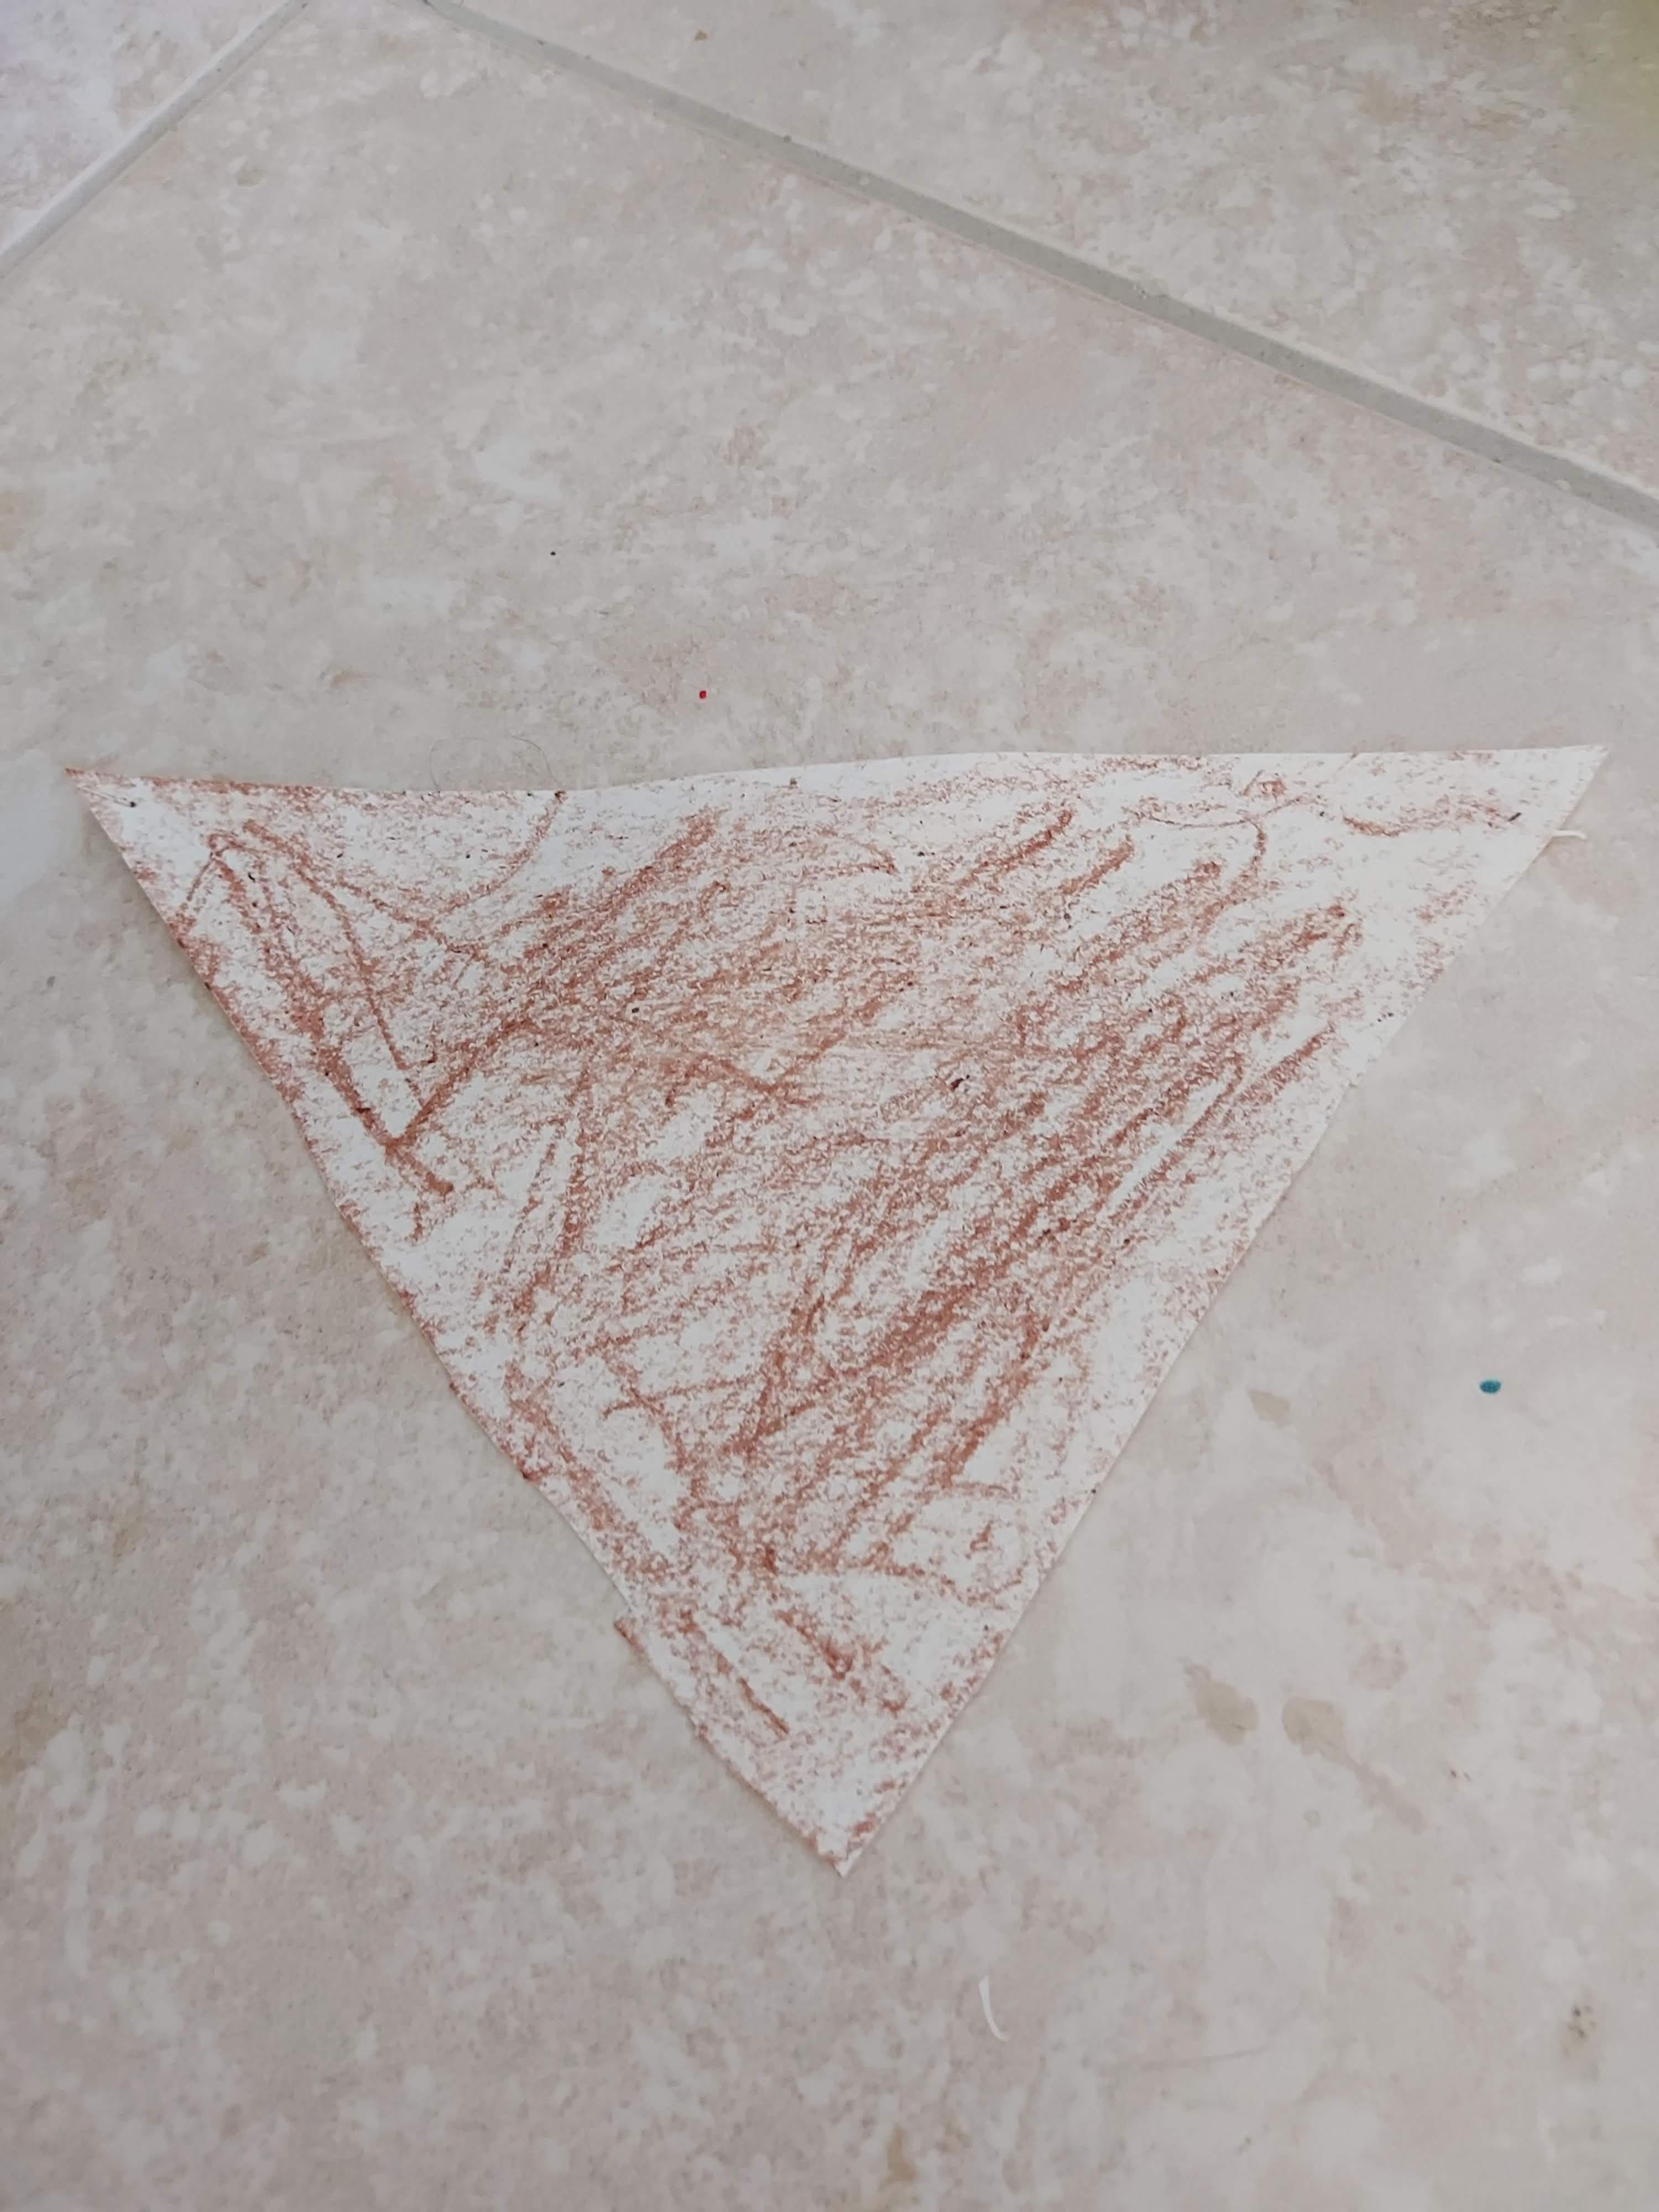
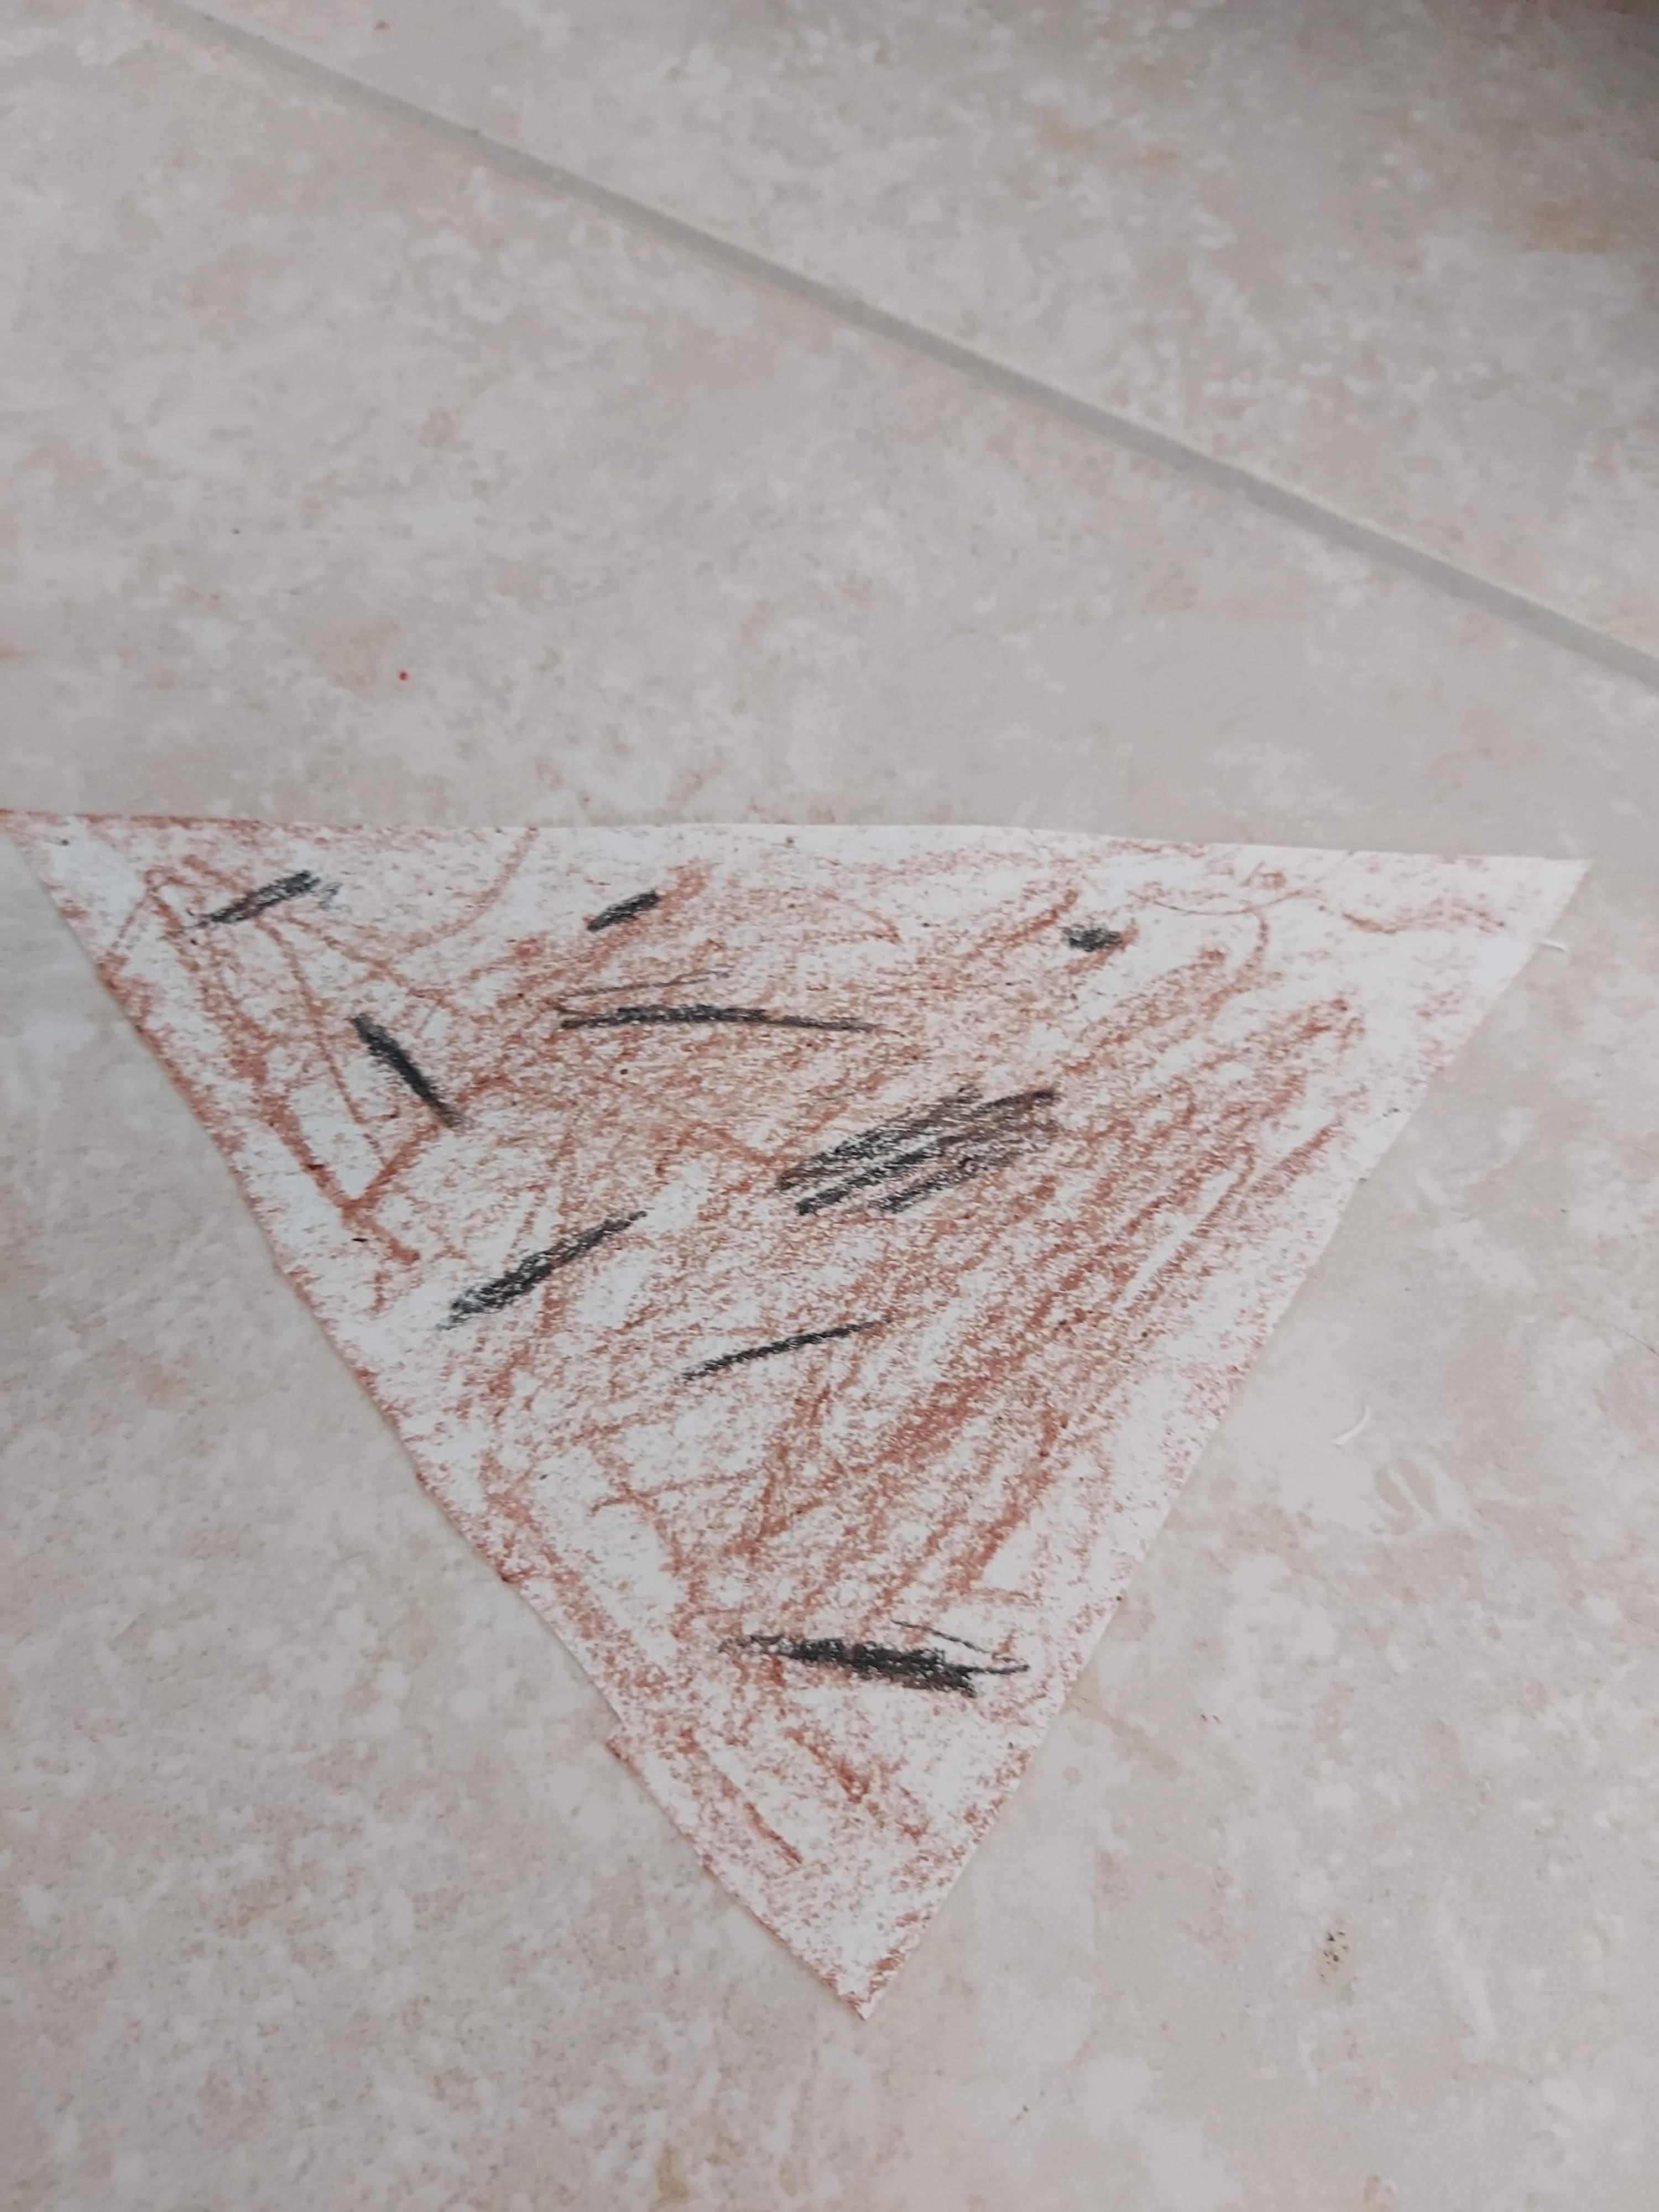
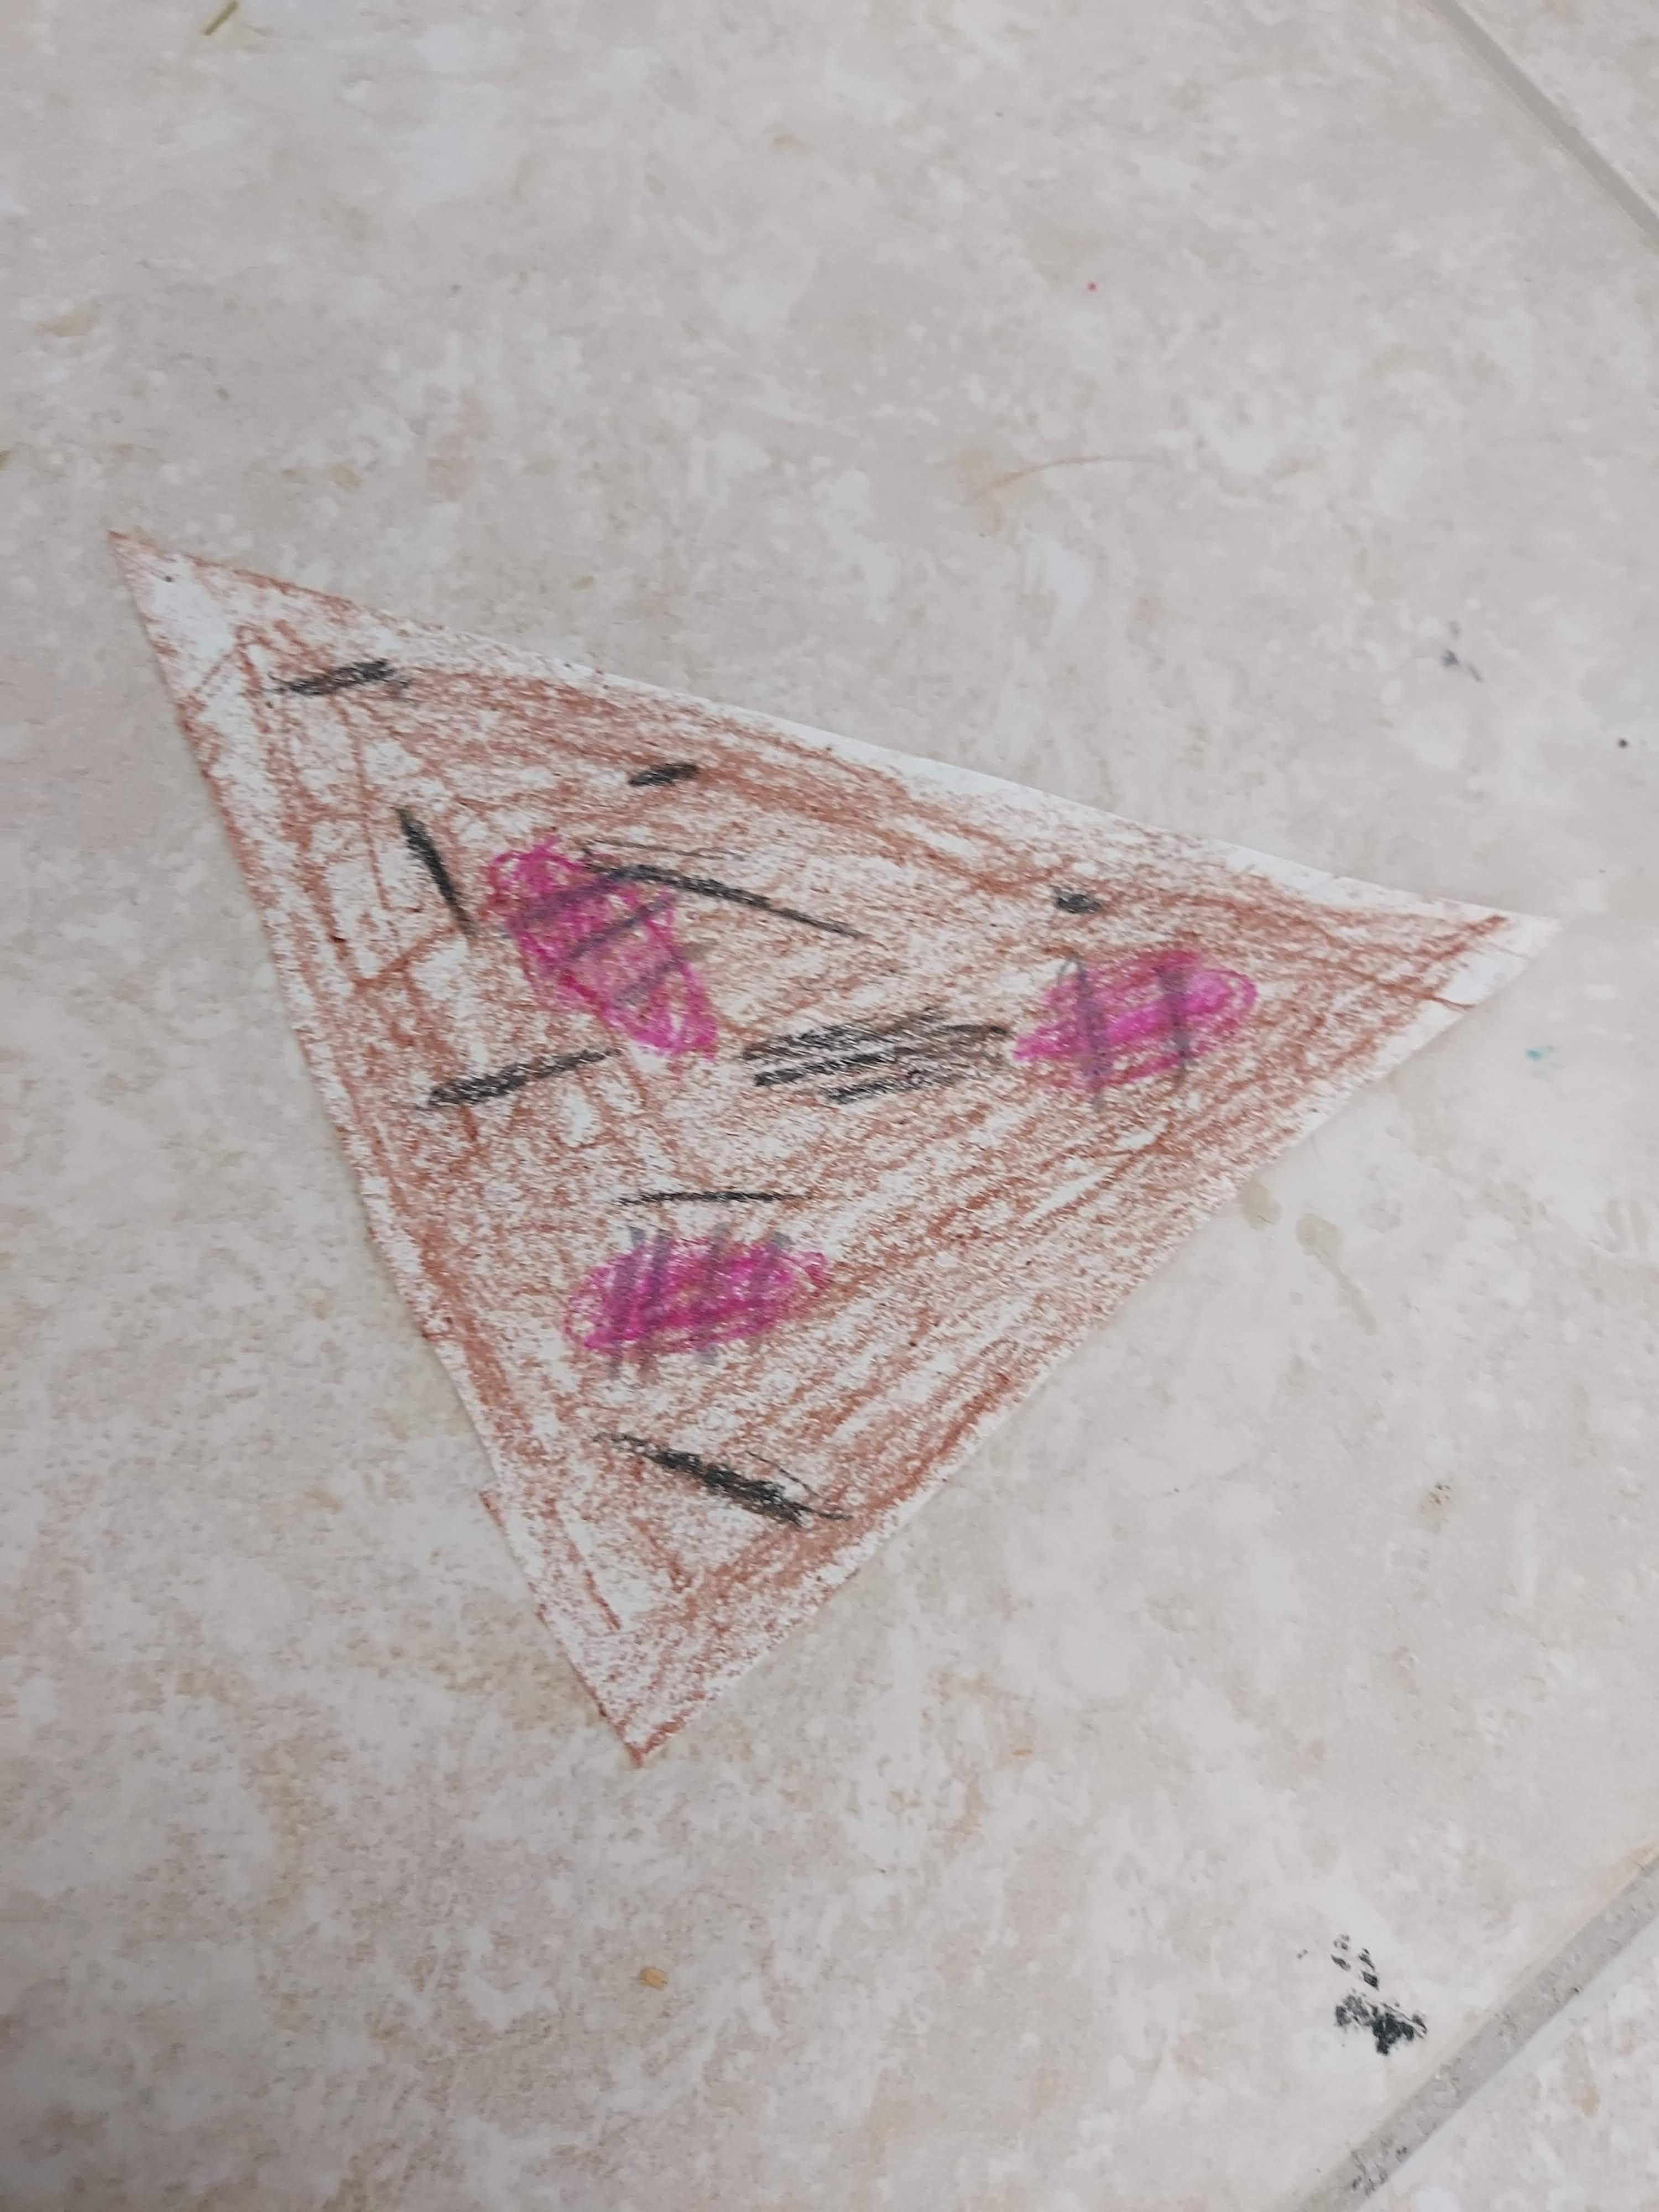
With the main image done let's get started on the ground part.
- Cut a piece of paper into a triangle
- Color the paper brown representing the ground
- Add lines to create depth in the drawing
- Add worms in pink
Draw Sky 🌄
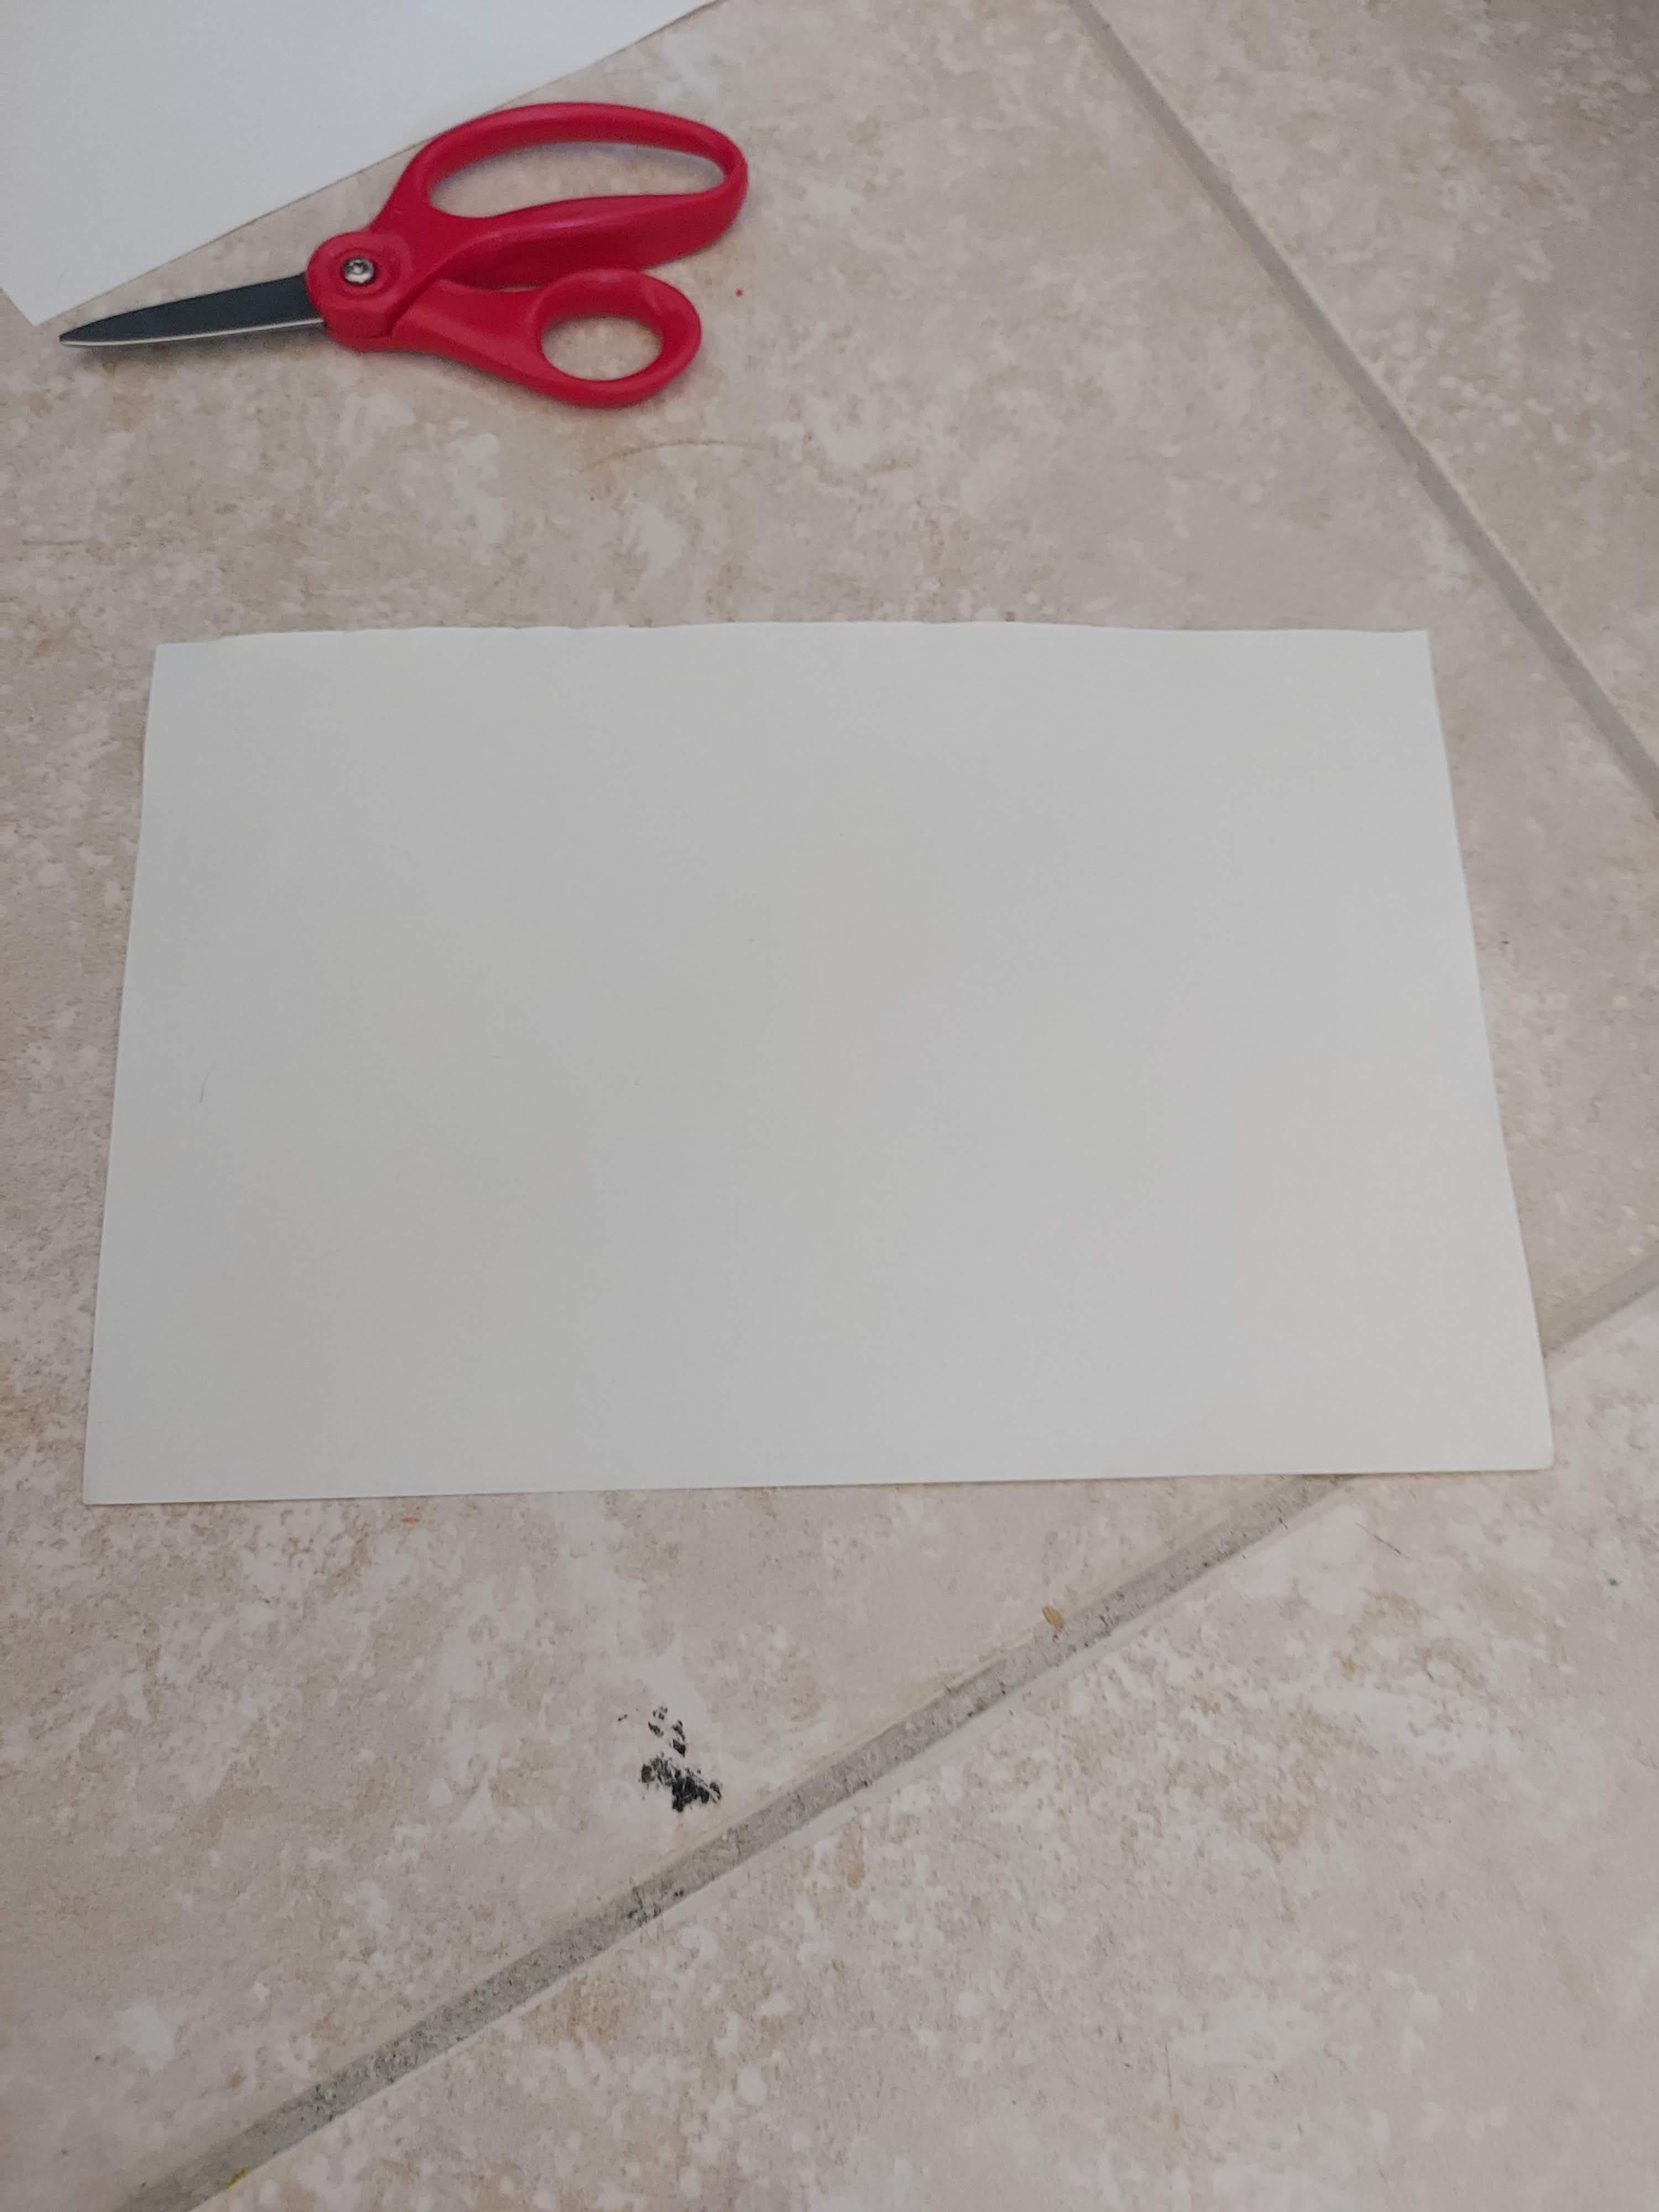
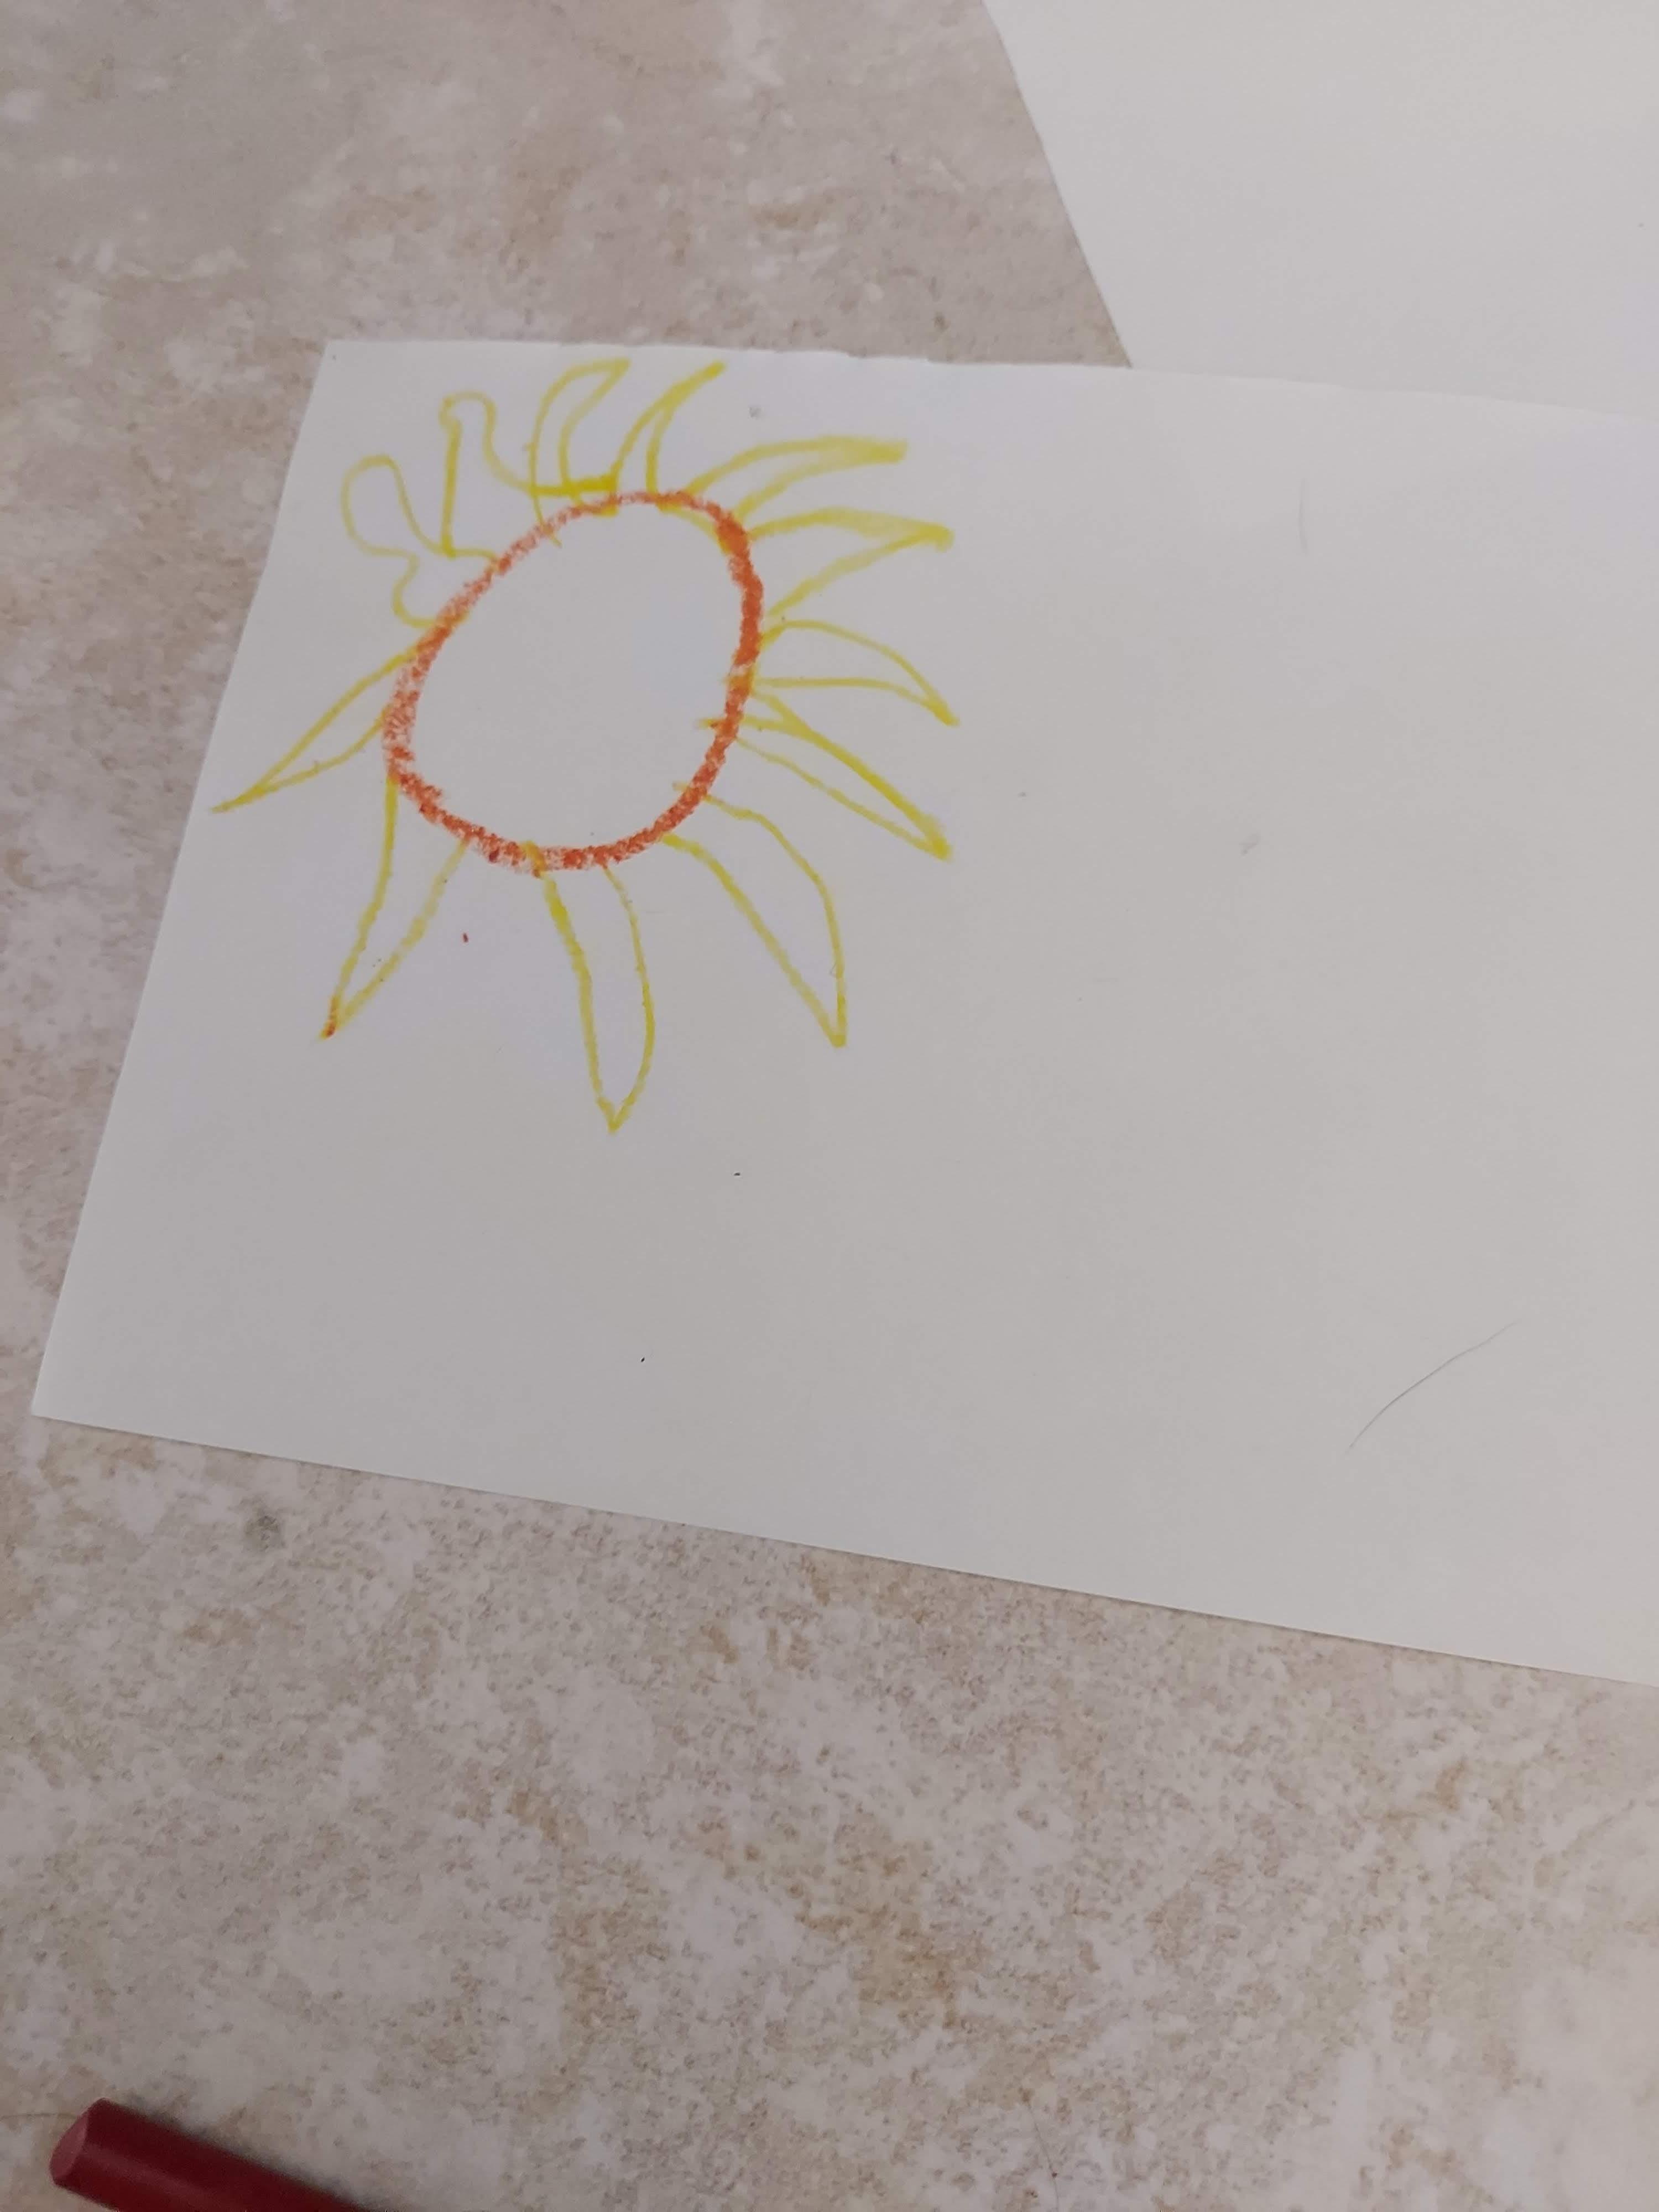
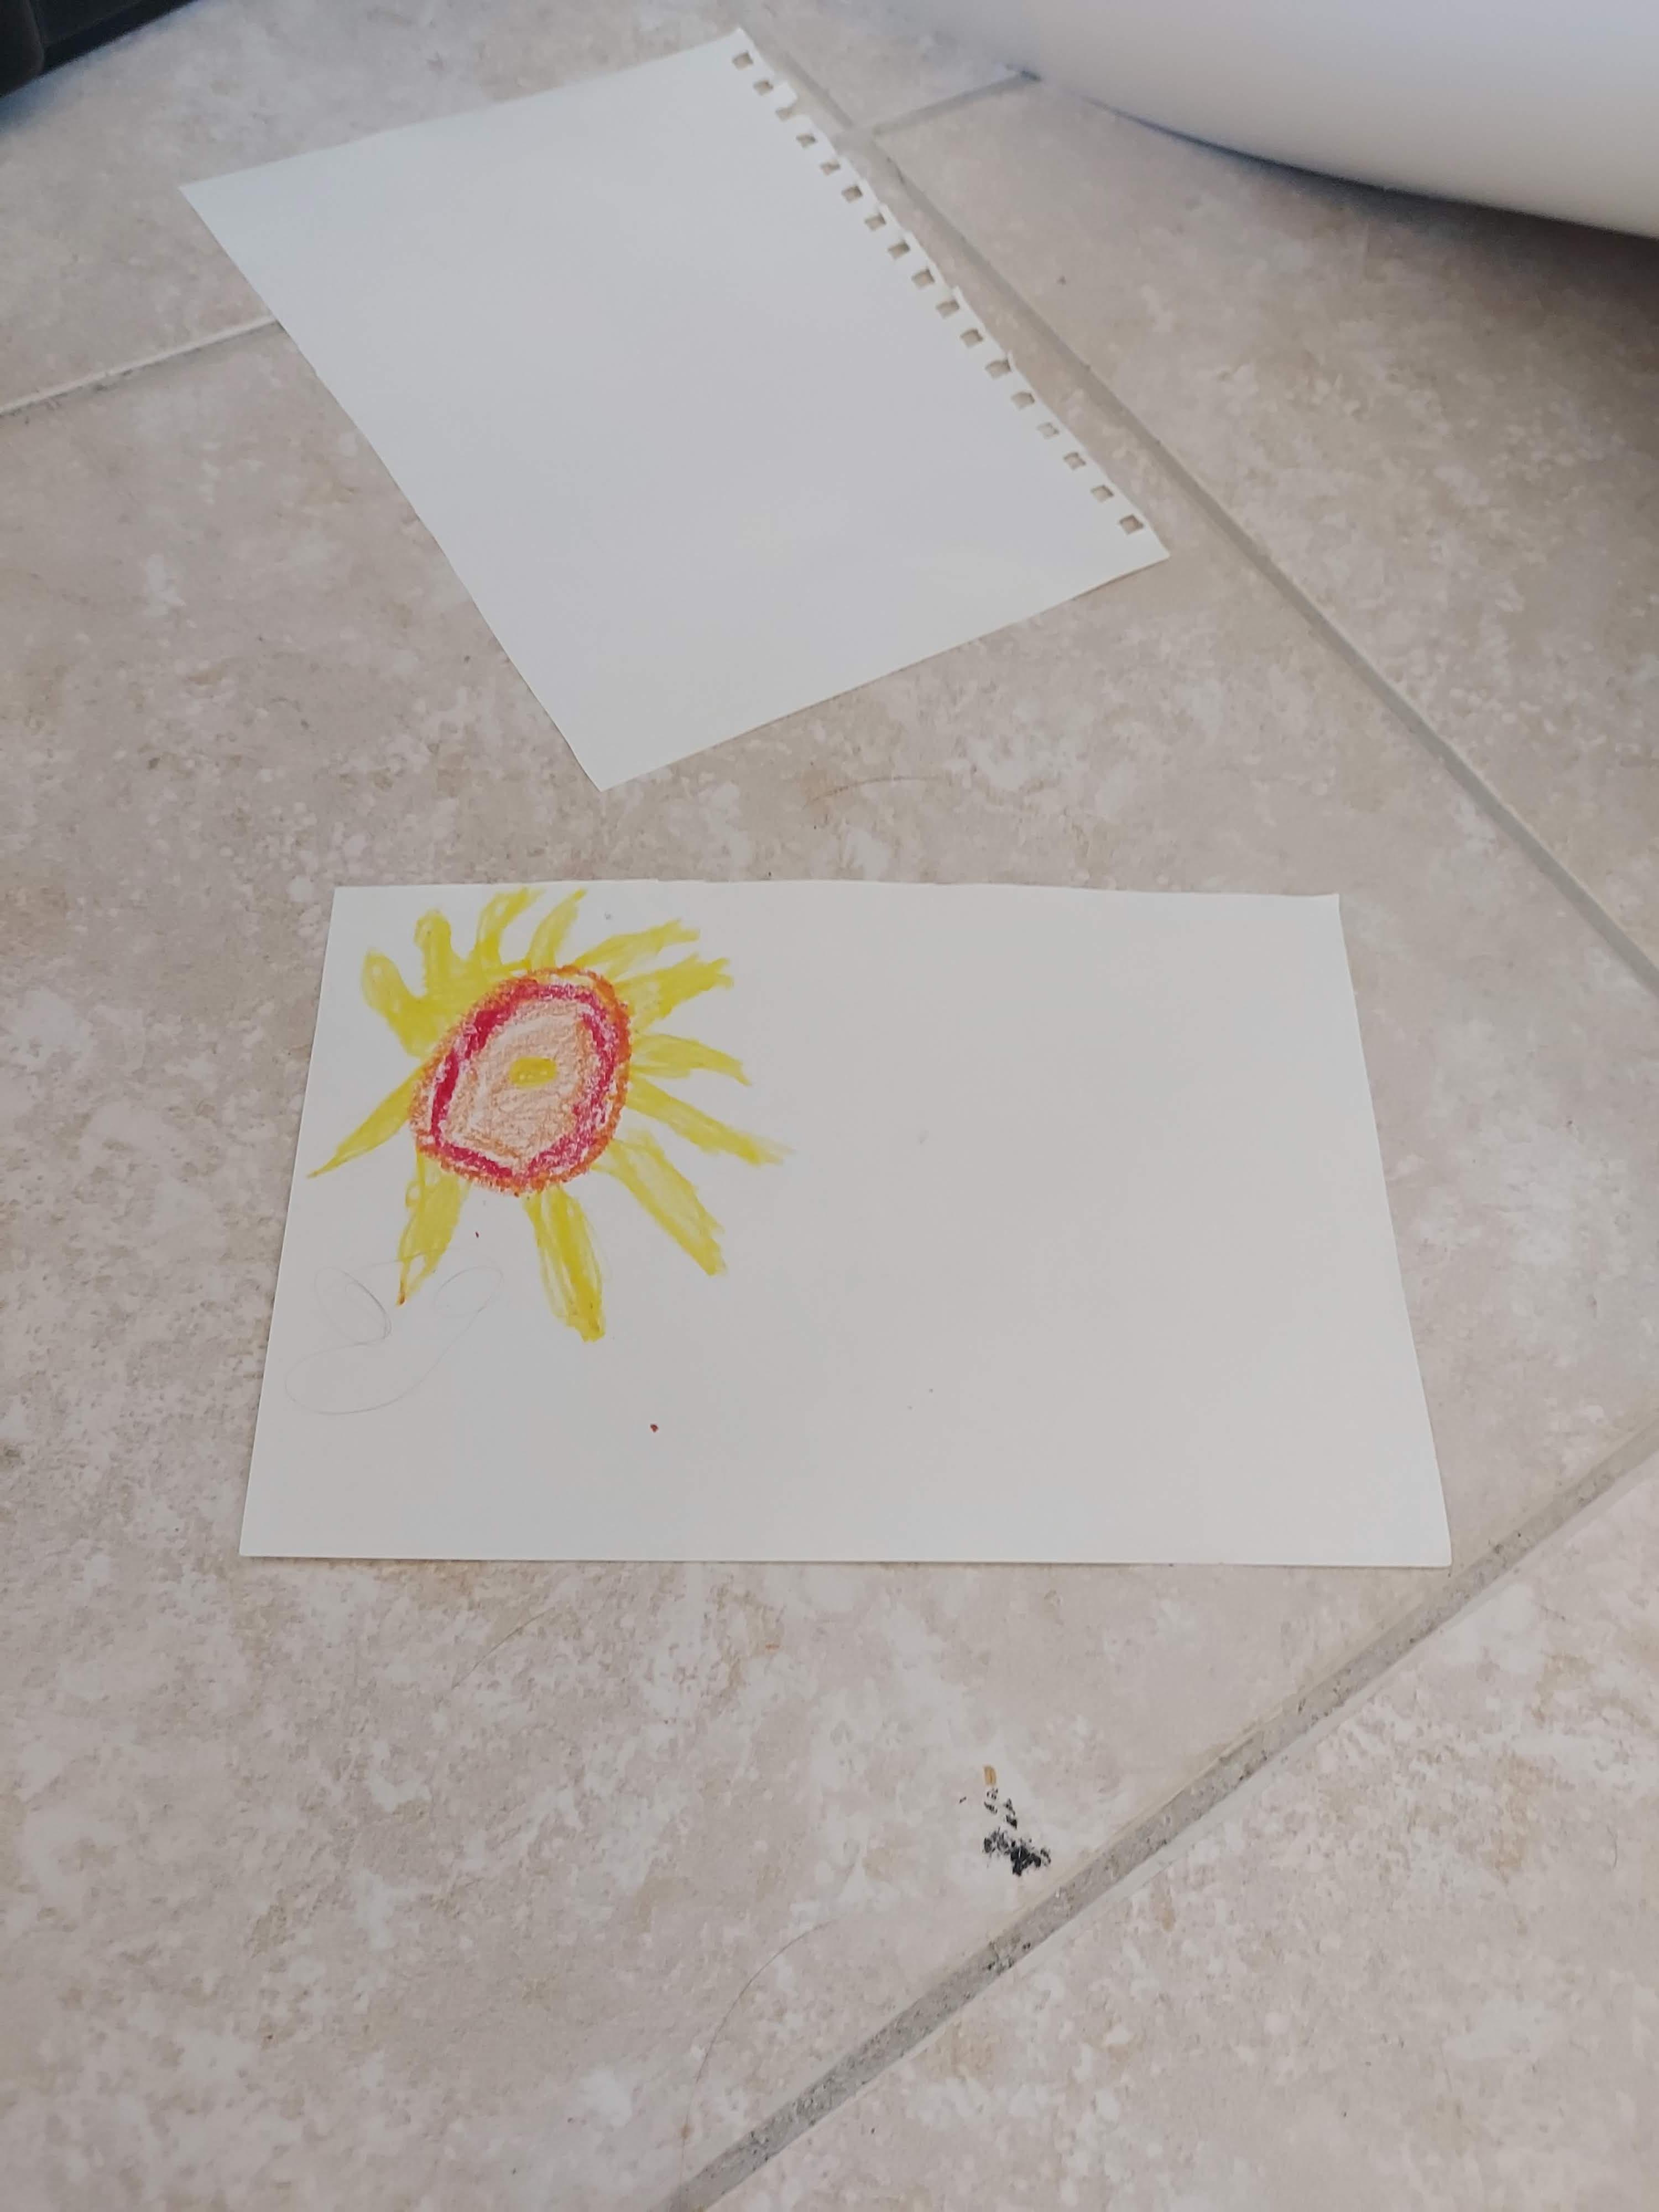
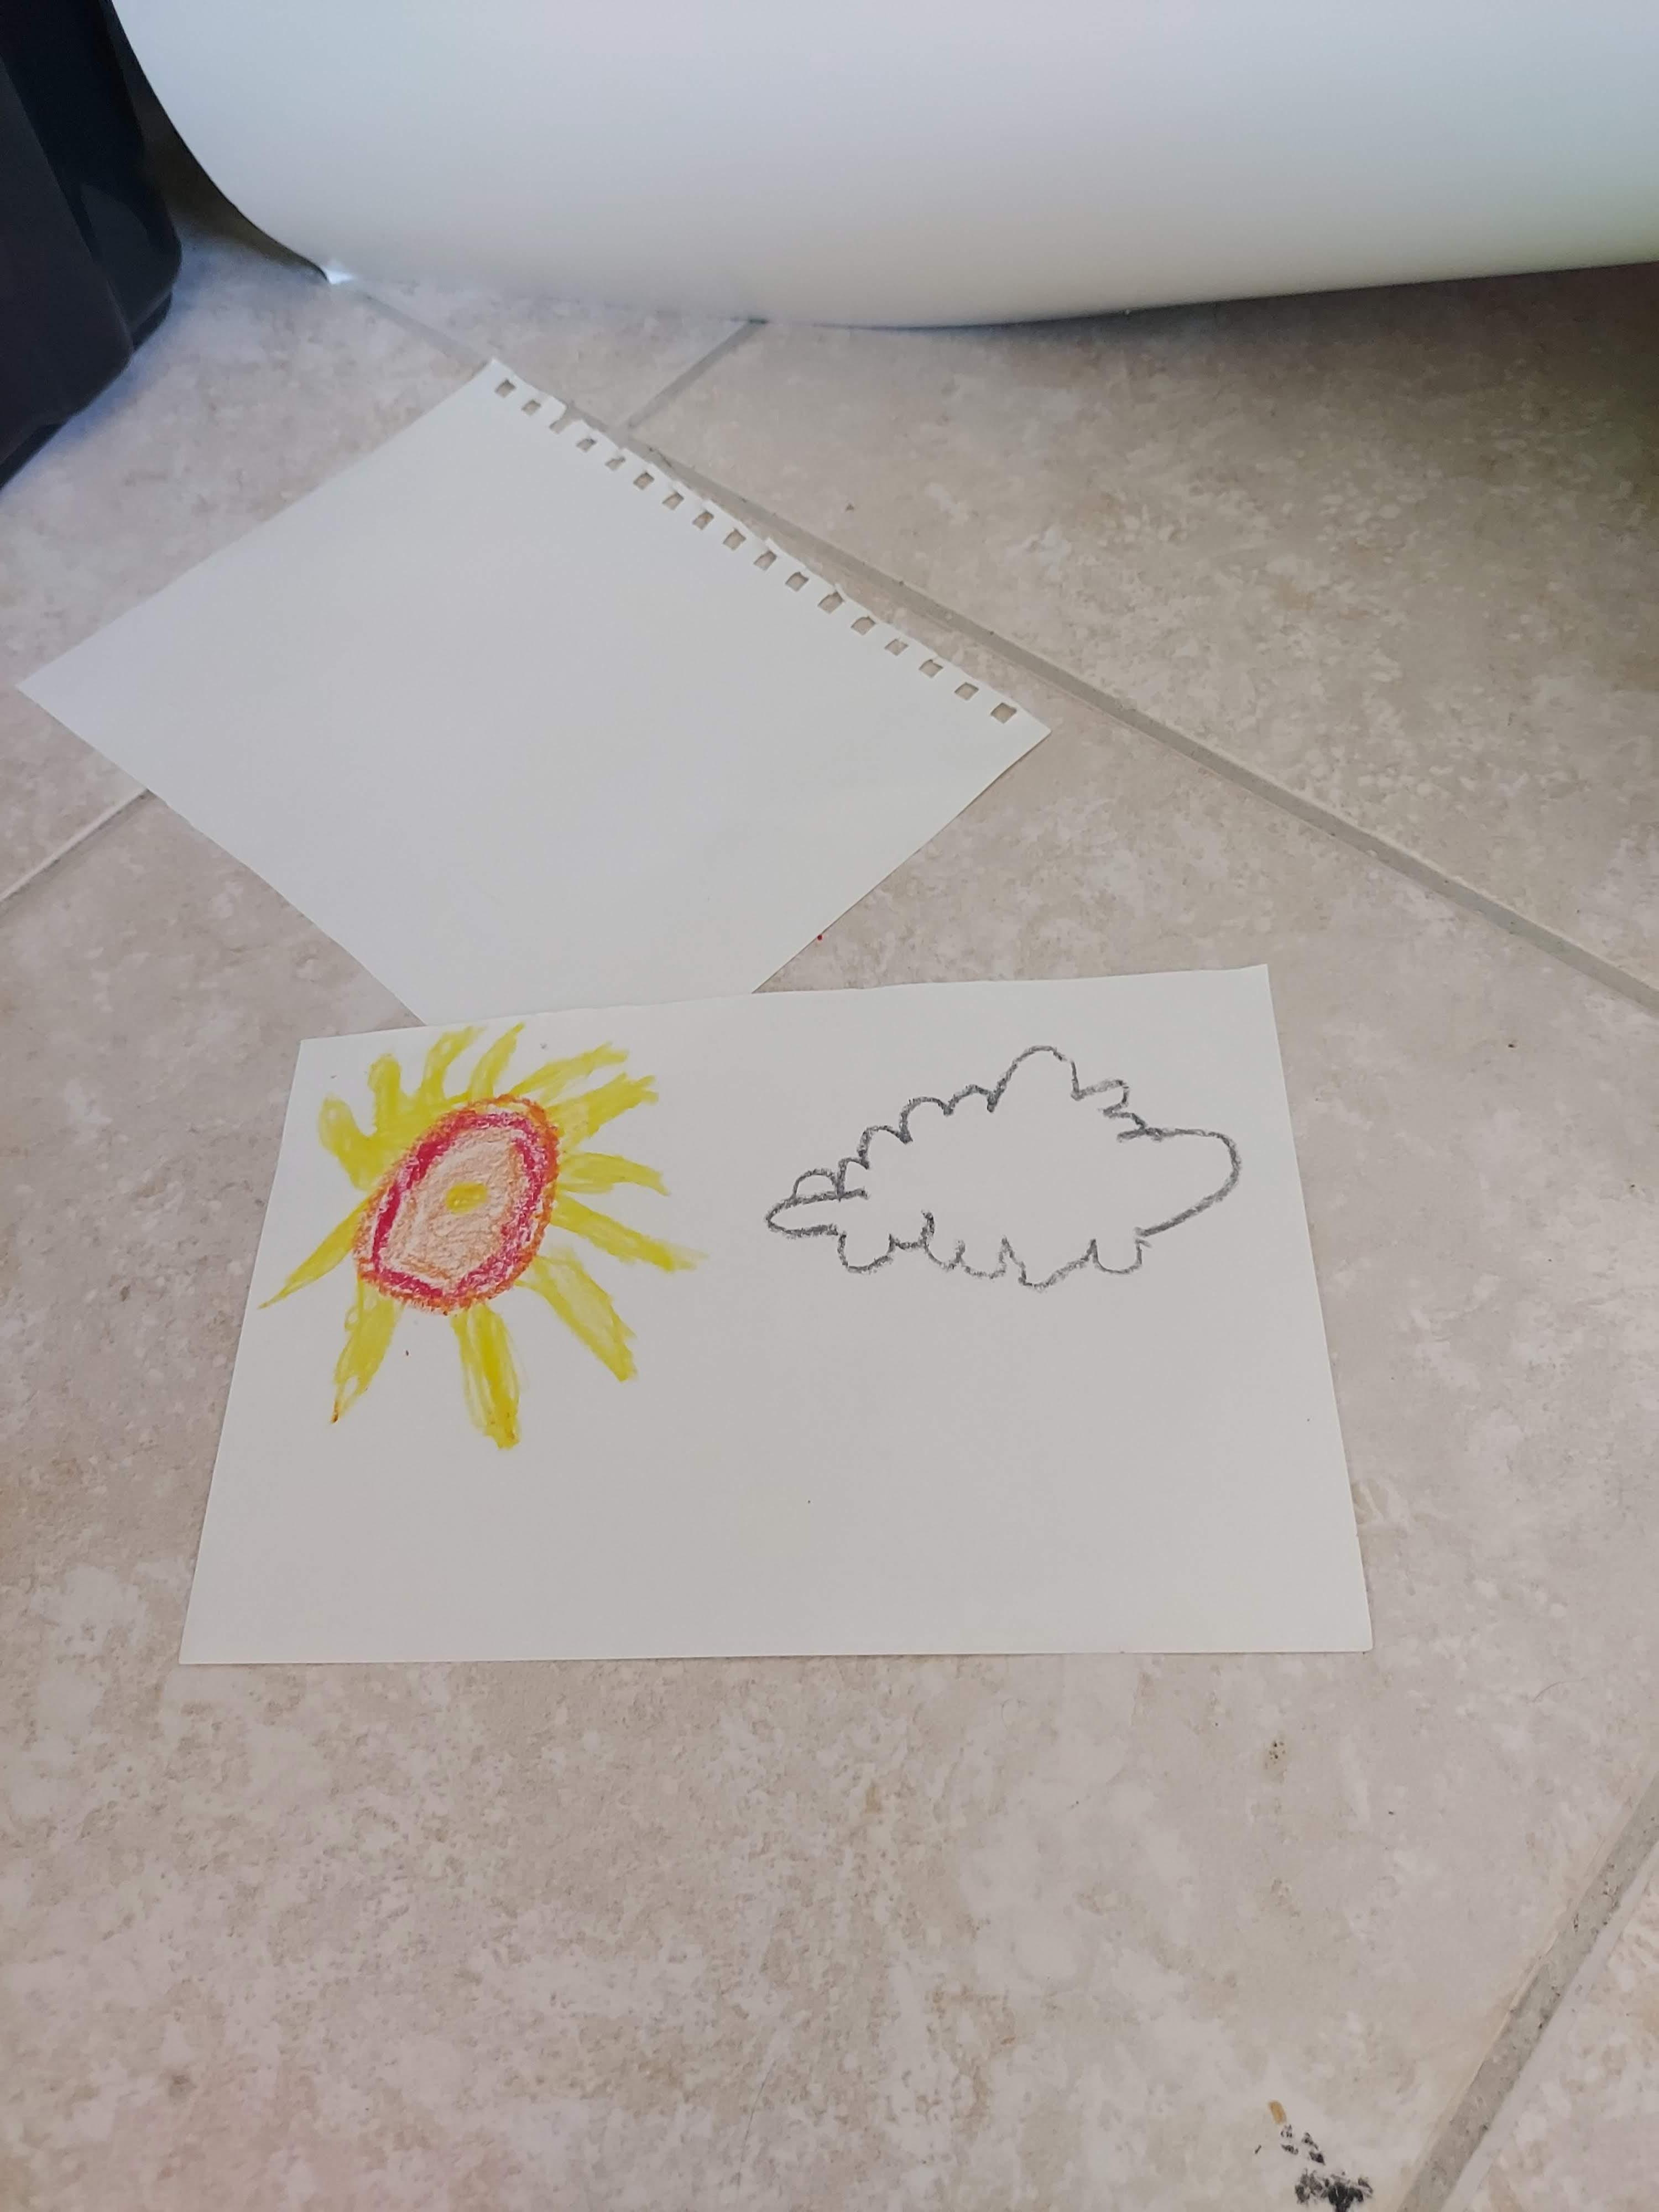
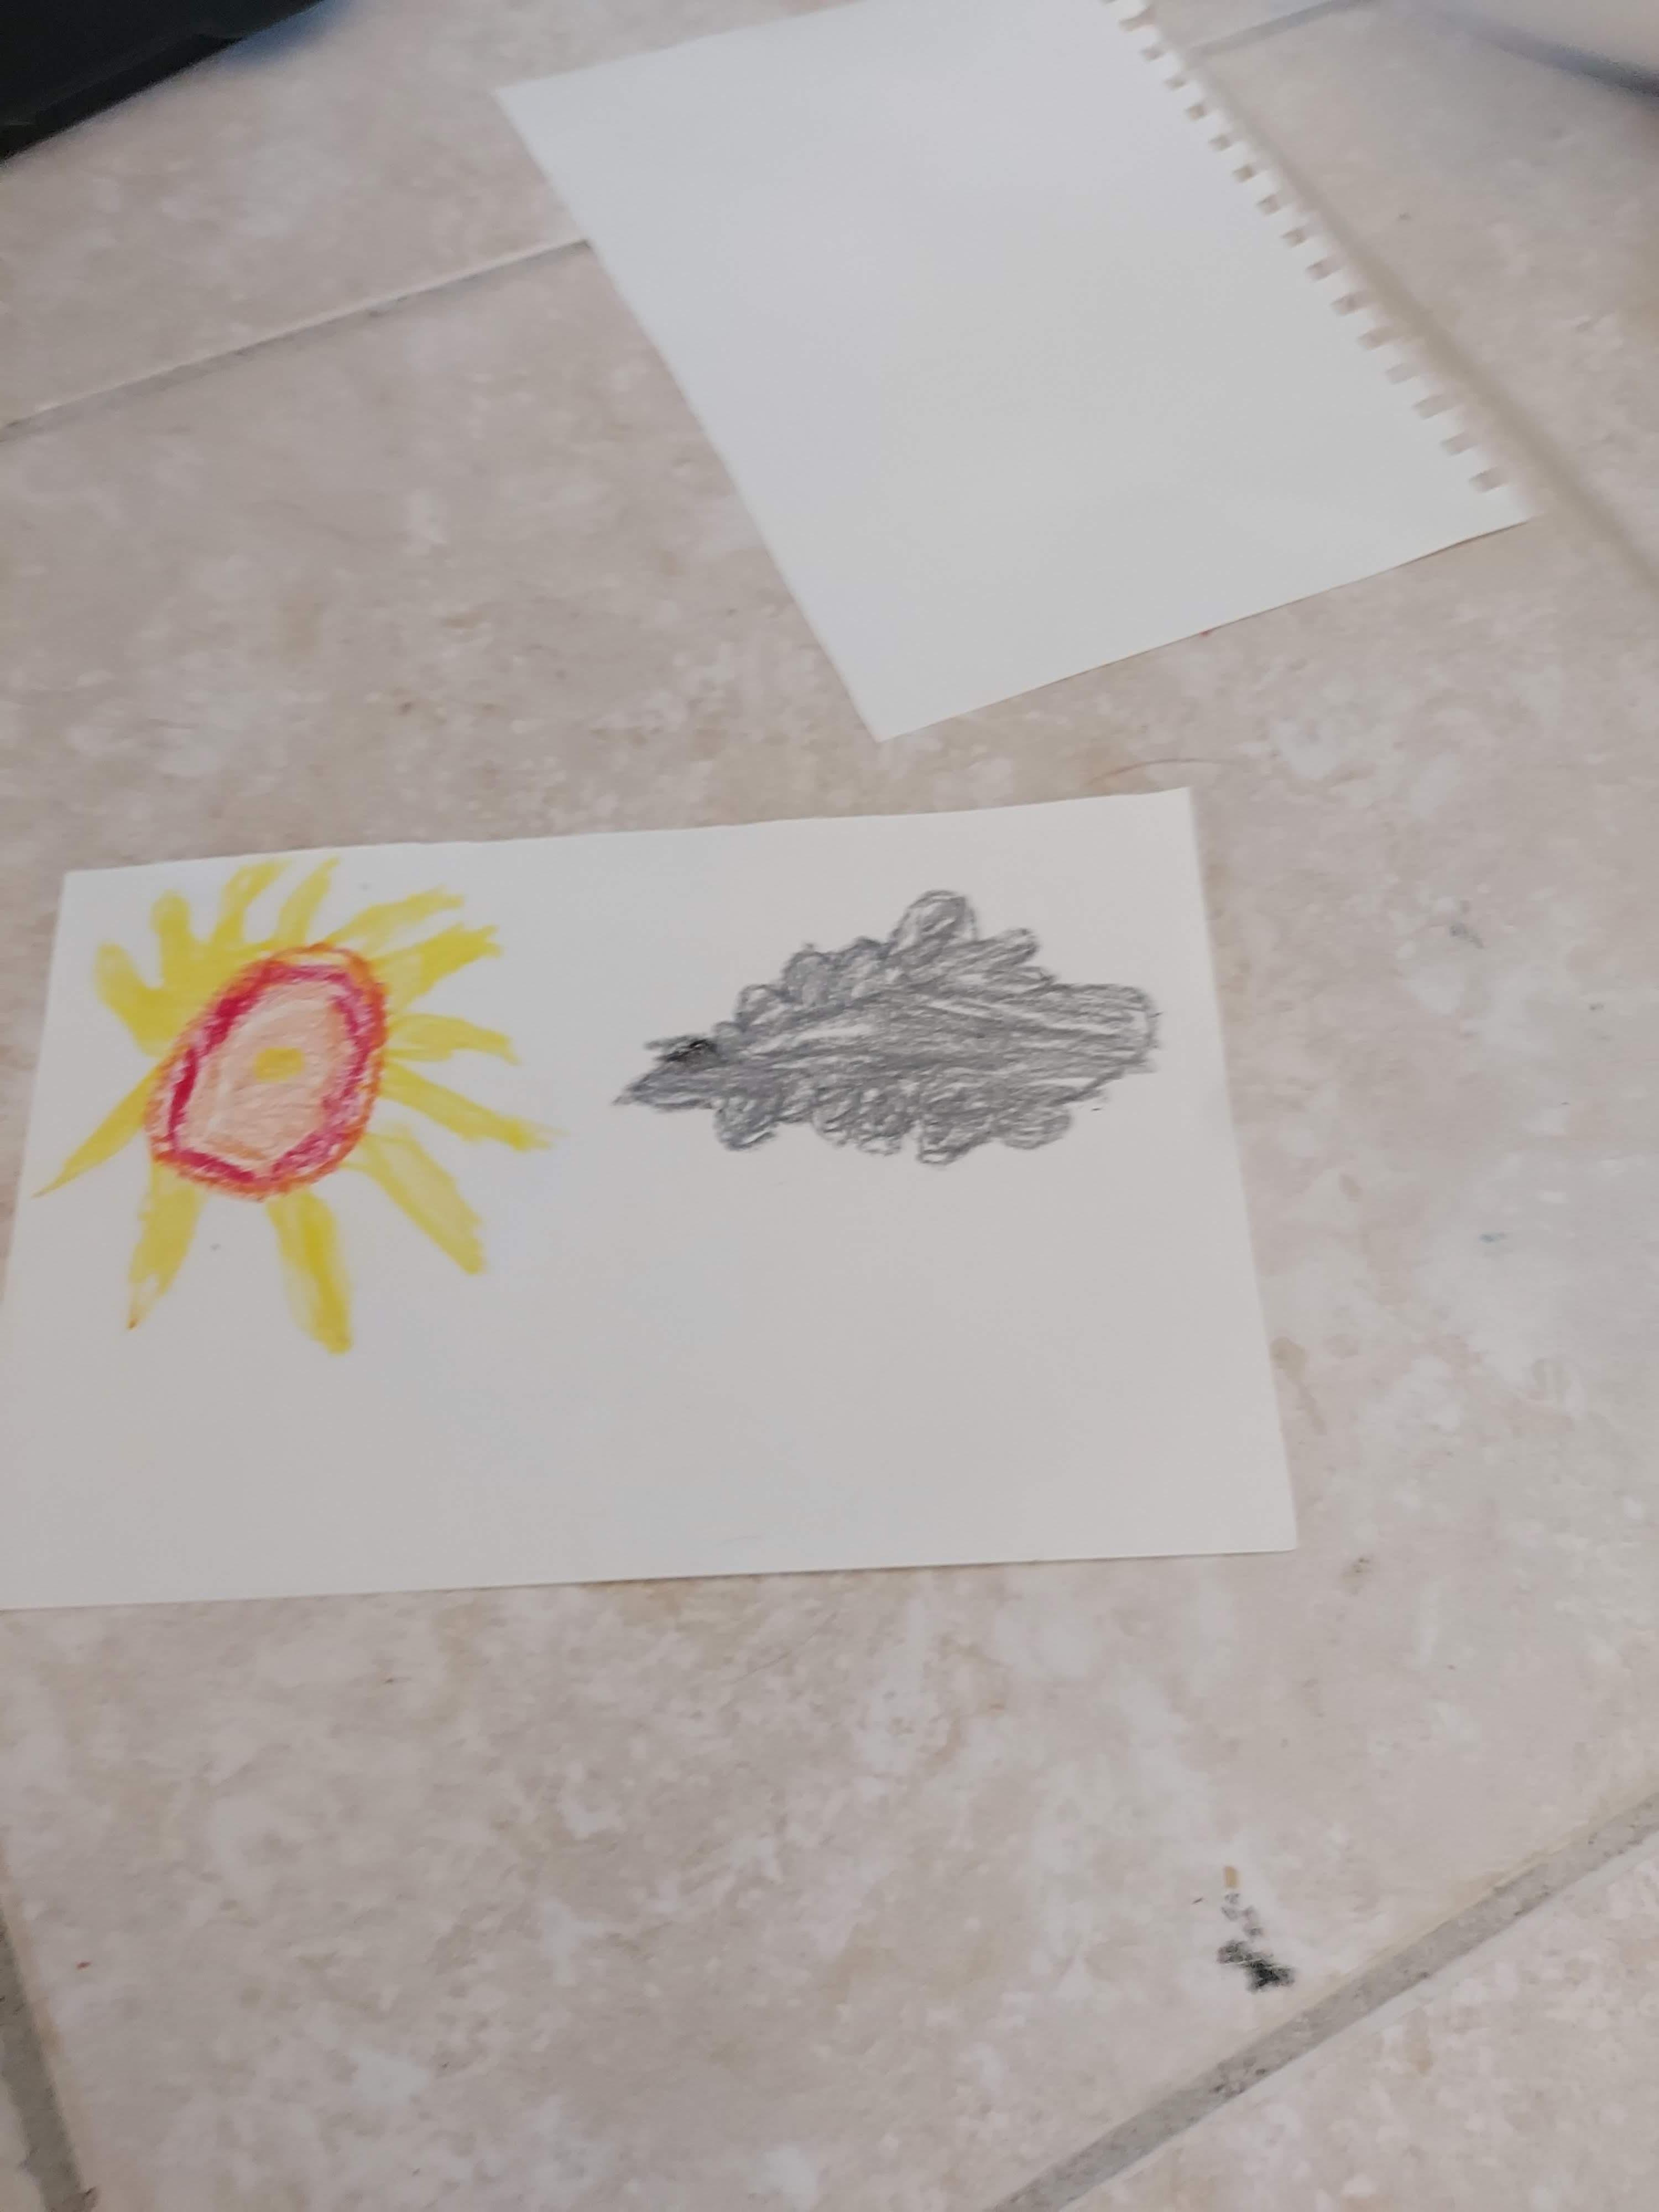
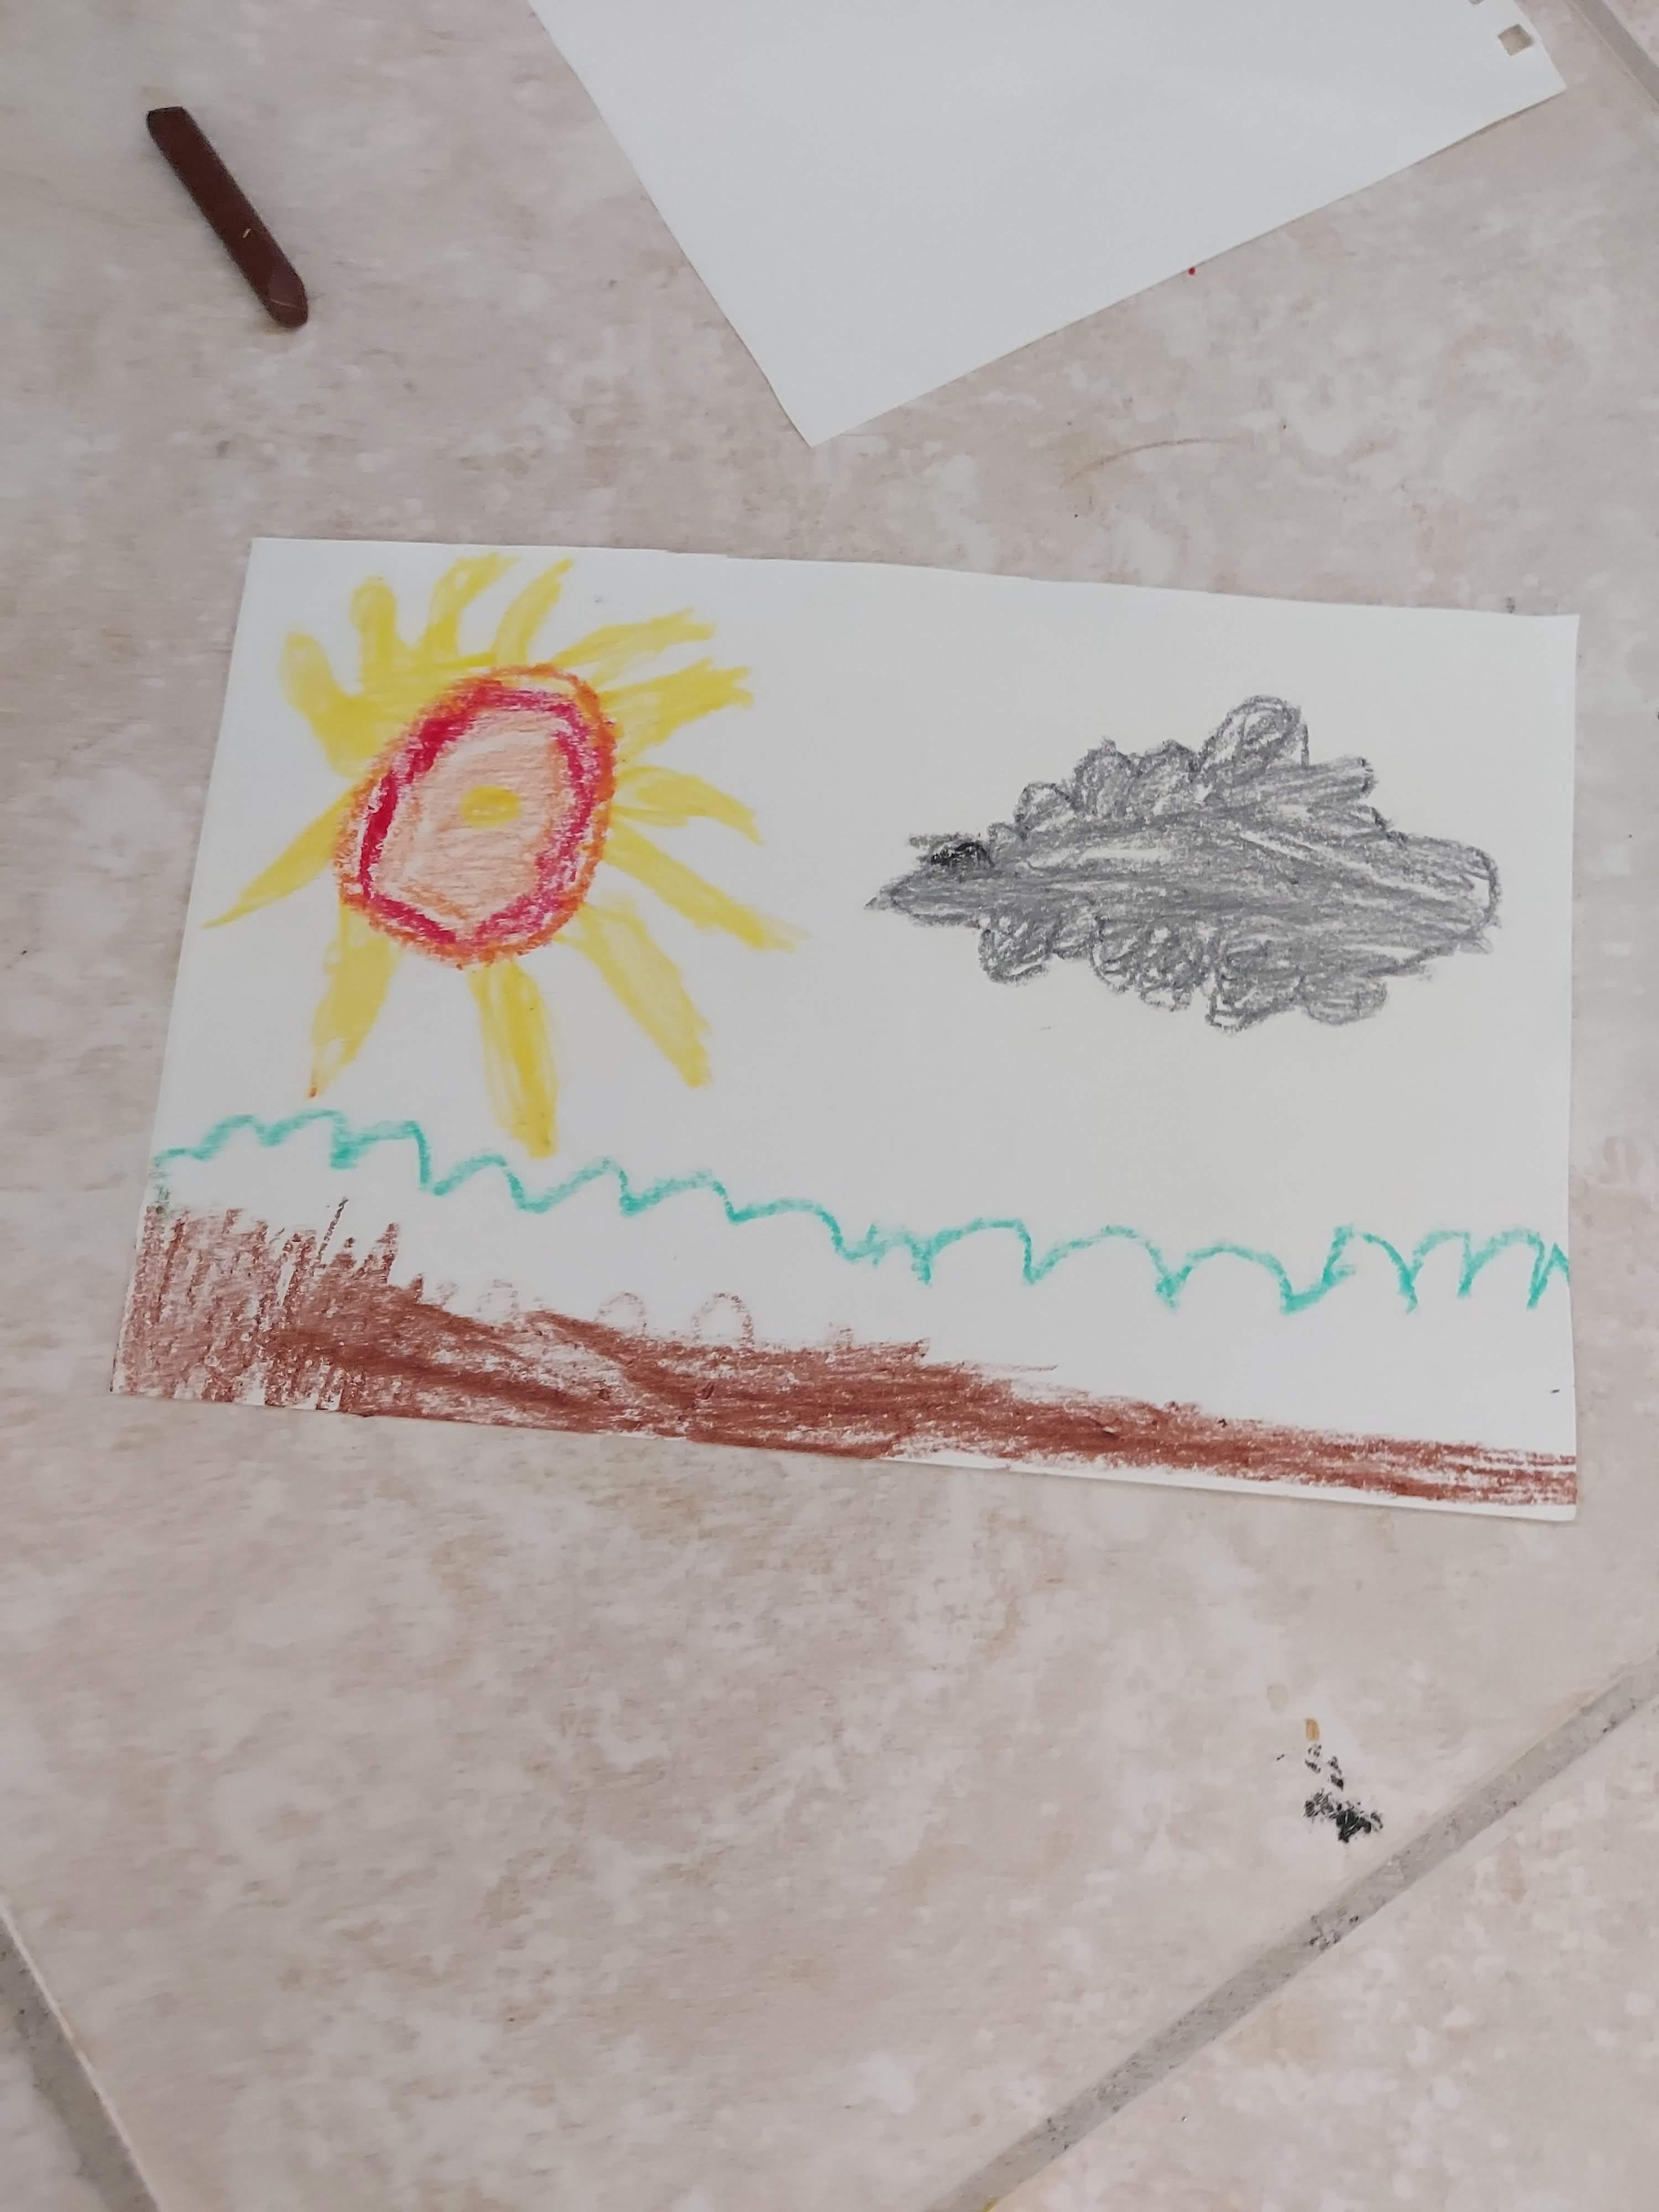
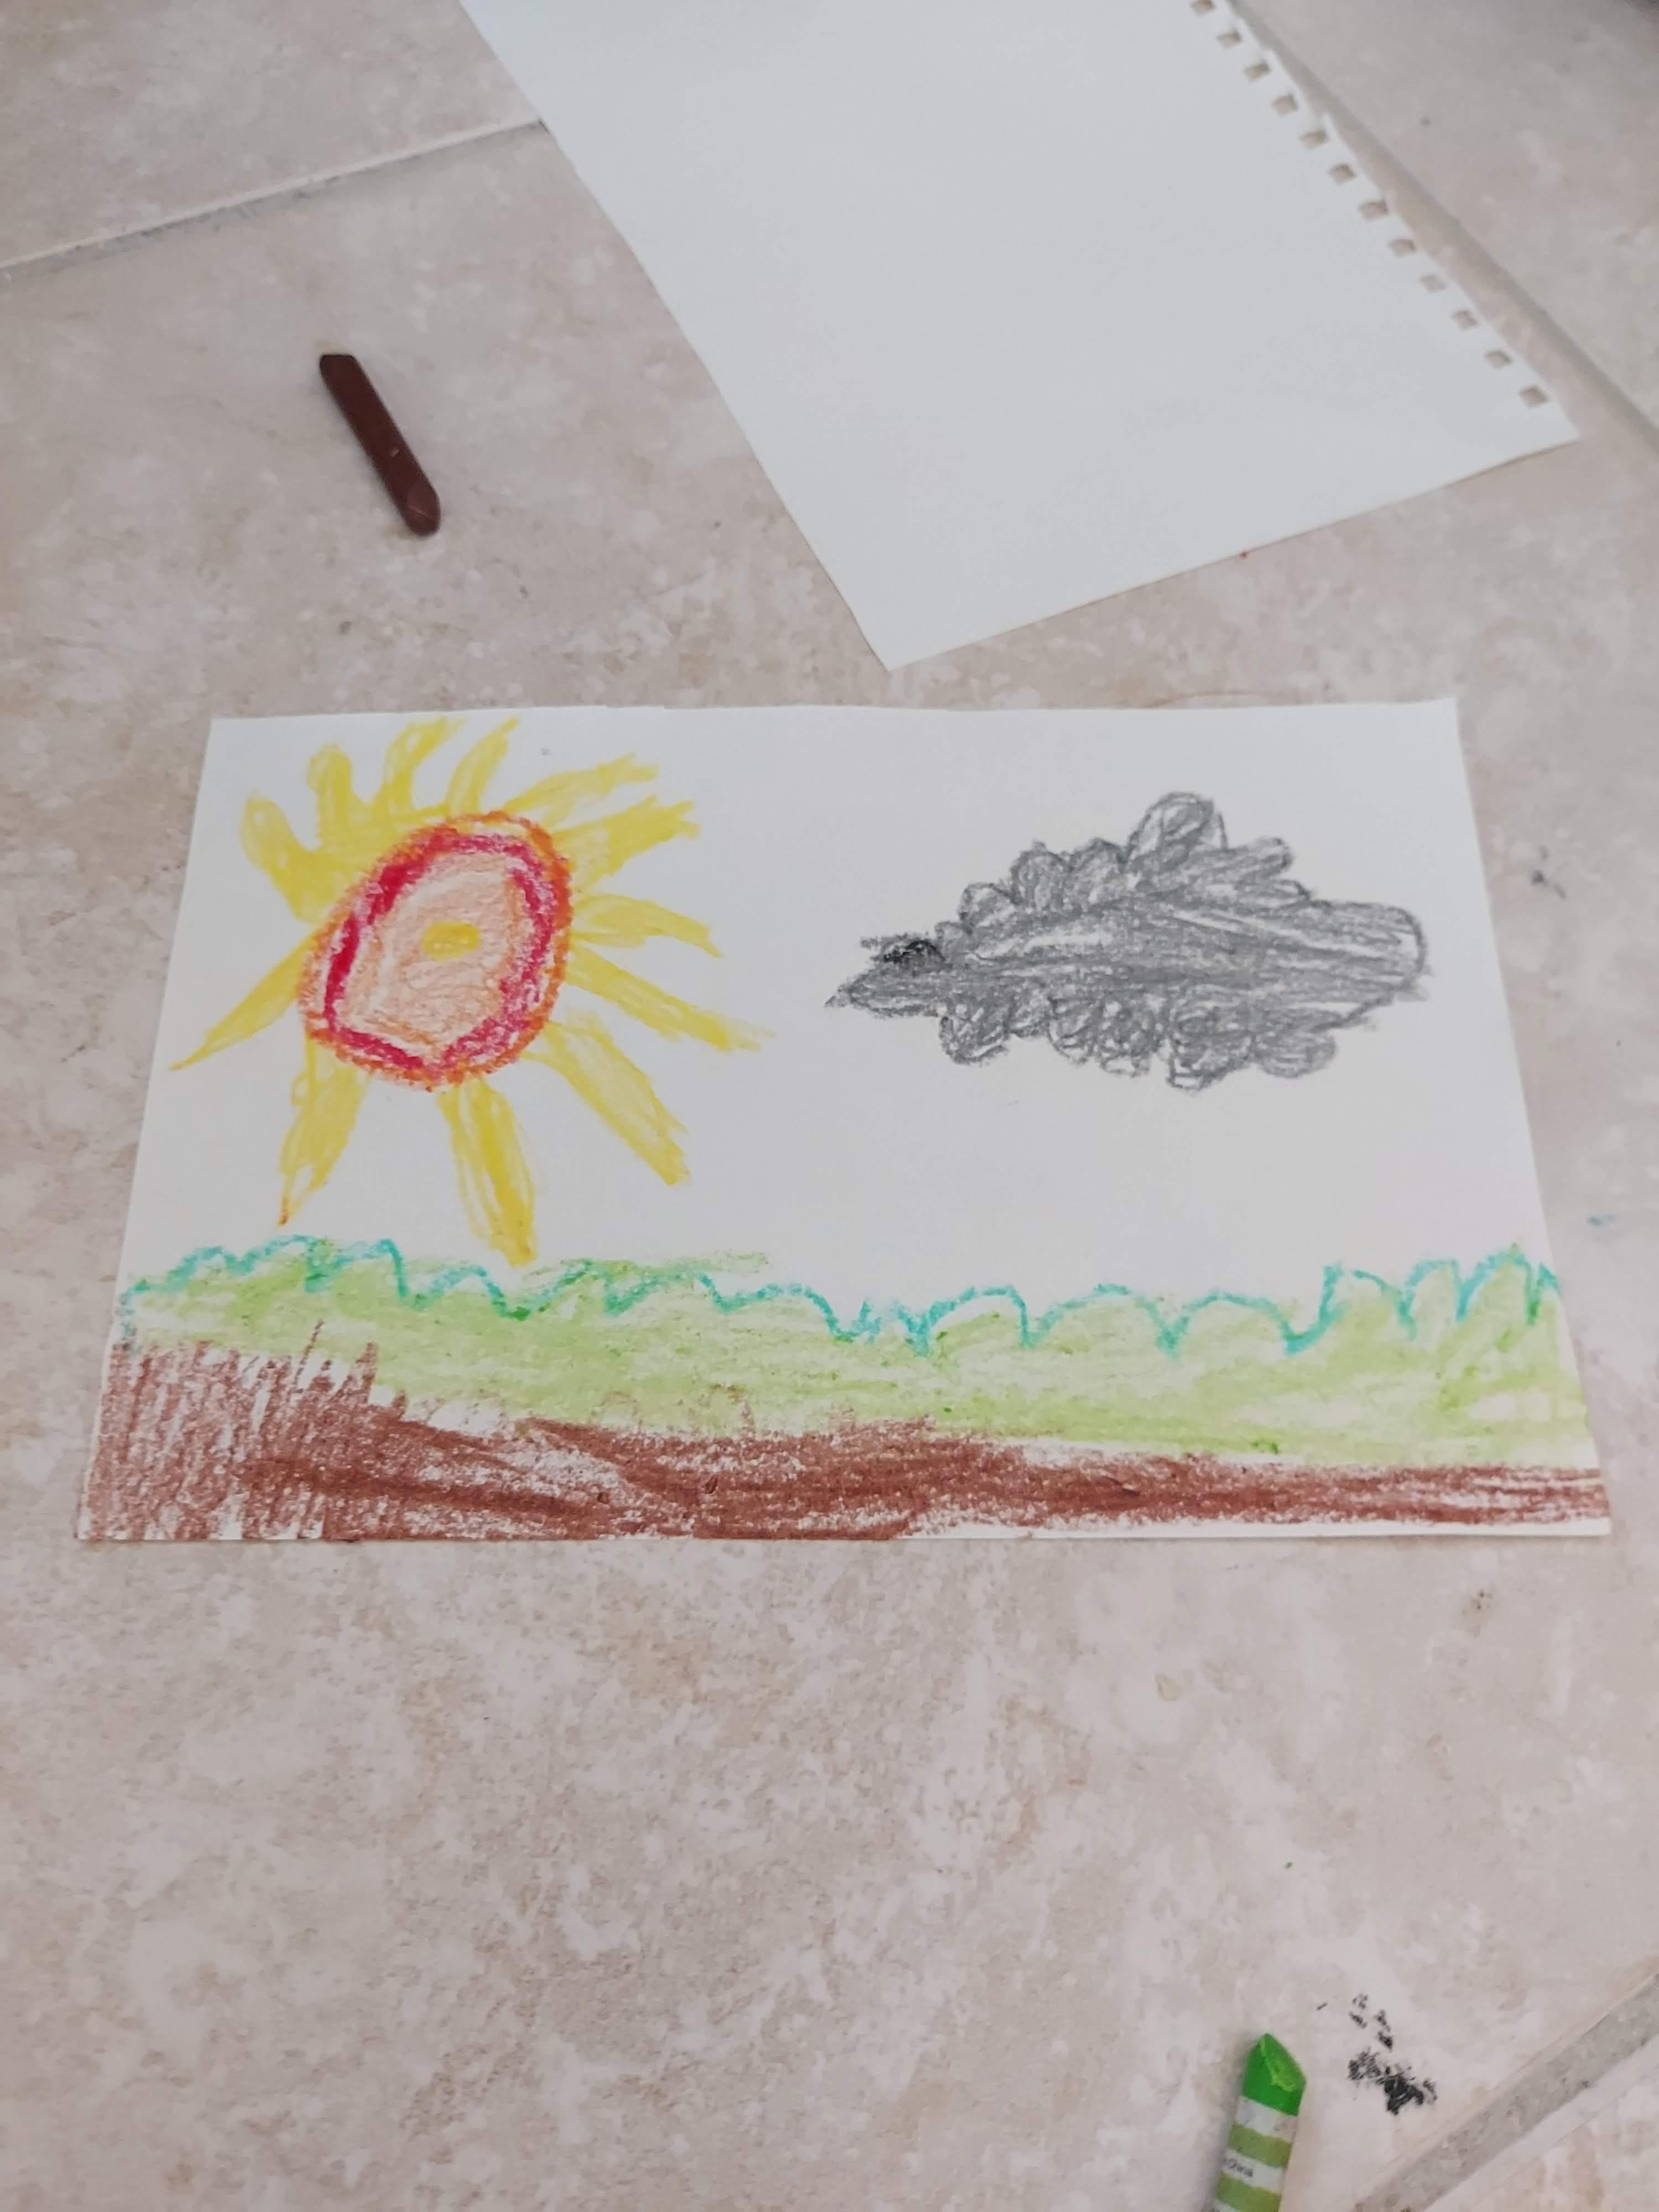
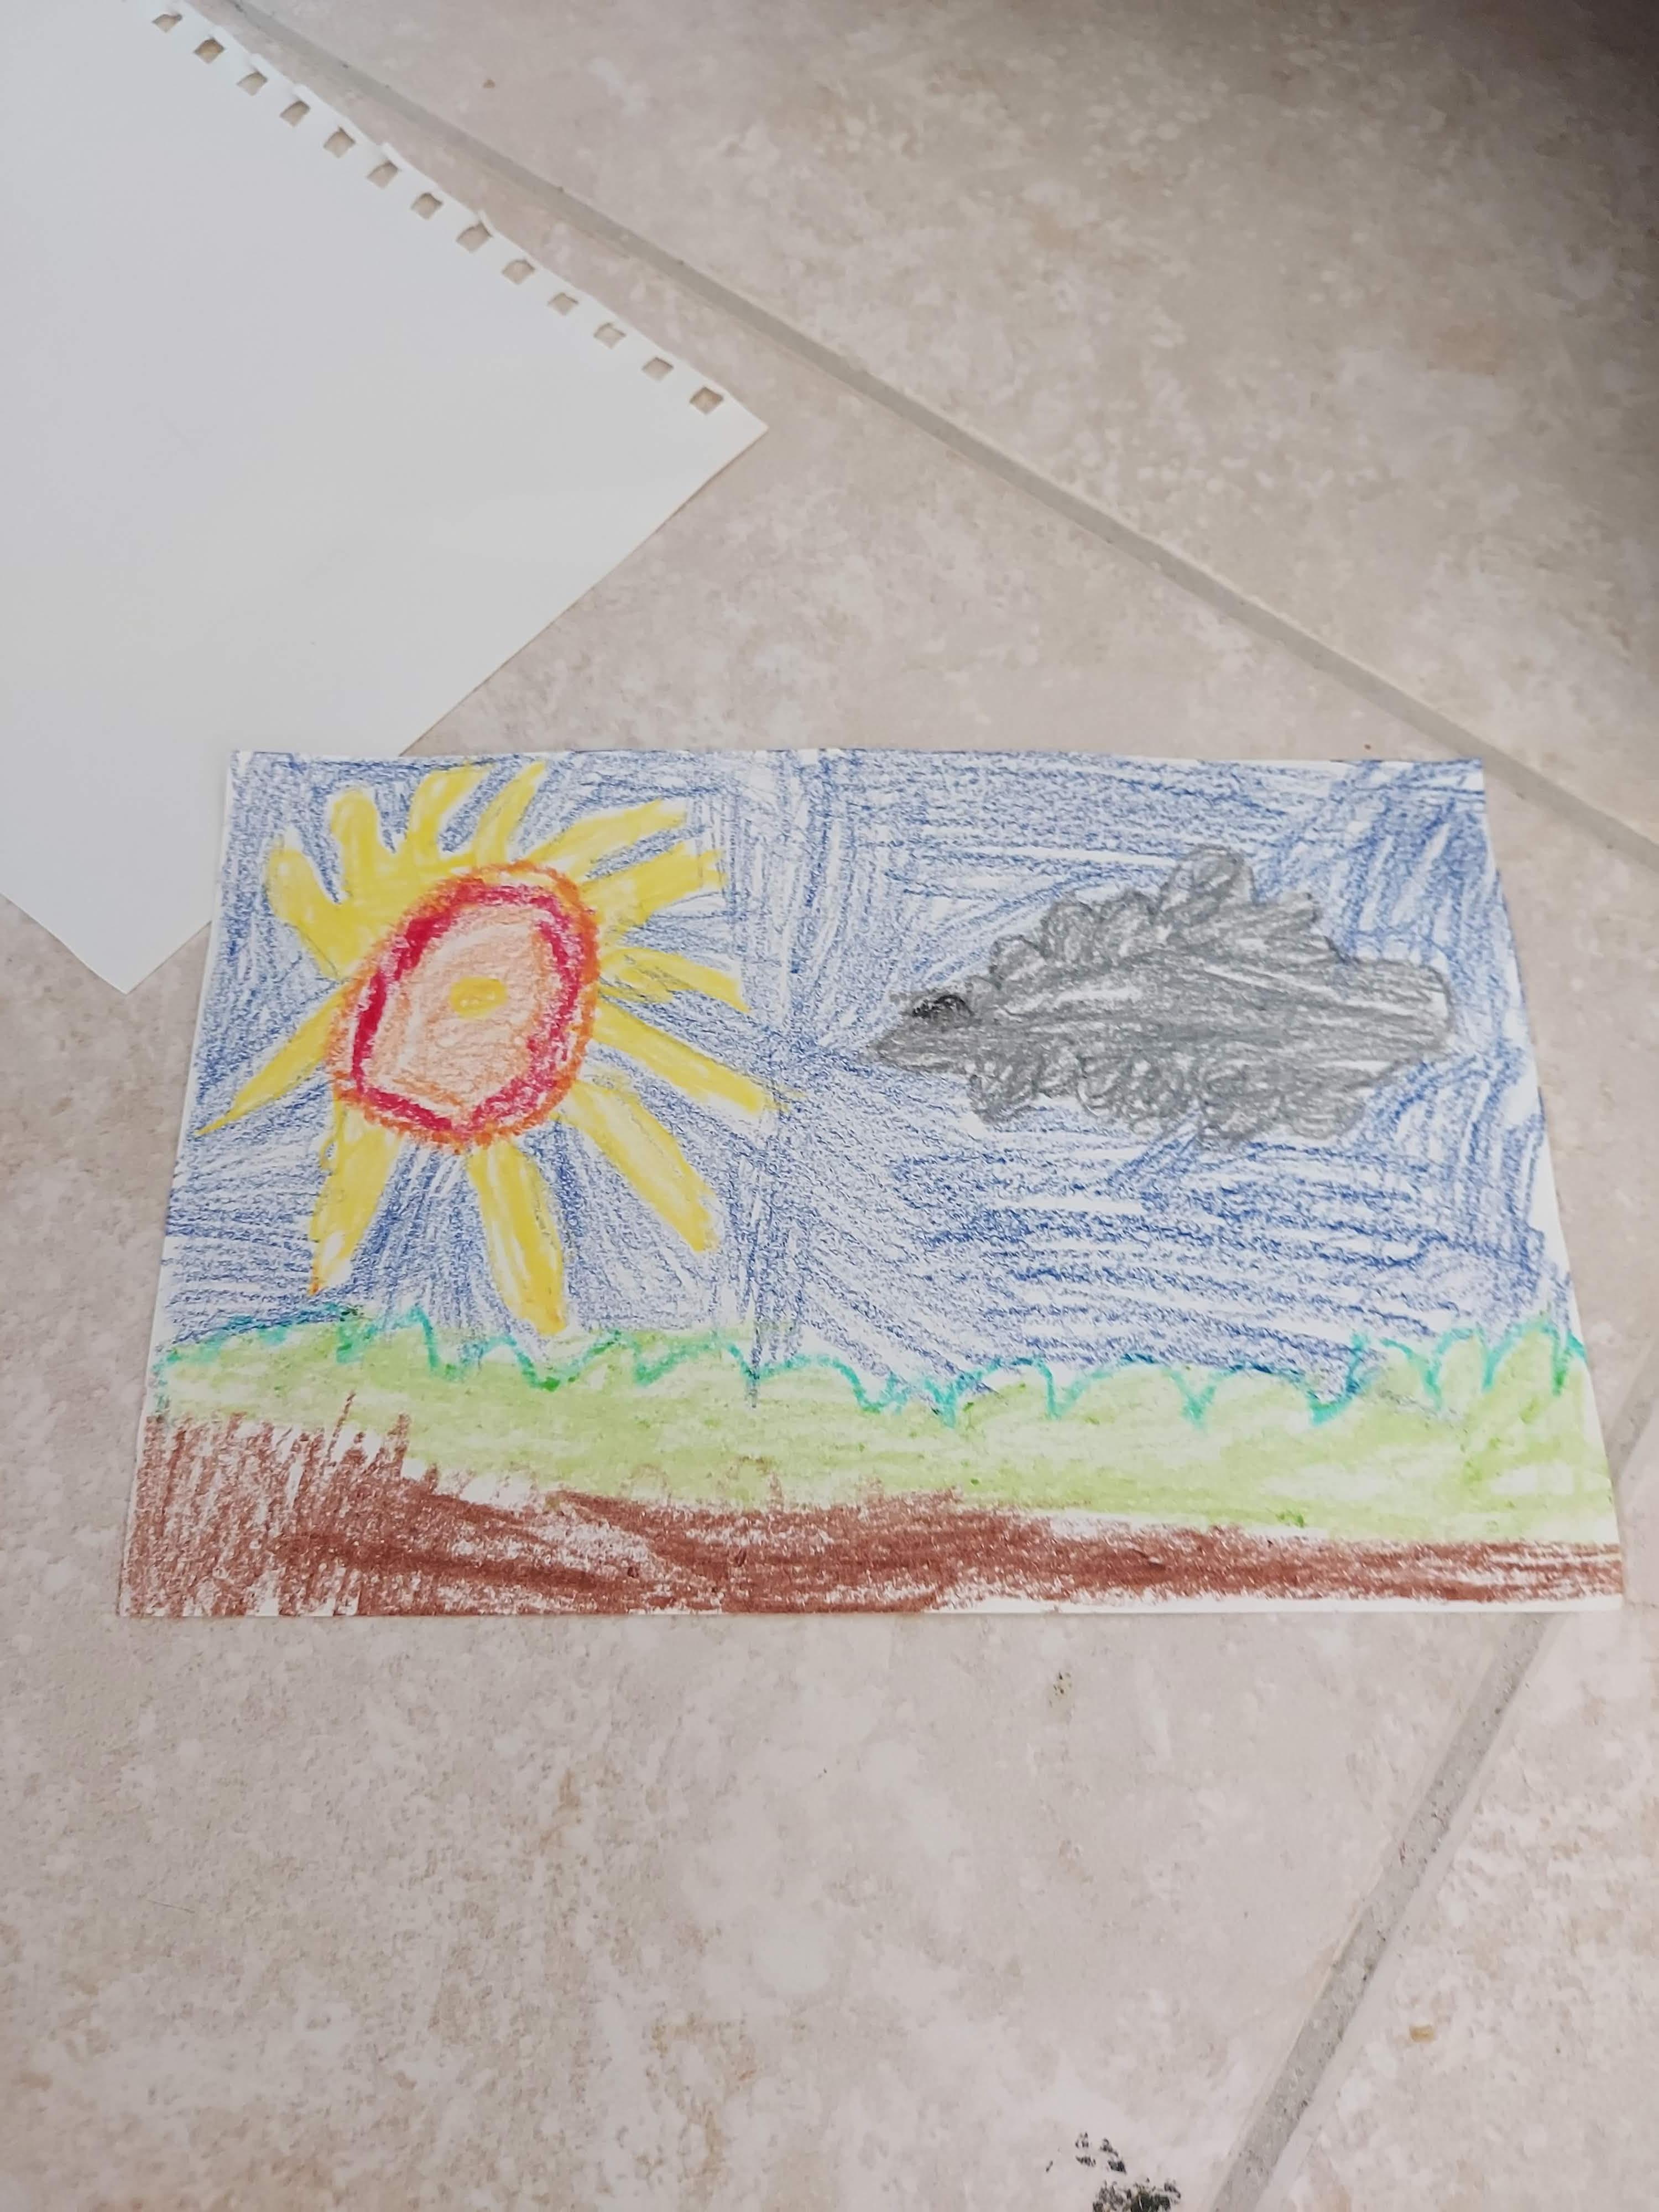
With the ground down we only have a few more steps to go, here we'll draw the sky.
- Cut a piece of paper in half
- Draw a circle and lines to show the sun
- Color in the sun
- Add a cloud to the sky
- Color in the cloud
- Draw the top of the tree
- Color in the top of the tree
- Color in the sky, I used blue here as it was a beautiful sunny day for the tiger
Combine and Mount Drawing 🤩
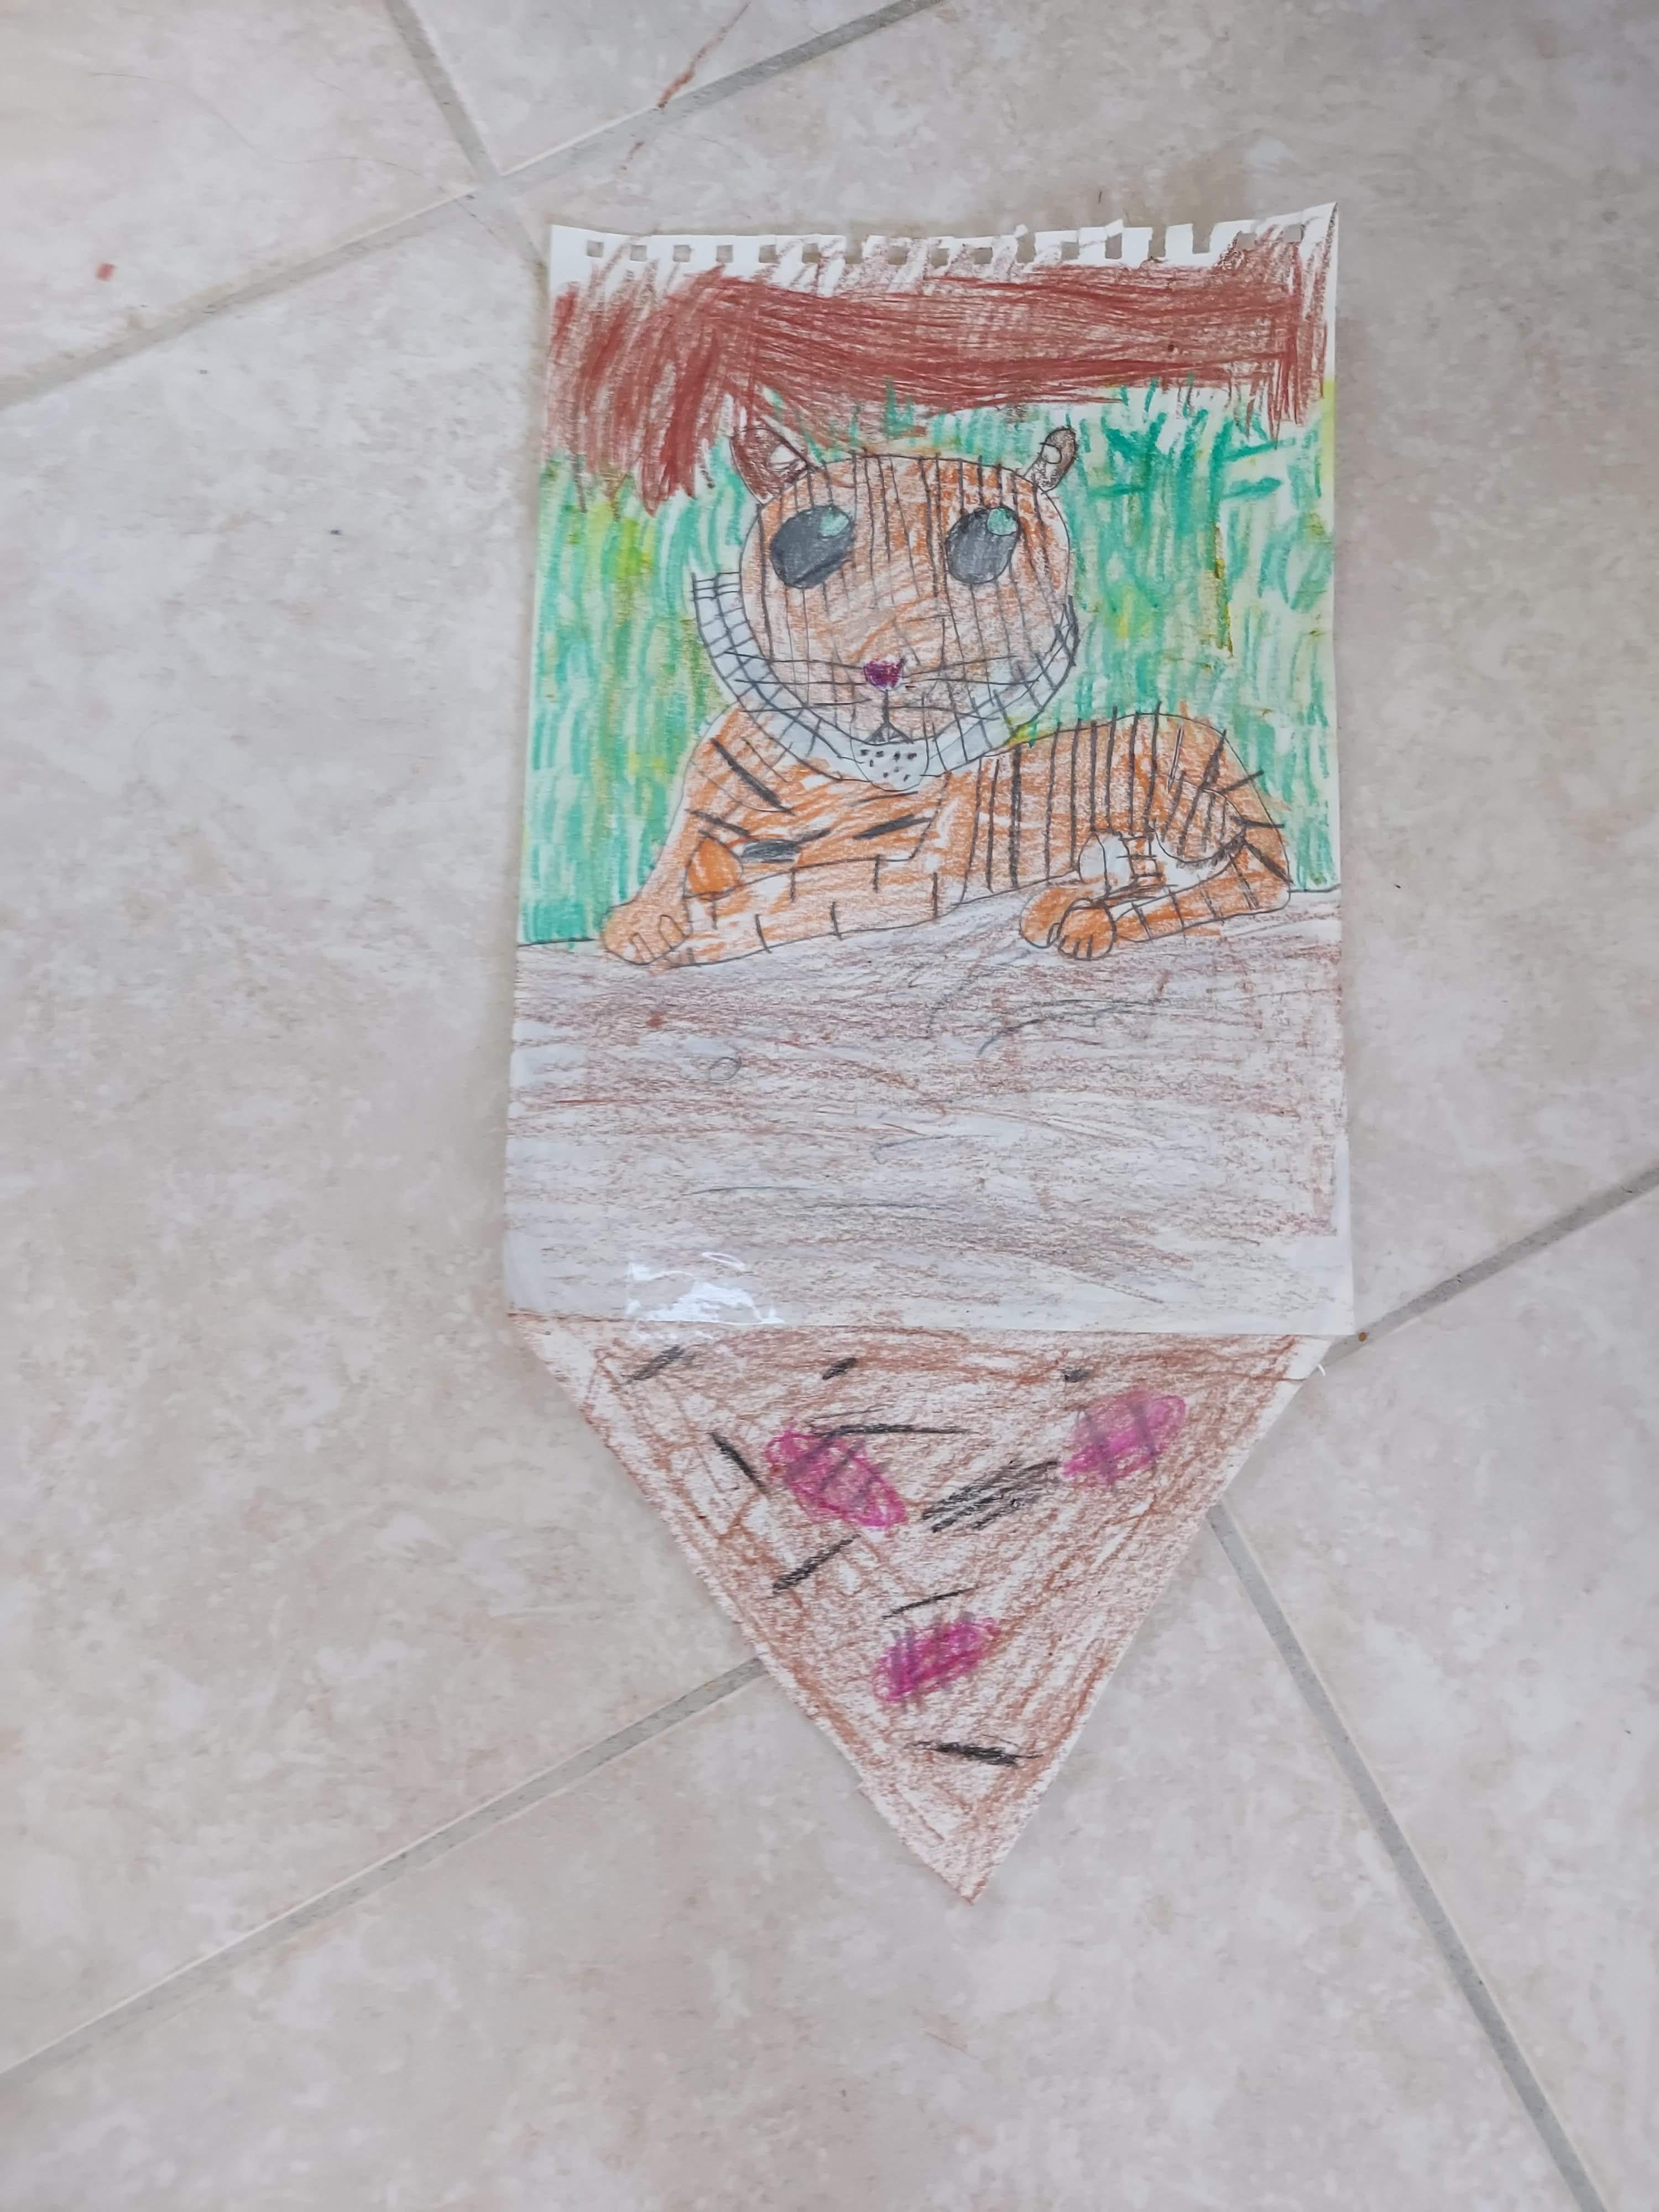
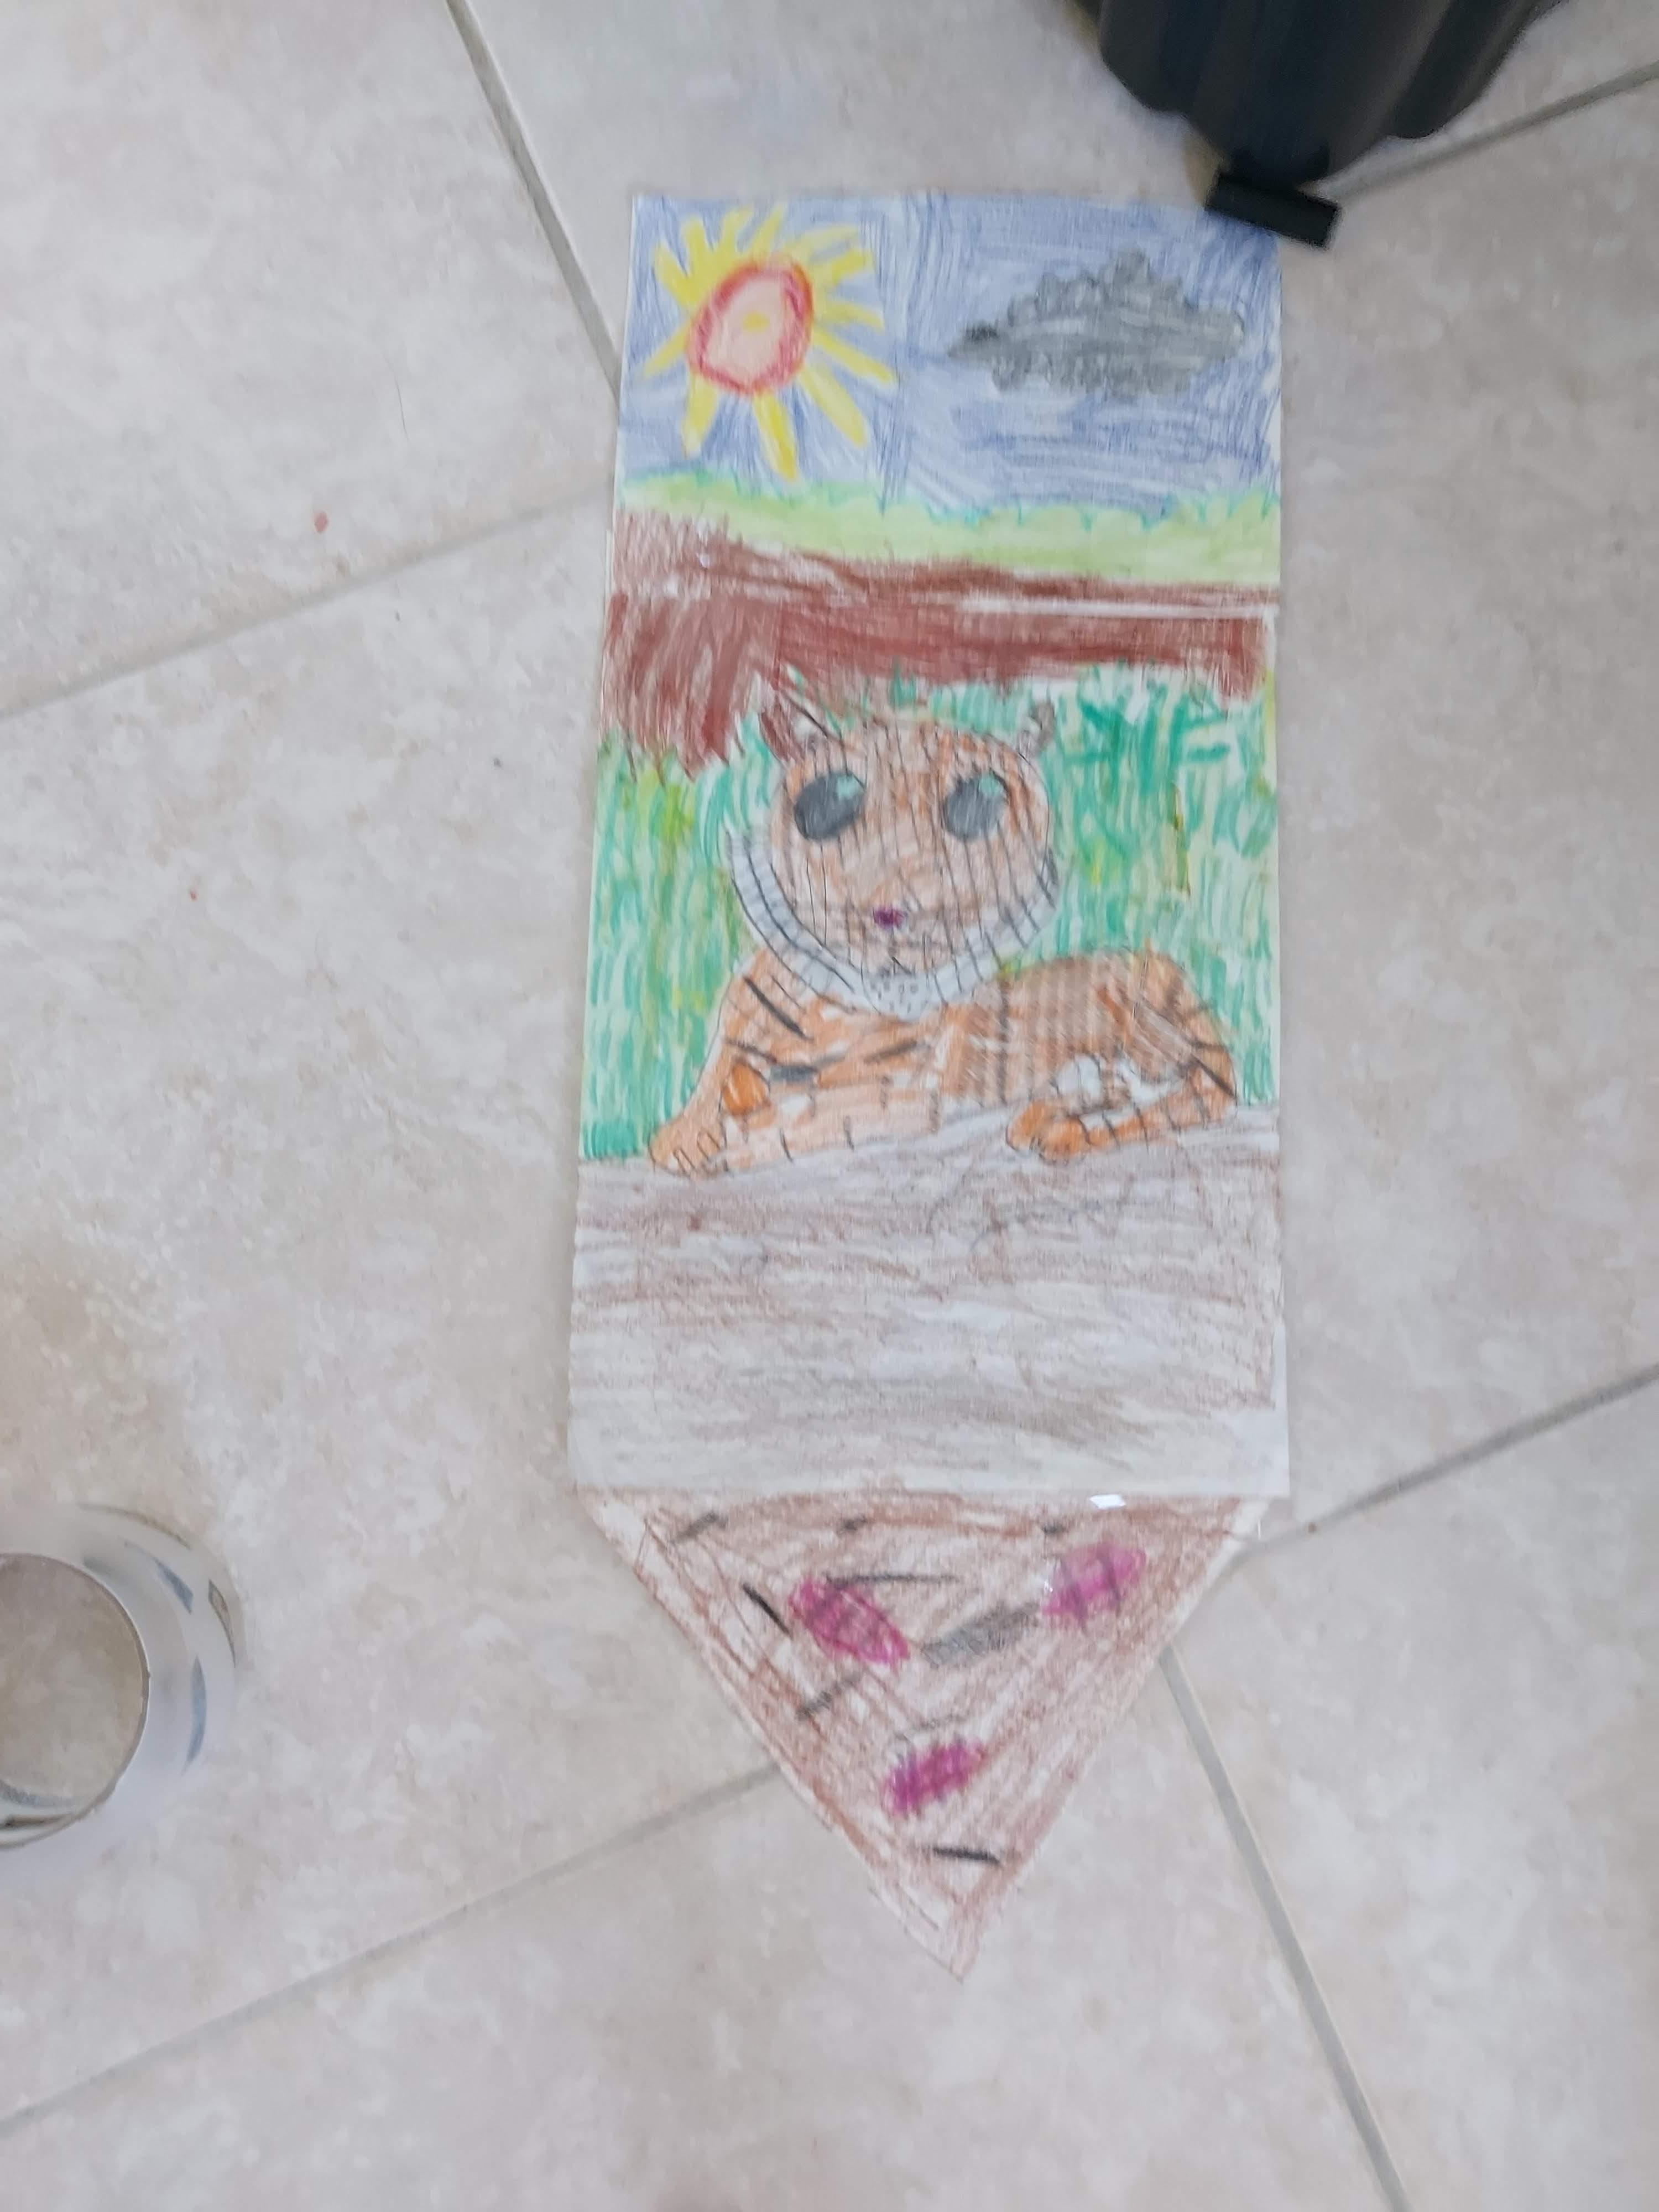
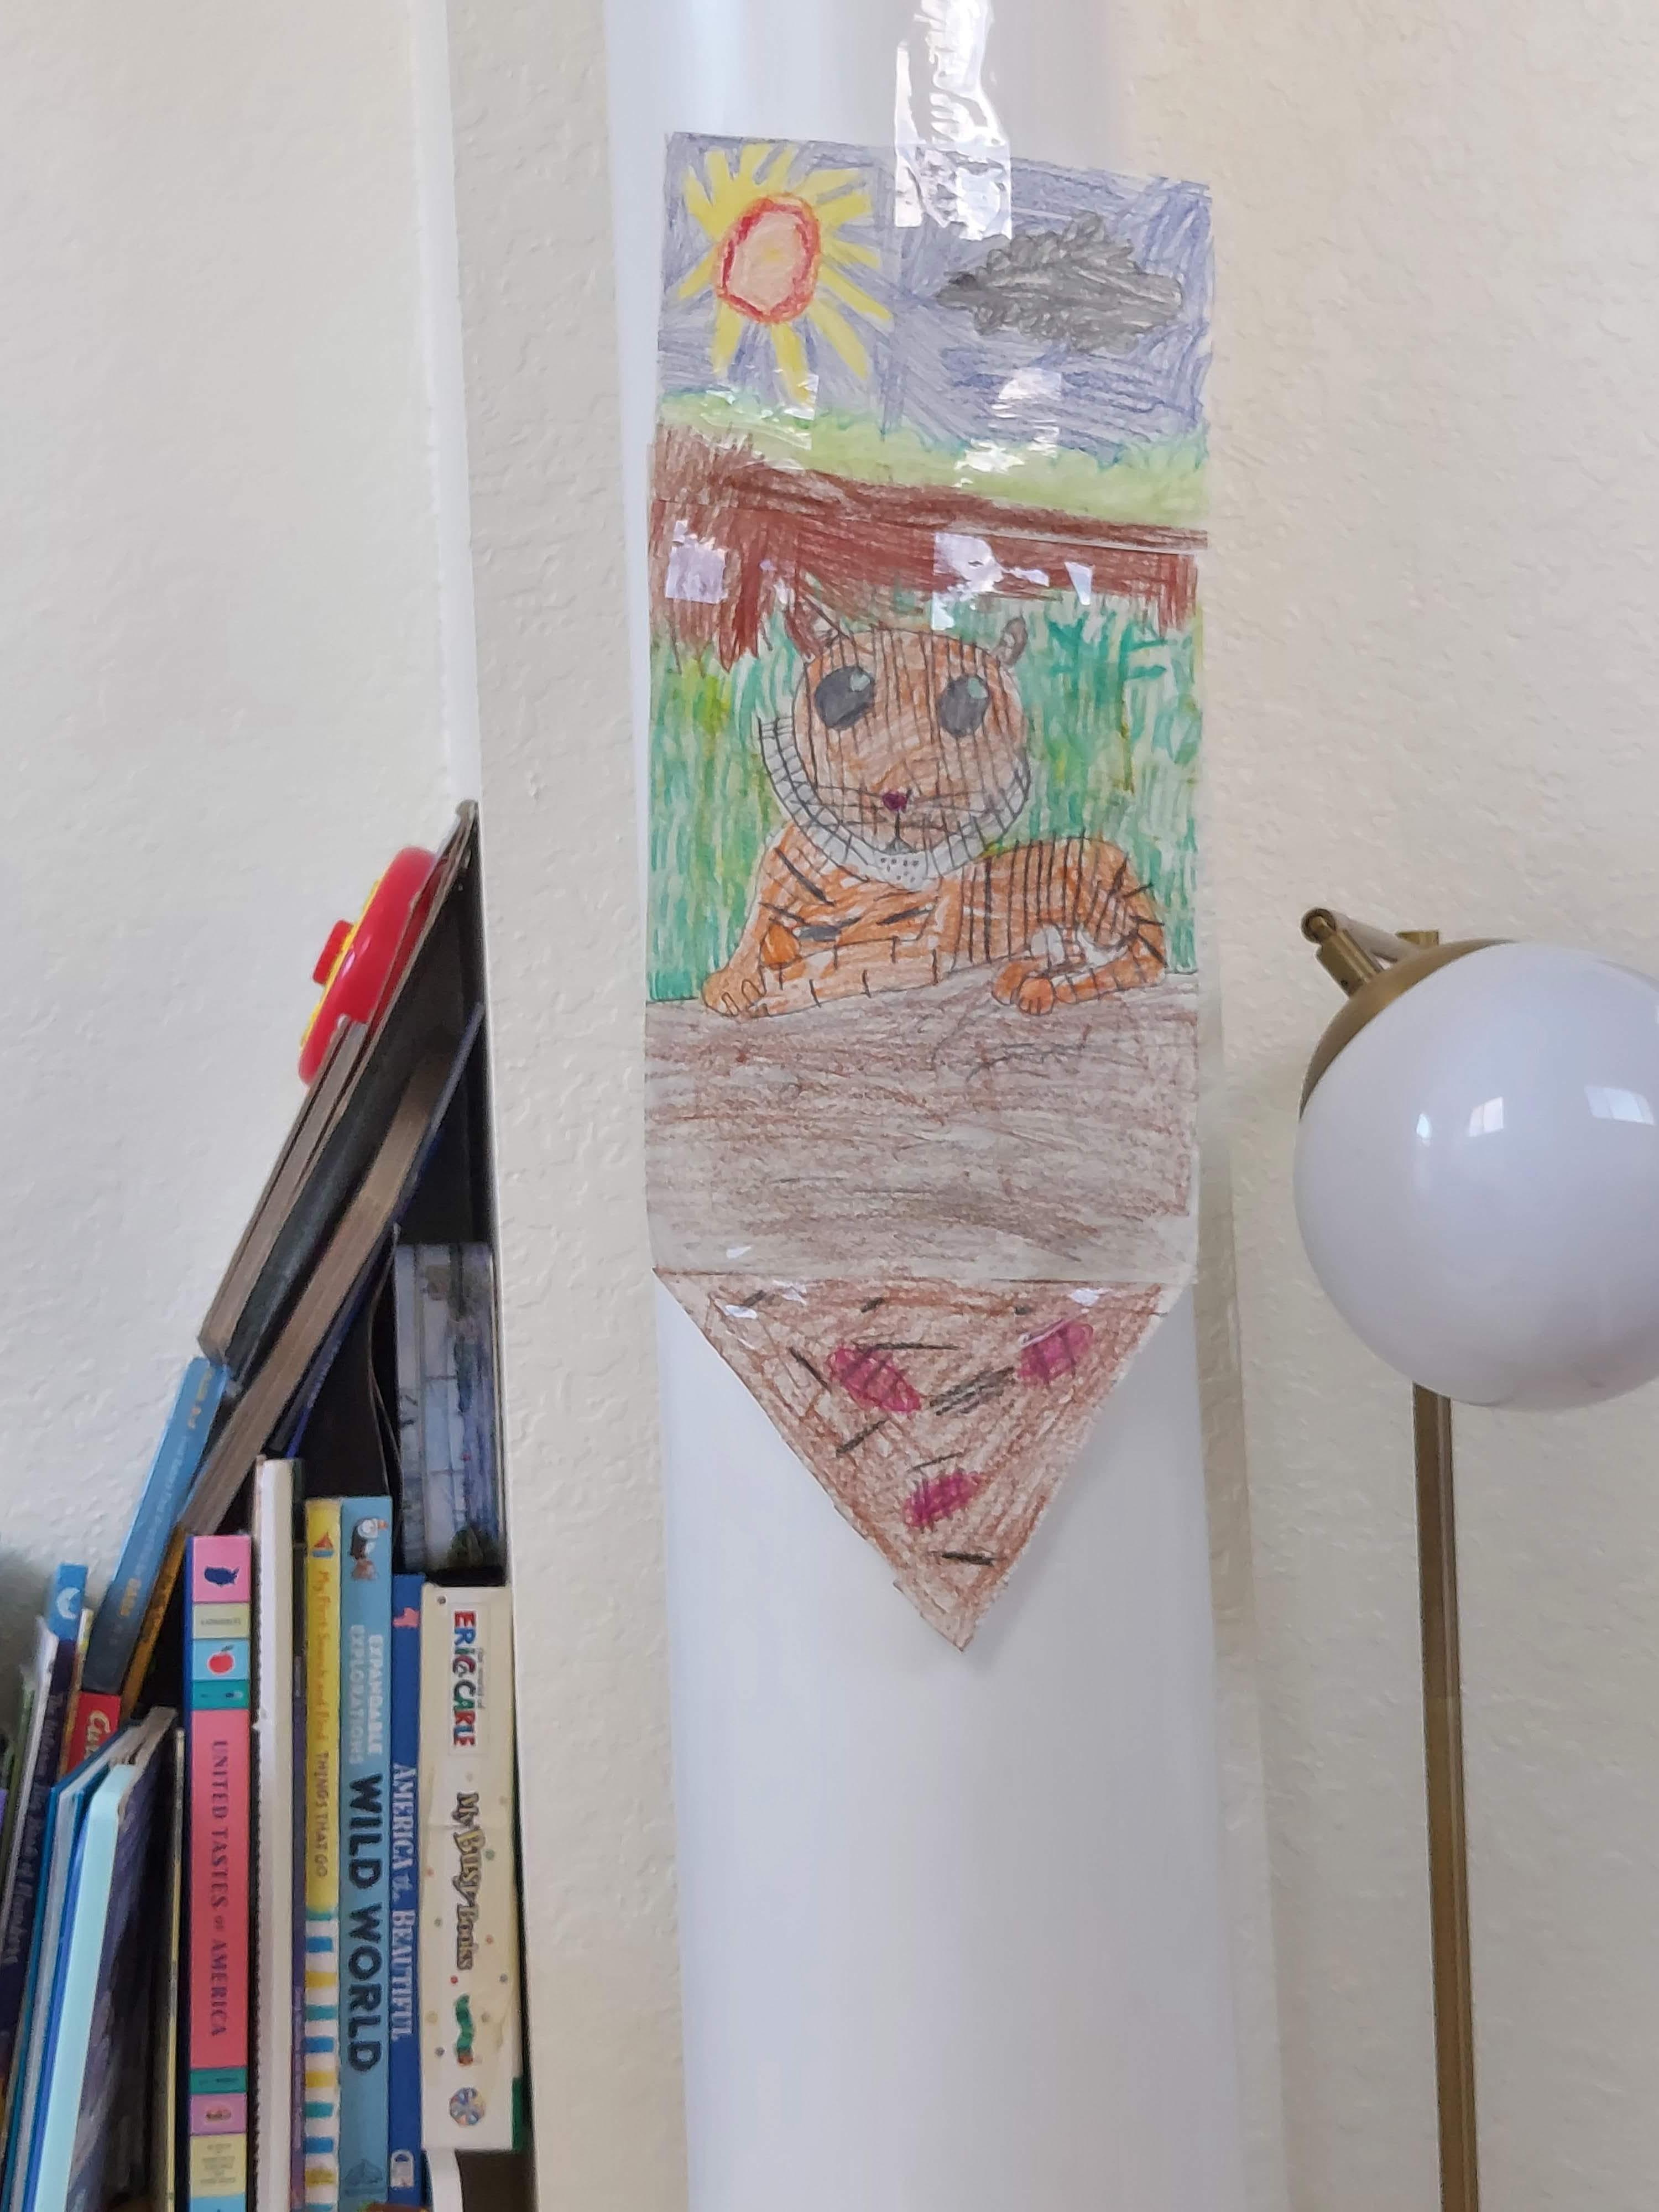
Here we take the earlier art and combine them to create a finished piece.
- Use tape to connect the main drawing and dirt
- Connect the sky to this new piece
- Mount the drawing so others can admire your work
Conclusion 👋
Thank you for taking your time to draw a tiger with me. I hope you liked it!!!