How to Draw a Perfect Circle by Hand
by rustfab in Circuits > Tools
33894 Views, 10 Favorites, 0 Comments
How to Draw a Perfect Circle by Hand

Drawing a perfect circle by hand requires coordination, focus, and much practice. Rendering a closed unified circumference without a tool or jig is a pure example of competency in mark making. In the thirteenth century, Italian painter, Giotto di Bondone staked his claim as a genius with style by effortlessly sweeping a perfect circle on paper with only paint on a brush, as a display of achievement and artistic capability. With this basic gesture he convinced Pope Boniface VIII of his qualifications to create new paintings within St. Peter's Basilica. With a bit of time to develop muscle memory, drawing a perfect circle by hand is a tangible goal of legendary status.
Tape a Sheet of Paper to a Wall
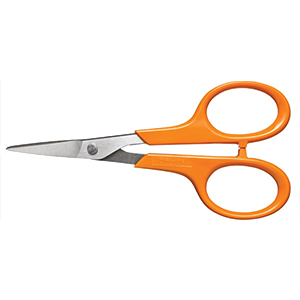
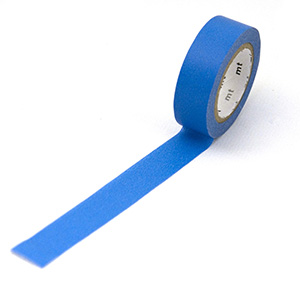
Cut a sheet of contractor's paper approximately 36 x 36" wide. Position the paper against the wall so that the top of your sheet is just above eye level. Adhere your paper to the wall using painter's tape.
Stretch Your Rotator Cuff
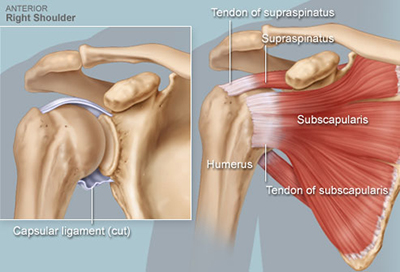
Before picking up a drawing utensil, be sure to stretch your rotator cuff. The rotator cuff is a group of tendons and muscles in the shoulder, connecting the upper arm (humerus) to the shoulder blade (scapula). Your shoulder will serve as an axis of rotation similar to the pivot point of a compass. Warm-up your upper body by making large sweeping motions using your drawing arm. Rotate clockwise and counter-clockwise at varying speeds and intervals until your arm motion feels smooth and consistent.
Select a Drawing Utensil
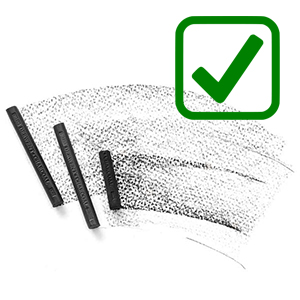
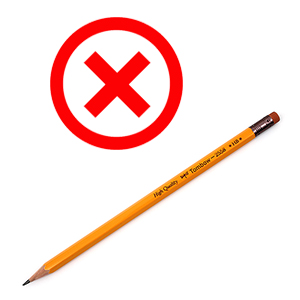
Select a drawing utensil that feels natural in your hand. Chalk or charcoal will maintain a consistent stroke at a rapid pace, while markers will provide less feathering at a slower motion. Do not use pencils or ballpoint pens as they will not produce a thick vibrant line.
Position Your Body and Arm to Draw
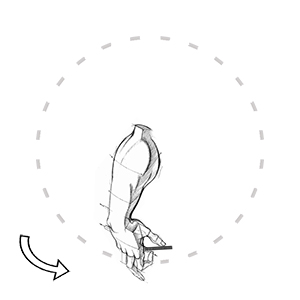
While holding a drawing utensil, position your elbow in the center of your paper. Your upper arm must be approximately perpendicular to the surface of the wall. Turn your body slightly to accommodate for lateral rotation of your arm. Rotate your forearm medially toward the floor as far as your flexibility will allow. Bend your wrist towards the floor as far as possible for extra extension. This is the starting point of your circle rotation.
Draw a Circle
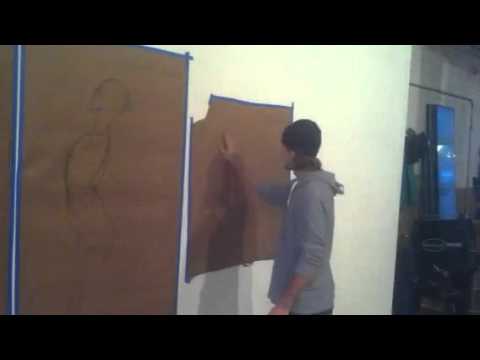
Begin rotating your entire arm from the rotator cuff. Be sure to lock your elbow into a rigid extension of your shoulder. As rotation begins, slope your drawing utensil gradually onto the paper and slowly open your wrist towards the direction of travel. Keep your body as stable as possible while rotating your entire arm. Over the course of 360 degrees of travel your wrist will go from bent inwards to fully extended outwards in one sweeping motion. In order for your circle to be considered perfect your drawing utensil must retract from your mark directly above the initial section of your circle. Lack of overlapping connection or inconsistent intersections will negate your circle's integrity. Repeat until perfect.