How to Draw 2D Wrench in AutoCAD
by nursilla in Teachers > University+
7881 Views, 1 Favorites, 0 Comments
How to Draw 2D Wrench in AutoCAD
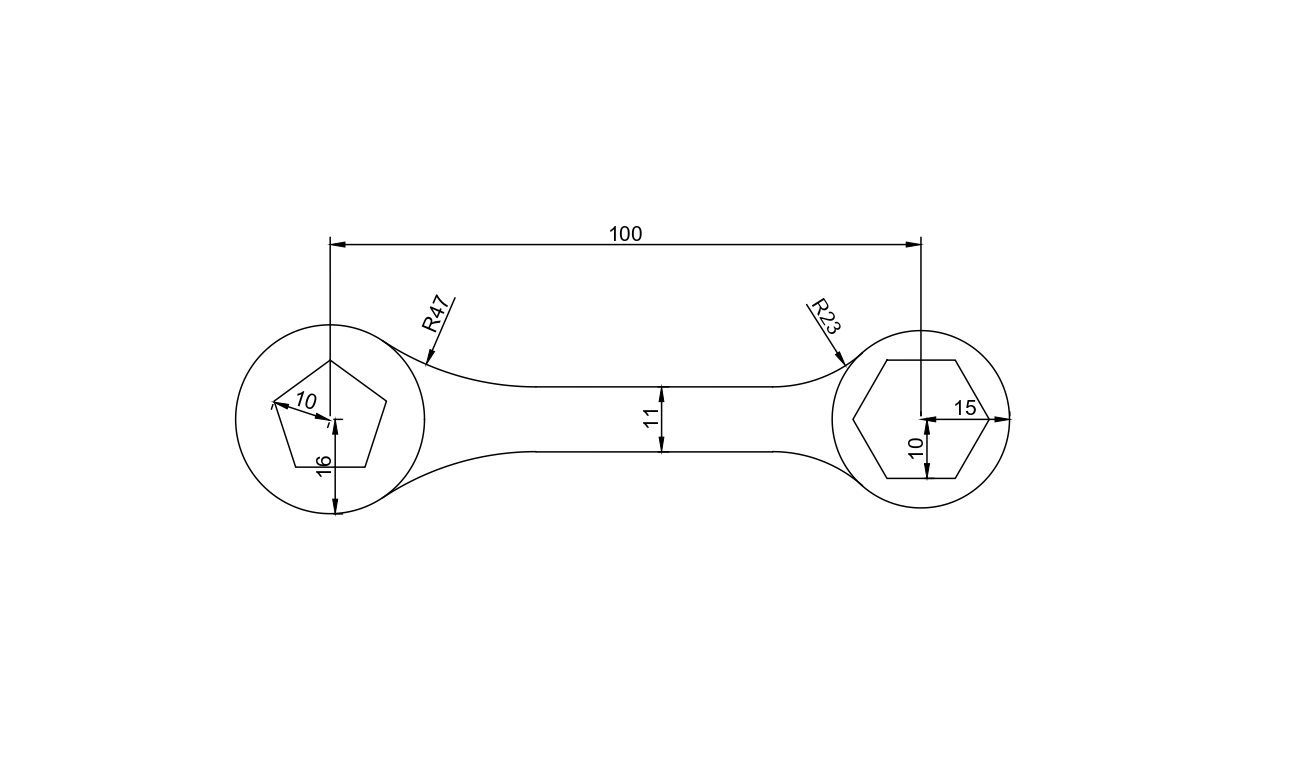
This technical instruction is supposed to help those who want to get upgraded in AutoCAD. Here, you will be familiar with many modelling tools such as line, circle, polygon, offset, mirror, etc. During the instruction, you will learn how to use these basic tools to draw a 2D model, such as the wrench shown above. But before, make sure you have full access to AutoCAD.
Set Up Modelling Environment

Before starting, customize the modelling environment. First, click on the orthomode button at the bottom panel to constrain cursor movement to the horizontal and vertical directions. Next, activate the snap cursor for the midpoint, endpoint and center to make interaction with objects easier.
How to Navigate?

Navigation can be done by using the mouse wheel. Click the wheel and drag the mouse to pan through the drawing area. Zooming in and out are done by turning the mouse wheel.
Create a Line
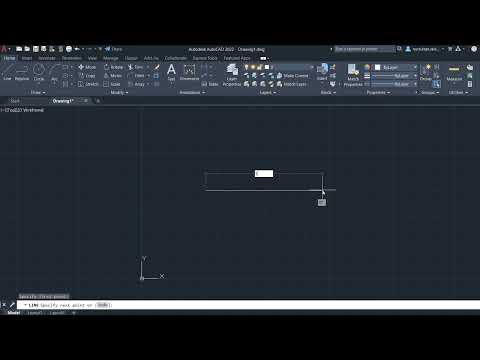
The Line is the simplest tool that creates a straight line. Select the Line command from the top-left corner and specify a starting point. Then, define the direction of the ending point and enter its length (e.g. 100). Press the Escape (ESC) key to cancel the Line command. It will act as a skeleton of the wrench.
Add Circles
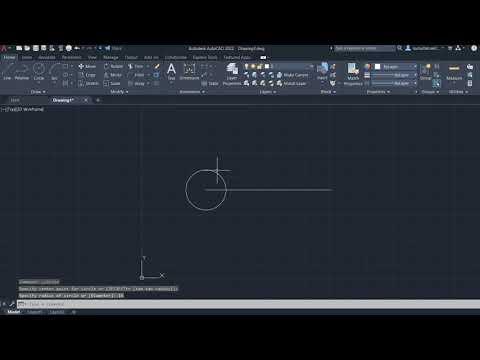
The Circle tool is used to create a circle. Click on the Circle icon from the top panel and place its centre at the end of the initial line. Then, set the radius manually by cursor or just enter its meaning (e.g. 16). Repeat the step for another end with radii 15 or other. Press Escape (ESC) to cancel the command.
Create a Parallel Line
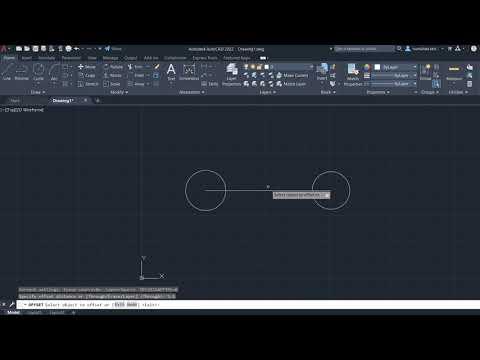
The Offset command is used to create parallel lines. Choose the Offset tool from the ribbon bar and specify the offset distance (e.g. 5.5). Then, select the initial line and move the cursor inside or outside to place the parallel line as demonstrated. Press Escape (ESC) to cancel the Offset command.
Create a Tanget Cirlce

The Tan-Tan-Radius Circle creates a circle tangent to two objects. Choose from the drop-down list Tan-Tan-Radius Circle. Select, first, the drawn circle, then the top parallel line, and, finally, enter its radius (e.g. 47). Press Escape (ESC) to cancel the command.
Trim, Trim and Trim

The Trim tool erases object excesses from the drawing area. Select the Trim tool from the top panel and specify all unnecessary objects as in the video above. Press Escape (ESC) to cancel the Trim command.
Again Circle and Trim

Repeat Step 6 and Step 7 with another end of the initial line. Place Tan-Tan-Radius Circle and trim excesses. The circle's radius is 23.
Mirror

The Mirror command is applied to create a mirrored copy of a selected object. After choosing the Mirror command, specify objects for mirroring (two bends and a line) and press Enter key. Next, place the reflecting centre in the mid of the initial ine and move the mouse inside and outside to create a mirror copy. In the end, select "No" for erasing the source object. Press Escape (ESC) to cancel the command.
Erase the Line
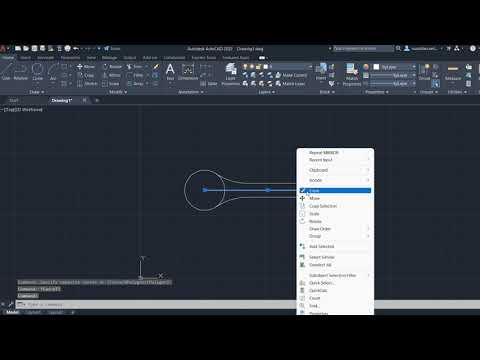
Erase is used to demolish objects from the drawing area. Choose the initial line and right-click on the mouse. Select the Erase command from the list.
Add Inscribed Polygon
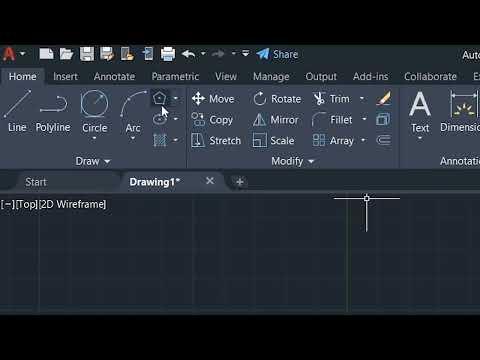
The Polygon creates a polygon figure. To use it, select the Polygon tool as shown in the video and enter a number of sides for the polygon as 5. Then, specify the centre as the centre of the circle and choose "Inscribing". Next, enter its radius (e.g. 10).
Add Circumscribed Circle
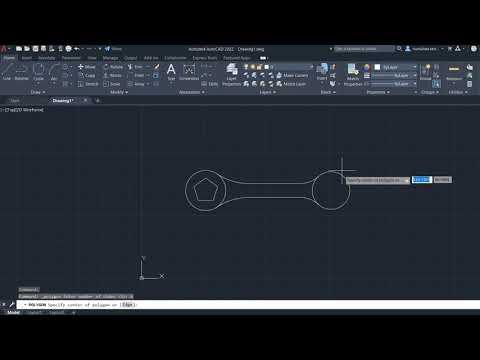
Repeat Step 10. Instead of "Inscribing", choose "Circumscribing" and enter the radius as 10. Radii may vary for both polygons. Press Escape (ESC) to cancel the command.
Enjoy Your Job
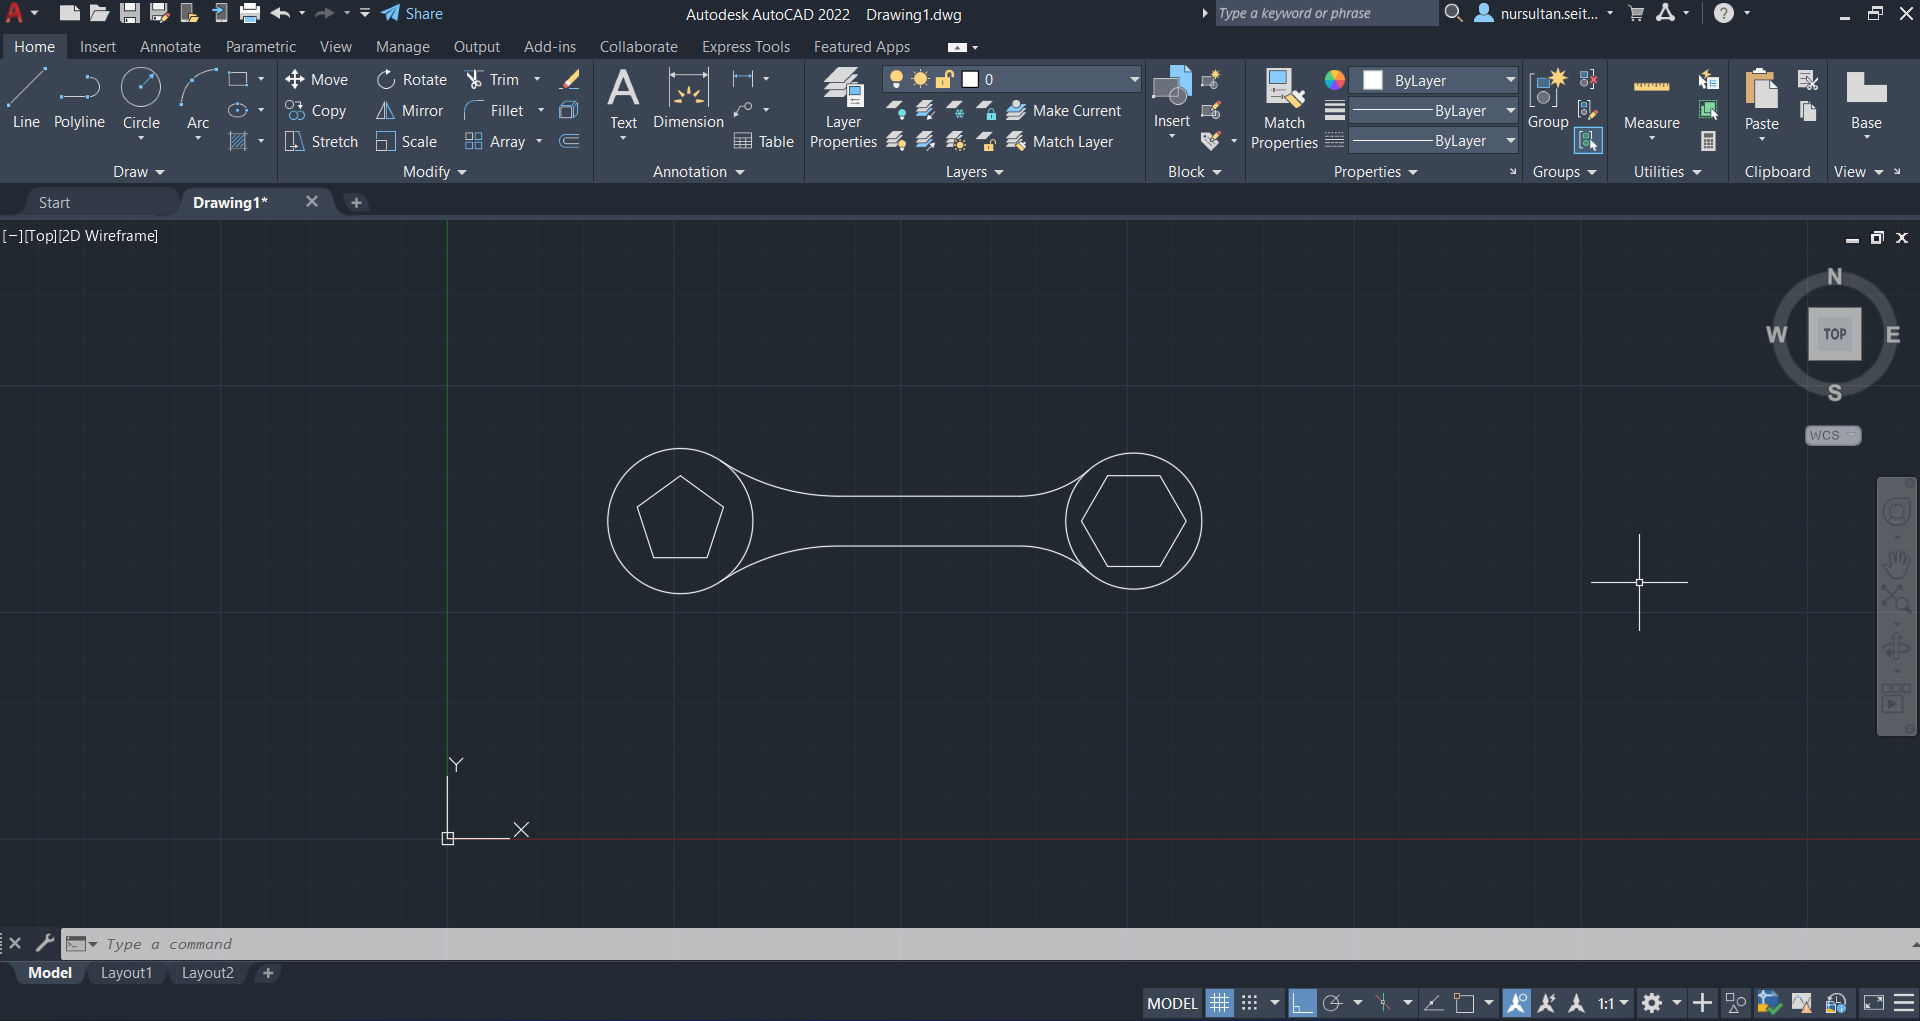
Enjoy what you did. You have created a 2D model by yourself. Hope this instruction made you more familiar with the AutoCAD environment.