How to Do Sublimation With Cricut
by subliprinting in Craft > Printmaking
5953 Views, 3 Favorites, 0 Comments
How to Do Sublimation With Cricut
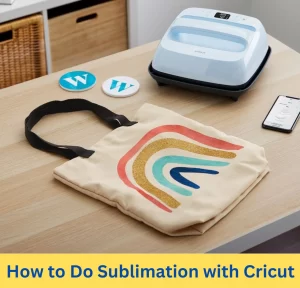
Sublimation with Cricut is an excellent way to personalize items that are not possible with normal printing. Yes, you read it right! This innovative technique allows you to effortlessly transfer high-resolution designs onto various surfaces like fabrics, mugs, metal, vinyl, etc. The best part? It’s the perfect starting point for beginners.
This simple way has been a game-changing technique for me, and I said goodbye to complex cutting and layering. With the help of Cricut’s Design Space, Cricut Explore Air 2, and Cricut EasyPress, I’ve created professional-looking products just at home!
Supplies
- Sublimation Printer
- Sublimation Ink
- Sublimation Paper
- Cricut Cutting Machine (Preferably Explore Air 2)
- Cricut Heat Press (I use EasyPress)
- Sublimation Blank
- Protective Paper
- Lint Roller
- Heat Resistant Tape
Designing Your Artwork
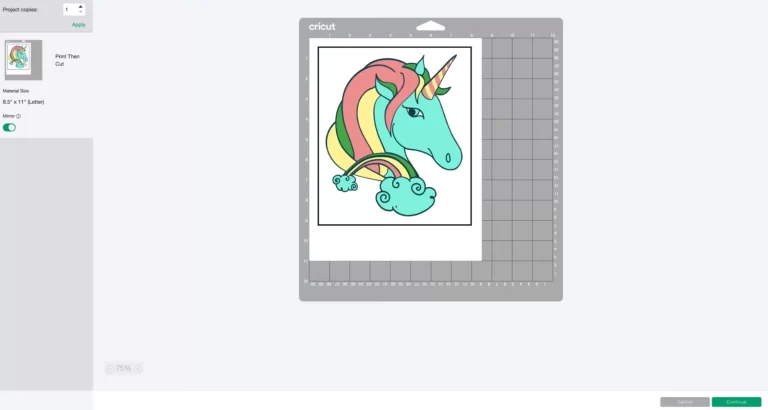
The first step is to create your unique design in Cricut Design Space. As the heart of your sublimation project, this is where your creativity comes to life. Whether you are designing personalized mugs, vibrant apparel, or charming home decor, the possibilities are limitless.
Use Cricut Design Space’s intuitive tools to arrange, resize, and customize your elements. Add text in a variety of fonts to give your design a personal touch.
I prefer designing the image in RGB colors. Once your masterpiece is complete, save your design to continue to the next step.
Printing Your Design
Now that your design is ready, it’s time to bring it to life through printing. For sublimation printing, ensure you are using a dedicated sublimation printer and sublimation ink.
Load the sublimation paper into your printer and print your design in mirror view. This specialized paper is crucial for holding the sublimation ink during the transfer process.
Cutting Your Design With a Cricut
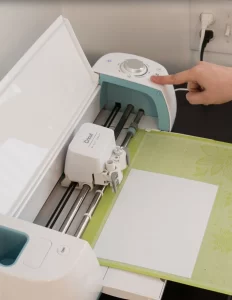
Load the printed sublimation paper onto your Cricut cutting machine’s mat. Ensure that the material is firmly secured and properly aligned on the scale sheet.
Connect your Cricut machine to your computer or mobile device and select the appropriate settings for cutting. Follow the prompts in Cricut Design Space to initiate the cutting process.
The machine will precisely cut out your design, giving it a professional and polished look.
Preparing Your Sublimation Blank
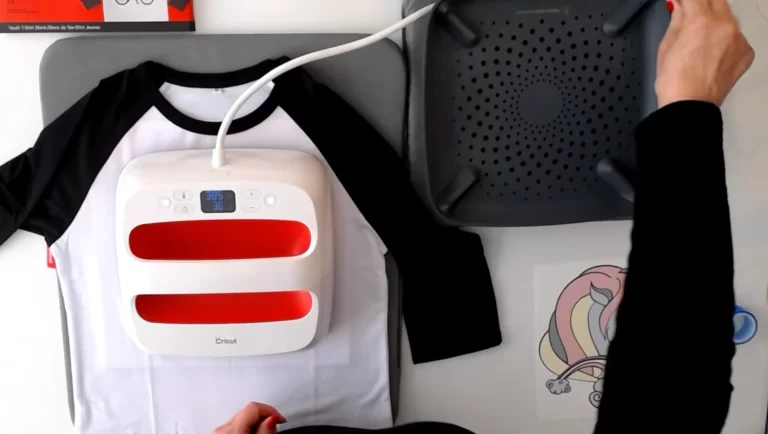
Choose the substrate or sublimation blank you want to apply your design to. Popular choices are t-shirts, mugs, vinyl coasters, and more. Ensure your chosen blank is clean and free from any dirt or debris that may affect the transfer.
For apparel, pre-press the garment for about 10 seconds at 190°F to eliminate moisture and wrinkles, ensuring a smooth transfer.
Transferring Your Design
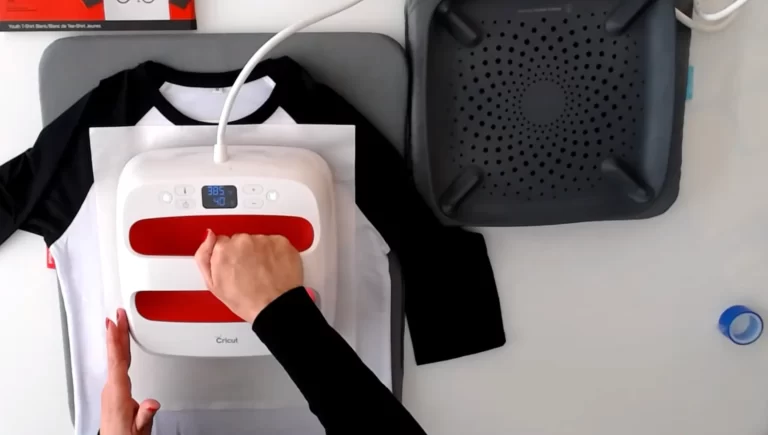
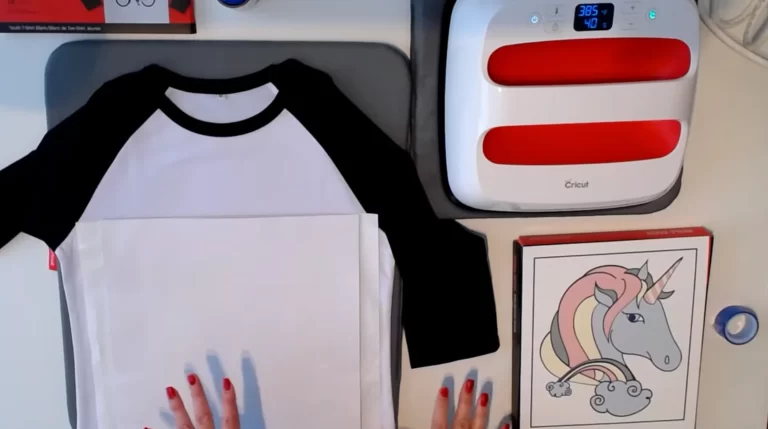
Place your cut design onto the sublimation blank with the printed design face down, ensuring it is properly positioned and aligned. I prefer using heat-resistant tape to secure the paper in place, and I’ll recommend you do so.
Preheat your Cricut heat press machine to 385°F temperature. Once heated, carefully place the sublimation blank with the design onto the lower plate of the heat press. Close the heat press and apply even pressure for about 45 seconds.
The heat and pressure will activate the sublimation process, causing the ink to transfer onto the blank.
Read a detailed guide with video tutorial on doing sublimation with Cricut.