How to Do Projection Mapping With the Pi Cap
by Bare Conductive in Circuits > Raspberry Pi
5663 Views, 45 Favorites, 0 Comments
How to Do Projection Mapping With the Pi Cap
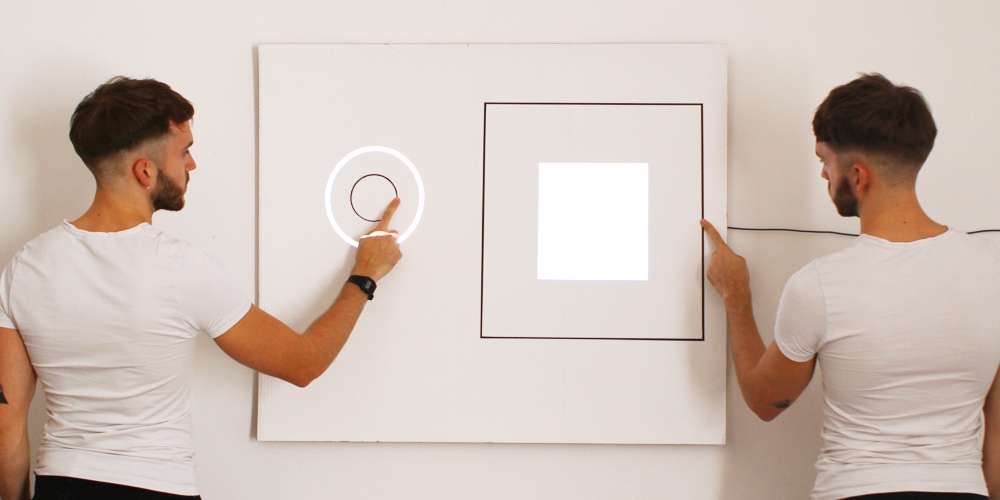
We’ve taken inspiration from your projects and created a projection mapping tutorial using the Pi Cap. If you want your project to work wirelessly over WiFi, then this is the tutorial for you. We used MadMapper as a projection mapping software, but you can use other software if you prefer.
You can download MadMapper here . You’ll also need a projector for this tutorial, so check out th is article for a guide on what projector to use. We recommend using the Pi Zero W, because it is small, compact, and offers integrated WiFi. If you don’t have a Pi Cap, you can check out the Touch Board tutorial, however you won’t be able to use the Touch Board wirelessly.
Materials
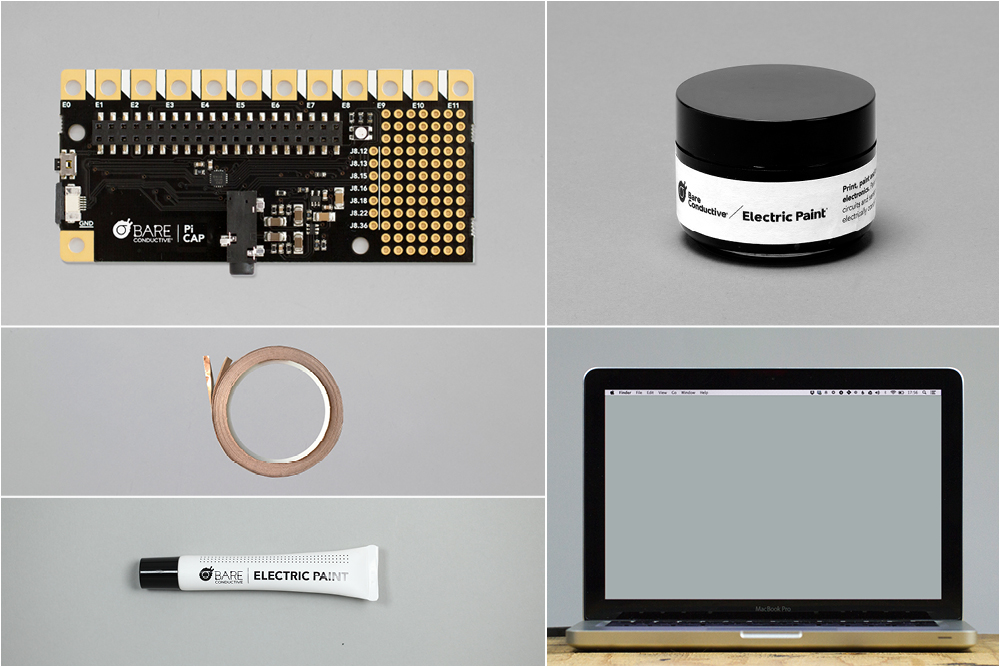
1x Pi Cap
1x Electric Paint 50ml
1x Electric Paint 10ml
–
1x projector
1x laptop running MadMapper and Processing
–
(optional)
copper tape
Setting Up the Pi Cap
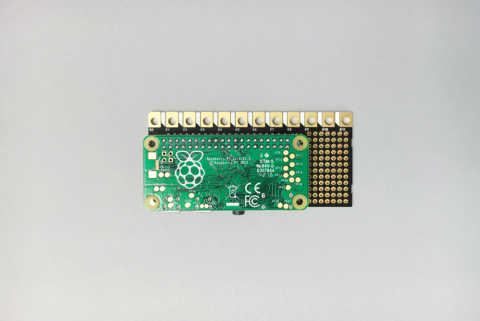
If this is your first time using the Pi Cap, we suggest completing this tutorial first. In this tutorial, our Pi Zero is connected to our laptop via SSH which this allows us to have a wireless setup.
We’re also going to use Processing and OSC with the Pi Cap in this tutorial. Follow this tutorial for a good introduction to both.
Prepare the Animations in MadMapper
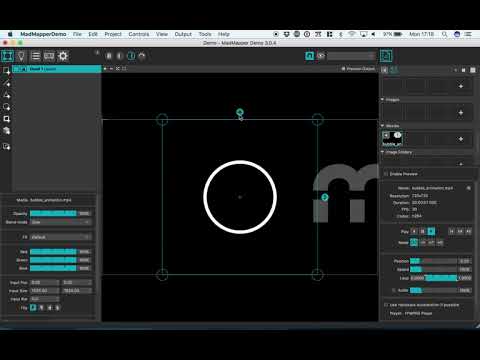
We’re going to send touch commands to Processing via OSC and then to MadMapper to trigger two animations. We have two sample animations that you can download here .
Open MadMapper and drag and drop the animations into the workspace. Make sure to change the “Loop movie” setting to “Play the movie to the end of the loop and pause” so that the animation only plays once. If you like to, you can connect the projector to your laptop now and project the animations by going into “Full Screen Mode”.
Run the Processing Code
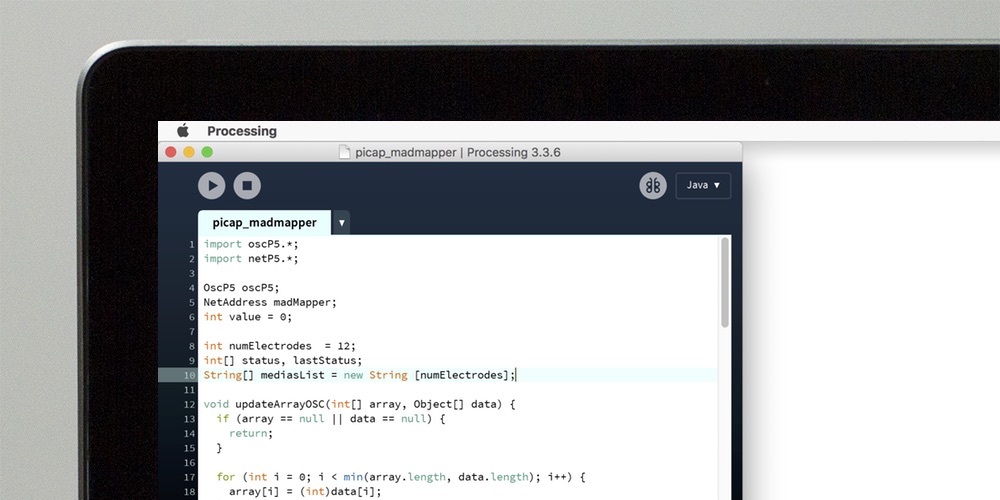
You now need to download the script that receives the OSC signals from the Pi Cap and sends another OSC signal to MadMapper. You can download this script here . To add our Pi Cap and MadMapper connection sketch to Processing, the picap_madmapper folder needs to be moved to the Processing Sketchbook Folder. This will be different for each operating system:
Windows
Libraries/Documents/Processing
or
My Documents/Processing
Mac
Documents/Processing
Linux (Ubuntu)
Home/Processing
If this folder does not exist, you have to create it first. On your Pi, run one of the “picap-datastream-osc” codes, including your laptop’s hostname. In Processing hit the run button. When you touch electrode 0 or 1, it should play the respective animation in MadMapper. Gotta love OSC!
Paint the Triggers
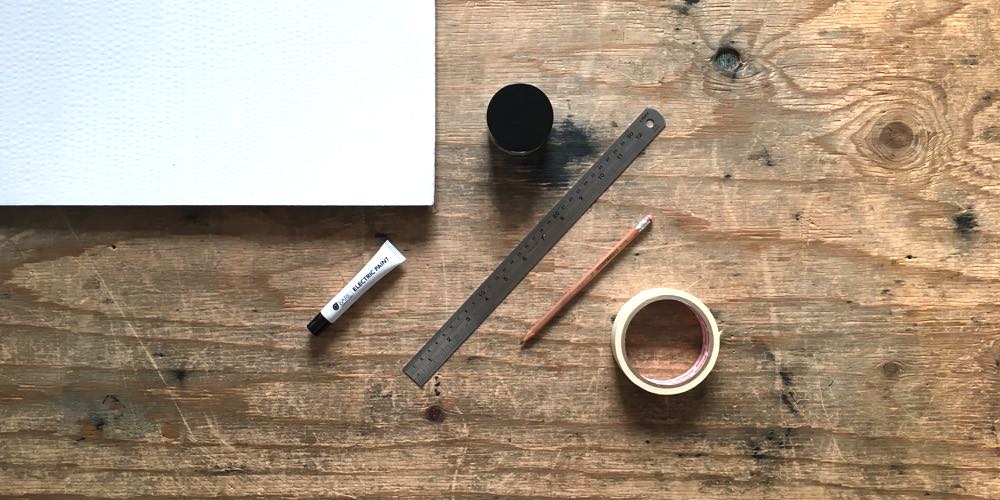
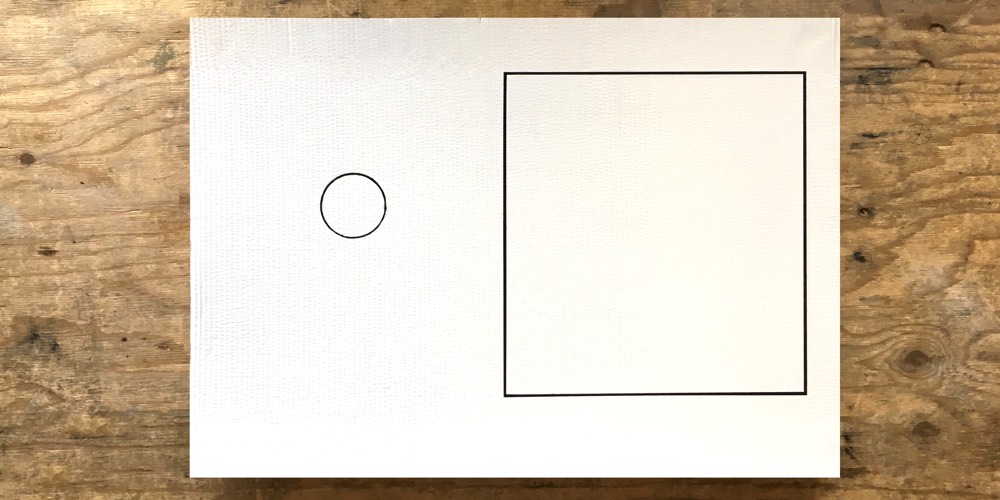
Now we need to start thinking about where we want to project the animation. We used some painted cardboard, which we attached to the wall. But you can use plywood, a blank canvas or paint directly onto a wall. Next we need to paint the graphics to start the animation using Electric Paint. You can paint the graphics either by hand, use stencils, or screen print. For this tutorial we simply painted a circle and square by hand.
Connecting to the Pi Cap
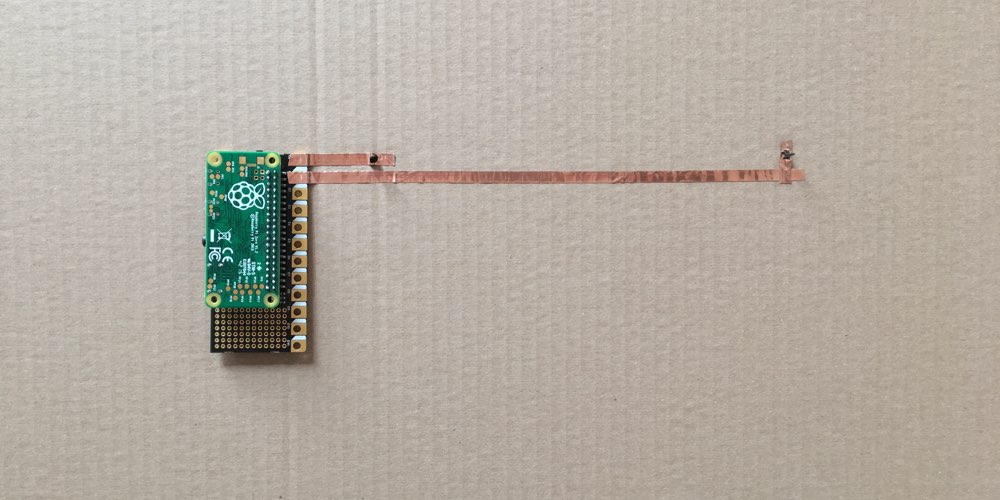
The next step is connecting the graphics to the Pi Cap. This is where the Pi Zero has an advantage over the Raspberry Pi: The Pi Zero is so small, that you can attach our surface mount Pi Cap with the electrodes straight onto your project!
First, turn your Pi Zero off and unplug it. If you are using a material where you can use the surface behind the graphics, for example with plywood or cardboard, then you can connect to the Pi Cap through the material. We used black nails, but you could also drill a hole and then use a screw, or some cable.
To connect to the electrodes, you can use any conductive material, such as wires, copper tape or Electric Paint. We used copper tape, pierced it with black nails, and added a bit of Electric Paint to get a strong connection. Then we cold soldered the Pi Cap to the tape. To get a full overview on how you can connect to the sensors, have a look here .
Touch the Paint and Watch the Animation
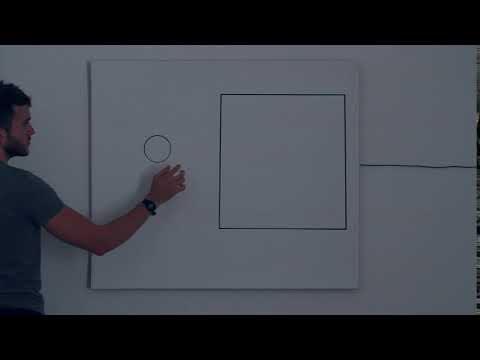
After the paint has dried, connect your Pi Zero to power and run the OSC code. Connect the projector to the laptop and run the Processing code. Touch the paint and watch the animation unfold!
Further Steps
If you look inside the code you can find the lines “mediasList[0] = “bubble_animation.mp4″;” and “mediasList[1] = “bubble_animation.mp4″;”. The number inside the square bracket corresponds to the electrode that is touched, so for example when touching electrode 0, MadMapper is going to play “bubble_animation.mp4”. If you want to use your own animation, you need to change the name in Processing. For example, if you want to include “animation1.mp4”, you need to include this filename in Processing, e.g. “mediasList[0] = “bubble_animation.mp4″;”.
If touching the Electric Paint doesn’t trigger the animation too well. This might be because the distance between the Electric Paint and the Pi Cap is too long. One way to solve this is to change the sensitivity of the Pi Cap’s electrodes, you can learn on how to do this here .
We would love to see what you make! Share your projects with us either via Instagram or Twitter or send us an email at info@bareconductive.com.