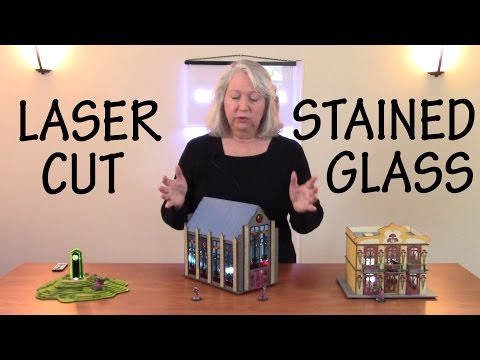
How to Design and Laser Cut a Stained Glass Chapel for Tabletop Terrain
by greylightmay in Workshop > Laser Cutting
5069 Views, 57 Favorites, 0 Comments
How to Design and Laser Cut a Stained Glass Chapel for Tabletop Terrain
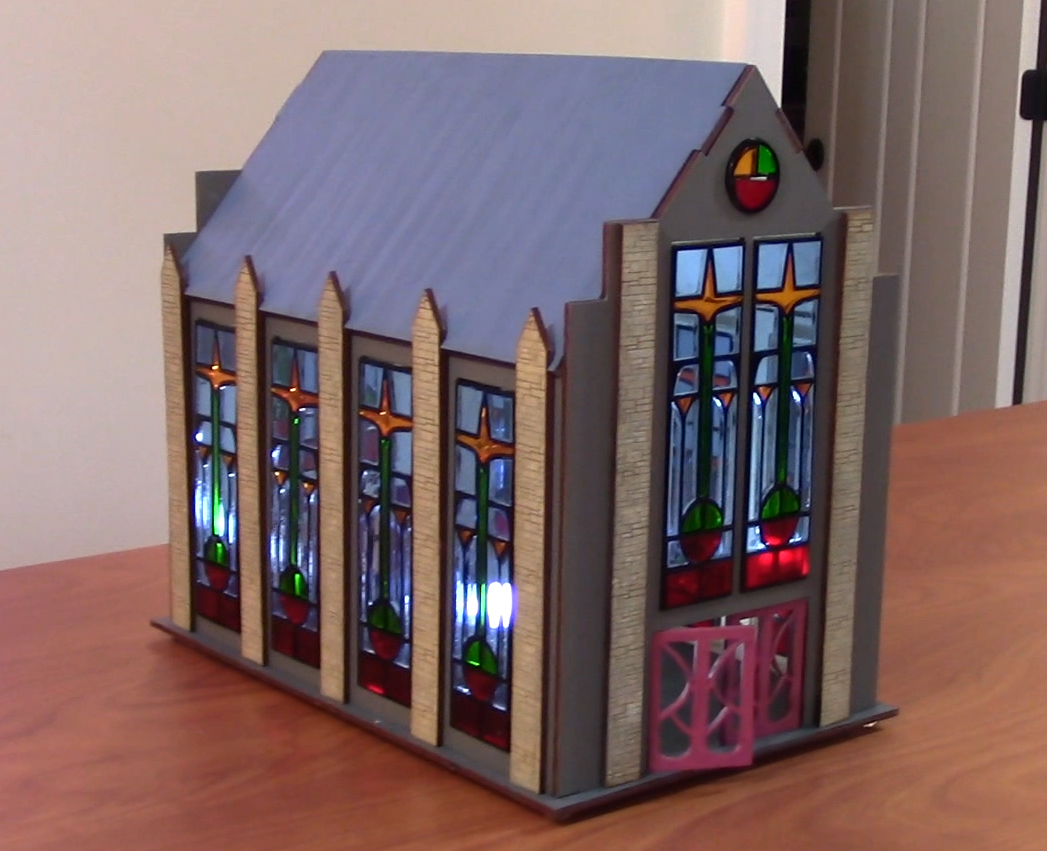
In this instructable I show how to use Adobe Illustrator to design a scale model of a chapel with stained glass windows. The parts are cut on a laser cutter, and I give tips about how to assemble the windows with the least amount of effort. The stained glass techniques I show can have many different applications.
Tools and Materials
Tools:
Access to a laser cutter
Access to design software (I use Adobe Illustrator)
Access to image software (optional, I use Adobe Photoshop)
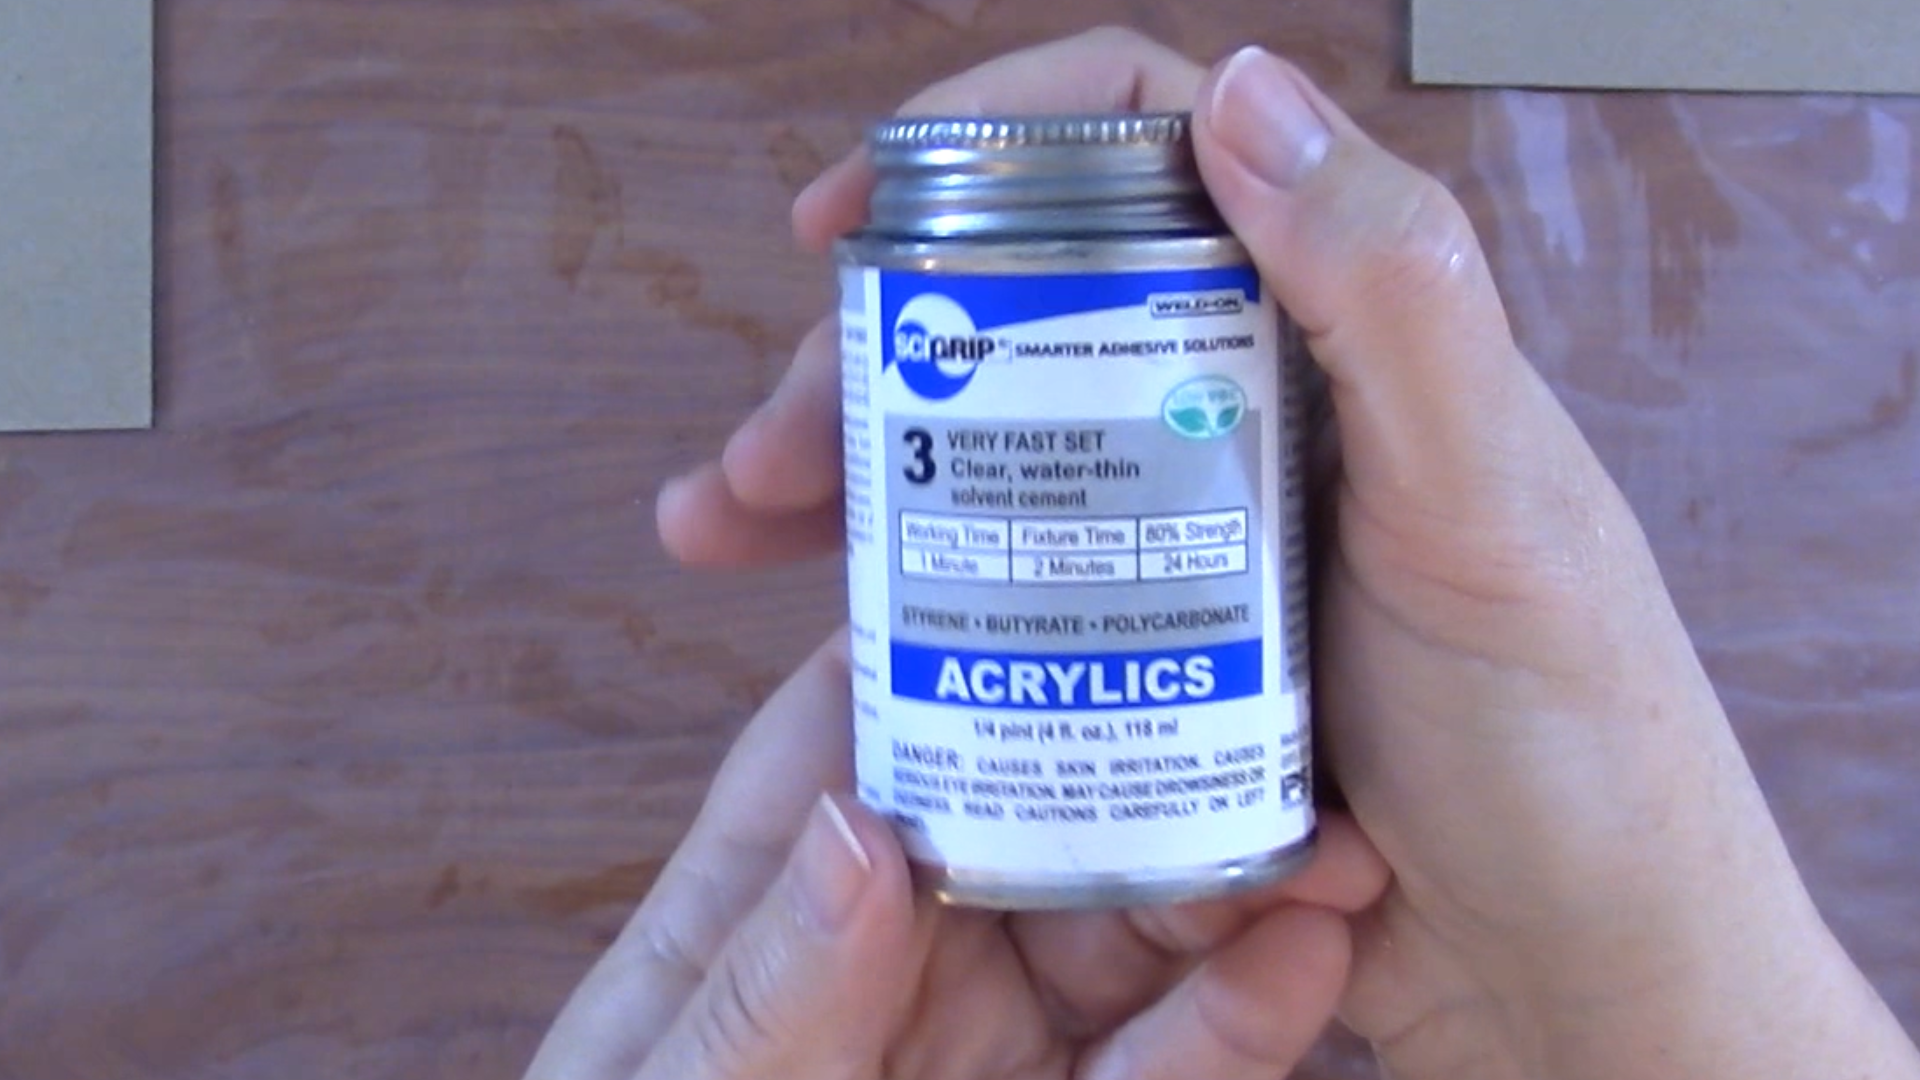
Acrylic solvent cement (Weld-On)
Wood glue
Simple Green (for removing backing paper)
Materials:
1/8" birch plywood
3/16" acrylic: opaque black for 'leading' and transparent colors for stained glass
1/8" clear acrylic for window backing
Acrylic paints (I use Citadel)
Ultrasuede for hinges
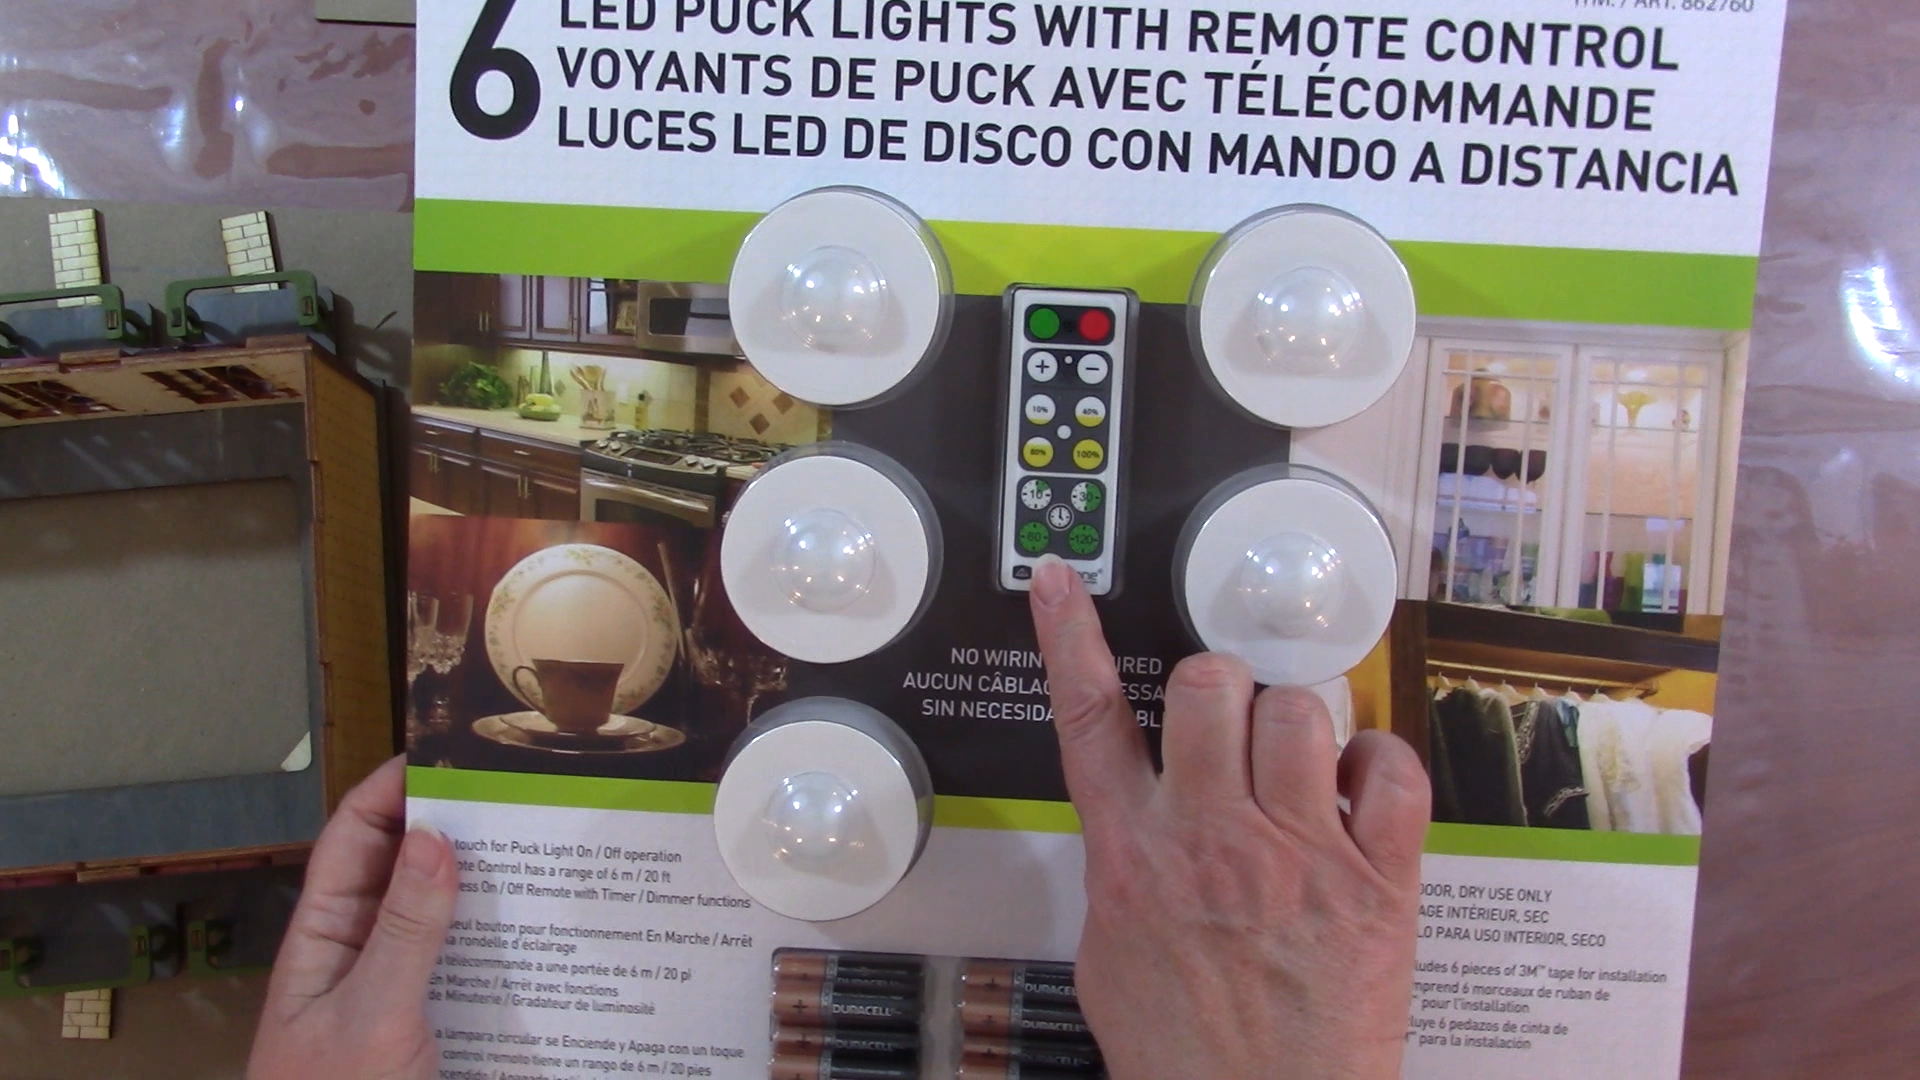
Puck lights with remote control (I purchased a set from Costco)
Assemble Reference Materials
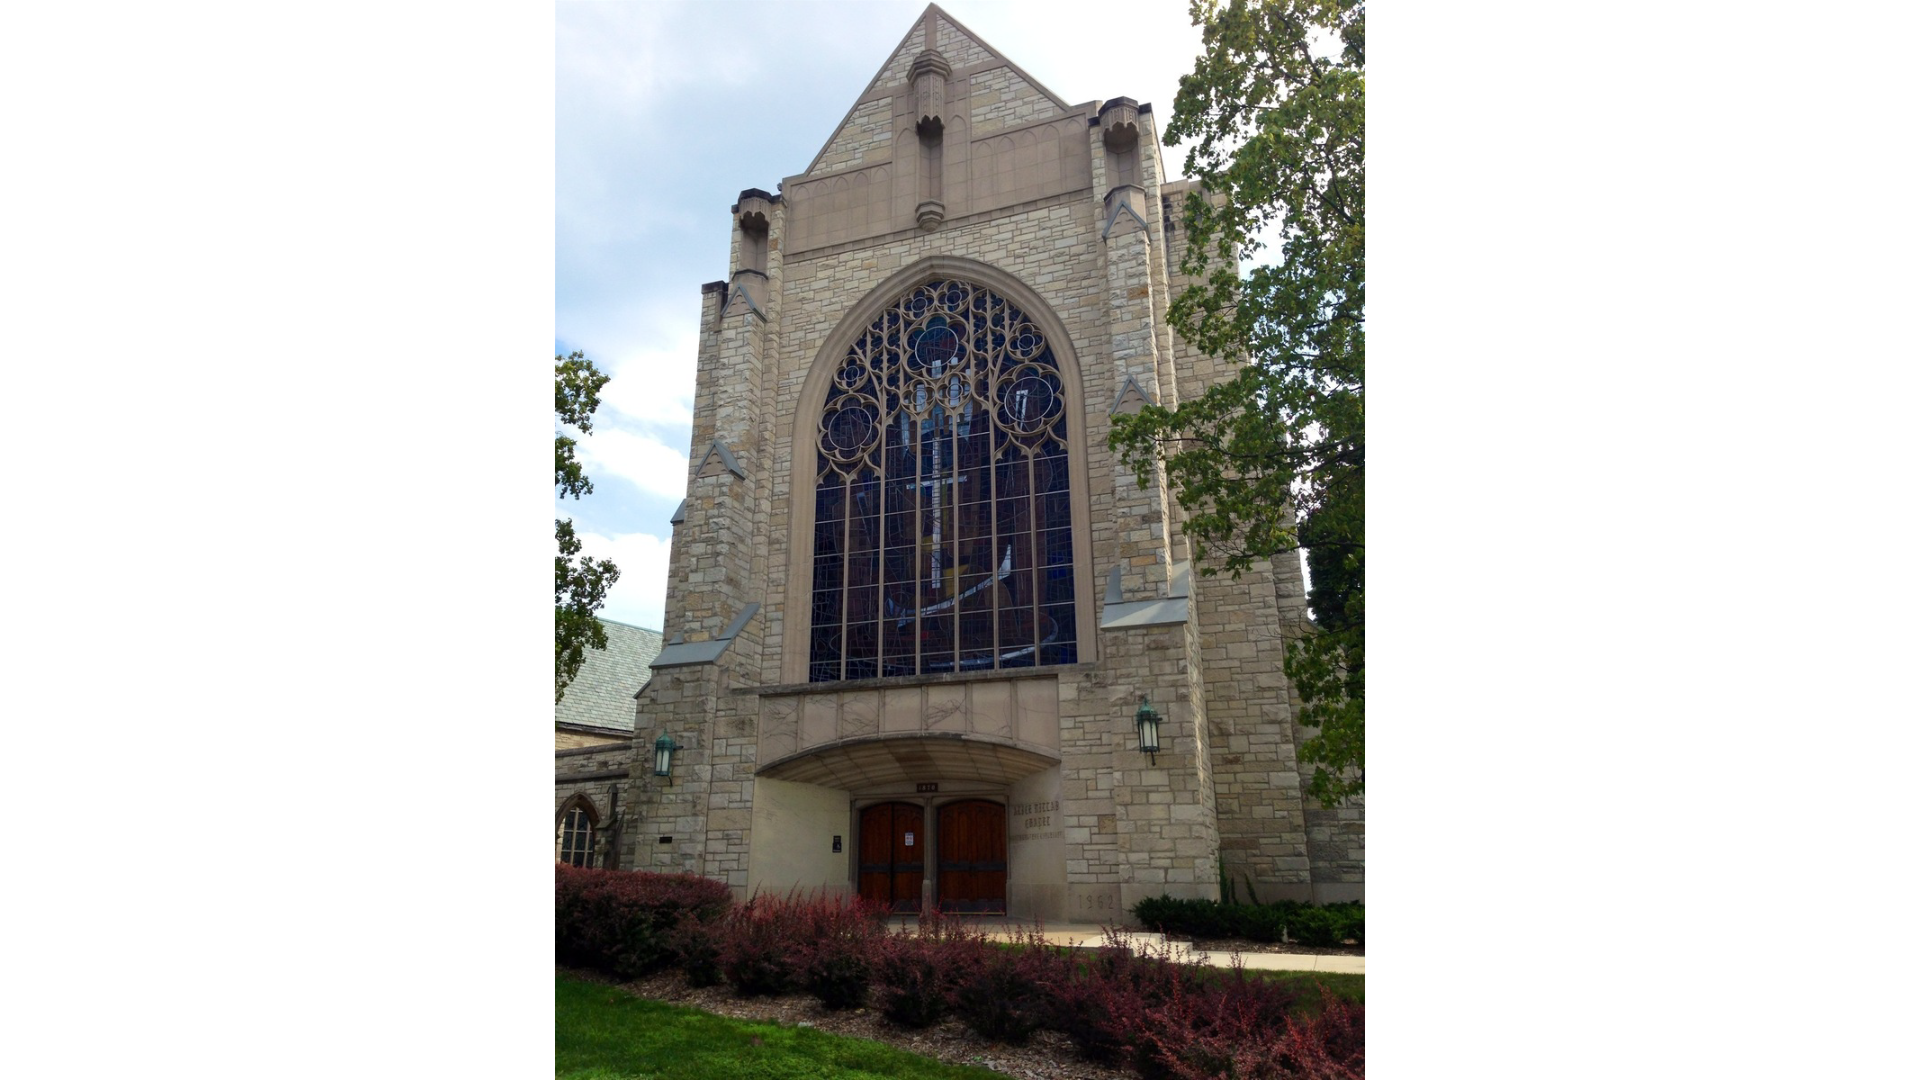
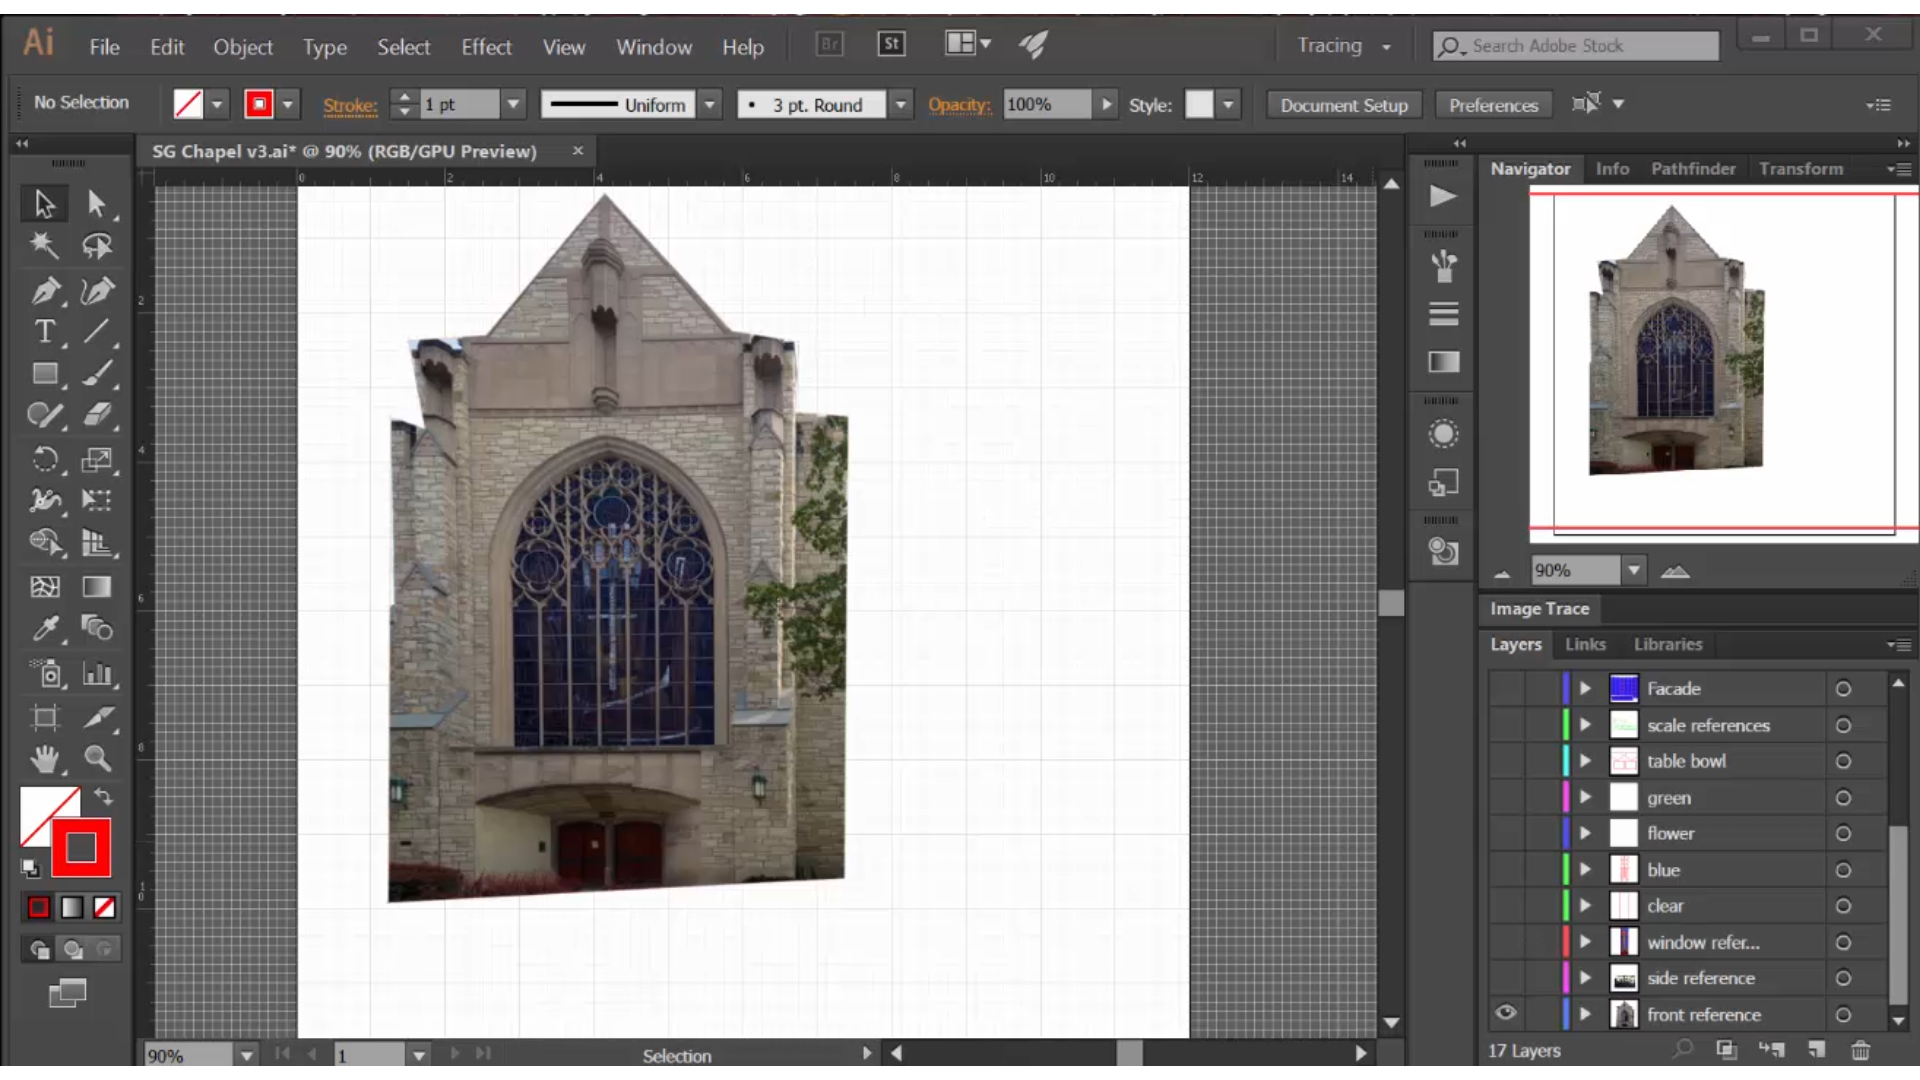
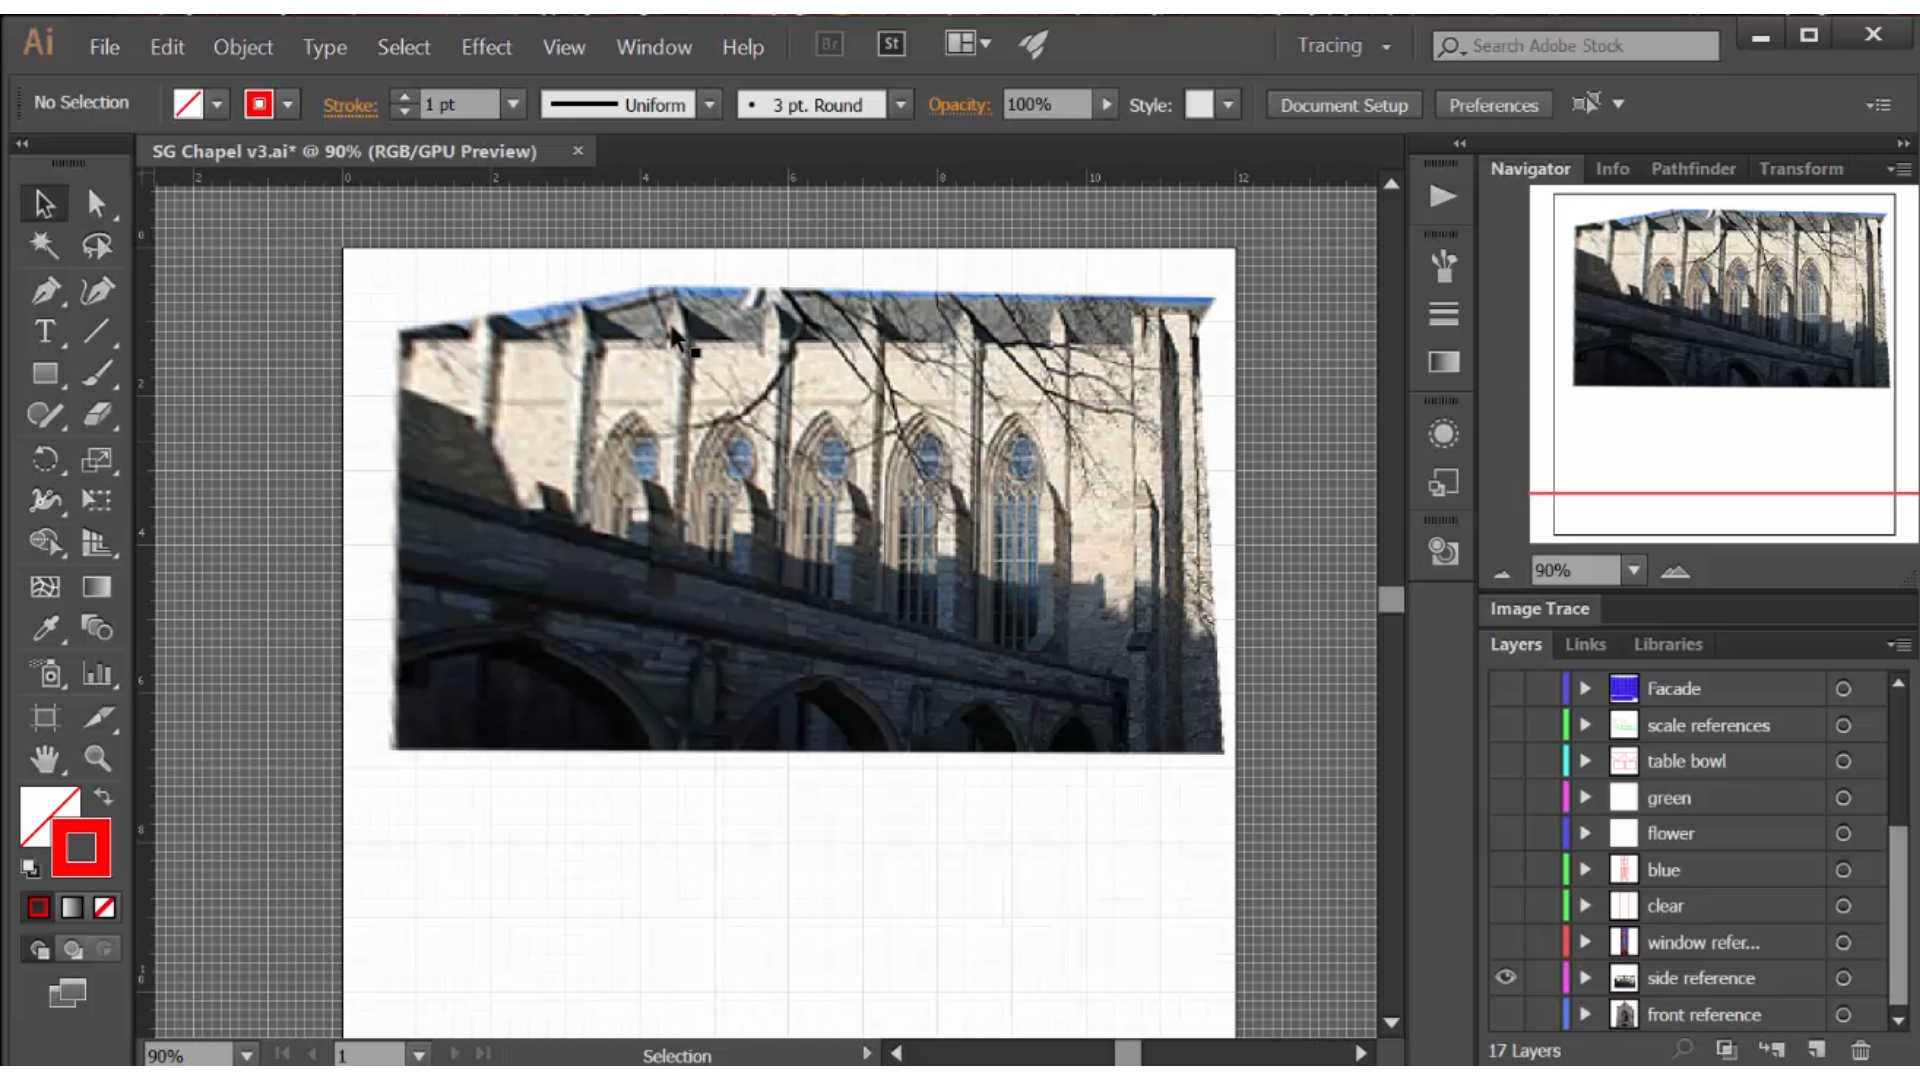
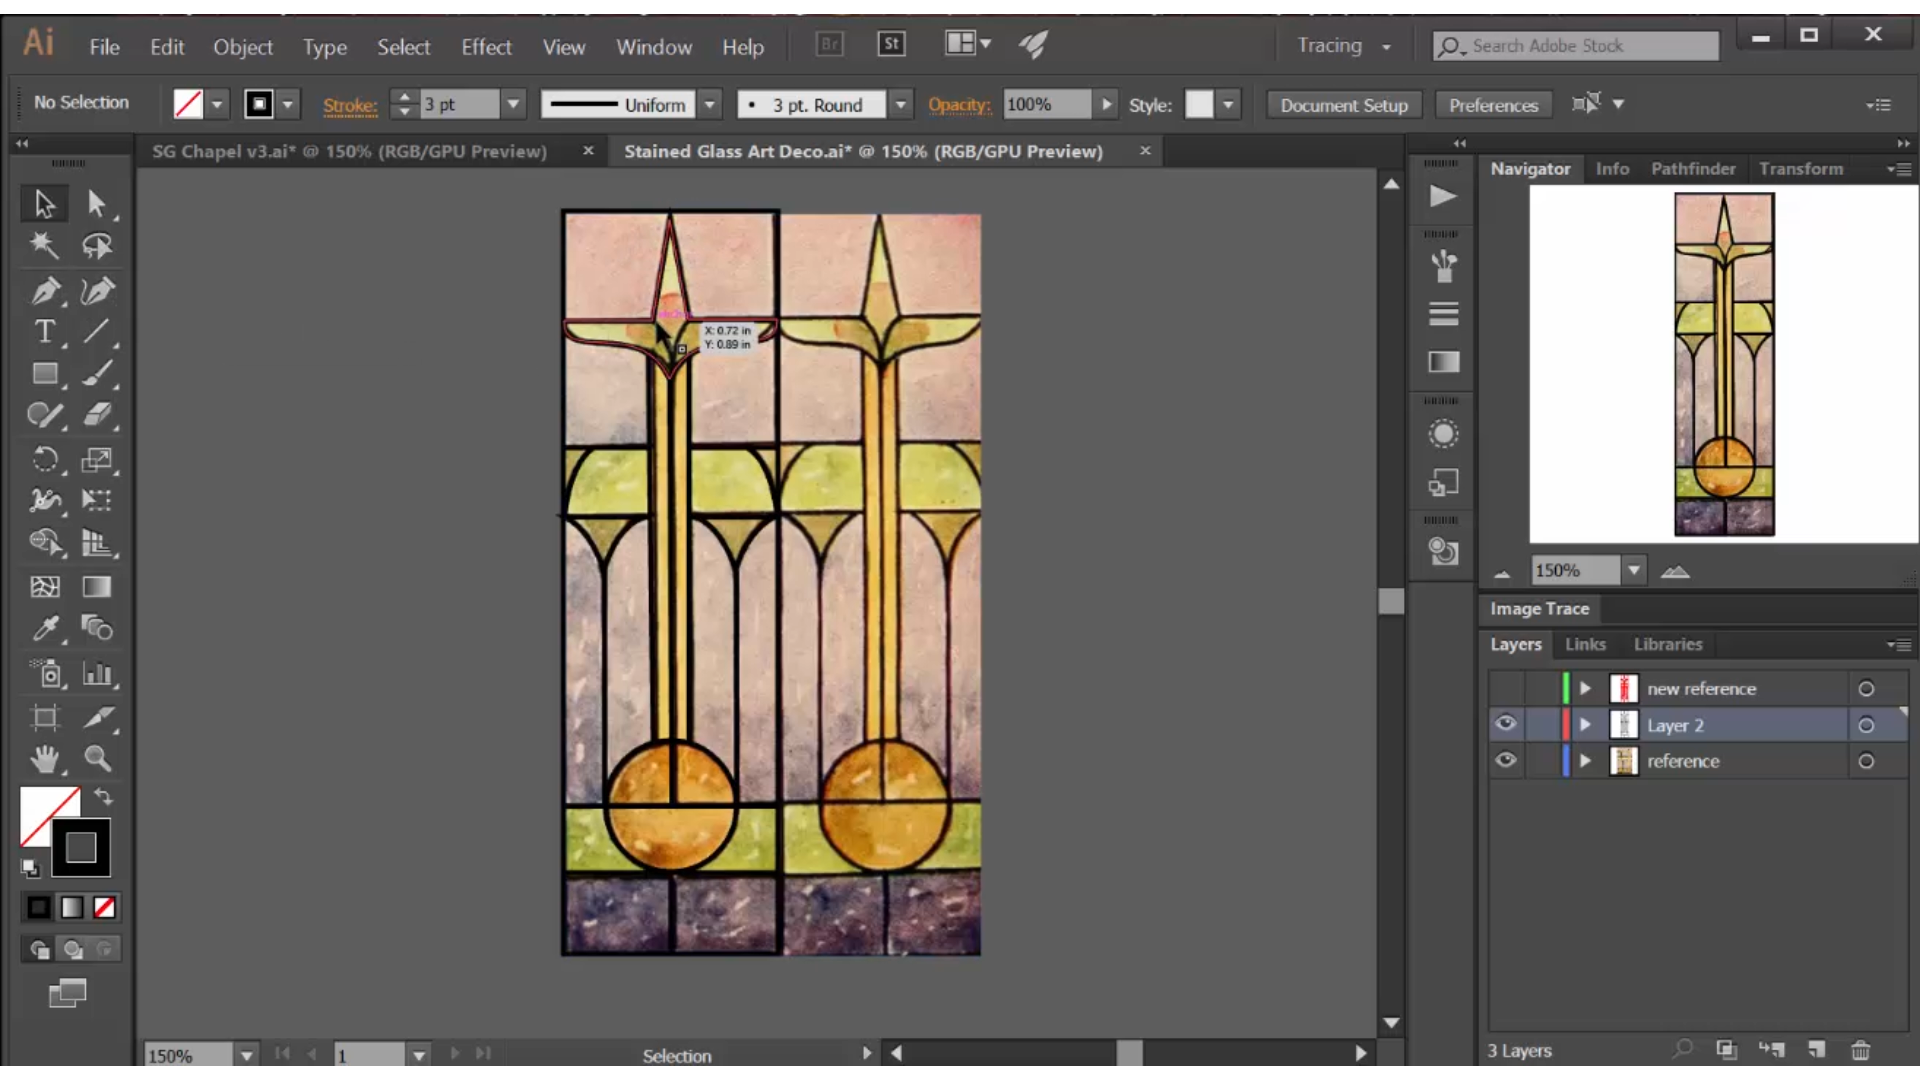
I modeled my chapel after the Alice Millar Chapel at Northwestern University. I used the best front and side photos I could find, then 'flattened' them in Photoshop, using the transform tools. I also located a window design I liked that fit the art deco look I am recreating in all my tabletop terrain projects.
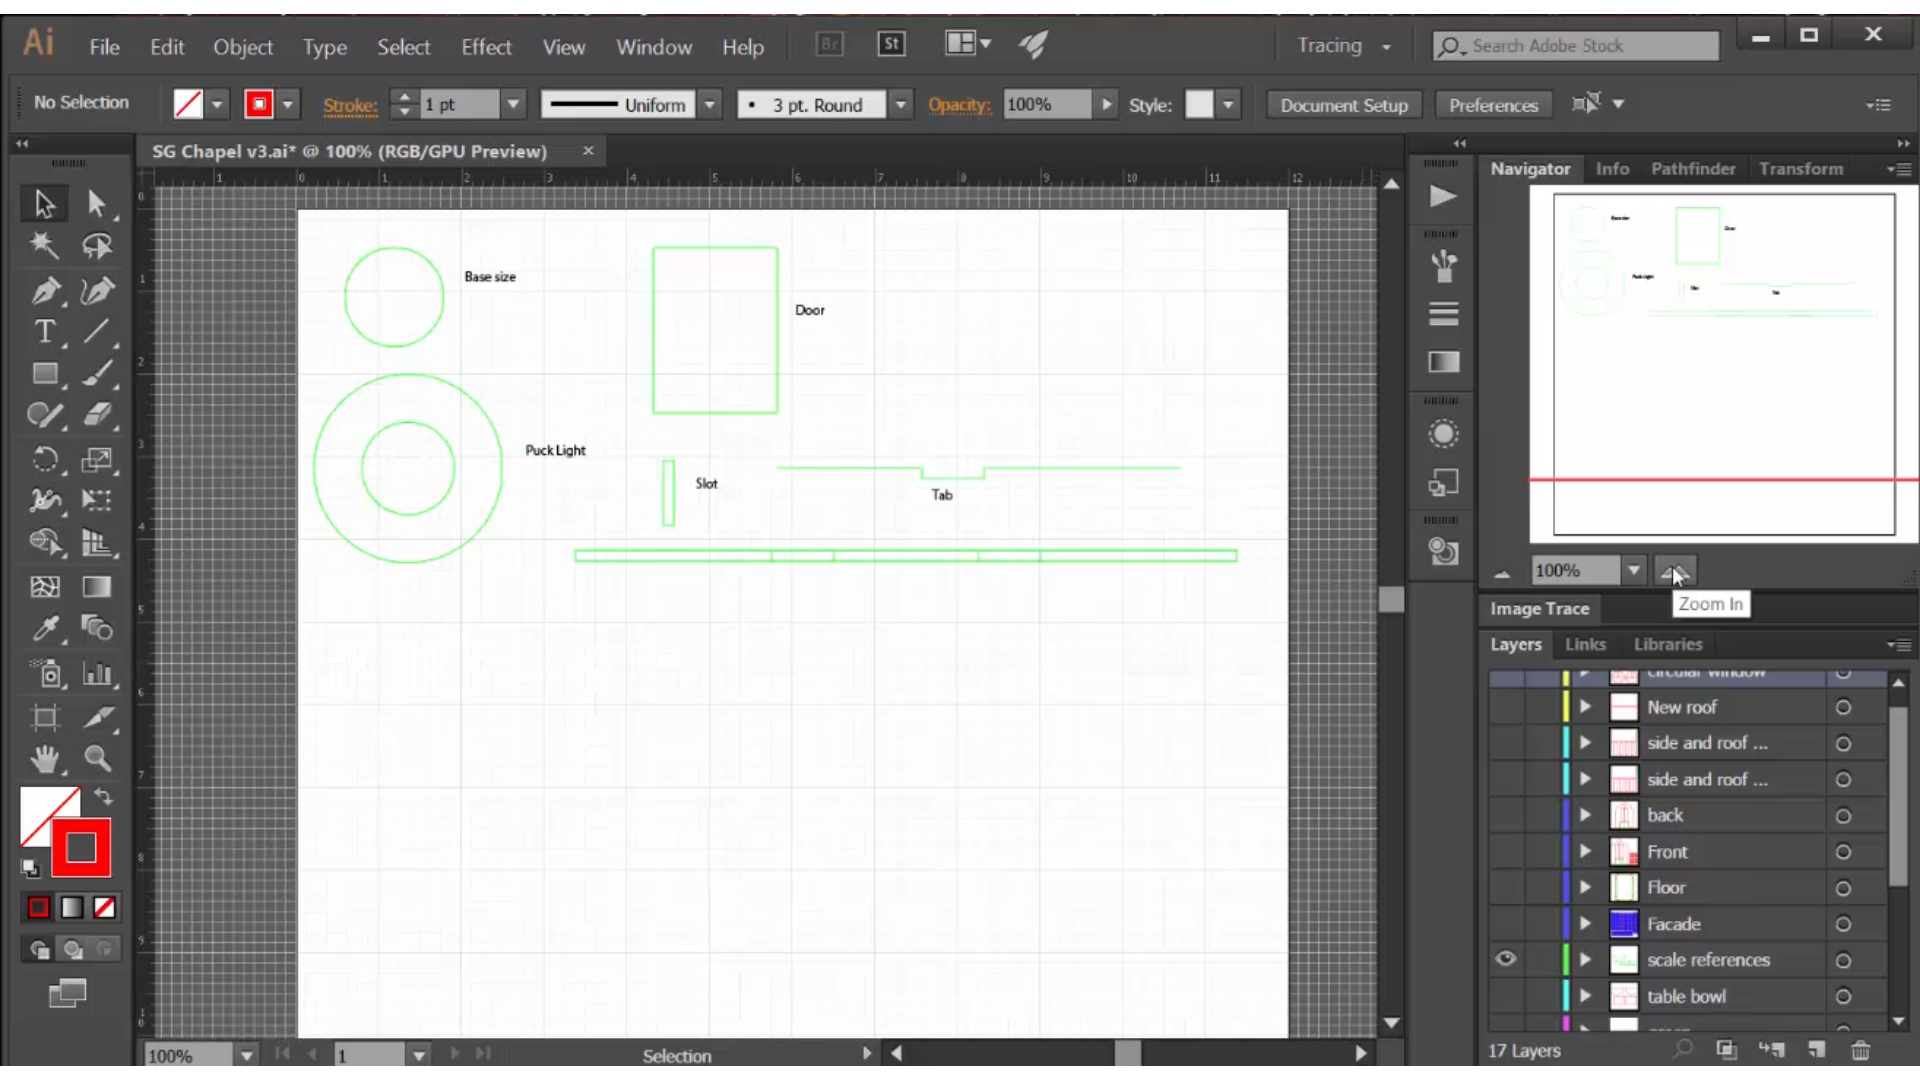
I pulled Illustrator references from prior projects: the size and shape of the puck light that will go inside the building, the base of a standard 35mm miniature model, the tabs and slots from a prior building model made from the same birch plywood. All of these references are in green, a line color that does not affect my laser cutter. This allows me to do virtual 'testing' inside my drawing, without confusing my laser cutter.
Pulling the tab and slot references from a prior project is a way to leverage my prior experience, minimizing my design effort and maximizing my probability of success.
Design the Chapel in Adobe Illustrator
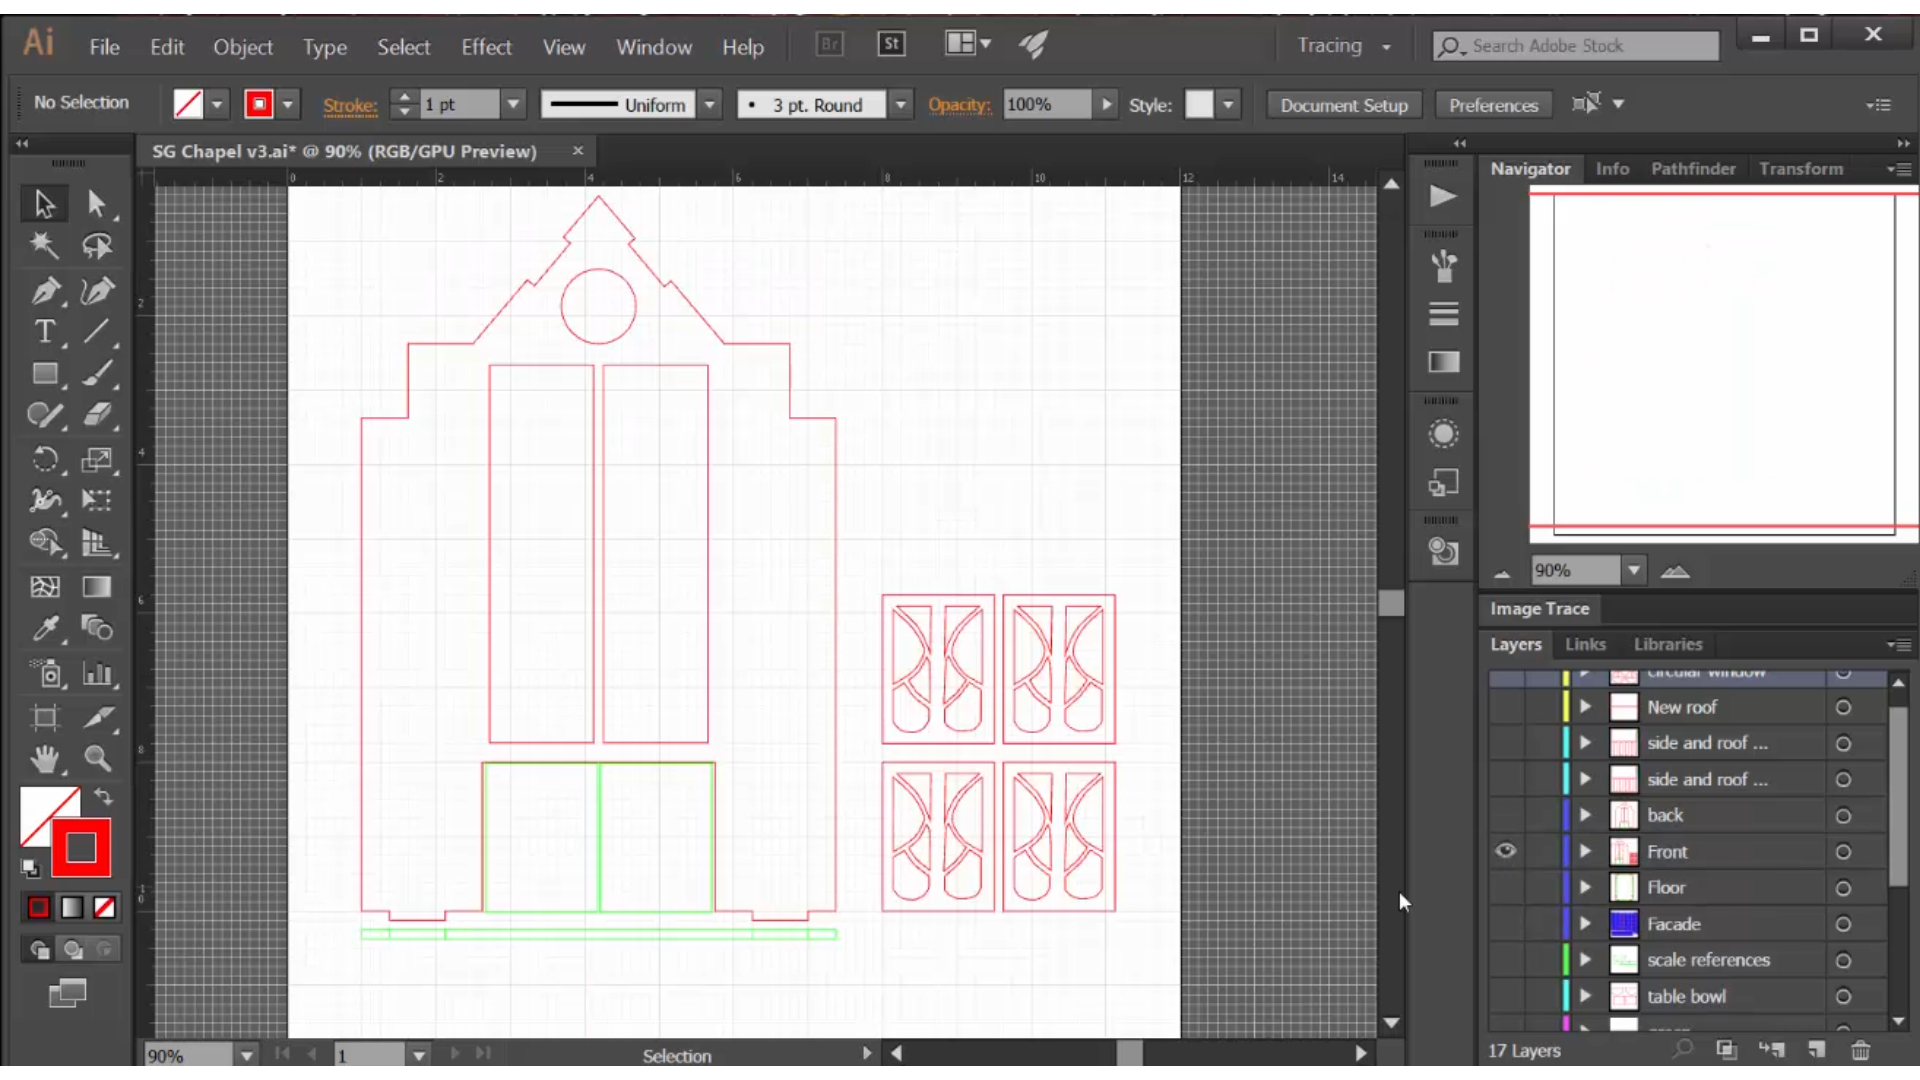
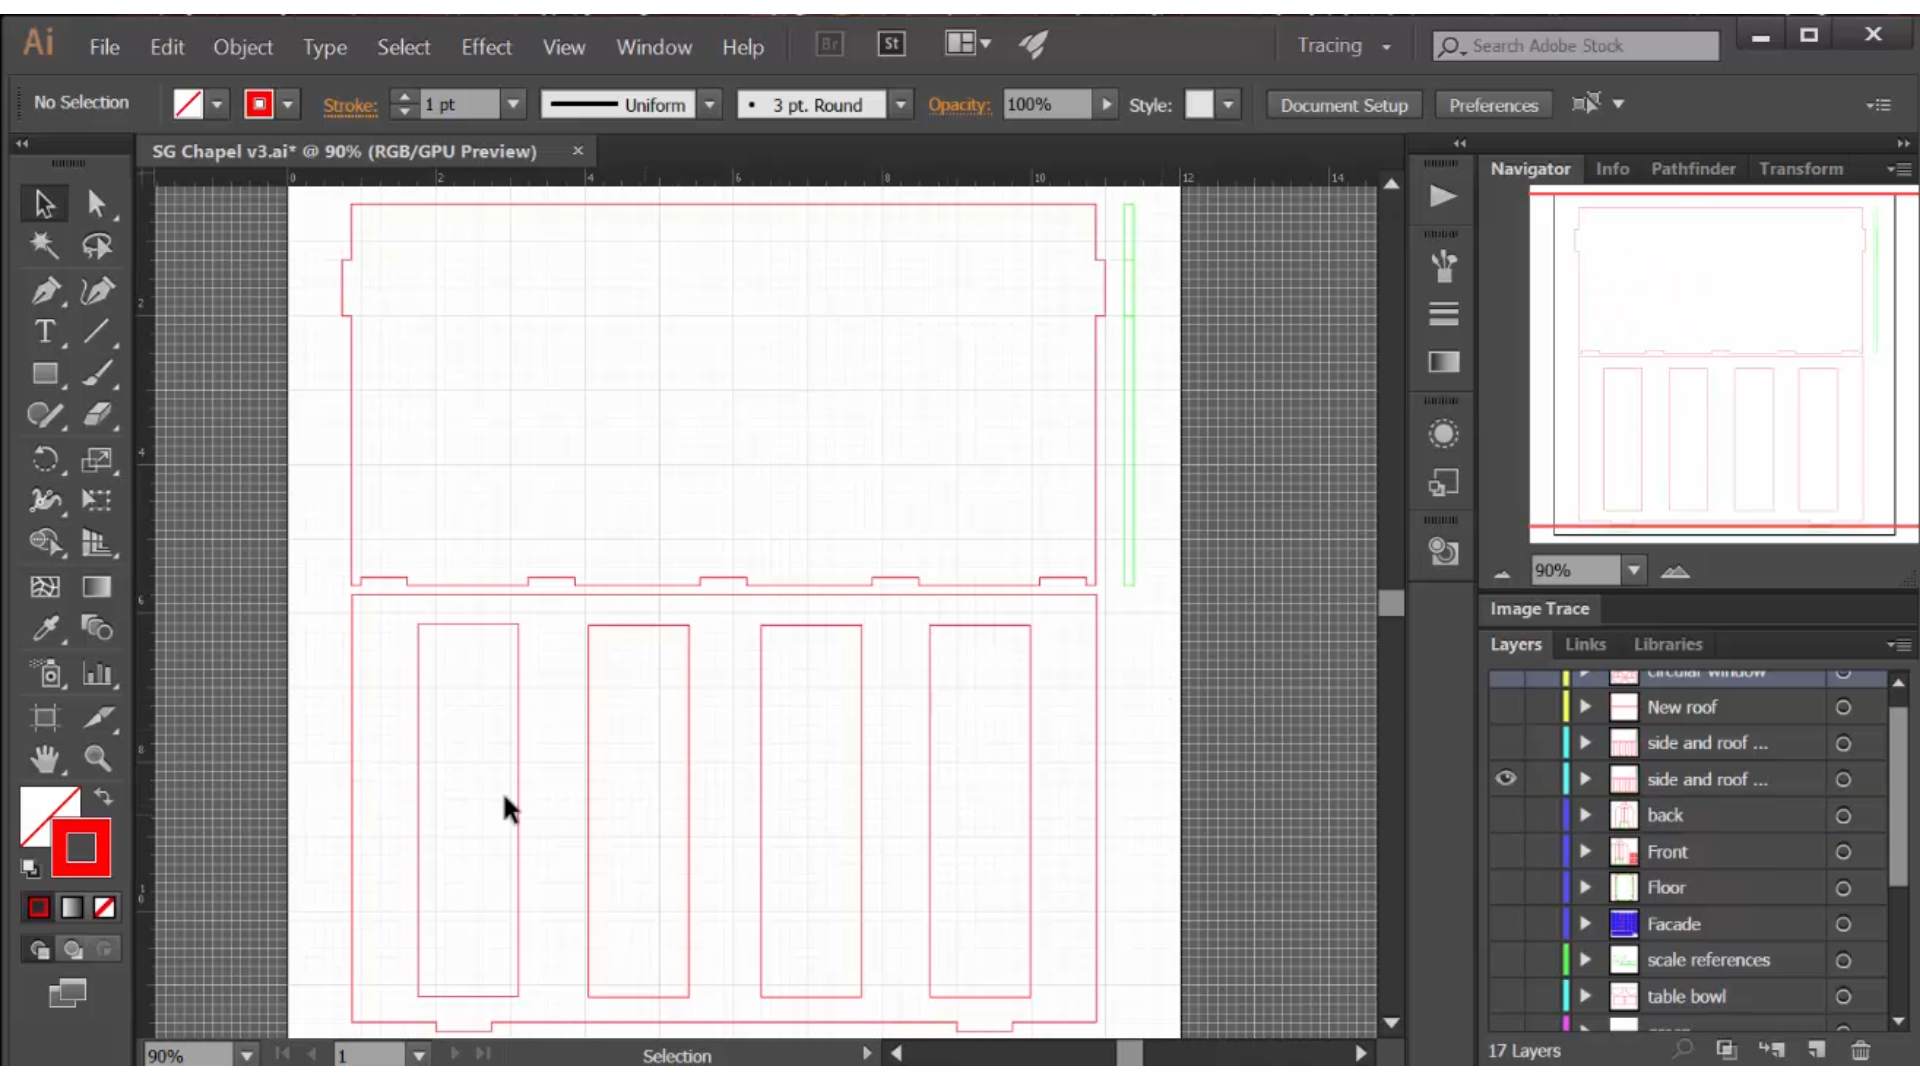
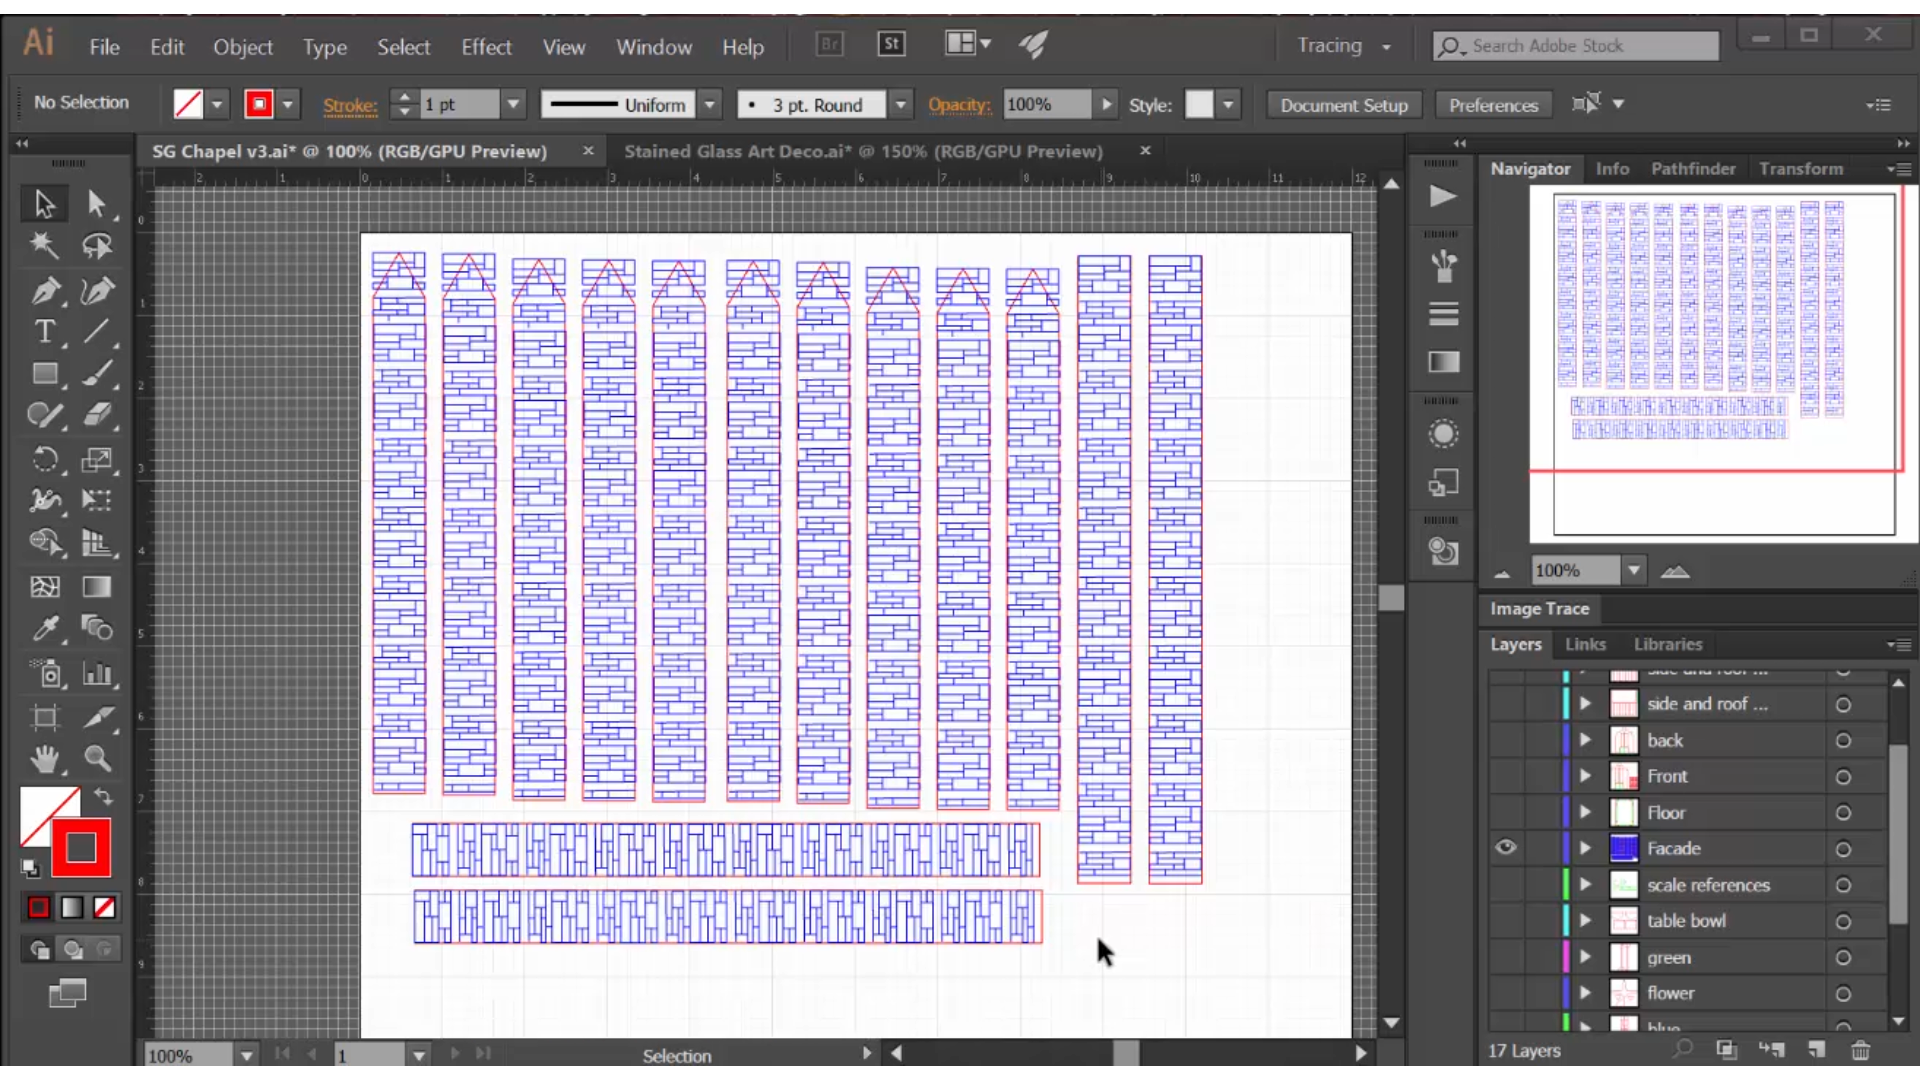
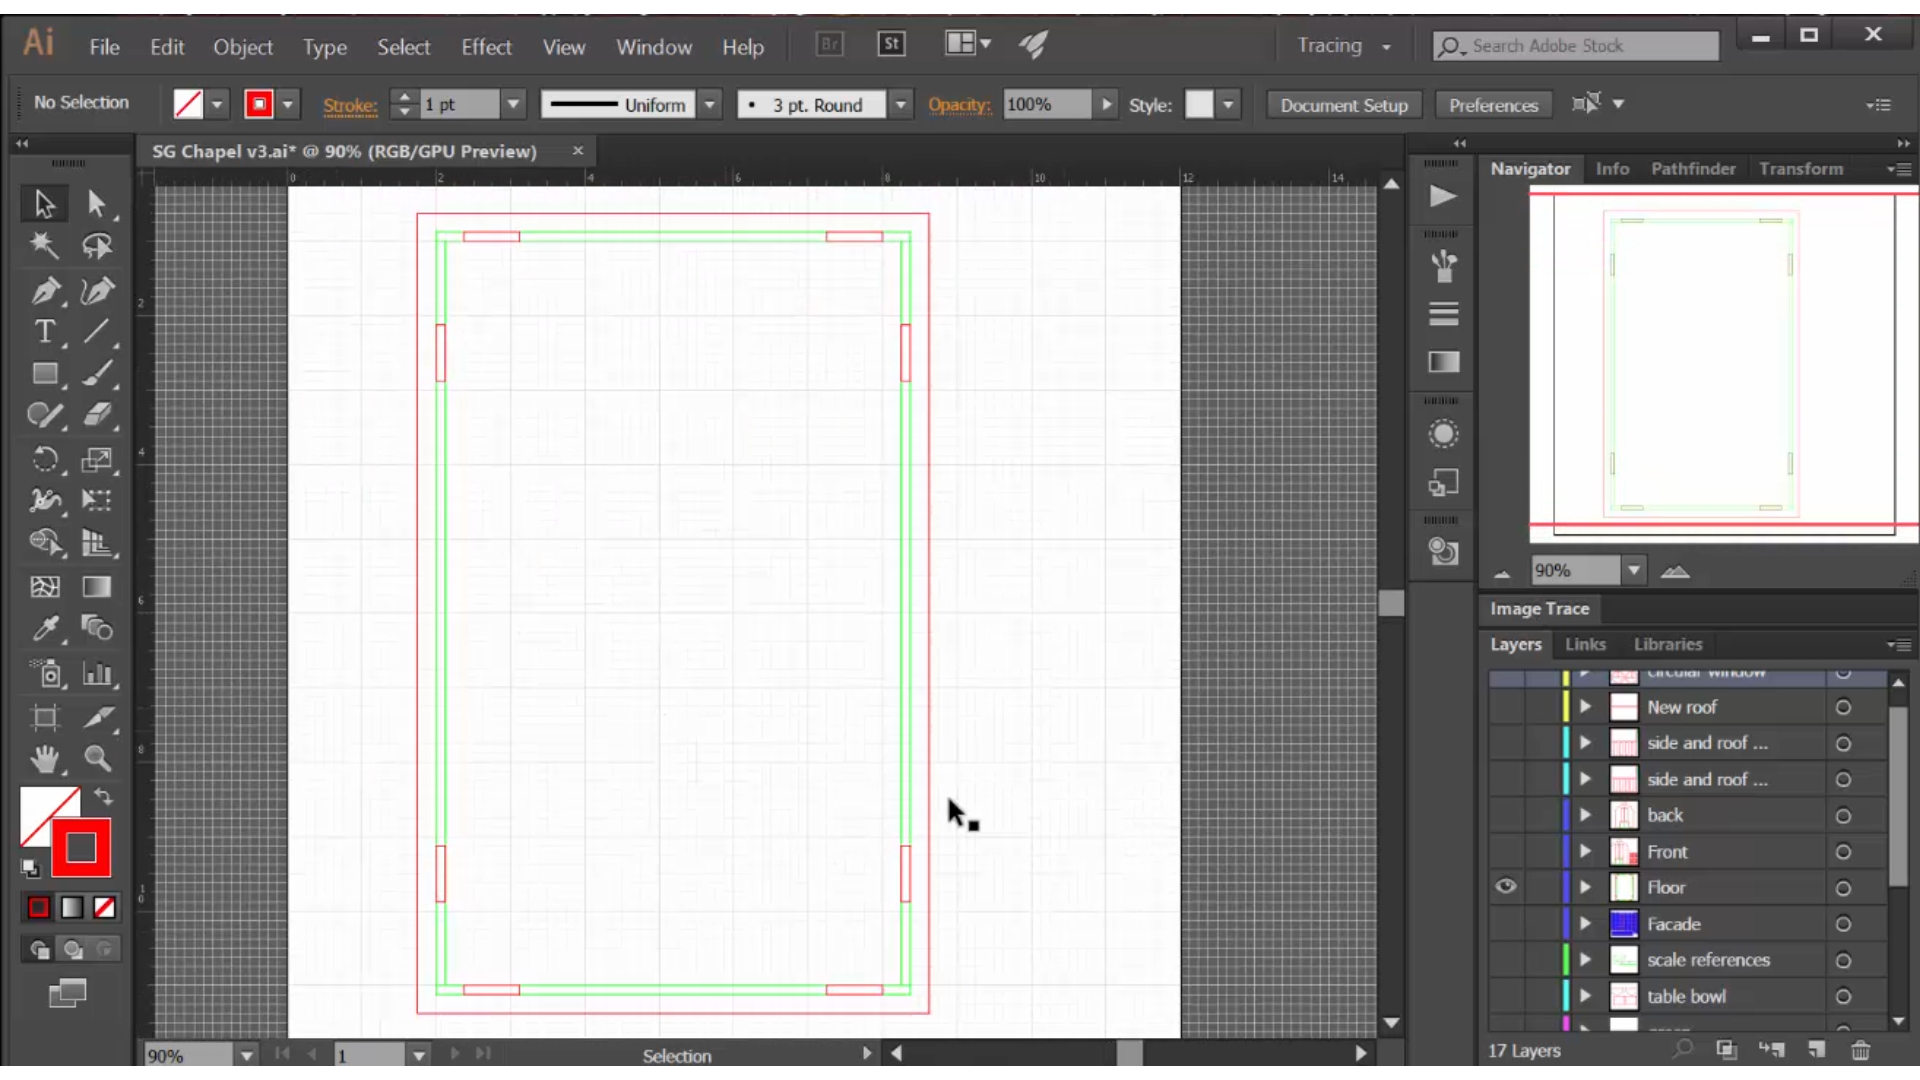
After selecting the basic scale of my building, based on the scale of the 35mm models I use for war-gaming, I used the rectangle and pen tools to draw the front and sides of the building over my reference photos. Of course, my design is simpler and more stylized than the Alice Millar Chapel, but the basics are there.
One of the key design elements are the pillars of stone that are between each of the side windows. I recreated these through facade pieces that are glued to the building. I made a stone engraving pattern (engraving is blue on my laser cutter) and placed it in the facade pieces. These facade pieces have pointed tops, and will be cut out after the laser has engraved the stone pattern.
Each wall has bottom tabs that go into slots in the floor. I created a "side view" of the bottom of each wall, which I then copied and pasted into a new layer for the floor. This allows me to virtually lay them out in a rectangle, as they will be assembled, and draw a larger rectangle for the floor and position the slots in the right places. This process is best done with the grid on in Illustrator and (as long as you stick to even 1/8" measurements) snap-to-grid set to "on".
The roof of the chapel is slanted, which can be a bit tricky. I opted to put tabs on the roof, because I want it to be removable during game play. This gives me access to the interior of the building. It is held in place by notches on the front and back, and by overlapping the sides, but this overlapping requires that I leave notches that fit around the "stone pillar" facade. Once again, drawing this is made easier by using the grid and sticking to increments of 1/8".
The doors I pulled directly from another project, and are art deco in appearance. This will make the chapel fit in well with the other buildings in my tabletop terrain.
Design the Windows in Adobe Illustrator
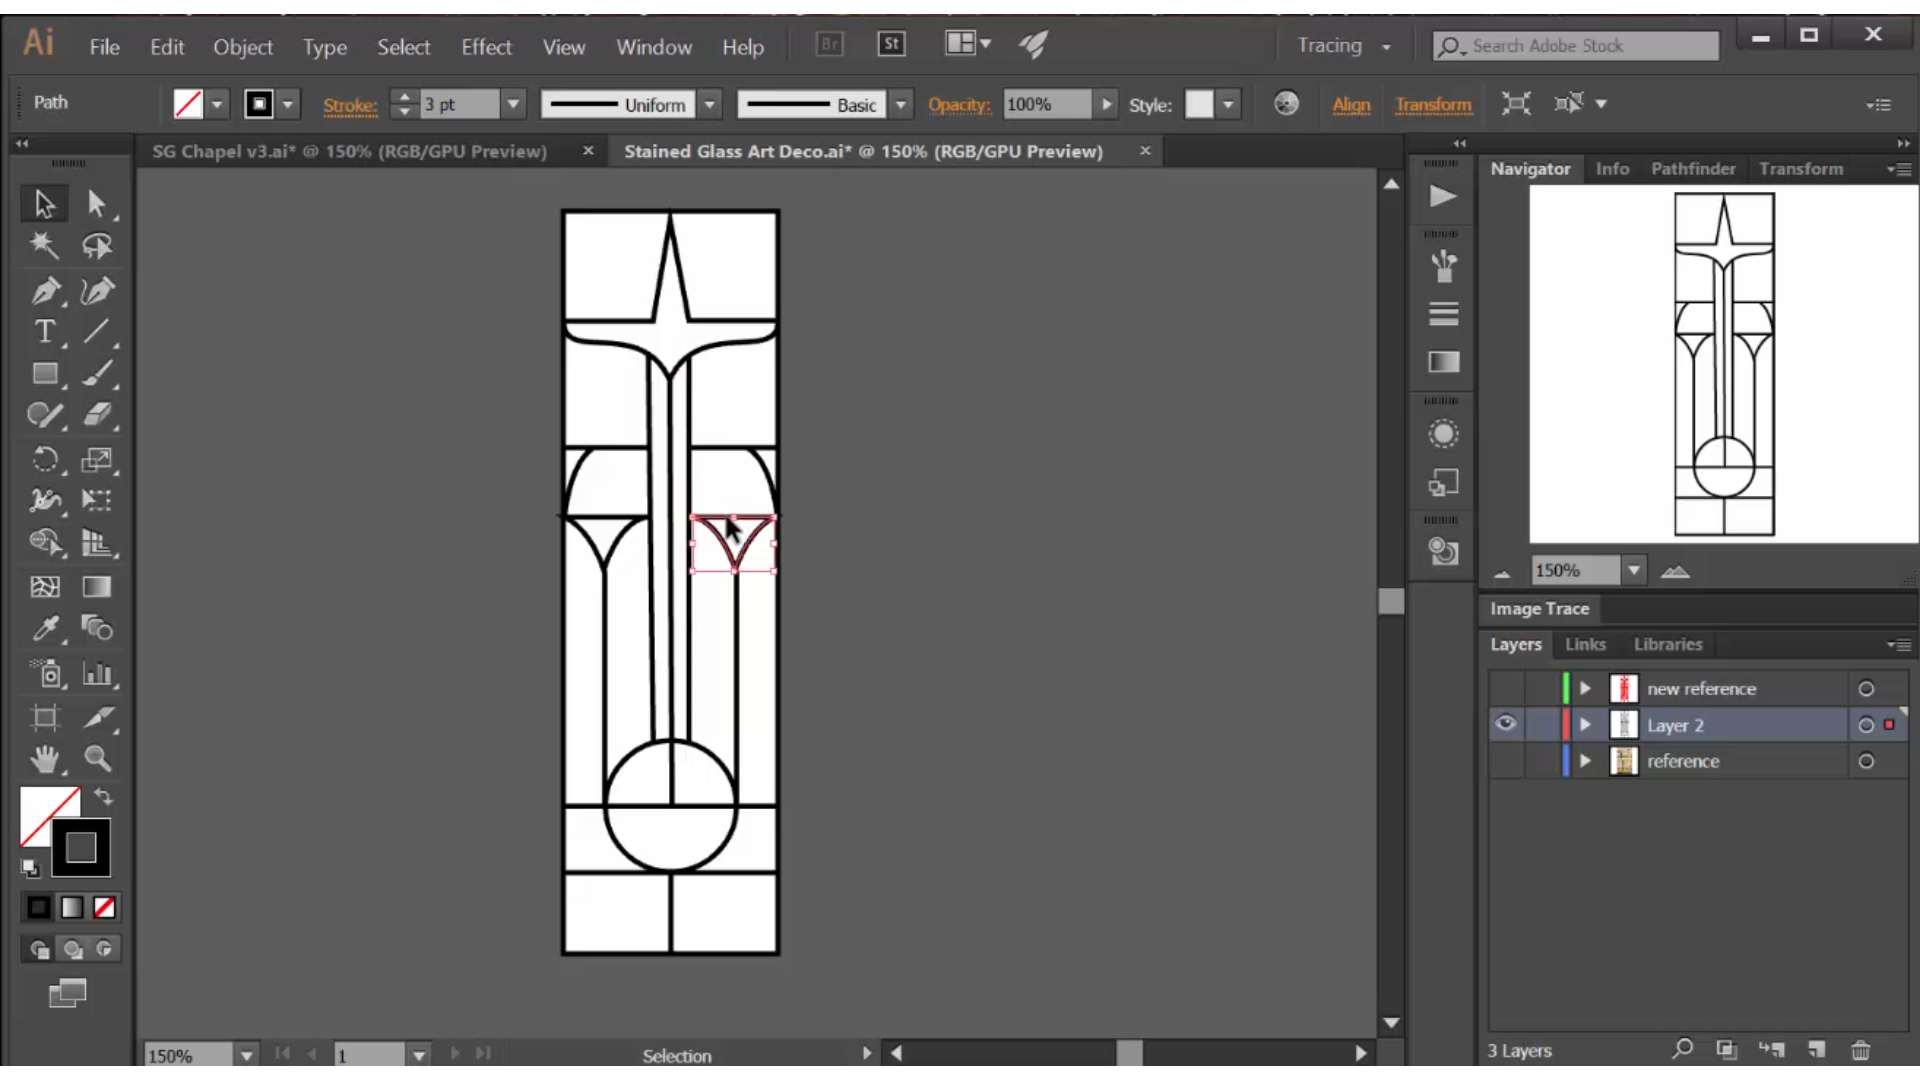
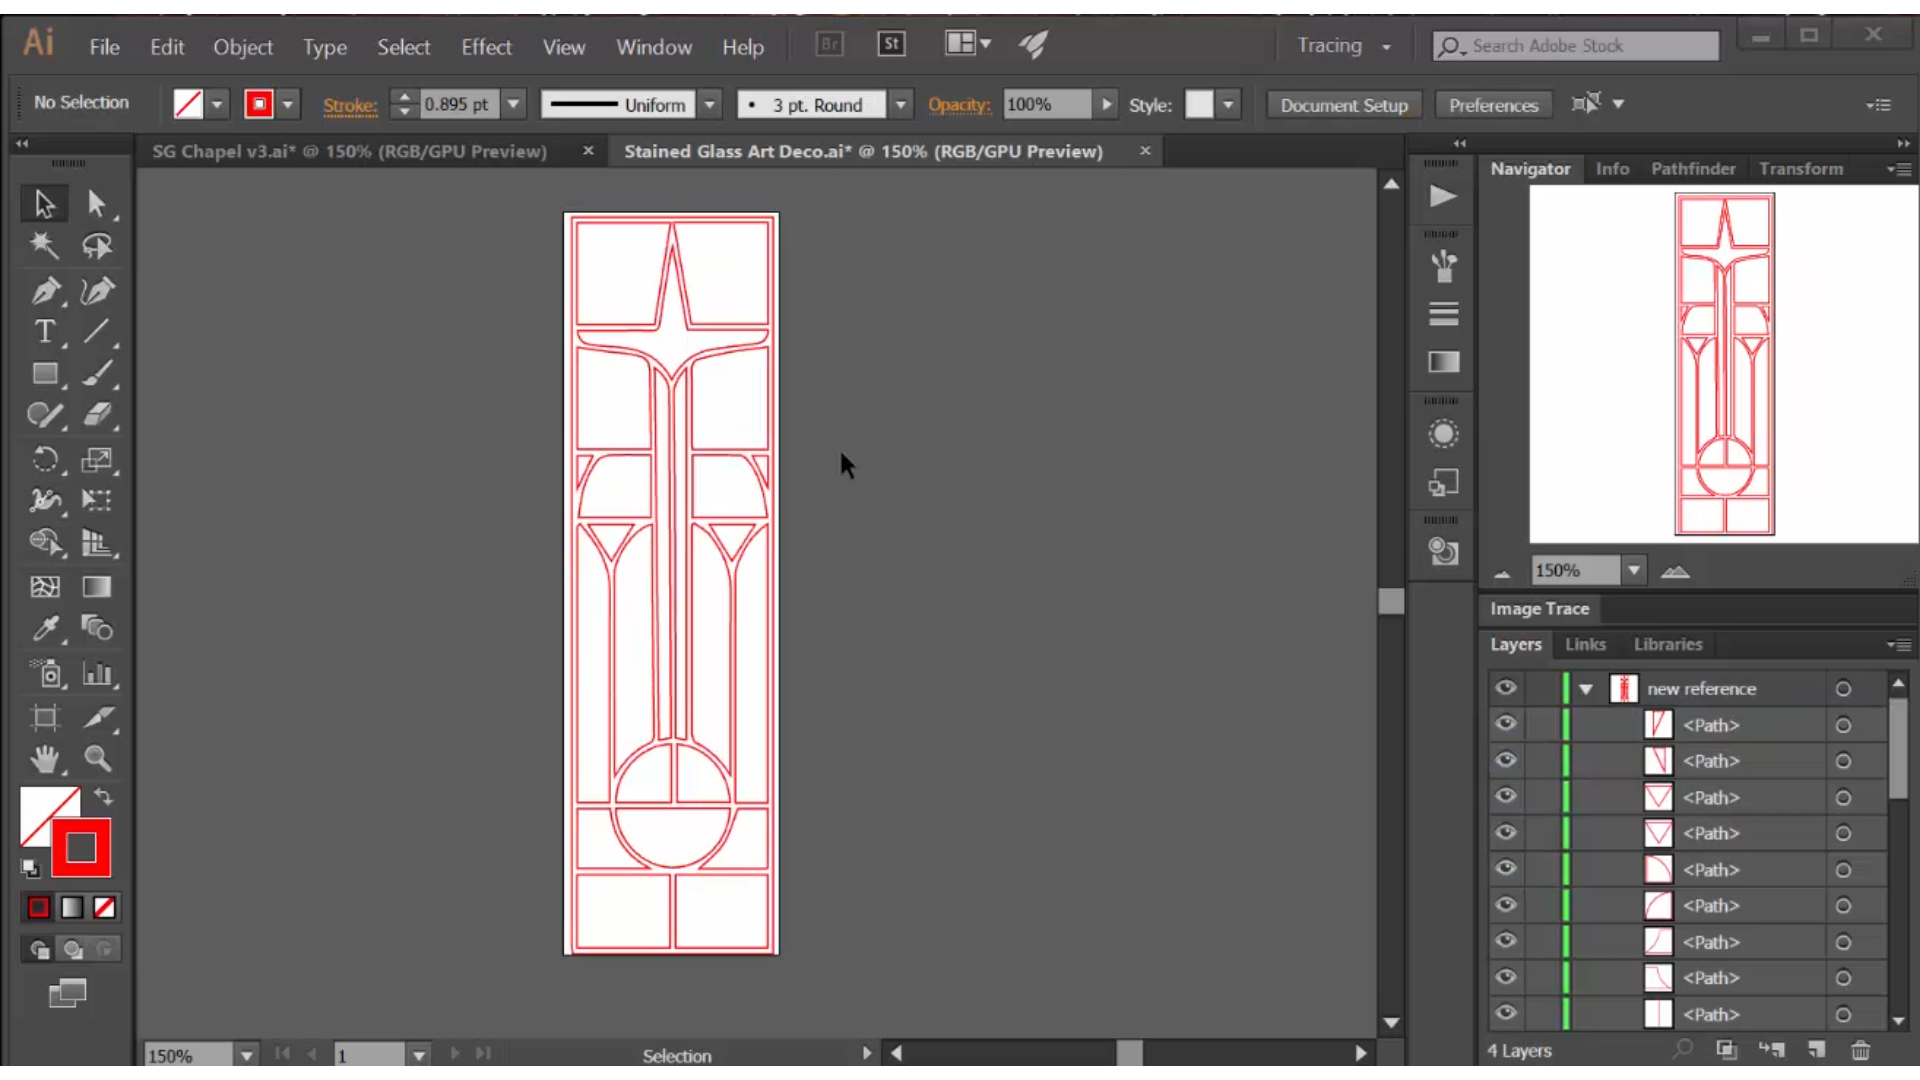
I used the pen tool to draw a somewhat simplified version of the window over my reference photo. This represents the leading in my window. Initially, I made the line 3 points thick but that was not thick enough. It is important to make this line at least 5-6 points thick before using image trace and expand, or the laser-cut leading will not be thick enough.
I also created a simple rectangle slightly larger than the window, to cut a clear piece of 1/8" acrylic that will be fused to the back of each stained glass window.
Cut the Components on a Laser Cutter
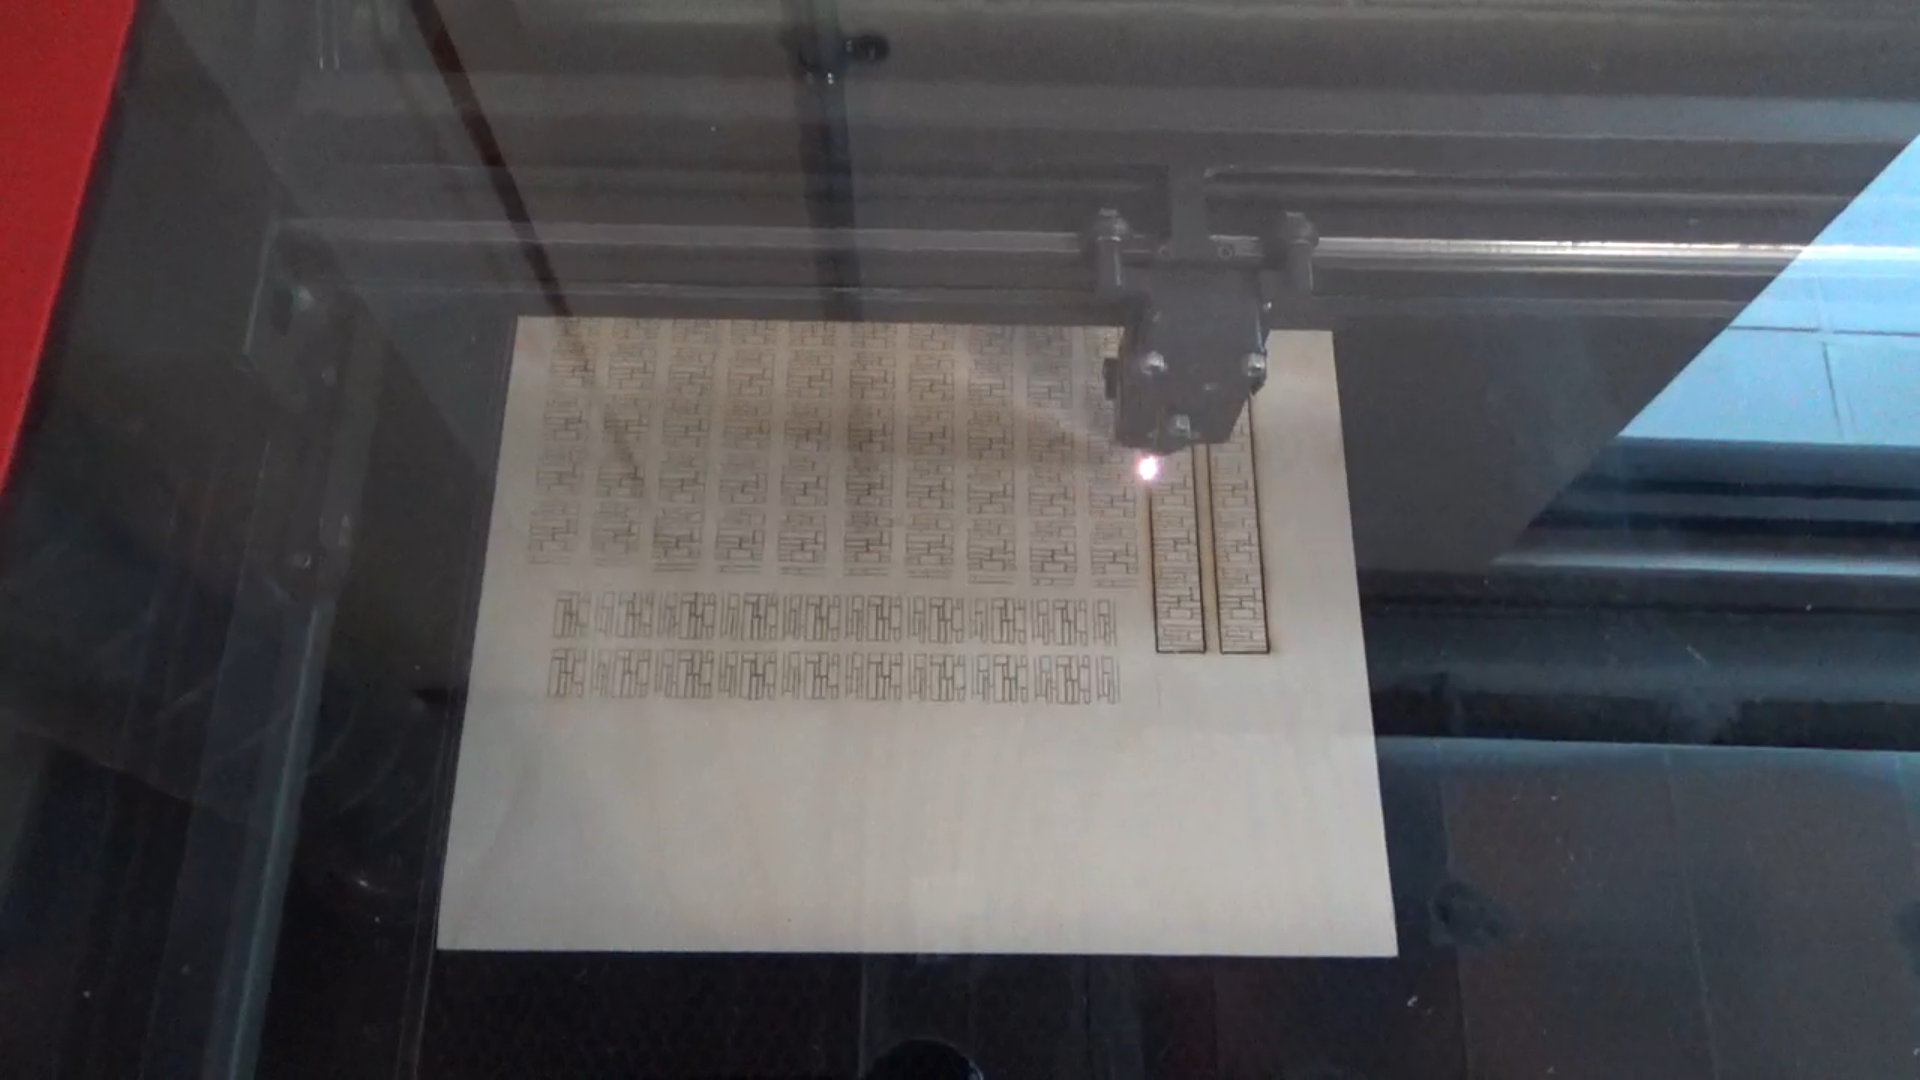
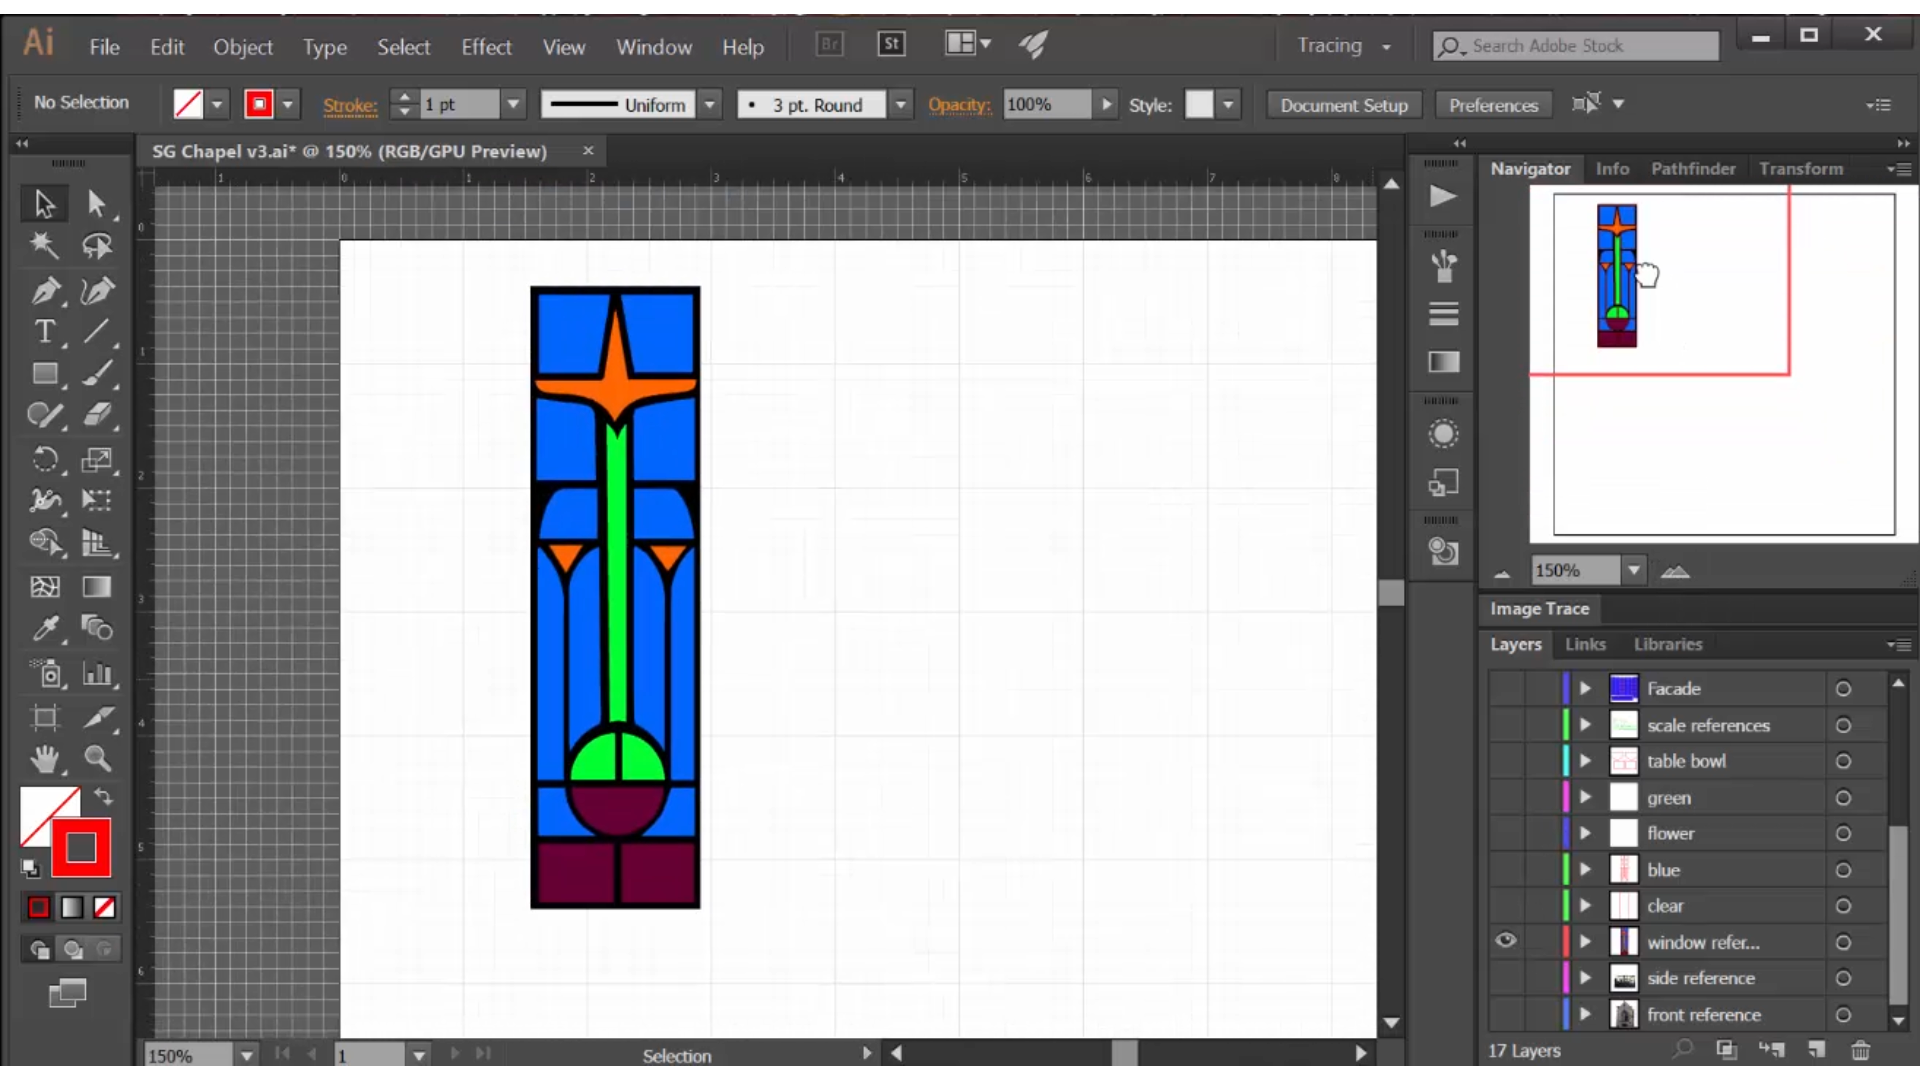
The building design in very simple and cuts quickly. The longest step is the facade, because of the stone engraving. It is important to optimize the stone pattern, minimizing the number of vectors, before duplicating it across the facade -- this can have a significant impact on the time it takes to engrave and cut the pieces. Even with optimization, the facade required about 25 minutes to cut.
For the windows, I had decided in Illustrator which colors I wanted for each of the glass pieces and copied and pasted them into separate layers for each color. This allowed my to make very efficient use of my transparent acrylic. The full window is only cut in the black opaque acrylic. All of the acrylic is cut with the paper removed from the front but still applied to the back, to protect it from the smoke of the laser.
I also cut clear window backings for all the windows. These backings are slightly larger and play an important role in the construction of the chapel.
Assemble the Stained Glass Windows
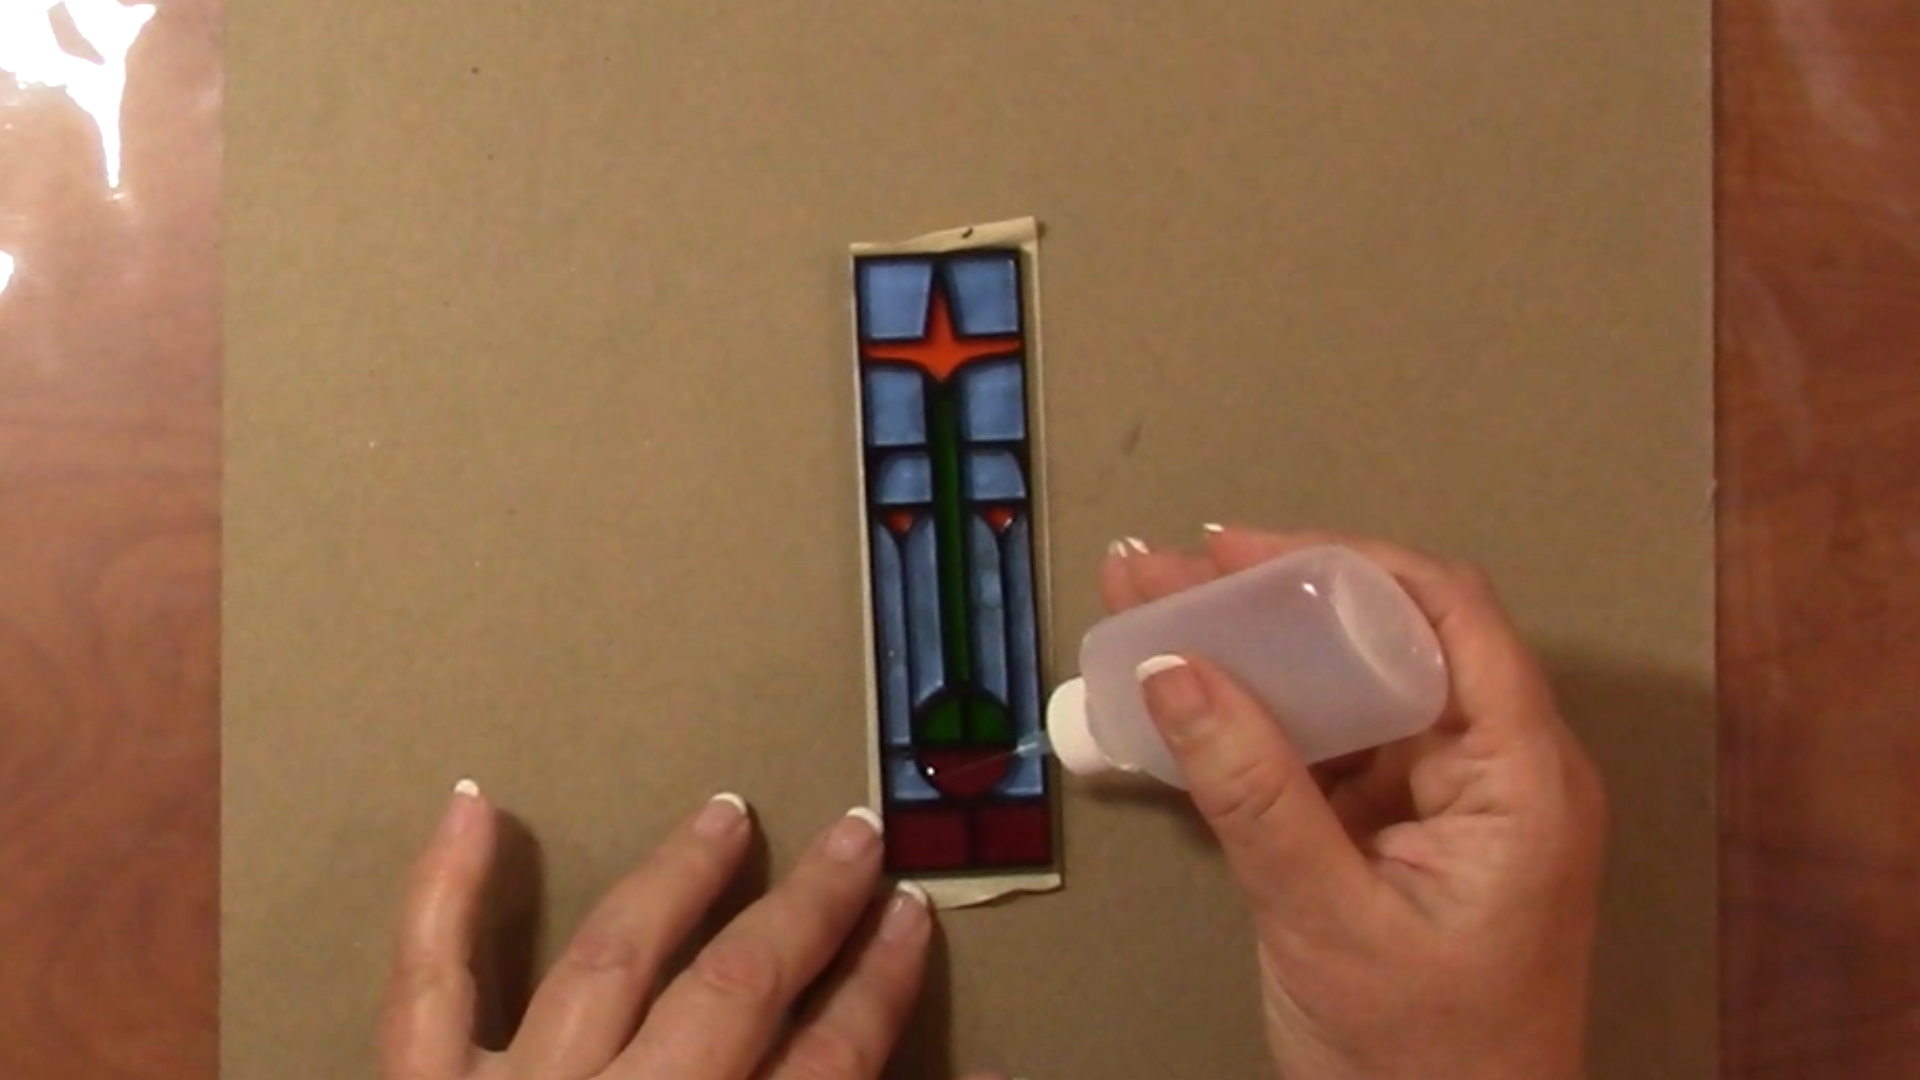
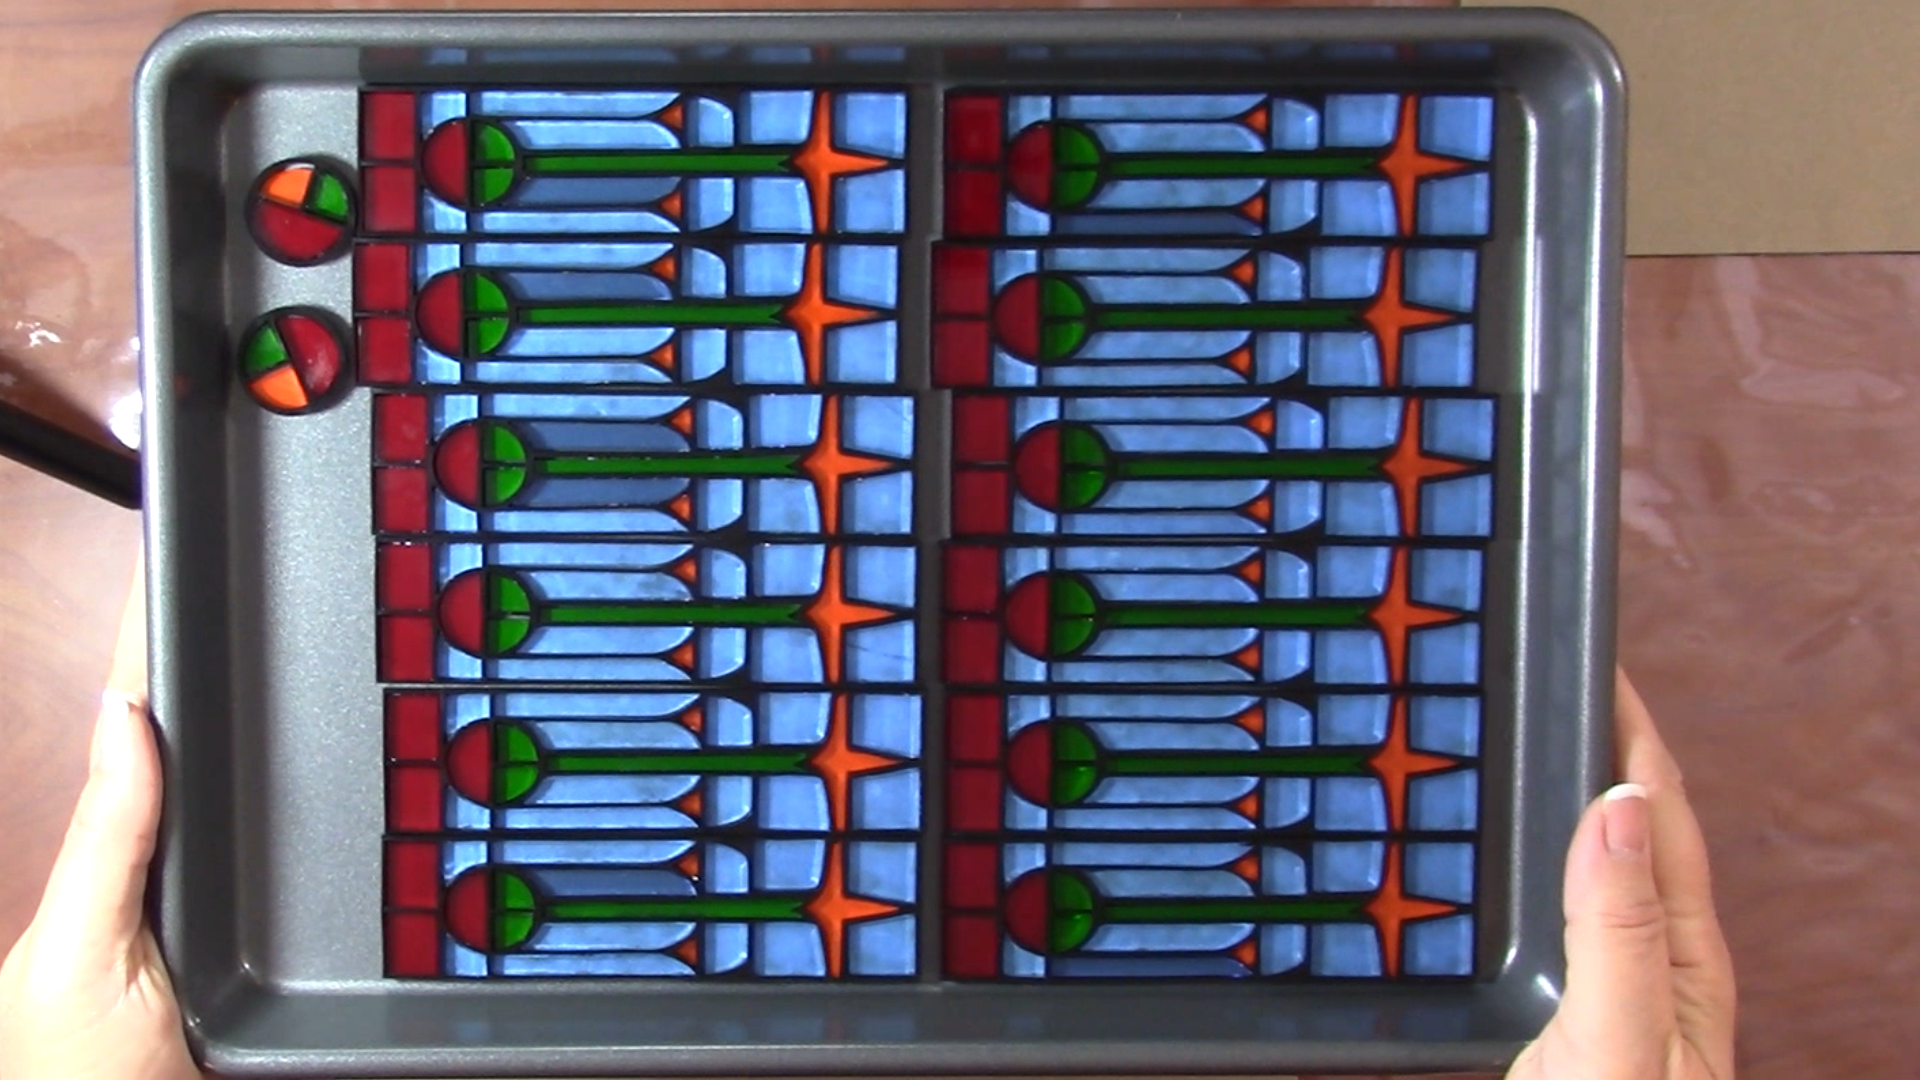
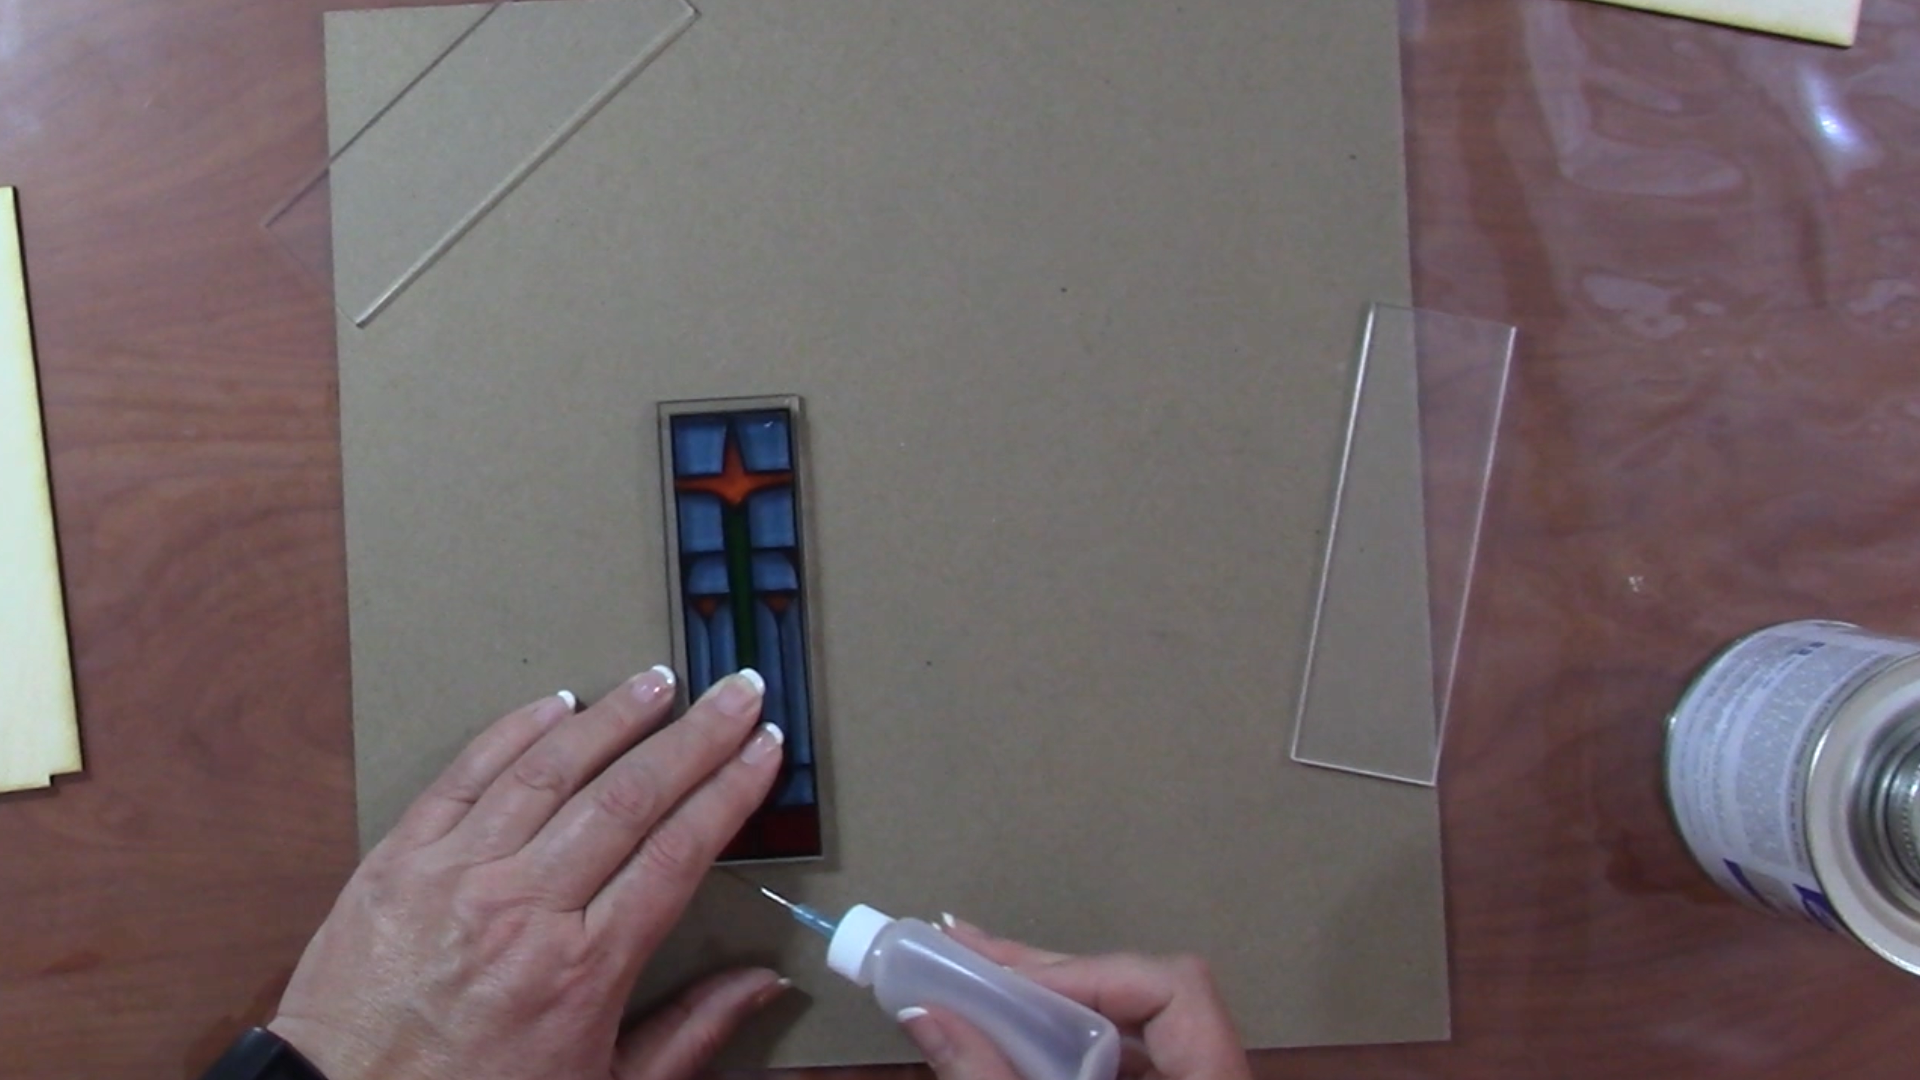
The windows were assembled by placing the black acrylic "leading" on a piece of masking tape, paper side down. The "glass" was dropped into place inside the leading, paper side down. Then the pieces were fused together using solvent cement.
Once the windows were all dry, which takes only minutes, I removed the masking tape and placed all the windows in a shallow pan and poured in enough Simple Green to submerge the backs. I let them set for about an hour, and then removed the backing paper. Some of it came off very easily, for some I used a wooden chopstick to coax it off. This takes a little effort, but is much easier than trying to peel the paper off any other way, especially on the very small pieces!
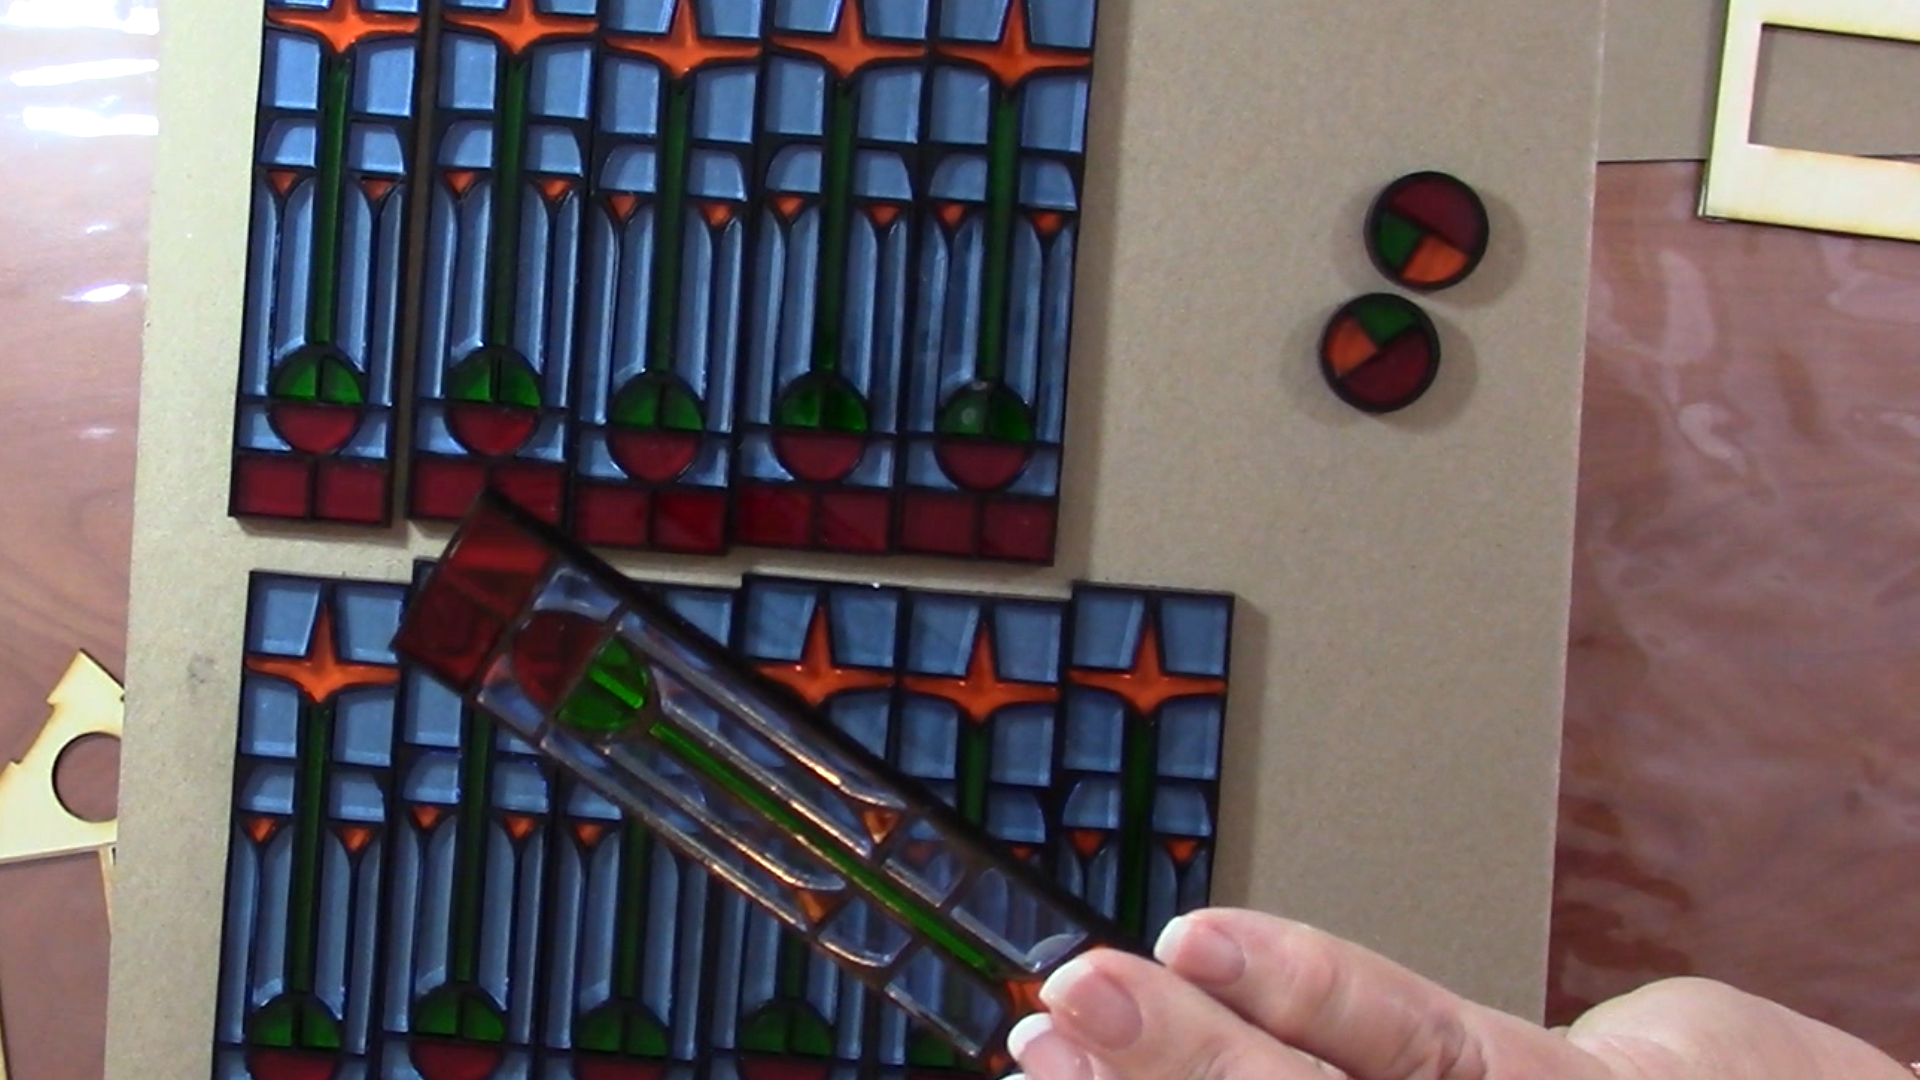
The final step was to fuse on the 1/8" clear acrylic backing. I had to be careful with the windows on the front and back of the chapel, where the two windows are very close together, to make sure the placement of the backing would not interfere with the installation of the windows. This clear backing not only stabilizes and protects the stained glass, it also acts as a flange the makes it easy to install the windows from the inside of the building, similar to the way real windows are installed in a house.
Paint the Building Pieces
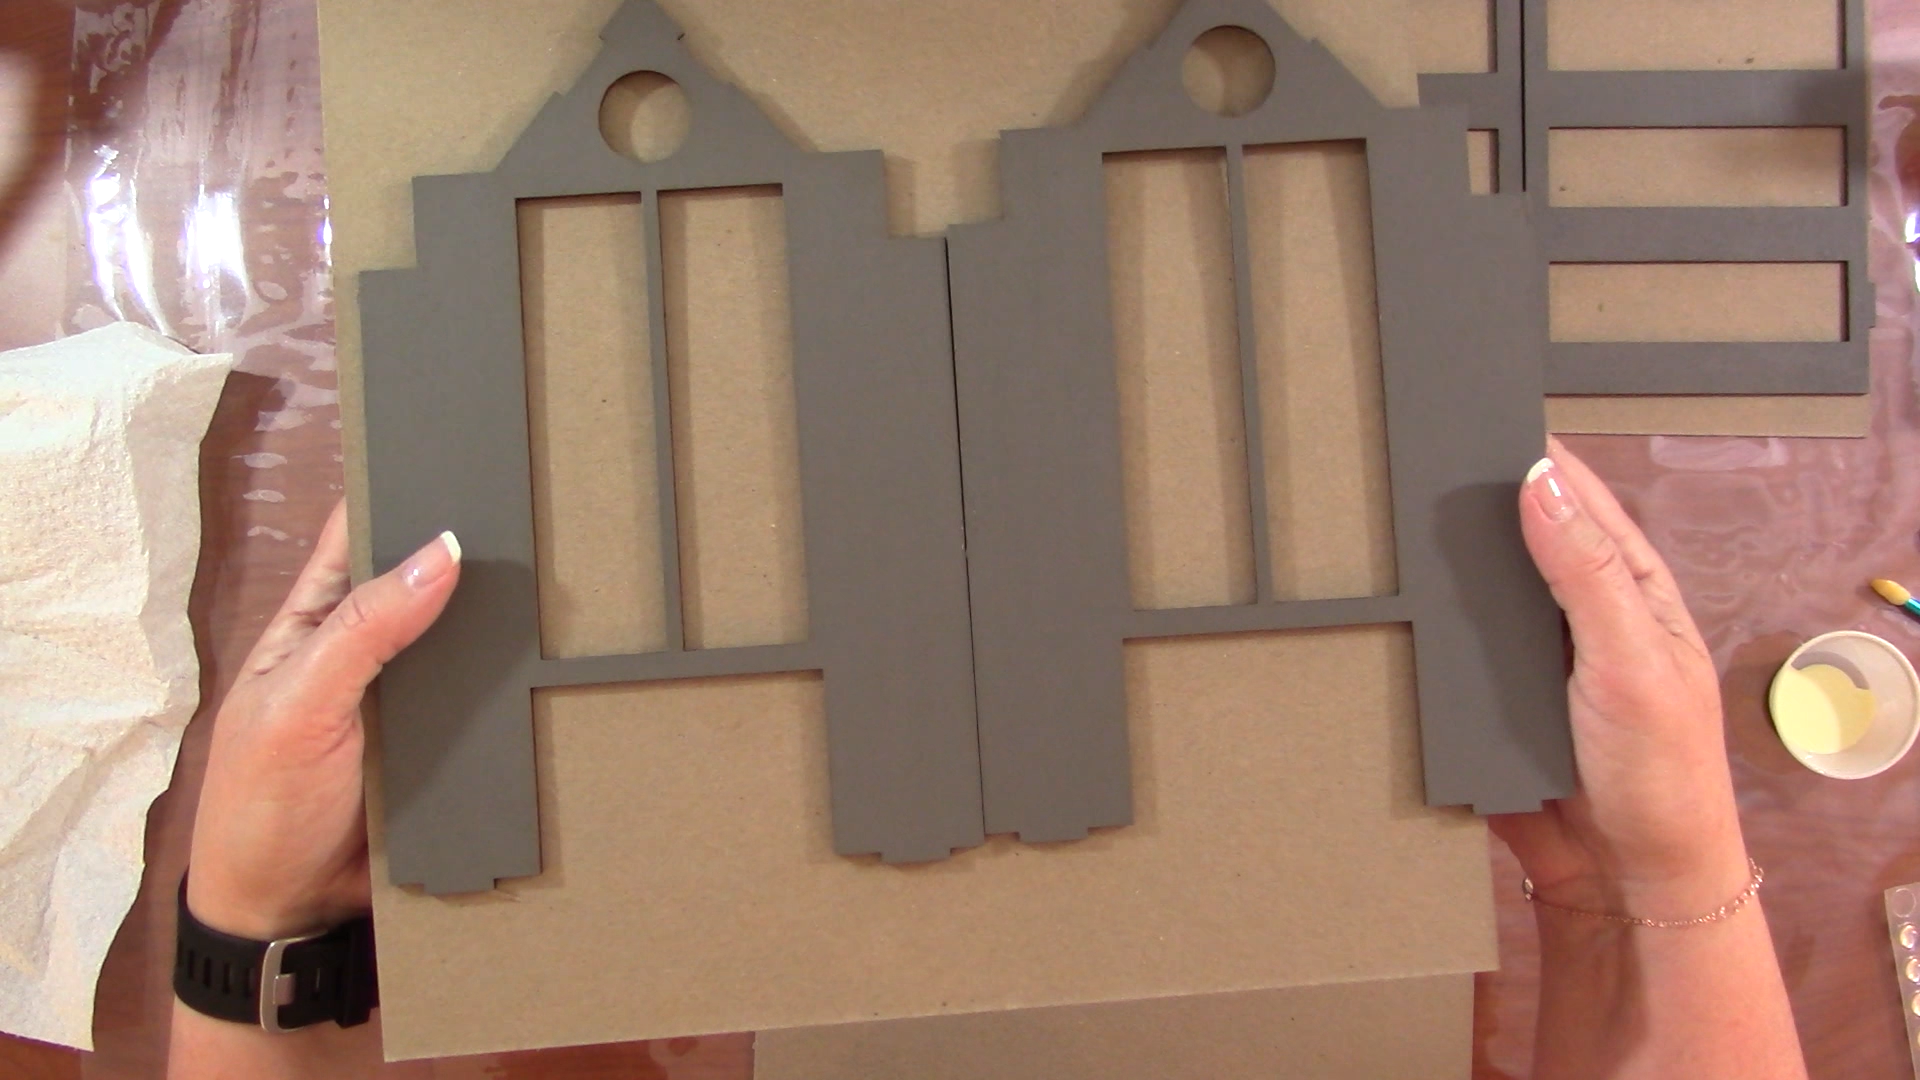
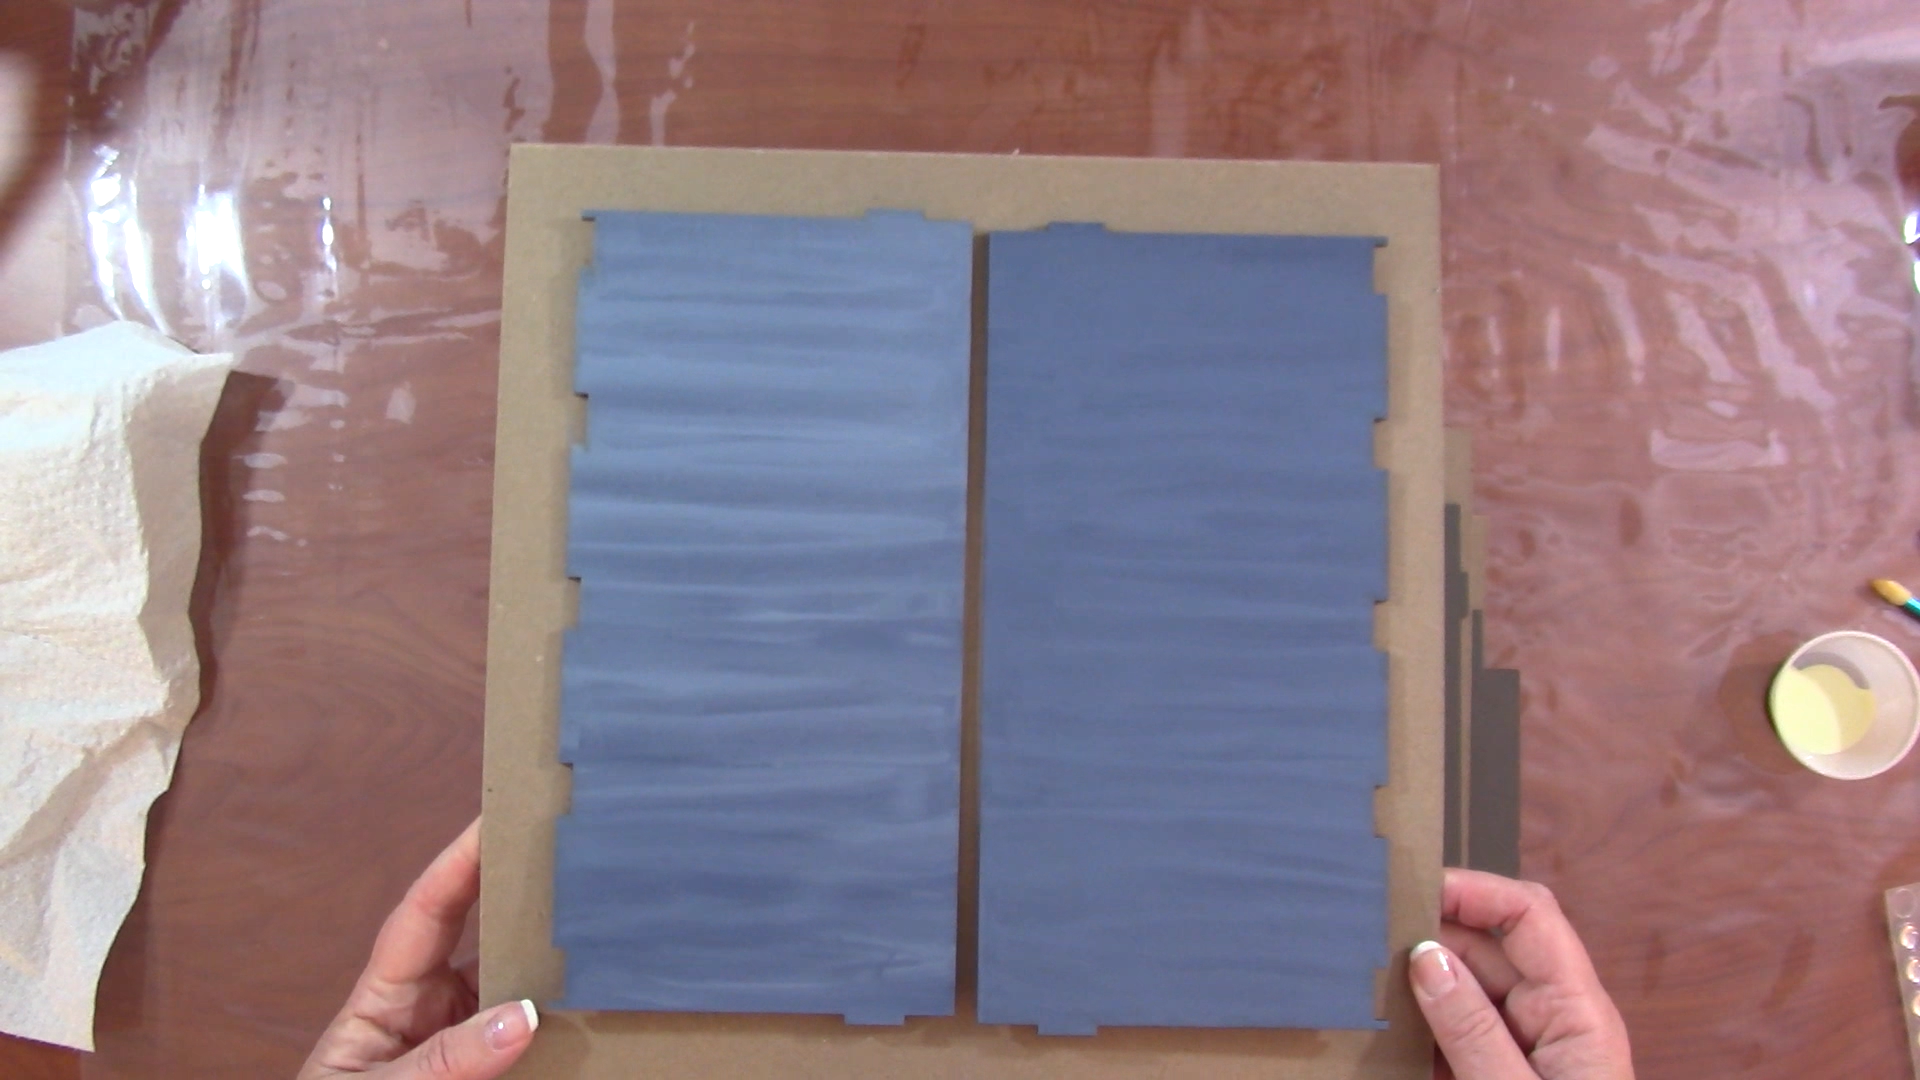
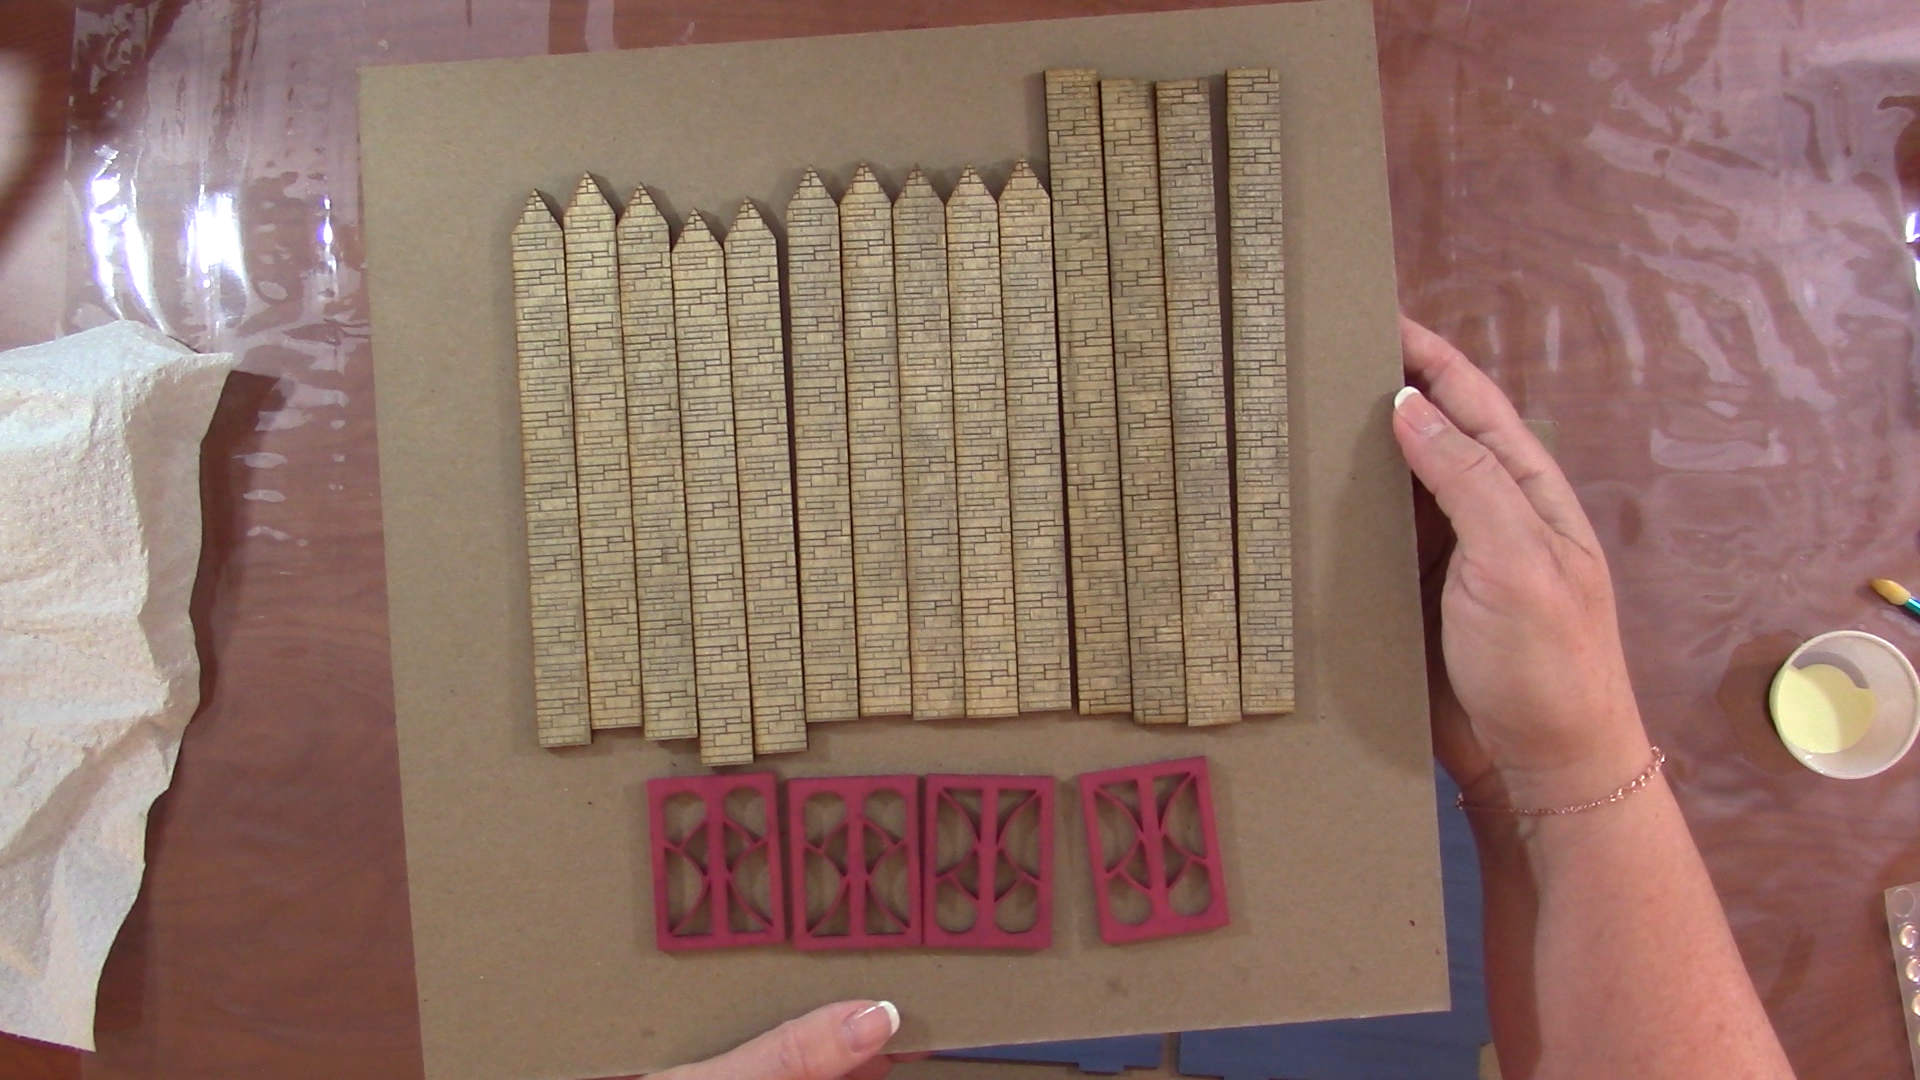
I painted my birch plywood with the same Citadel paints I use to paint my miniature models. I streaked the roof to resemble slate or metal.
My most important tip here is to dilute your acrylic paints with glazing medium if you are applying it over an engraving pattern, like the stone. No point in doing all the engraving if you then cover it up with acrylic paint! You want the pattern to show through, so experiment on scrap wood until you get a look you like.
Assemble the Chapel
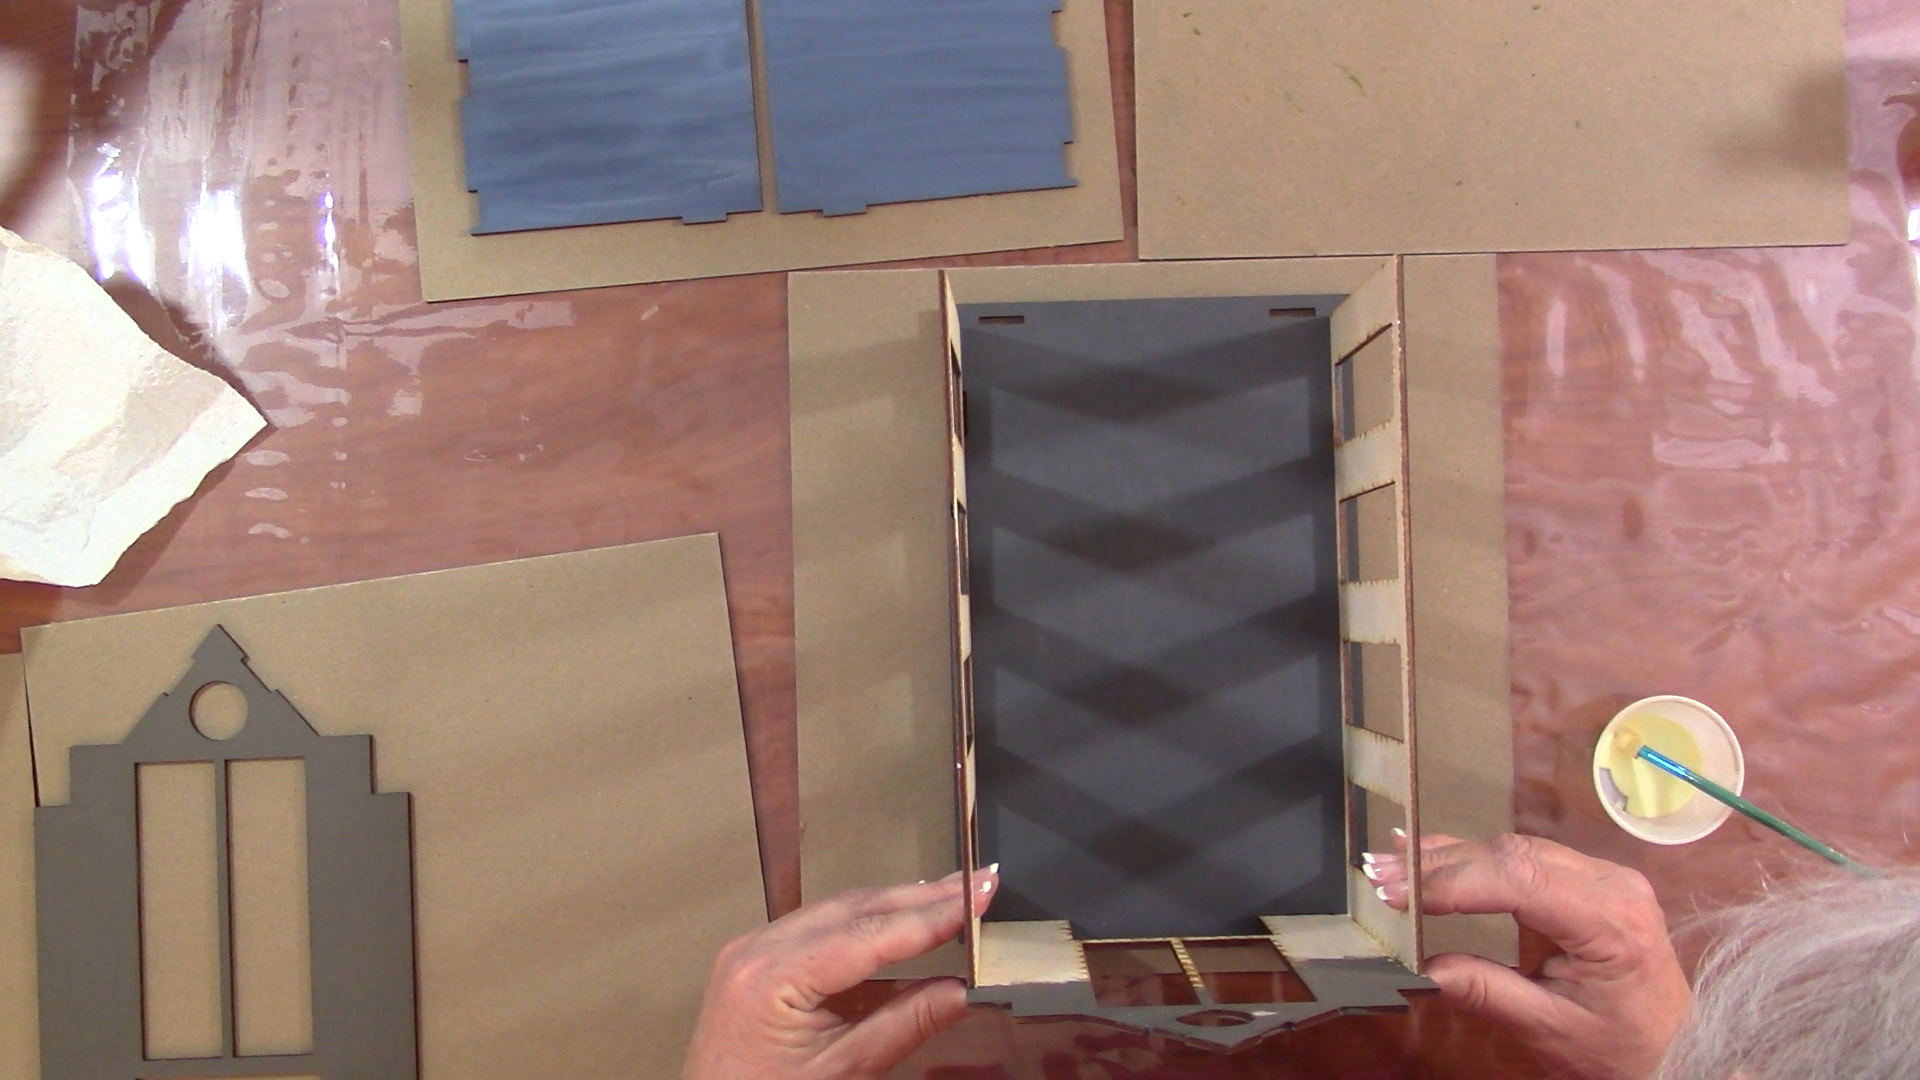
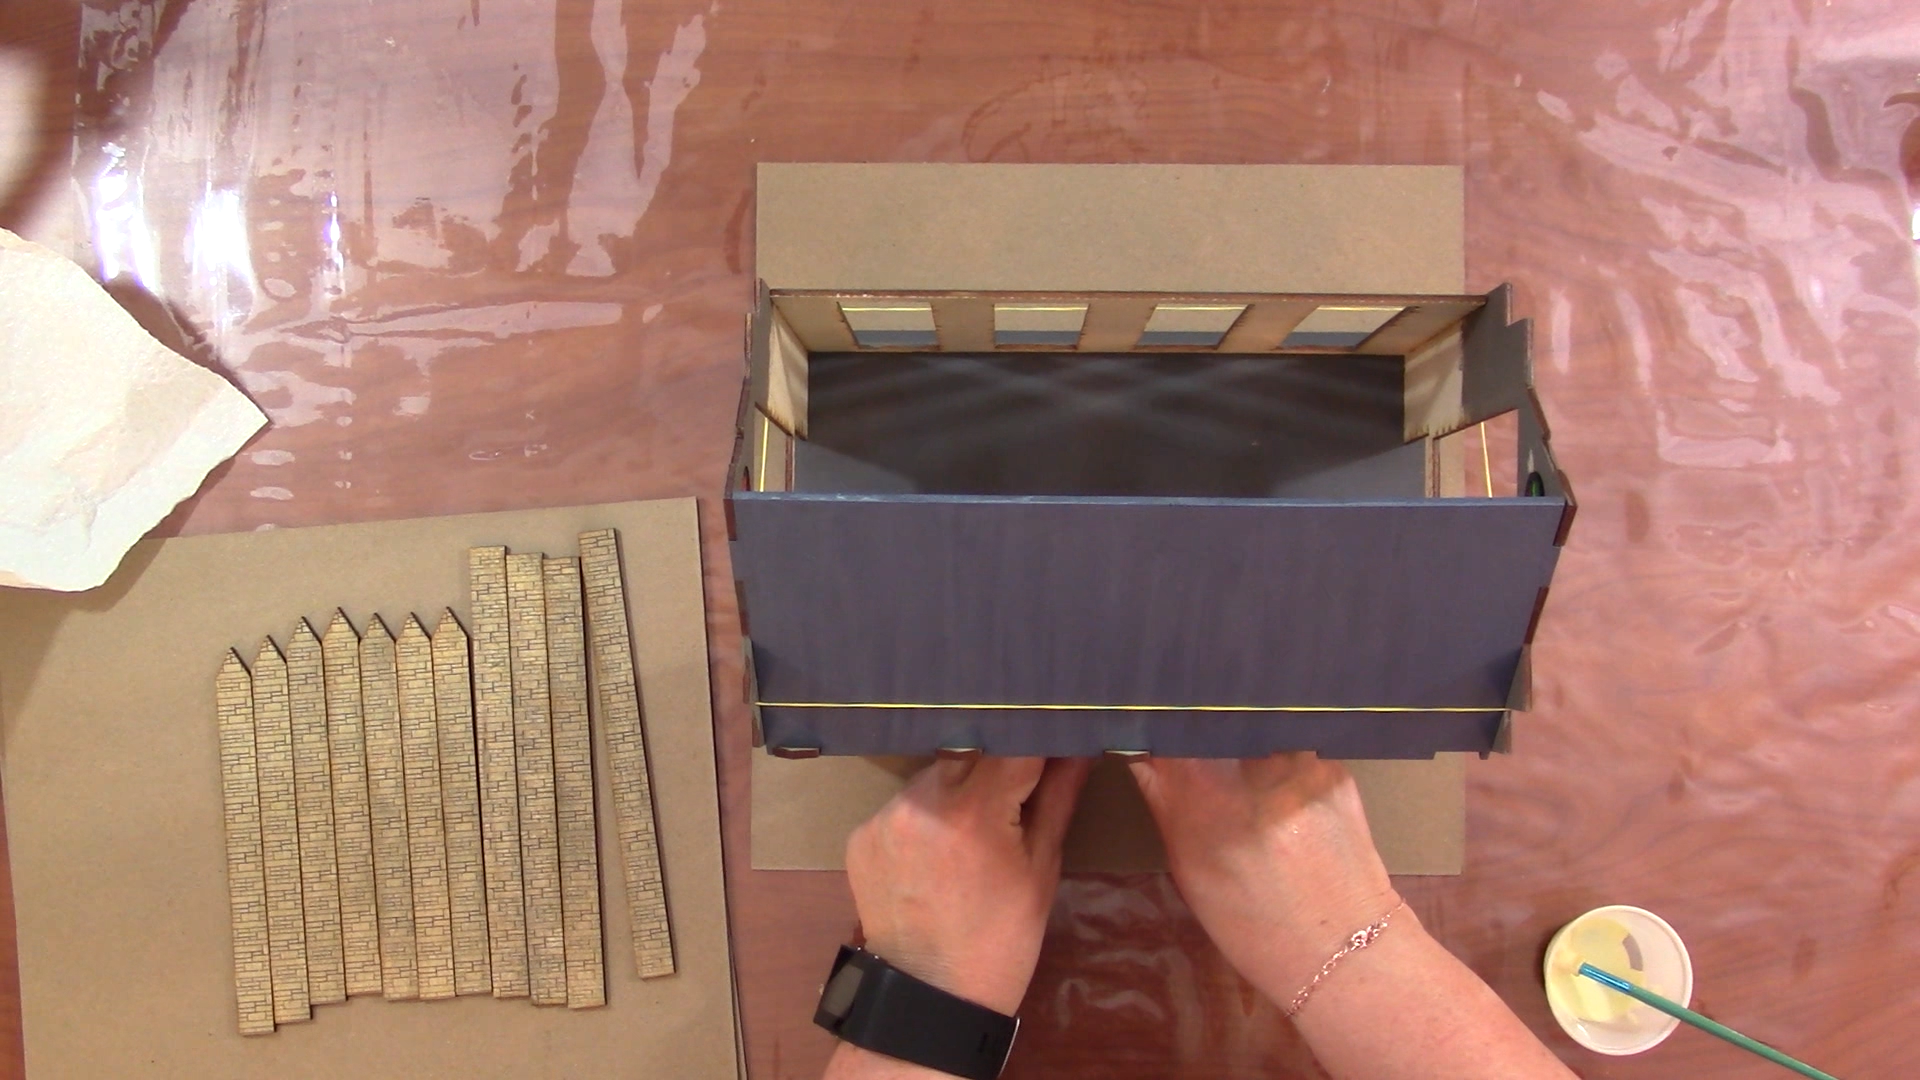
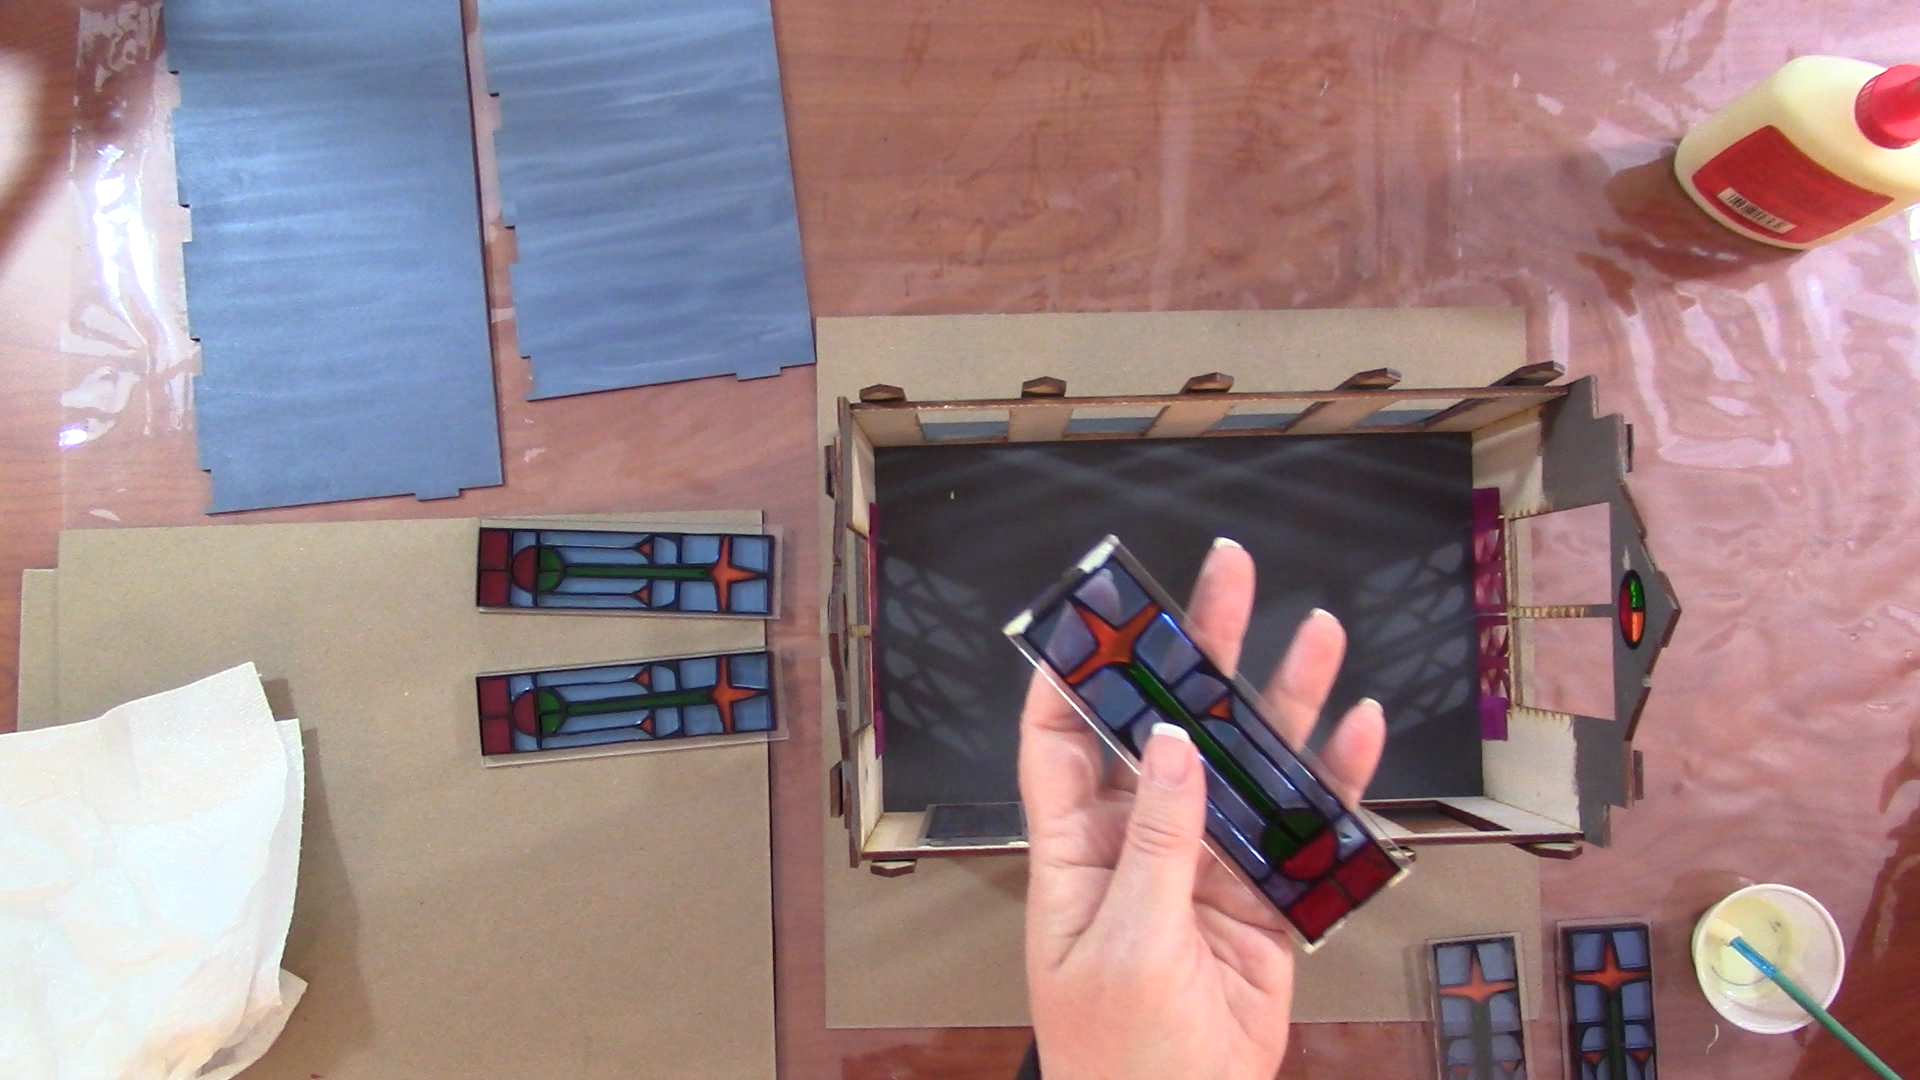
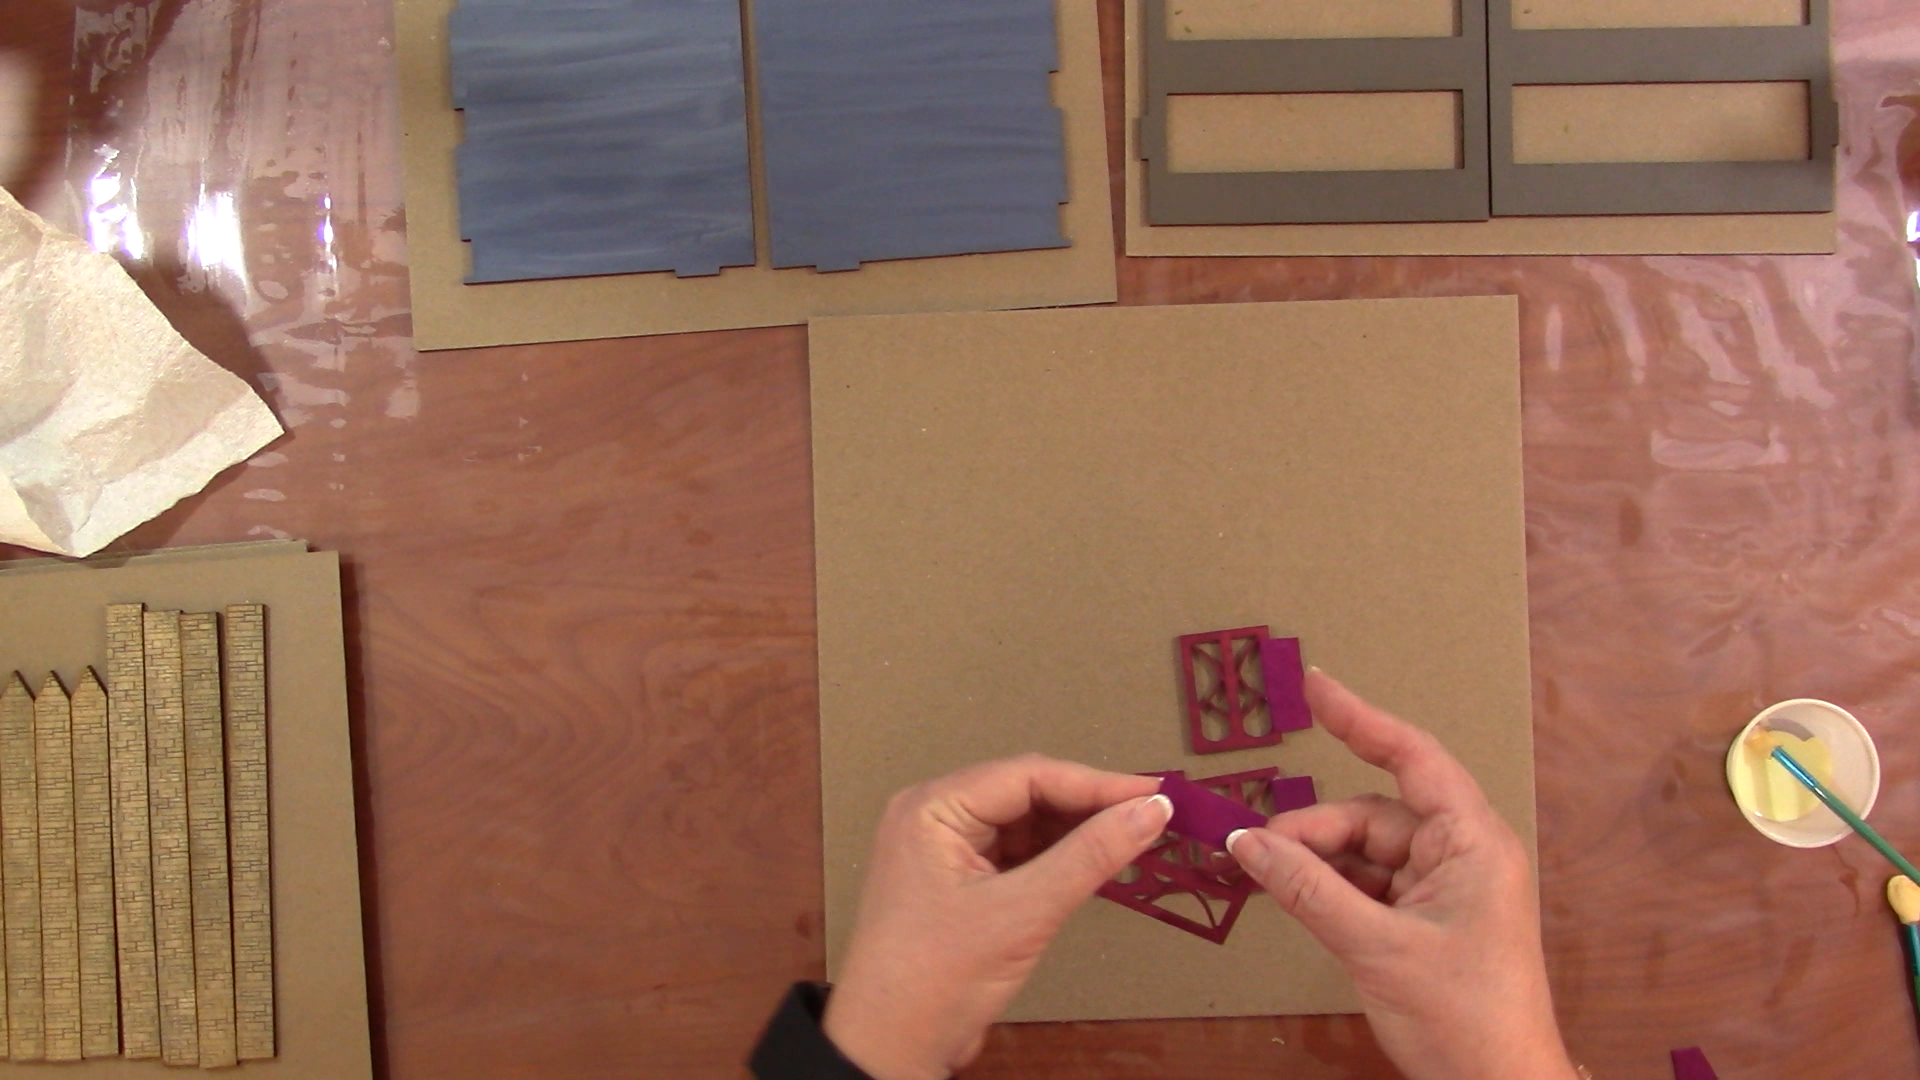
I used wood glue to assemble the building. I put the roof in place while applying the facade pieces, to make sure the placement was correct and the stone pillars fit into the grooves in the roof.
I applied glue to the four corners of the window flanges and then put them in place from the inside of the building.
I used scraps of matching Ultrasuede to act as hinges for the doors. This allows them to swing in and out, and is quite durable.
Light the Chapel With Puck Lights
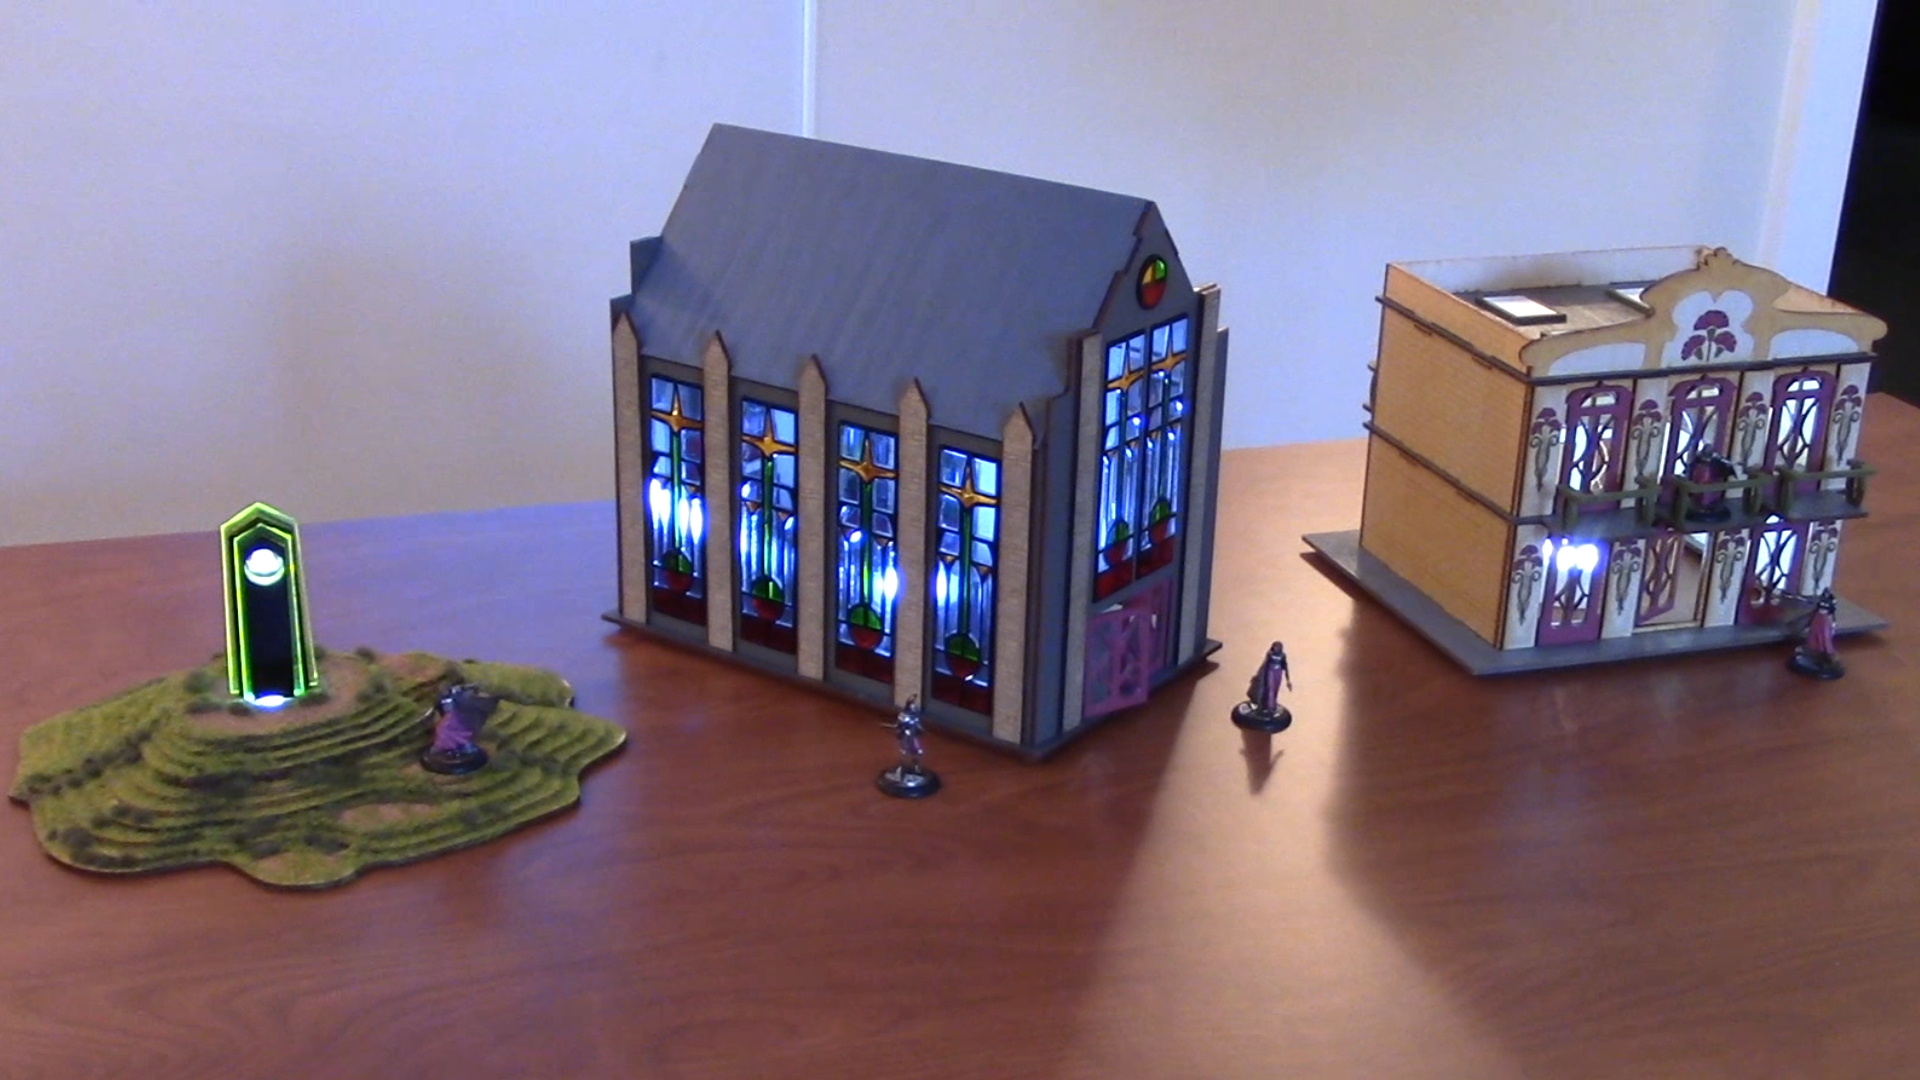
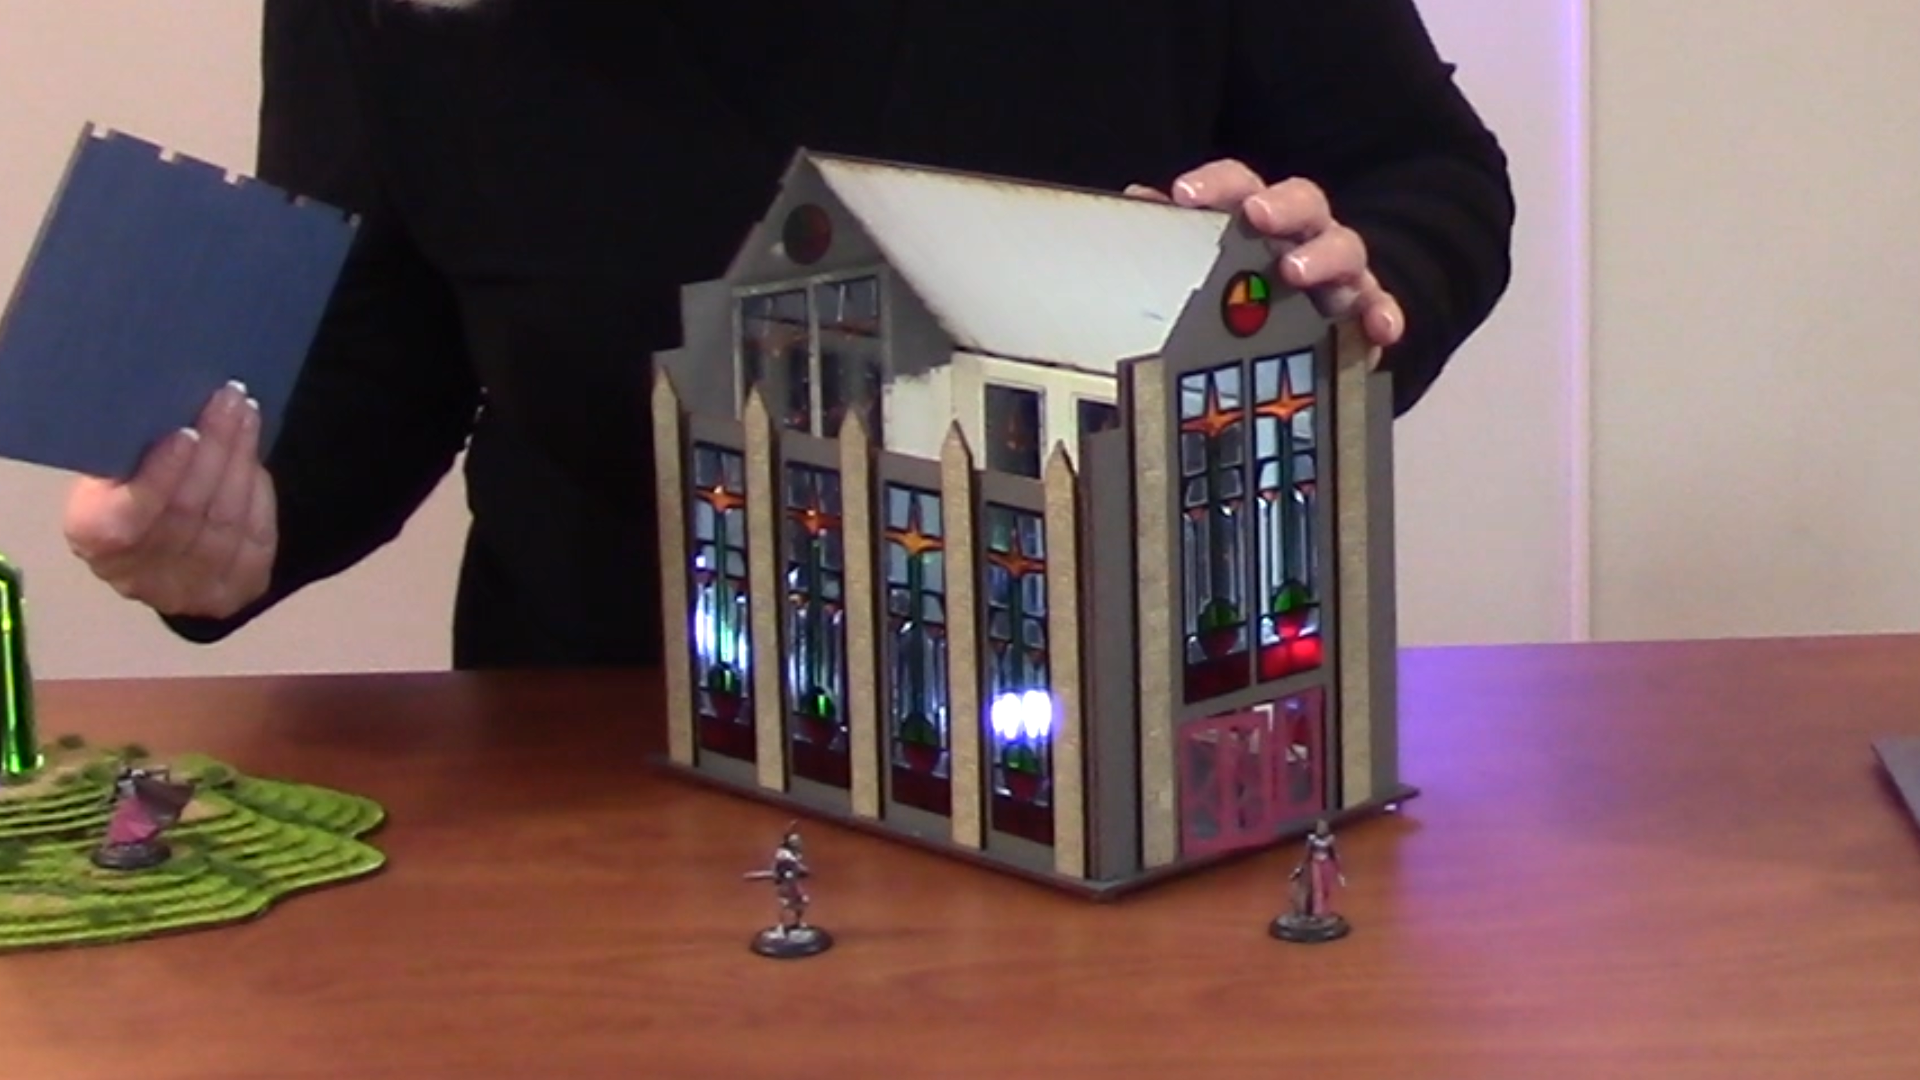
All of my tabletop terrain components use the same puck lights purchased as a set from Costco, and run off a single remote. The roof is easily removable and gives me access to the inside during game play.
You Can See the Whole Process in This Video
