How to Design and 3D Print a Custom Armchair Caddy
by Fekry in Workshop > 3D Printing
518 Views, 9 Favorites, 0 Comments
How to Design and 3D Print a Custom Armchair Caddy
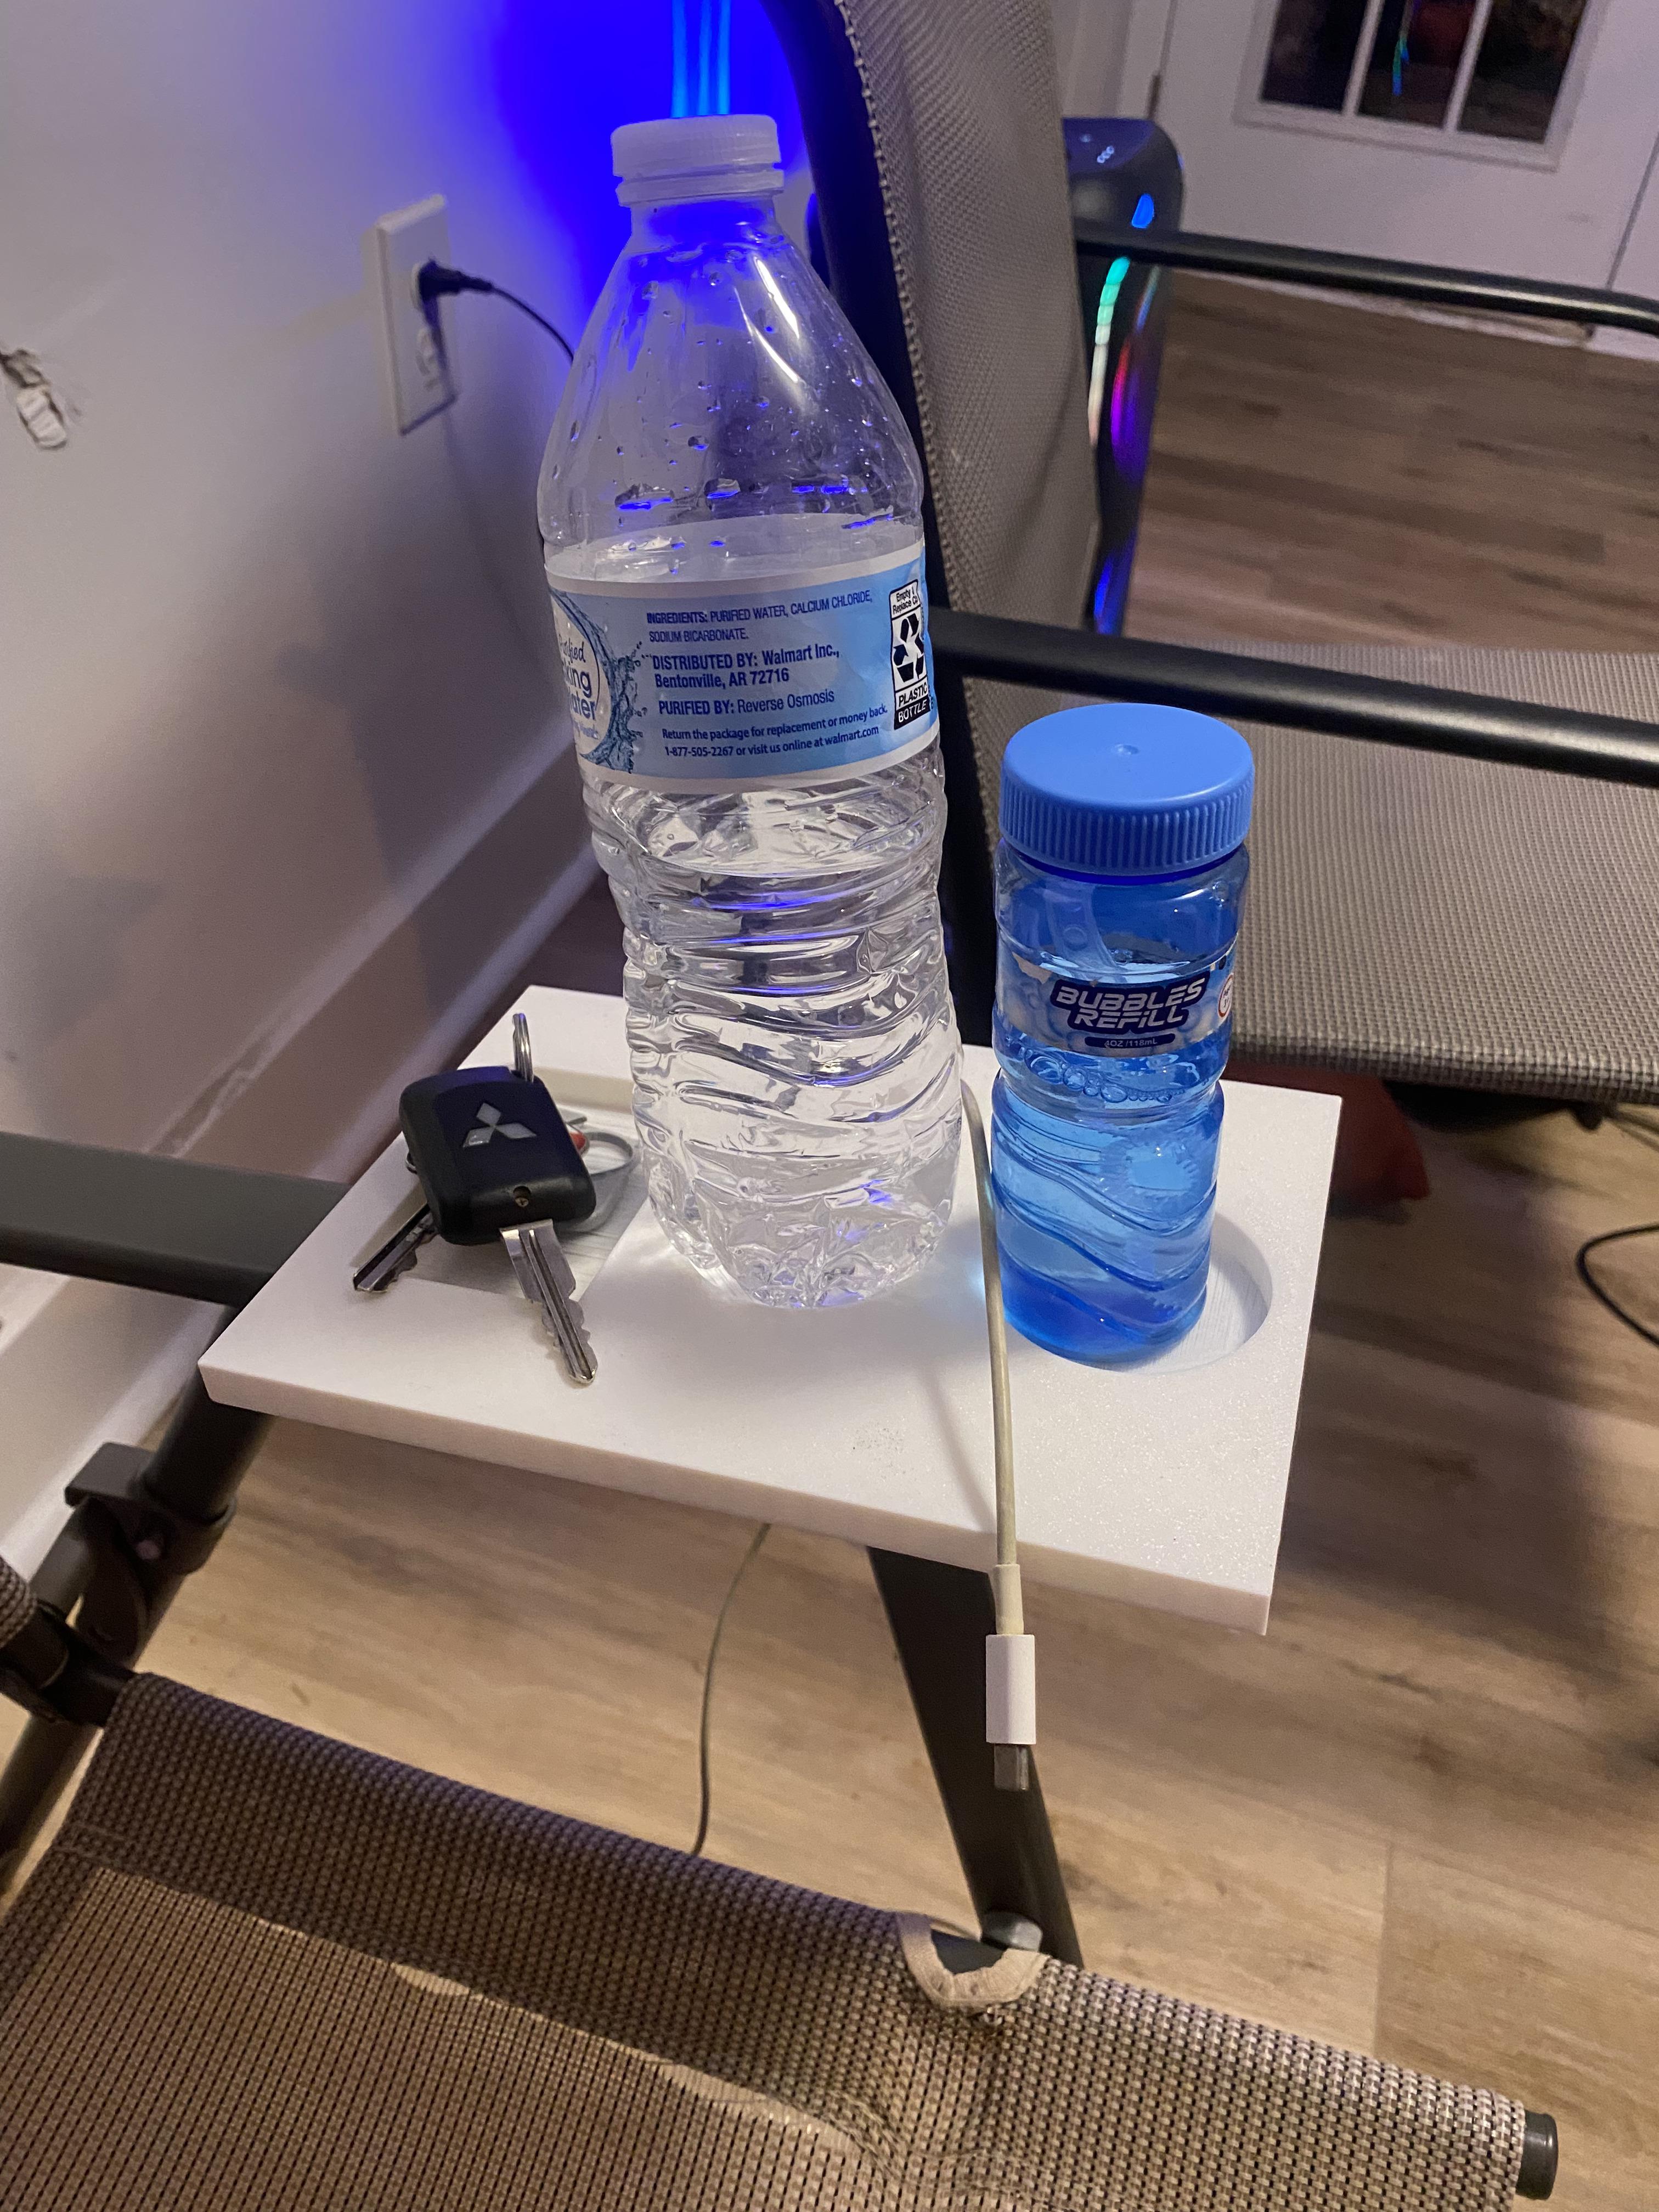
Do you often find yourself juggling remotes, beverages, or gadgets while relaxing on your armchair? An armchair caddy can be a game-changer, keeping all your essentials within arm's reach. In this Instructable, I'll walk you through designing a personalized armchair caddy using Onshape—a free, cloud-based CAD software—and 3D printing it. This project combines digital design with practical functionality, resulting in a custom accessory tailored to your specific armchair dimensions. Feel free to go through the steps to design it or download the file and skip to step 7.
Supplies
Materials:
- Computer with internet access
- Onshape Account (free at Onshape) or any 3D printing software
- 3D Printer (e.g., Bambu Lab X1 Carbon or any other model)
- 3D Printing Filament (PLA, ABS, or preferred material)
- MicroSD Card or USB drive for file transfer
Tools:
- Measuring Tape or ruler
- Slicing Software (e.g., Bambu Studio, Cura, PrusaSlicer)
- Cleaning Tools for the 3D printer (scraper, brush, etc.)
Create the Base in Onshape
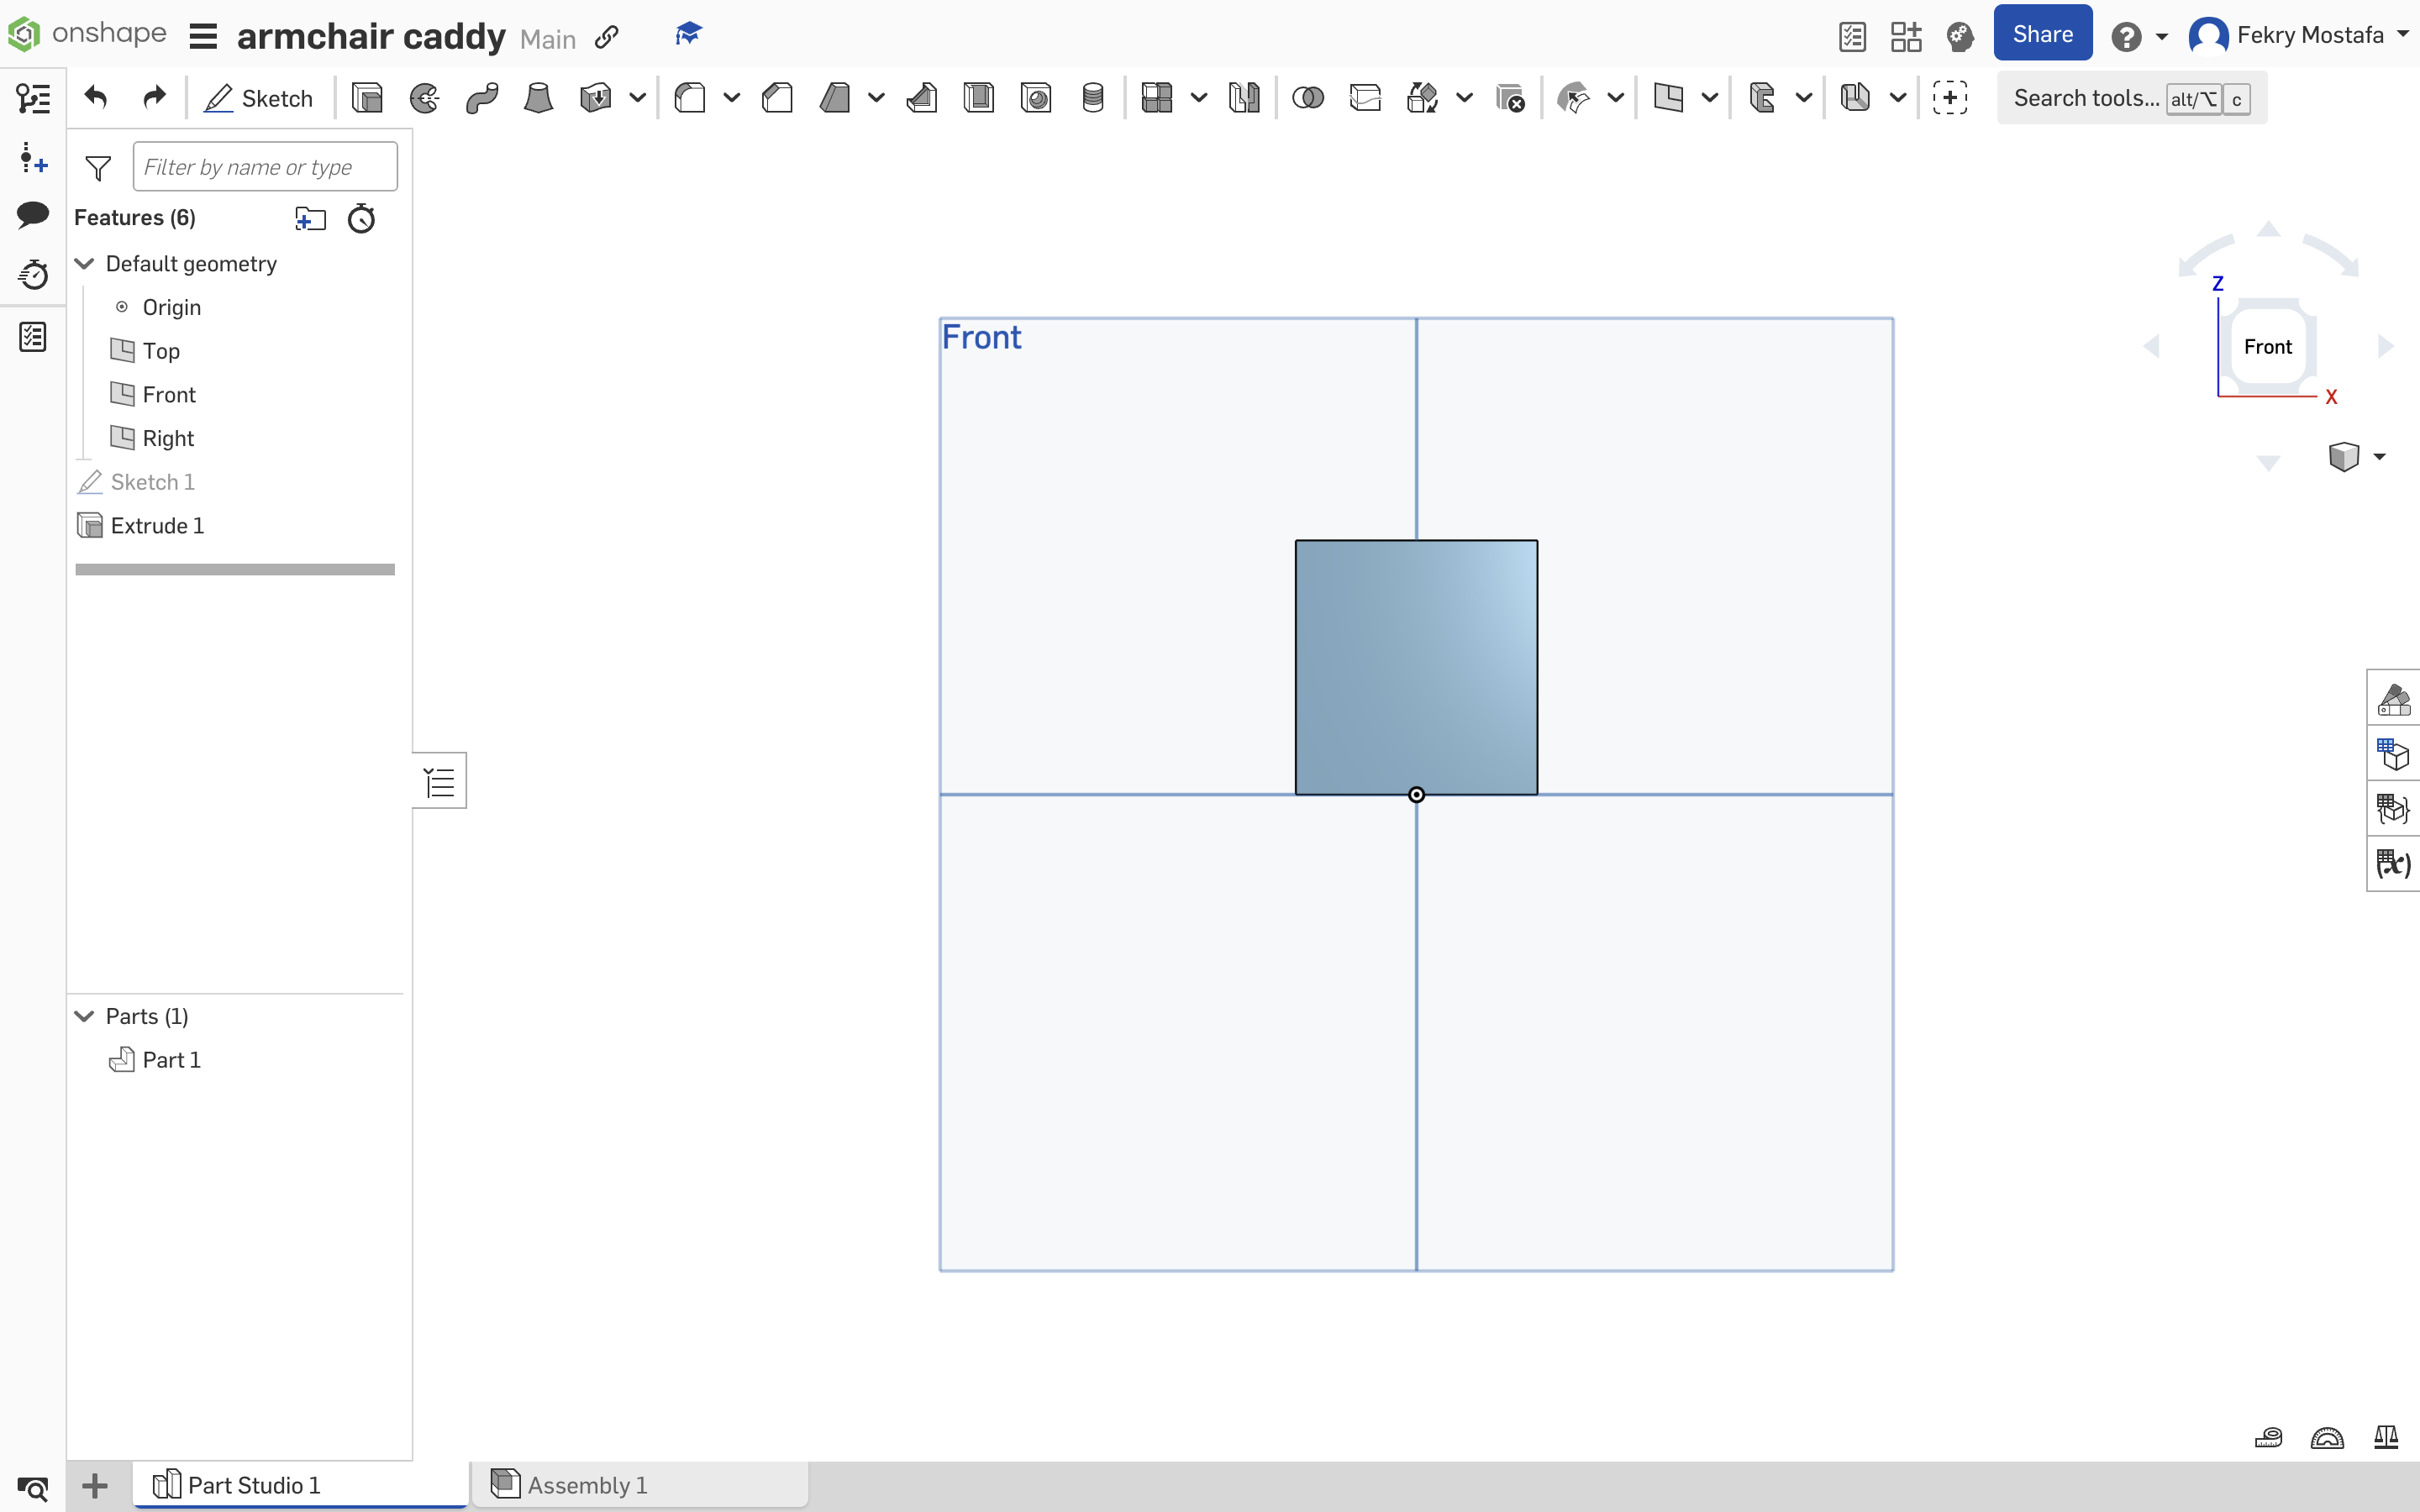
- Open Onshape:
- Log in to your Onshape account and create a new document.
- Start a New Sketch:
- Select the Top Plane and click on Sketch.
- Draw a Center Point Rectangle:
- Choose the Center Point Rectangle tool.
- Click on the origin to start.
- Set Dimensions:
- Length: I chose to do 200 mm.
- Width: Enter your Armrest Width + 10 mm (to account for the walls).
- Extrude the Rectangle:
- Click Extrude and select your rectangle sketch.
- Depth: Enter 40 mm.
- Operation: Ensure Solid and New are selected.
- Click OK.
This forms the main body that will hang over the armrest.
Cut Out the Armrest Slot
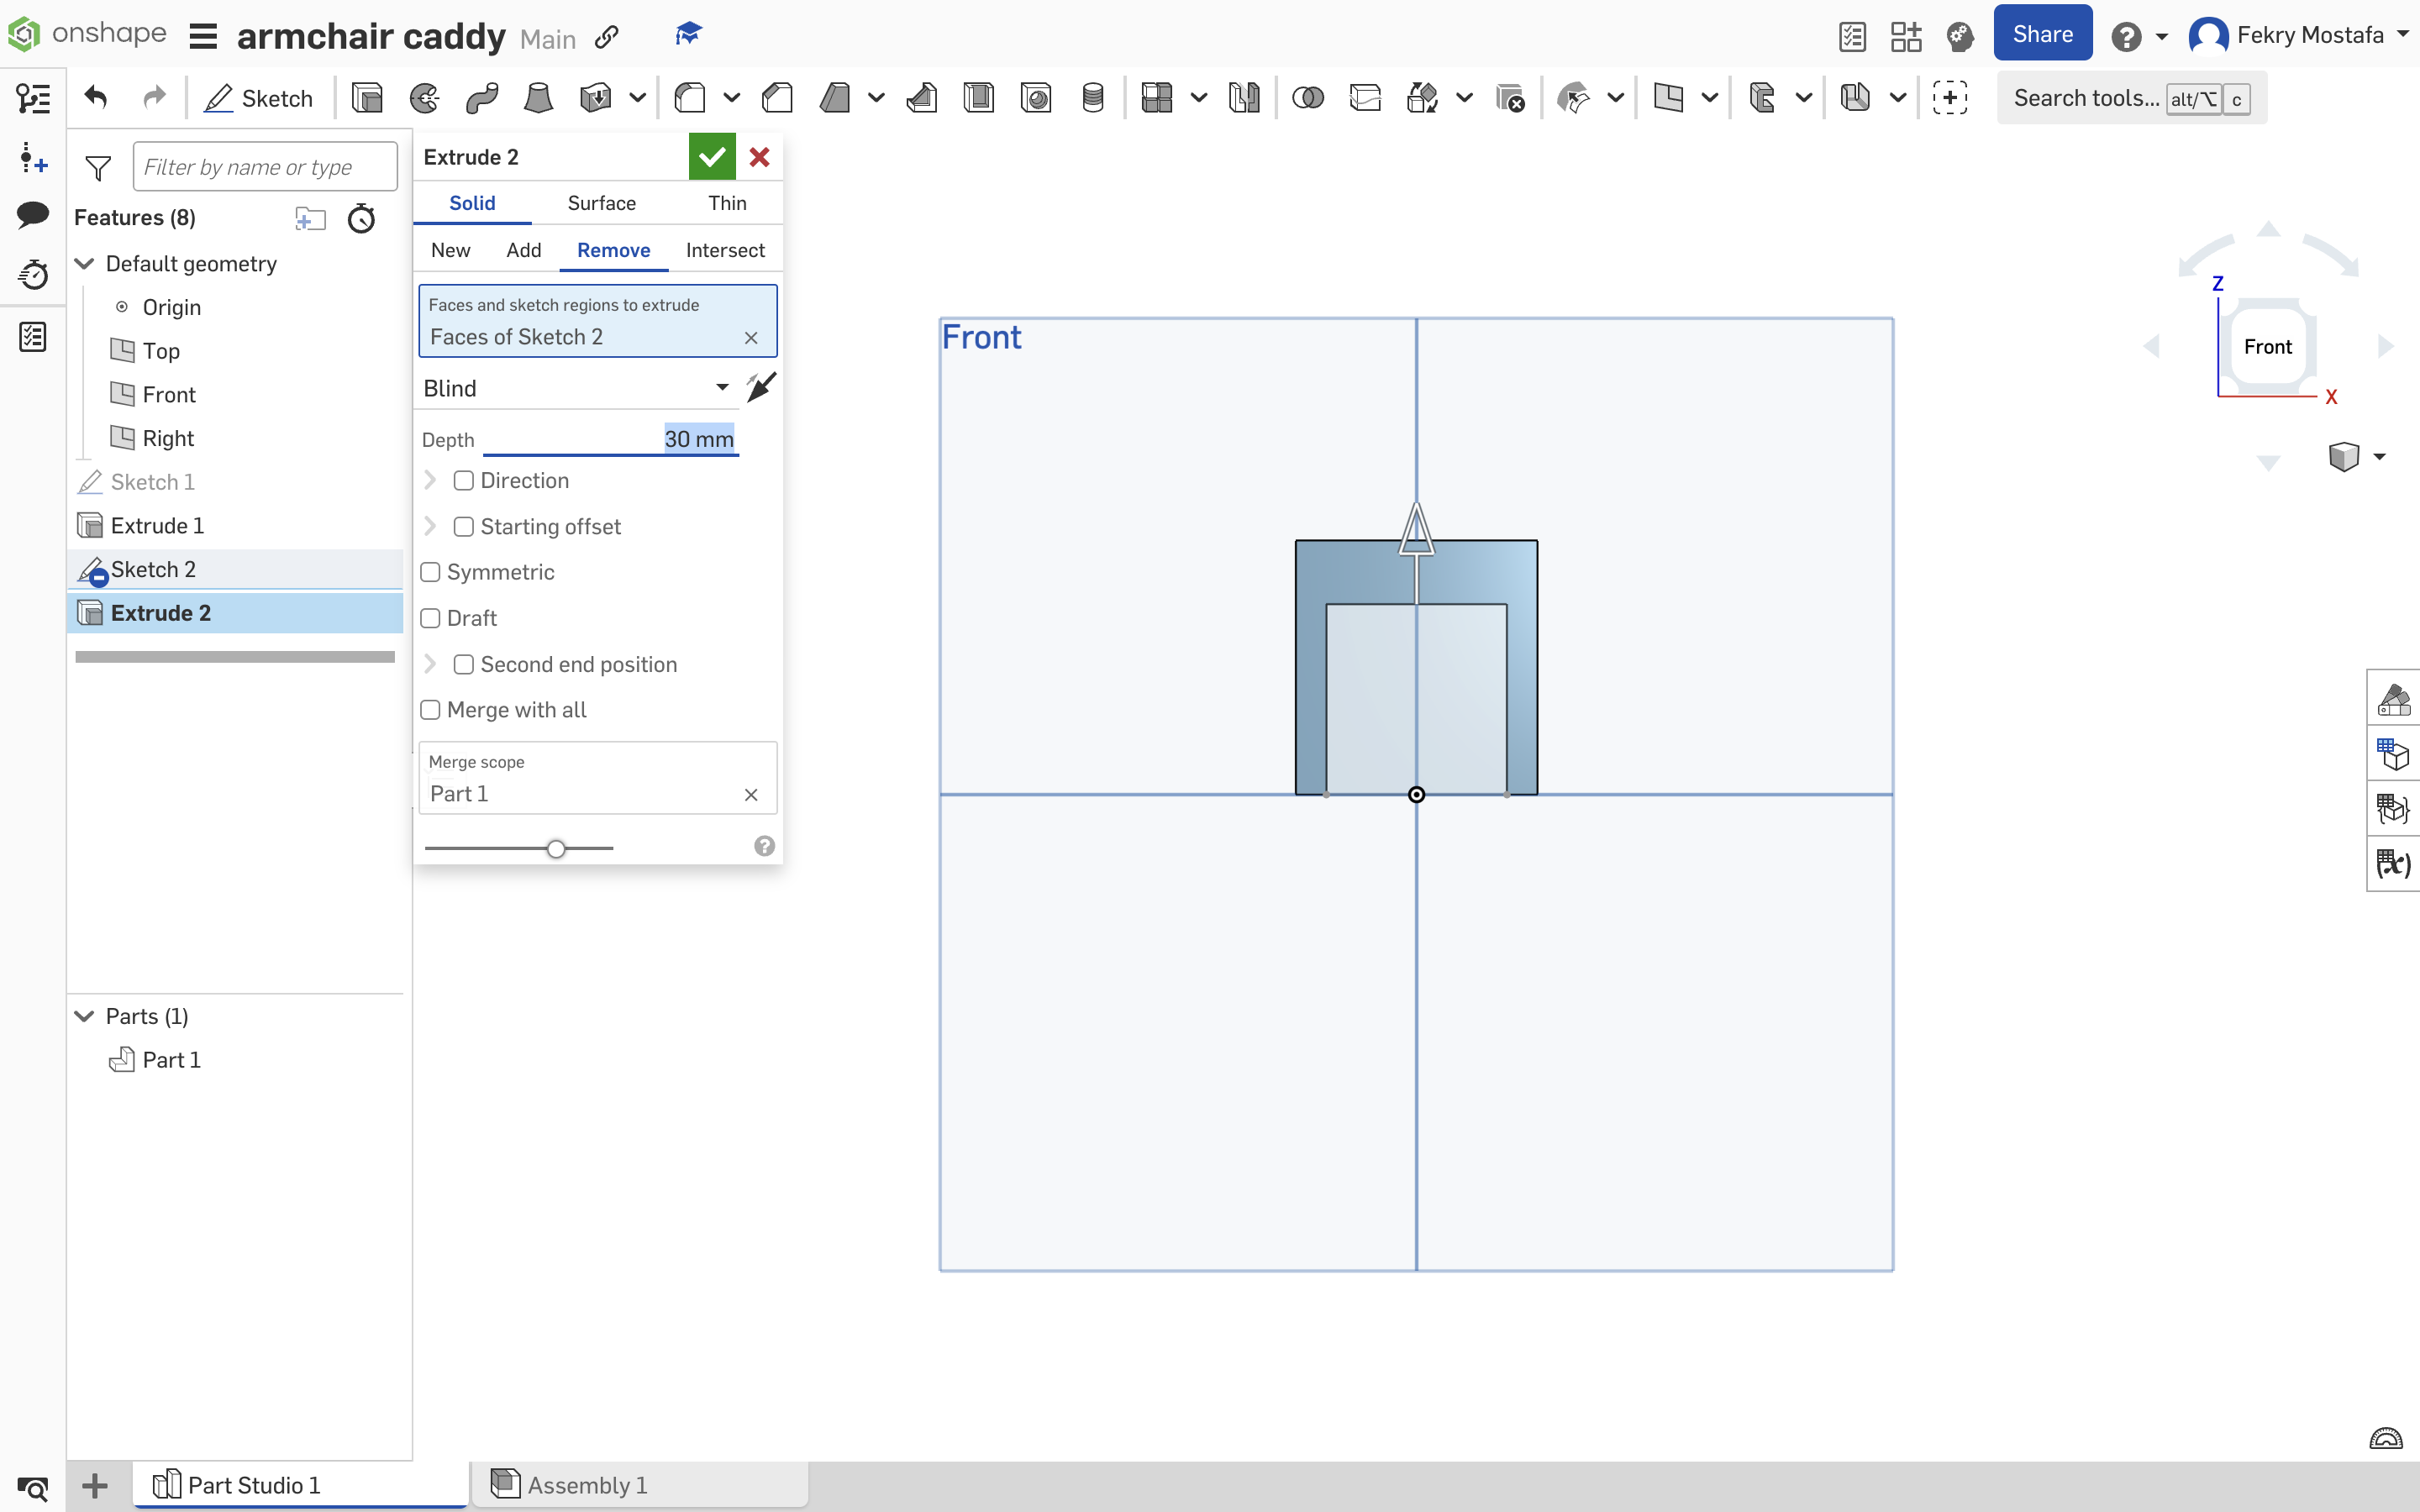
- New Sketch for Armrest Slot:
- Select the Top Face of the extruded base.
- Click on Sketch.
- Draw Another Rectangle:
- Use the Center Point Rectangle tool.
- Length: Enter 200 mm.
- Width: Enter Armrest Width.
- Extrude Remove:
- Click Extrude and select the new rectangle sketch.
- Depth: Enter 30 mm.
- Direction: Ensure it's set to Remove.
- Click OK.
This creates a recessed area that fits snugly over your armrest.
Add the Top Surface
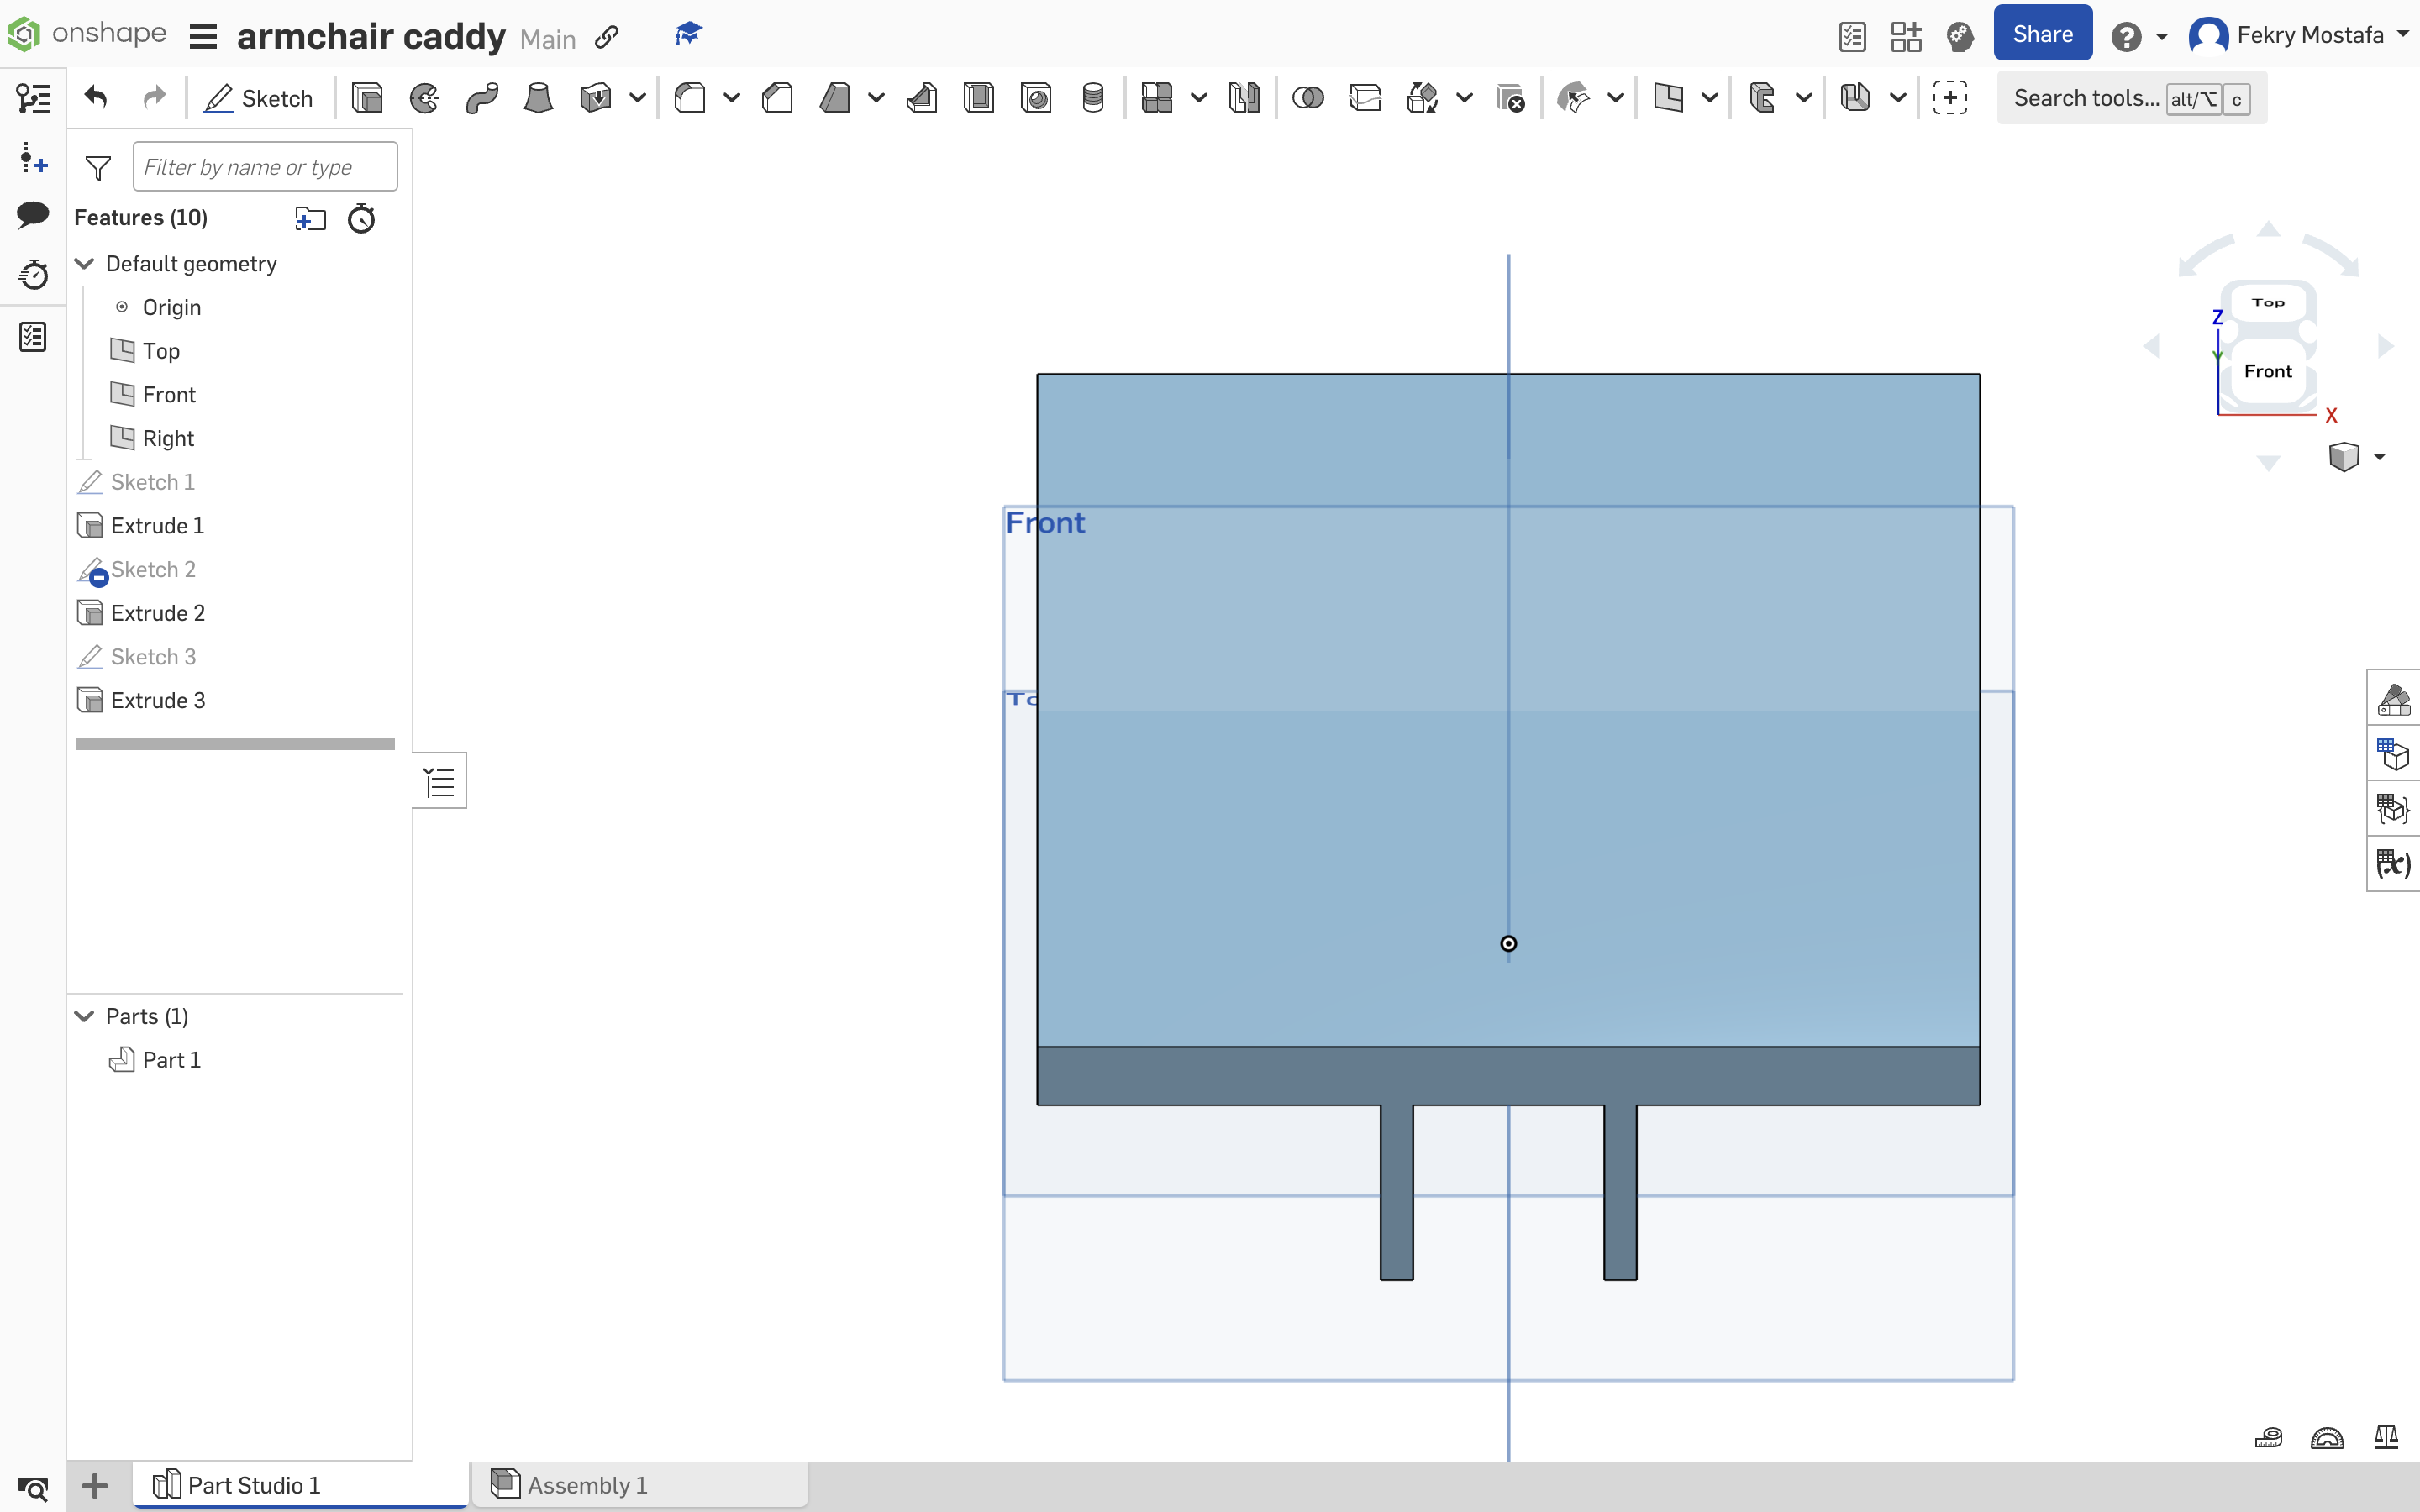
- Sketch the Top Platform:
- Select the Top Face of the base again.
- Click on Sketch.
- Draw the Top Rectangle:
- Use the Rectangle tool.
- Dimensions: Enter 140 mm x 200 mm.
- Extrude the Top Surface:
- Click Extrude and select the new rectangle.
- Depth: Enter 10 mm.
- Offset: Set an Offset Distance of 30 mm (so it starts above the base).
- Click OK.
This creates a flat surface for holding items.
Create Holders and Indentations
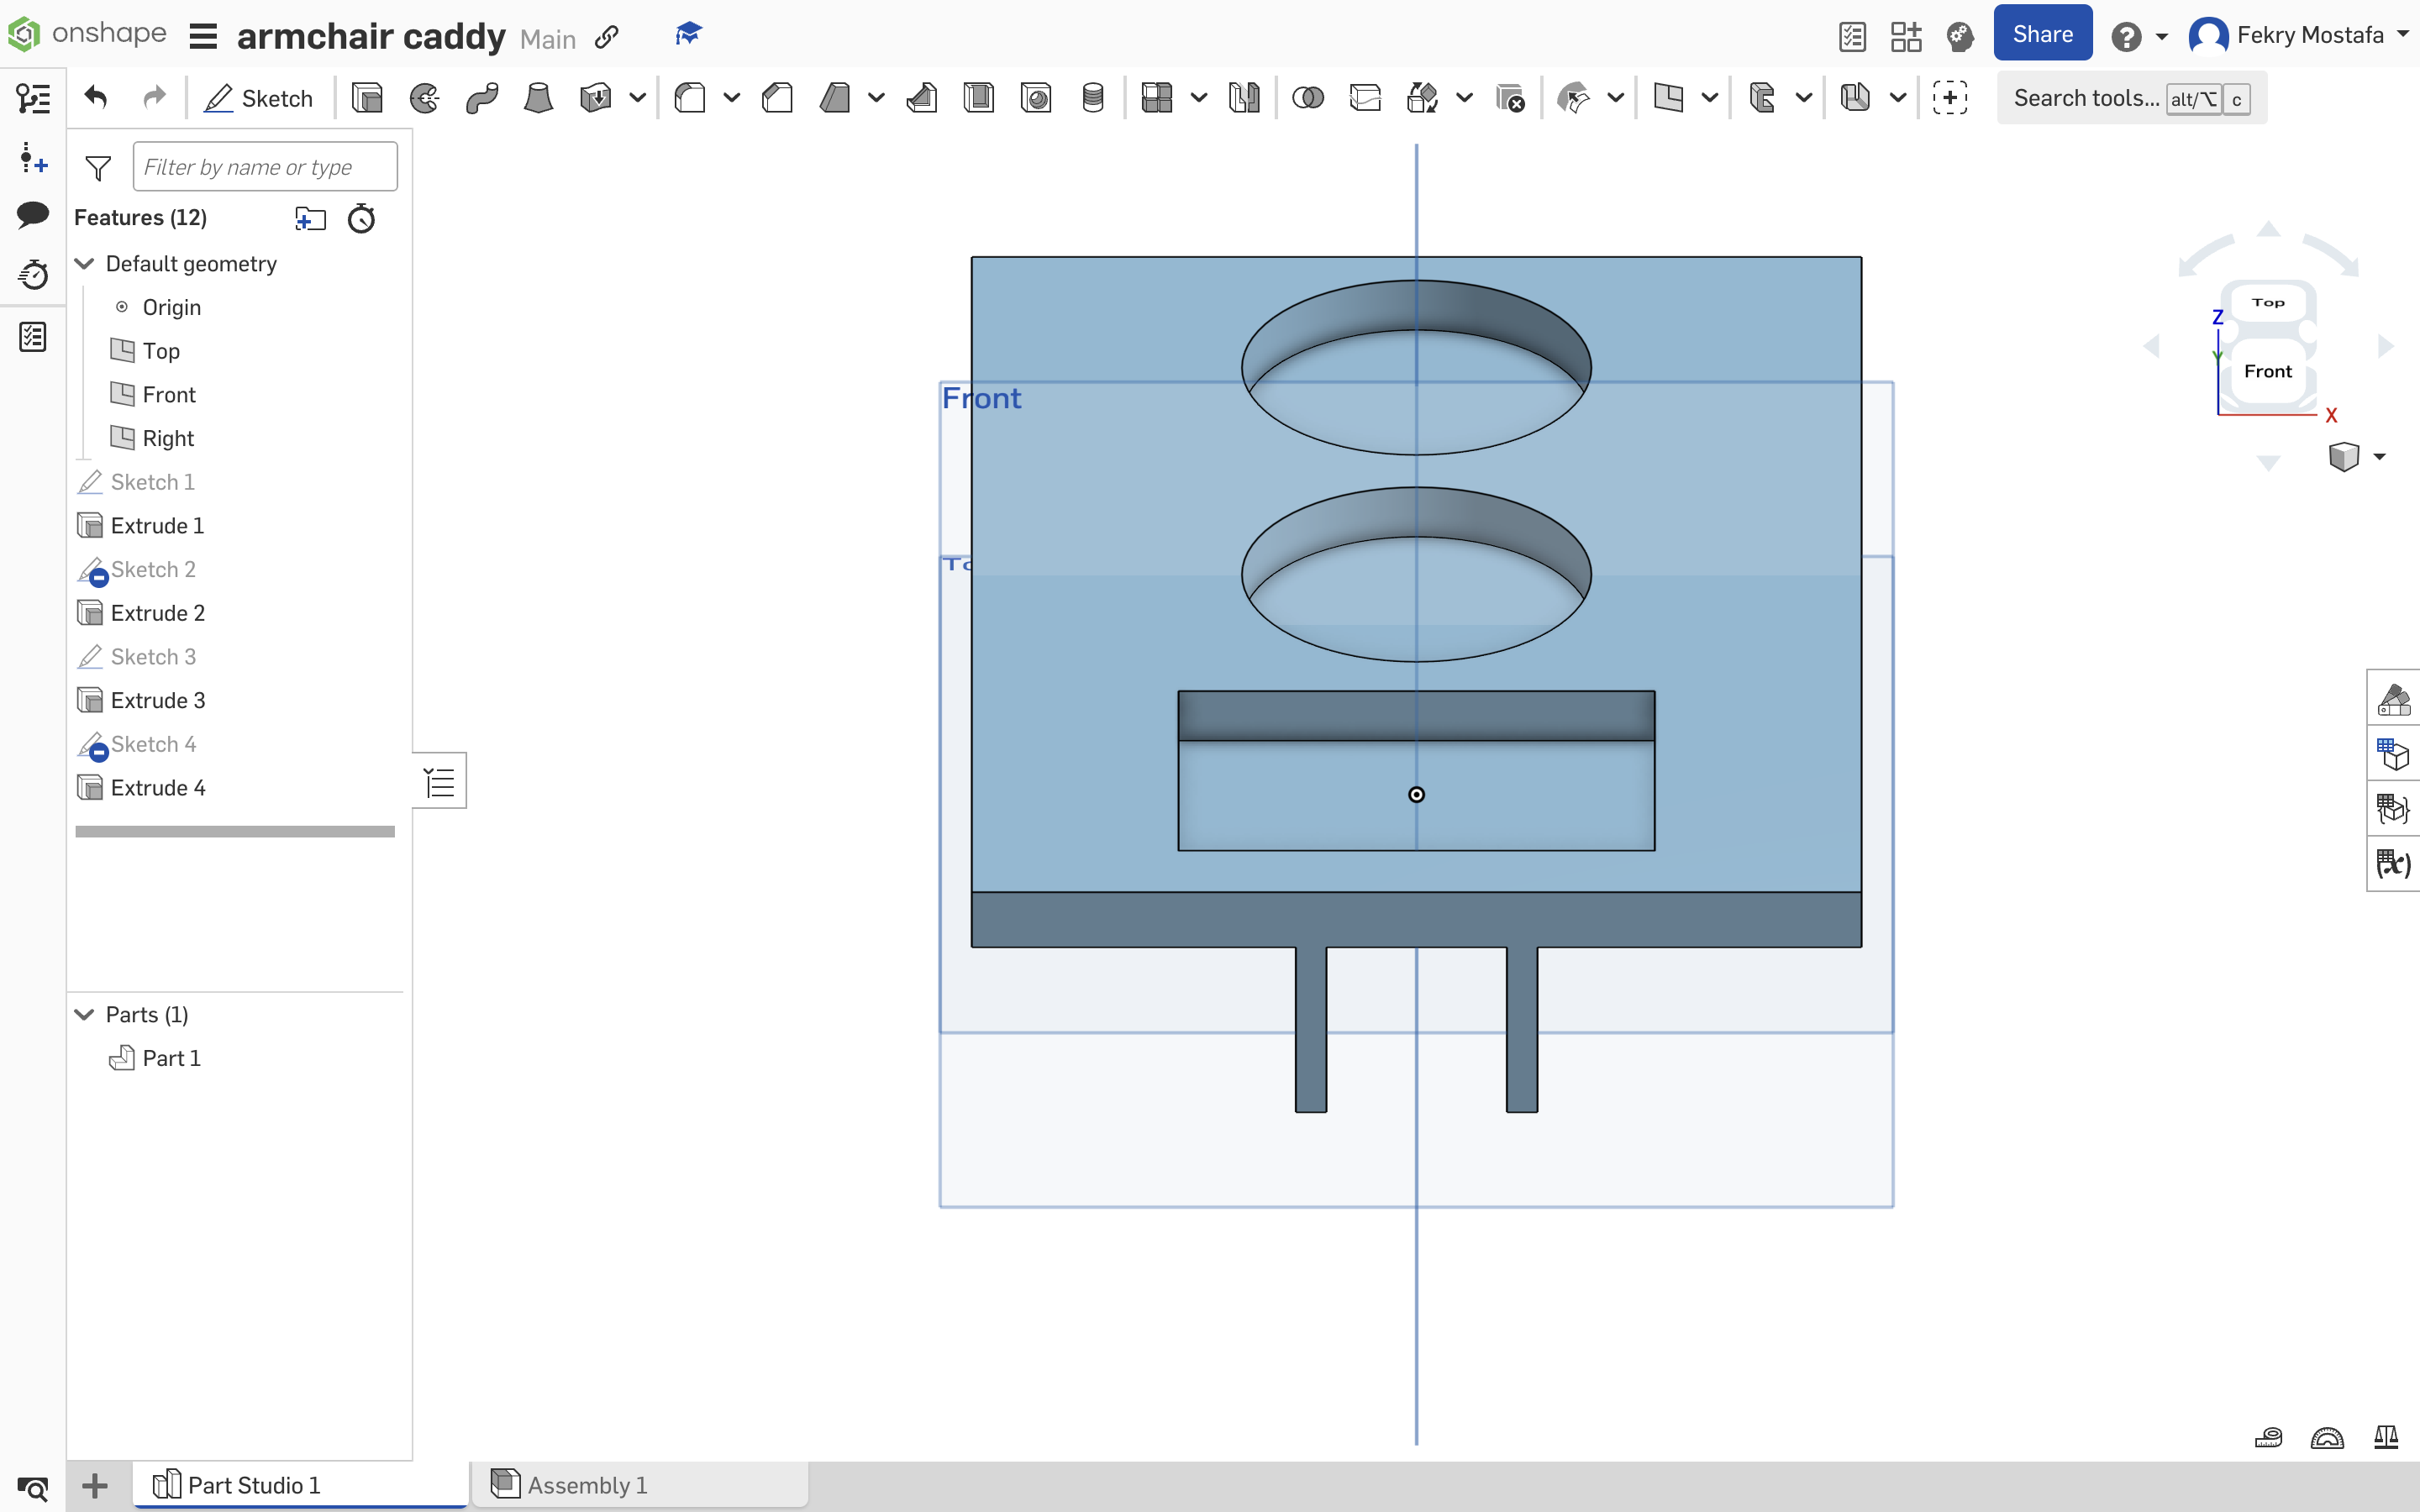
- Sketch the Holders:
- Select the Top Face of the platform.
- Click on Sketch.
- Add Cup Holders (Circles):
- Use the Circle tool.
- Draw two circles with a diameter of 55 mm.
- Position them appropriately on the platform.
- Add Rectangular Holder:
- Use the Rectangle tool.
- Draw a rectangle with 75 mm length and 50 mm width.
- This can serve as a key holder, ashtray, or storage for small items.
- Extrude the Indentations:
- Click Extrude and select the circles and rectangle.
- Depth: Enter 8 mm.
- Direction: Set to Remove.
- This leaves a 2 mm base (since the platform is 10 mm thick).
- Click OK.
These indentations will hold items securely without cutting through the platform.
Add Cable Pass-throughs
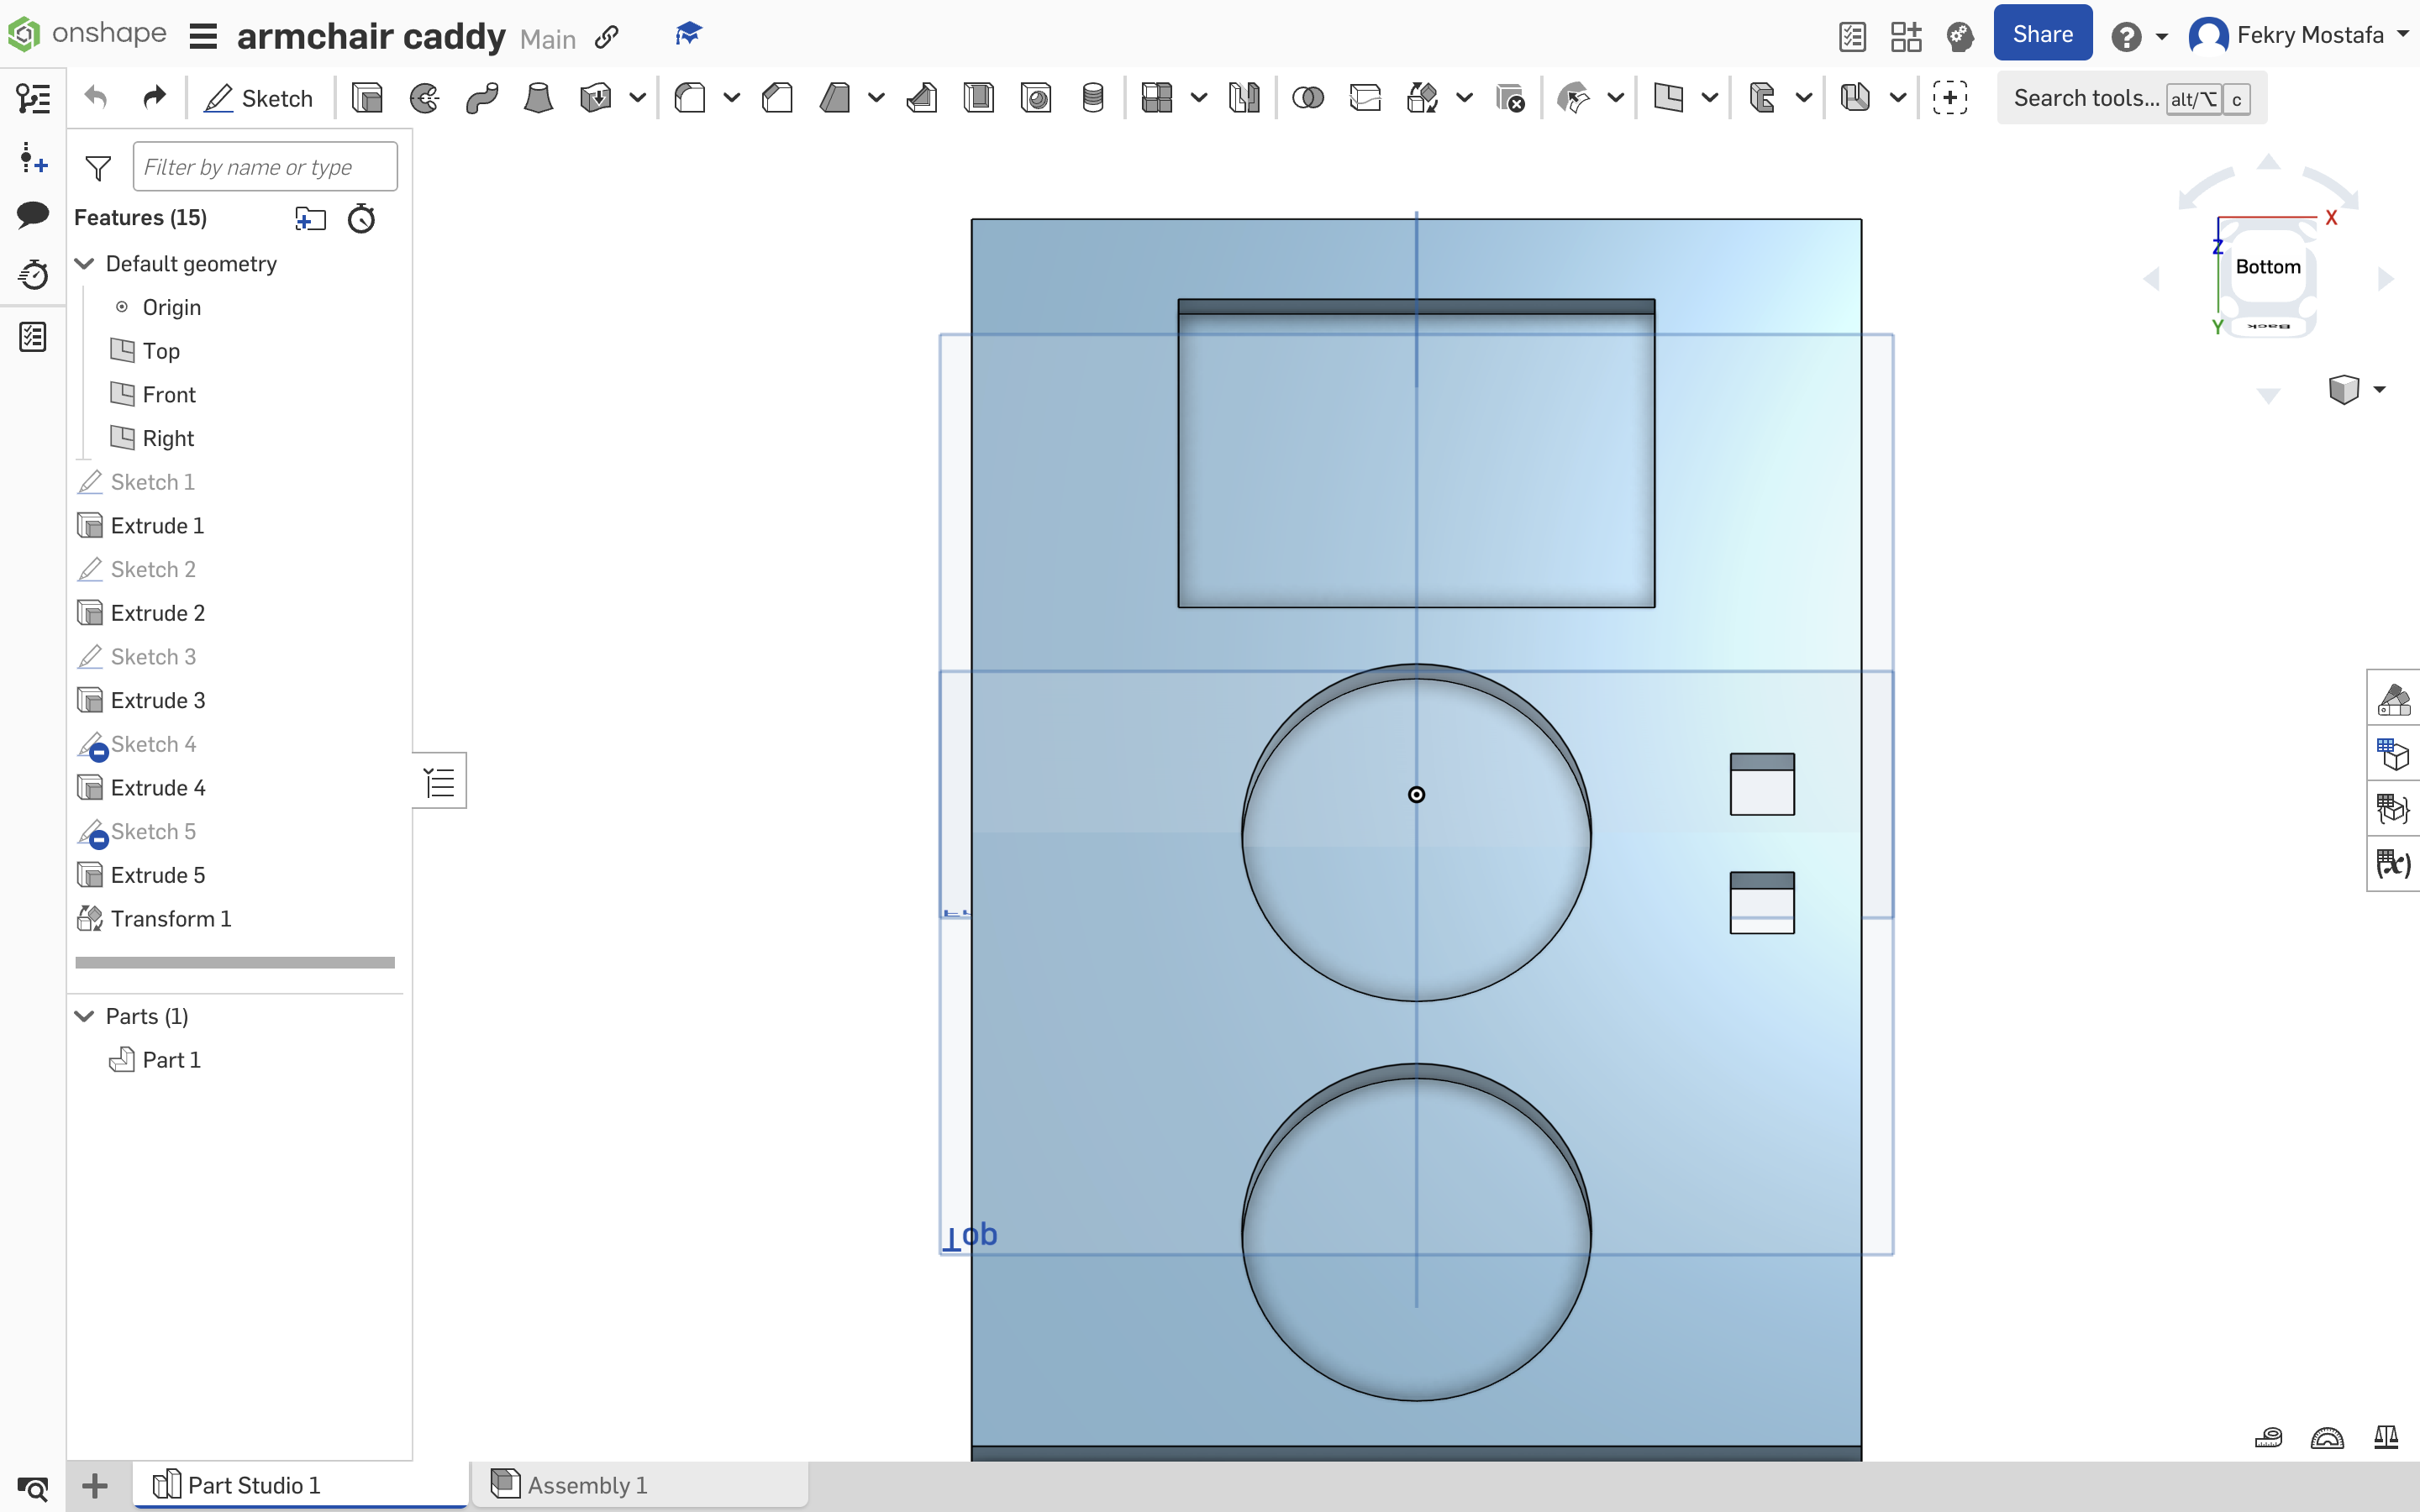
- Sketch Cable Holes:
- On the same top surface, click on Sketch.
- Draw Squares for Cables:
- Use the Rectangle tool.
- Draw two squares measuring 10 mm x 10 mm.
- Position them where you'd like cables to pass through.
- Extrude Through Holes:
- Click Extrude and select the squares.
- Depth: Enter 10 mm.
- Direction: Set to Remove.
- This cuts holes entirely through the platform.
- Click OK.
These holes allow USB cables or chargers to pass through neatly.
Export the STL File
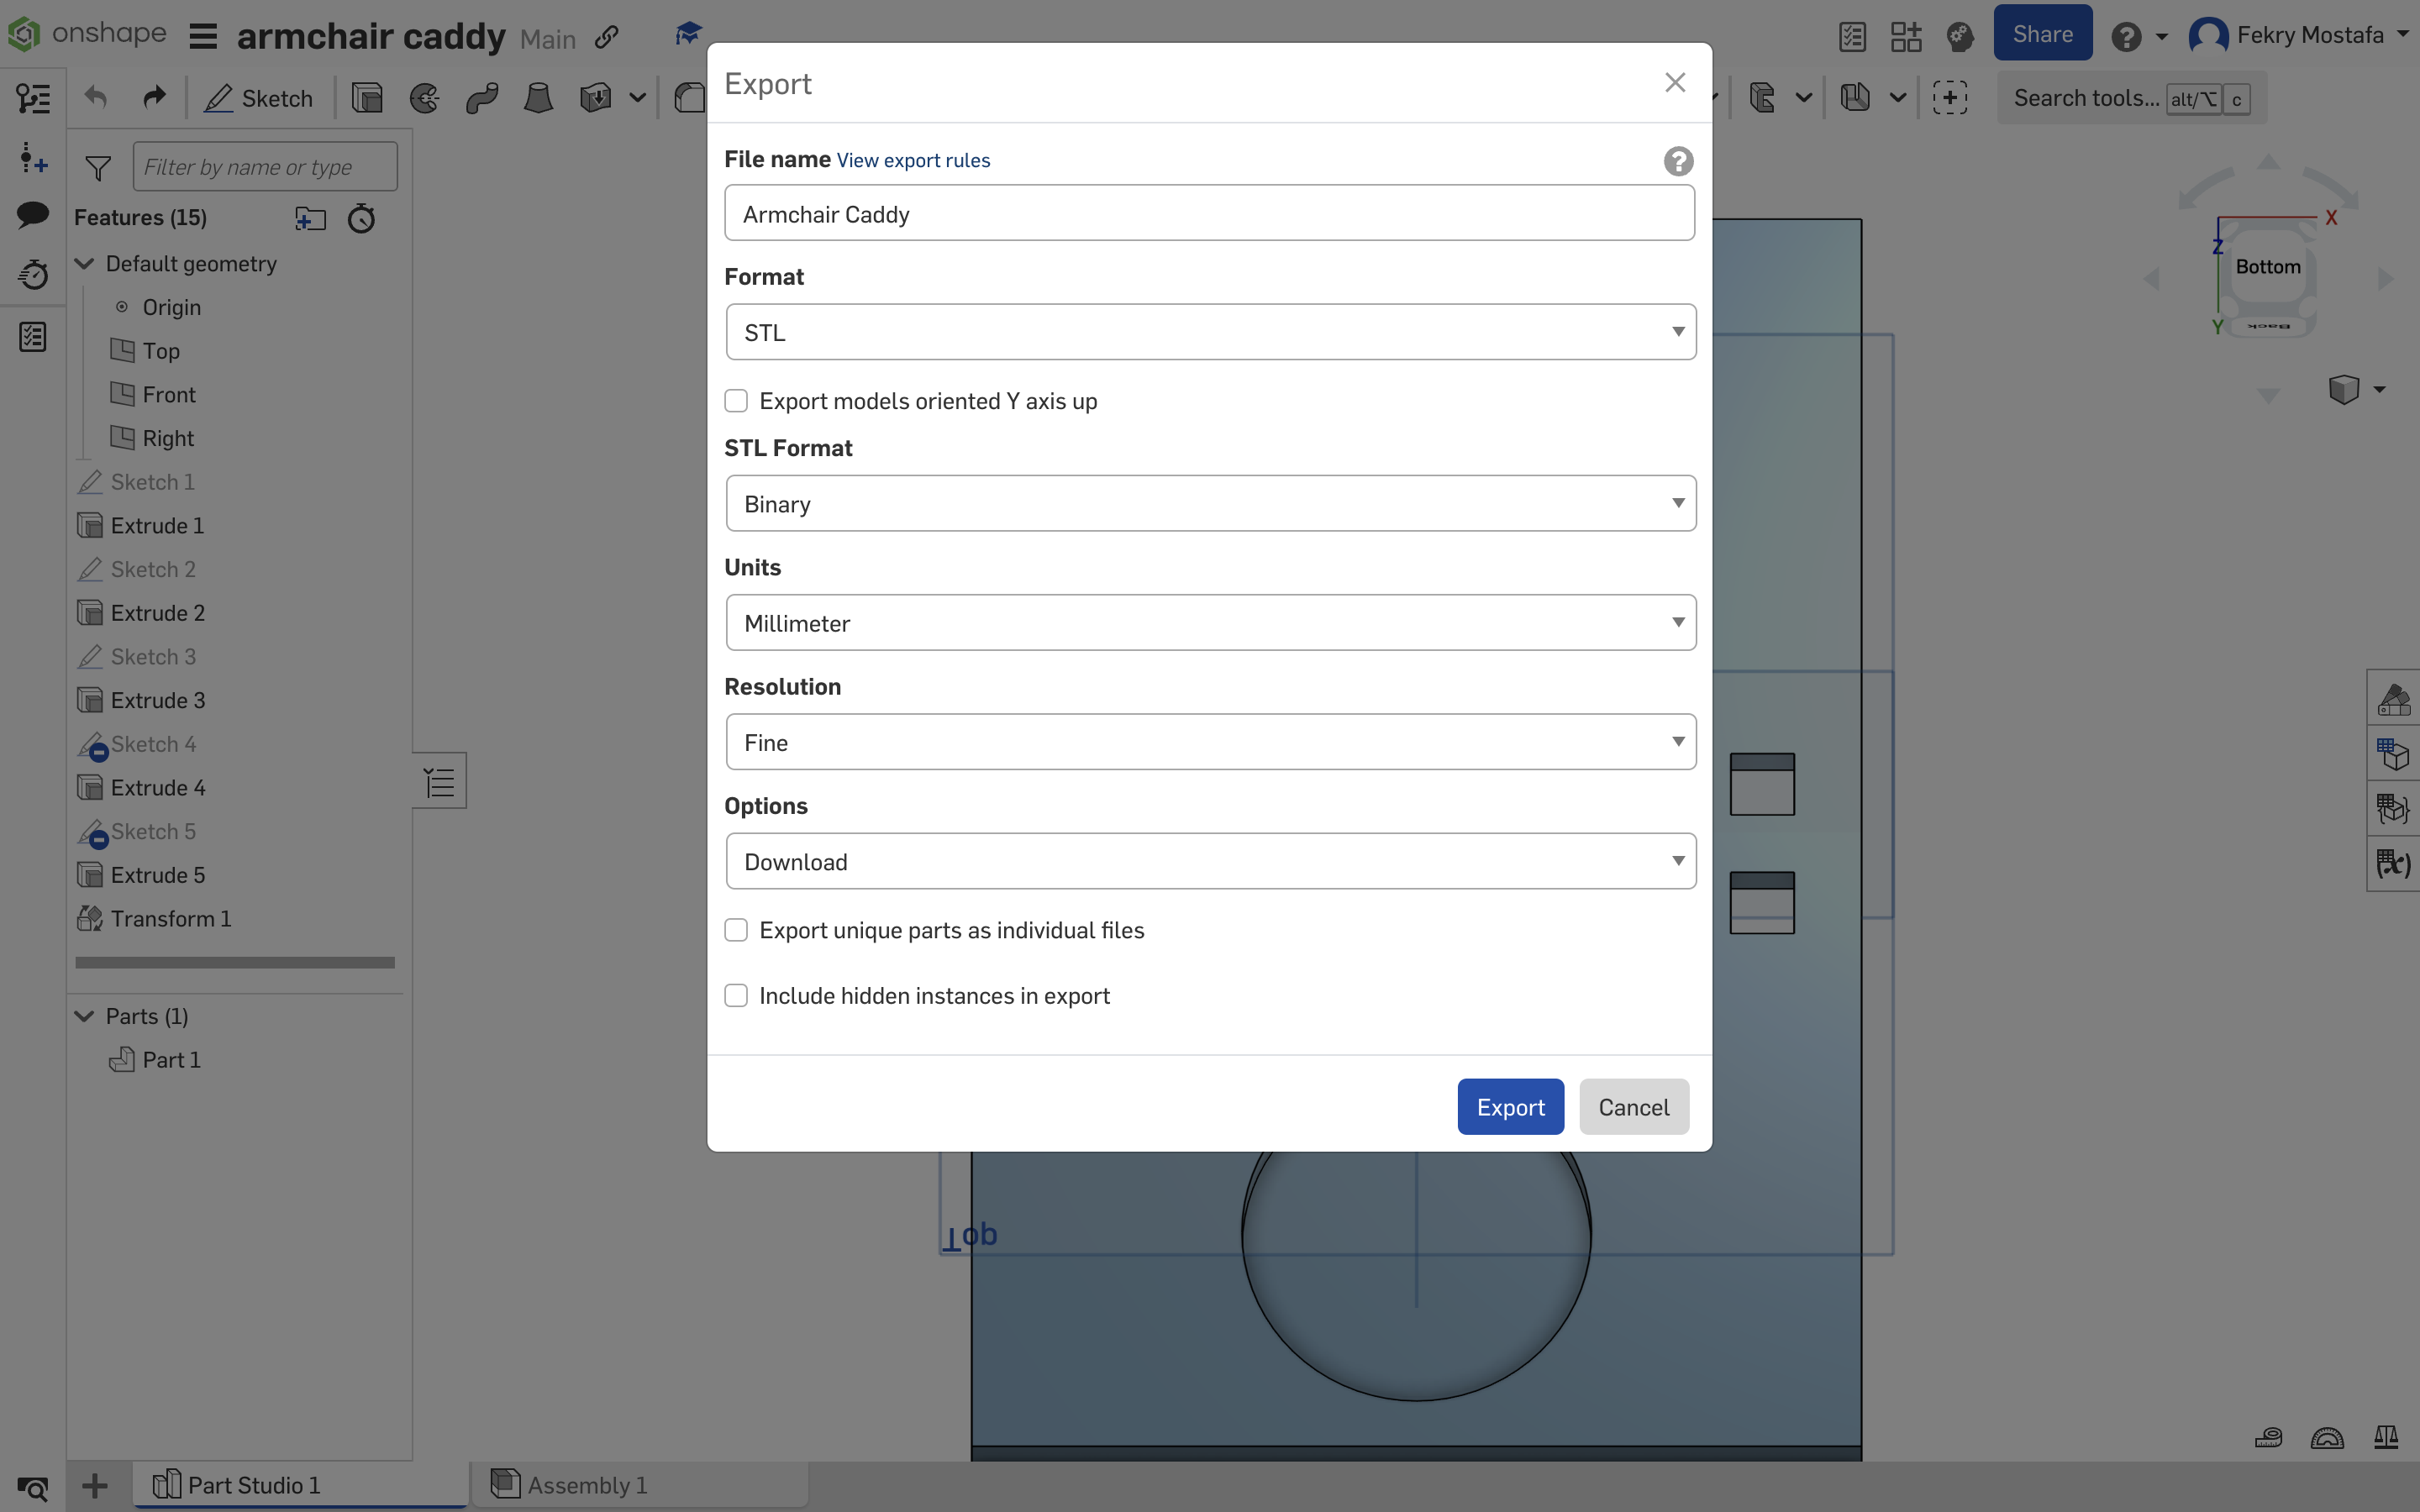
- Transform the Model (optional):
- Click on Transform in the toolbar.
- Select the entire model.
- Rotate it 180 degrees.
- This positions the widest part at the bottom, improving stability during printing.
- Export the Model:
- Right-click on the part name in the Parts list.
- Select Export.
- Set Export Options:
- Format: Choose STL.
- Units: Ensure it's set to Millimeters.
- Resolution: Set to Fine or Custom for better quality.
- Click Export to save the file to your computer.
Slice the Model for 3D Printing
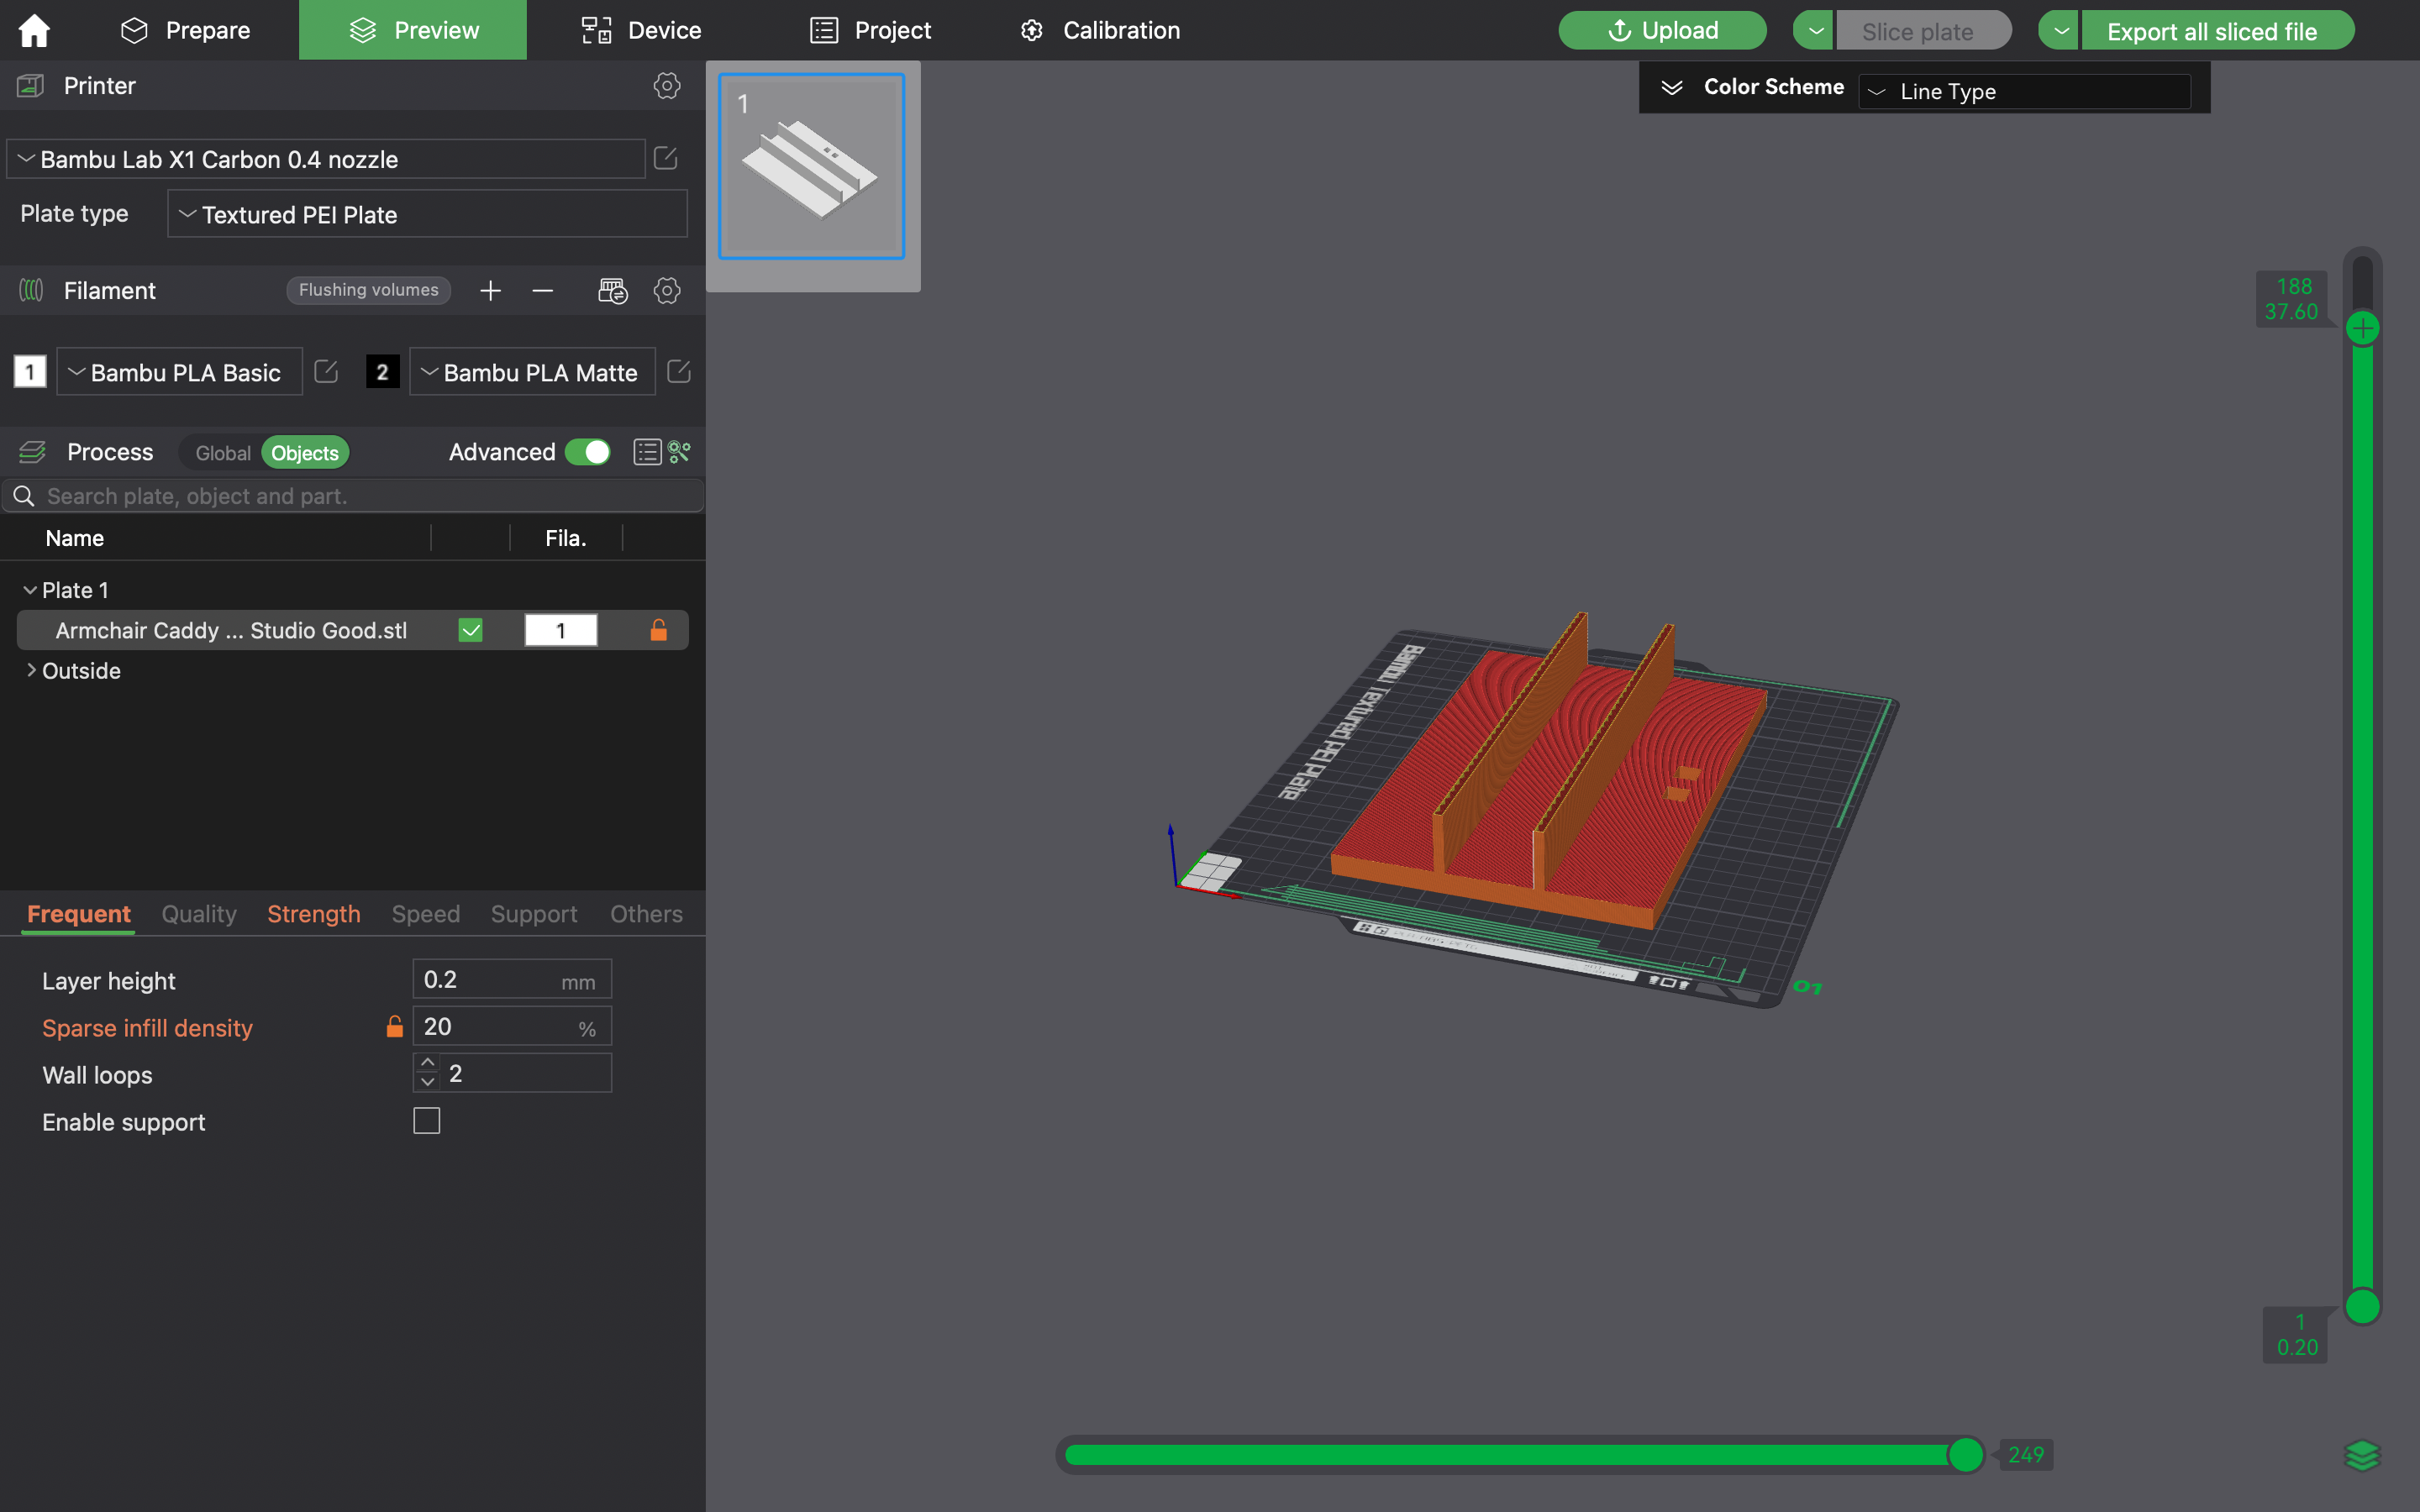
- Open Slicing Software:
- Launch Bambu Studio or your preferred slicer.
- Import the STL File:
- Import your STL file to the software
- Adjust Print Settings:
- Material: Select the filament type you're using.
- Layer Height: Standard is 0.2 mm, but adjust as desired.
- Infill Density: Recommend 20% for strength but feel free to adjust it as desired.
- Slice the Model:
- Click Slice Plate to generate the sliced file.
- Preview the Layers:
- Review the sliced model to ensure there are no issues.
- Export sliced file:
- Click Export and save the file to your microSD card or USB drive.
Downloads
3D Print the Armchair Caddy
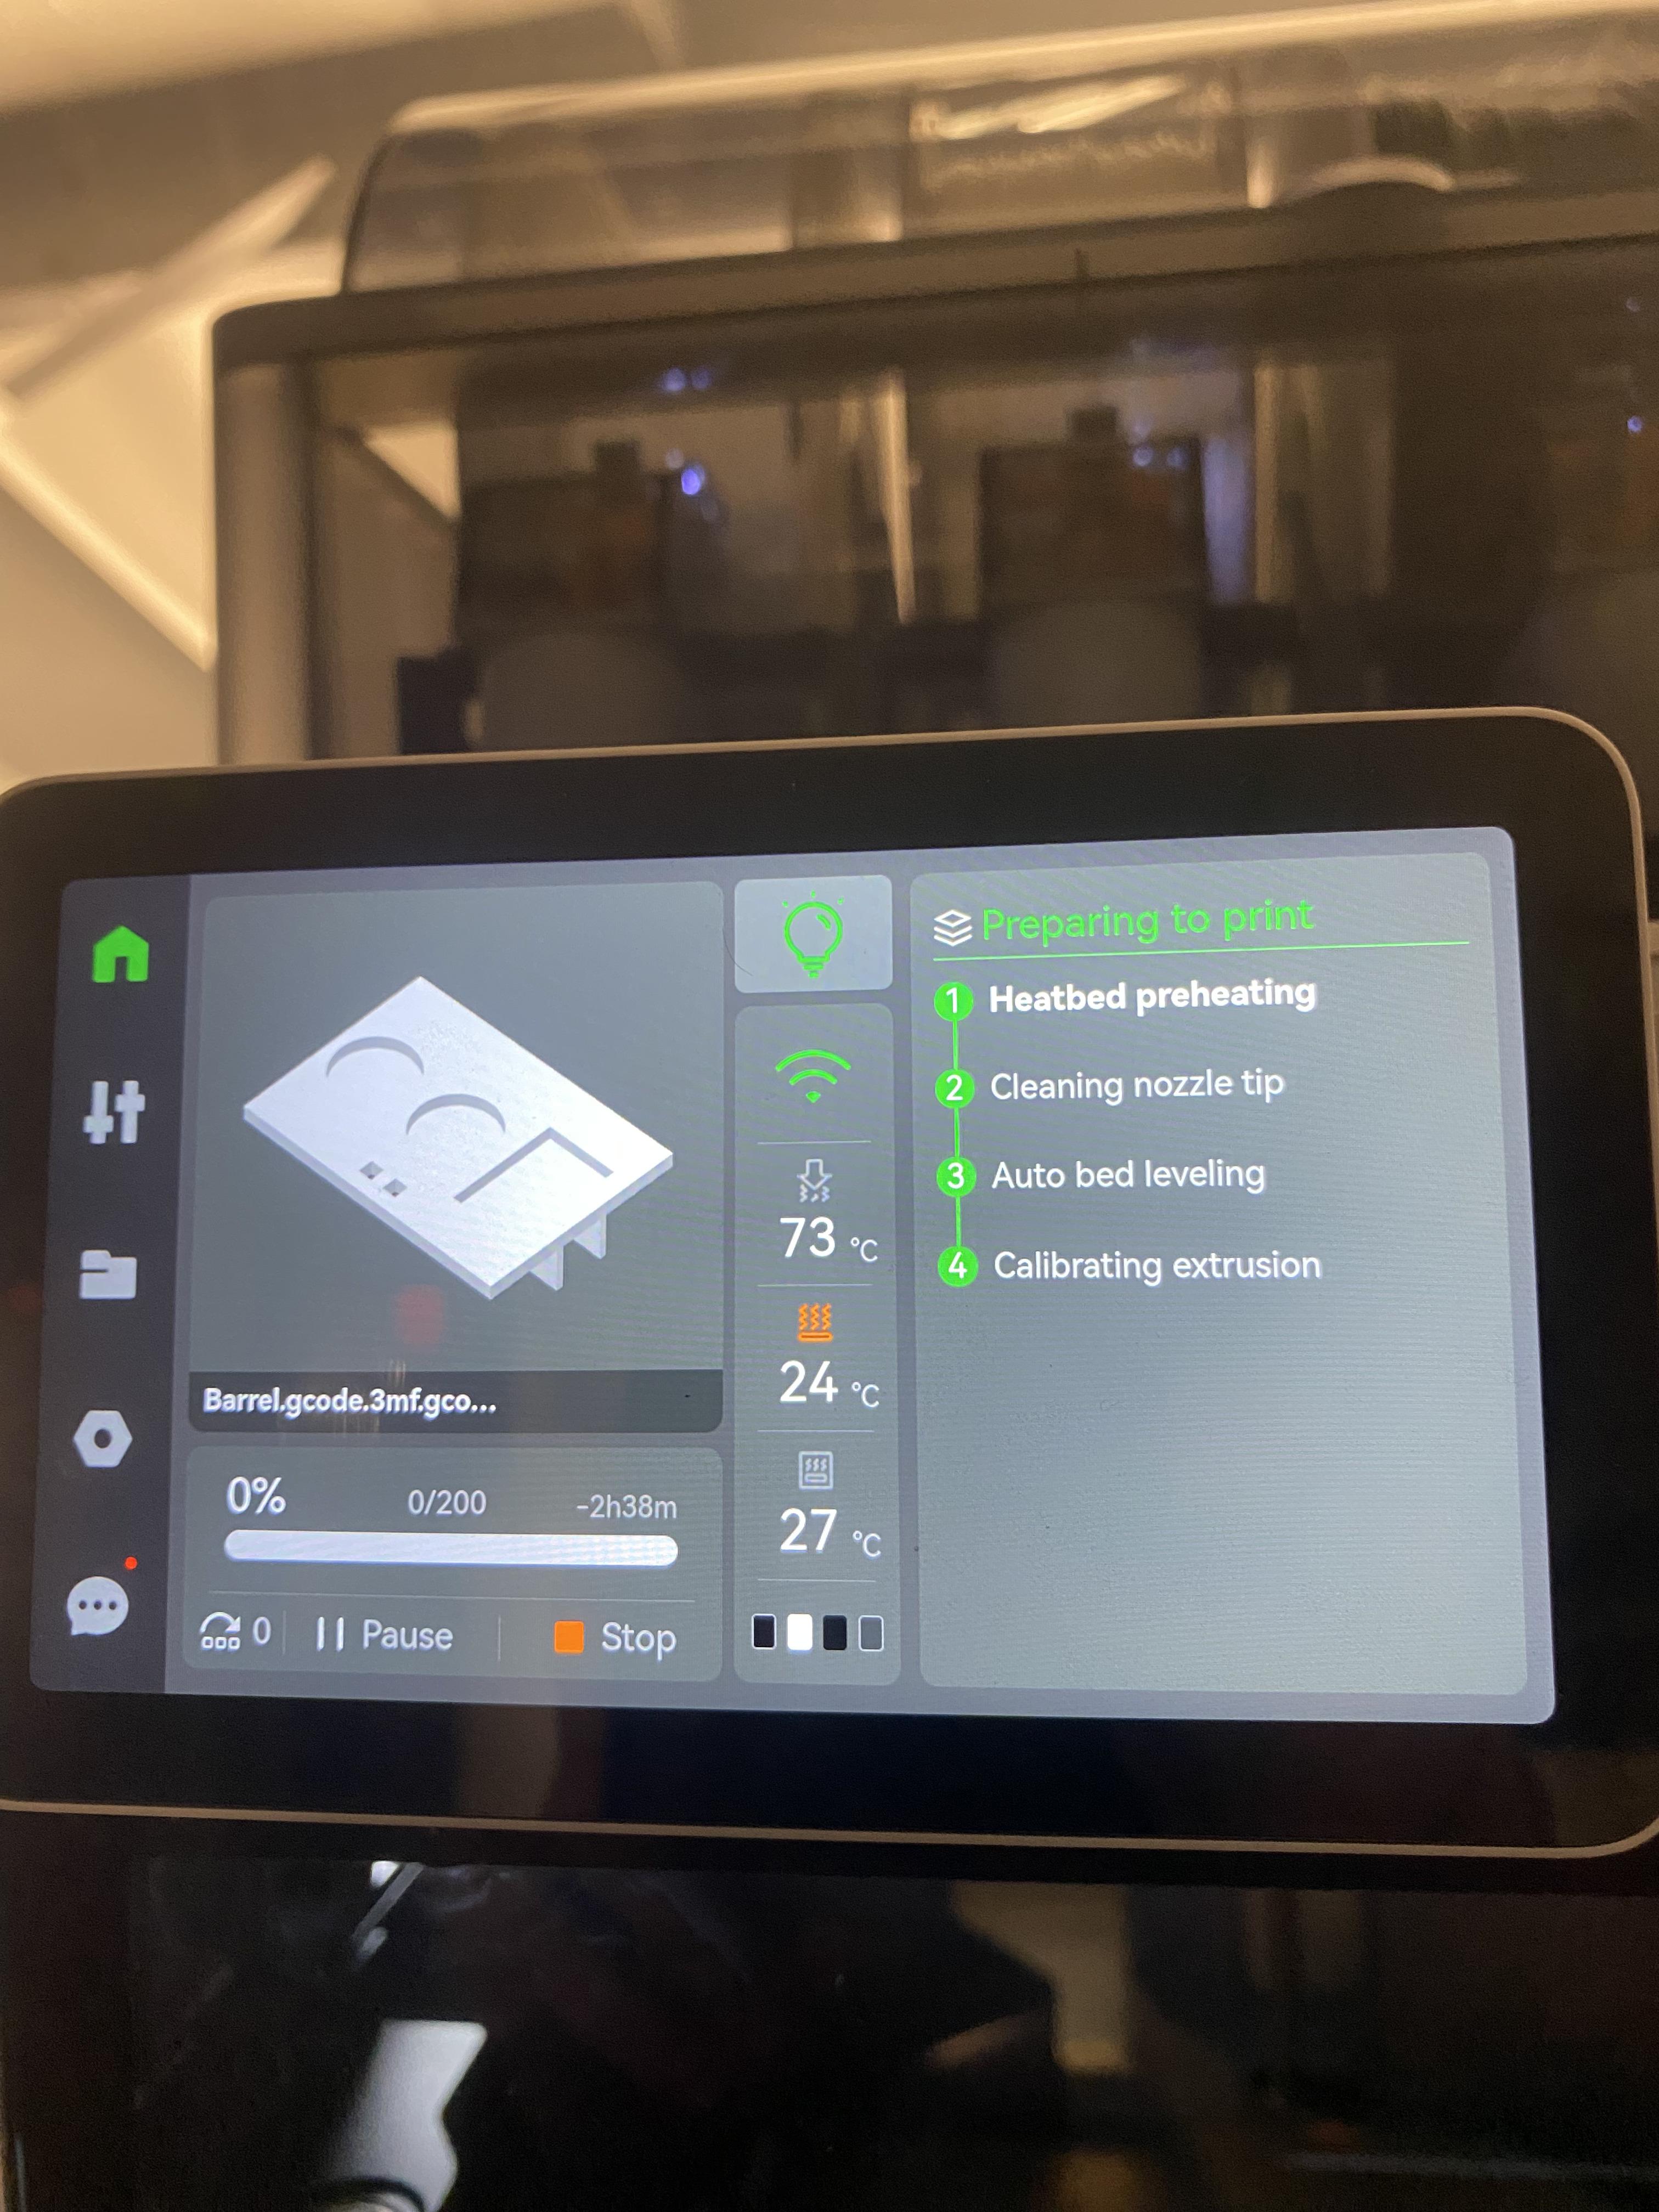
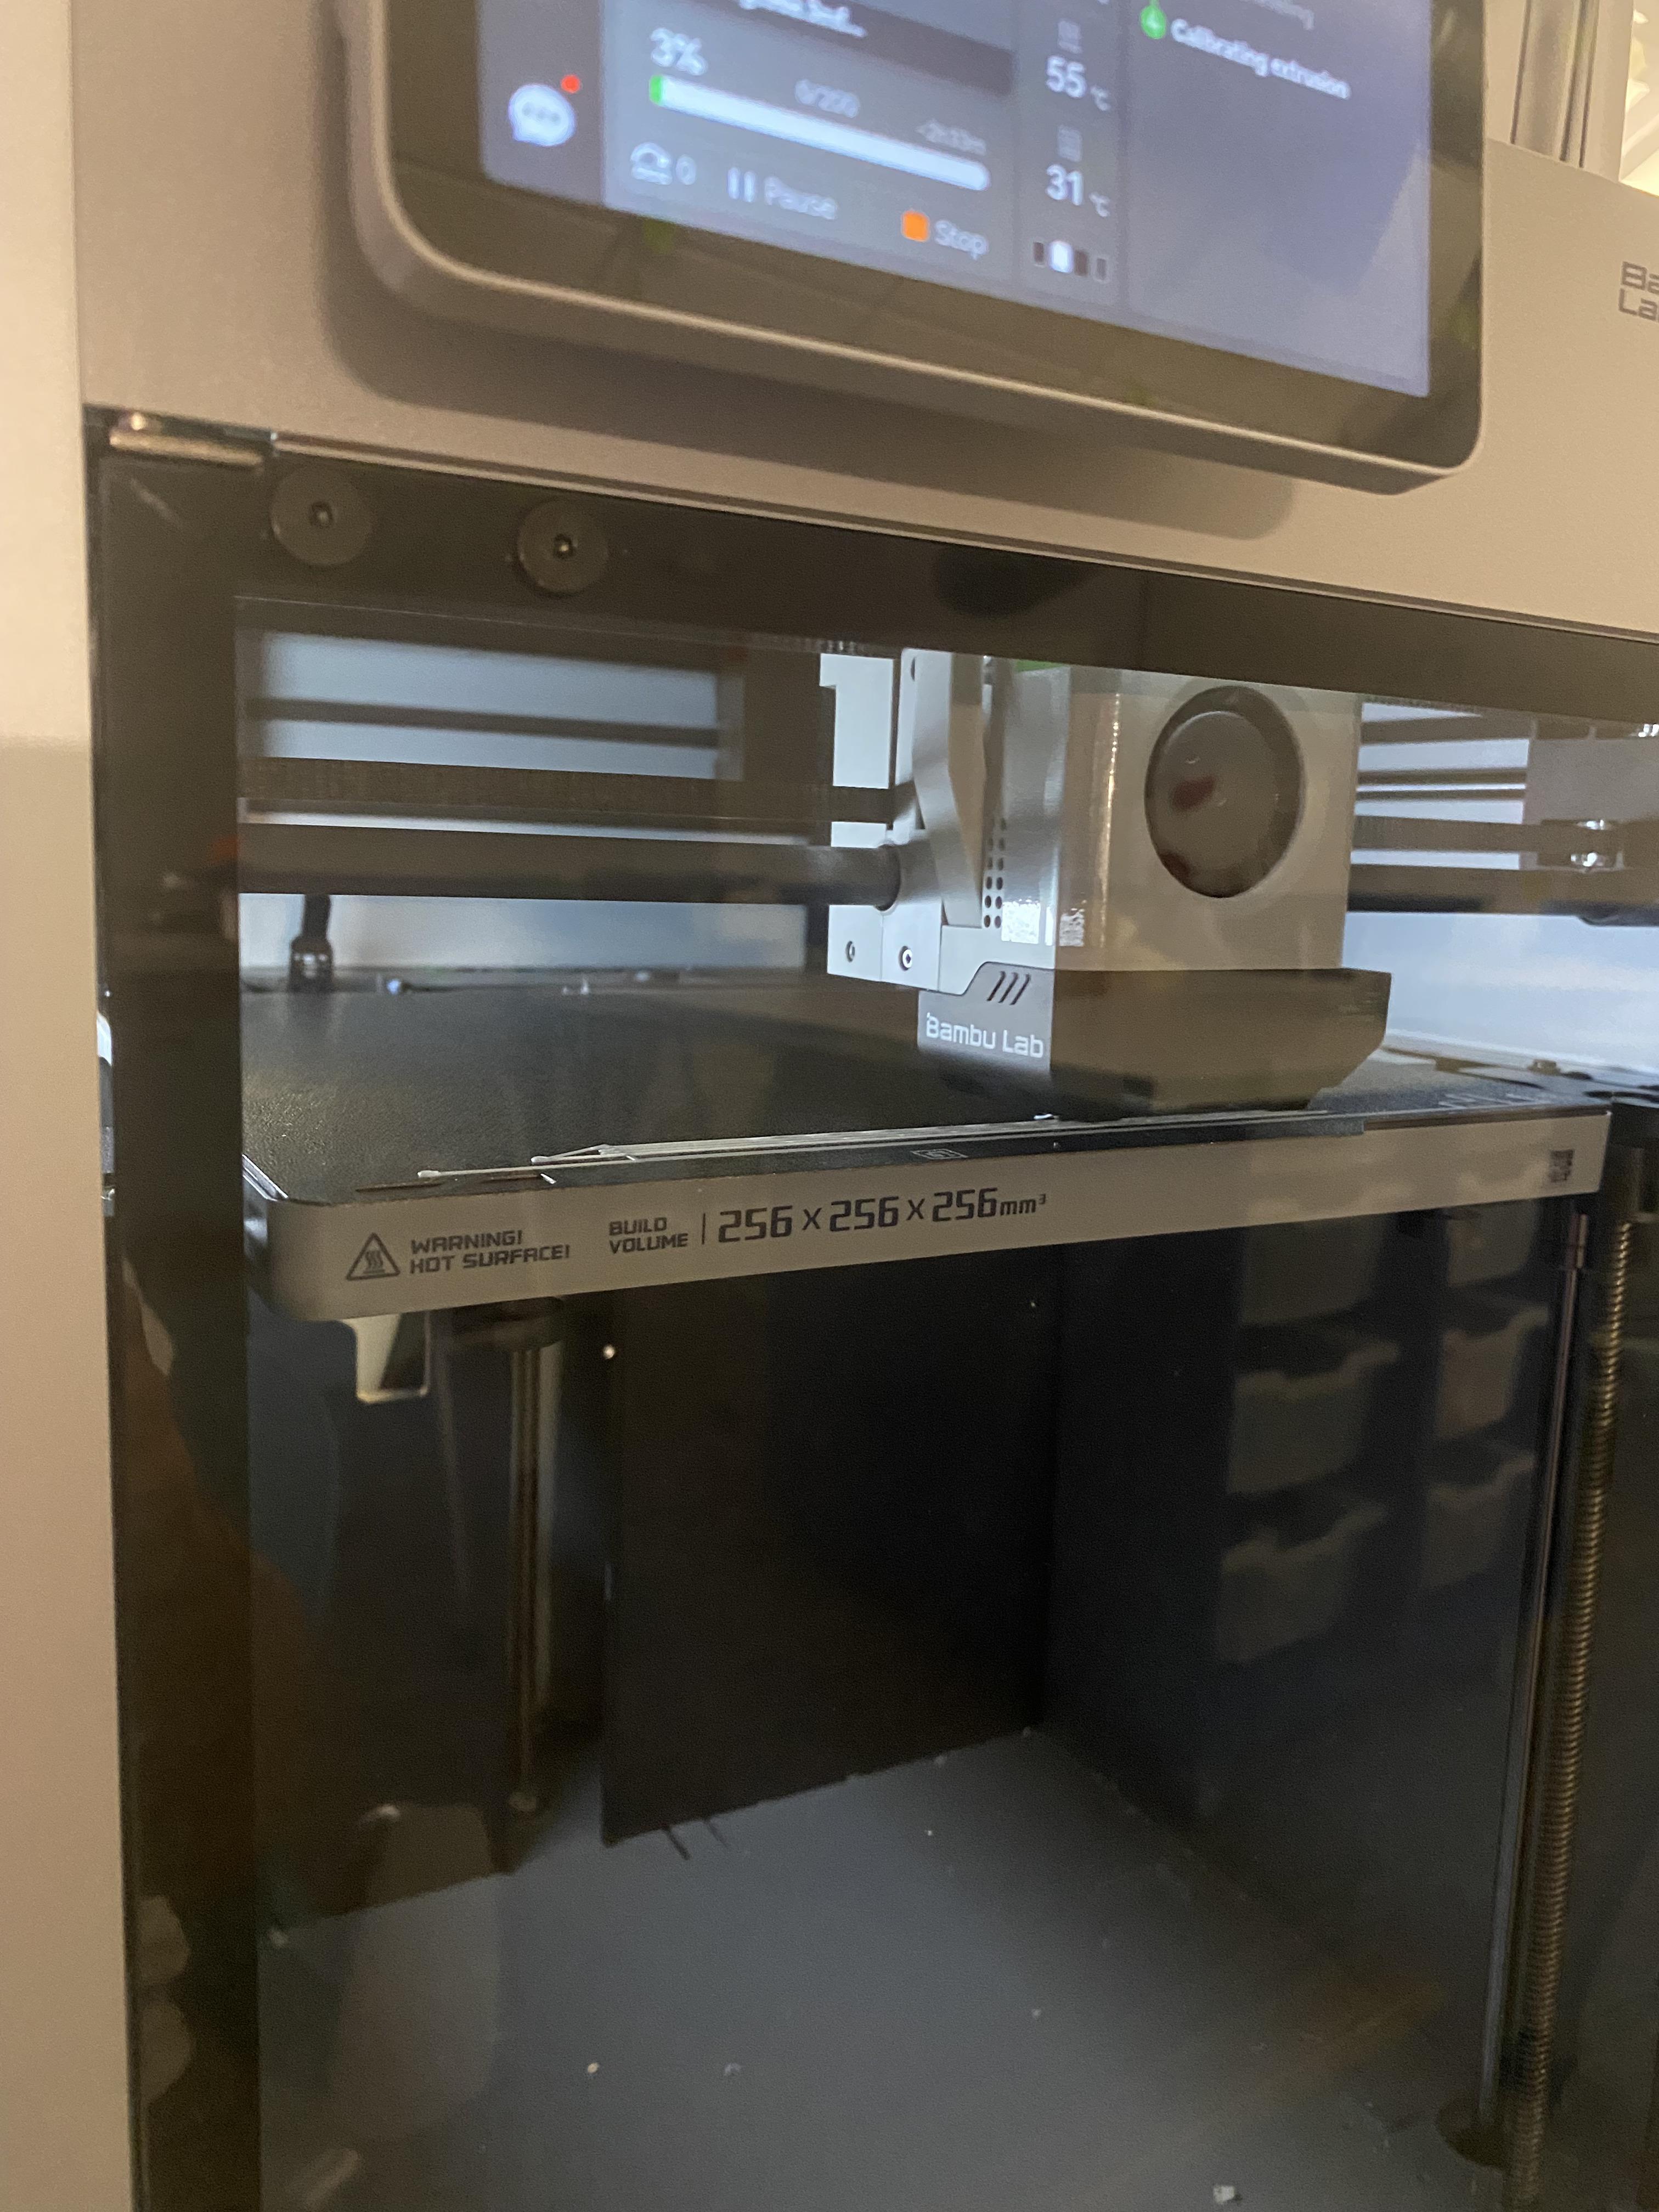
- Prepare the 3D Printer:
- Load the filament.
- Ensure the build plate is clean and leveled.
- Transfer the G-code:
- Insert the microSD card or USB drive into the printer.
- Start the Print:
- Navigate to the file and begin printing.
- Monitor the Print:
- Keep an eye on the first few layers for adhesion.
- Periodically check the print's progress.
- Remove the Print:
- Once completed, carefully remove the caddy from the build plate.
- Clean Up:
- Remove any support material if used.
- Sand any rough edges or surfaces if desired.
- Test Fit:
- Place the caddy on your armchair to ensure it fits snugly.
- Check that all holders and pass-throughs function as intended.
Note: Printing may take several hours depending on your settings. It took 2.5 hours for me.
Reflections on the Project
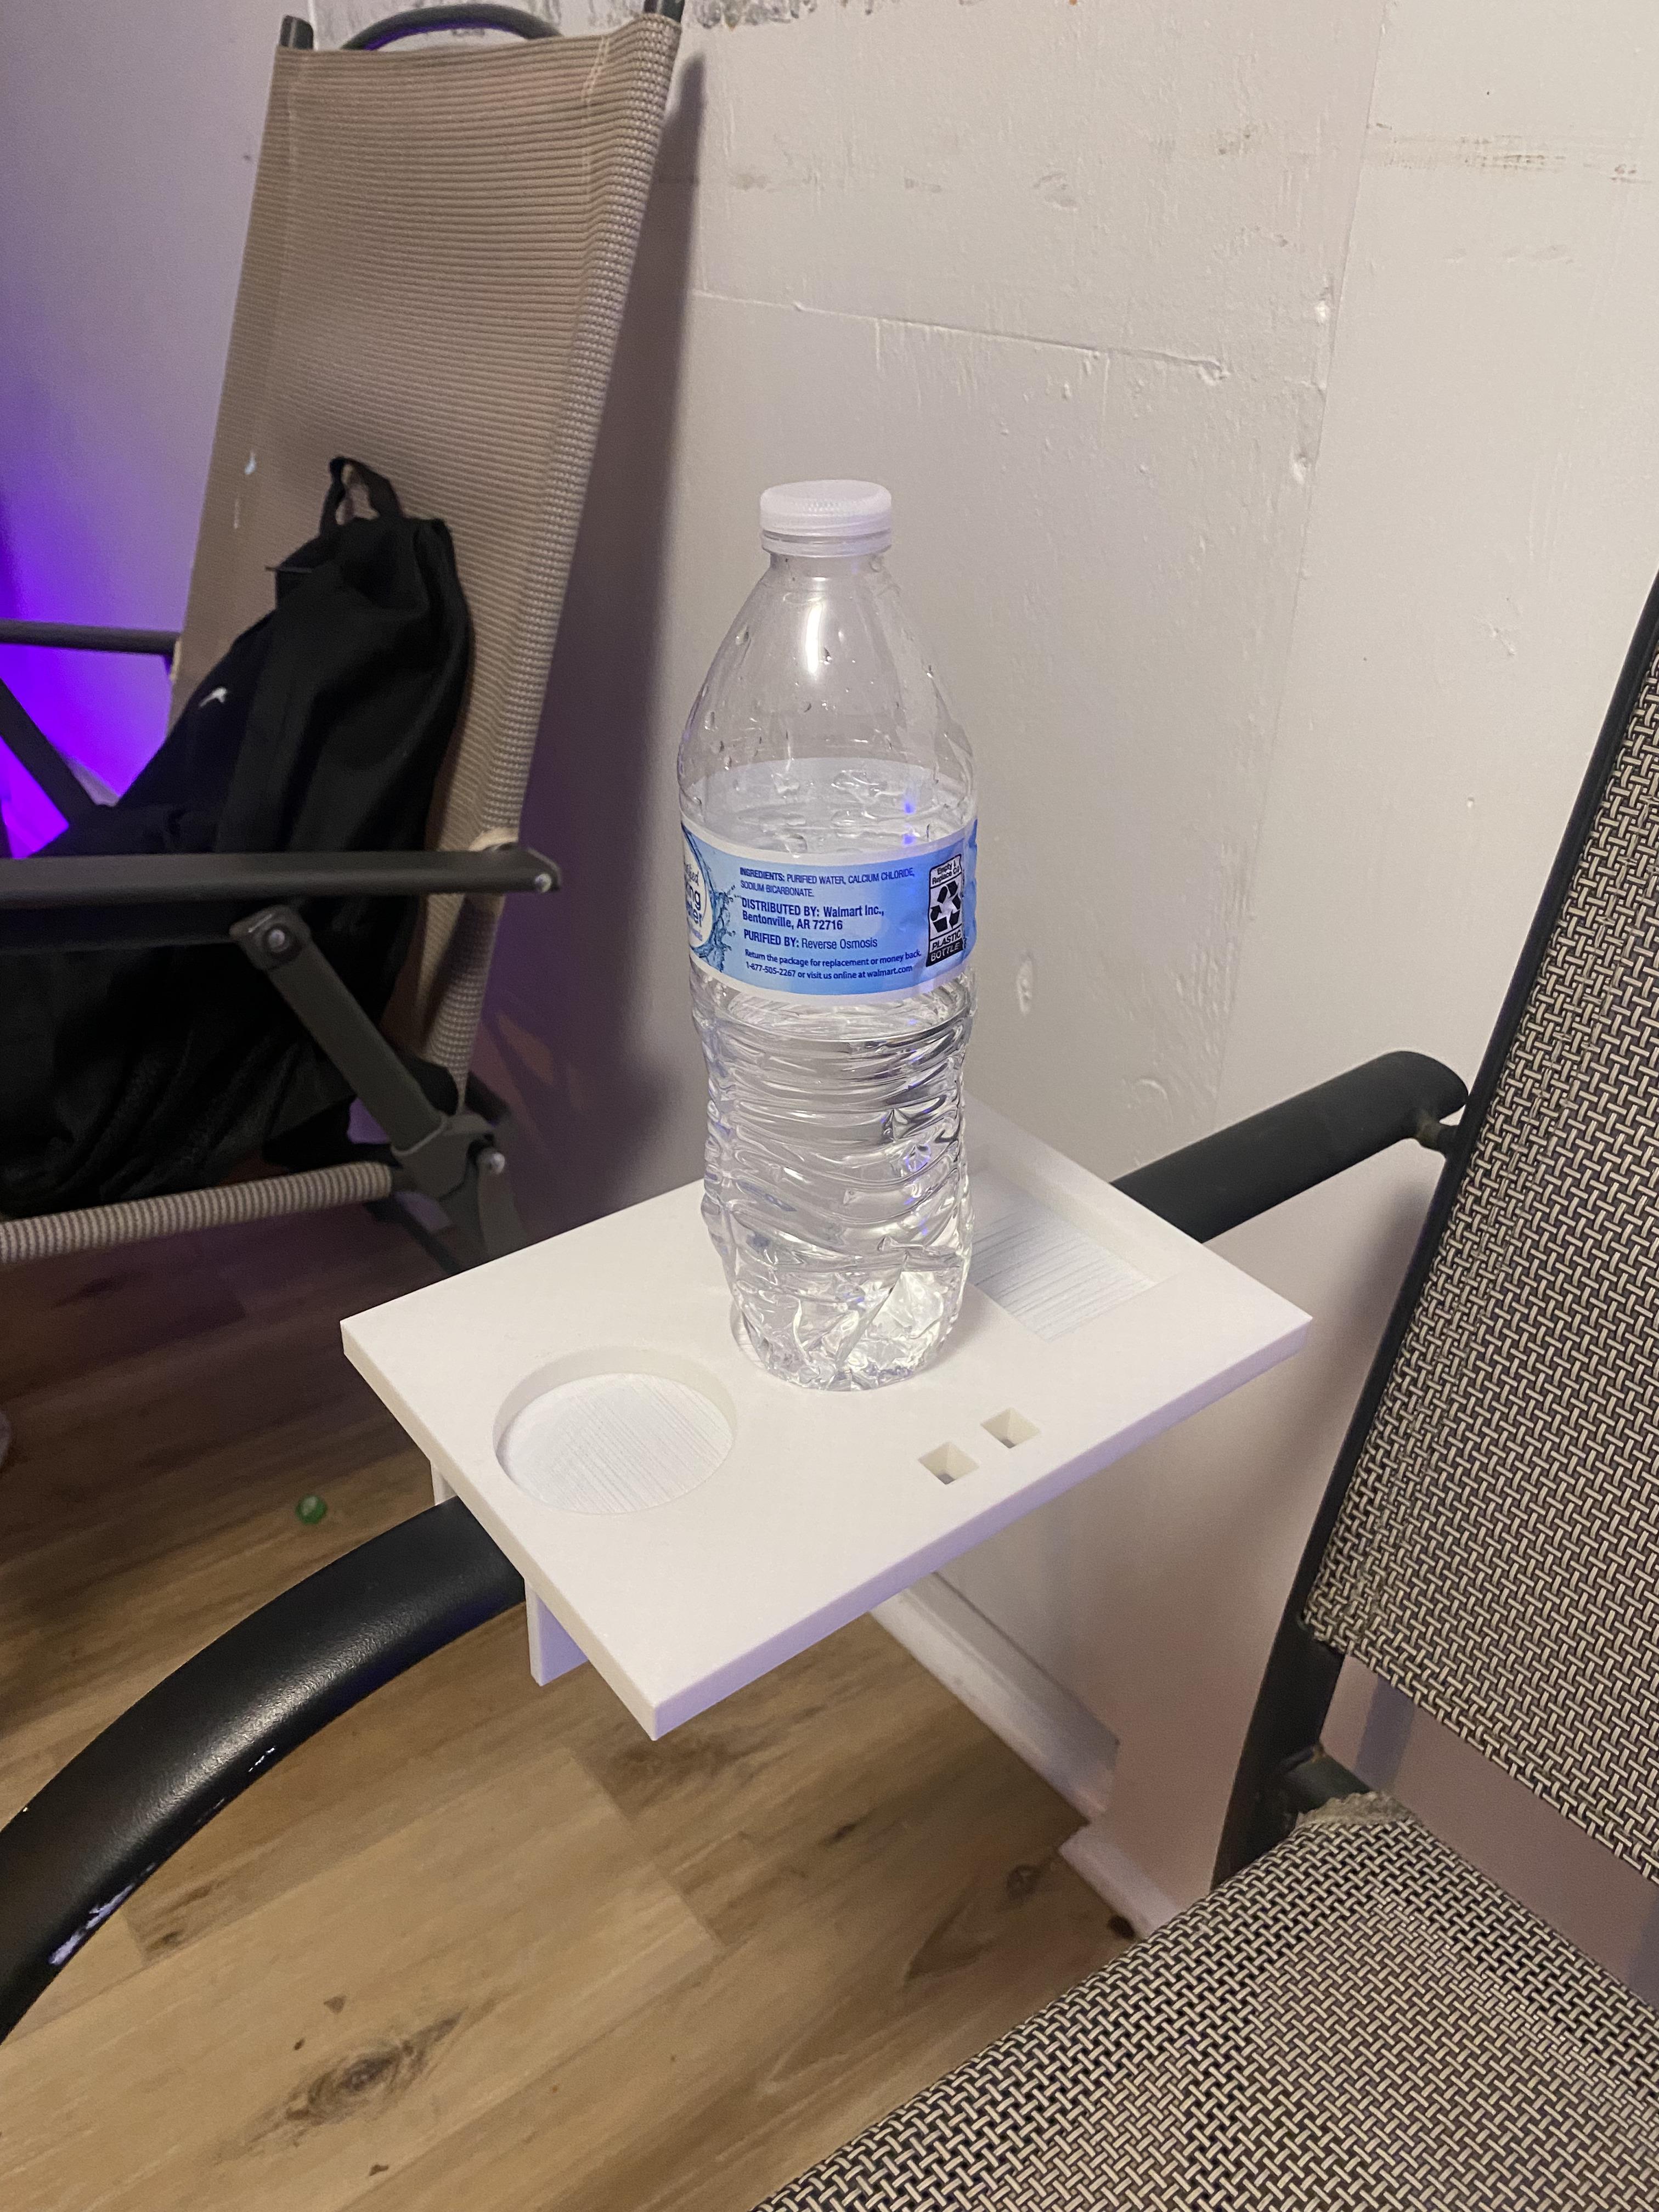
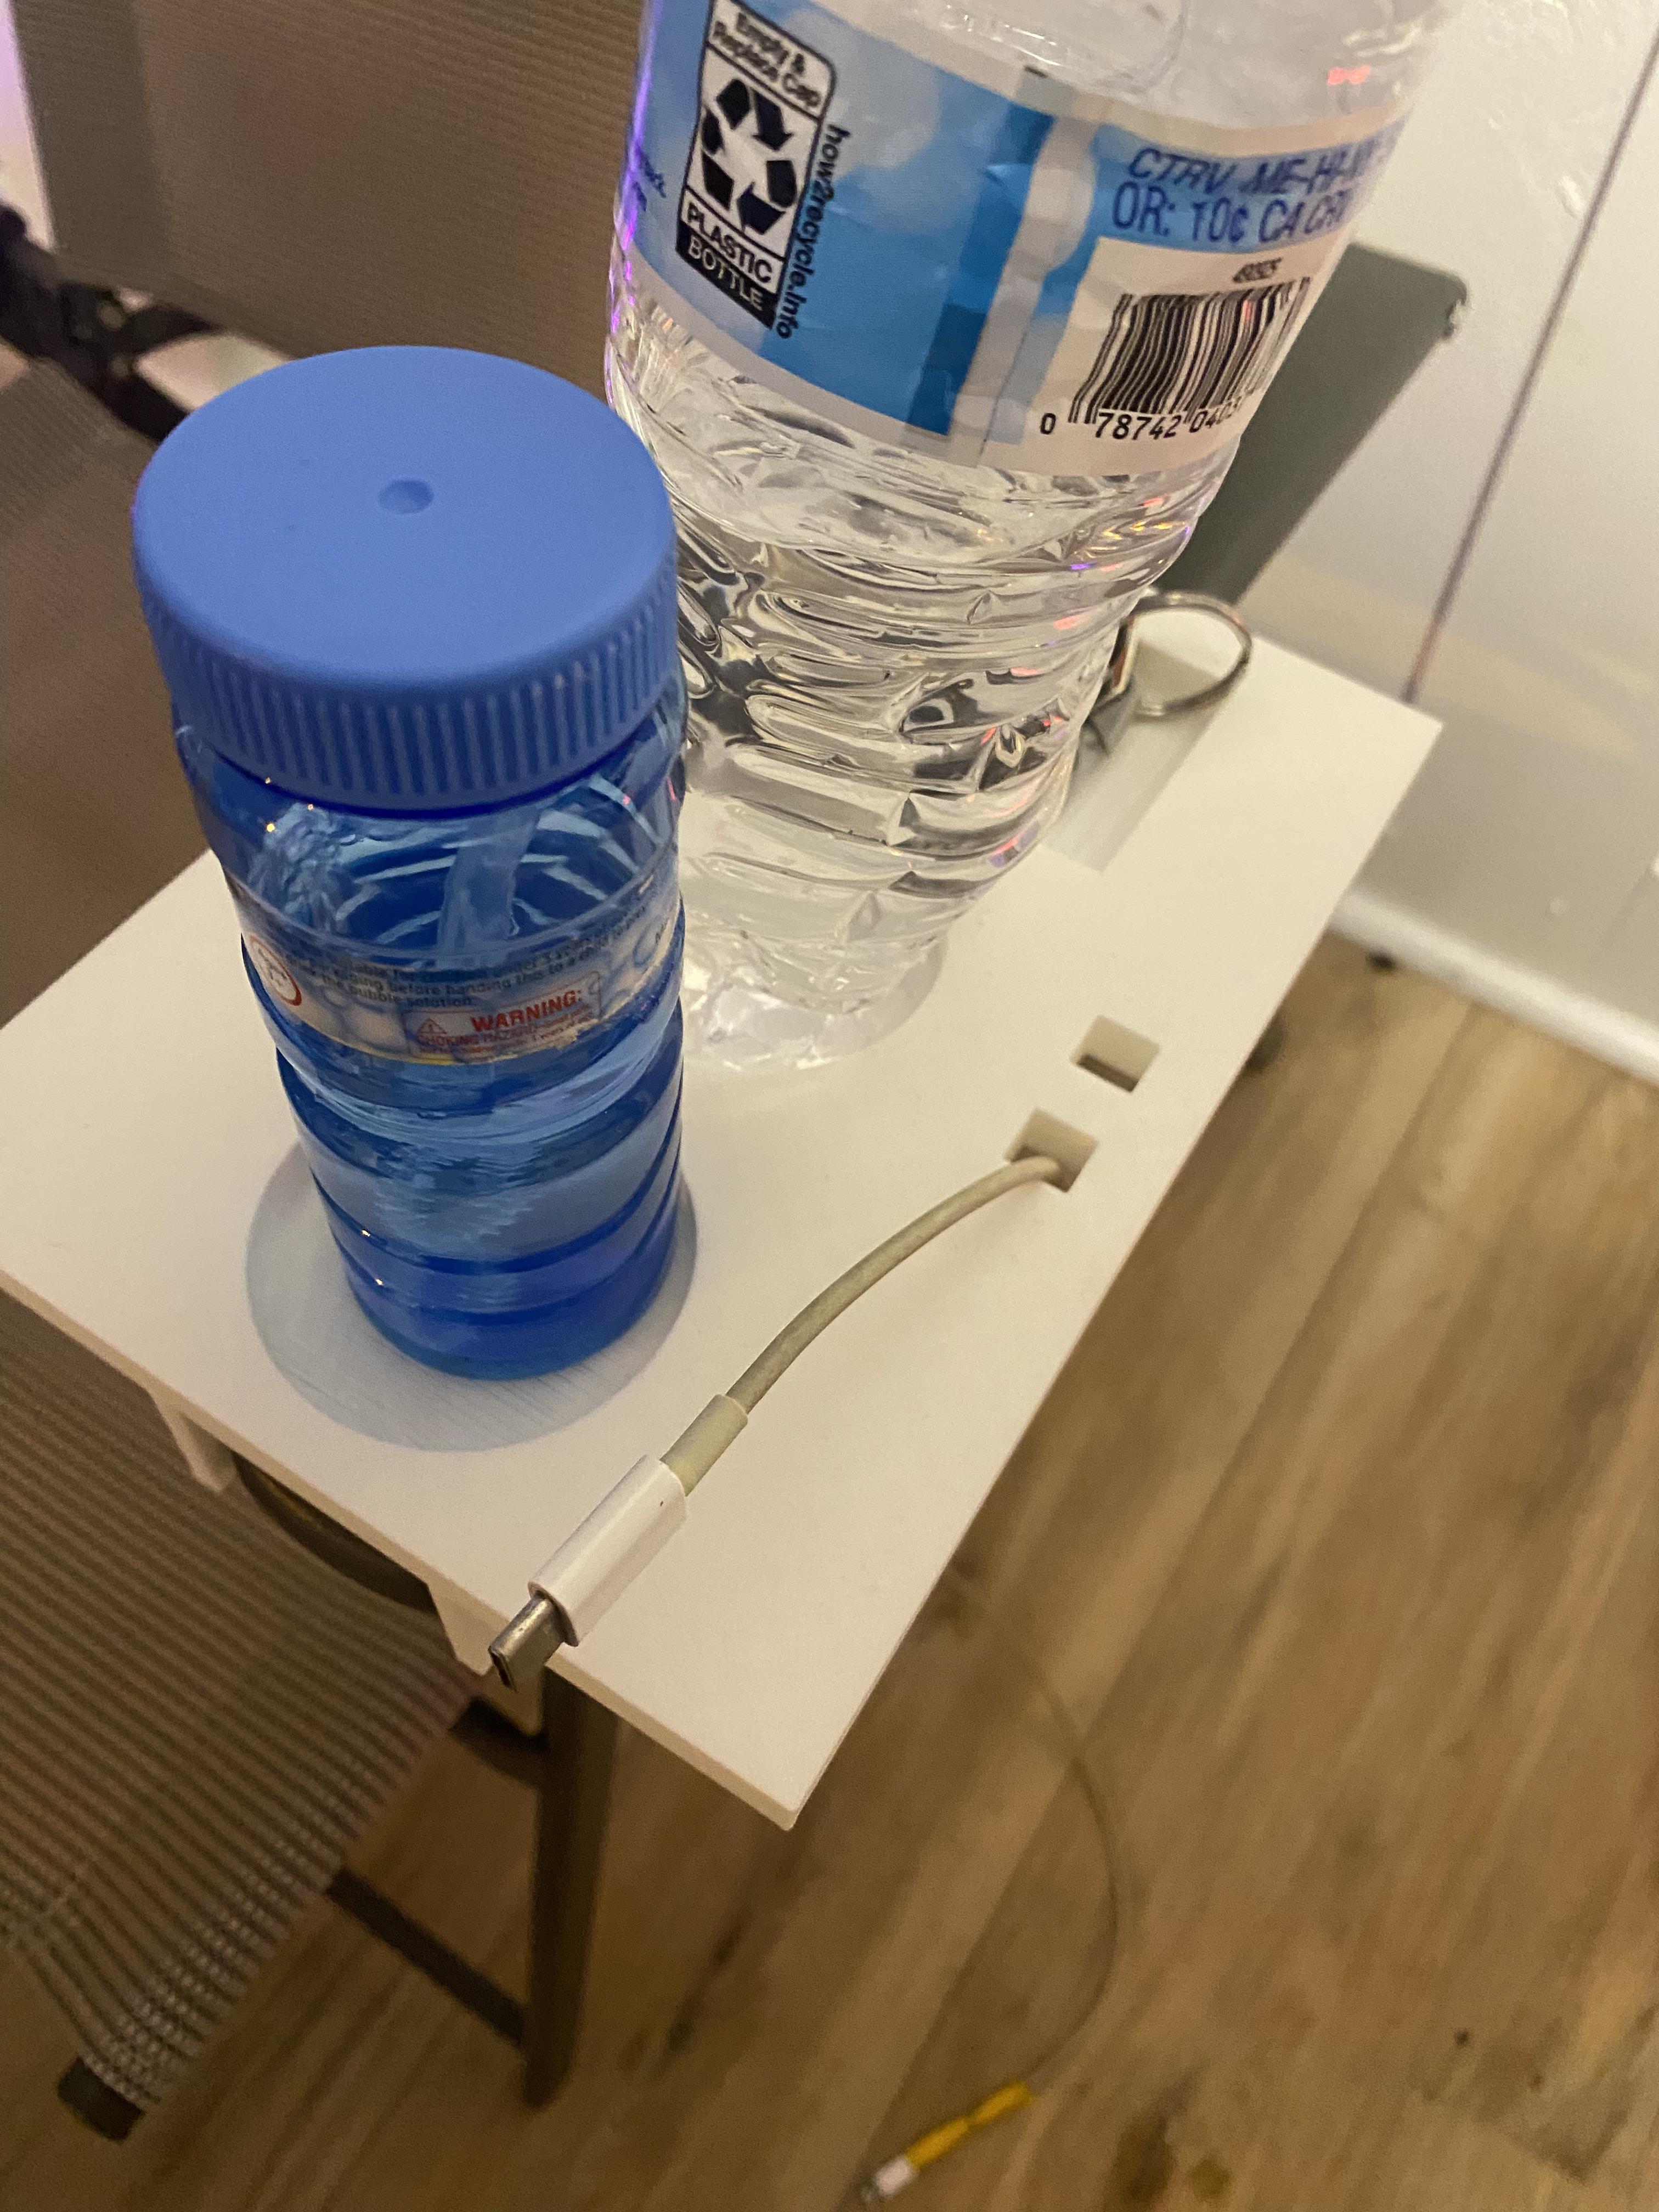
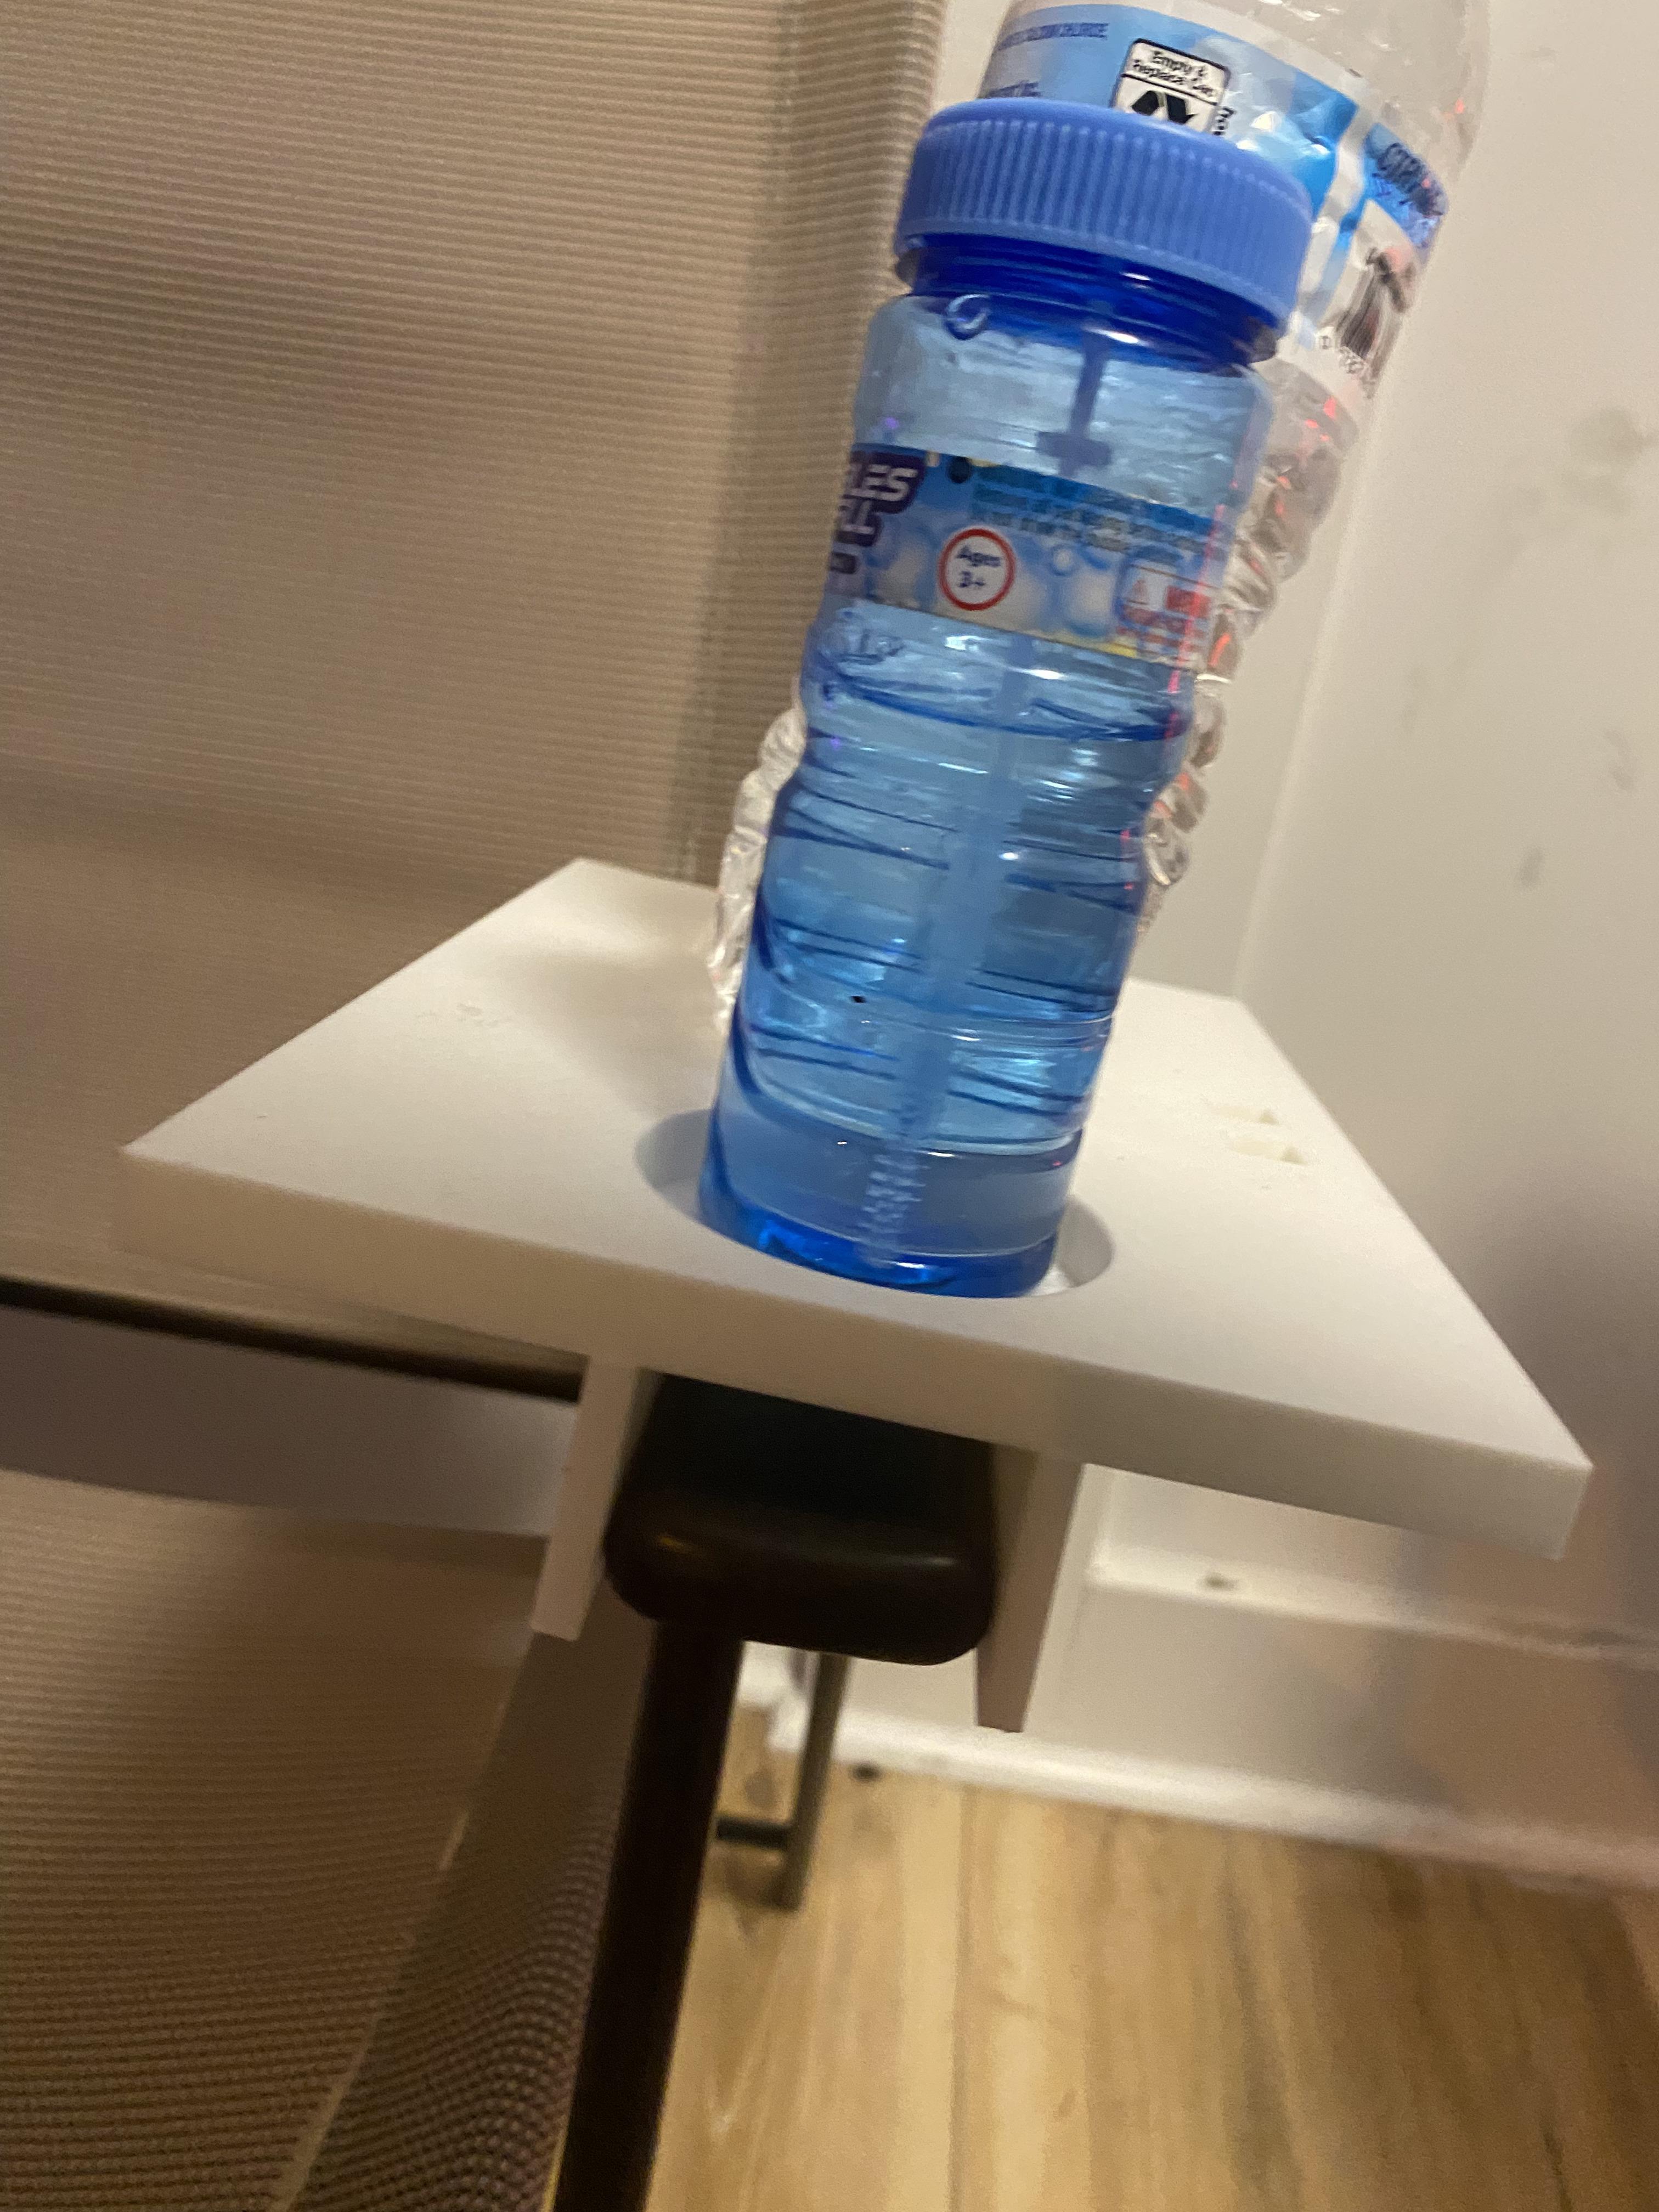
Creating this custom armchair caddy was both a practical and educational experience. Here's what I learned:
- Design Precision: Accurate measurements are crucial for a perfect fit, emphasizing the importance of planning before designing.
- CAD Skills: Using Onshape improved my proficiency in 3D modeling, from basic sketches to complex extrusions.
- Functionality: Incorporating features like cup holders and cable pass-throughs tailored the caddy to my personal needs.
- 3D Printing Considerations: Adjusting the model's orientation for stability during printing highlighted the relationship between design and manufacturing.
- Problem-Solving: Overcoming challenges, such as ensuring the indentations didn't compromise the structural integrity, enhanced my critical thinking.
Overall, this project bridged the gap between digital design and tangible utility, resulting in a personalized accessory that enhances daily comfort.