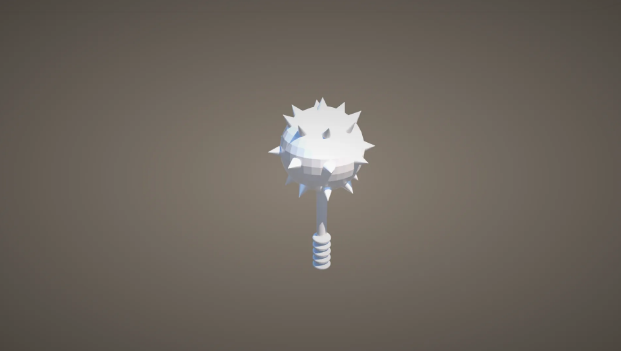
How to Design an Iron Mace Using 3D CAD Software
by Julie80 in Design > Digital Graphics
83 Views, 0 Favorites, 0 Comments
How to Design an Iron Mace Using 3D CAD Software

Learn How to Design an Iron Mace using 3D CAD Software with the help of this article
How to Design an Iron Mace using 3D CAD Software
Crafting intricate models of historical or fantasy-inspired objects is an exciting challenge. One such object is the iron mace, a weapon known for its robust design and prominent use in medieval times. In this article, we will explore how to design an iron mace using SelfCAD, a user-friendly and powerful 3D modeling software. By breaking down the process into manageable steps, we will demonstrate how to utilize SelfCAD's features to create a detailed and realistic mace, from its spiked head to the sturdy handle. Whether you're designing for a game, animation, or a 3D printing project, mastering the design of an iron mace will enhance your modeling skills and expand your creative potential.
To access the interactive tutorial to this article, check out https://www.selfcad.com/tutorials/37664o106f30505tk4y2ri2q4l5b5c20933f
Once you’ve launched the editor;
From the 3D Shapes category on the toolbar choose sphere; Set position y to 120
Click to finalize sphere
From the 3D Shapes category on the toolbar choose cone; Set radius to 30, height to 64, position y to 170
Click to finalize cone
From the utilities category on the toolbar choose mirror; Set create copy to true, Set direction to bottom
Click to finalize mirror
Click on mesh 8(1) to select
Click stitch & scoop on the toolbar; From the tool panel choose union
Click to finalize union
From the tools category on the toolbar choose copy offsets; Set operation to rotate, Set z to 45, Set amount of copies to 3
Click copy button to create copies
Click ‘x’ to close copy offsets panel
Click on union 1 to deselect it
From the tools category on the toolbar choose copy offsets; Set operation to rotate, Set y to 45, Set amount of copies to 3, Click copy button to create copies
Click ‘x’ to close copy offsets panel
From the edit menu on the top toolbar click select all
Click stitch & scoop on the toolbar; From the tool panel choose union
Click to finalize union
Click color picker button to change color of selected objected; Click silver button
Click ok
From the 3D Shapes category on the toolbar choose cylinder; Set top radius to 7, bottom radius to 6, height to 152
Click to finalize cylinder
Click color picker button to change color of selected objected; Click silver button
Click ok
From the 3D Shapes category on the toolbar choose sphere; Set radius to 12
Click to finalize sphere
Click scale on the toolbar; Set y to 12 using highlighted gizmo
Click ‘x’ to close transformation panel
Click color picker button to change color of selected objected; Click grey button
Click ok
From the tools category on the toolbar choose copy offsets
Set y to 10, Set amount of copies to 4, Click copy button to create copies
Click ‘x’ to close copy offsets panel
From the edit menu on the top toolbar click select all
Click stitch & scoop on the toolbar; From the tool panel choose union
Click to finalize union
As you continue honing your design skills, remember that SelfCAD offers a wealth of resources to support your learning journey. To deepen your understanding and explore more advanced features, consider checking out the interactive tutorials (https://www.selfcad.com/tutorials) available on the SelfCAD website. The tutorials page provides a treasure trove of guides, tips, and tricks that cater to designers of all levels.
More structured learning experience can also be accessed at the SelfCAD Academy (https://www.selfcad.com/academy/curriculum/), https://www.youtube.com/@3dmodeling101, and 3D Modeling 101 series (https://www.youtube.com/playlist?list=PL74nFNT8yS9DcE1UlUUdiR1wFGv9DDfTB). This comprehensive resource offers in-depth courses taught by industry experts, allowing you to master the intricacies of SelfCAD at your own pace.