How to Design an Arcade Cabinet Using Autodesk Fusion360
by Takehere in Design > Digital Graphics
493 Views, 1 Favorites, 0 Comments
How to Design an Arcade Cabinet Using Autodesk Fusion360
Hello there !
This project is part of the Arcade student design challenge, hope you like it !
Supplies
All you need is a Fusion360 account and optionally a 3D printer if you want to build the arcade in real life
Find Inspiration
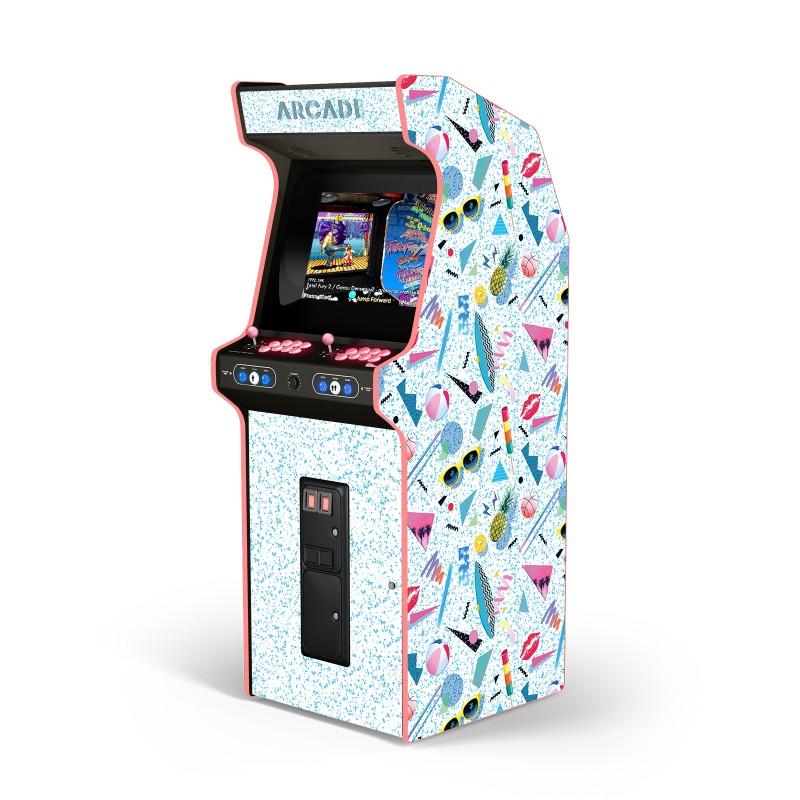

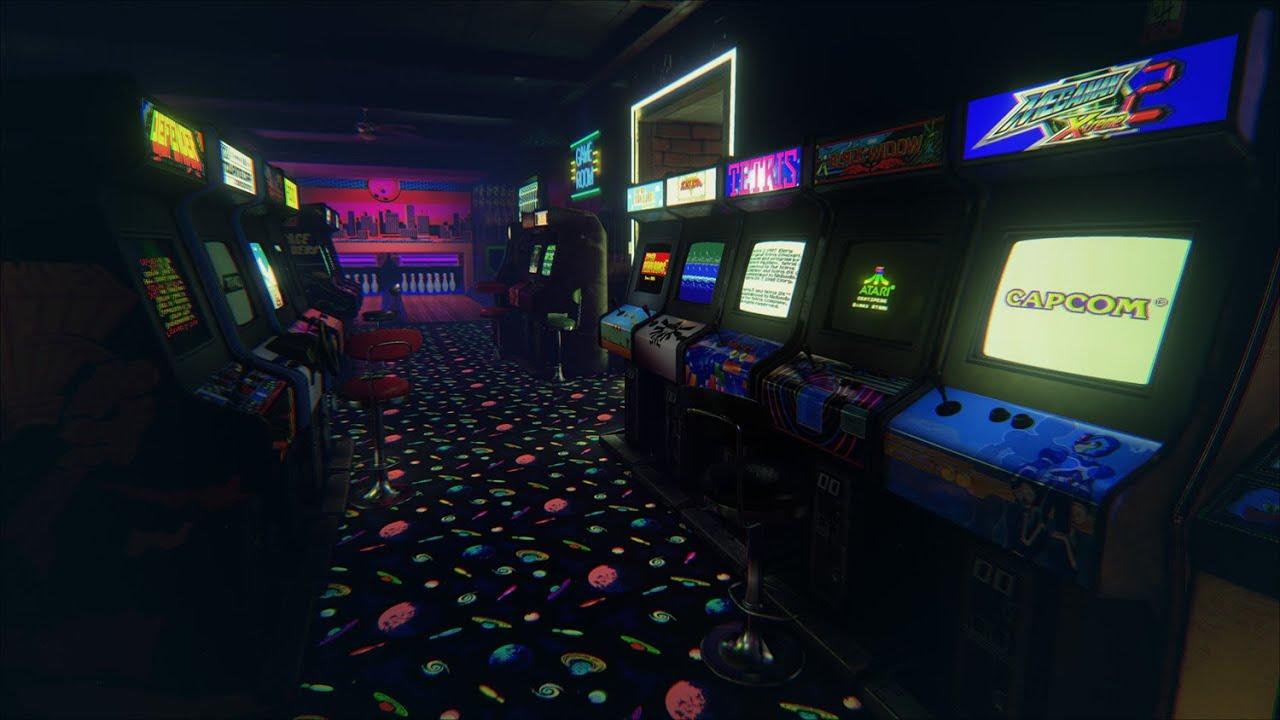

First, we need some inspiration. I searched for Arcade Cabinet on google and downloaded the images that inspired me. In this project, i'll come up with a vaporwave/80's arcade style.
Create a Rough Sketch With the Dimensions
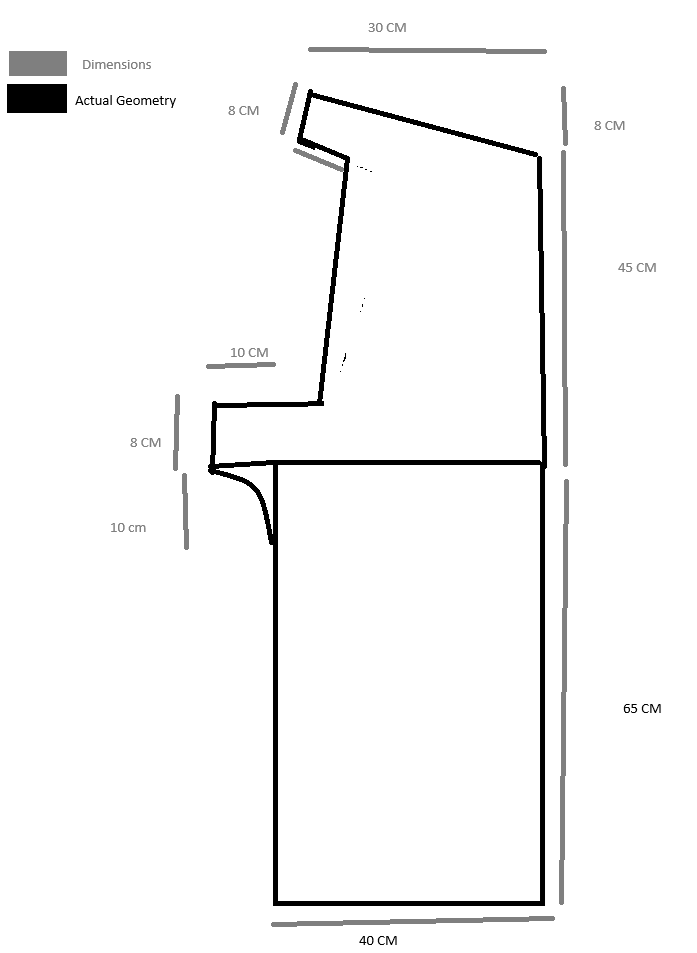
I've made a simple sketch if Microsoft Paint to follow when designing in Fusion360. I also added dimensions to follow that are based on real arcade cabinets.
Create the Main Body of the Cabinet
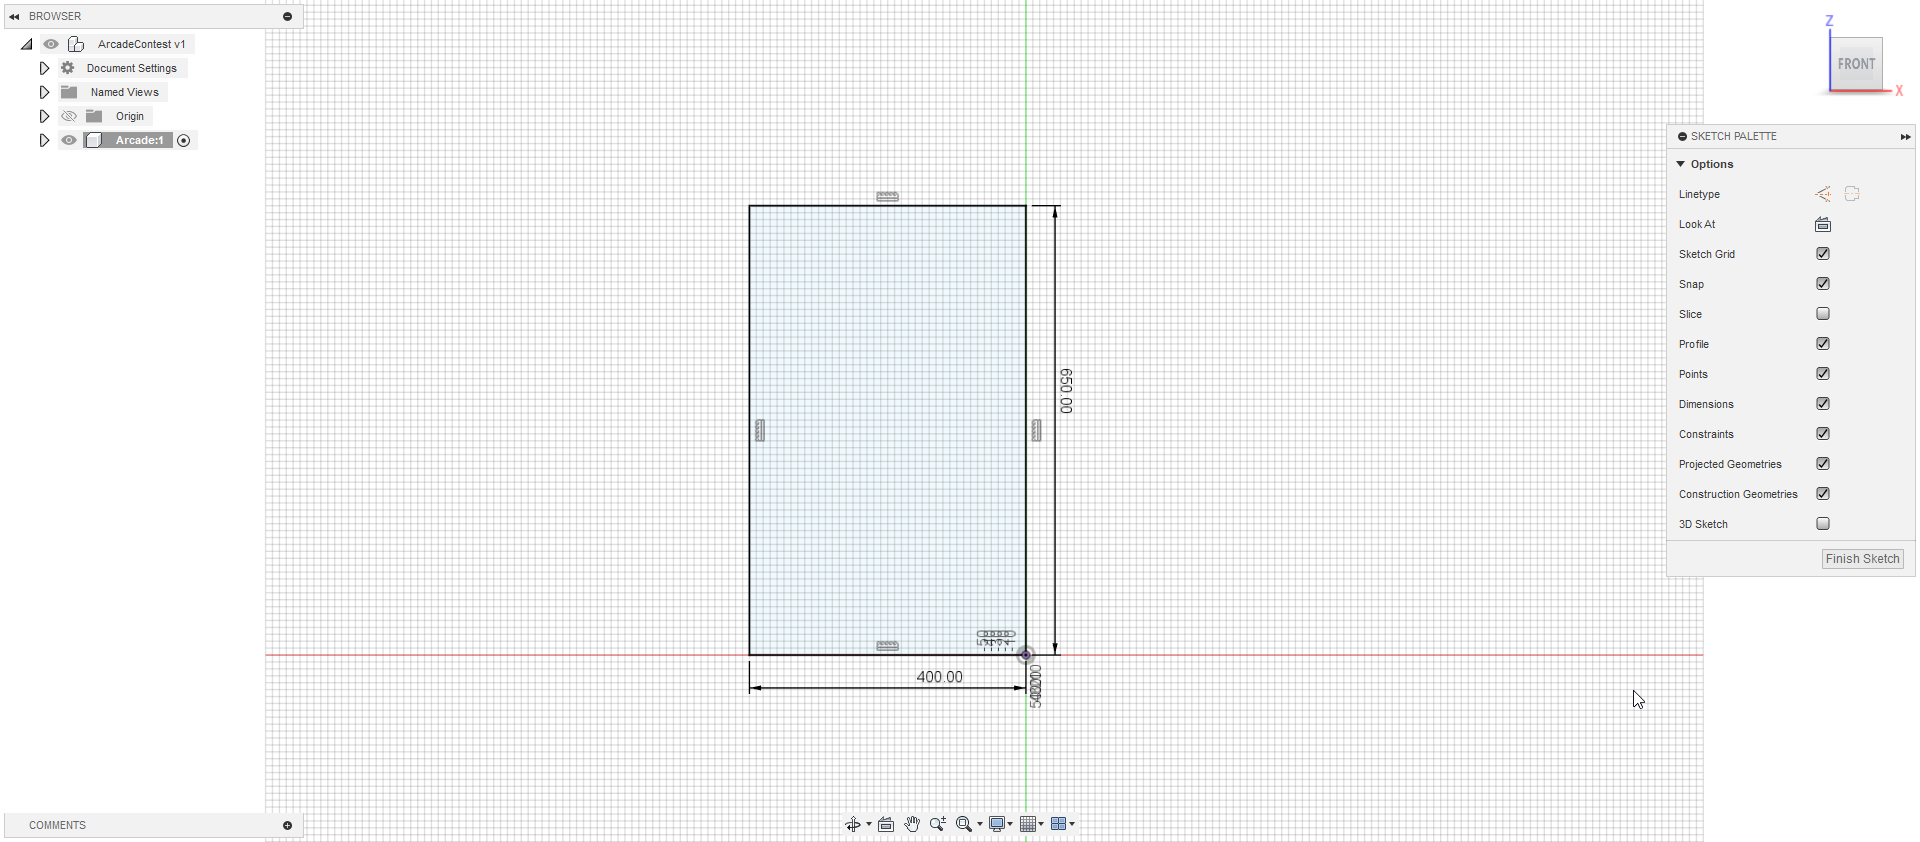
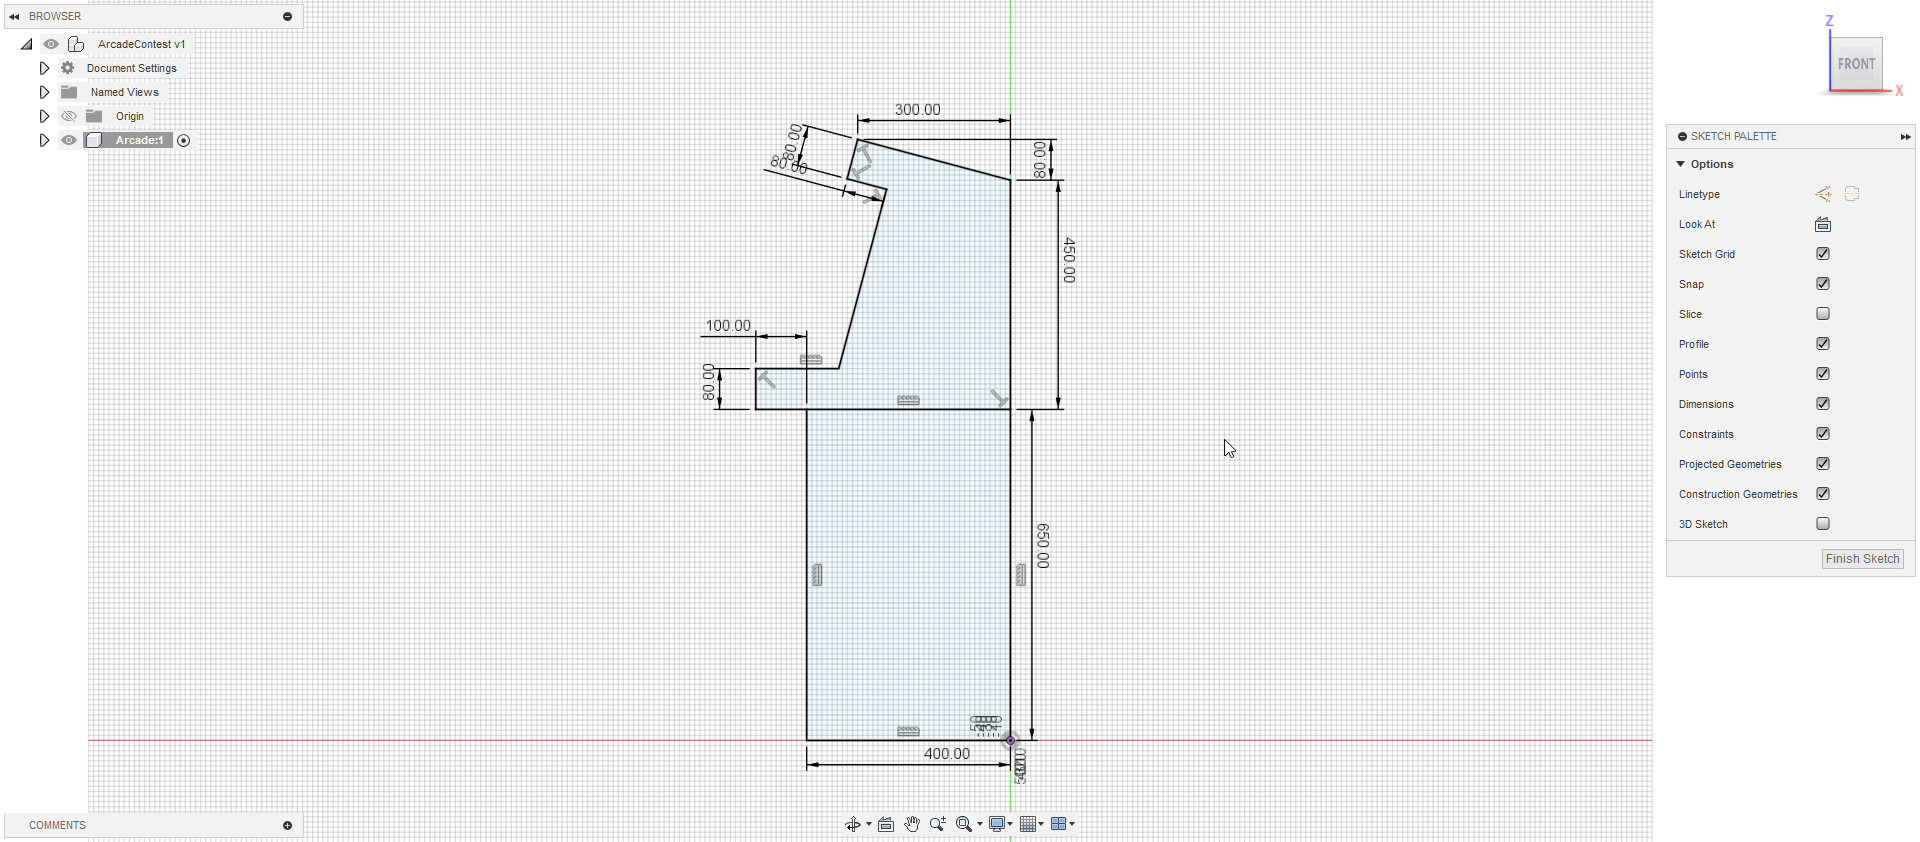
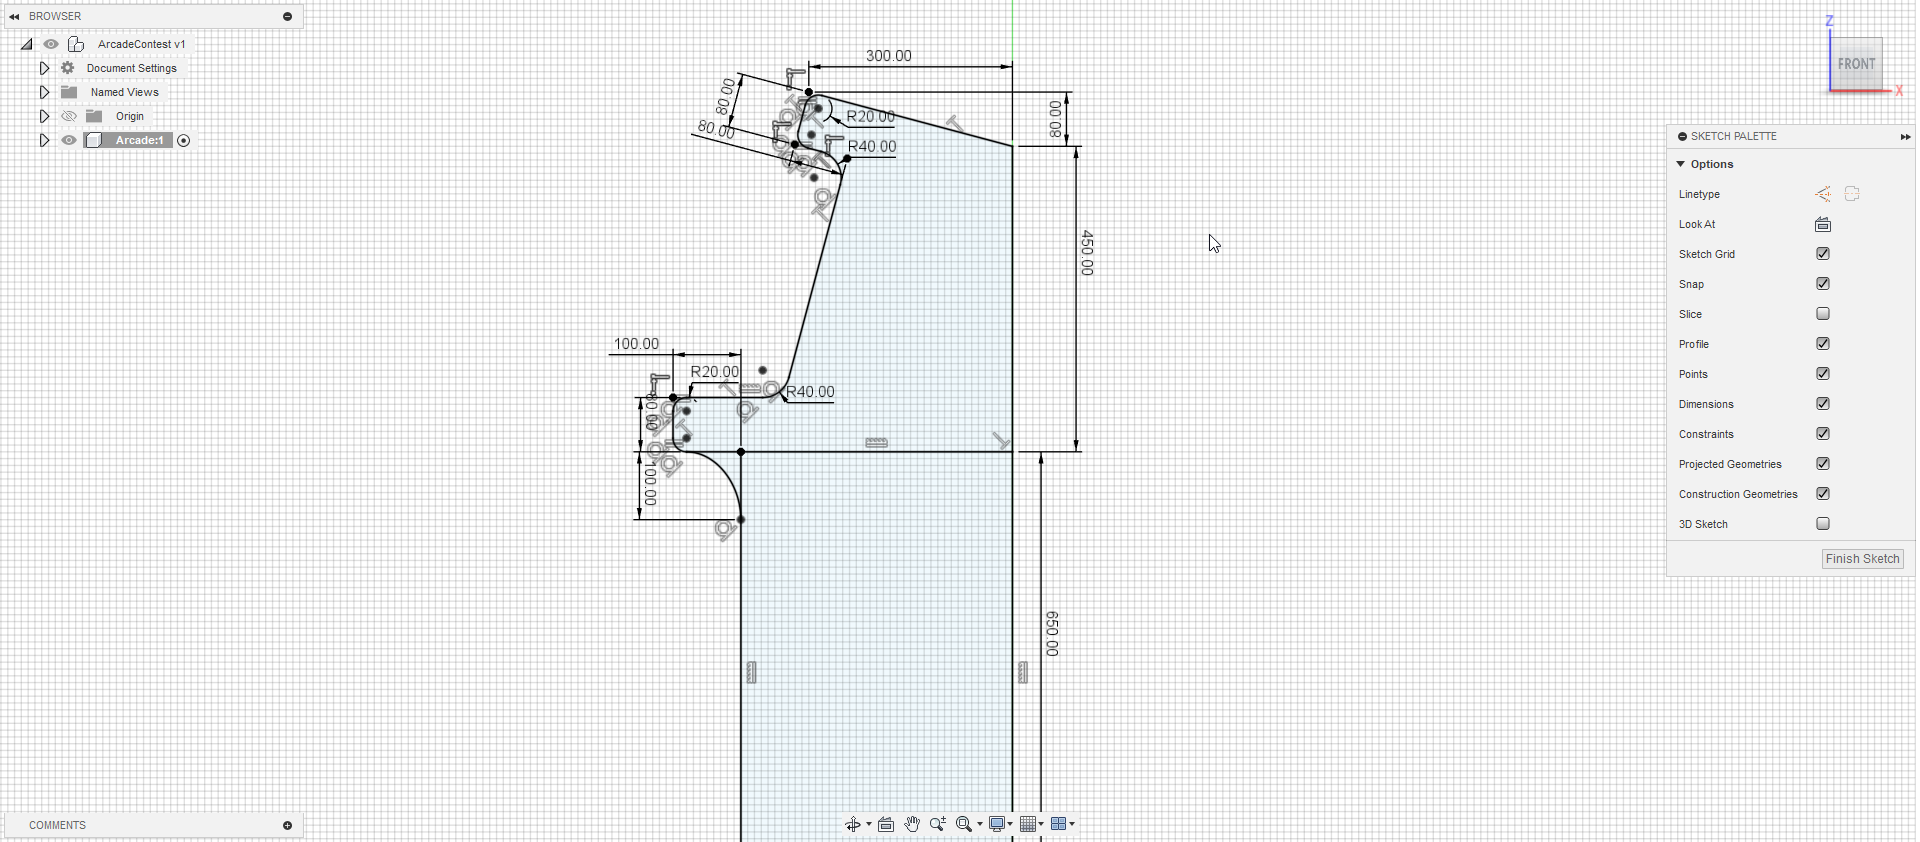
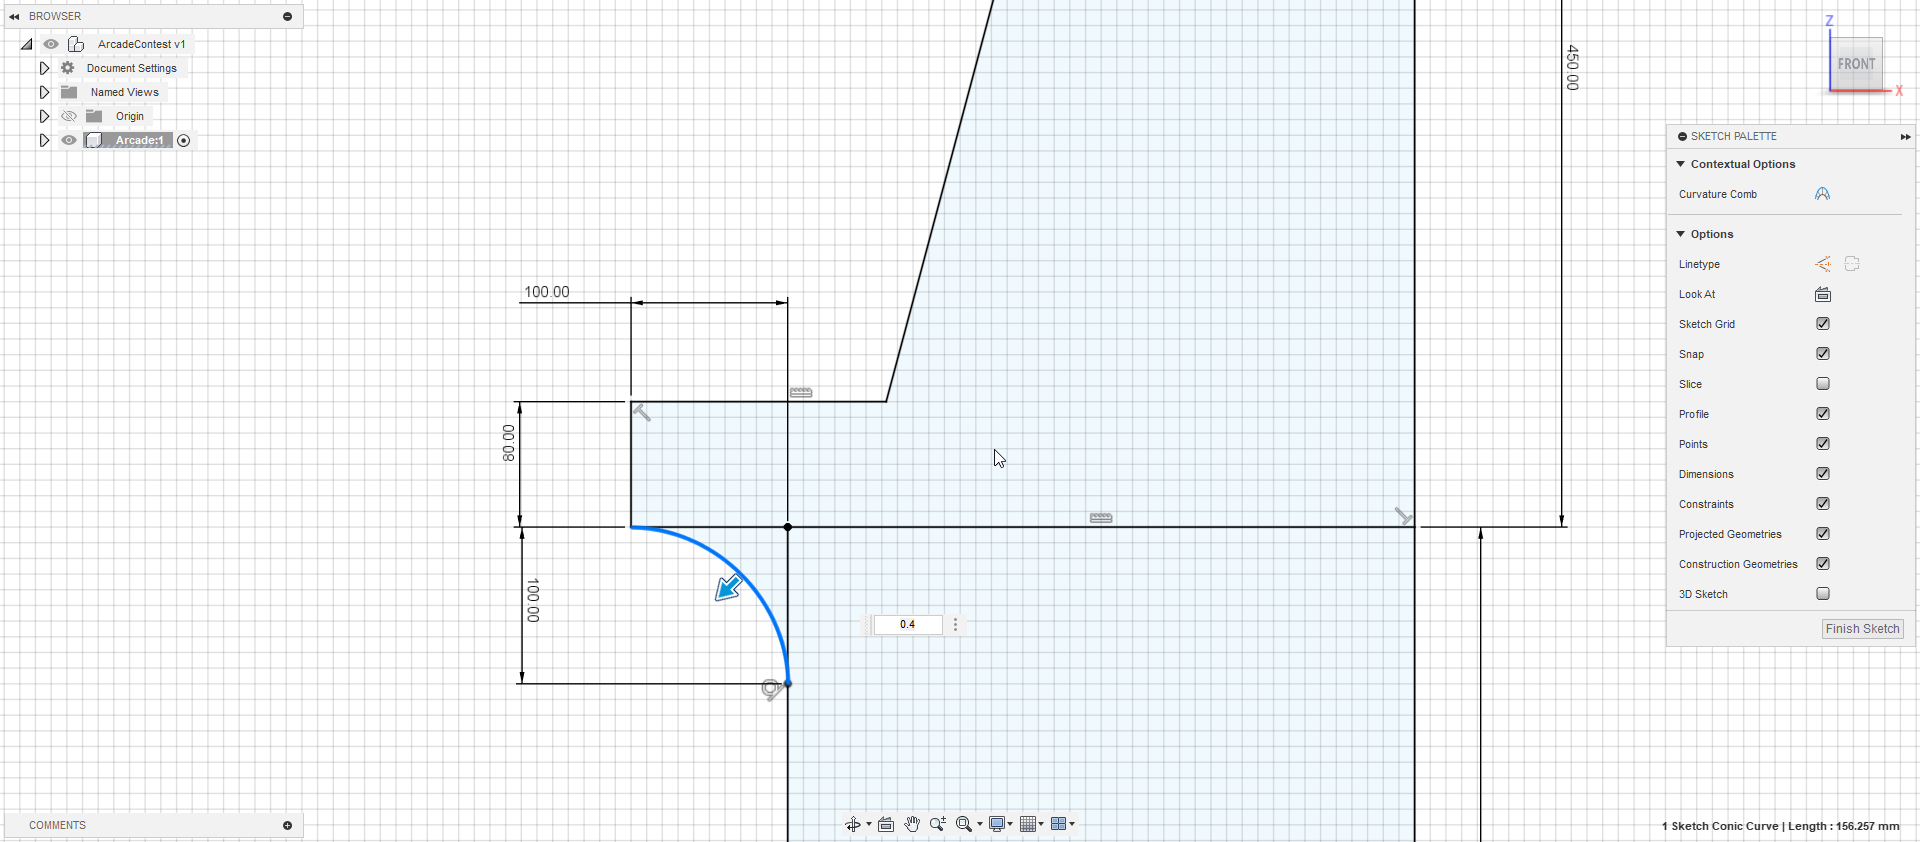

I start by creating the sketch of the cabinet. I create a first rectangle and i then place roughly the same lines from my rough sketch made in Microsoft Paint. I follow up by placing all the dimensions and adding some fillets to smooth the corners.
Finaly, i extrude the body of the cabinet
Create the Side Panels

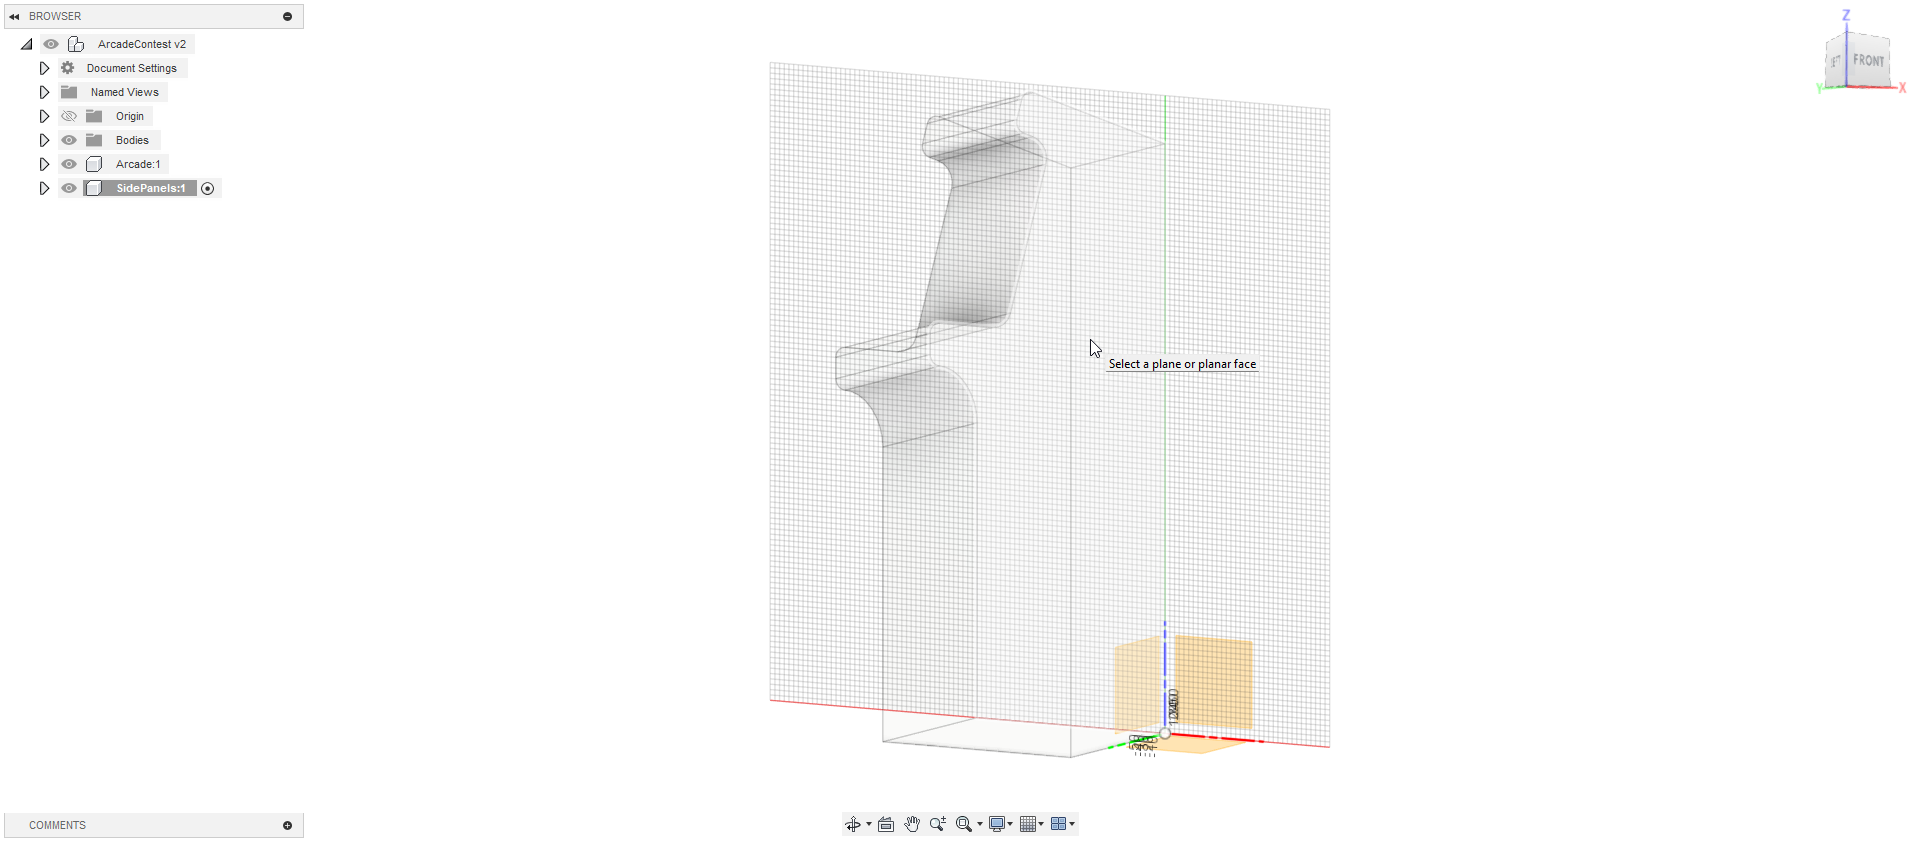
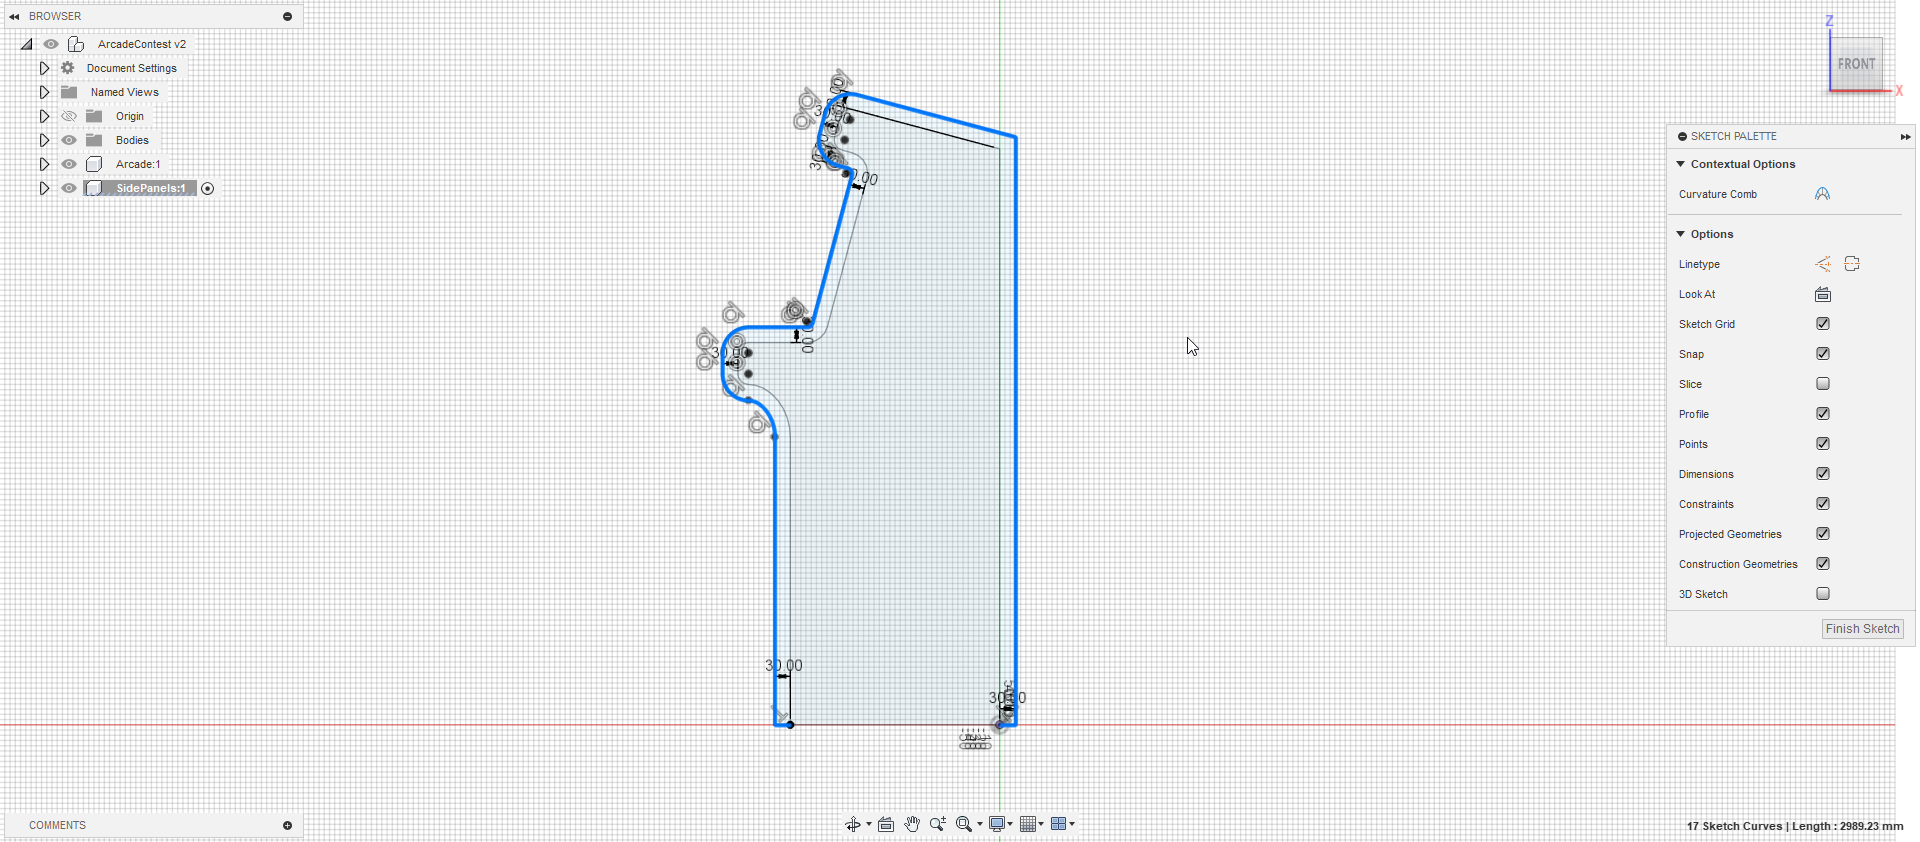
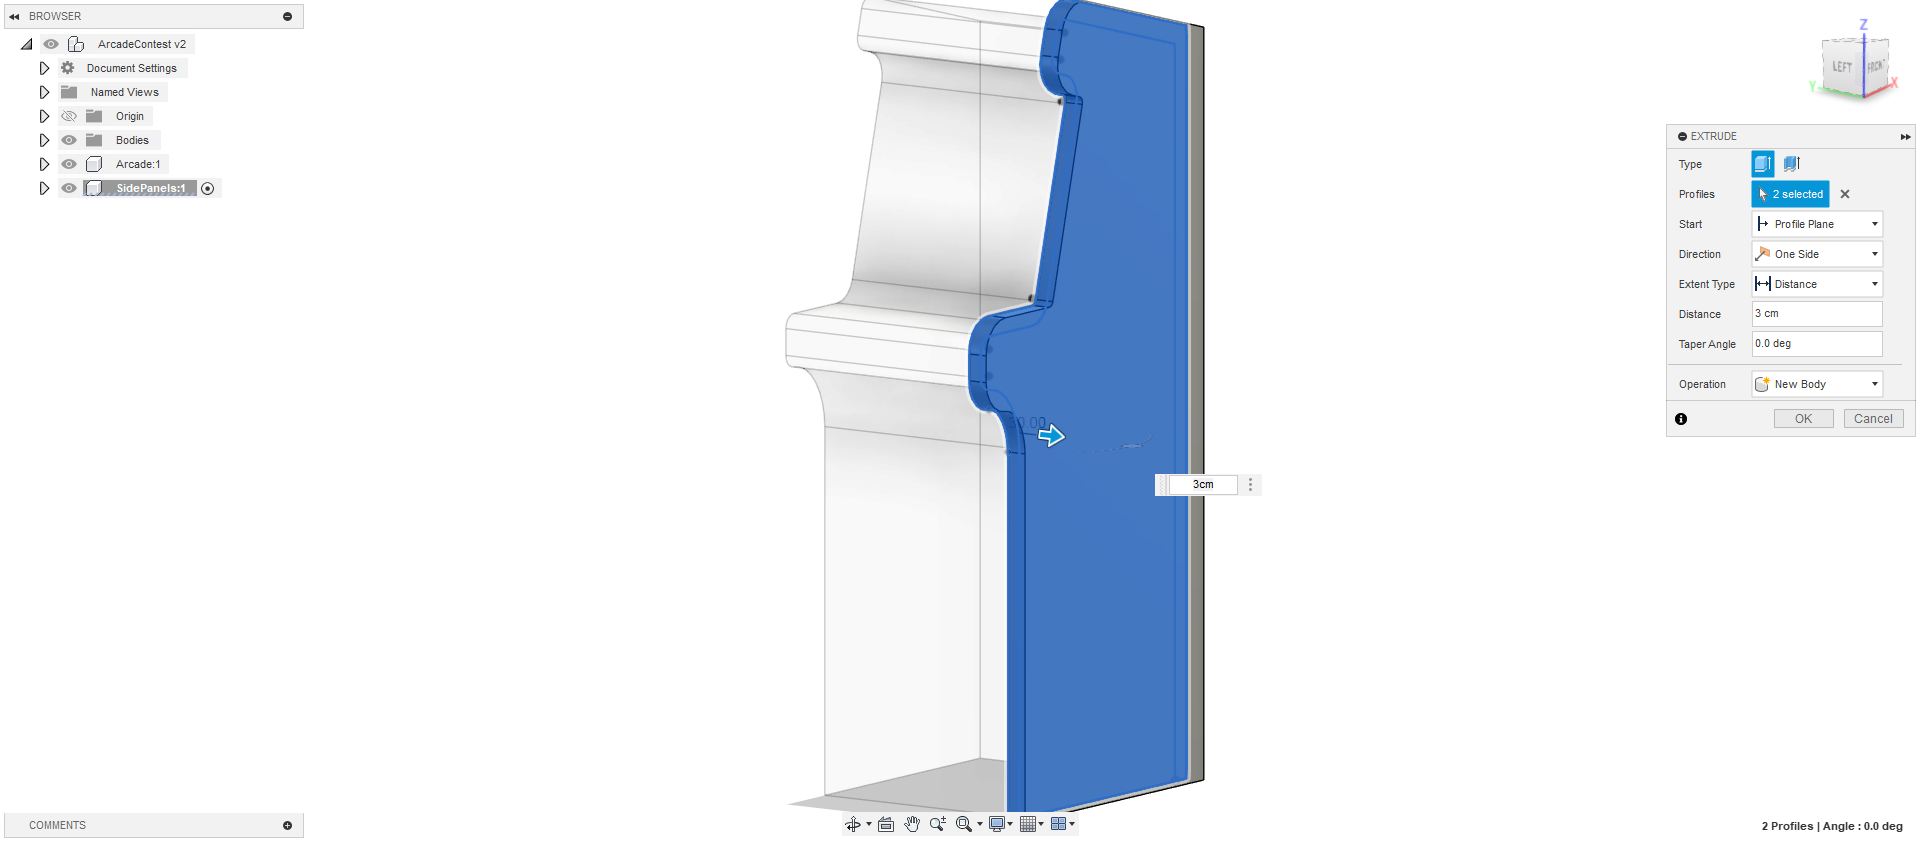
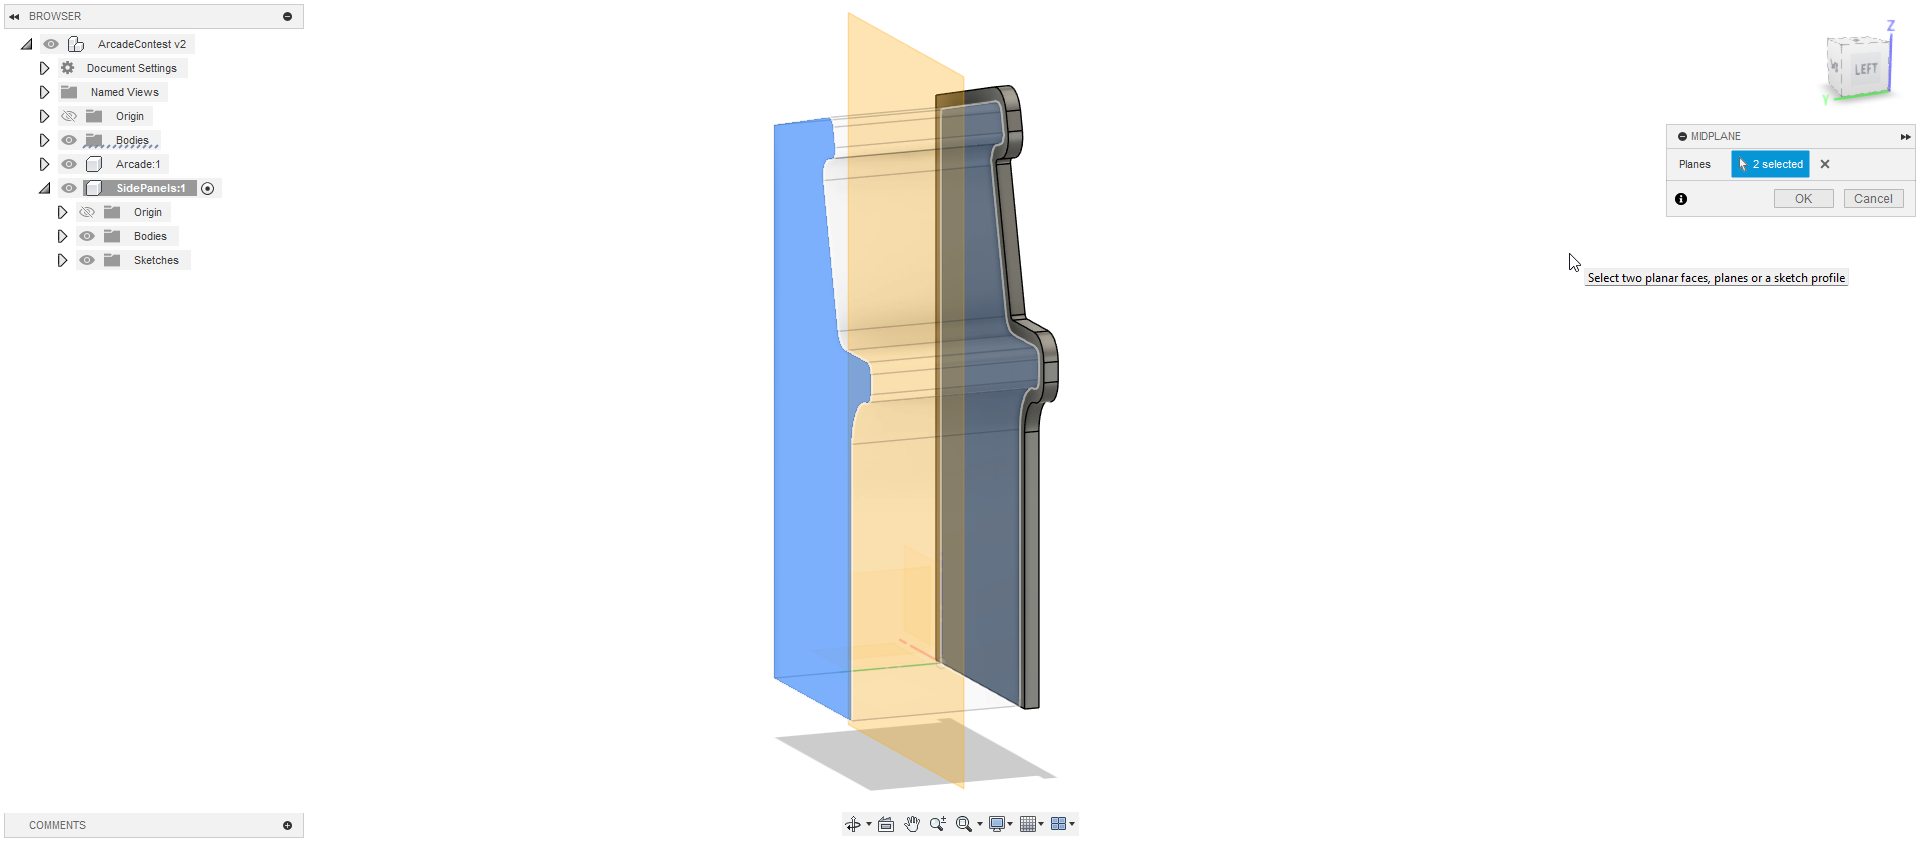
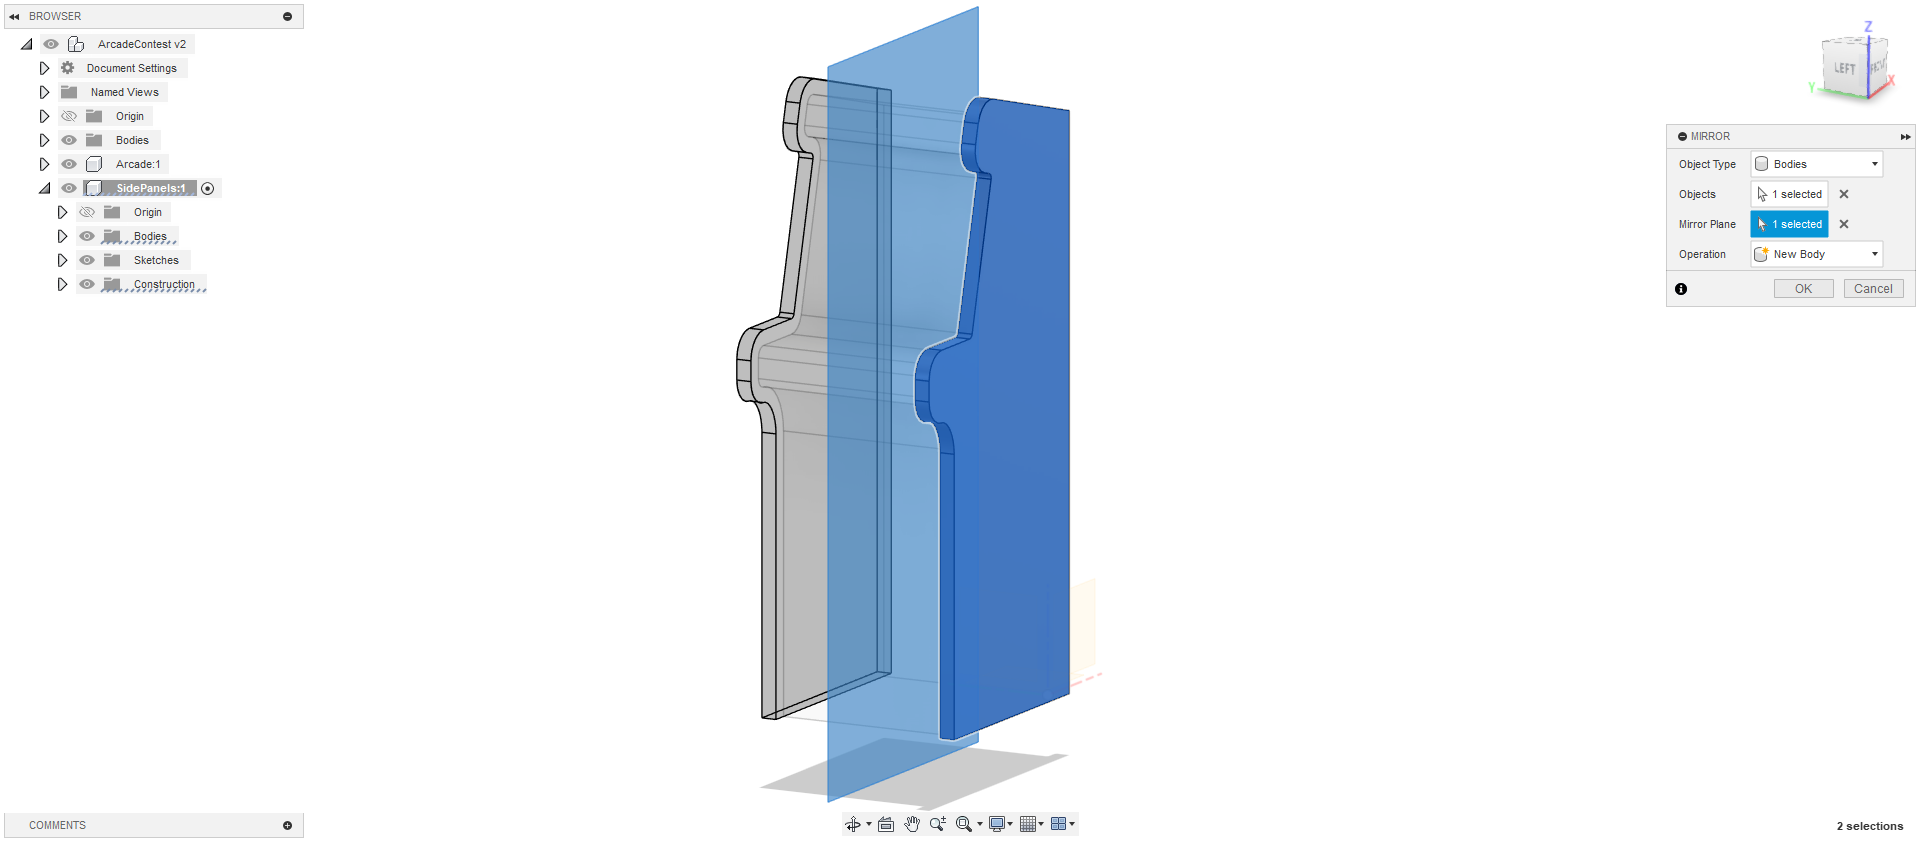
I start by creating a new component and placing a sketch on the surface of the cabinet body. I then project the side of the cabinet and, using the offset tool offered by Fusion360, offset by 3 centimeters around the body. We then proceed to extrude the panel. In order to mirror the panel to the other side, i first create a center plane and then mirror it.
Create the Screen
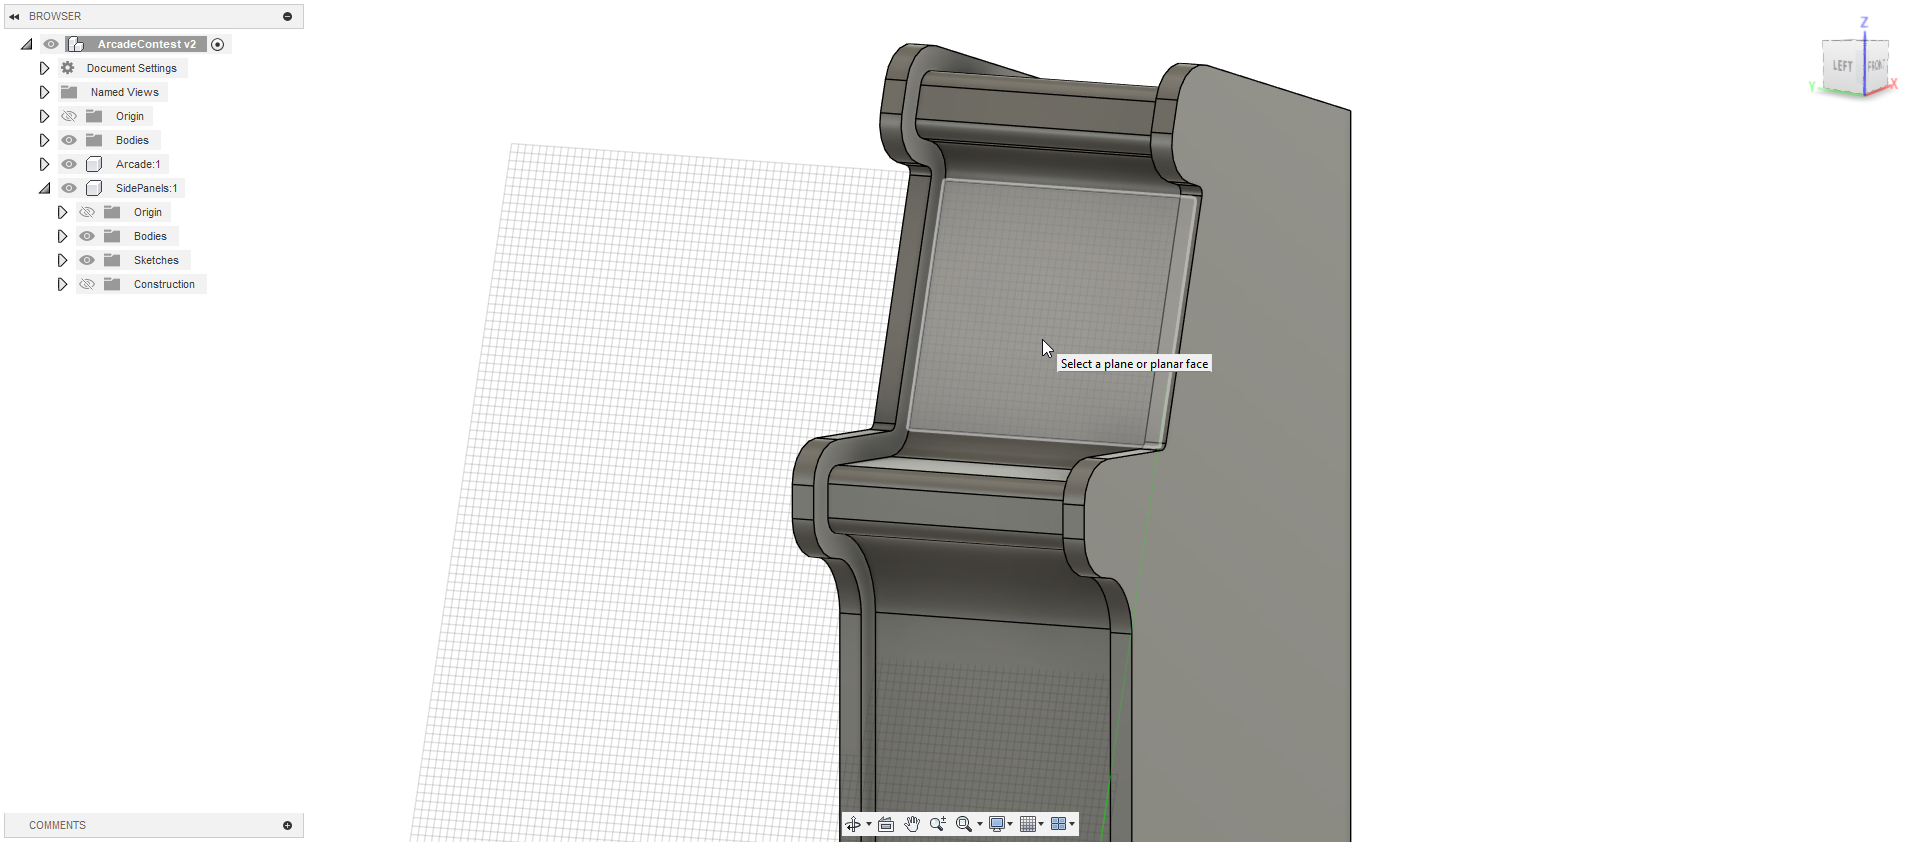
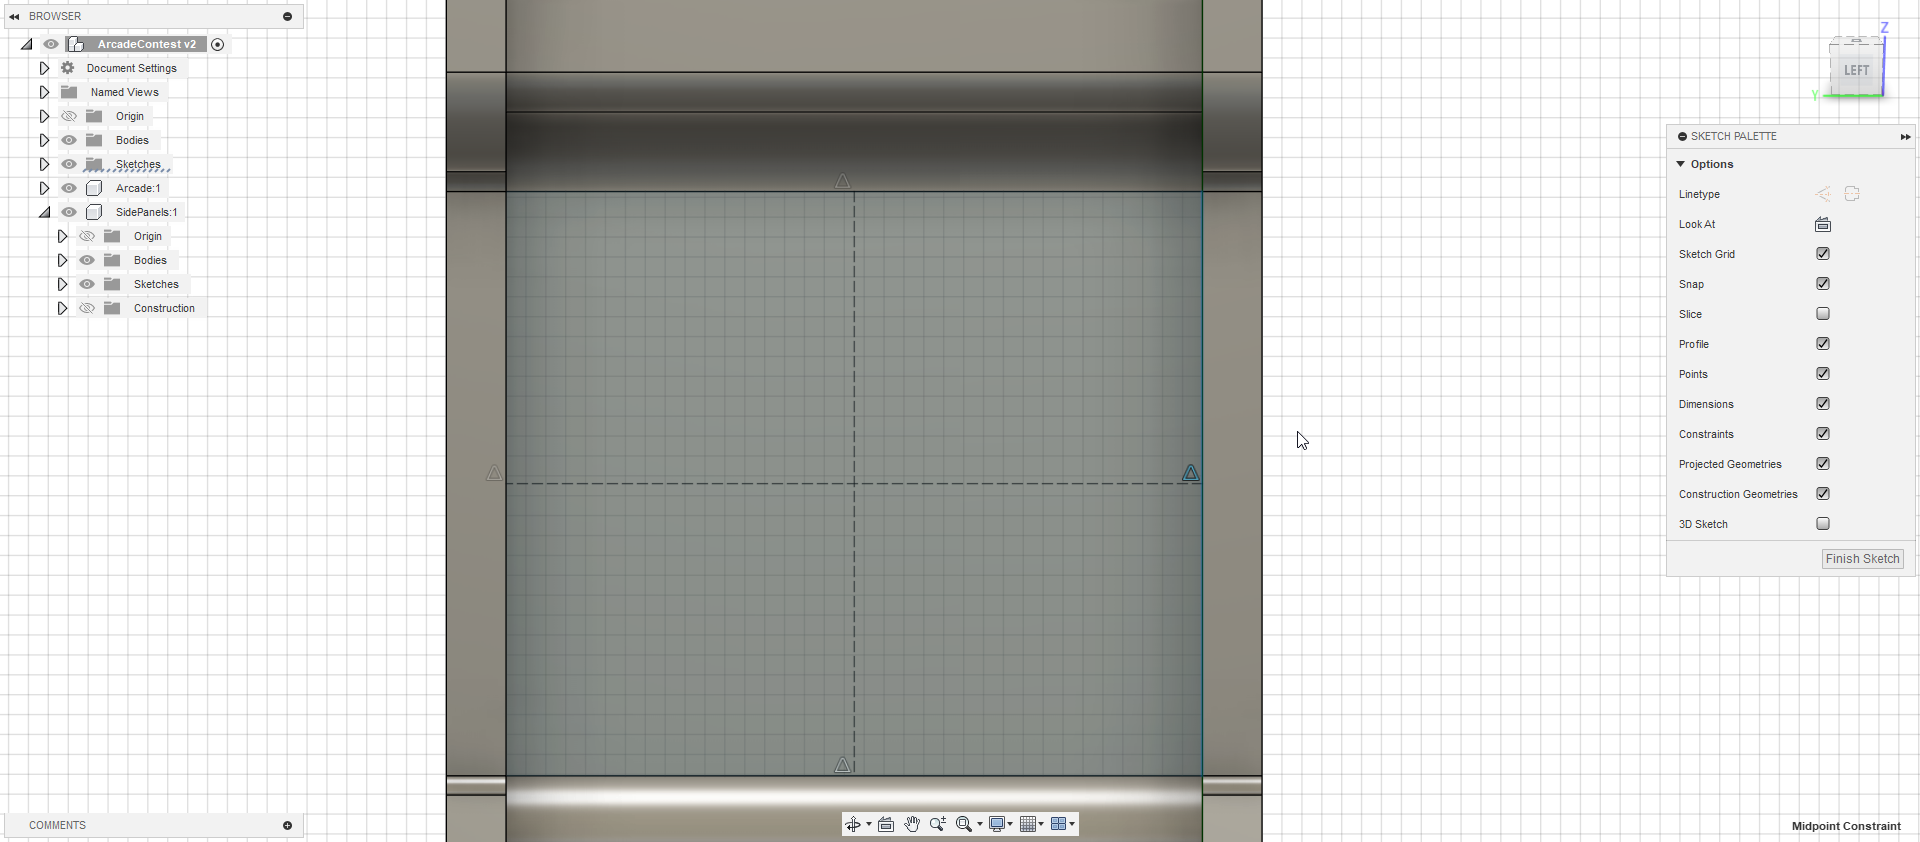
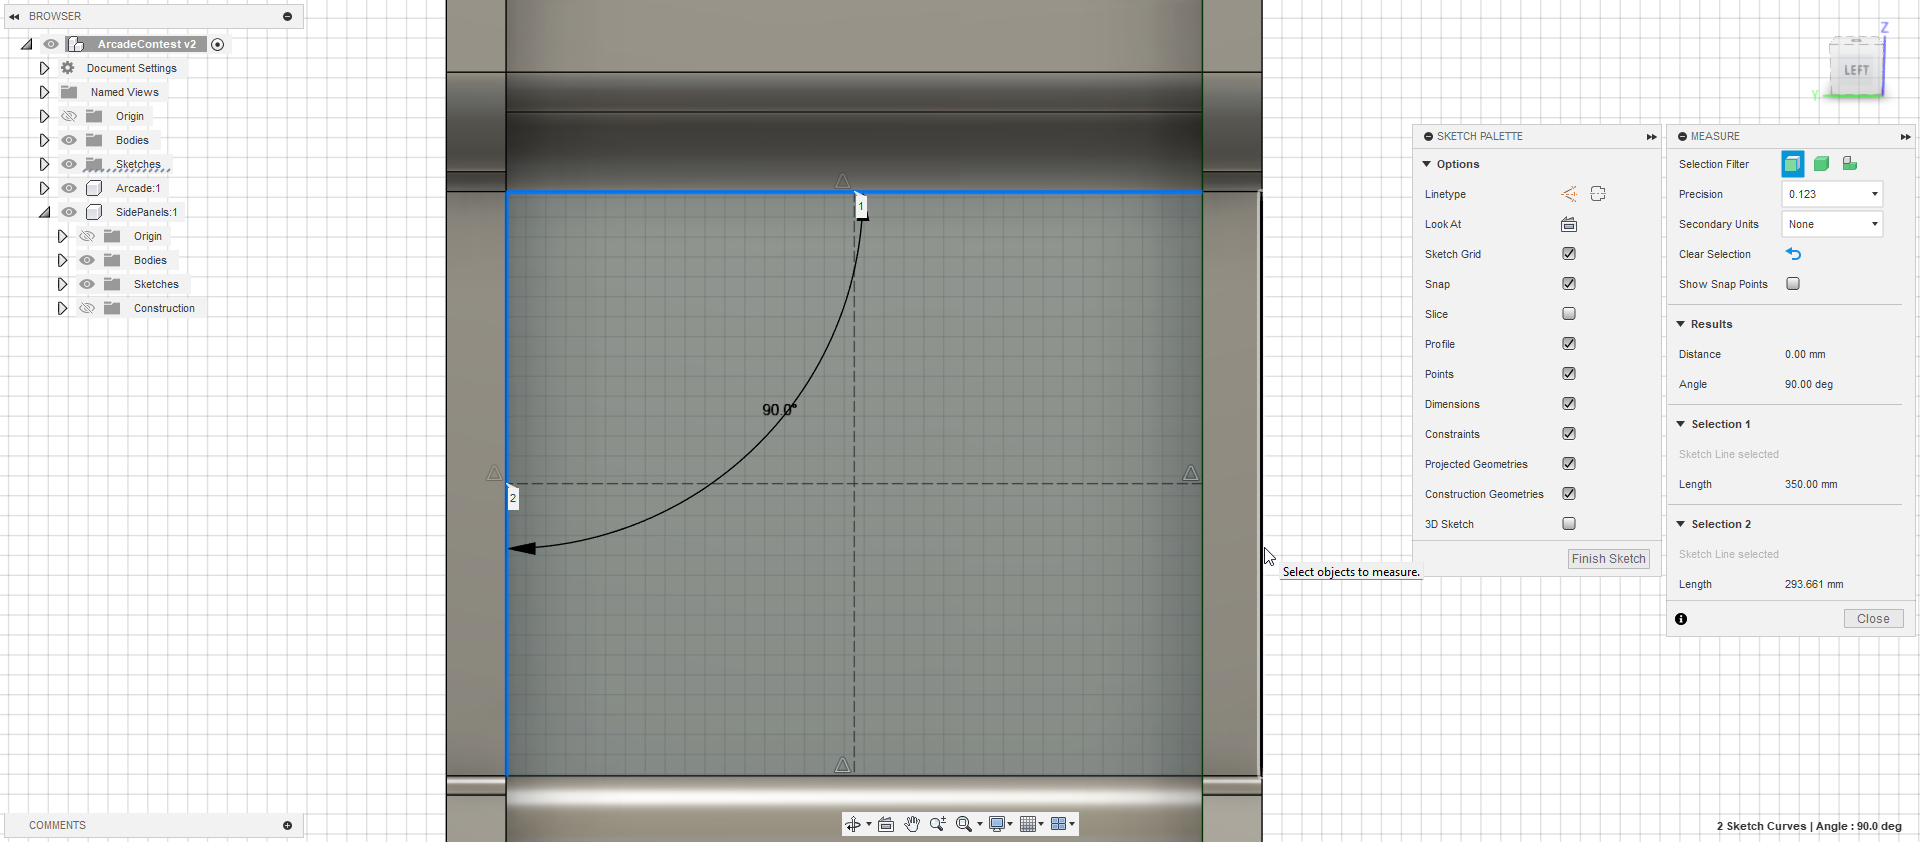
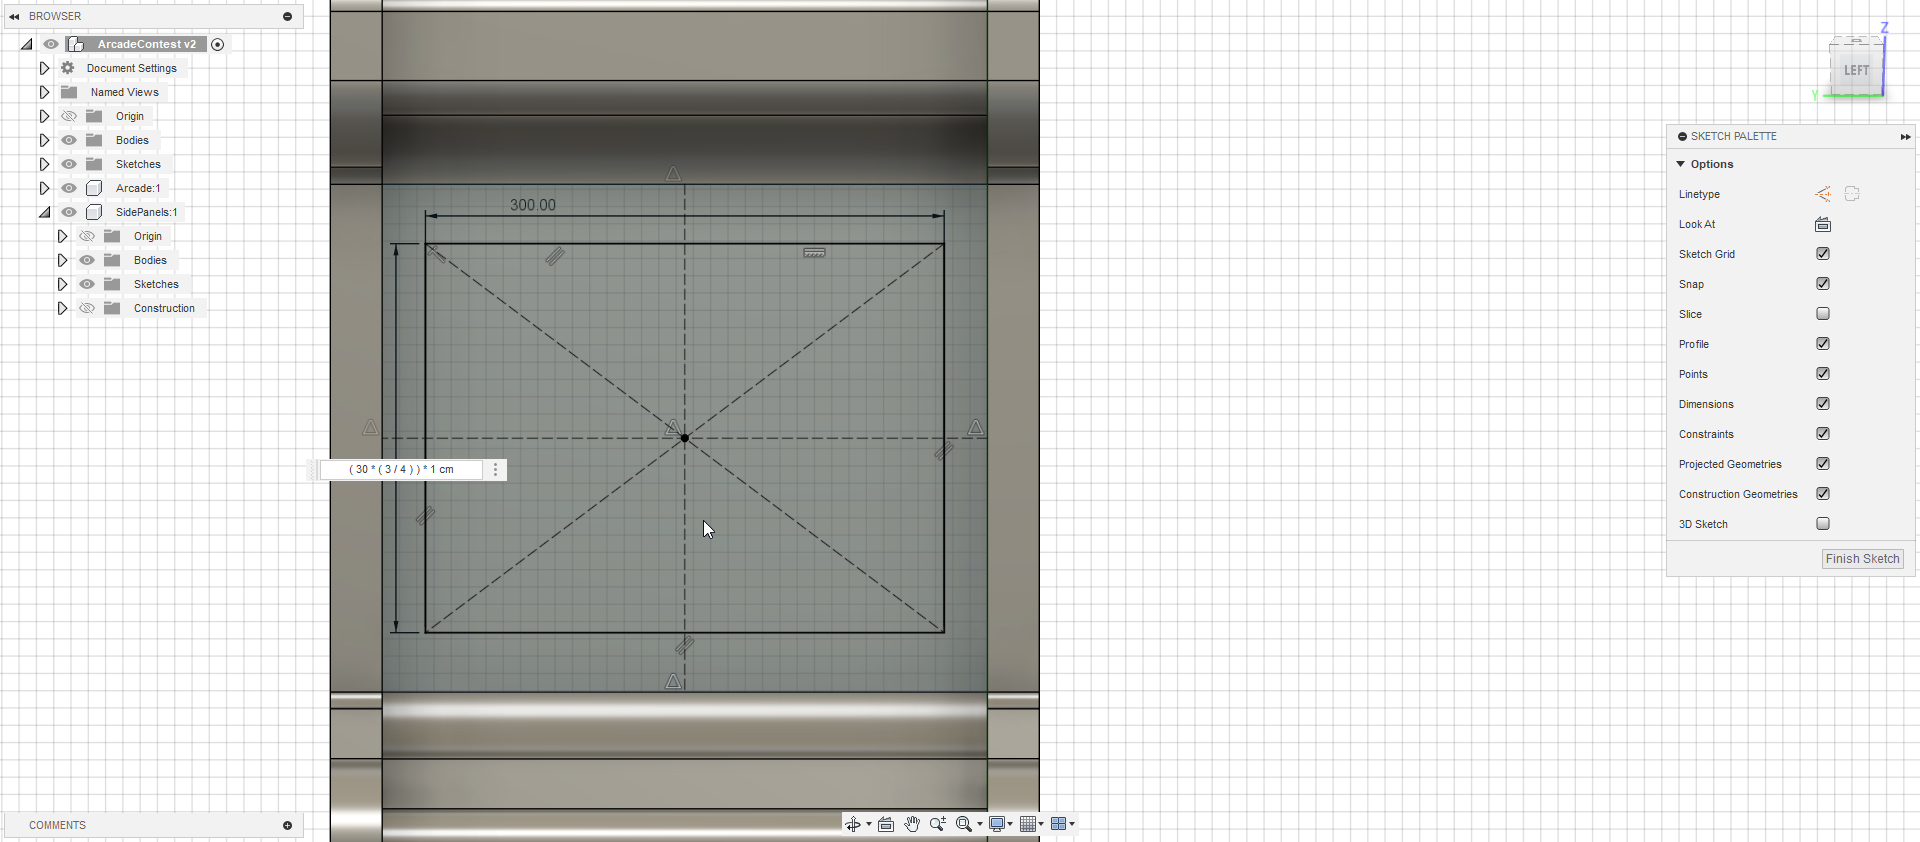
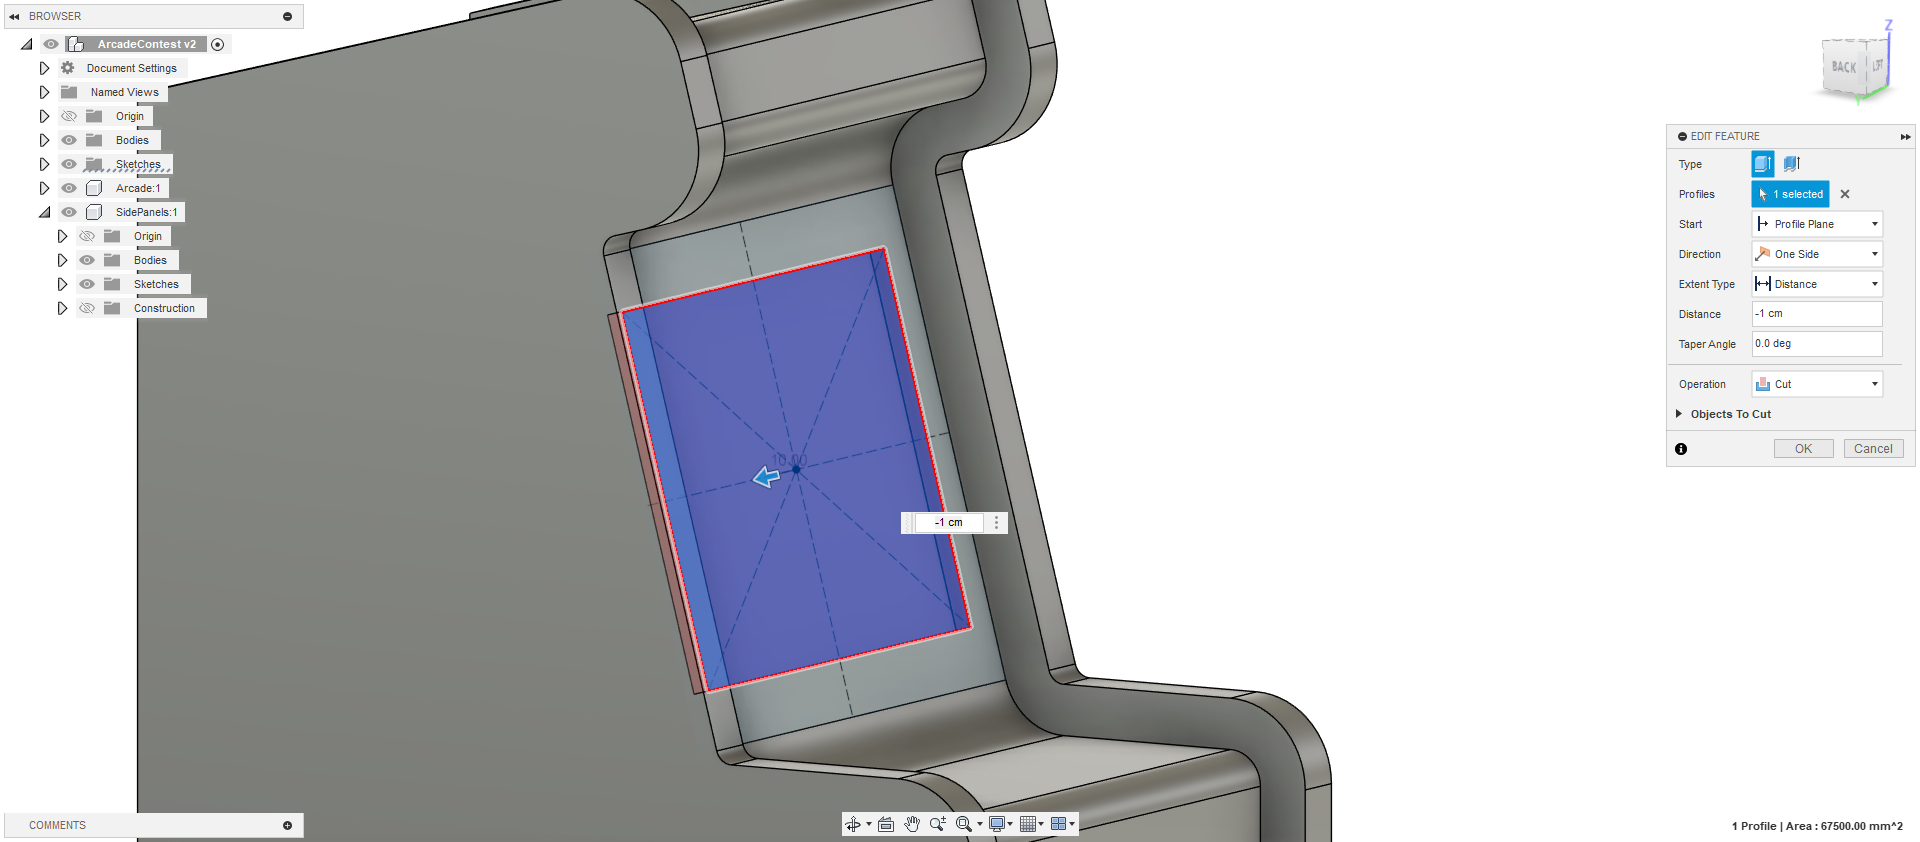

I start as always by creating a new sketch. Firstly, i measure the size available for my screen. To account for screen borders, i round the 35cm to 30cm. Because i went for the 80's style of arcade cabinet, i need to place an old CRT screen which were using an Aspect ratio of 4:3. Therefore, if i want my screen to be 30cm wide, i need it to be
30*(3/4)=22.5cm in height. Using these values, i create a rectangle and then extrude it to have a slot for the screen.
Create the Buttons
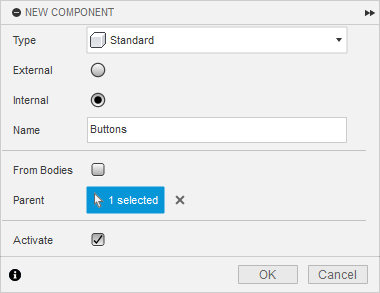
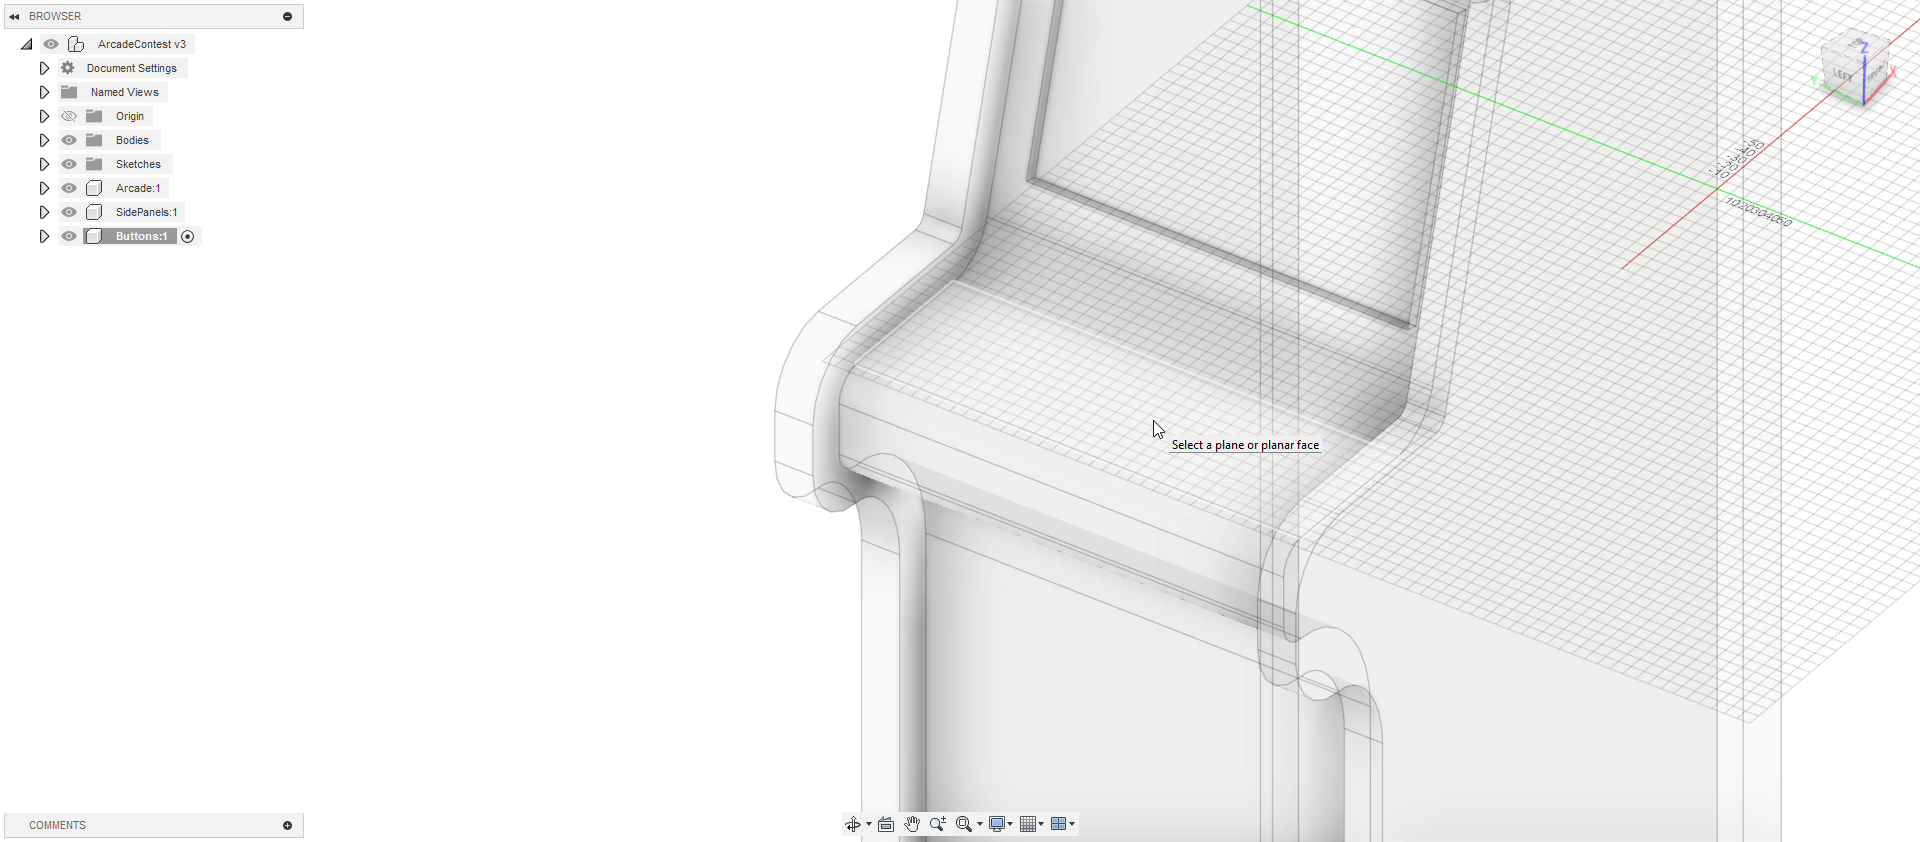

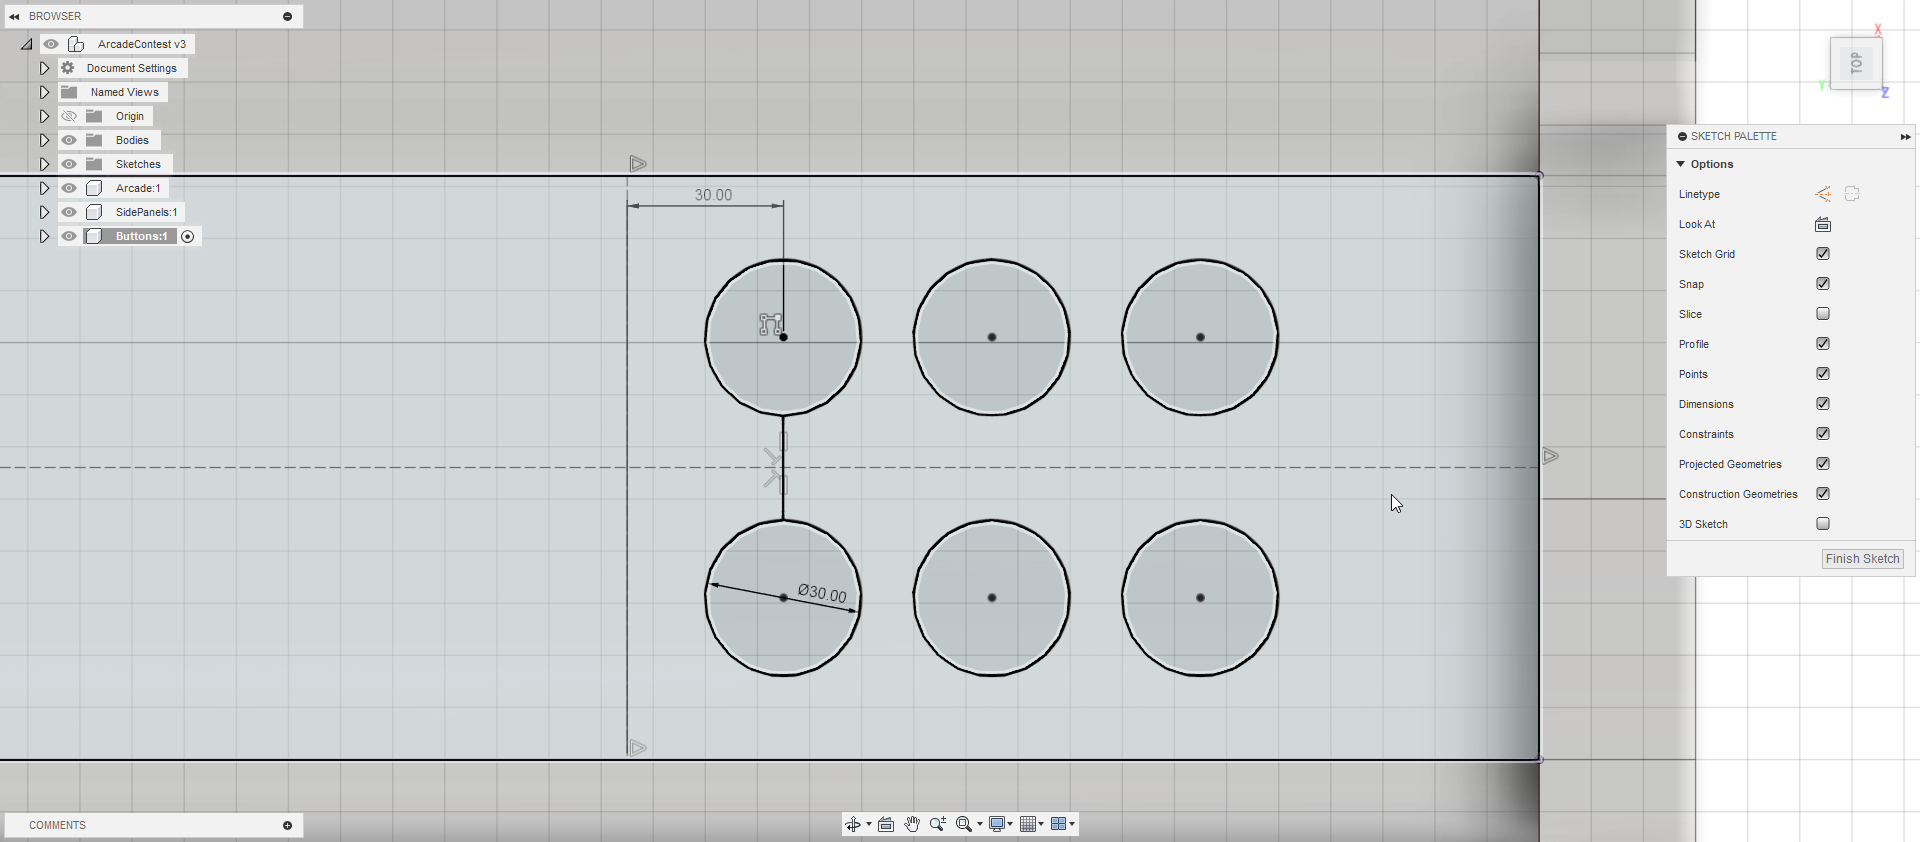
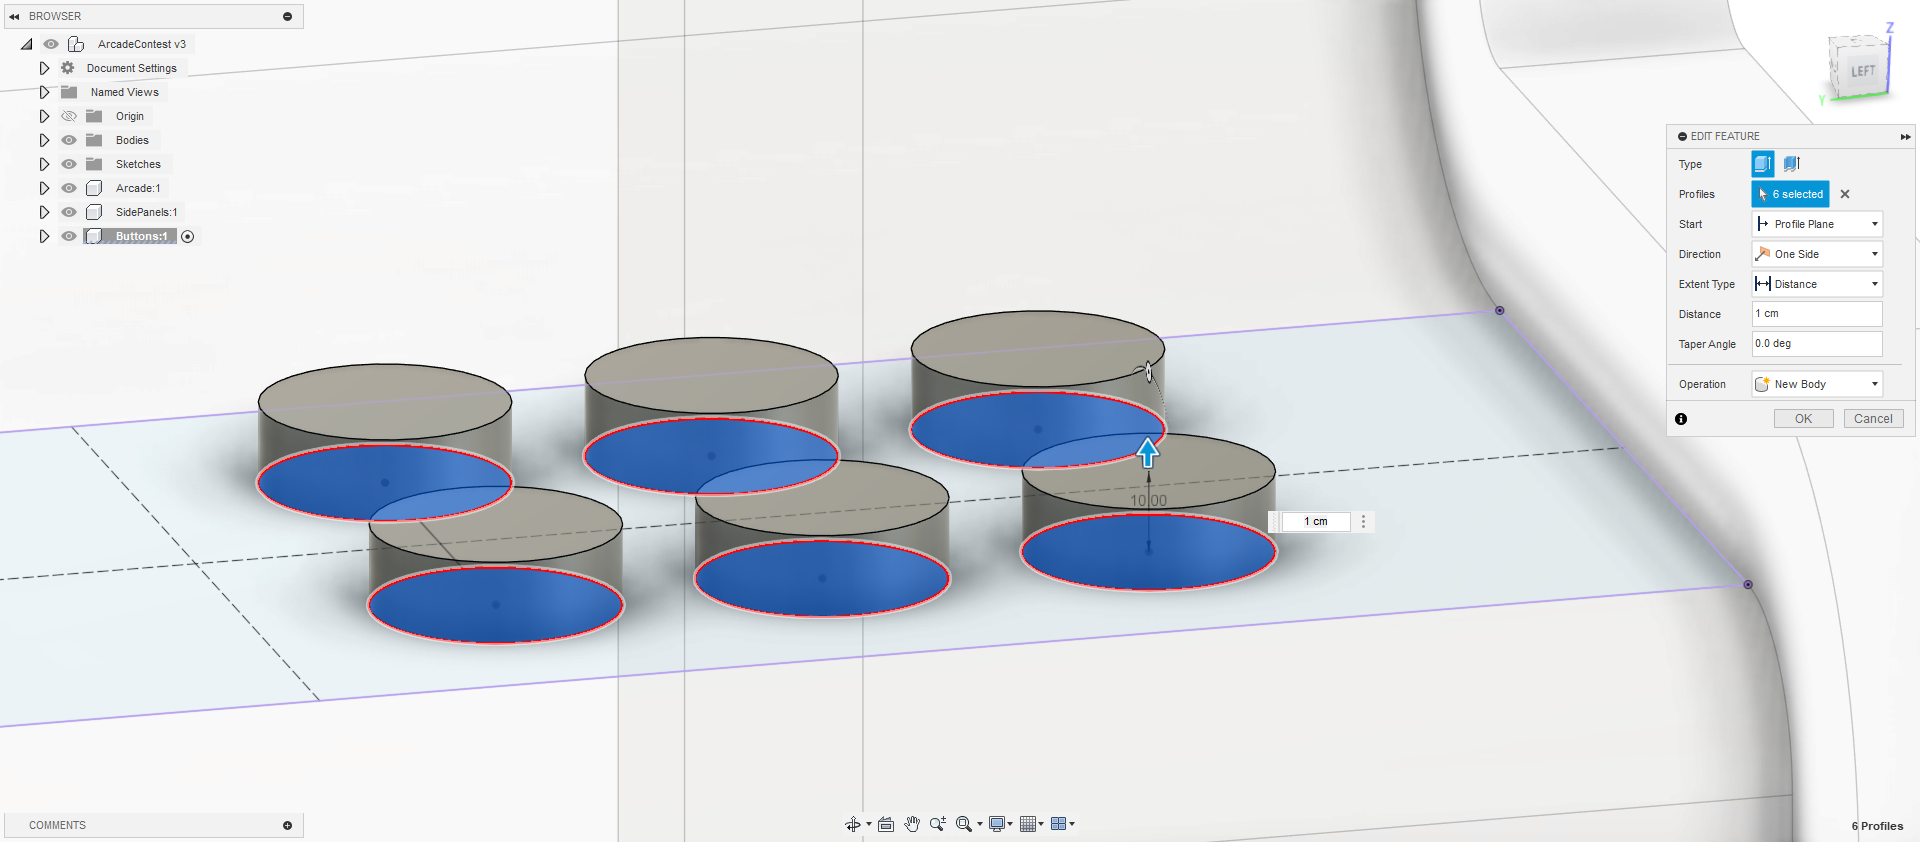
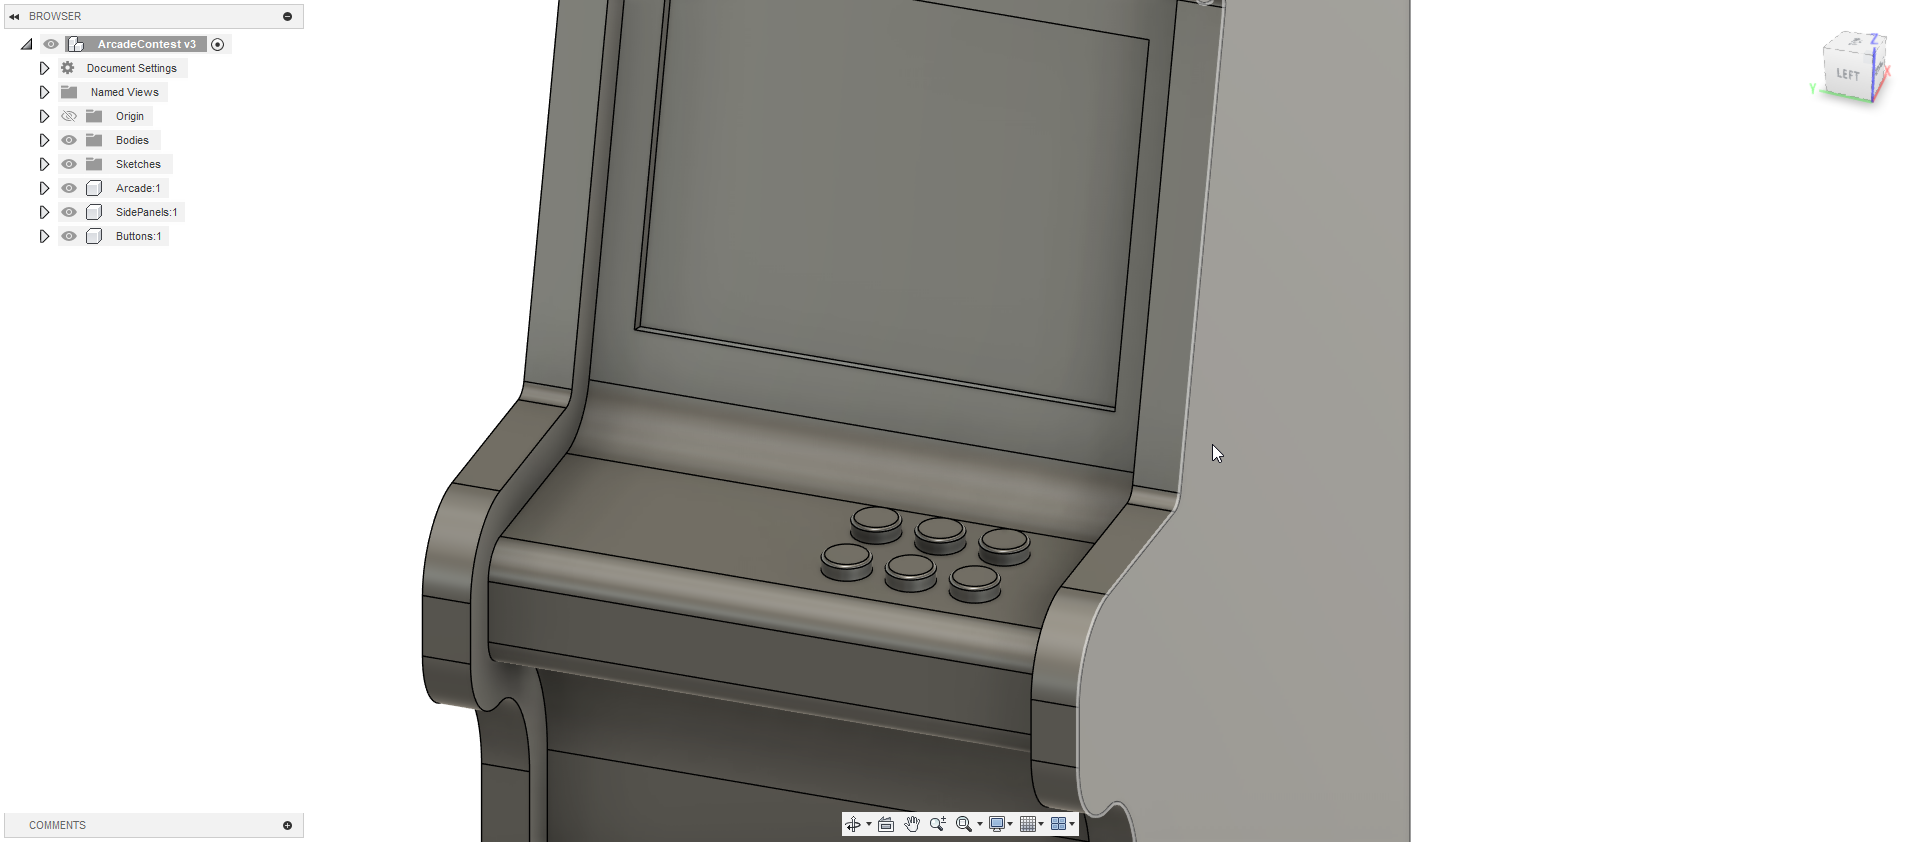
Like always, i create a new component and sketch to place my buttons in. I start by using the Square Array tool to place all the circle. I then place the dimensions and the constraints for the buttons so they can be correctly placed. After an extrusion and a filet, our buttons are ready !
Creating the Joystick

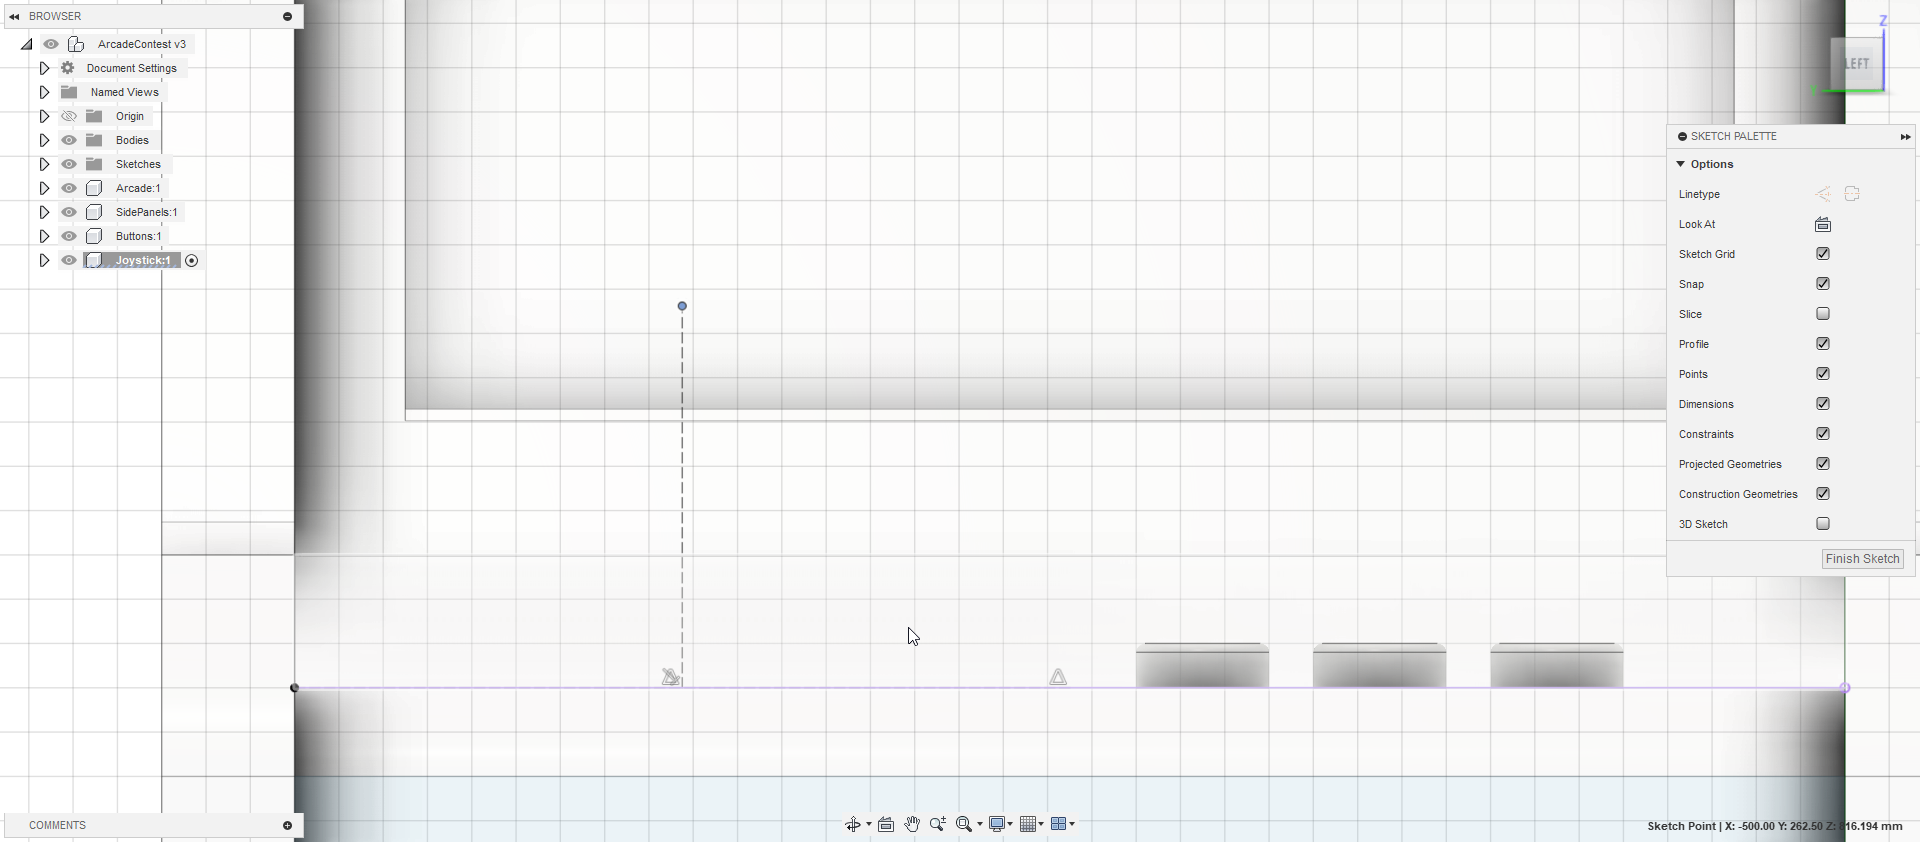
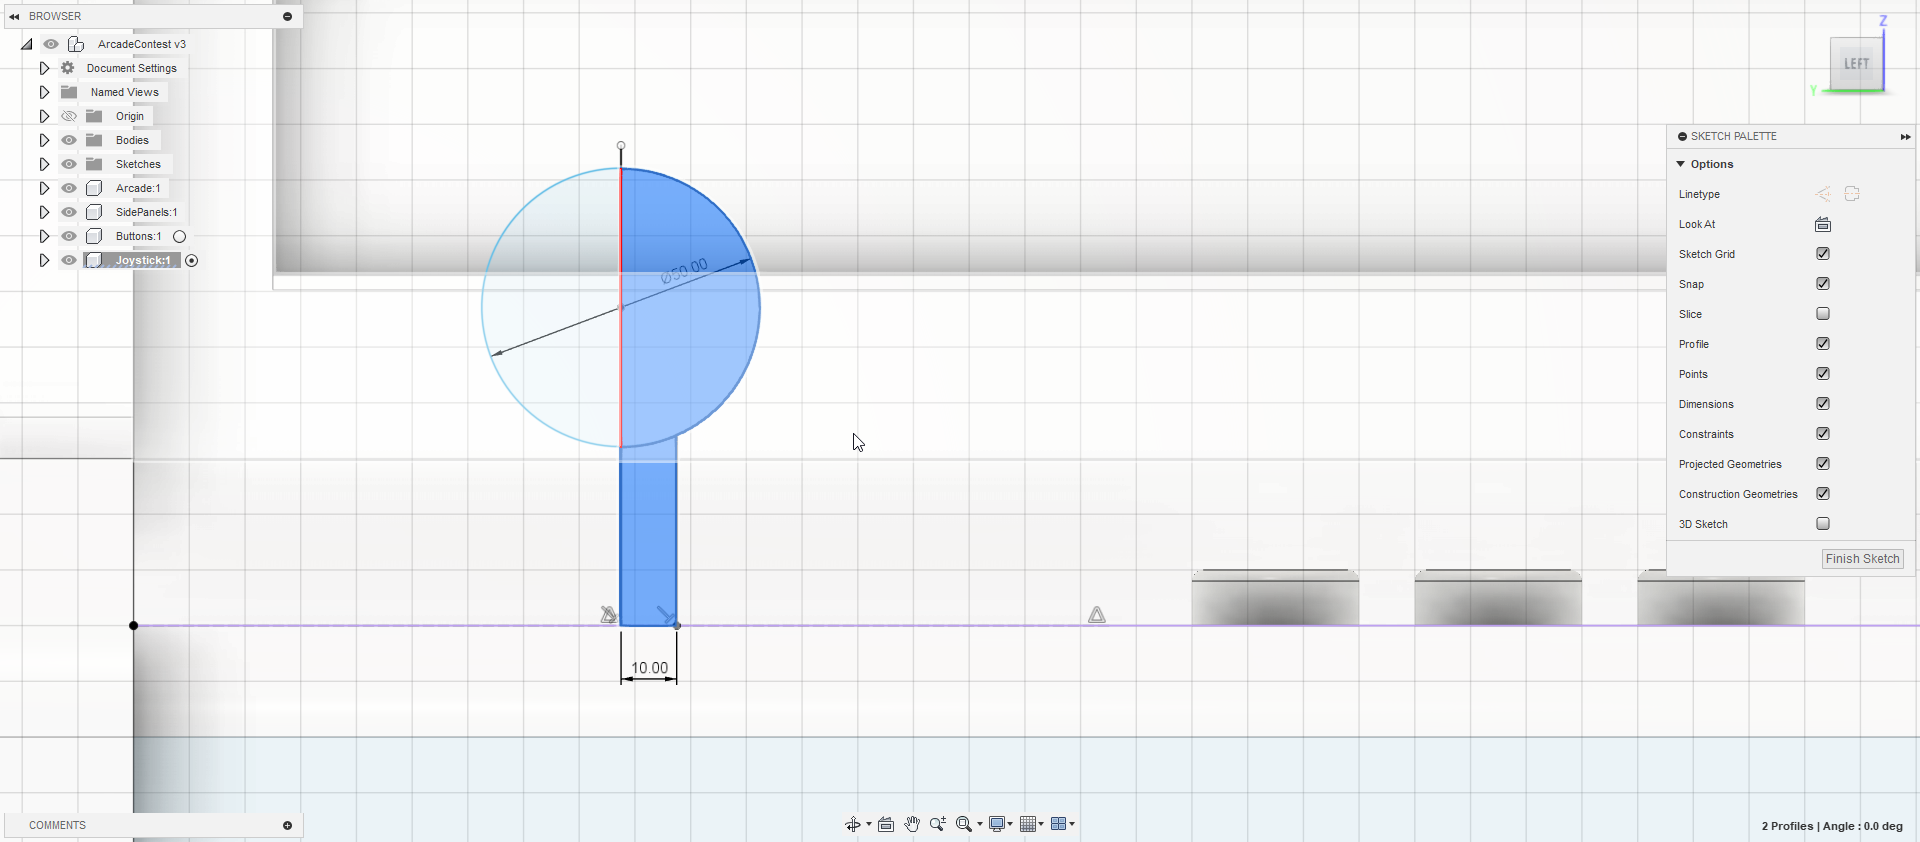
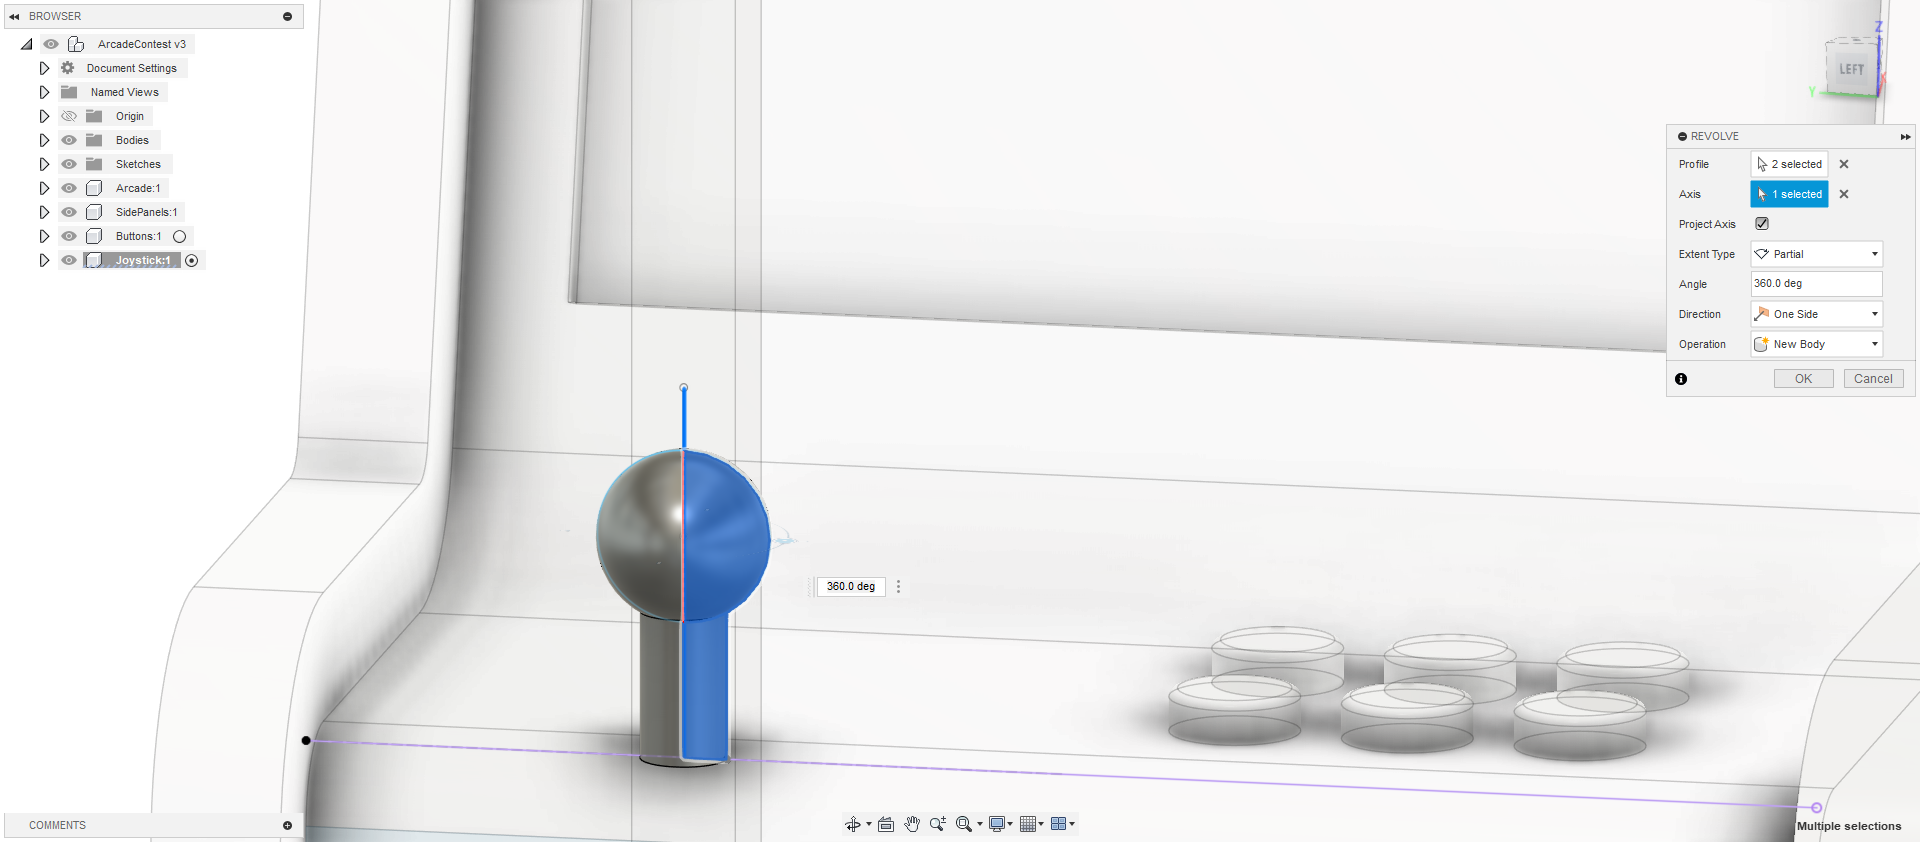
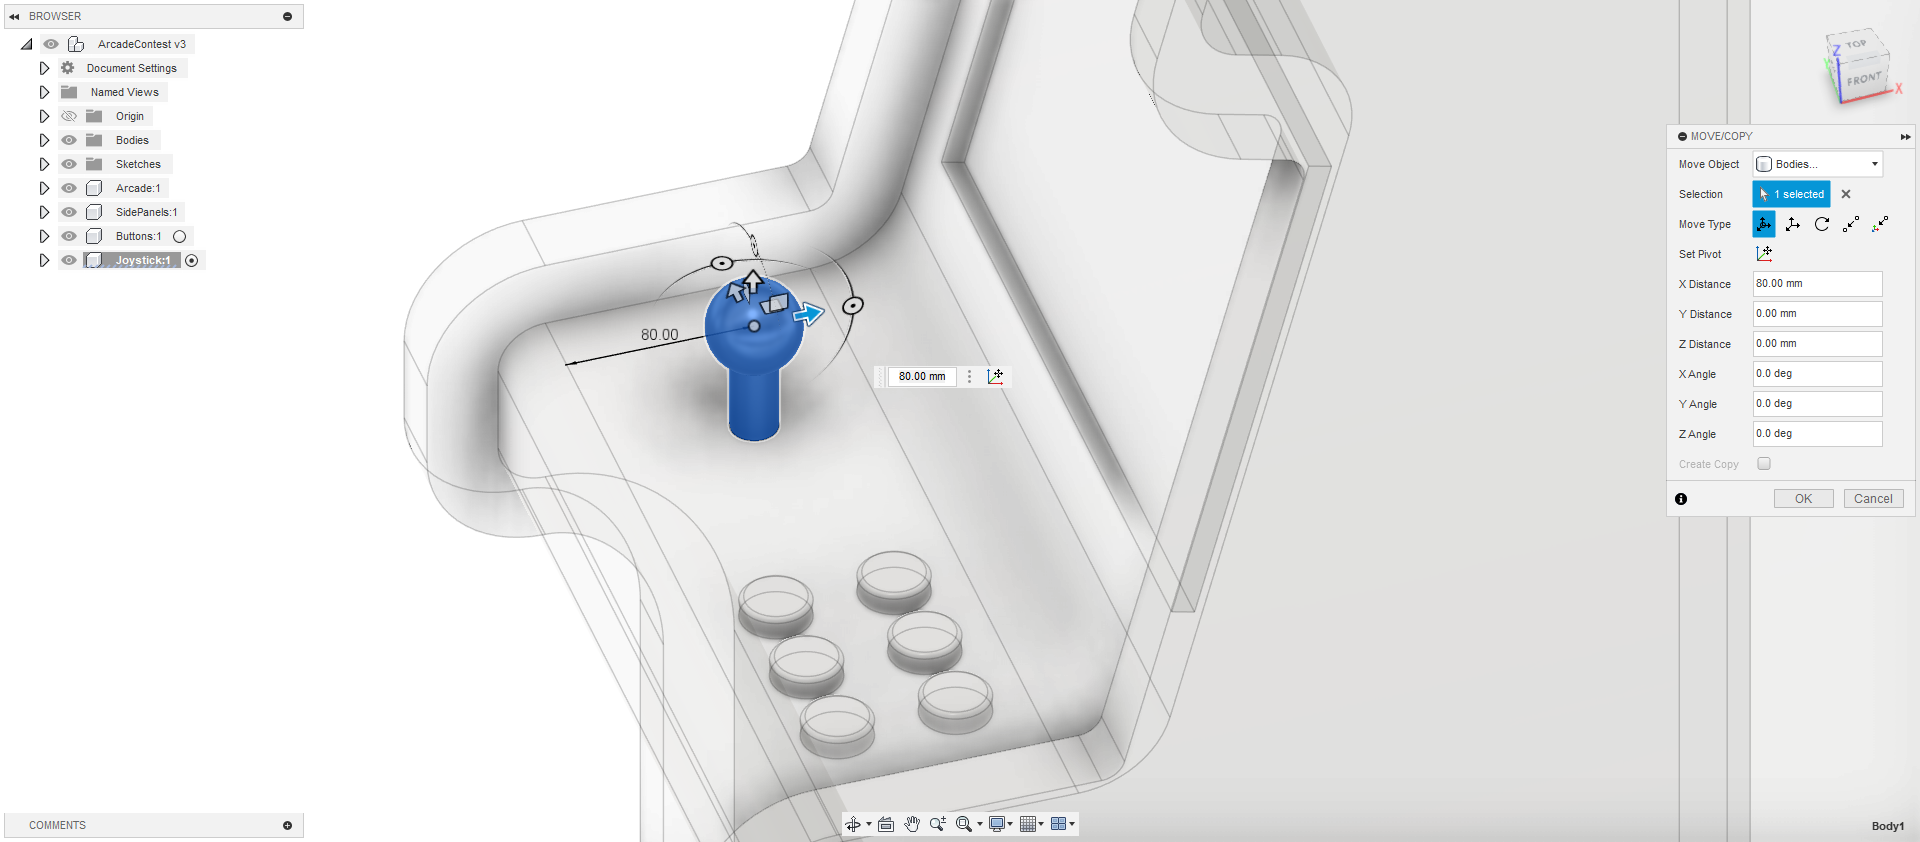
I start by placing my sketch on the side of the cabinet body. I then proceed to find the Quarter of the side length to place the center axis of my Joystick. I then proceed by placing a segment and a circle and, using the Revolve tool provided by Fusion360, revolve my Joystick around it's axis. To finish, i just move my Joystick and the center of my plate.
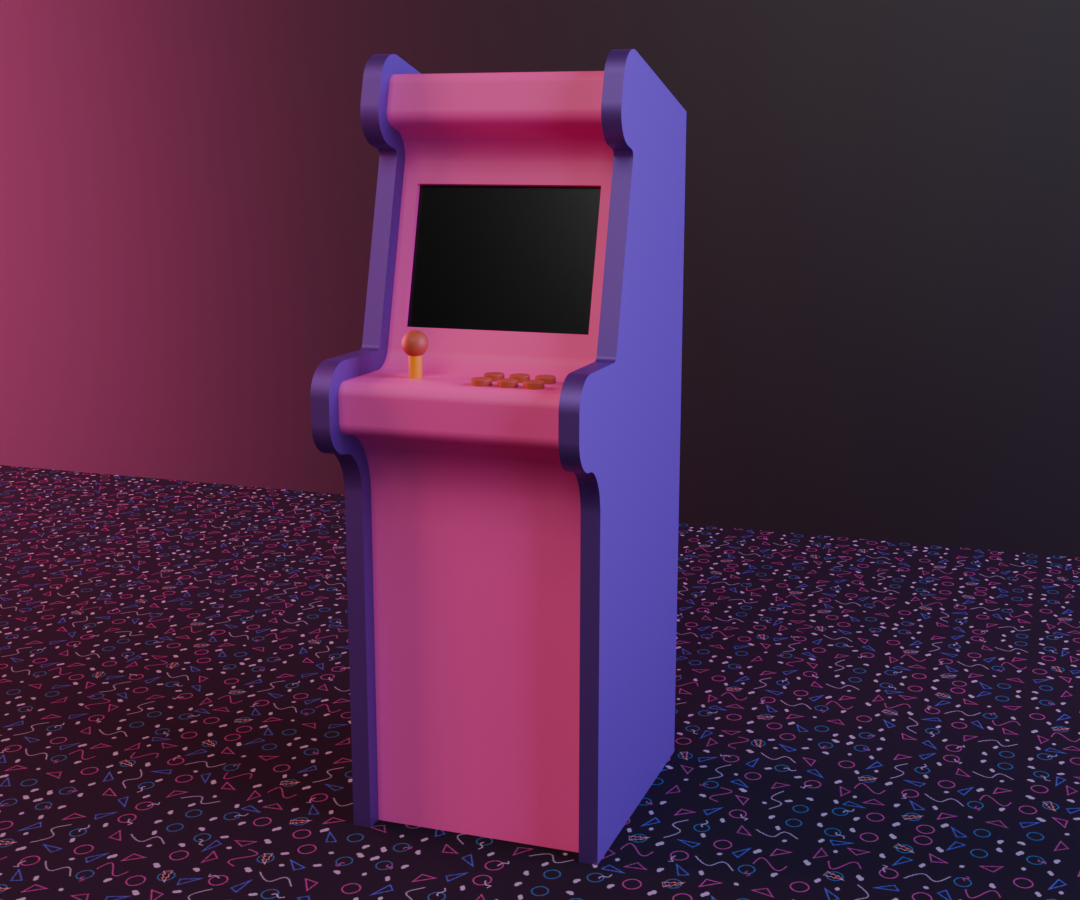
Rendering

To render the Arcade Cabinet, I have exported the model to Blender, a Free 3D modeling and rendering software. I After creating my scene, I rendered my Arcade Cabinet.
(Optional) Print It Using 3D Printer
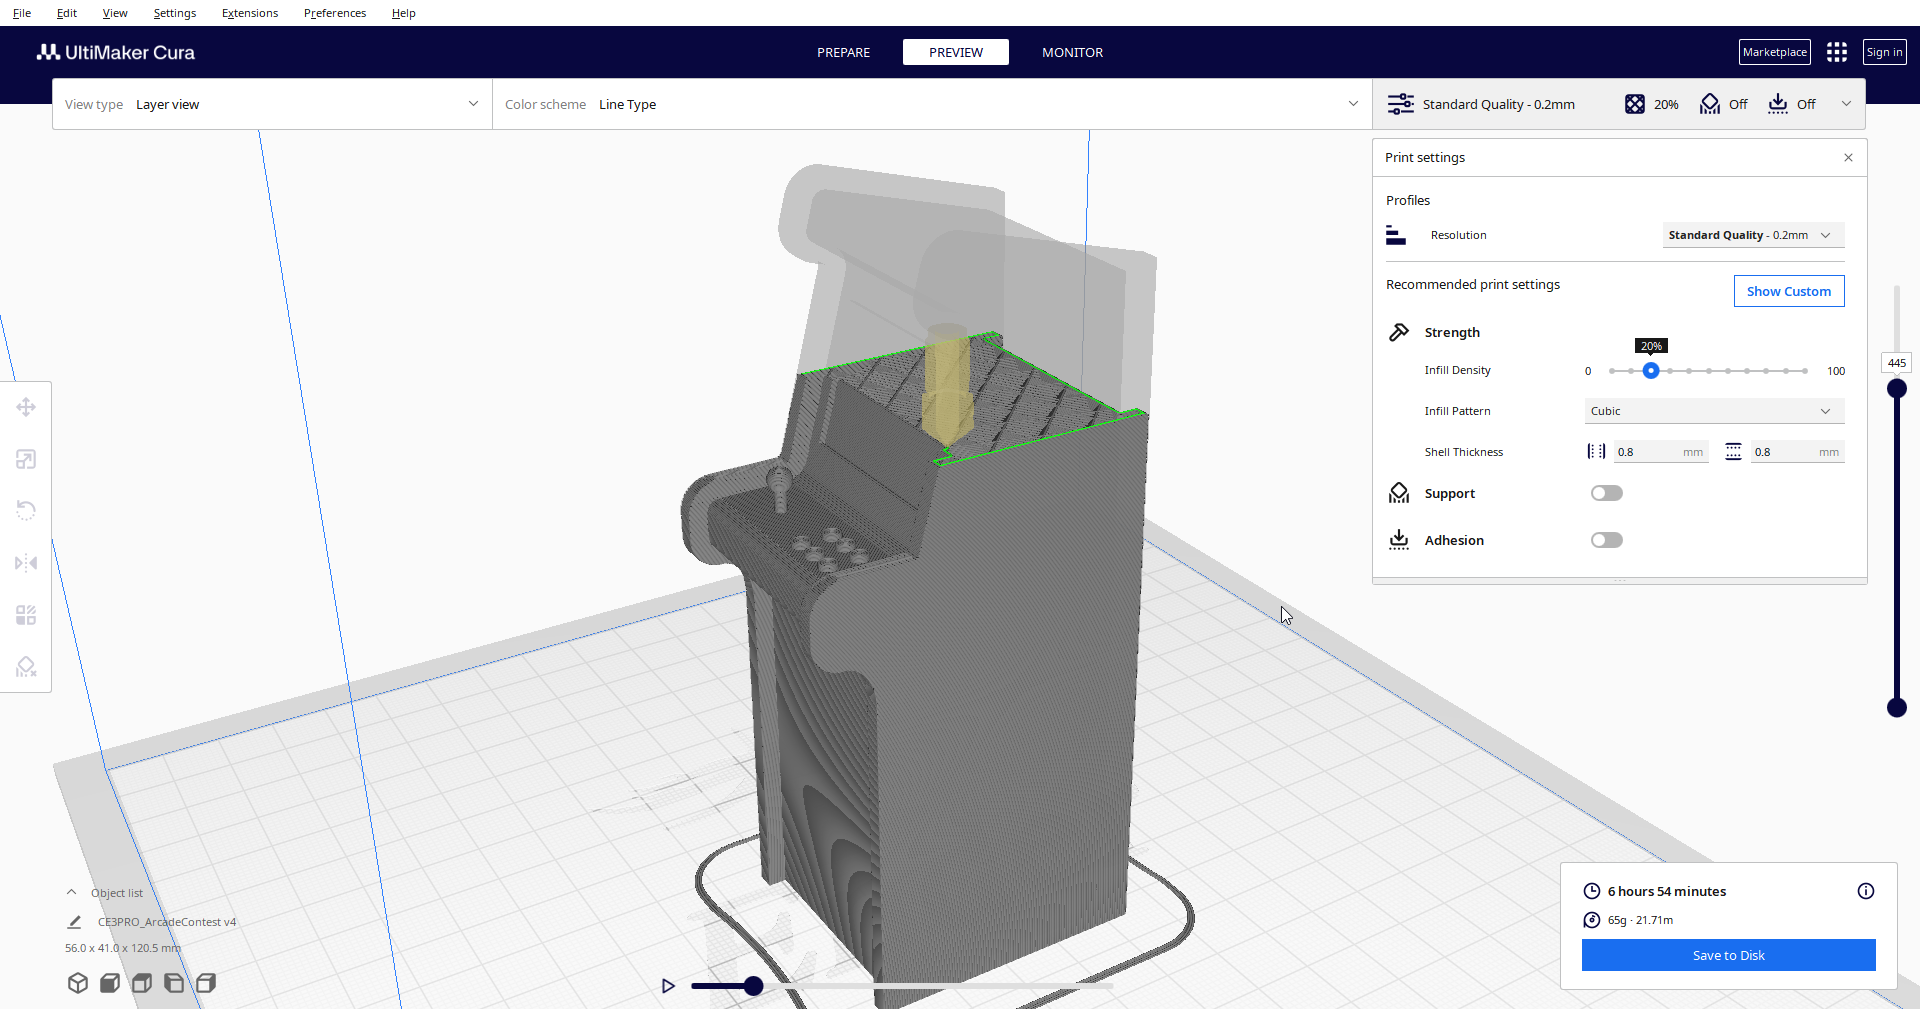
You can now print this cabinet using A 3D printer by utilizing a slicing software like Cura