How to Design a Spiral Sea Shell Using 3D CAD Software
by Julie80 in Design > Digital Graphics
85 Views, 0 Favorites, 0 Comments
How to Design a Spiral Sea Shell Using 3D CAD Software

Learn How to Design a Spiral Sea Shell Using 3D CAD Software with the help of this article
How to Design a Spiral Sea Shell Using 3D CAD Software
The intricate beauty of a spiral sea shell has long fascinated artists, designers, and nature lovers. In this tutorial, we’ll explore how to recreate that natural elegance using SelfCAD, a powerful yet accessible 3D modeling tool. You’ll learn how to apply geometric principles and creative techniques to design your own digital sea shell, perfect for decorative projects, educational models, or 3D printing experiments. Whether you're new to 3D design or looking to challenge your modeling skills, this project offers a perfect blend of artistic inspiration and technical practice.
To access the interactive tutorial to this article, check out; https://www.selfcad.com/tutorials/2x1t502q56qd546z3j1u4h4s67n3r3t376v3
Once you’ve launched the editor;
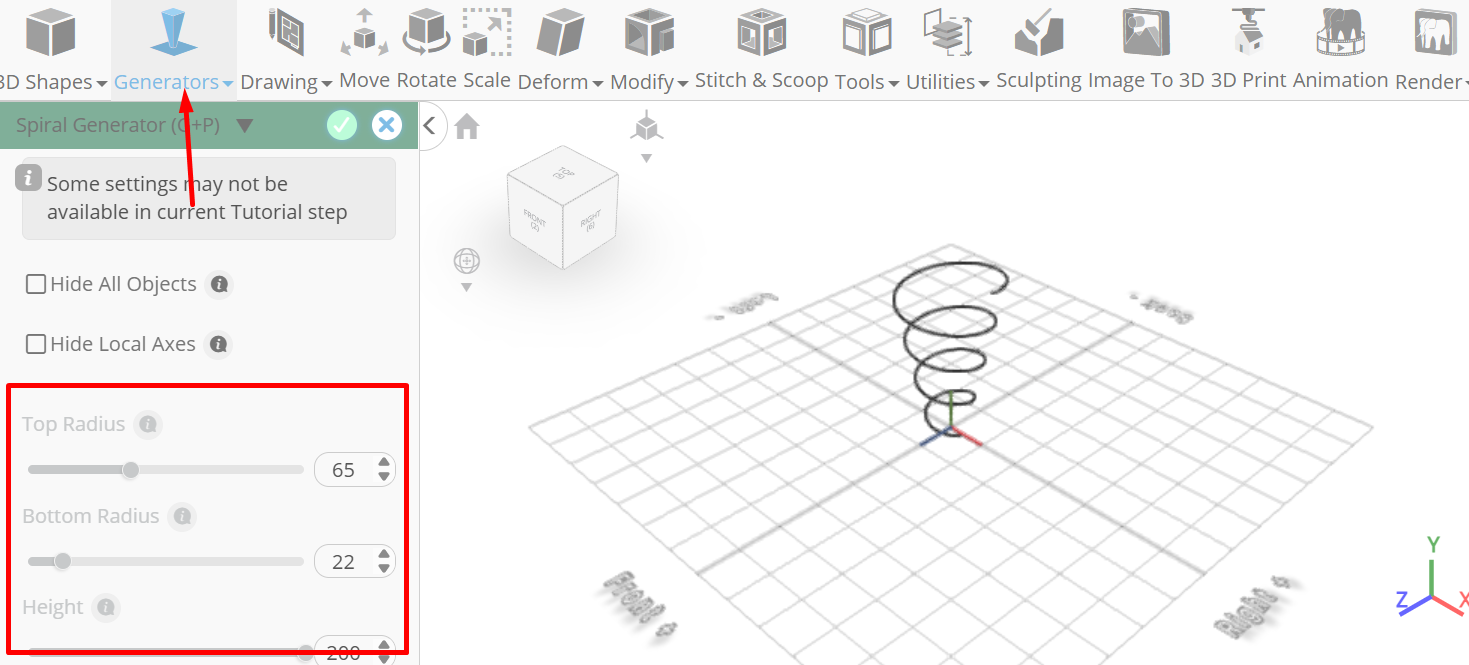
From the generators category on the toolbar choose spiral generator; Set top radius to 65, bottom radius to 22, height to 200, revolutions to 200, top thickness to 1, bottom thickness to 1, edges to 1, radial segments to 250
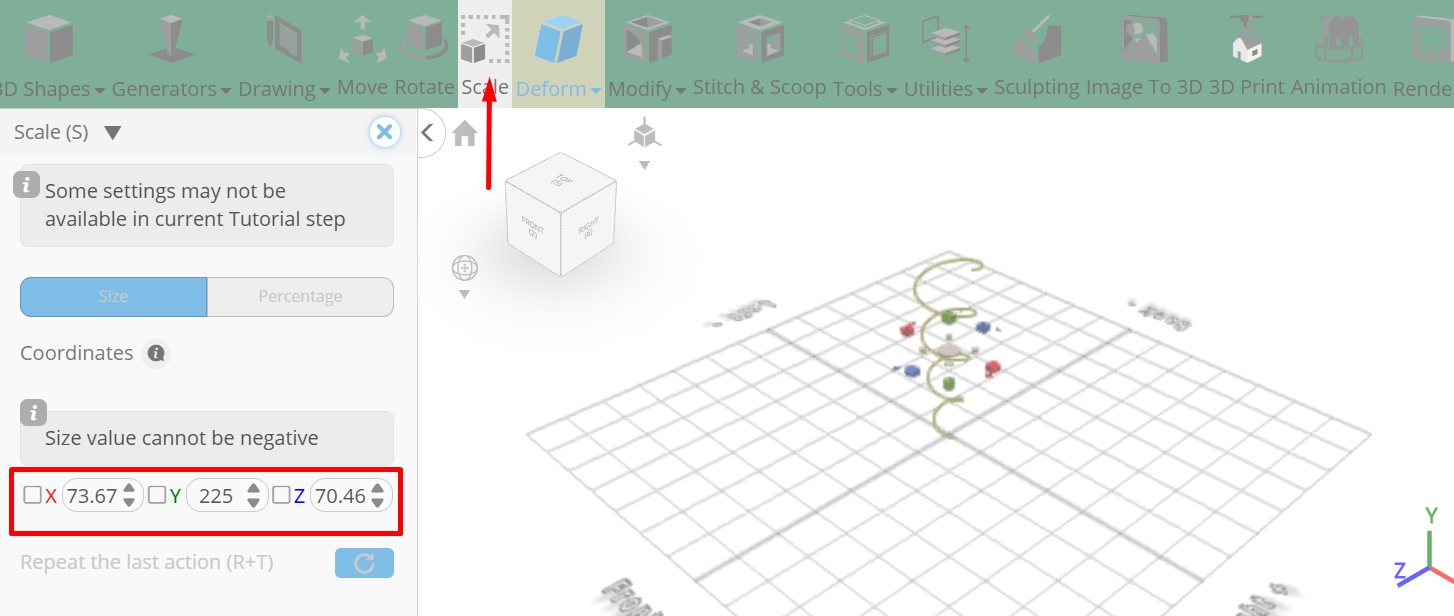
Click scale on the toolbar.
Set x to 73.67, y to 118.21, z to 70.46 using highlighted gizmo, then x to 73.67, y to 225
Click ‘x’ to close transformation panel
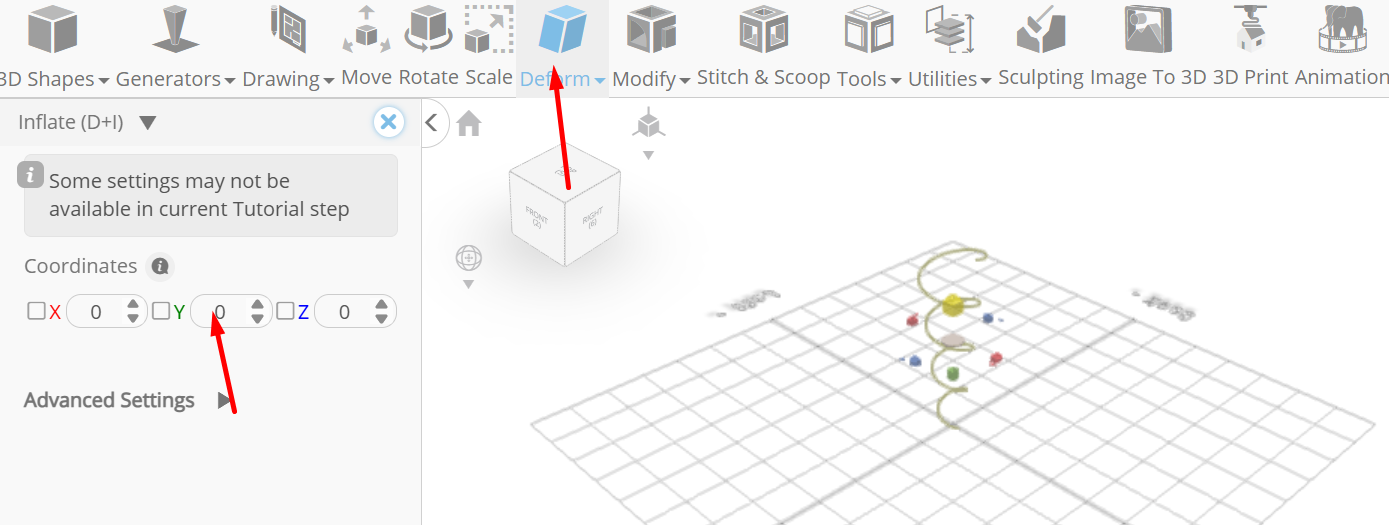
From the deform category on the toolbar choose inflate; Set y to -55 using highlighted gizmo
Click ‘x’ to close transformation panel
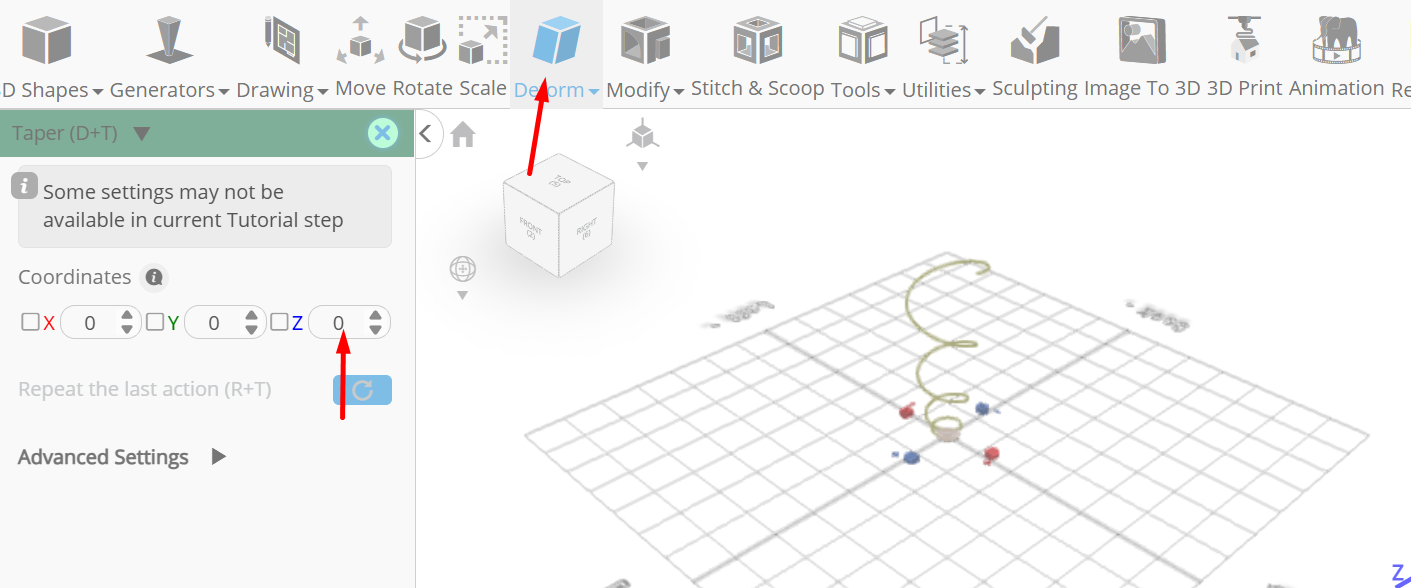
From the deform category on the toolbar choose taper; Set z to 25
Click ‘x’ to close transformation panel
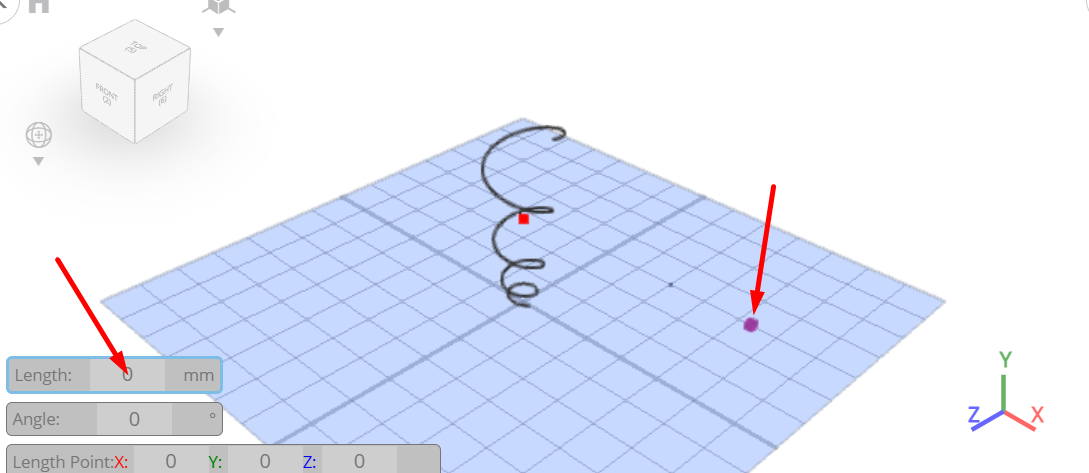
From the drawing category on the toolbar choose 3D Sketch; From the tool panel choose ellipse, Click on spiral 1 to deselect, Click on highlighted point to draw ellipse

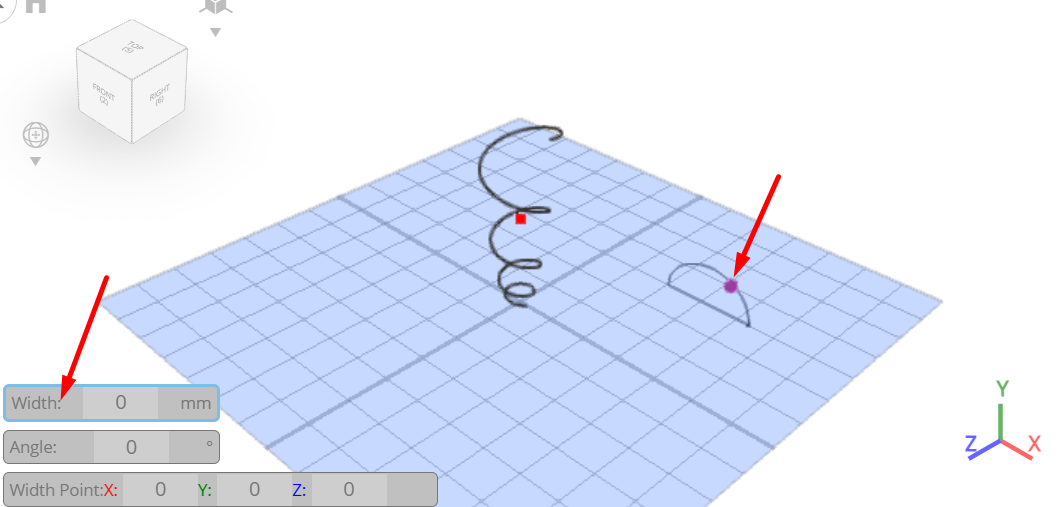
Type in 115 value into the length measurement, Click on highlighted point to draw ellipse
Type in 100 value into the width measurement. Click on highlighted point to draw ellipse
Click ‘x’ to close 3D sketch
Click on spiral 1 to select it
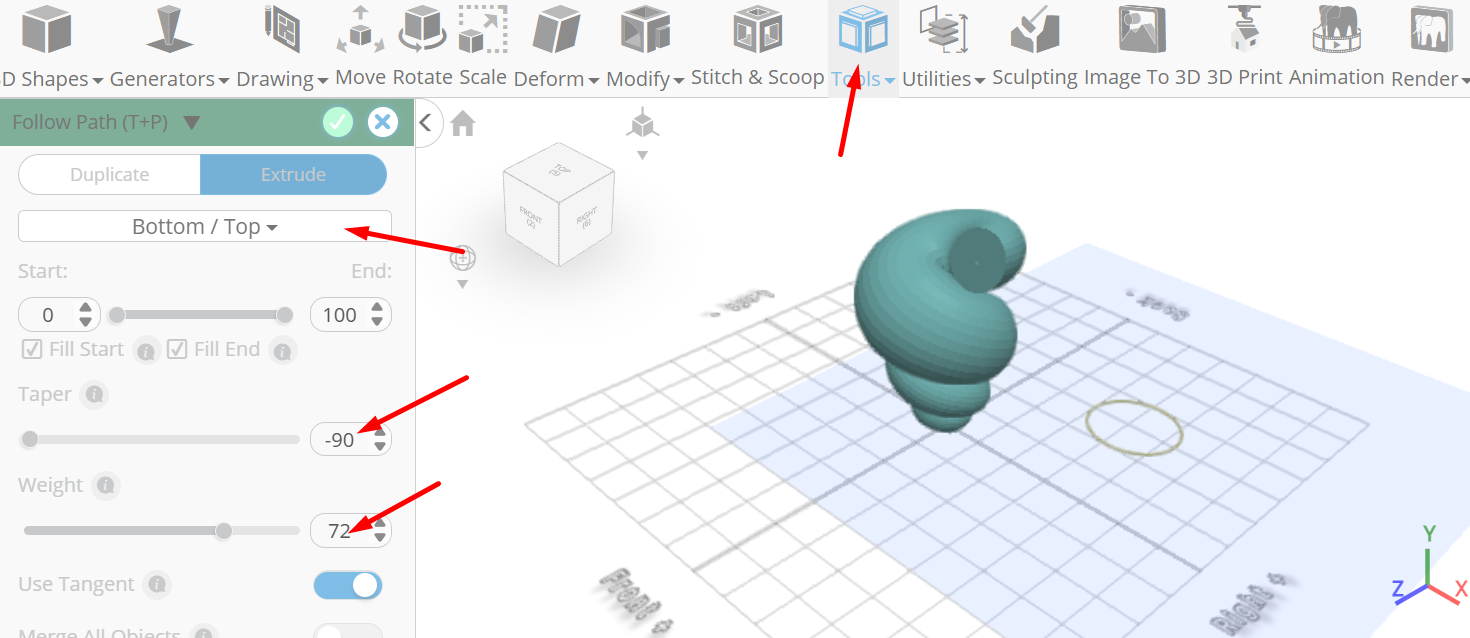
From the tools category on the toolbar choose follow path; Set mode to extrude, direction to bottom/top, taper to -90, weight to 72
Tick the checkmark to finalize follow path
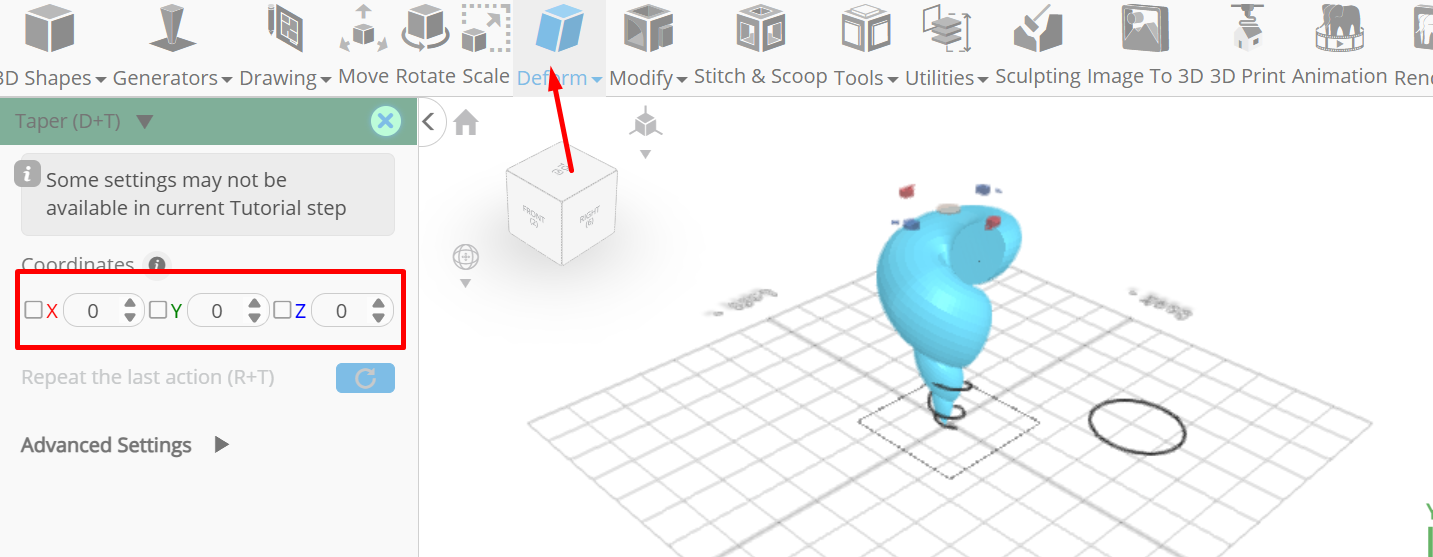
From the deform category on the toolbar choose taper; Set origin layer to top, set x to -75, z to 75
Click ‘x’ to close transformation panel
Click isolate button to isolate selected objects; Click to activate polygon selection; Click on highlighted region to select it
Click delete button to delete selected objects
From the modify category on the toolbar choose add thickness; Set thickness to -0.7
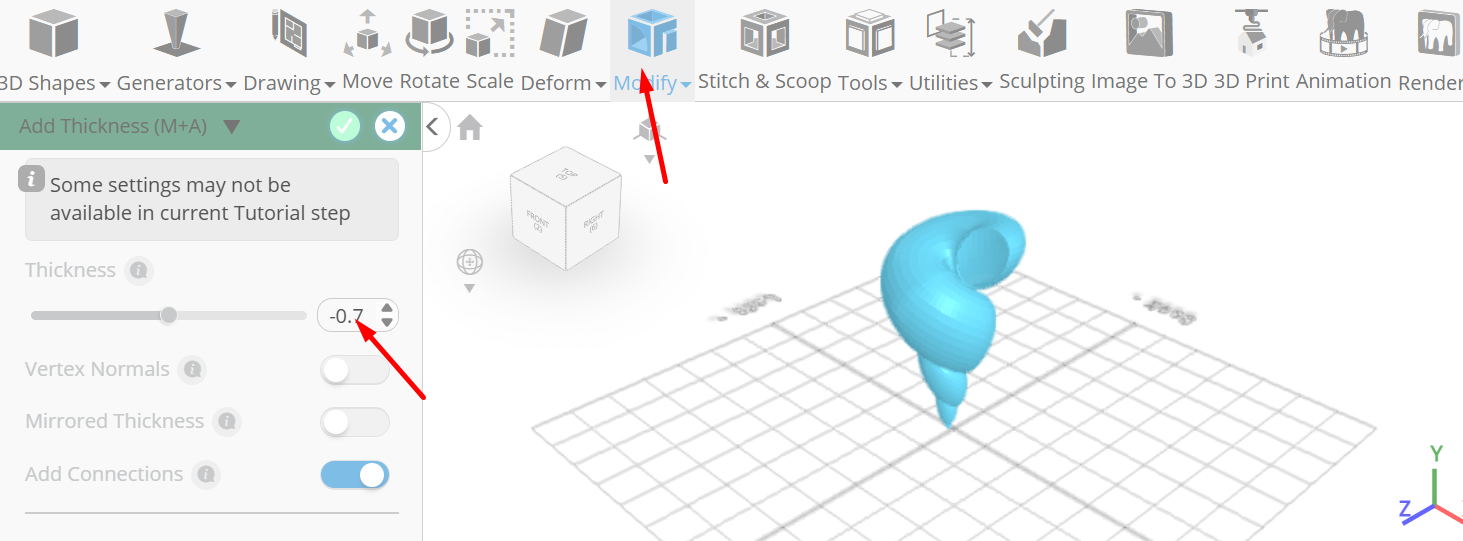
Tick the checkmark to finalize add thickness
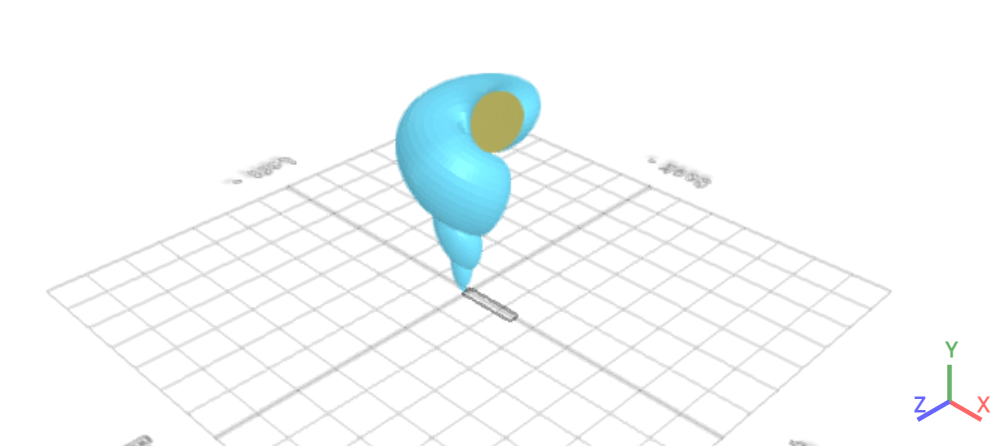
Click smooth button to enable smooth rendering
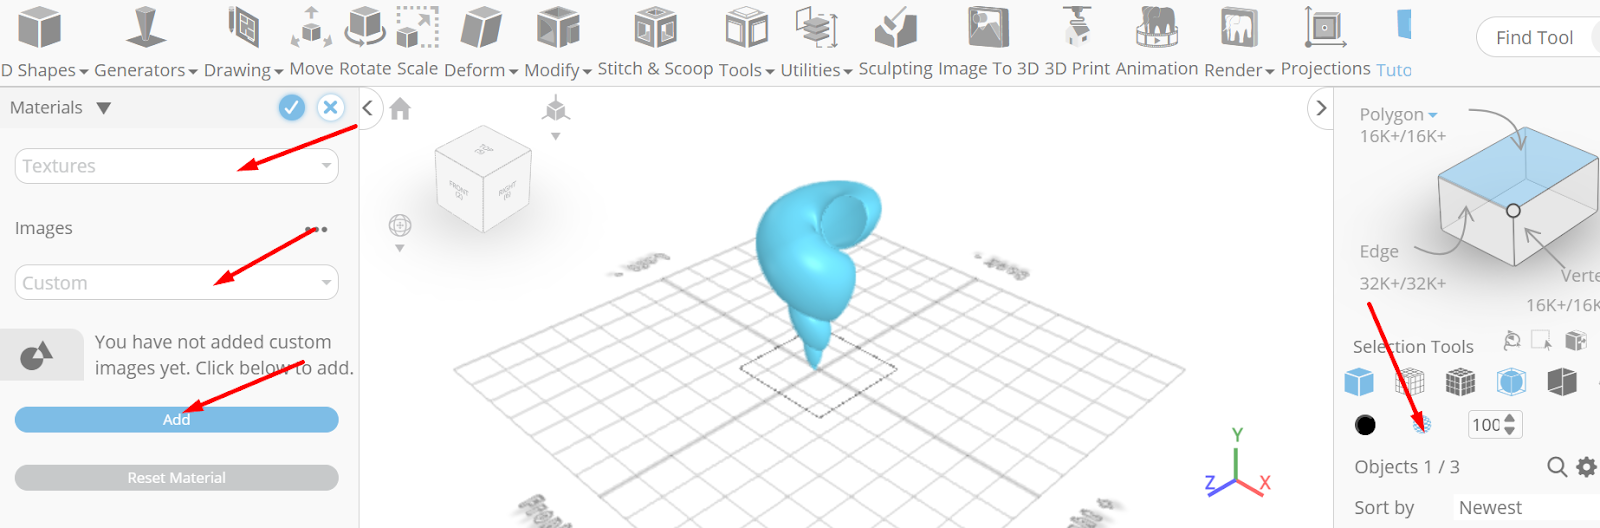
From the right panel choose materials; Set settings to textures, texture category to custom, Click add image button to load new image
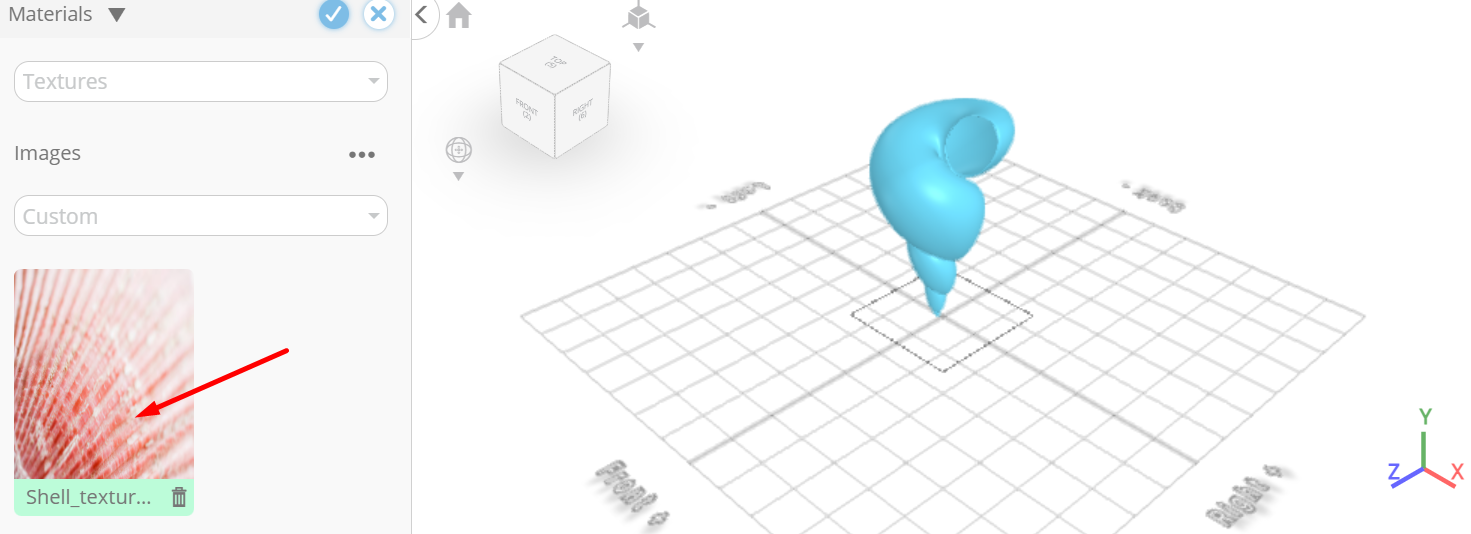
Click load image from tutorial button to add image, Click shell_texture.avif button to apply texture
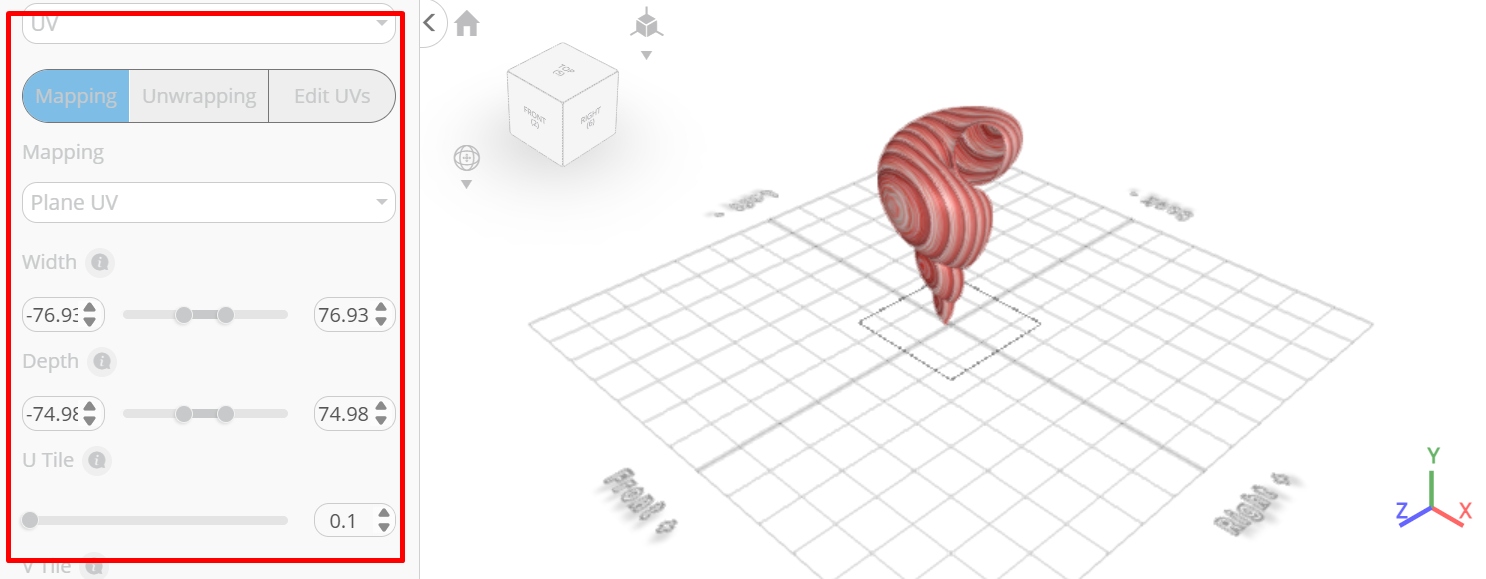
Set settings to uv; mapping to plane uv, u tile to 0.1, v tile to 2
Tick the checkmark to finalize materials
As you continue honing your design skills, remember that SelfCAD offers a wealth of resources to support your learning journey. To deepen your understanding and explore more advanced features, consider checking out the interactive tutorials (https://www.selfcad.com/tutorials) available on the SelfCAD website. The tutorials page provides a treasure trove of guides, tips, and tricks that cater to designers of all levels.
More structured learning experience can also be accessed at the SelfCAD Academy (https://www.selfcad.com/academy/curriculum/), https://www.youtube.com/@3dmodeling101, and 3D Modeling 101 series (https://www.youtube.com/playlist?list=PL74nFNT8yS9DcE1UlUUdiR1wFGv9DDfTB). This comprehensive resource offers in-depth courses taught by industry experts, allowing you to master the intricacies of SelfCAD at your own pace.