How to Design a Shield
Learn face selection by making a simple shield
How to Design a Shield
Whether you're a hobbyist, a student, or a professional, the ability to craft personalized items opens up a world of possibilities. In this tutorial, we will explore the fascinating process of designing a shield using SelfCAD, a user-friendly and powerful online 3D modeling software.
SelfCAD empowers users with an intuitive interface and a robust set of tools, making it an ideal platform for both beginners and experienced designers. By the end of this tutorial, you will not only have a custom-designed shield but also a solid understanding of key SelfCAD features.
The interactive tutorial for this article can be accessed here; https://www.selfcad.com/tutorials/5r4t1d5z3p5c5g43301f6d7462oi4w361b1m
To access the software, visit https://www.selfcad.com/,
Once you’ve launched the editor;
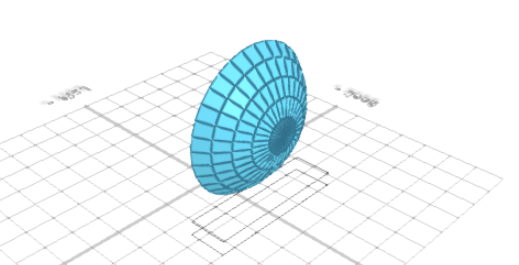
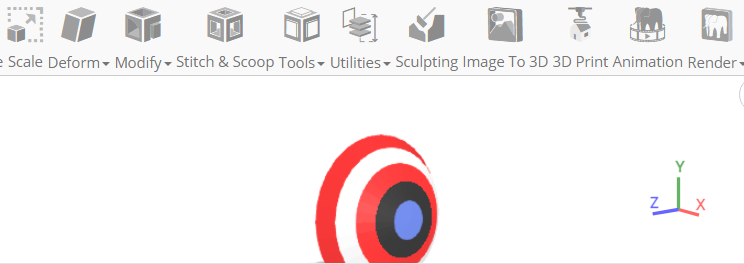
From the 3D Shapes Category on the Toolbar choose Sphere
Set Radius to 150, Rotation z to 90
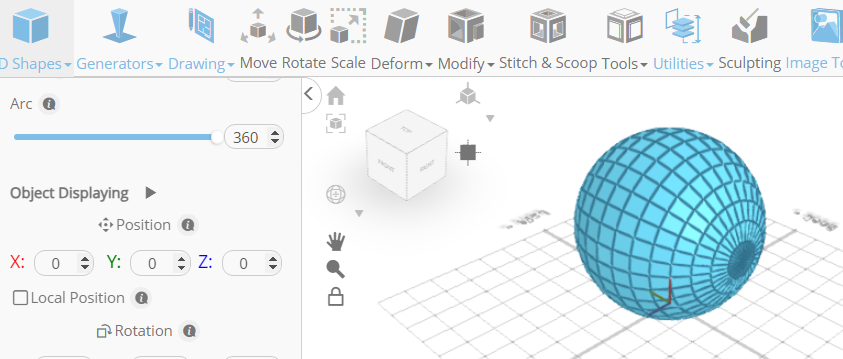
Click to finalize Sphere
Click Wireframe button to set rendering mode
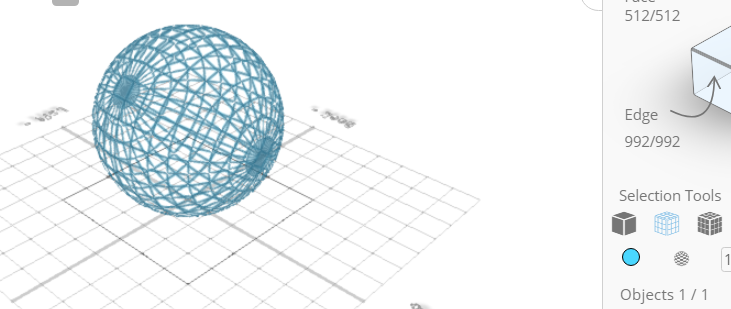
Click to activate Face Selection
Click on highlighted region to select it
Click delete button to delete selected object
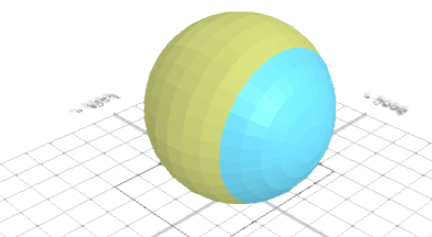
Click Solid button to set rendering mode
Click on highlighted region to select it

Click color picker button to change color of selected object
Click picker button to use custom color
Type in #ff0000 value into the color picker input
Click OK button to confirm color change
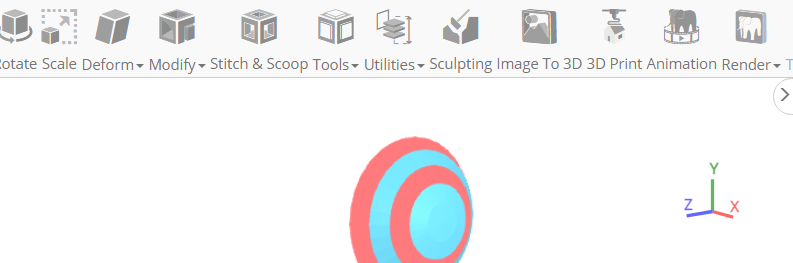
Click on highlighted region to deselect it
Click on highlighted region to select it
Click color picker button to change color of selected object
Click white button to change color of selected object
Click OK button to confirm color change
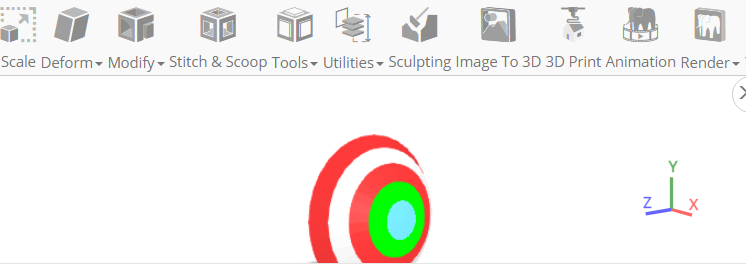
Click on highlighted region to deselect it
Click on highlighted region to select it
Click color picker button to change color of selected object
Click Black button to change color of selected object
Click OK button to confirm color change
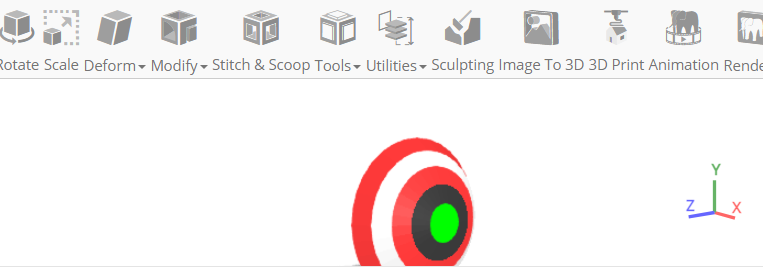
Click on highlighted region to deselect it
Click on highlighted region to select it
Click color picker button to change color of selected object
Click Blue button to change color of selected object
Click OK button to confirm color change
Click on highlighted region to deselect it
Click on Selection Cube to turn off region selection
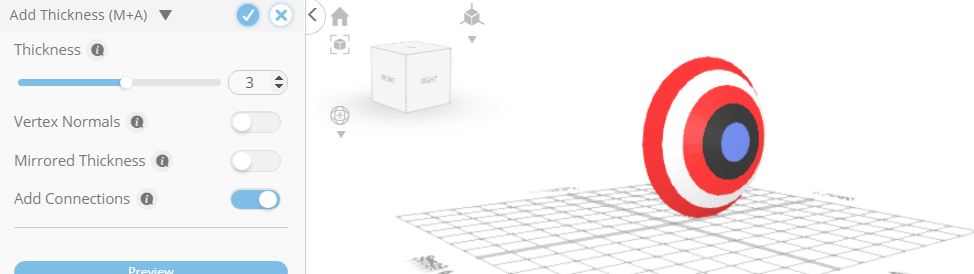
From the Modify Category on the Toolbar choose Add Thickness

Click to finalize Add Thickness
Click Scale on the Toolbar
Set x to 45
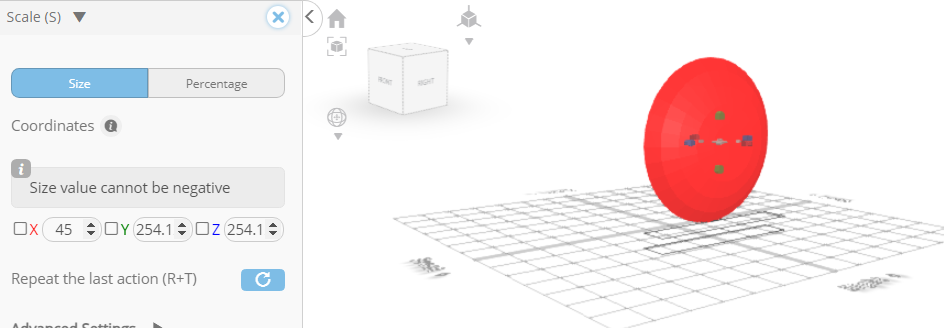
Click ‘x’ to close Transformation panel