How to Design a Probability Cube Using SelfCAD
by Julie80 in Design > Digital Graphics
61 Views, 0 Favorites, 0 Comments
How to Design a Probability Cube Using SelfCAD

Learn How to Design a Probability Cube Using SelfCAD with the help of this tutorial
How to Design a Probability Cube Using SelfCAD
The probability cube serves as an engaging educational tool and a visually intriguing object. Often used in teaching probability concepts and statistical analysis, this cube is not just a functional item but also a testament to the power of geometric modeling. With the advent of advanced digital design tools, creating a probability cube has never been more accessible or precise. SelfCAD, a versatile and user-friendly 3D modeling software, stands out as an ideal platform for such creative and educational projects.
SelfCAD provides an intuitive interface and a rich set of features that cater to both beginners and seasoned designers. Its comprehensive toolkit enables users to transform abstract mathematical concepts into tangible, interactive models. Designing a probability cube in SelfCAD involves a blend of geometric construction, numerical precision, and aesthetic consideration. This tutorial will walk you through the detailed process of creating a probability cube using SelfCAD.
To access the interactive tutorial, visit https://www.selfcad.com/tutorials/3l2o68n6u542d4a4b684j646bu5z3t1t5866
Once you’ve launched the editor;
From the 3D Shapes category on the Toolbar choose Cube. Set Position y to 10
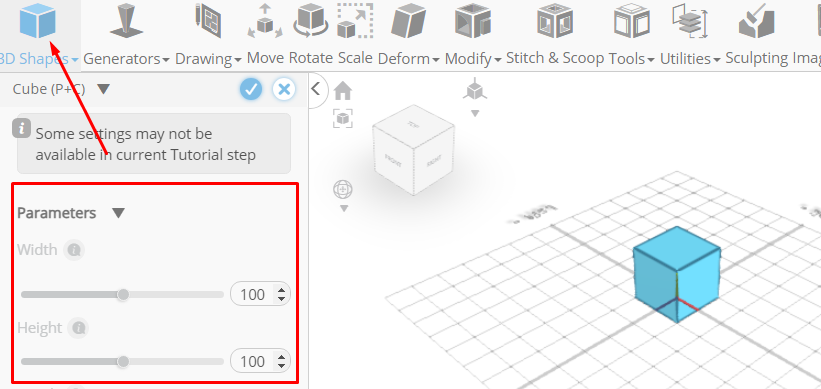
Click to finalize Cube
From the Modify category on the Toolbar choose Chamfer
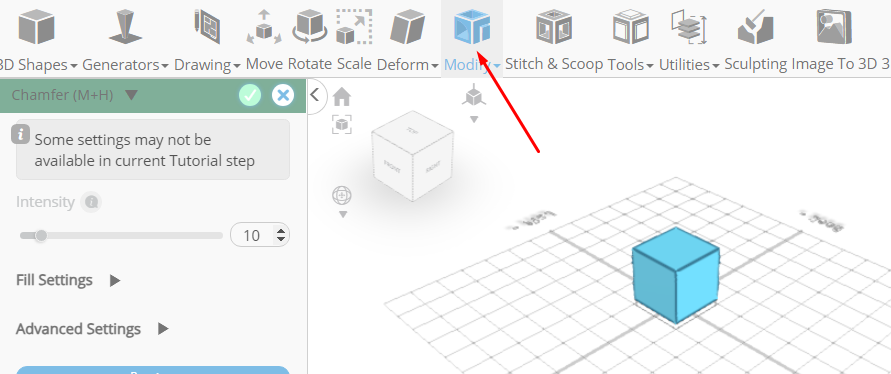
Click to finalize chamfer
From the Generators category on the toolbar choose Text generator. Set Text to yes, Position y to 45, Position z to 48
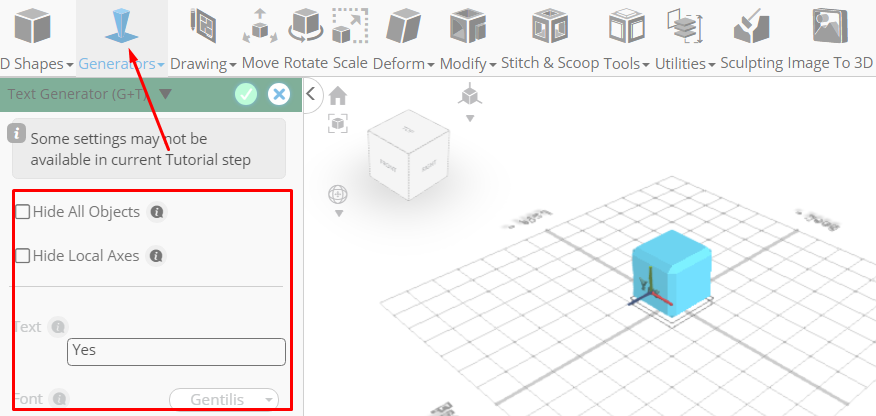
Click to finalize Text generator
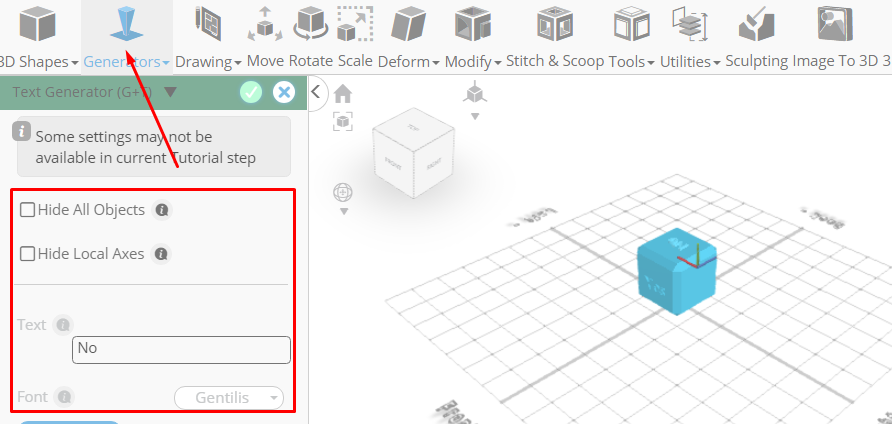
From the Generators category on the toolbar choose Text generator. Set Text to No, Position y to 6, Rotation x to 90
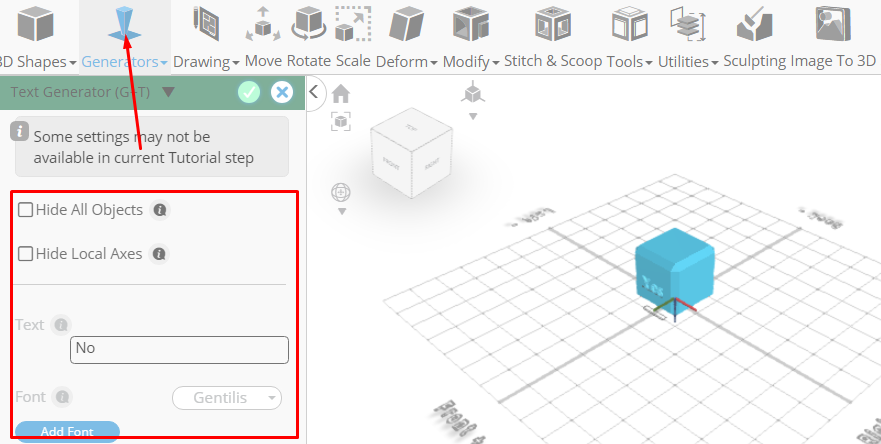
Click to finalize Text generator
Click copy button to copy selected objects
Click Move on the Toolbar. Set y to 104 using highlighted gizmo
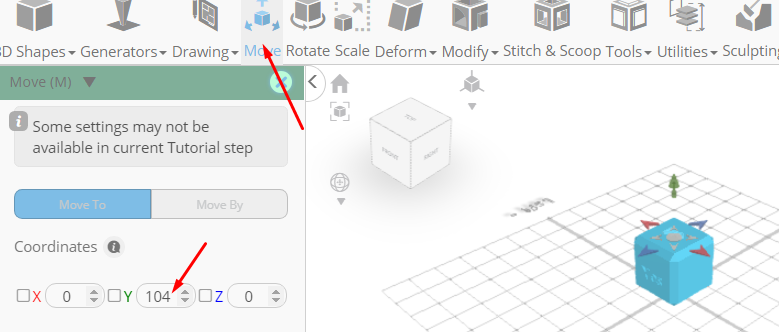
Click ‘x’ to close Transformation panel
Click Rotate on the Toolbar. Set z to -180
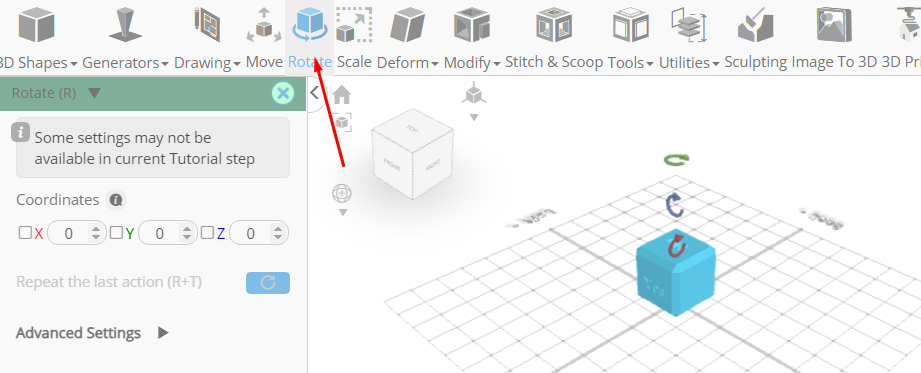
Click ‘x’ to close Transformation panel
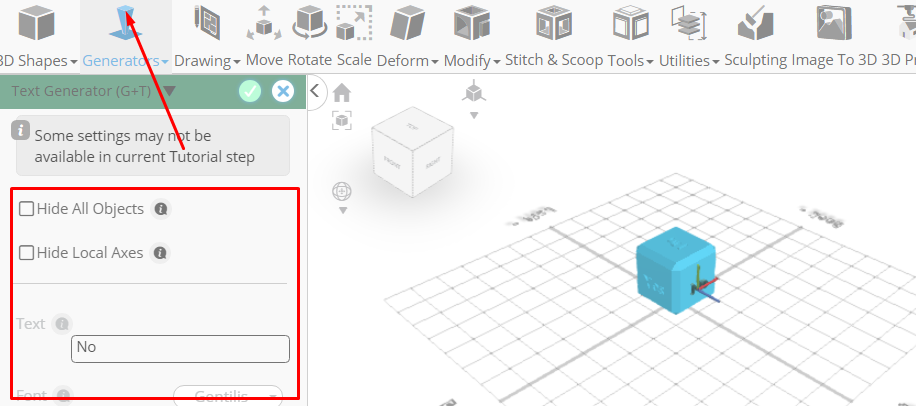
From the Generators category on the toolbar choose Text generator
Set Text to No, Position y to 45, Position z to -49, Rotation y to -180
Click to finalize Text generator
From the Generators category on the toolbar choose Text generator
Set Text to No, Position x to 50, Position y to 45, Rotation y to 90
Click to finalize Text generator
Click copy button to copy selected objects
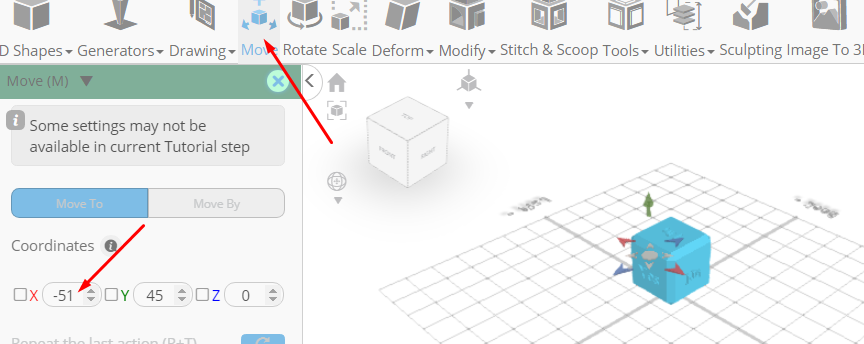
Click Move on the Toolbar. Set x to -51 using highlighted gizmo
Click ‘x’ to close Transformation panel
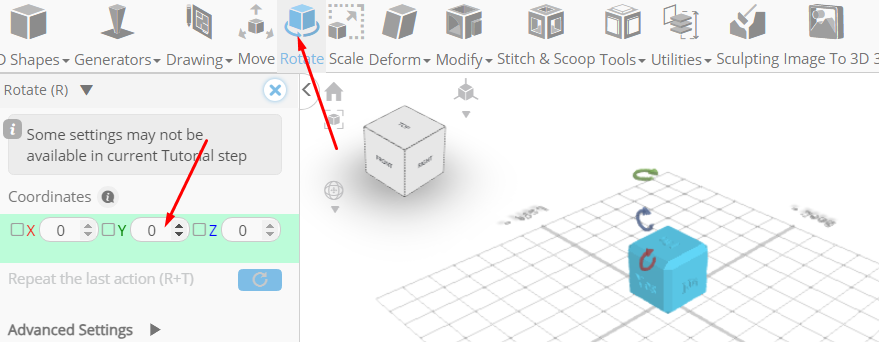
Click Rotate on the Toolbar. Set y to 180
Click ‘x’ to close Transformation panel
Click on text 4, text 3, text 2, text 2(1), text 1, mesh 4 to select it
Click Stitch & Scoop on the Toolbar. From the Tool panel choose Difference
Choose text 1, text 2, text 2(1), text 3, text 4(1) to subtract

Click to finalize Difference
As you continue honing your design skills, remember that SelfCAD offers a wealth of resources to support your learning journey. To deepen your understanding and explore more advanced features, consider checking out the interactive tutorials (https://www.selfcad.com/tutorials) available on the SelfCAD website. The tutorials page provides a treasure trove of guides, tips, and tricks that cater to designers of all levels.
More structured learning experience can also be accessed at the SelfCAD Academy (https://www.selfcad.com/academy/curriculum/), https://www.youtube.com/@3dmodeling101, and 3D Modeling 101 series (https://www.youtube.com/playlist?list=PL74nFNT8yS9DcE1UlUUdiR1wFGv9DDfTB). This comprehensive resource offers in-depth courses taught by industry experts, allowing you to master the intricacies of SelfCAD at your own pace.