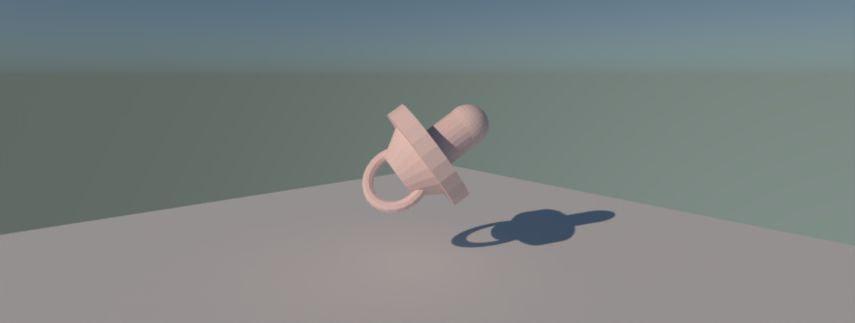
How to Design a Pacifier Using 3D CAD Software
by Julie80 in Design > 3D Design
119 Views, 0 Favorites, 0 Comments
How to Design a Pacifier Using 3D CAD Software

Learn How to Design a Pacifier Using 3D CAD Software with the help of this article
How to Design a Pacifier Using 3D CAD Software
When designing products for infants, especially those like pacifiers that come in direct contact with babies, careful consideration of both safety and functionality is crucial. In recent years, 3D modeling software has empowered designers and product developers to create customized, user-centered products with greater precision and flexibility. SelfCAD, an accessible and versatile 3D modeling program, provides an ideal platform for such projects, combining powerful design tools with user-friendly features suitable for designers of all skill levels. In this tutorial, we will explore the steps involved in designing a pacifier using SelfCAD. By the end, readers will have a comprehensive understanding of both the technical and creative aspects required to design a safe, functional, and visually appealing pacifier model using SelfCAD.
To access the interactive tutorial to this article, check out https://www.selfcad.com/tutorials/3d192q4s55b5f40d3l70115t3g676t62l11i
Once you’ve launched the editor;
From the 3D Shapes category on the toolbar choose cylinder; Set height to 16, position y to 90
Click to finalize cylinder
Click to activate polygon selection; Click on highlighted region to select it
From the modify category on the toolbar choose inset; Set inset amount to 13.16
Click add option to add next macro step; Set operation to extrusion, amount to 24
Click to finalize inset
Click scale on the toolbar; Set x to 43.05, z to 43.05 using highlighted gizmo
Click ‘x’ to close transformation panel
Click on highlighted region to deselect it, Click on highlighted region to select it
From the modify category on the toolbar choose inset; Set inset amount to 31.28
Click add option to add next macro step; Set operation to extrusion, amount to 40
Click to finalize inset
Click highlighted part on selection cube to turn off region selection
From the 3D Shapes category on the toolbar choose sphere; Set radius to 19, position y to 123
Click to finalize sphere
Click on mesh 4 to select it
Click stitch & scoop on the toolbar; From the tool panel choose union
Click to finalize union
From the 3D Shapes category on the toolbar choose torus; Set ring radius to 27, tube radius to 5, tubular segments to 9, position y to 31, rotation x to 90
Click to finalize torus
Click on union 1 to select it
Click stitch & scoop on the toolbar; From the tool panel choose difference, choose mesh 12 to subtract and set keepsubtractedobject to true
Click to finalize difference
As you continue honing your design skills, remember that SelfCAD offers a wealth of resources to support your learning journey. To deepen your understanding and explore more advanced features, consider checking out the interactive tutorials (https://www.selfcad.com/tutorials) available on the SelfCAD website. The tutorials page provides a treasure trove of guides, tips, and tricks that cater to designers of all levels.
More structured learning experience can also be accessed at the SelfCAD Academy (https://www.selfcad.com/academy/curriculum/), https://www.youtube.com/@3dmodeling101, and 3D Modeling 101 series (https://www.youtube.com/playlist?list=PL74nFNT8yS9DcE1UlUUdiR1wFGv9DDfTB). This comprehensive resource offers in-depth courses taught by industry experts, allowing you to master the intricacies of SelfCAD at your own pace.