How to Design a Newsletter in Canva: Basics
by ehickerson in Design > Digital Graphics
216 Views, 0 Favorites, 0 Comments
How to Design a Newsletter in Canva: Basics
Using Canva.com, this instruction list helps you create a newsletter.
Supplies
canva.com
Document Type
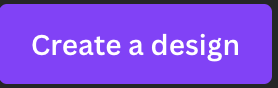
Click the purple "Create a design" button at the top right of the screen, next to your profile picture.
Creating the Document
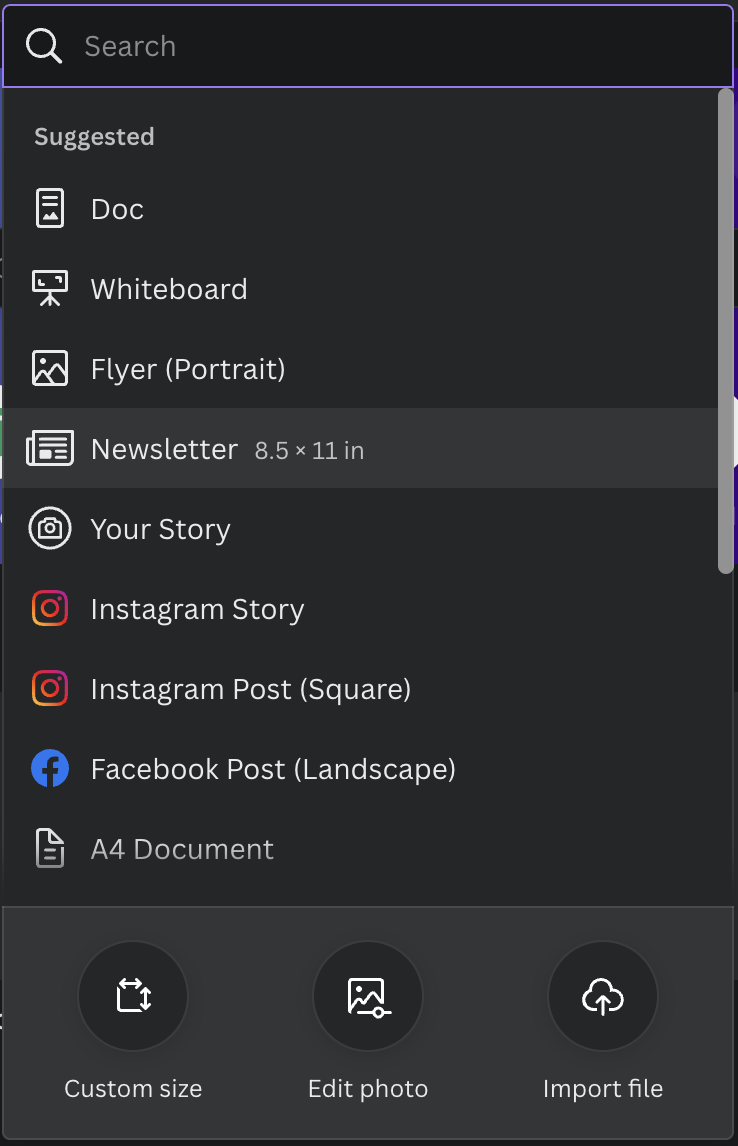
Click the "Newsletter" option. This will give you a blank 8.5 in x 11 in document.
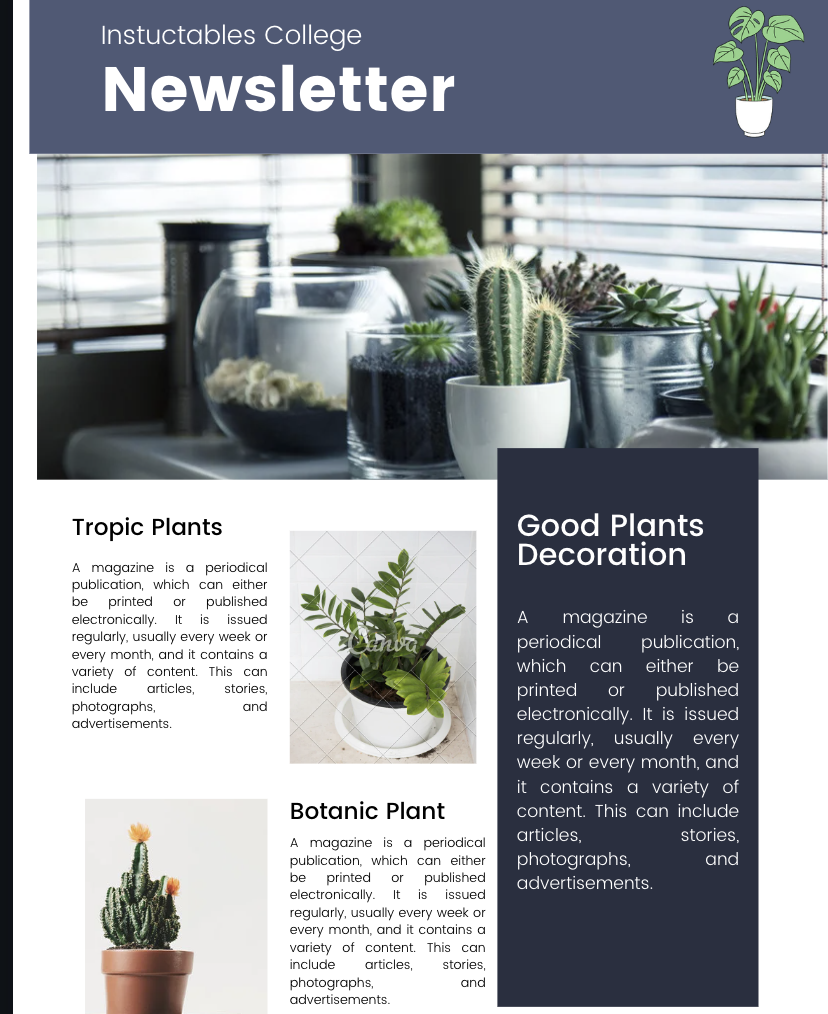
Pick a Layout
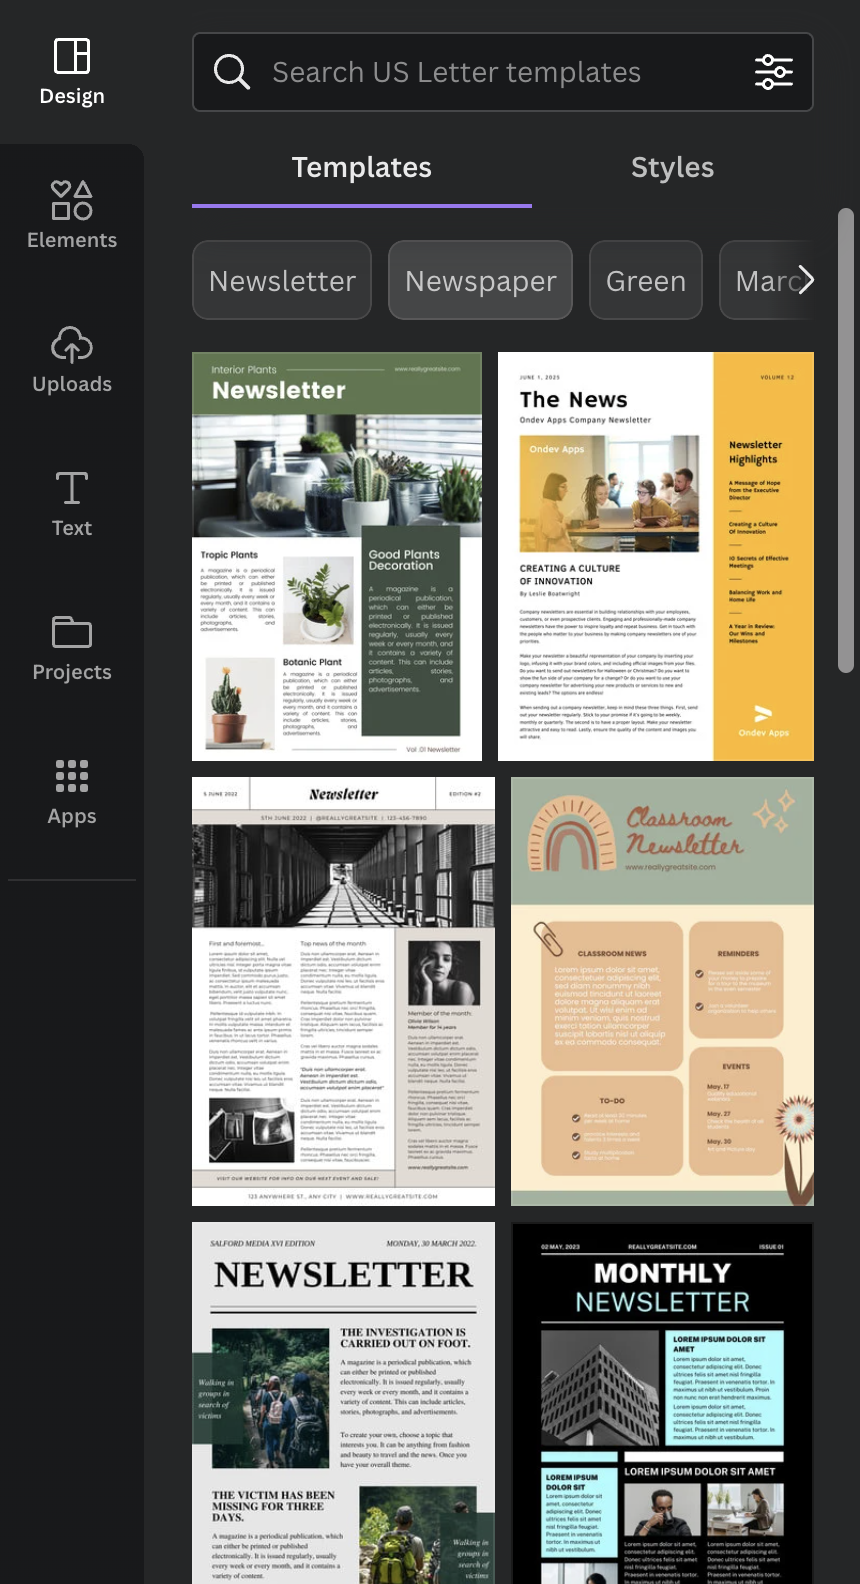
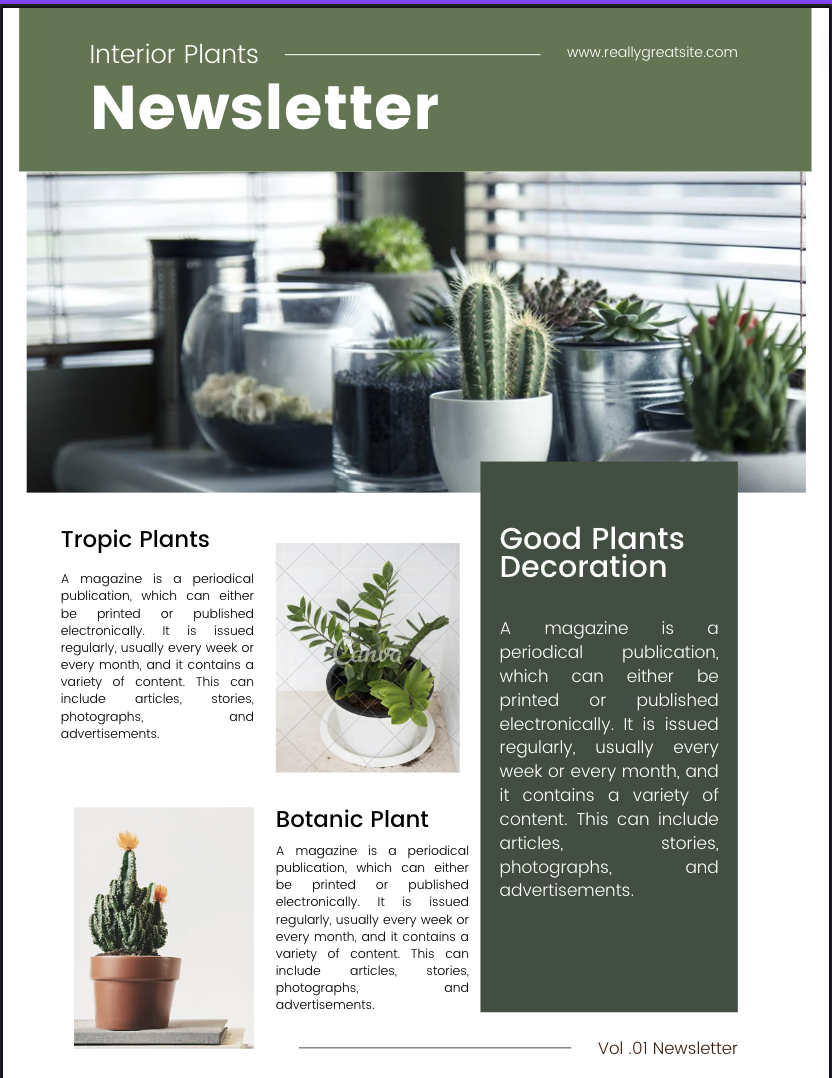
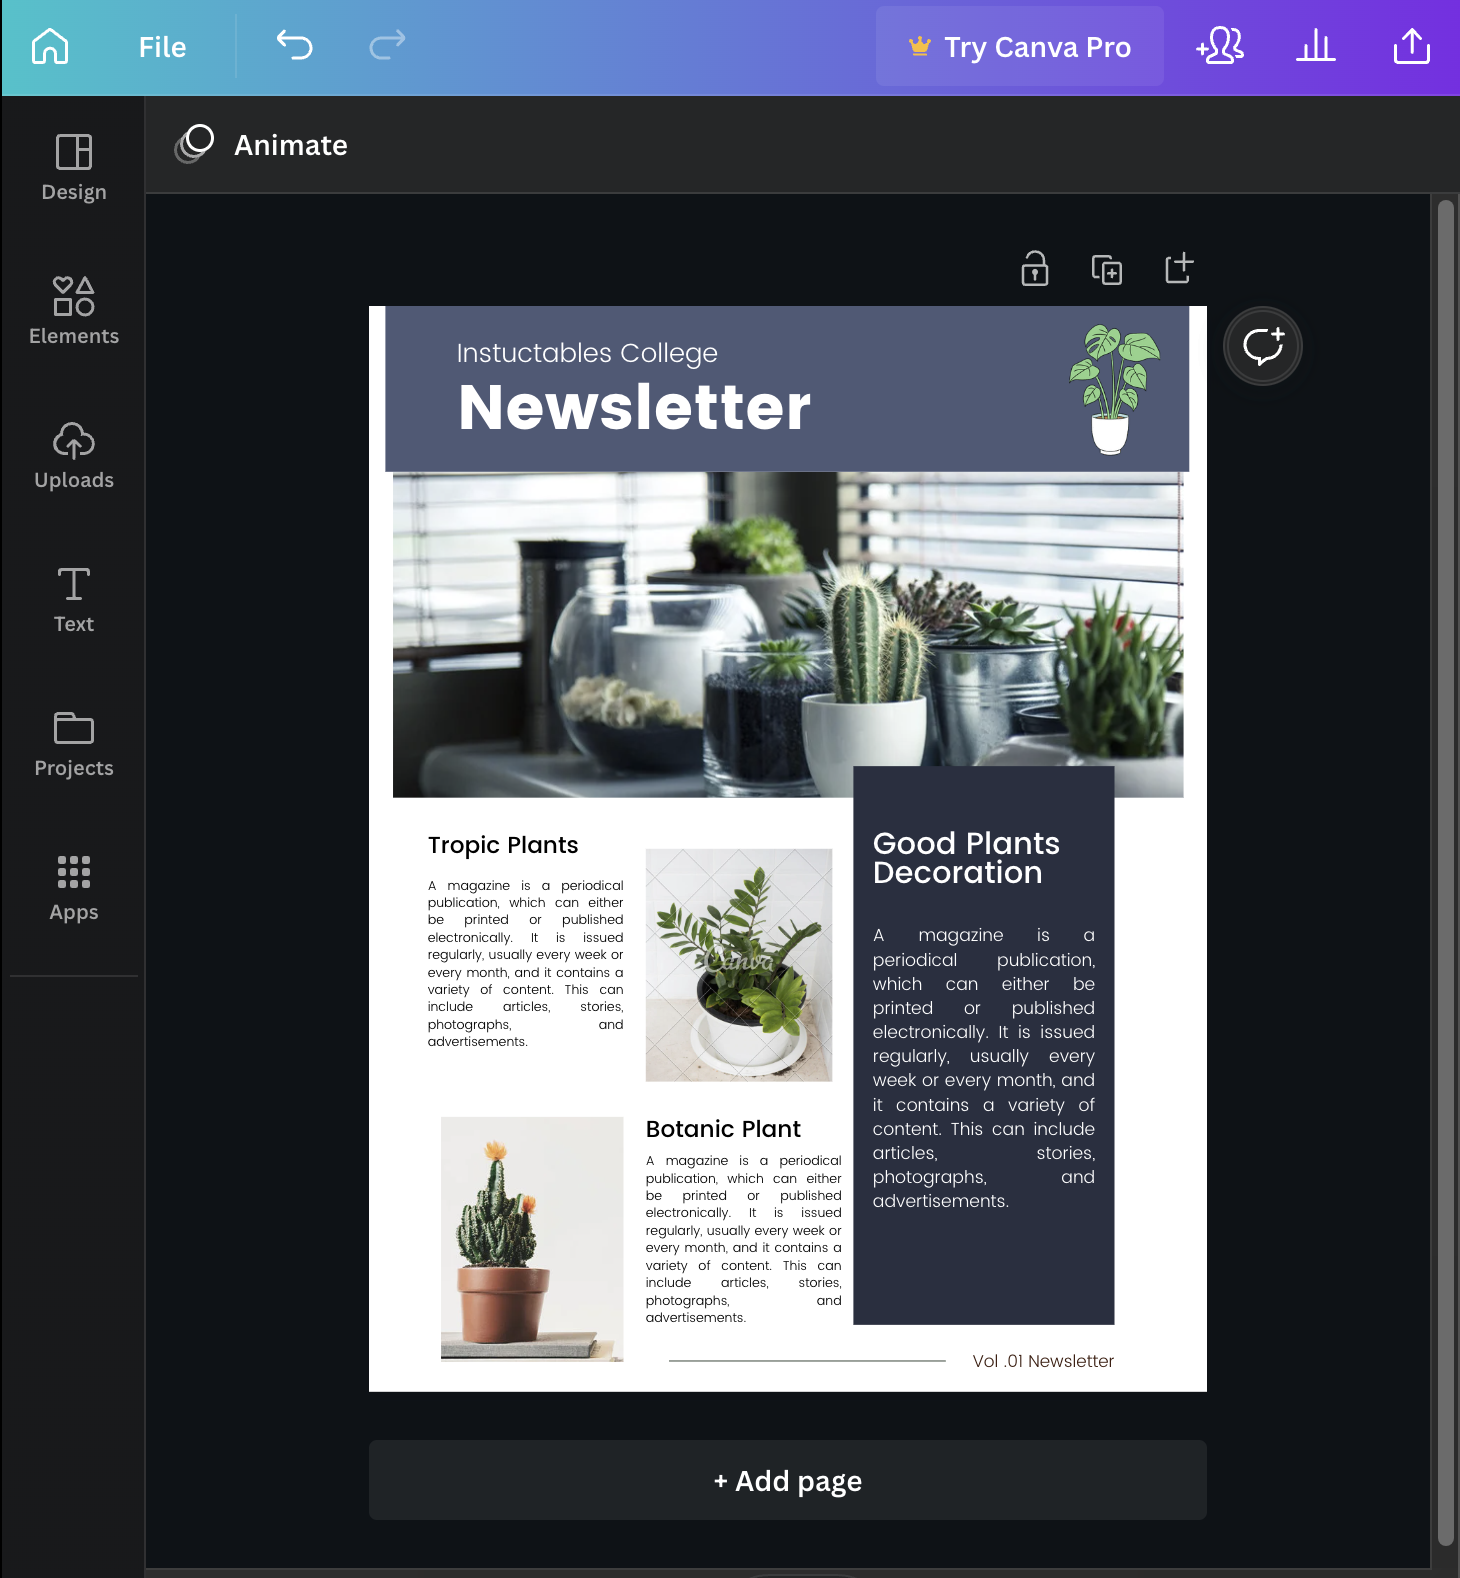
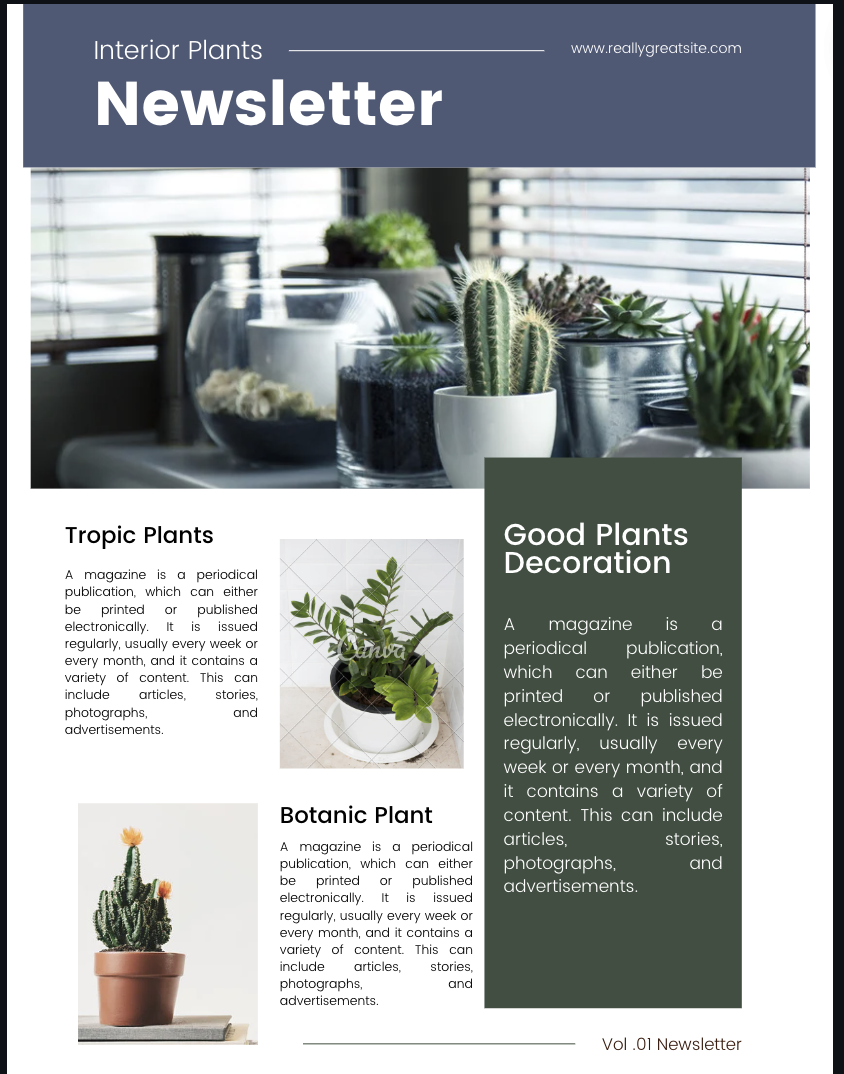
Use the "Design" tab to pick an appropriate layout. For this tutorial, I will be using this template. You can change and edit every layout so it may not be perfect for your use.
Change Colors
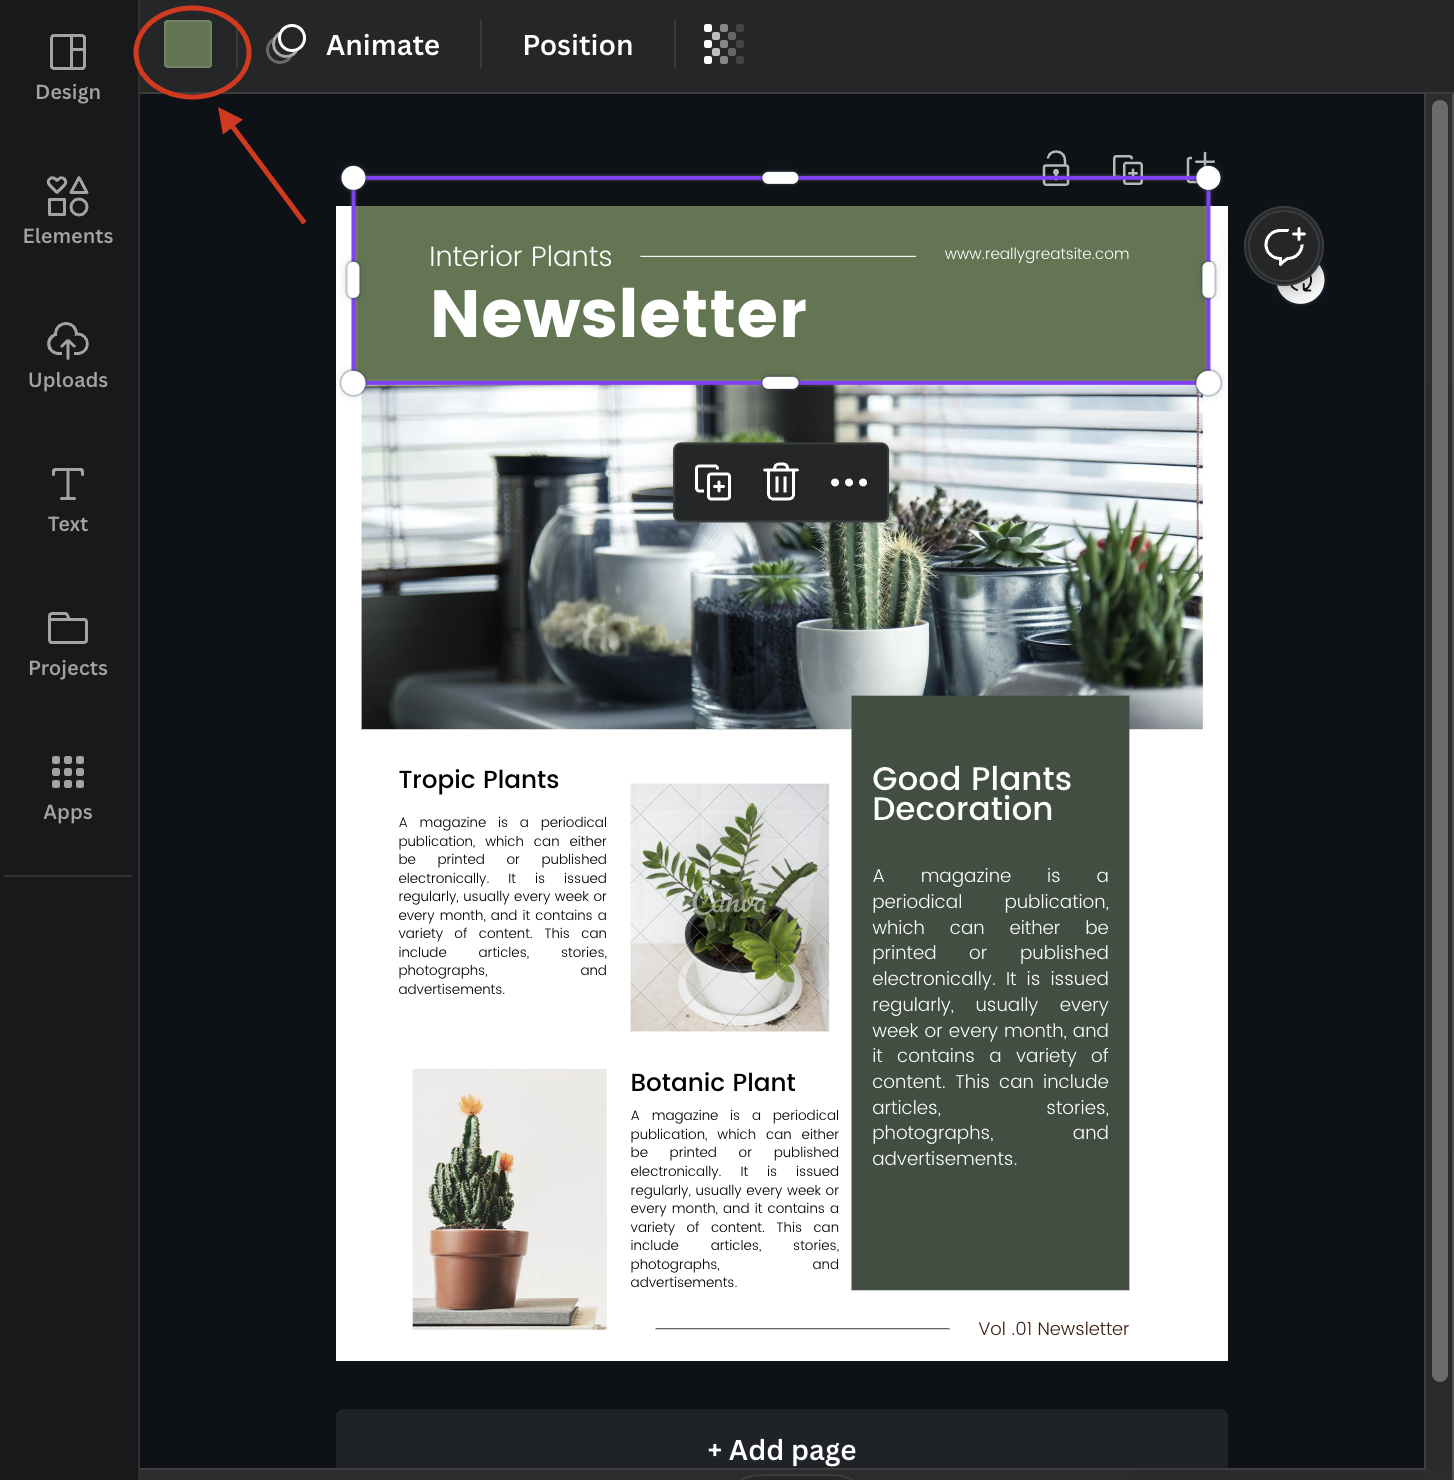
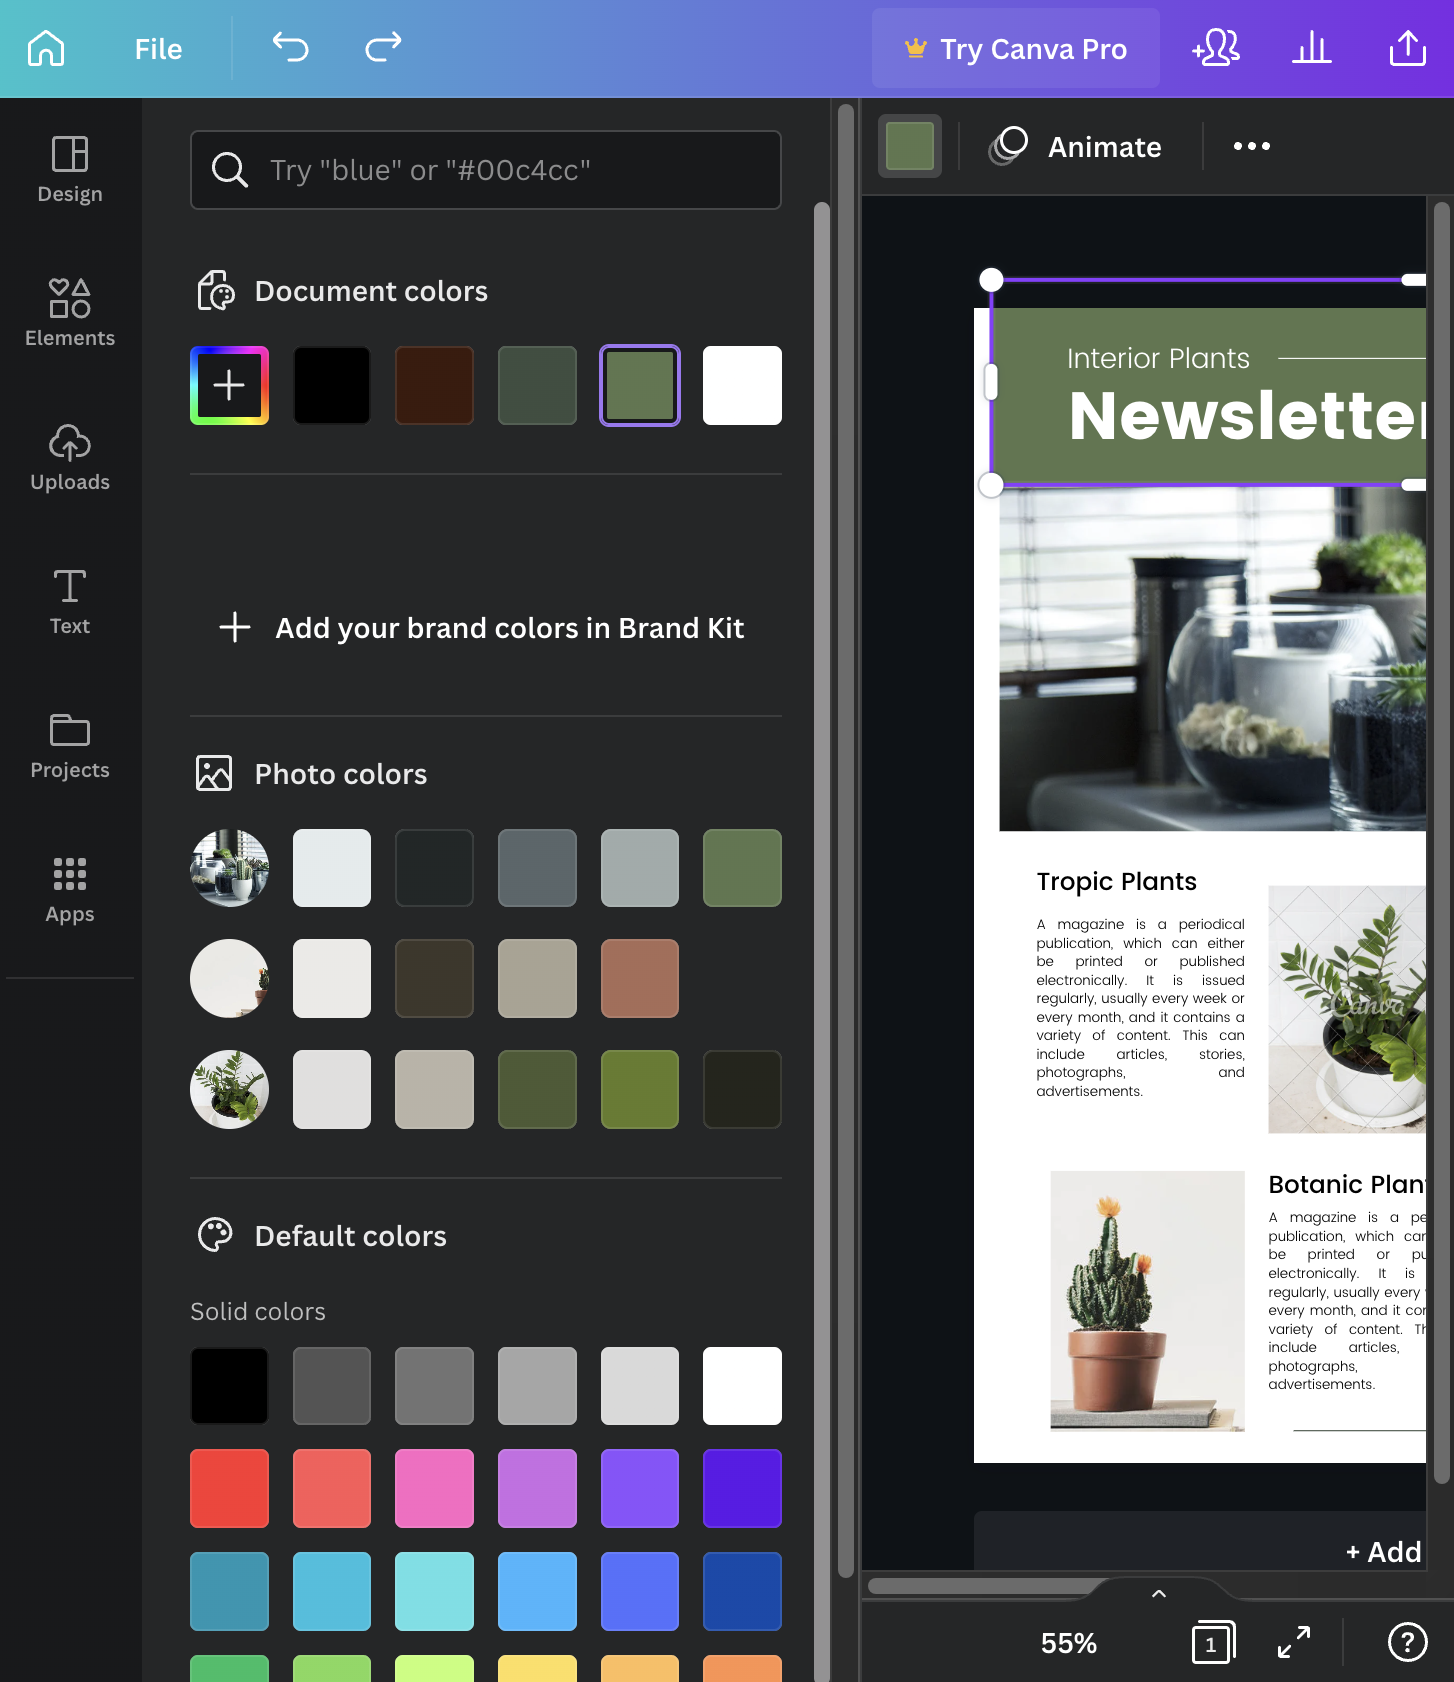
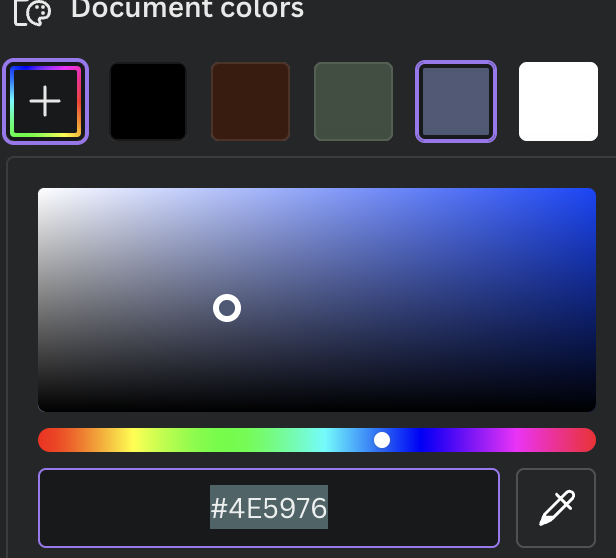
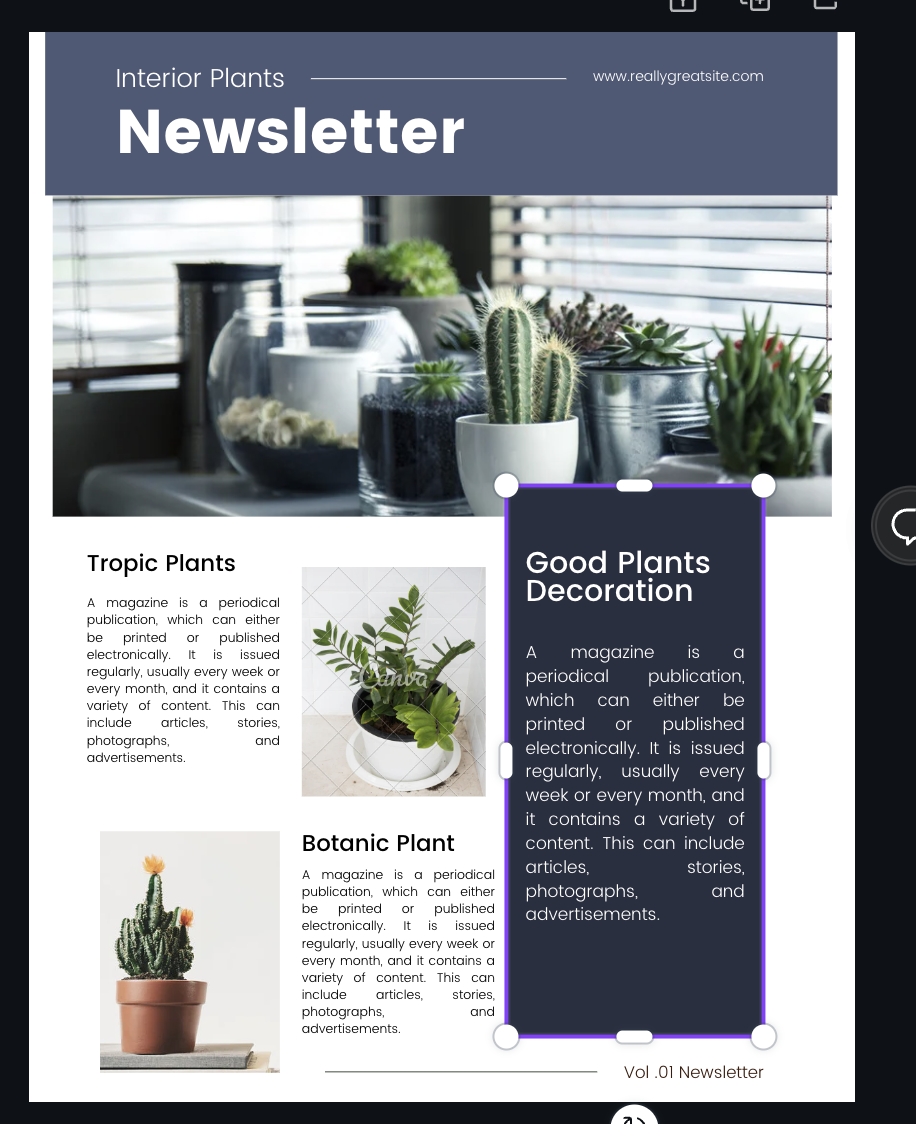
Click what you wish to change and click the colored box at the top left of the screen. It will bring up a menu to pick any color you'd like. I am changing mine to #4E5976. I am then going to change the other box to #292F40
Changing Text
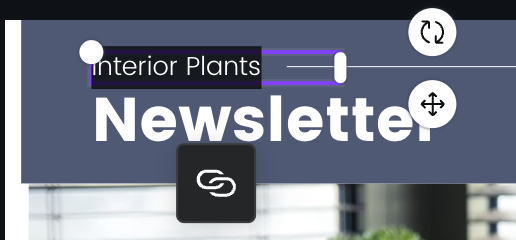
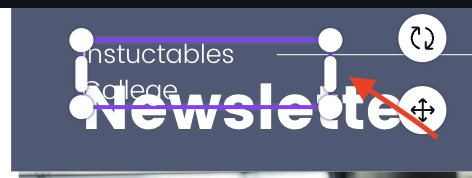
Double-click on the text box you wish to change and it will become highlighted. Type the new text and click off once you are done.
If the text is too long to fit, expand the text box by clicking the thin oval and dragging your mouse left or right to expand it.
Changing Font
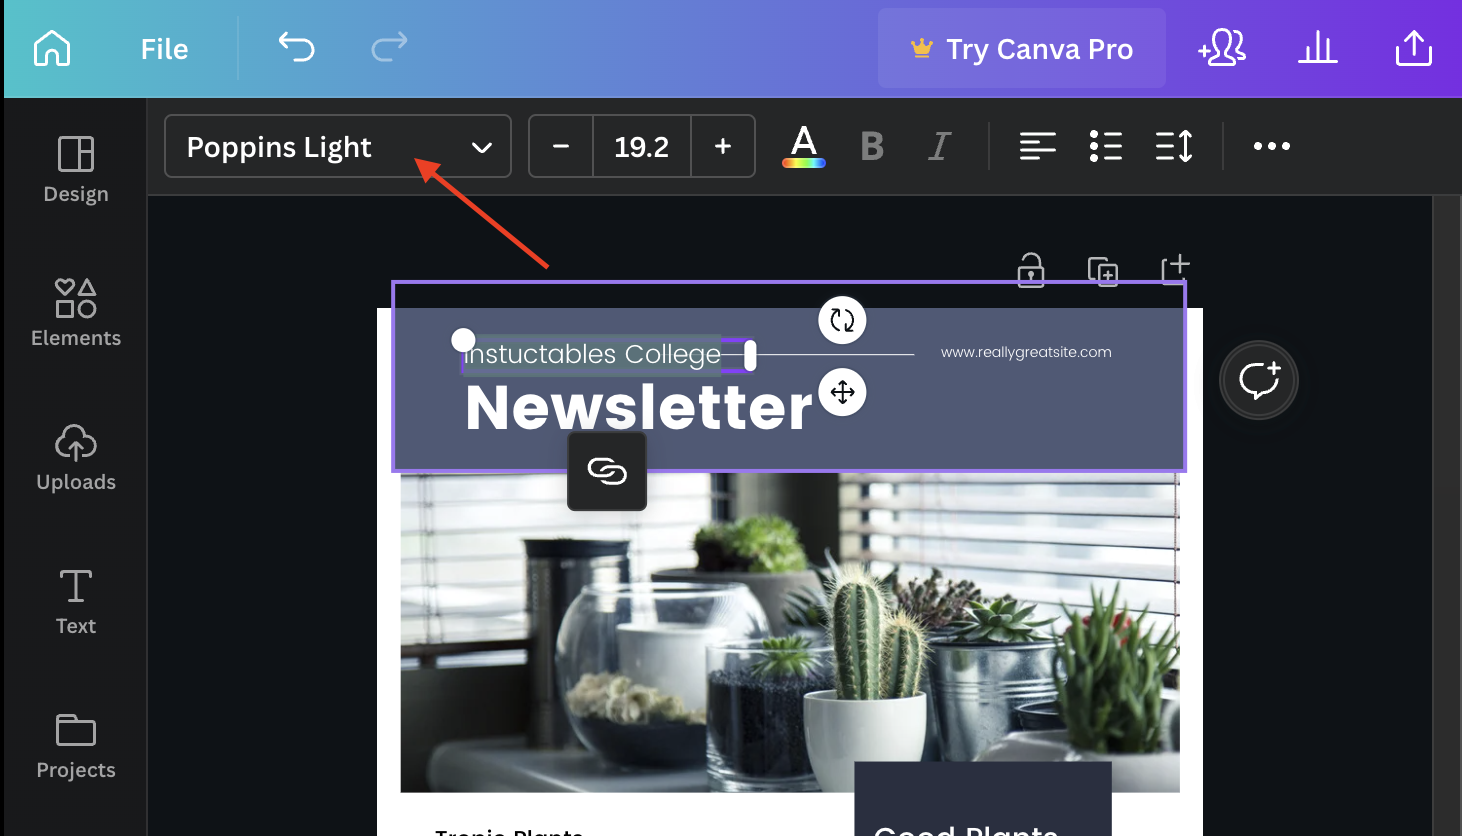

Double-click the text box until all of the characters are highlighted.
Click the name of the font on the top left. This will open up the font menu. You can scroll to see more options or search in the search bar. Once you find one you like, click it and it will change the font of the highlighted text.
Changing Color of Text
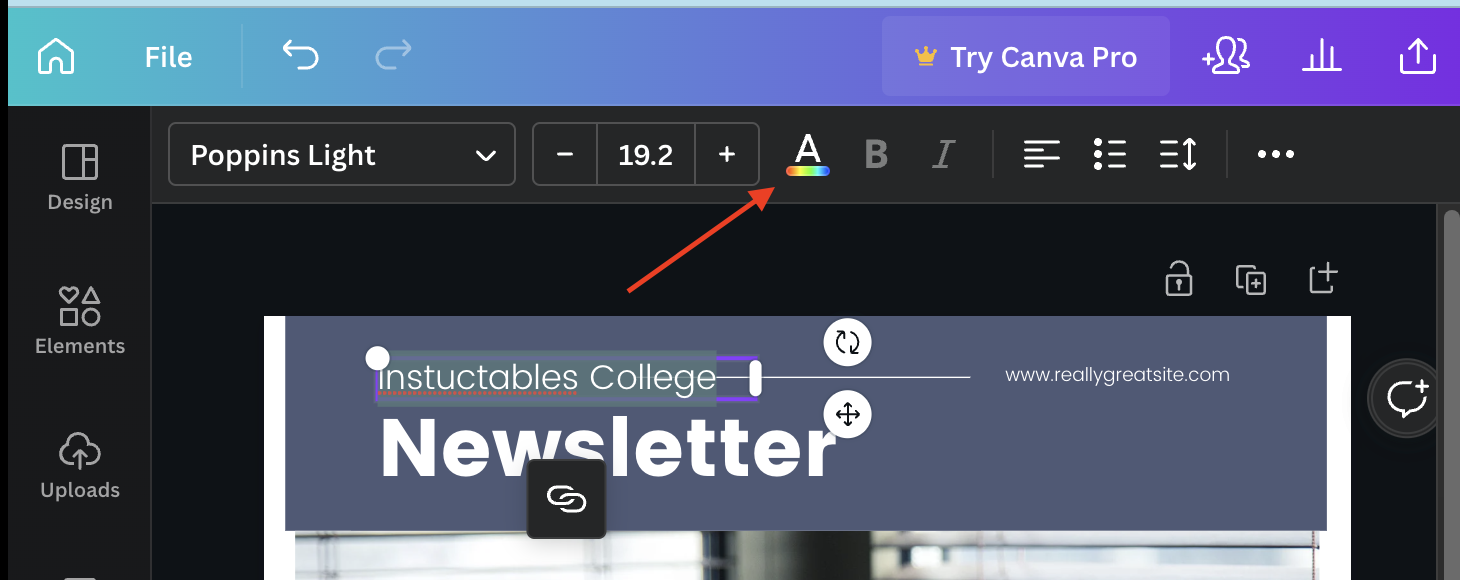
Double-click the text box until all of the characters are highlighted. Once they are highlighted, click the colorful "A". This will bring up the same color menu as before, but this time it changes the text you have selected.
Move Objects on the Page
Click on the item you want to move and use your mouse to drag the item around the page.
TIP: After clicking on the item, use your arrow keys to move the item, slightly.
Deleting an Element
Click on what you want to delete and hit your delete key or backspace for some users.
TIP: if you accidentally delete something, use the keys CTRL+Z to undo it.
Adding Elements
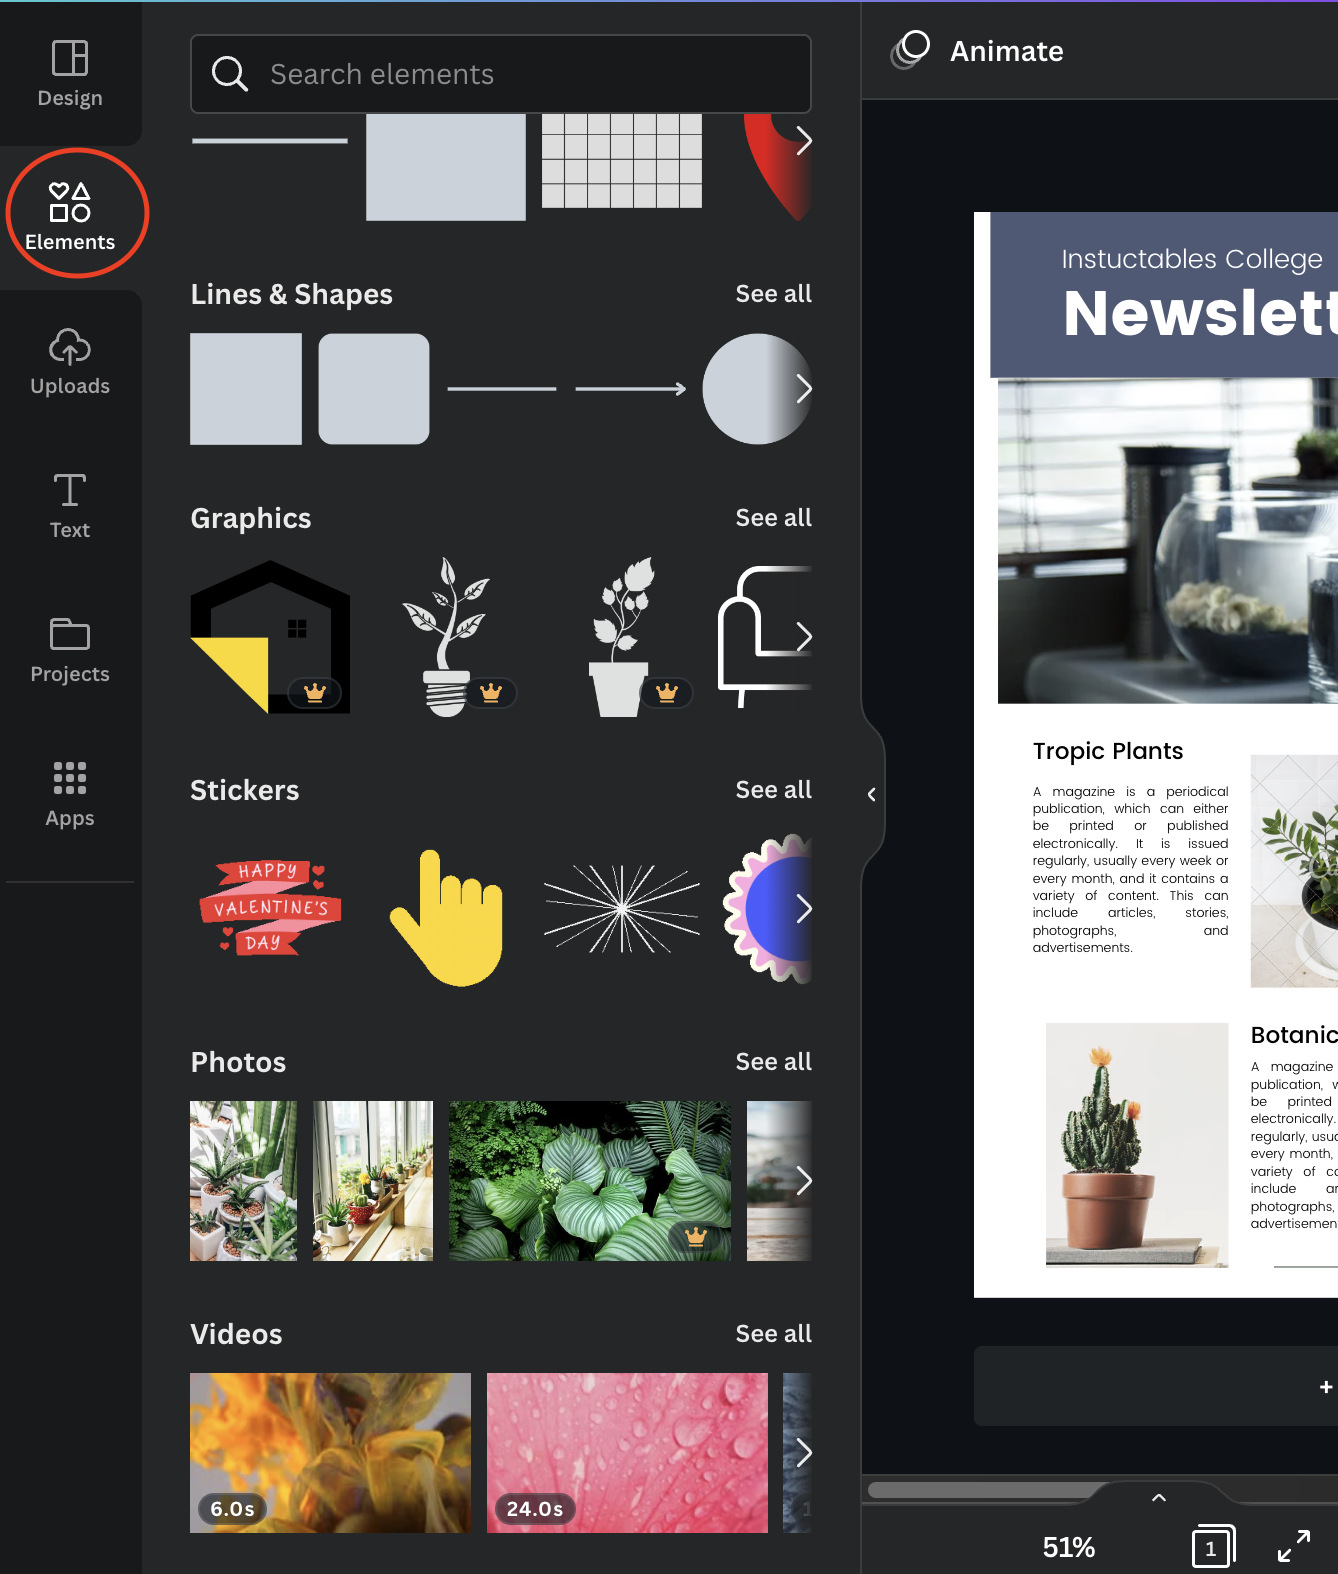
Click the elements tab on the left side of your screen to bring up a menu consisting of shapes, graphics, stickers, photos, and videos.
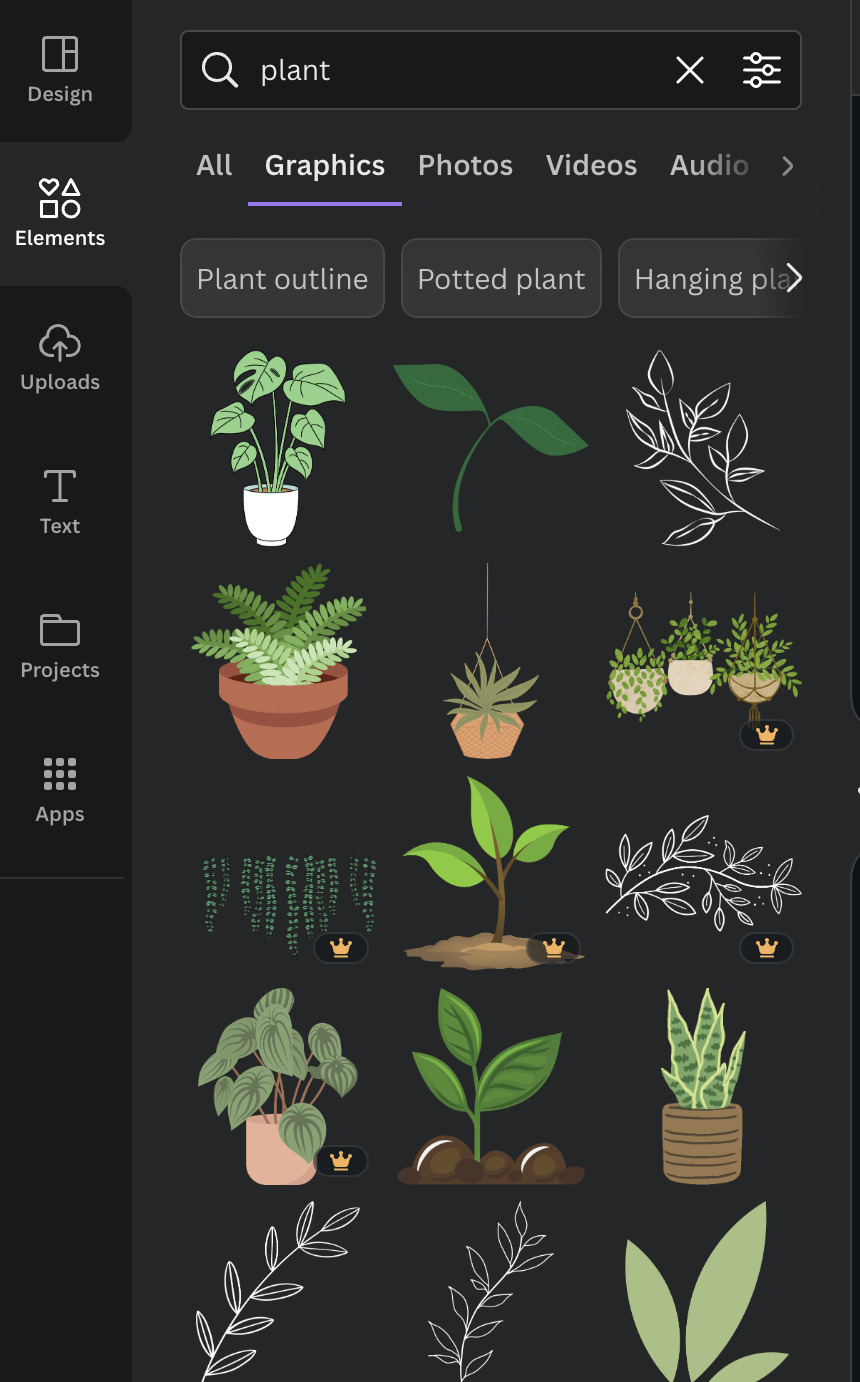
You can use the search bar to quickly find something. For example, I am going to search for a plant graphic.
Click the image you want to add and it will appear on your page.
Resizing
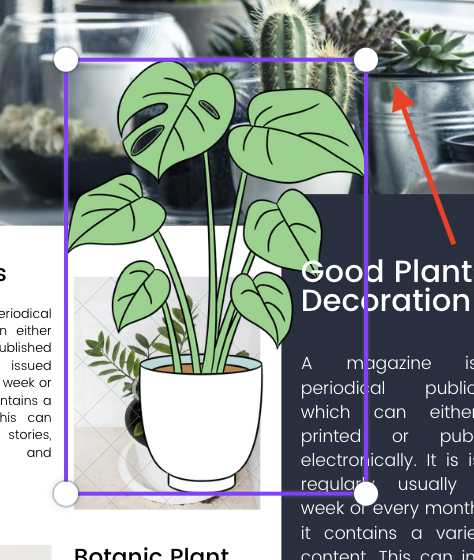
Click on the element and use the corner dots to drag the picture to increase or decrease the size.
Uploading Pictures
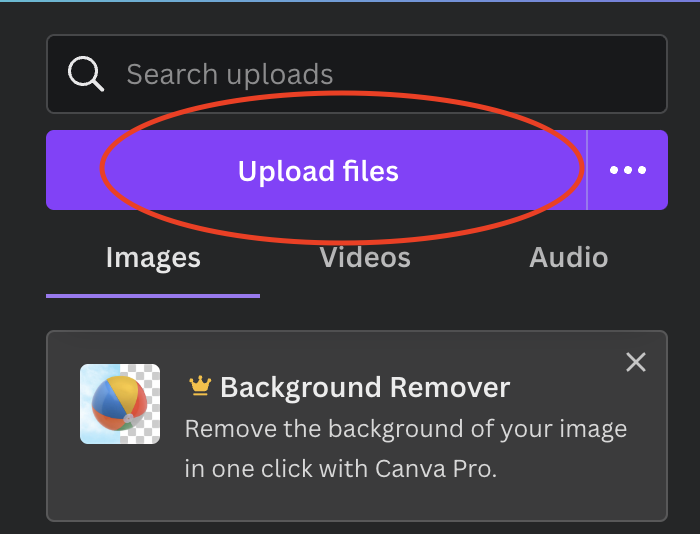
Click the upload tab on the left then click "Upload Files"
Choose the file you wish to upload and it will appear.
Click the picture again to add it to your page.