How to Design a Mushroom Paperweight Using SelfCAD
by Julie80 in Design > 3D Design
58 Views, 0 Favorites, 0 Comments
How to Design a Mushroom Paperweight Using SelfCAD

Learn How to Design a Mushroom Paperweight Using SelfCAD with the help of this tutorial
How to Design a Mushroom Paperweight Using SelfCAD
The mushroom paperweight, with its organic shapes and aesthetic appeal, is an ideal project to showcase the capabilities of SelfCAD. The software's comprehensive toolset and intuitive interface make it easy to model intricate details and produce a polished final product. SelfCAD supports the entire workflow from initial design to final print preparation, making it a versatile choice for both hobbyists and professional designers.
In this article, we will guide you through the process of designing a mushroom paperweight using SelfCAD. We will cover every step, from conceptualizing and sketching the basic forms to refining the details. Whether you are new to 3D modeling or looking to enhance your skills, this tutorial will provide you with the knowledge and techniques needed to create a beautiful and functional mushroom paperweight.
To access the interactive tutorial to this article, visit https://www.selfcad.com/tutorials/1v5w5k1d5y4t4u68s5o675qq6d6d1f4ut1f6
Once you’ve launched the editor;
From the 3D Shapes category on the Toolbar choose sphere; Set radius to 70, horizontal segments to 40, vertical segments to 20, position y to 50
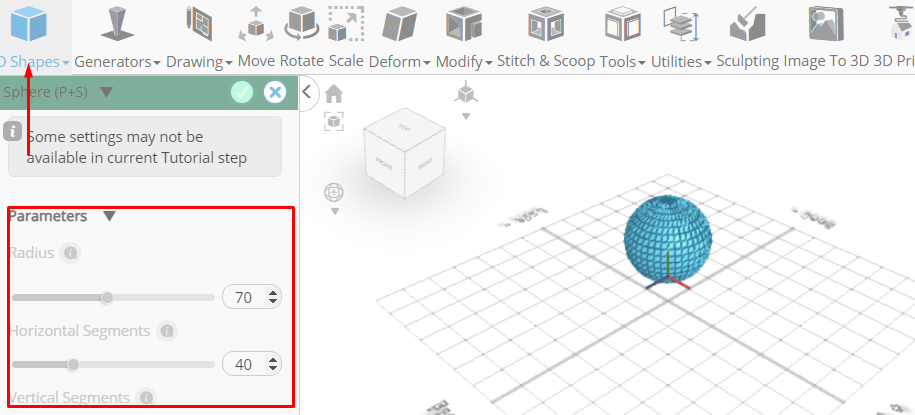
Click to finalize sphere
From the 3D Shapes category on the Toolbar choose capsule; Set top radius to 50, bottom radius to 60, height to 160
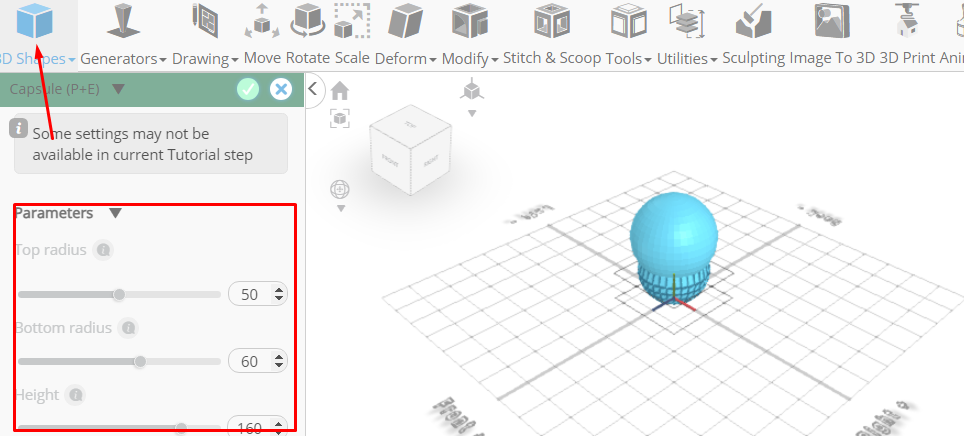
Click to finalize capsule
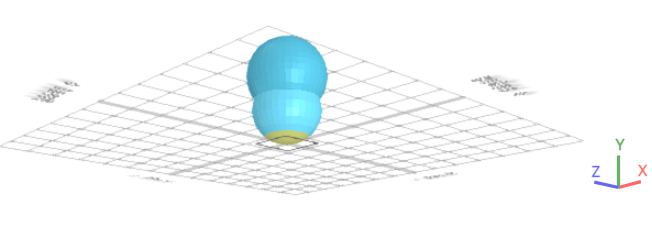
Click to activate face selection; Click on highlighted region to select it
From the deform category on the toolbar choose flatten; Set y to 1.09 using highlighted gizmo
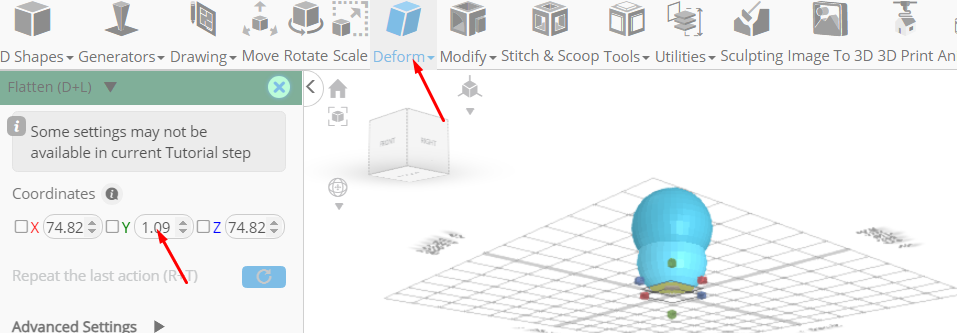
Click ‘x’ to close transformation panel
Click on highlighted region to deselect it
Click move on the toolbar; Set y to 0
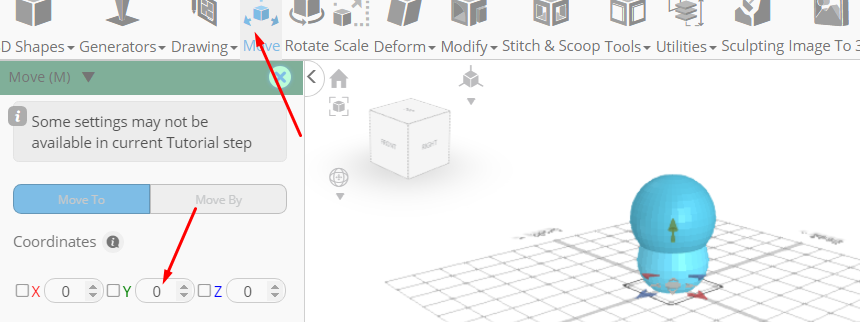
Click ‘x’ to close transformation panel
Click highlighted part on selection cube to turn off region selection
Click on mesh 4 to select it. Click on mesh 8 to deselect it
Click scale on the toolbar; Set y to 123, x to 150, z to 150, using highlighted gizmo

Set x to 160, z to 160, y to 113, using highlighted gizmo
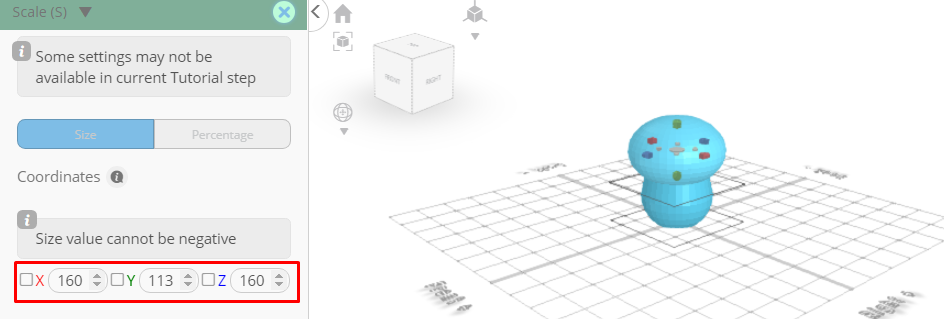
Click ‘x’ to close transformation panel
From the drawing category on the toolbar choose 3D Sketch
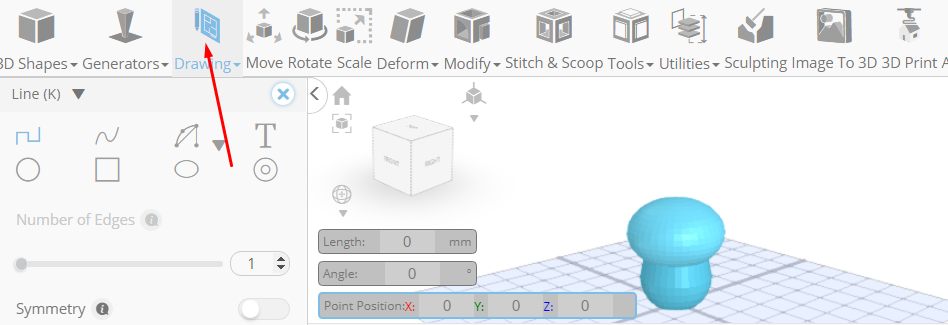
From the plane list select back/front; From the tool panel choose ellipse
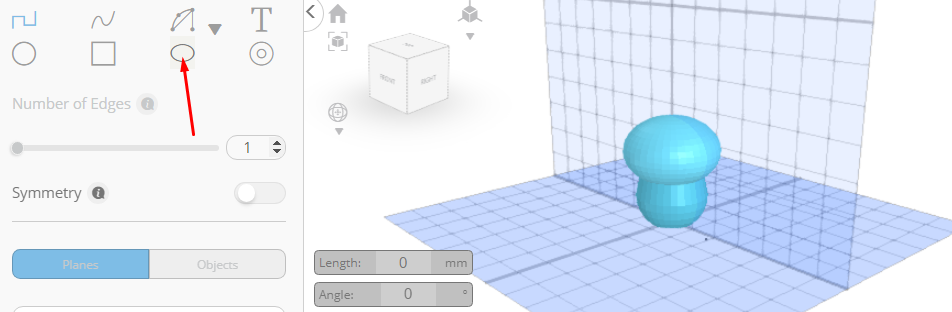
Click on mesh 4 to deselect it
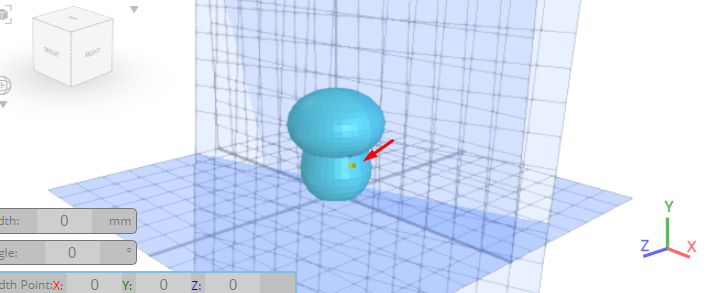
Click on highlighted point to draw ellipse
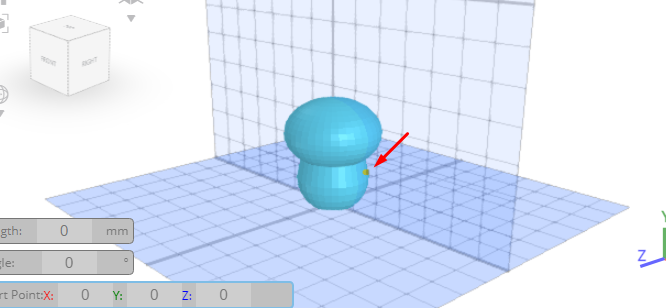
Click on highlighted point to draw ellipse
Click ‘x’ to close 3D Sketch panel
From the tools category on the toolbar choose fill polygons
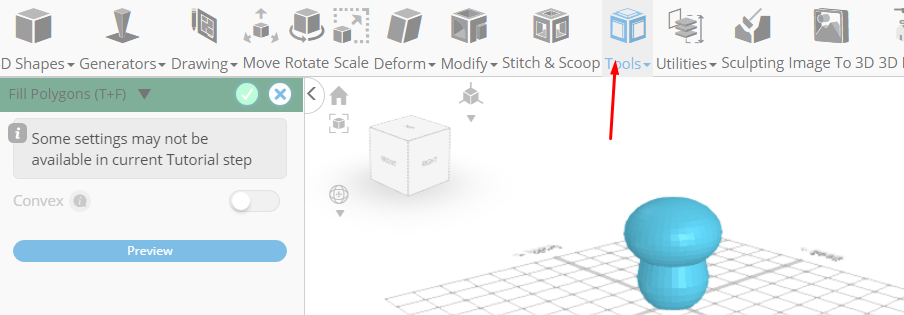
Click to finalize fill polygons
From the modify category on the toolbar choose add thickness; Set thickness to 8, use vertex normals to true
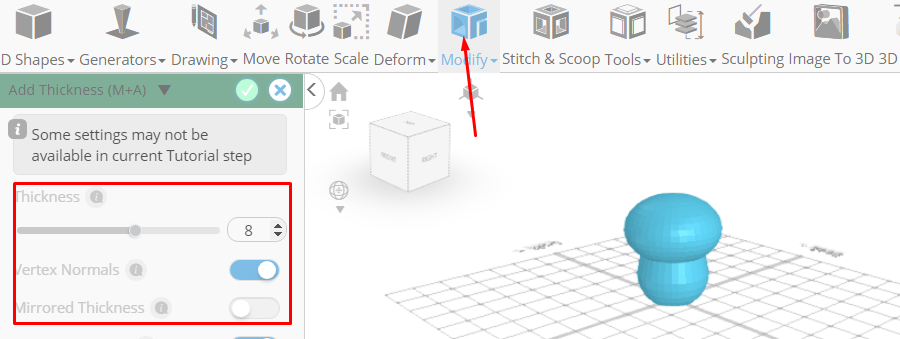
Click to finalize add thickness
Click move on the toolbar; Set z to -54.25
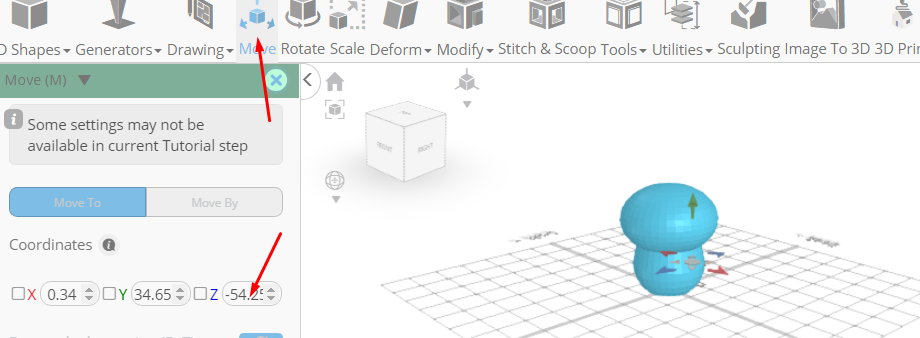
Click ‘x’ to close transformation panel
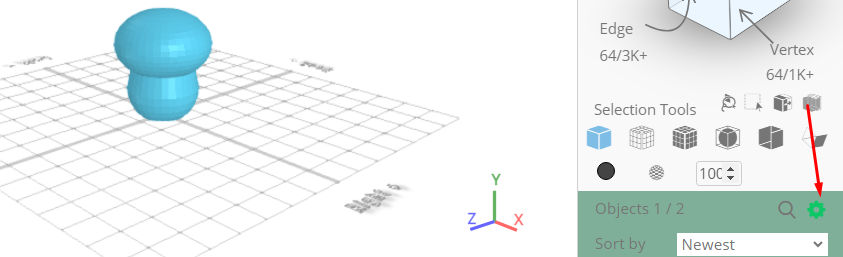
Click on mesh 8, mesh 4 to select
Click stitch & scoop on the toolbar; From the tool panel choose union
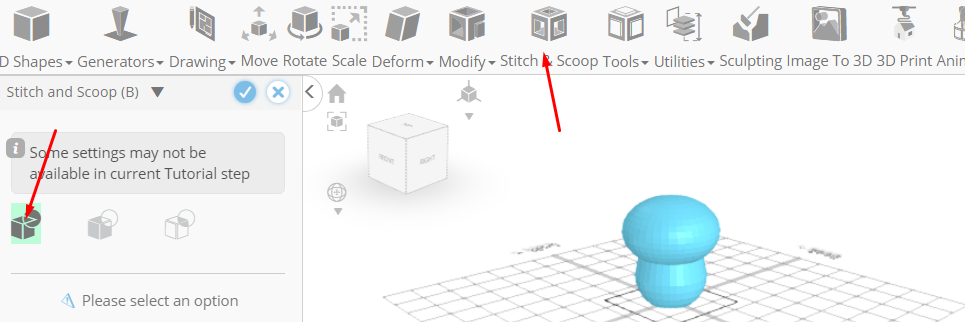
Click to finalize union
Click on profile 1 to select it. Click on union 1 to deselect, click hide button to hide selected object
Tick the checkmark to finalize materials
As you continue honing your design skills, remember that SelfCAD offers a wealth of resources to support your learning journey. To deepen your understanding and explore more advanced features, consider checking out the interactive tutorials (https://www.selfcad.com/tutorials) available on the SelfCAD website. The tutorials page provides a treasure trove of guides, tips, and tricks that cater to designers of all levels.
More structured learning experience can also be accessed at the SelfCAD Academy (https://www.selfcad.com/academy/curriculum/), https://www.youtube.com/@3dmodeling101, and 3D Modeling 101 series (https://www.youtube.com/playlist?list=PL74nFNT8yS9DcE1UlUUdiR1wFGv9DDfTB). This comprehensive resource offers in-depth courses taught by industry experts, allowing you to master the intricacies of SelfCAD at your own pace.