How to Design a Low Poly Box Using SelfCAD
by Julie80 in Design > Digital Graphics
81 Views, 0 Favorites, 0 Comments
How to Design a Low Poly Box Using SelfCAD
Learn How to Design a Low Poly Box Using SelfCAD with the help of this article
How to Design a Low Poly Box Using SelfCAD
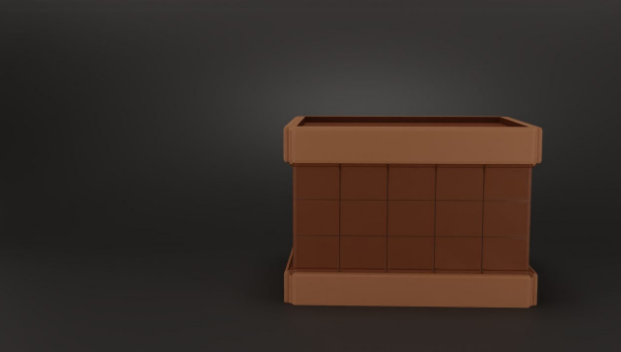
The art of 3D modeling encompasses a variety of styles and techniques, each with its unique appeal and applications. One popular style is low poly modeling, characterized by its use of simple shapes and a limited number of polygons to create visually striking and efficient designs. SelfCAD, known for its user-friendly interface and powerful tools, is an excellent choice for those looking to dive into low poly modeling. In this essay, we will focus on the process of designing a low poly box using SelfCAD. This project not only serves as an ideal introduction to the fundamentals of low poly design but also allows for creative expression within a minimalist framework. We will guide you through each step, from setting up your workspace to refining the final model, providing tips and techniques to help you achieve a clean and professional result. Whether you're a beginner eager to learn the basics or an experienced designer looking to explore a different style, this tutorial will equip you with the knowledge and skills needed to create a low poly box in SelfCAD with confidence and precision
To access the interactive tutorial to this article, visit https://www.selfcad.com/tutorials/4c2i1u4h2p43534h3f4u5c6m6693w3i6j645
Once you’ve launched the editor;
From the 3D Shapes category on the toolbar choose cube; Set width to 130, width segment to 5, height segment to 5, depth segment to 5
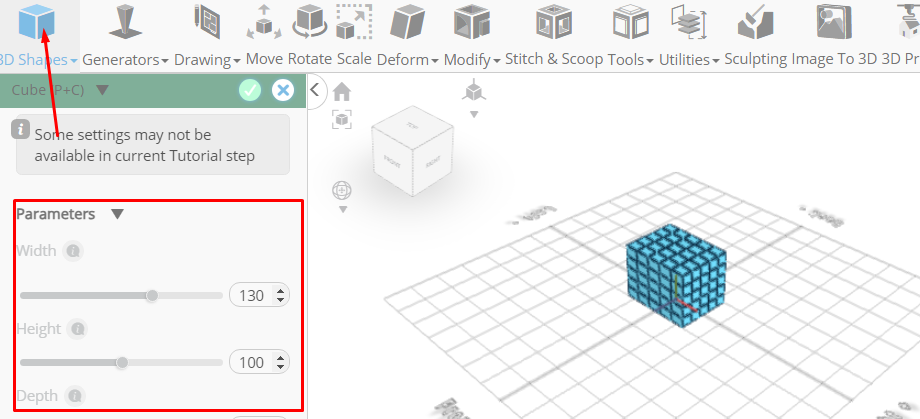
Click to finalize cube
Click solid + wireframe button to set rendering mode
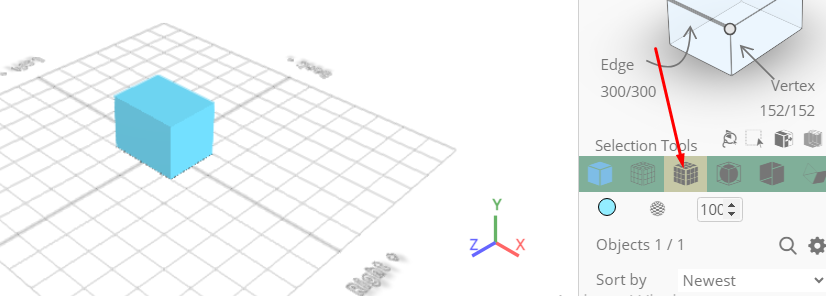
Click to activate face selection
Click on highlighted region to select it

From the modify category on the toolbar choose extrusion
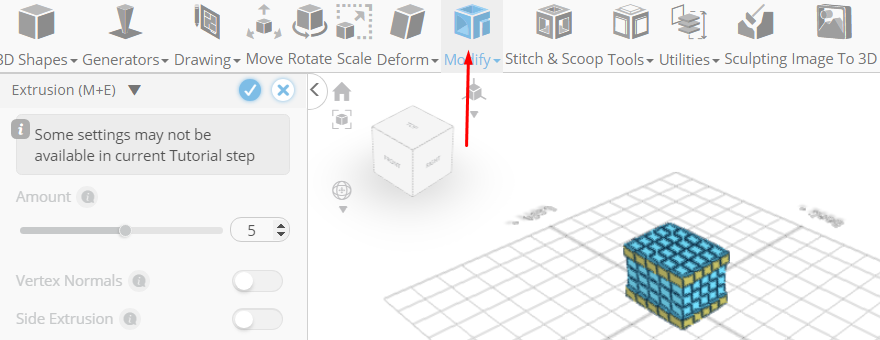
Click to finalize extrusion
Click on highlighted region to deselect it
From the modify category on the toolbar choose fillet; Set intensity to 2
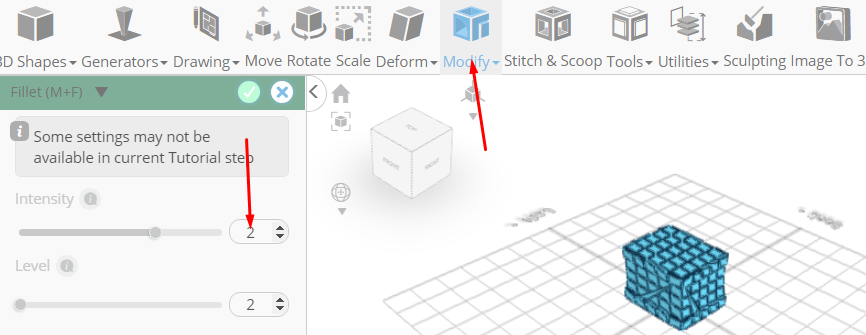
Click to finalize fillet
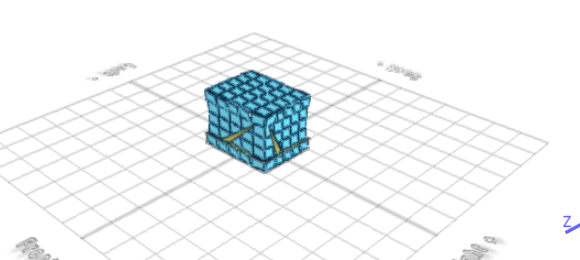
Click on highlighted region to select it
From the Modify category choose Extrusion
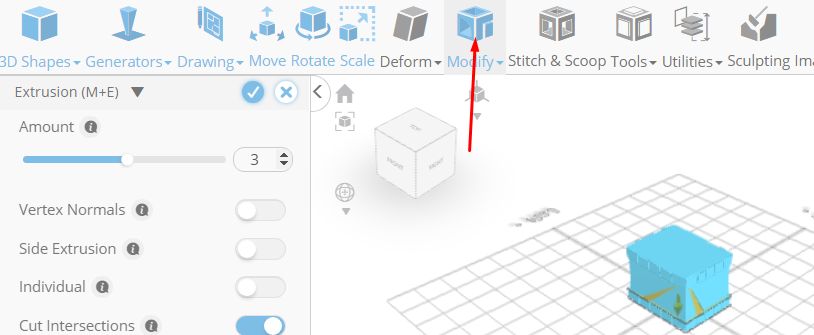
Click ‘x’ to finalize Extrusion
Click on highlighted region to deselect it
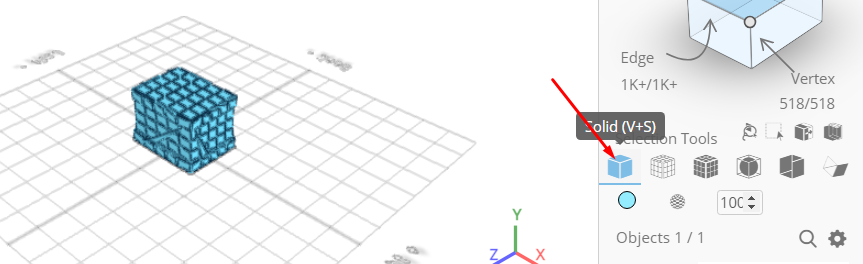
Click Solid button to set rendering mode
As you continue honing your design skills, remember that SelfCAD offers a wealth of resources to support your learning journey. To deepen your understanding and explore more advanced features, consider checking out the interactive tutorials (https://www.selfcad.com/tutorials) available on the SelfCAD website. The tutorials page provides a treasure trove of guides, tips, and tricks that cater to designers of all levels.
More structured learning experience can also be accessed at the SelfCAD Academy (https://www.selfcad.com/academy/curriculum/), https://www.youtube.com/@3dmodeling101, and 3D Modeling 101 series (https://www.youtube.com/playlist?list=PL74nFNT8yS9DcE1UlUUdiR1wFGv9DDfTB). This comprehensive resource offers in-depth courses taught by industry experts, allowing you to master the intricacies of SelfCAD at your own pace.