How to Design a Koffing Using SelfCAD
by Julie80 in Craft > Digital Graphics
11 Views, 0 Favorites, 0 Comments
How to Design a Koffing Using SelfCAD

Learn How to Design a Koffing Using SelfCAD with the help of this video
How to Design a Koffing Using SelfCAD
Koffing, with its spherical body and characteristic facial features, presents an excellent subject for learning the fundamentals of 3D design. This project will not only help in understanding the basic functionalities of SelfCAD but also enhance your skills in manipulating shapes, adding details, and applying textures. Whether you are a Pokémon enthusiast or a budding 3D artist, this guide aims to provide you with a clear and detailed pathway to bringing Koffing to life in the digital realm.
To access the interactive tutorial to this article, visit https://www.selfcad.com/tutorials/4j4x1q6v57672i4i146w34n2v5l3150126o2
Once you’ve launched the editor;
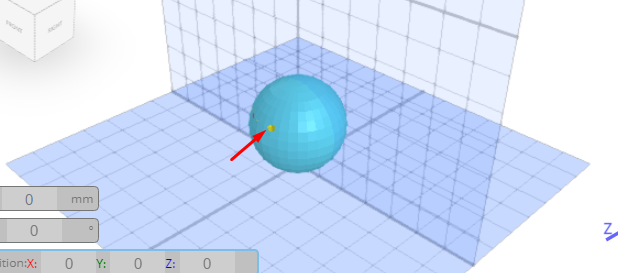
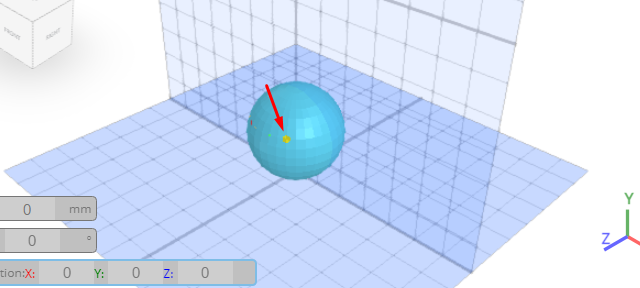
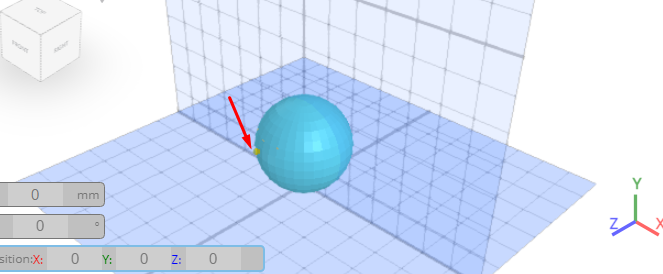
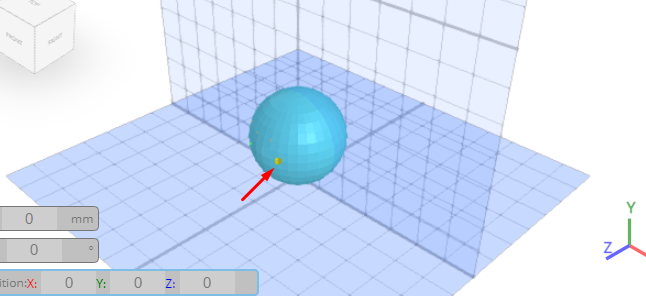
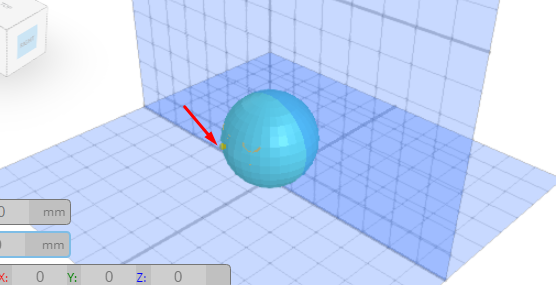
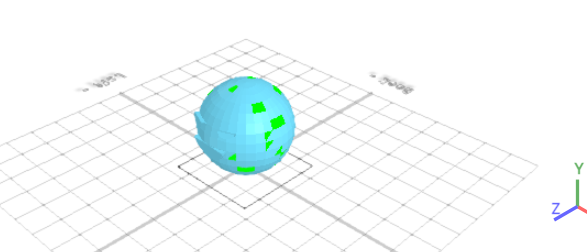
From the 3D Shapes category on the toolbar choose sphere; Set radius to 80
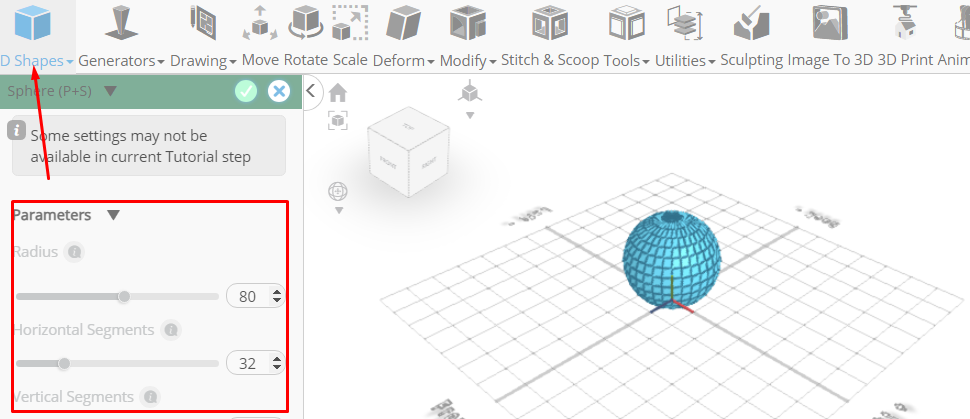
Click to finalize sphere
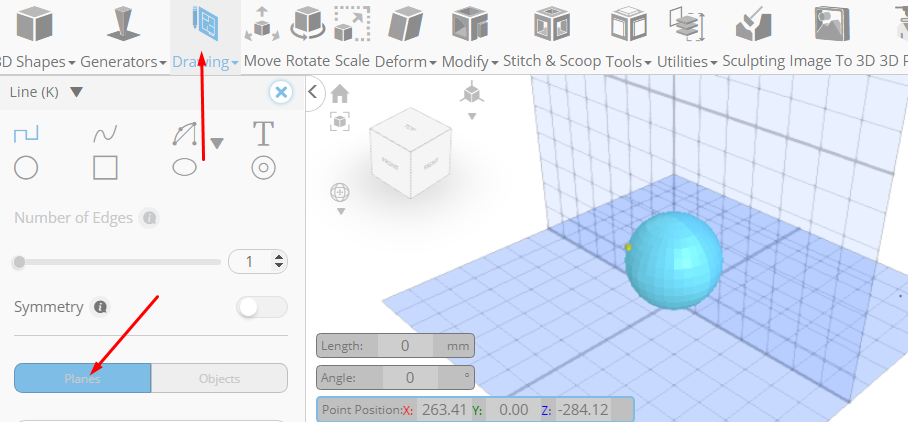
From the drawing category on the toolbar choose 3D Sketch; From the plane select back/front
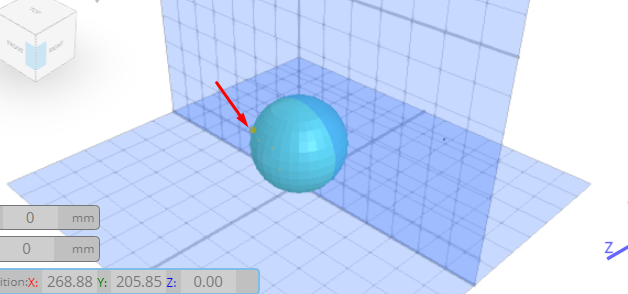
Click on highlighted point to draw edge
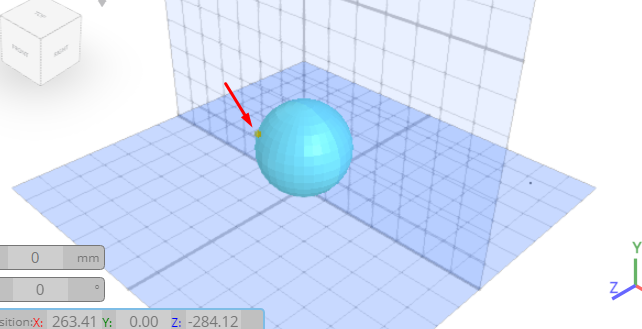
Click on highlighted point to draw edge
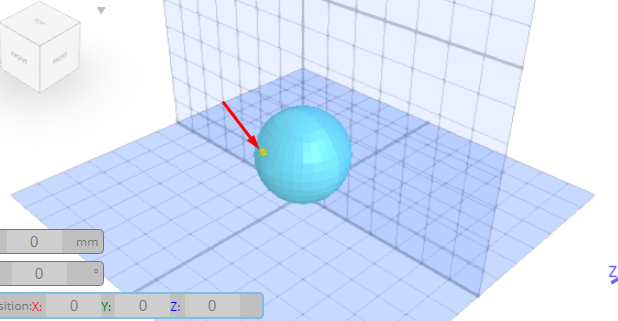
Press Esc to stop drawing stroke
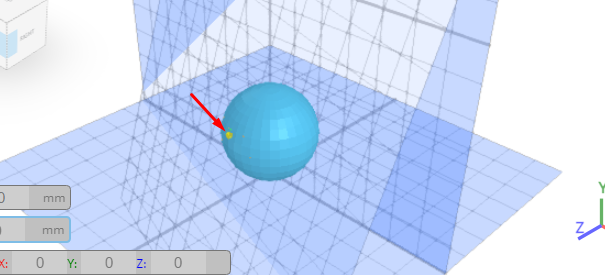
Click on highlighted point to draw edge
Click on highlighted point to draw edge
Press Esc to stop drawing stroke
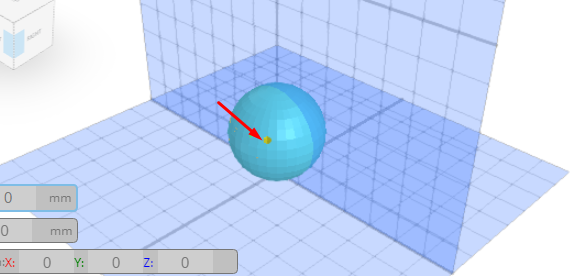
Click on highlighted point to draw edge
Click on highlighted point to draw edge
Press Esc to stop drawing stroke
From the tool panel choose arc 2
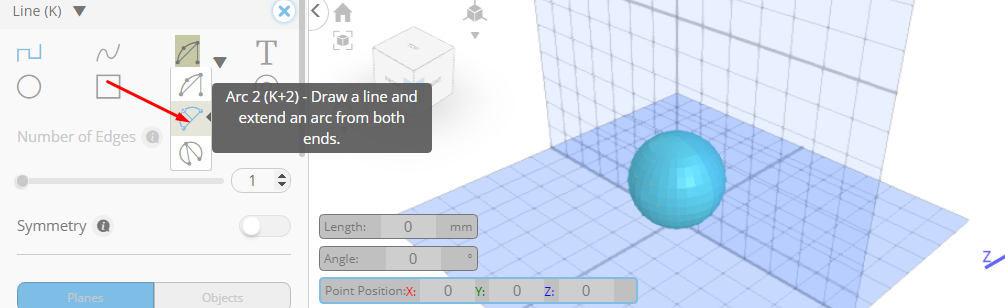
Click on highlighted point to draw arc
Click on highlighted point to draw arc
Click on highlighted point to draw arc
Click on highlighted point to draw arc
Click ‘x’ to close 3D sketch panel
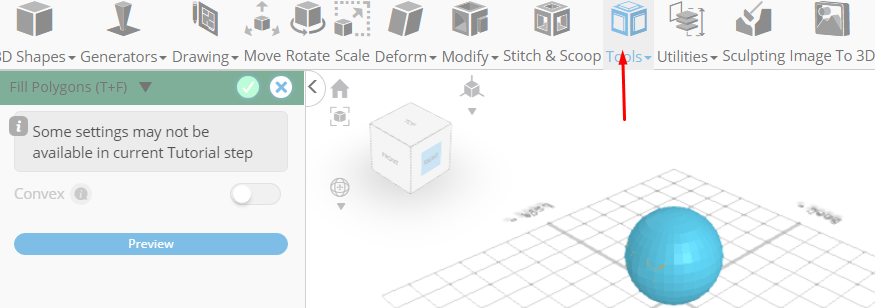
From the tools category choose fill polygons; Click to finalize fill polygons
From the modify category on the toolbar choose add thickness; Set thickness to 9, use mirrored thickness to true
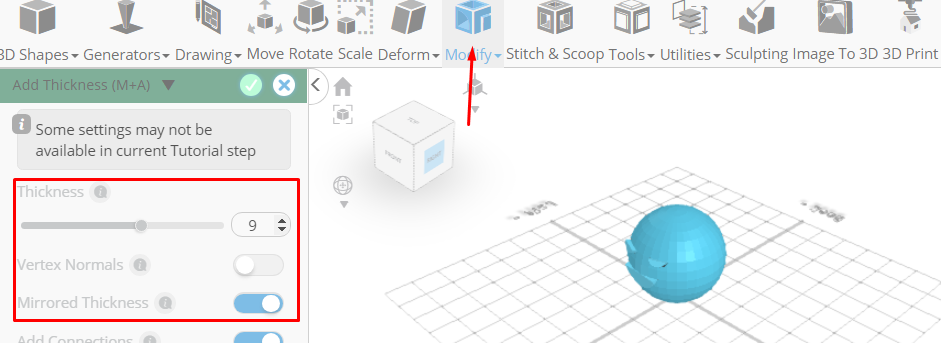
Click to finalize add thickness
Click on mesh 4 to select it
Click stitch & scoop on the toolbar; From the tool panel choose union
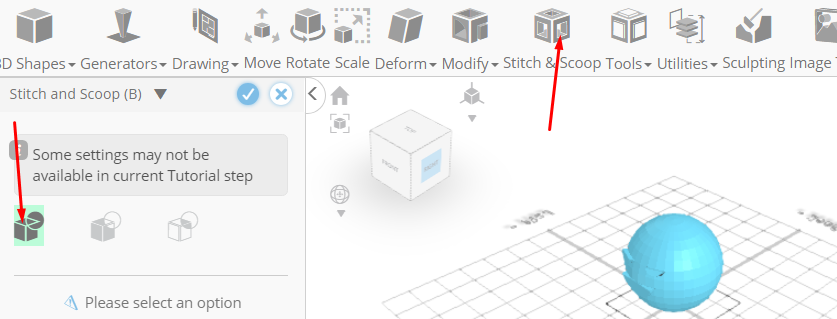
Click to finalize union
Click isolate button to isolate selected objects
Click to activate face selection; Click on highlighted region to select it
From the modify category choose extrusion; Set is individual to true, connect neighbors to true

Click to finalize extrusion
Click on highlighted region to deselect it
From the 3D shapes category on the toolbar choose spiral generator
Set top radius to 20, bottom radius to 20, height to 120, revolutions to 120, top thickness to 2, bottom thickness to 2, position y to 100
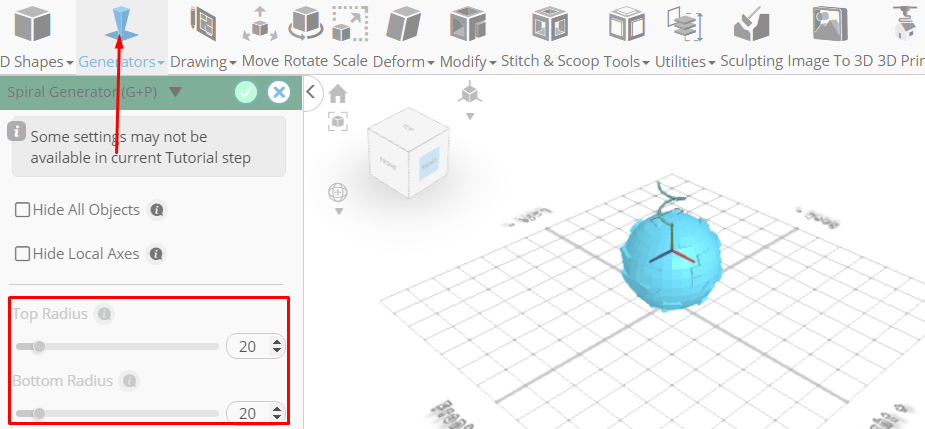
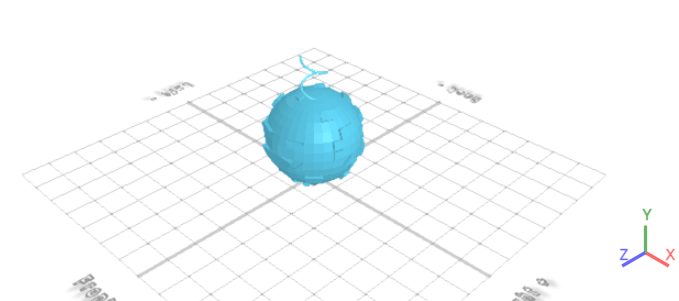
Click to finalize spiral generator
Click highlighted part on selection cube to turn off region selection
As you continue honing your design skills, remember that SelfCAD offers a wealth of resources to support your learning journey. To deepen your understanding and explore more advanced features, consider checking out the interactive tutorials (https://www.selfcad.com/tutorials) available on the SelfCAD website. The tutorials page provides a treasure trove of guides, tips, and tricks that cater to designers of all levels.
More structured learning experience can also be accessed at the SelfCAD Academy (https://www.selfcad.com/academy/curriculum/), https://www.youtube.com/@3dmodeling101, and 3D Modeling 101 series (https://www.youtube.com/playlist?list=PL74nFNT8yS9DcE1UlUUdiR1wFGv9DDfTB). This comprehensive resource offers in-depth courses taught by industry experts, allowing you to master the intricacies of SelfCAD at your own pace.