How to Design a Dustbin Using 3D CAD Software
by Julie80 in Design > 3D Design
165 Views, 0 Favorites, 0 Comments
How to Design a Dustbin Using 3D CAD Software

Learn How to Design a Dustbin Using 3D CAD Software with the help of this article
How to Design a Dustbin Using 3D CAD Software
In the world of 3D modeling and design, creating practical, everyday objects is an excellent way to develop skills and explore creativity. Designing a dustbin, an essential household or workplace item, offers an opportunity to combine functional design with aesthetic appeal. This article focuses on guiding readers through the process of designing a dustbin using SelfCAD, a comprehensive 3D modeling tool that is both accessible and versatile.
SelfCAD provides a perfect platform for such a project, enabling users to experiment with various shapes, sizes, and features while ensuring the design is optimized for functionality. Its intuitive interface and powerful tools allow users to bring their ideas to life, from conceptual sketches to a ready-to-print 3D model
.
This article will take you step-by-step through the design process, covering important considerations like selecting an appropriate structure, utilizing key modeling tools, and customizing the dustbin for specific needs such as space efficiency, ease of use, or environmental sustainability. By the end of this guide, you’ll have the knowledge to create a customized dustbin that blends form and function seamlessly.
To access the interactive tutorial to this article, check out https://www.selfcad.com/tutorials/514t2v6b5h4r1i526a5u1e4j4r526v3x6u4h
Once you’ve launched the editor;
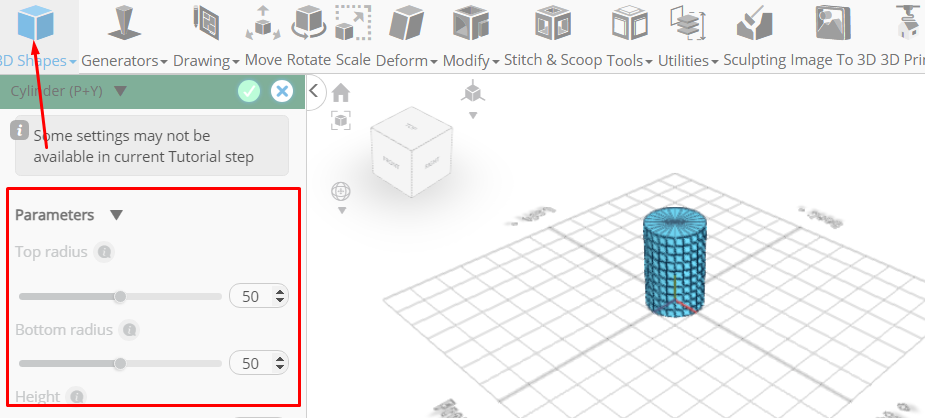
From the 3D Shapes category on the toolbar choose cylinder; Set height to 150, horizontal segments to 10
Click to finalize cylinder
Click to activate polygon selection; Click on highlighted region to select it
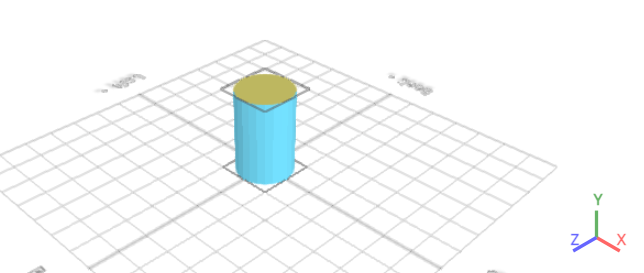
Click delete button to delete selected object
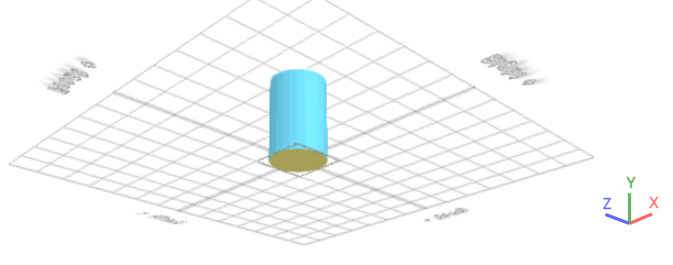
Click on highlighted region to select it
From the modify category on the toolbar choose inset; Set inset amount to 5.
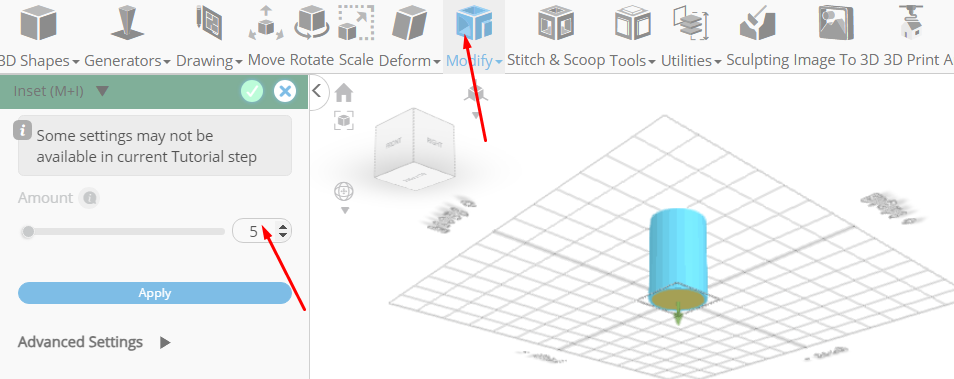
Click to finalize inset
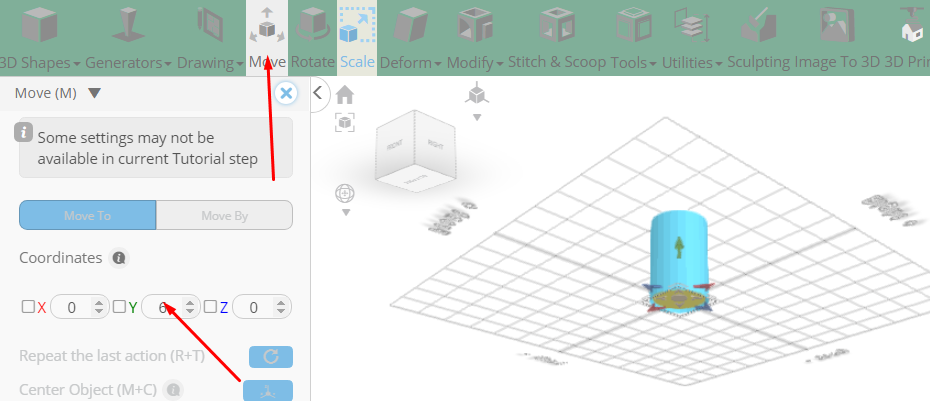
Click move on the toolbar; Set y to 6
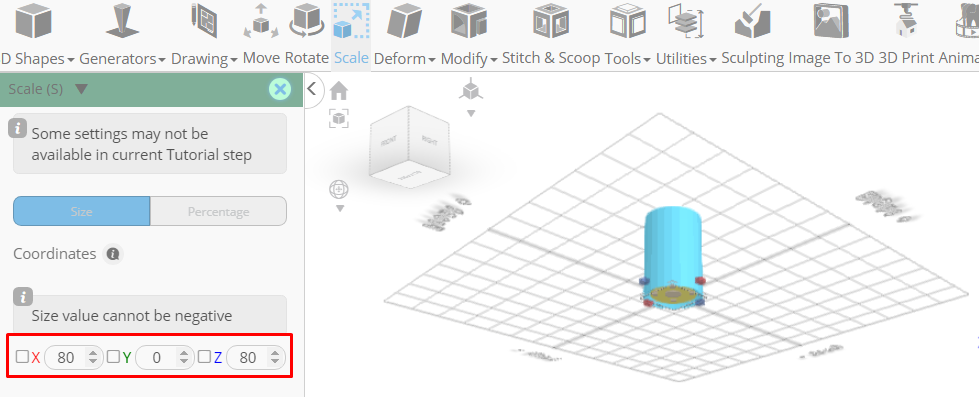
Click scale on the toolbar; Set x to 80, z to 80
Click ‘x’ to close transformation panel
Click on highlighted region to deselect it
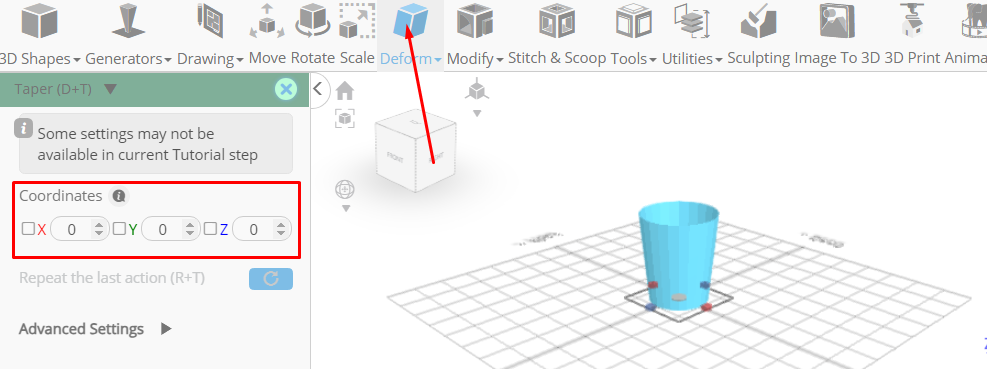
From the deform category on the toolbar choose taper; Set x to 30, z to 30
Click ‘x’ to close transformation panel
Click to activate edge selection
From the edit menu on the top toolbar click select all; Click on highlighted region to deselect it
From the modify category on the toolbar choose chamfer; Set intensity to 4, fill corners to false
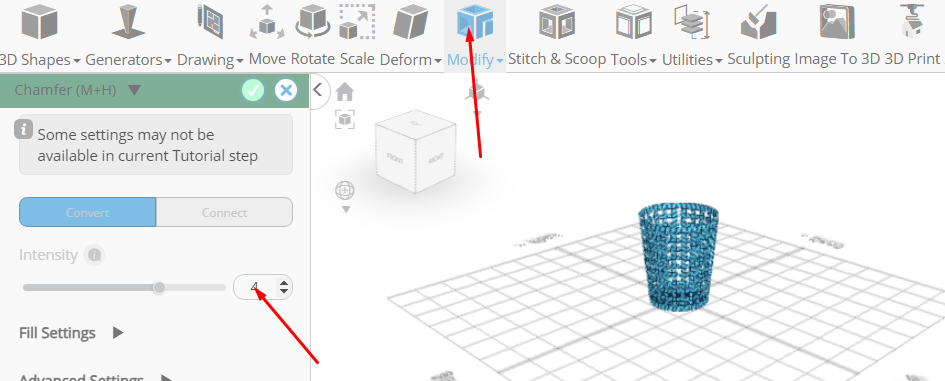
Click to finalize chamfer
From the modify category on the toolbar choose add thickness.
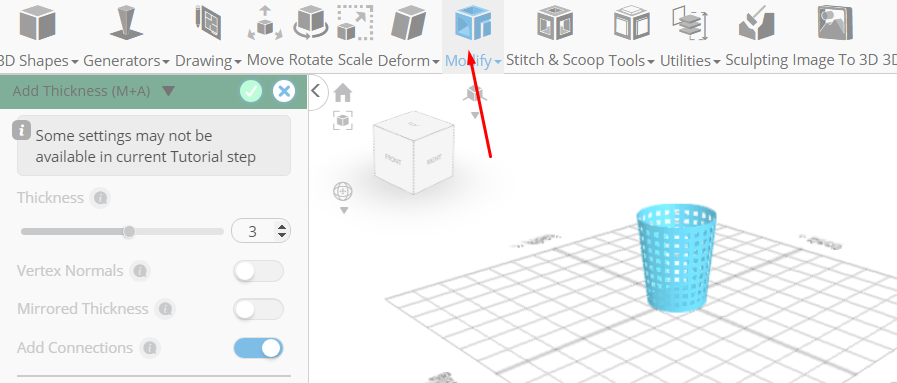
Click to finalize add thickness
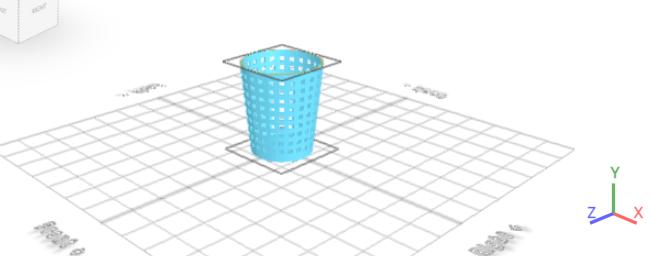
Click to activate face selection
Click on the gear icon to open the advanced settings; Set loop selection to true

Click on highlighted face to select loop from the object
From the modify category on the toolbar choose extrusion; Set use vertex normals to true

Click to finalize extrusion
Click on highlighted region to deselect it
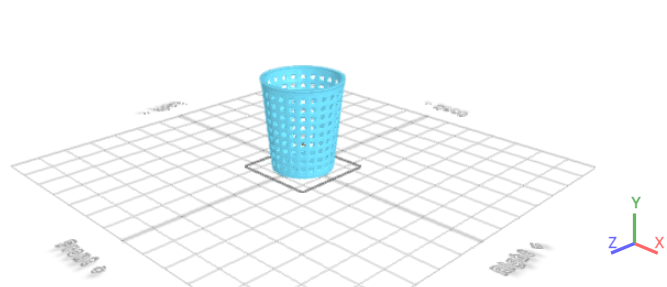
From the modify category on the toolbar choose round object
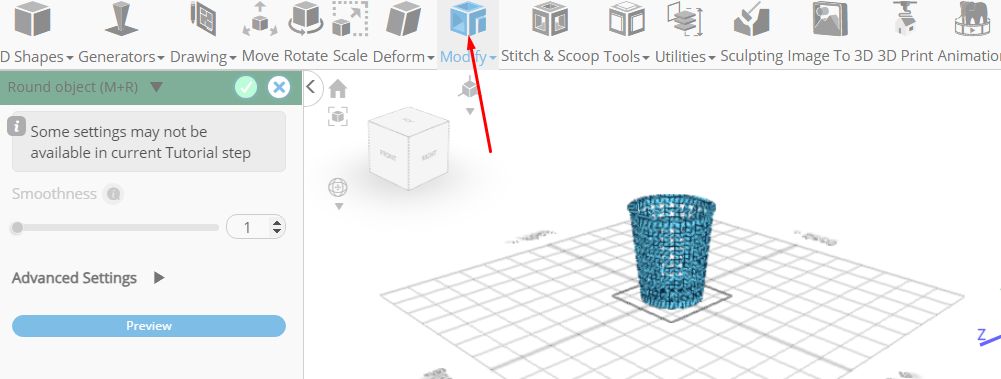
Tick the checkmark to finalize round object
As you continue honing your design skills, remember that SelfCAD offers a wealth of resources to support your learning journey. To deepen your understanding and explore more advanced features, consider checking out the interactive tutorials (https://www.selfcad.com/tutorials) available on the SelfCAD website. The tutorials page provides a treasure trove of guides, tips, and tricks that cater to designers of all levels.
More structured learning experience can also be accessed at the SelfCAD Academy (https://www.selfcad.com/academy/curriculum/), https://www.youtube.com/@3dmodeling101, and 3D Modeling 101 series (https://www.youtube.com/playlist?list=PL74nFNT8yS9DcE1UlUUdiR1wFGv9DDfTB). This comprehensive resource offers in-depth courses taught by industry experts, allowing you to master the intricacies of SelfCAD at your own pace