How to Design a Cowboy Hat With SelfCAD
by Julie80 in Design > Digital Graphics
144 Views, 0 Favorites, 0 Comments
How to Design a Cowboy Hat With SelfCAD

Learn to modify pre-existing 3D shapes using the bend tool and stitch & scoop tool to make a cowboy hat in SelfCAD
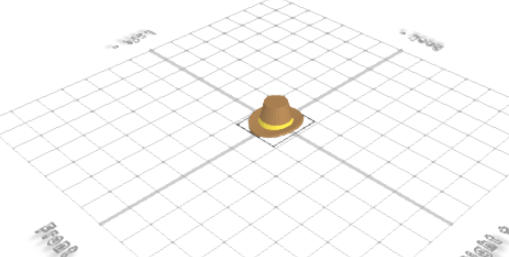
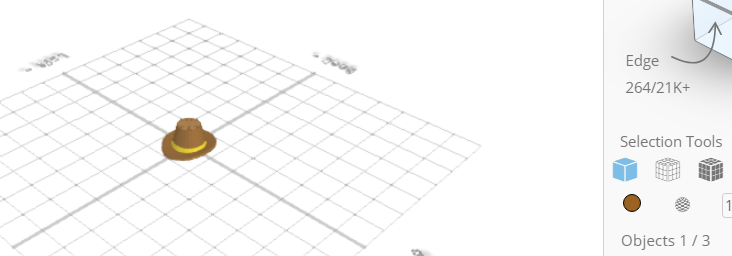
How to Design a Cowboy Hat
Welcome to this tutorial where we will delve into the world of cowboy hats using SelfCAD, a powerful and intuitive 3D modeling software. Whether you're a seasoned designer or a beginner looking to add a touch of the Wild West to your projects, this tutorial is your ticket to crafting a bespoke cowboy hat from the comfort of your computer.
In the next few steps, we'll guide you through the process of creating a stylish and authentic cowboy hat, exploring the various tools and features SelfCAD has to offer.
The interactive tutorial for this article can be accessed here; https://www.selfcad.com/tutorials/824u19303m6h6a5s5o3k34s1a2l6920501fu
To access the software, visit https://www.selfcad.com/,
Once you’ve launched the editor;
From the 3D shapes category on the Toolbar choose cylinder
Set Height to 5
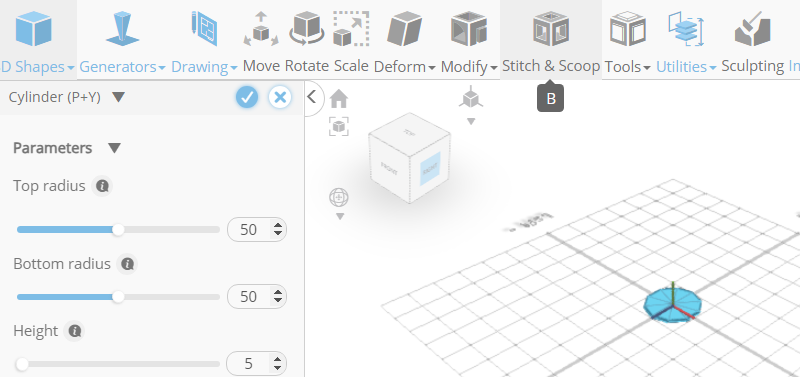
Click to finalize Cylinder
Click Scale on the Toolbar
Set x to 90
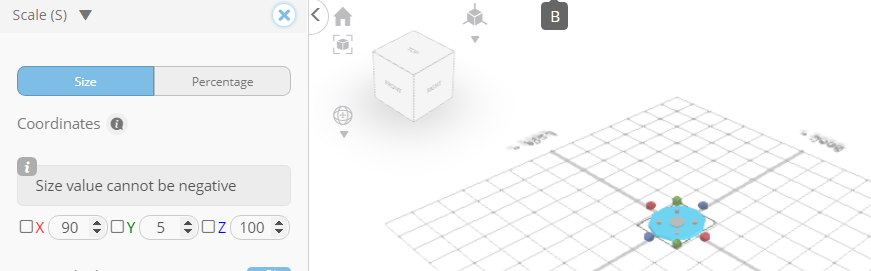
Click ‘X’ to close Transformation panel
From the Modify category on the Toolbar choose Resolution
Set Detail Level to 4
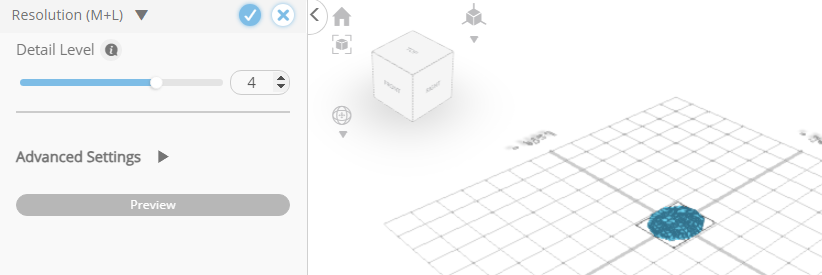
Click to finalize Resolution
From the Deform category on the toolbar choose Bend
Set Plane to Left/Right
Set y to 30
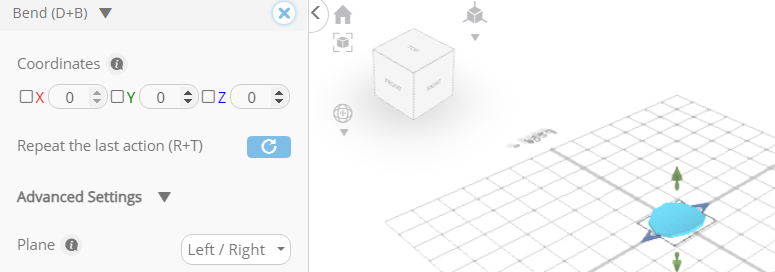
Click ‘X’ to close Transformation panel
From the Modify category on the Toolbar choose Round Object
Set Smoothness to 2
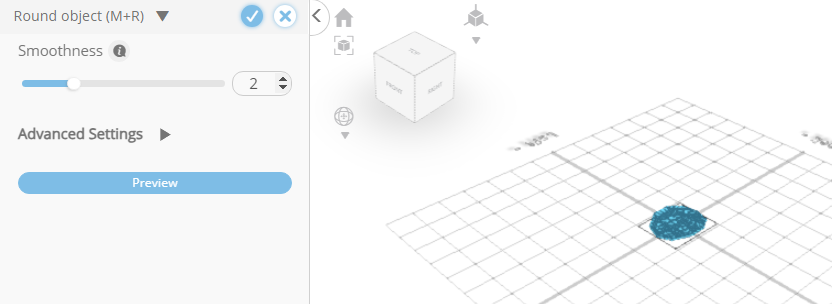
Click to finalize Round Object
Click color picker button to change color of selected object
Click brown to change color of selected object
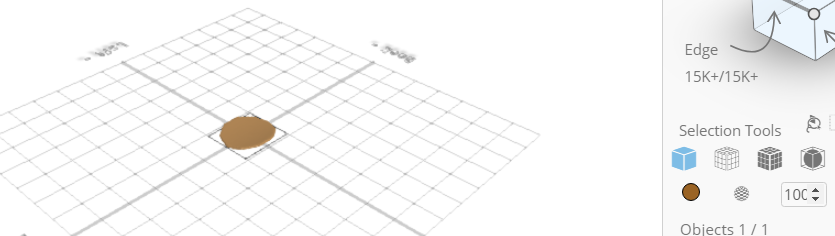
Click ok button to confirm color change
From the 3D shapes category on the Toolbar choose cylinder
Set Top Radius to 20, Bottom Radius to 30, Height to 40, Horizontal segments to 4, position y to 4
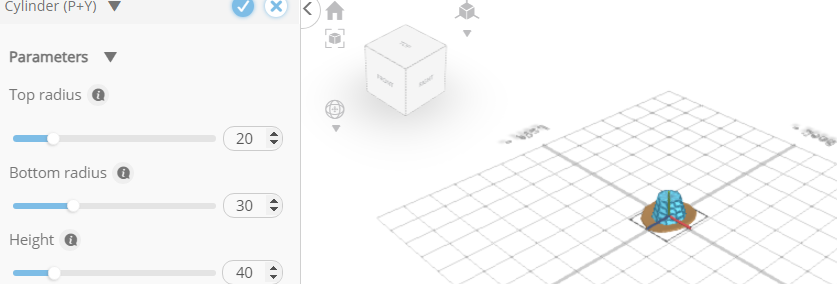
Click to finalize cylinder
Click color picker button to change color of selected object
Click brown to change color of selected object
Click ok button to confirm color change
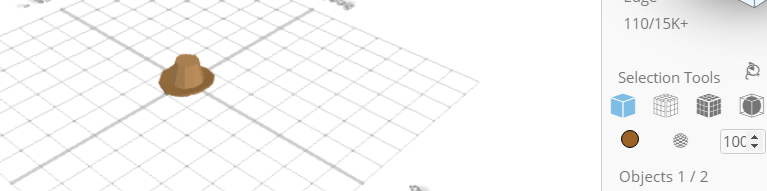
Click to activate Face Selection
Click Selection settings button to change selection settings
Set Loop Selection to True
Click on highlighted face to select loop from the object
Click ‘x’ to close selection settings panel
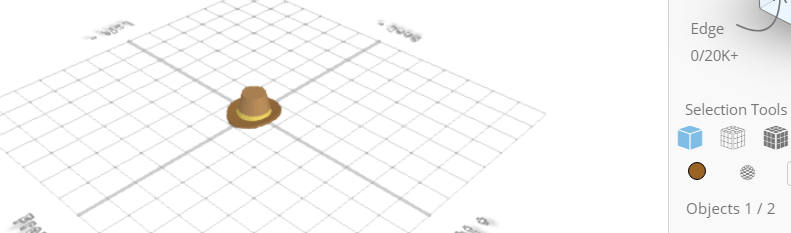
Click color picker button to change color of selected object
Click yellow to change color of selected object
Click ok button to confirm color change
Click on highlighted to deselect it
From the 3D shapes category on the Toolbar choose cylinder
Set Top Radius to 18, Bottom Radius to 28, Height to 40
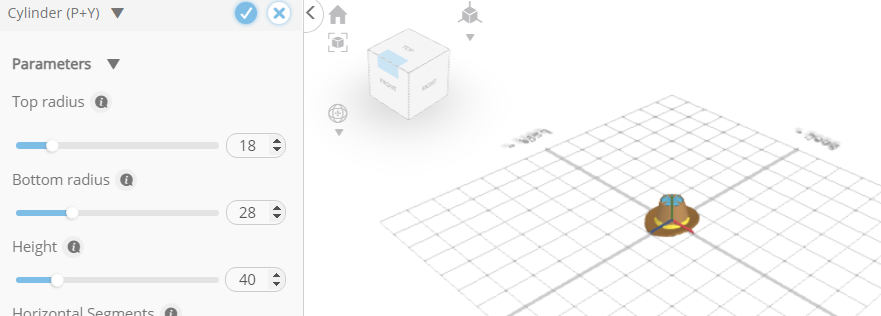
Click to finalize cylinder
Click color picker button to change color of selected object
Click yellow to change color of selected object
Click ok button to confirm color change
Click highlighted part on selection cube
Click on mesh-4, mesh-8 to select it
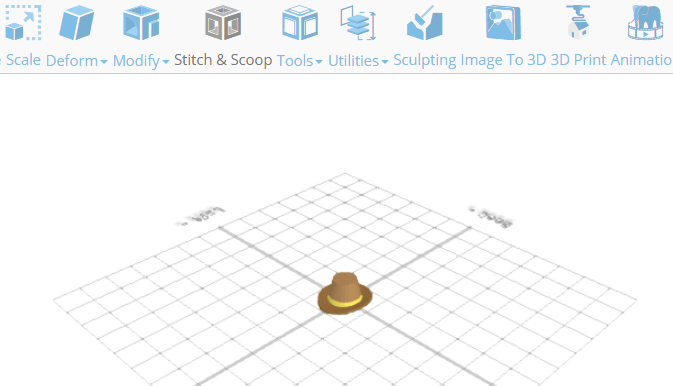
Click Stitch & Scoop on the Toolbar
From the Tool Panel choose Difference
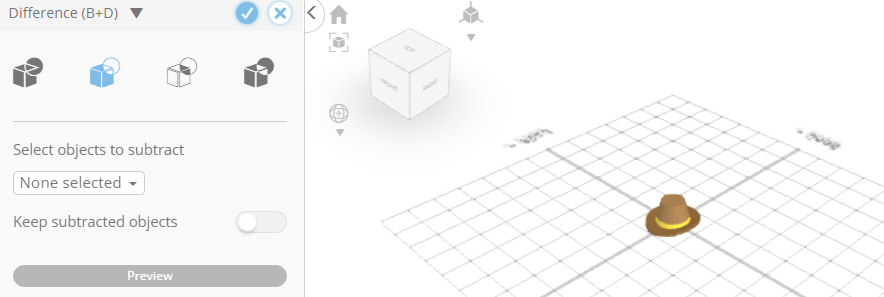
Click mesh-12 to subtract
Click to finalize Difference