How to Design a Chess Pawn in Tinkercad
by JShap0430 in Workshop > 3D Printing
657 Views, 1 Favorites, 0 Comments
How to Design a Chess Pawn in Tinkercad

Hello, today I am going to show you how to design a chess pawn in Tinkercad.
Supplies
All you need to have to do
Add the Pieces
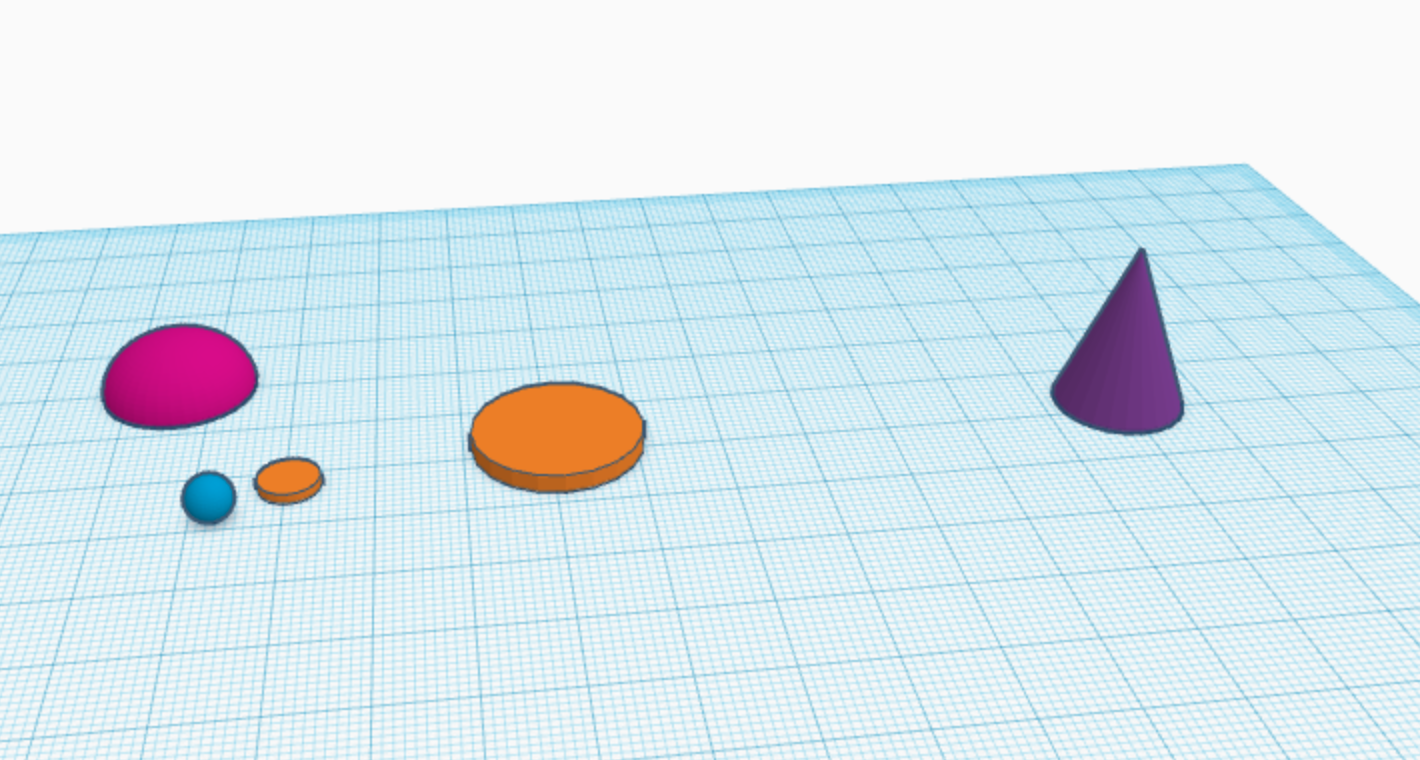
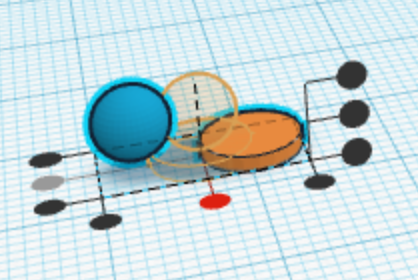
First things first, we must add the shapes we will use during this tutorial. Add the fallowing shapes to the plane:
* Add a sphere with a length, width, and height of 5 mm (this shape will be referred to a as S1)
* Add a cylinder with a length and width of 7 mm and a height of 1 mm (this shape will be referred to as S2)
*Add a cylinder with a length and width of 20 mm and a height of 2 mm (this shape will be referred to as S3)
* Add a half sphere with a length and width of 18 mm and a height of 7 mm (this shape will be referred to as S4)
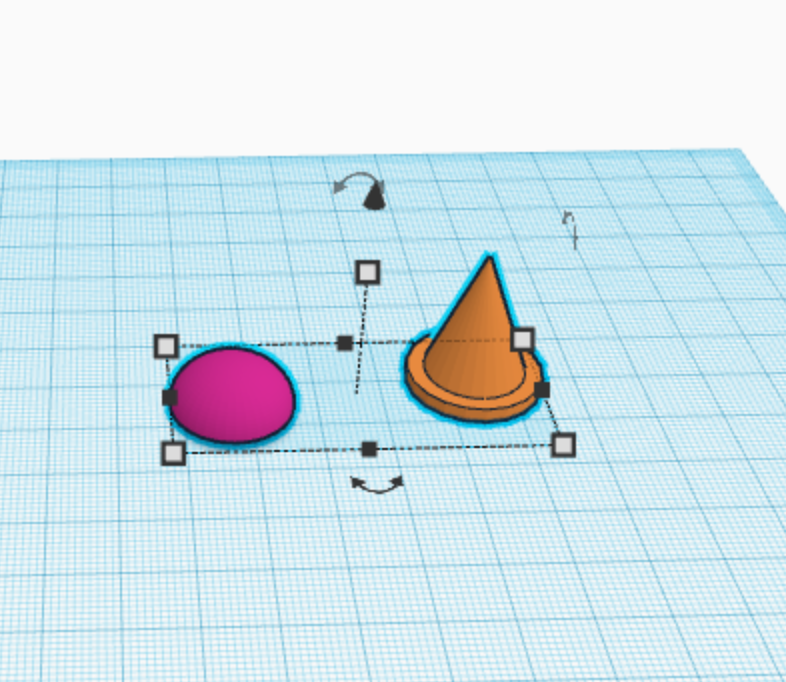
*Add a cone with a length and width of 15mm and a height of 20 mm (This shape will be referred to as S5)
Raise S5

Raise S5 by 2 mm.
Select the Shapes.
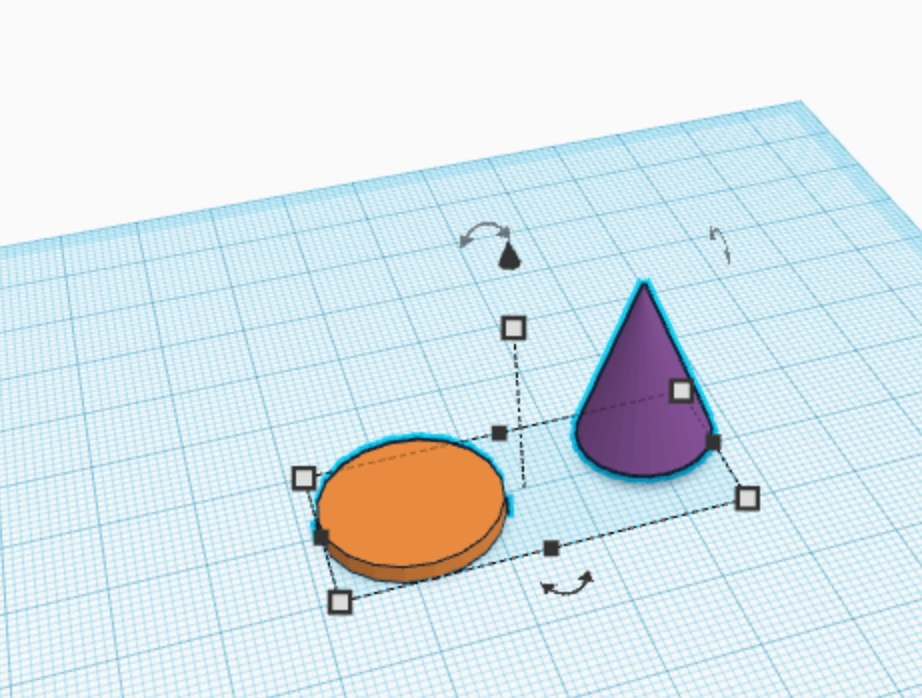
Select both S5 and S3
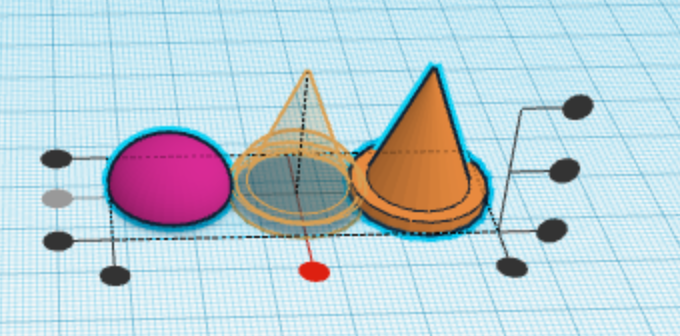
Align the Shapes
Align the selected shapes:
Align the shapes pressing the middle button on both the Y and X axis. Do not mess with the Z axis
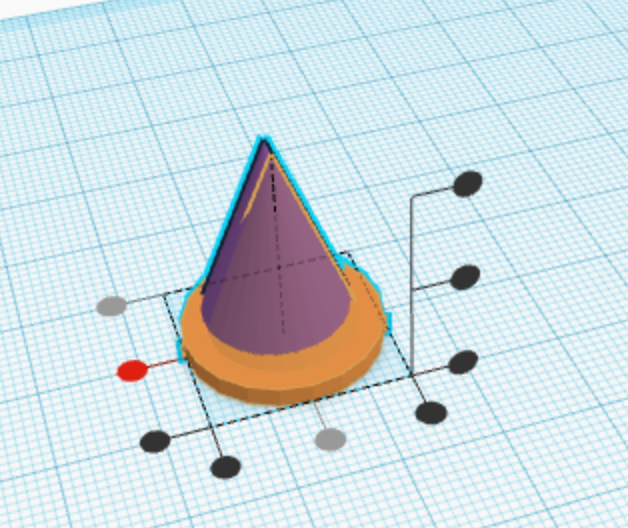
Group

Group the selected shapes. This combined shape will be referred to as S3.1
Raise S4
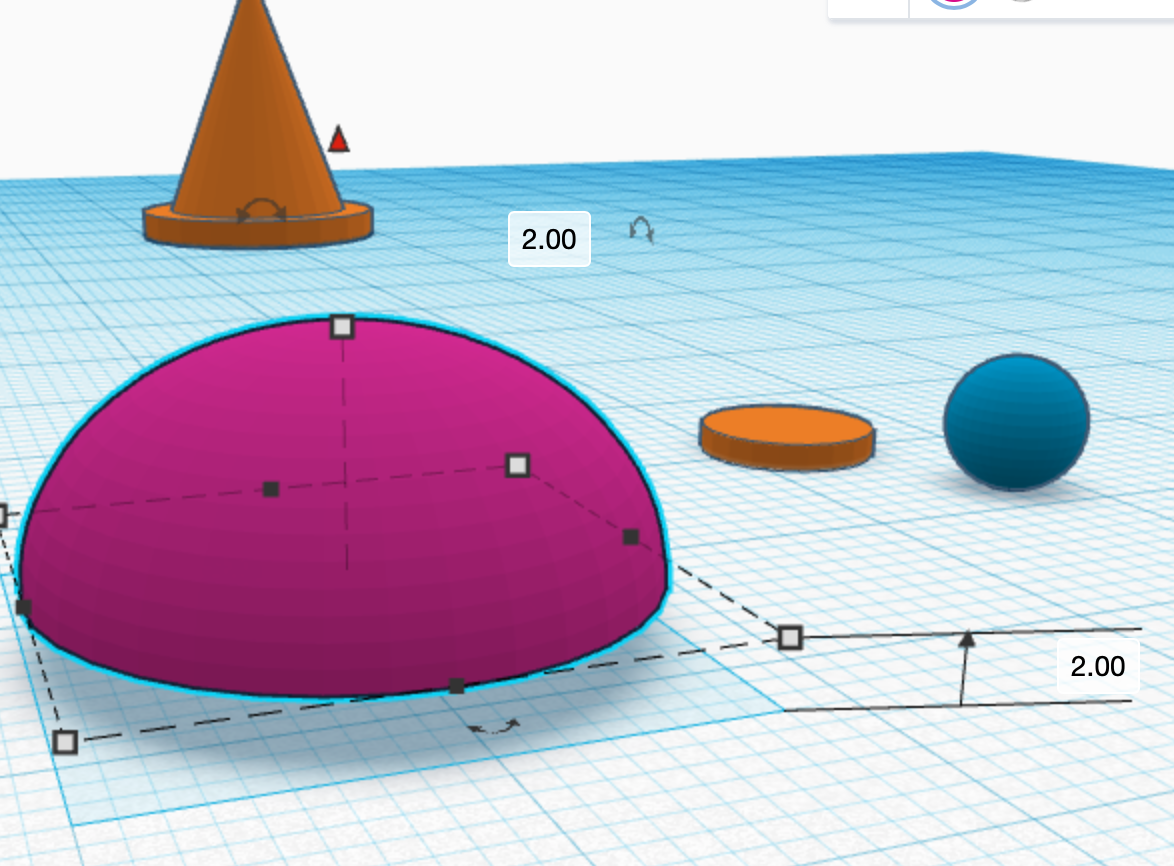
Raise the shape S4 by 2mm
Select the Shapes
Select the shapes S4 and S3.1
Align
Align the selected shapes pressing the middle button on both the Y and X axis. Do not mess with the Z axis
Group

Group the selected shapes. This shapes will be referred to as S3.2
Raise
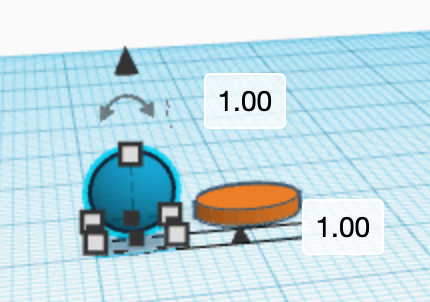
Raise S1
Select
Select the shapes S1 and S2
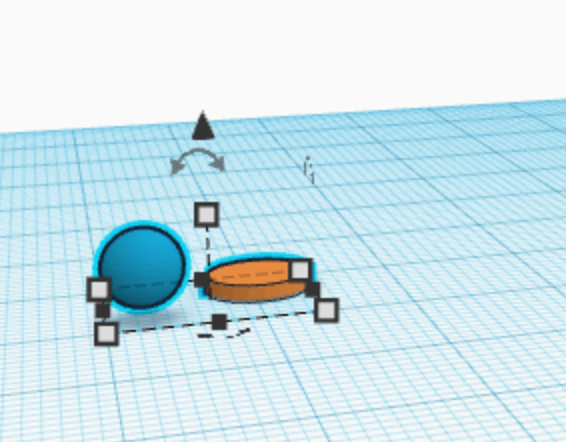
Align
Align the selected shapes pressing the middle button on both the Y and X axis. Do not mess with the Z axis
Group
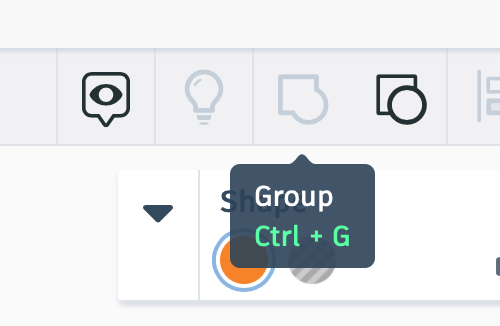
Group the selected shapes. This new shape will be referred to as S1.1
Raise
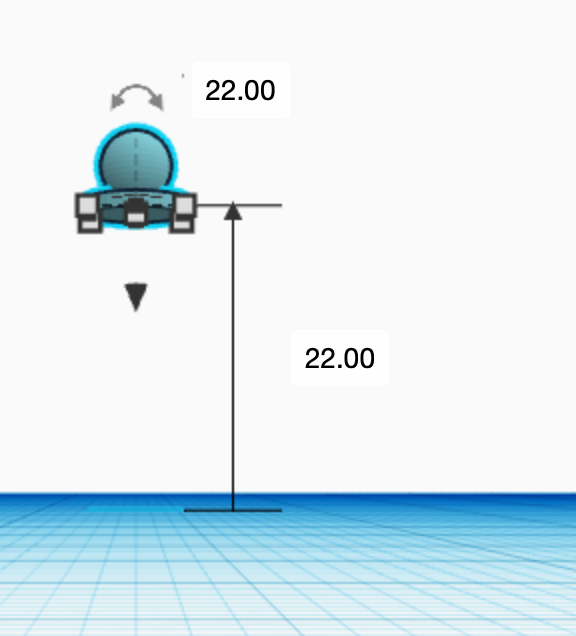
Raise S1.1 to 22 mm.
Select
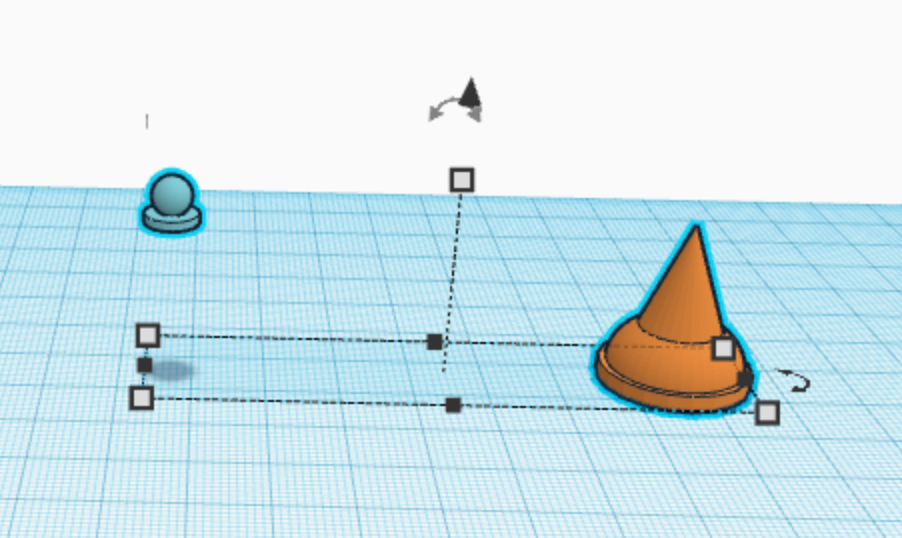
Select S1.1 and S3.2
Align
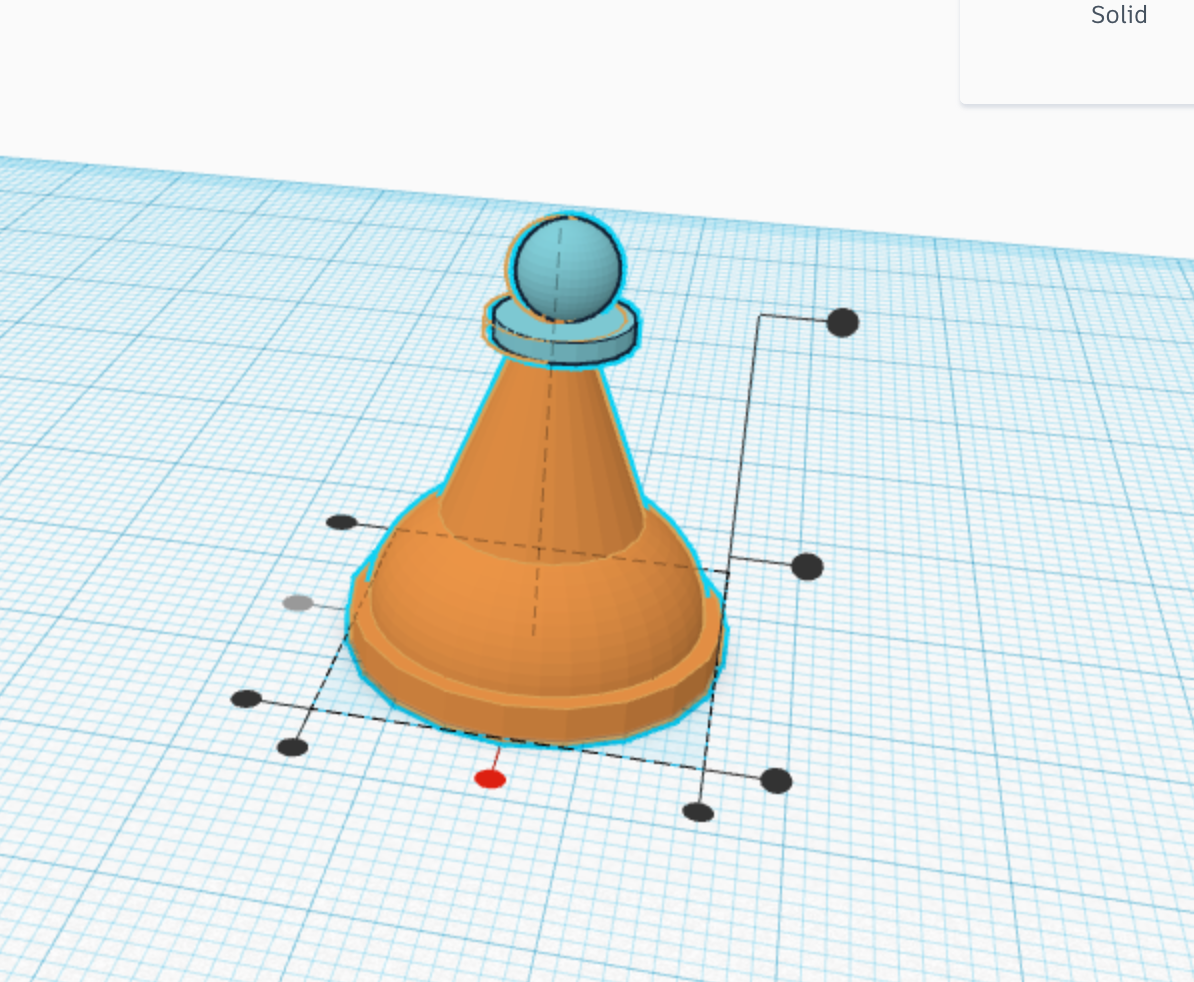
Align the selected shapes by pressing the middle button on both the Y and X axis. Do not mess with the Z axis
Lower S1.1
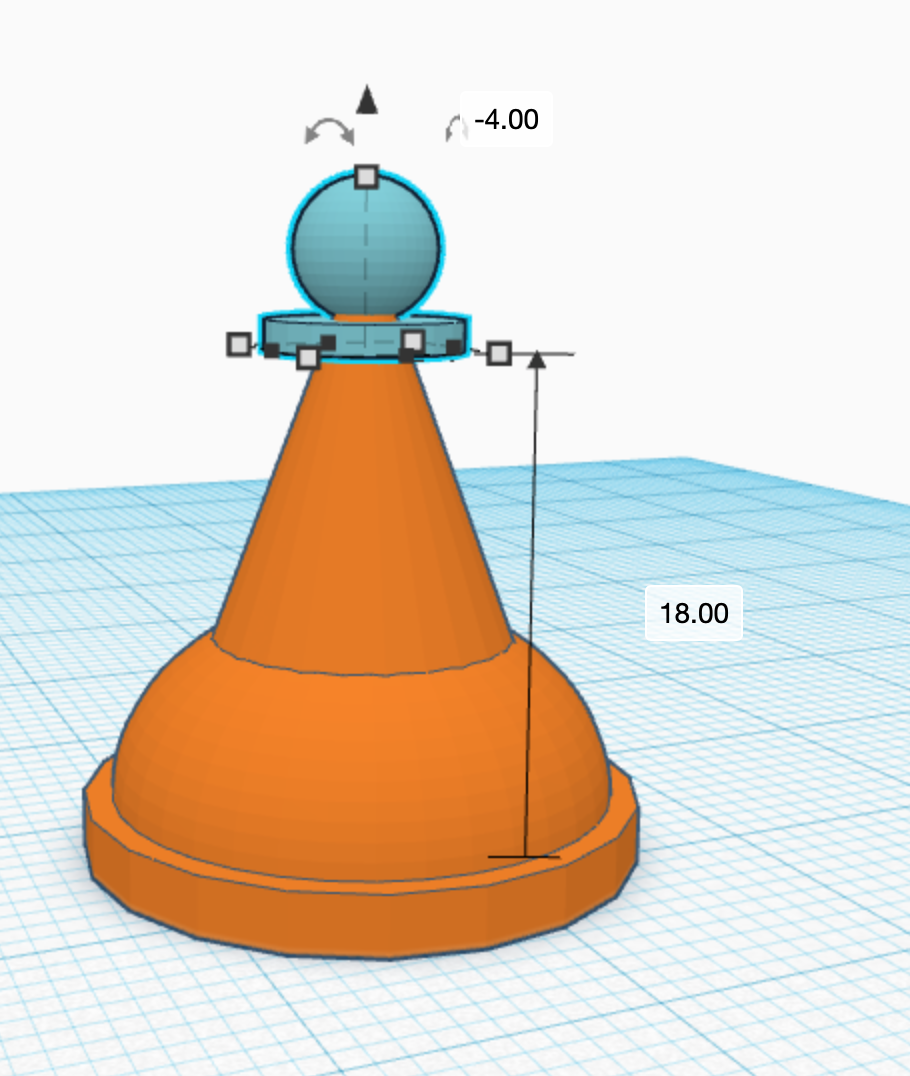
Lower S1.1 by 4 mm.
Final Step
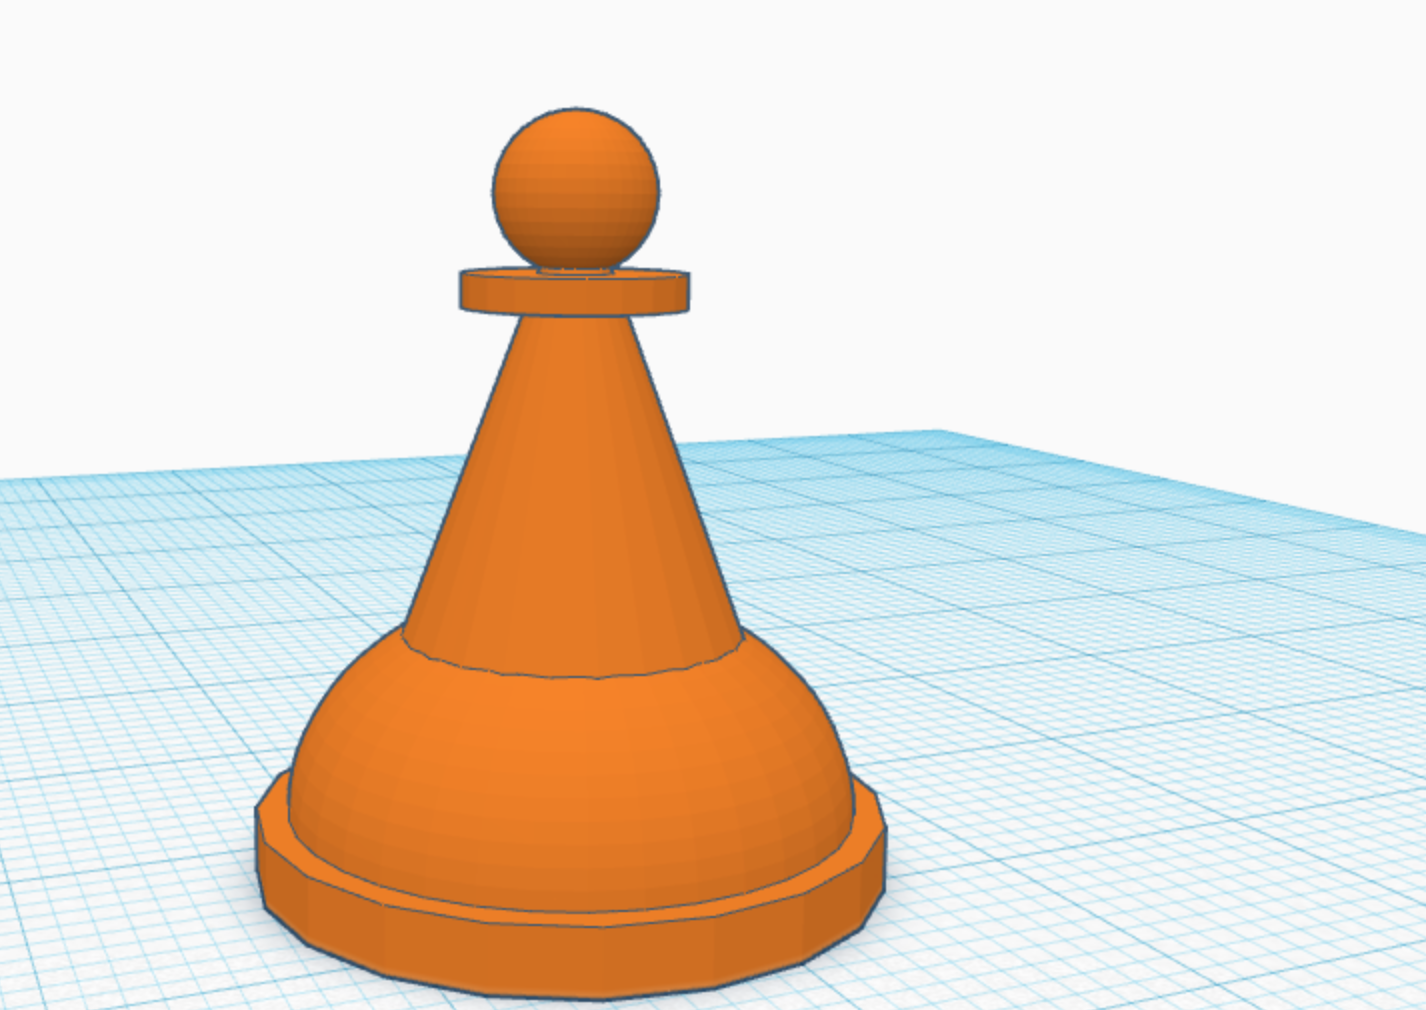
Select S1.1 and S3.2. Then you must group the two shapes after that you have officially finished your pawn. If you want to what you can do this now is send it to a 3d printer and get it well, 3d printed. I hope you enjoyed this tutorial and I hope you have a great. Continue designing and I will see you next time, bye.