How to Design a Cardboard Teddy Using SelfCAD
by Julie80 in Design > 3D Design
80 Views, 0 Favorites, 0 Comments
How to Design a Cardboard Teddy Using SelfCAD

Learn How to Design a Cardboard Teddy Using SelfCAD with the help of this article
How to Design a Cardboard Teddy Using SelfCAD
With the advent of 3D modeling software like SelfCAD, it is now possible to digitally design and visualize complex models before bringing them to life in the physical world. SelfCAD’s robust set of tools allows for precise modeling, ensuring that each piece of the cardboard teddy is engineered for easy assembly. In this article, we will explore the step-by-step process of designing a cardboard teddy bear in SelfCAD, from sketching out the basic shapes to preparing the model for cutting and assembly. Whether you're interested in sustainable design, creating custom toys, or exploring the intersection of digital and physical crafting, this guide will provide everything you need to know to get started
To access the interactive tutorial to this article, https://www.selfcad.com/tutorials/1s3t63r191s5g3e4h45712j4x1v2p5l406m6
Once you’ve launched the editor;
From the 3D Shapes category on the toolbar choose cube; Set width to 125, depth to 125, position y to 100
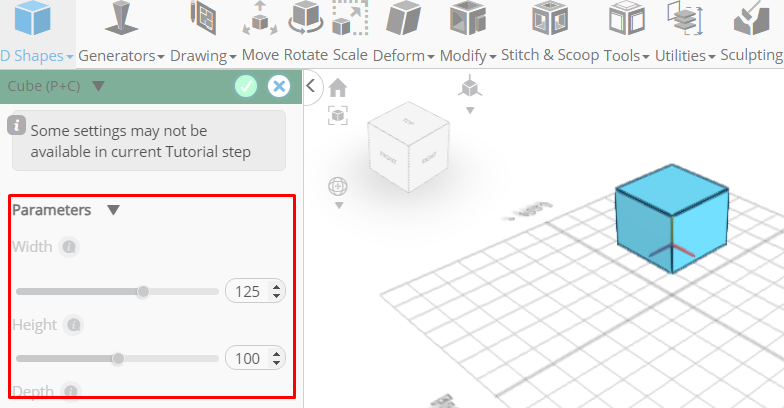
Click to finalize cube
From the 3D Shapes category on the toolbar choose cube; Set height to 105
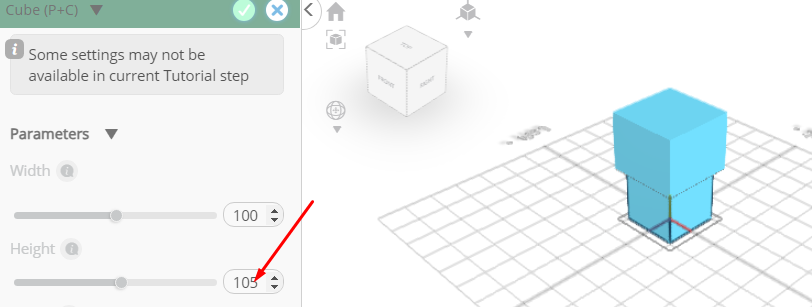
Click to finalize cube
Click wireframe button to set rendering mode

From the 3D Shapes category on the toolbar choose cube; Set width to 30, height to 15, depth to 62, position x to 30, position z to 80
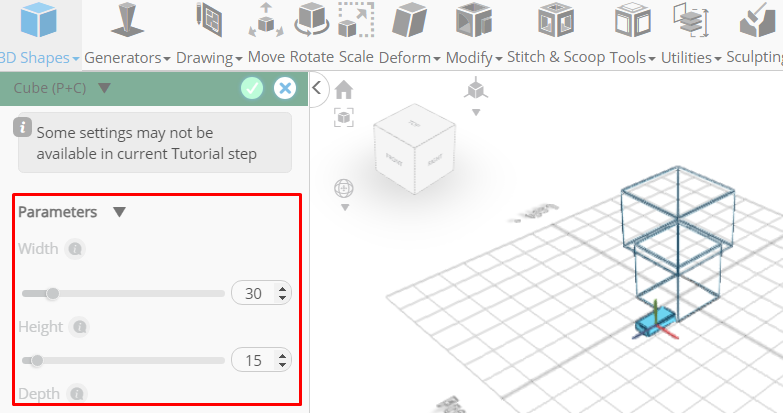
Click to finalize cube
Click copy button to copy selected objects
Click move on the toolbar; Set x to -32 using highlighted gizmo
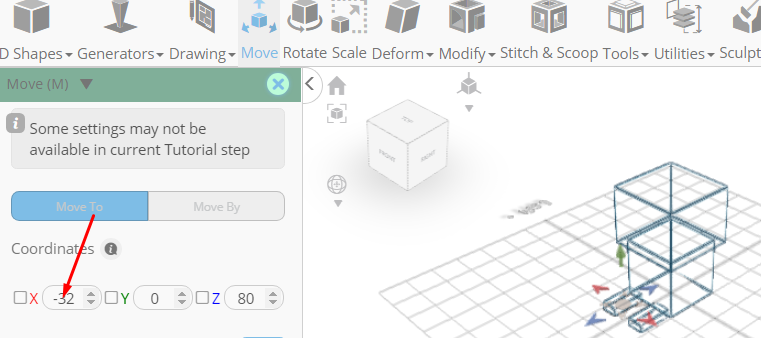
Click ‘x’ to close transformation panel
From the 3D Shapes category on the toolbar choose cube; Set width to 20, depth to 20, position x to 65
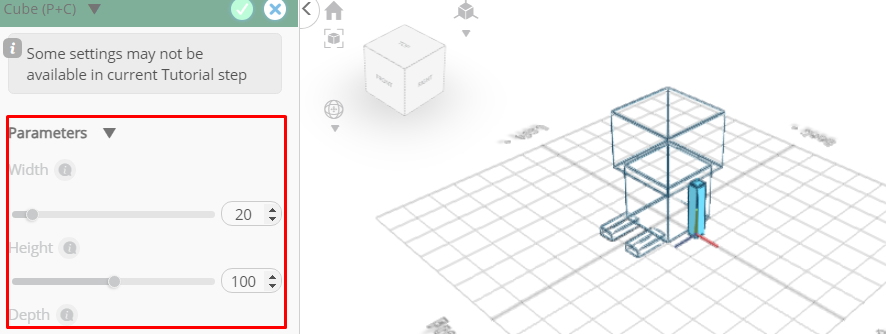
Click to finalize cube
Click to activate edge selection
Click copy button to copy selected objects
Click move on the toolbar; Set x to -64 using highlighted gizmo

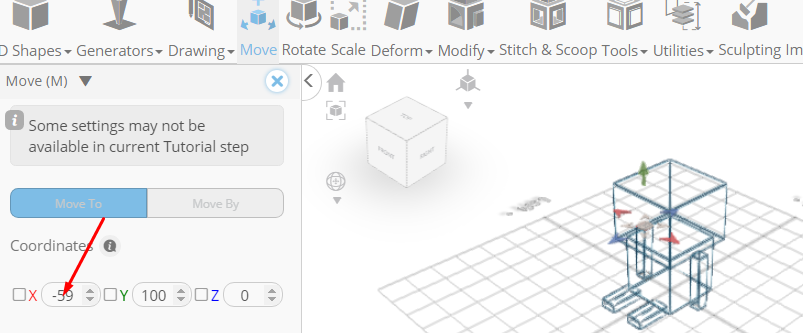
Click on highlighted region to select it
Set x to -59 using highlighted gizmo
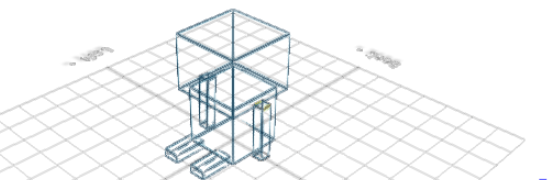
Click on highlighted region to deselect it
Click highlighted part on selection cube to turn off region selection
Click on mesh 16 to select it, Click on mesh 16 to deselect it
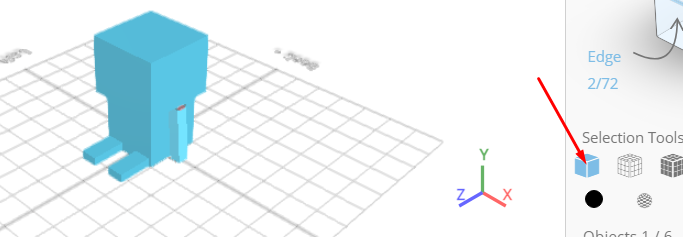
Click to activate edge selection; Click on highlighted region to select it
Click move on the toolbar; Set x to 58 using highlighted gizmo
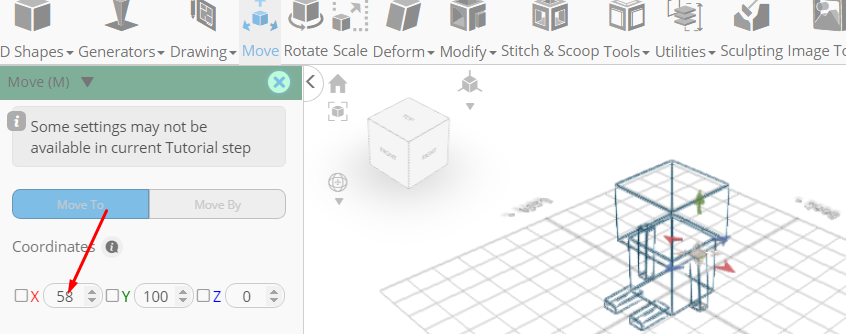
Click ‘x’ to close transformation panel
Click solid button to set rendering mode
Click on highlighted region to deselect it
From the 3D Shapes category on the toolbar choose cylinder; Set top radius to 30, bottom radius to 30, height to 30, position x to 60, position y to 180, position z to 30, rotation x to 90
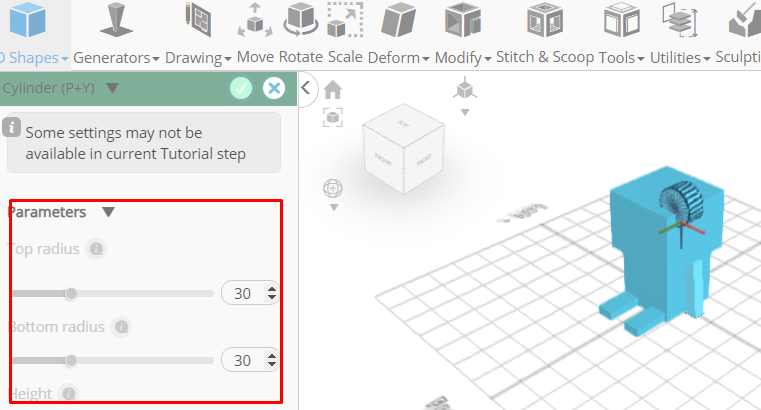
Click to finalize cylinder
Click copy button to copy selected objects
Click move on the toolbar; Set x to -58 using highlighted gizmo

Click ‘x’ to close transformation panel
Click highlighted part on selection cube to turn off region selection
From the 3D Shapes category on the toolbar choose capsule; Set top radius to 5, bottom radius to 5, height to 15, position x to 30, position y to 150, position z to 60
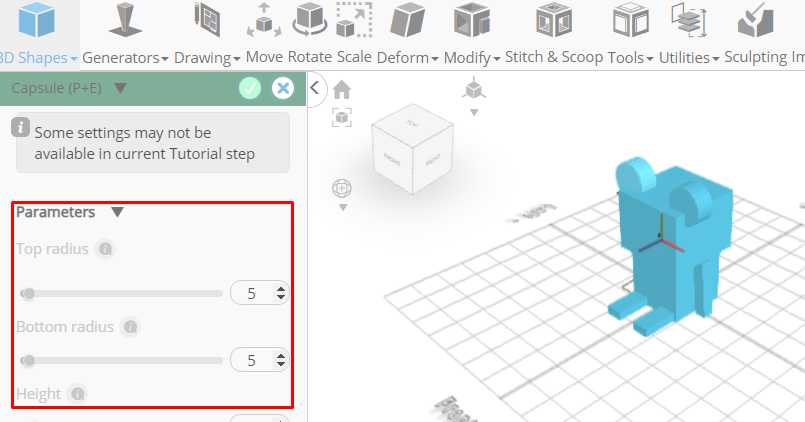
Click to finalize capsule
Click copy button to copy selected objects
Click move on the toolbar; Set x to -34 using highlighted gizmo
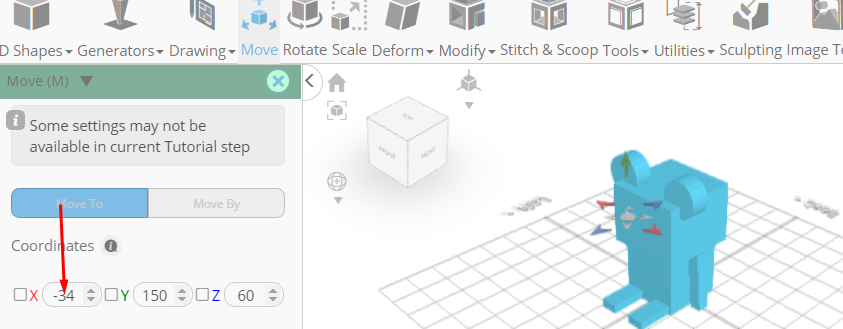
Click ‘x’ to close transformation panel
Click on mesh 12, 12(1), 8, 16, 16(1), 4, 24, 20, 20(1) to select
Click stitch & scoop on the toolbar; From the tool panel choose union
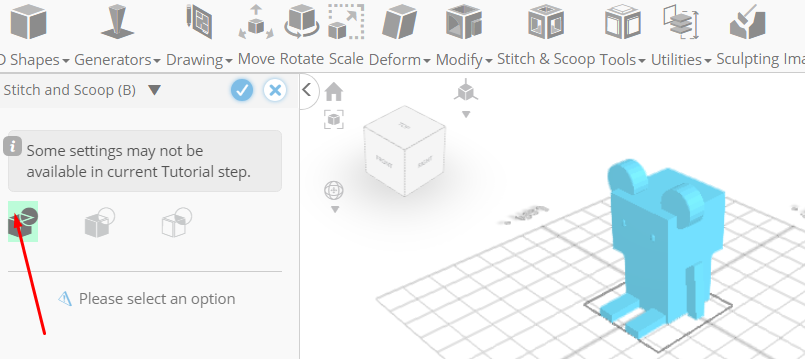
Click to finalize union
As you continue honing your design skills, remember that SelfCAD offers a wealth of resources to support your learning journey. To deepen your understanding and explore more advanced features, consider checking out the interactive tutorials (https://www.selfcad.com/tutorials) available on the SelfCAD website. The tutorials page provides a treasure trove of guides, tips, and tricks that cater to designers of all levels.
More structured learning experience can also be accessed at the SelfCAD Academy (https://www.selfcad.com/academy/curriculum/), https://www.youtube.com/@3dmodeling101, and 3D Modeling 101 series (https://www.youtube.com/playlist?list=PL74nFNT8yS9DcE1UlUUdiR1wFGv9DDfTB). This comprehensive resource offers in-depth courses taught by industry experts, allowing you to master the intricacies of SelfCAD at your own pace.