How to Design Your Own Custom 3d-Printed Lego Technic Parts
by alex_le2014 in Workshop > 3D Printing
3799 Views, 25 Favorites, 0 Comments
How to Design Your Own Custom 3d-Printed Lego Technic Parts

Behold: Lego Technic!
These injection-molded plastic parts are beloved by millions of Lego fans around the world for its modular construction system and its potential for technical functions. With its 0.01 mm tolerances, you can build a MOC, then disassemble it again to rebuild into new creations with new functions. Although it has its limitations, the Lego technic system has enabled Lego builders around the world to unleash their creativity.
https://youtu.be/n-RtJOfFlZU?si=S3cbti49o1E46oE2
Now imagine what you can do with CAD and a 3d-printer to design your own custom Lego parts. Where mechanisms can’t be designed with existing Lego parts, bespoke 3d-printed parts can open the door for limitless possibilities.
This instructable will give you some useful tips on how to design your own custom 3d-printed Lego parts for your Lego technic MOCs. Through this Instructable you’ll learn techniques that I’ve learned along the way through experimentation. This instructable will be divided into four parts:
- Beams
- Gears
- Pin Connections
- Flip-flop beams
Supplies
The things I used for this Instructable are:
- Autodesk Fusion
- Bambu Lab A1 mini
Of course, these two particular tools aren’t strictly required. You can follow through this Instructable with any CAD software or 3d printer.
Beams!

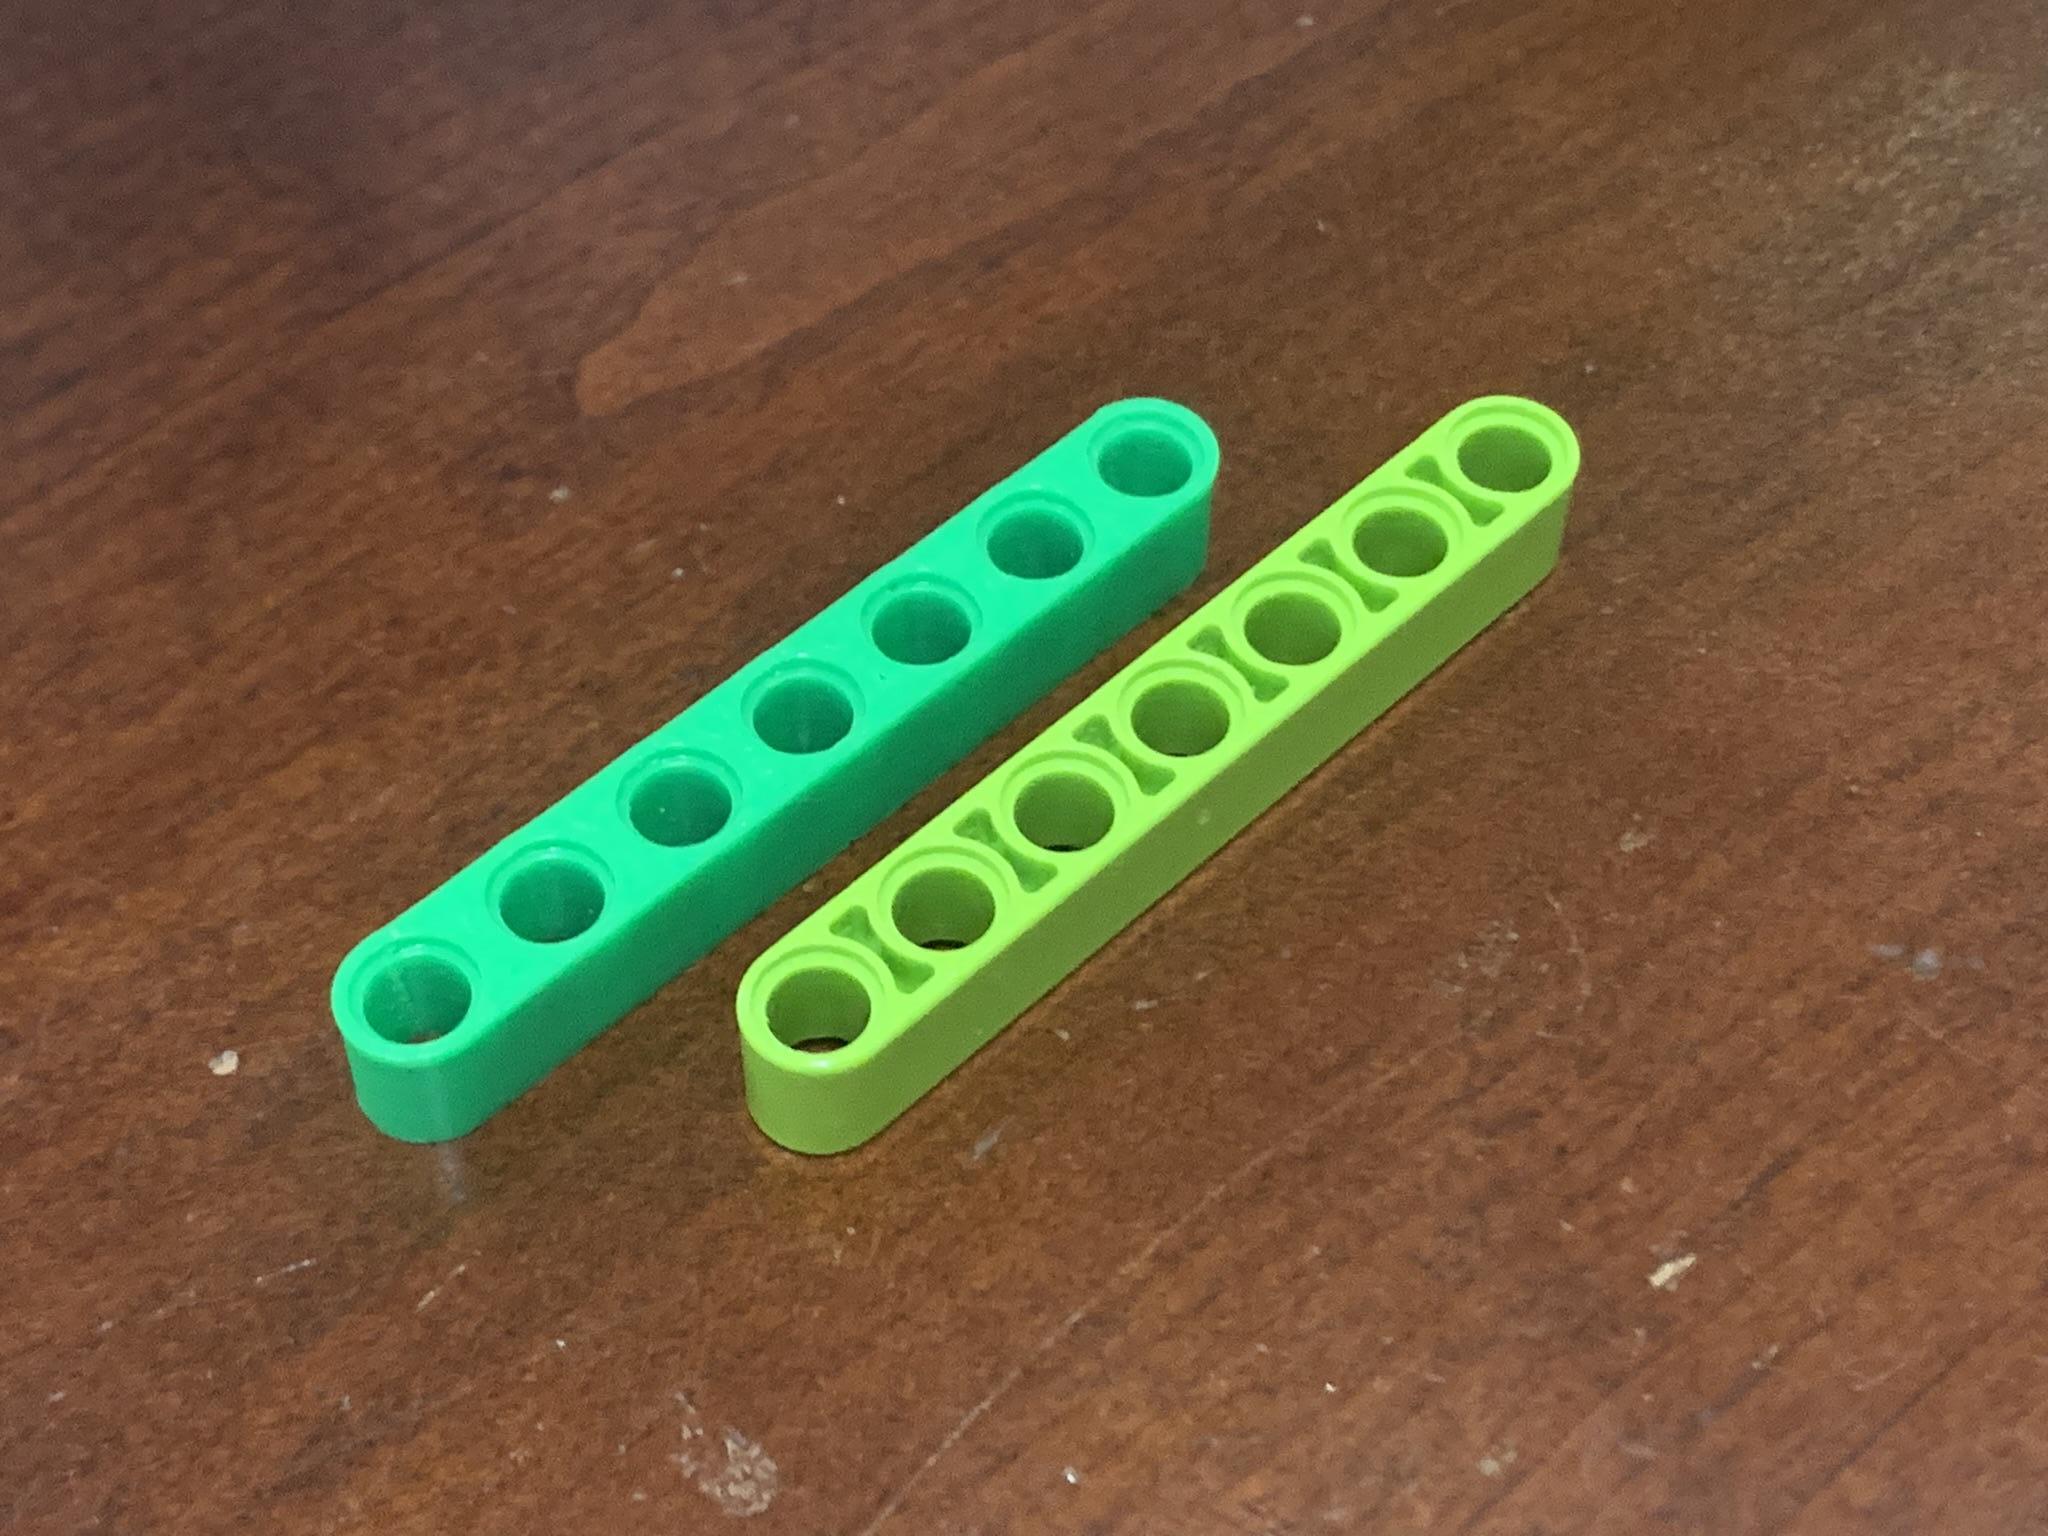
For the most part, technic beams are pretty easy to design.
Lego Technic (and regular Lego system pieces) all work off an 8mm grid. This means that all the pin holes or studs are spaced 8mm apart from each other.
To begin, create a sketch (preferably on the xy plane). I like to begin by drawing construction lines that will be the basis of our 8mm grid. For this example, I’ll be making a 7 mod beam (7 module beam, or a beam with 7 pin holes).
In this example, I draw 6 construction lines. The endpoints of each line will the center points for the circles for the pin holes.
To avoid the clutter of seven of the same dimensions, I make heavy use of the equal constraint. Setting all of the construction lines equal, I can dimension one line to be 8mm, and all the other lines will be dimensioned 8mm accordingly. You will see me use the equal constraint a lot throughout the Instructable.
Up next are circles that will be our pin holes for our part. By hovering over the end of each line and pressing the C key, draw two circles for each pin hole.
Notice that I leave my circles blued out. After I finish drawing all the circles, I come back with the equal constraint!
Here’s the part where I do the responsible thing by disclaiming that your mileage may vary with the dimensions that I’m offering here. Some 3d-printer are simply built different, and you may find that you need to increase or decrease the hole diameters to provide the best fit with original Lego parts. The dimensions that I use are what has worked for me personally, and you may very well find that different dimensions work for you.
For the actual pin hole diameter, 5mm is on the conservative side of things. This is because in the printing process, the 3d-printer leaves seams on the interior of each pin hole. I’ve found that this seam is the main source of friction if you are using the pin hole for an axle to rotate through.
Z-seam example. Imagine this on the interior of every pin. This seam affects how smoothly the axle can rotate through.
Simply buffing out the seam with sandpaper, a Dremel tool, or a 3/16 drill bit is enough to ensure smooth interface for any pin hole. You can argue for making the dimensions +0.1mm larger, but I ultimately opted for 5.00mm straight because you can always remove material during post-processing, the latter is not possible; you can’t always put back material on a loose fit.
After this, put two larger circles on the ends of the beam, making sure to set them equal to each other. The dimension for the larger circle is 7.3 mm. Then draw two lines tangent and coincident to the two circles to close off the sketch profile.
Up next is extruding the sketch. First, begin by extruding the 3 outer profiles 8mm up. [Look in picture to see the prof. I’m talking about.
After this, toggle the visibility of Sketch1 back on, and do a second extrude for the inner sections of each pin hole. For the “Start,” select Offset with a 0.8mm offset. For the distance, I had the most success with 6.2mm. This extrude will create the slight “recess” that you see in every pin hole of technic beams/liftarms.
Almost done! To have the parts be printed flat without any support material, we can put 0.55 mm chamfers on the bottom “recesses” of the part. This will eliminate the overhangs and ensure that the part can be printed flat without supports.
Be sure to select the correct edges to chamfer.
All done! With these three simple steps, sketch profile, extrude, and chamfer, you can design your own custom Lego technic beams that haven’t been created yet by Lego. Are you feeling like you might need a 17 long beam for Lego technic MOC, but it hasn’t been produced yet by Lego? Design and print it yourself!
Here is an example of a funky C-shape beam that I made in just a few minutes!
Gears

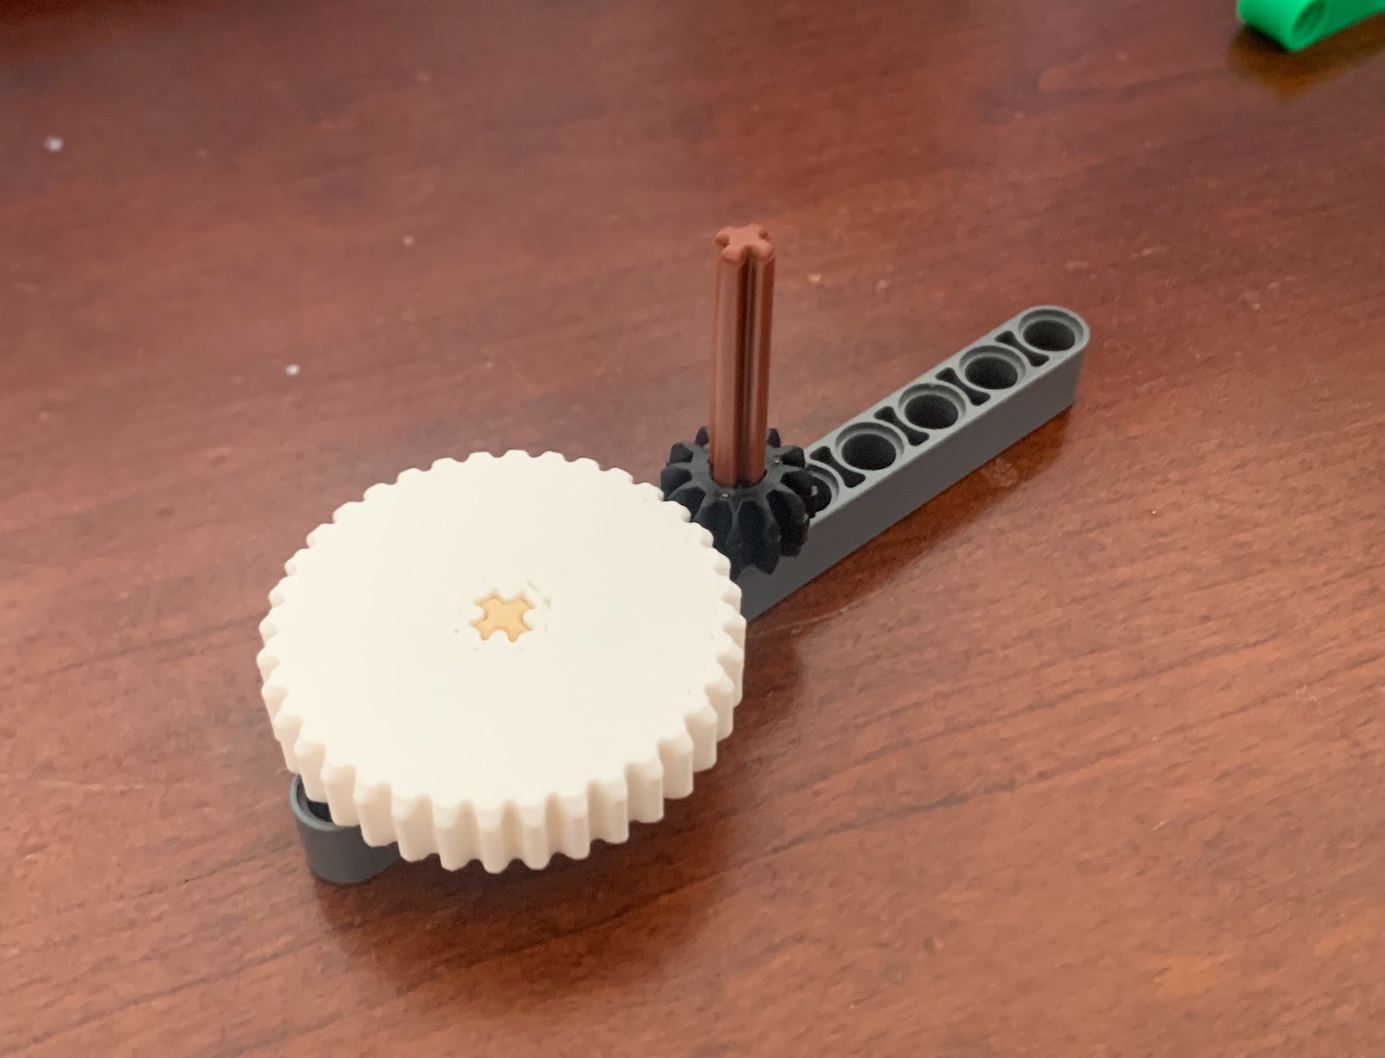
For this section, I will direct you toward an awesome video by Product Design Online that walks you through how to add and use the Spur Gear script to create spur gears.
https://youtu.be/B8A_11o7QZ0?si=Wl7YLn4jVKQwarlu
Kevin from Product Design Online does an amazing job at walking through how to create and drive spur gears, so for this section I’ll describe the optimal settings I had when designing custom gears to mesh well with original Lego gears. Here are the following settings:
For the hole diameter I left it 0, so that we can come back and model holes for an axle.
Speaking of which – axle holes! Although it might seem trivial to sketch out a cross and extrude it through the part, we need to realize the fact that 3d-printers can’t achieve perfect 90 degree corners. What I mean by this is that, depending on printer nozzle sizes, the interior edges of the actual print will turn out to be more rounded than your 3d-model entails.
Notice how the edges of the print aren’t as crisp like our CAD model is.
To work around the limitations of the 3d-printer, you can remove more material during the design of the axle hole to compensate for the limitations of the print nozzle. I encourage you to tweak and iterate on a design that delivers the best fit with Lego parts as always, but here is a picture of a design for axle holes that has worked the best for me:
Admittedly, this is some pretty complex geometry for something so small in scale. I found it most convenient to draw the sketch profile in a separate part file, then copy and paste it into other designs whenever I want an axle hole. That way, I don’t have to go through the hassle of creating the complex geometry whenever I need an axle hole in my design. For your convenience, I attached the .f3d file in this instructable so that you can download the file, copy the sketch profile, and then paste into your own design. The neat thing about it is that all of the geometry is constrained relative to the center, so when pasting the design, simply put the center point coincident with your design to constrain it exactly where you need it to be.
Pin Connections

Depending on your what your design entails, you may need to model pin connections for your part. Although I recommend you to avoid printing out pin connectors or axles if possible, being that print strength is weakest along the layer lines, it is still possible to implement them into your design. From my experience, it’s not ideal, but very much possible.
It took a lot, and I mean A LOT of experimenting and tweaking before I got an acceptable design.
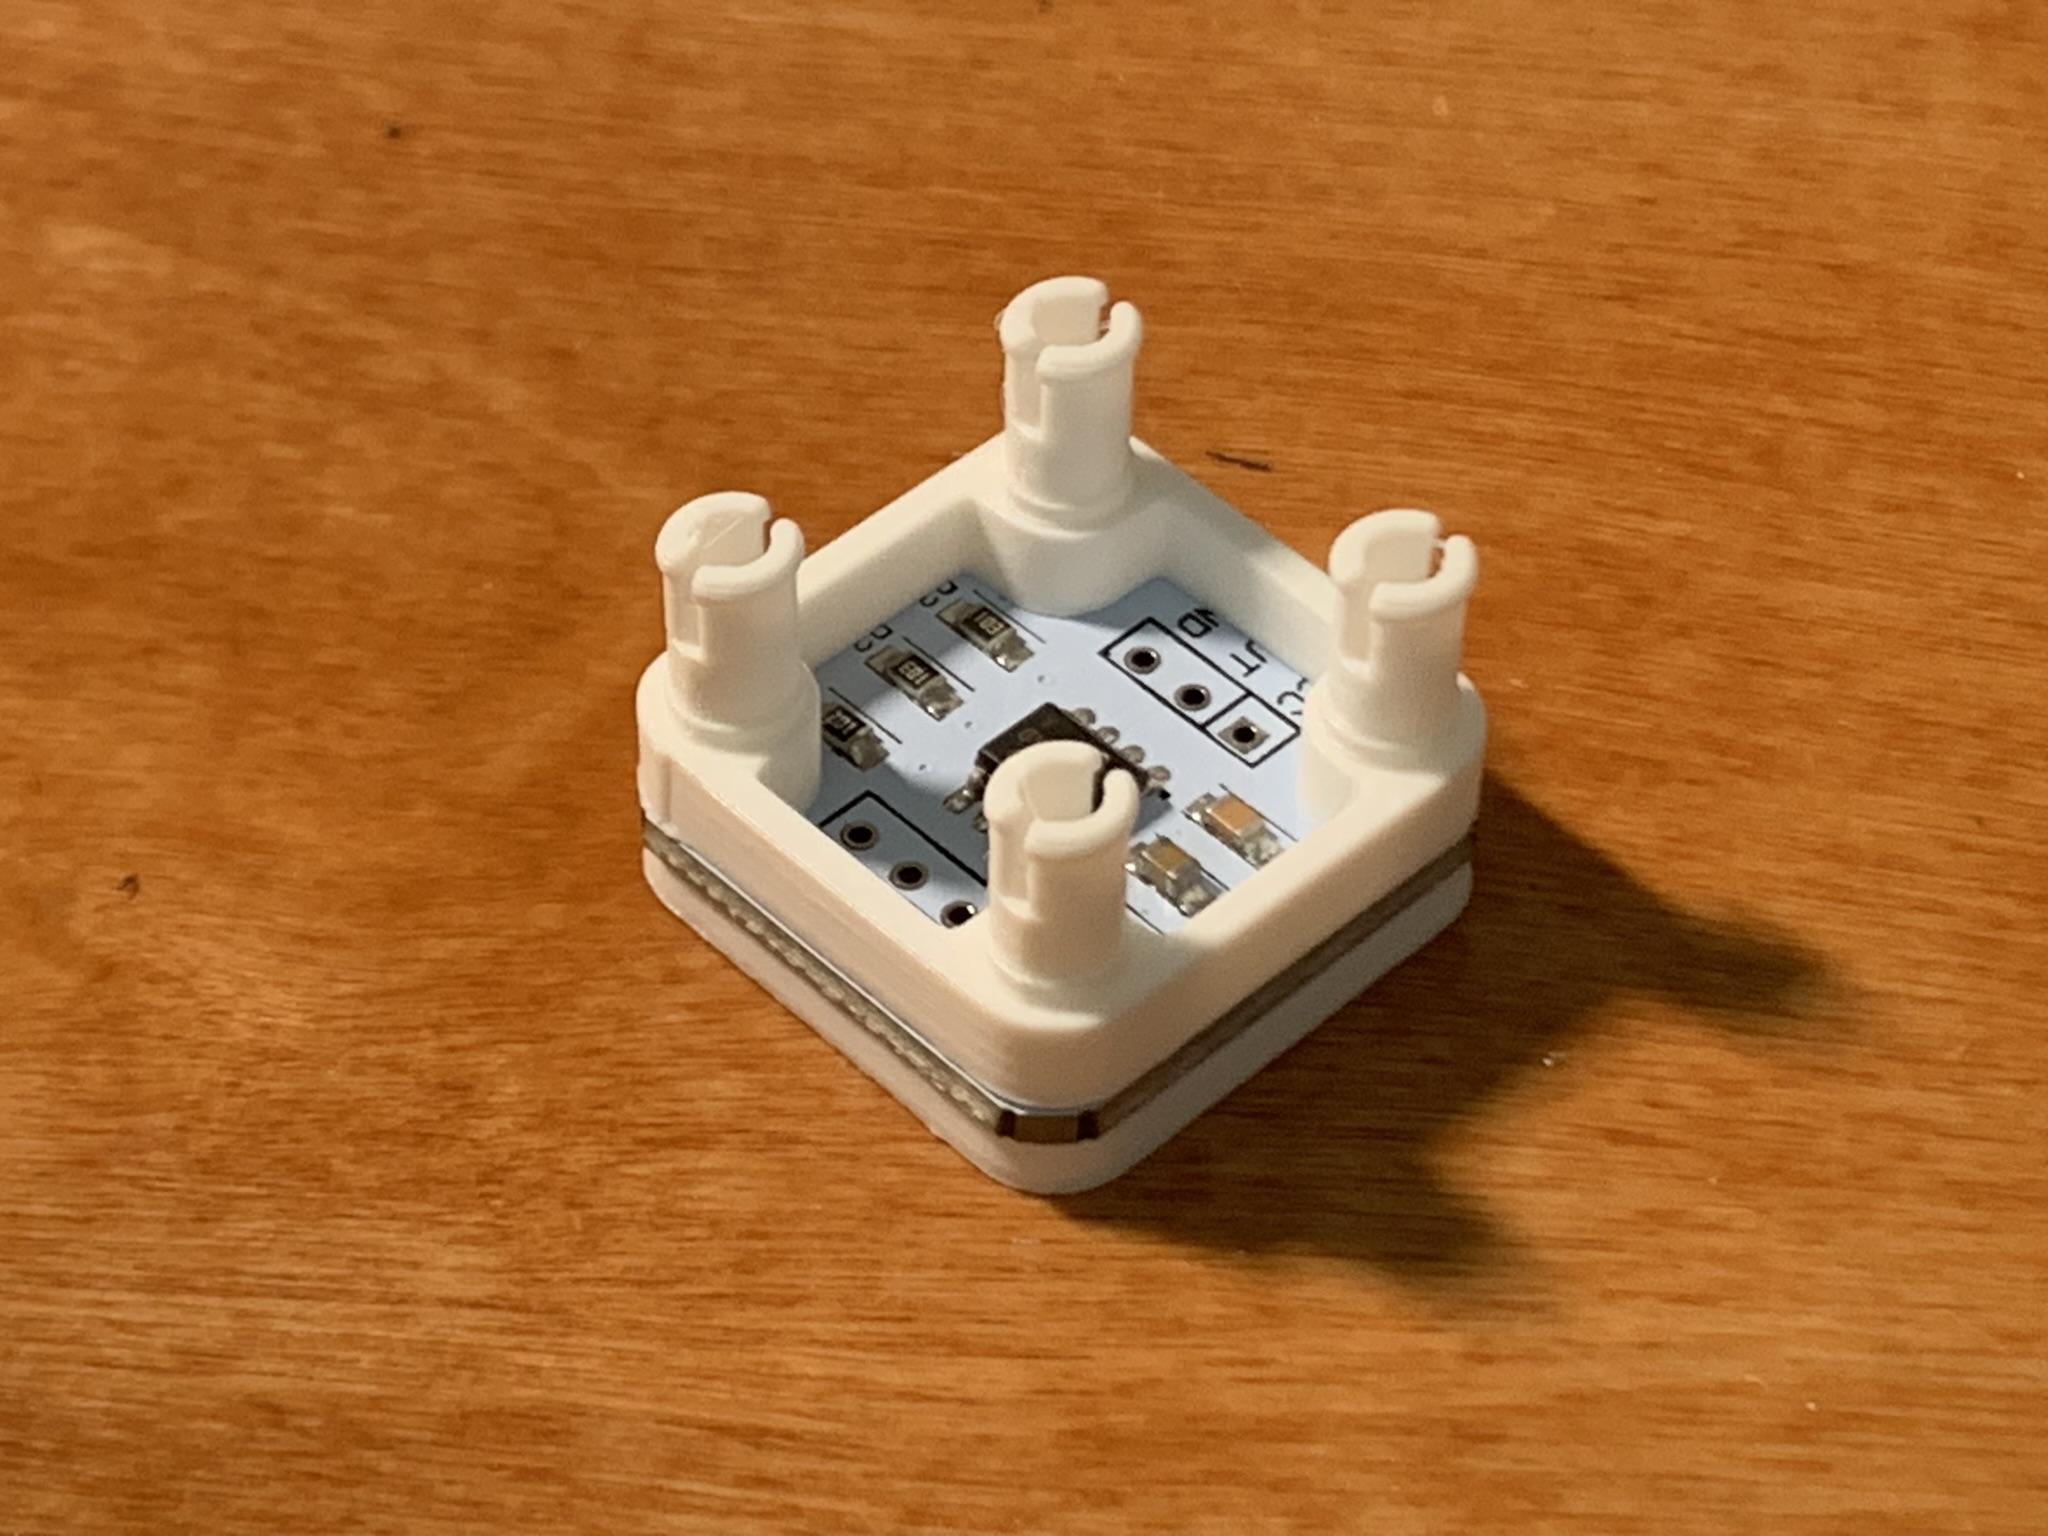
Here’s an example of how pin connectors may be used for your custom part. This is a picture of a magnetic encoder module in a mount to read angles off a magnet attached to the end of an axle.
The modeling of the pin is pretty involved, so I’ll attach an example file that you can peruse through and cover the high beats of process.
The optimal dimensions that I found are:
- 3mm for interior diameter
- 4.5mm for exterior diameter
- 5.10mm for the “nub” at the top of the pin connection and the flange section on the bottom.
- 0.8mm for the width of the “slot” for the pin.
Flip-Flop Beams

I’m really proud of this next modeling technique that I developed on my own. This technique allows you to print pin holes perpendicular to the z-axis and achieve a similar effect to the flip-flop beams produced by Lego.
Now you might be thinking to yourself, isn’t that already possible by just printing normally? Yes, it is possible, but I never found the results to be impressive. Especially with Lego pieces, where part tolerances are crucial, this was just not going to pass.
Using smaller nozzle-sizes and thinner layer heights can improve things, but this solution only offers diminishing results and is very filament-costly and time consuming.
My technique avoids using successive layers to approximate the pin holes. As you’ve seen all throughout this Instructable, FDM 3d-printers are really, REALLY good at printing pin holes in the z-direction. We’ll use this strength to our advantage!
Enter: pin-hole inserts!!
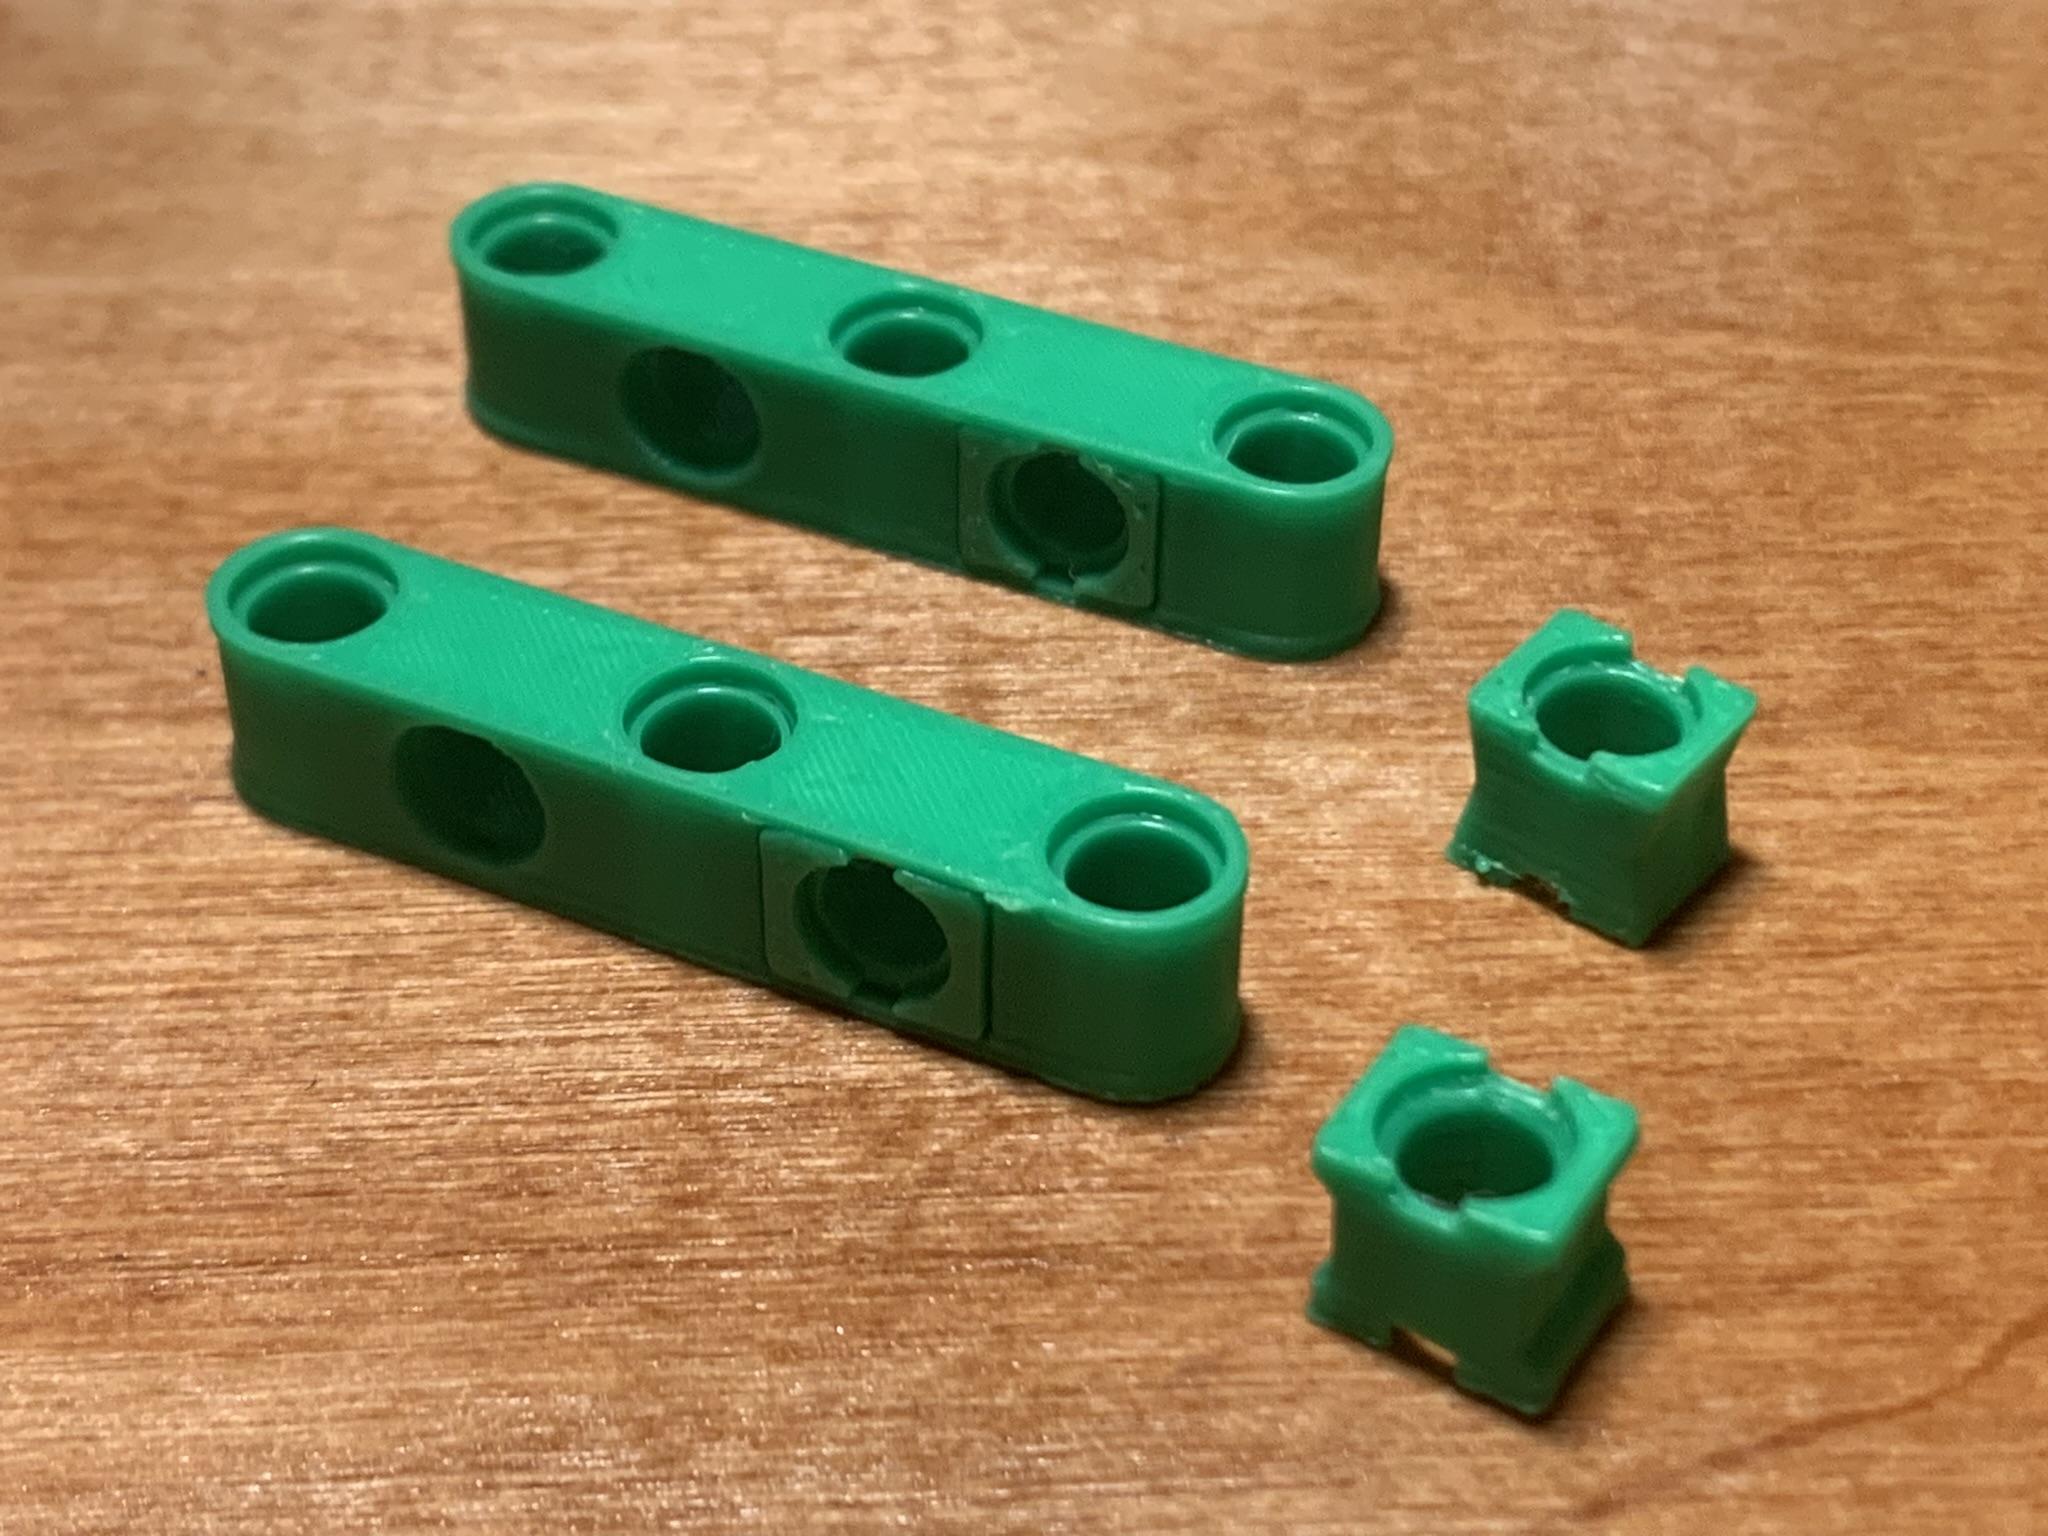
These pin hole inserts are printed beforehand and are inserted during the print of the main beam. From my experience, this technique offers a more solid connection than the current method of throwing the raw model into the slicer and hoping for the best. Sure, you may have to spend some extra time in CAD and making sure the insert clearances are good, but it is well worth the effort in my opinion.
The process for this technique is very similar to modeling beams (all dimensions for the pin holes are the same). For places where we want a hole perpendicular to the Z-axis, we draw the design that we want for the insert. I found that an “X” shaped insert is easiest to model. During the actual insertion of the pin insert, the “X” design also helps align the part to the slot.
If you want to come up with your own insert designs, my advice is to be considerate of the fact that this insert will be printed in a different direction from the main beam design. Overly-complex designs can become a hassle to draw if you intend on having multiple pin holes perpendicular to the Z-axis.
After this, draw the circles for the pin hole of the insert.
I found it the most efficient to extrude the beam out first, then cut out the insert profile with a 0.8 mm offset from the sketch plane. Be sure to select the correct sketch profiles to account for part clearances.
DON’T FORGET TO SELECT SKETCH PROF.s FOR CLEARANCES. Cut height = 6.7mm
After that, extrude the smaller sketch profile to the same height. Be sure to select New Bodies instead of Join.
After this, I use the Offset Faces command on both the top and bottom of the insert.
Then model out the pin hole as usual.
Tadaa! But we’re not done yet because we still need to set the user pause in the slicer software. In your slicer software, set a user pause on the layer just before the bridging.
After this, you’re all set to 3d-print. Don't forget to print the insert before printing the main beam. During the print for the main beam, you can also apply superglue on the bottom of the insert to make the insert more secure.
This picture actually shows two different types of insert designs that I experimented with at first. I found the top design to be easier to model. After I insert it in, I reactivate the program and the printer begins bridging over the insert.
--------------
Some more pictures of some flip-flop beam designs to get you inspired:
Conclusion
If you made it to the end of this Instructable, thank you for reading and listening to what I have to say! This Instructable is a culmination of countless hours printing and experimenting, so I hope you found value in what I had to share.
As a lifelong Lego fan, I know that one of the main cornerstones of building with Lego is discovering clever building techniques and pushing the limits of what’s possible with standardized pieces. However, I also see tremendous potential in designing your own custom Lego technic pieces to create new functions, funky gear ratios, and ultimately redefine what we mean by “building with Lego.” Through this Instructable, I hope I inspired you to begin thinking about what custom Lego pieces you might design and incorporate into your own MOCs.
Thanks a lot,
Alex.