How to Design Ready to Print Chessboard in Under 2 Minutes
by Sammy50 in Living > Toys & Games
495 Views, 0 Favorites, 0 Comments
How to Design Ready to Print Chessboard in Under 2 Minutes
If you are a fun of playing the chess game, I would like to show you how you can be able to design and 3D print your own chessboard in under 2 minutes using SelfCAD.
Let’s get started!
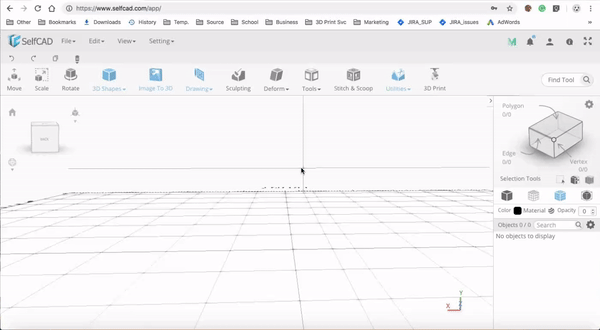
Drag and Drop Cube
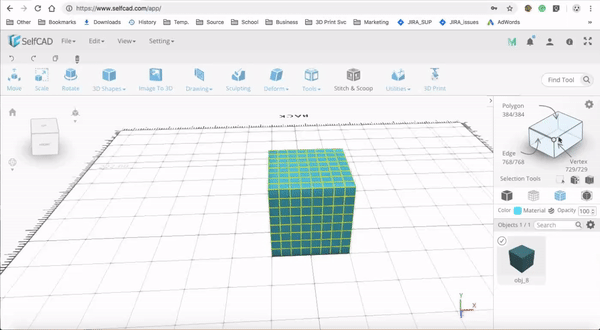
Select a cube from the basic shapes section and then click Finalize.
Selecting the Polygons
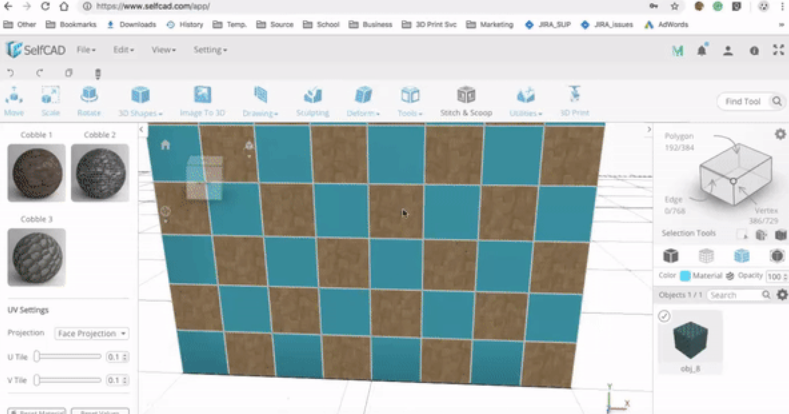
Select the polygon selection tool and set the loop selection and custom pattern ON and start selecting the polygons as shown below.
Changing the Material of the Selected Parts

After selecting those polygons, we need now to change the material of the selected parts.
Select material option and select cobblerstone and in the projection settings set the U tile and V tile settings to 0.1 and then click Apply and we are done. Export the chessboard as .png and you will be done!
To design your own visit https://www.selfcad.com today and never stop designing!