How to Design, Print, and Use 3D Printed Leather Stamps!
by Matt Makes in Craft > Leather
35304 Views, 458 Favorites, 0 Comments
How to Design, Print, and Use 3D Printed Leather Stamps!
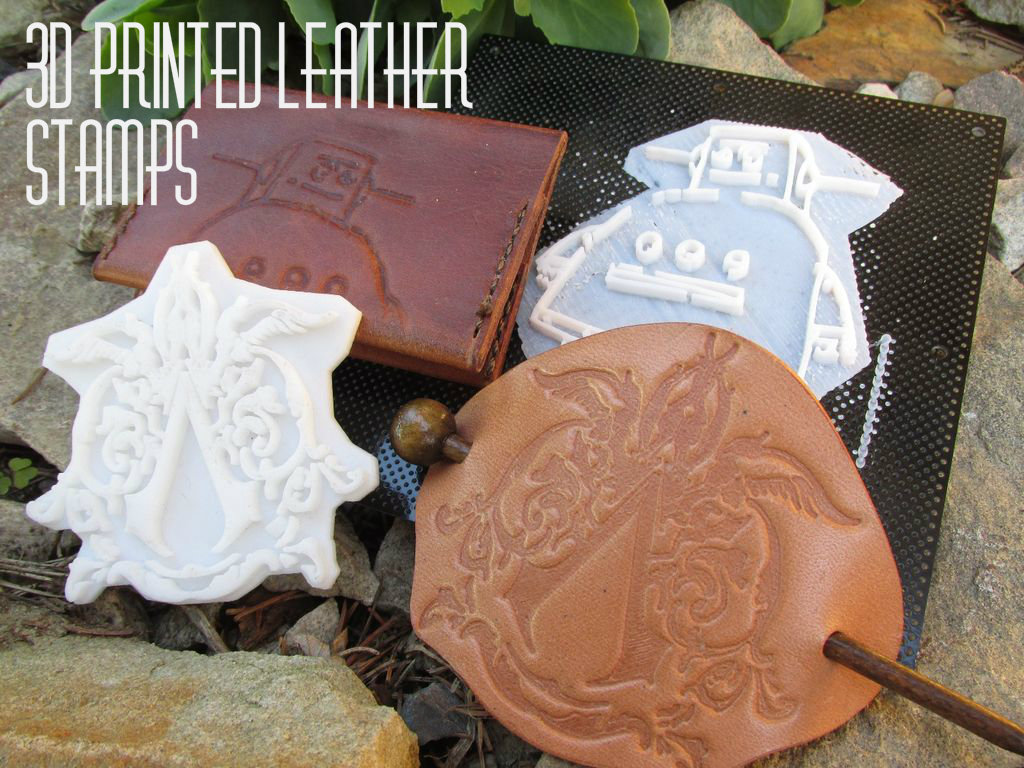
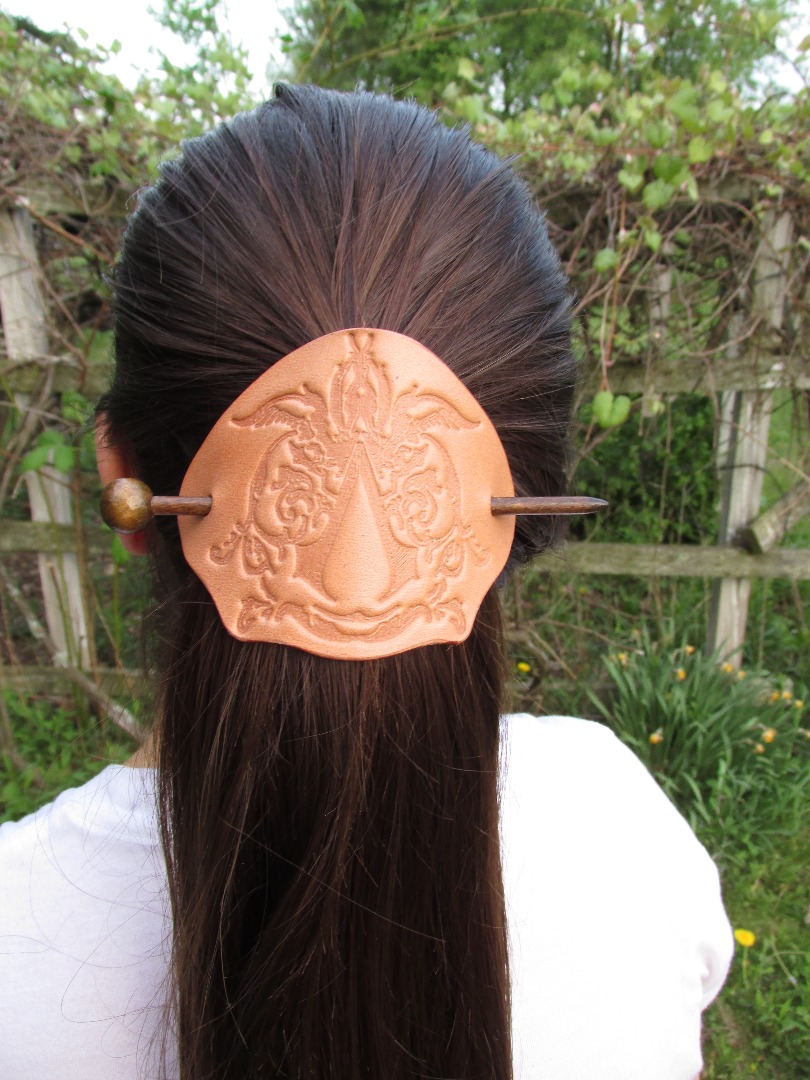
Tooling leather and producing beautiful and intricate patterns by hand can be very challenging. Having now done several leather projects, I have learned a lot about working with leather, and as such I'm always looking for new and better ways to produce designs that are beautiful, professional, and repeatable. That's where 3D printing comes in, utilizing 3D design programs and 3D printing you can create intricate stamps that incorporate amazing levels of detail, that can be used over and over again to produce consistent results, and that are 100% customizable to meet your needs and/or the needs of your project.
In this Instructable I will walk you through the process of designing custom 3D printed stamps that you can use to quickly and accurately add beautiful detail to any of your leather working projects. I'll explain how to find and convert images into stamps using 3D design programs like Google SketchUp, and then I'll go on to explain how to successfully use the stamps you created to produce intricate designs on your leather projects. Along the way I'll throw in tips that I've learned through my experiences with this technique, and I will link to other Instructables that offer additional information that you might find useful.
What makes this technique so great is that it allows you to decorate your leather projects with professional looking embellishments even if you're brand new to the art of leather working, and for no more than the cost of the plastic used to print the stamp. Anything from your name and phone number to your favourite logo, to your own unique drawings and designs can be adapted to create custom stamps using this method which opens up a world of possibilities in regards to what you can make.
Tools and Materials
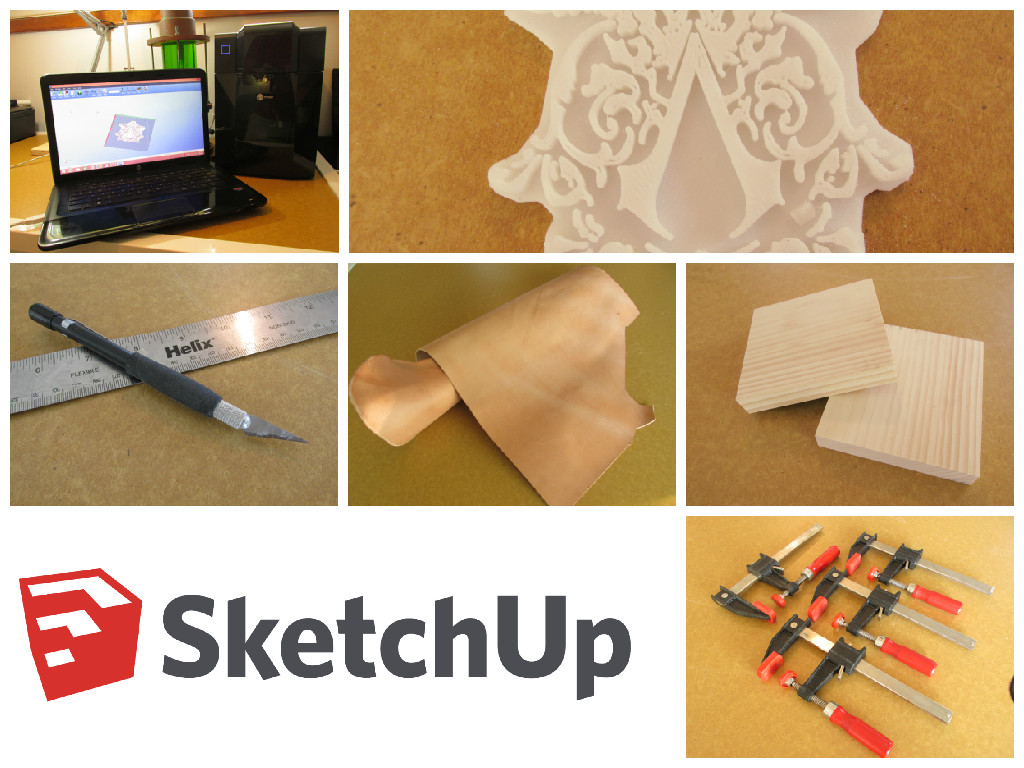
Below is a list of the things I used for this project, with links to what I used if applicable:
Technology
-Computer
-3D Printer
Tools
-Wood Working Clamps - For applying the pressure needed to force the stamp into the leather.
-Putty Knife / Scraper - For removing the 3D printed stamp from the print platform.
-2 Square Blocks of Wood - Used to distribute the force of the clamps when clamping the stamp.
-Cotton Cloth - For polishing the surface of the leather to highlight the stamped area.
Materials
-Leather - 6 ounce vegetable tanned leather works best for this project. You can pick some up online from retailers like Tandy Leather or if you have a saddle or furniture shop near by you can usually buy small off cuts of leather from them very reasonably.
Optional Materials
(These things are directly necessary for the process of creating and using 3D printed leather stamps, but they are nice to have for finishing or embellishing your projects
Edge Beveler, 220 Sand Paper, Gum Tragacanth, & Edge Slicker - All the tools used to polish and refine the edges of your leather projects. Check out the awesome Instructable by Jessyratfink entitled, "How to Burnish Leather Edges".
Leather Dyes and Oils - Useful for protecting and sealing the surfaces of your leather projects. Jojoba oil which is readily available are big box stores and personal health stores is a particularly good choice for this project as it maintains the natural light coloring of vegetable tanned leather.
Choosing a Graphic
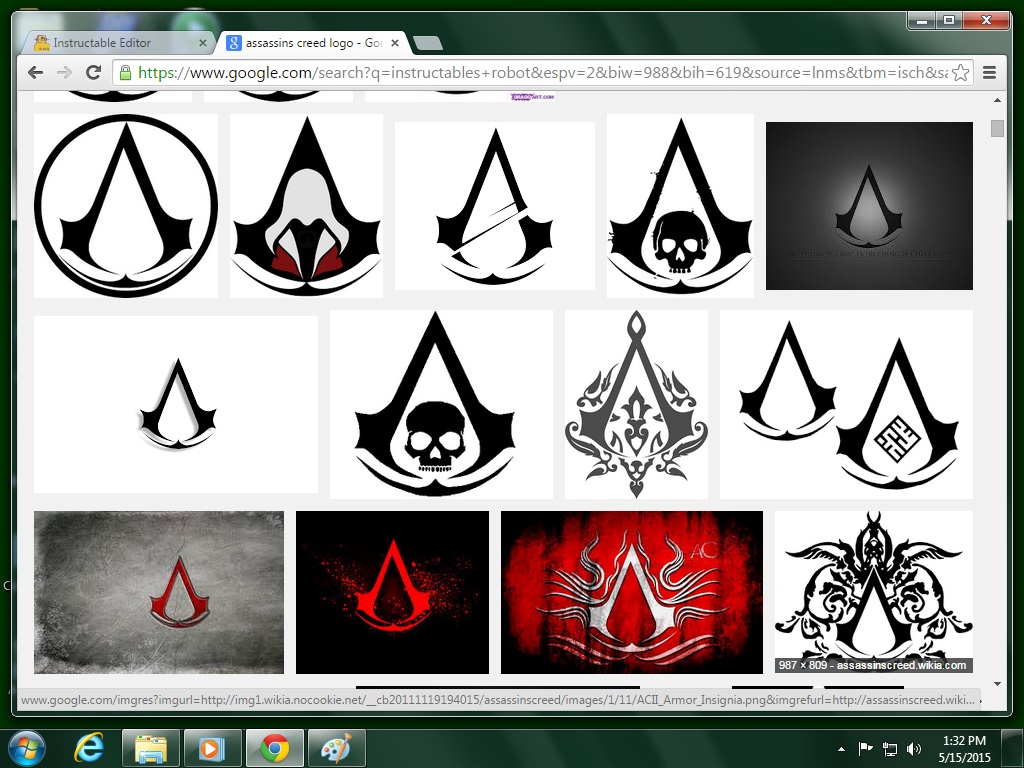
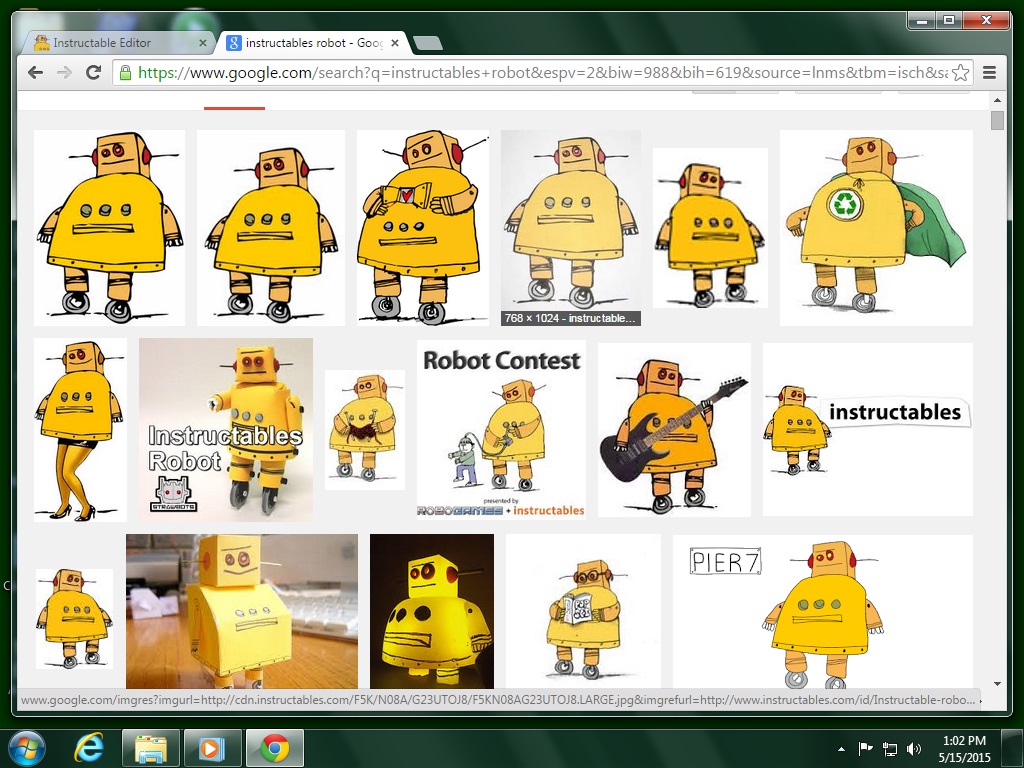
Choosing the right graphic to base your stamp on is one of the most important parts of this project. The quality and ability of your 3D printer to capture detail is going to govern what graphics you can use as some printers cannot capture tiny detail as well as others. For Example, my 3D printer, which is an UP Mini, has a bit of trouble rendering detail when line thickness falls below .5mm. When that happens the printer will omit sections of line, leaving gaps in my design. Of course, higher quality printers will probably be able to capture greater levels of detail, but even with my machines slight limitations I was still able to keep an impressive amount of detail in the smaller more intricate areas of my designs.
Once you've found a graphic you're happy with, save it as a JPEG or PNG file as these are the two image file formats that SketchUp will import.
Tracing the Photo in Sketchup
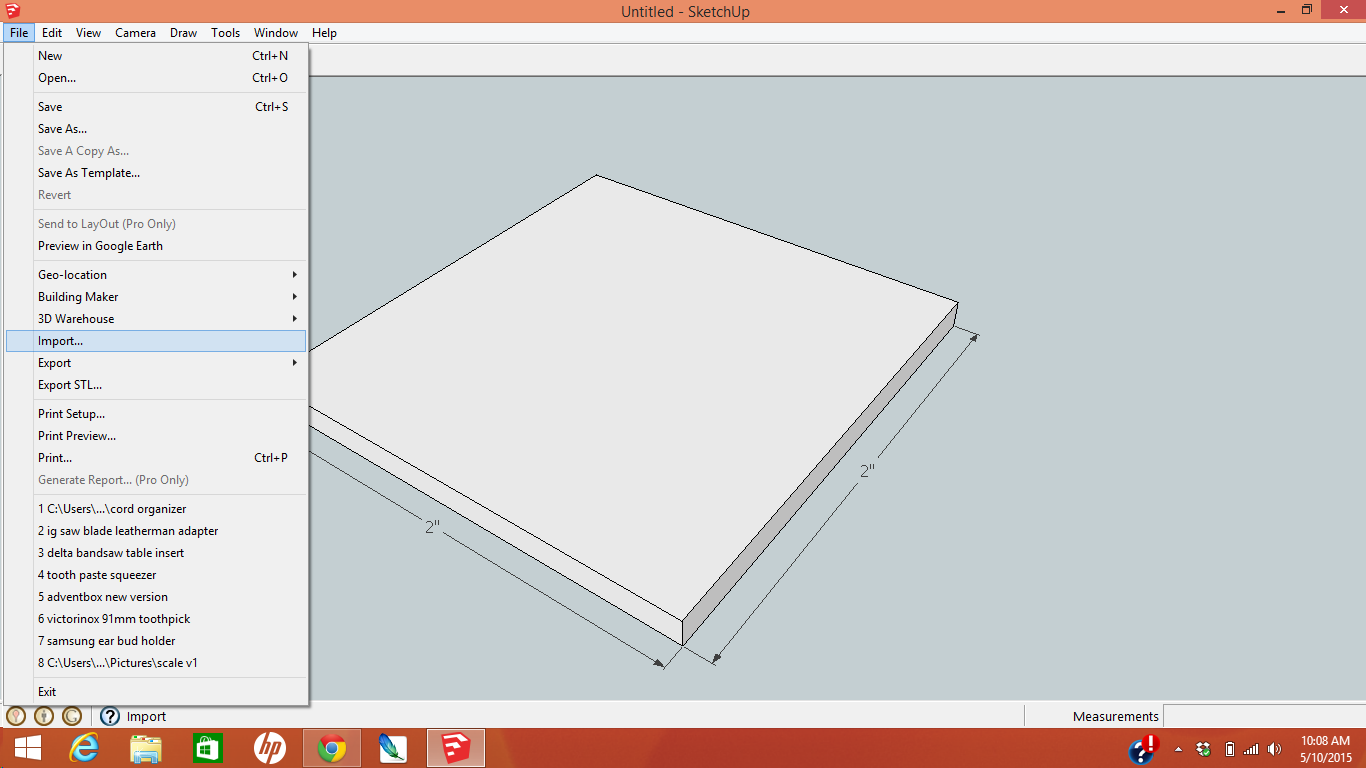
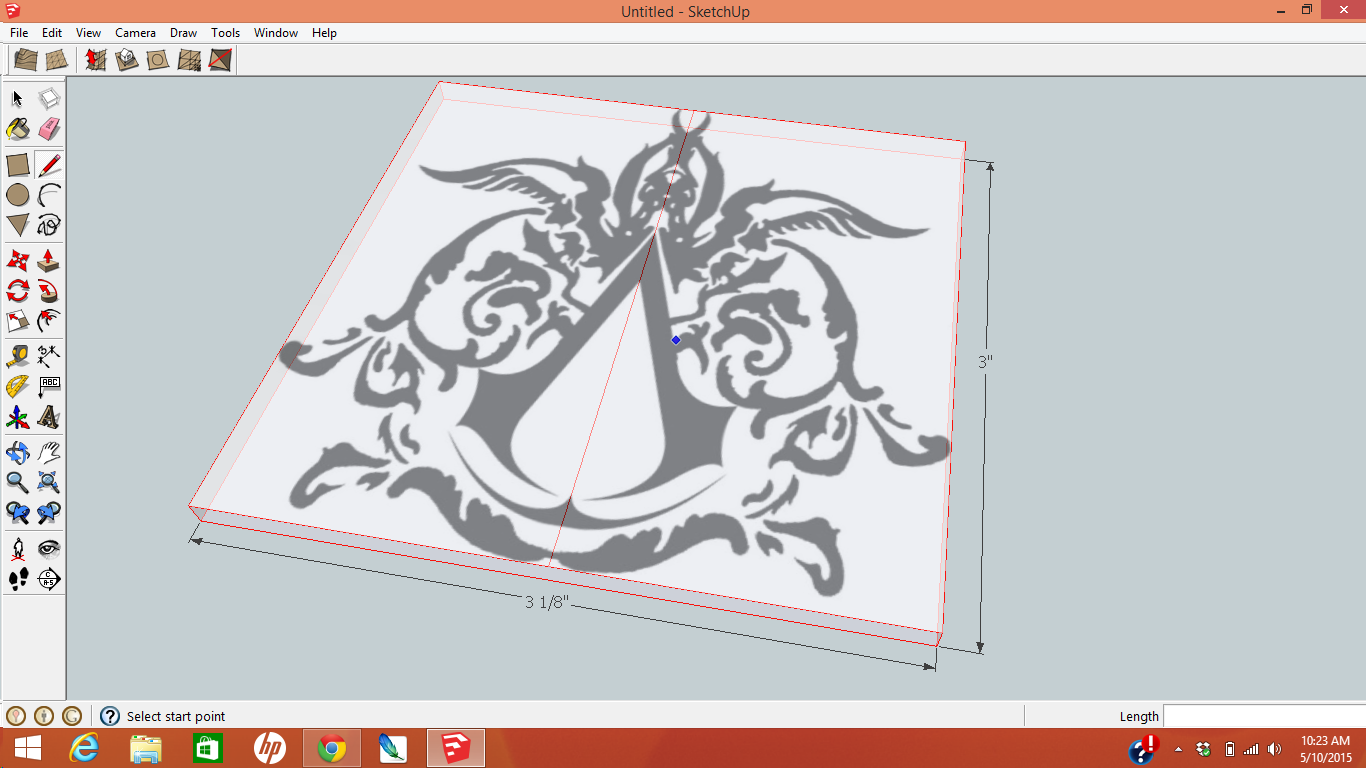
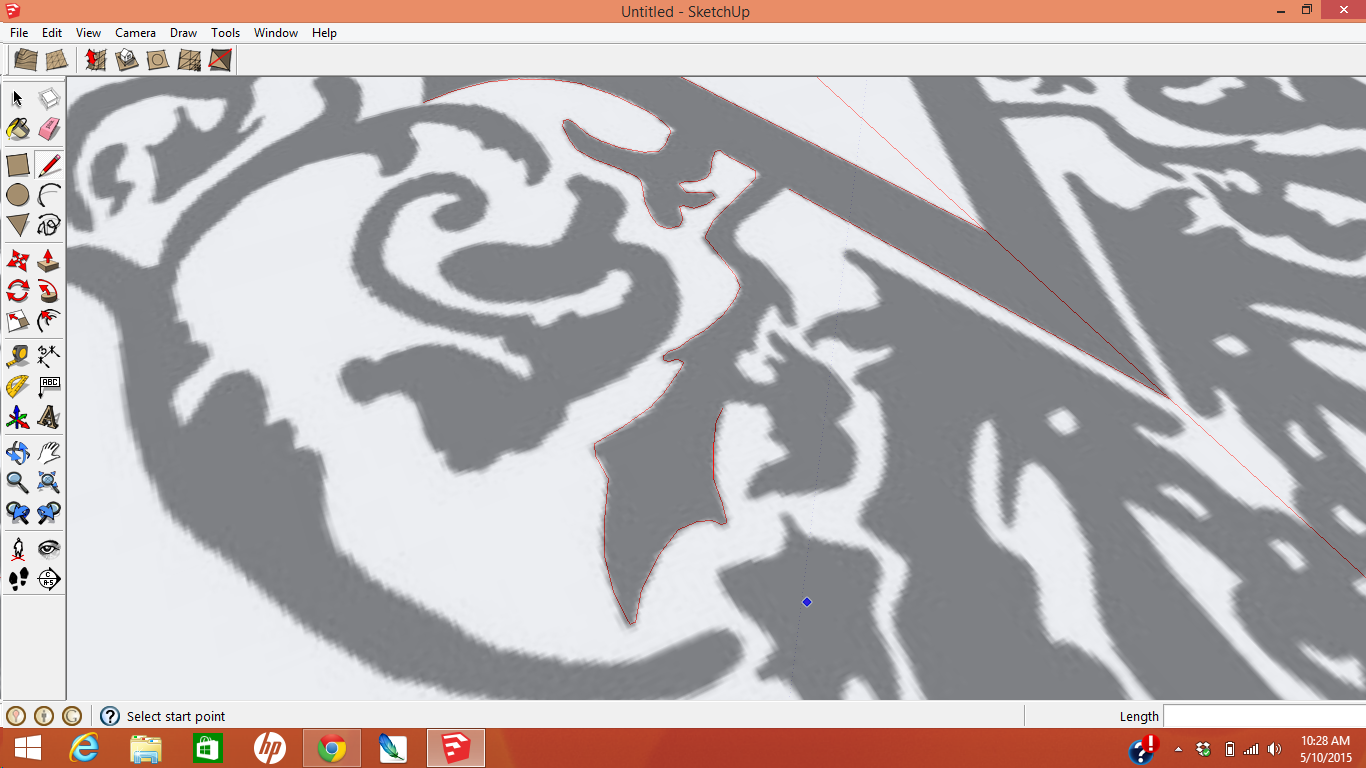
With your selected graphic saved, the next step is to import it into Sketchup. Start by opening a Sketchup Document in the "Product Design/ Woodworking - Inches" mode. This is a great mode for working on projects with small detail which is exactly what we want, (Note: if your a metric person there is also a, "Product Design/ Woodworking - Metric" mode. Once your Sketchup document is open, create a 3"x3"x1/8" square work surface. This will serve as the starting point for your stamp and can be resized to fit larger or smaller designs. Next, go to FILE and then scroll down and click IMPORT, find your picture and hit OK. After a moment to load, your picture should appear in SketchUp, grab it and place it ontop of the square work surface you made earlier.
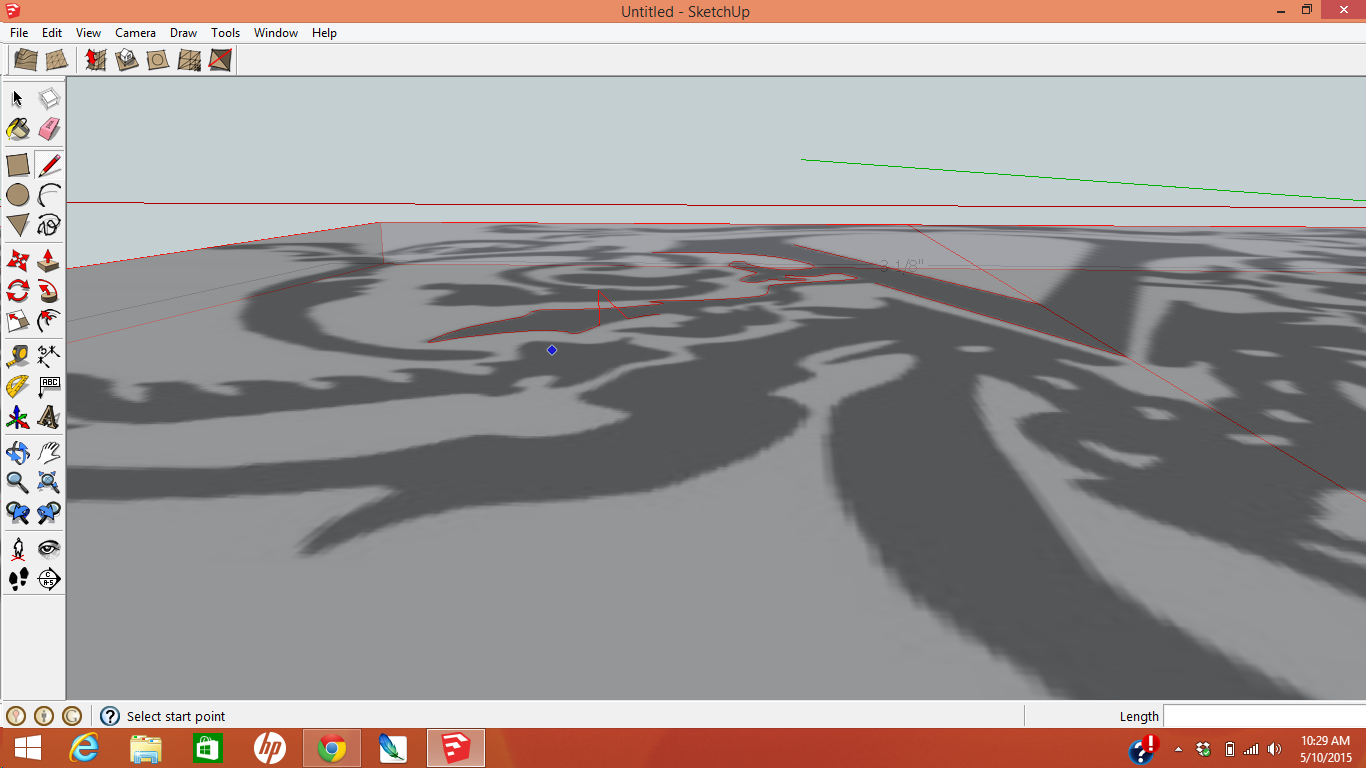
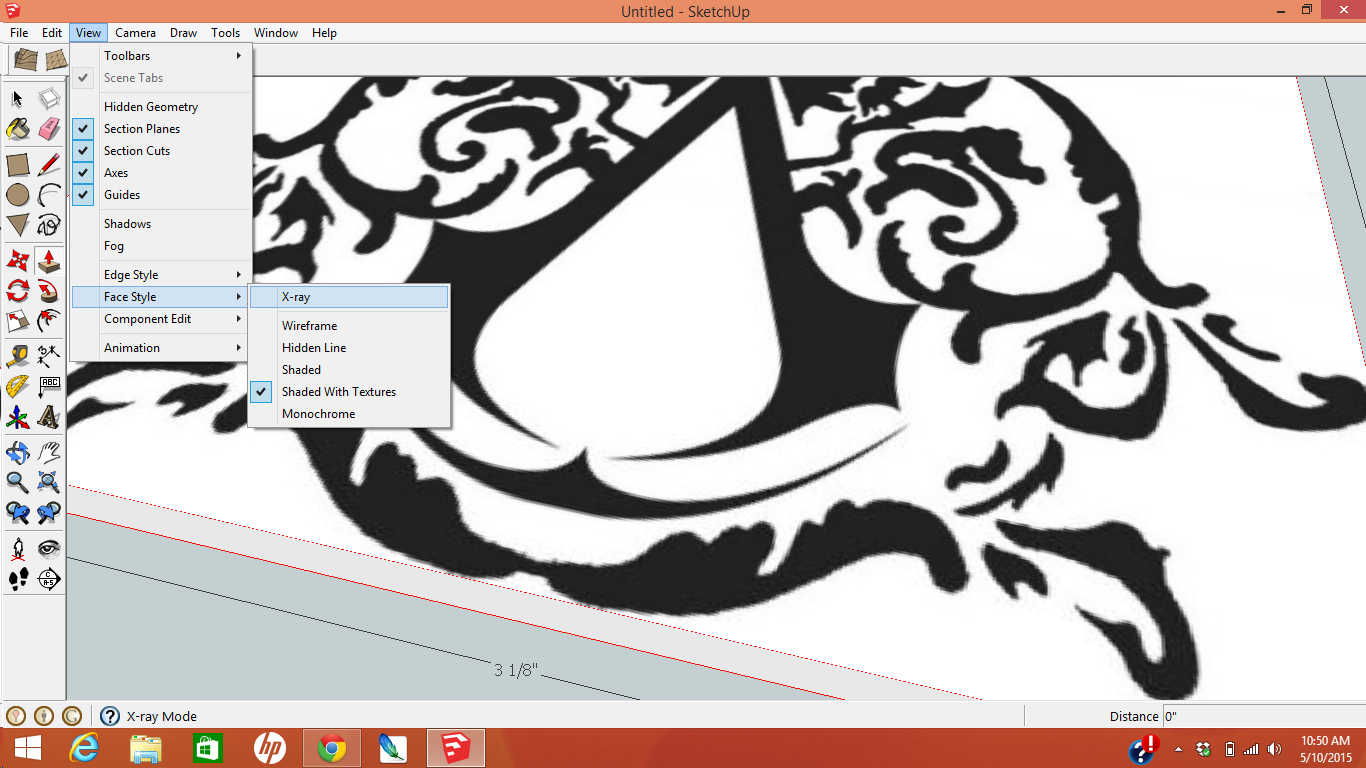
Now the fun part! Find VIEW at the top of the screen and scroll down to FACE STYLE and then scroll over and click X-RAY. This will turn everything slightly transparent so that you can see through the image you imported down to the square work surface. From here on out you're going to be switching between the LINE and ARC tools to trace your design onto the face of the work surface. This is a tedious process but to my knowledge there isn't currently a better way to do it in SketchUp. The real trick here is to make sure that your lines stay planar to the face of the work surface, as you trace you may inadvertantly draw a line that rises above or drops below the surface which will cause all sorts of problems when you go to extrude your stamping surface. To avoid this, periodically adjust your camera angle so that it is horizonal with the top face of your work surface, this will allow you to see any areas where your trace is not planar.
If you happen to have a design like the Assassin's Creed Symbol I chose to use, you can cut your work load in half by cutting the design in half on it's line of symmetry. Once you have half of the design traced you can copy and flip the traced lines, making sure to line up and connect all unconnected points.
Adjusting Layer Height to Create the Stamp
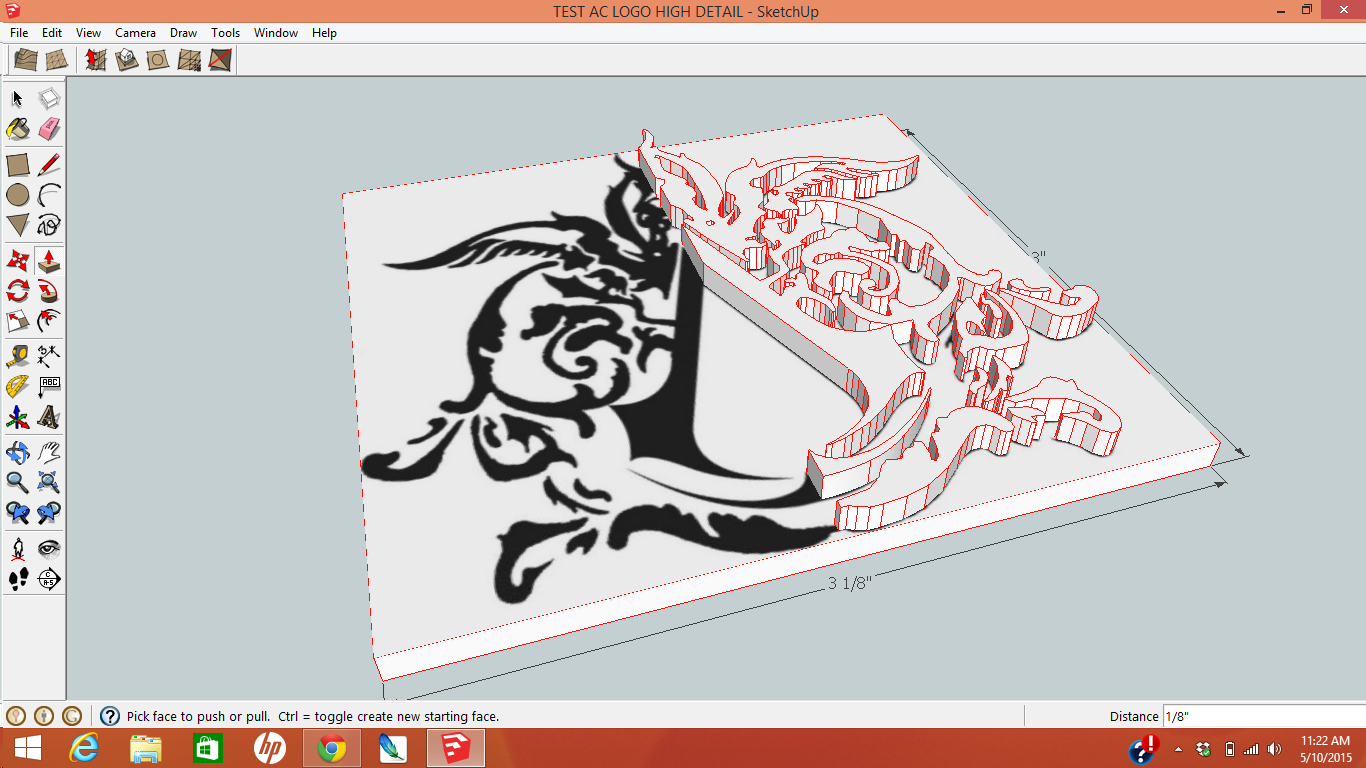
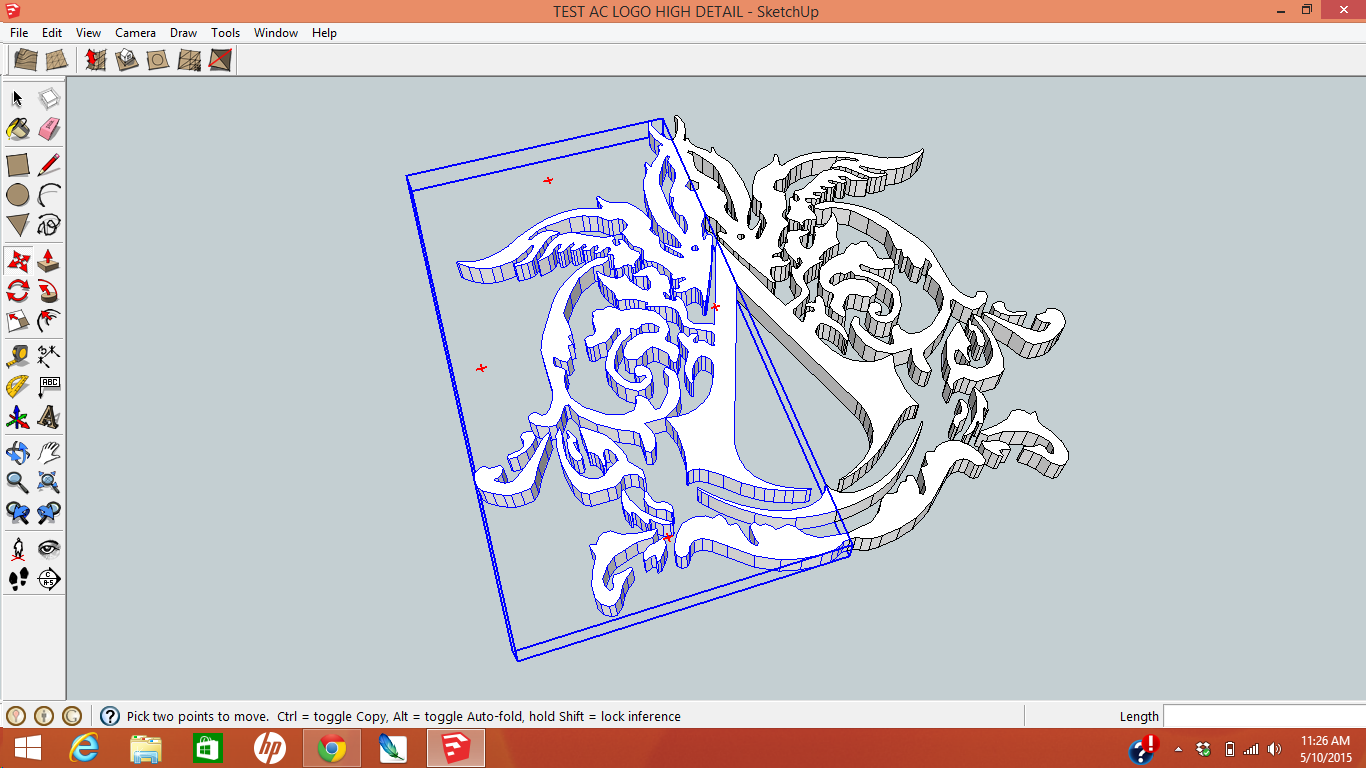
Once everything is traced you're ready to start extruding the various shapes you traced into 3 dimensions to create the stamping surface. Depending on the 3D design program that you are using you may have a different method of accomplishing this, but if you're using SketchUp all you have to do is use the PUSH/PULL tool to grab the shapes you traced and pull them up to the proper height. I generally extrude the the stamp up to 1/8" in height, this gives it plenty of depth to sink into the leather during stamping.
Tip: When you're attempting to pull shapes into 3D they must be closed and planar. If you hover your mouse over closed and planar shape the area inside of it will become shaded, If something is wrong with the shape then the shape as well an any outside areas will be shaded when you hover over it with a mouse. If you experience that problem then you most likely forgot to connect a line somewhere or you accidentally drew a line that was not planar with the surface of your design.
Once you have all of the stamp sections pulled up to the proper height you can finalize your stamp by trimming down the work surface that the design rests upon. This will allow your stamp to print faster and will keep you from having to waste extra filament printing areas that are not needed.
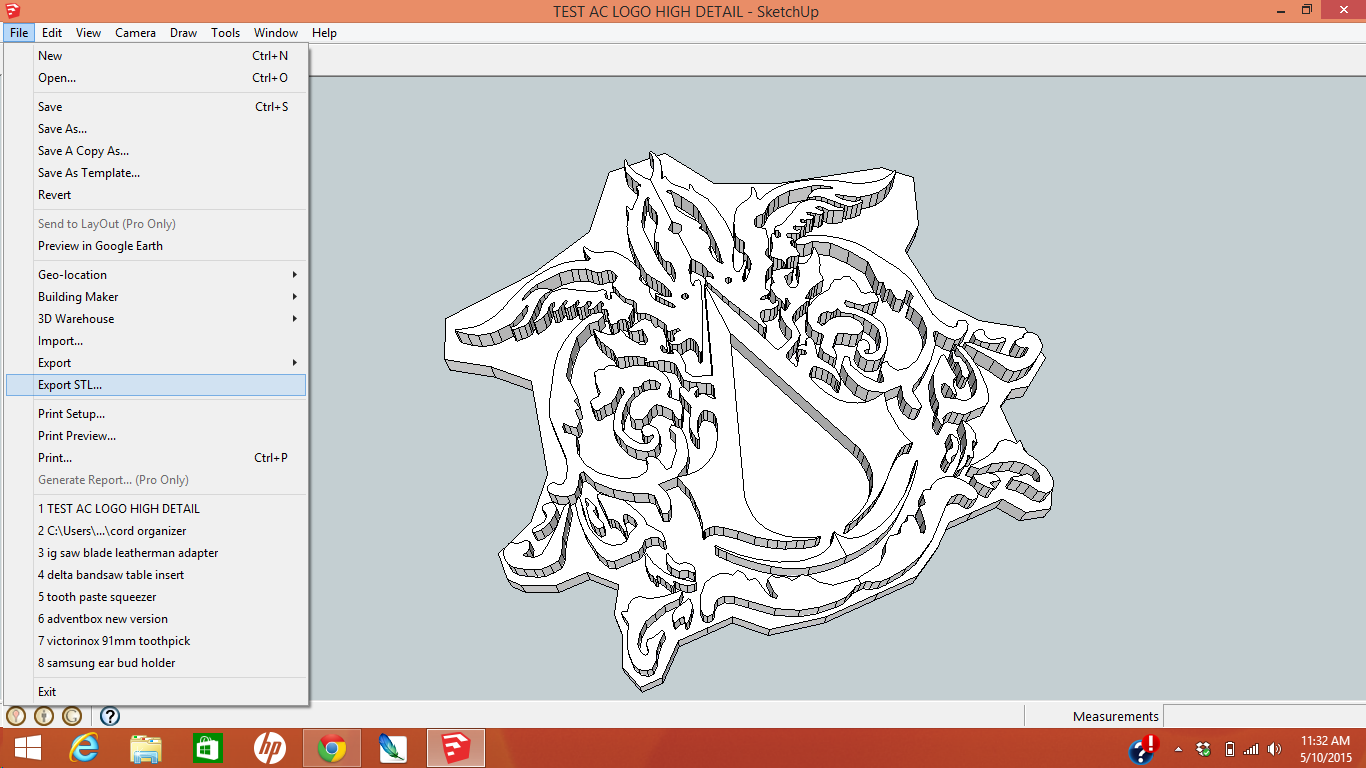
When your completely happy with your design you need to export it as an STL file so that your printer can recognize it. Depending on the 3D design program your using there might be several ways to accomplish this, but since we're talking about SketchUP, the easiest way to do it is to download the Extension, "SketchUP STL", (there is a link to it on the materials page). Adding this extension to SketchUP adds the option to "Export STL" to the drop down file menu. Once your file is saved as an STL file you can close SketchUp and open your 3D printer slicer program.
Opening in the Slicer Program
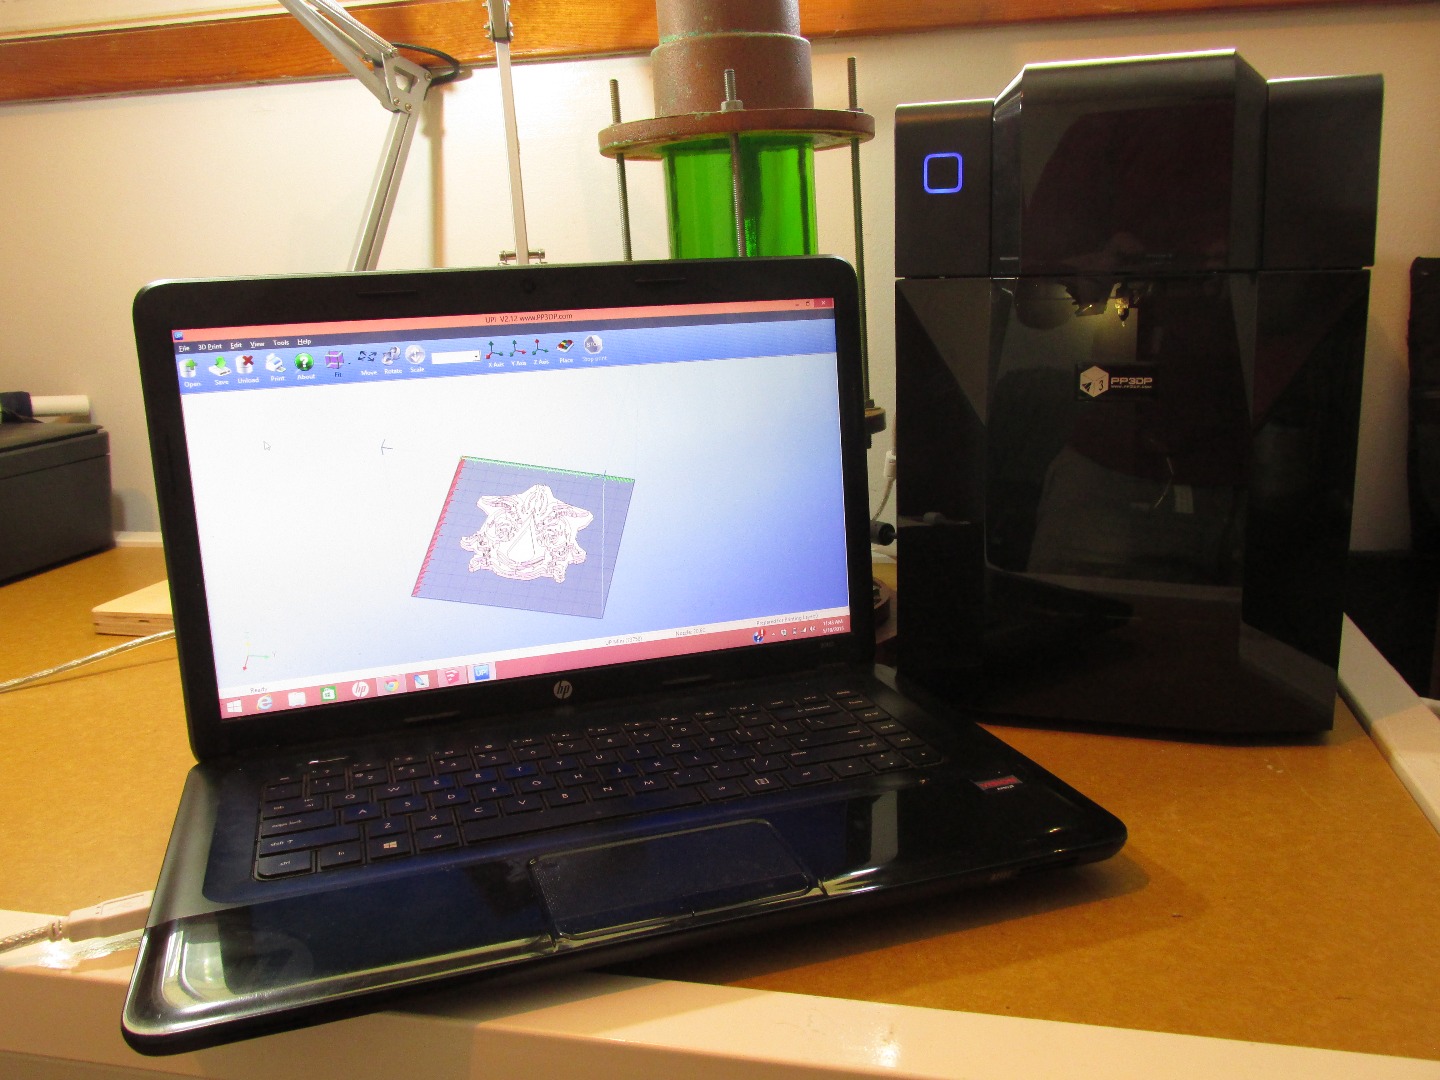
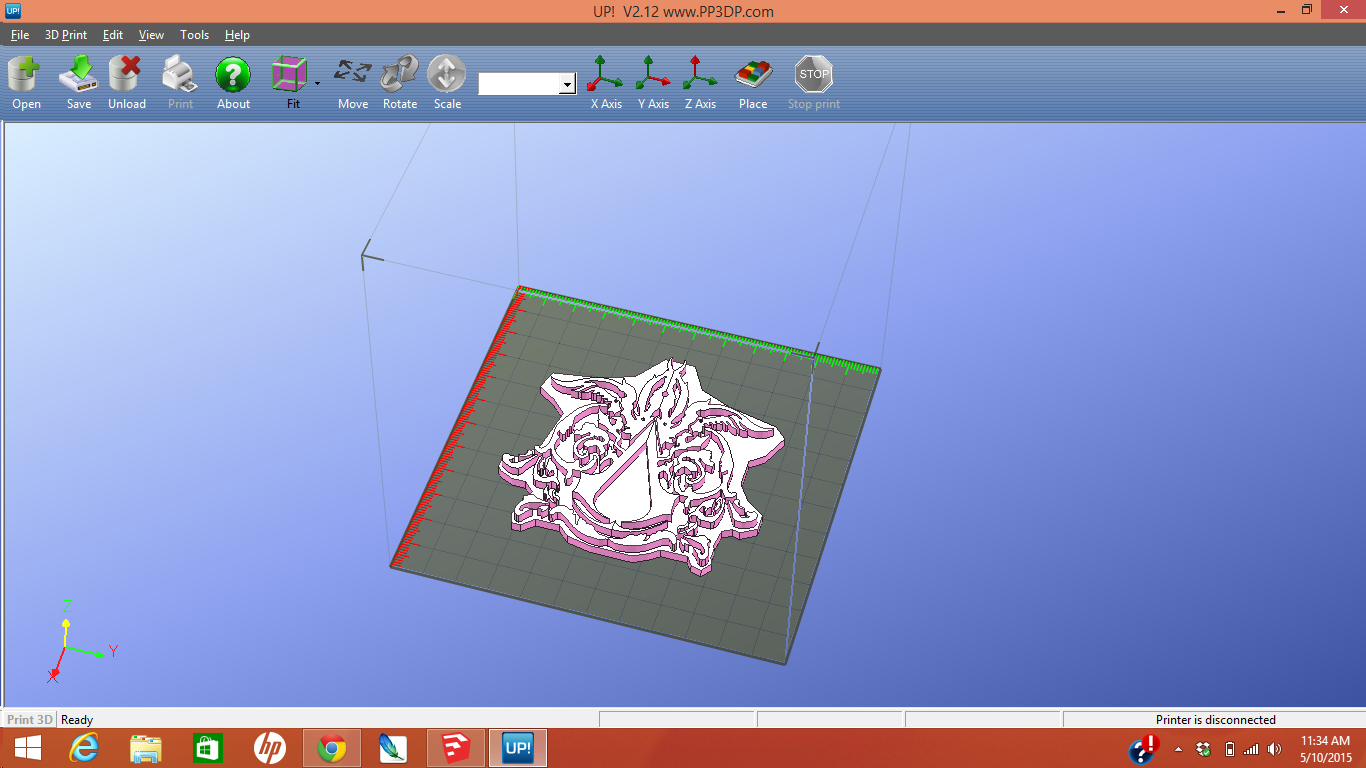
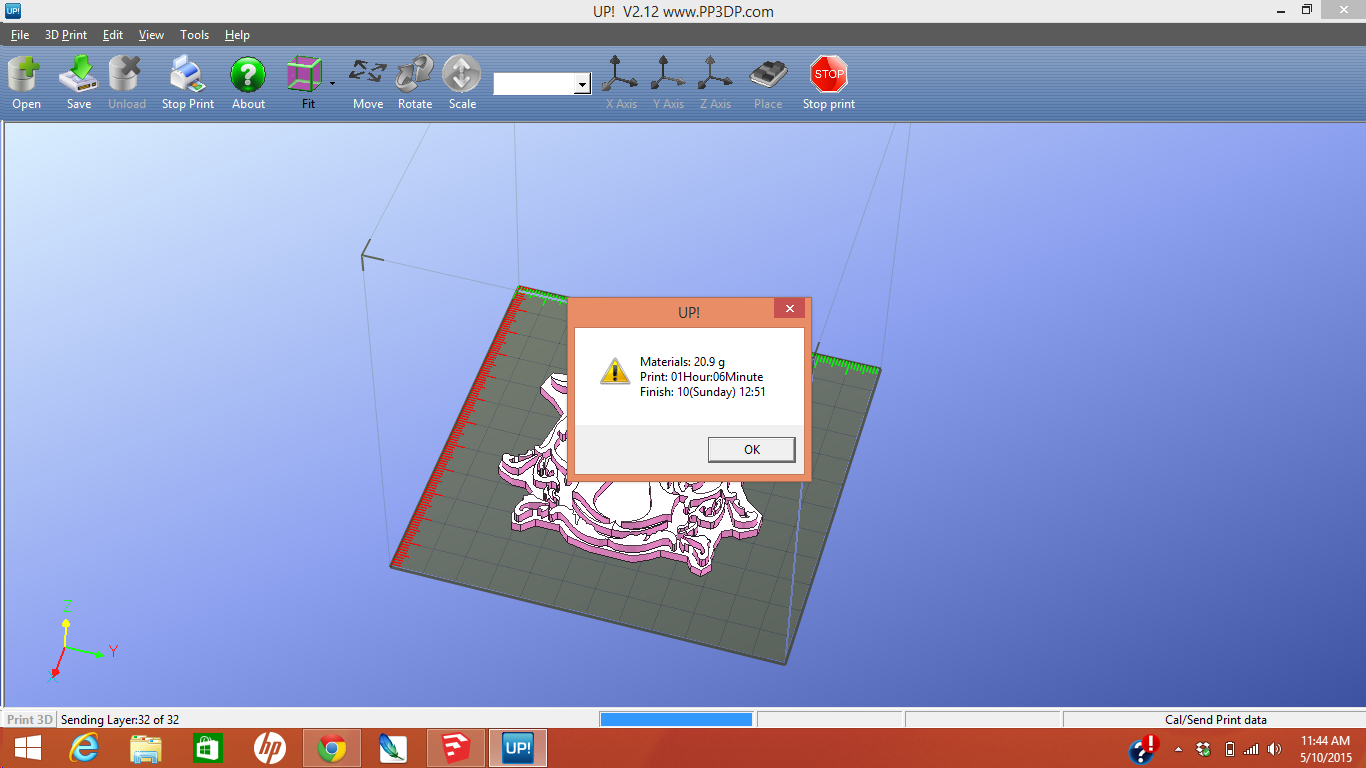
The slicer program is the last stop for your stamp before it hits the printer. These programs give you the ability to make simple adjustments to your models like changing scale or changing the print orientation, and they also allow you to set the parameters of how your design will be printed e.g. print detail, print speed, layer height, scaffolding options for overhanging parts, etc. What I'm looking for when I upload a model into my slicer program is:
A. Is it the right size - the slicer program shows you a 3D representation of the print area of your printer. If your design doesn't fit or if it is bigger than you expected you can make those changes as needed.
B. Is the design water-tight - 3D printers have a very hard time reading and understanding designs that have ambiguous lines or unconnected shapes. The idea of something being "water-tight" means that the object to be printed must be composed of shapes with sealed faces and connected lines i.e. if you filled your design with water would any leak out?
C. Does the orientation of my design make sense - Additive 3D printers like the UP Mini print by laying layer on top of layer on top of layer of extruded plastic. The way your orient your design on the print platform will determine how it prints, how long the print takes, and the structural strength of your printed part
As this design is fairly flat I had to do a few extra things to keep it from warping as it cooled. I adjust my print start height so that the print bed would sit a little closer to the extruder to produce a stronger bond between the printed ABS material and the PCB print board. I also preheated my print bed, and cleaned my PCB print board to remove any dust or oils that might impede the ABS media from adhering properly.
When everything looks good the model is ready to print!
Printing
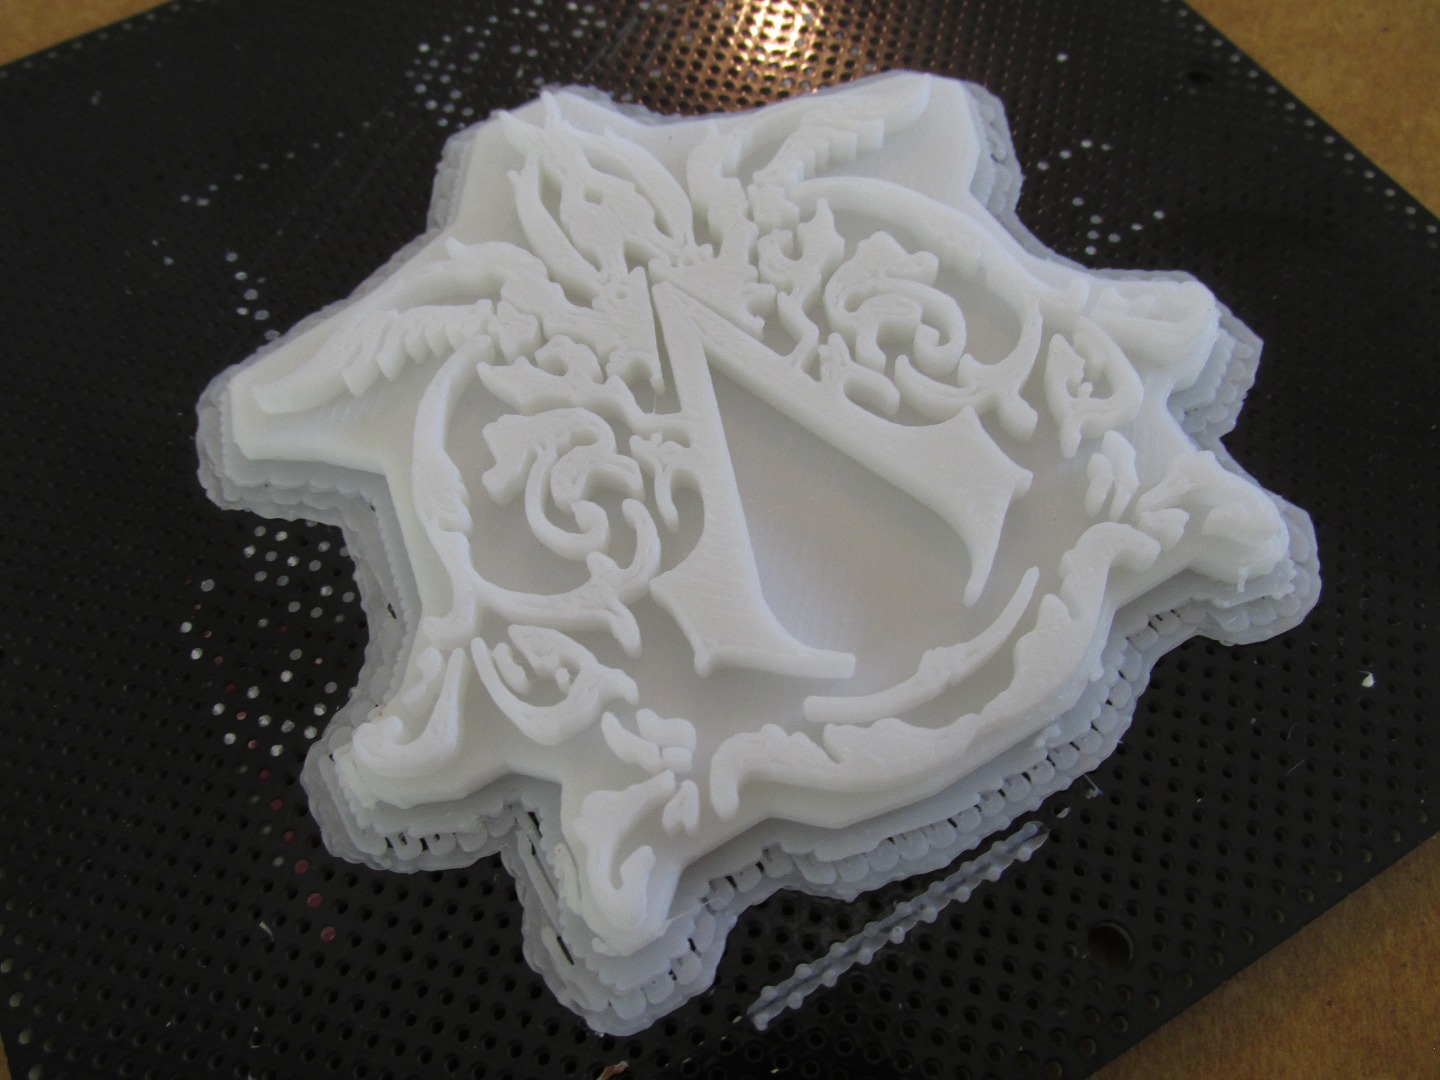
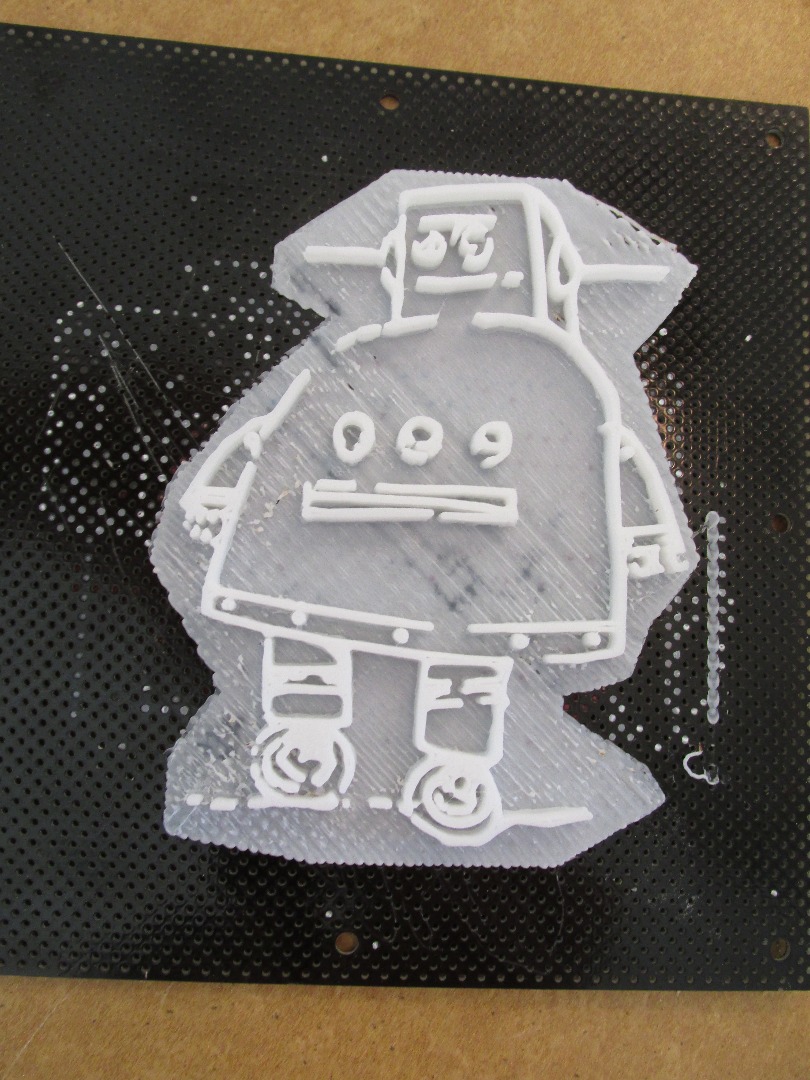
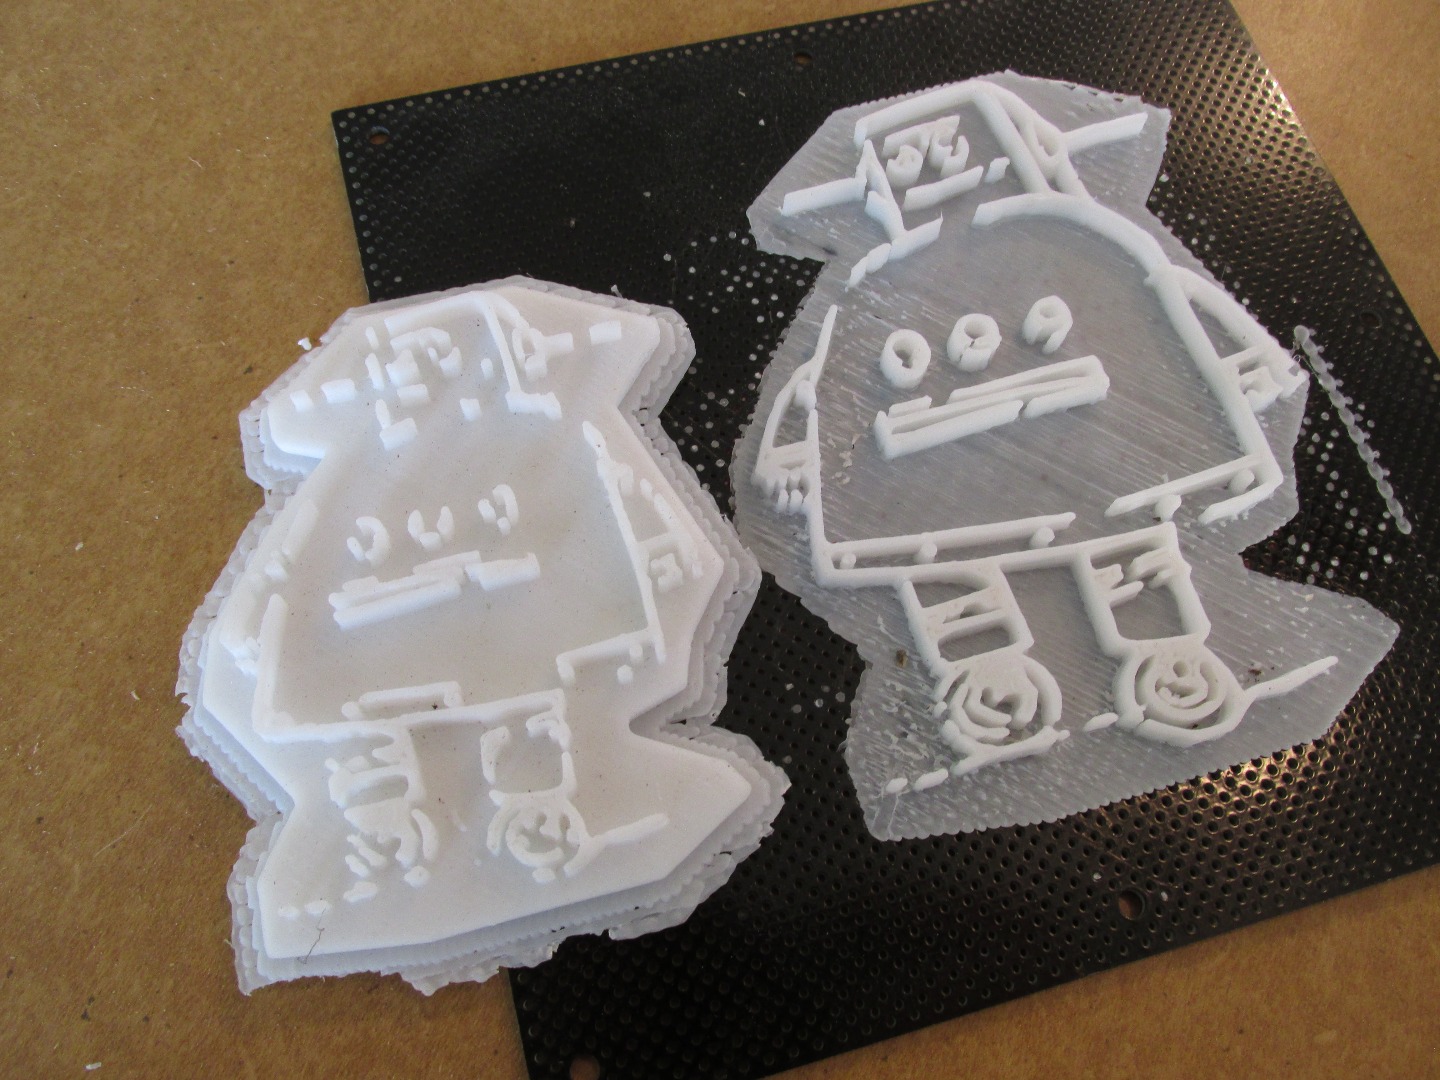
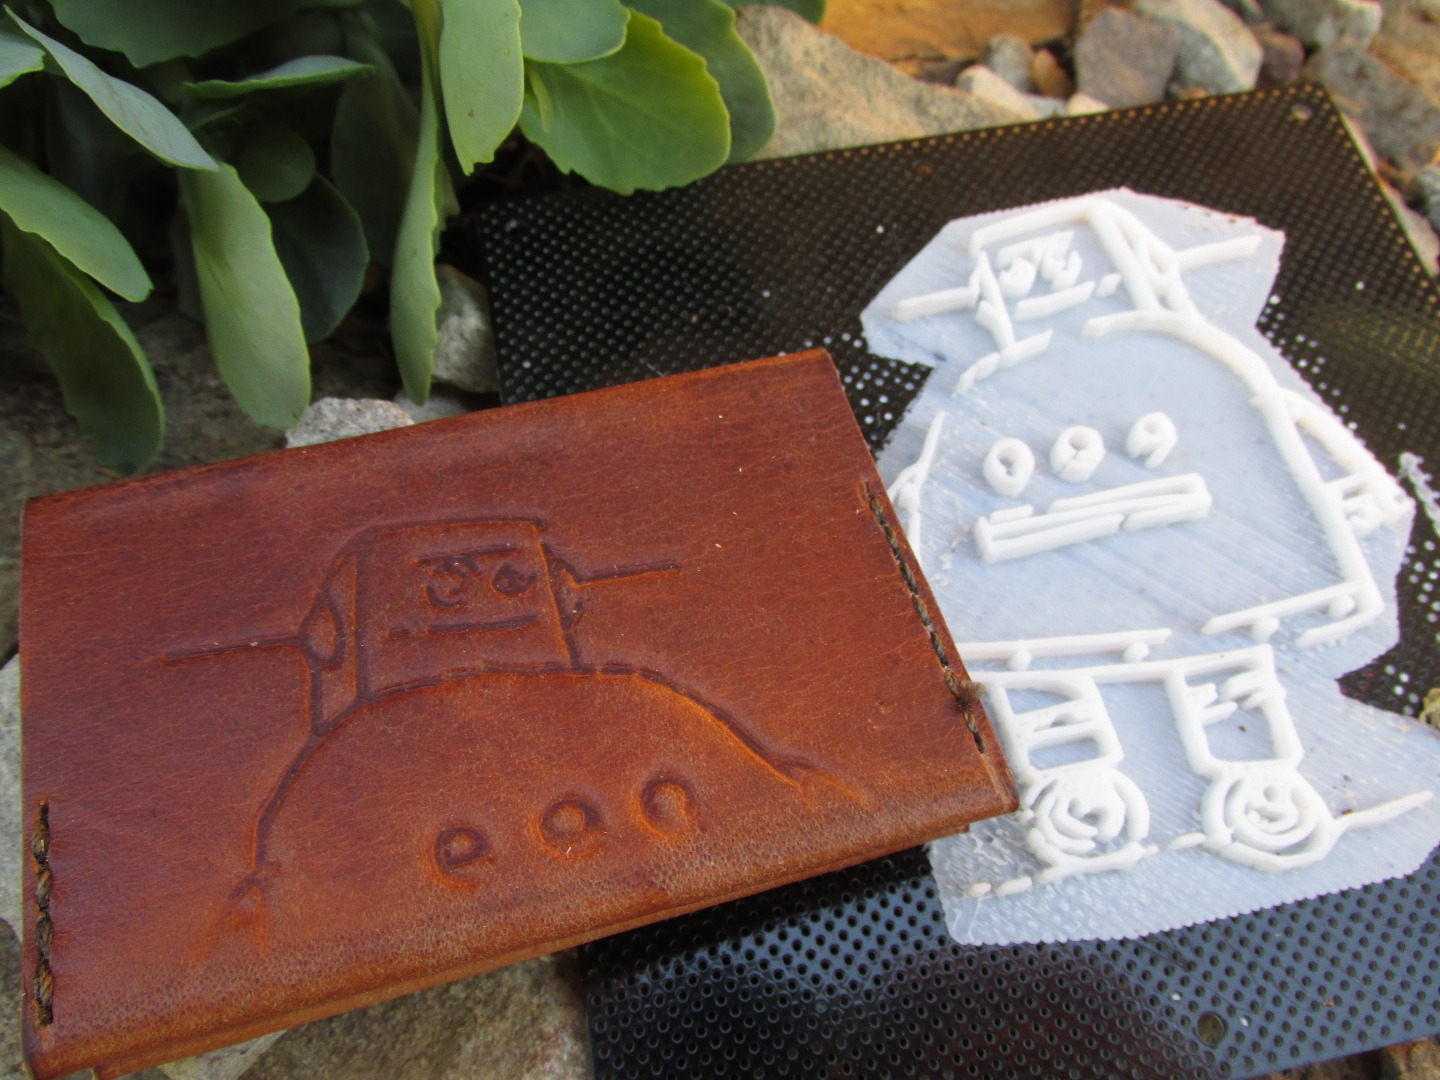
The nice thing about these stamps is that they don't take very long to print, unlike larger models that can sometimes take an upwards of 4 or more hours to finish printing. The Assassins Creed logo with it's high level of detail and 1/8" thick backer plate took just over an hour to print, and the Instructables Robot stamp with it's thin line detail and almost nonexistant backer plate took only 24 minutes from start to finish.
One thing to note here is the potential for your designs to not work and for the print to come out incomplete due to detail so small that your printer couldn't print it. As I mentioned back in the step about choosing the best graphic, my printer has trouble rendering lines that are less than .5mm in width. This issue became very apparent during my first attempt to print the Instructables logo. As you can see from the last picture, the line thickness was too thin and my printer was not able to print in fine enough detail to capture the lines which caused large sections of my design to simply not print.
Preparing the Leather
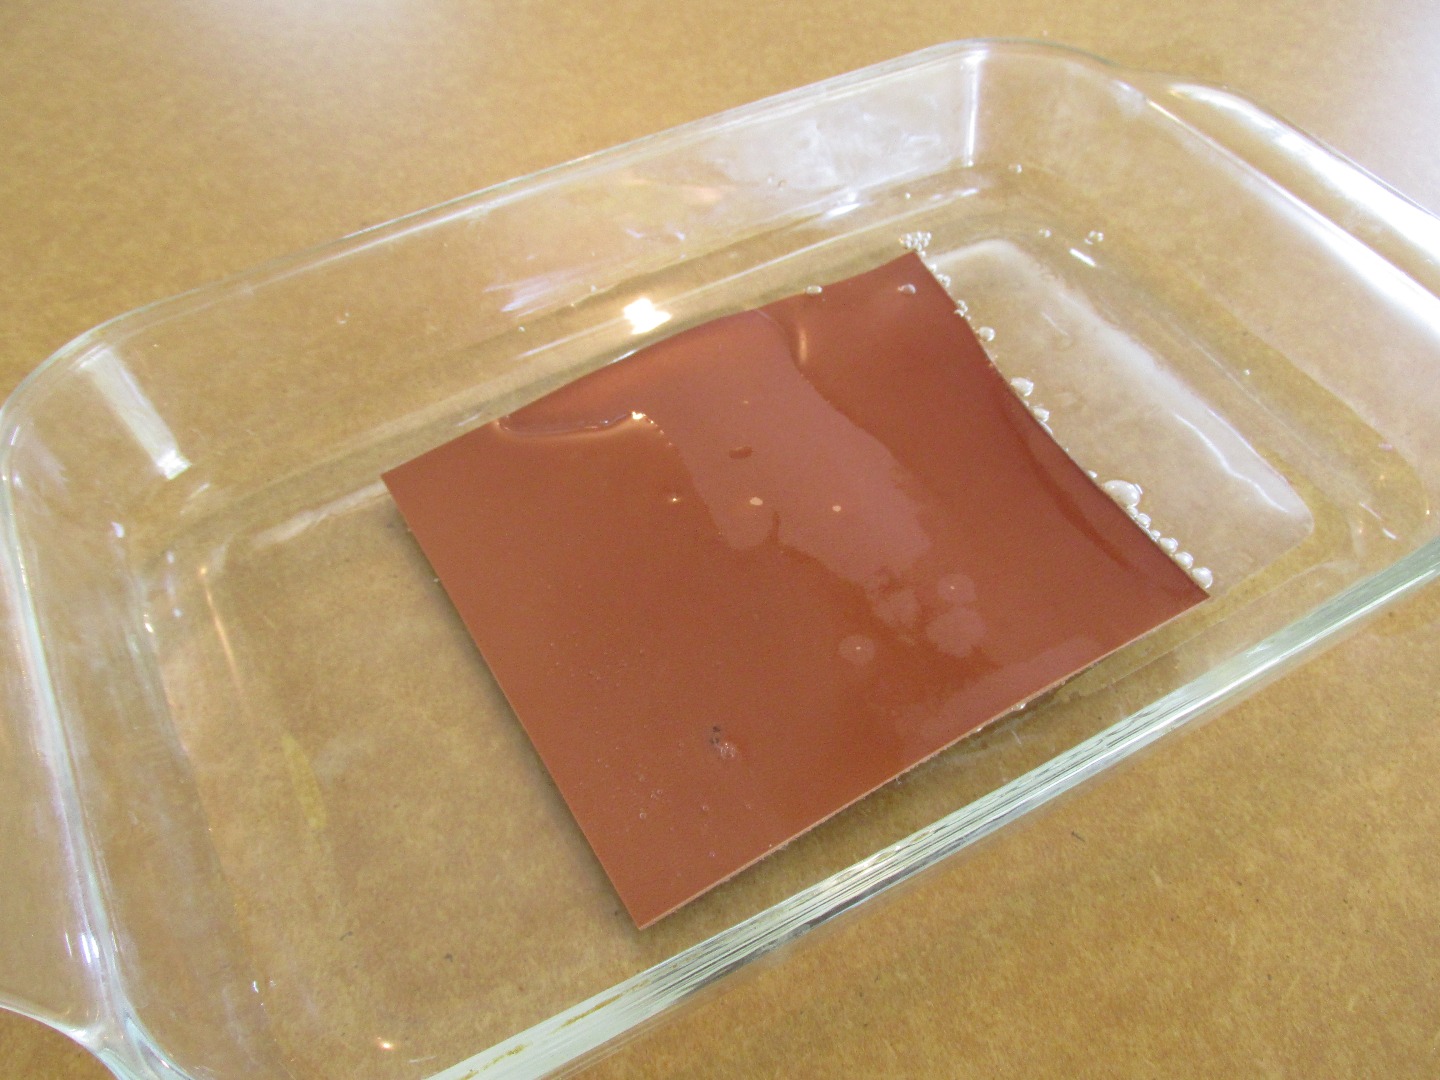
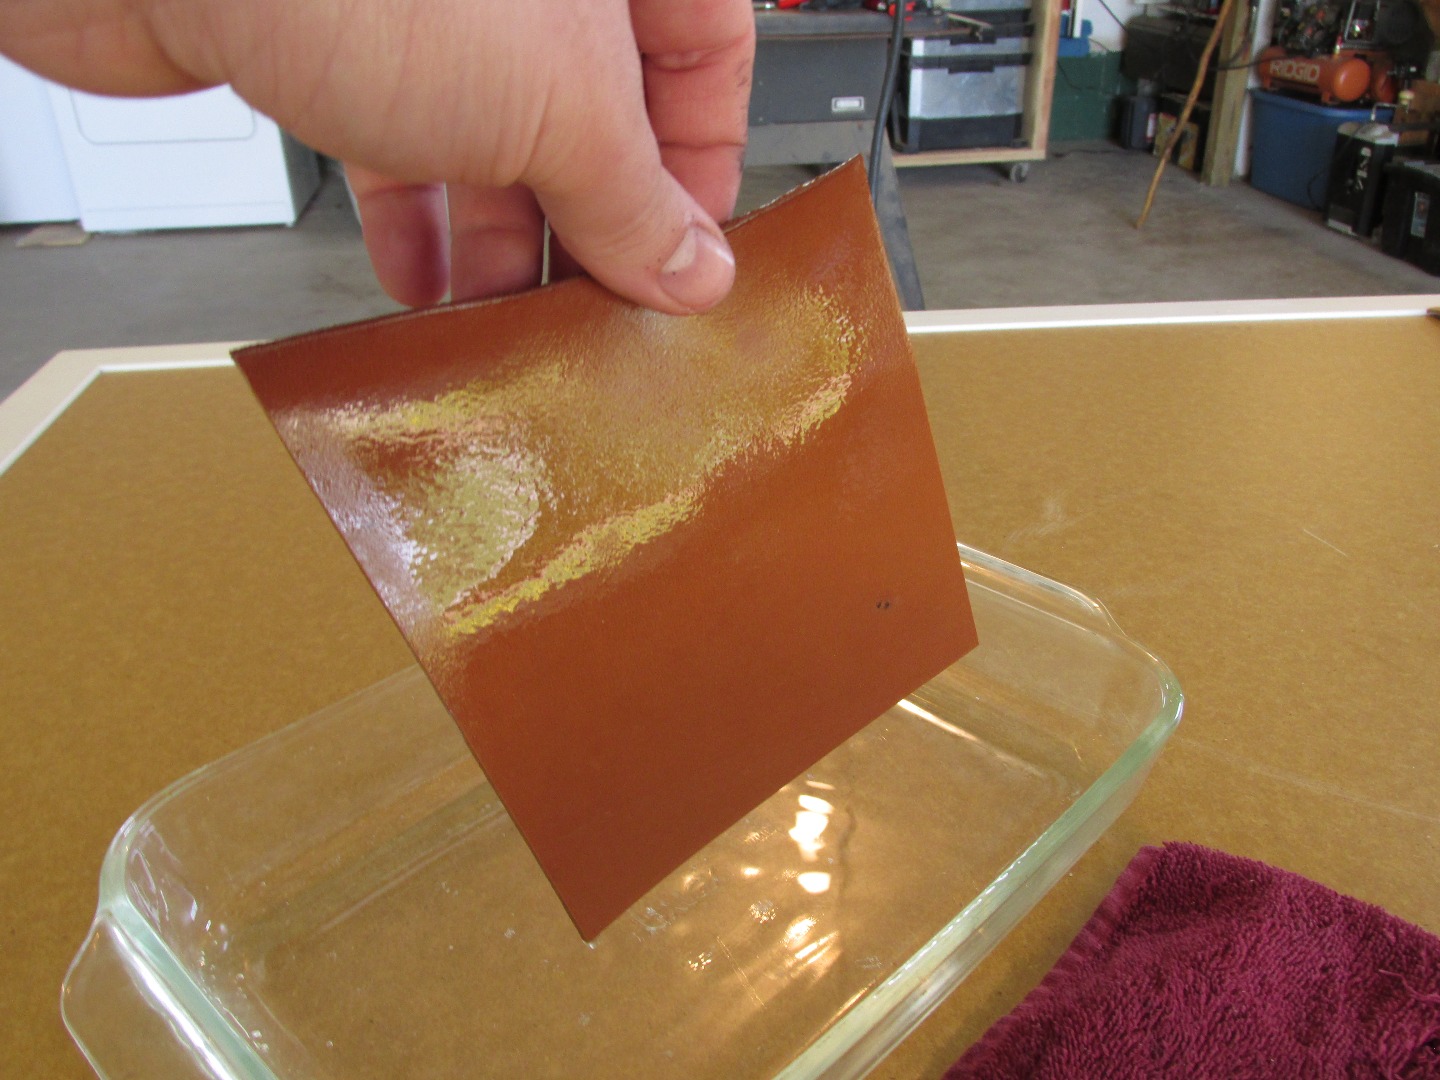
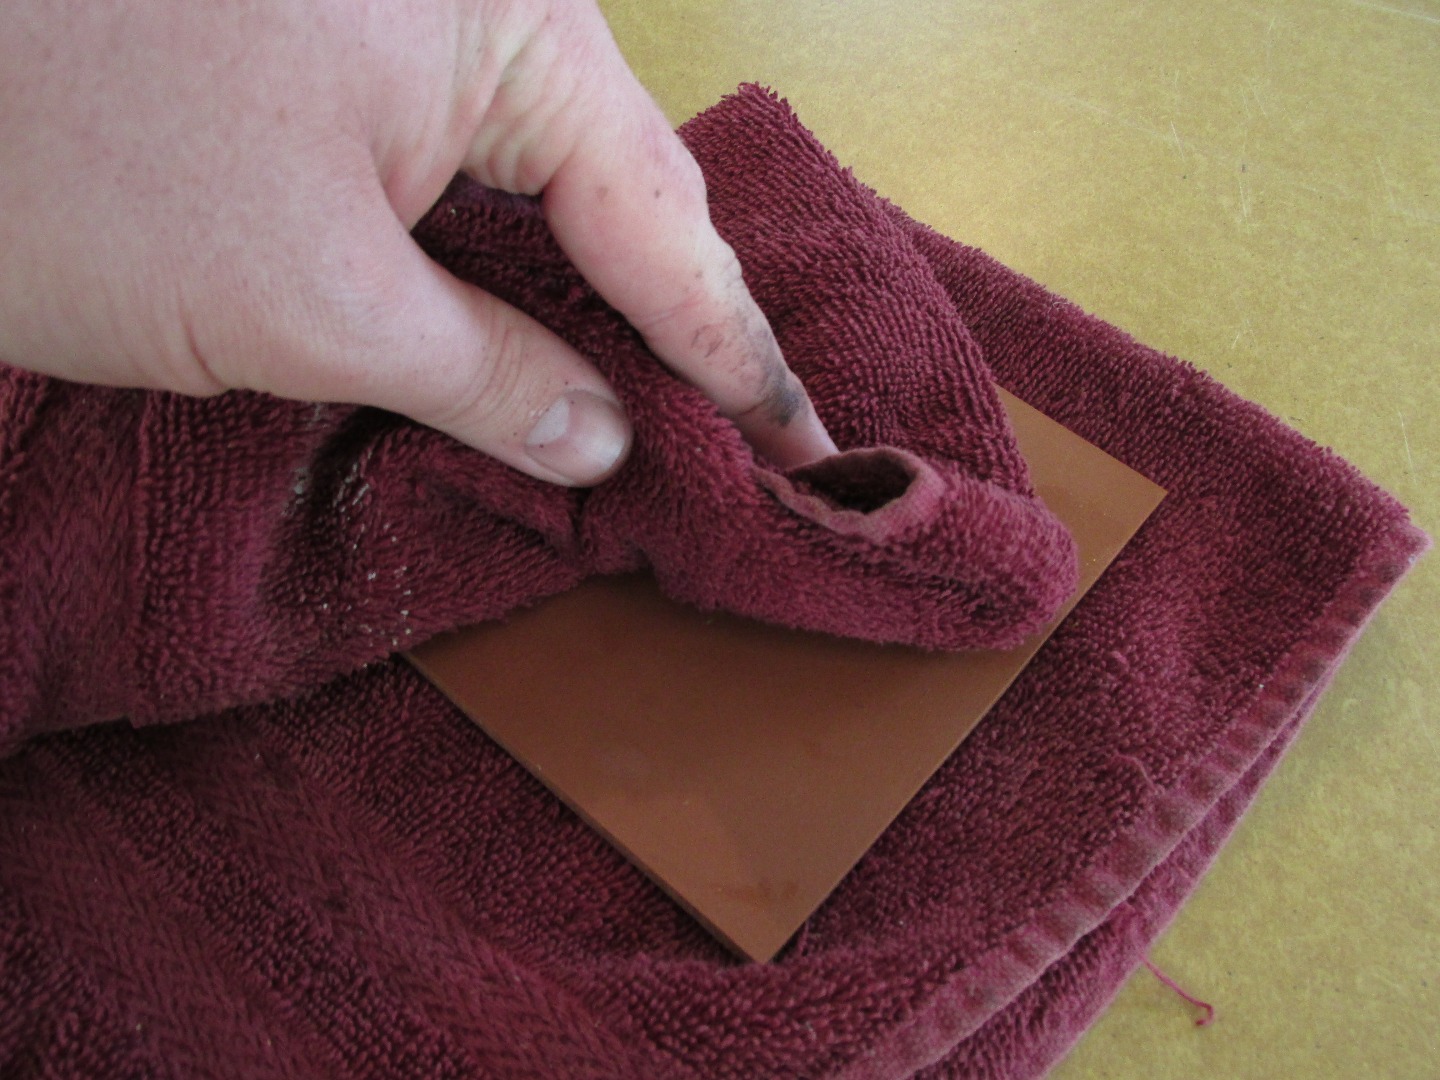
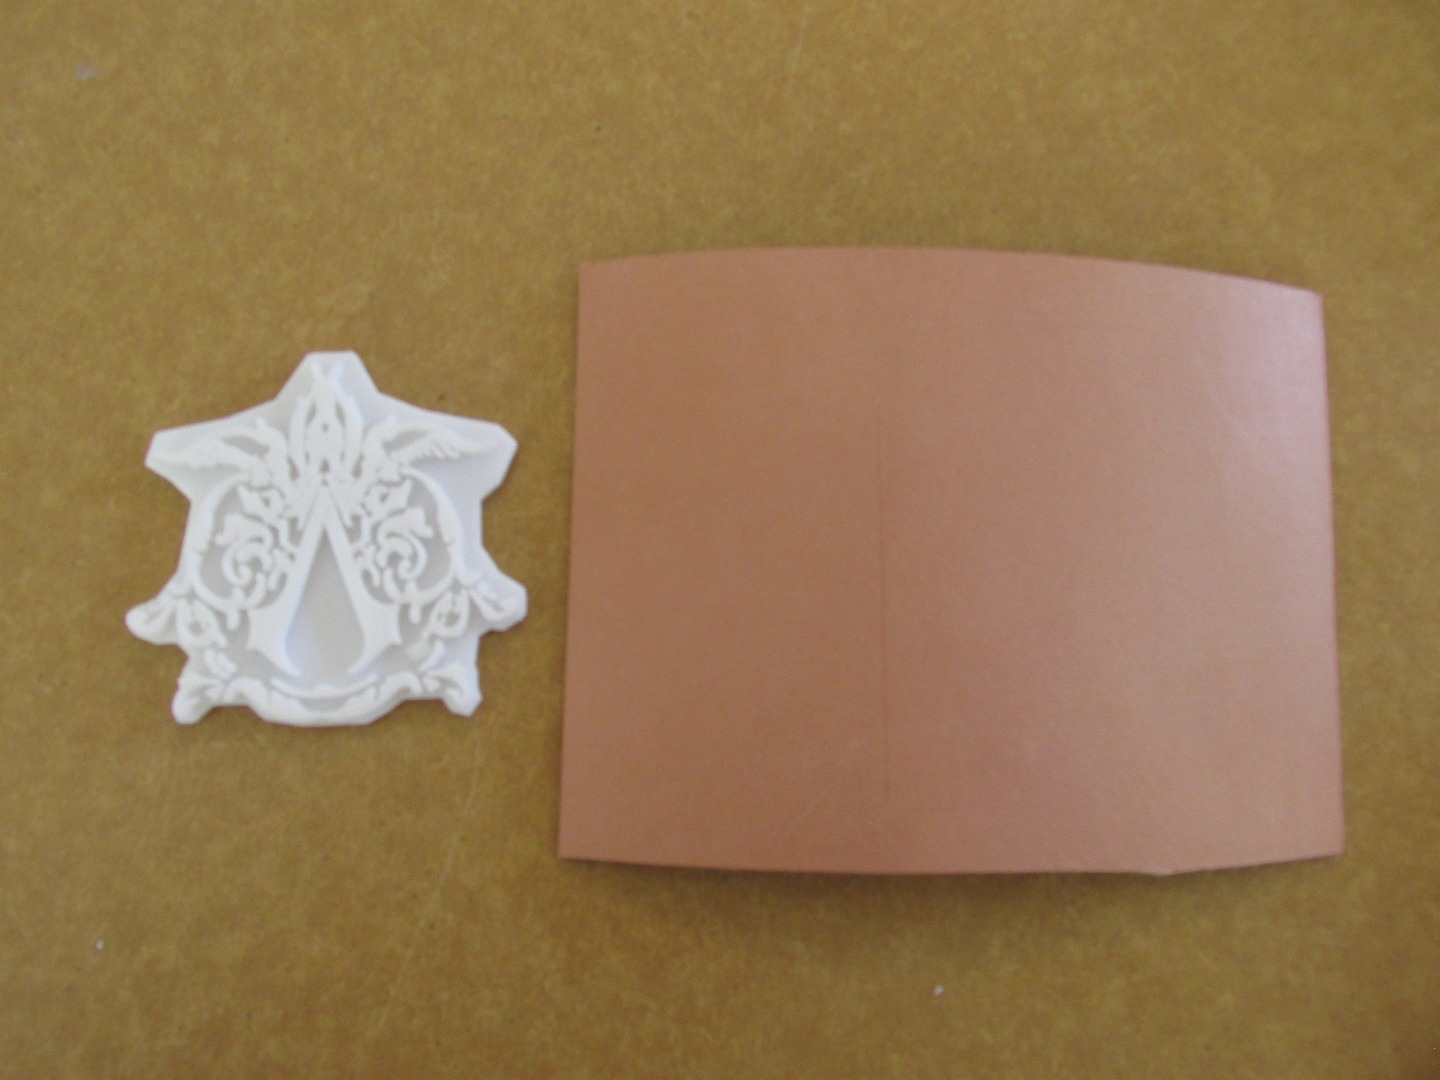
Considering that your stamp is going to take about an hour to print, you might as well use that time to start preparing your leather. The first thing I do is to cut the leather using a straight edge and a very sharp knife.(ProTip: Don't try to cut through the leather in one pass, instead take multiple shallow cuts using medium pressure until you break through.) I cut a piece that is over-sized to the design and to my intended use for it which allows me to trim away any distortion that may occur as the stamp is pressed into the leather.
Once the leather is cut to size you can give it a quick dip in water to make it supple for stamping. For best results when stamping vegetable tanned leather, you want the core of the leather to be damp and for the surface of the leather to be fairly dry. To do this I dip the leather into water for about 10 seconds, (just long enough for water to saturate the leather), and then I take it out and pat it dry on a clean towel. I then allow the leather to sit and lose moisture until I can see that the surface of the leather is starting to lighten back toward the color it was when it was dry. This process usually takes about 30 minutes, although if you're in a hurry you can always grab a hair dryer or fan to speed up the drying process.
Clamping and Stamping
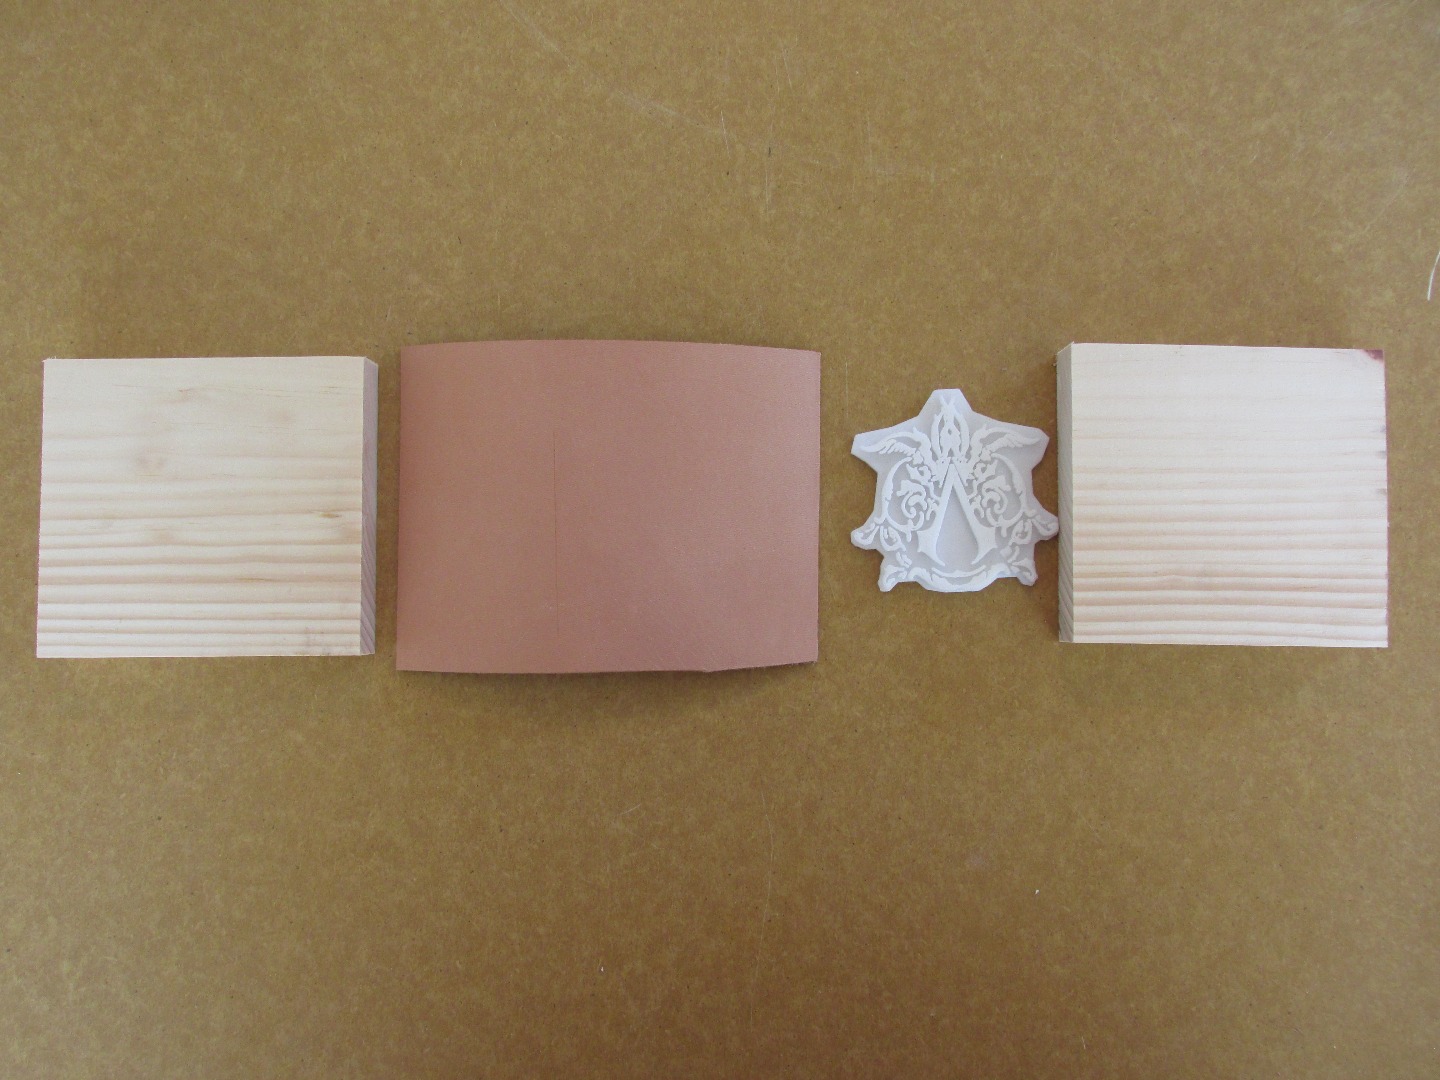
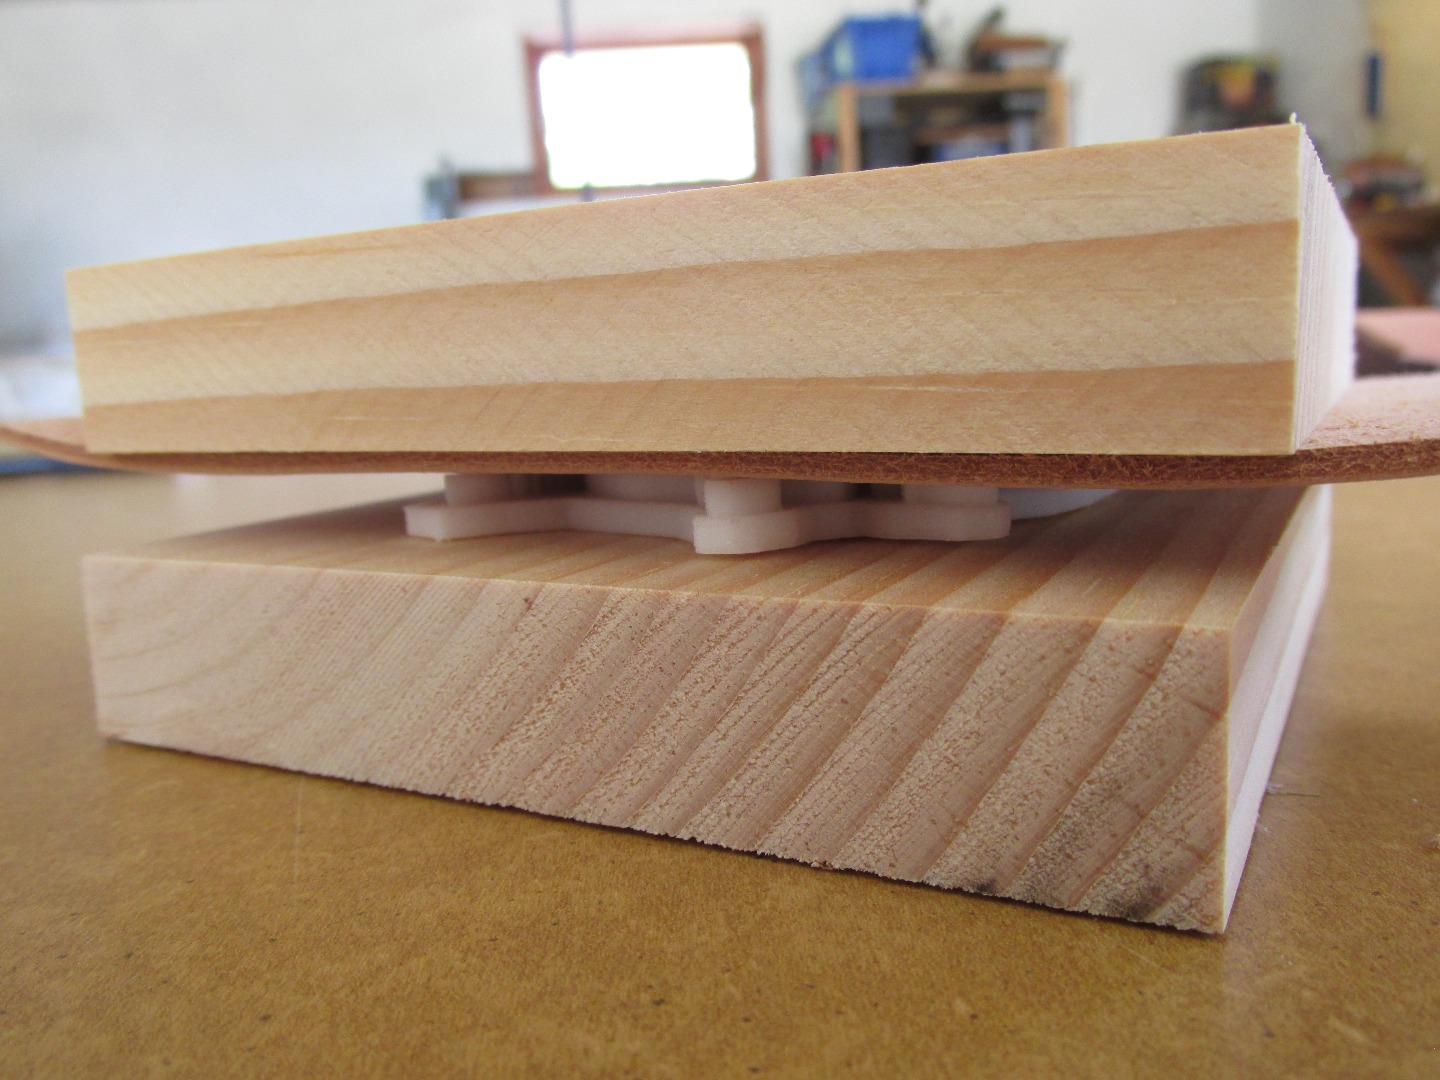
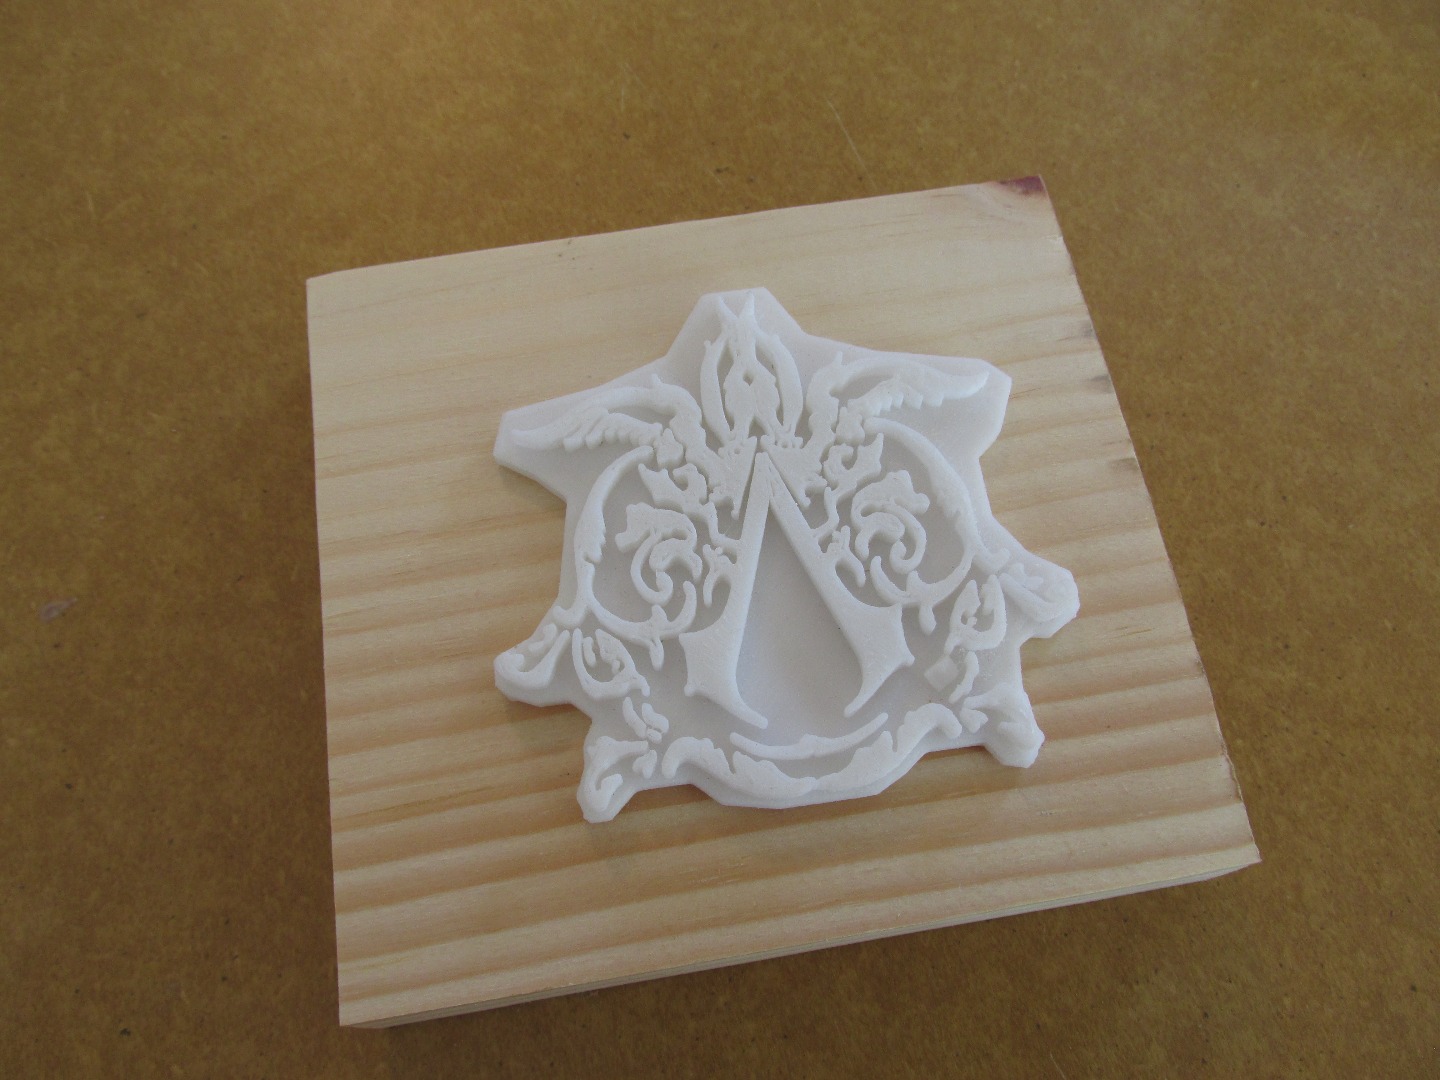
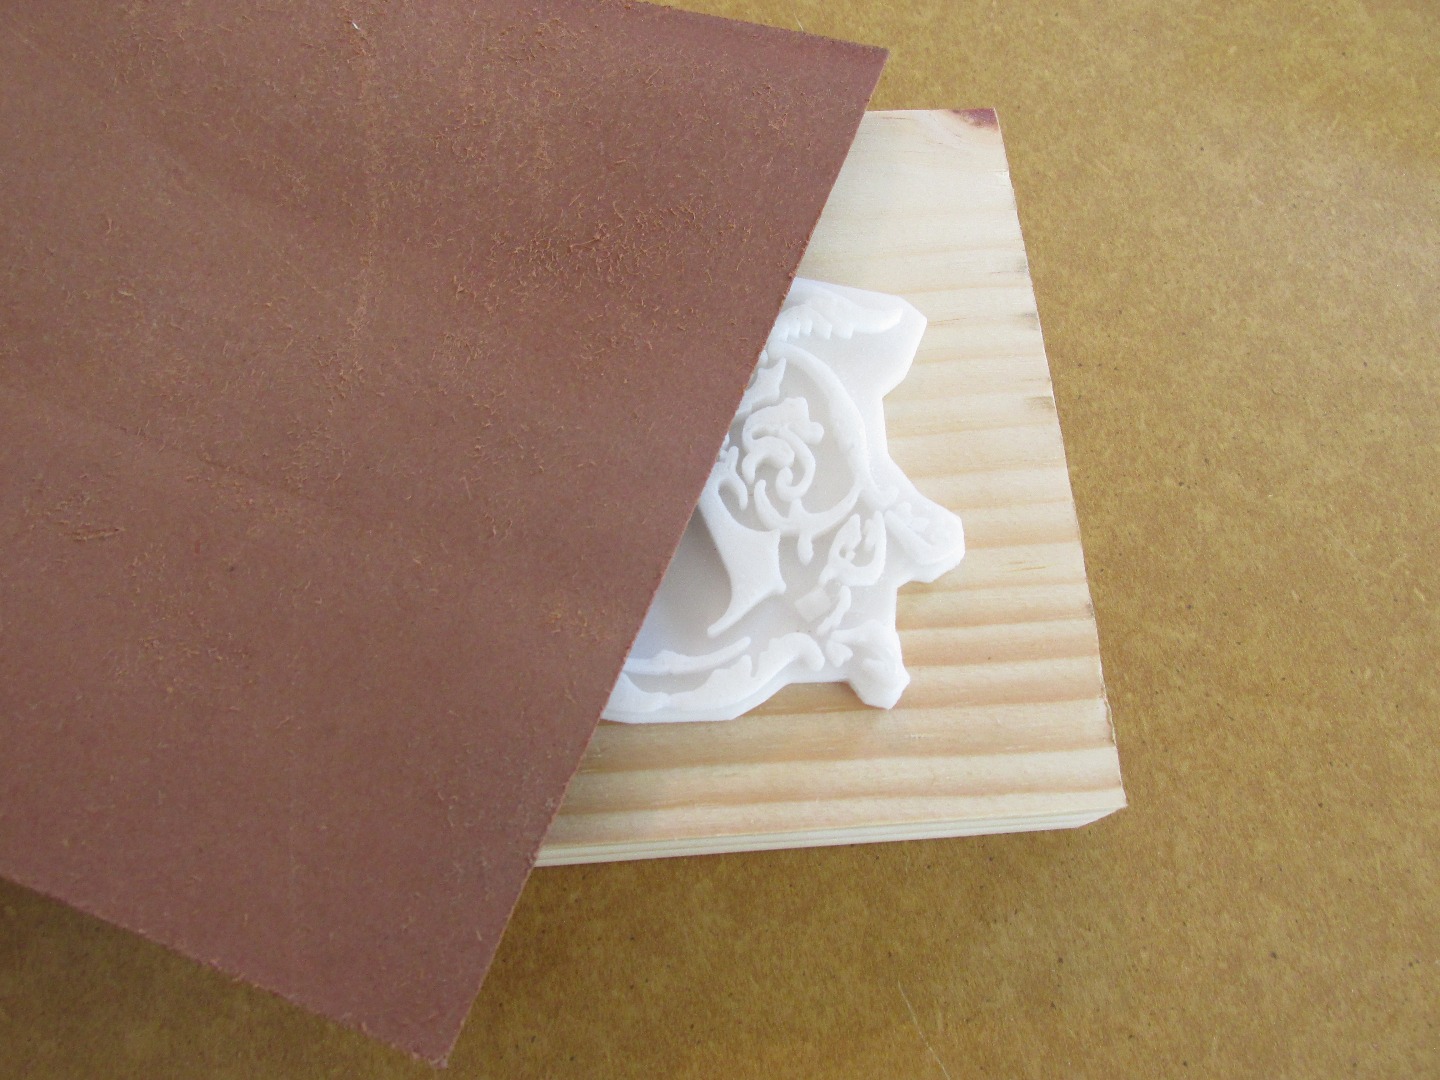
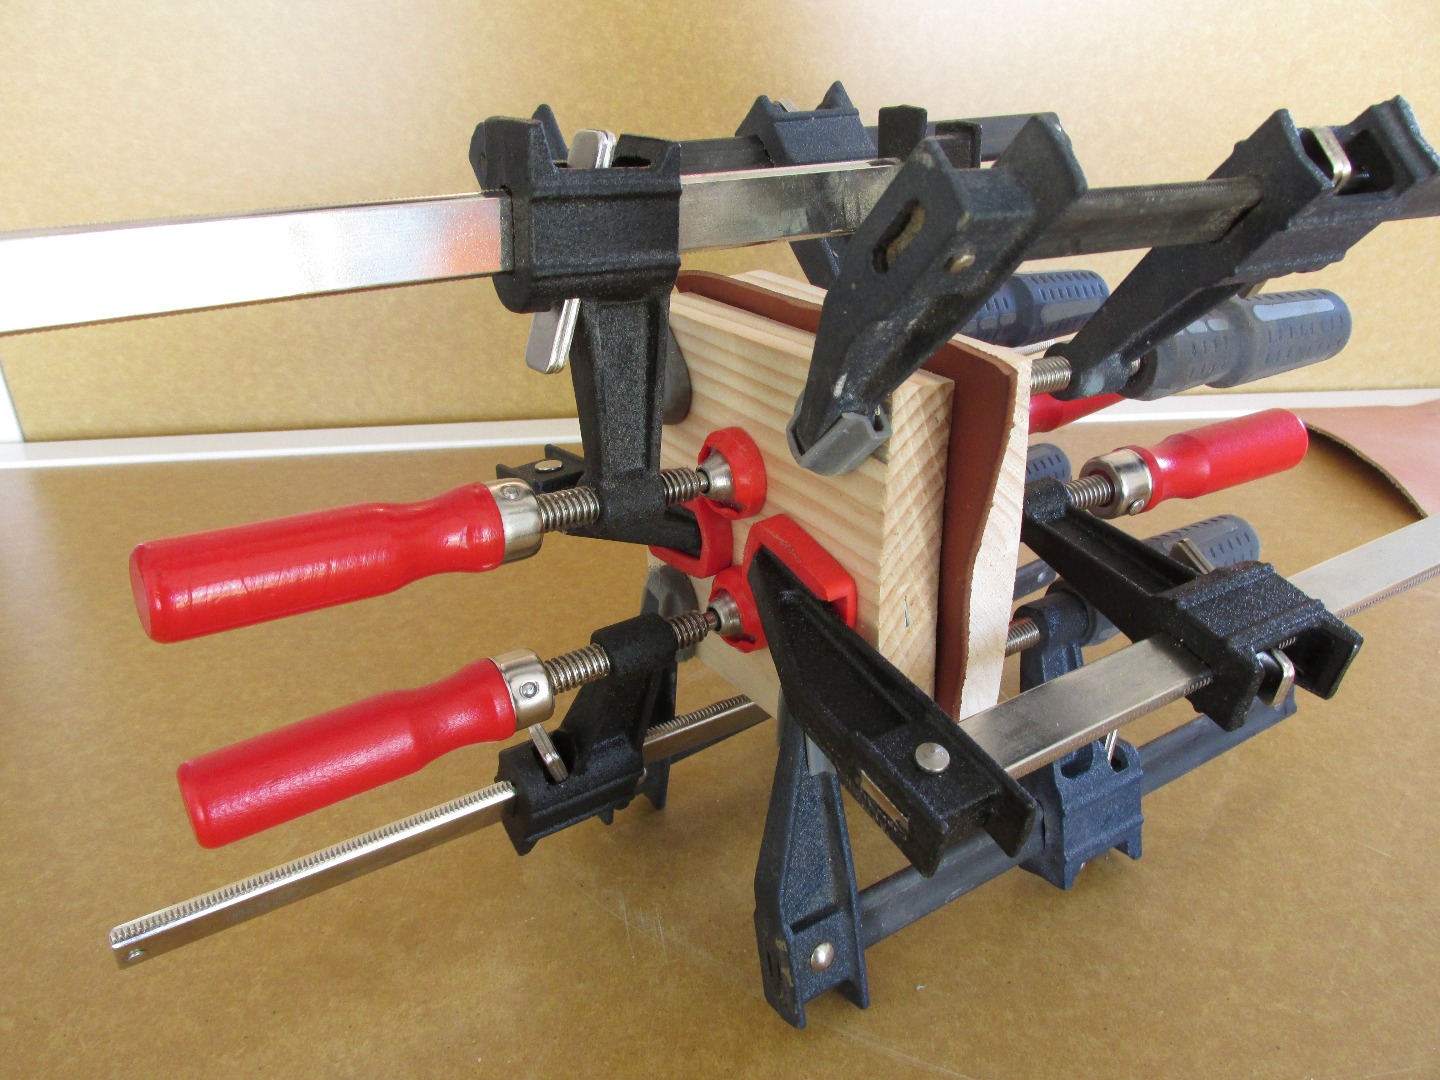
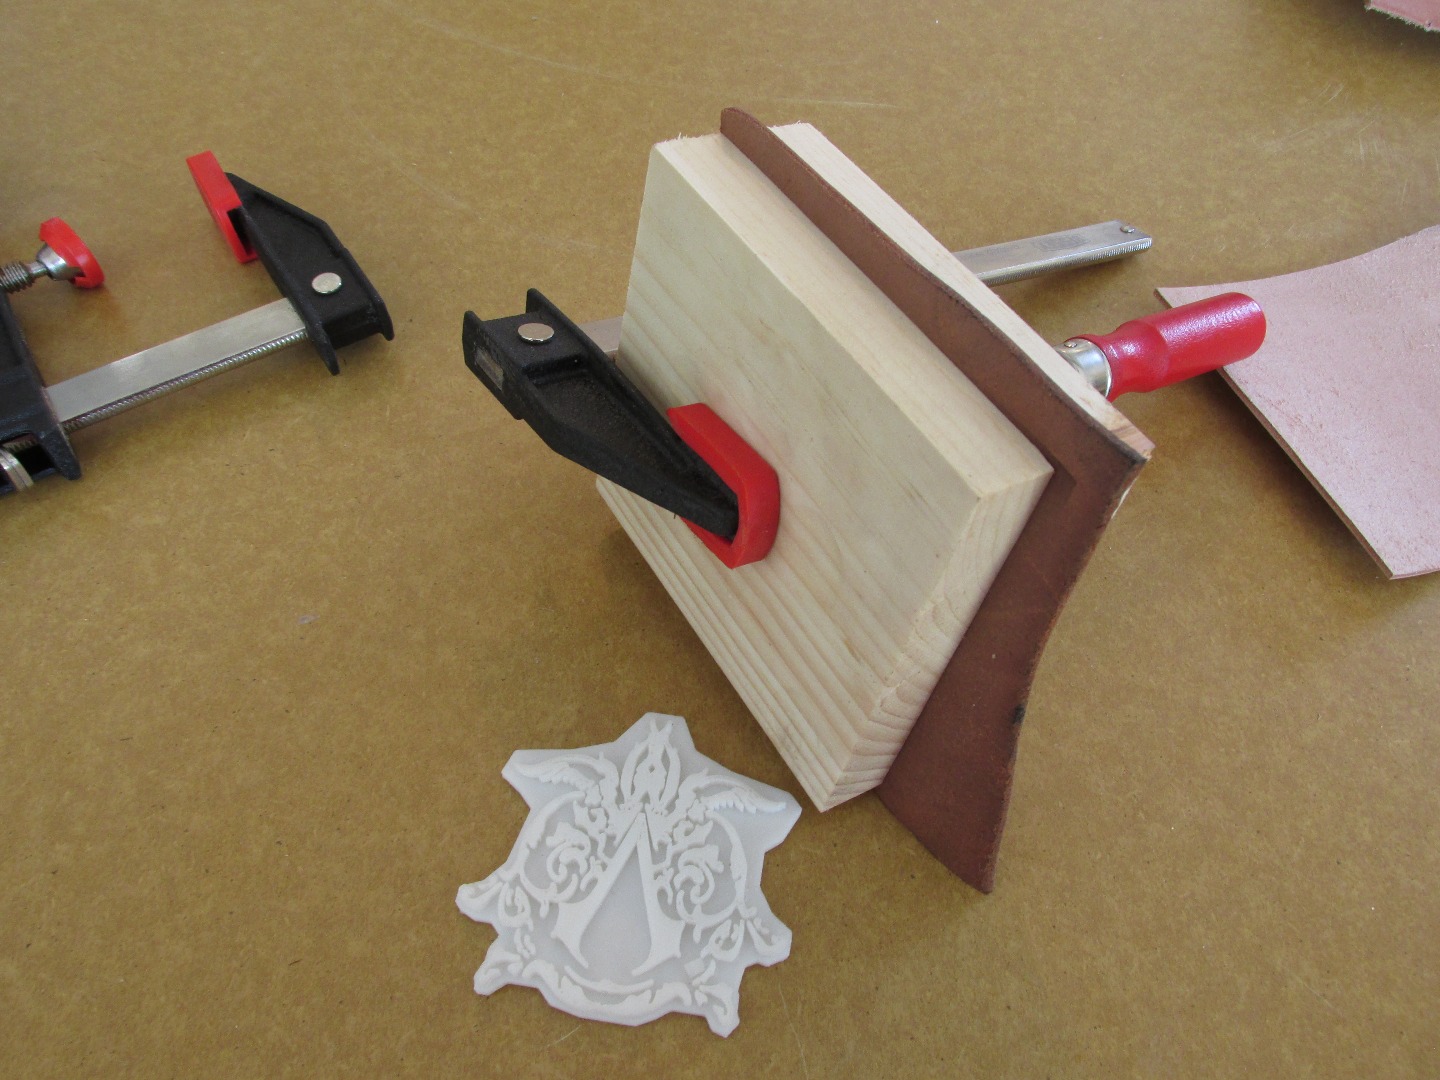
With your part printed and your leather properly sized and moistened you're finally ready to stamp. What you need to do at this point is to make a sandwich out of your two blocks of wood, the 3D printed stamp, and the damp leather. It should look something like this:
(From Bottom to Top)
1st block of wood > stamp face up > leather with smooth size against stamp > 2nd block of wood
Once your stamp sandwich is put together the next step is to apply pressure. As we want the stamp to sink nice and deep into the surface of the leather so that we end up with a deep rich imprint, we are going to need a lot of pressure. To accomplish this I turn to screw style wood working clamps. These clamps are perfect for the job as they allow you to dial in pressure so that you can provide more pressure in some areas and less in others which helps the stamp to imprint evenly.
Pro Tip: you can never have enough clamps. I could have probably clamped my design with 3 or 4 clamps, but I would have ran the risk of some part of my design not getting enough pressure to imprint properly so I upped the number of clamps to 8. Was this overkill? Probably, but I did get a nice clean imprint, which is exactly what I wanted.
After you have all of the clamps in place allow everything to set for about an hour which will allow leather to dry around the stamped area locking the detail in place.
Unclamping and Reclamping
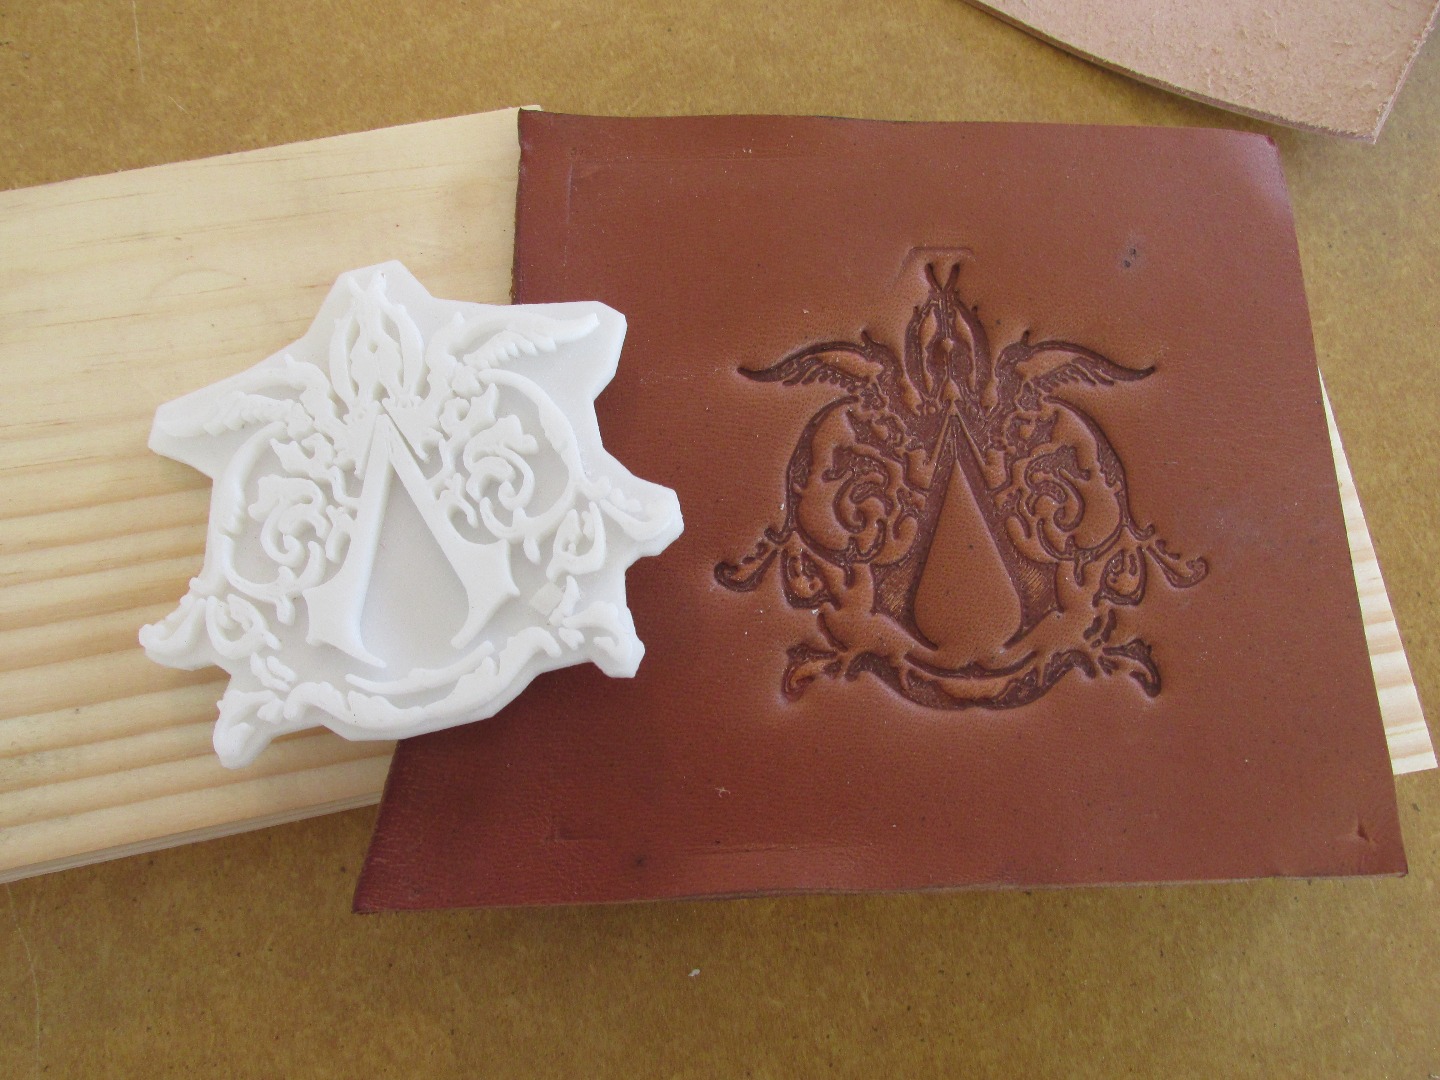
After about an hour you can unclamp your stamp sandwich to see the results of all of your hard work. What you should find is a nice, deep, highly detailed, imprint of your stamp. The area pushed down by the stamp will be visibly darker than the surrounding leather which will help to offset the stamped design. This darker coloring will lighten a bit as the leather continues to dry but it will always be slightly darker than the color of the surface leather.
Once you've had a few moments to admire your work, you can re-clamp just the leather between the two blocks of wood. This will help to remove any puckers or slight bends that might have been imparted to the leather as a result of the stamping process. Allow the leather to stay clamped this way for another hour or so and you'll end up with a perfectly flat design ready to be implemented in any number of projects.
Turning the Stamped Leather Into Something
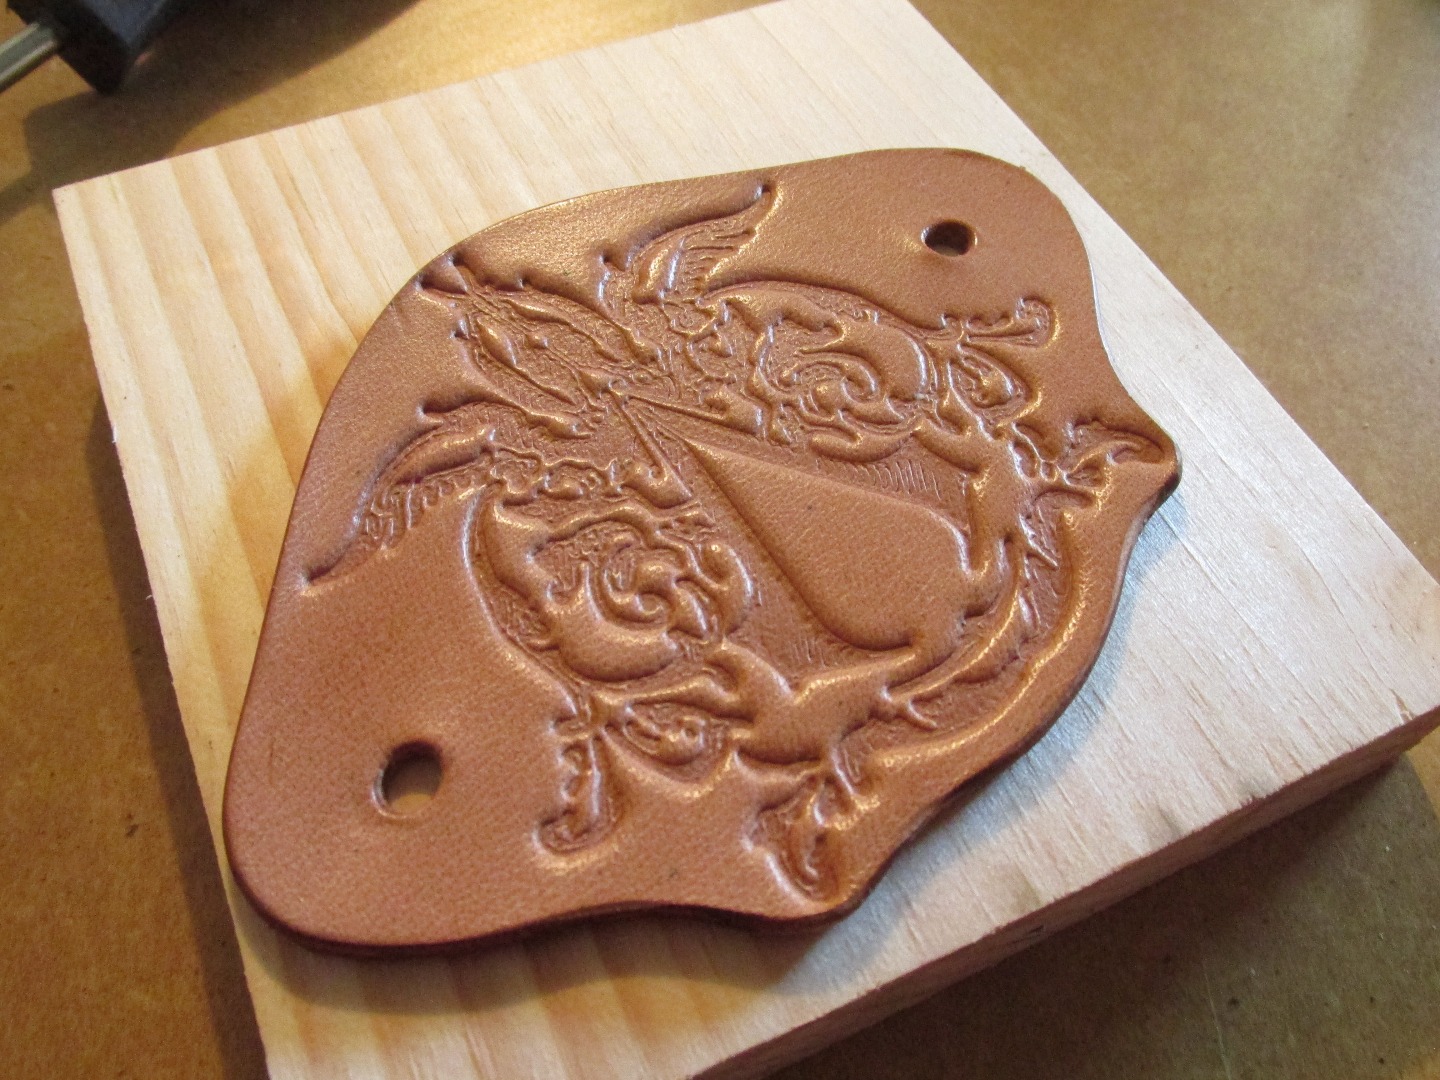
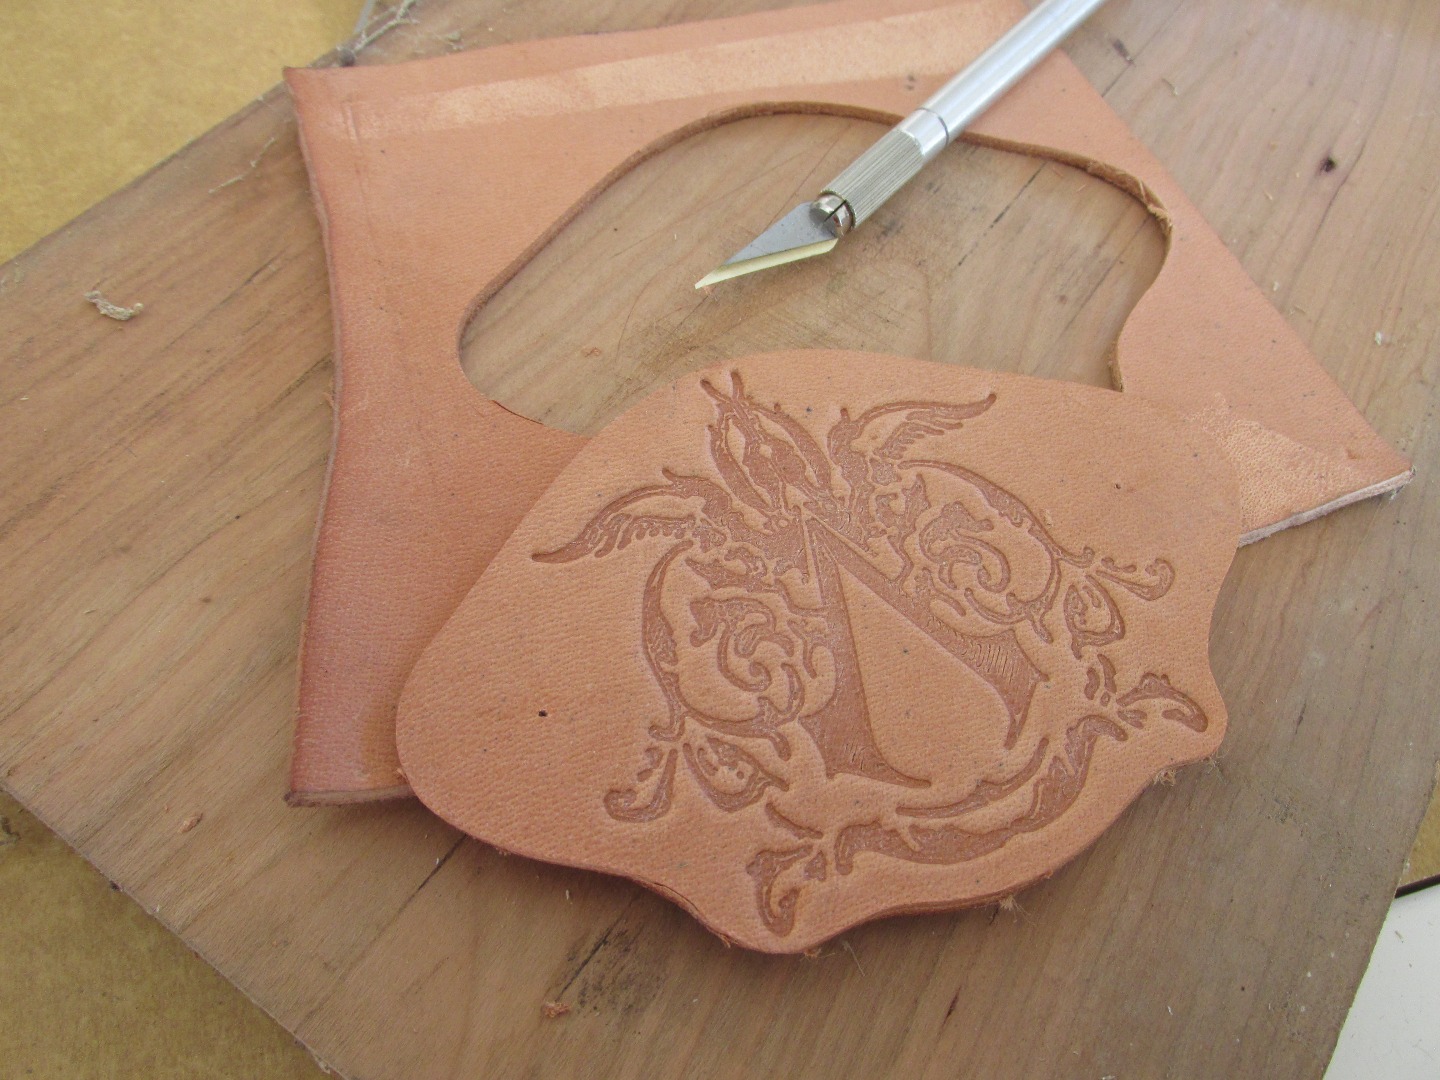
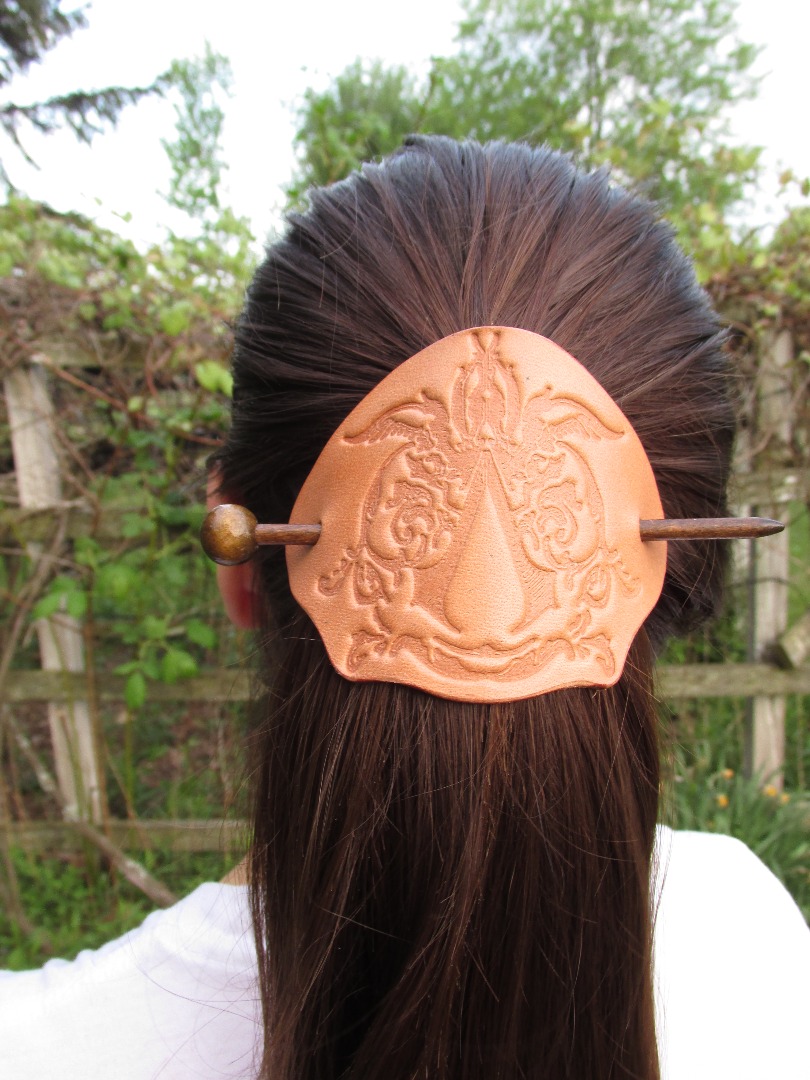
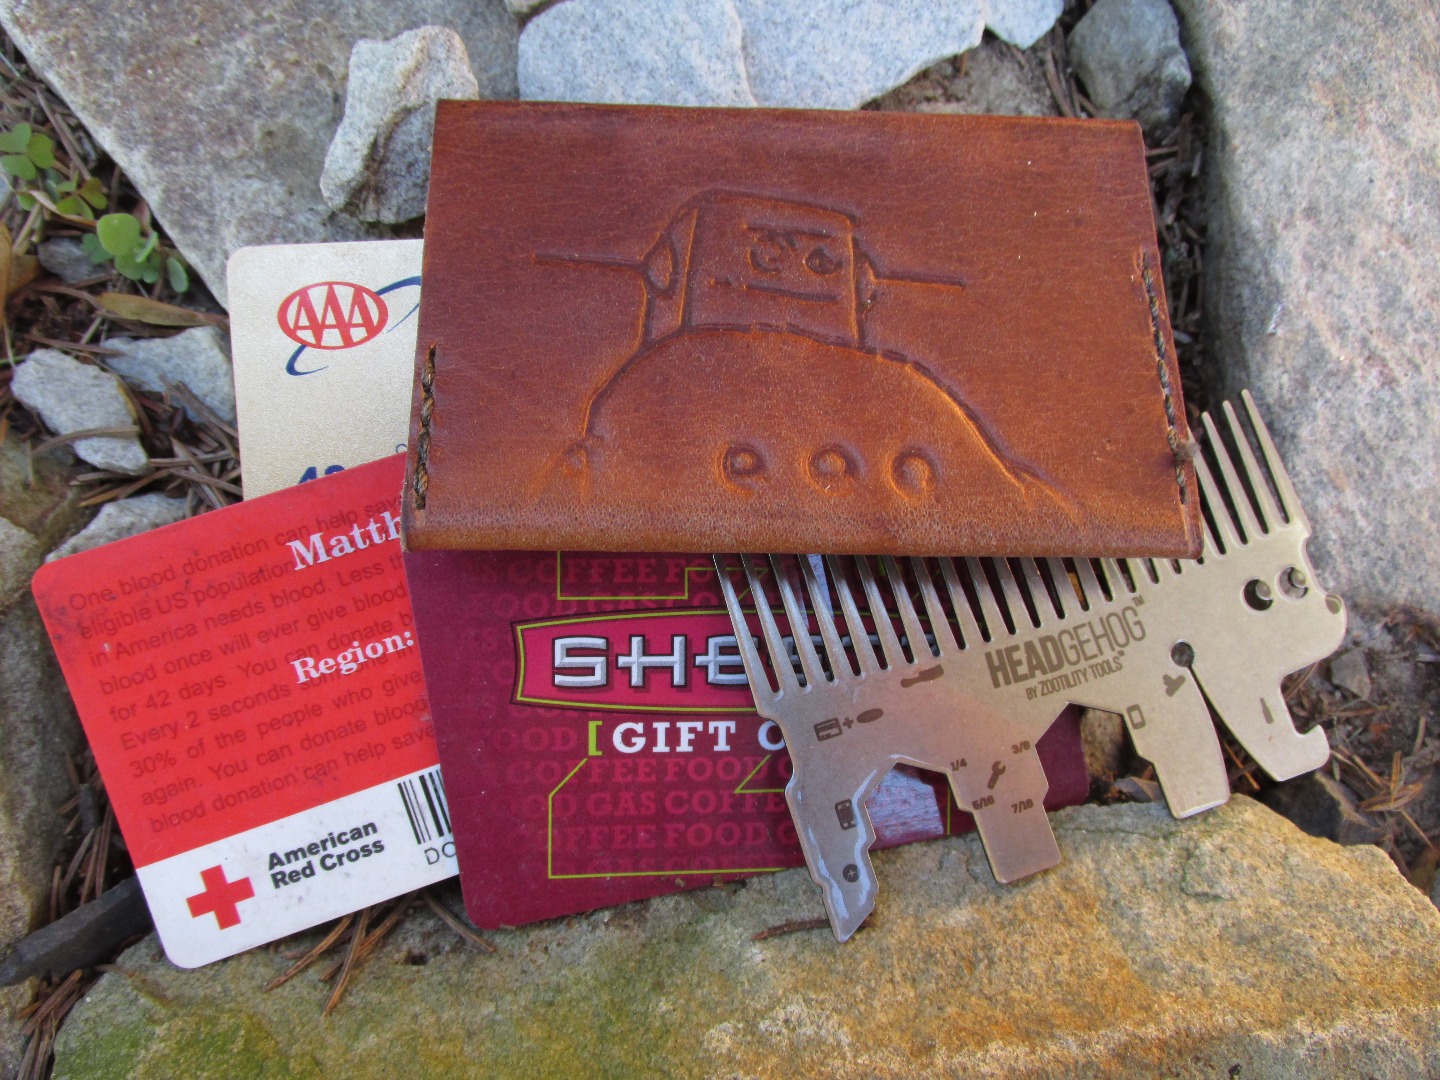
Once you have your stamped piece of leather, the next task is to figure out what to do with it. The sky is really the limit here, and with a little work there is no reason why this technique couldn't be used to decorate leather belts, wallets, knife sheaths, or even simple things like hair accessories. If you search through Instructables you'll find a great number of awesome leather projects that could be accented with this technique and if you're interested, here are some of my favorites:
Other Awesome Leather Instructables
Make a Leather Wallet: by Jessyratfink
Leather harmonica case: by Ade Angelis
Roll Up Leather Pencil Case: by Amalkhan
Leather iPod Touch Case using Water!: by gmjhowe
Leather Cuff Watch Band + Leather Bracelets 101: by KentsOkay
3D Print Your Own Leather Stamps: by MikaelaHolmes (This instructable implaments a lot of the same techniques mentioned here but for the purpose of creating smaller stamps for tooling designs section by section into the surface of the leather with a hammer instead of clamping pressure.)
End
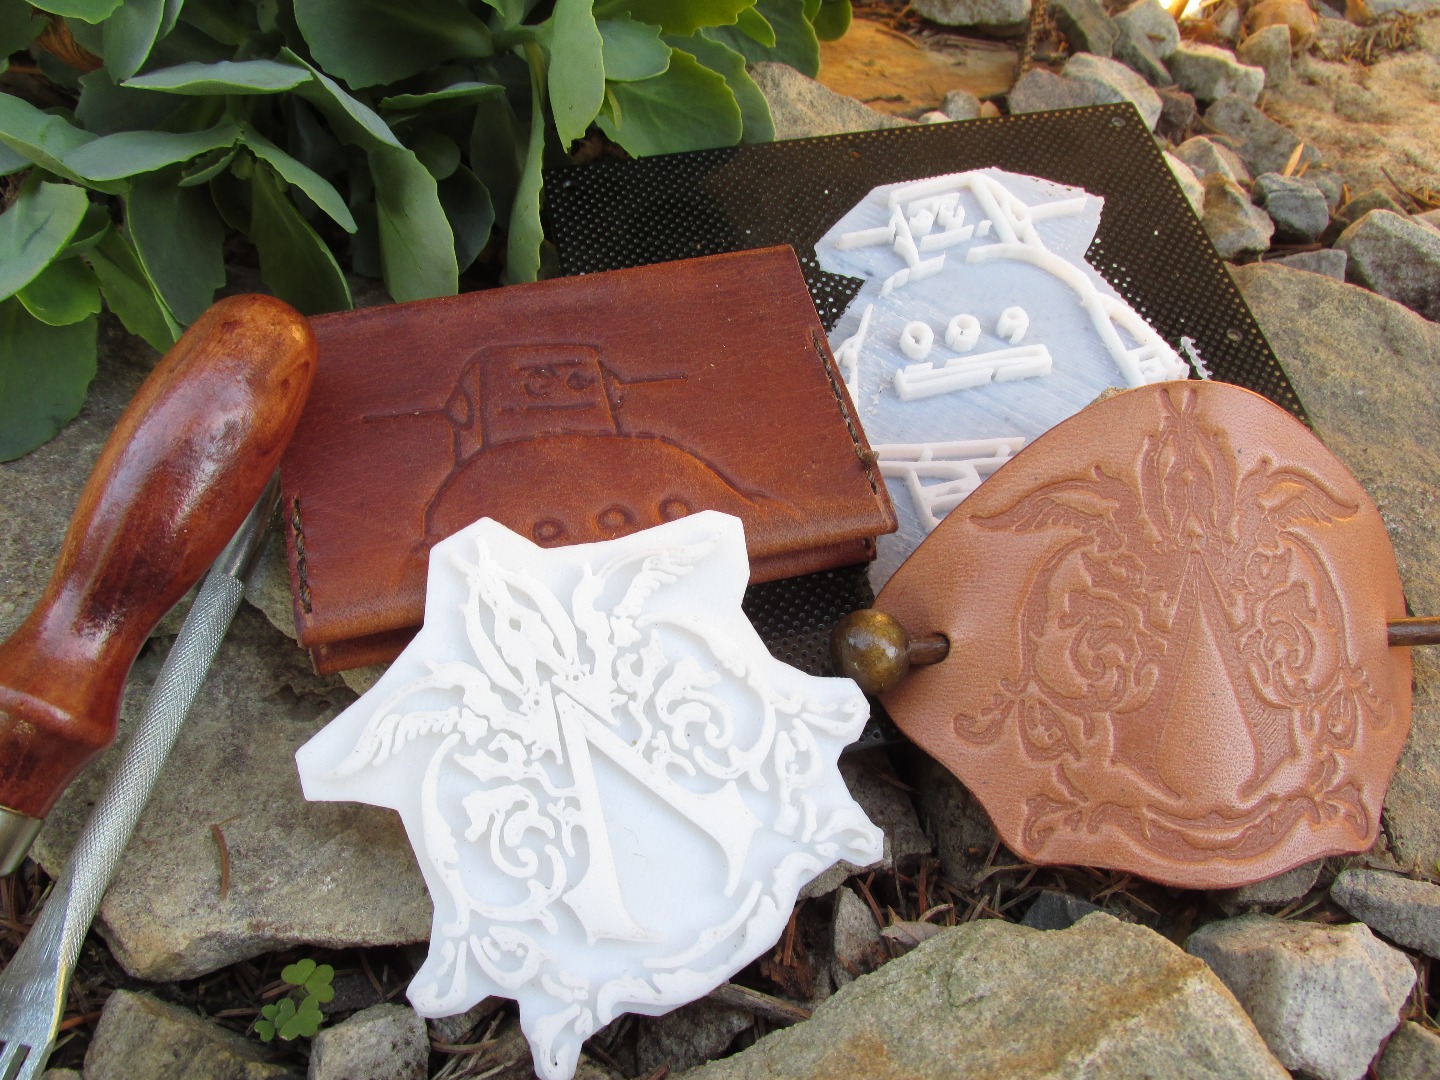
Thank you very much for taking the time to check on my Instructable on creating custom large format leather stamps. I hope you found this information to be useful and entertaining and I hope that it has your wheels turning about all the amazing things you make using this technique. If you have any questions or comments please feel free to leave them in the comments section and I will get back to you as soon as possible.
Best regards,
Matt
If you'd like to use any of the stamps that I designed and used within this instructable, they are available for download from Thingiverse.com by following the links below: