How to Design Low Poly Hindenburg Using SelfCAD
by Julie80 in Design > 3D Design
53 Views, 0 Favorites, 0 Comments
How to Design Low Poly Hindenburg Using SelfCAD
Learn How to Design Low Poly Hindenburg Using SelfCAD with the help of this tutorial
How to Design Low Poly Hindenburg Using SelfCAD
Designing 3D models has become an increasingly accessible and rewarding activity, thanks to the advent of user-friendly software like SelfCAD. Among the various styles of 3D modeling, low poly design stands out for its unique aesthetic and efficiency. Low poly modeling involves creating 3D models with a limited number of polygons, resulting in a simplified yet visually striking appearance. SelfCAD, a comprehensive and intuitive 3D modeling and printing software, offers the perfect platform for creating such models. Its robust toolset and user-friendly interface make it accessible for both beginners and seasoned modelers.
In this tutorial, we will explore the step-by-step process of designing a low poly Hindenburg in SelfCAD. From conceptualizing the model and sketching basic shapes to refining details, this guide aims to equip you with the skills needed to bring this historic airship to life in a low poly form. Whether you are a novice or an experienced designer, this tutorial will help you harness the power of SelfCAD to create a captivating and efficient 3D model.
To access the interactive tutorial to this article, visit https://www.selfcad.com/tutorials/3lc3746t5c6v04m4956495c6q5x643u1u4t5
Once you’ve launched the editor;
From the 3D Shapes category on the Toolbar choose sphere
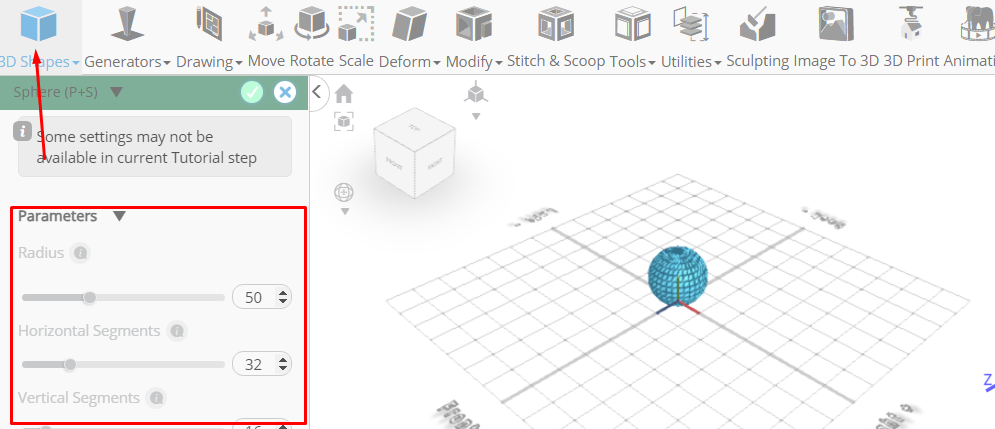
Click to finalize sphere
Click scale on the toolbar; Set z to 311 using highlighted gizmo
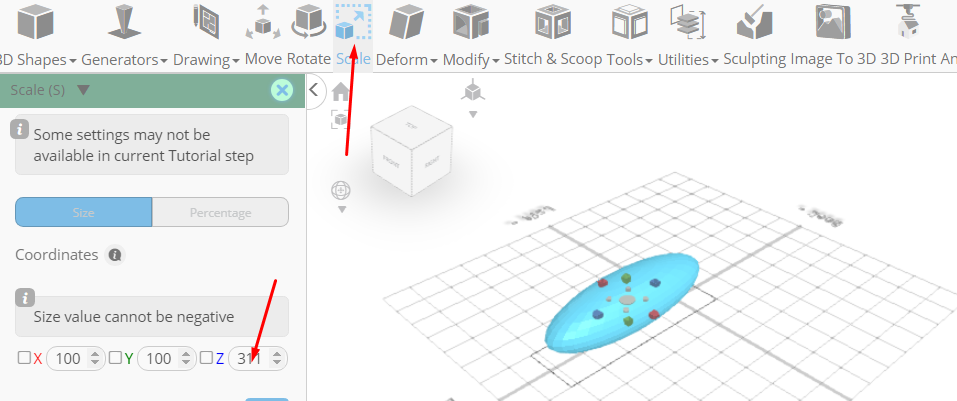
Click ‘x’ to close transformation panel
From the 3D Shapes category on the Toolbar choose cube

Click to finalize cube
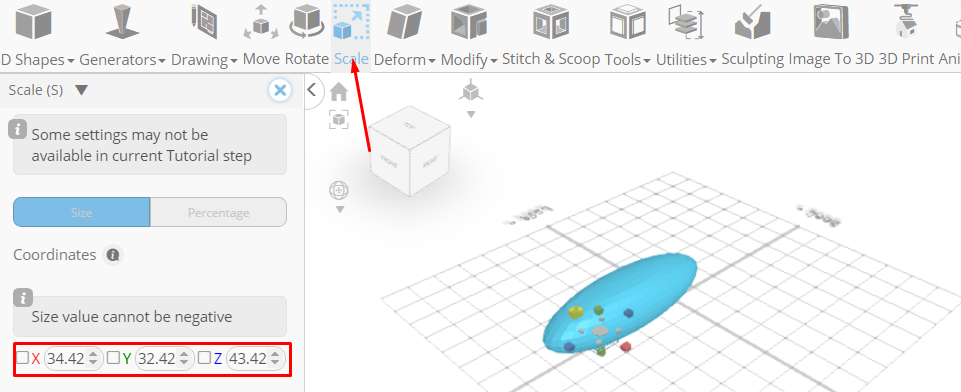
Click scale on the toolbar; Set x to 43.42, y to 43.42, z to 43.42 using highlighted gizmo

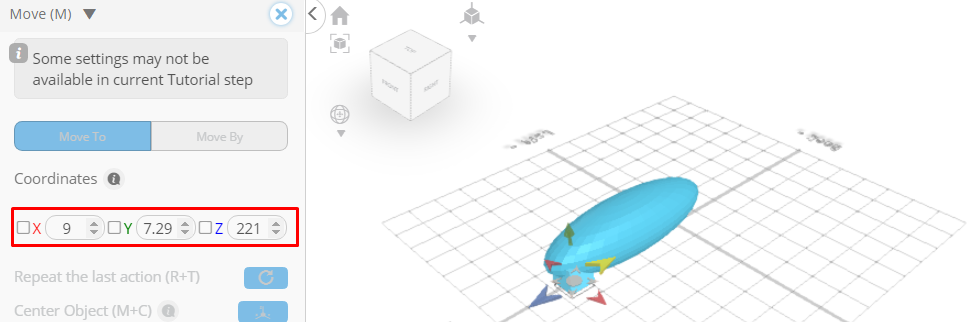
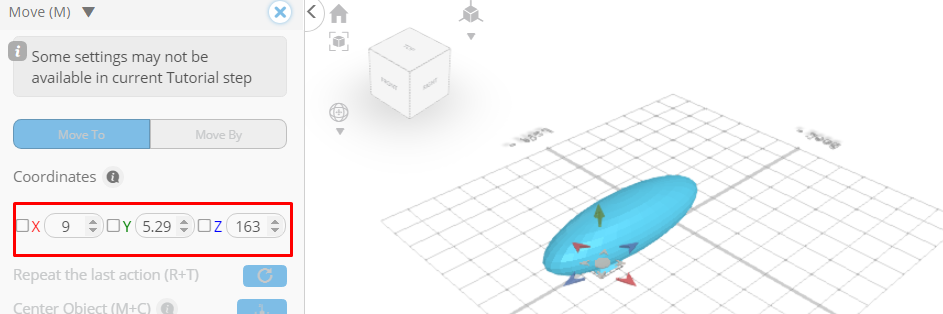
Click move on the toolbar
Set z to 153, x to 9, using highlighted gizmo

Set z to 221, y to 7.29, using highlighted gizmo
Set z to 163, y to 5.29, using highlighted gizmo
Click scale on the toolbar
Set y to 33.42, y to 32.42, x to 34.42, using highlighted gizmo
Set x to 29.42, x to 17.42, y to 36.42, using highlighted gizmo
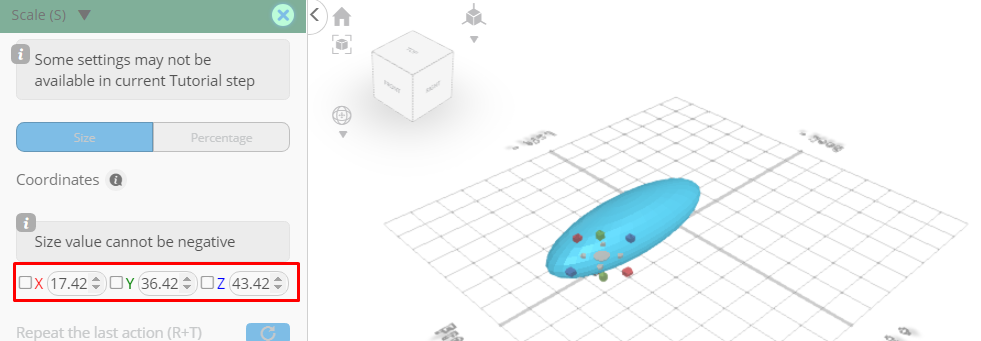
Click ‘x’ to close transformation panel
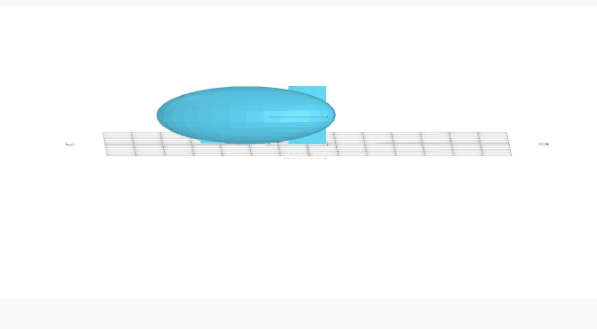
From the 3D Shapes category on the Toolbar choose cube; Set width to 1, depth to 65
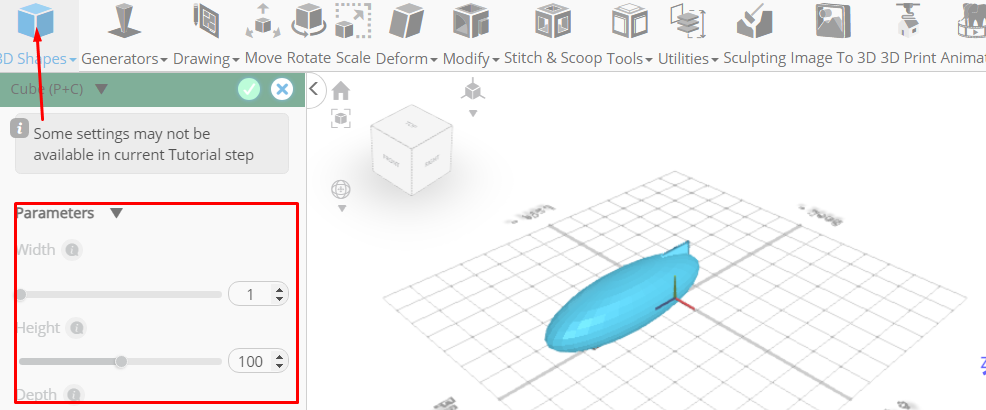
Click to finalize cube
From the 3D Shapes category on the Toolbar choose cube; Set width to 1
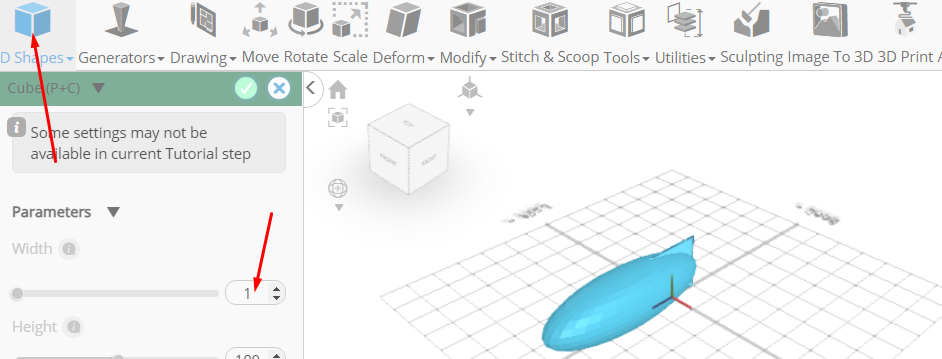
Click to finalize cube
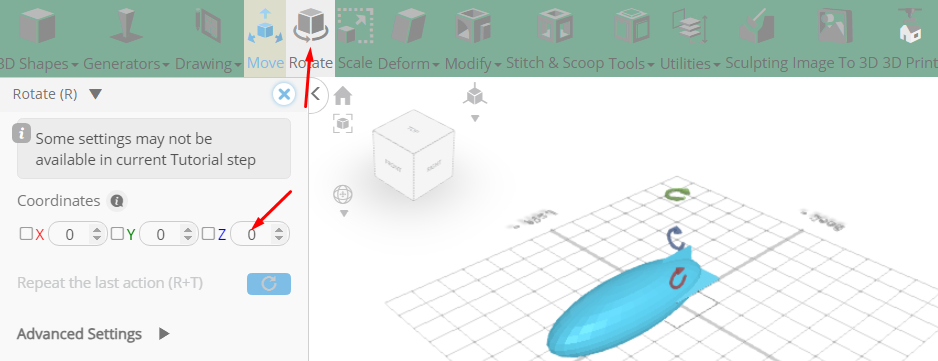
Click rotate on the toolbar; Set z to 270
Click move on the toolbar; Set z to 15 using highlighted gizmo
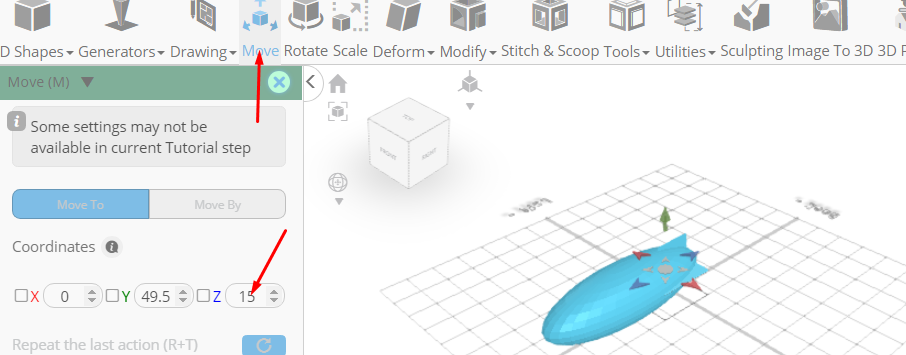
Click ‘x’ to close transformation panel
As you continue honing your design skills, remember that SelfCAD offers a wealth of resources to support your learning journey. To deepen your understanding and explore more advanced features, consider checking out the interactive tutorials (https://www.selfcad.com/tutorials) available on the SelfCAD website. The tutorials page provides a treasure trove of guides, tips, and tricks that cater to designers of all levels.
More structured learning experience can also be accessed at the SelfCAD Academy (https://www.selfcad.com/academy/curriculum/), https://www.youtube.com/@3dmodeling101, and 3D Modeling 101 series (https://www.youtube.com/playlist?list=PL74nFNT8yS9DcE1UlUUdiR1wFGv9DDfTB). This comprehensive resource offers in-depth courses taught by industry experts, allowing you to master the intricacies of SelfCAD at your own pace.