How to Custom Multicolor 3D Print (Bambu Slicer)
by ji57807 in Workshop > 3D Printing
1574 Views, 3 Favorites, 0 Comments
How to Custom Multicolor 3D Print (Bambu Slicer)
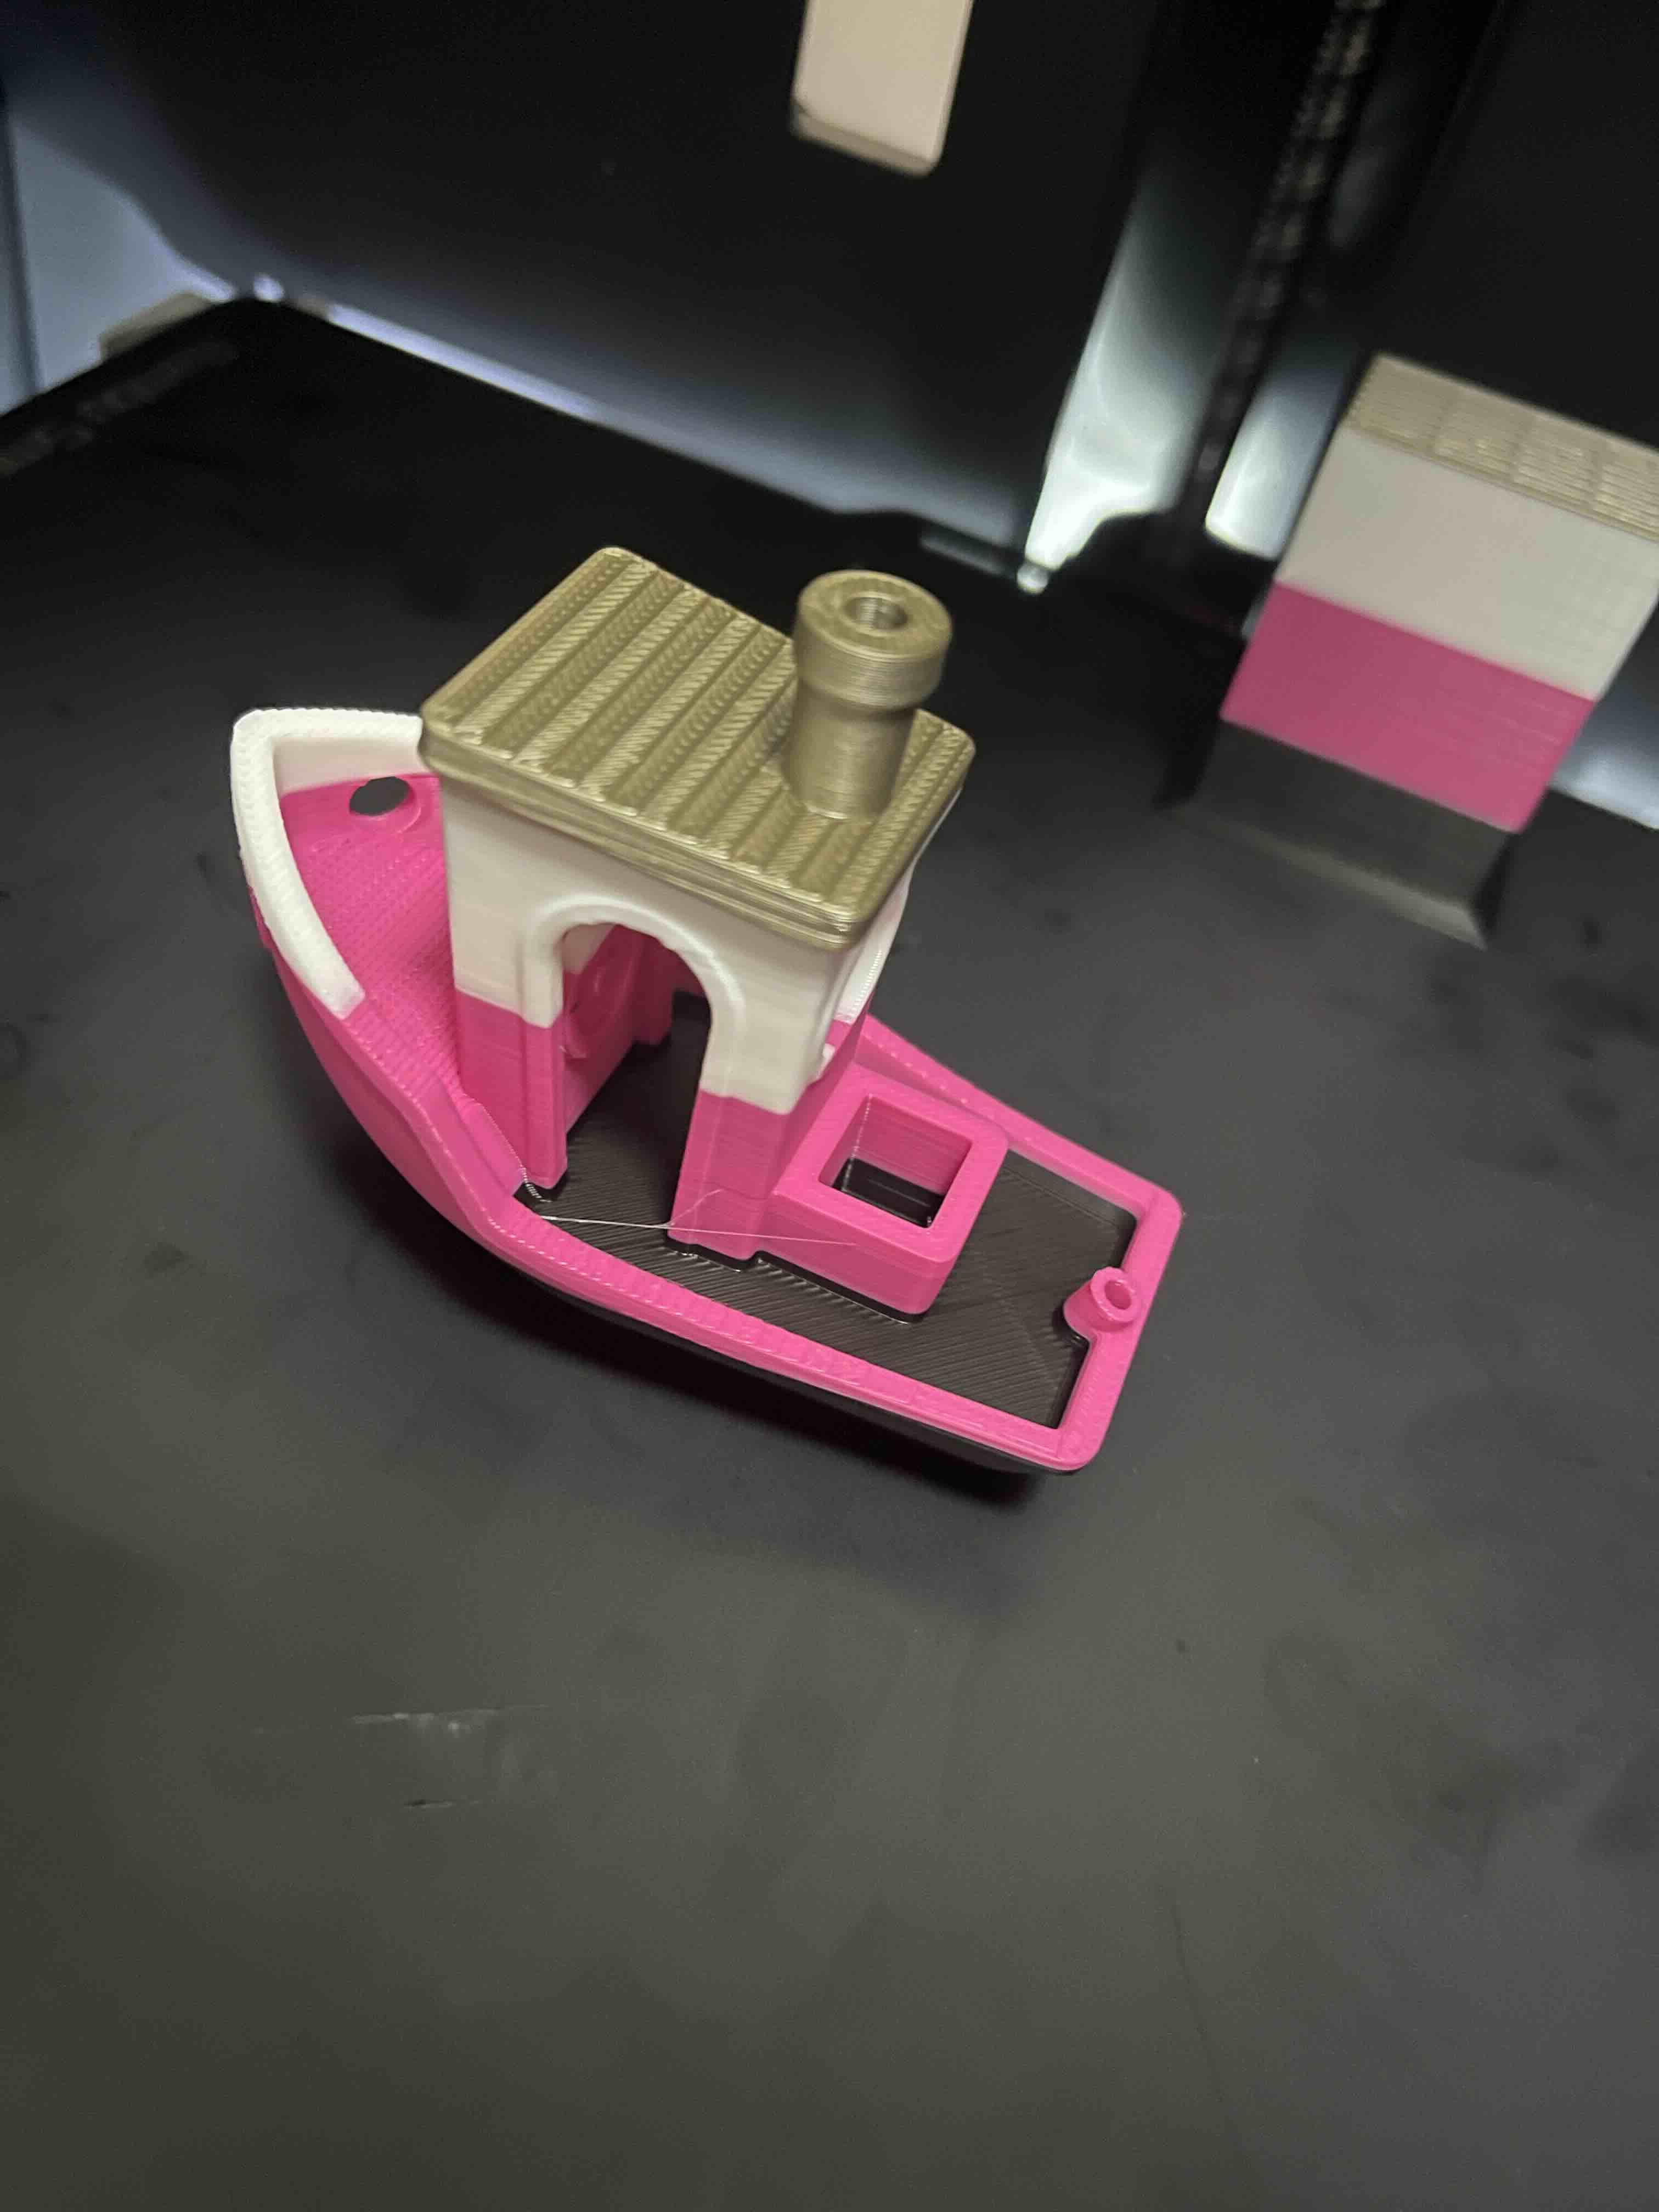
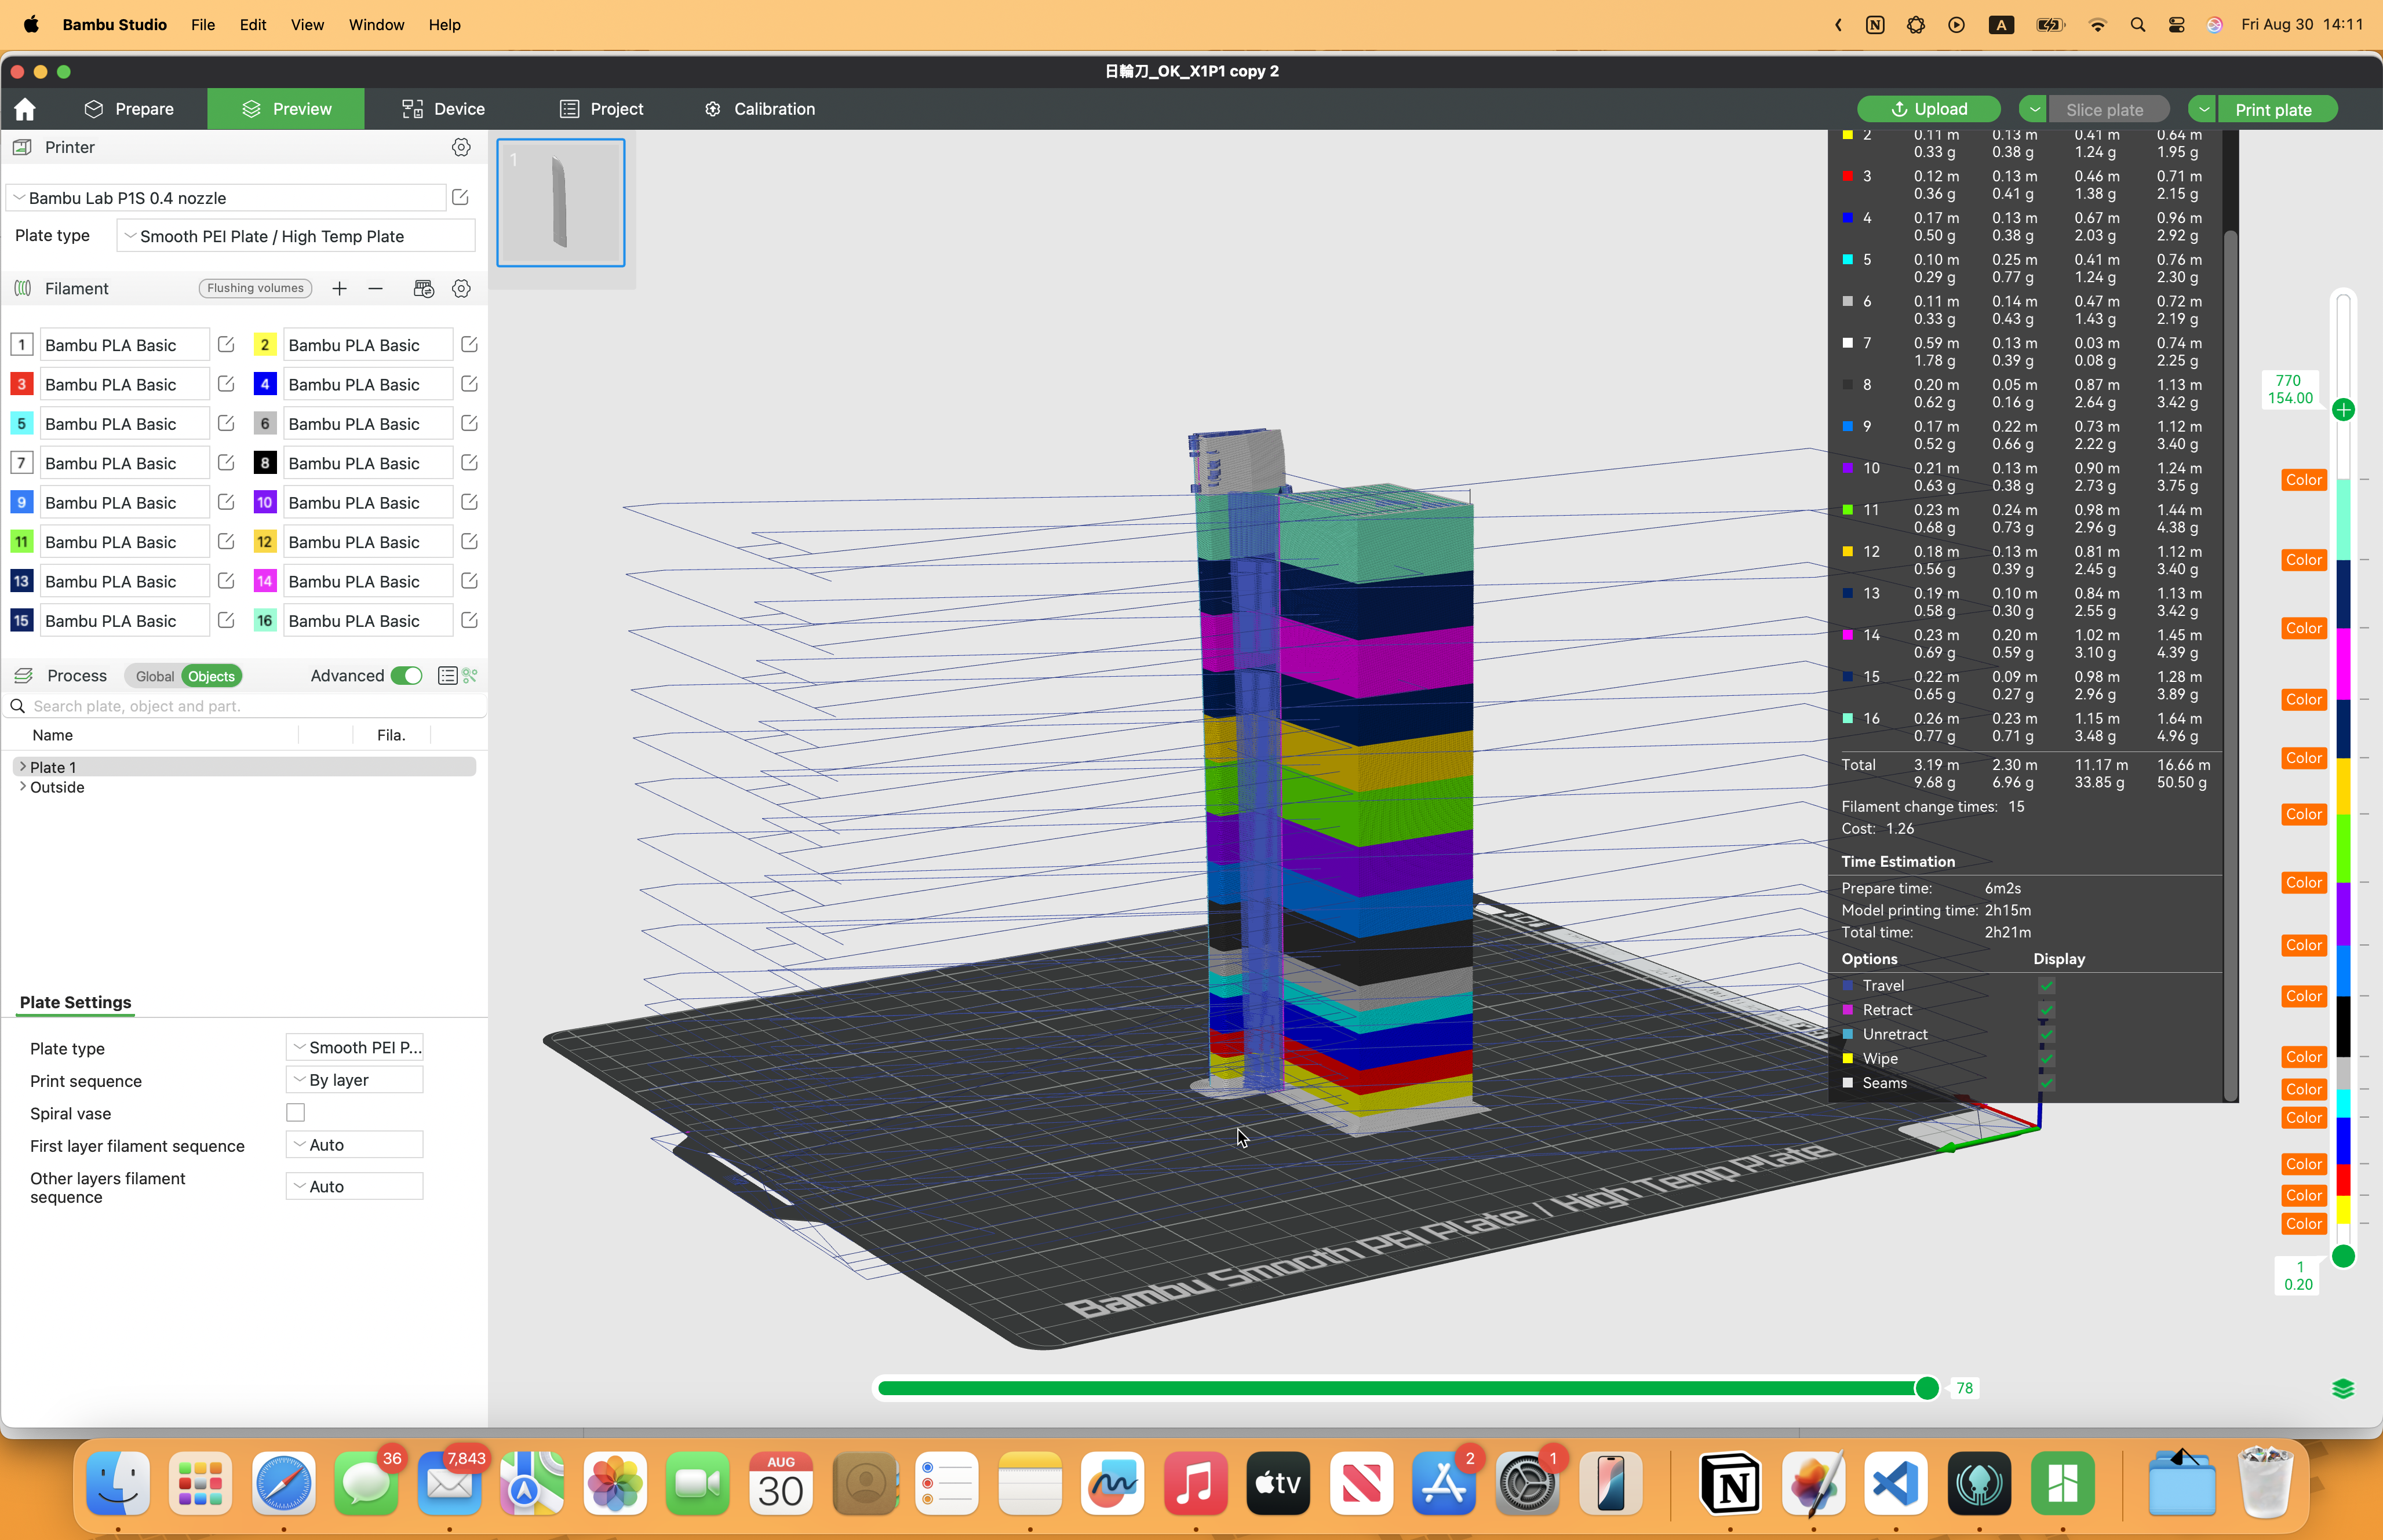
This is a guide on how to use Bambu Studio Slicer to do a multicolor 3D print. This guide showcases how to use it
WITH AND WITHOUT AMS
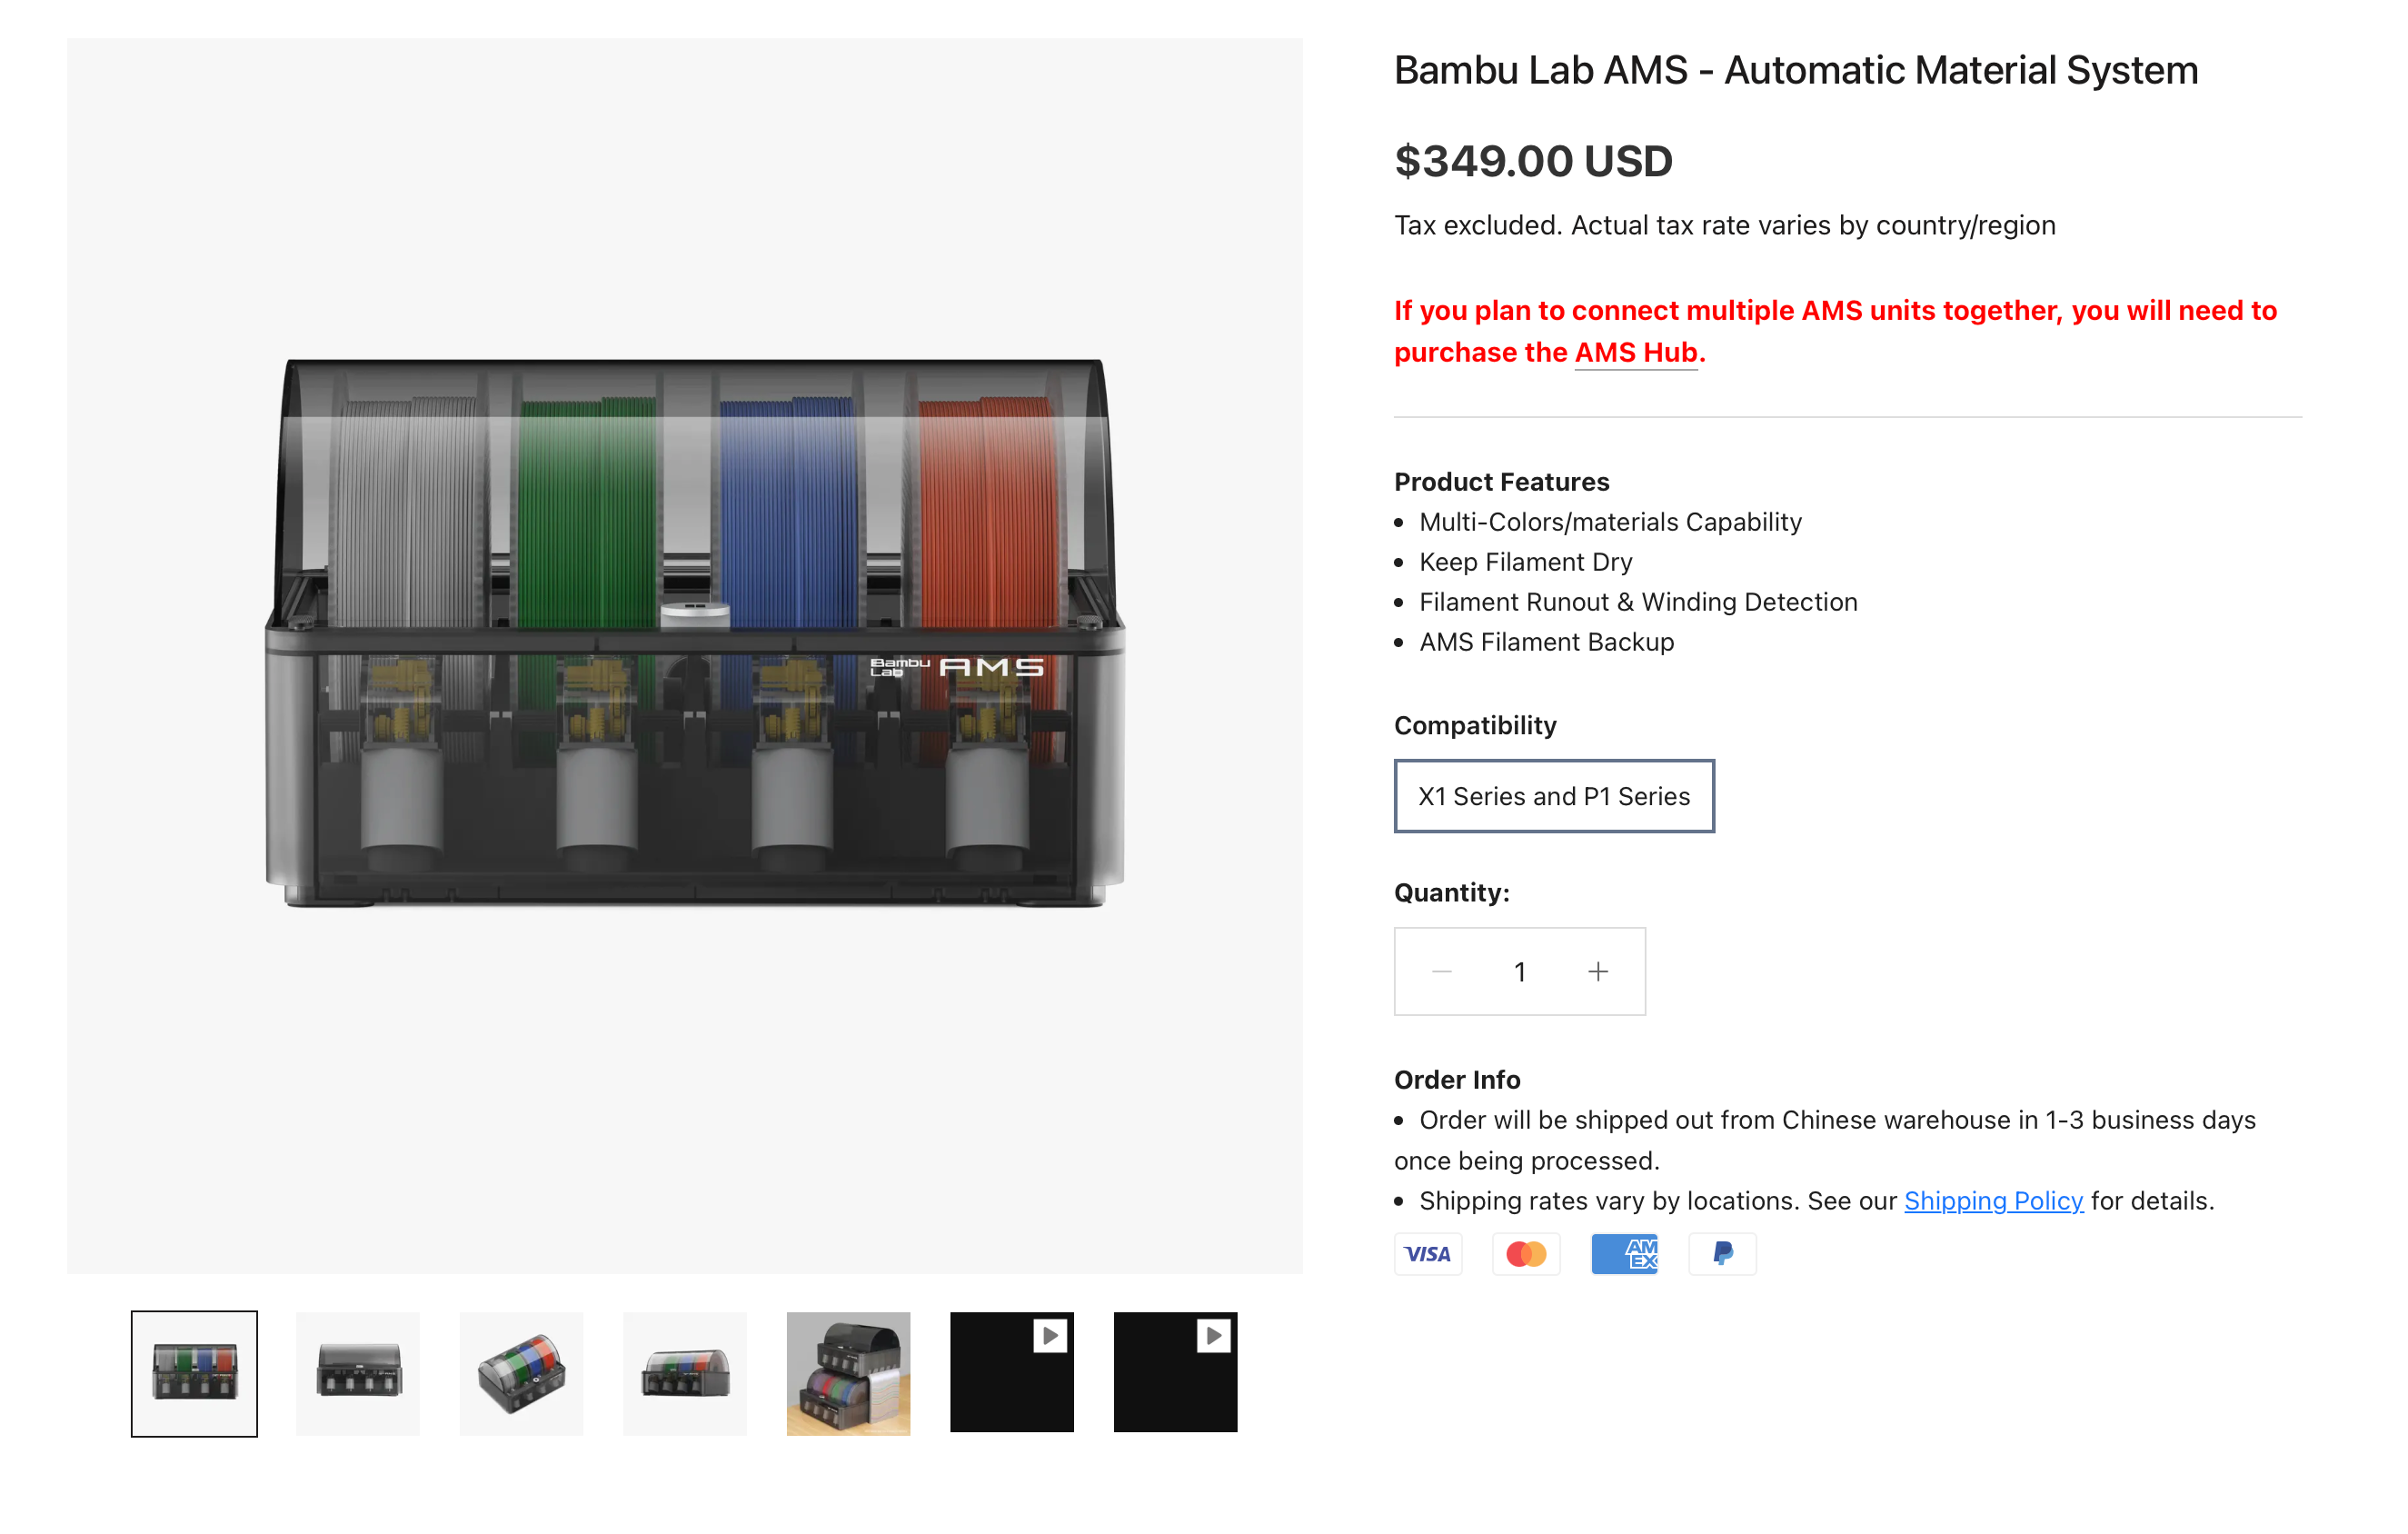
AMS is the Bambu Lab Automatic Material System, for which this process will not require any mid-print manual work but is NOT NECESSARY
Supplies
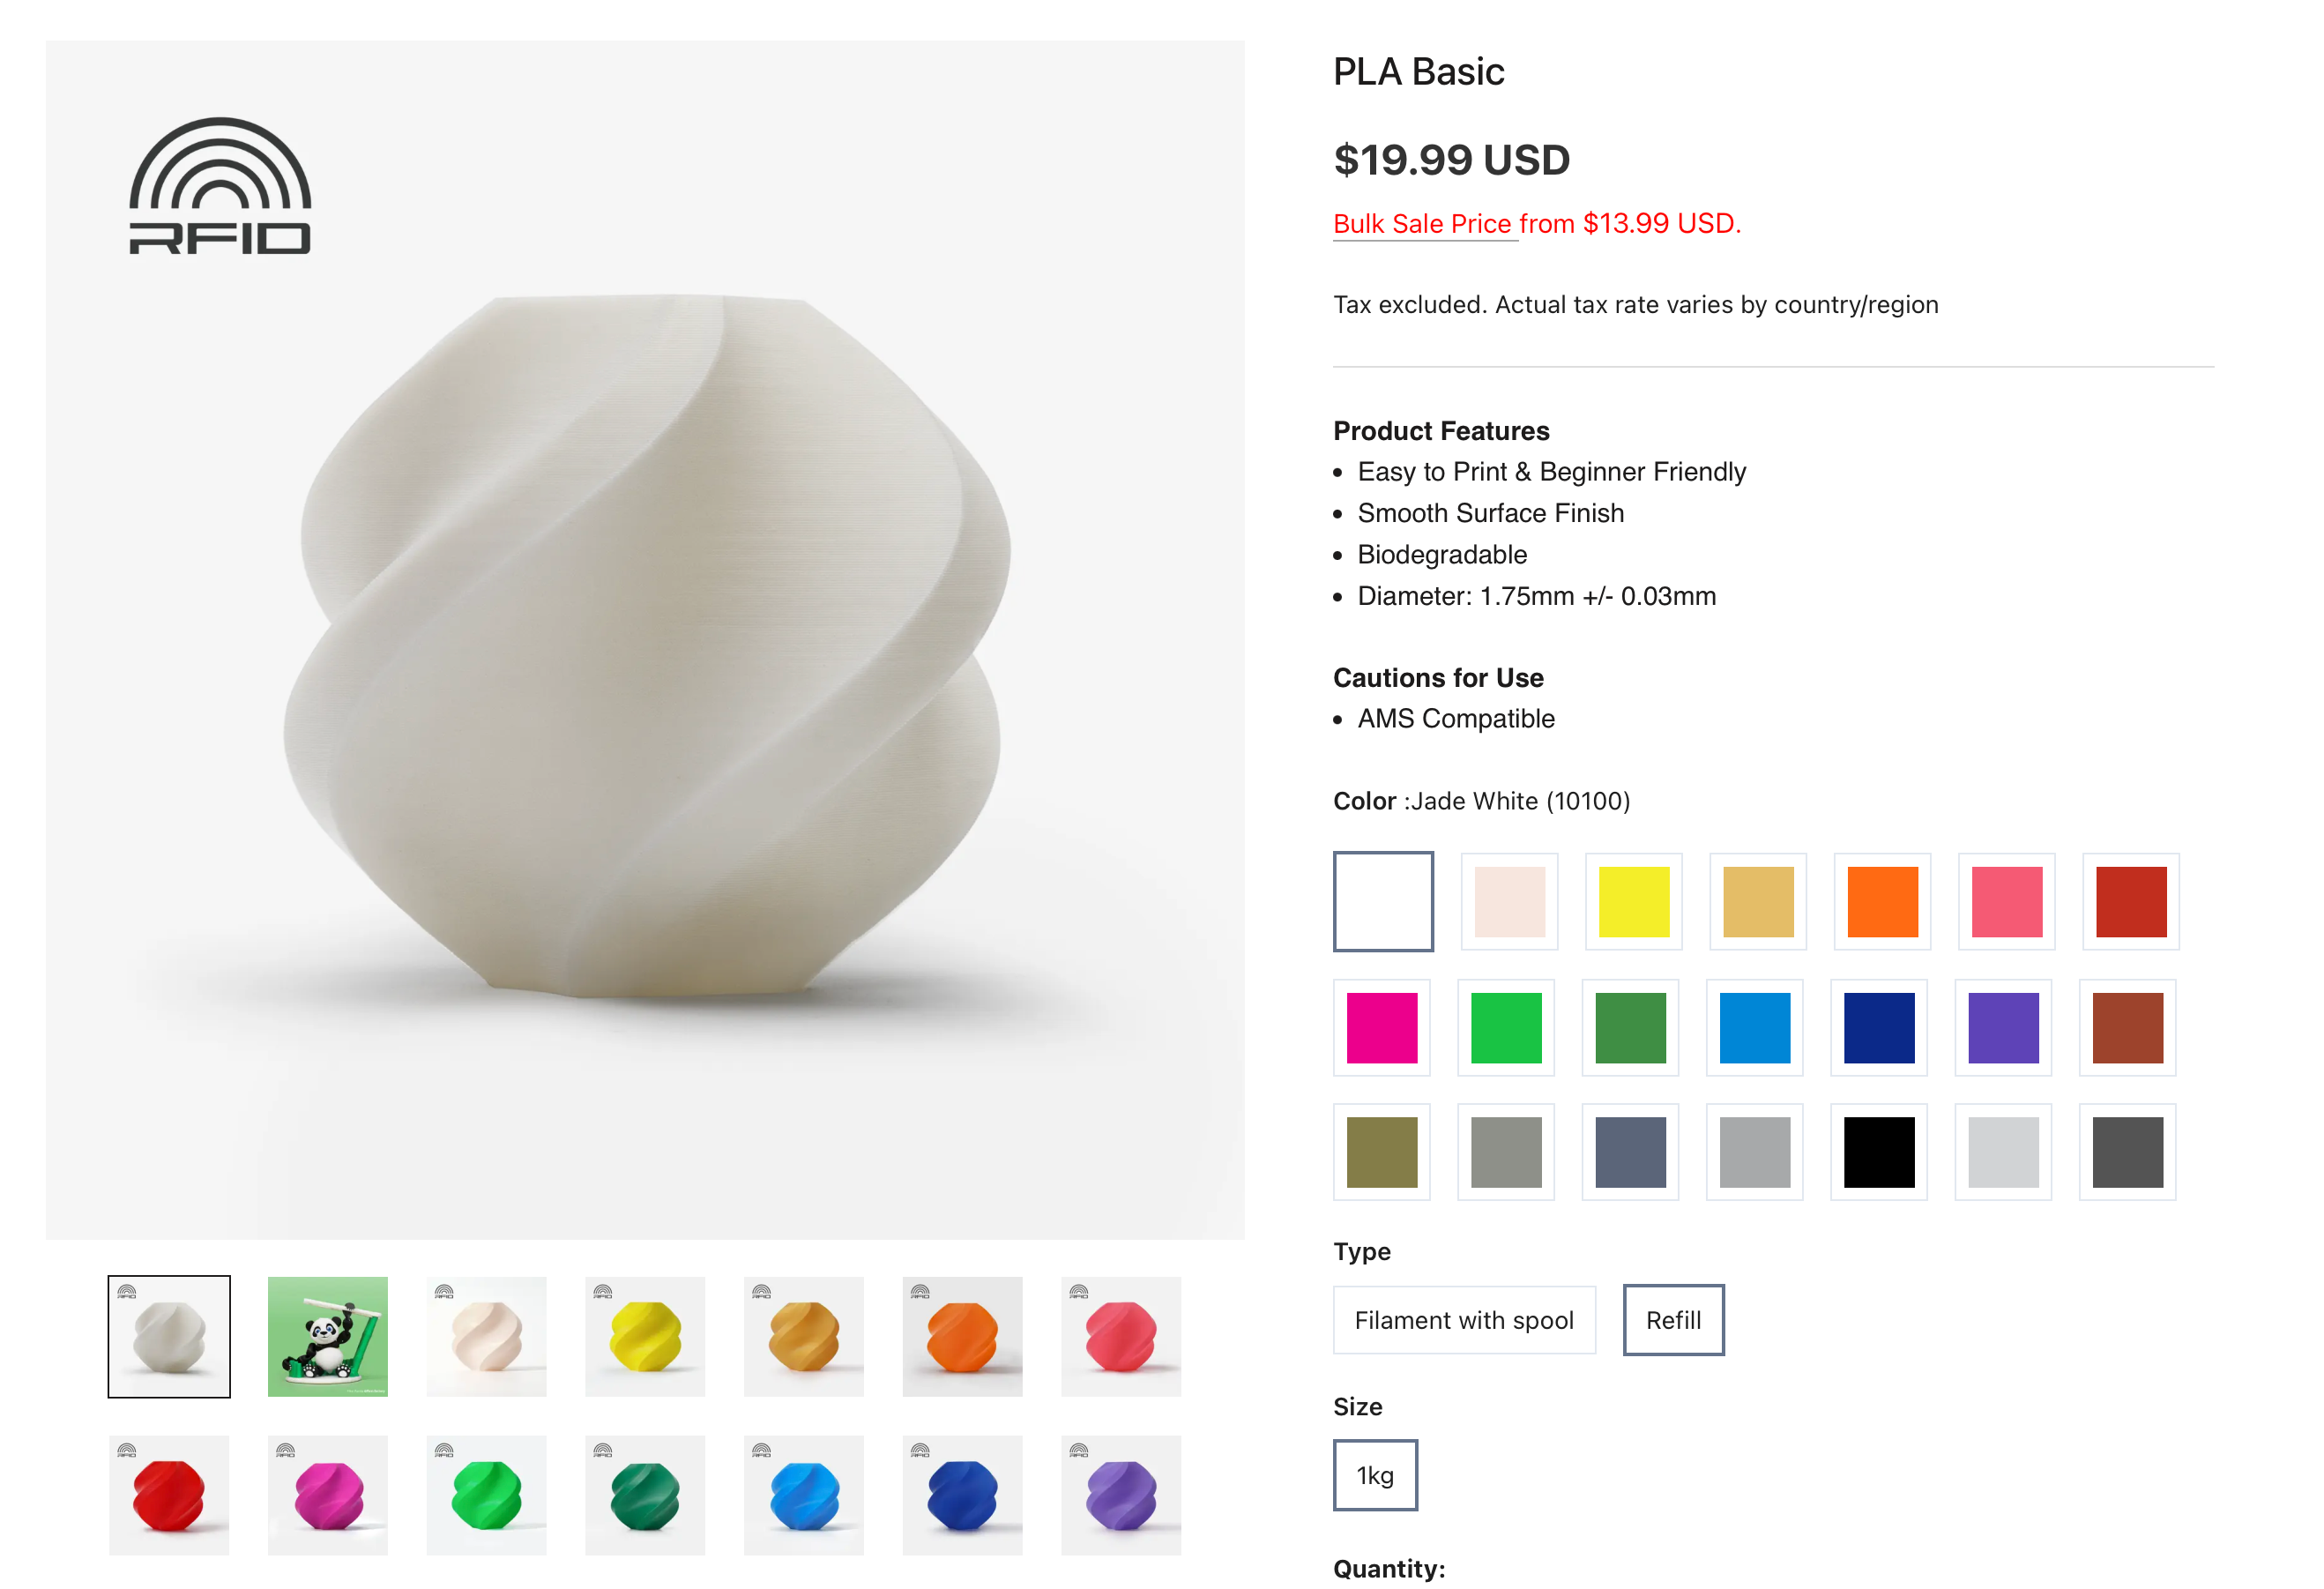
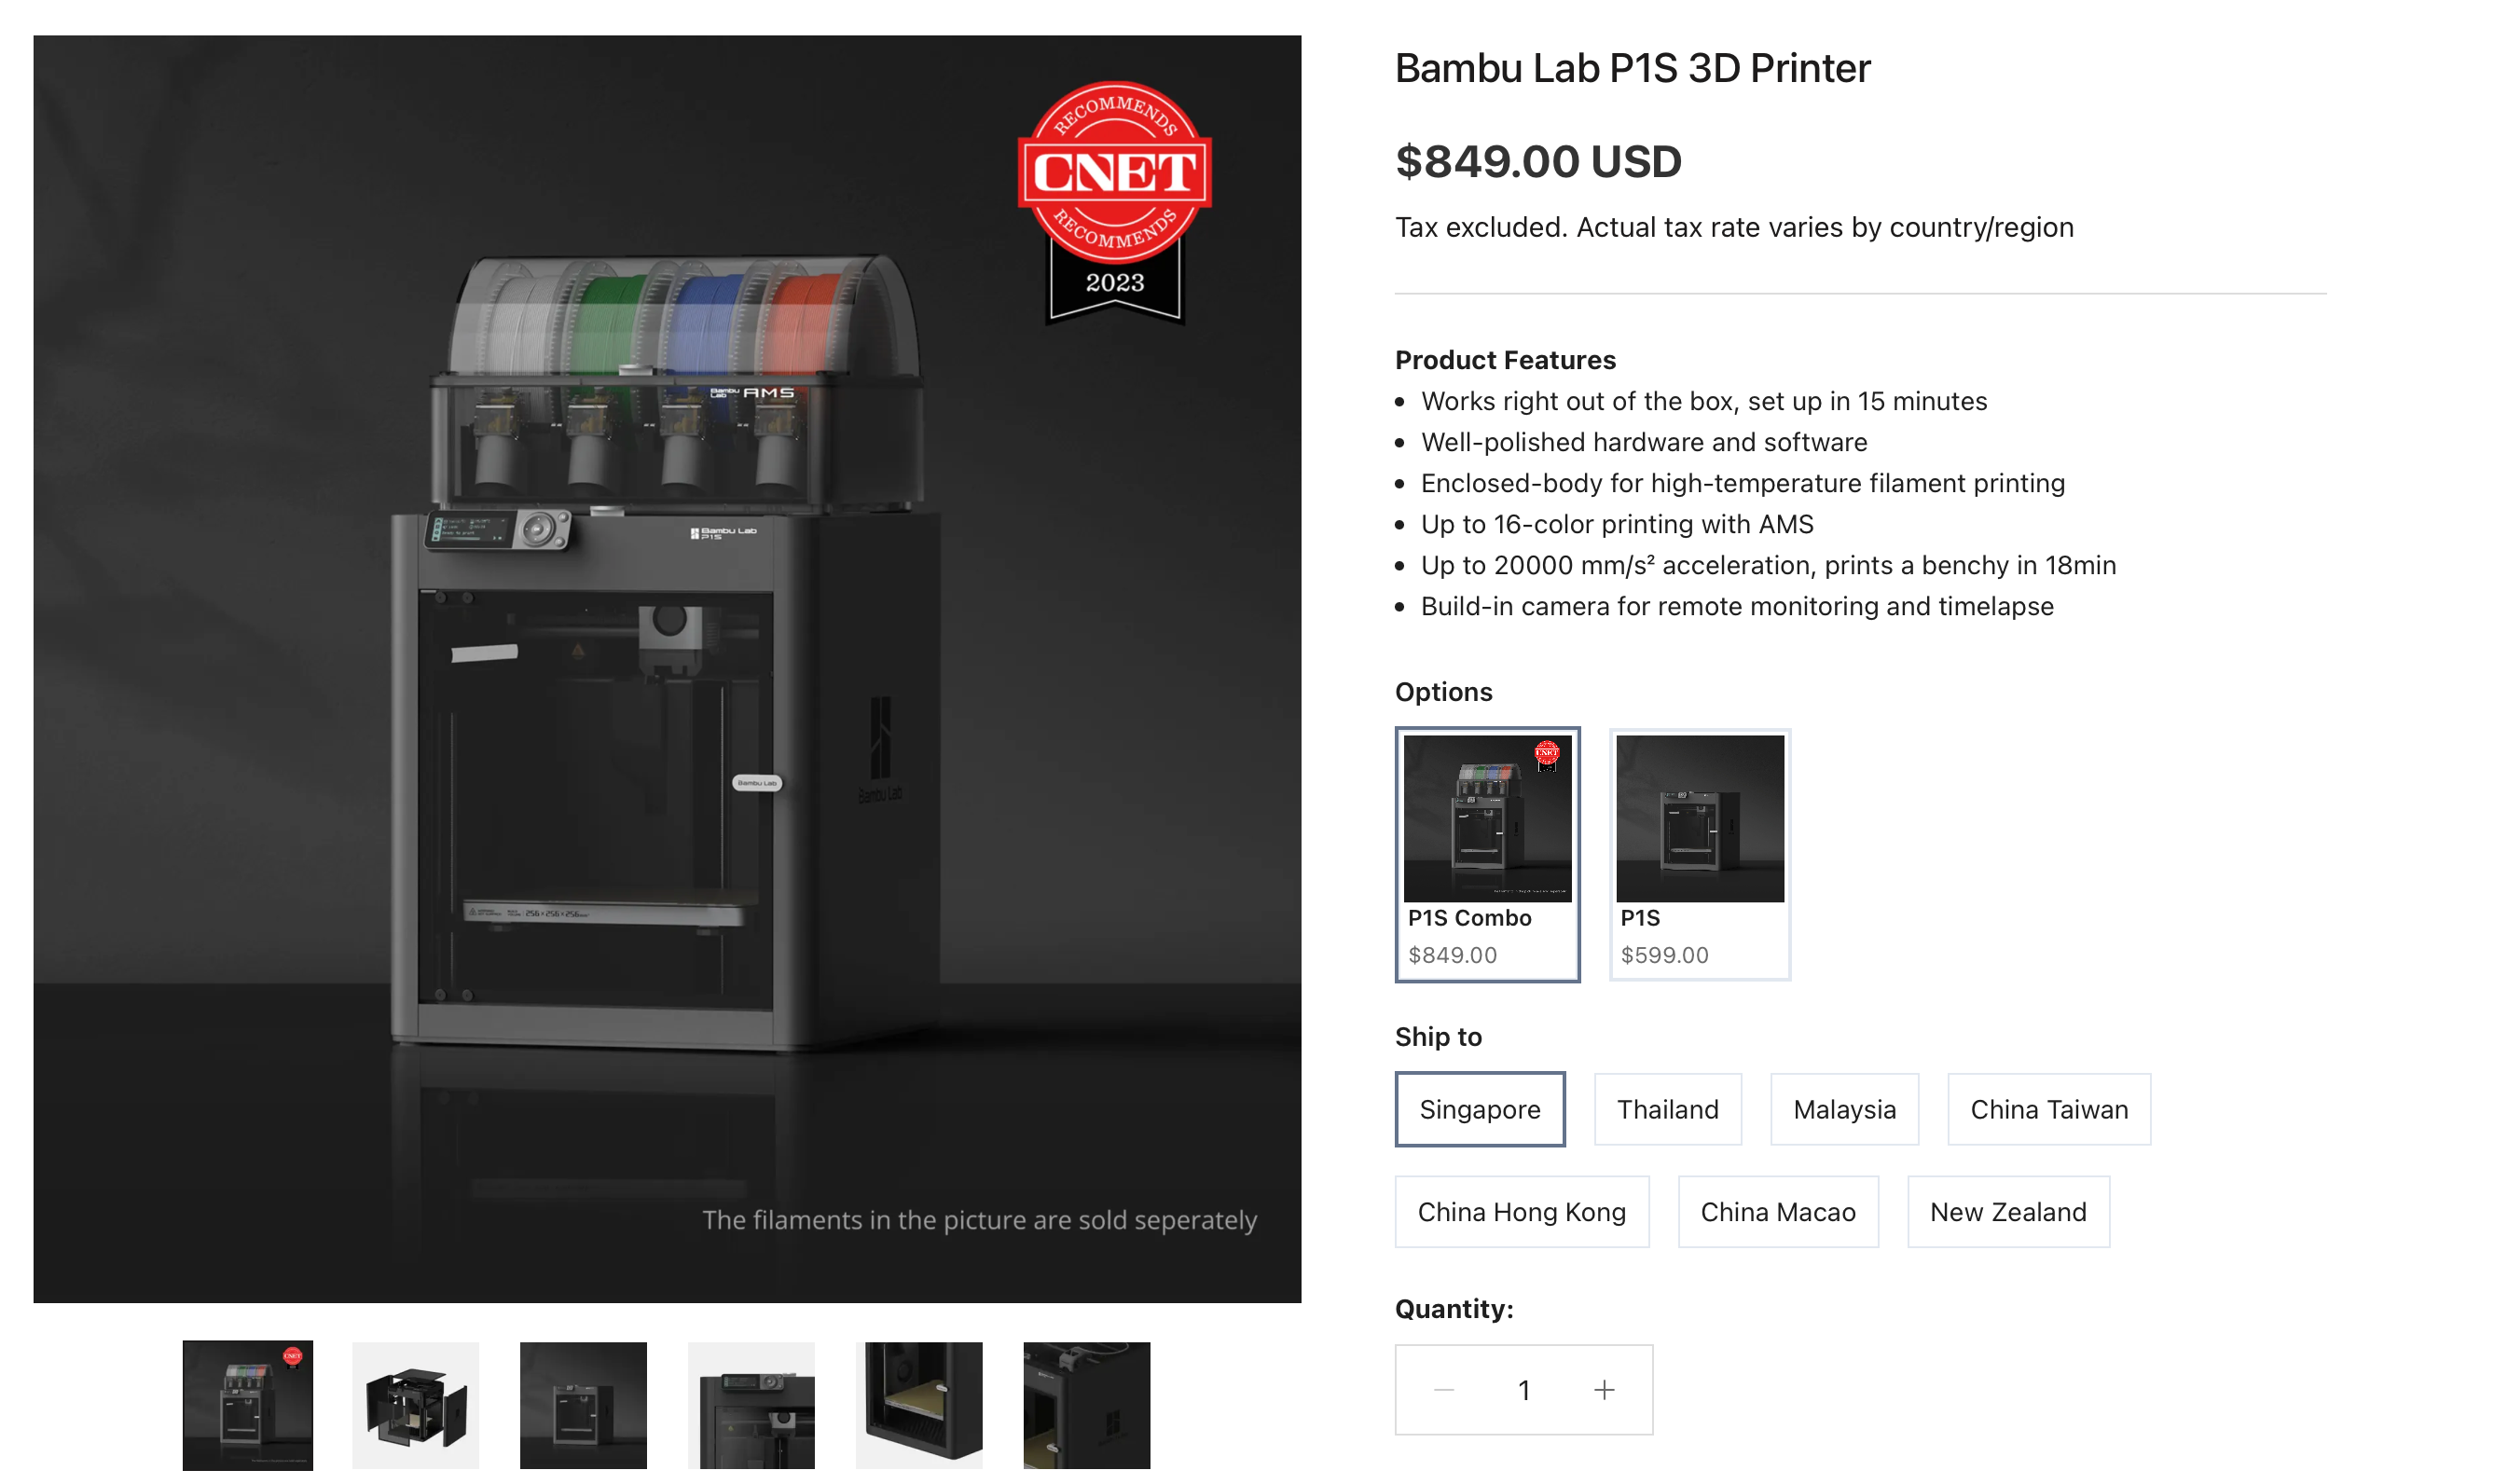
Materials Used
Bambu PLA https://store.bambulab.com/products/pla-basic-filament
Bambu P1S Combo https://store.bambulab.com/products/p1s
OR
Bambu AMS https://store.bambulab.com/products/ams-multicolor-printing
Get More than one color of filament (However many colors you want to print)
Any color of filament is fine, just make sure its the same material type and brand
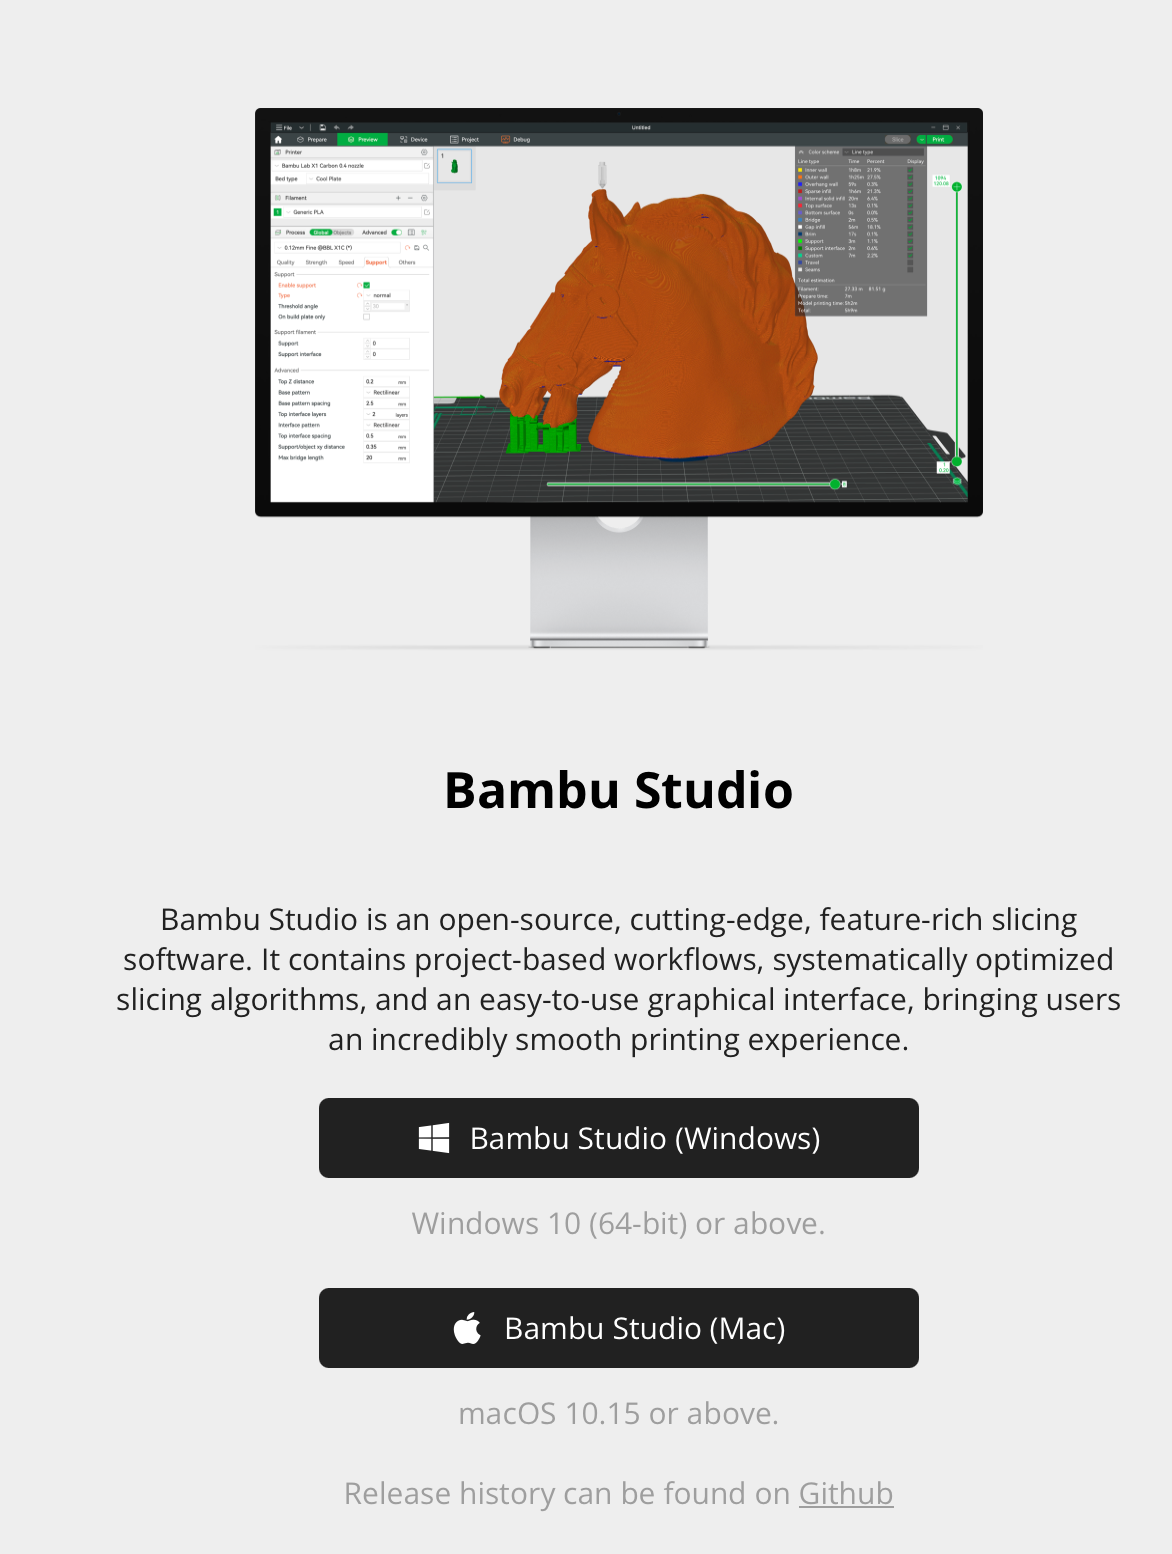
Software
Bambu Slicer https://bambulab.com/en-us/download
Get Model From Makerworld
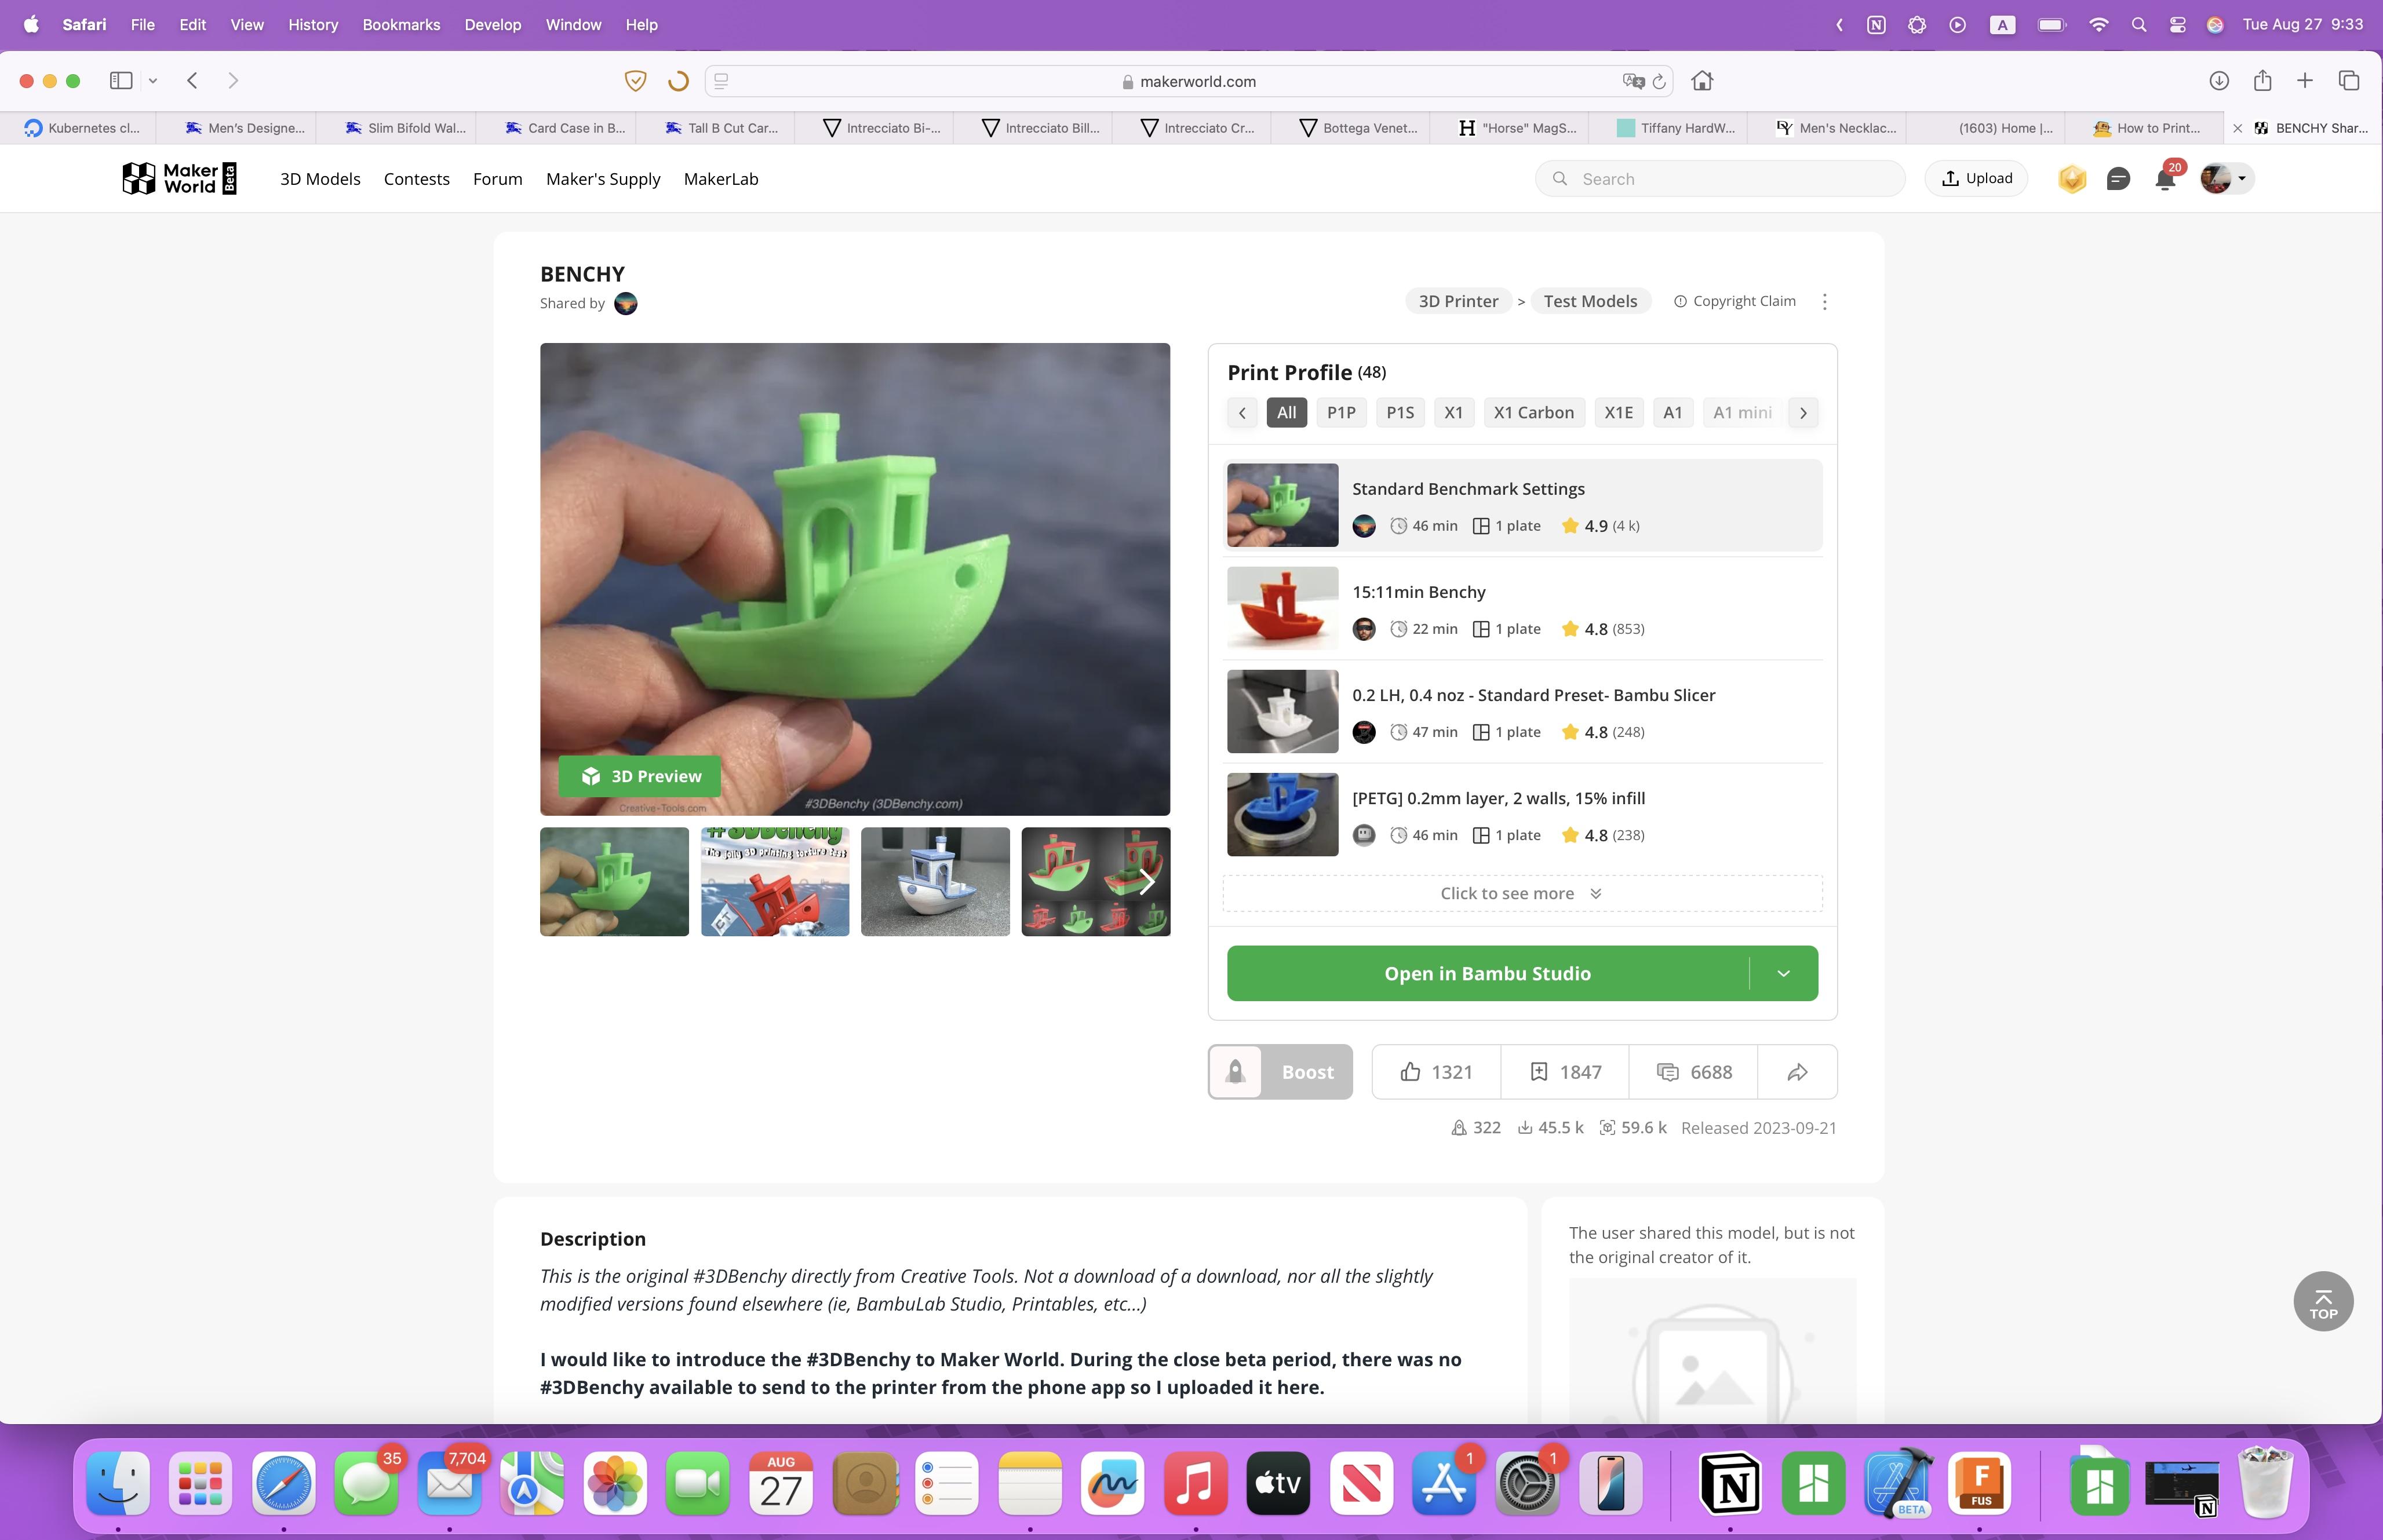
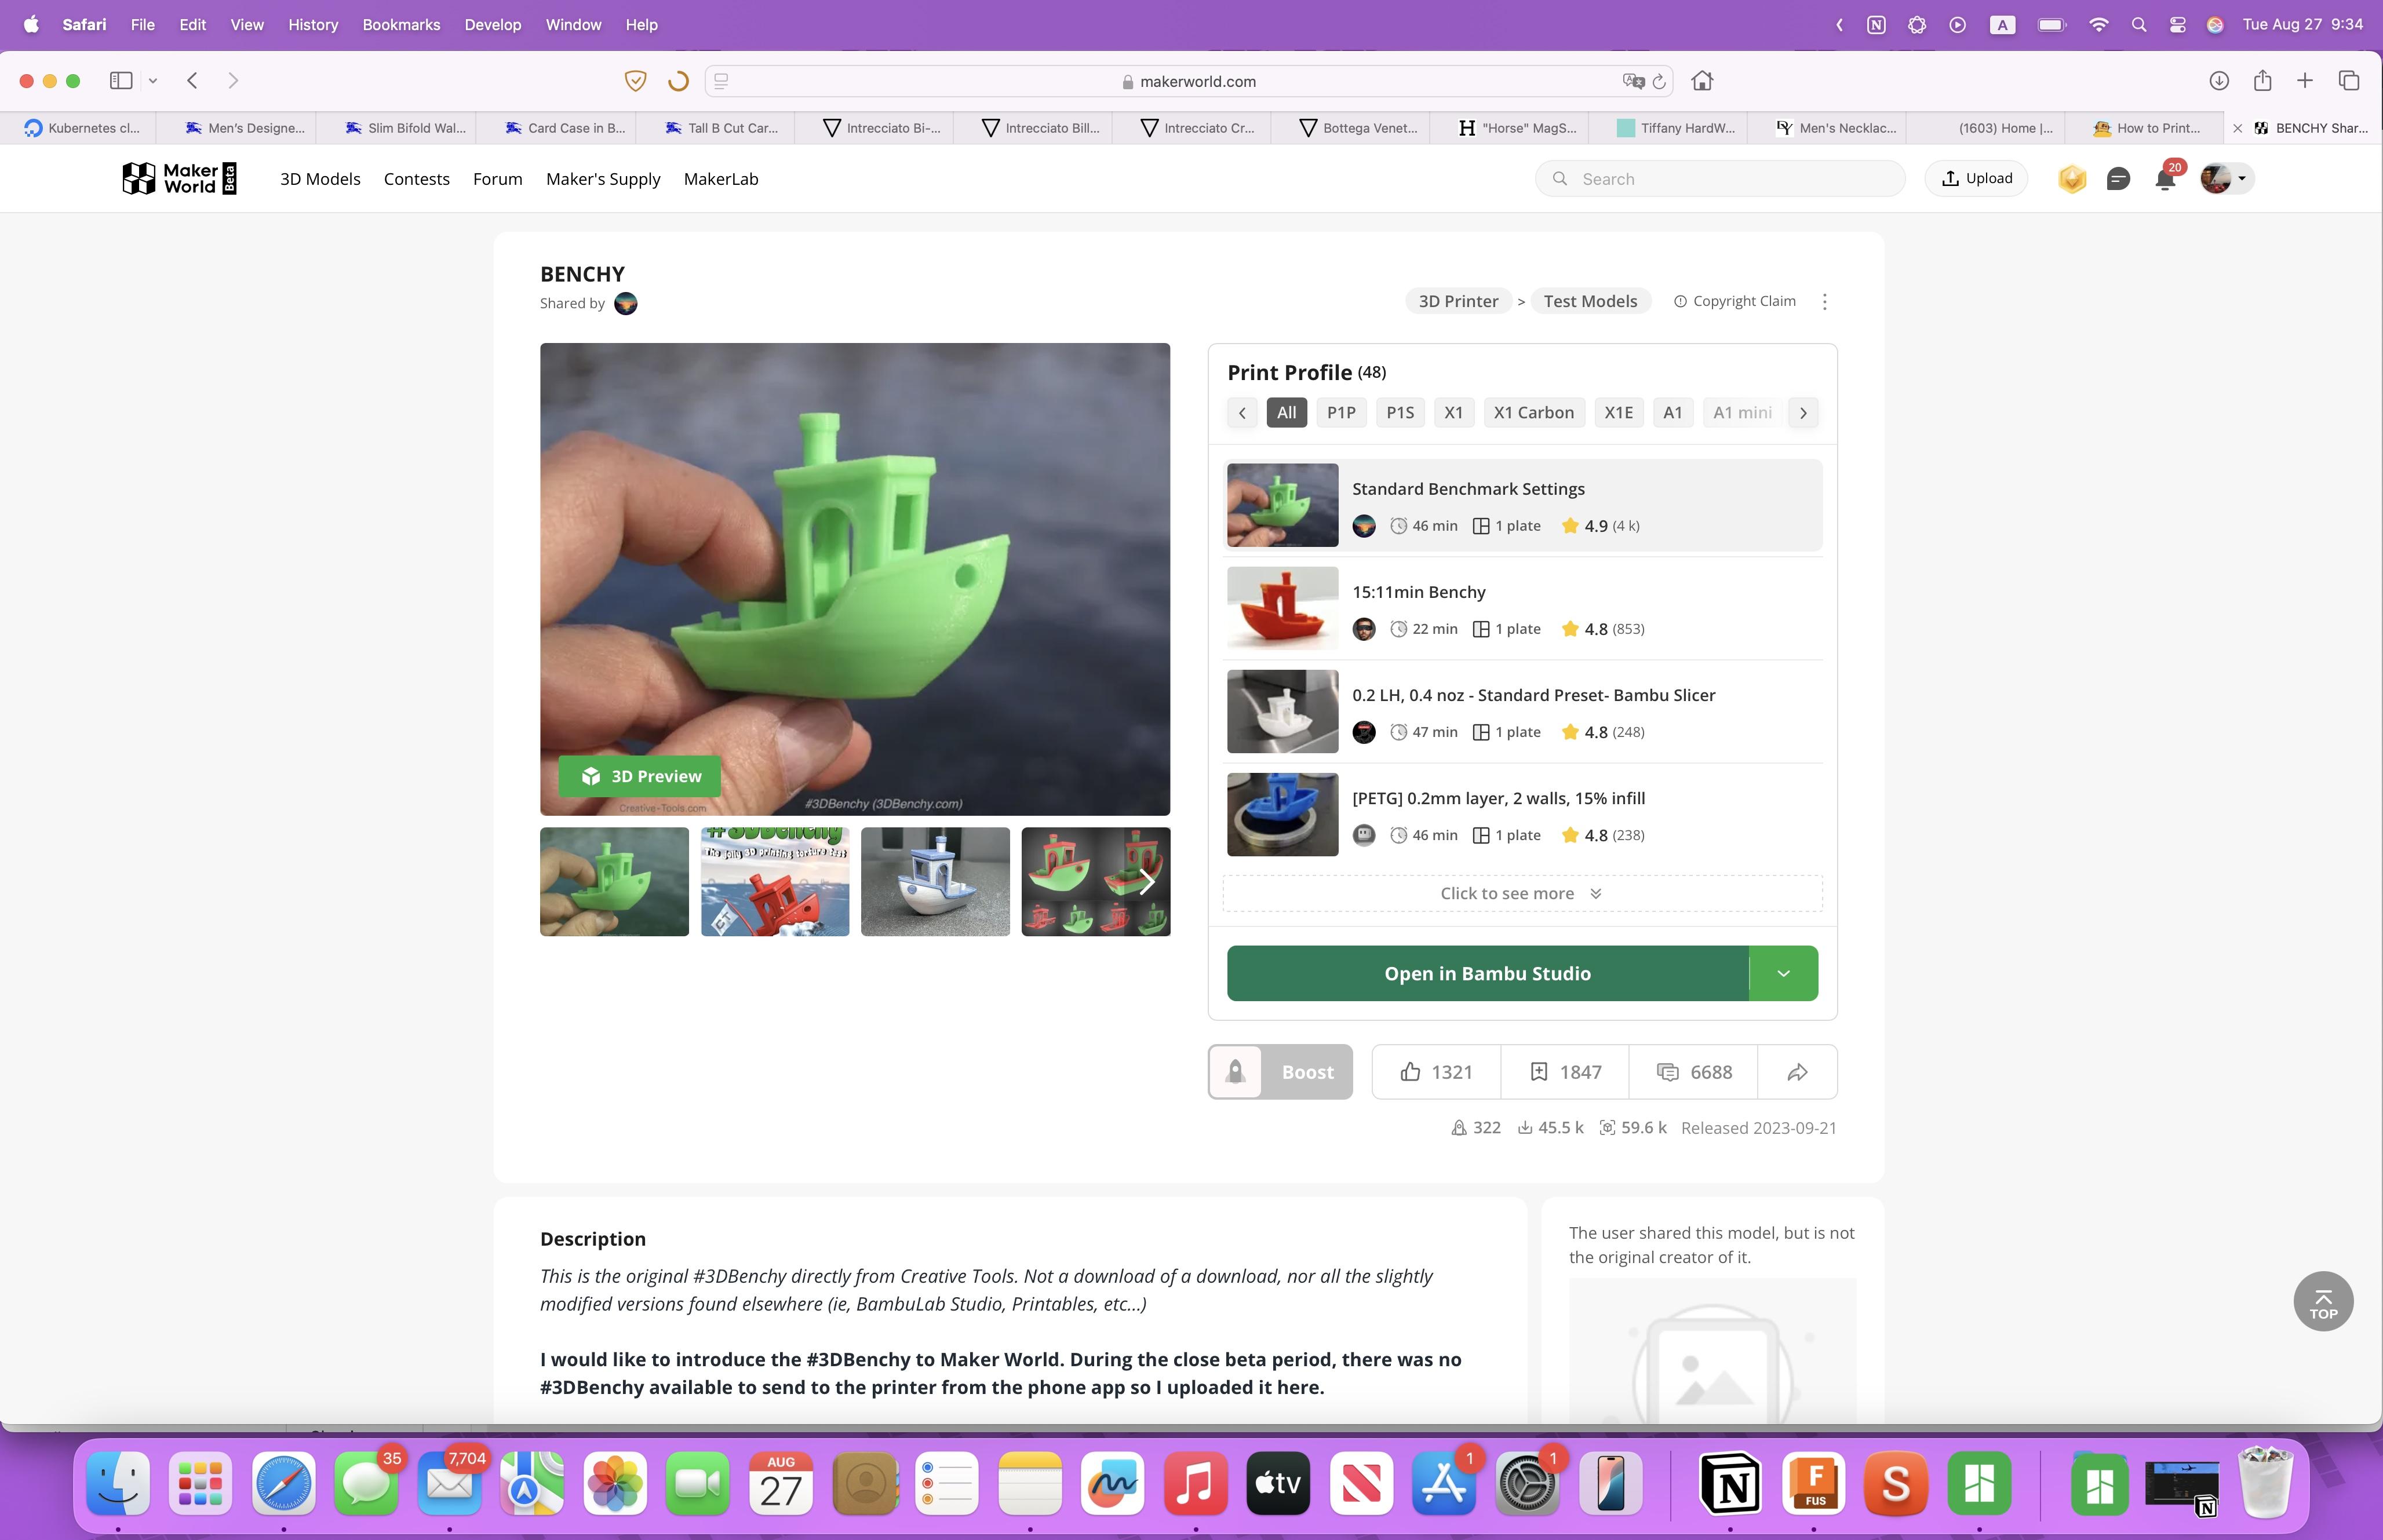
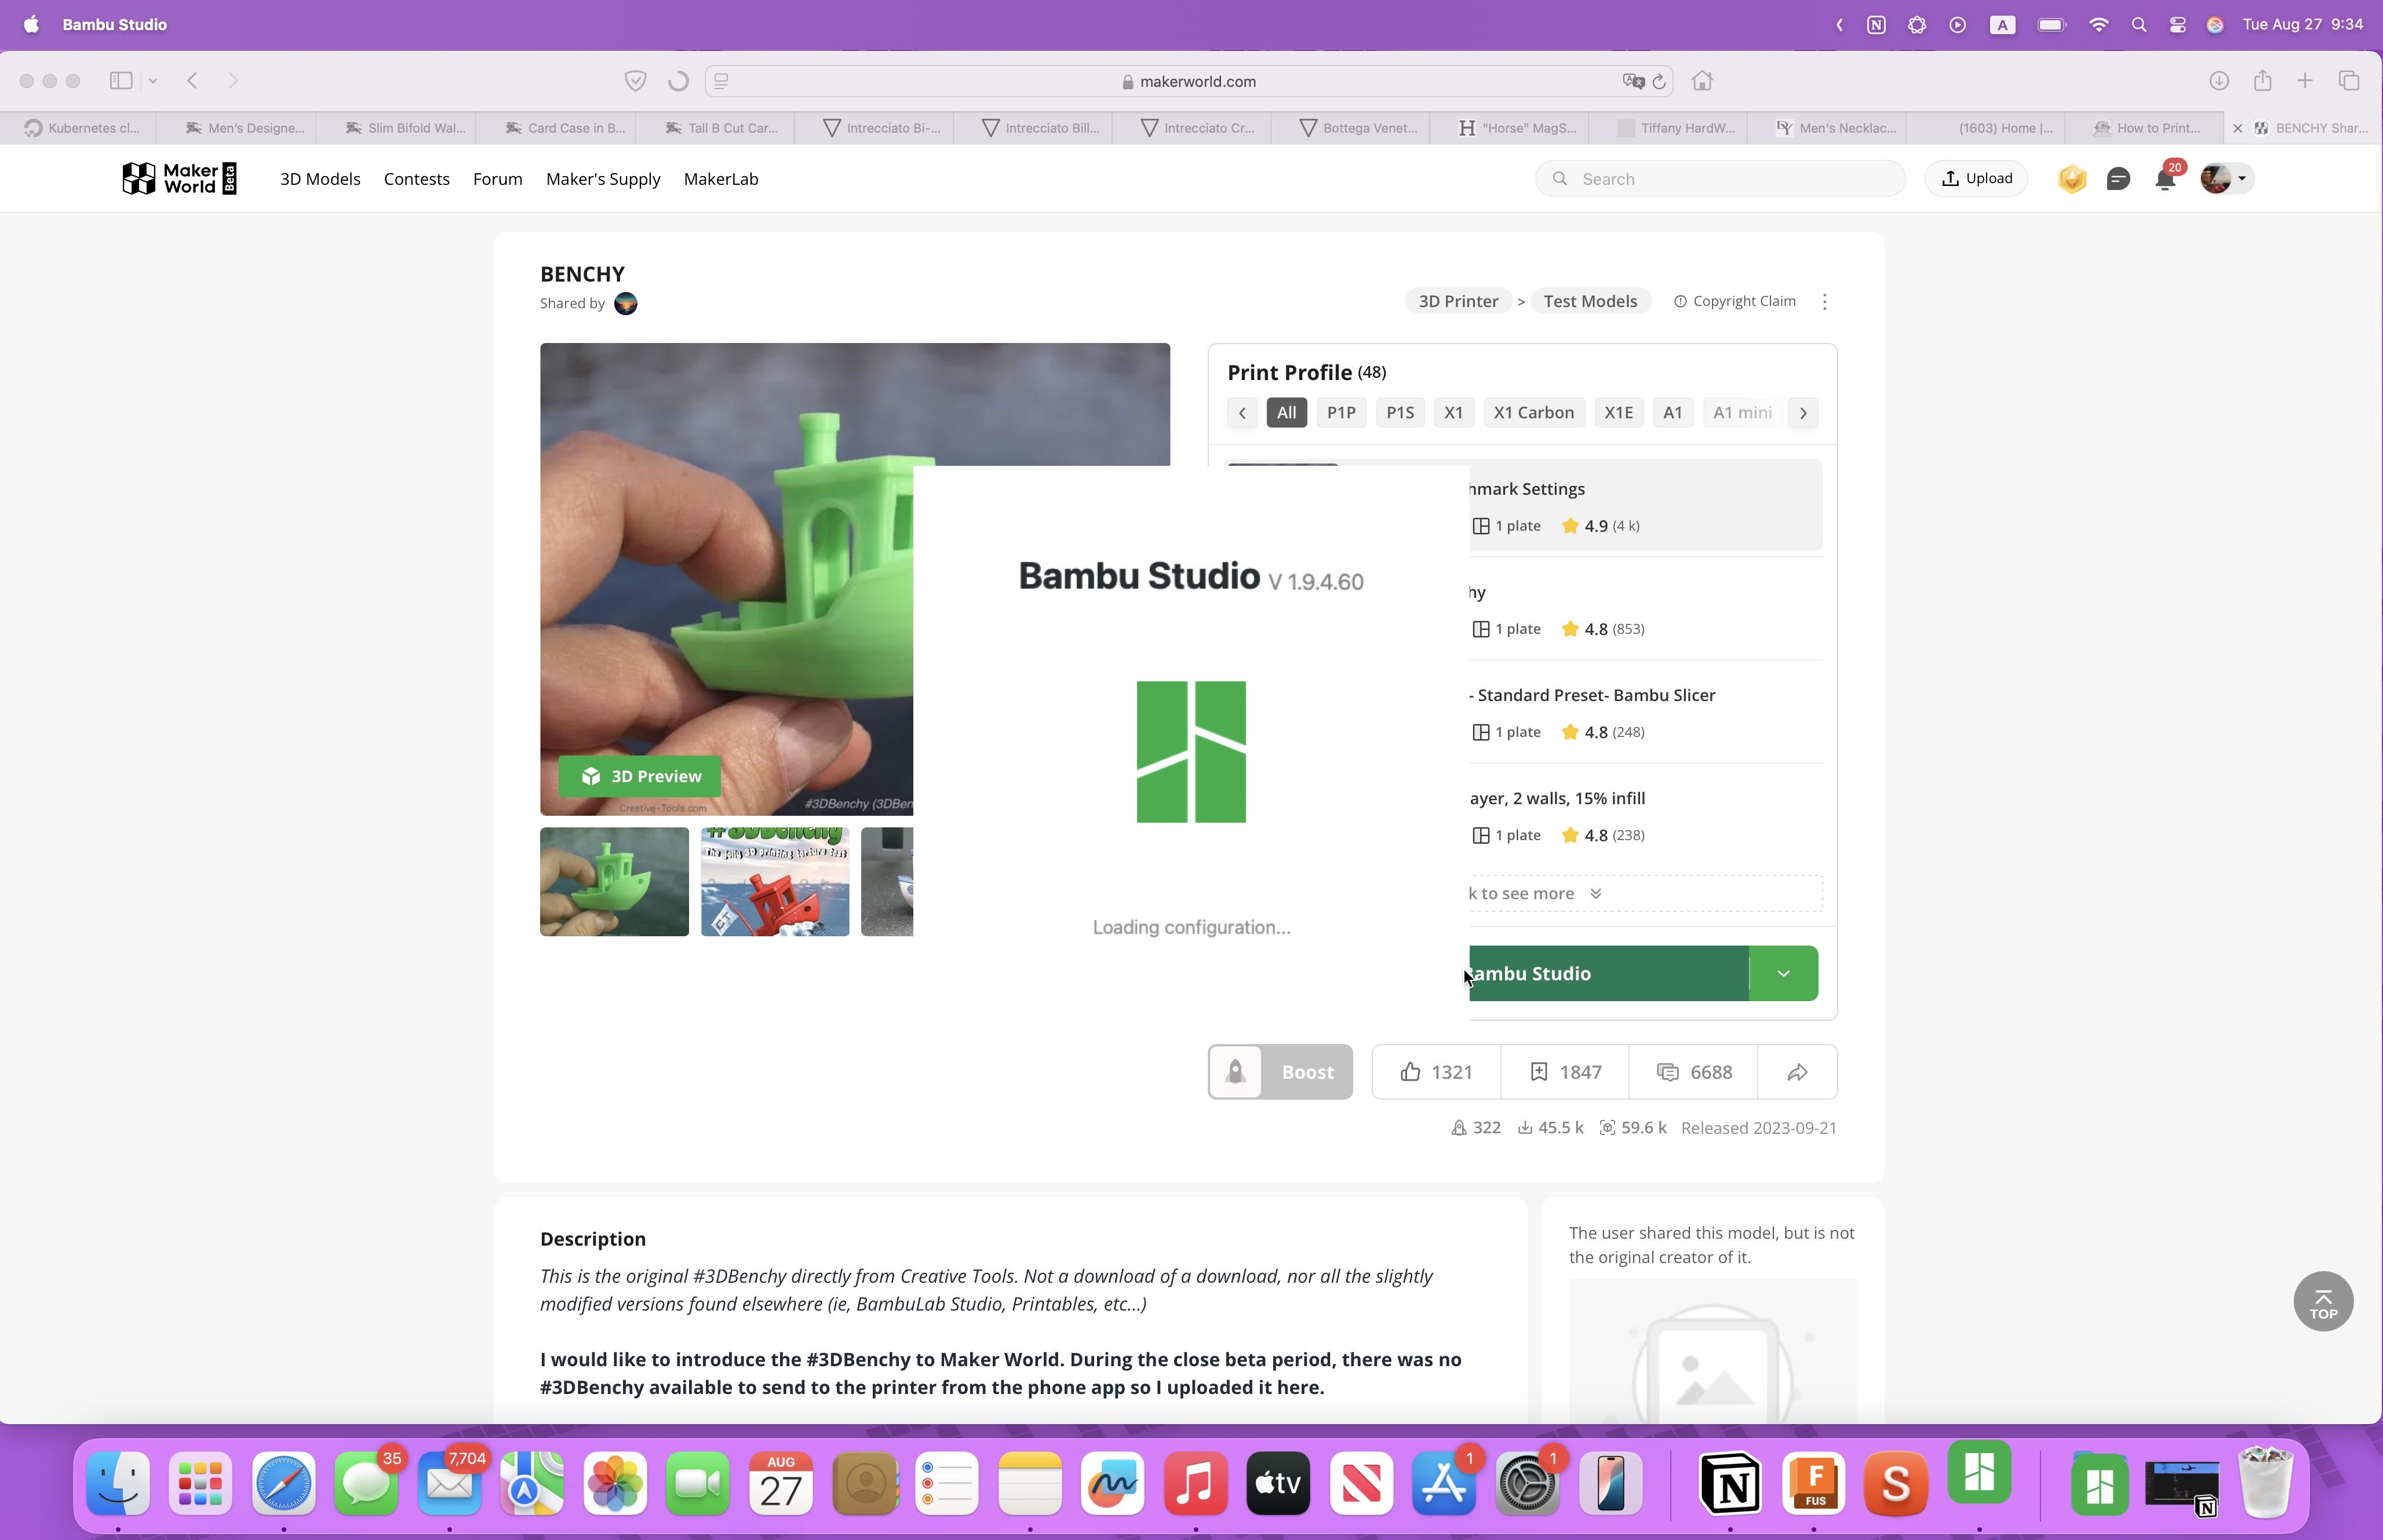
Go on Makerworld and download your preferred print for your printer
Im going to use a Benchy because its the most simple print you can do
Input Your Filaments
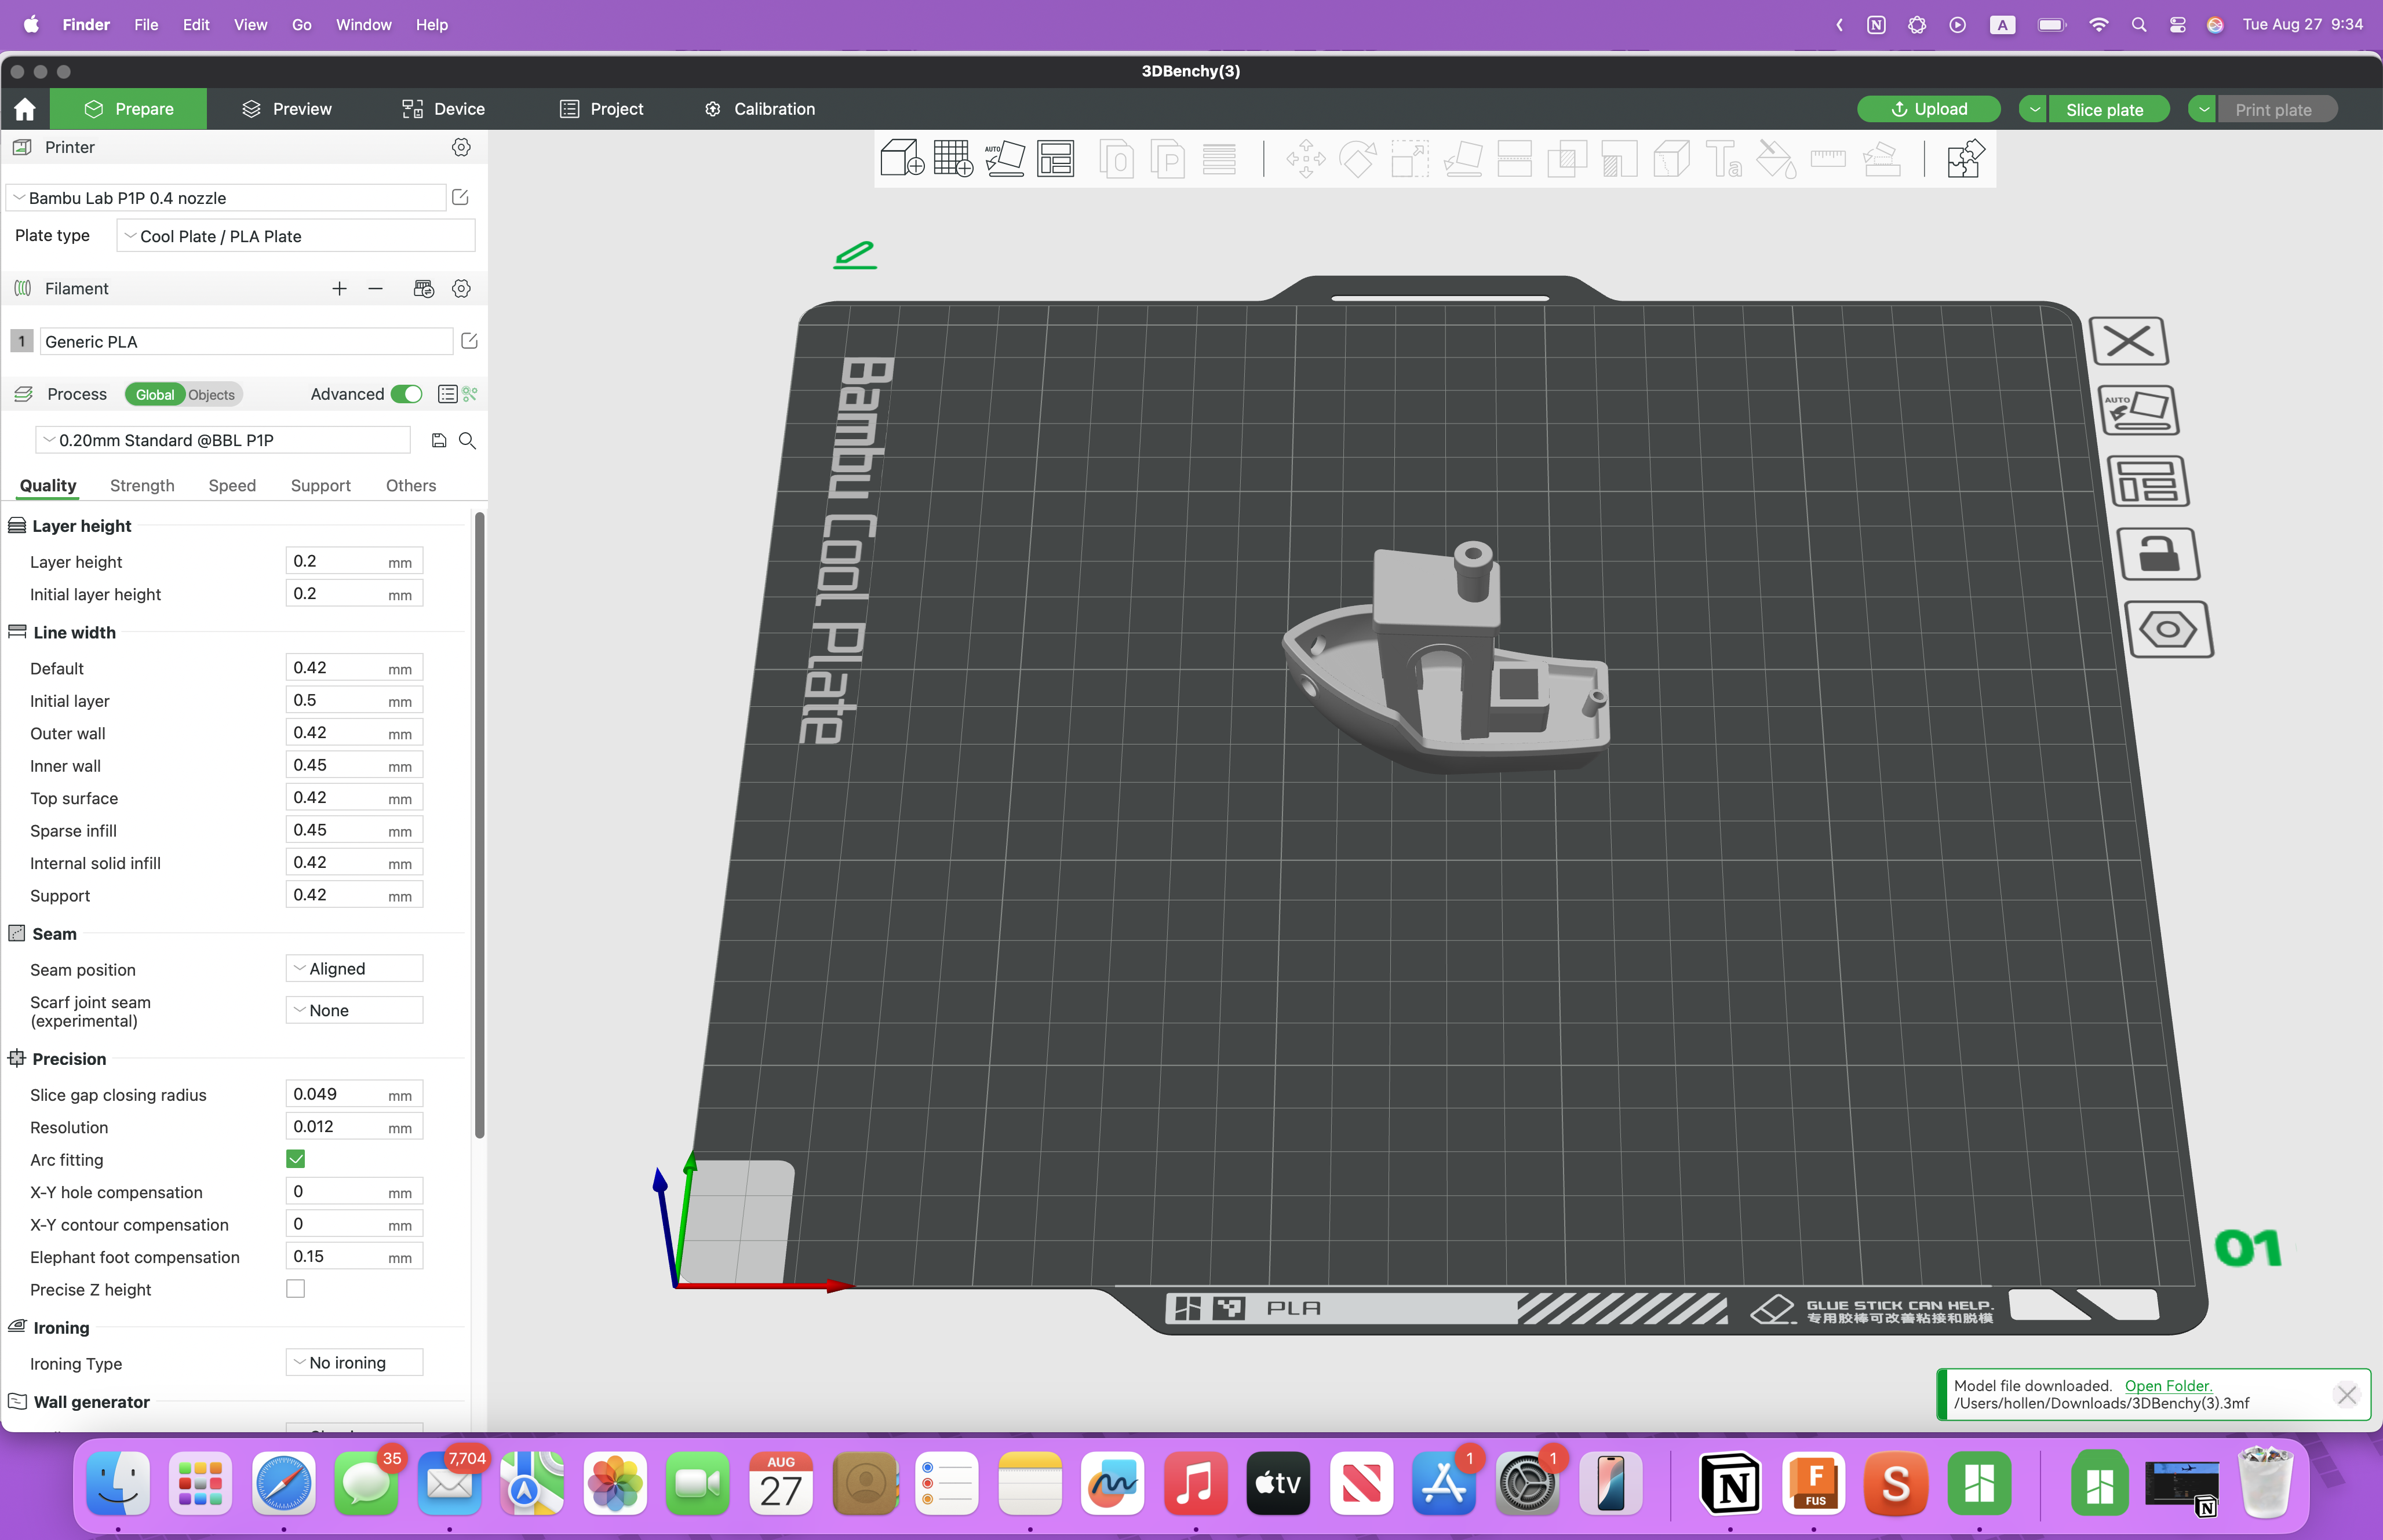
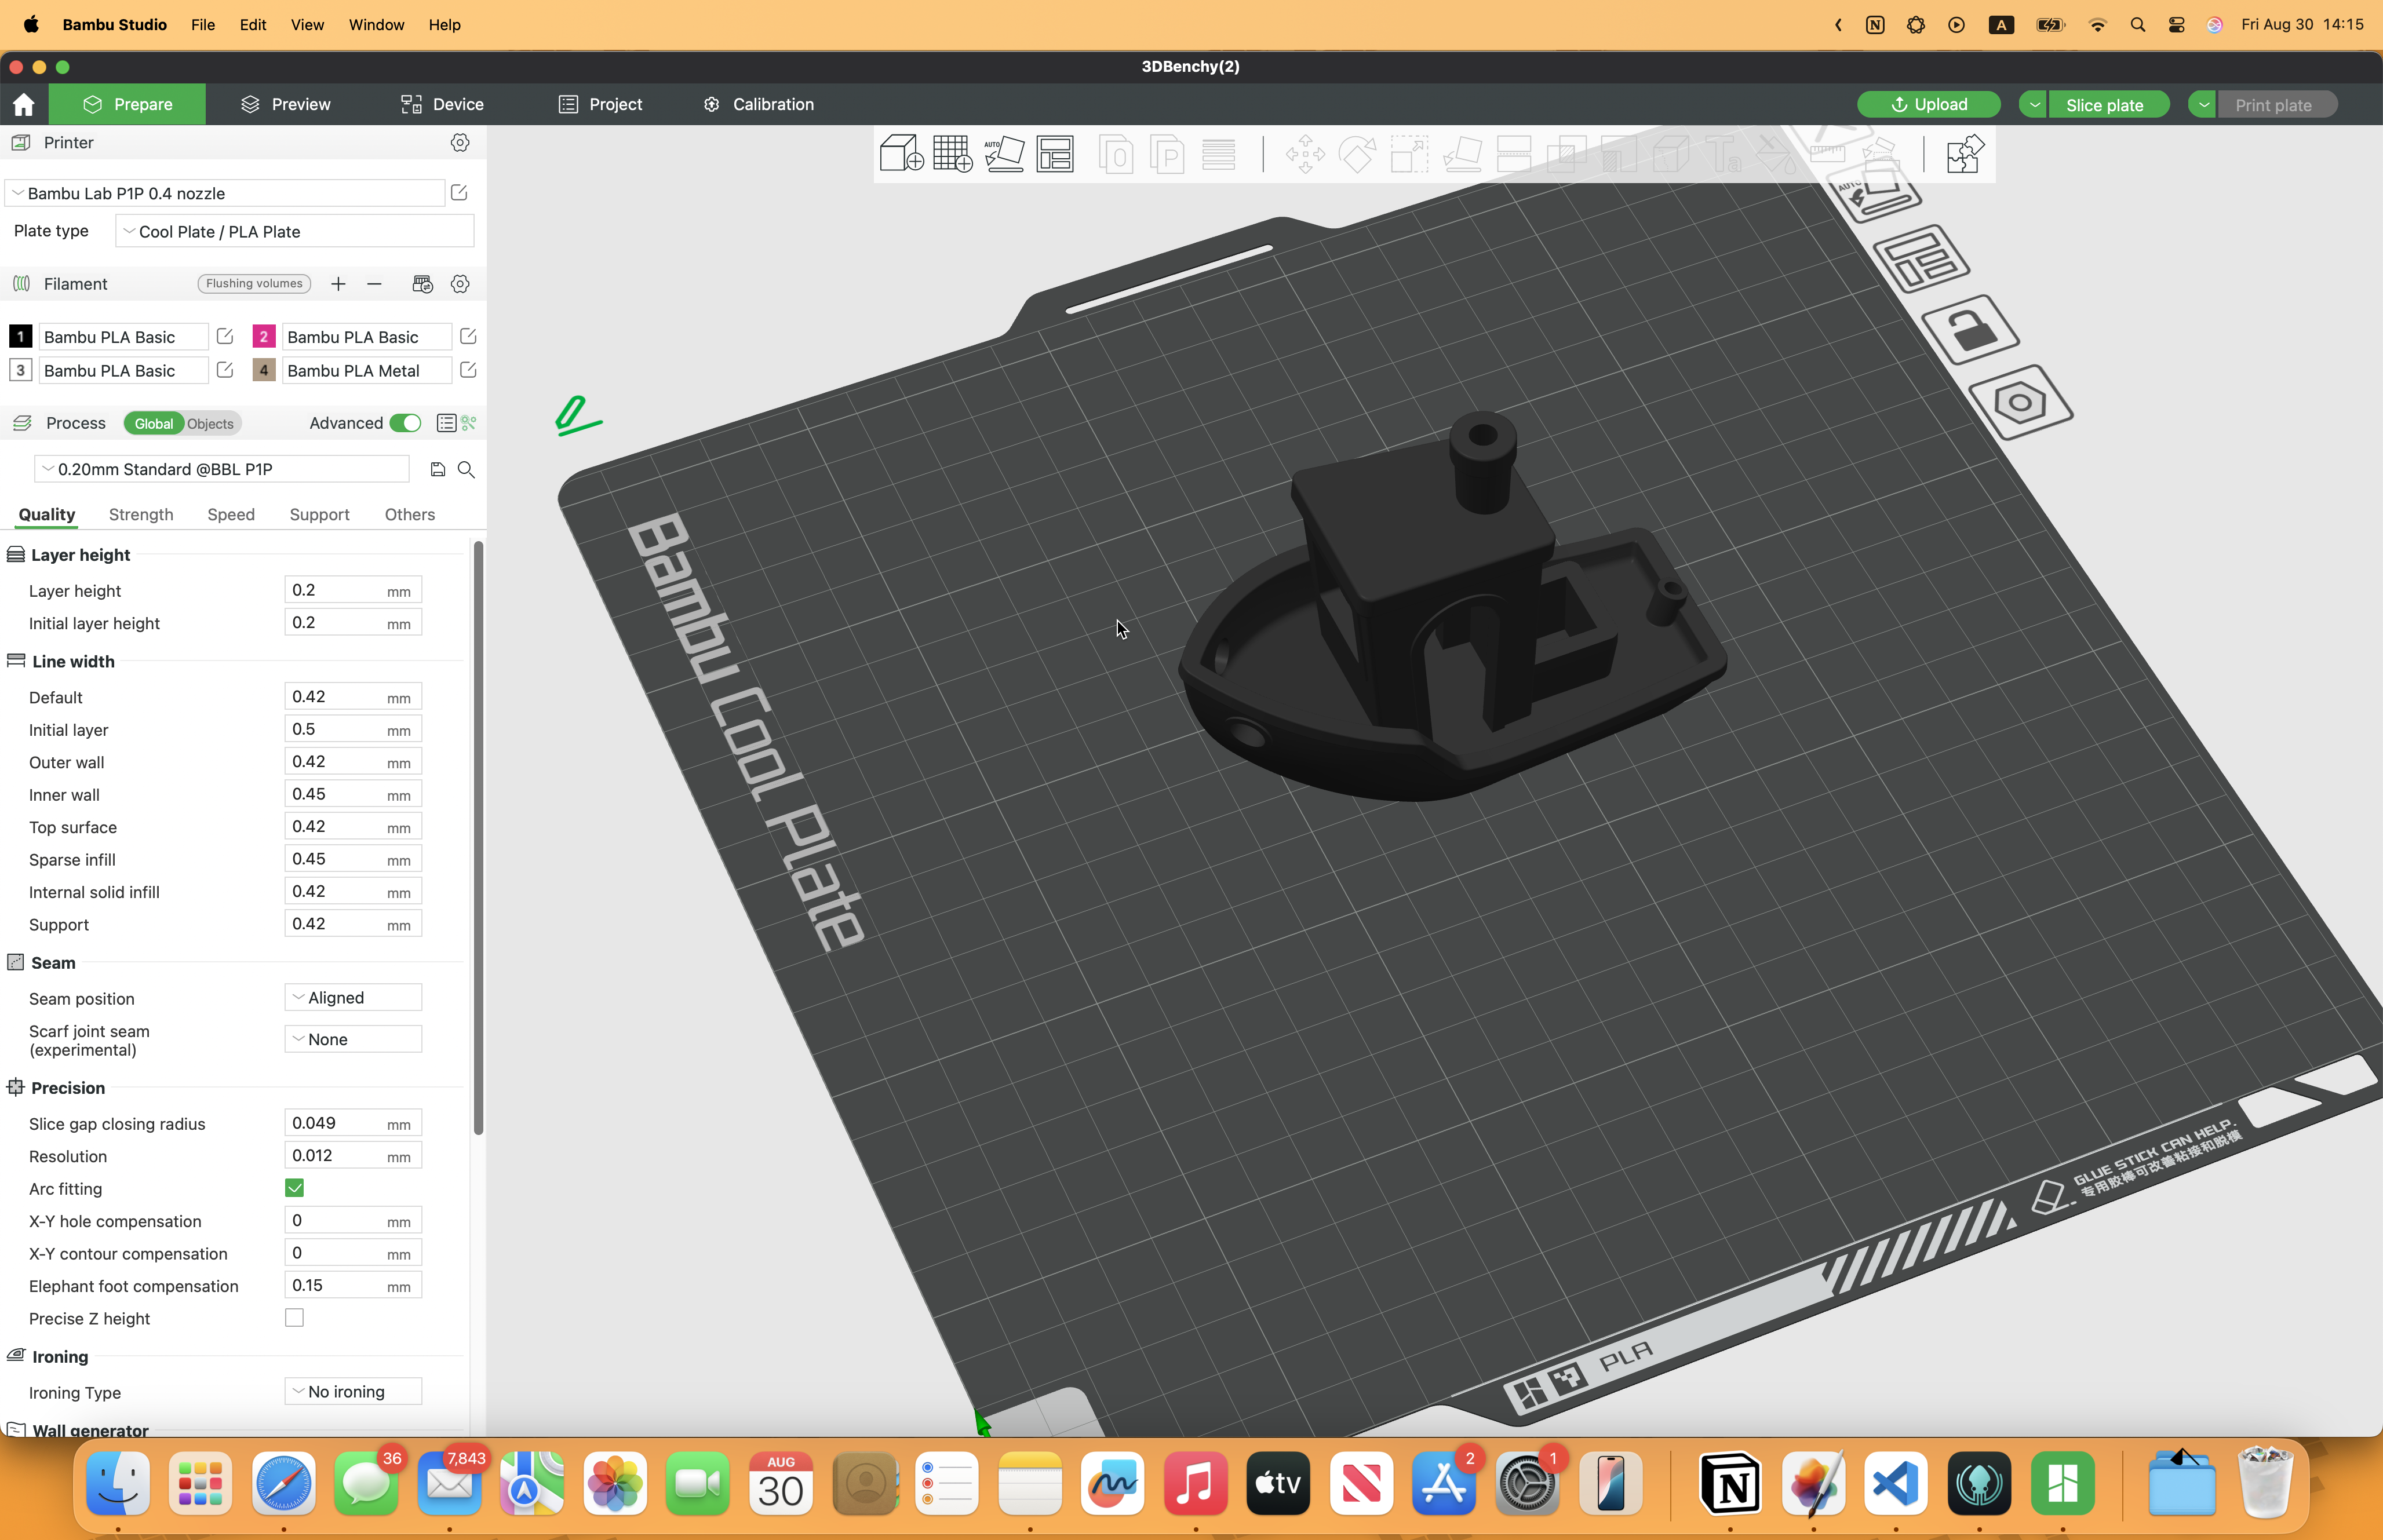

When you have your Bambu Studio installed and download the file from maker world, it should automatically open in Bambu Studio. Now you have to go toward the left side control panel and add the filaments you are going to use into the machine.(Fig 1,2) It just has to be the same type, so the software can calibrate your printer. If you have a AMS installed, it can do it automatically (Fig. 3)
Slice
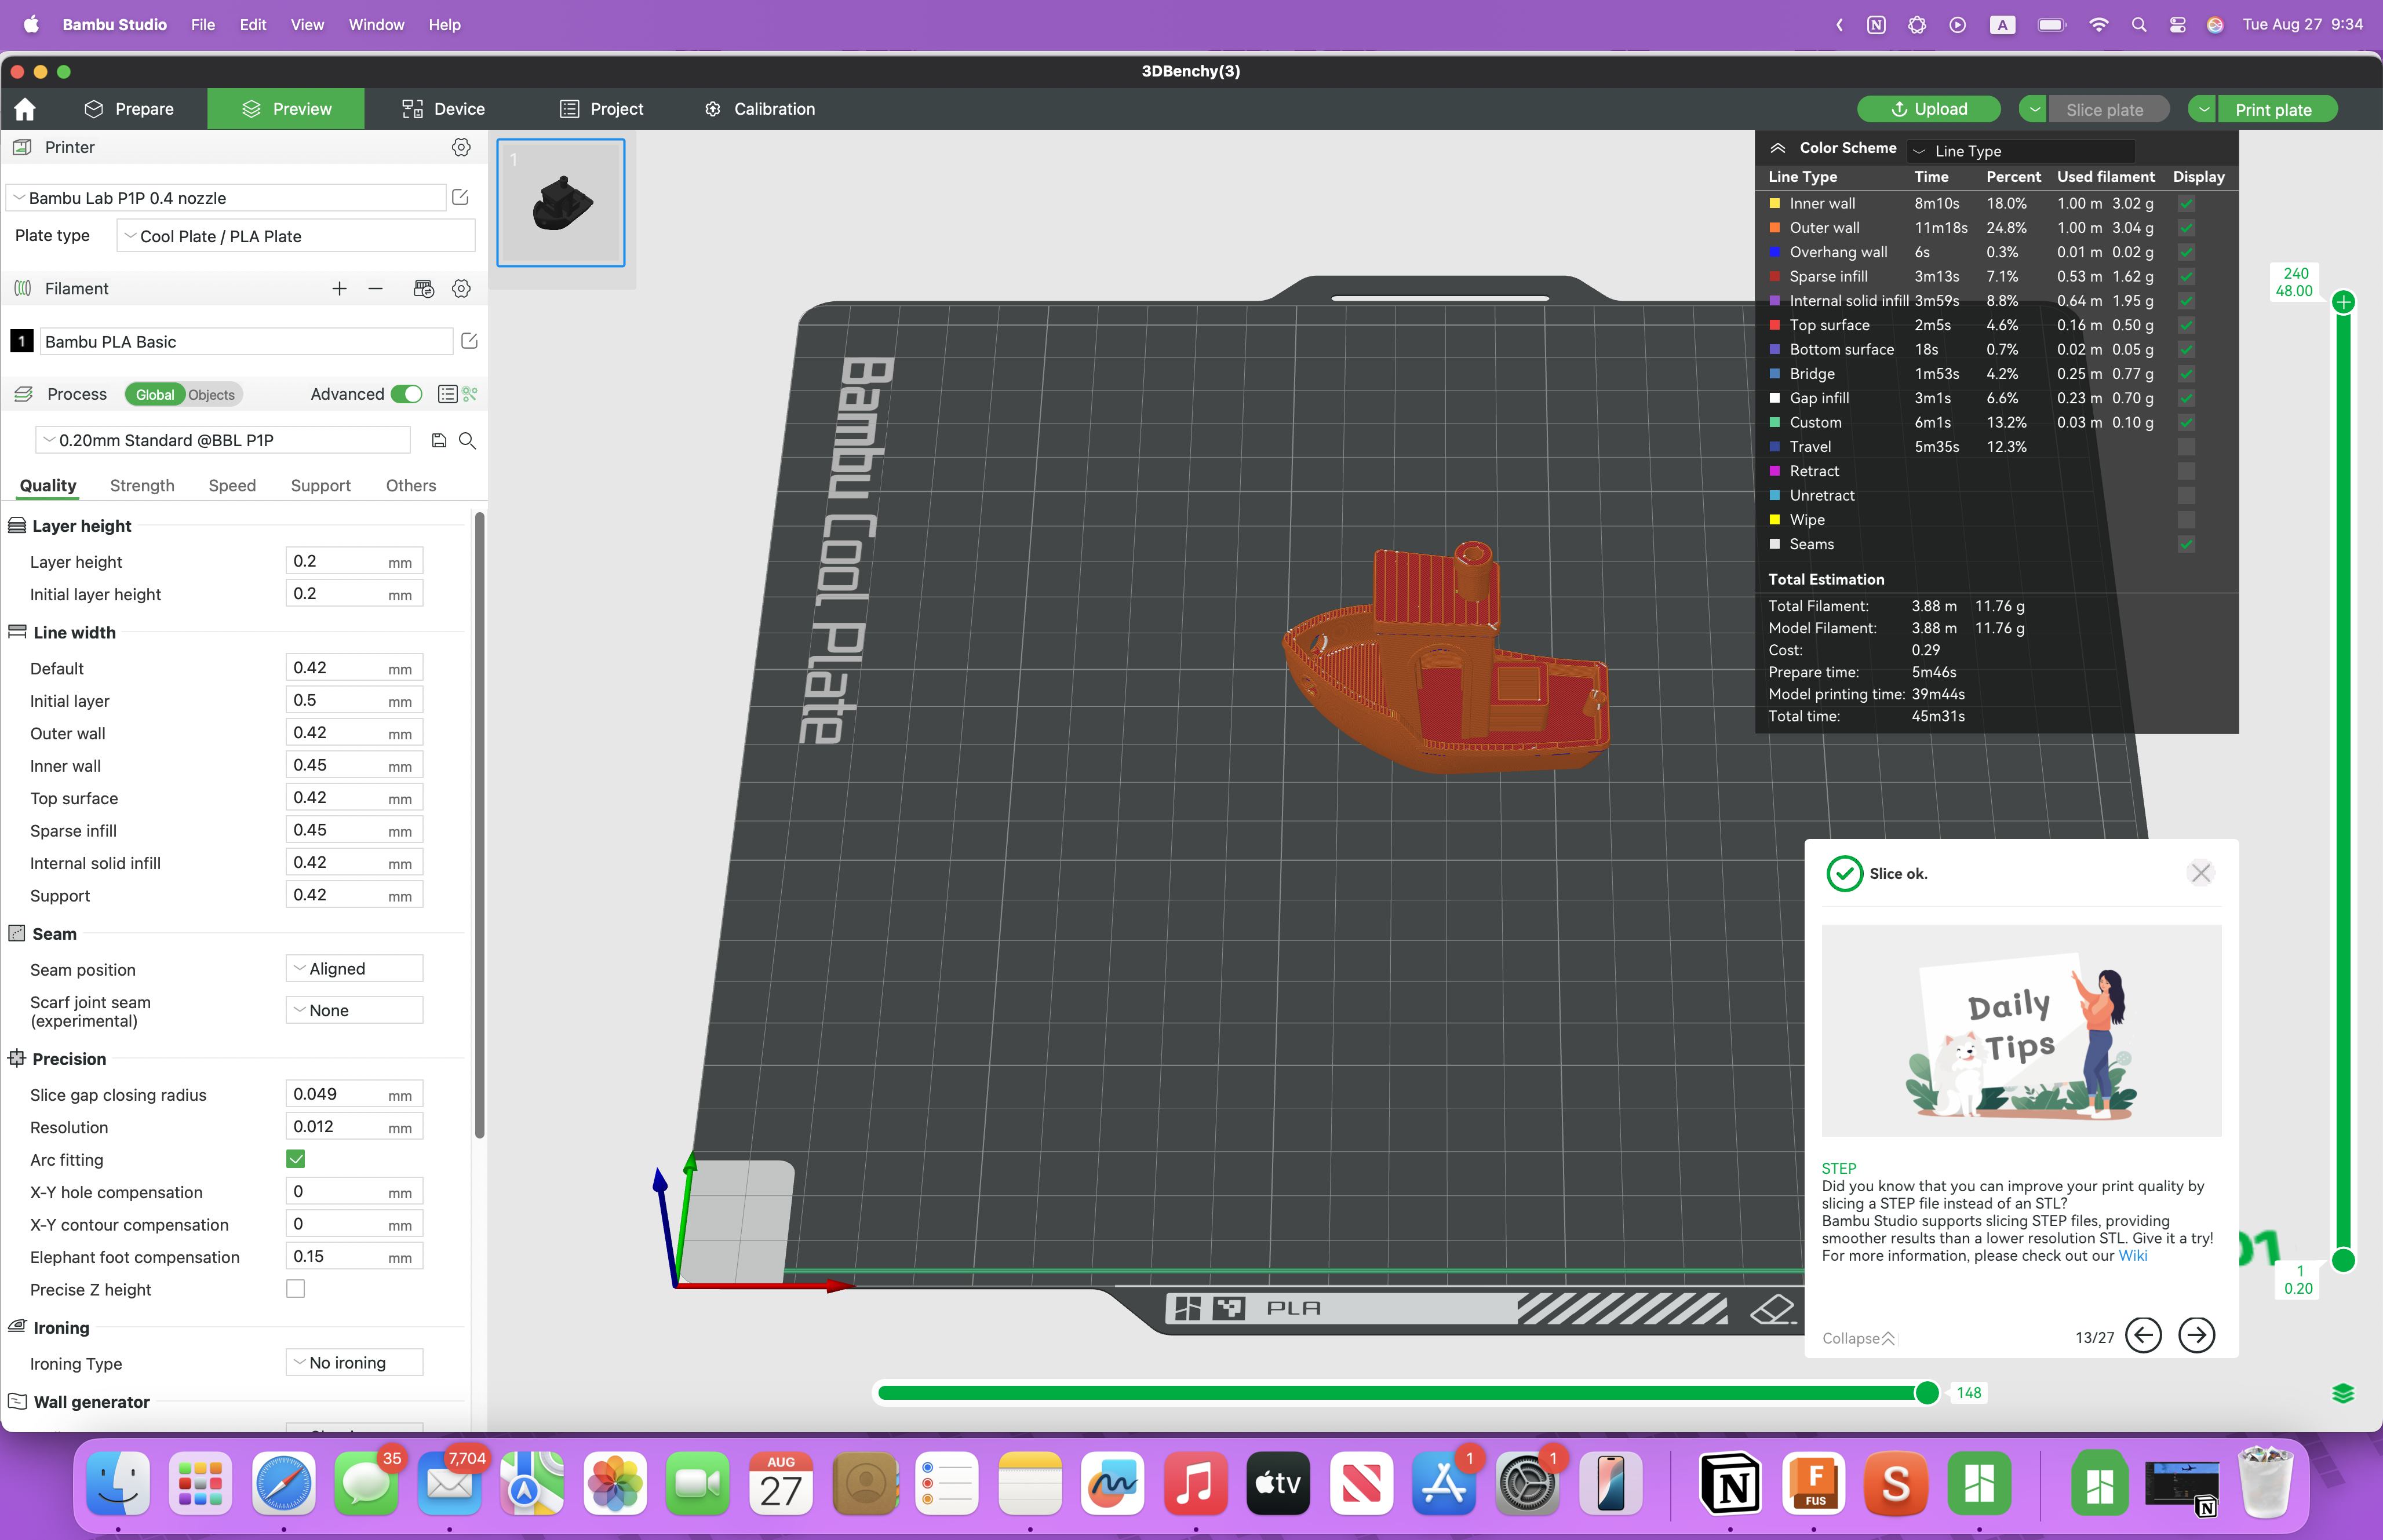
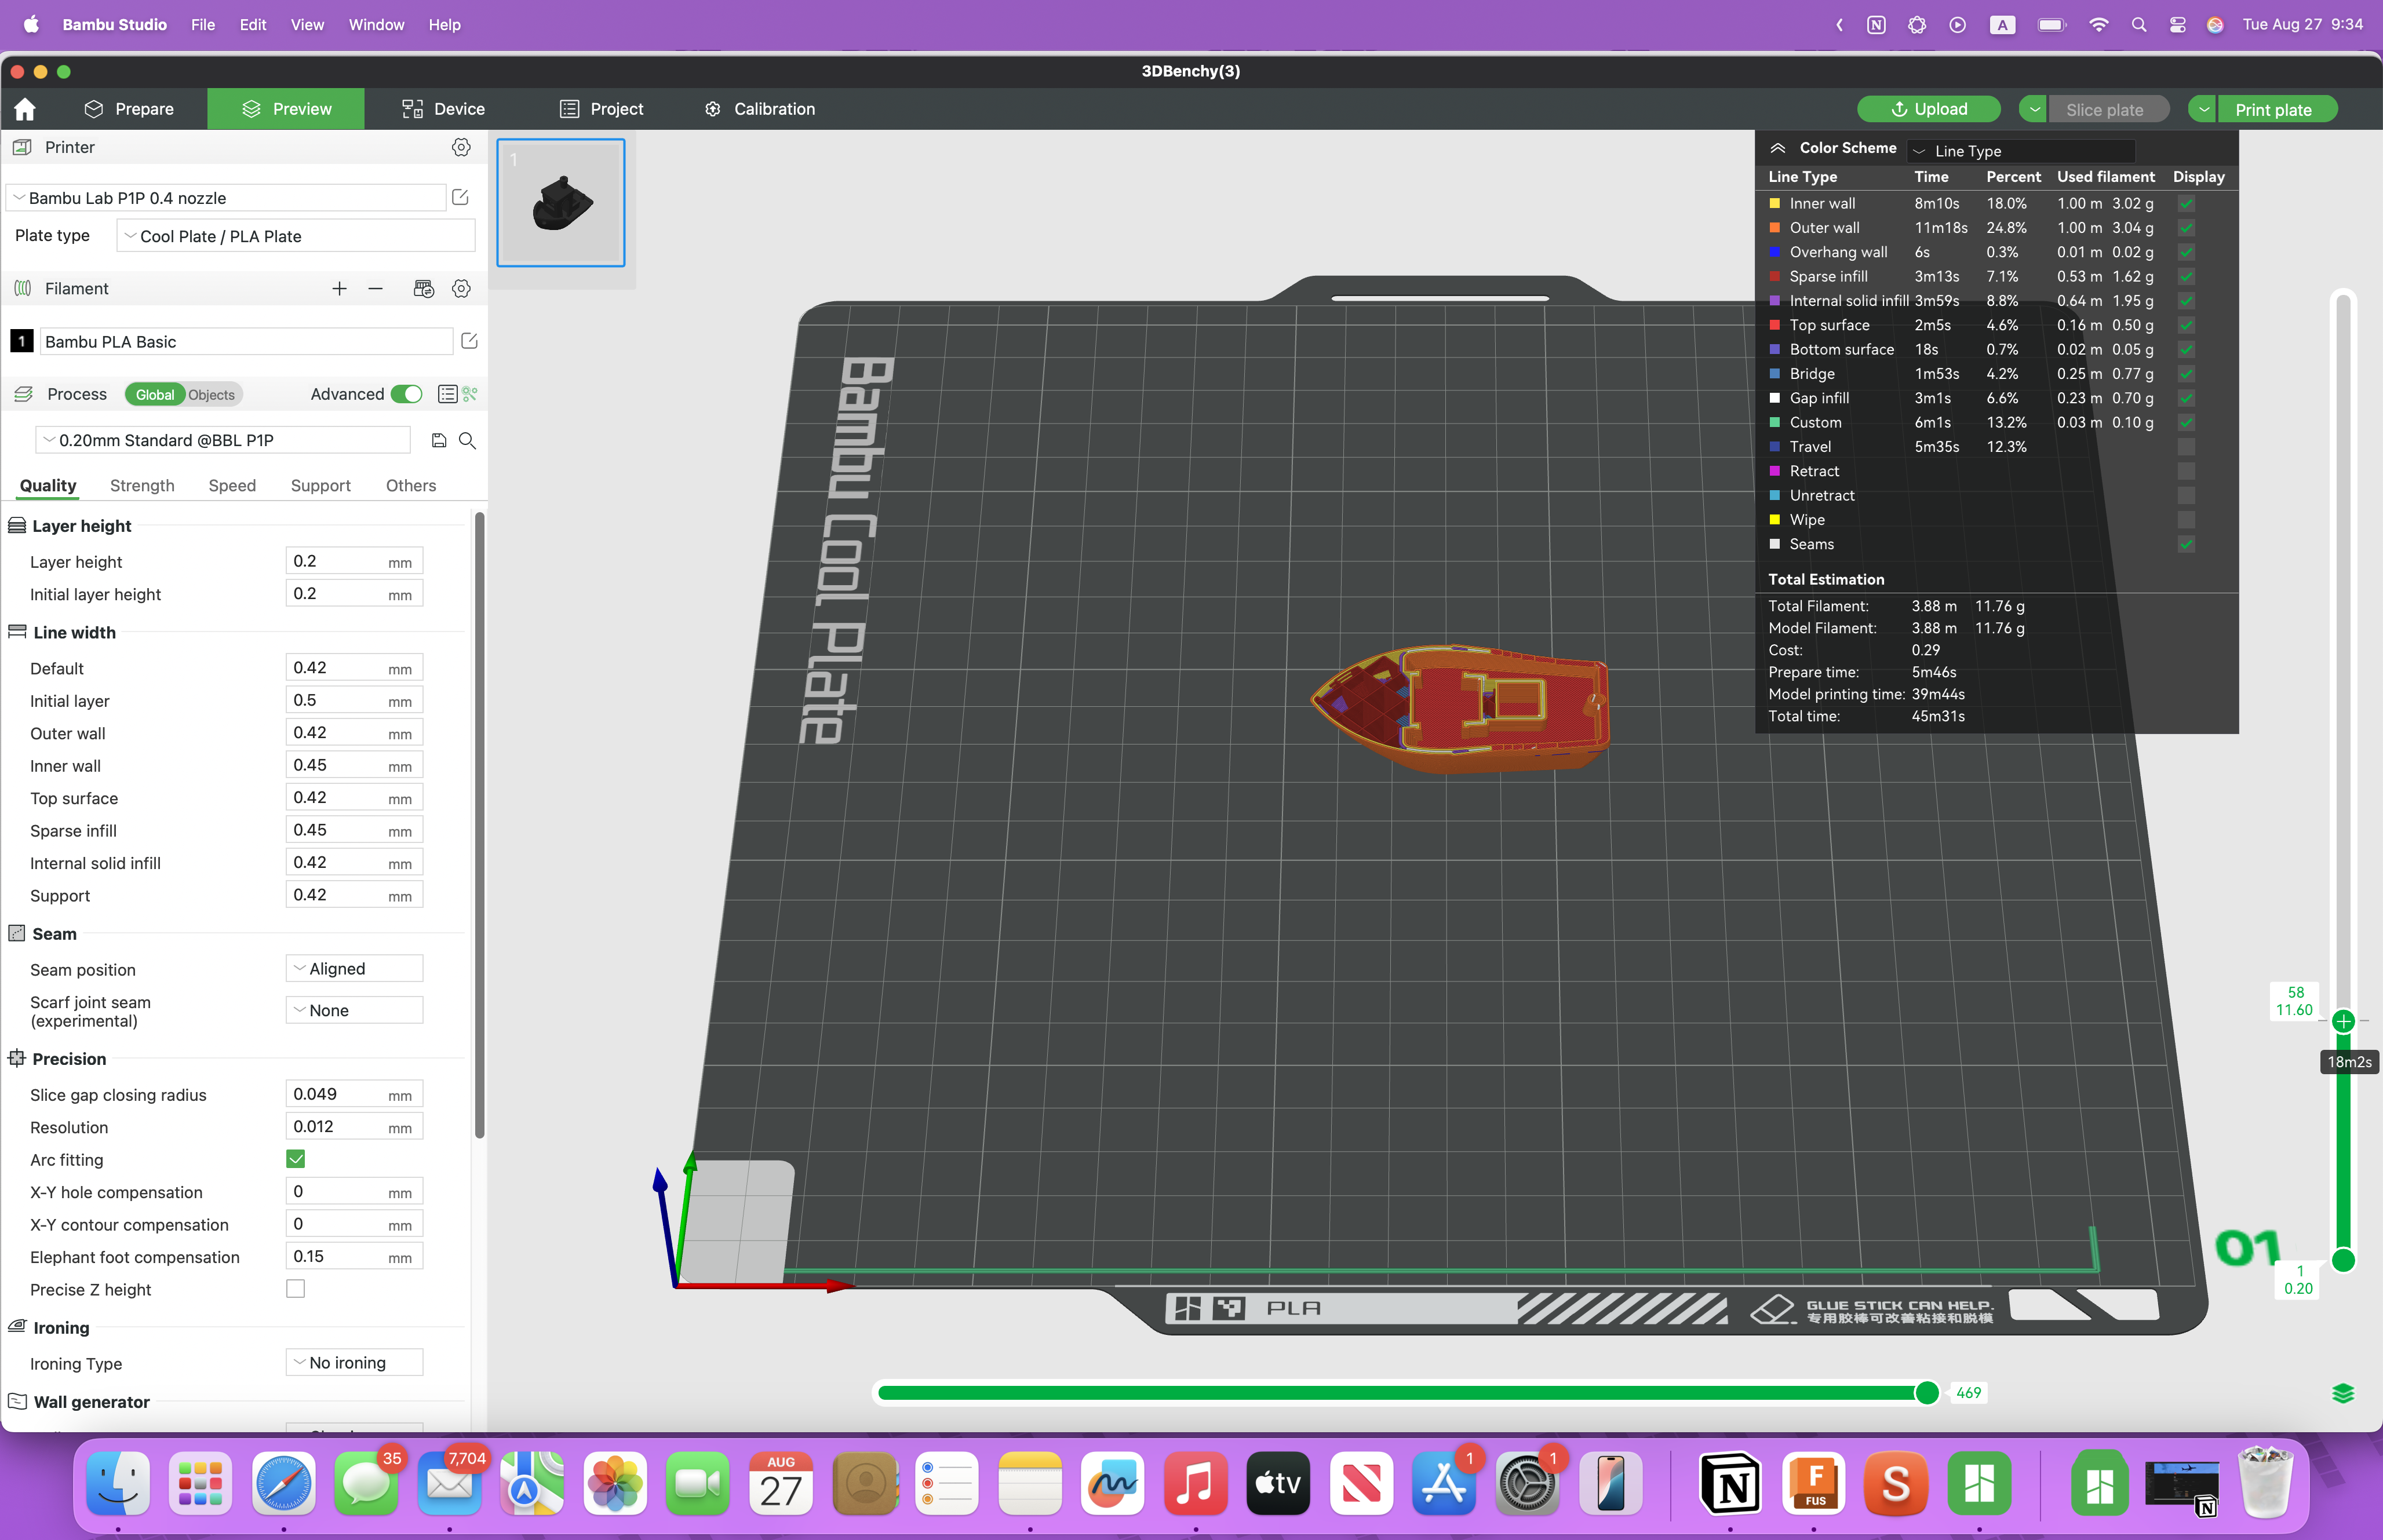
Go to top right of your screen and press slice after you have all your filaments in
Change Colors
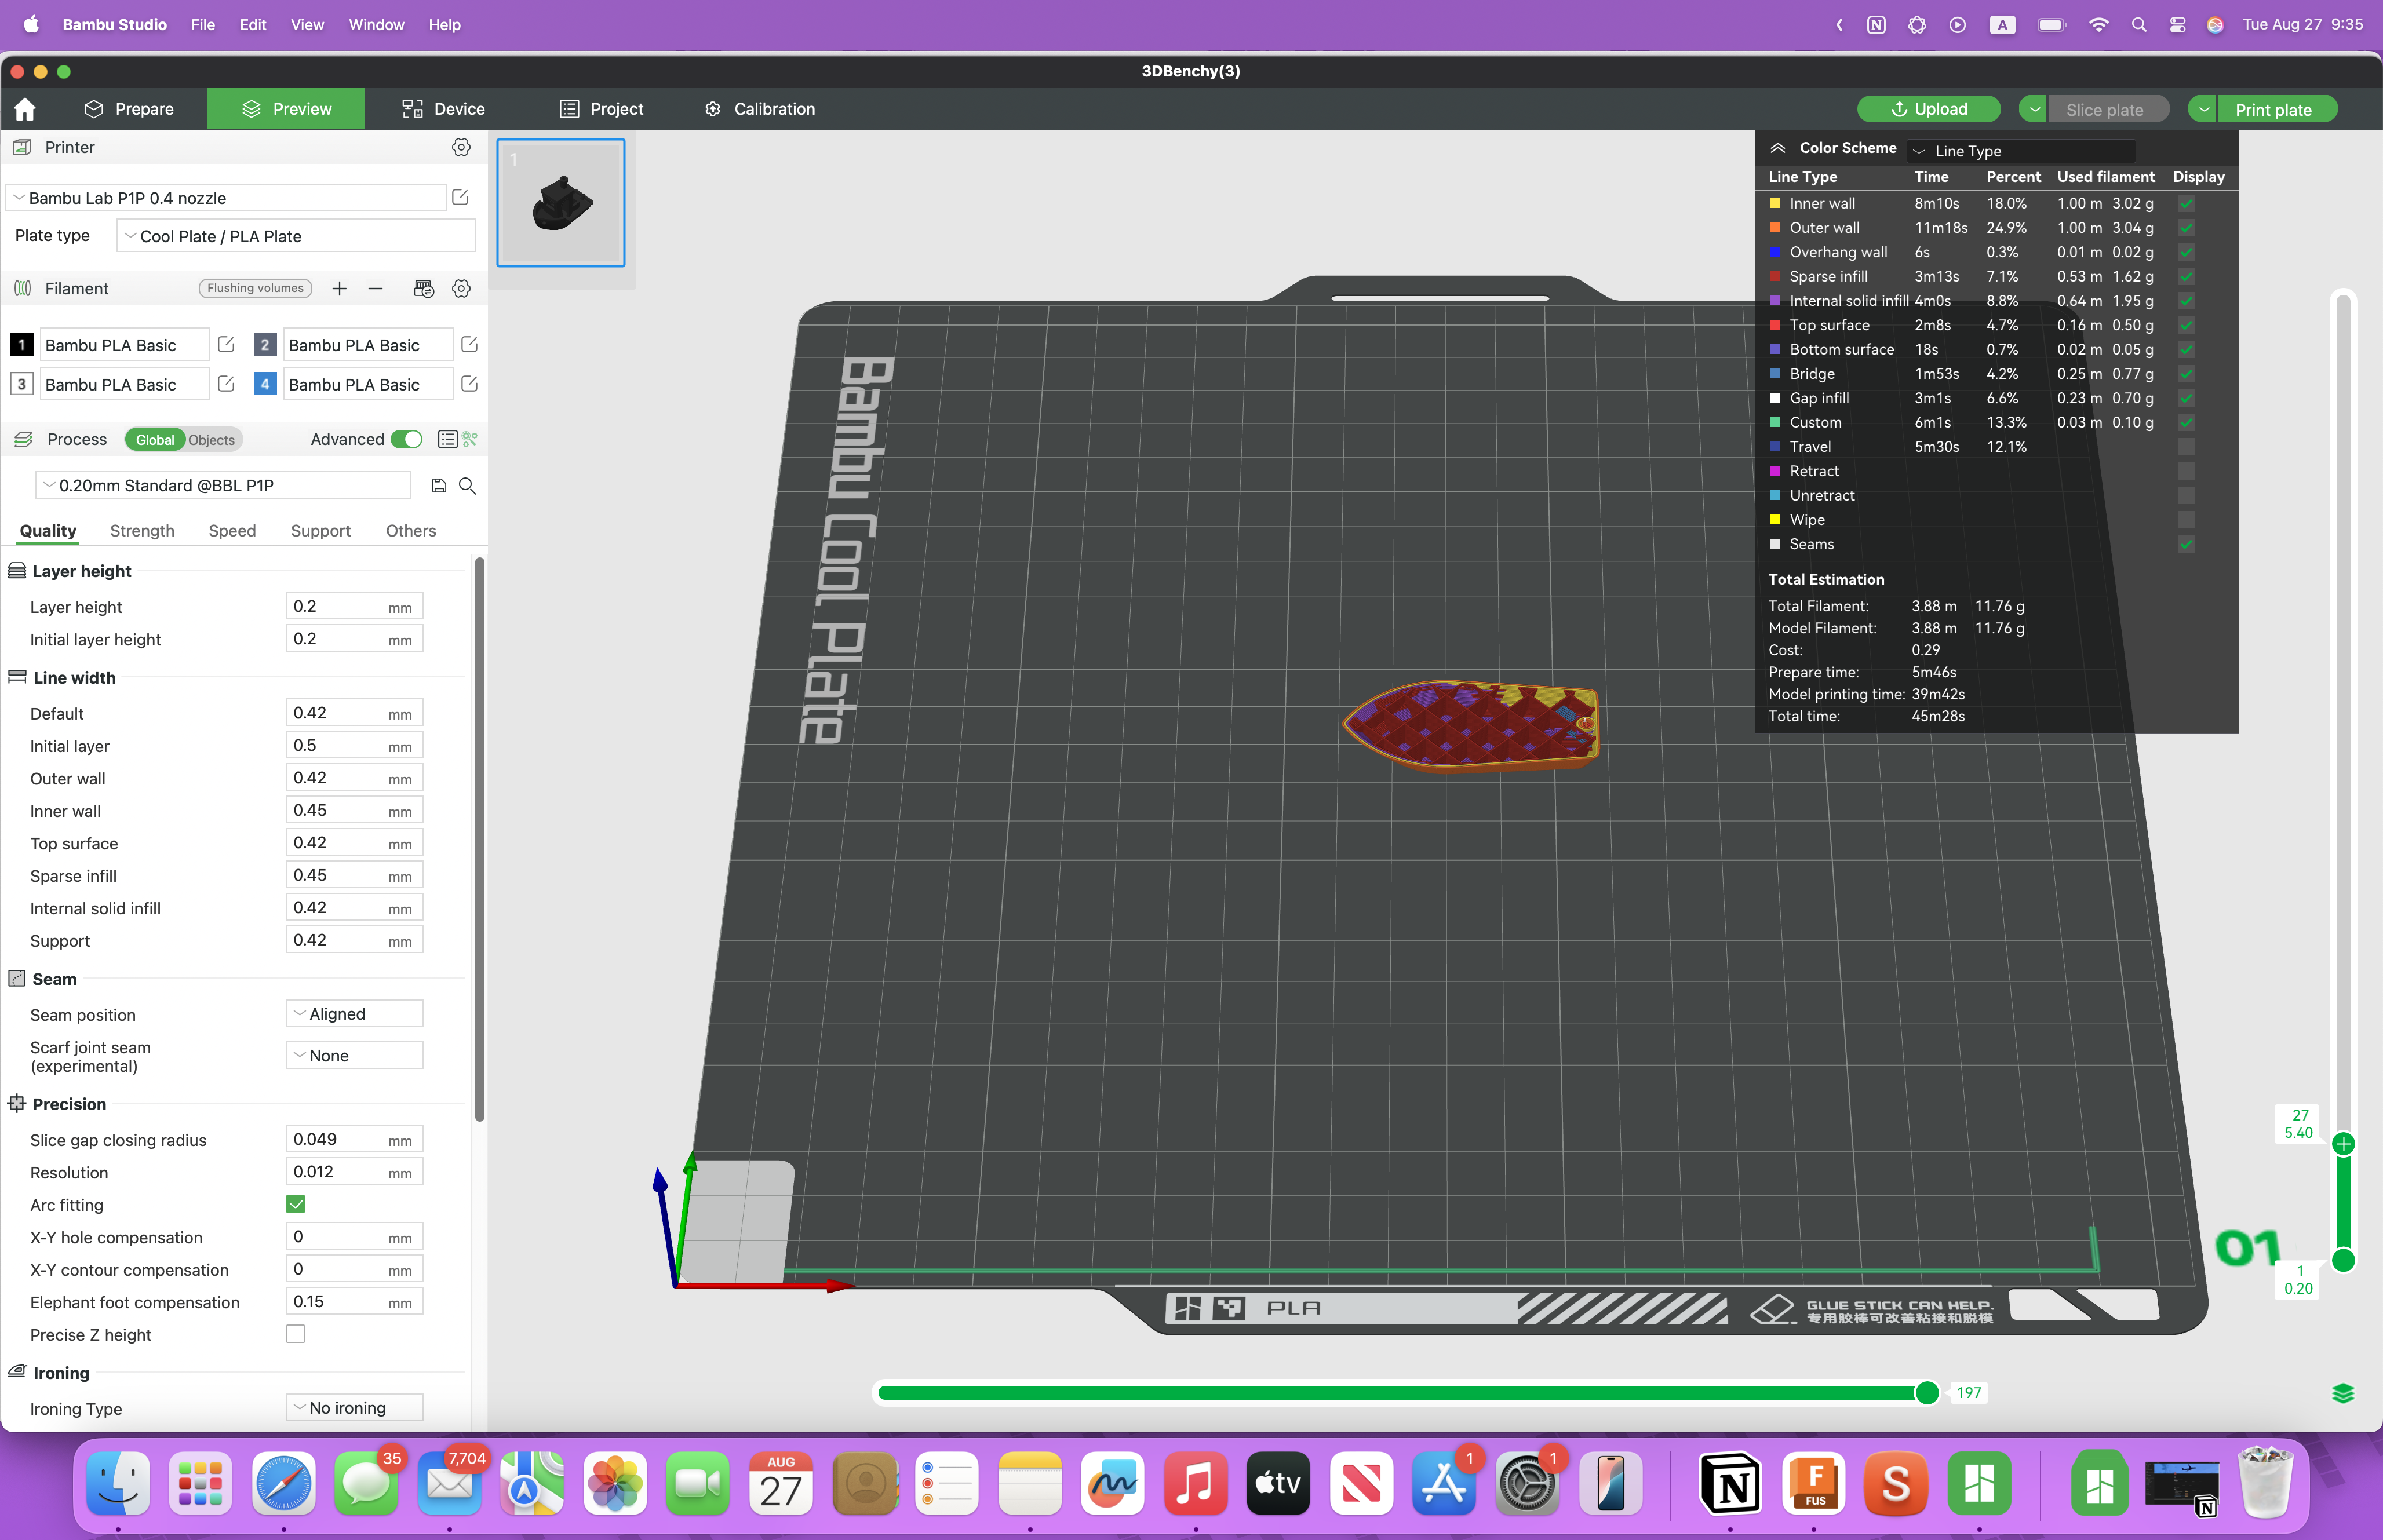
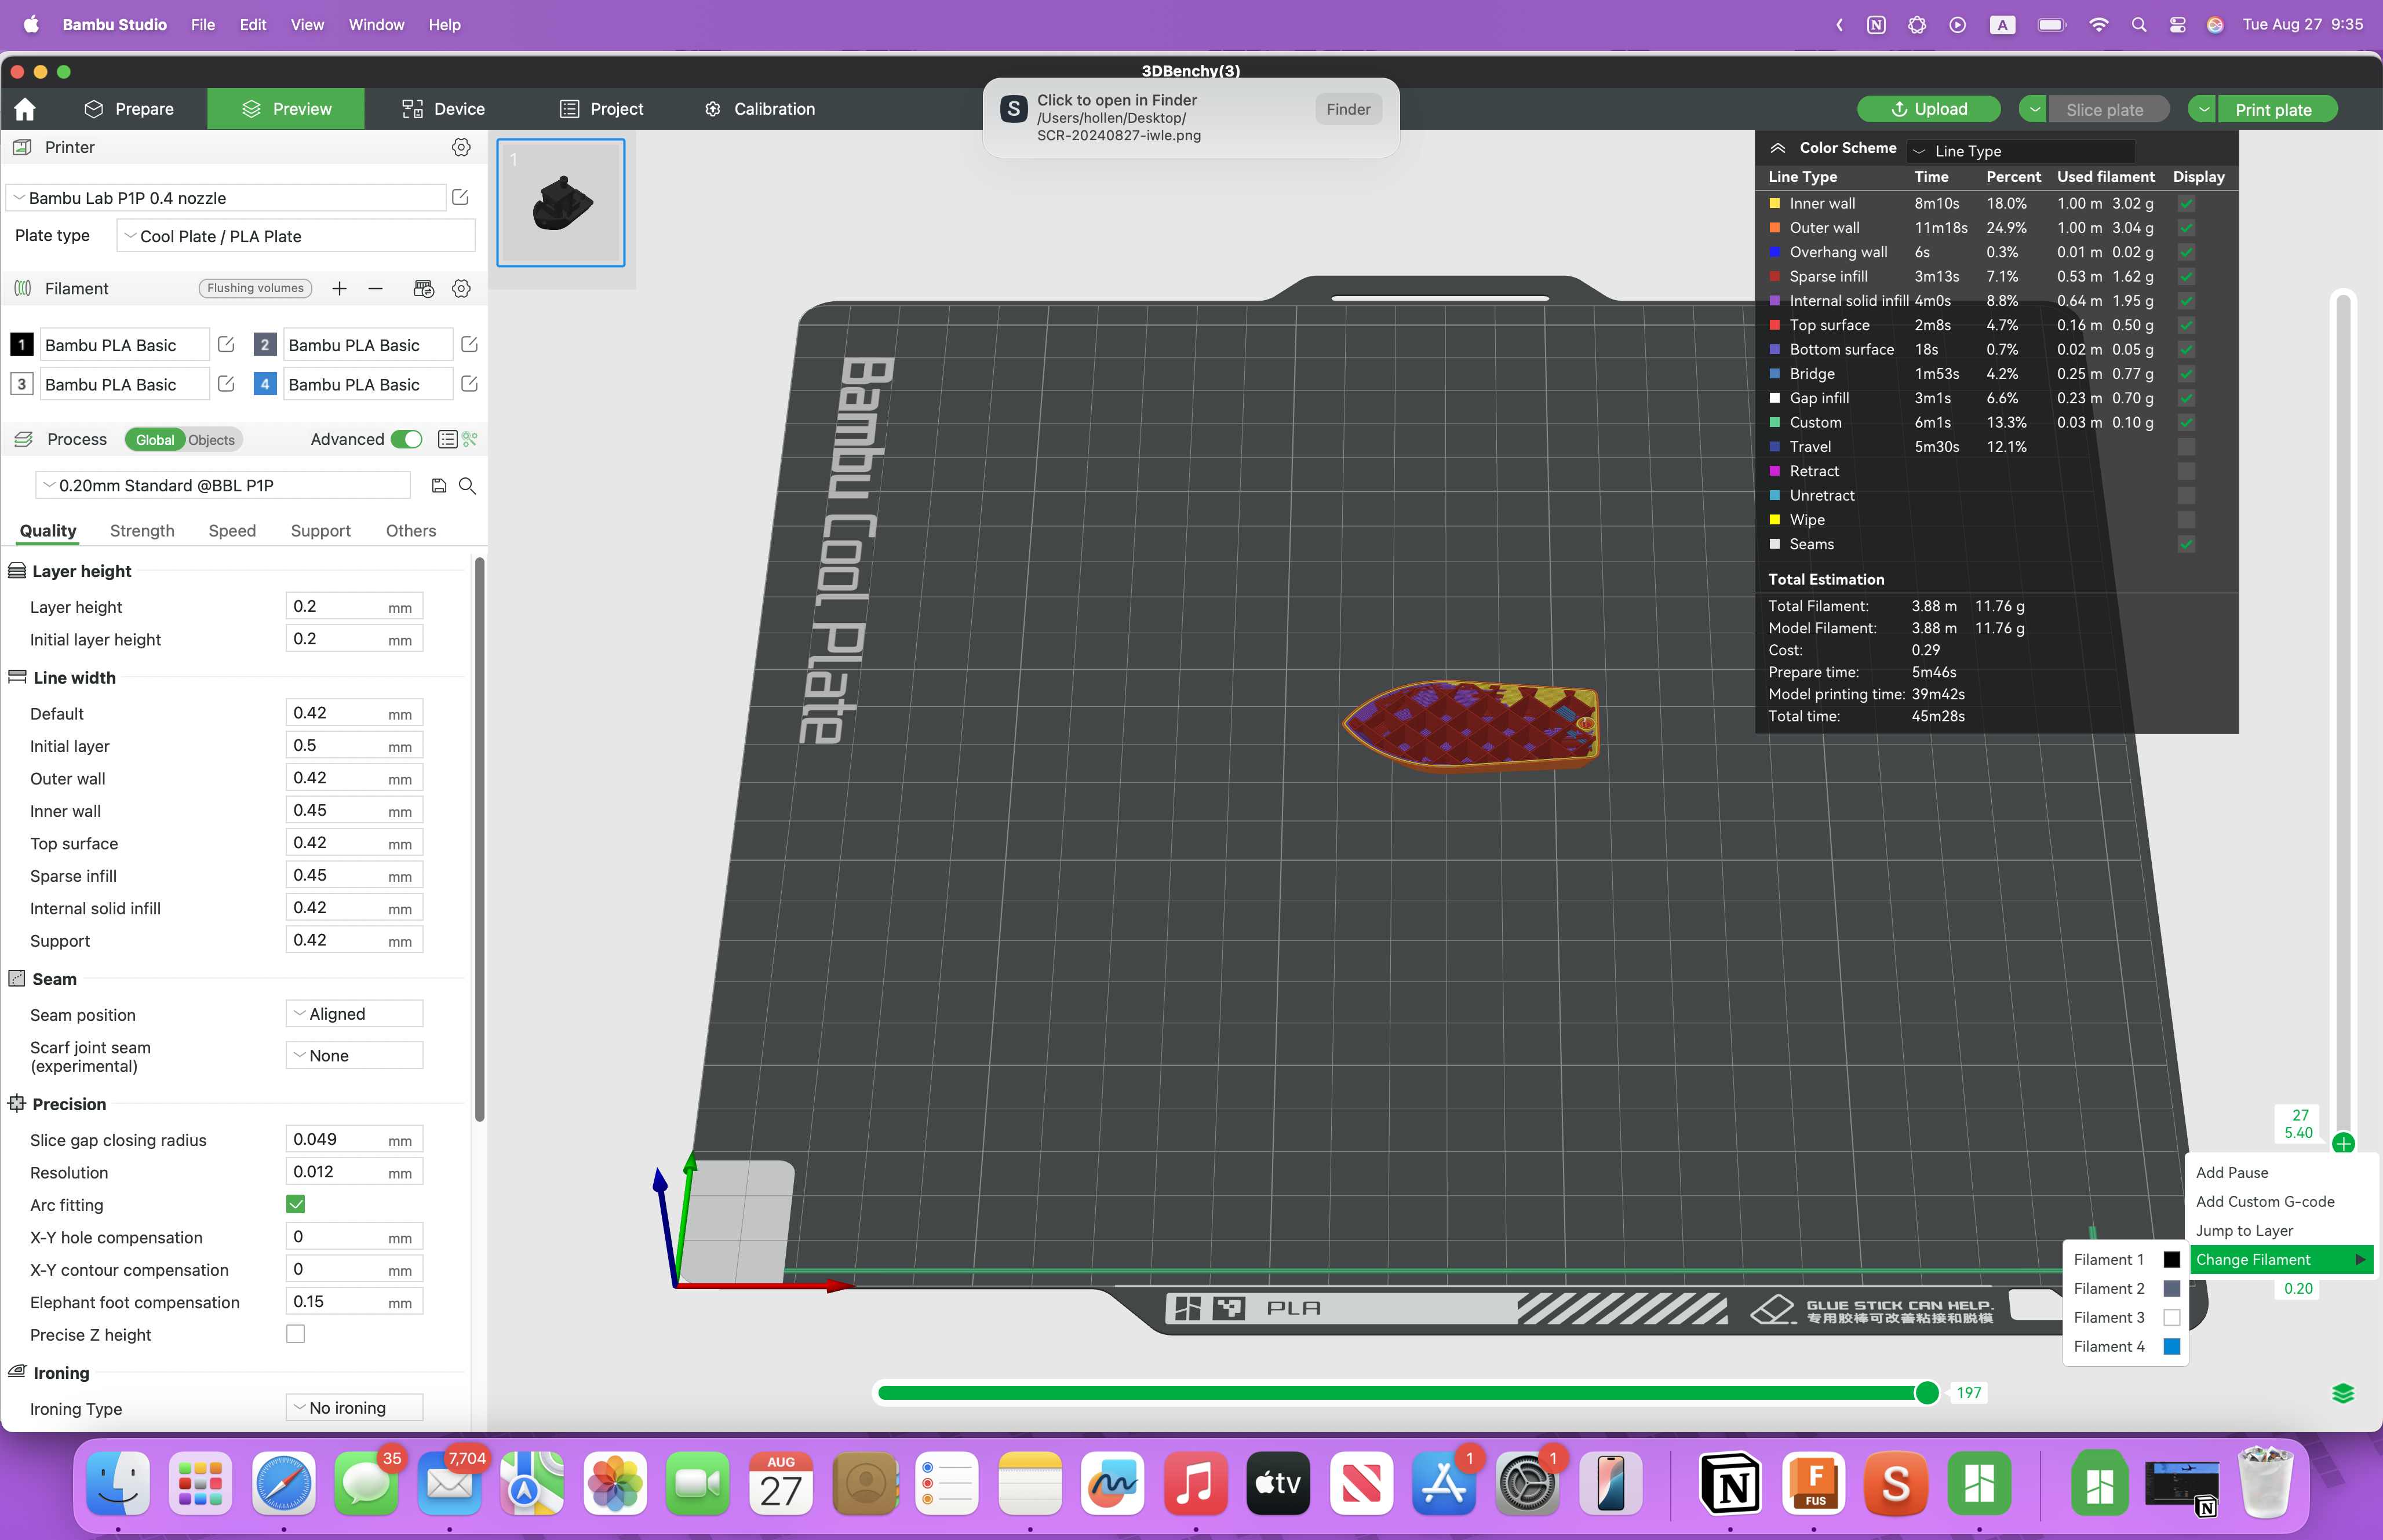
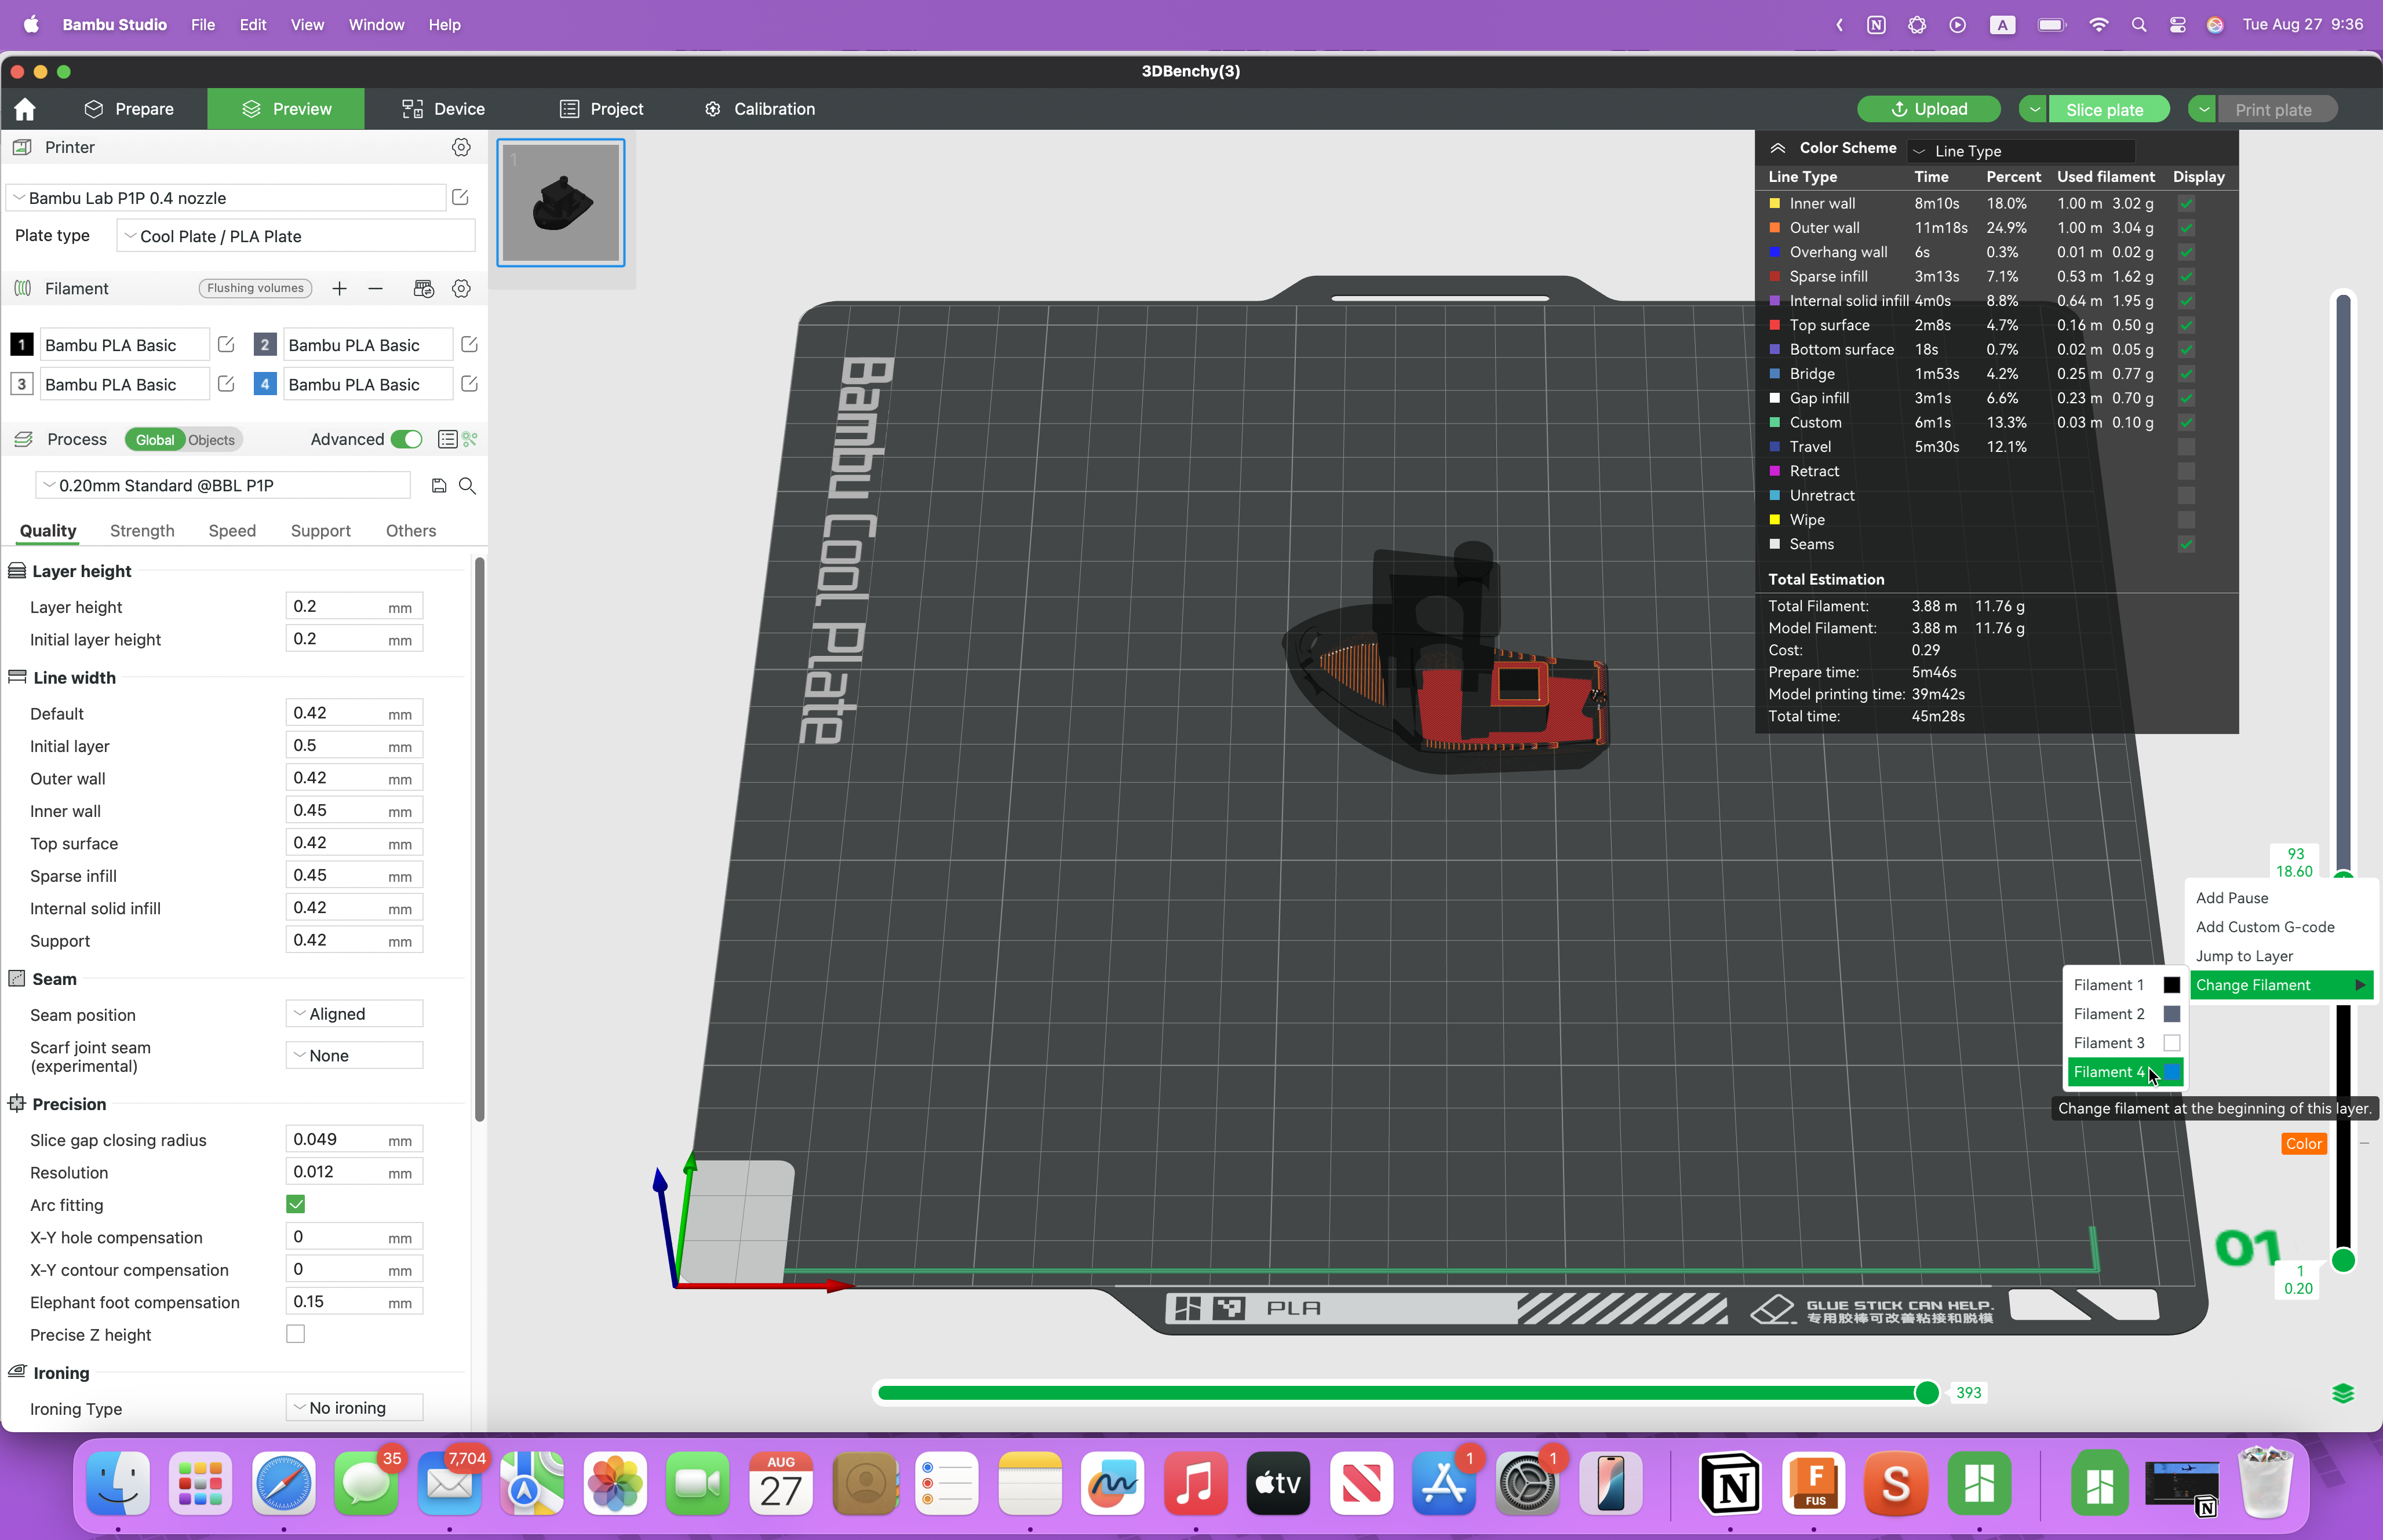
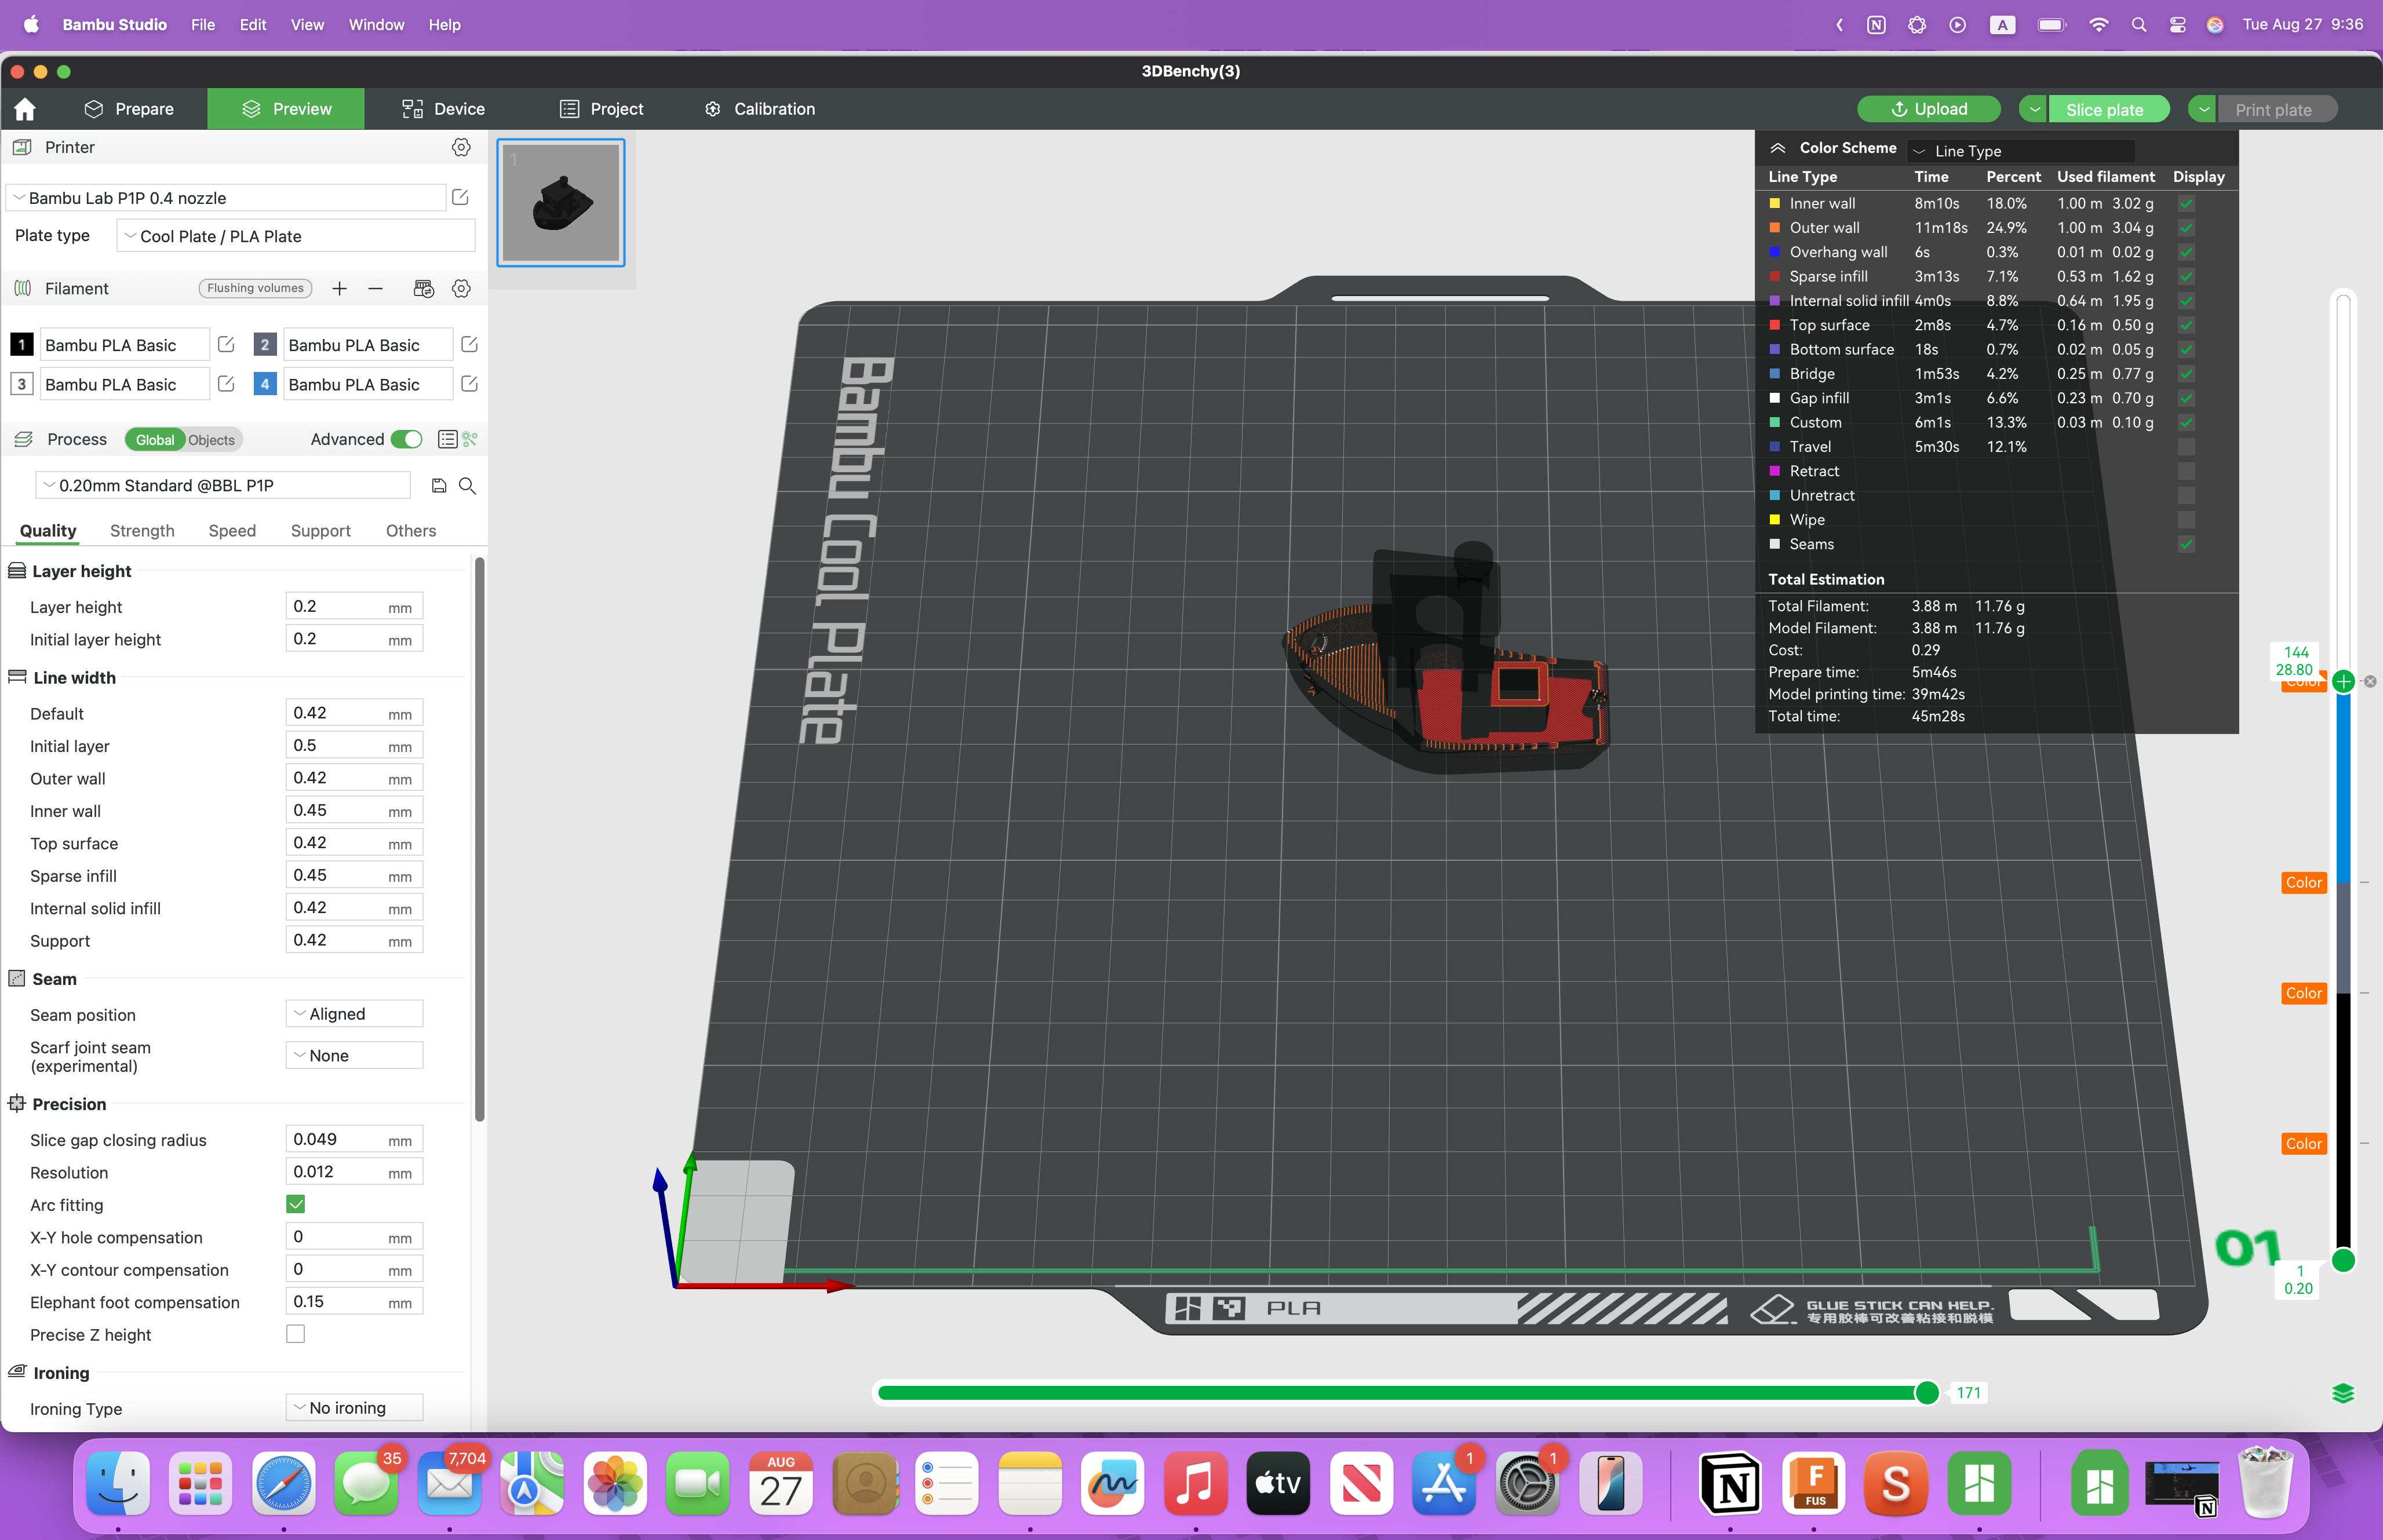
You Should see a green bar on the right side of your screen.
Press or move the top ball to where you want to change a new filament.
For AMS
Right click the same place and choose "Change Filament" and pick the next filament you want to use.
For No AMS
Right click the same place and press add pause.
Re Slice
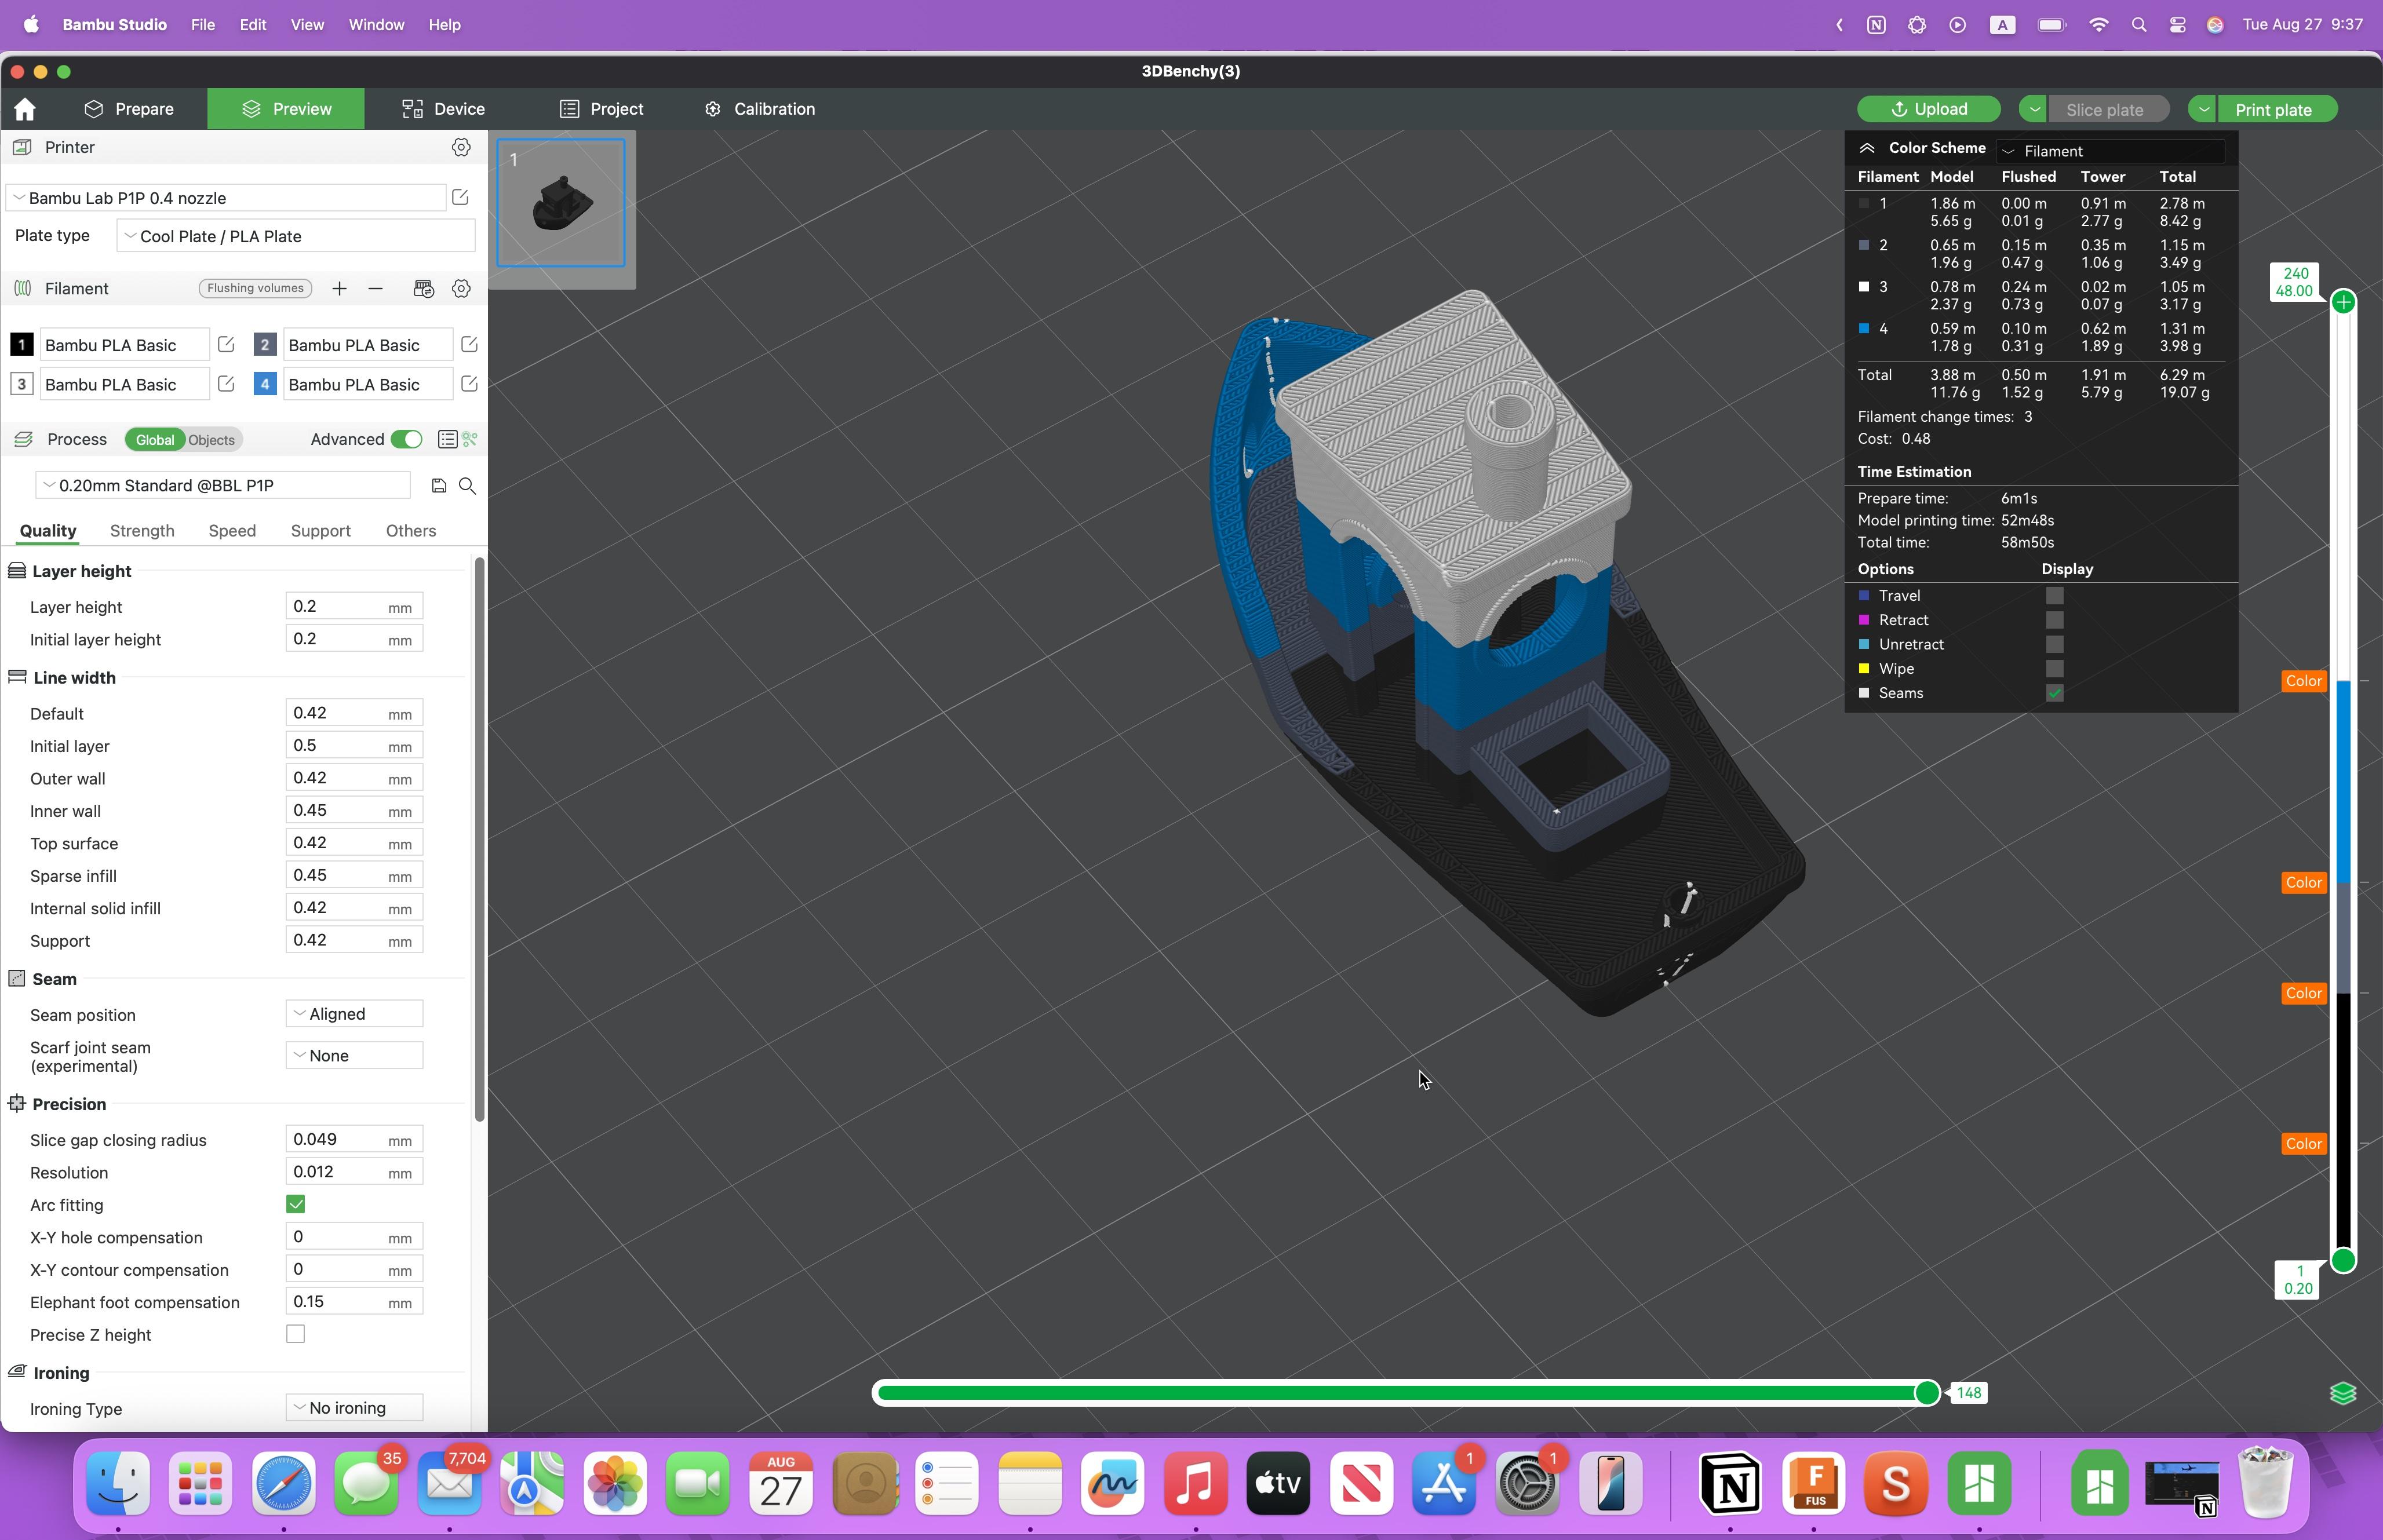
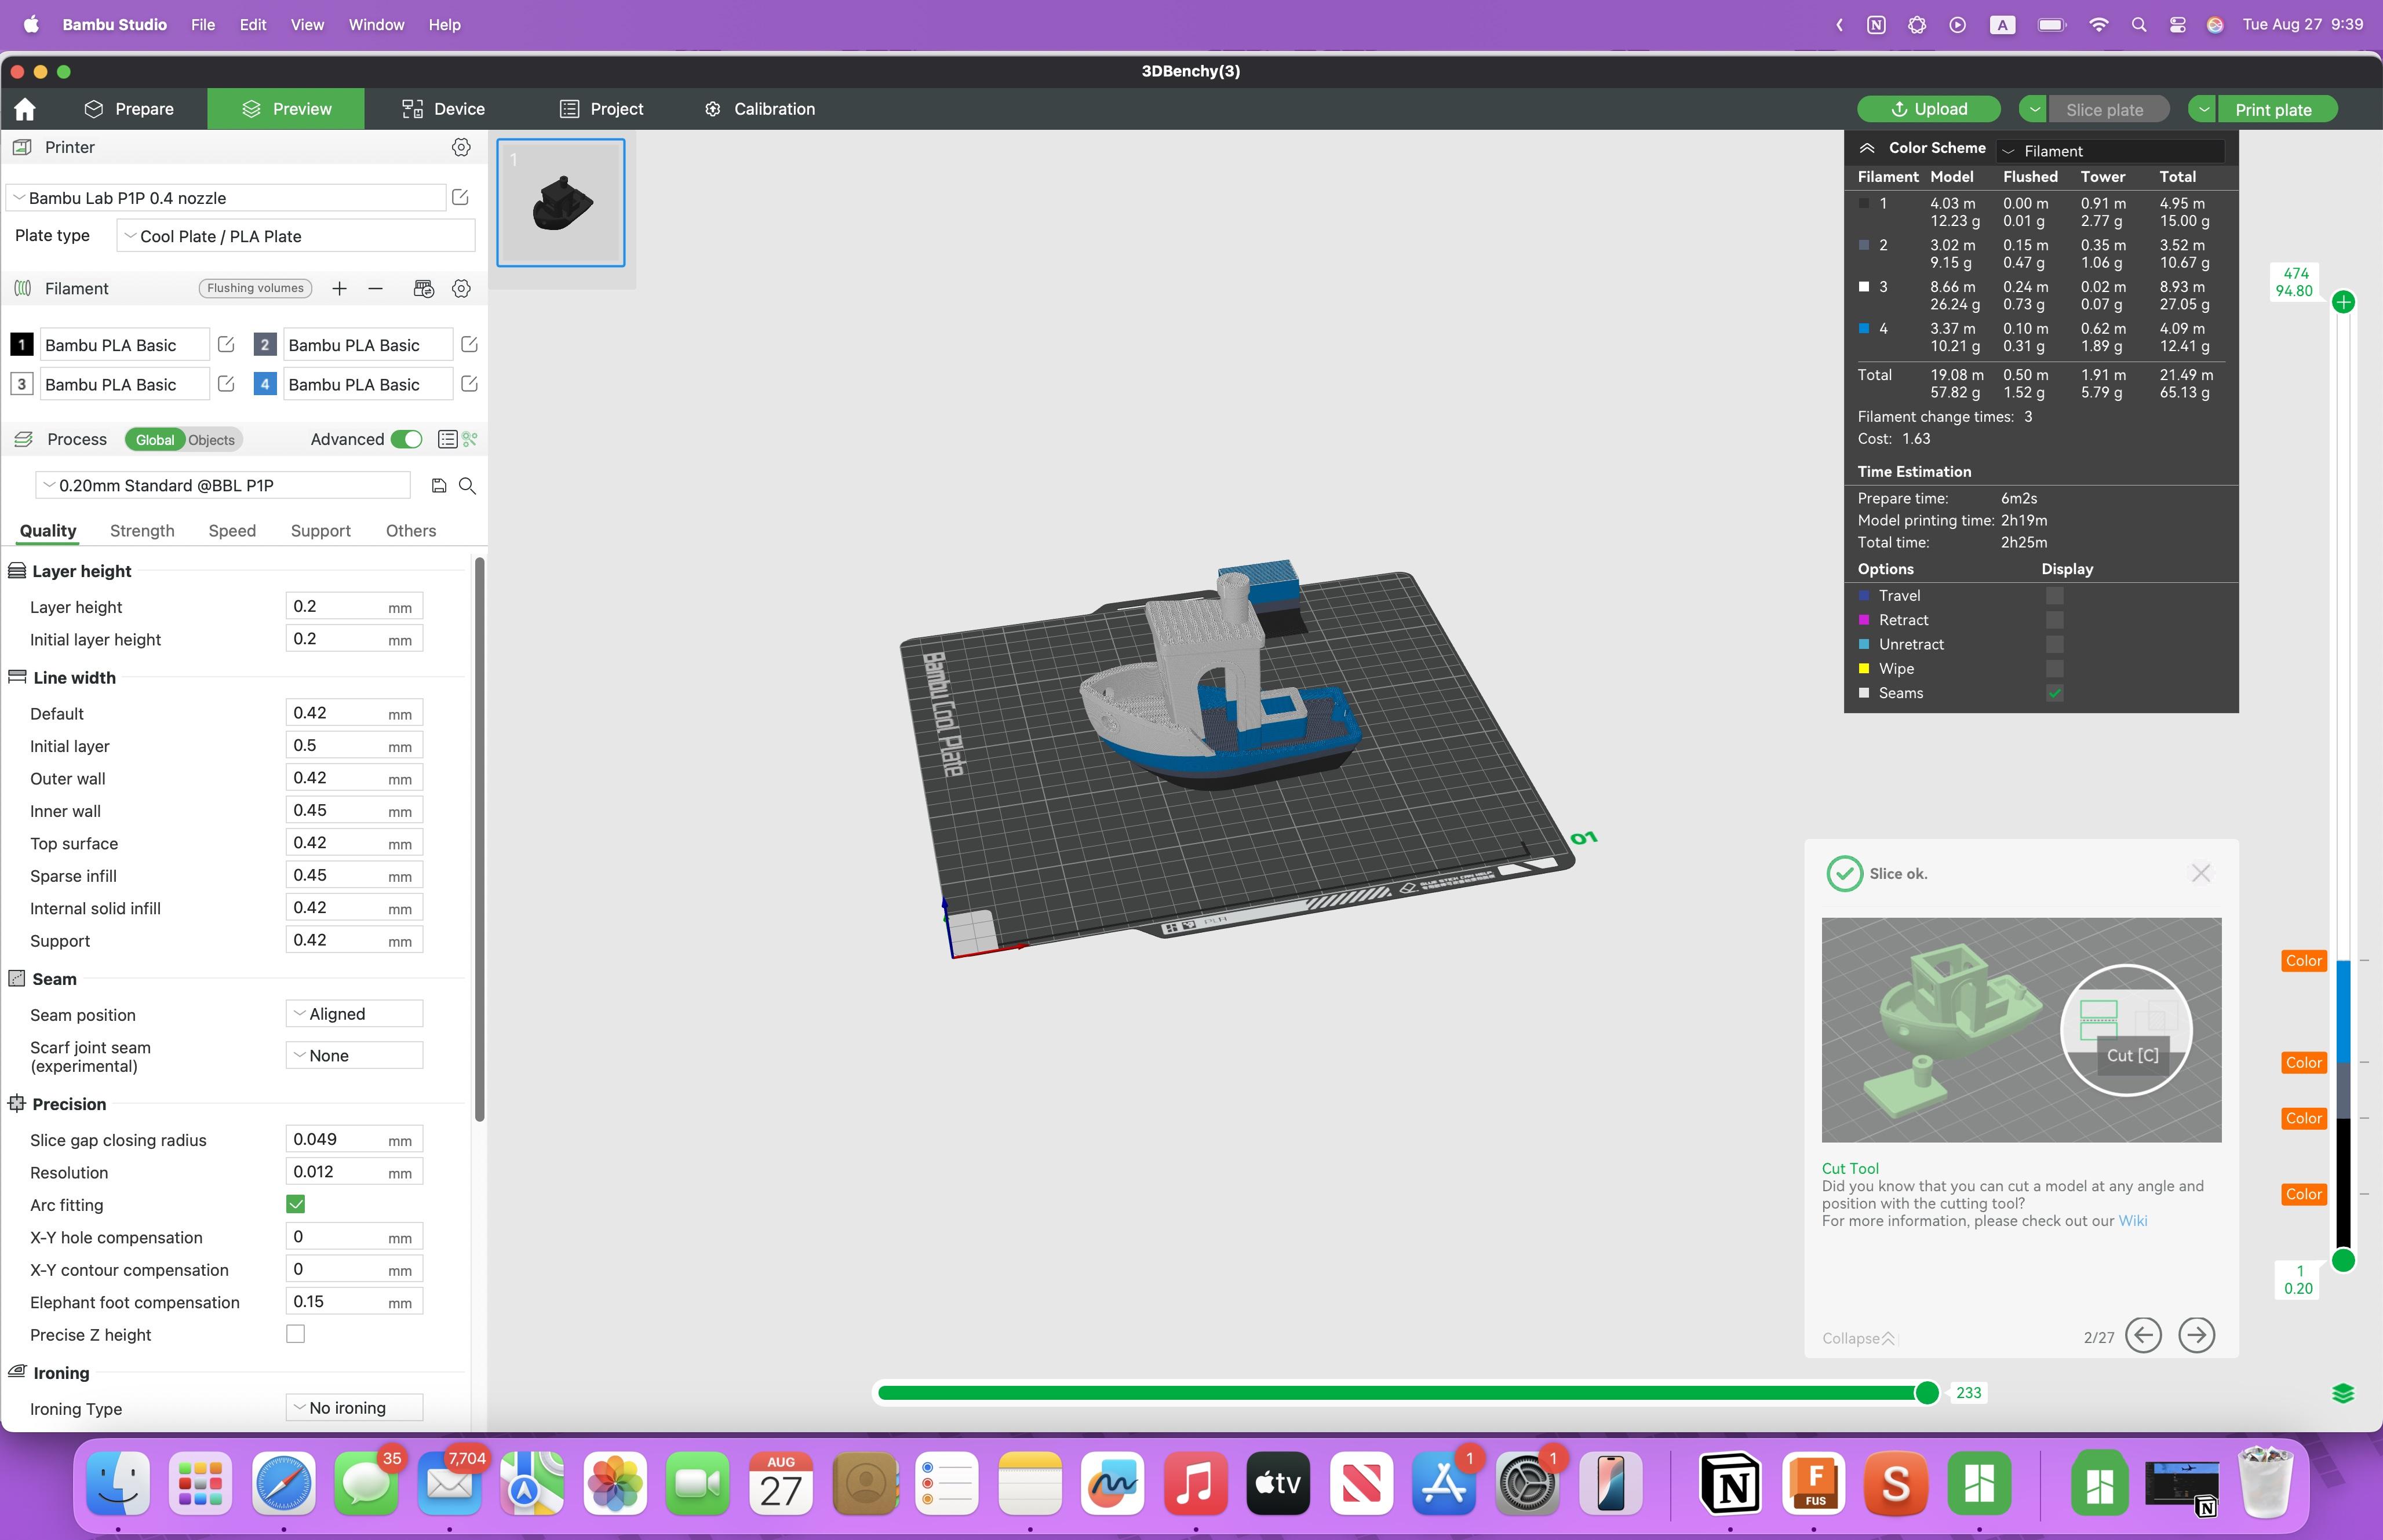

Once you are done picking all your colors, click slice again, look at your model and press PRINT PLATE.
Print.
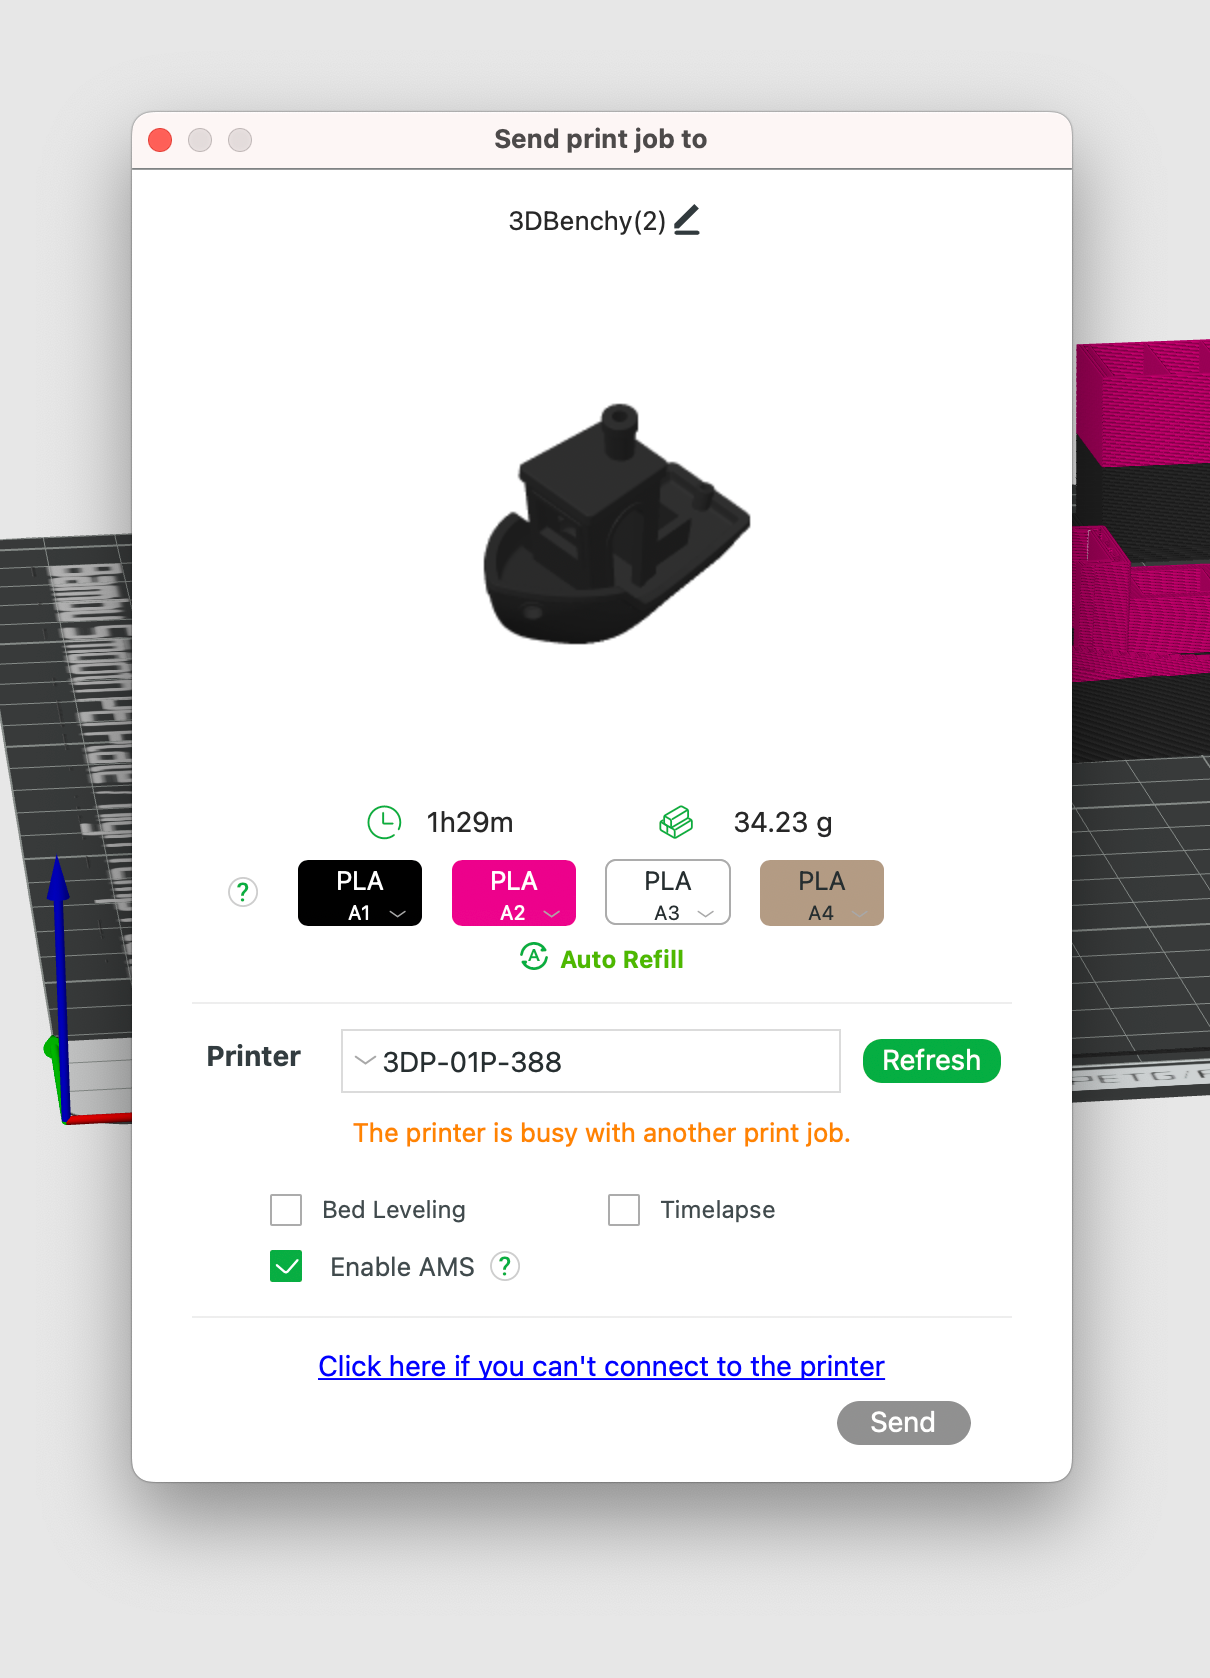
Pick your printer and the check / correct the corresponding colors.
ONLY FOR NO AMS
During the Print, watch carefully and wait for your predetermined spots to go and change your fillaments.
Finish Print
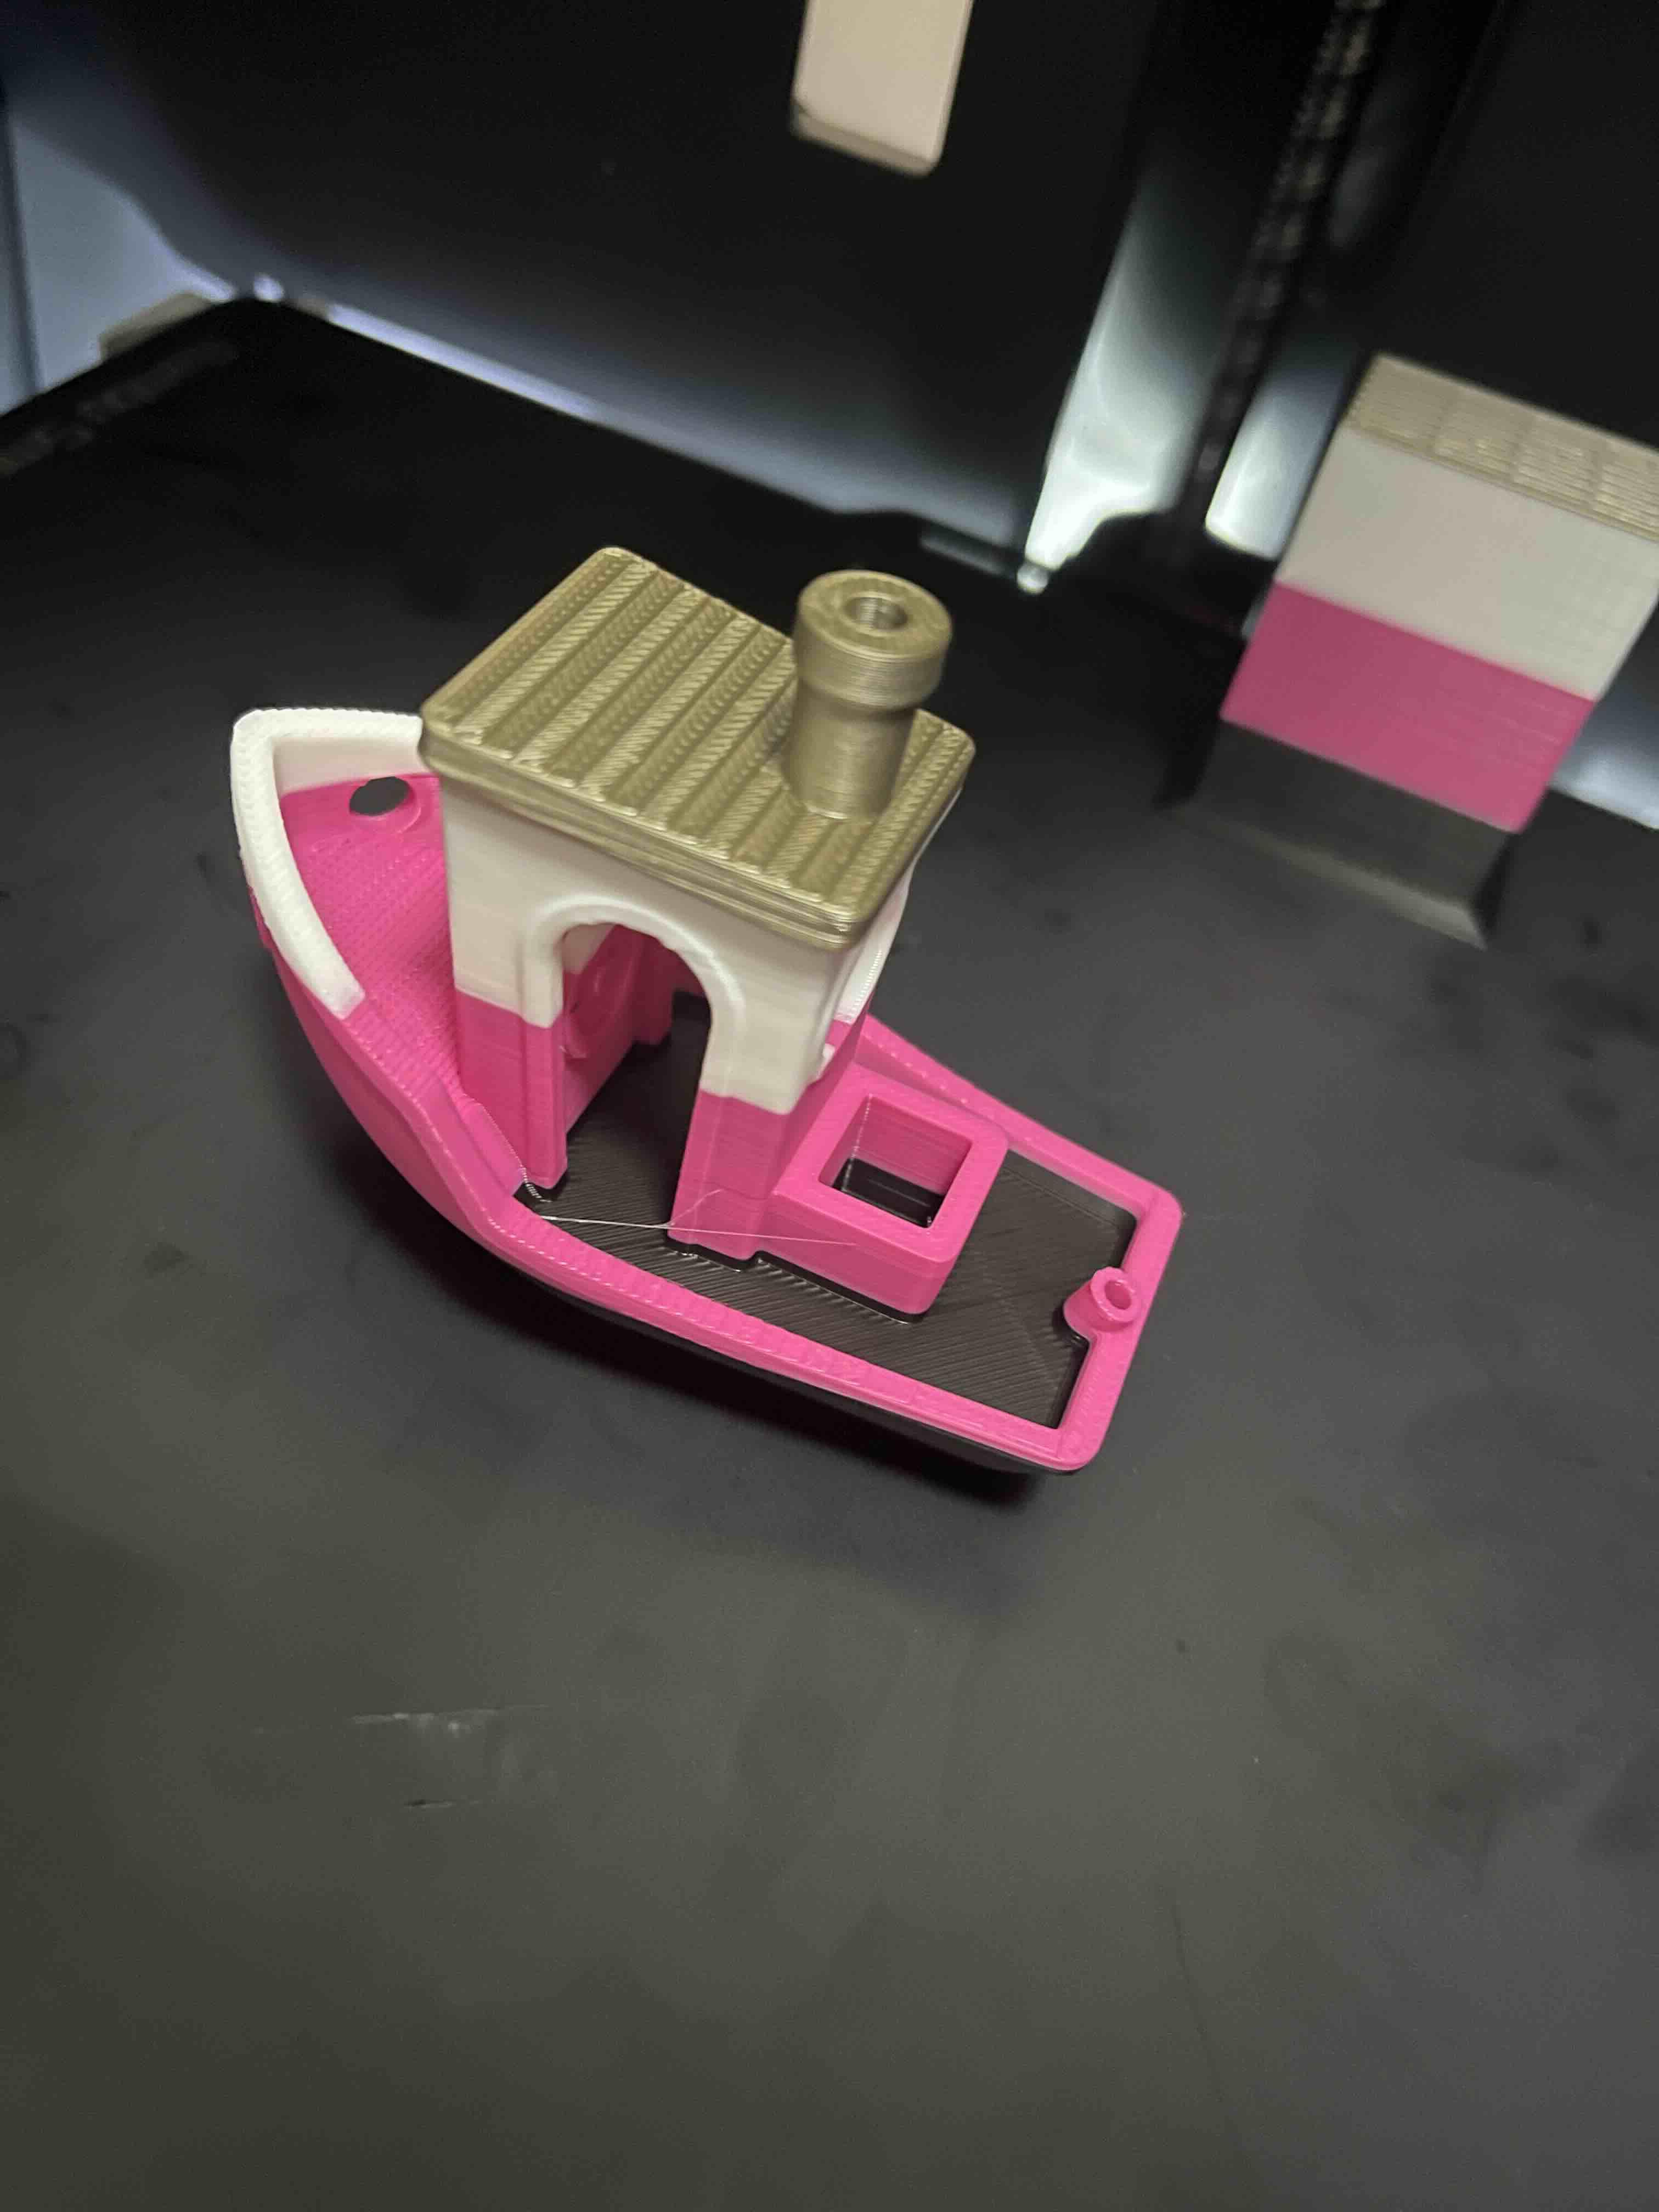
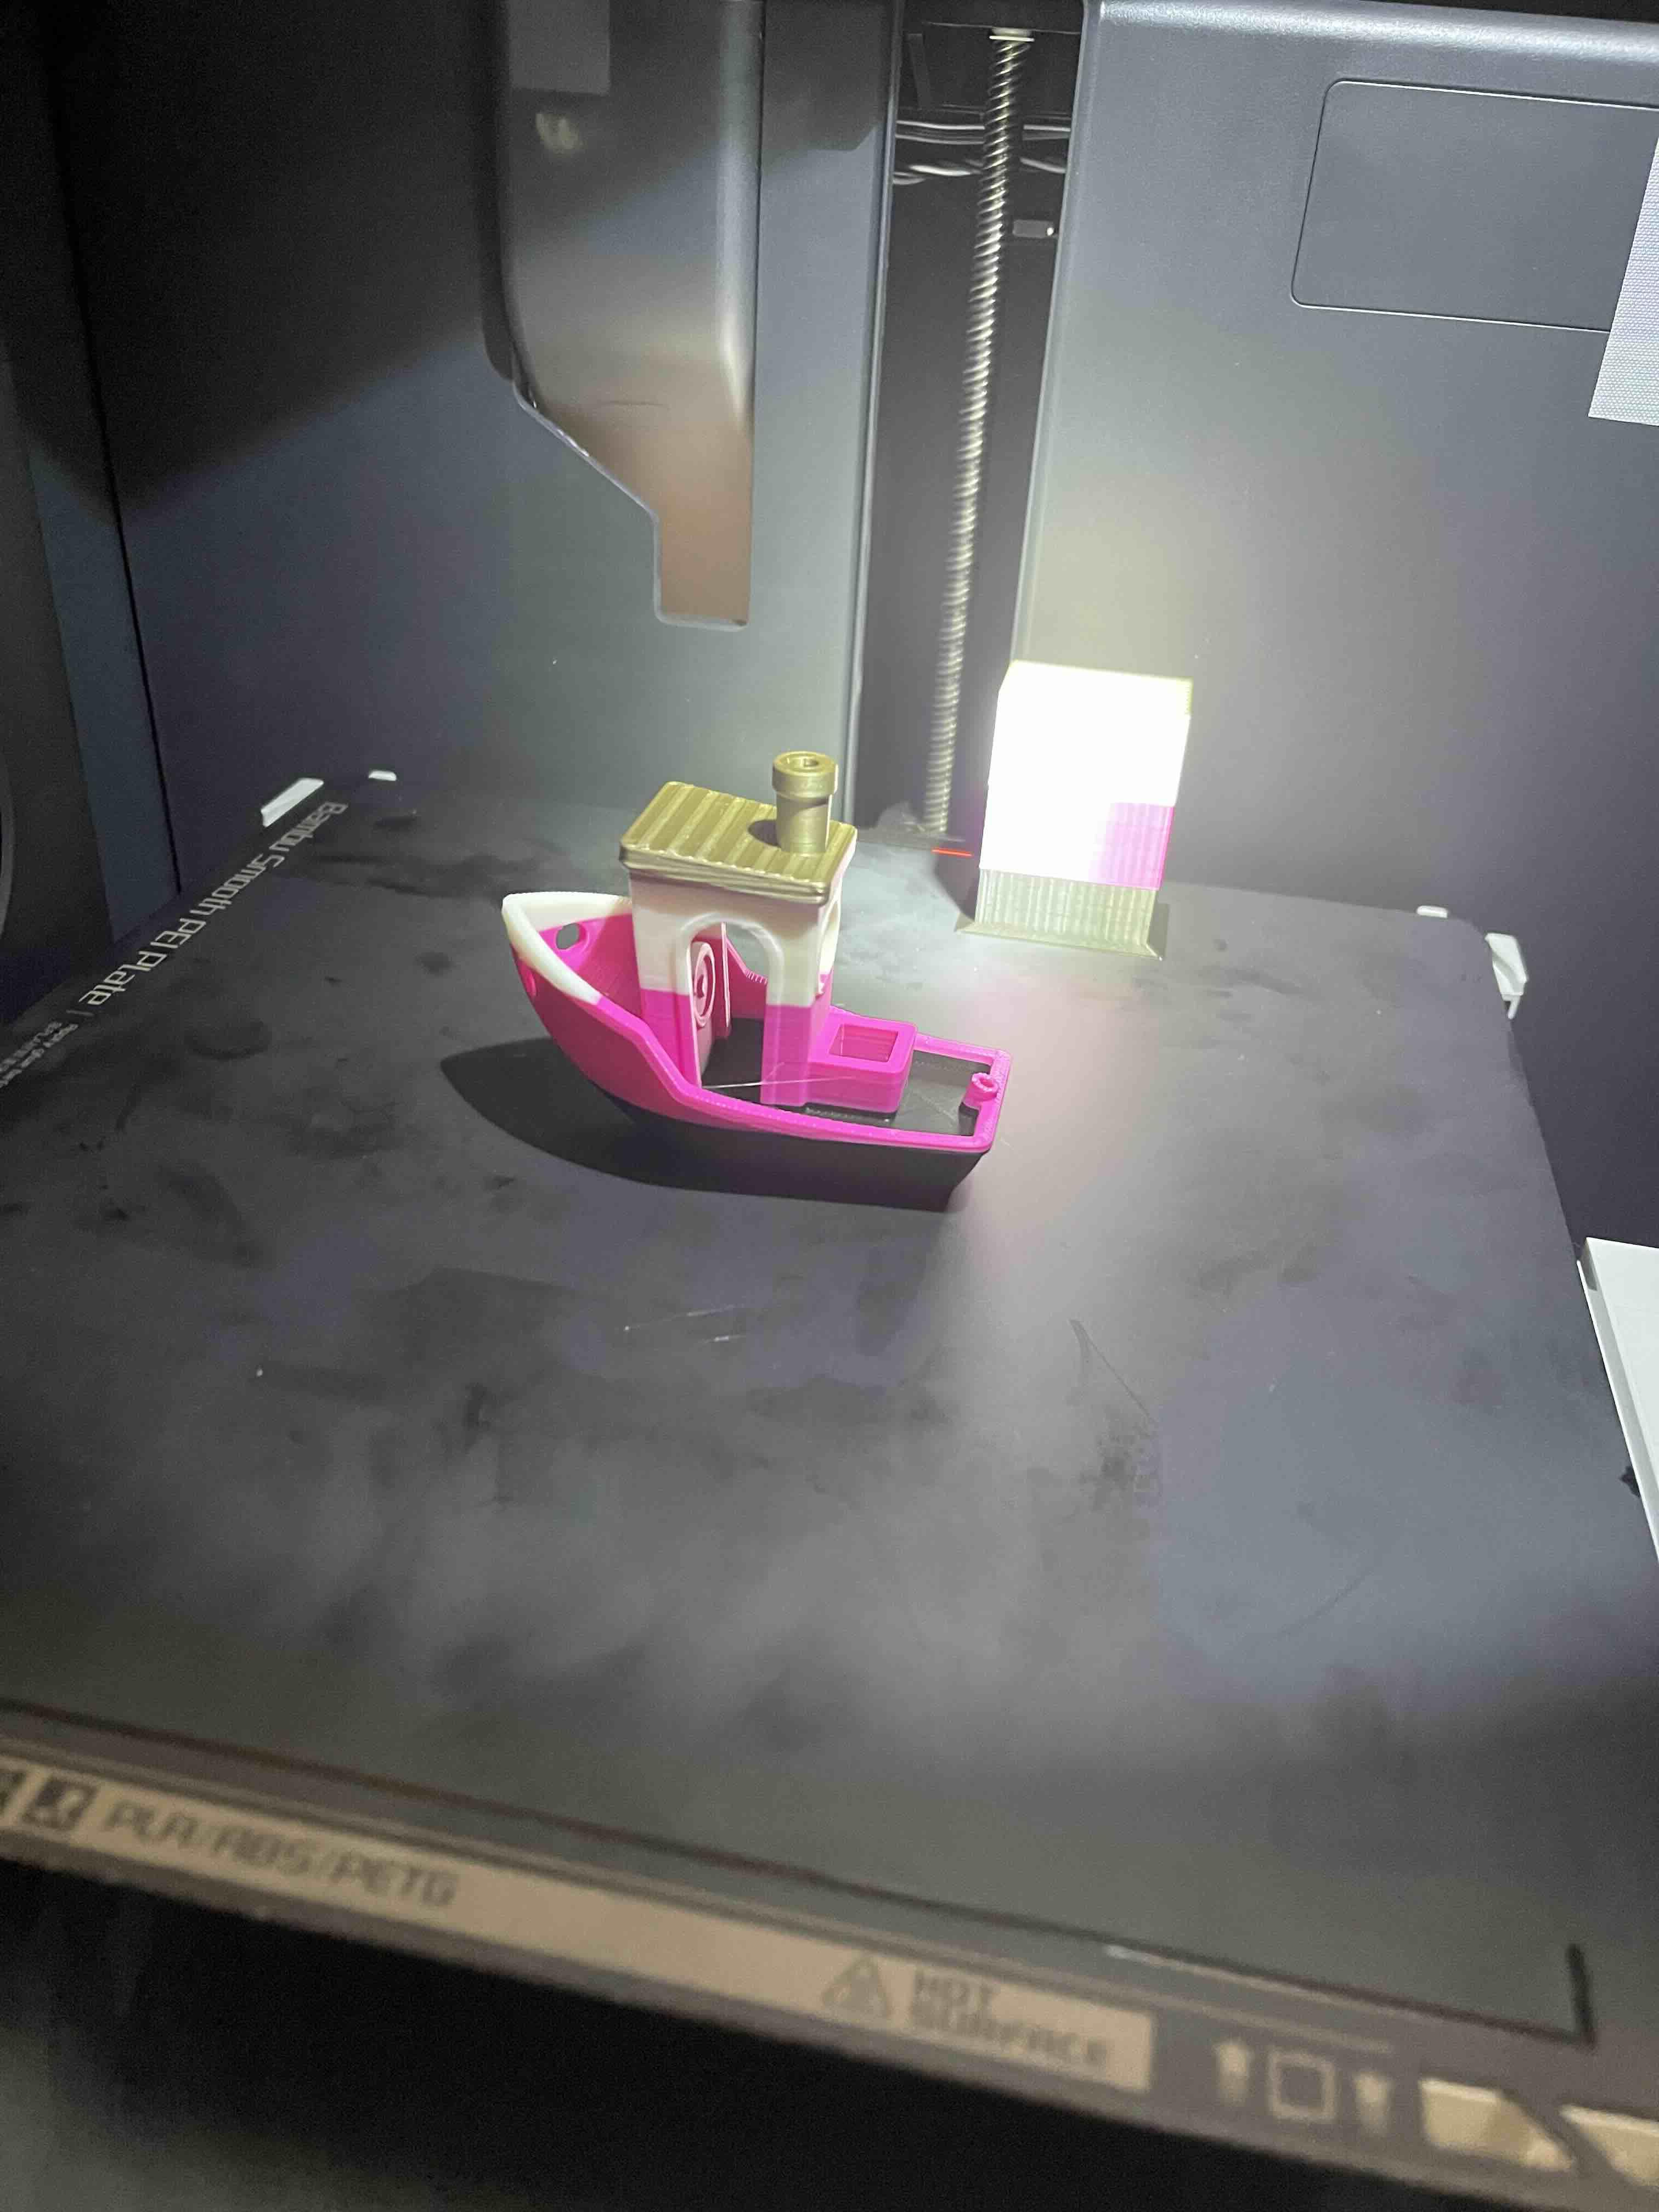
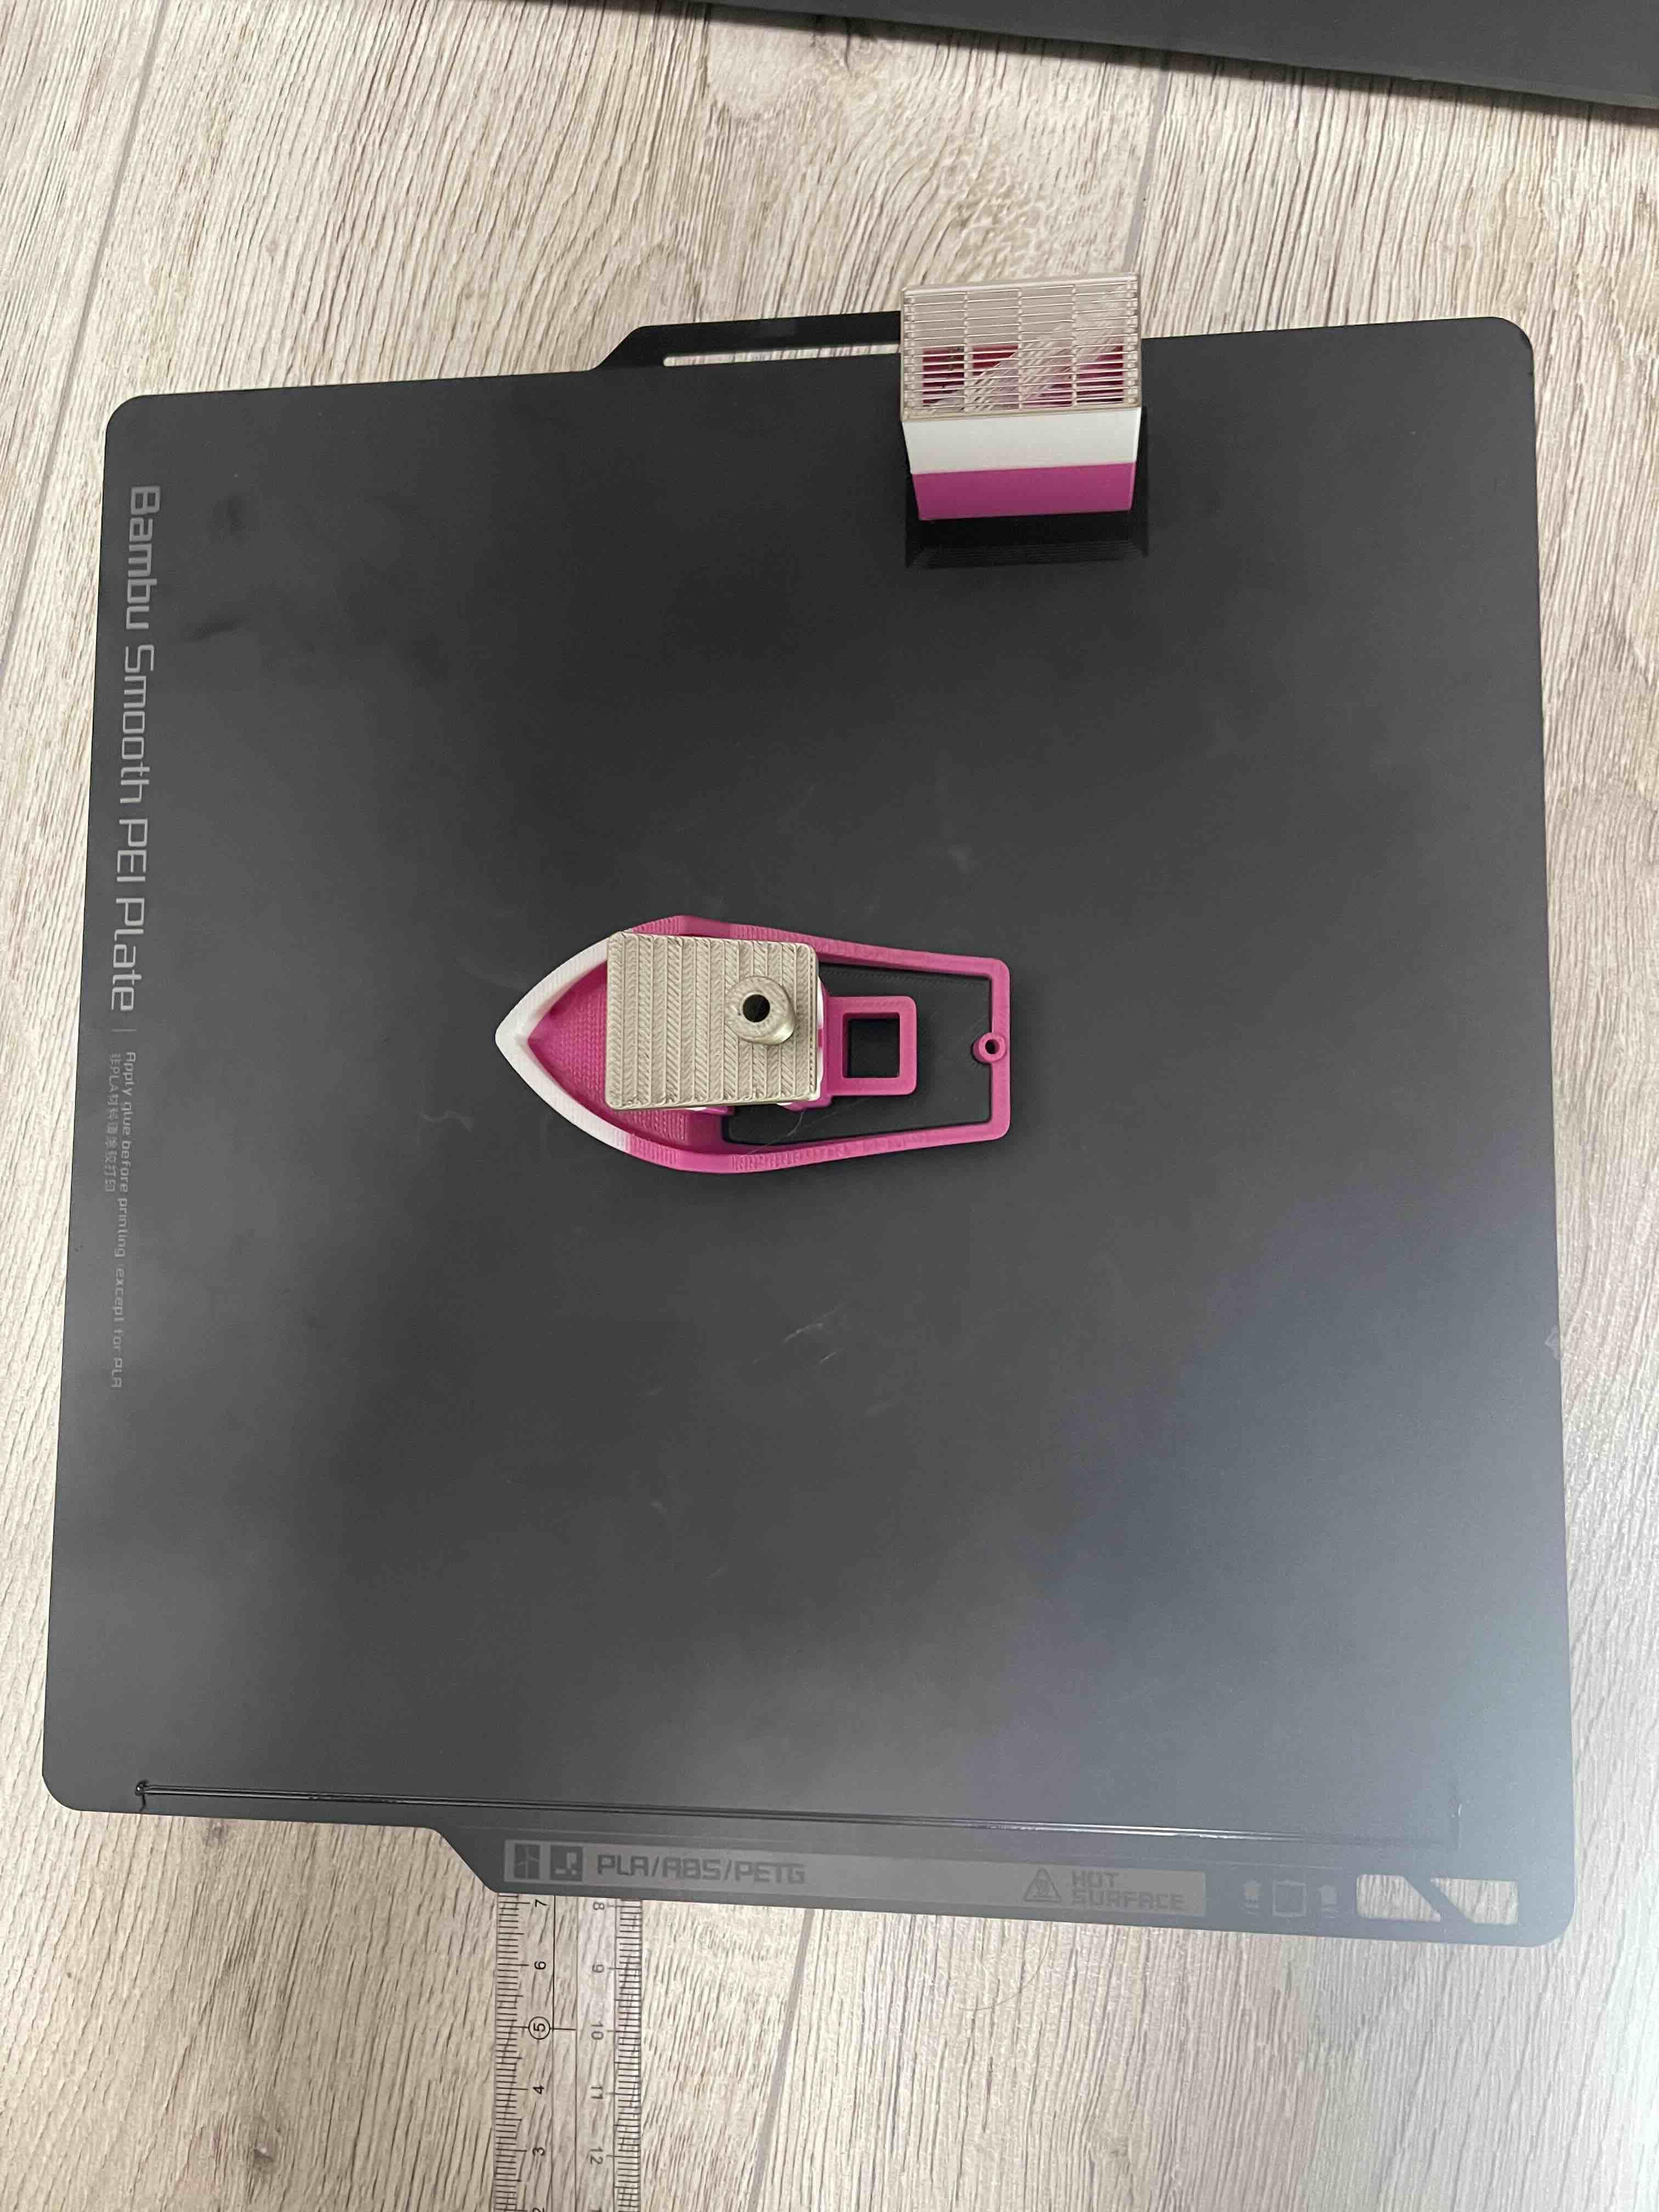
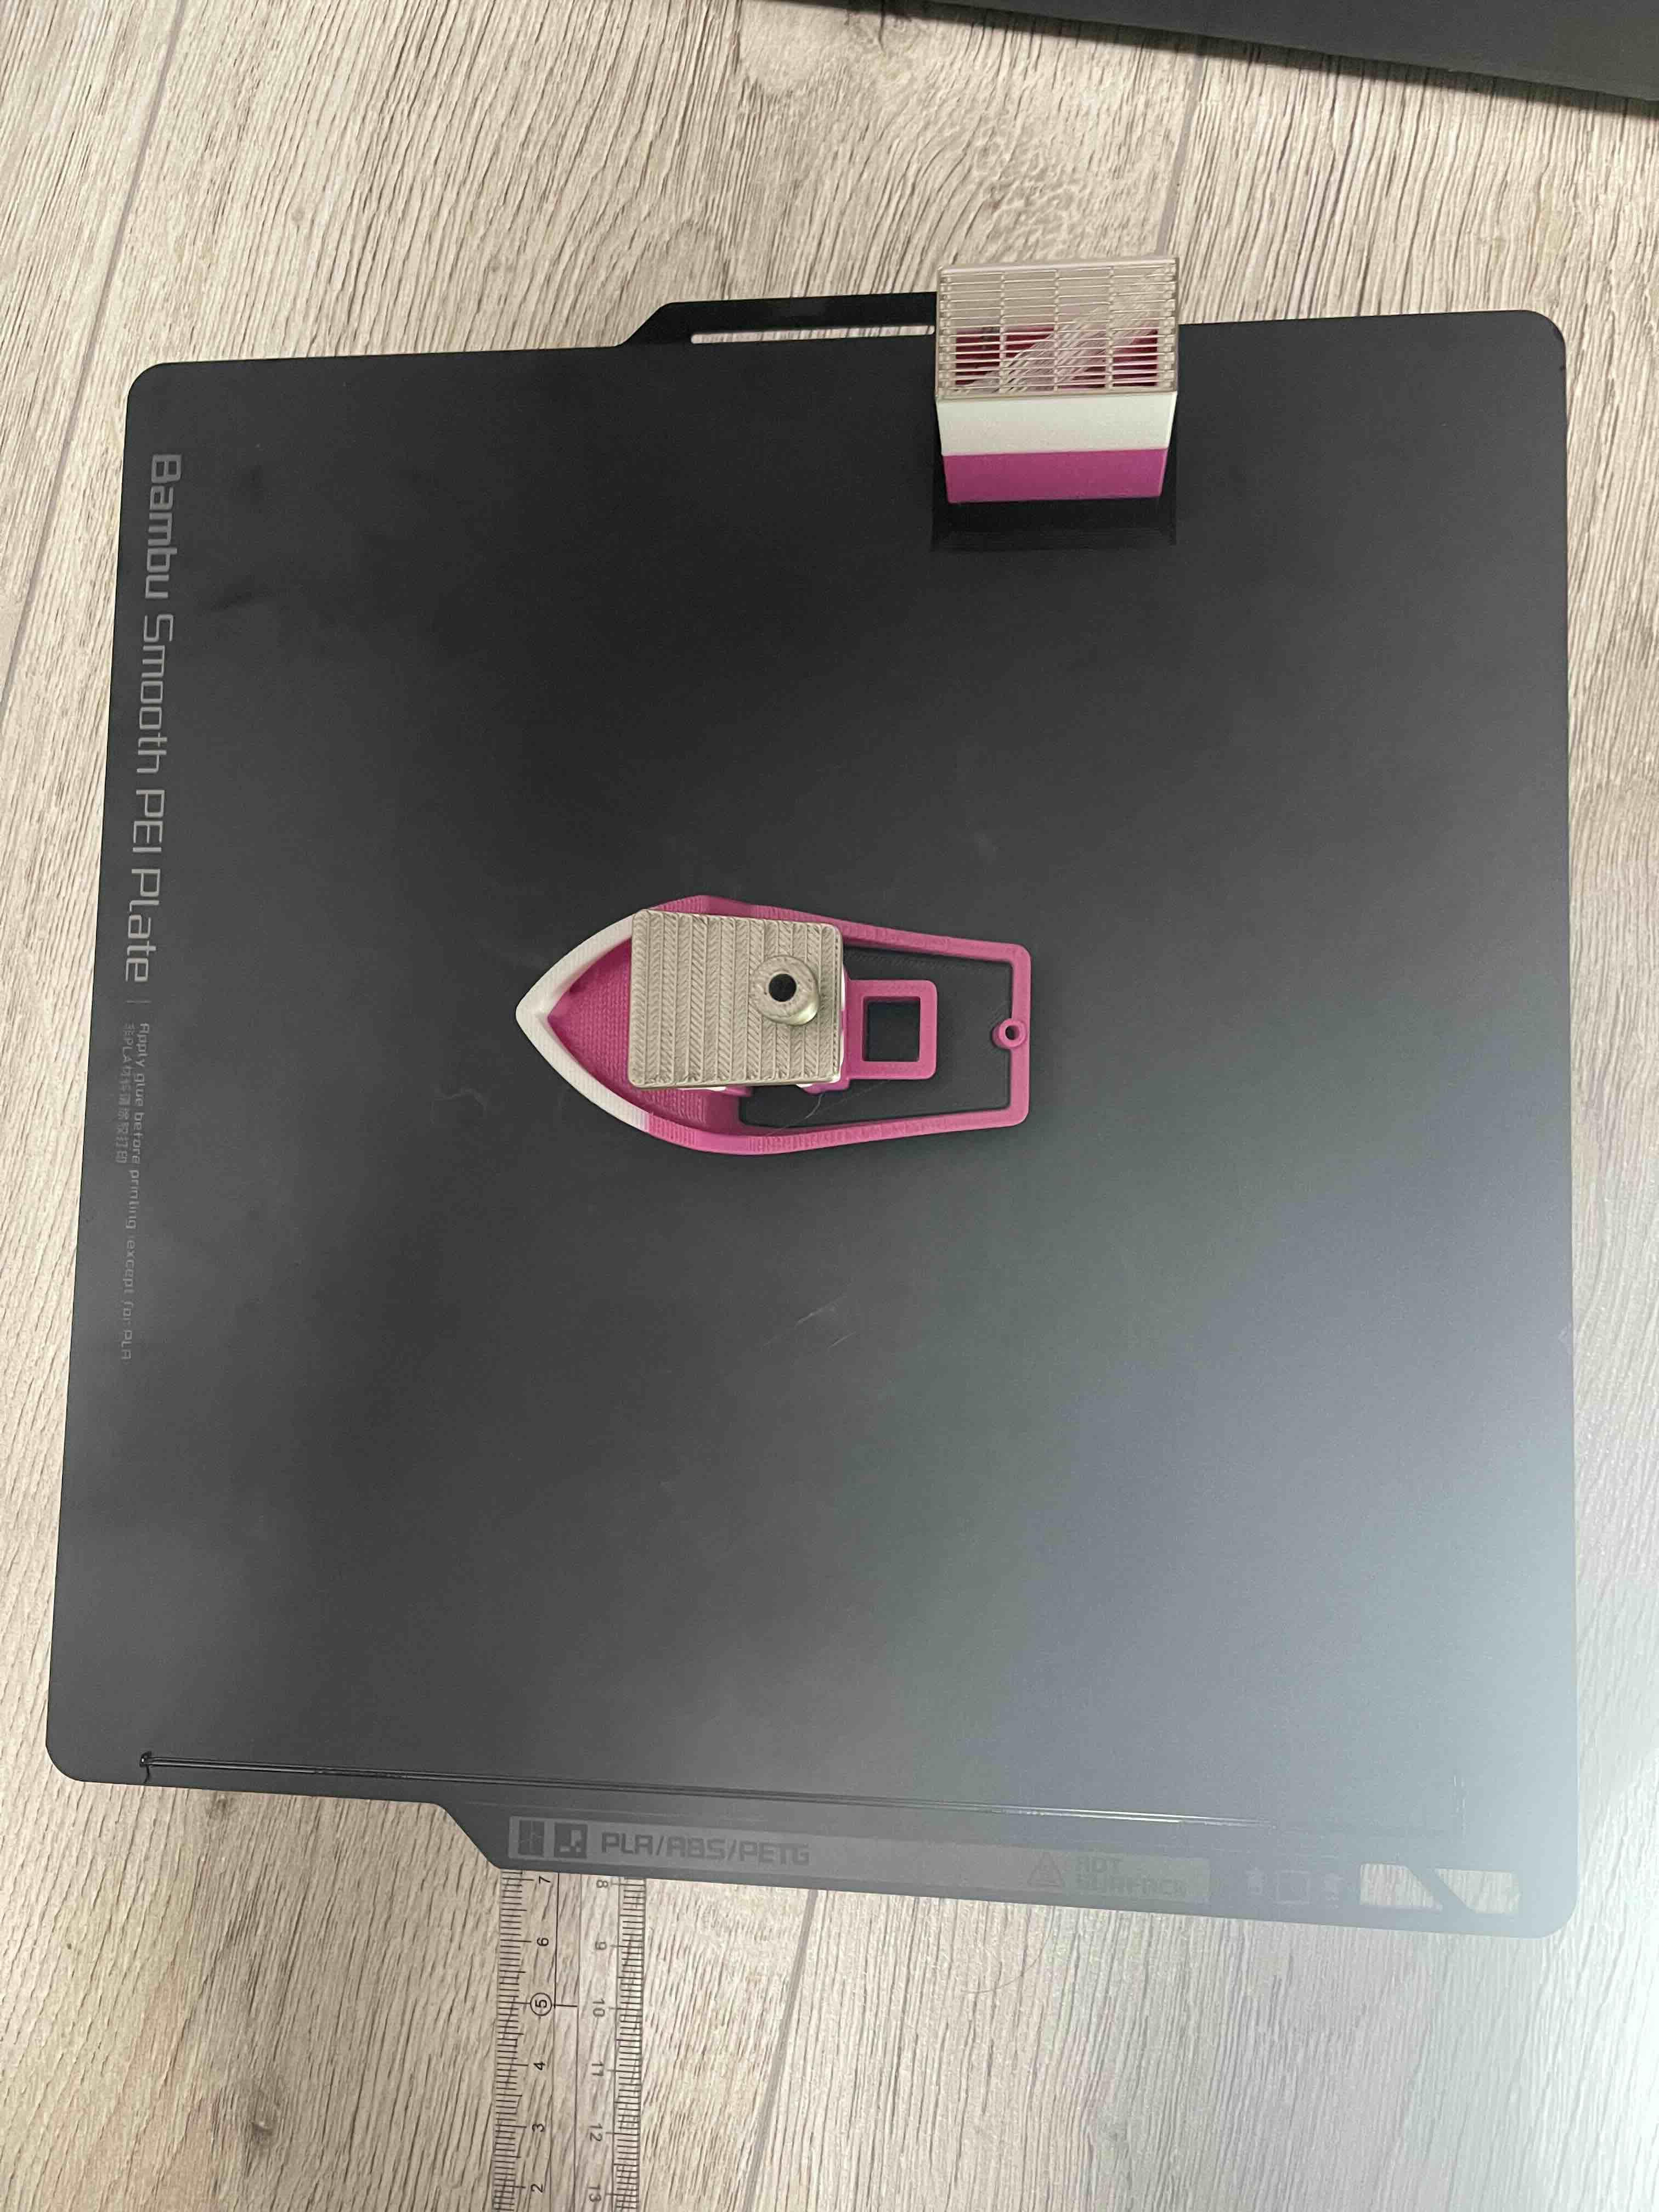
Finish your print.