How to Create the Hero's Shield From the Legend of Zelda: the Wind Waker
by Dominic23 in Craft > Costumes & Cosplay
915 Views, 6 Favorites, 0 Comments
How to Create the Hero's Shield From the Legend of Zelda: the Wind Waker
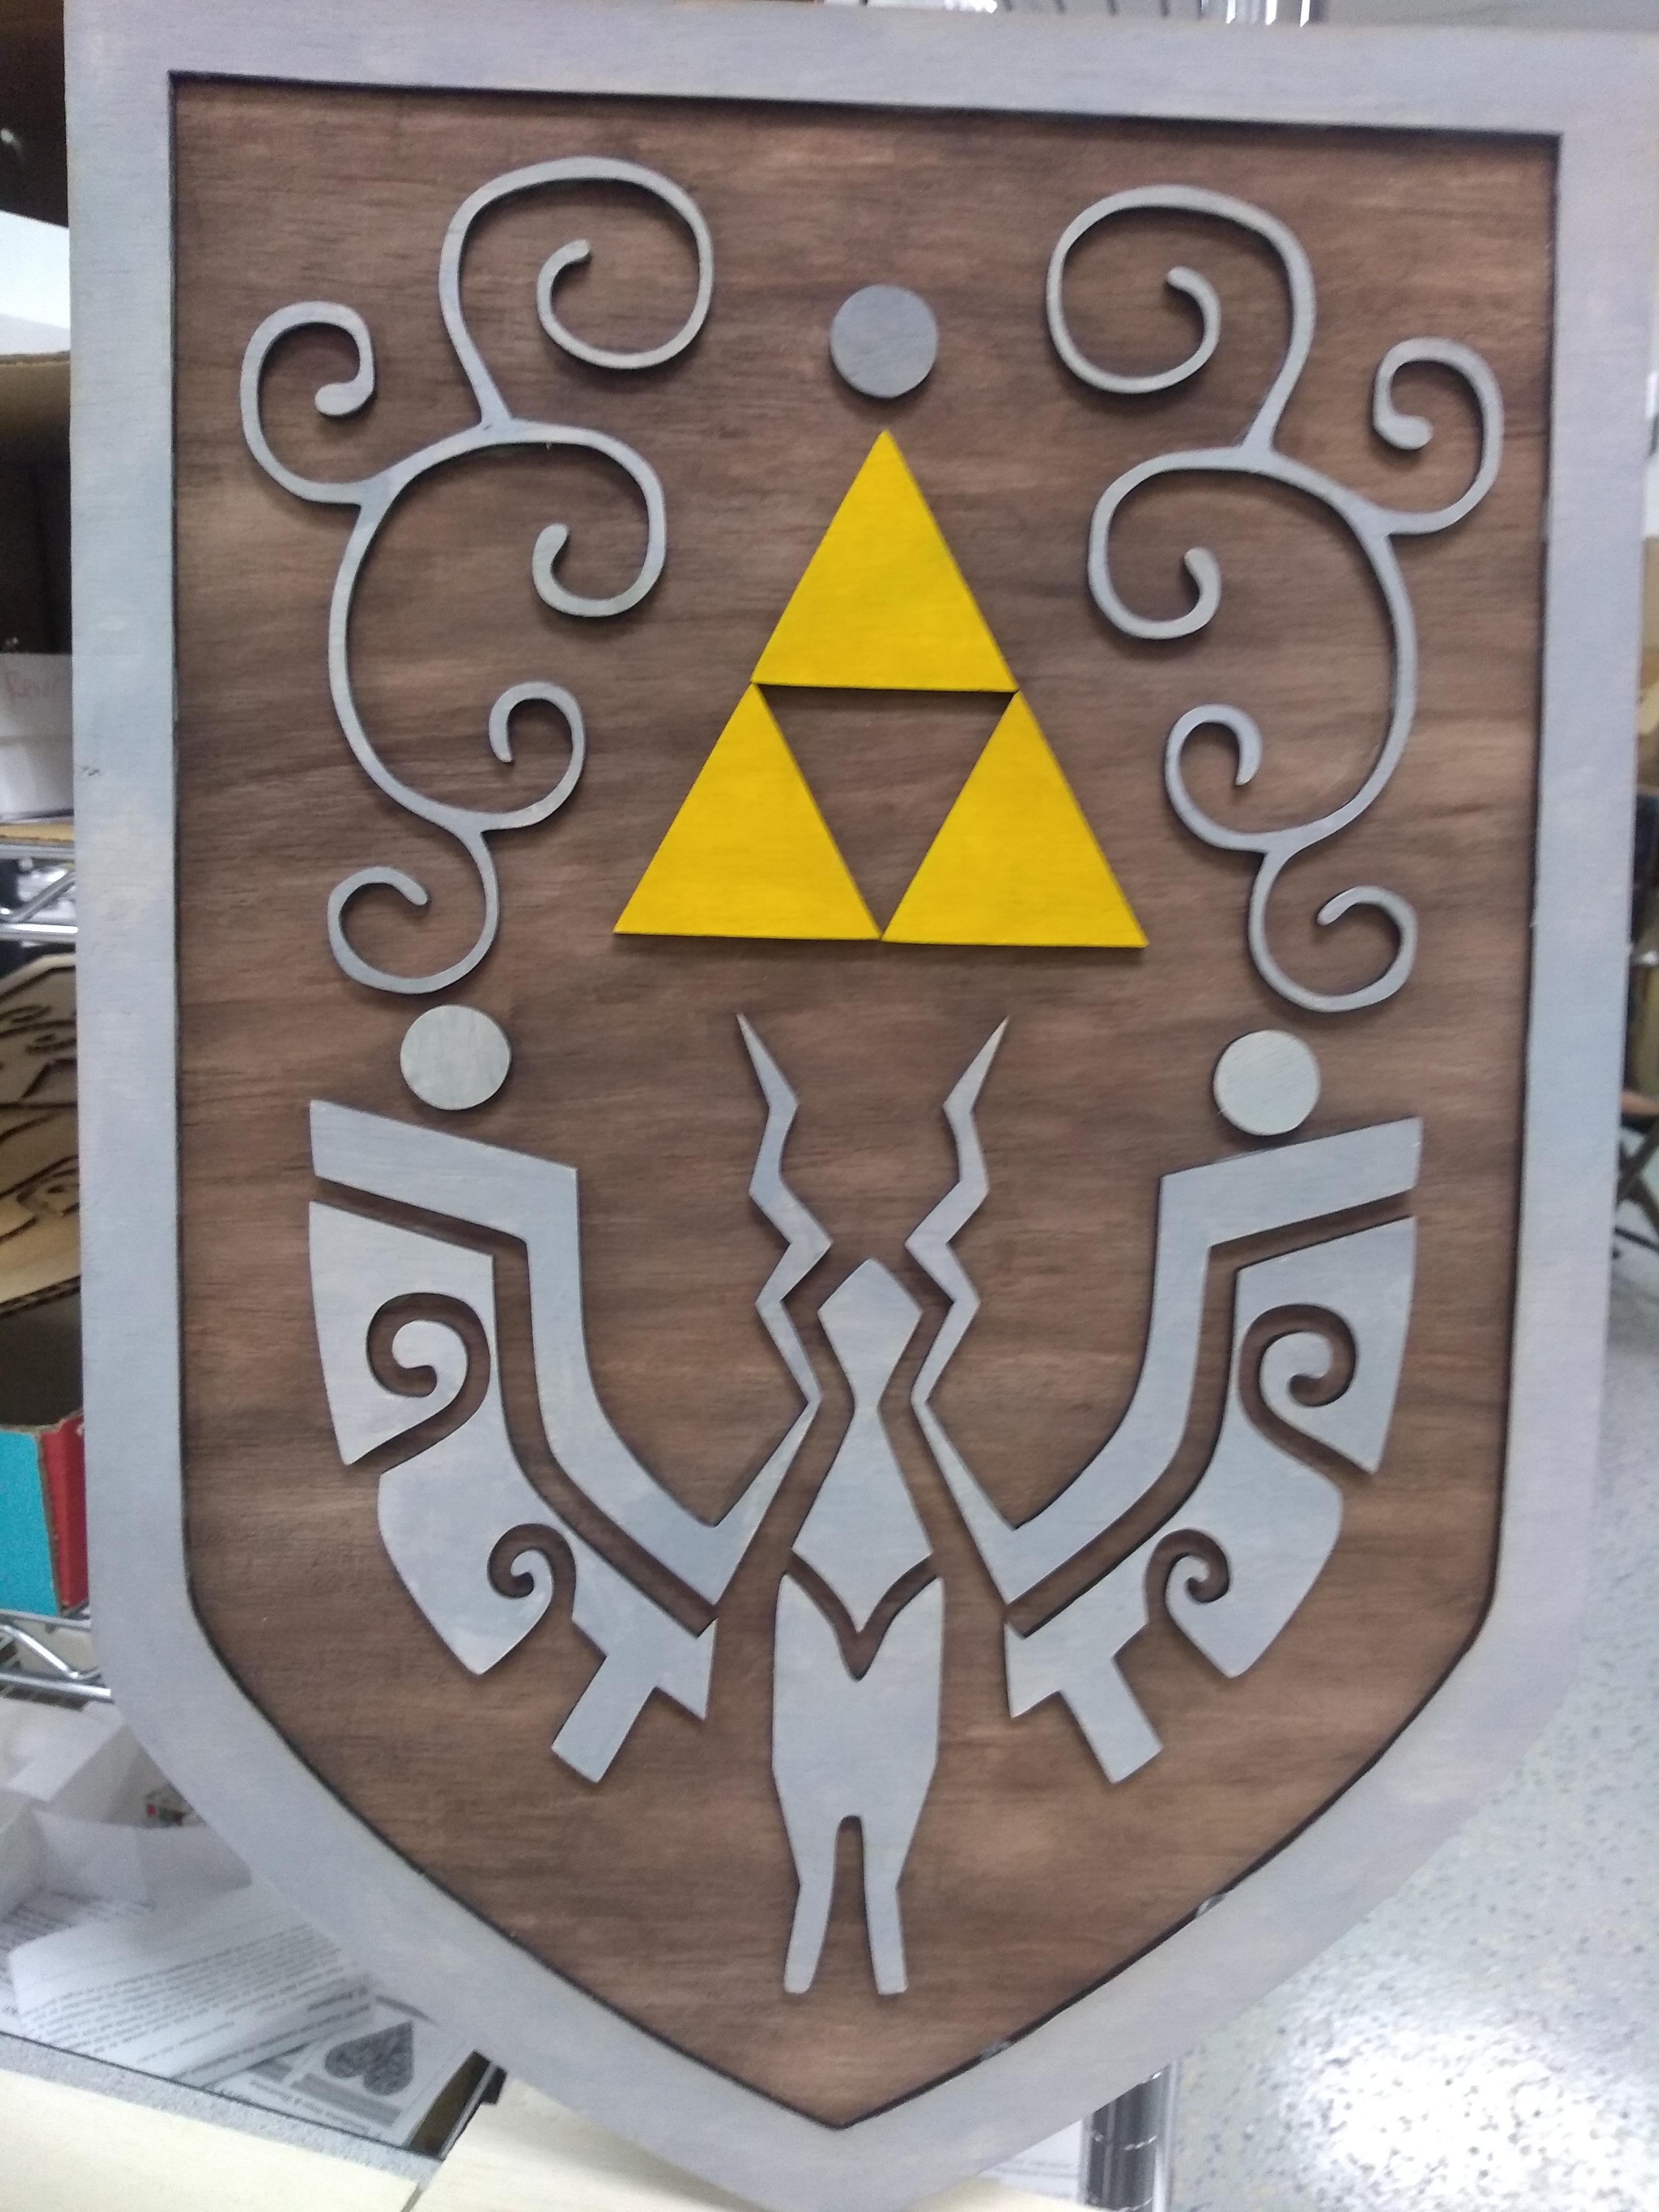
INTRO:
The Hero's Shield is one of the first items you receive in Legend of Zelda: the Wind Waker. This inscrutable is going to tell you how to make one yourself.
Supplies
-Cardboard x2 24 inches(height) 18 inches(width) 1/8 inch (thick) *You only need cardboard if you want to make a practice copy*
-Wood board x2 24 inches(height) 18 inches(width) 1/8 inch (thick)
-Glowforge Pro
-Wood glue
-Leather handle (optional)
-Paint (dark brown, sliver and gold)
-Medium sized brush
Collect Your Materials/prepare Your Workspace
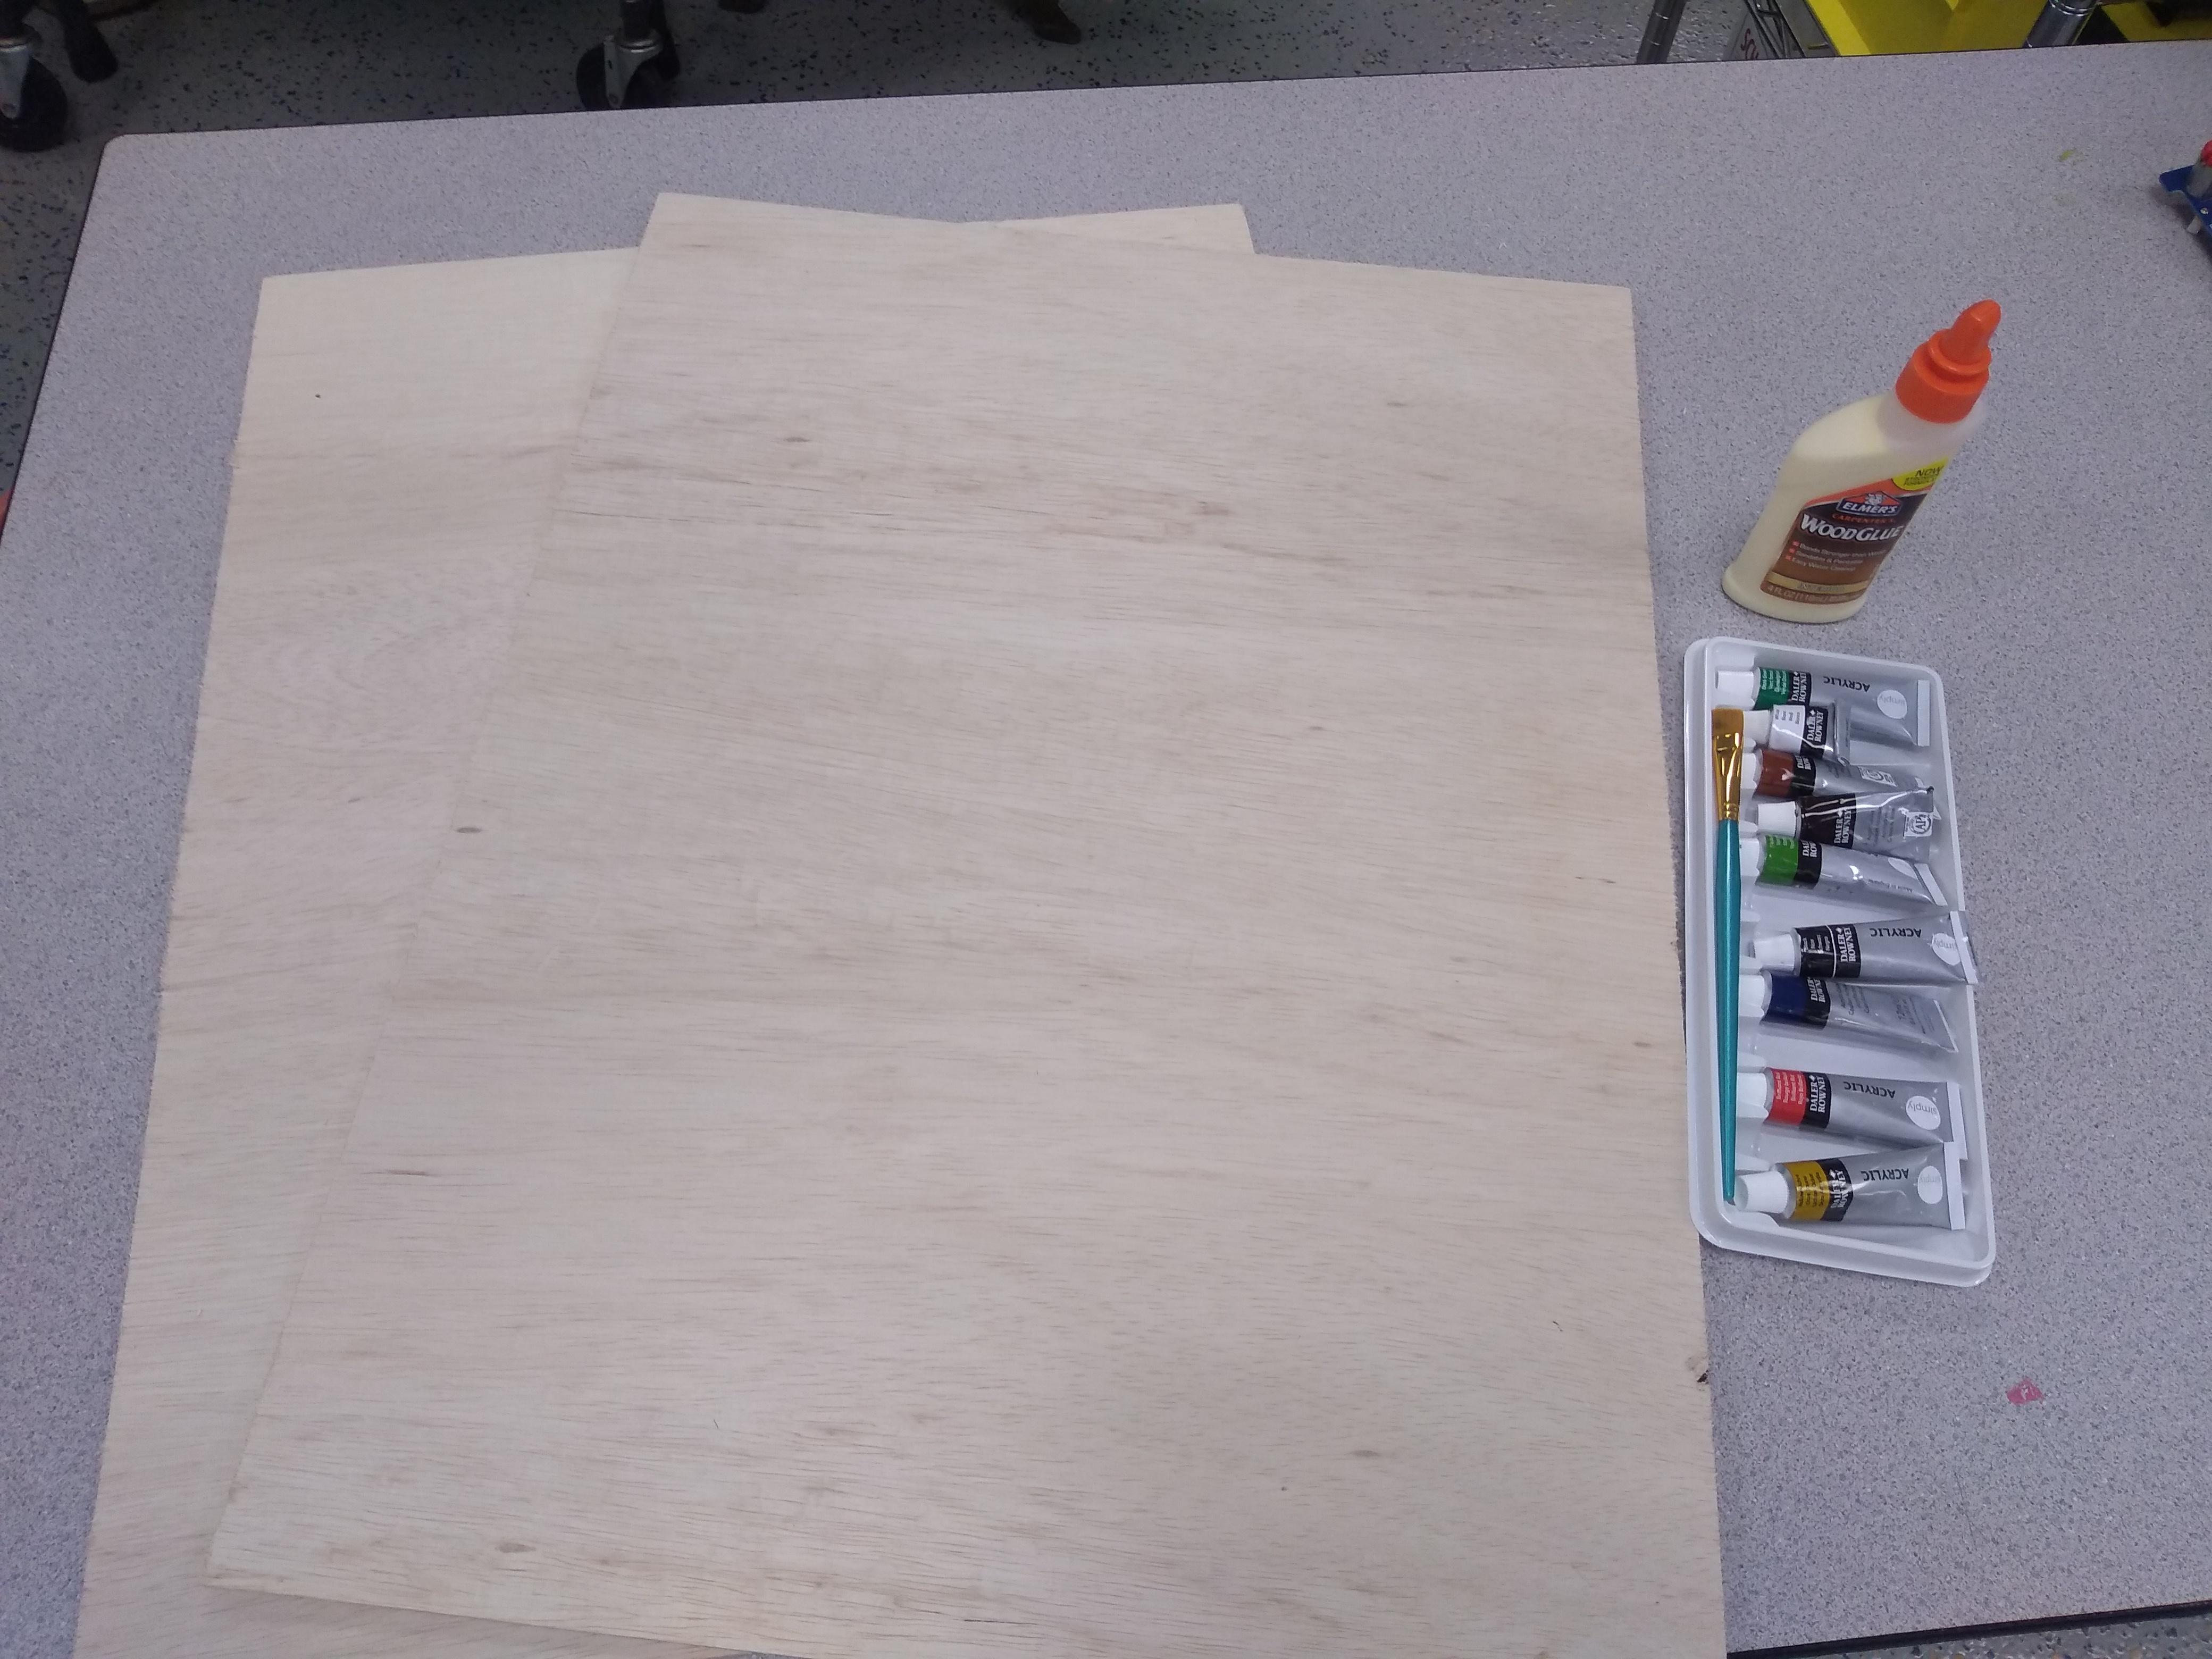
Before you begin you should make sure you have all of the necessary supplies listed above. Along with that you should make sure you a have a clear space to work and place the parts of the shield.
Download the Following Files
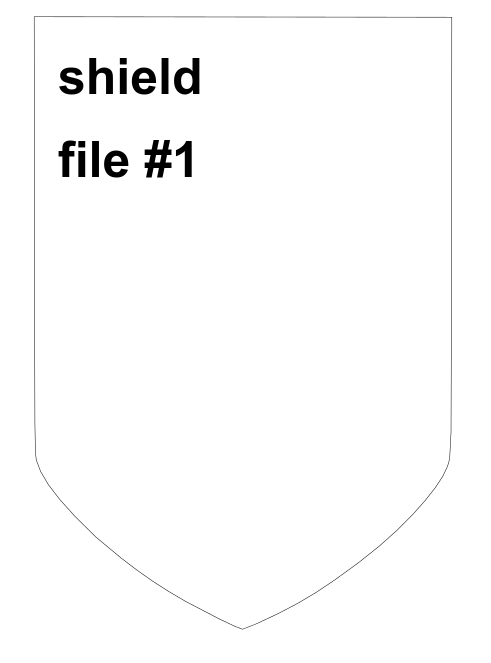
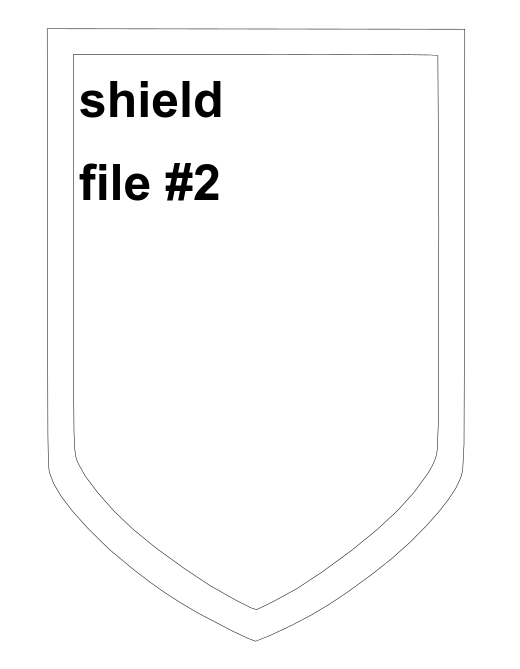
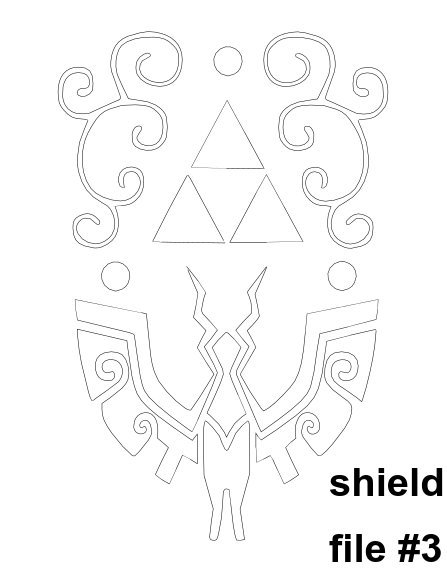
The following files are in order, make sure to read the file name so you can follow the correct order to laser cut the shield.
Import Your Files Into the Glowforge App and Laser Cut Them
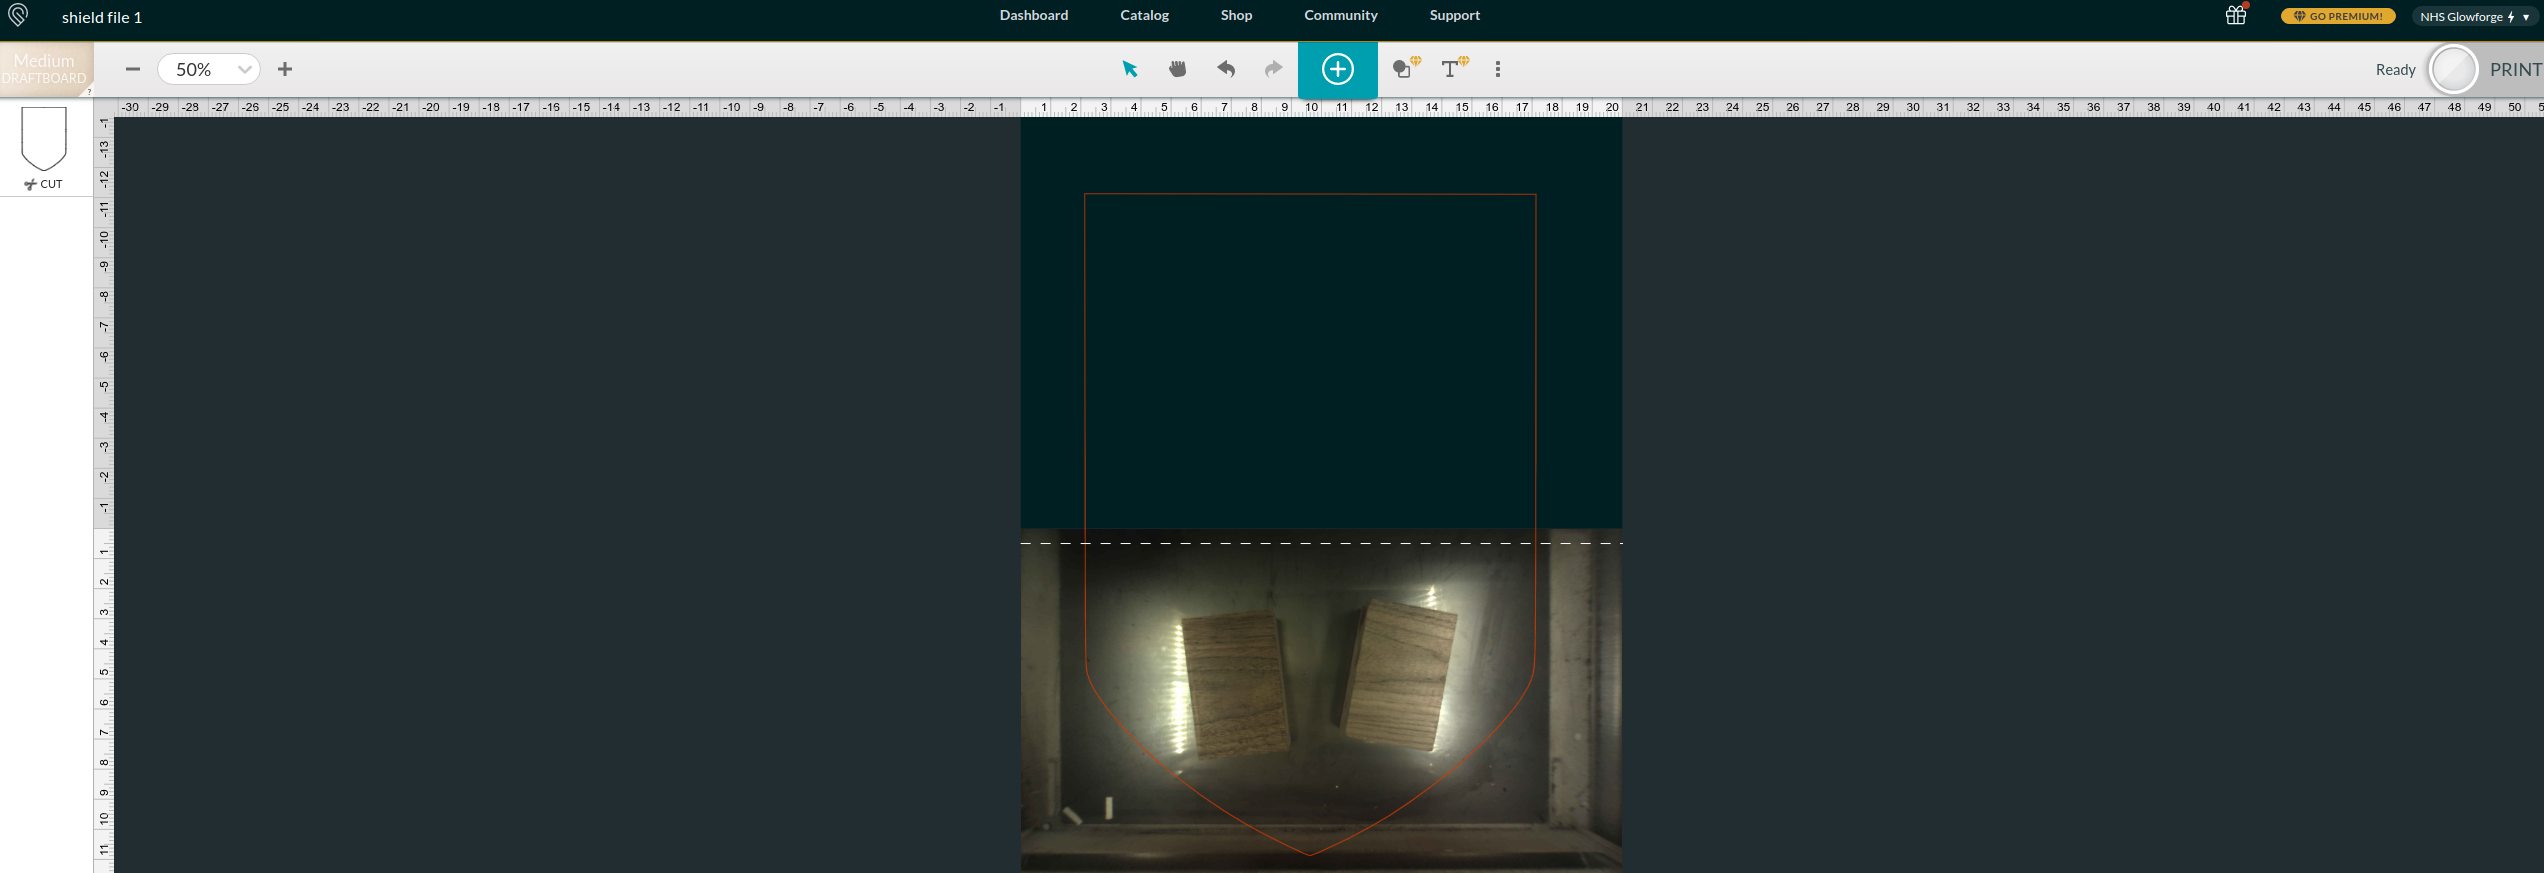
First go to this website https://accounts.glowforge.com/users/sign_in. After you have logged in import the files you downloaded in step 2. Begin with the first file named "shield file 1" and continue with the following files. Make sure to use the Pro Passthrough option when creating these files.
Painting and Gluing Your Shield
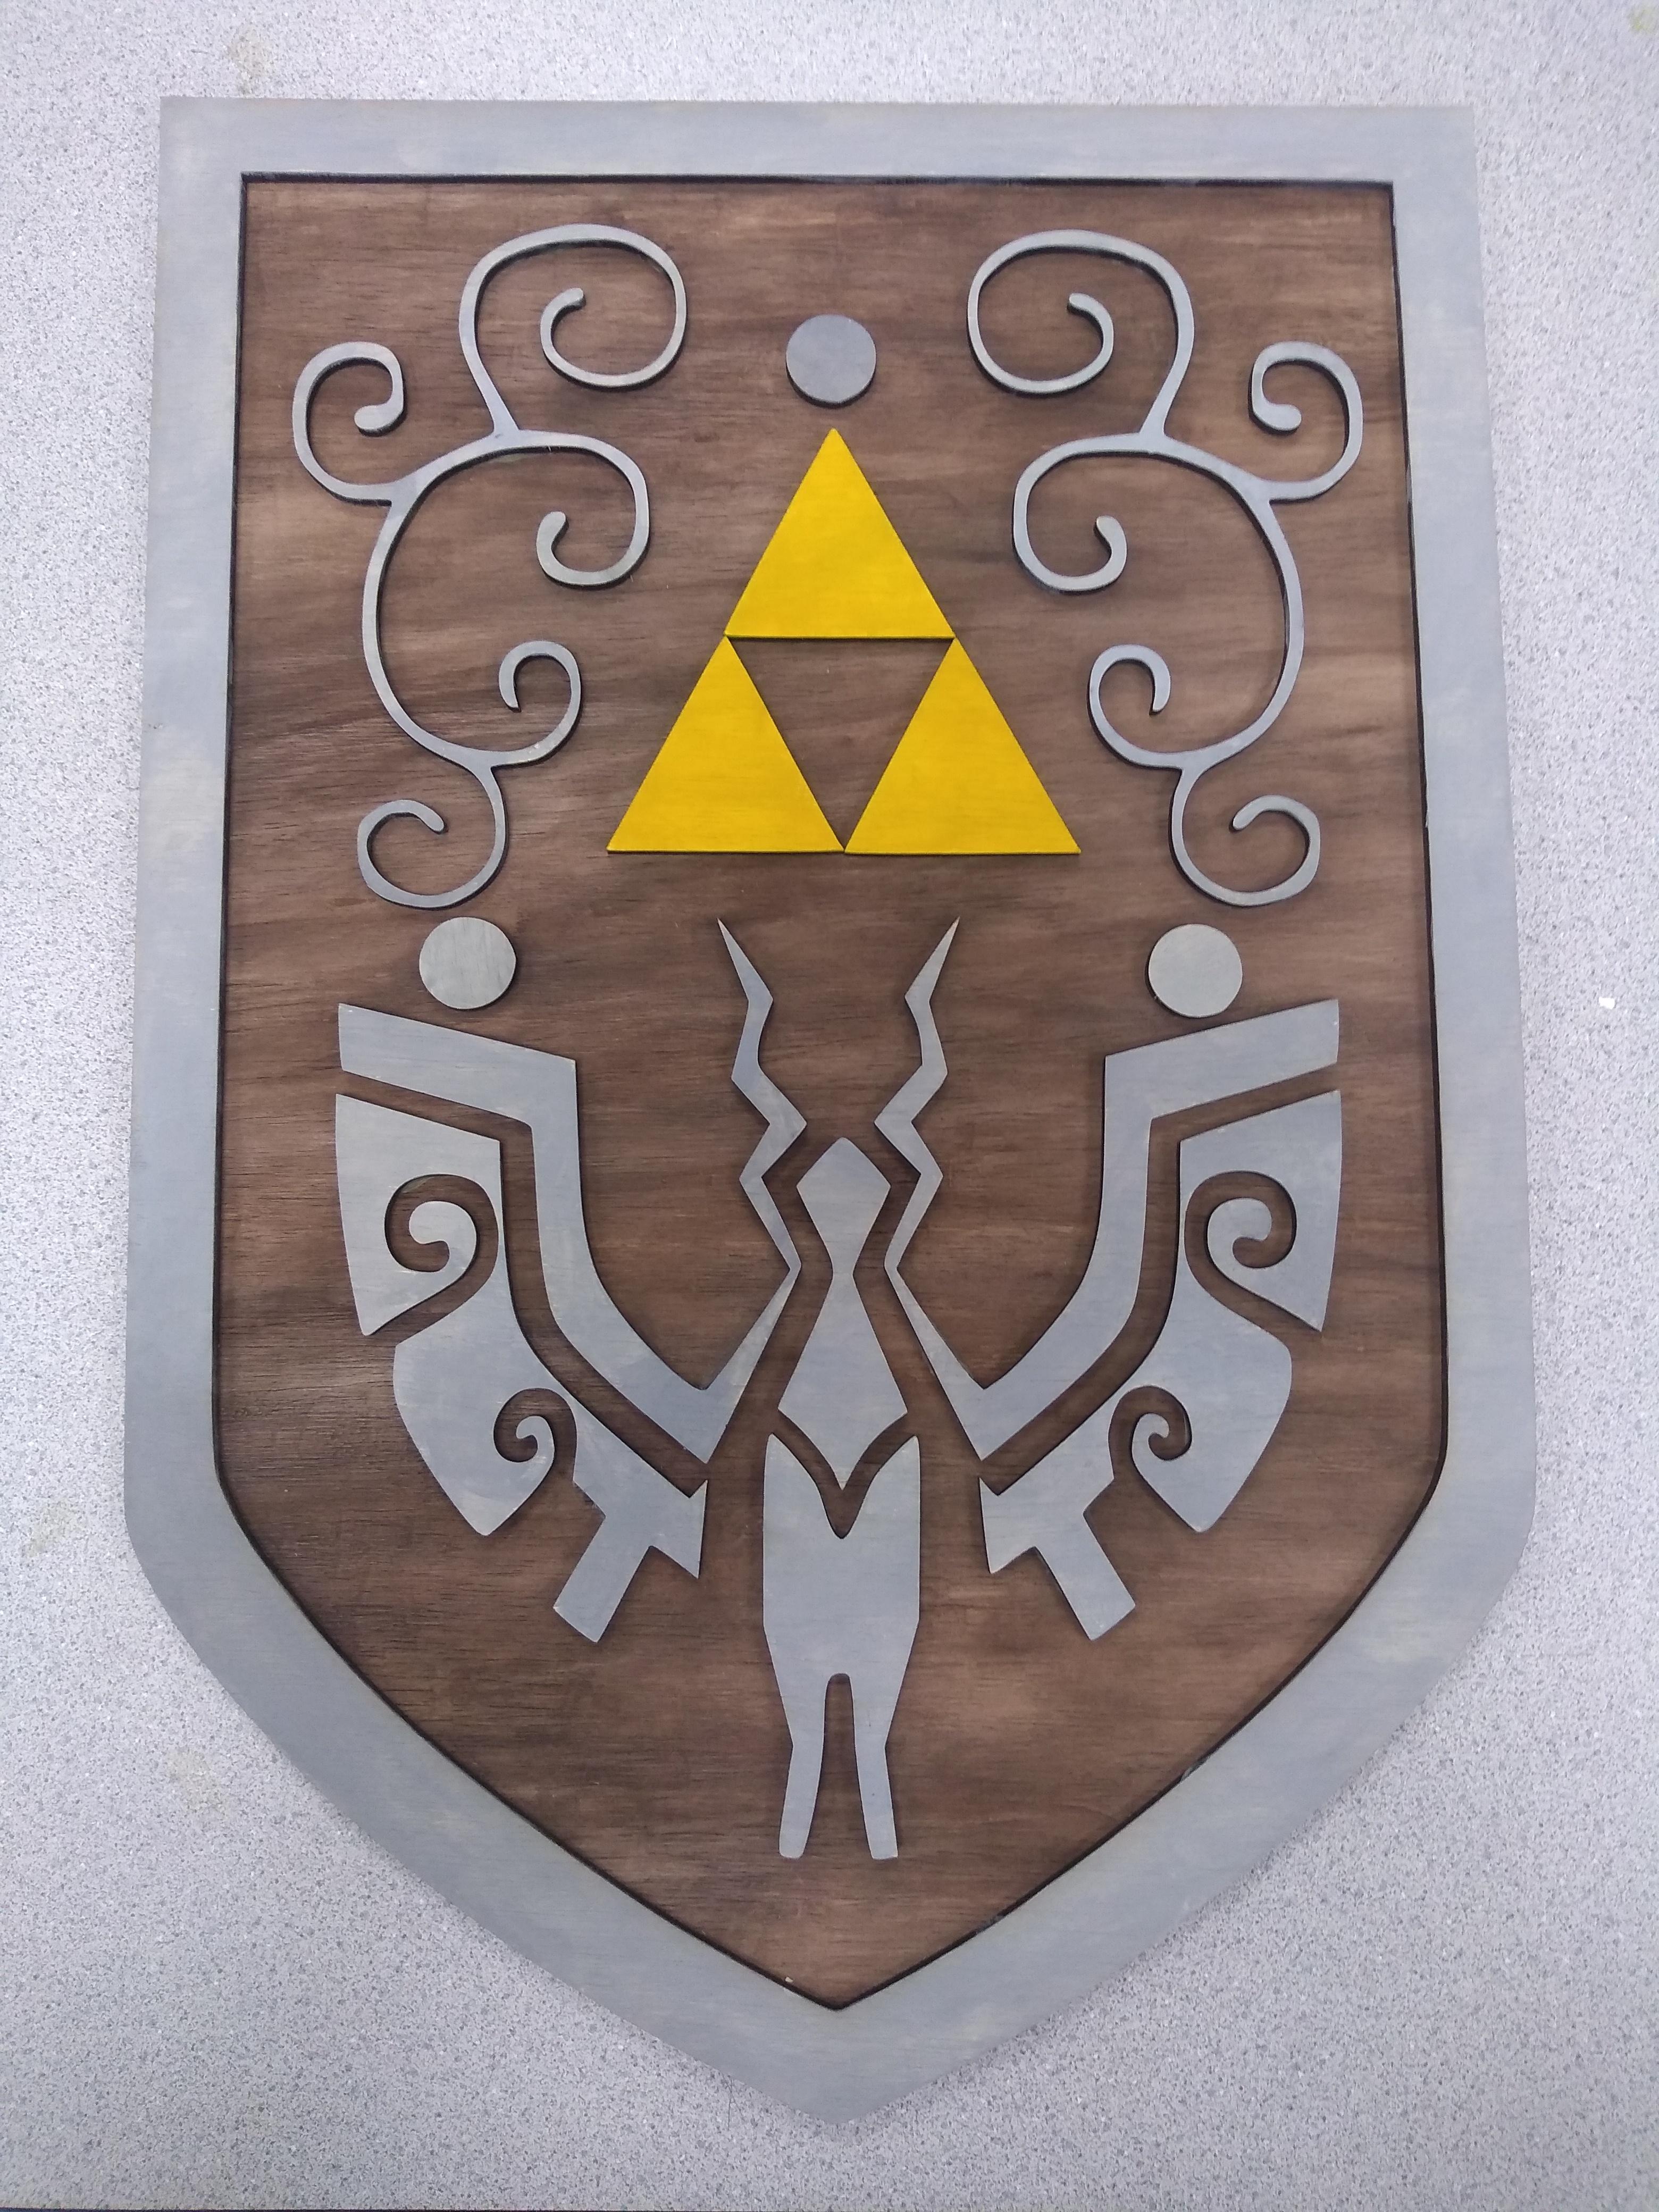
Once you've cut out all your pieces it's finally time to paint and glue them. Use my shield as a reference on where to put the pieces. (For a more in depth look on how the files were created go here https://www.instructables.com/How-to-Create-the-Heros-Shield-From-the-Legend-of-/)