How to Make an Eye-Catching Poster! (+ Universal Design Tips)
by Koresephone in Craft > Digital Graphics
33558 Views, 192 Favorites, 0 Comments
How to Make an Eye-Catching Poster! (+ Universal Design Tips)
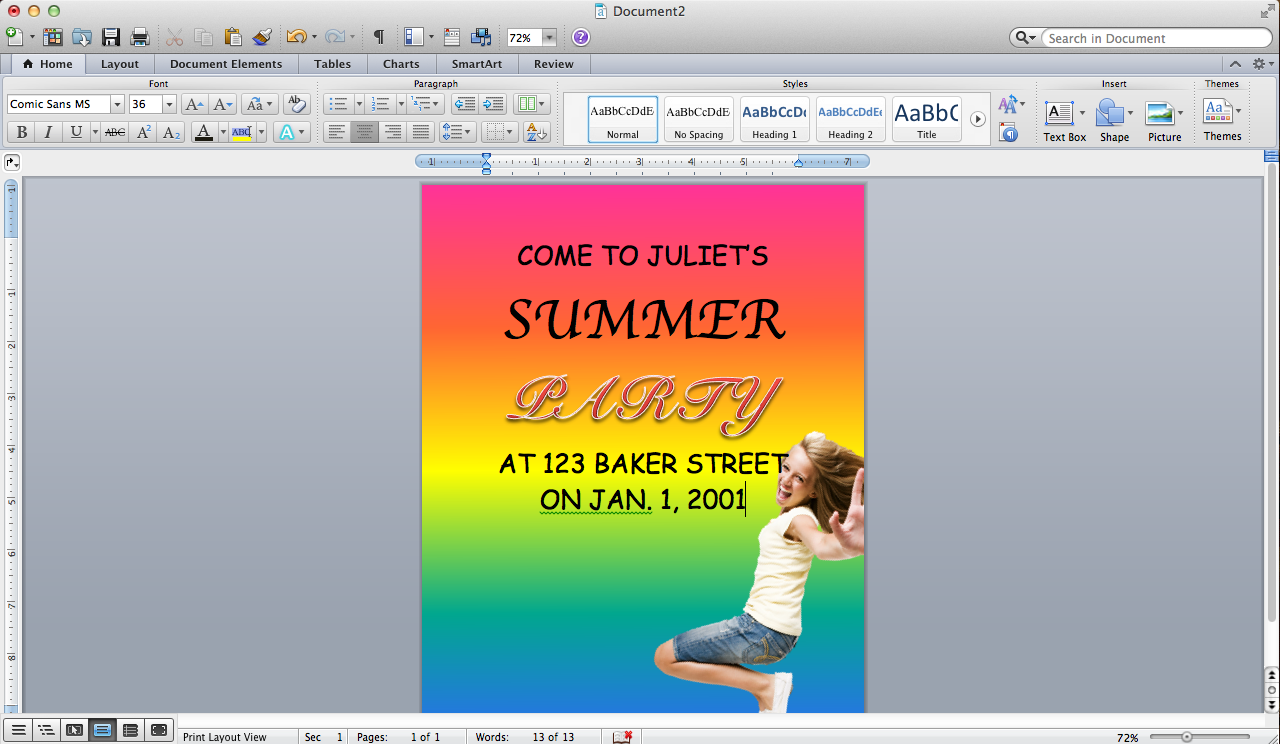
A poster? Really? You say. Yes, a poster. Posters are practical, living in the city I see them constantly, school, work, the streets... It's one design element almost everyone uses and creates at some point. The important part is making your poster important. Eye-catching.
Hold up, let me rephrase this.
Here's an -ible to make an ENGAGING poster.
Making an EYE CATCHING poster is easy too, but there's a few differences between something that's just eye catching (cough, such posters like the above, cough) & ones that are engaging.
You will need:
- Any software that can be used to create prints.
- I prefer Photoshop, Photoshop Elements, or a software like Affinity Photo (The Beta is currently free for MAC here!). Use Word or MS Paint only in dire, dire situations.
- I'm using Photoshop Elements 8, but I heavily suggest using Photoshop if you can for non-destructive edits!
- Open up a blank 8.5 x 11 inch, 300 dpi file.
- Fonts
- BEHANCE is a great site to look through, so is CREATIVEMARKET.
- Textures
- I suggest Creative Market for this, there are a ton of available textures in their shop & every week they post six free goods!
- Graphic Elements
- Again, Creative Market totally wins out here.
- Hands. (Optional)
Let's get started.
Color Me Fancy.

To make a proper poster, we need to start off with the basics.
COLOR.
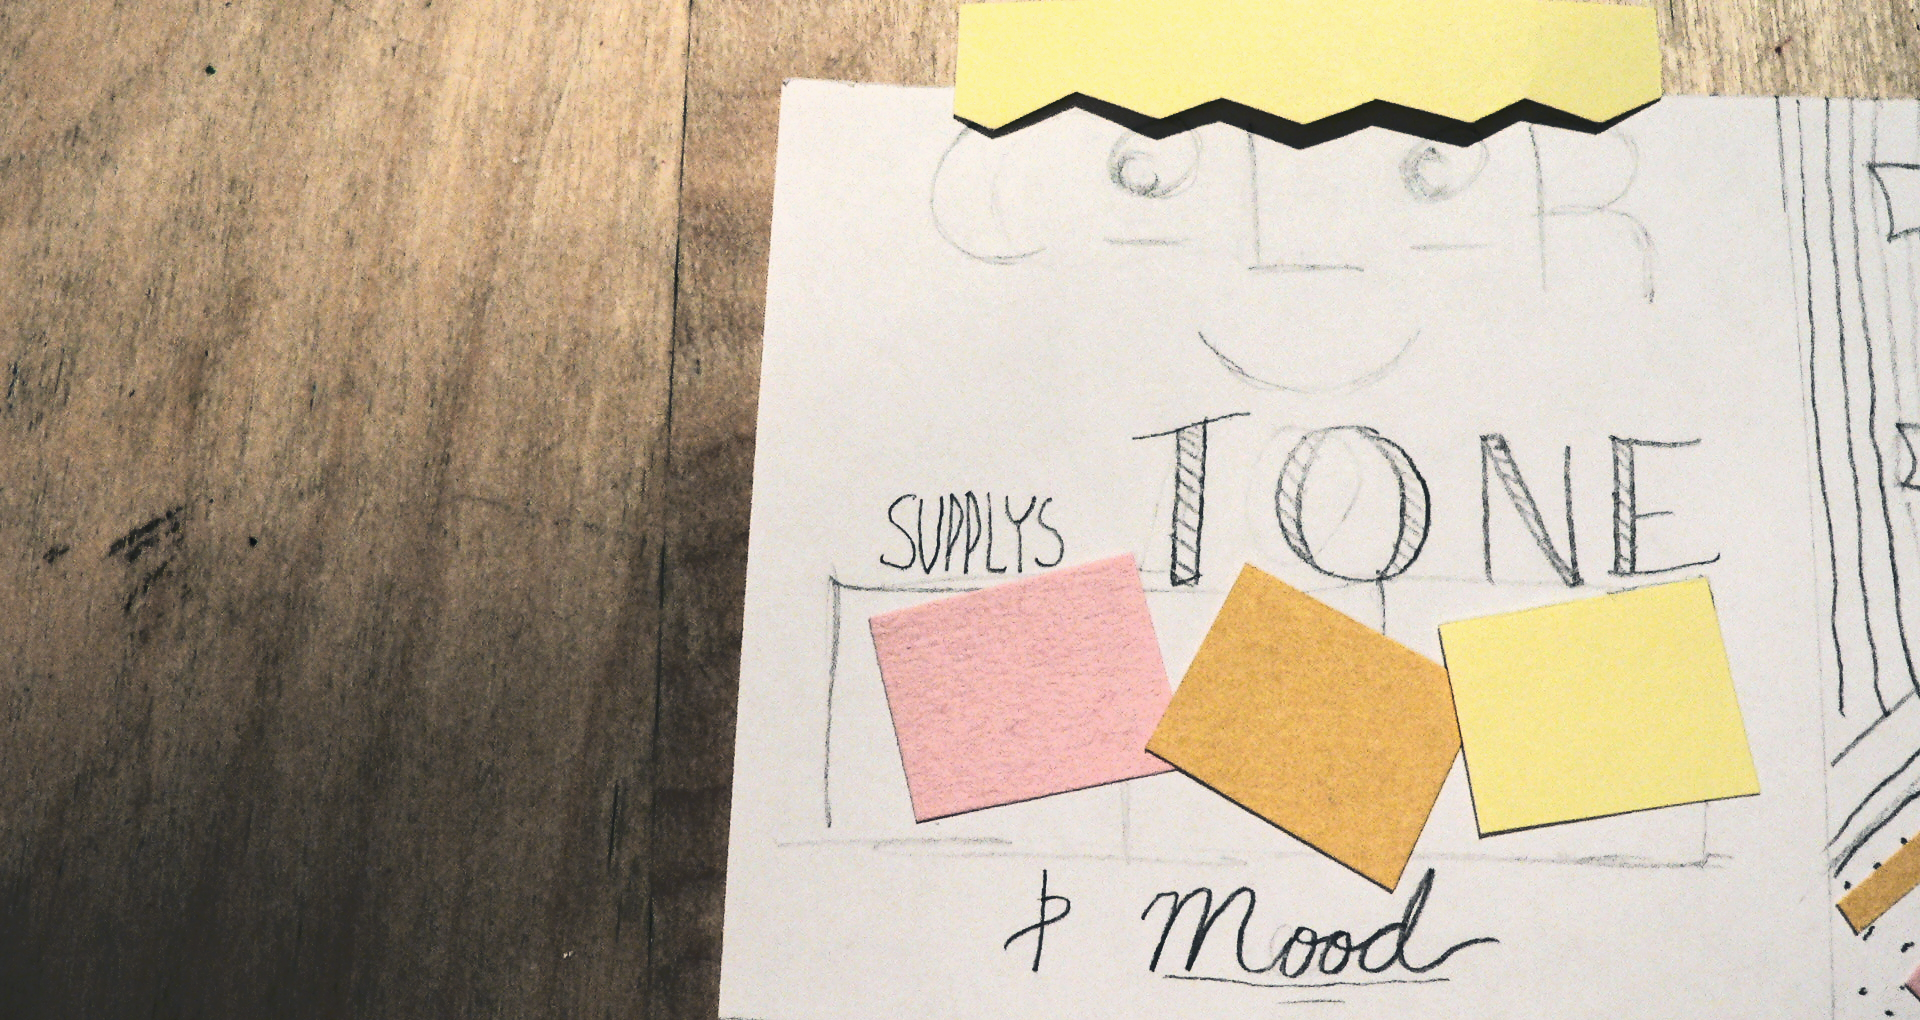
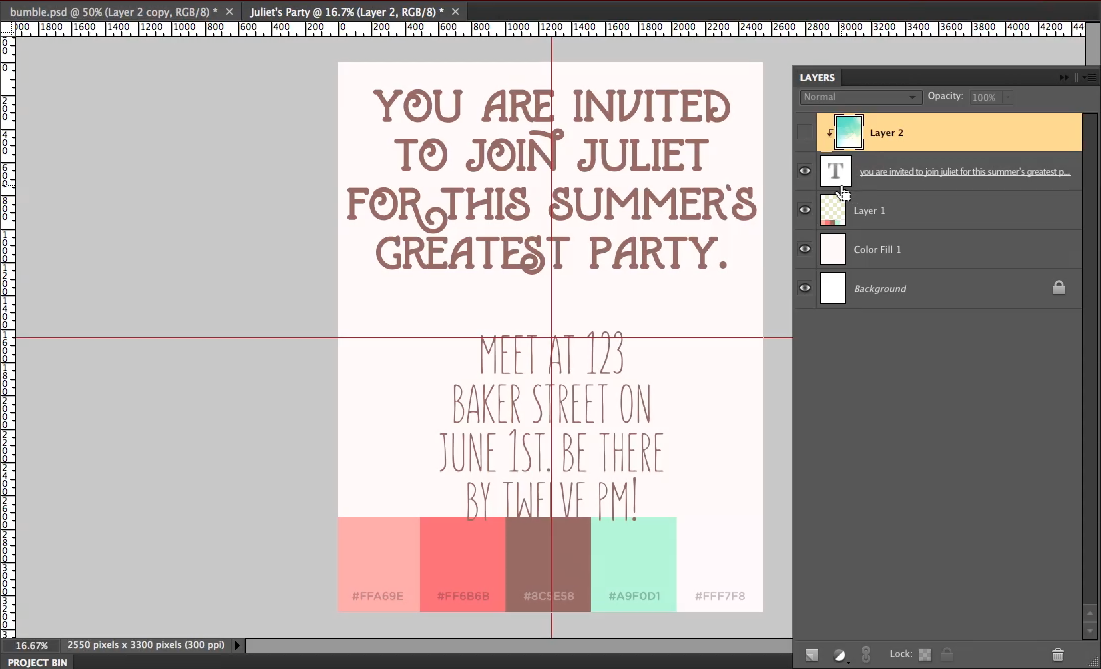
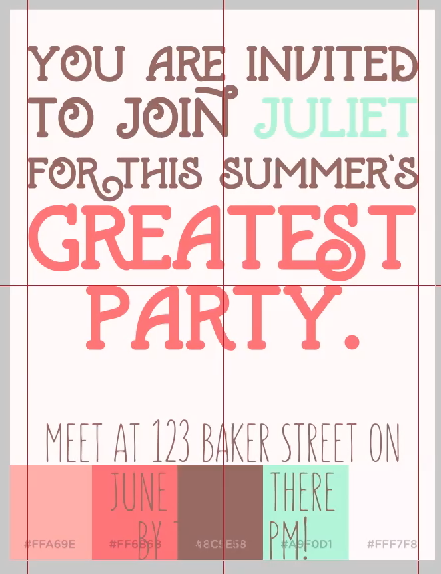
Color scheme is very important to help us tell if Juliet is... A sulky vampire? (Red & Black, perhaps) An upbeat scene-teen? (Rainbow. Just... Rainbow.) Or maybe your average upper-middle class girly girl who loves ice cream, like the colors above scream.
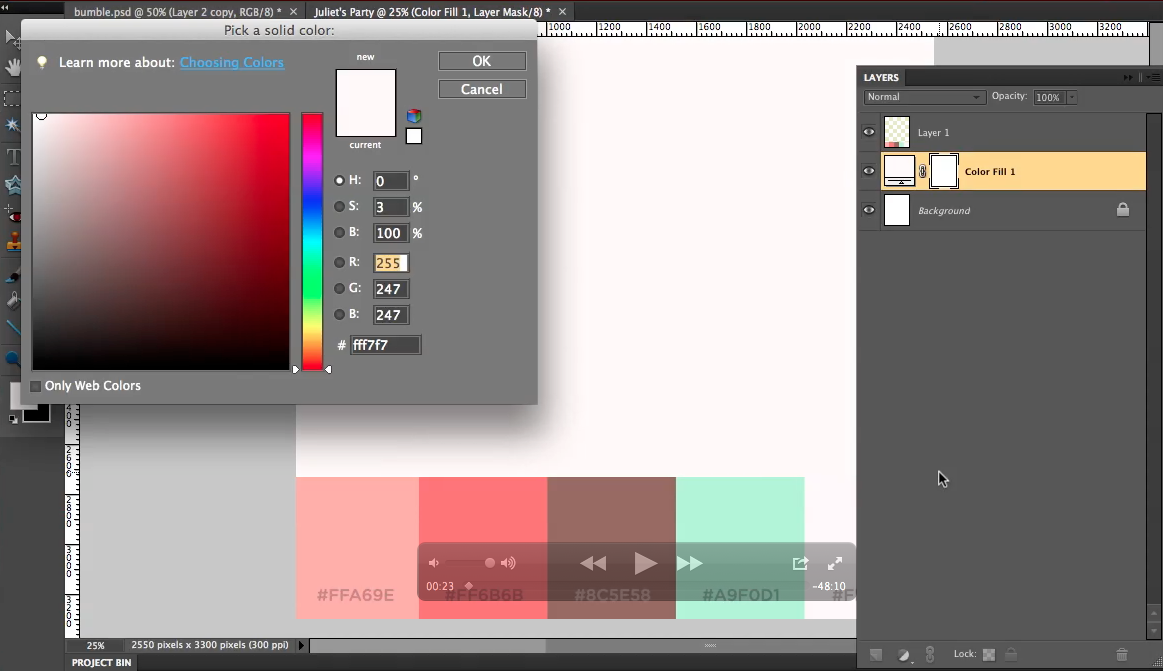
I recommend using COOLORS, a great website I use all the time that makes color schemes extremely easy.
Combine saturated with destaturated (grey & bright red), opposite colors (orange & purple), noteworthy combos (red/blue/yellow aka the primary colors, and muted rainbow are good choices) and so on.
Lay your colors down in a Photoshop file as shown, so as to help you easily pick colors!
You Gotta Make It FEEL GOOD!
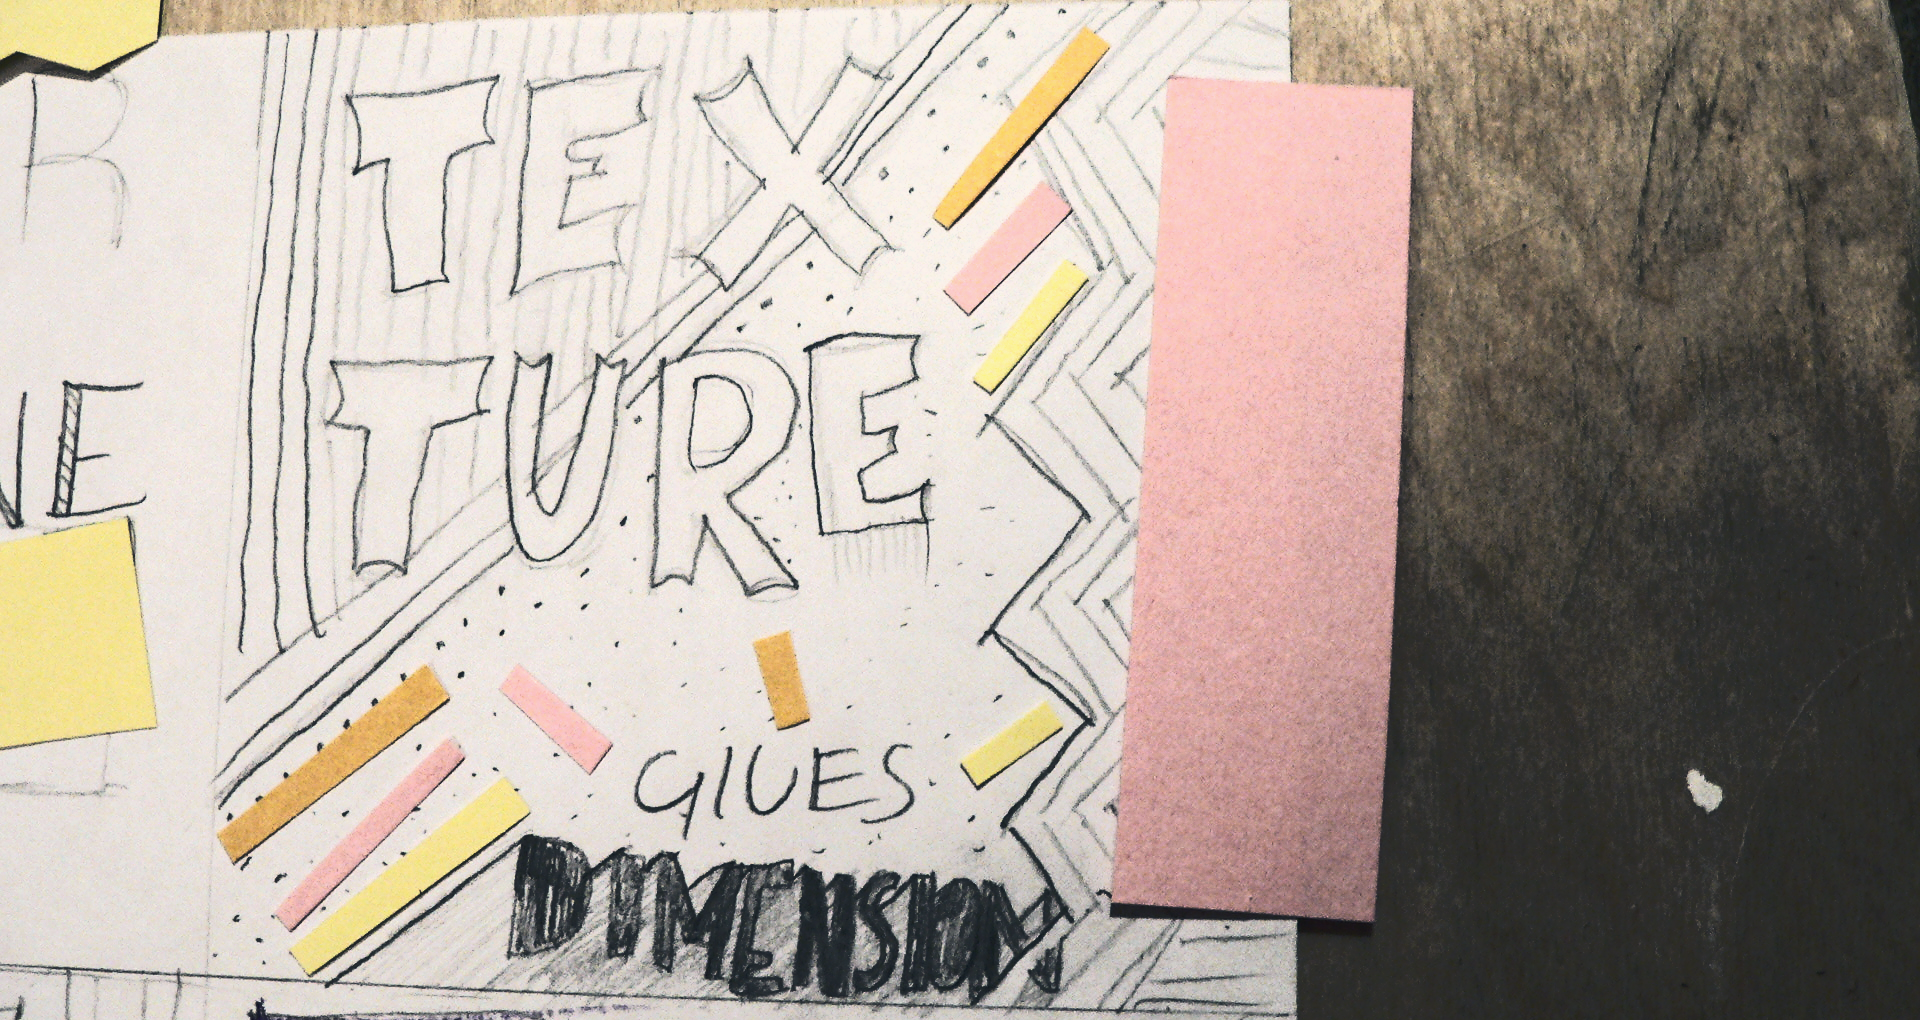
TEXTURE is another important element.
We use texture to make that dull, flat print look more dimensional.
Reduce your state of mind to one like a tiny little baby, like Chip Kidd says. Forms are make of textures, shapes, and colors. That picture of Juliet in the Word poster was a texture. Maybe too much?
-
For example, in the Intro photo, I used an ink texture which I found here to bring the focus to the words.
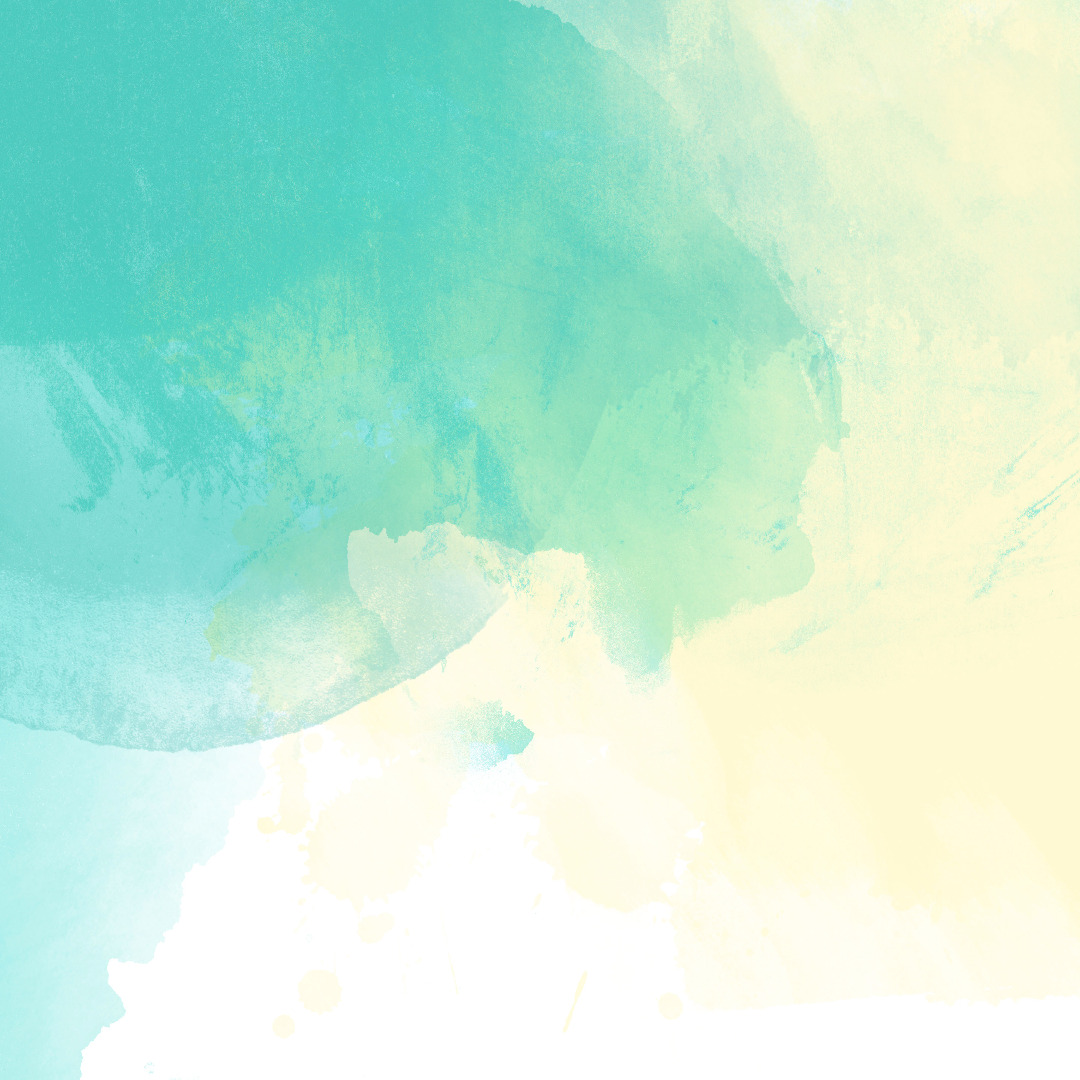
I used these watercolor textures in my poster, thanks DGS!
Please, No Comic Sans. or Lobster.
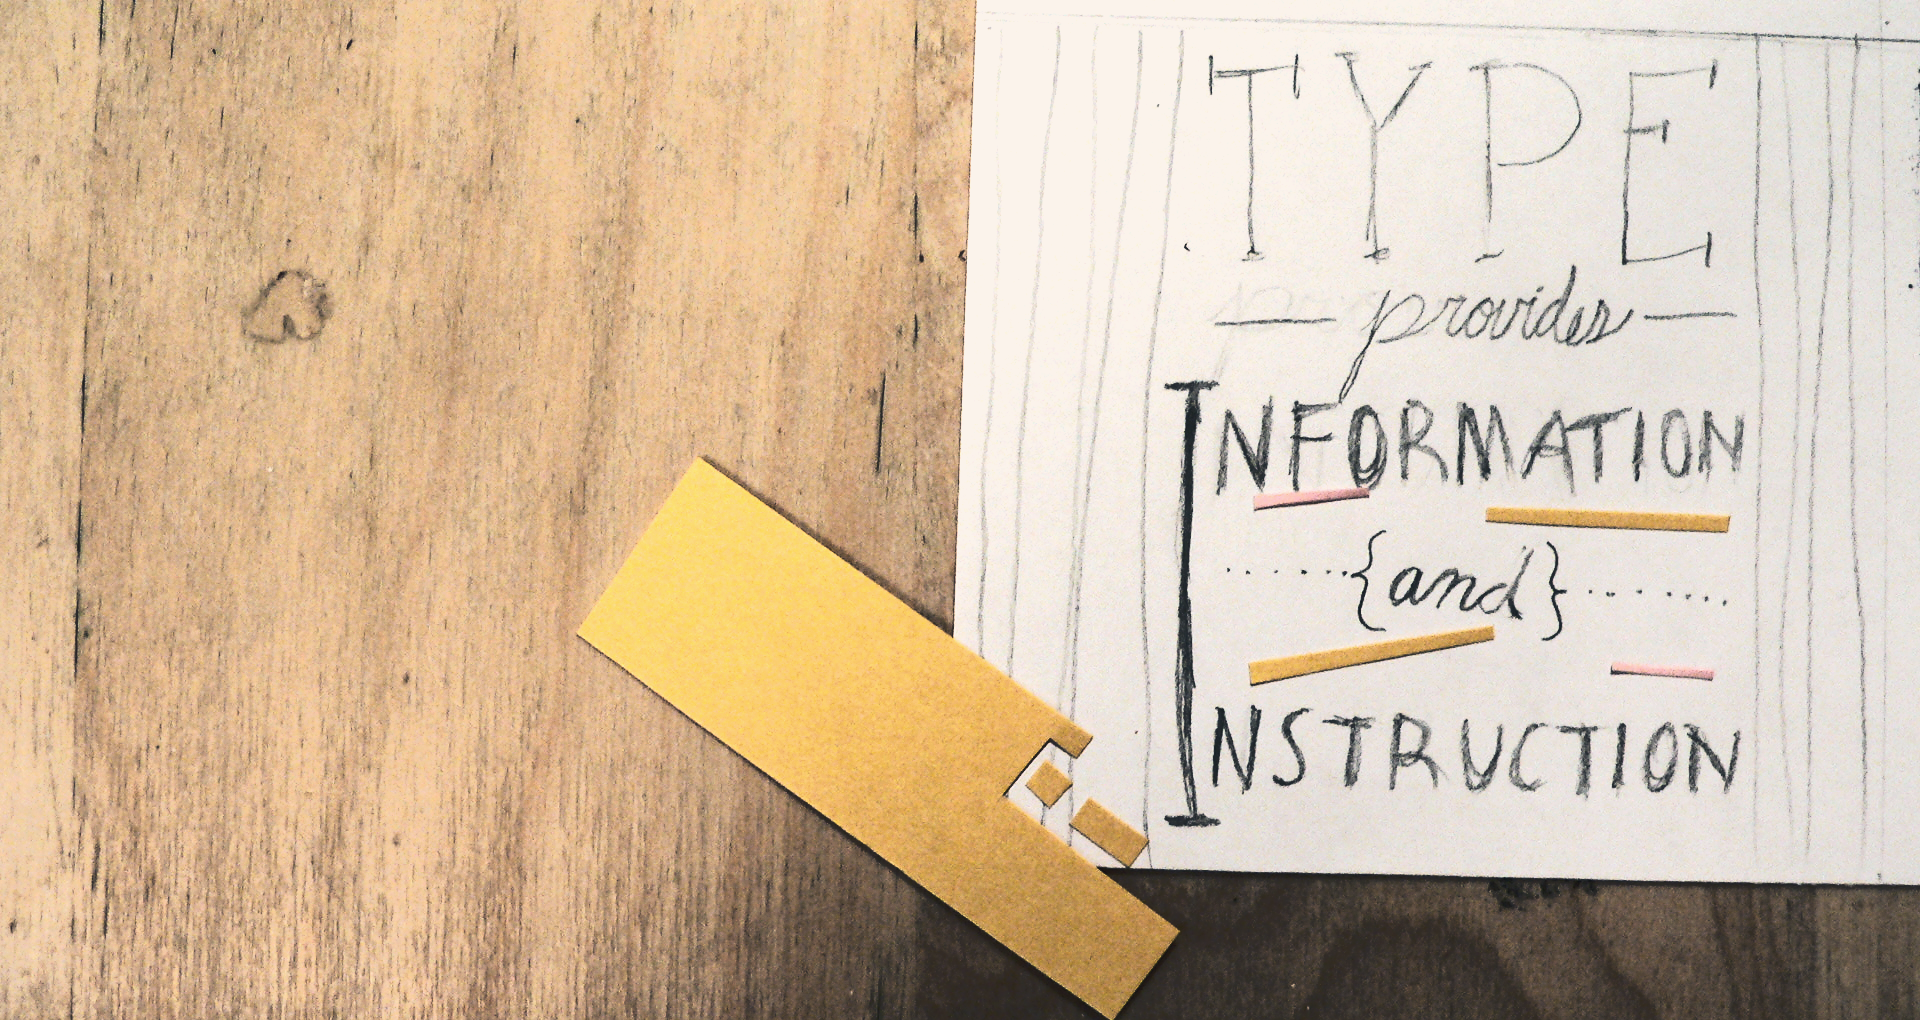
The whole purpose to of using TYPE is to give information!
Like color, type can make the difference between biker-hardcore and fashion model.
Make sure your information is correct (who has a summer party in January?!), legible, and easy to read.
Easy to read means:
- Try to keep around 2-4 fonts. Usually one sans/one serif, one tall/one short, one script/one manuscript, one bold/one light, and so on. Two fonts for a normal poster, four for something more complex. Three if you want an accent font.
- Make sure the color contrasts the background
- Here's a good place to start or refresh how to use fonts.
In the intro photo, I used a font from AF Studios, then one I found here on Behance.
I'll be using those two for my poster too!
EM... Phasis.
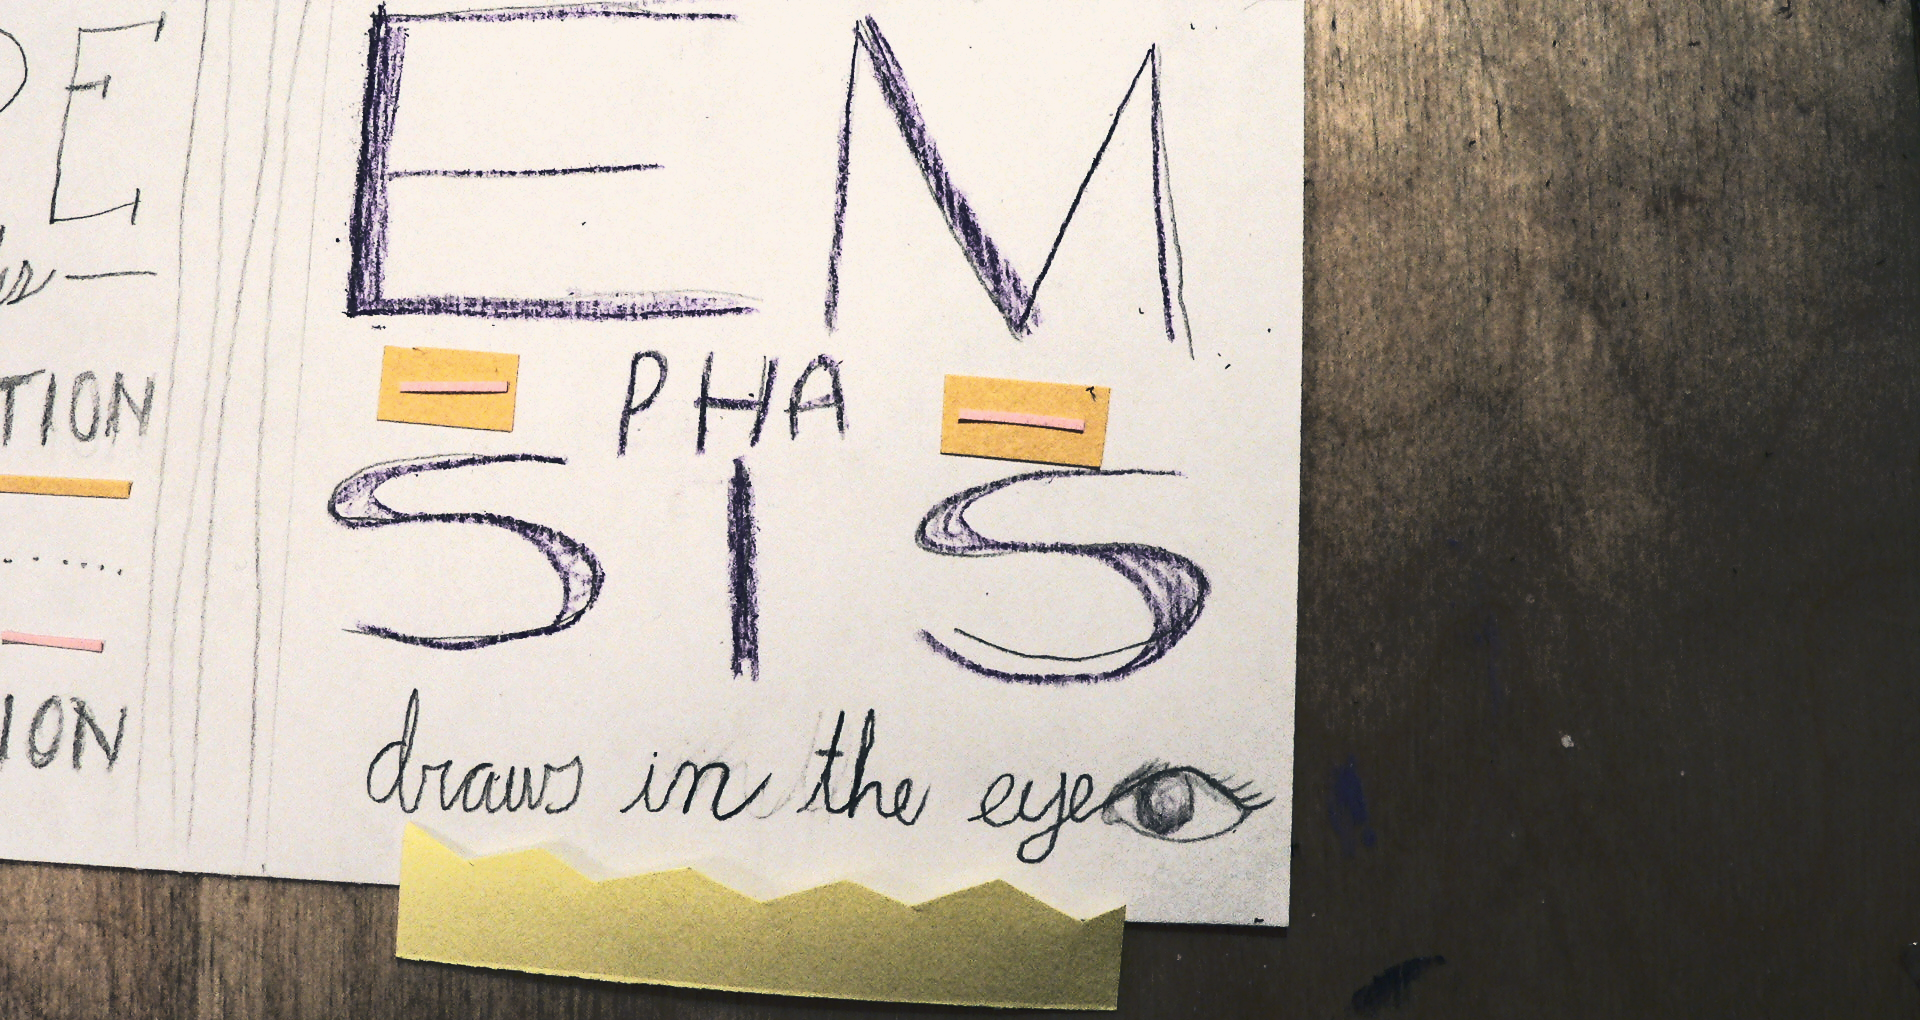
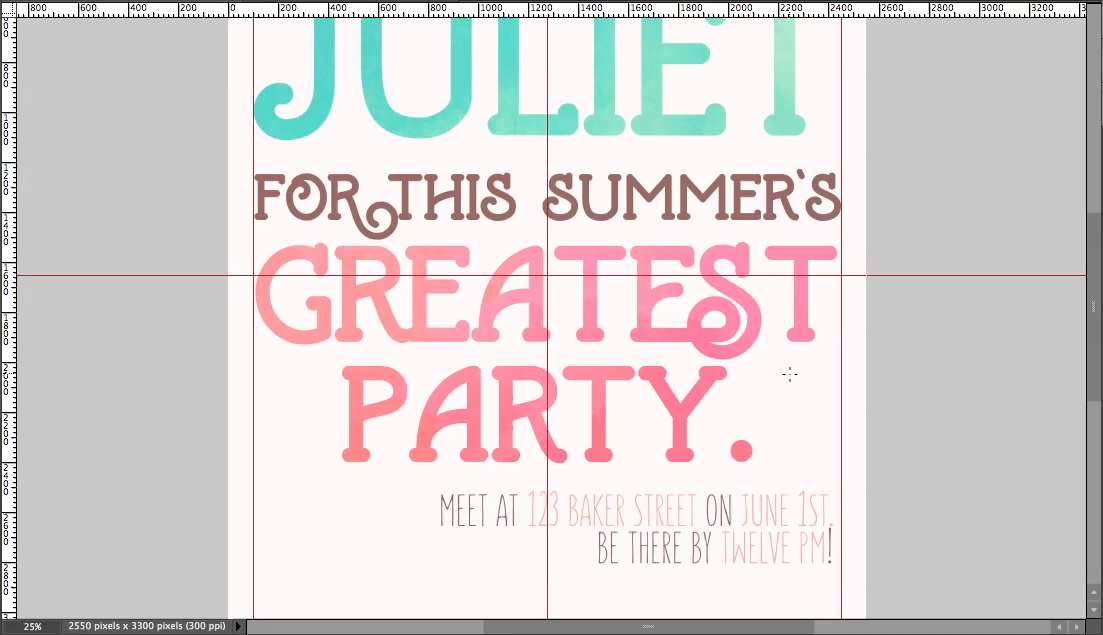
This is all the same font, all the same size, but what draws your gaze
HERE!!!!!!
Emphasis. Font weight, size, & surrounding elements play a huge role here. What information is important?
- Who
- What
- When
- Where
- Why
Use the five Ws. Who & what take the stage. When & where are musts for an event poster, and typographical why is optional if you have some space to kill.
Why is in your design.
Show off your WHY in the colors (Ice Cream!), font (fun+sun), & texture (make it EXCITING).
Finishing Touches.
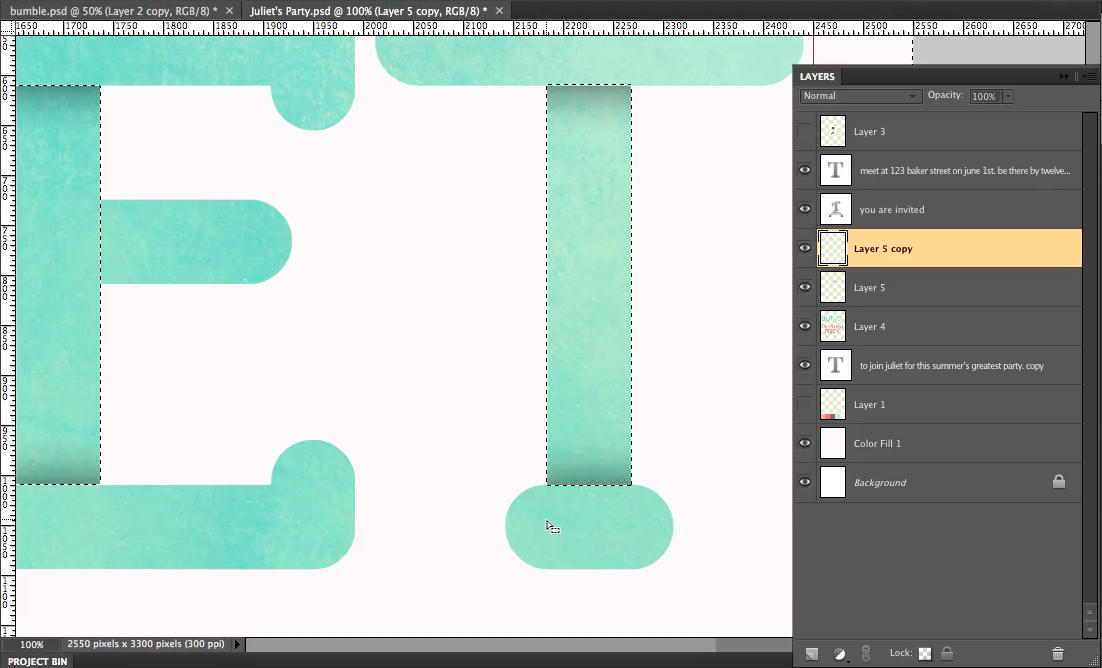
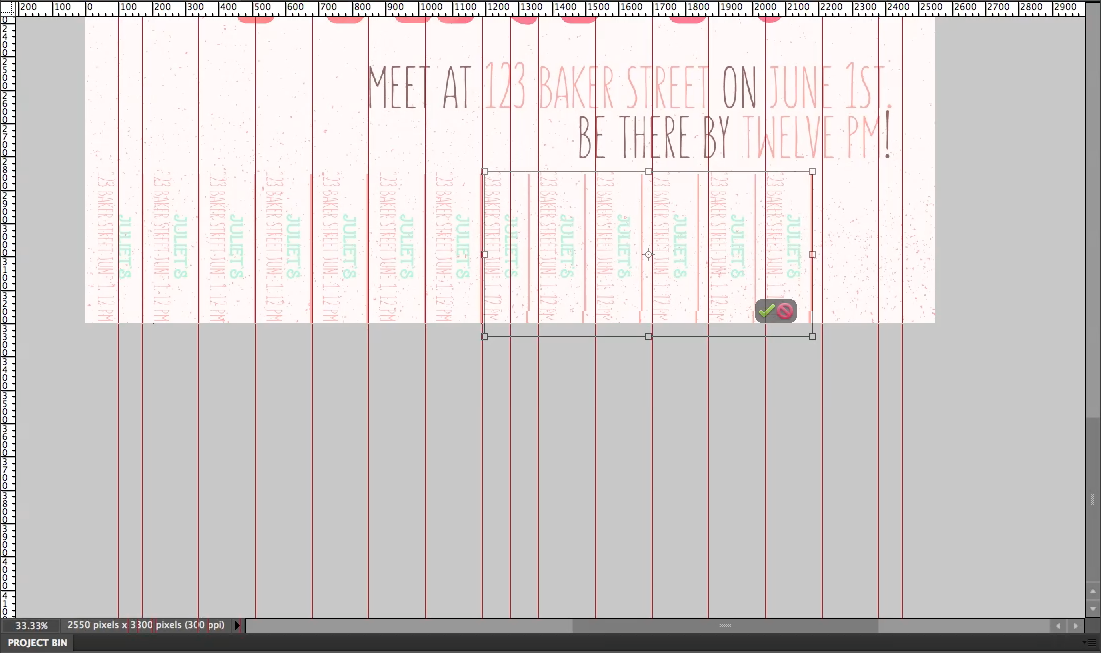
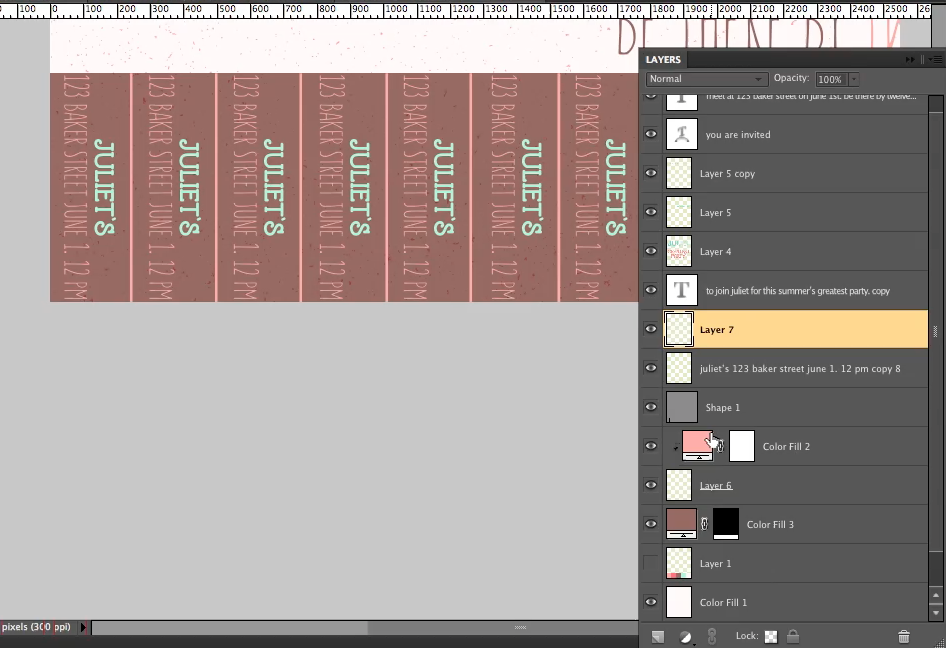
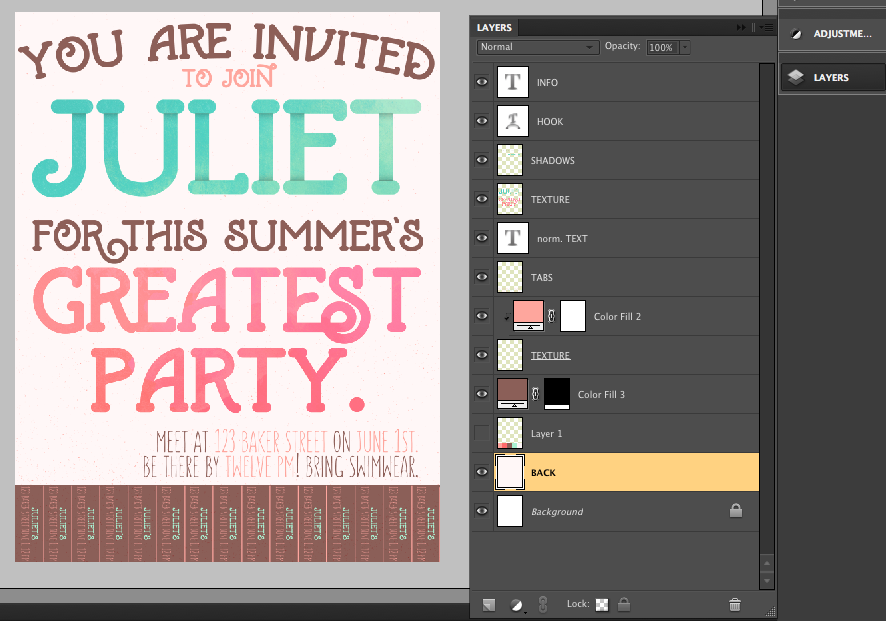
I added an AI-based texture under the font, one that was previously available for free on Creative Market, a blurred flower in the background, & then added shadows to the name, Juliet.
Then, for practicality reasons, I placed tabs and cutting lines for them on the bottom on the poster. Once printed and cut, the tabs would help with remembering the basics. Who, when, & where. Another alternative is adding a QR code to scan with information.
Clean up your layers, make sure everything goes together.
Once you do that you're...
FINISHED!
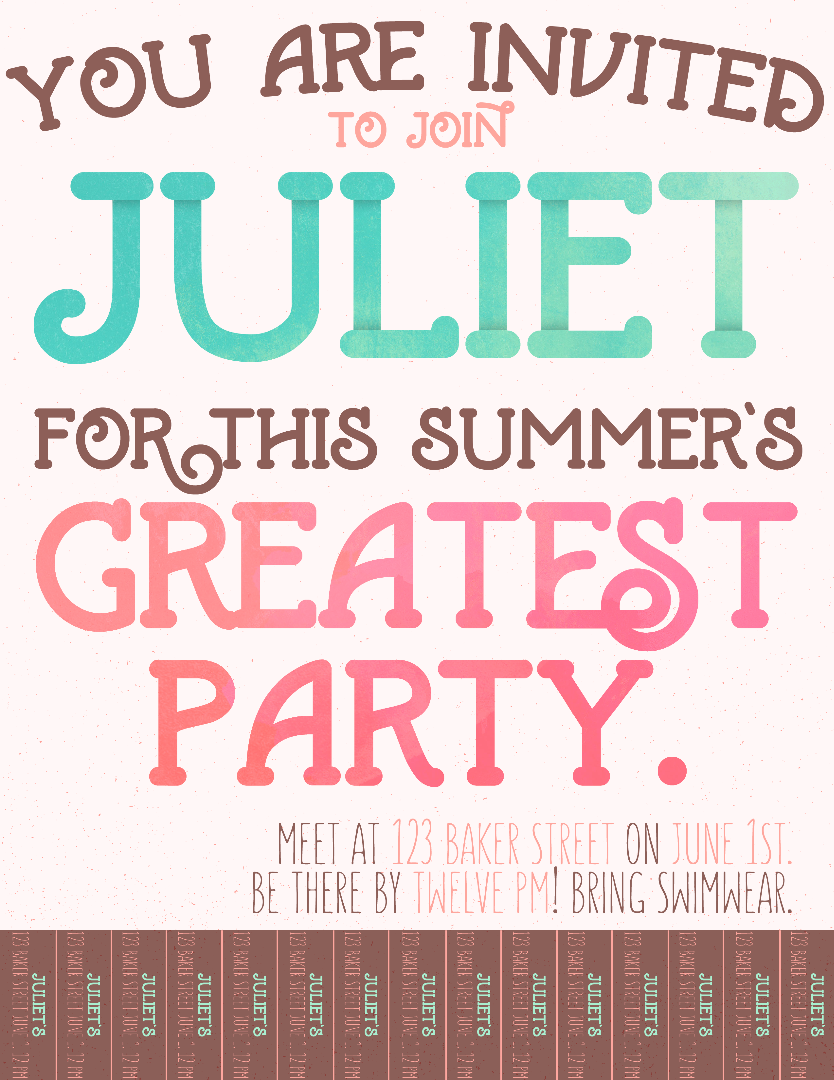
Here I've uploaded a .zip file of the .psd and the full resolution .png! Feel free to check it out! Now that you've read this, you've also gathered some general design tips too, maybe you could even enter a contest like I have!
I'd appreciate your vote very much, so thanks in advance if you click that lil' button for me!
Any questions, concerns, or finished products to show off? Comment below!