How to Create an Ethernet Cable
by stevenwallert in Workshop > Science
2700 Views, 3 Favorites, 0 Comments
How to Create an Ethernet Cable
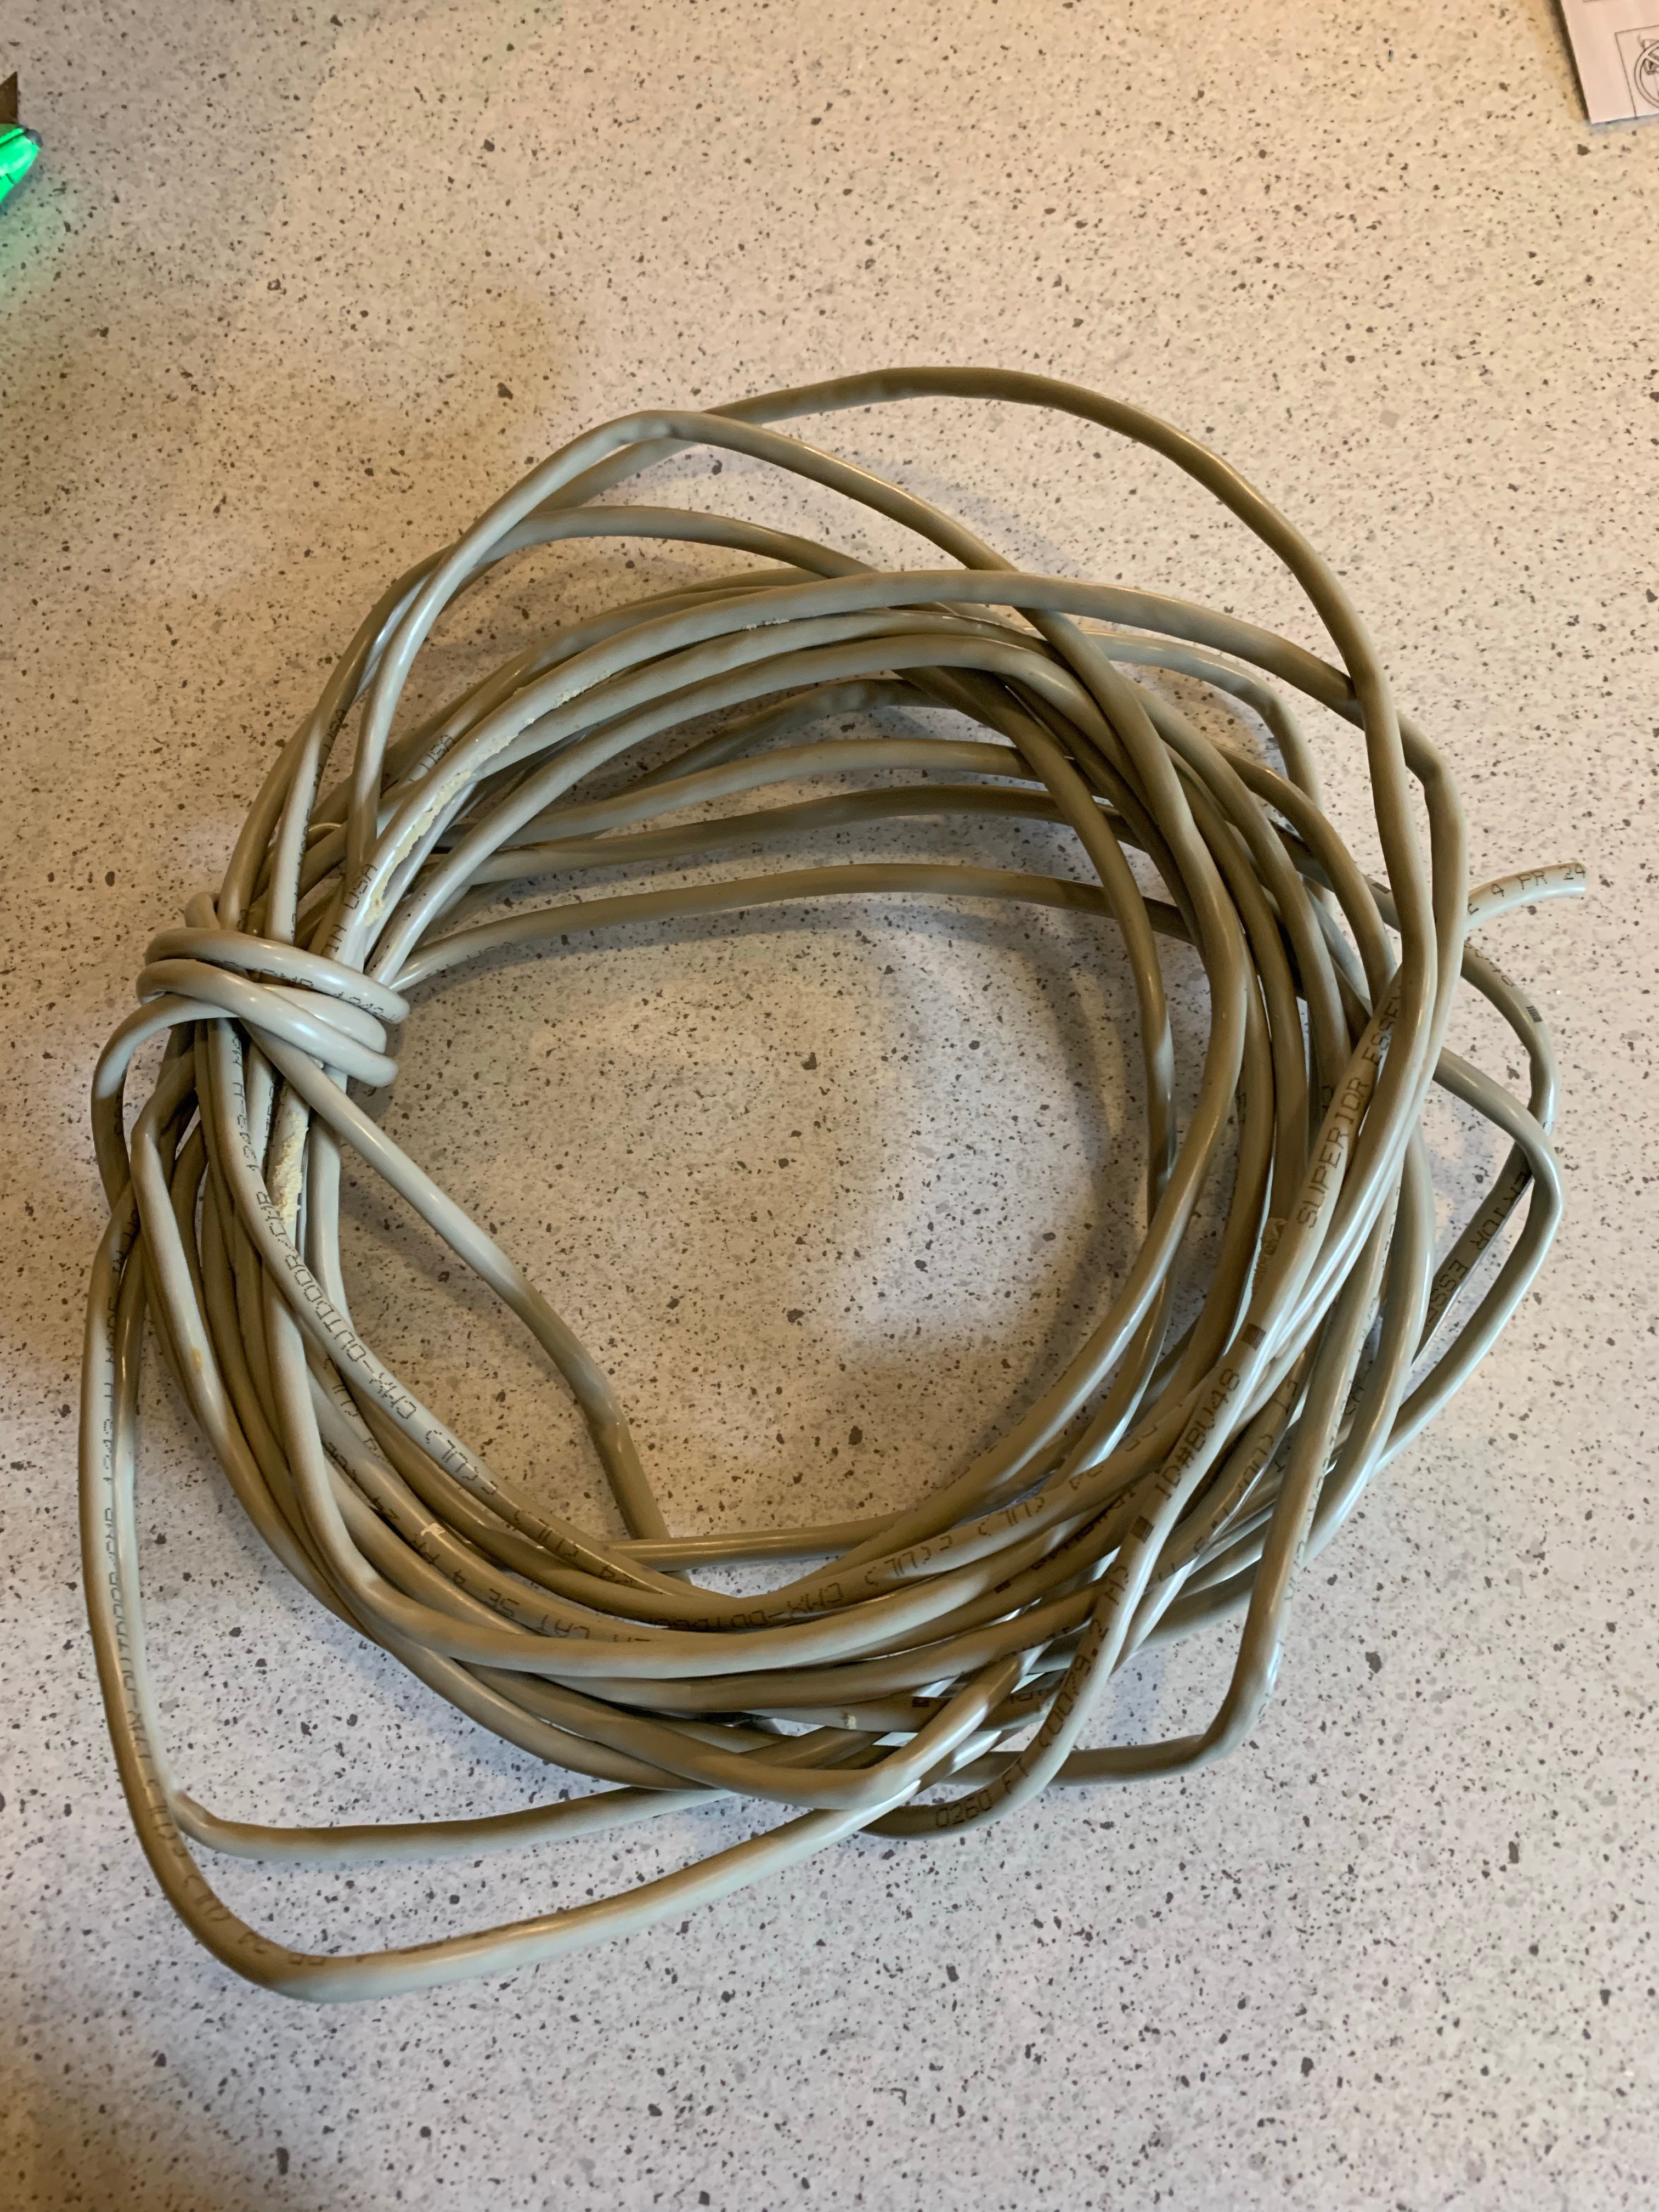
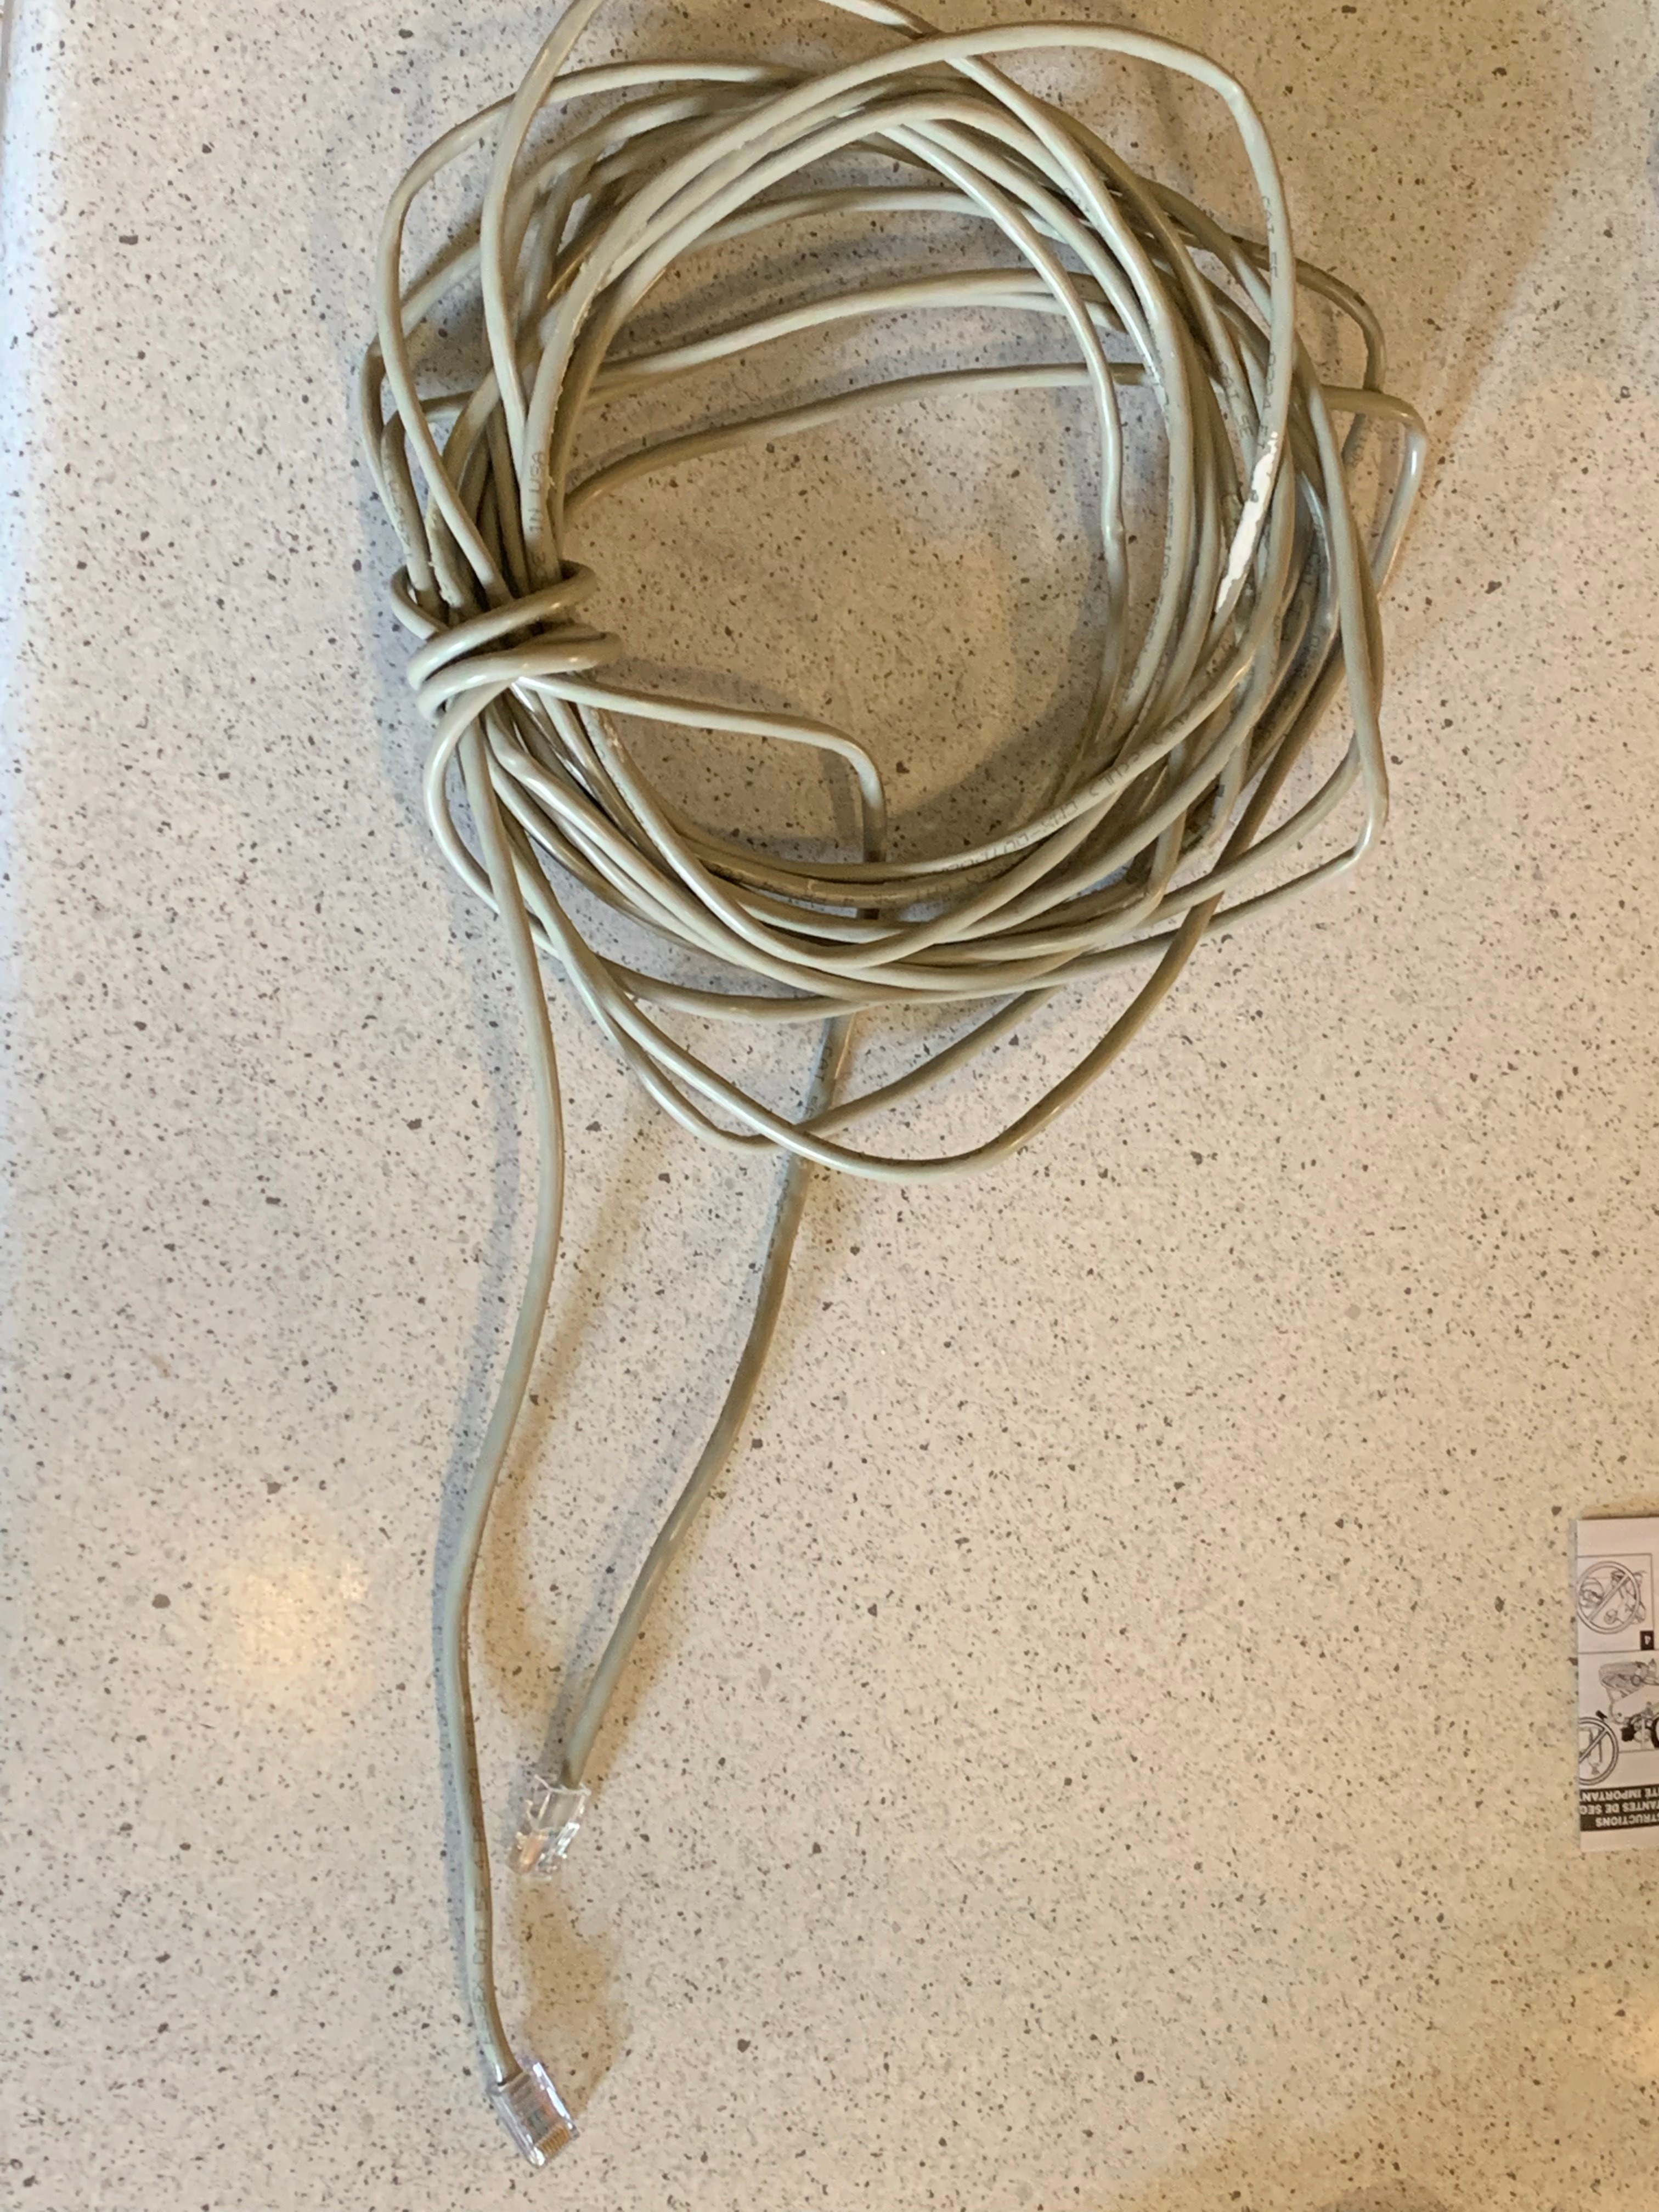
Hi, my name is Steven Wallert. You know how sometimes your internet will go down and have issues. I am the person that will help and solve the internet problem. The very first way to connect computers and devices to the internet was through Ethernet cables. I am going to show you the simple steps that will walk the average person through creating an Ethernet Cable. Ethernet cables offer better connection and faster speeds to the internet on your laptop or desktop computer.
Necassary Material and Tools
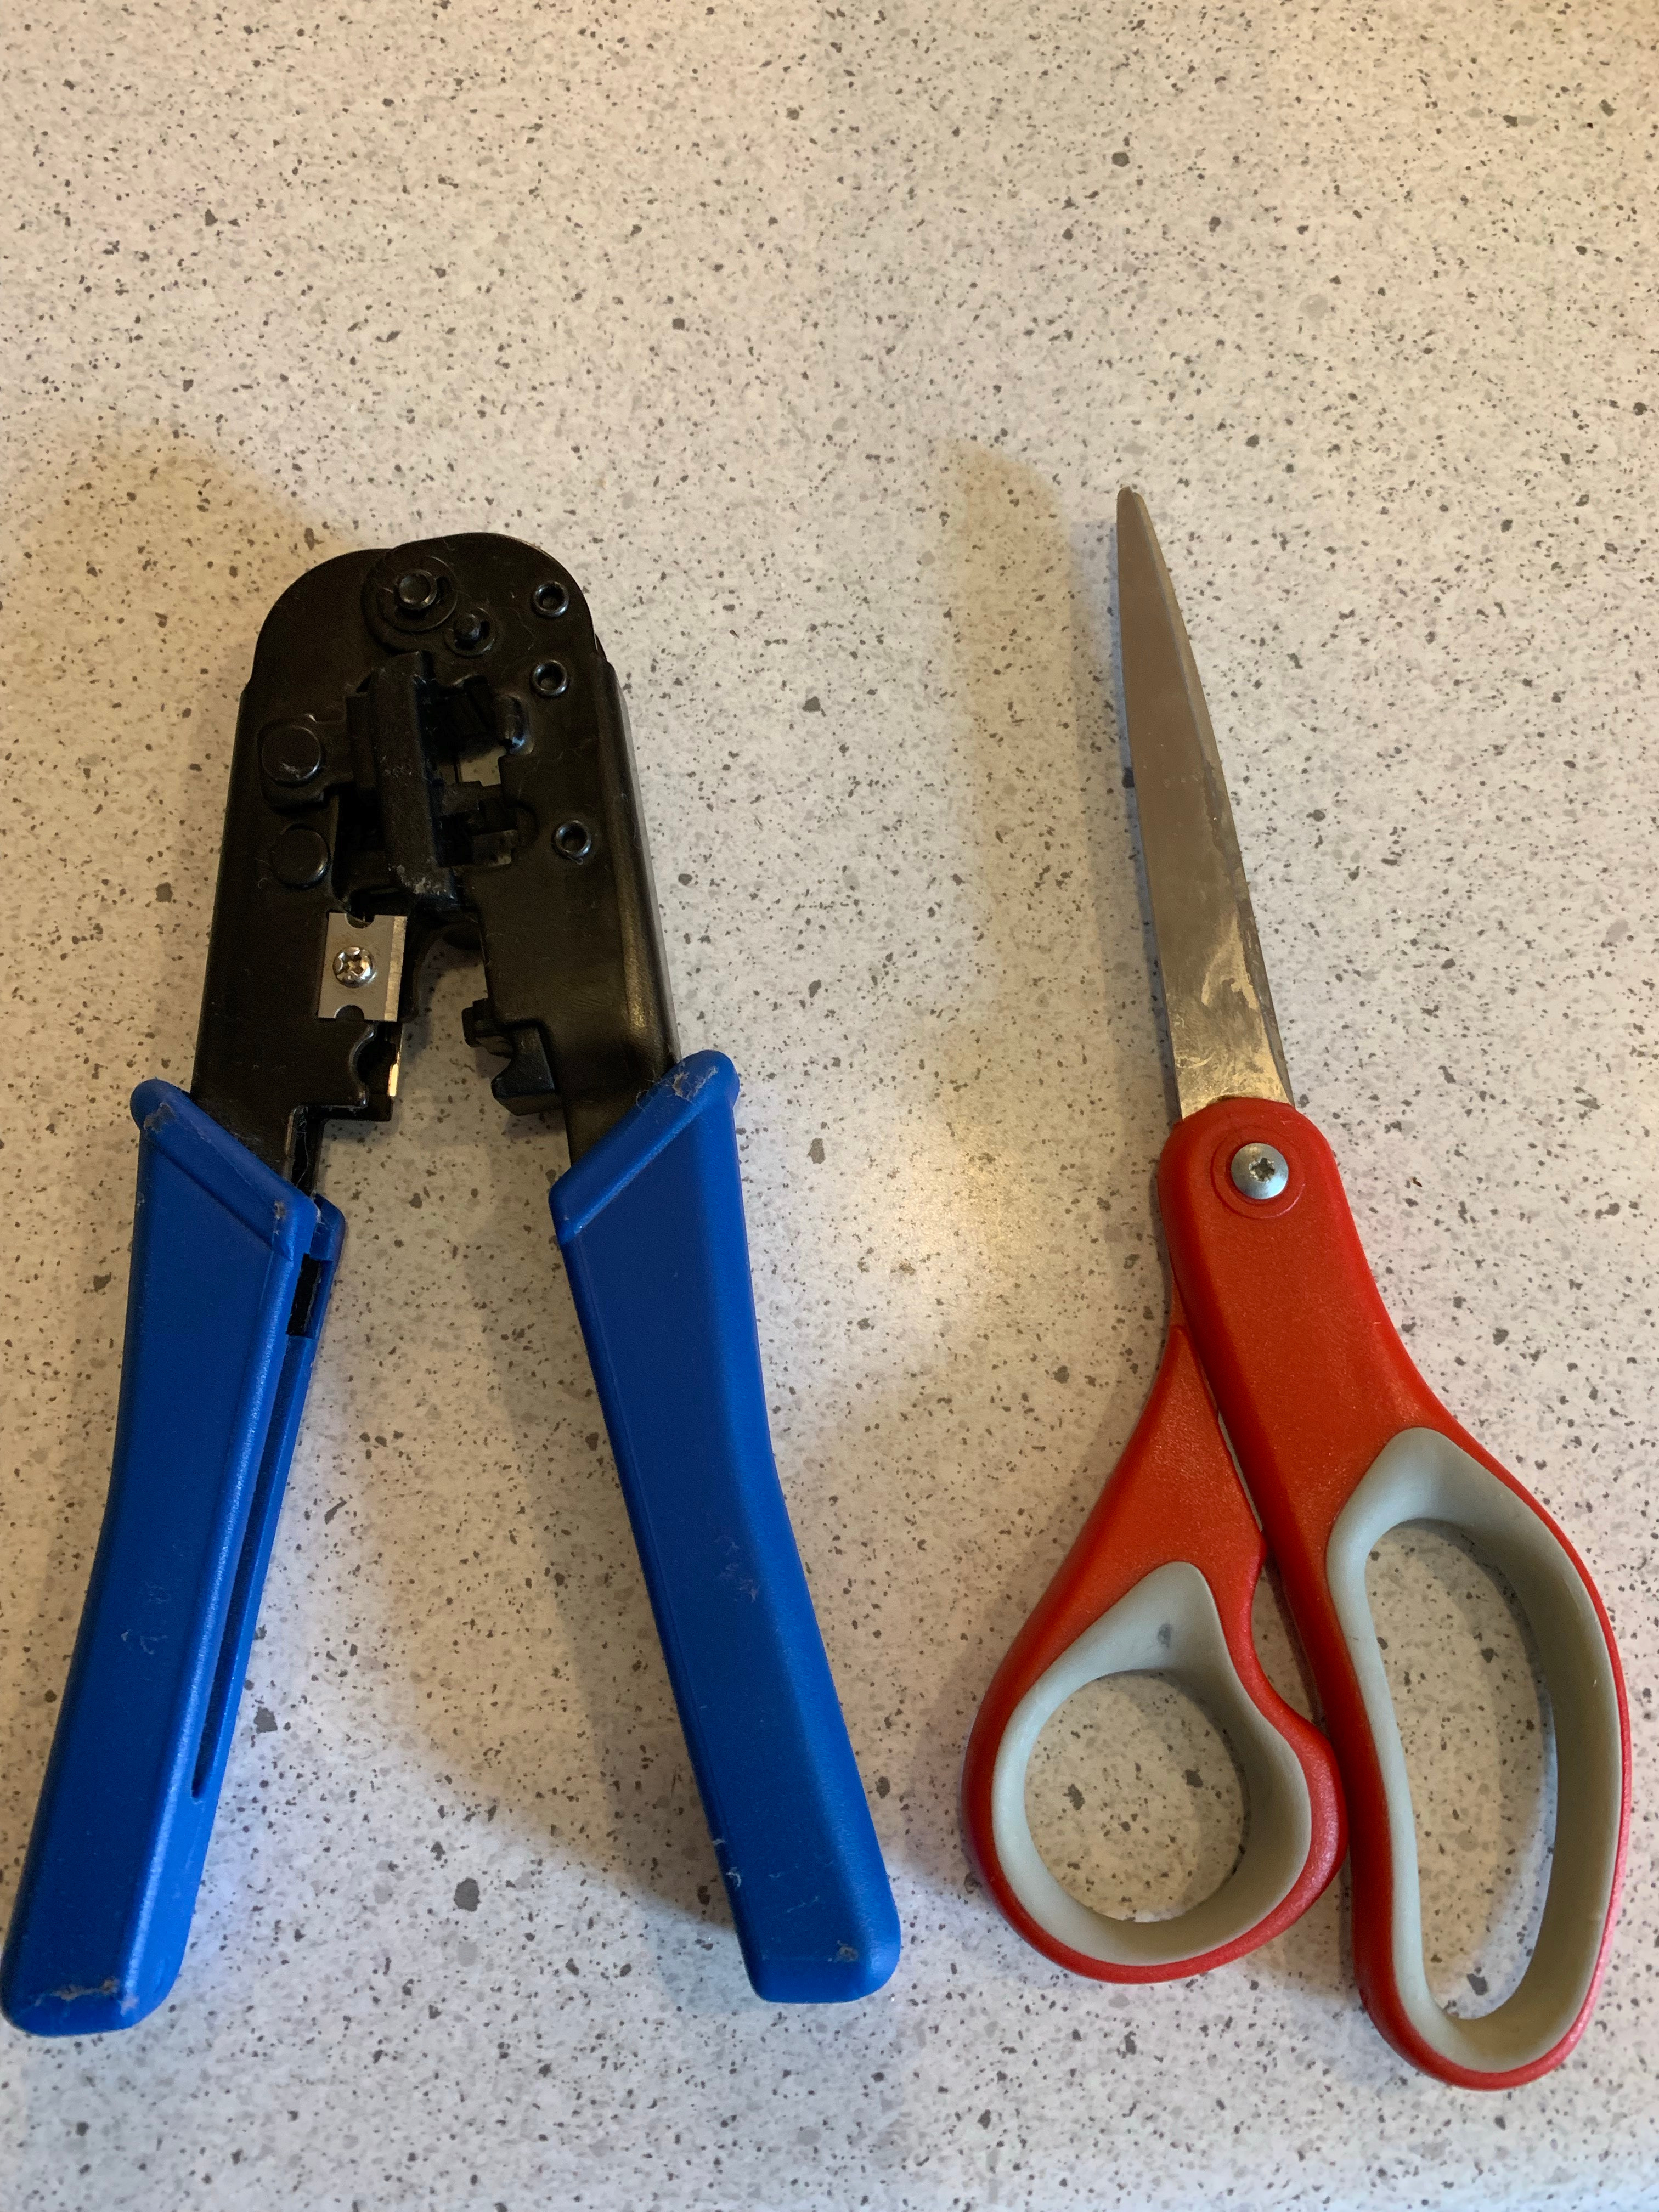

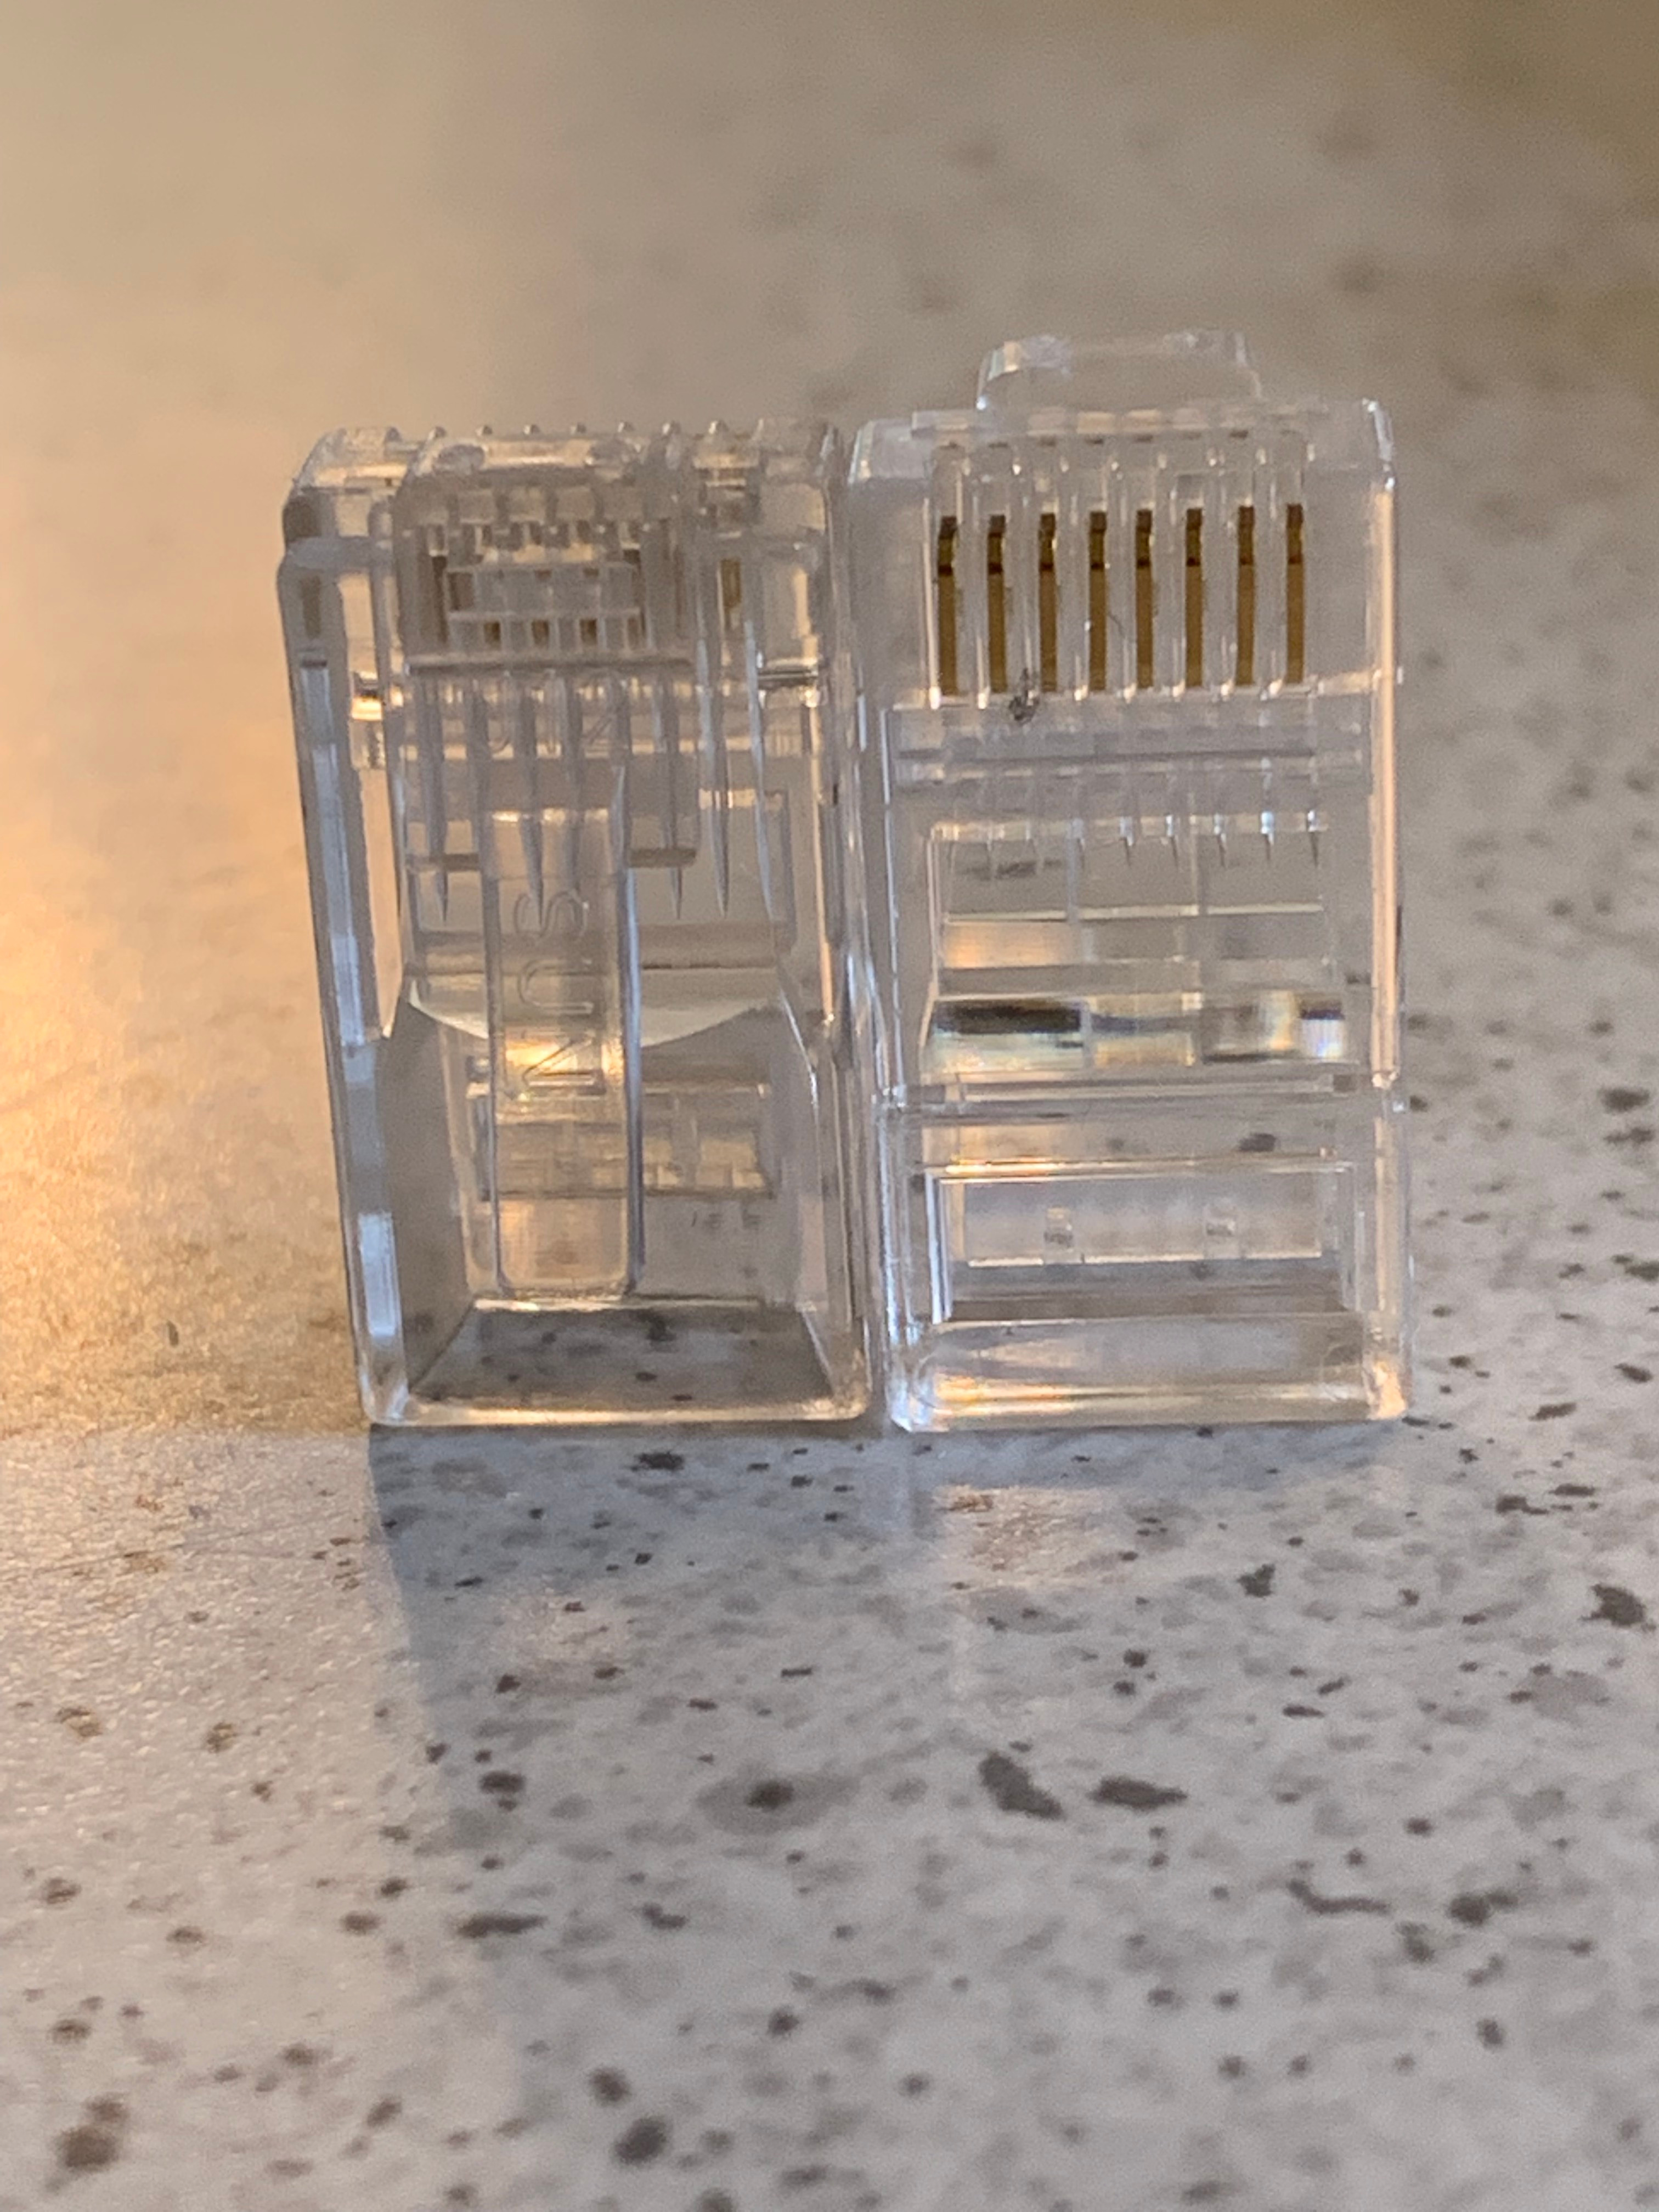
You will need the following:
Ethernet Cable, RJ45 Connectors, RJ45 Crimper, Scissors or Wire Cutter
Length of the Cable
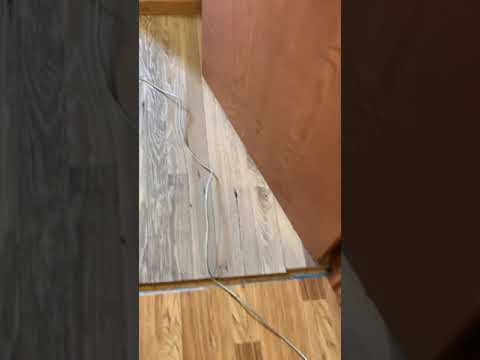
The length of the cable needs to be measured to find out how much is needed to reach the router/switch from the computer. Then cut it from the spool of cable. I personally always make my cable longer than it needs to be, just in case if the computer needs to be moved.
Removal of Cable Shield
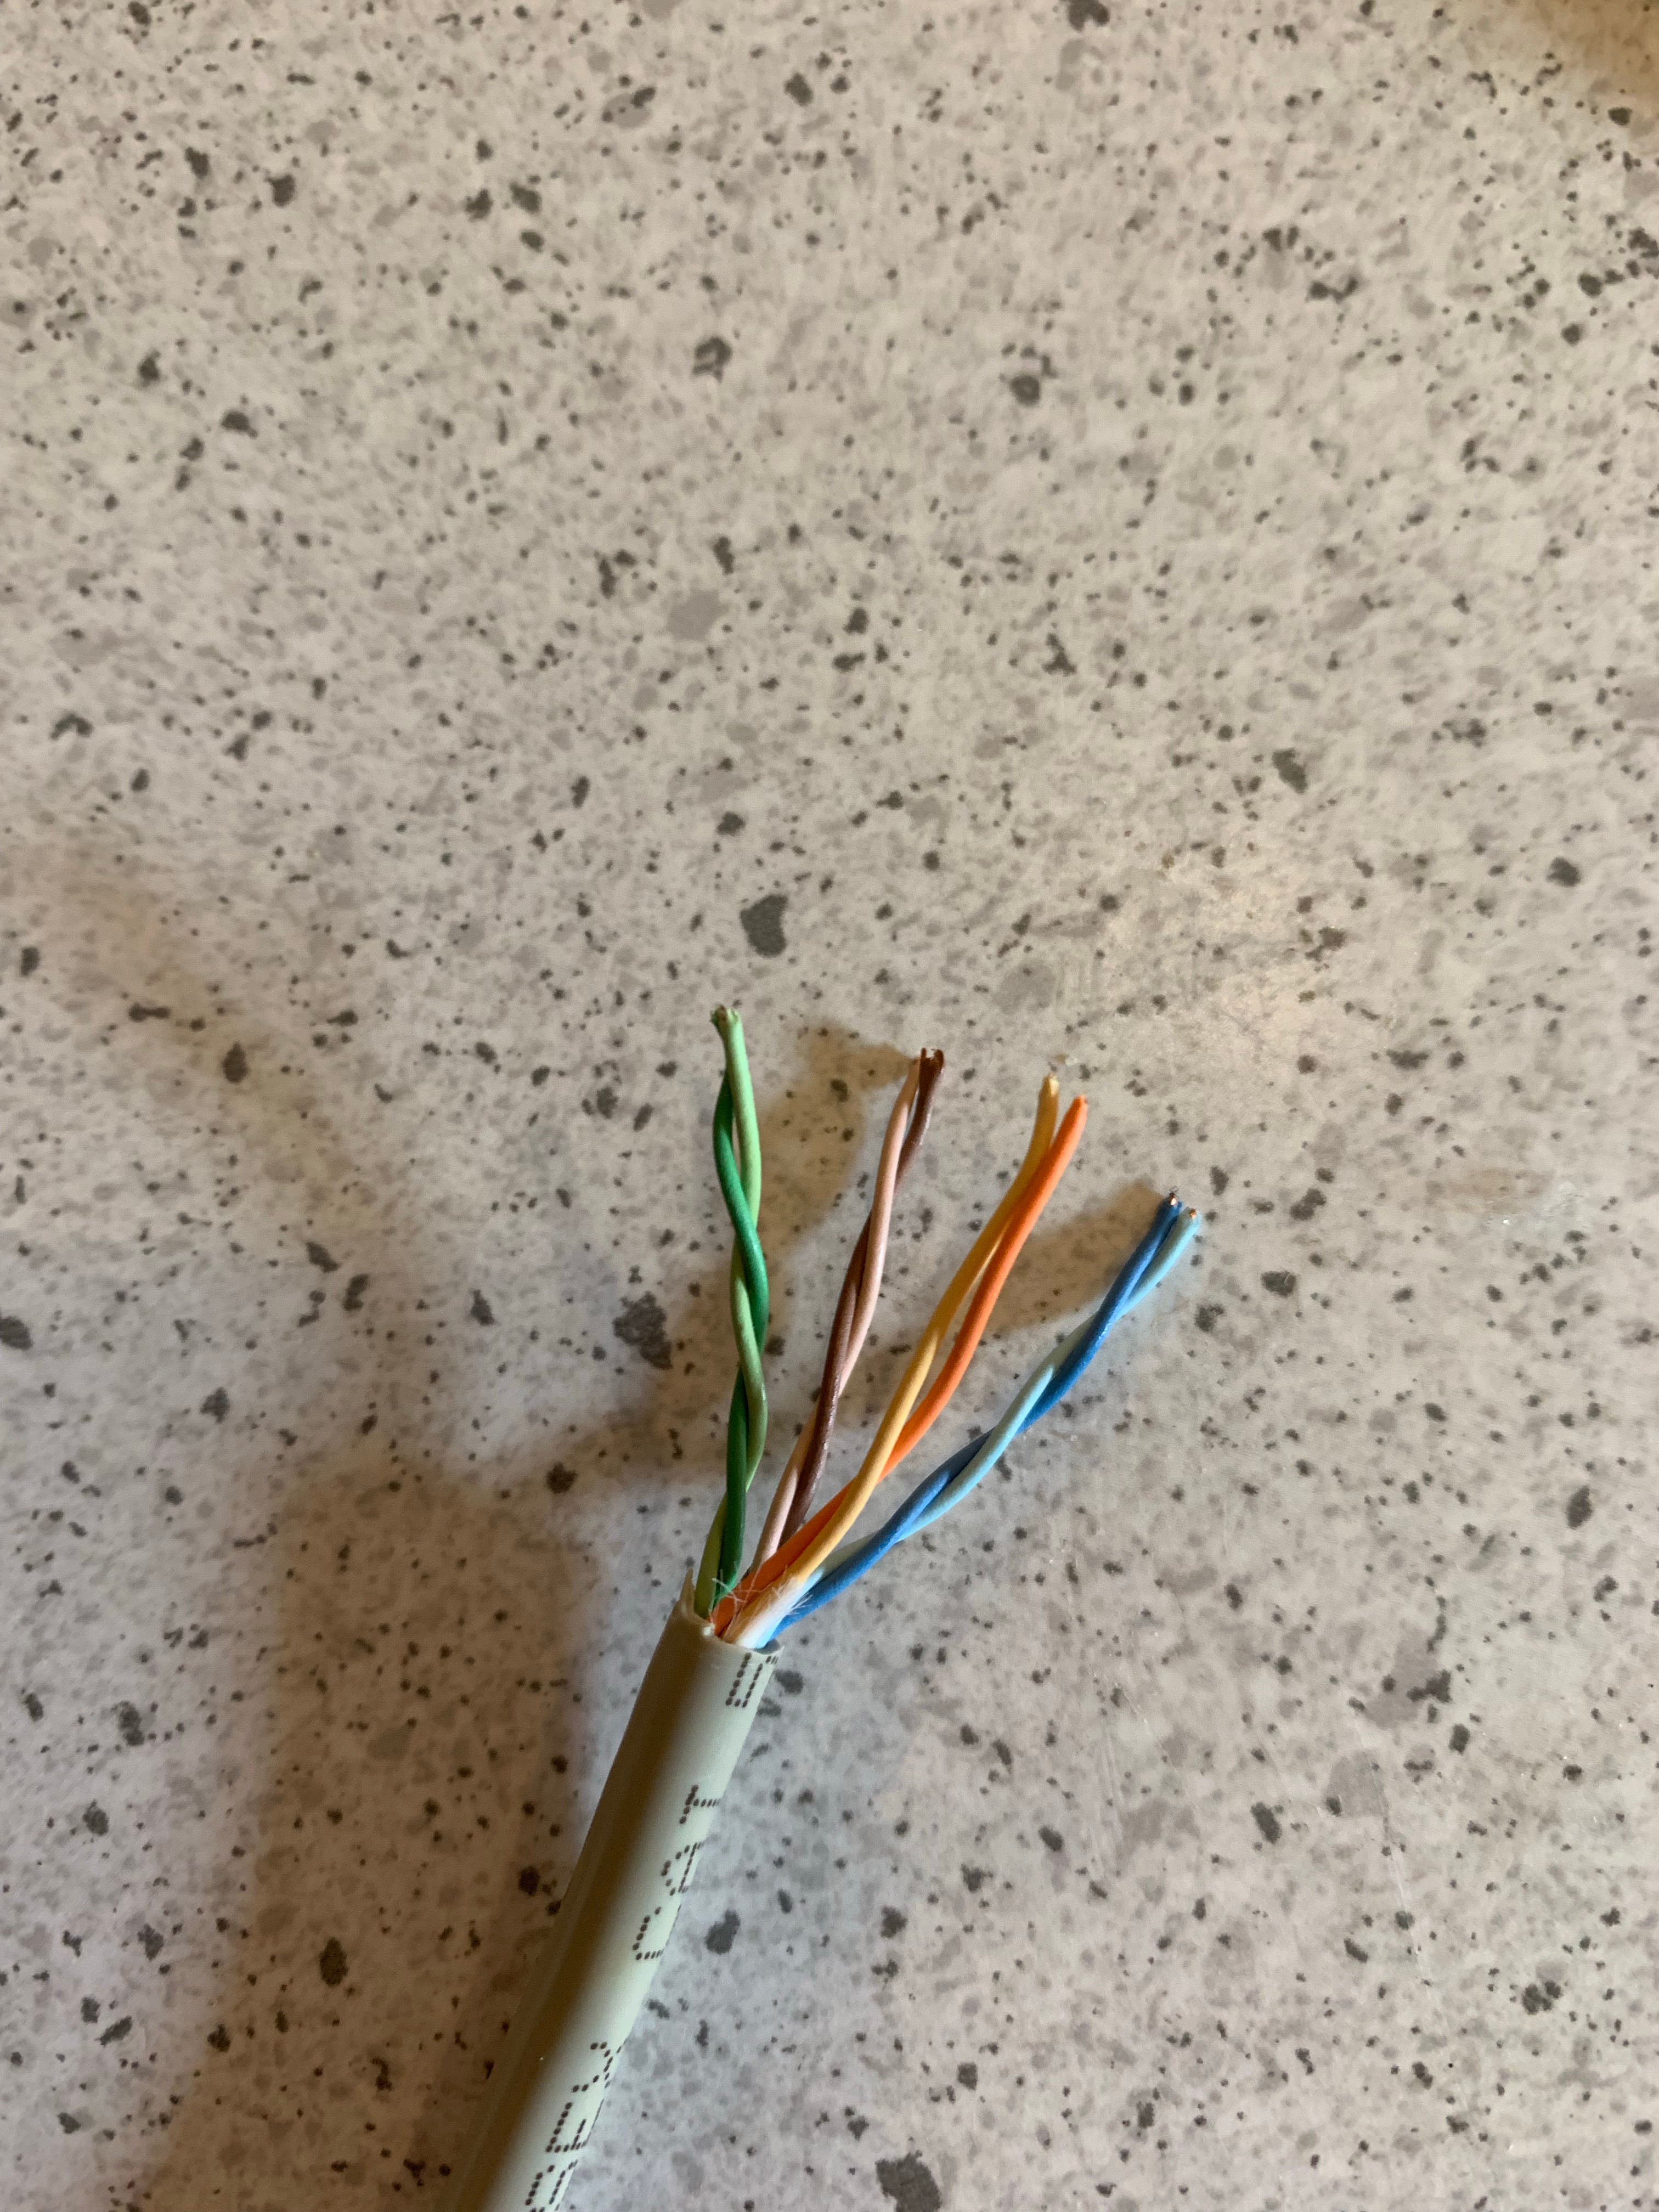
Now the cable shielding will need to be stripped back. There will be eight little wires inside the shielding. I always make sure not to damage any of the wires; if the wires have little cuts, it could cause interference and issues. If there were a cut in any of the wires, I would cut the wires off and start over.
Prepping the Wires
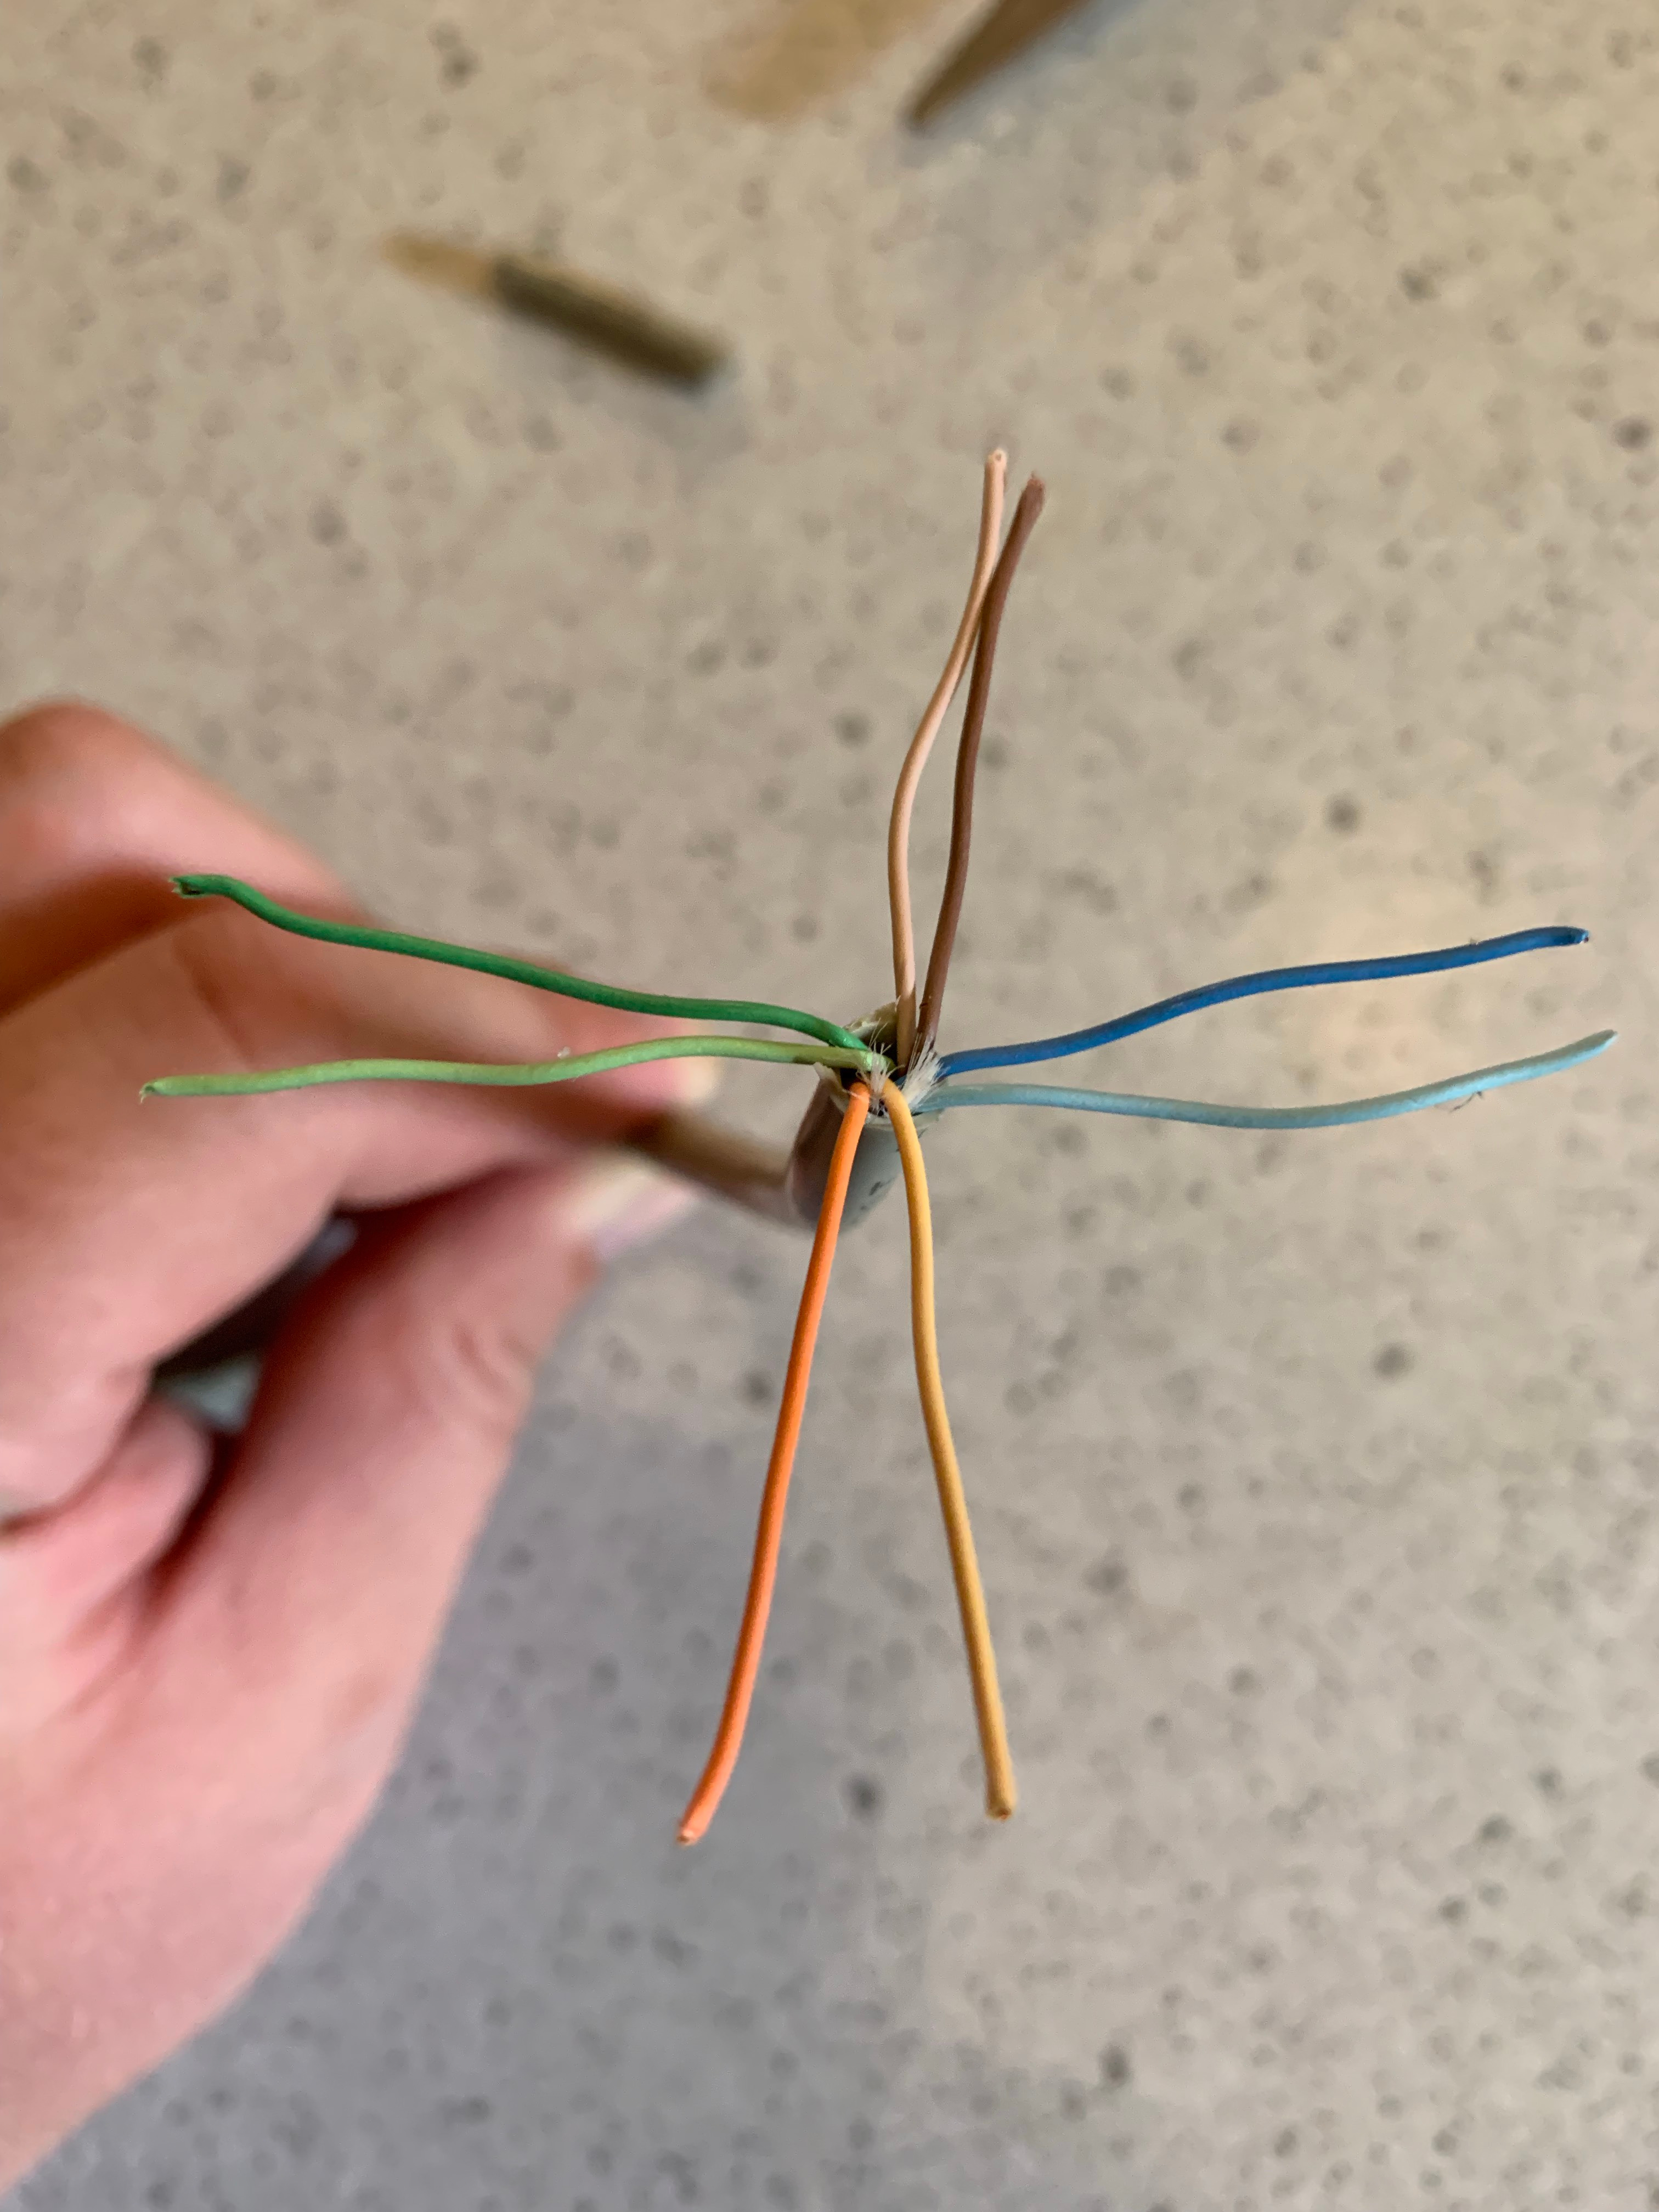
After the shielding is stripped back, begin to untwist the pairs of wires. Then separate the pairs of wires. Separate the pairs of wires to four corners for easier managing. This will help when the wires need to be moved around. In addition, it is easier to line the wires up when putting the end connectors on.
Aligning the Wires
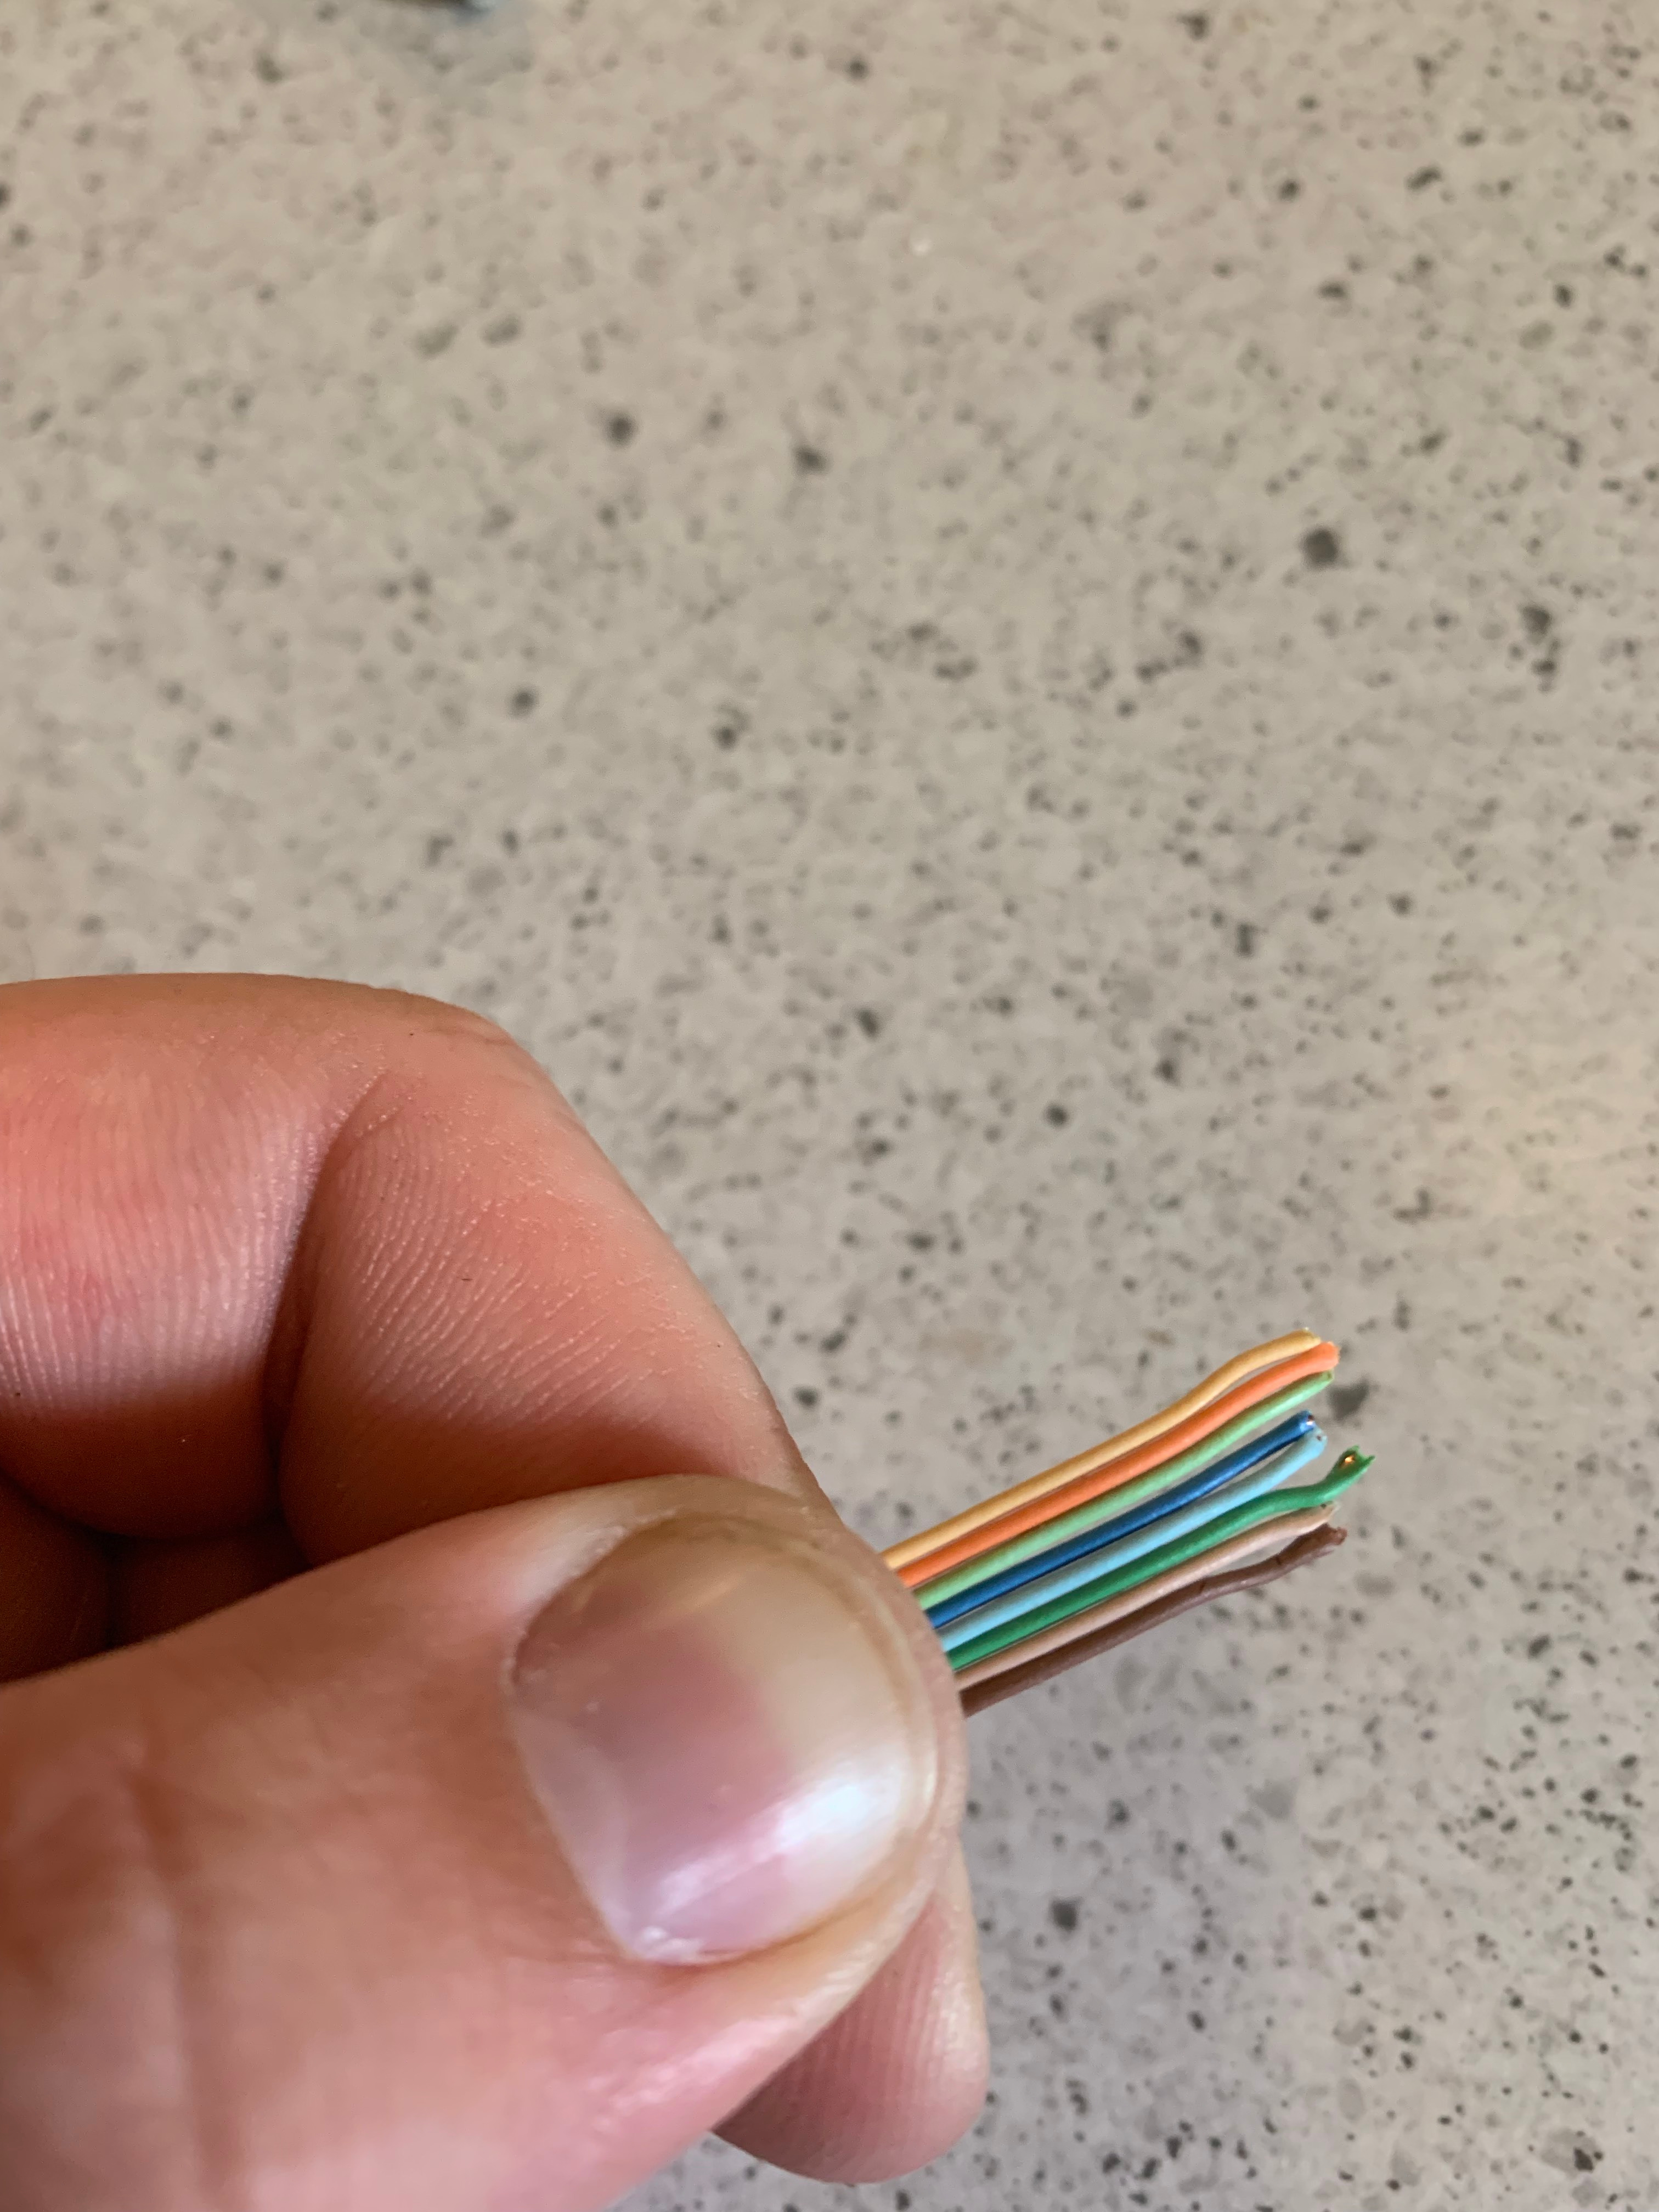
Once the wires are separated, begin to align them in order. There are two ways to put them in order, but the most common cable type is T-568B, which is the way the cable is going to be made. The order is white-orange, orange, white-green, blue, white-blue, green, white-brown, and brown. Now take these wires in between your pointer finger and thumb to keep them in order.
Inserting Wires Into RJ45
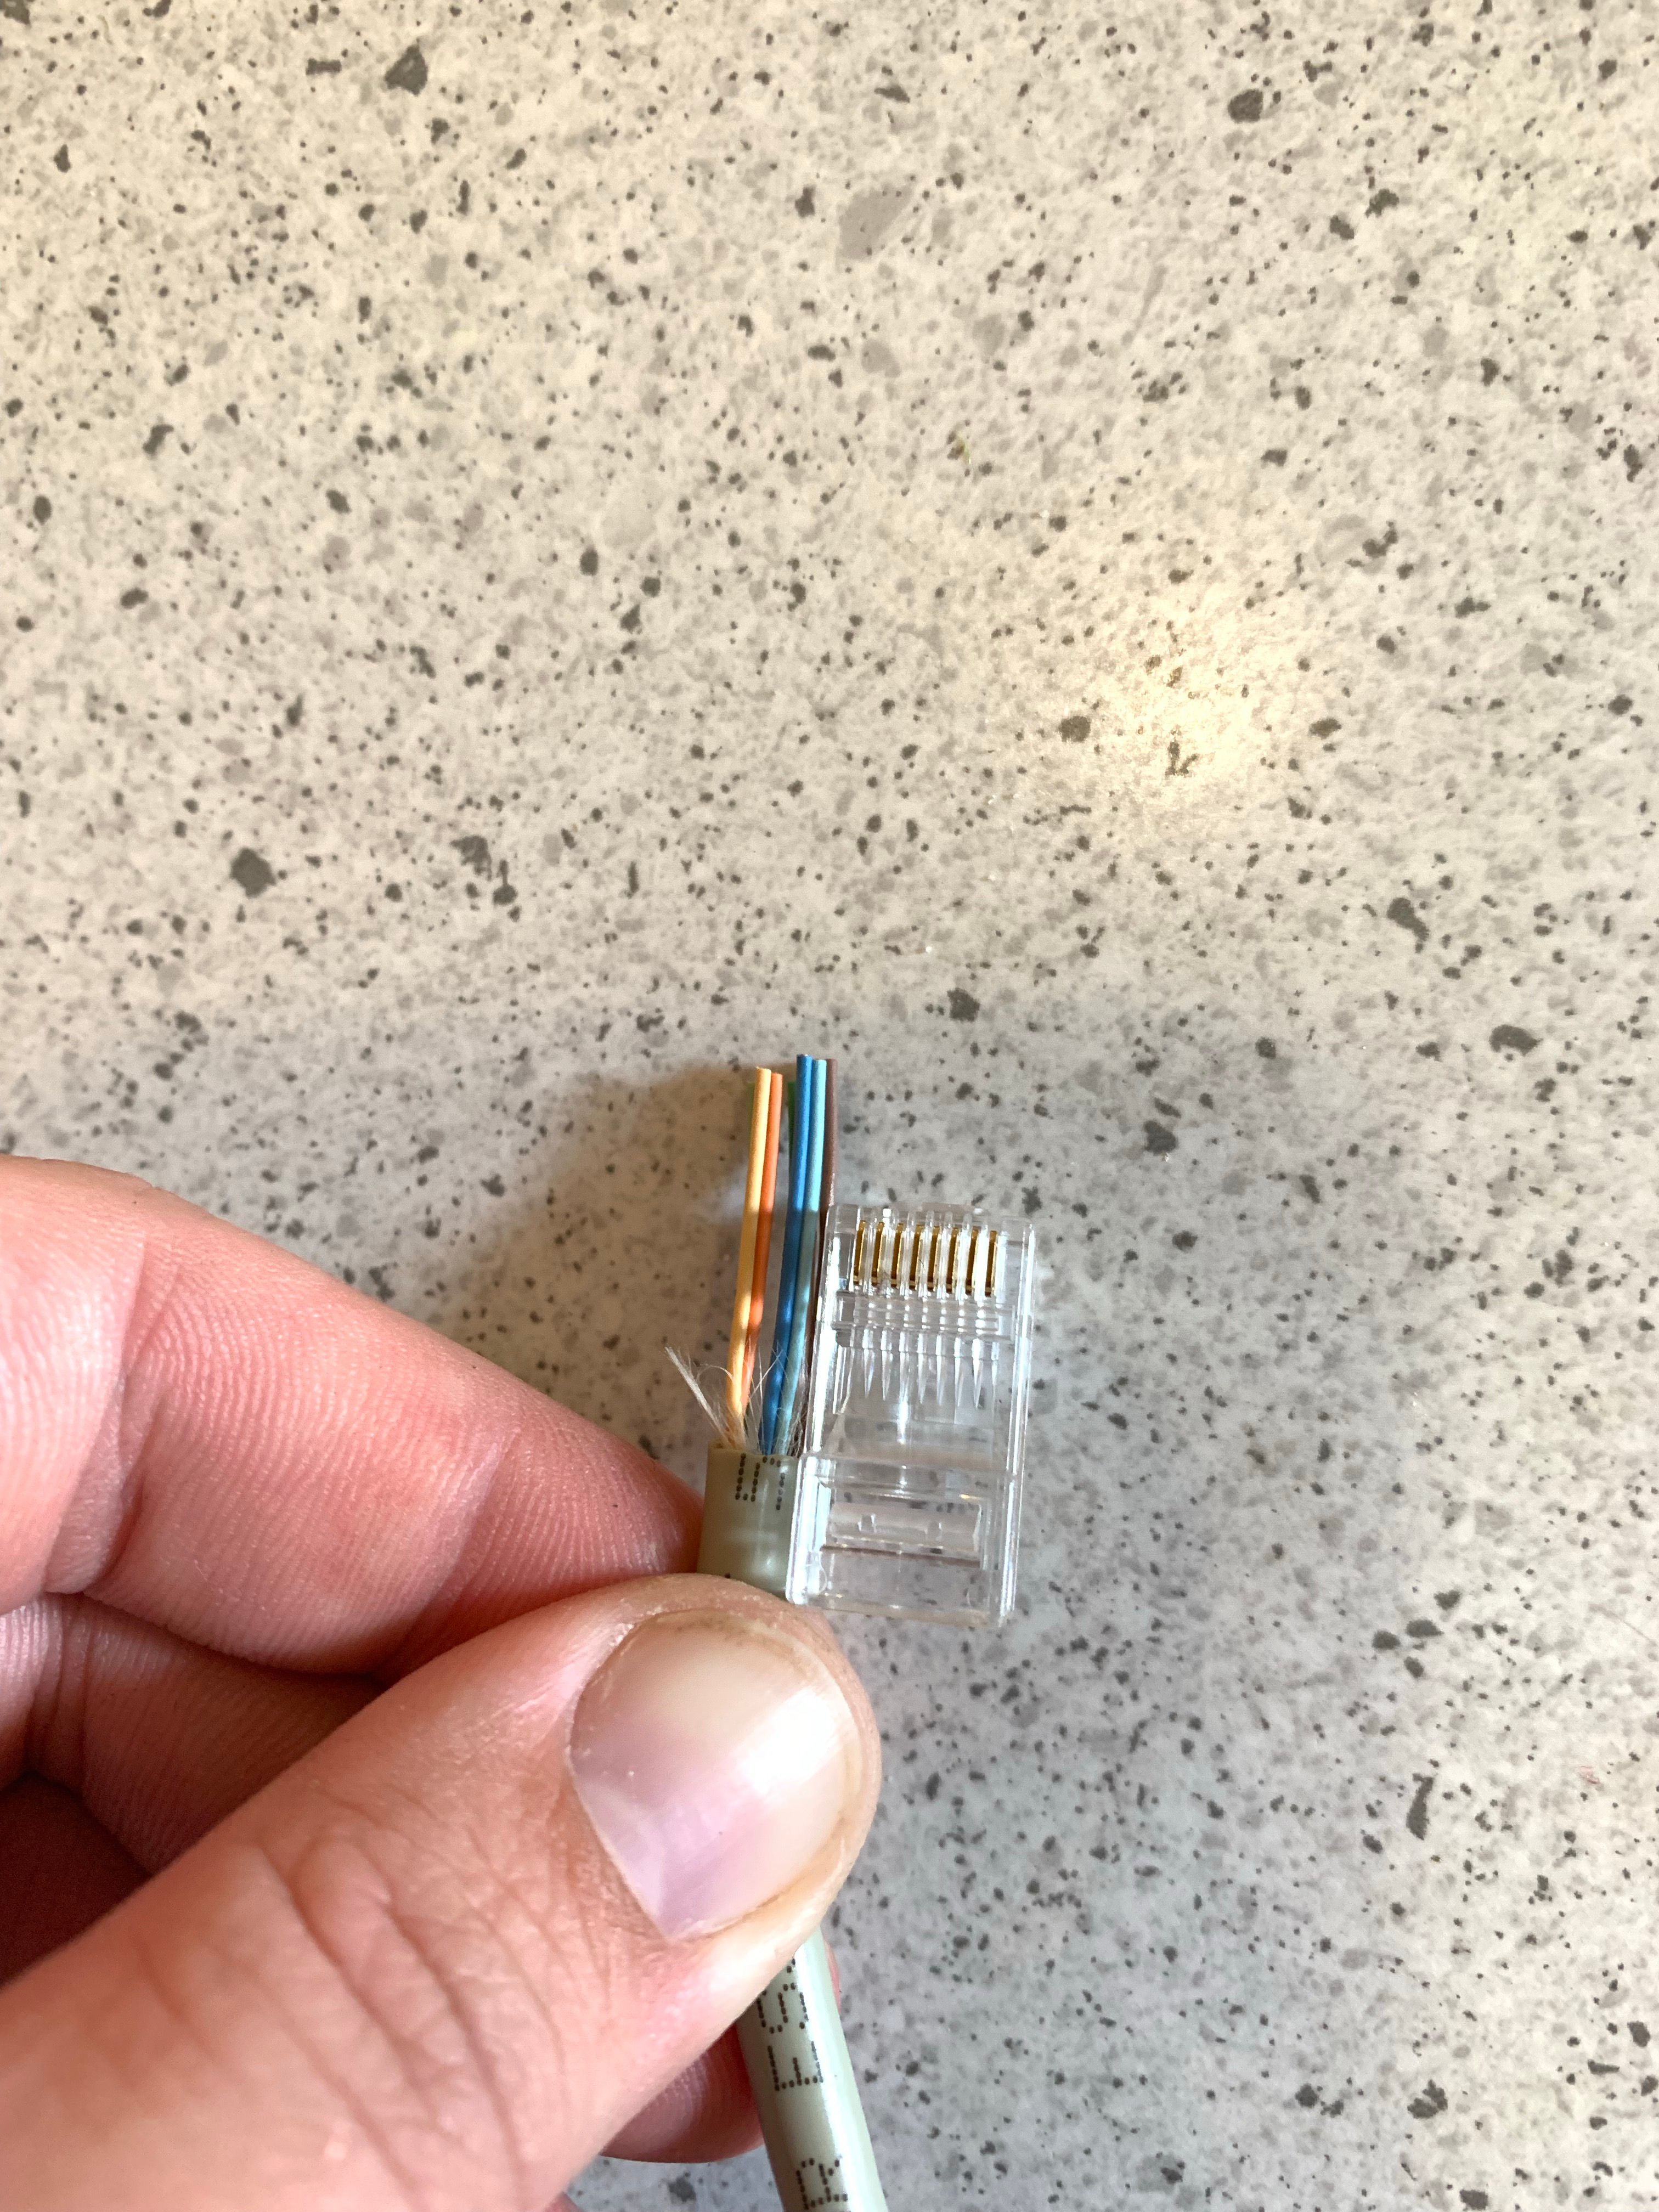
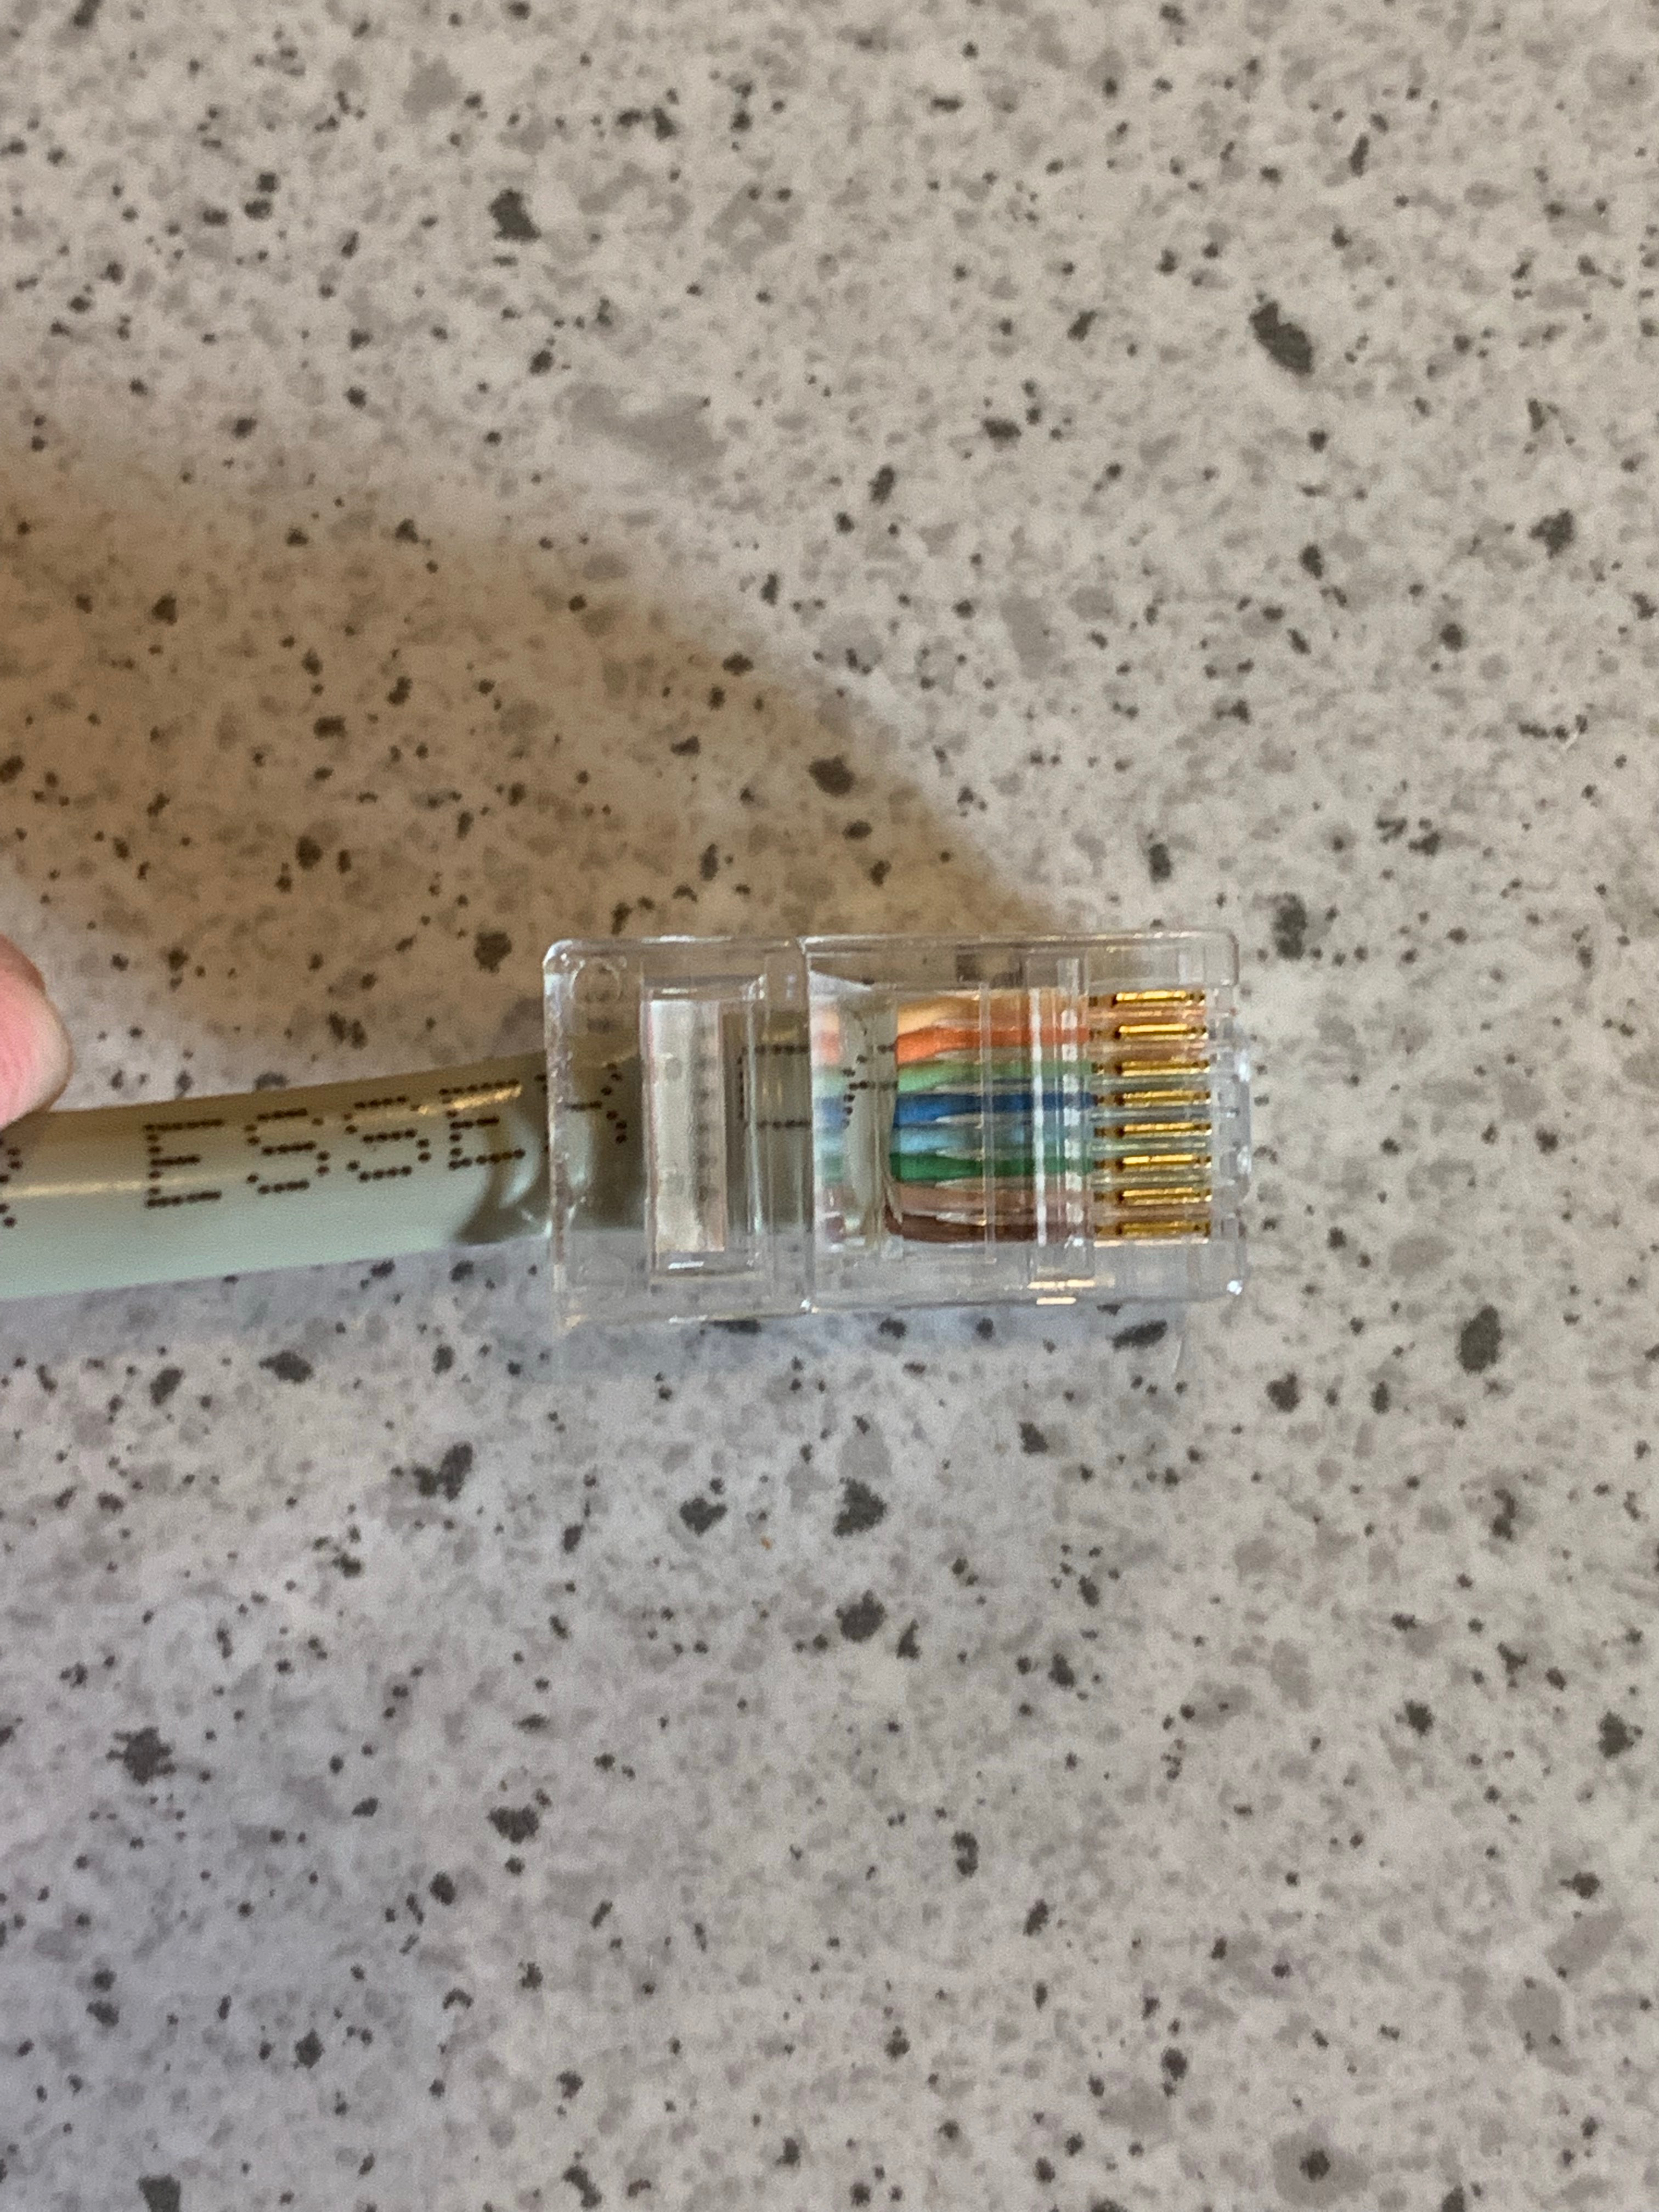
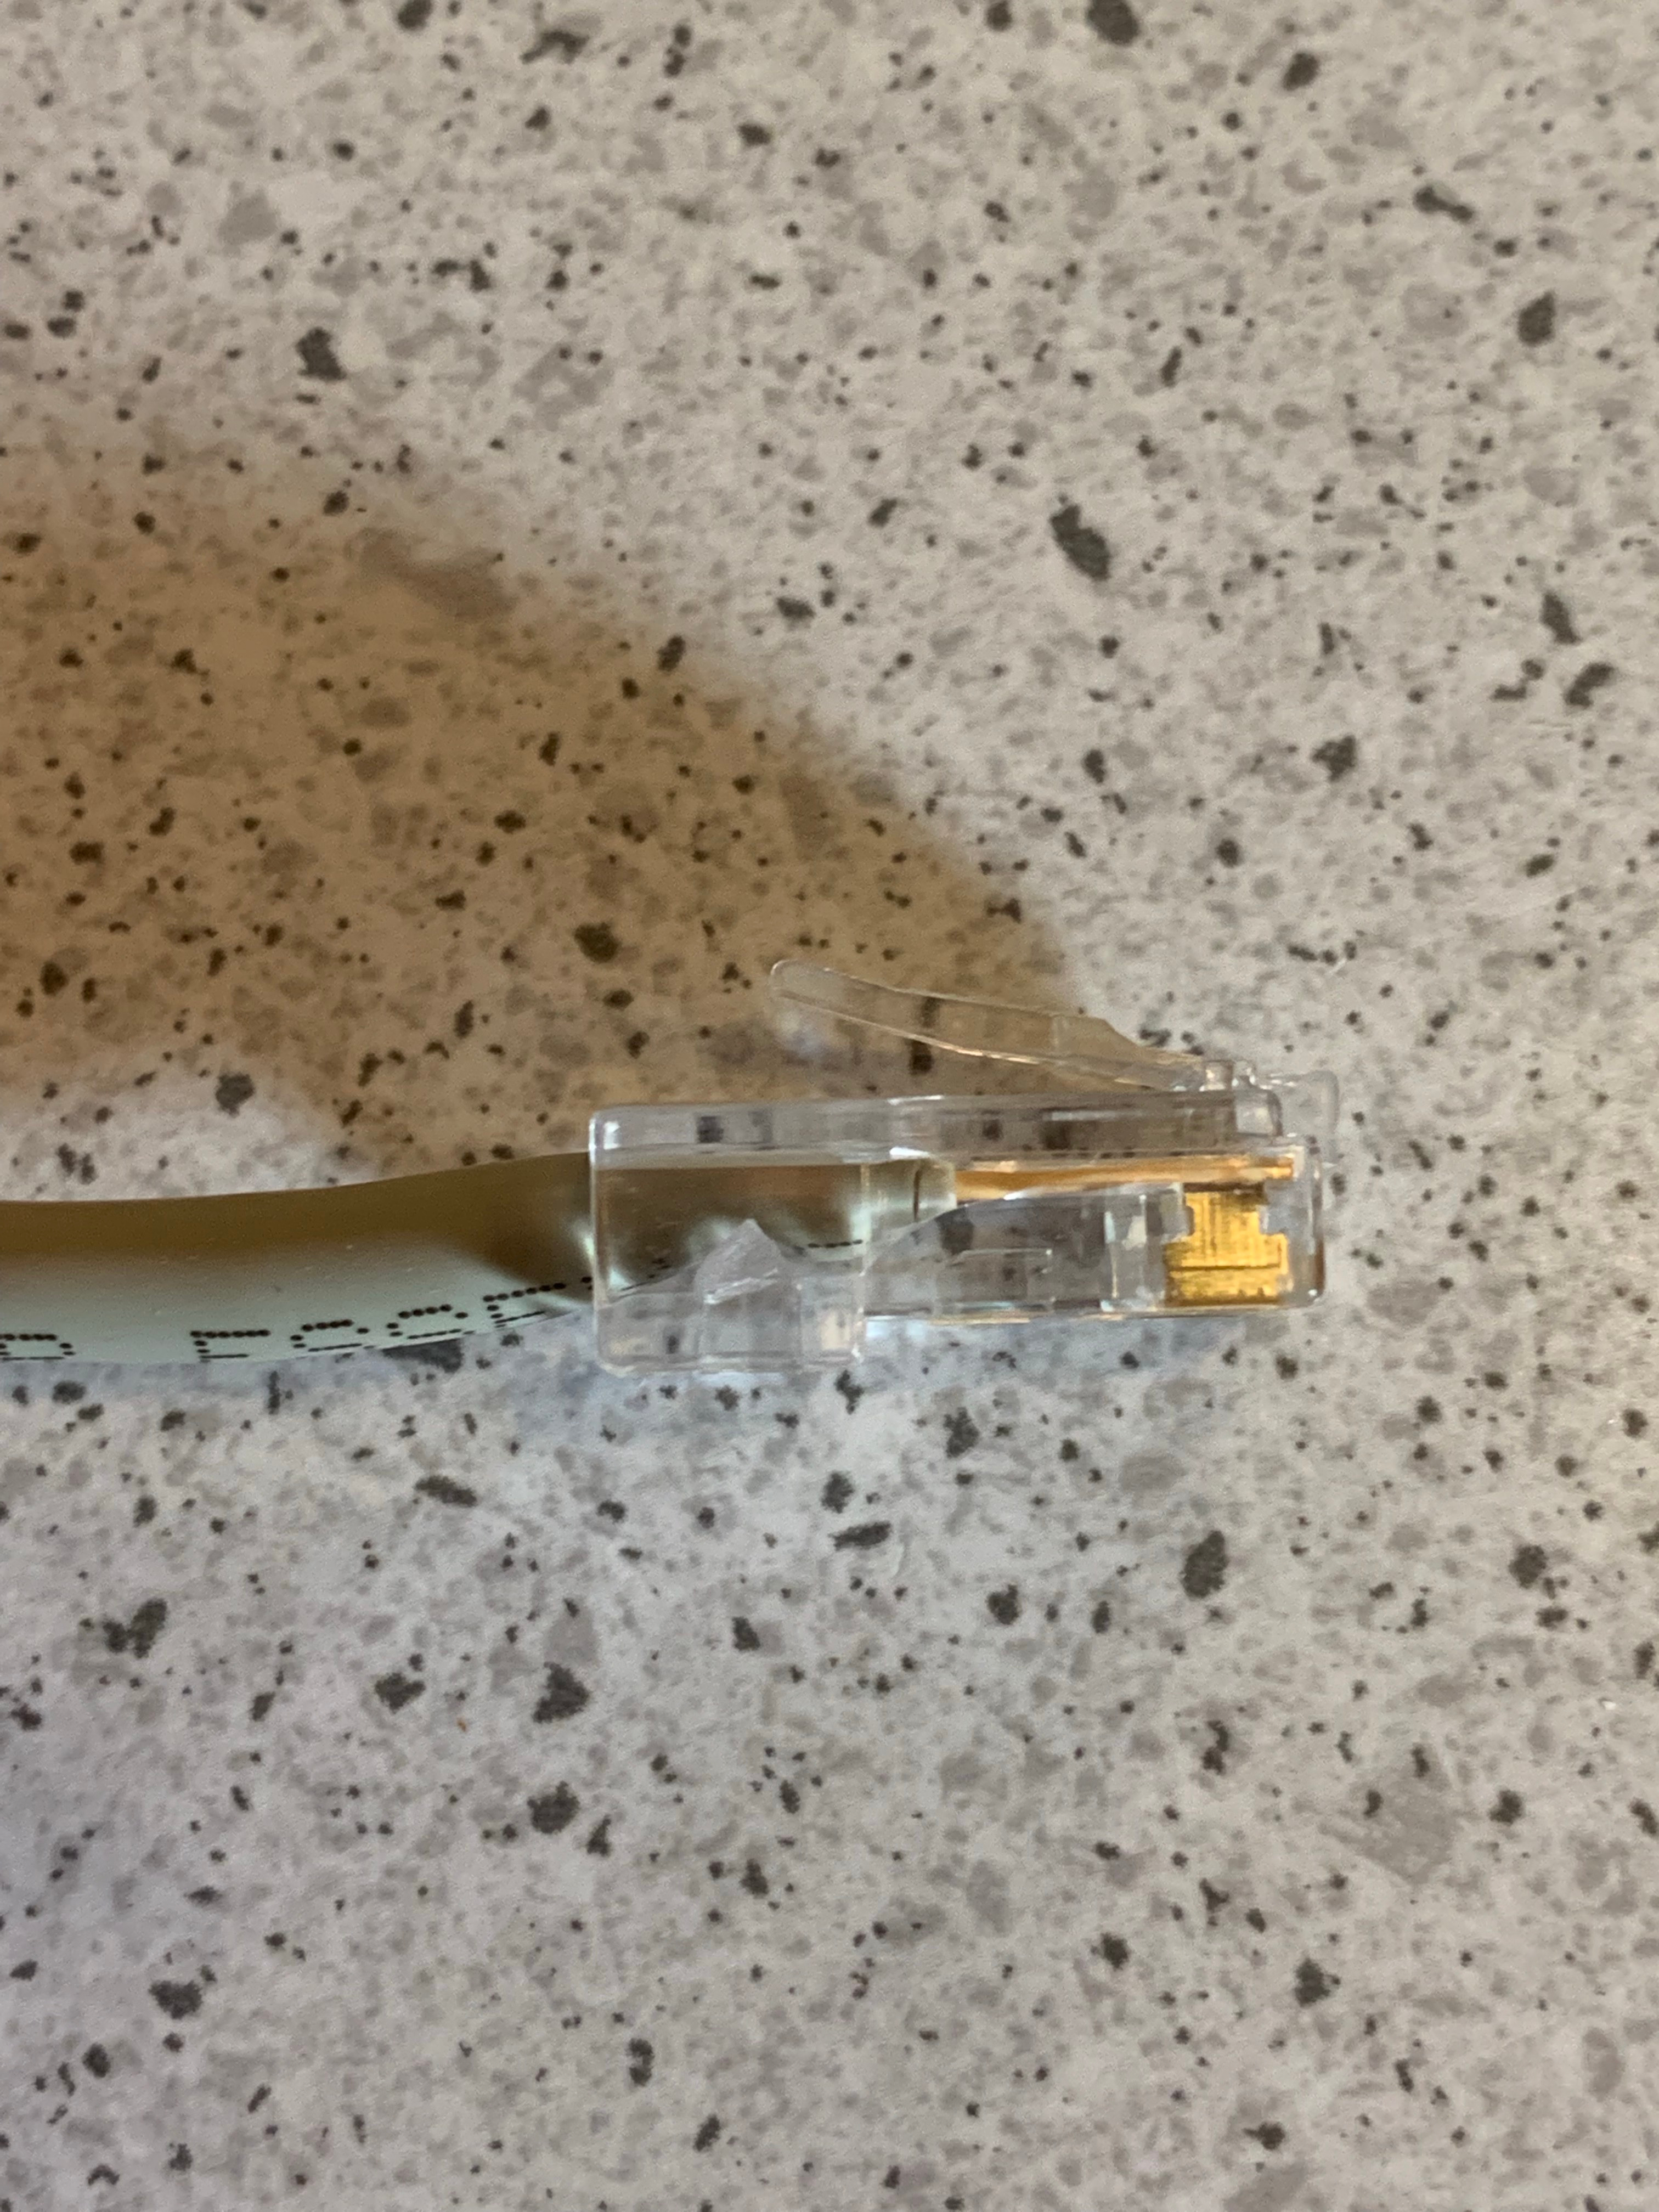
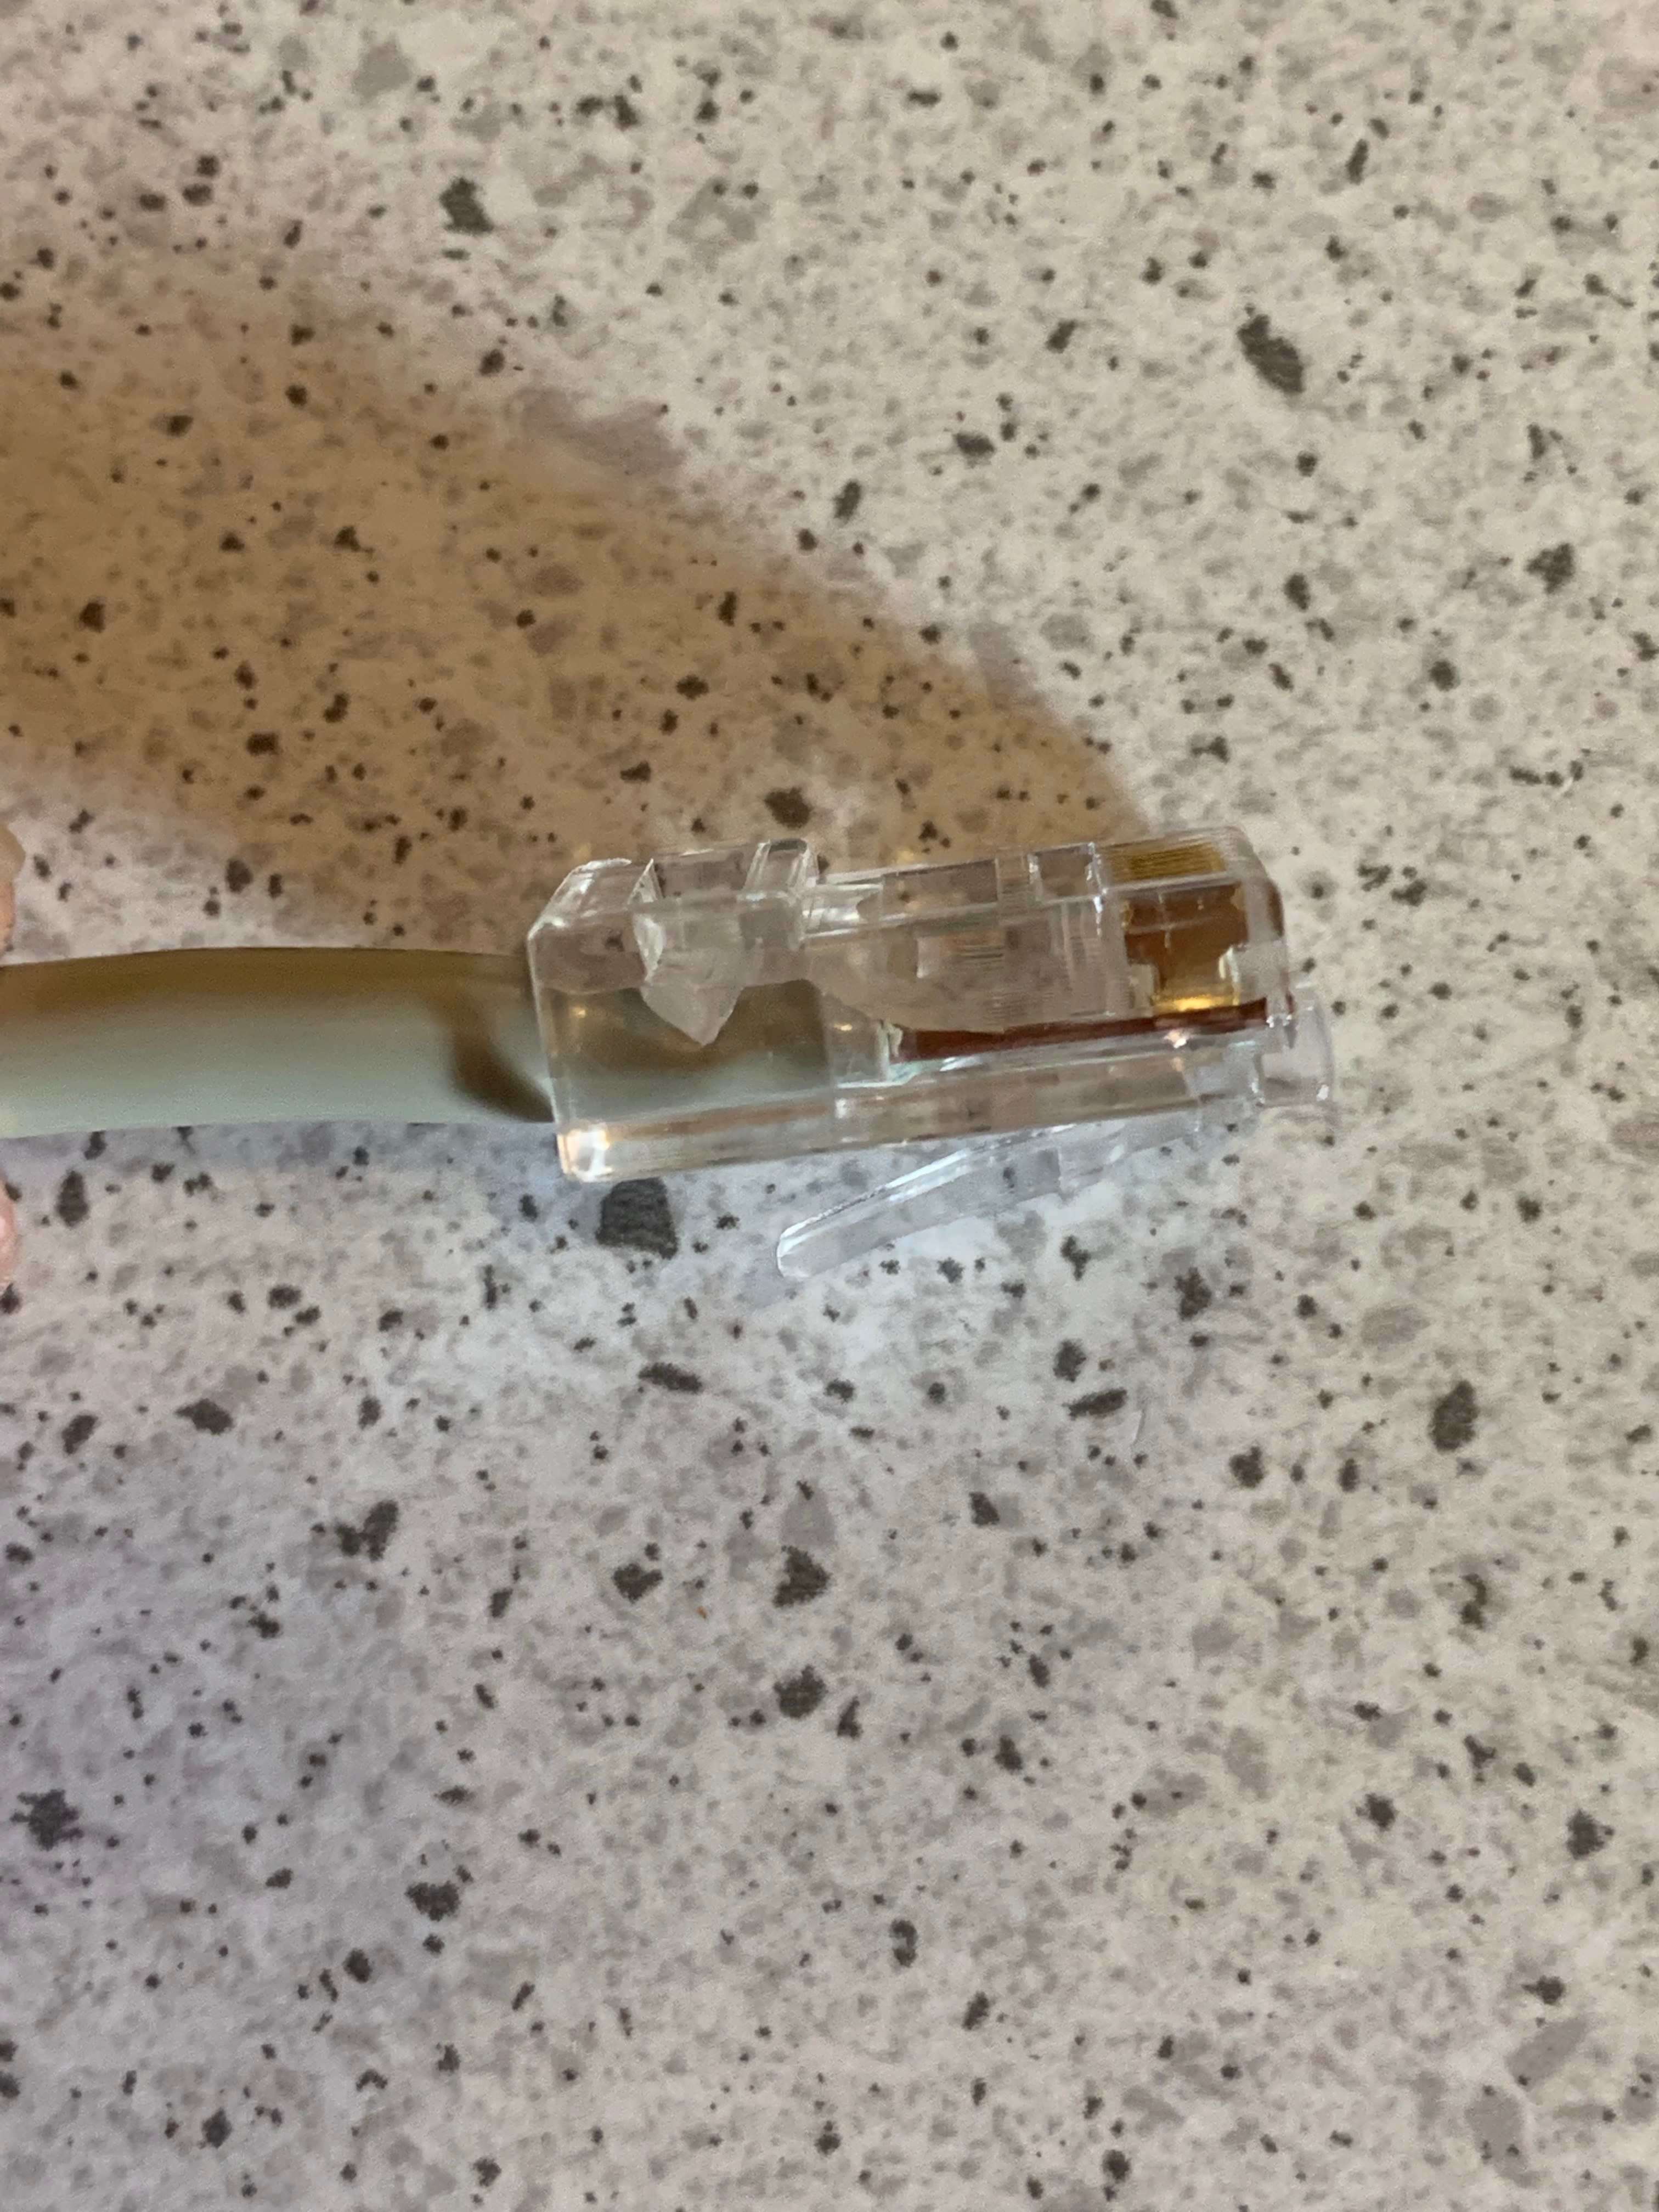
Furthermore, the wires should be in the correct order. The RJ45 connector will be used to find the length of the wires, by placing it against the wires. The wires need to be all the way inside the connector; otherwise, it will not have a good connection. In addition, the shield of the cable should be inside of the connector, where there is an indent to push up against the shielding. Cut the excess length off with the wire cutter or scissors. When putting the wires into the RJ 45 connector make sure that the tab of the RJ 45 is downwards otherwise the cable will be opposite and it will not work.
Crimping the RJ45
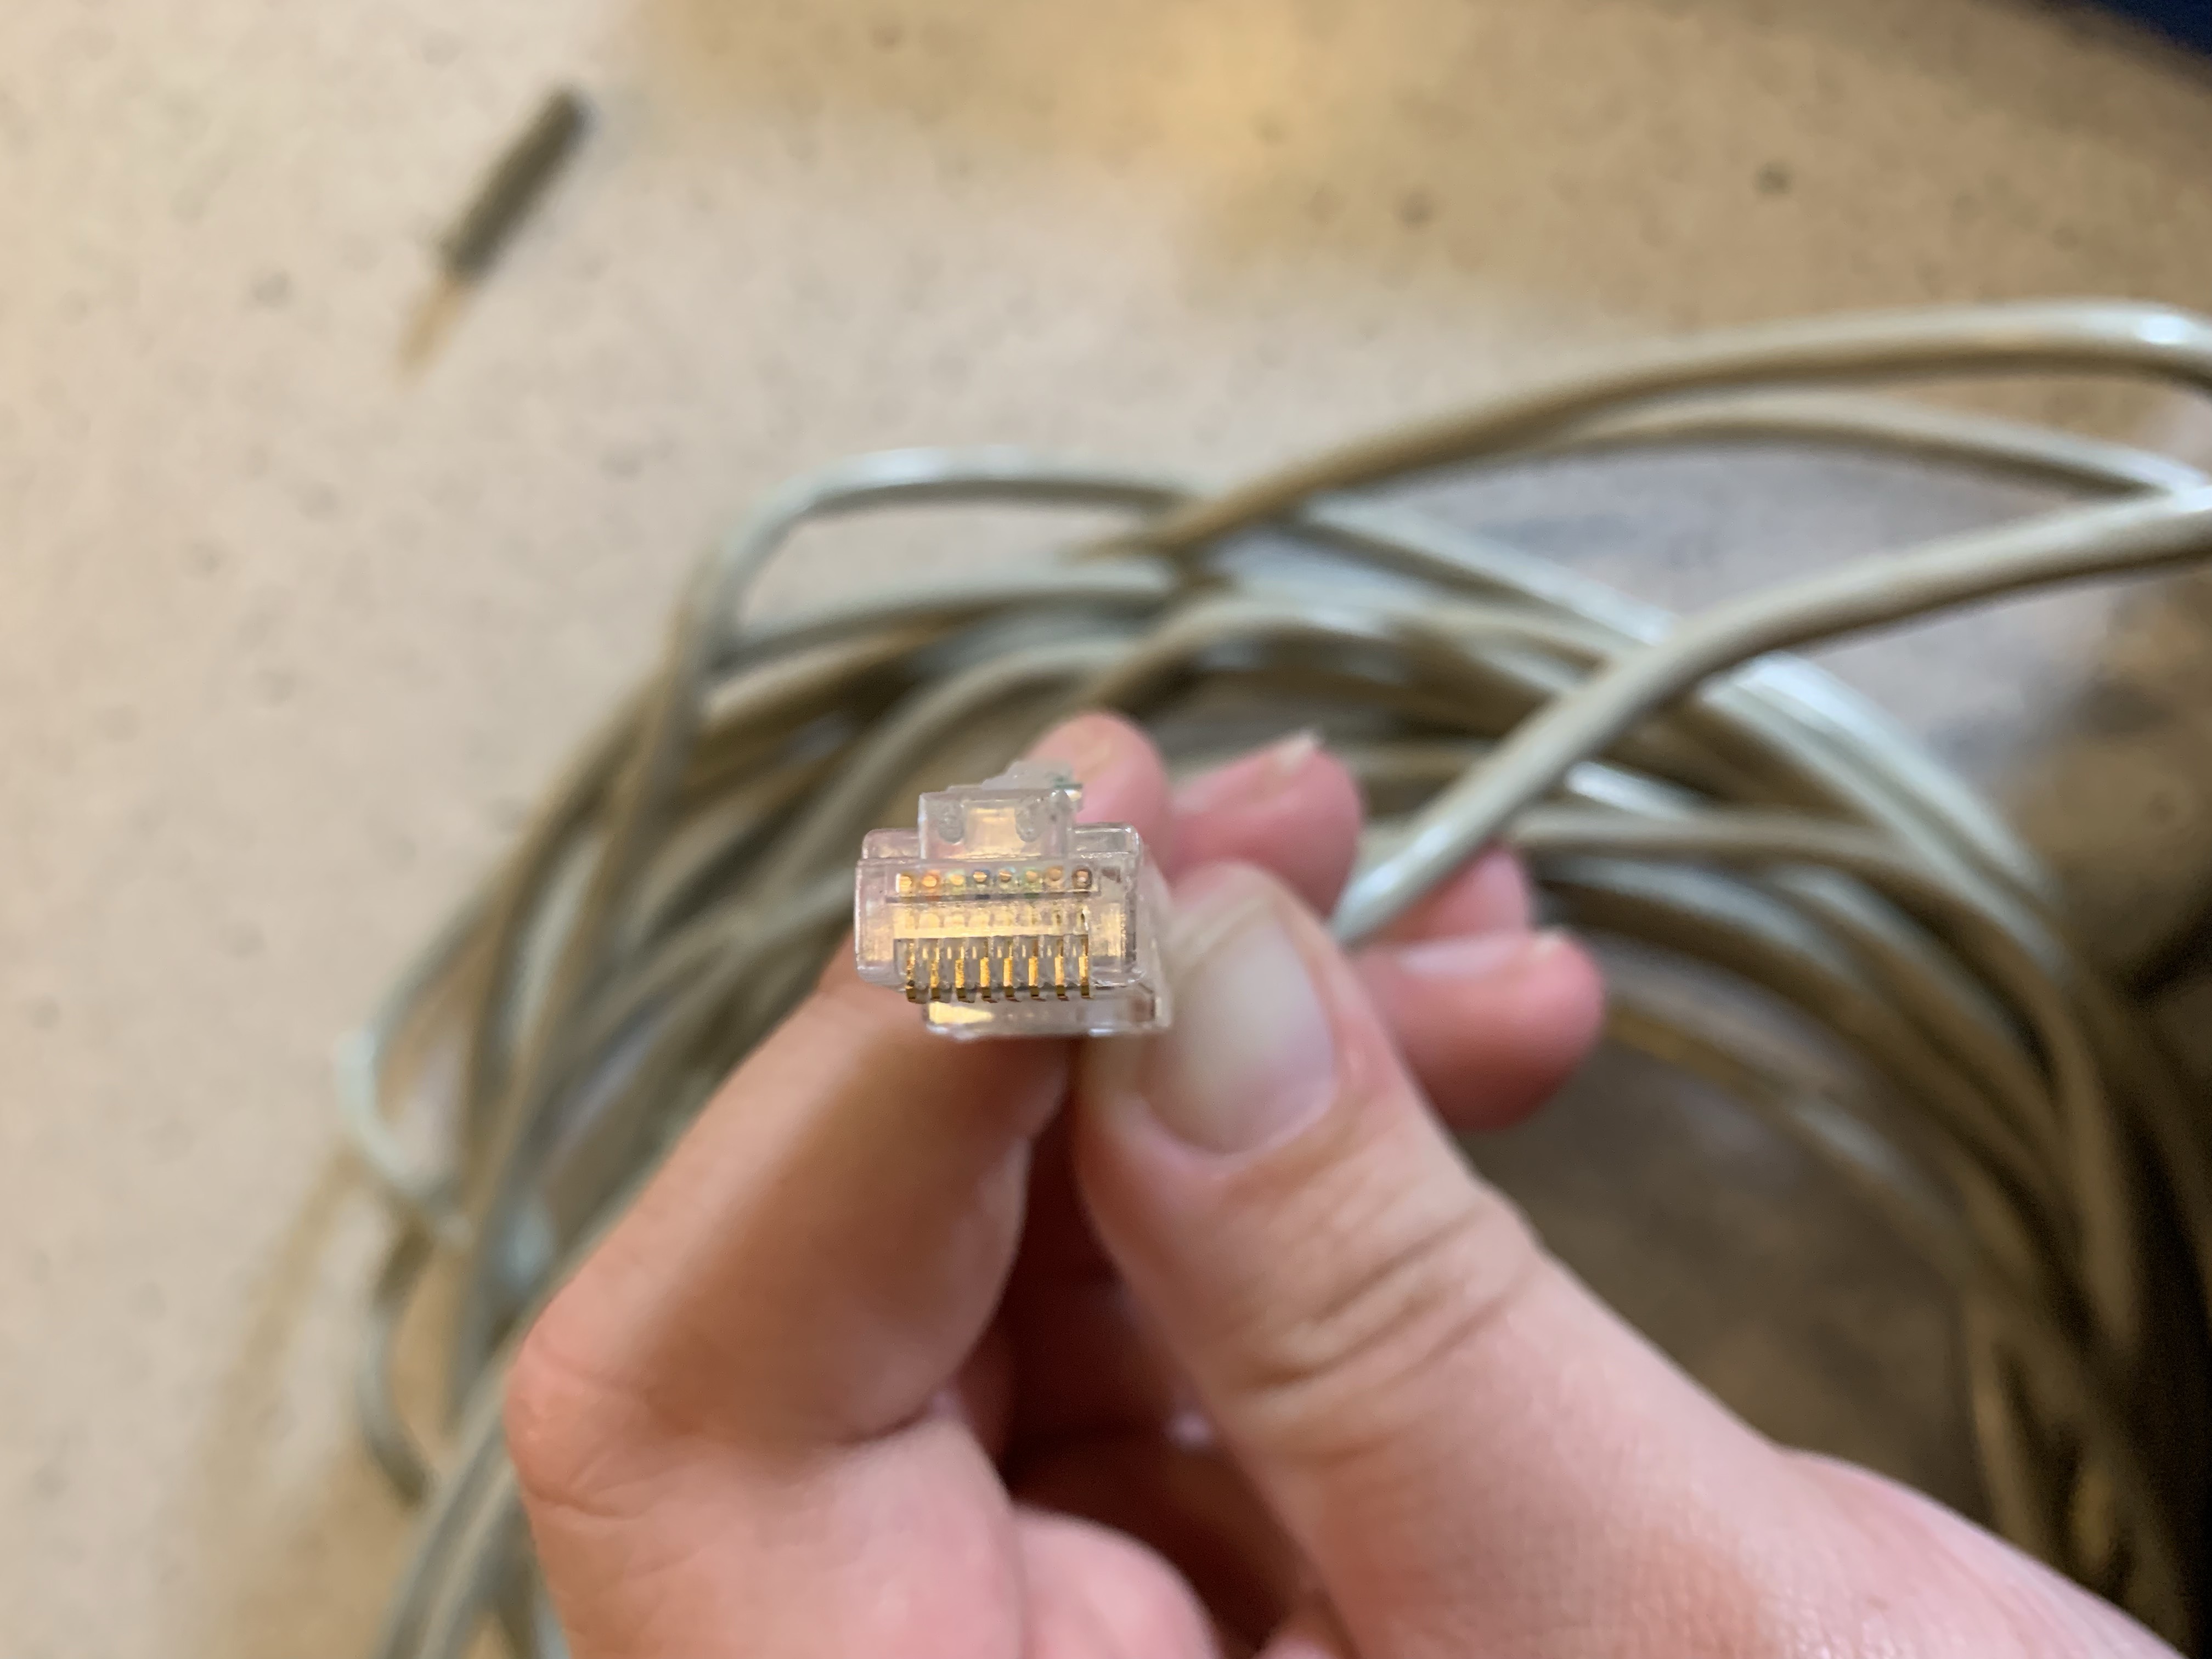
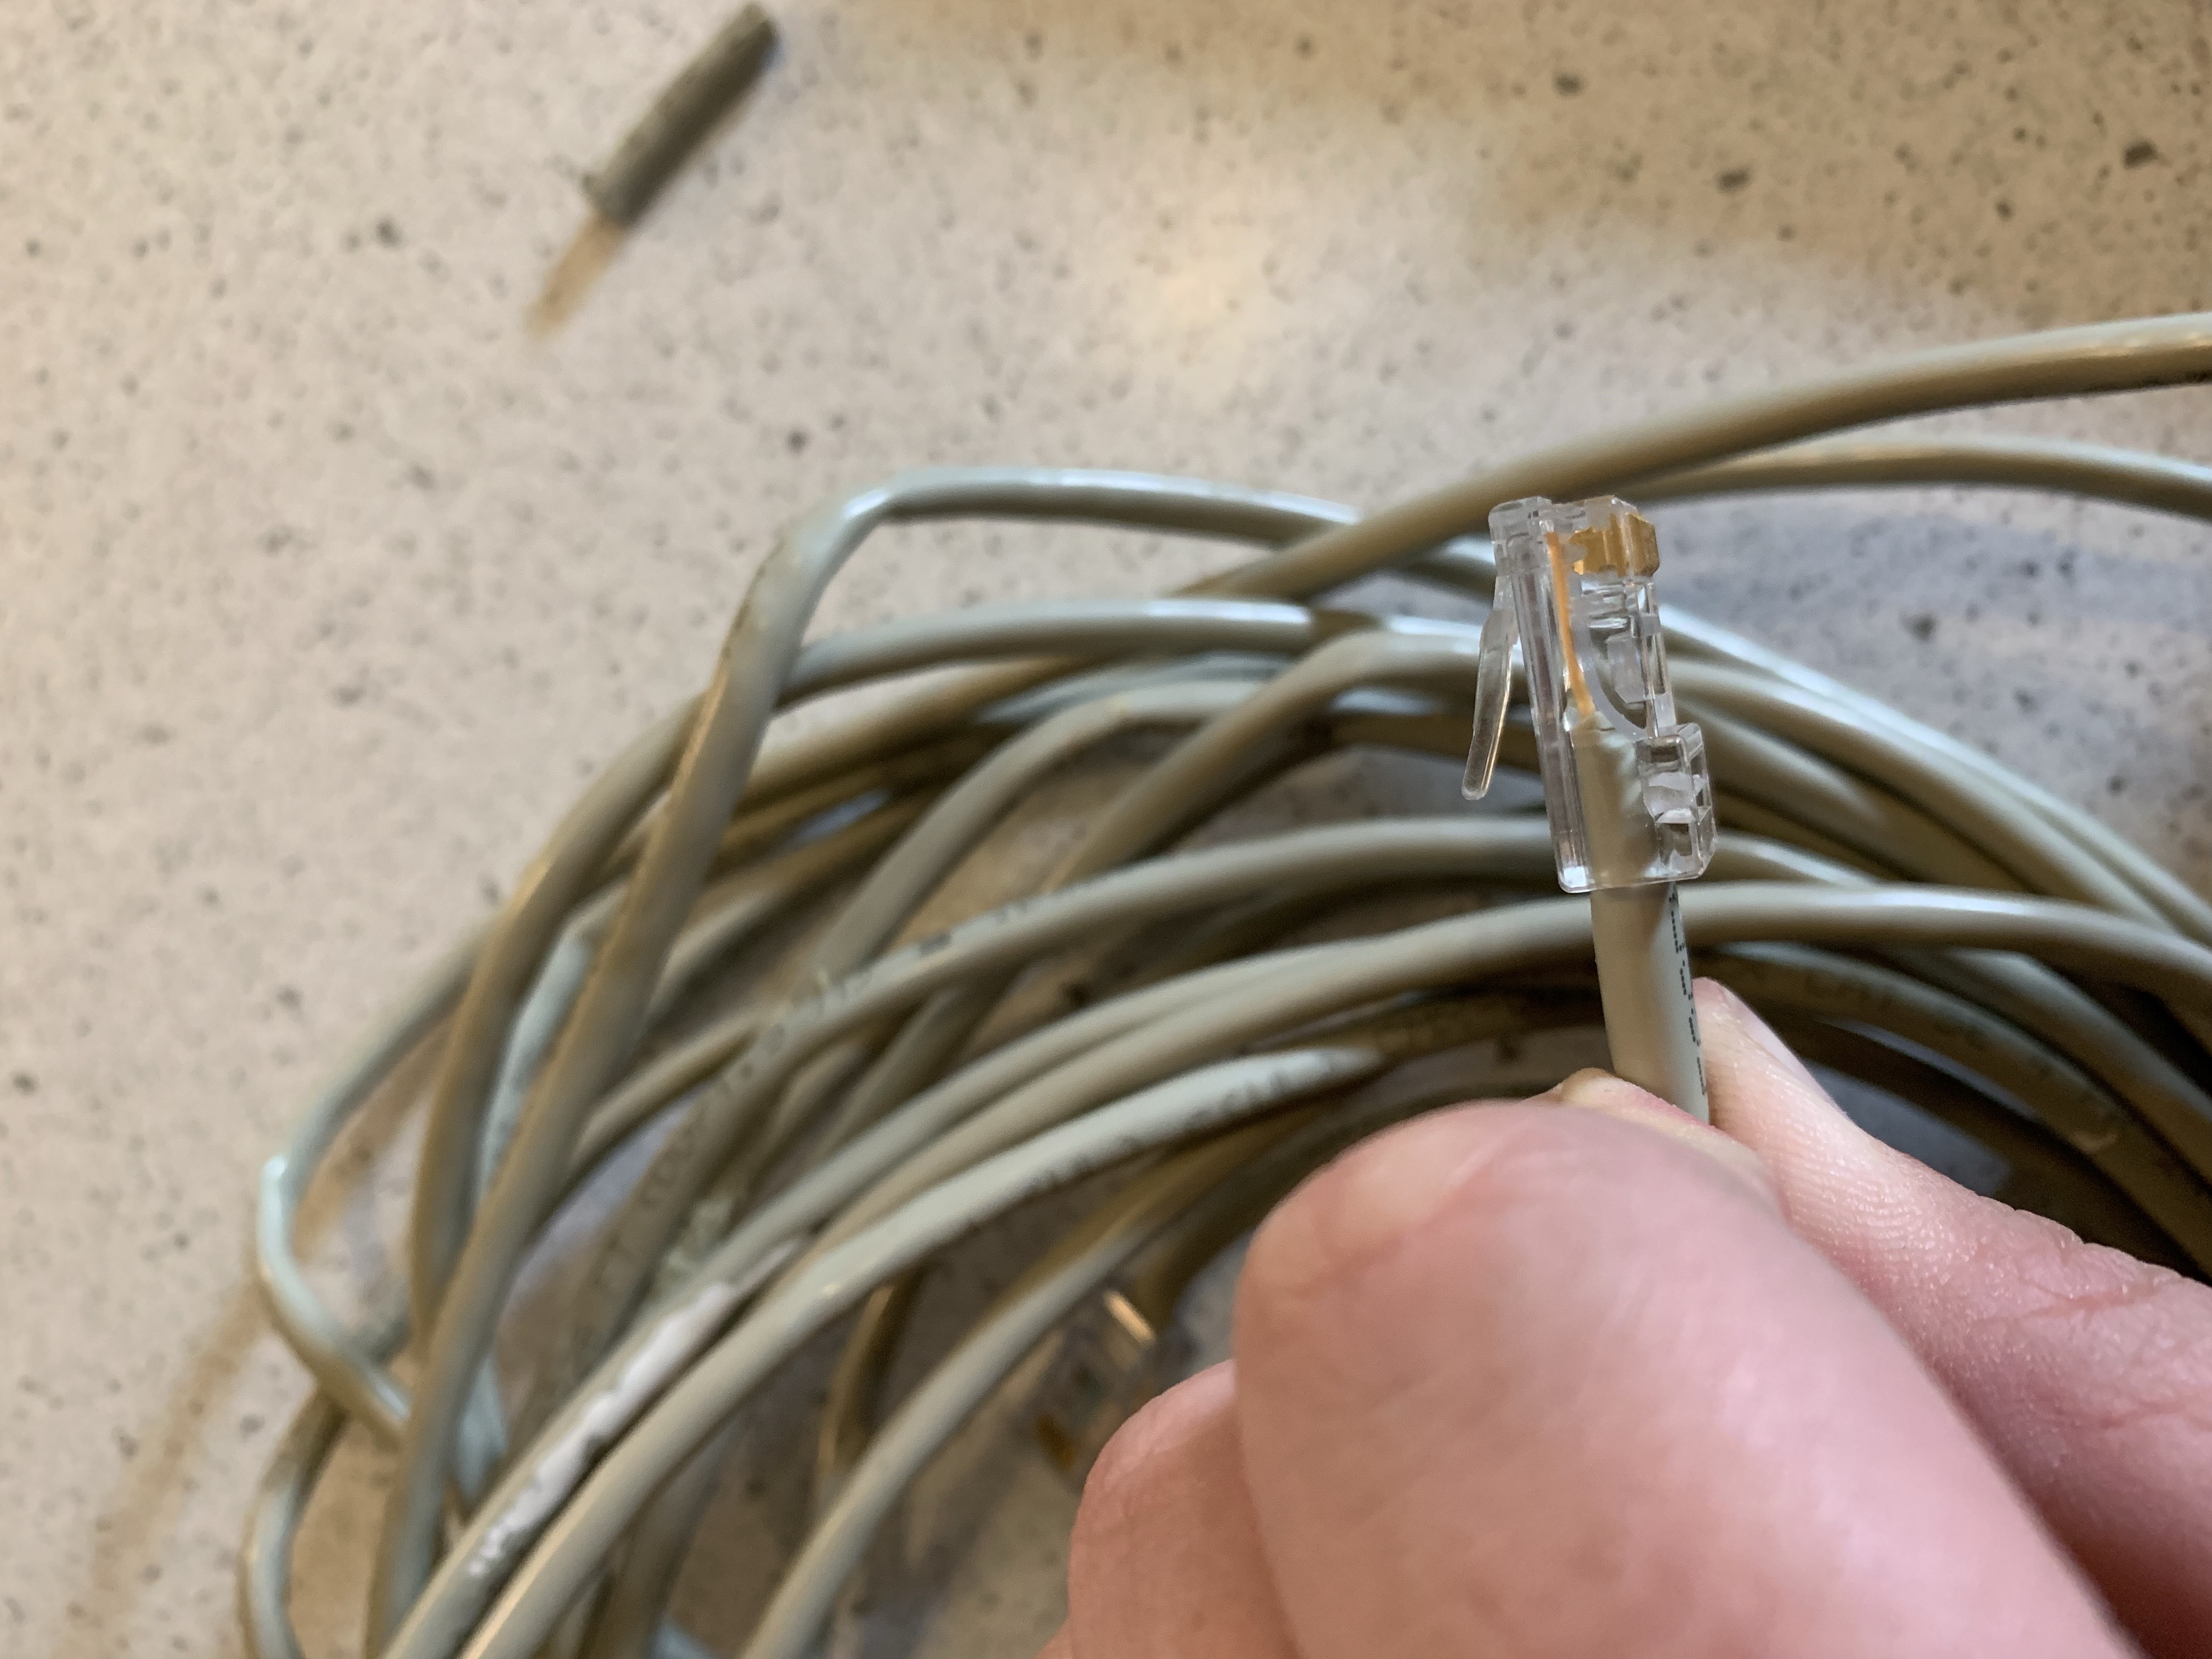
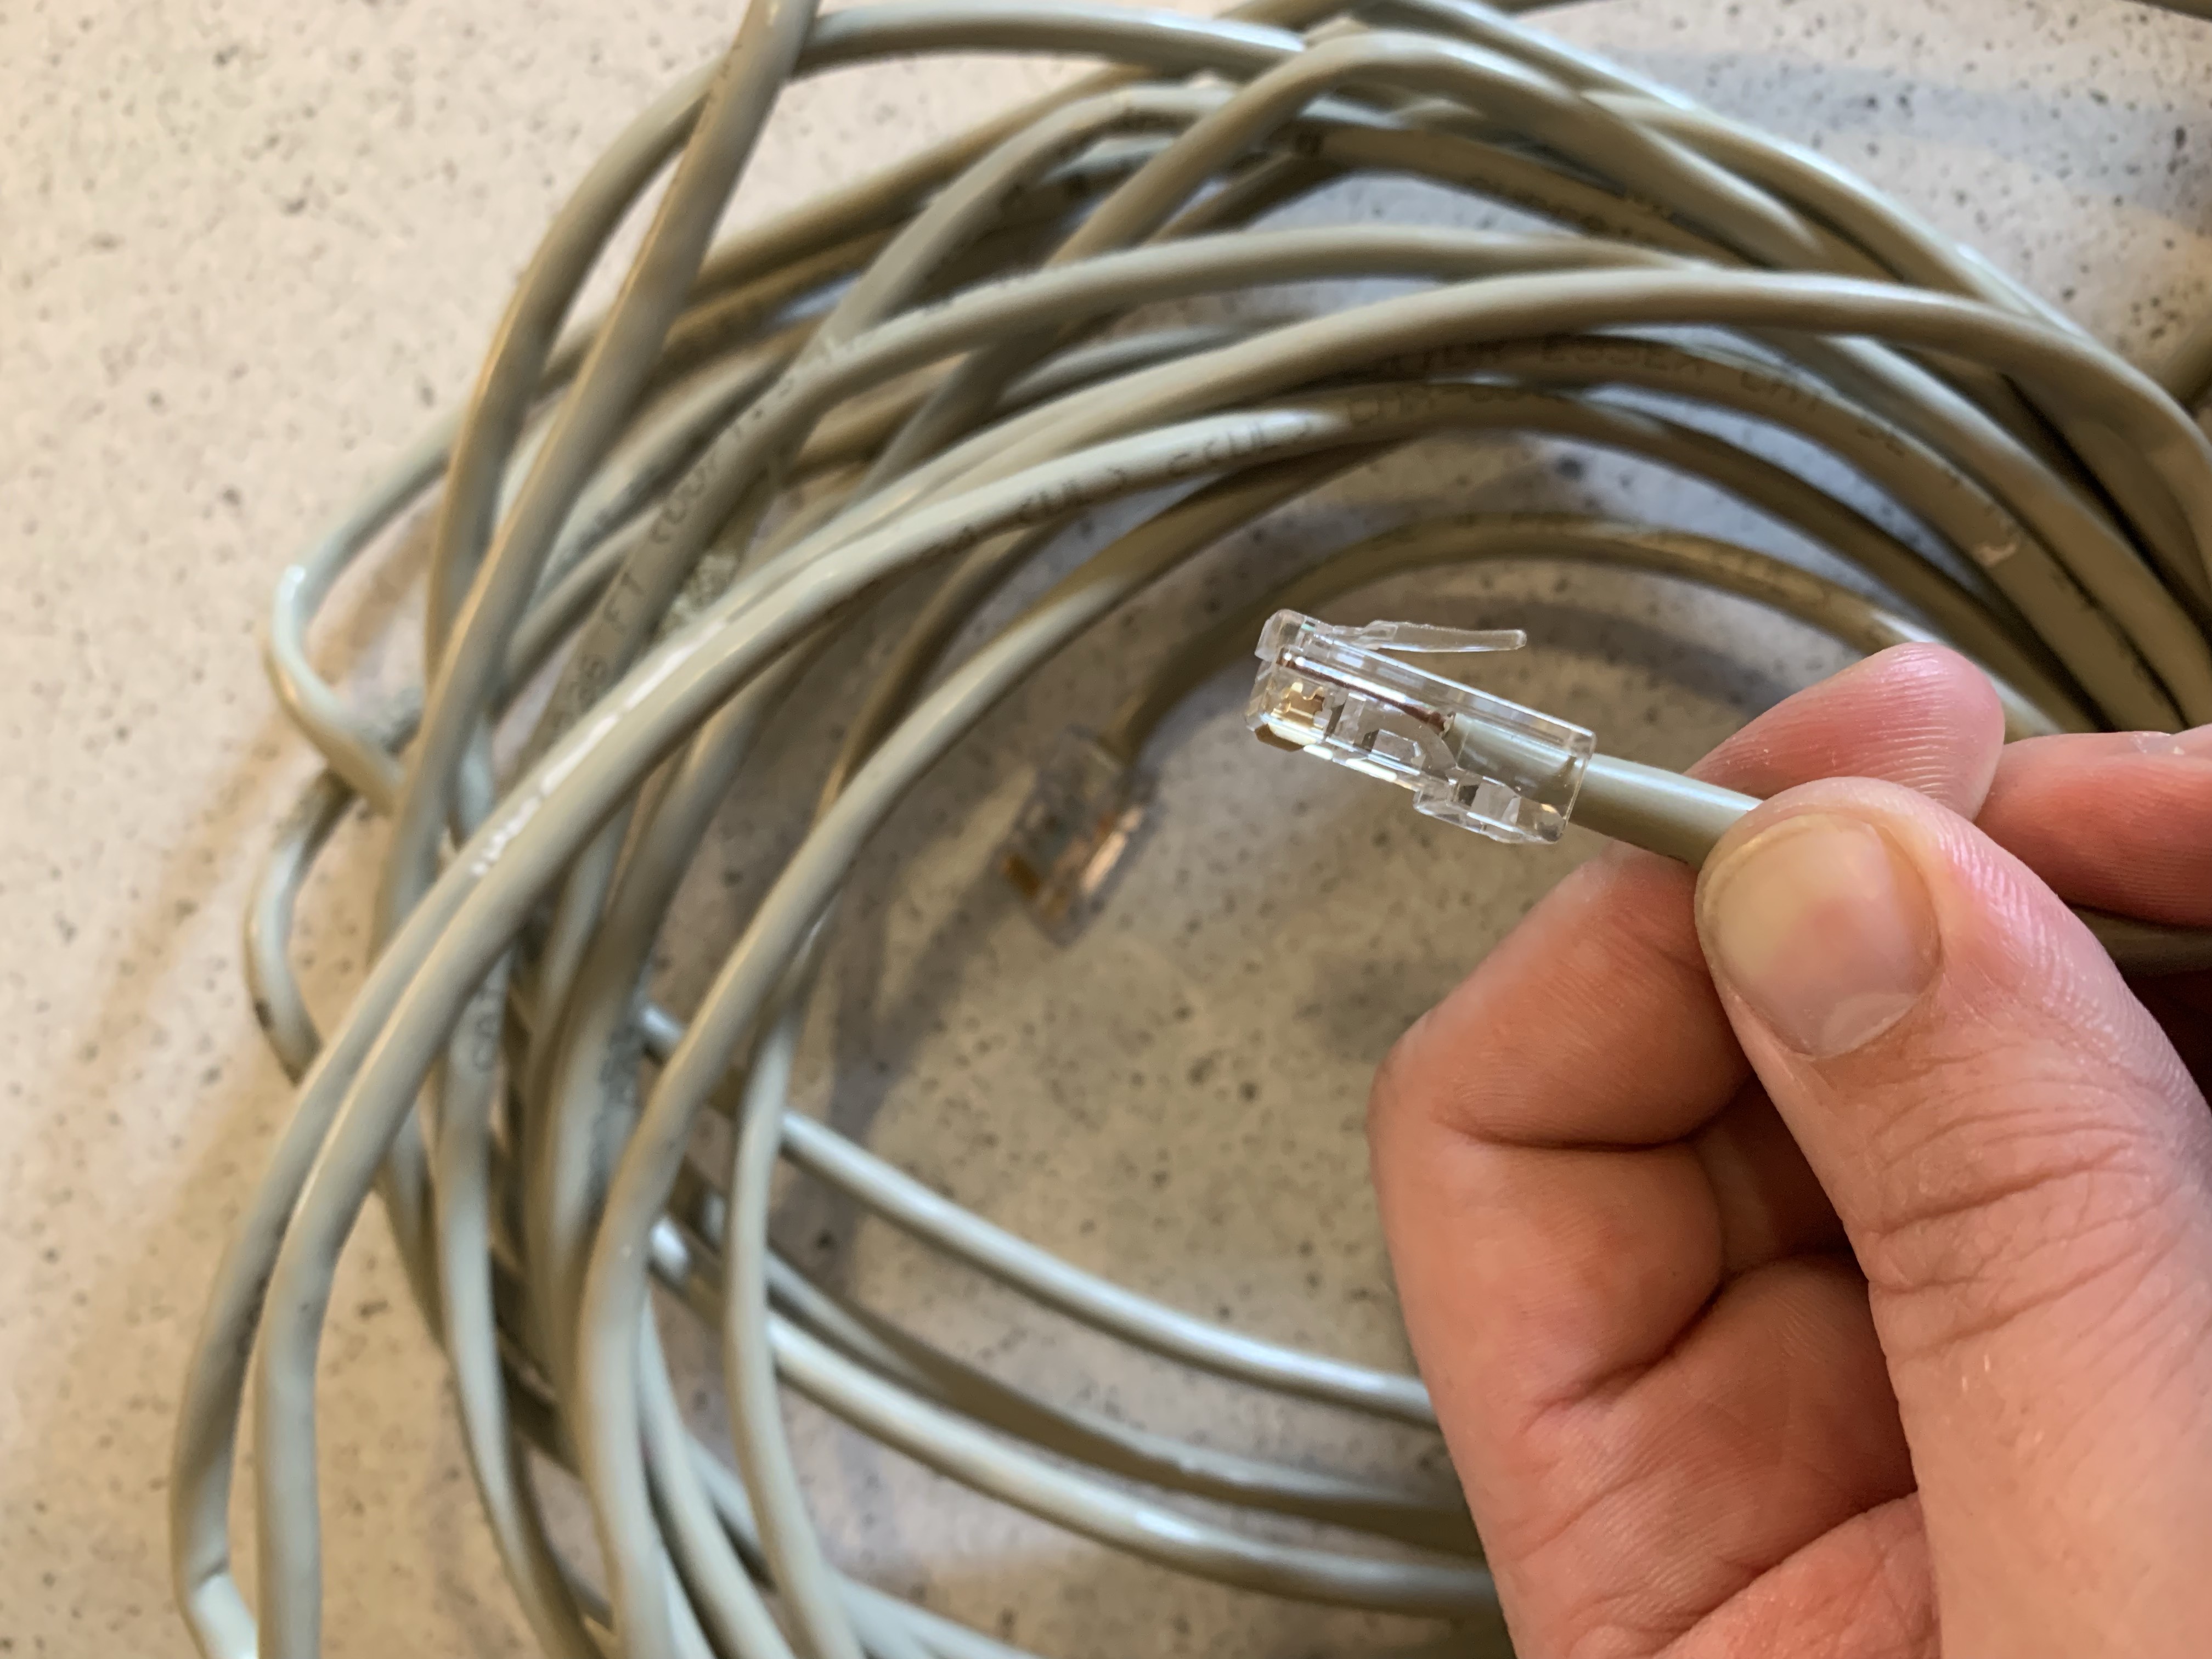
Finally, take the crimper, push the cable into the RJ 45 slot, and make sure to push while crimping the connector down. Now that the cable is crimped, let's verify that the wires are still in the correct order and up against the end of the RJ 45 connector. If the wires are not in the correct order or not up against the end of the connector, it will need to be cut off and then retry. Also, make sure the shielding is inside the connector.
Verifying the Cable

After the wires in the connector are in the correct order, shielding inside the connector, and the wires are up against the end of the connector we are ready to create the other end of the Ethernet cable. Then put the other end of the cable together, we can test it by plugging it into the computer and the router/switch and check if we have an internet connection.