How to Create a WordPress Blog With a Social Media Feature
by DanielL47 in Design > Websites
1077 Views, 7 Favorites, 0 Comments
How to Create a WordPress Blog With a Social Media Feature

Hi, I'm Dan Lee, a proud Virginia Tech student and blogging hobbyist who's been creating blog sites the past year. I understand creating a blog can be frustrating at times. So, I am sharing an instruction on how to create a blog in 12 essential steps.
This tutorial is for beginners may want to blog but don't know how, and intermediates who may want to go over certain steps on creating a blog. In this tutorial, the WordPress blogging platform will be used since it's convenient and powerful that thousands of companies, large or small, and hobbyists use it. I will be using my blog site, called theHokieExperience.com, I created to illustrate the procedure.
Understand Basics of Blogging
.png)
What is a blog? A blog is a web content enabling users to publish articles to raise readership. Blogs can cover a wide variety of topics ranging from food, travel, to self-development. A blog is typically used for following purposes:
- Self-branding (i.e. ramisethi.com)
- Product promotion/review (i.e. cosmetic review sites)
- Personal journaling (i.e. travel blogs)
- Non-profit donation (i.e. blogs about shelter dogs)
- Entertainment (i.e. celebrity gossip blogs)
- Products/Services (i.e. books and tutoring)
- Networking (i.e. JohnCooper.com)
- Instructions (i.e. blogs about car repairs)
- Trivial discussion (i.e. blogs about hobbies, instruments, or weightlifting)
A blogger displays content using a combination of videos, audios, texts, and photos. Depending on topic and purpose, a blogger will choose medium type accordingly. To create a blog, you need to know the following essential elements:
- Theme: A blog theme is the overall layout, color, and style that enhance your blog appearance.
- Pages: A blog contains multiple pages with each page housing a grouping of content types.
- Posts: A post is the blogger's message.
- Readership: Readership describes the readers of a blog.
- Subscription: When readers subscribe, they are giving bloggers permission to send content to them regularly via email or other form of online medium.
- Social Media: Facebook and Twitter are examples of social media.
- Website Domain: Your website address (i.e. www.name.com).
- Hosting Services: The service registers your domain name and stores data from your website.
To see the elements in action, visit http://fourhourworkweek.com/blog/ by Tim Ferriss.
Brainstorm and Define Your Blog
.png)
Before you create a blogging site, identify what you want to blog about and why. Do you want to blog about your travels since readers would find your stories interesting? Or, do you want a blog to promote your business?
Whatever you want to blog about, you must define your objective clearly to develop a blog site coherent in content, design and purpose.
For instance, if you want to create a blog about exercise regimen, you would want to include videos or images illustrating a particular workout and a description about your experience following the regimen. Maybe, you would want to include social media buttons for visitors to share your post to their friends, family, and acquaintances.
Here's another example. If you are a hairstylist promoting your service to customers local to your salon, you would want to include images displaying your work and a contact page including the location of your salon, your work number, and email.
Choose a Domain Name
.png)
Find a domain name that represents your blog idea. For instance, if your name is Alex Hakinski and you want to self-brand yourself online, you may want your website name that's the same as your name and call it: AlexHakinski.com. Do note that you don't want your domain address to be long. In other words, don't choose domain name with more than five words since you want your visitors to remember your website name.
Give yourself permission to be creative with a blog name to make it memorable. For instance, the domain name, Twitter, sounds catchy and memorable and, most importantly, conveys the website idea which is enabling users to communicate in brevity.
If you struggle to find a domain name, then try free-association:
- On a sheet of paper, draw three lines equally apart horizontally and vertically to create 16 boxes.
- In each box, write a keyword that can be associated with your blog.
- Cut out each box using a pair of scissors.
- Match words together until you conjure up a domain name.
Register Your Domain Name to Get Your Blog Hosted
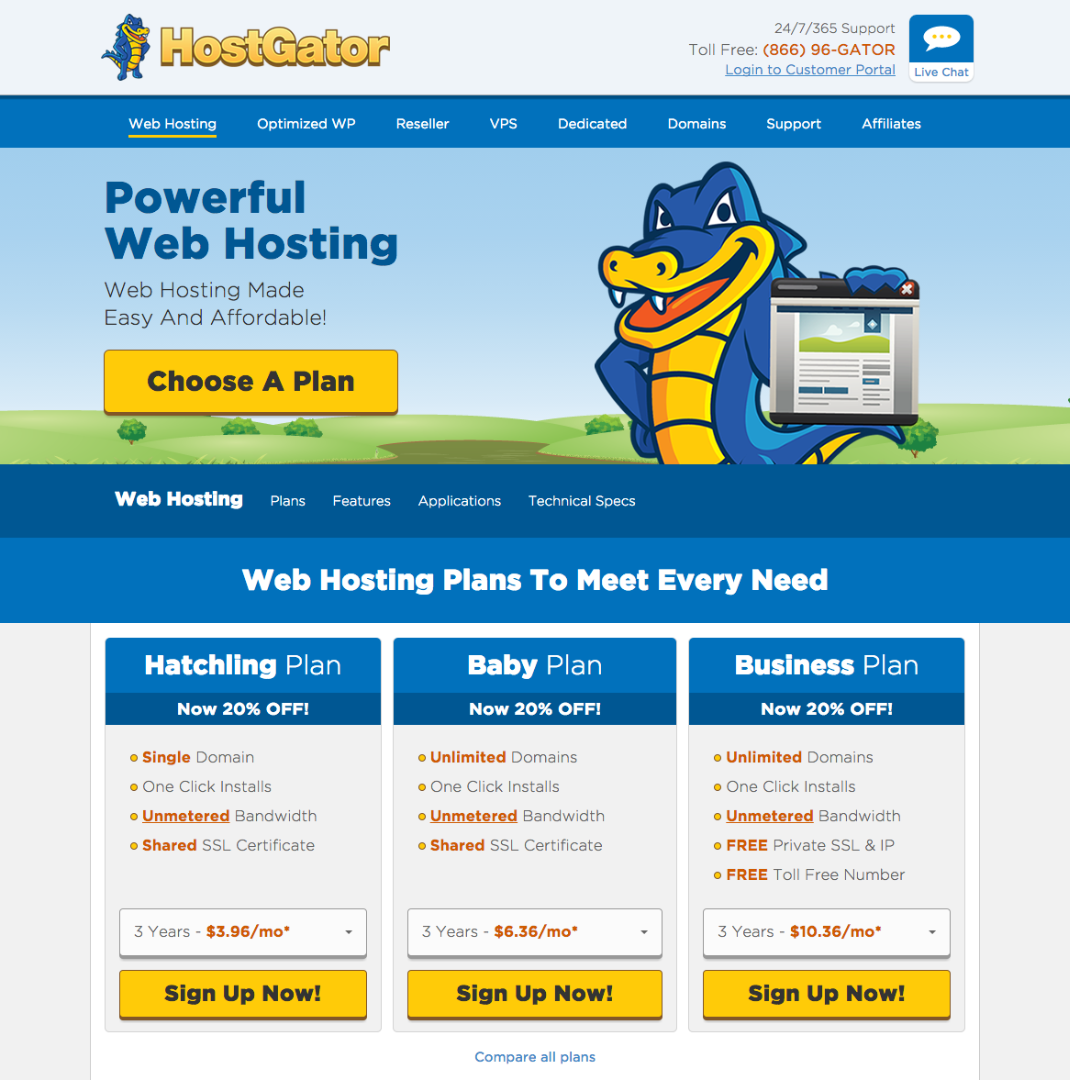
To register a domain name, you need to find a hosting service. Examples of hosting services include:
- www.GoDaddy.com
- www.HostGator.com
- www.Bluehost.com
Browse hosting services that is right for you based on service quality and cost. In this instruction, HostGator service will be used. HostGator is a reliable service that is affordable, charging only $5 a month to host your blog and $10 to register your blog domain. Additionally, the service allows the WordPress platform to be installed in your blog.
Here's how to get your blog site registered and hosted:
- Go to http://www.hostgator.com/shared
- Choose the Hatchling Plan.
- Enter your domain name.
- Choose a hosting plan.
- Enter your billing information.
- Check off additional services since those are unnecessary when first blogging.
- Enter the word, "Snappy," in the the coupon box to get a 20 percent discount.
- Click "Check Out."
- Check your email for confirmation.
Familiarize Yourself With CPanel
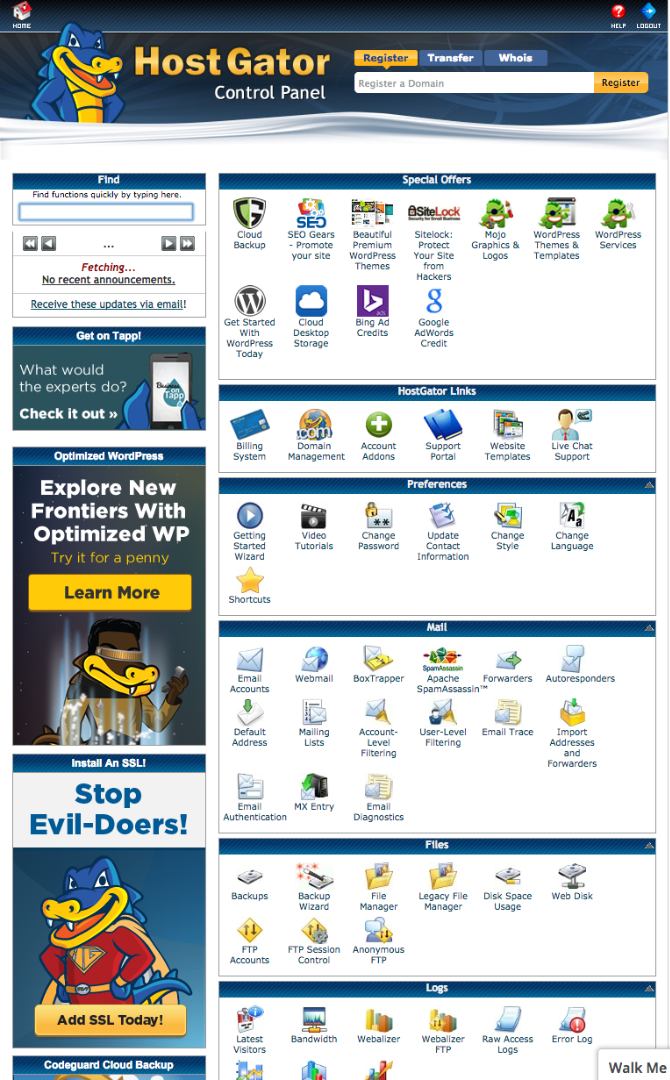
Once you successfully signed up with a HostGator service, you now have an access to the cPanel, a control panel which allows you to install WordPress to your website, monitor your blog traffic, and track your monthly payment.
Install WordPress to Your Website

- On the cPanel, go to the "software and services" box.
- Find and click "QuickInstall."
- Click "WordPress Install."
- Enter information in the box asking for a username, password and blog title.
- Click "install."
Great! You now have a WordPress blog.
Choose a Theme Template
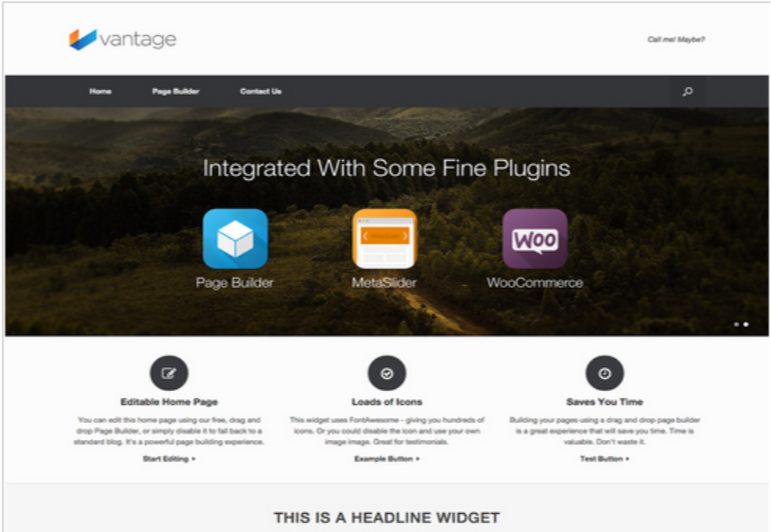
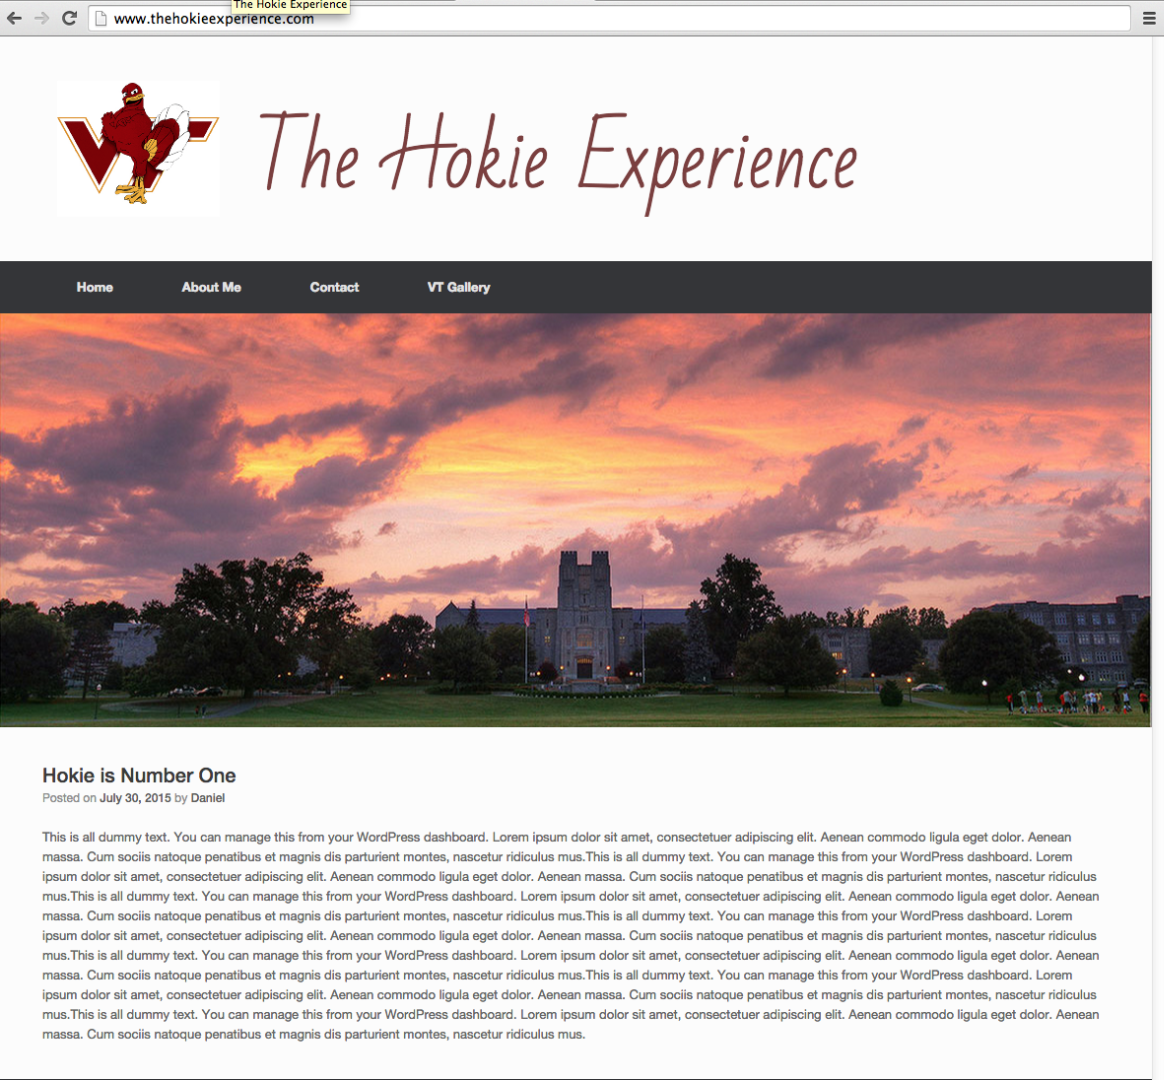
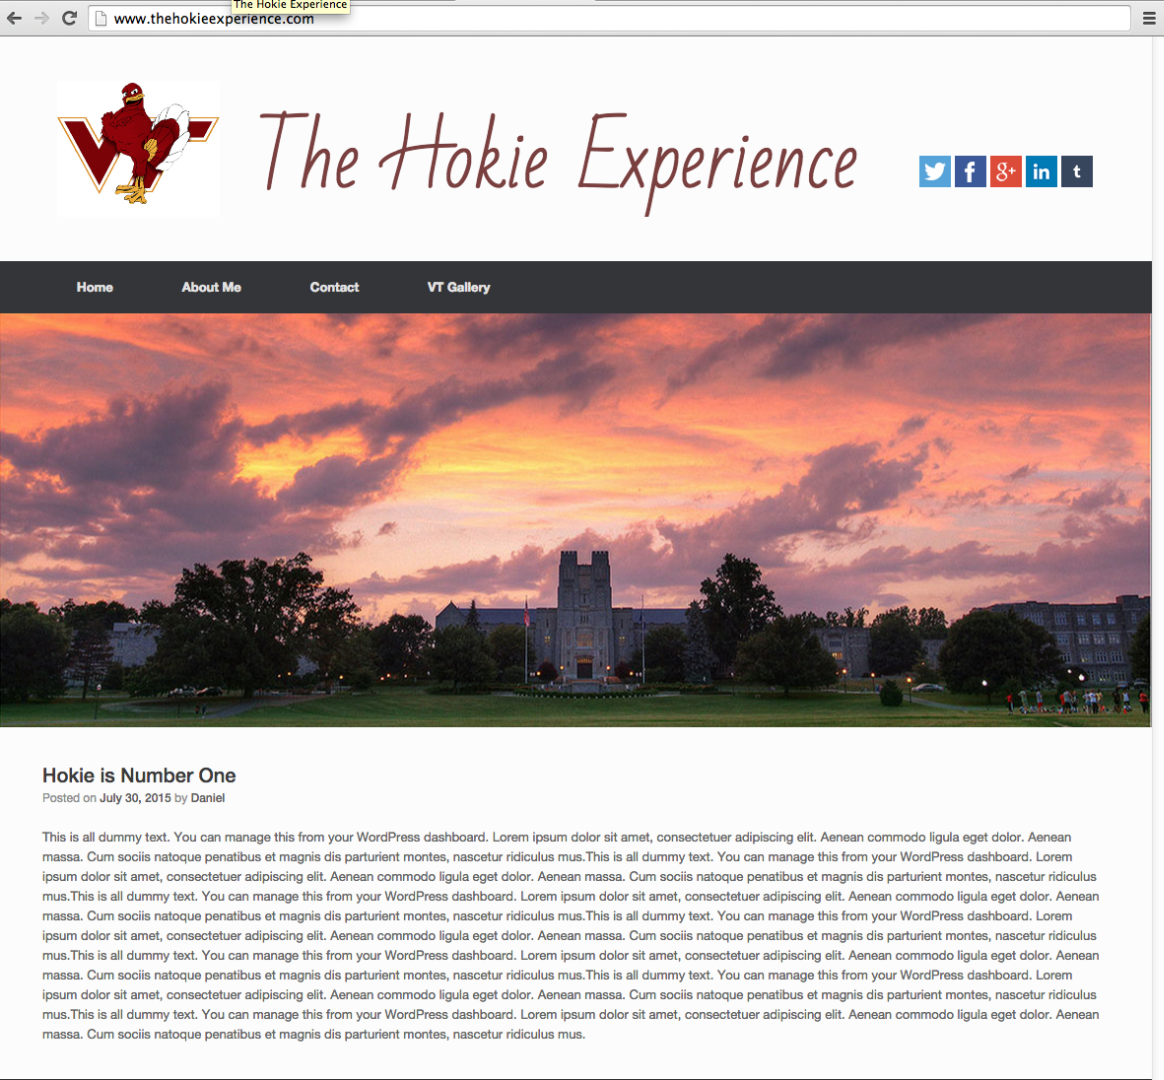
WordPress provides bloggers with a myriad of themes to choose for their blogs. Browse and use the theme that best serves your blog. As shown by the image above, the theme, called "Vantage," will be used as a template to create the blog titled, www.thehokieexperience.com, which is the second image.
The vantage theme comes with a default photo, but you can replace it with your own photo with this procedure:
- Type your website name in the address box of your browser and add "/wp-admin" at the end. Here's an example of mine: www.thehokieexperience.com/wp-admin
- Go to dashboard of your WordPress blog.
- Click "theme setting."
- Click "background image."
- Upload the image you want for your main page.
- Click "change" in the blue box to the right.
Change Logo

To add a custom logo, I recommend you use www.logomakr.com. Logomakr is a free website service enabling you to edit your image and add text to it. Additionally, the website features logos that are free to use. For thehokieexperience.com, I found an image I like on Google Images, and adjusted the pixel dimensions to 200 X 200 using logomakr.com.
Here's how to add a logo:
- Go to theme settings.
- Click "Logo Image"
- Upload your image.
- Click "save."
Create Pages
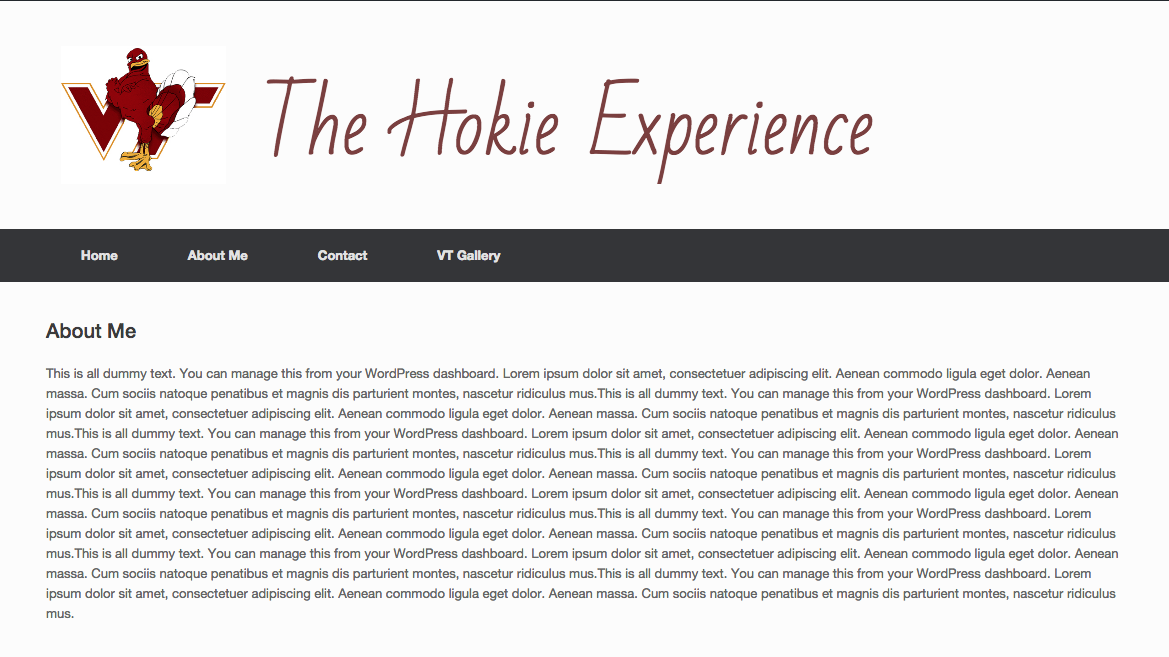


- To create pages, on the dashboard, click "pages."
- To the right, you will see default pages that comes with the Vantage theme: "Home, Page Builder, and Contact Us."
- Click "Page Builder" and click delete.
- Repeat step 3 to remove "Contact Us."
- Click "Add Pages" to create pages of your liking.
- Add text and/or images based on the page purpose.
As shown by the images above, thehokieexperience.com features four pages - Home, About Me, Contact Us, and Gallery. The About Me page contains a background description about the author. The Contact US page include the author's number and email address. Lastly, the gallery page contains photos illustrating the Virginia Tech spirit.
Create Posts
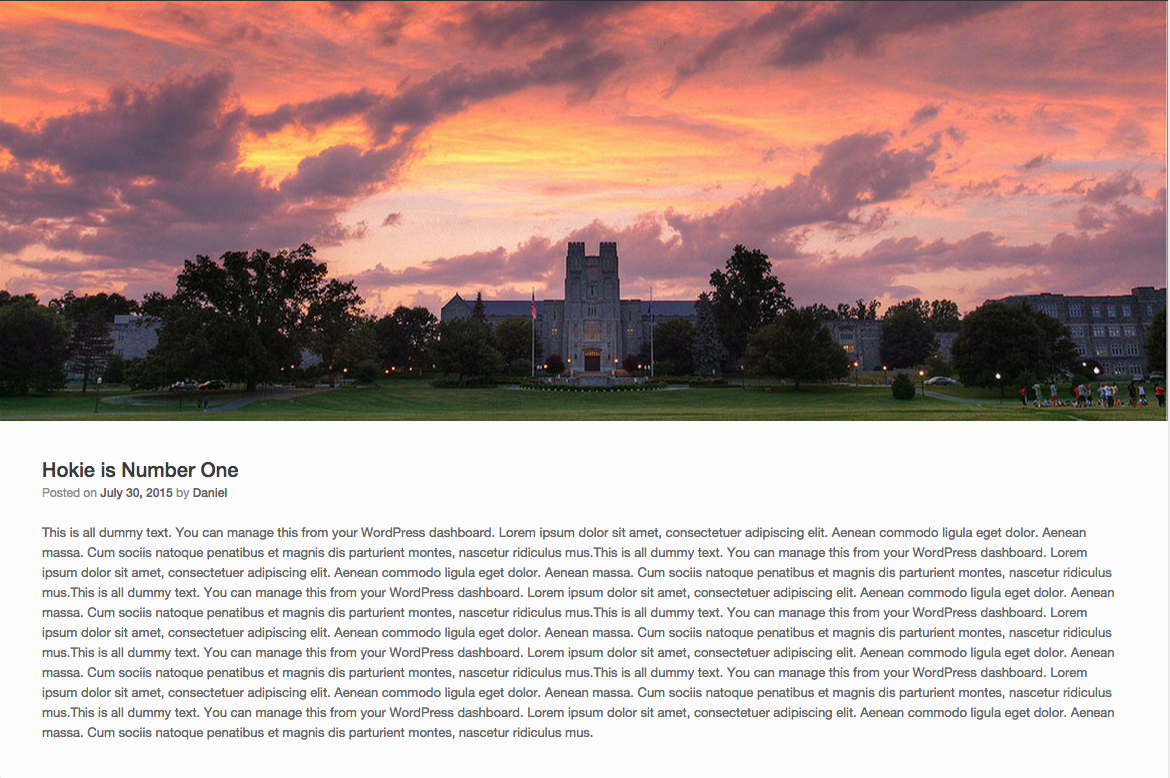
- On the dashboard, click "Posts."
- Add text and/or images in the text box.
- Click "Publish" on the right of the post box.
Add Social Media Buttons
.png)
To market your blog and raise readership, social media feature is a must. Facebook, Twitter, Google Plus, Instagram, and Tumblr, are all social media platforms allowing readers of your blog to share your content to their friends and acquaintances online. Here's how you can add social media buttons on your blog.
- Go to your blog dashboard.
- Click "Theme Setting."
- Click "Advanced Setting."
- Click to put a check mark next to "Add Social Media Buttons."
- Go to the social media section.
- On the layout, click "button positions", and highlight heading.
- Save.
- The last step is to add an address next to each social media site. For instance, for Facebook, add www.Facebook.com.
Now that you have a social media feature on your blog, watch your site thrive with new visitors everyday.
Monitor Your Blog Traffic
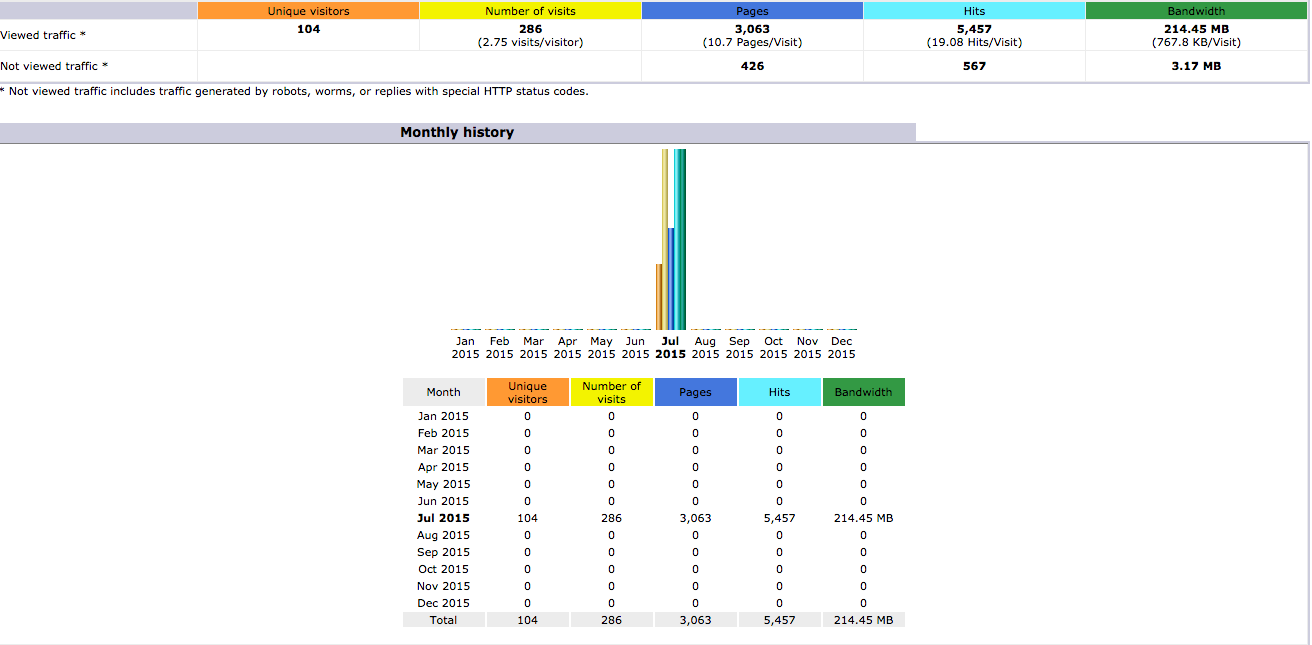
Traffic is a vital factor determining the success of a blog. More traffic means more opportunities to promote your services and products. Here's how to monitor your traffic:
- Go to your cPanel.
- On the left section of the panel, scroll down to the middle page, and click view web traffic.
- Click the magnifying glass button next to your blog domain address.
- View the traffic graph similar to the example above.